Glossary
A list of key terms and concepts in the application, designed to aid users in understanding and clarifying unfamiliar or technical terms.
-
User
A user is an individual with a profile in the application. Depending on the assigned user role, they may access specific data and application modules.
For more information, refer to the User profiles help page.
User role
A user role (system role, security role) refers to a predefined or custom set of permissions that dictate what a user can see or what actions they can take within the application.
For more information, refer to the Roles and permissions help page.
Custom user properties
Custom user properties are additional fields added to a user's profile when specific information needs to be stored, but there is no default field for it. These properties will be displayed under the Personal Information tab on user profiles.
For detailed instructions on creating custom user properties, refer to this link.
User groups
A user group is an assembly of individuals sharing common characteristics. User groups have managers who oversee members and monitor progress in their assignments. User groups can be assigned to multiple training courses, tests, or surveys, and users can belong to several user groups simultaneously.
For more information, refer to the User groups help page.
Assignments
Assignments include tests, surveys, and training courses that candidates can take. They are accessible to candidates by navigating to the Assignments section in the main menu and selecting My tests, My surveys, or My training courses, depending on the type of assignment they need to take.
For more information, refer to the Assignments help page.
Test
An assessment that evaluates a user's knowledge, understanding, or proficiency in a specific area. Testing sessions must be created for the test to be available to candidates.
For more information on creating a new test, refer to the New test help page.
Test with sections
An assessment type with divided test sections, each focusing on specific topics, skills, or question categories. Settings and passing marks can vary for each section.
For more information on creating a new test, refer to the New test help page.
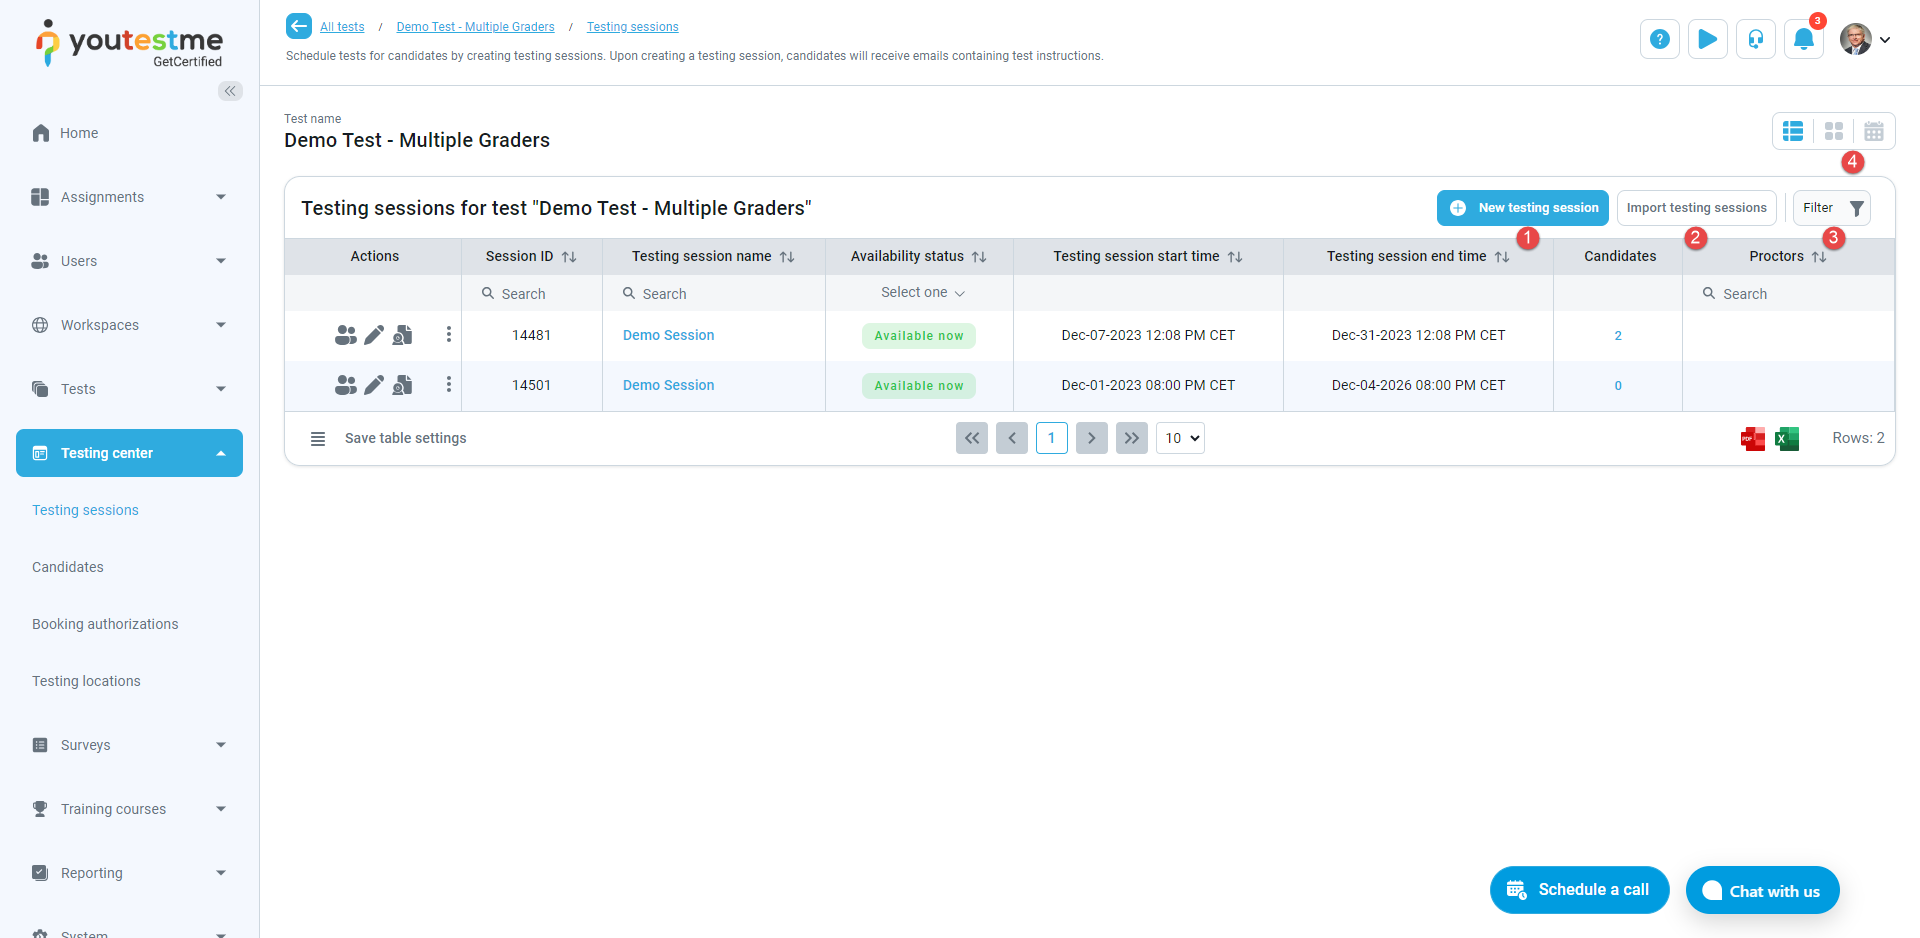
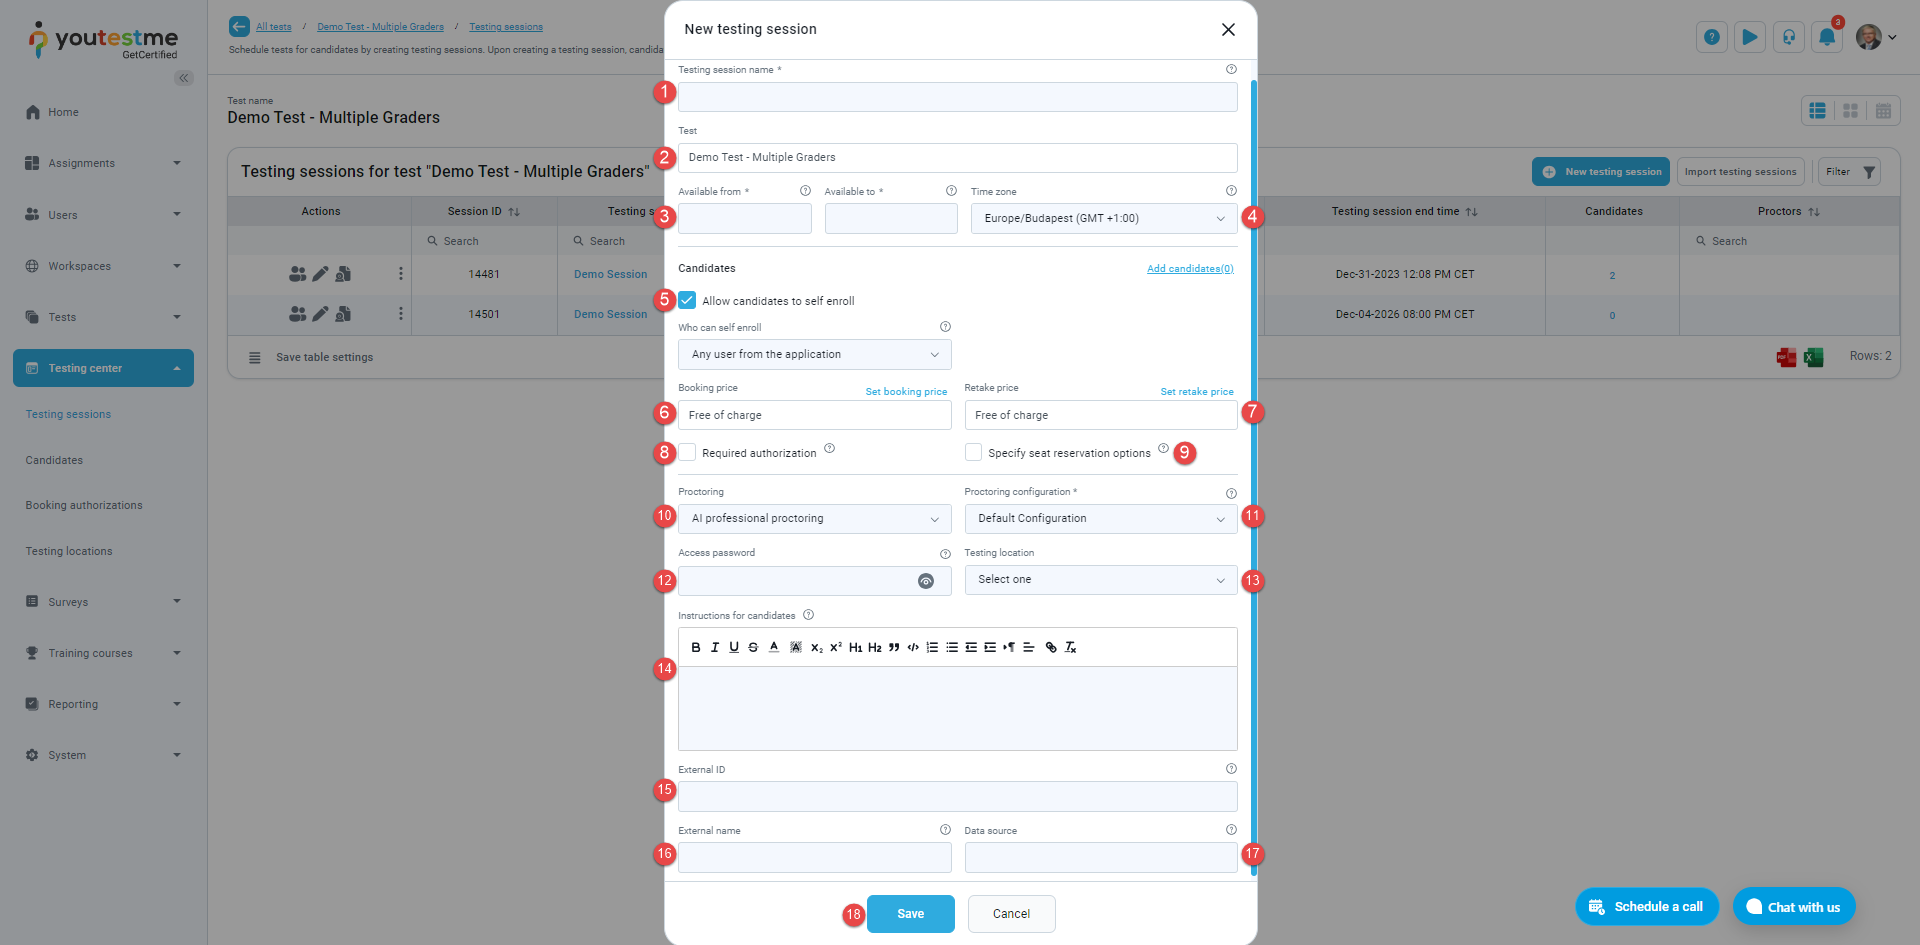
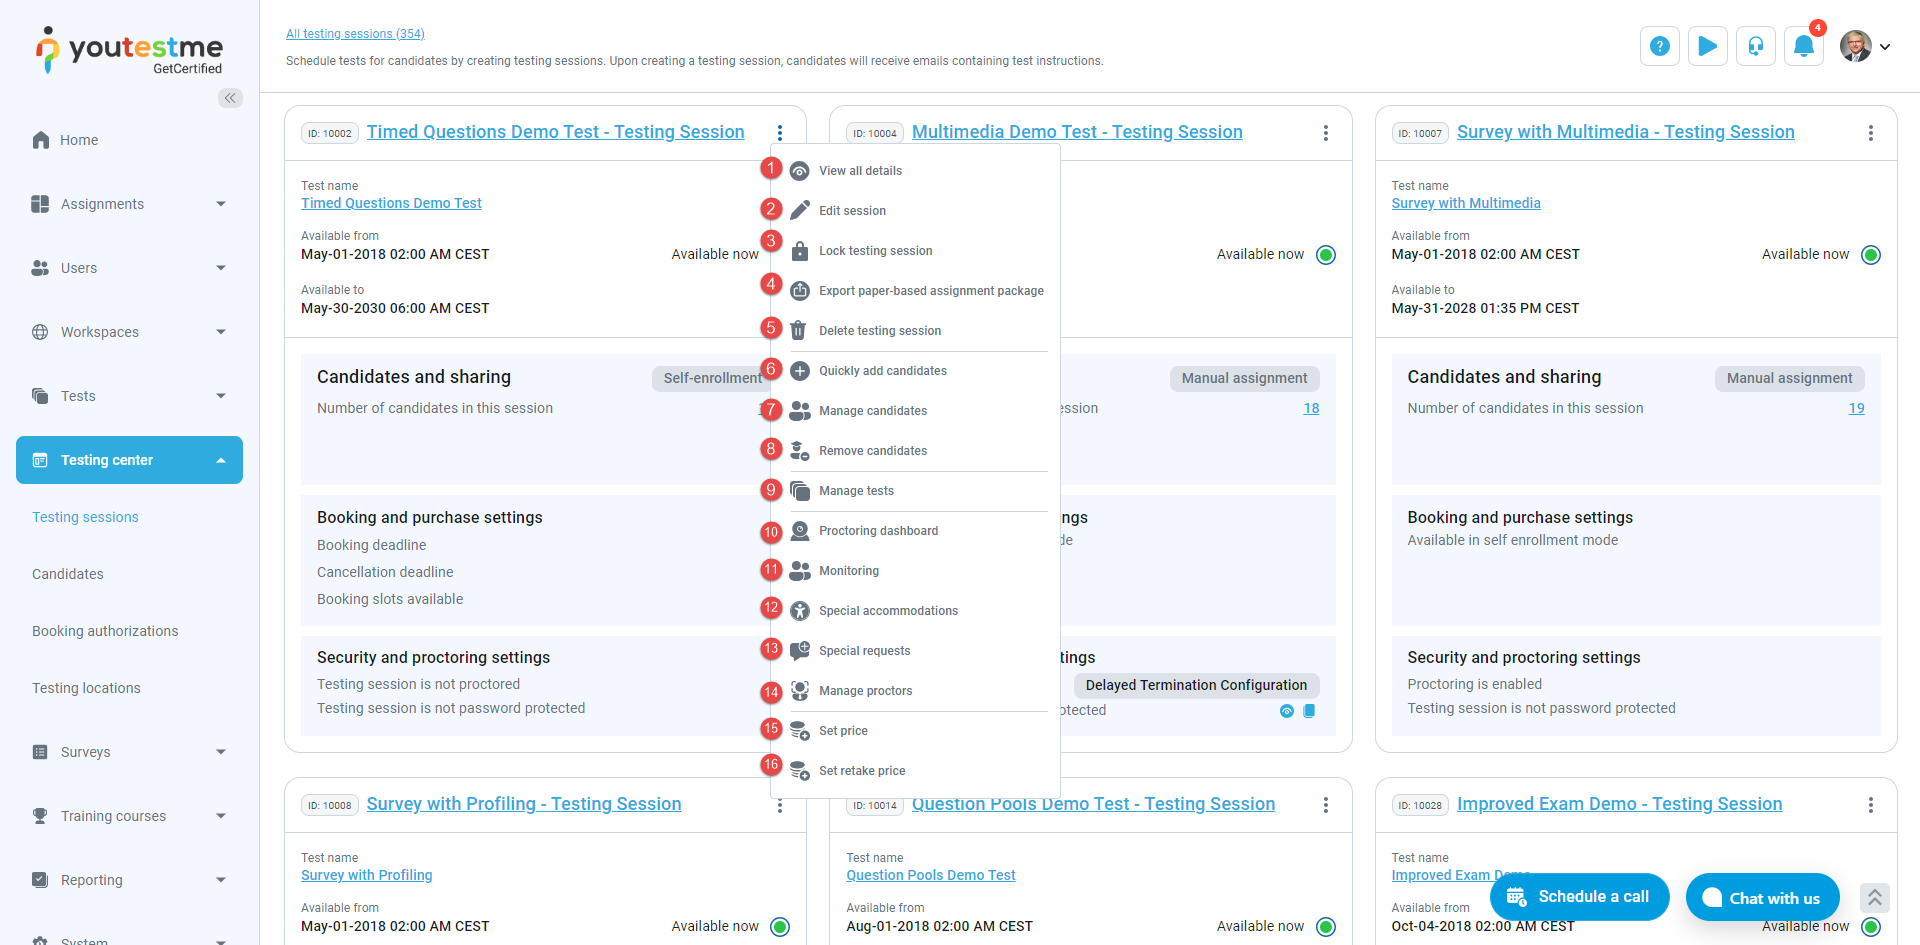
Testing session
A designated timeframe within which the candidate can start a specific assignment.
For more information, refer to the Testing sessions help page.
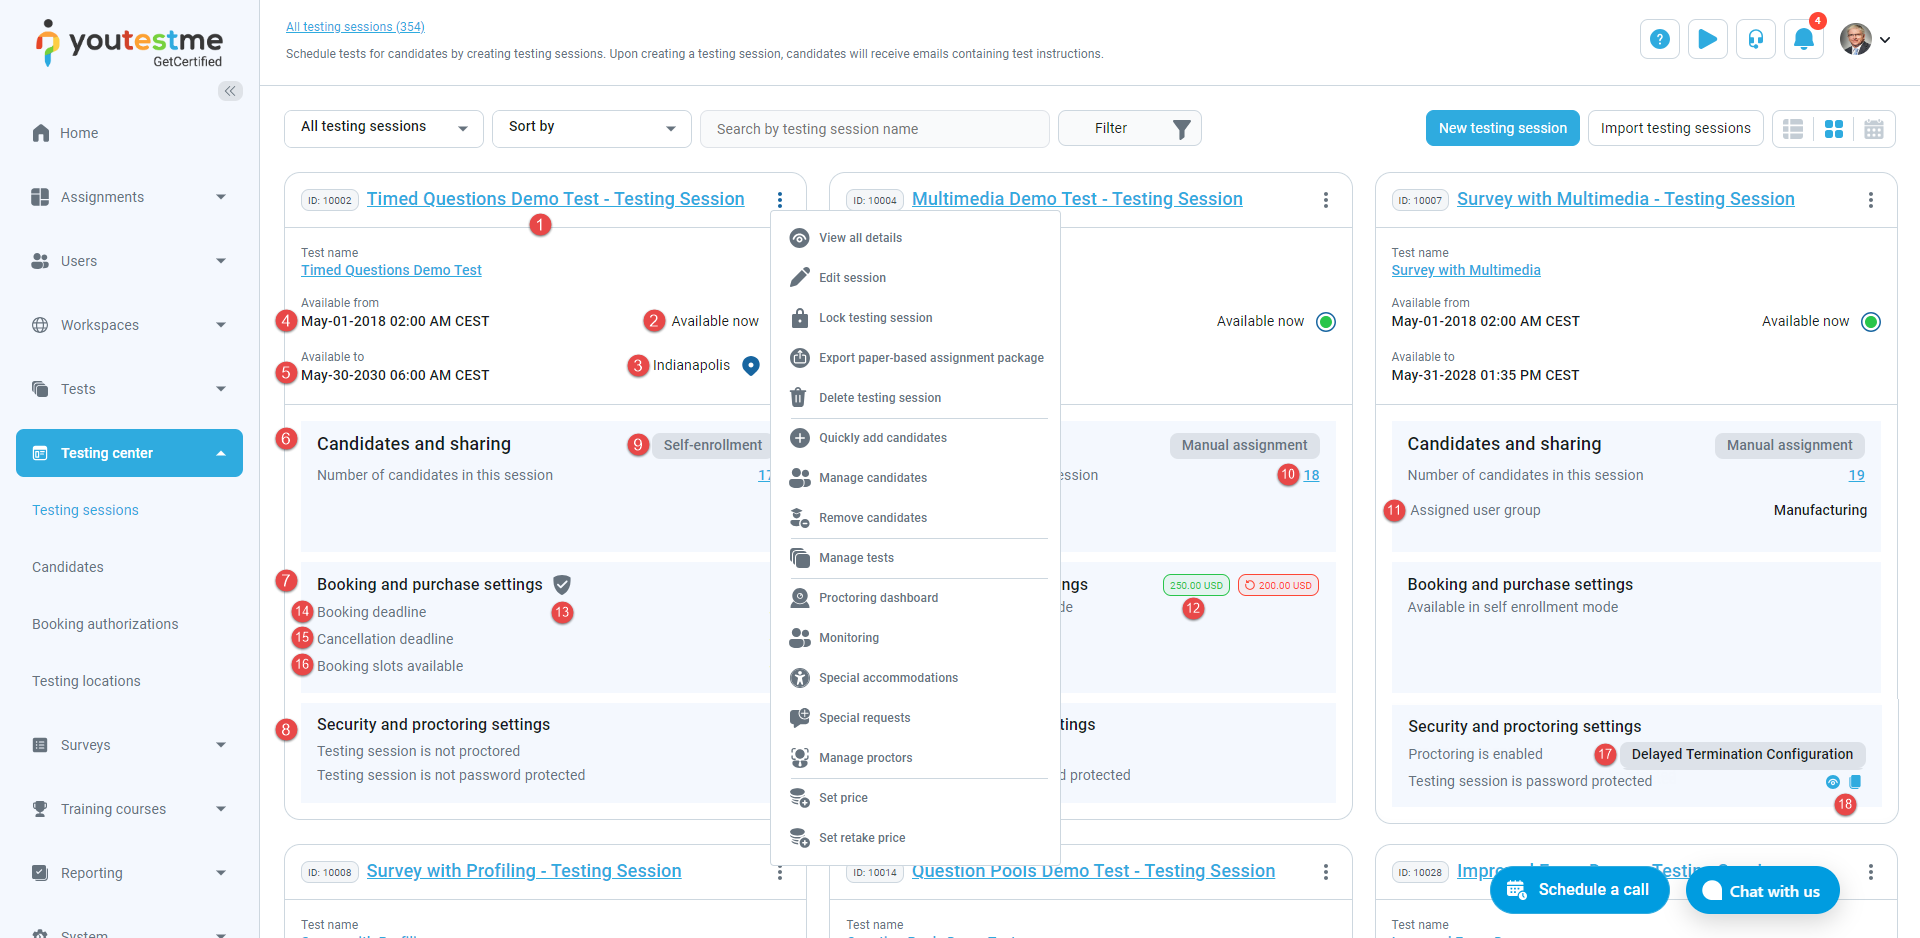
Self-enrollment testing session
A self-enrollment testing session allows candidates to register for a testing session independently, eliminating the need for an administrator to enroll them manually. This testing session is open for enrollment to all users in the system or to all users within a specific user group if self-enrollment is enabled for that particular user group.
Test attempt
A test attempt is a single occurrence when a candidate either starts a test or books a test. The system registers a test attempt as soon as the candidate initiates the testing process, whether by beginning the test or scheduling it in advance.
For more details on managing test attempts, refer to the Monitoring help page.
Rescheduling request
Rescheduling requests enable users to change the testing session they are assigned to for a specific test. Before starting the test, users may choose one of the offered testing sessions if the test allows a certain number of free reschedules. However, if free rescheduling is not allowed, users must submit a rescheduling request, providing a reason and, optionally, proof of why they need to change their current session. These rescheduling requests are forwarded to test managers for review. Managers can either approve the request, allowing the user to reschedule the desired session, or decline the request.
For more information, please check this article.
Coupon
Coupons provide users access to testing sessions without payment. Coupons are valid for all sessions in the test and can be used only once for sessions where the purchase price is set.
For more information, refer to the Coupons help page.
Test authorization
Test authorization regulates user access to tests. You can establish criteria, such as mandatory payments or specific qualifications, for users to gain test authorization. Users without the necessary authorization for a test will not be able to view the test in their assignment list.
For more information, refer to the Test authorizations help page.
Proctoring
Proctoring involves monitoring candidates to maintain the integrity and security of tests. Its primary aim is to prevent cheating and ensure a fair testing environment. Candidates log in remotely, verify their identity, and initiate the proctored test. The testing session is recorded through a webcam, microphone, and screen sharing. Afterward, an automated report is generated, including the candidate's score and a proctoring credibility assessment.
For more information on setting up proctoring, refer to the Proctoring settings help page.
Proctorio integration
To see how to review and grade a Proctorio proctoring report, please check out this article.
Proctor
A proctor supervises and monitors a test to ensure its integrity and prevent any potential cheating or violations of testing rules.
Safe Exam Browser
Safe Exam Browser (SEB) is a secure web browser for online tests. It restricts access to other applications and websites on the device to maintain the integrity of the test environment, preventing potential cheating or unauthorized activities during the test.
For more information on setting up the Safe Exam Browser, check this video.
For more information on how to use Safe Exam Browser with YouTestMe for secure online exams, refer to this article.Manually created test
A test where questions are manually created one by one or imported from an existing question pool.
For more information, refer to the Manually created test help page.
Generated tests - based on question difficulties
Test content is determined by the difficulty levels of the questions. The test creator specifies the number of questions from each difficulty level, and the test generator produces an unlimited or limited number of test versions based on preferences.
For more information, refer to the Test generator based on question difficulties help page.
Generated tests - based on question categories
Test content is determined by the question categories assigned to the questions. The test creator specifies the conditions, and the test generator produces an unlimited or limited number of test versions based on preferences. Prerequisites include creating custom question categories in the Question categories section and assigning them to questions.
For more information on creating this type of test, refer to the Test generator based on question difficulties help page.
Grading scale
Grading scales are used to establish specific labels for categorizing results. These scales enable the standardized presentation of test outcomes using a predefined range, e.g., from A to F.
For more information, refer to the Grading scales help page.
Test/Survey category
The Test/Survey categories facilitate grouping based on shared characteristics such as subjects, difficulty levels, or other criteria. For example, users may categorize tests/surveys into subjects like science, mathematics, language skills, etc. To assign categories to tests/surveys, first, create them on the Test/Survey category types page.
Question pools
Question pools refer to a database or repository of questions that can be used for test and survey generation. Test/survey creators often use question pools to efficiently generate assignments by selecting questions from them instead of creating new questions each time.
For more information, refer to the Question pools help page.
Custom question properties
Custom question properties refer to additional fields that serve as attributes for questions and are not created in the application by default. They help categorize questions, provide extra data for easier search and management, and can be used to set criteria for passing the test.
-
For details on creating custom question properties, refer to the Custom question properties help page.
-
For more information on how to use custom question properties to define grading settings, refer to this article.
Custom question categories
Custom question categories refer to additional fields that serve as attributes for questions and are not created in the application by default. They help categorize questions and provide extra data for easier search and management. Unlike custom question properties, custom question categories can be used for test generation.
For more information, refer to the Custom question categories help page.
Training courses
Training courses are sets of lessons organized into steps that include assignments (tests or surveys) and additional materials (different types of multimedia content).
For more information, refer to the Training courses help page.
Surveys
A survey is used to create questionnaires or forms to collect user feedback, opinions, or data. You can manually create survey questions one by one or import them from existing question pools. Each survey can include a grading scale linking grades to specific scores. This mapping allows the system to represent survey results as grades, for example, measuring satisfaction levels or the degree of agreement with a statement.
For more information on creating a new survey, refer to the New survey help page.
Testing center
The Testing center module is a central hub for administering and organizing tests. Instead of handling each test individually, the Testing center allows you to do everything in one place. You can create testing sessions, assign candidates, meet their specific needs, assign proctors, monitor candidate progress, and evaluate their behavior during the test. All test attempts are stored in one place, and if needed, you can easily filter and display attempts for a specific test and testing session.
Special accommodation
Special accommodations refer to customized support provided during the test-taking process for users with unique needs. These adjustments ensure equal opportunities by allowing extended time for taking a test. Instructors can also provide additional special accommodations, such as permitting food and drink during the test or arranging dedicated one-on-one sessions with proctors for personalized monitoring.
For more information, consult this article or refer to the Special accommodations help page.
Special request
A special request is used when you want to request information or documentation from candidates, either before or after a test. For example, if a candidate needs to provide an ID before a test and it's found invalid, the instructor can send a special request for a valid ID to avoid canceling the test attempt.
For more information, consult this article or refer to the Special requests help page.
Workspaces
Workspaces are virtual environments where users organize and manage their certification process. For example, each workspace can represent a distinct company department. Workspaces separate entities within the system. Users in one workspace cannot view entities assigned to other workspaces, such as tests, training courses, surveys, question pools, question categories, users, and user groups.
For more information, refer to this article.
Workspace roles
A workspace role defines the set of permissions that determine what a user can see or the actions they can take within that specific workspace.
For more information, refer to the Manage workspace roles help page.
Delivery preferences
The Delivery preference option allows the categorization of tests based on how they are distributed to candidates, such as online or paper-based. When scheduling testing sessions, tests can be filtered based on their delivery preference, simplifying the process of scheduling sessions for all tests of the same delivery preference.
For more information on setting up delivery preferences for a test, refer to the Delivery preference help page.Single Sign-On
Single Sign-On (SSO) is an authentication process that allows a user to access multiple applications or services with a single set of login credentials (such as username and password). Instead of remembering separate login details for each application, users authenticate themselves once, and then that authentication is leveraged across various systems.
For more information on setting up SSO, refer to the Single Sign-On help page.
OpenID Connect
OpenID Connect (OIDC) is an authentication layer built on top of the OAuth 2.0 authorization framework. It offers a standardized and secure method for applications to conduct user authentication and gather information about the authenticated user. OpenID Connect is widely utilized for single sign-on (SSO) scenarios.
For additional details on configuring OIDC, refer to the OpenID Connect help page.
LTI
Learning Tools Interoperability (LTI) is a standard developed to facilitate seamless integration and interoperability between educational tools and learning management systems (LMS). YouTestMe can be integrated into an LMS or other learning platforms through LTI.
For more information on configuring LTI, refer to the LTI help page.
E-commerce
The E-commerce module integrates Stripe payment services into YouTestMe. Users pay for testing sessions or training courses through Stripe, and upon successful payment, they gain access to take the test or complete the training course.
For additional information on configuring E-commerce, refer to the E-commerce help page.
LRS
A Learning Record Store is a database that stores learning data and records, particularly those related to experiences in e-learning or educational settings. Integration between YouTestMe and an LRS implies that the data generated within YouTestMe is sent to and stored in the LRS.
For additional information on configuring an LRS, refer to the LRS help page.
Webex integration
WebEx integration refers to connecting WebEx, a widely used online meeting and collaboration tool, with YouTestMe. The integration of WebEx and YouTestMe is used for live proctoring purposes.
-
For more information on configuring Webex integration, refer to the Webex integration help page.
-
For more information on how proctoring using Webex works, check this article.
Proctorio integration
Proctorio integration implies integration between Proctorio, an online proctoring solution, and YouTestMe. The system automatically monitors the test attempt using behavioral trackers and records the entire process, marking moments of suspicious behaviors. Once the test is finished, the system stores the footage for subsequent human review and validation.
-
For more information on configuring Proctorio integration, refer to the Proctorio integration help page.
-
For more information on how proctoring using Proctorio works, check this article.
Application Programming Interface (API)
API is a set of rules and protocols that allows one software application to interact with another. APIs define the methods and data formats that applications can use to communicate with each other. In simpler terms, an API acts as a bridge between different software systems, enabling them to exchange information and perform specific actions.
Logging in/Registration
-
Logging in
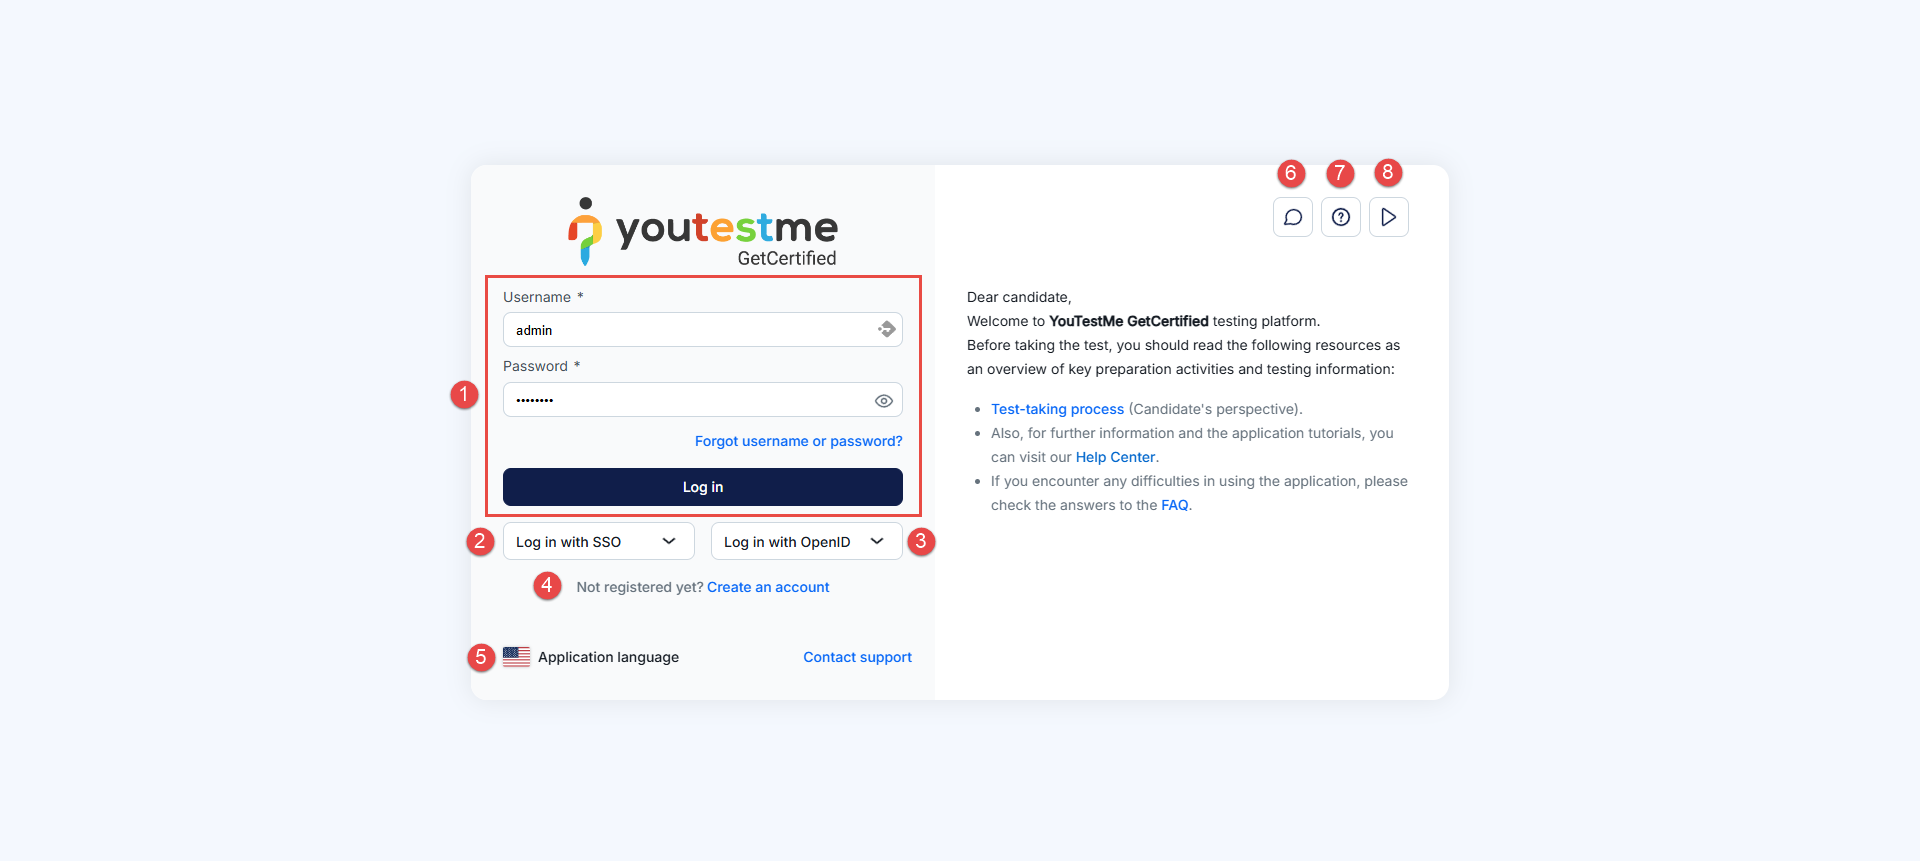
There are three login options:
-
Username and password
Additional options on this page include:
-
Application language - Select the language you prefer for the login page. This setting won't affect the language within the application.
-
Contacting support - Contact our support team for help. For more details, please refer to this article.
-
User manual - Find answers in the user manual.
-
Instructional video - Watch the instructional video to quickly learn how to use the app.
-
Account recovery options
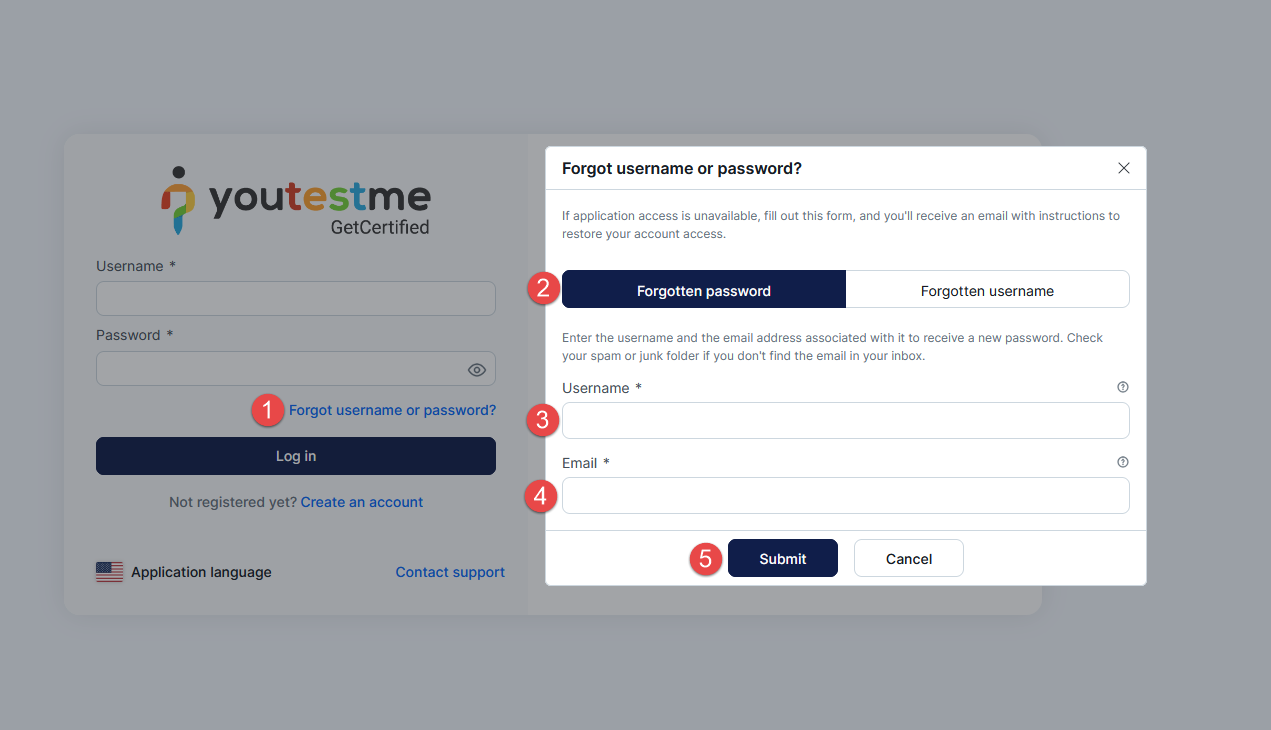
If you forgot your password:
-
Click the Forgot username or password option.
-
Select the Forgotten password option.
-
Enter the Username.
-
Enter the Email address registered to your account
-
Click the Submit button.
When you click the Submit button, you will receive an email containing a link that allows you to reset your password.
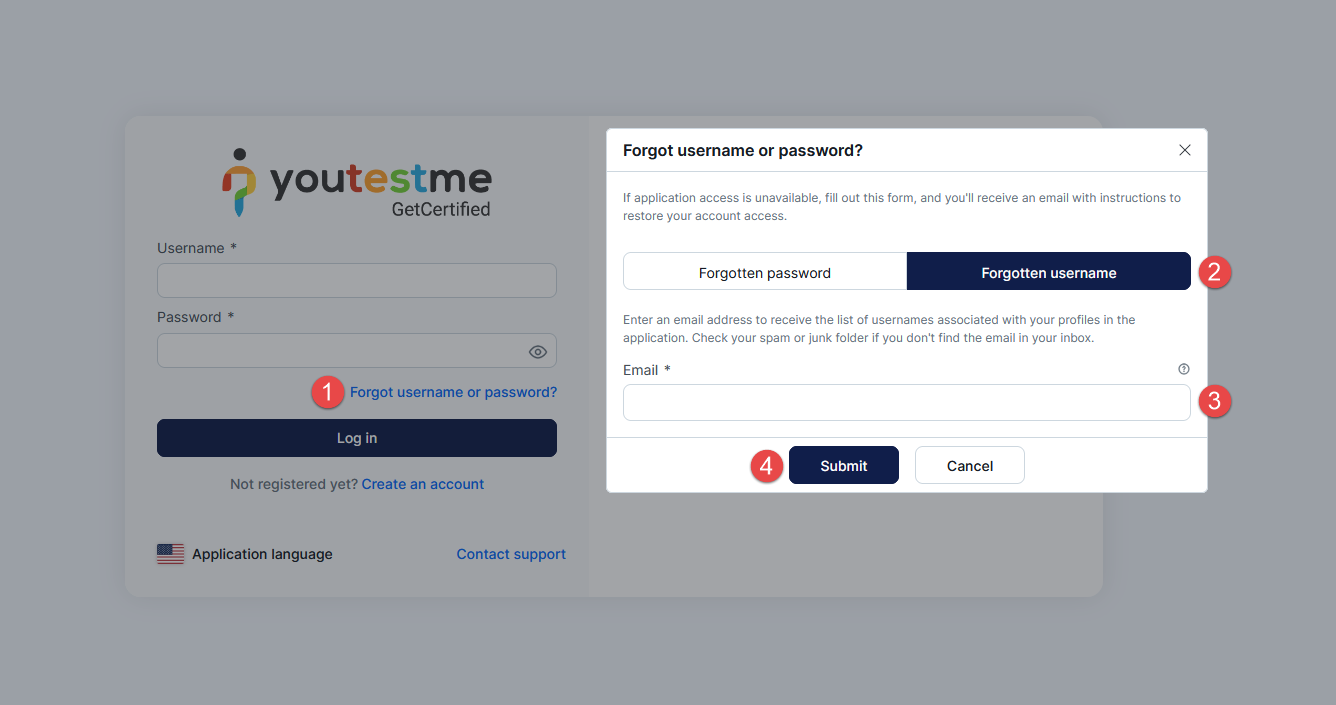
If you forgot your username:
-
Click the Forgot username or password option.
-
Select the Forgotten username option.
-
Enter the Email address registered to your account
-
Click the Submit button.
When you click the Submit button, you will receive an email with your username.
-
-
-
Registration
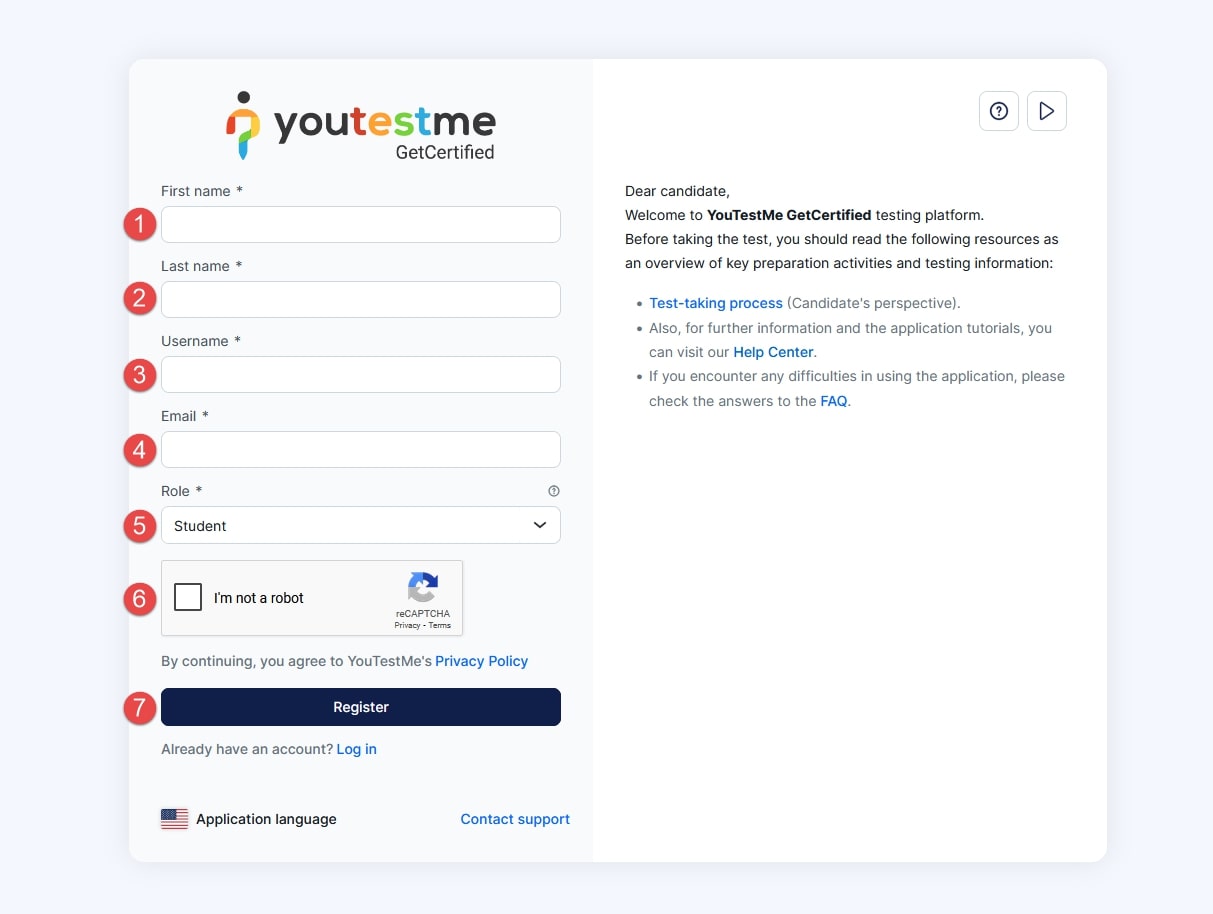
To register:
-
Enter the First name.
-
Enter the Last name.
-
Enter the Username.
-
Enter the Email address.
-
Select the desired account Role from the available system roles. If the list is empty, it indicates that there are no grantable system roles in the system. This option is available only when the Self-Registration option is disabled. For more details, read this article.
-
Confirm your human identity by ticking the I am not a robot checkbox.
-
Click the Register button.
-
-
Configuring two-factor authentication
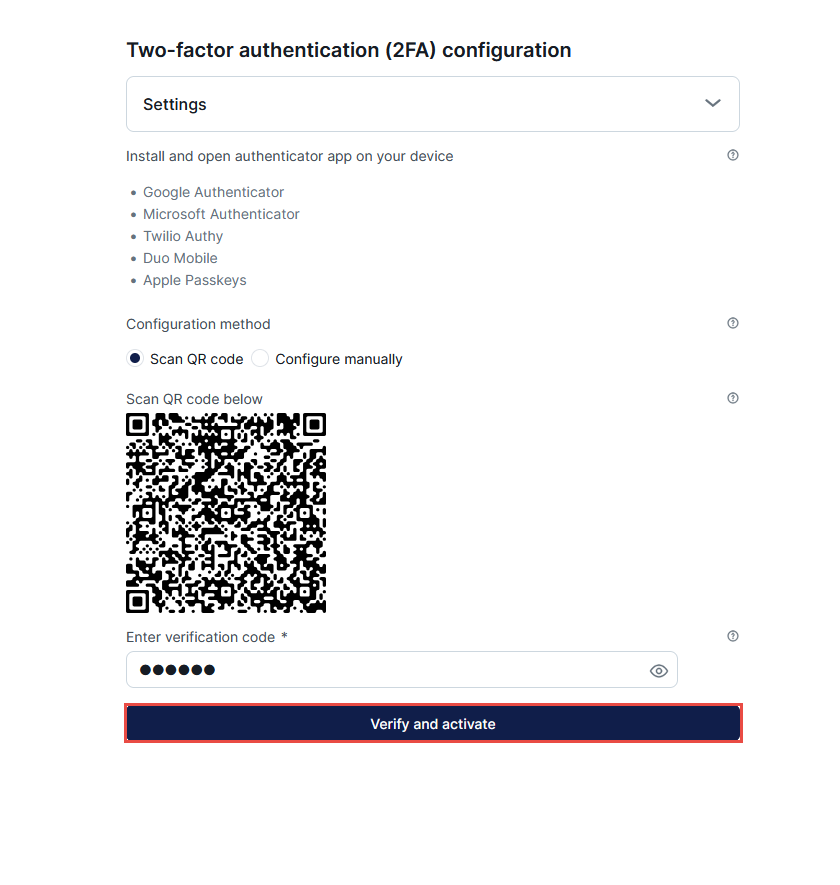
Two-factor authentication can be configured as required for specific roles. Users with those roles are required to complete the two-factor authentication process while logging in. If users have not configured their two-factor authentication, they will be redirected to the two-factor authentication configuration page upon login and they are required to successfully complete it before they can proceed with logging in.
For more information on how to configure two-factor authentication, please refer to this article.
Home
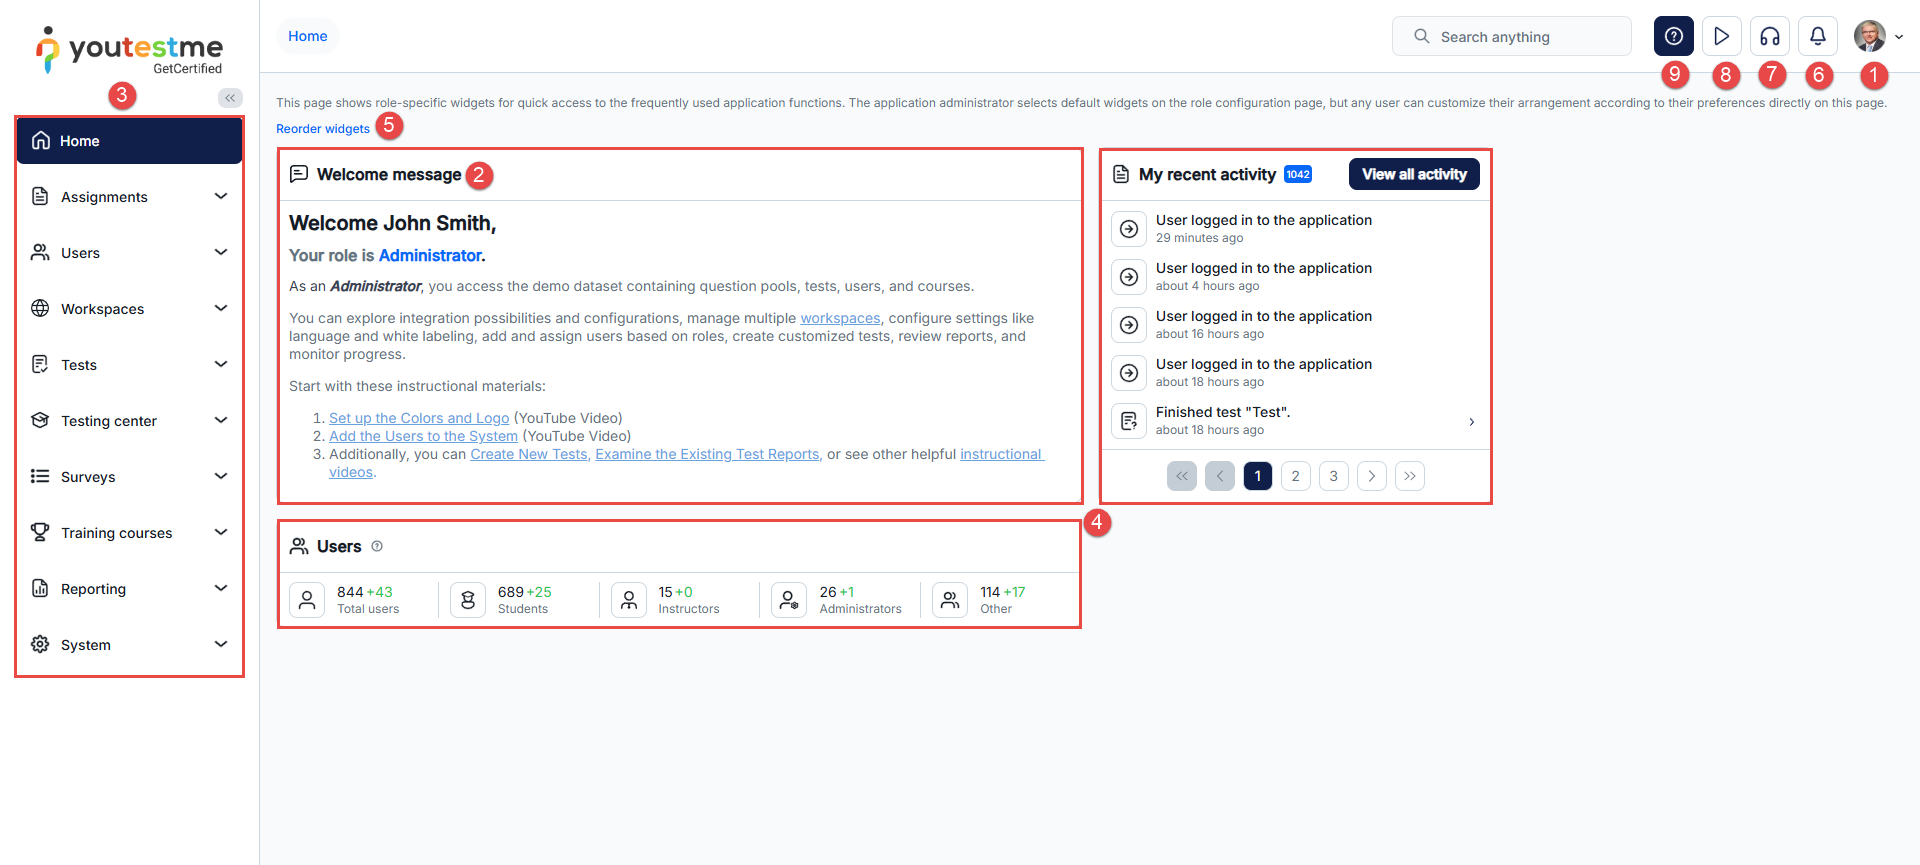
The Home page is the default landing page, containing:
-
My profile button - Access profile information or log out.
-
Welcome message - Describes your role within the system. It can be modified in the Roles and permissions section under the Role description field.
-
Main menu - Central navigation hub for all system sections.
-
Widgets - Quick access to frequently used application functions.
-
Reorder widgets - The application administrator selects default widgets on the role configuration page, but any user can customize their arrangement directly on this page.
-
Notifications - Aggregated alerts for system actions or updates related to you.
-
Contact support button - Contact our support team for help. For more details, check this article.
-
Demo videos - Step-by-step visual guides on using the system.
-
User manual - Find answers in the user manual.
Assignments
-
Introduction
Assignments include tests, surveys, and training courses that candidates can take. Candidates can access them by navigating to the Assignments section in the main menu and selecting the relevant assignment type.
The Assignments section is divided into three pages:
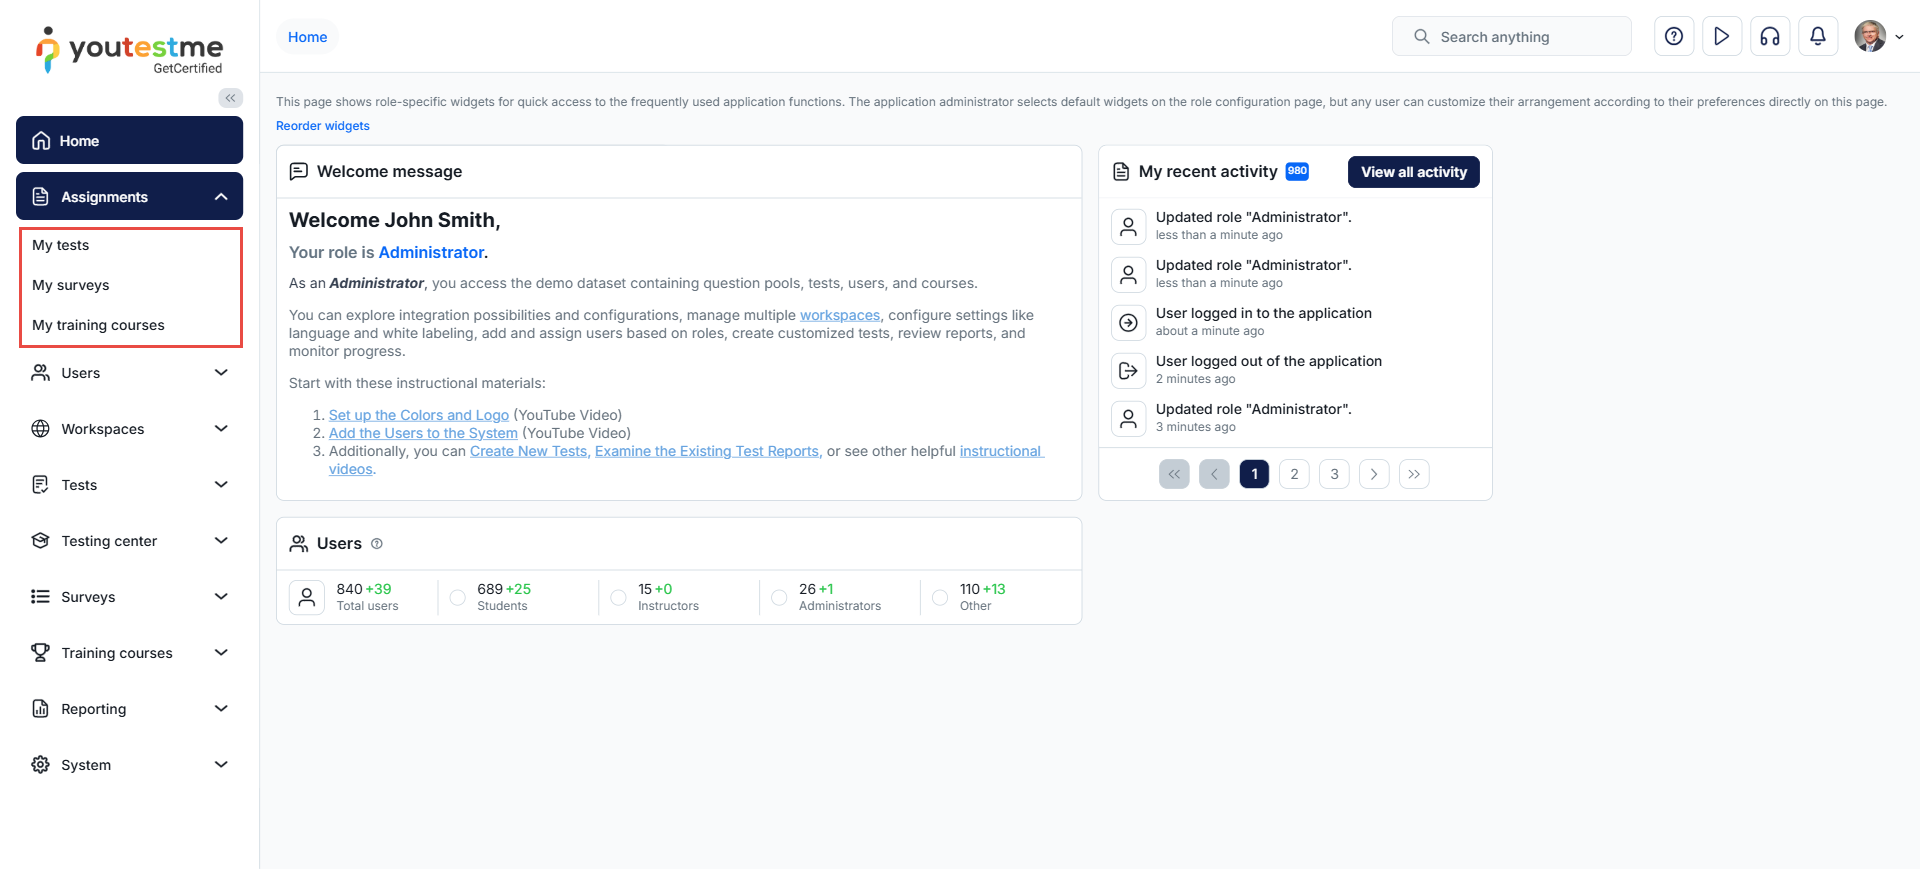
-
My tests
On this page, you can view a list of available tests, start or book tests, and preview your reports.
When accessing the My tests page, you can choose between several different views to display assignments:
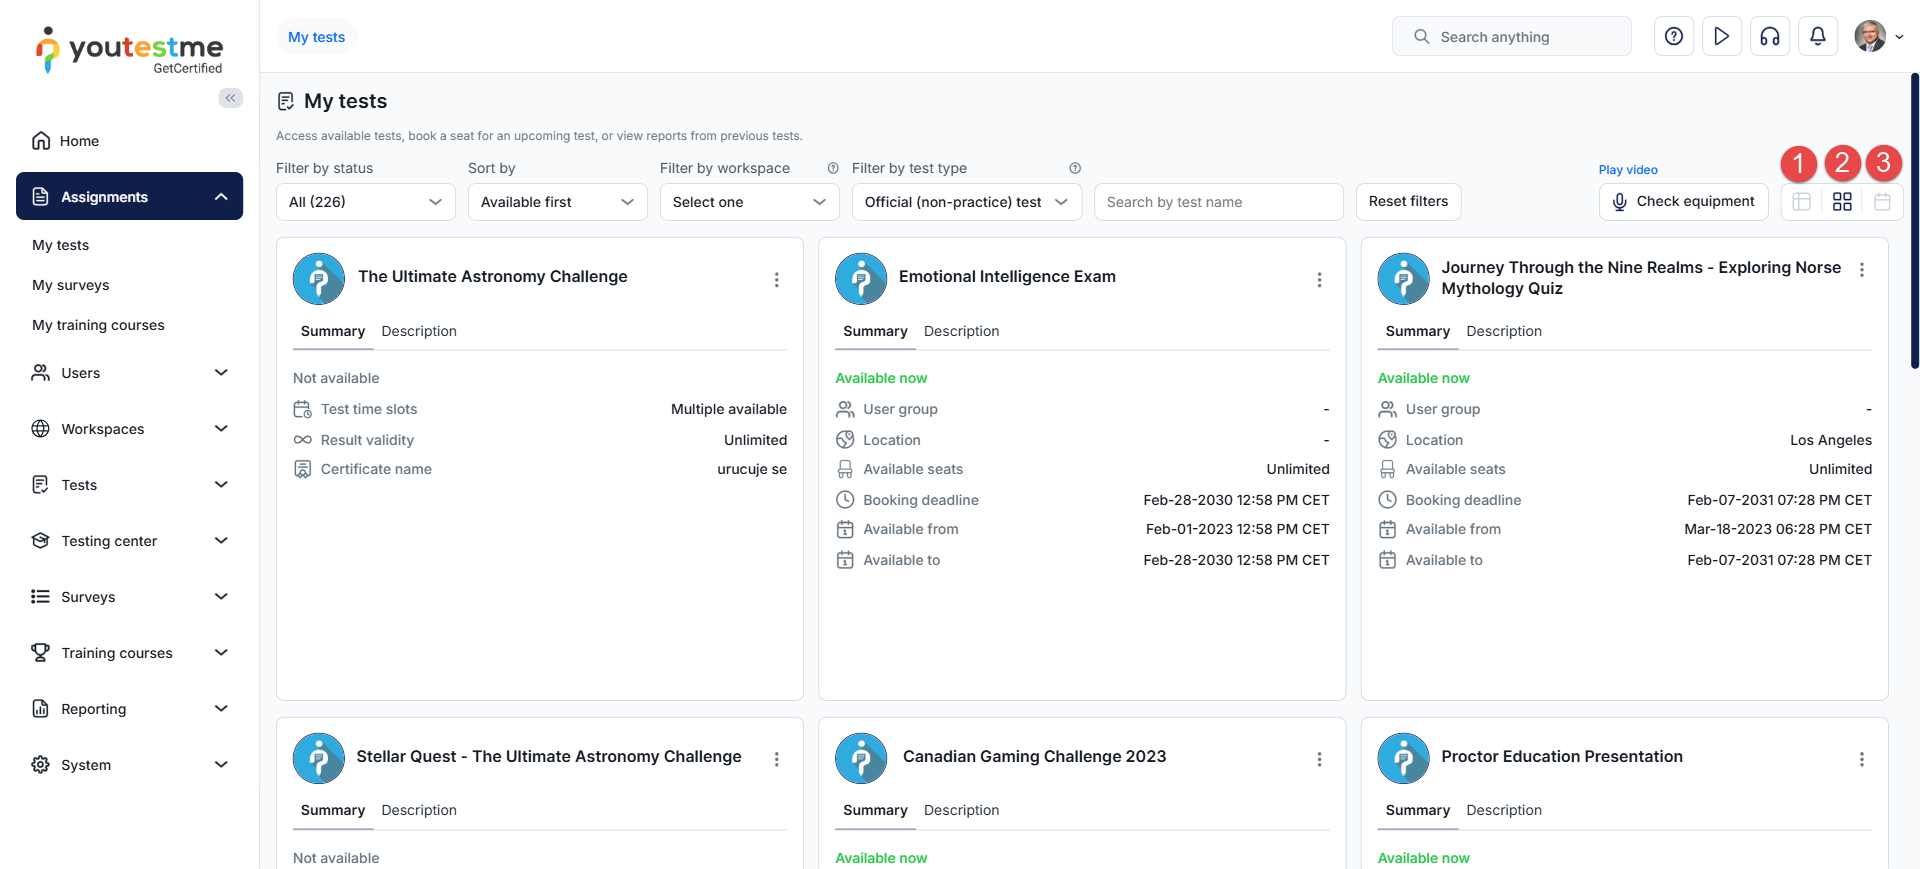
-
List view
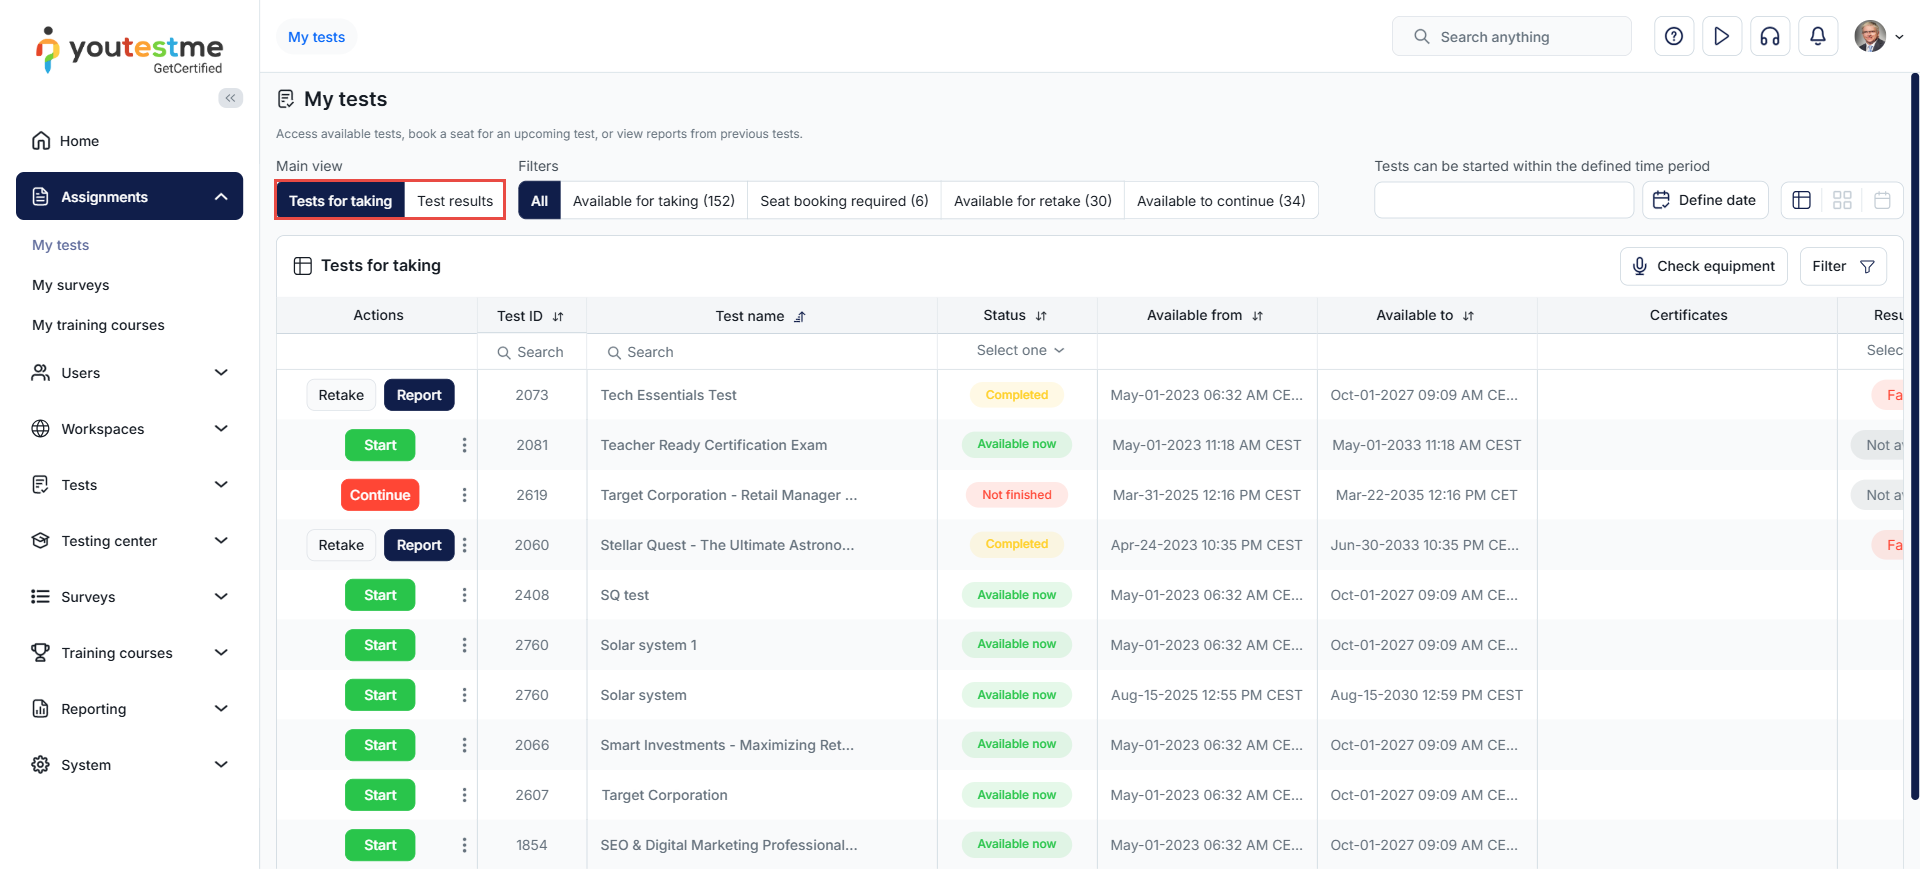
You can change the main view to display available tests or test results of already completed tests.
-
Tests for taking
In this view, you can:
-
Filter tests to display:
-
All tests available to you.
-
Available for taking - Tests that are currently accessible.
-
Seat booking required - Tests where seat reservation is required.
-
Available for retake - Tests that you can take again.
-
Available to continue - Tests you can resume because you either intentionally paused them or they were interrupted (e.g., due to an internet connection issue).
-
-
Display tests available today, this week, this month, or within a specified time range.
-
Check your equipment before starting the proctored test.
-
Click Filter to include suspended test attempts in the table.
-
Perform the desired actions on available tests.
Fixed alphabetical order - The List view can be configured to display assignments in a fixed alphabetical order. When this option is enabled, tests and surveys are listed alphabetically by name. For more information on configuring a fixed alphabetical order, refer to this article.
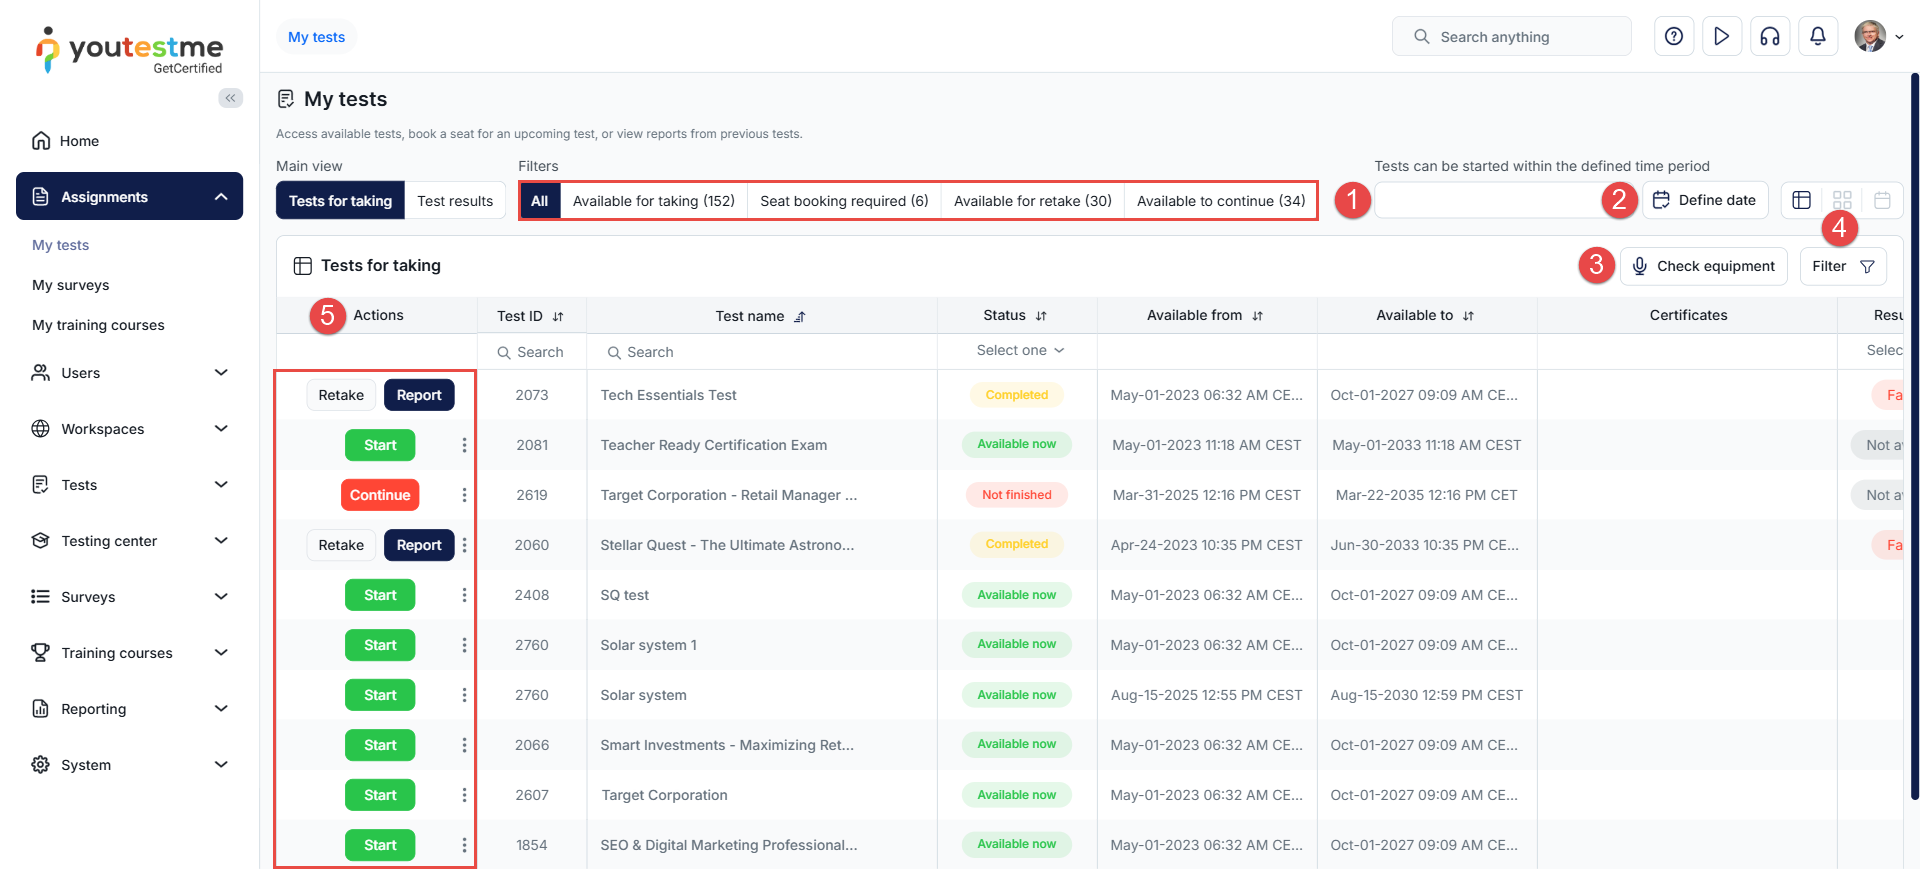
-
Table layout
Here, you can find explanations of the table columns:
-
Actions - Displays the available actions for the test.
-
Test ID - The ID of the test.
-
Test name - Displays the name of the test, with an indication if the testing session is proctored or requires payment.
-
Test attempt status - Shows the current status of the test attempt.
-
Available from - The date when the test becomes available for taking.
-
Available to - The date until which the test is available for taking.
-
Seat availability - Indicates the session's capacity, showing the number of remaining seats compared to the total. Additionally, if there are booking and cancellation deadlines, it displays the dates or indicates if they have expired. If the field is empty, there are no limitations on capacities or deadlines.
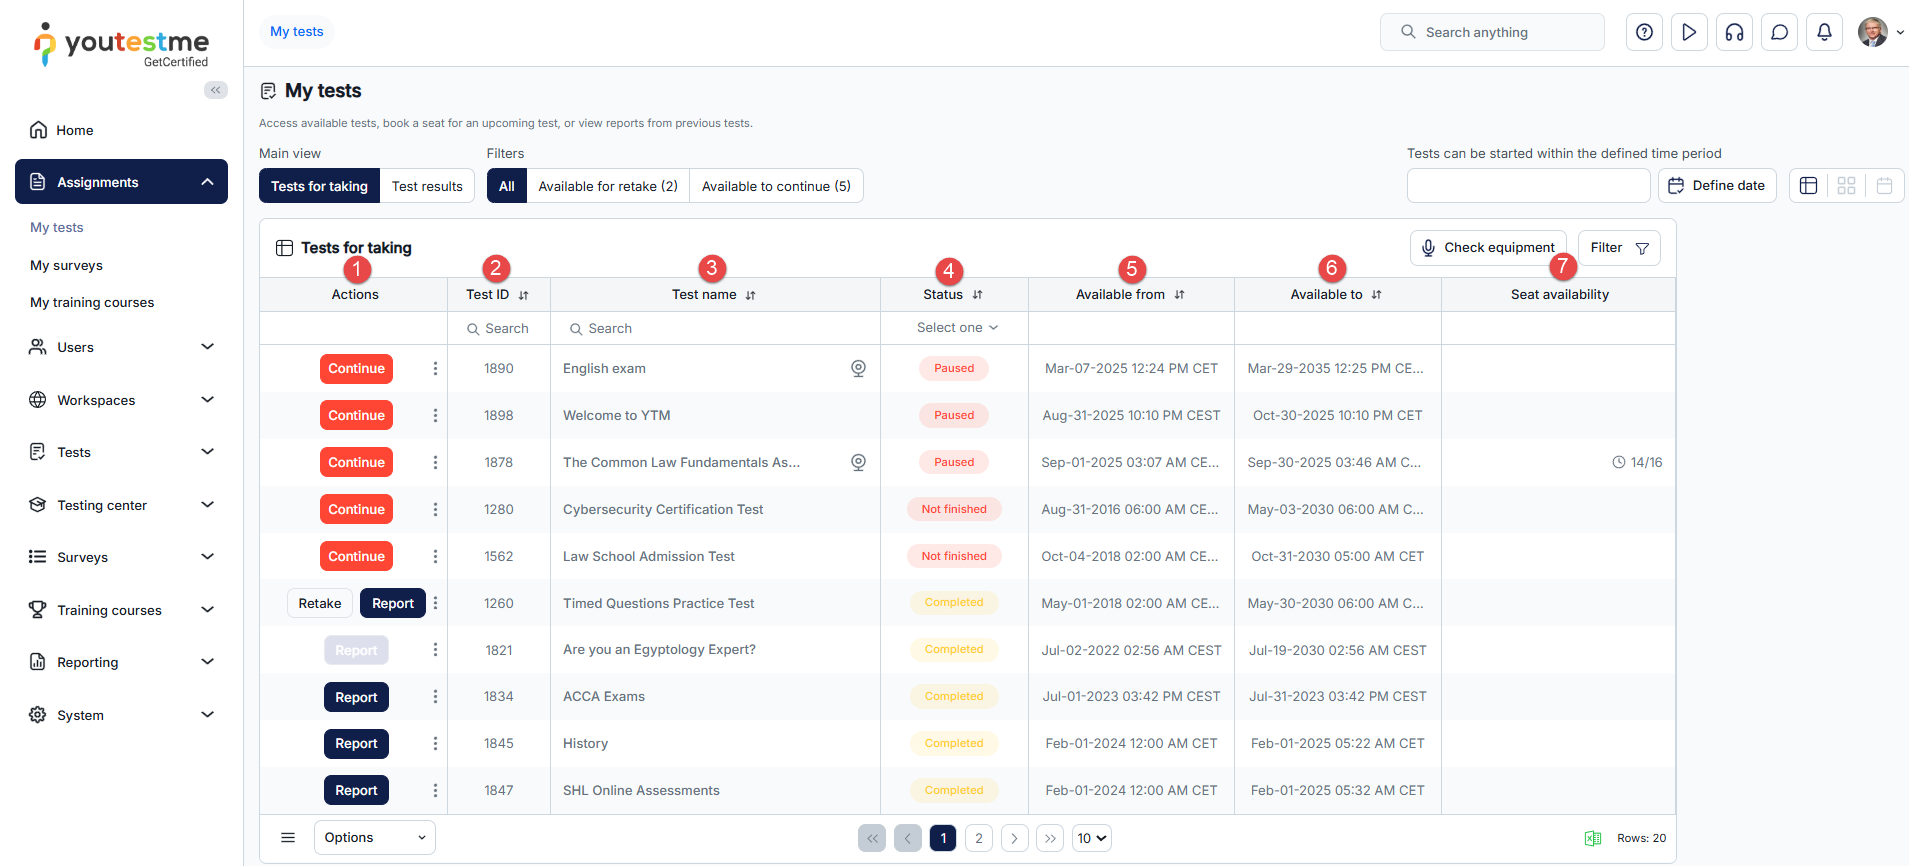
-
-
Test statuses
Available test statuses are explained in the table below.
Value Description Available now Available assignment for candidates to take. Paused You paused the assignment but can resume where you left off during the testing session availability period. Completed The assignment has been successfully finished. Not finished You left the assignment either by closing the test window voluntarily or due to technical issues, like an unstable internet connection. Suspended The assignment is currently suspended and cannot be taken. This status can occur for two reasons:
- The test attempt being invalidated due to problems like an unstable network connection.
- The test manager has halted the test attempt, but the results are saved and can be accessed by opening the personal report.
Upcoming Assignments will be available for taking in the future from the specified start date and time. Expired The assignment is no longer accessible for taking as the testing session availability period has expired. -
Actions
The available actions for the test depend on the test attempt status. All possible actions are displayed in the table below.
Value Description Start This assignment is available for taking. You can access and take the test.
For more information on the process of taking a test, visit the Taking a test help page.
Book a seat Book a test for future dates to reserve your seat. Cancel booking If there are multiple testing sessions, candidates can cancel a booking within the cancellation deadline and choose a more suitable testing session. Reschedule Change the testing session you have been assigned to, allowing you to take the test/survey at a different time. Depending on test settings, candidates may have a limited number of free reschedules. Once exhausted, they must submit a rescheduling request for test manager approval. Purchase Purchase an assignment that requires payment to access and take it.
Continue Continue the assignment you previously paused or the test that was interrupted (e.g., due to an issue with the internet connection). You can resume your test where you left off during the testing session availability period. Modify The test manager has allowed you to change your answers. Retake Take the same test again. The allowed number of retakes depends on test settings and can be limited or unlimited. If the number of retakes is limited, candidates cannot retake that specific assignment once all attempts are exhausted. Purchase retake Purchase a previously completed assignment to enable a retake. If the number of retakes is limited, candidates cannot retake that specific assignment once all attempts are exhausted. Report Access your report to view results. Depending on the settings, you may see either just the score or both the score and question details. For more information on previewing the personal report, refer to the Personal report help page. If the button is disabled, your report still needs to be graded and is not available for review. Instructions View important test information, such as instructions, duration, number of questions, and allotted time.
Test results
On this view, you can:
-
Filter tests to display:
-
All test results you can review.
-
Available for retake - Show only results for tests you can retake.
-
-
Choose to display only tests that you have completed between a specified time range.
-
Display tests completed today, this week, this month, or within a specified time range.
-
Export the user's attempts report, including all their assigned tests. When the button is clicked, a drop-down list of all available templates for the attempts report type is shown. By selecting one of the templates from the list, the user's attempts report will be exported to a PDF file using the chosen template.
-
Click Filter to include suspended test attempts in the table.
-
Perform the desired actions on available tests.
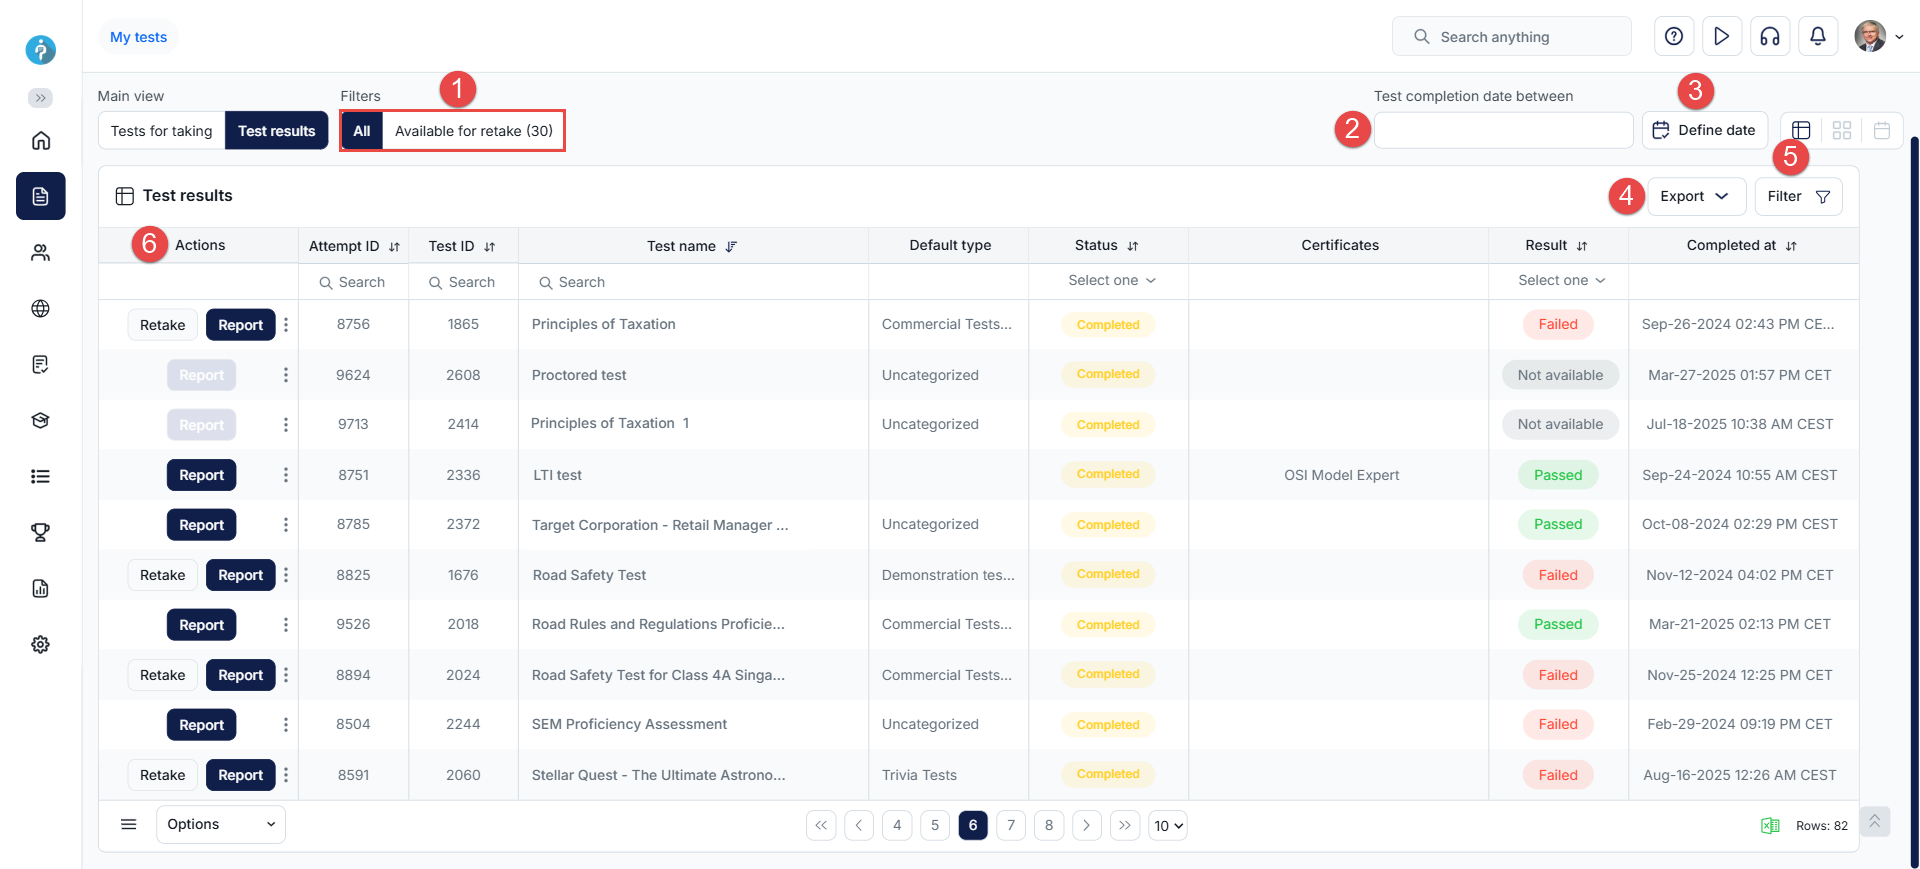
-
Test result statuses
Available test result statuses are explained in the table below.
Value Description Passed You have successfully passed the test. Failed You have failed the test. Not available Your report still needs to be graded and is not available for review. -
Actions
The available actions for the test depend on the test result status. All possible actions are displayed in the table below.
Value Description Retake Take the same test again. The allowed number of retakes depends on the test settings and can be limited or unlimited. If the number of retakes is limited, candidates cannot retake that specific assignment once all attempts are exhausted. Modify The test manager has allowed you to change your answers. Report Access your report to view results. Depending on the settings, you may see either just the score or both the score and question details. For more information on previewing the personal report, refer to the Personal report help page. If the button is disabled, your report still needs to be graded and is not available for review. Instructions View important test information, such as instructions, duration, number of questions, and allotted time.
Calendar view
View available assignments for booking in a calendar format.
In this view, you can:
-
Display only the specific test you want to book.
-
Show tests for the next or the previous month.
-
Filter tests by availability to show only tests with availability of less than one day, more than one day, or starting this month.
-
Click the desired testing session to book it. Preview the test details, then click the Book button in the pop-up dialog to confirm your booking. If the booking deadline has expired, the Book button in the dialog will not be displayed in the dialog.
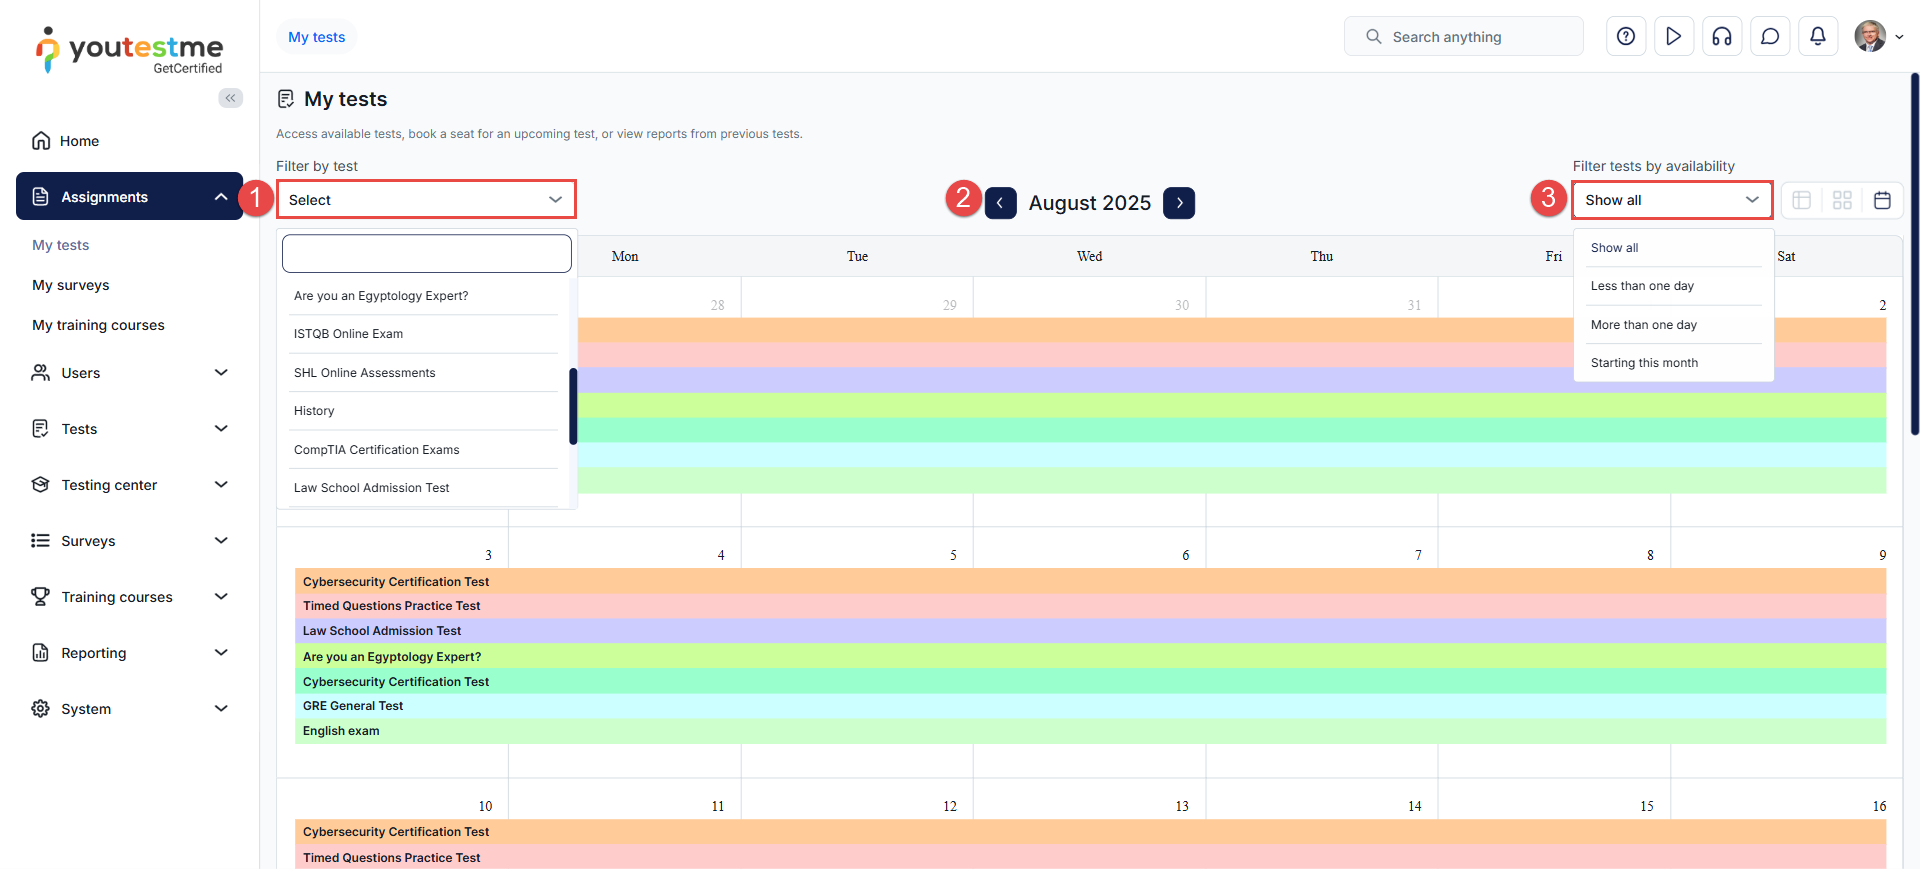
Tile view
View a list of assignments in a tile view, including those already assigned and those available for booking.
In this view, you can:
-
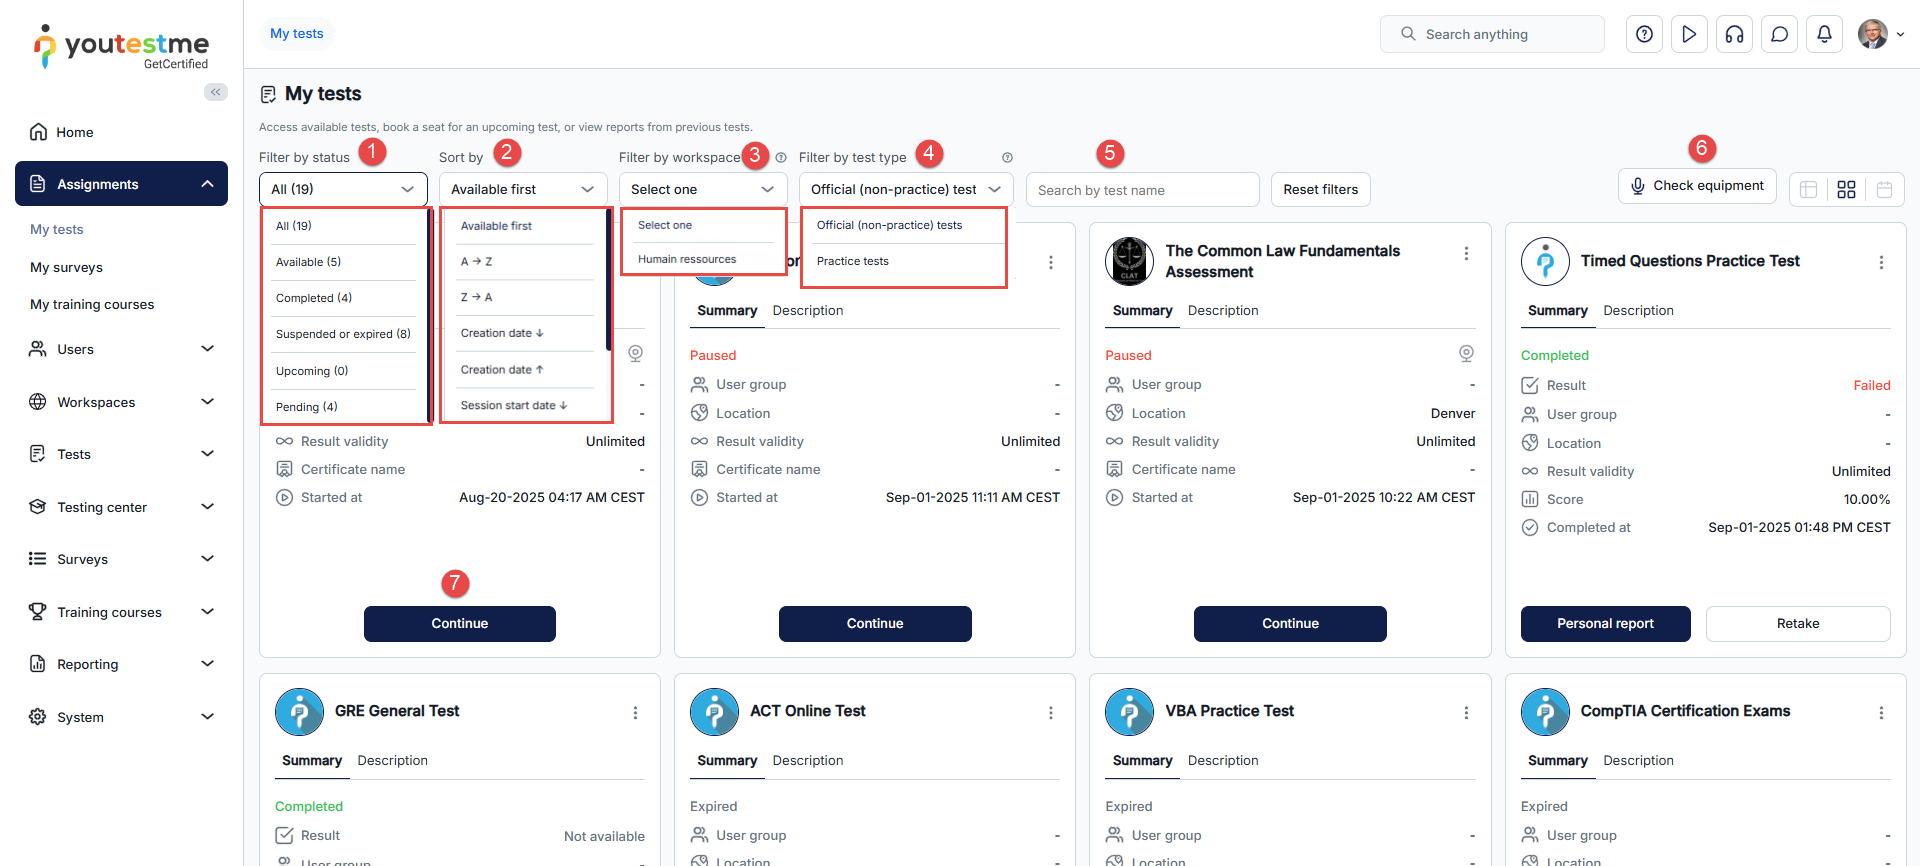
Filter tests by status:
-
Available - Available assignment for candidates to take.
-
Completed - Displays finished assignments along with their reports, if available. If retakes are allowed, you will also see finished assignments that are available for retaking.
-
Suspended or expired - Displays assignments with expired availability or those intentionally suspended by the test manager.
-
Upcoming - Displays assignments that are not yet available for taking but are scheduled for the future.
-
Pending - Displays assignments for which the report still needs to be graded and is not available for review.
Note: The test status can be Completed and can have an option for Retake or Purchase retake, causing it to appear in both the Completed and Available statuses when filtering. Additionally, there are Suspended tests, which leads to a duplicate appearance among Completed tests.
-
-
Sort tests:
-
Available first - Sort assignments by availability, displaying paused ones first, followed by those not started. Then, show assignments with personal reports for retake or reset, those with purchase and booking options, and finally, display expired or suspended assignments.
-
A → Z - Sorts assignments alphabetically (A to Z). If the test name begins with numbers, numerical values take precedence over alphabetical characters.
-
Z → A - Sorts assignments in reverse alphabetical order. In this case, if the test names start with numbers, those tests will be listed last.
-
Creation date ↓ - Sorts by test creation date, starting from the most recently created assignments.
-
Creation date ↑ - Sorts by test creation date, starting from the oldest created.
-
Session start date ↓ - Sorts by testing session start time, starting from the oldest.
-
Session start date ↑ - Sorts by testing session start time, starting from the latest.
-
Self-enrollment first - First displays assignments available for booking, where users can enroll themselves (A → Z), and then other assignments. If the test name starts with numbers, numerical values take precedence over alphabetical characters.
-
With certificates first - First displays passed assignments with achieved certificates (A → Z), and then other assignments. If the test name starts with numbers, numerical values take precedence over alphabetical characters.
-
-
Filter by workspace - If the workspace module is enabled and some assignments are divided into workspaces, you can filter your assignments to show only those from a specific workspace. By default, assignments from all workspaces will be displayed.
-
Filter by type:
-
Official (non-practice) tests - Displays official test assignments that can be taken.
-
Practice tests - Displays practice tests for which you can define the number of questions from each question pool that will be displayed in the test.
For more instructions on how to take a practice test, refer to the Practice test help page.Note: If there are no practice tests, this filter will not be displayed.
-
-
Search for a specific test by name.
-
Check your equipment before starting the proctored test.
-
Perform the desired actions on each tile.
-
Tile layout
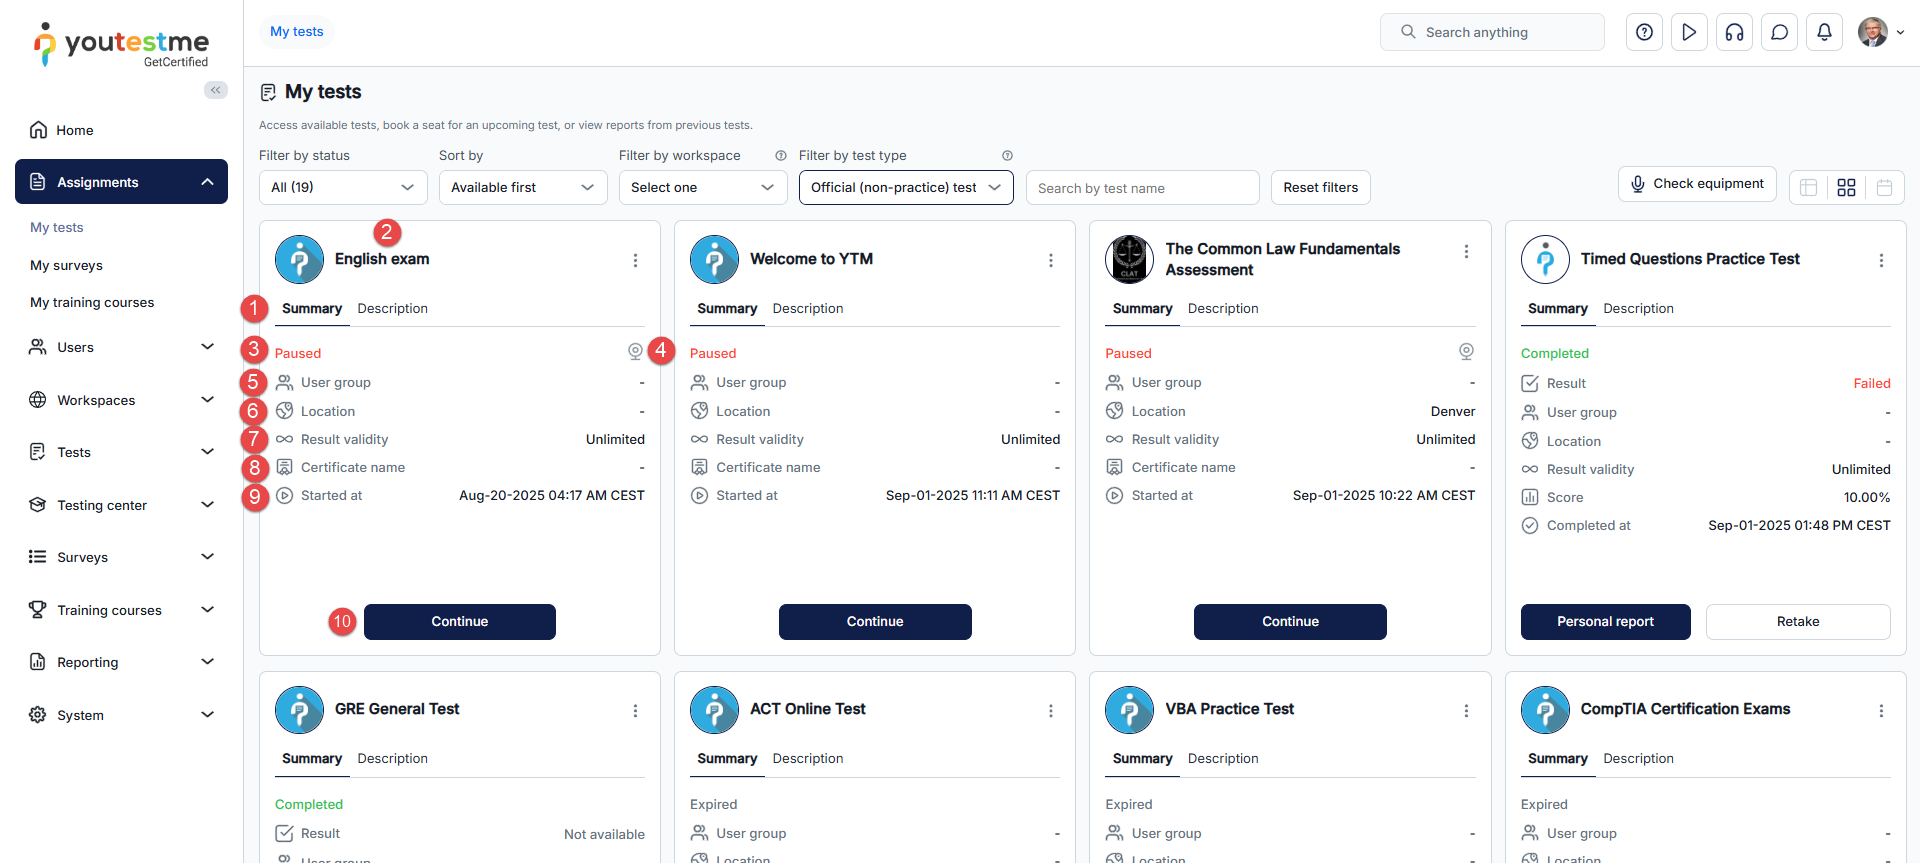
Each tile provides detailed information about a specific test, including:
-
Test summary and description.
-
Test name.
-
Proctoring status, indicating whether your test-taking process will be recorded and reviewed.
-
Assigned user group (if defined), limiting test visibility to user group members.
-
The location name if your test is scheduled at a specific location. For more information about locations, please visit the Testing locations help page.
-
The validity period for test results (if defined). After the validity period expires, your test attempt will be suspended. By default, test results have unlimited validity.
-
Certificate name (if linked to the test).
-
Test availability details, including start and end dates, or expiration date if already passed. If completed, view the completion date and achieved score.
-
Available actions, which vary based on the test status.
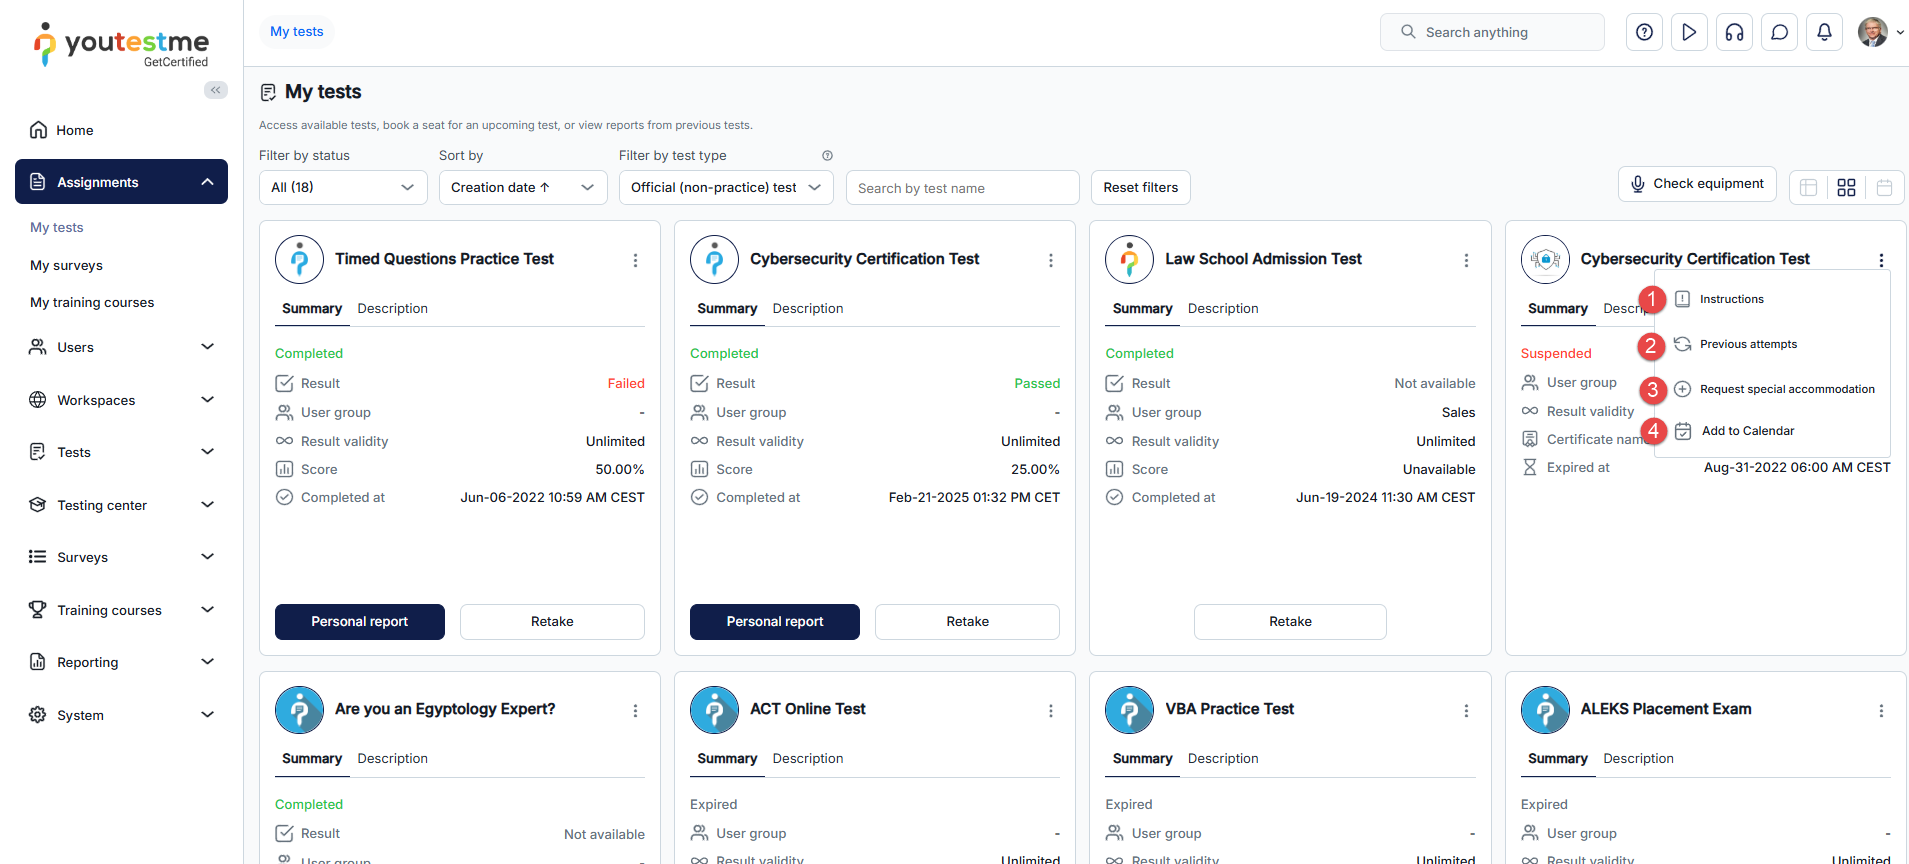
By clicking on the three dots, you can:
-
Access the test instructions. View important test information, such as instructions, duration, number of questions, and allotted time.
-
Preview your previous attempts for the test. Optionally, open the desired report for a specific previous attempt.
-
Request special accommodation for a booked test attempt, such as extra time or a one-on-one testing session. Once approved, you will be able to view your request here.
-
Add to calendar - download a calendar event (.ics file). This option is available only for booked attempts that are not finished or suspended. For more information on calendar events, refer to the Calendar events help page.
-
Test access options and status explanations
The available test access options, their corresponding statuses, and behaviors are explained in the tables below.
-
Start from the 'My Tests' page
On this page, you can view a list of tests available for taking, start or book tests, and preview your reports.
Session and Test Status Overview Expected Behavior Test in draft state with an available session (inactive or active) Test is not visible. Test in draft state with an upcoming session (inactive or active) Test is not visible. Test in draft state with an expired session (inactive or active) Test is not visible. Test in suspended state Test is not visible. Test in published state with an expired session and no test attempt created (neither through self-enrollment nor a manually created session) Test is not visible. Test in published state with an expired session and created test attempt Test is visible on the page with an 'Expired' status Test in published state with an upcoming session Test is visible on the page with an 'Upcoming' status and a 'Book a seat' button. I can click the button to book the test, and upon successful booking, a confirmation message appears. Test in published state with an inactive session Test is not visible. Test in published state with an available session Test is visible on the page with the 'Available now' status and 'Start' button. When i click the 'Start' button, a test instructions dialog appears, and I can start the test. Test in published state with an available session and authorization required If the candidate has authorization, the test is visible on the page with the 'Available now' status and 'Start' button. When i click the 'Start' button, a test instructions dialog appears, and I can start the test. Test in published state with an available session within the training course Test is displayed only within the training course, with the 'Available now' status and 'Start' button. When i click the 'Start' button, a test instructions dialog appears, and I can start the test. Test in published state with an available session assigned to a user group If the candidate is a member of the user group, the test is visible on the page with the 'Available now' status and 'Start' button. When i click the 'Start' button, a test instructions dialog appears, and I can start the test. Test in published state with an upcoming session with an expired booking deadline Test is visible on the page with the 'Not available' status and the message, 'Booking deadline passed'. Test in published state with an available now session with an expired booking deadline Test is visible on the page with the 'Not available' status and the message, 'Booking deadline passed'. Test in published state with an upcoming session with an expired cancellation deadline Test is visible on the page with the 'Upcoming' status and the message, 'Cancellation deadline passed'. Test in published state with an available now session with an expired cancellation deadline Test is visible on the page with the 'Available now' status, a 'Book a seat' button, and the message, 'Cancellation deadline passed'. Test in published state with an upcoming session that has a seat limit The test is visible on the page with the 'Upcoming' status. If all seats in the session are taken, it is visible with status 'Not available' and the message, 'No seats available' . Test in published state with an available now session that has a seat limit The test is visible on the page with the 'Available Now' status. If all seats in the session are taken, it is visible with status 'Not available' and the message, 'No seats available' . -
Direct access link
Automatically generated link that redirects candidates directly to this testing session upon registration or login. Share the link directly with candidates, display it on your website, or include it in email notifications. Customize the notification for test publishing under Notifications. For more details visit Testing session.
Session and Test Status Overview Expected Behavior Test in draft state with available session (inactive or active) Test is not visible. Test in draft state with upcoming session (inactive or active) Test is not visible. Test in draft state with expired session (inactive or active) Test is not visible. Test in suspended state Test is not visible. Test in published state with an expired session and no test attempt created (neither through self-enrollment nor a manually created session) Test is not visible. Test in published state with an expired session and created test attempt Test is visible on the page with an 'Expired' status Test in published state with an upcoming session Test is visible on the page with an 'Upcoming' status and a 'Book a seat' button. I can click the button to book the test, and upon successful booking, a confirmation message appears. Test in published state with an inactive session Test is not visible, unless there is another session to which the candidate is assigned. Test in published state with an available session Test is visible on the page with the 'Available now' status and 'Start' button. When i click the 'Start' button, a test instructions dialog appears, and I can start the test. Test in published state with an available session and authorization required If the candidate has authorization, the test is visible on the page with the 'Available now' status and 'Start' button. When i click the 'Start' button, a test instructions dialog appears, and I can start the test. Test in published state with an available session within the training course Test is visible on the page with the 'Available now' status and 'Start' button. When i click the 'Start' button, a test instructions dialog appears, and I can start the test. Test in published state with an available session assigned to a user group If the candidate is a member of the user group, the test is visible on the page with the 'Available now' status and 'Start' button. When i click the 'Start' button, a test instructions dialog appears, and I can start the test. Test in published state with an upcoming session with an expired booking deadline Test is visible on the page with the 'Not available' status and the message, 'Booking deadline passed'. Test in published state with an available now session with an expired booking deadline Test is visible on the page with the 'Not available' status and the message, 'Booking deadline passed'. Test in published state with an upcoming session with an expired cancellation deadline Test is visible on the page with the 'Upcoming' status and the message, 'Cancellation deadline passed'. Test in published state with an available now session with an expired cancellation deadline Test is visible on the page with the 'Available now' status, a 'Book a seat' button, and the message, 'Cancellation deadline passed'. Test in published state with an upcoming session that has a seat limit The test is visible on the page with the 'Upcoming' status. If all seats in the session are taken, it is visible with status 'Not available' and the message, 'No seats available,' . Test in published state with an available now session that has a seat limit The test is visible on the page with the 'Available Now' status. If all seats in the session are taken, it is visible with status 'Not available' and the message, 'No seats available,' . -
Guest link
Automatically generated link that allows unauthorized users to take the test in the testing session without creating an account. A temporary guest profile will be created for them, and the system will automatically delete the profile upon completion or exit from the test. This link can be useful for candidates to explore the application before their official tests. Share this link with candidates or display it on your website. For more details visit Testing session.
Session and Test Status Overview Expected Behavior Test in draft state with available session (inactive or active) When the link is opened, a dialog appears, and clicking the 'Start' button redirects to the profile error page with a sign out button. Test in draft state with upcoming session (inactive or active) When the link is opened, a dialog appears with a warning message about availability period, and no button is displayed. Test in draft state with expired session (inactive or active) When the link is opened, a dialog appears with a warning message about availability period, and no button is displayed. Test in suspended state When the link is opened, a dialog appears, and clicking the 'Start' button redirects to the profile error page with a sign out button. Test in published state with an expired session and no test attempt created (neither through self-enrollment nor a manually created session) When the link is opened, a dialog appears with a warning message about availability period, and no button is displayed. Test in published state with an expired session and created test attempt When the link is opened, a dialog appears with a warning message about availability period, and no button is displayed. Test in published state with an upcoming session When the link is opened, a dialog appears with a warning message about availability period, and no button is displayed. Test in published state with an inactive session When the link is opened, a dialog appears, and clicking the 'Start' button redirects to the profile error page with a sign out button. Test in published state with an available session When the link is opened, a dialog appears, and clicking the 'Start' button redirects to take test. Test in published state with an available session and authorization required When the link is opened, it displays a 400 error page, with a message stating that the guest user is not authorized for the session. Test in published state with an available session within the training course When the link is opened, a dialog appears, and clicking the 'Start' button redirects to take test. Test in published state with an available session assigned to a user group When the link is opened, a dialog appears, and clicking the 'Start' button redirects to take test. Test in published state with an upcoming session with an expired booking deadline When the link is opened, a dialog appears with a warning message about availability period, and no button is displayed. Test in published state with an available now session with an expired booking deadline When the link is opened, a dialog appears, and clicking the 'Start' button redirects to take test. Test in published state with an upcoming session with an expired cancellation deadline 'Cancel booking' button is not displayed in this view. Test in published state with an available now session with an expired cancellation deadline 'Cancel booking' button is not displayed in this view. Test in published state with an upcoming session that has a seat limit When the link is opened, a dialog appears, and clicking the 'Start' button redirects to take test. Test in published state with an available now session that has a seat limit When the link is opened, a dialog appears, and clicking the 'Start' button redirects to take test. -
LTI integration – Single assignment page
To connect an external application (LTI tool consumer) with GetCertified, you can configure GetCertified as an LTI Tool provider by creating an LTI configuration. LTI is the standard for linking learning tools with platforms like learning management systems. Through this setup, users from the external application can seamlessly access GetCertified tests and receive the results back within the LTI tool consumer interface. The entire process begins within the GetCertified application, ensuring smooth integration and data exchange between both systems. For more details visit LTI Settings.
Session and Test Status Overview Expected Behavior Test in draft state with available session (inactive or active) Test is not visible. Test in draft state with upcoming session (inactive or active) Test is not visible. Test in draft state with expired session (inactive or active) Test is not visible. Test in suspended state An error 400 page opens with a message stating that the test doesn't have any active self-enrollment sessions. Test in published state with an expired session and no test attempt created (neither through self-enrollment nor a manually created session) An error 400 page opens with a message stating that the test doesn't have any active self-enrollment sessions. Test in published state with an expired session and created test attempt An error 400 page opens with a message stating that the test doesn't have any active self-enrollment sessions. Test in published state with an upcoming session Test is visible on the page with an 'Upcoming' status and a 'Book a seat' button. I can click the button to book the test, and upon successful booked, a confirmation message appears. Test in published state with an inactive session An error 400 page opens with a message stating that the test doesn't have any active self-enrollment sessions. Test in published state with an available session Test is visible on the page with the 'Available now' status and 'Start' button. When i click the 'Start' button, a test instructions dialog appears, and I can start the test. Test in published state with an available session and authorization required If the candidate has authorization, the test is visible on the page with the 'Available Now' status and a 'Start' button. When I click the 'Start' button, a test instructions dialog appears, and I can begin the test. If the user doesn't have authorization, an error 400 page opens with a message stating that the test doesn't have any active self-enrollment sessions. Test in published state with an available session within the training course An error 400 page opens with a message stating that the test doesn't have any active self-enrollment sessions. Test in published state with an available session assigned to a user group If the candidate is a member of the user group, the test is visible on the page with the 'Available now' status and 'Start' button. When i click the 'Start' button, a test instructions dialog appears, and I can start the test. Test in published state with an upcoming session with an expired booking deadline Test is visible on the page with the 'Not available' status and the message, 'Booking deadline passed'. Test in published state with an available now session with an expired booking deadline Test is visible on the page with the 'Not available' status and the message, 'Booking deadline passed'. Test in published state with an upcoming session with an expired cancellation deadline Test is visible on the page with the 'Upcoming' status and the message, 'Cancellation deadline passed'. Test in published state with an available now session with an expired cancellation deadline Test is visible on the page with the 'Available now' status, a 'Book a seat' button, and the message, 'Cancellation deadline passed'. Test in published state with an upcoming session that has a seat limit The test is visible on the page with the 'Upcoming' status. If all seats in the session are taken, it is visible with status 'Not available' and the message, 'No seats available,' . Test in published state with an available now session that has a seat limit The test is visible on the page with the 'Available Now' status. If all seats in the session are taken, it is visible with status 'Not available' and the message, 'No seats available,' . -
Direct testing links – From Excel file
Automatically generated link that redirects candidates directly to this testing session upon registration or login. Share the link directly with candidates, display it on your website, or include it in email notifications. You can get a direct testing link by exporting data in the testing sessions and manage tests -> testing sessions tables. Customize the notification for test publishing under Notifications. For more details visit Testing session.
Session and Test Status Overview Expected Behavior Test in draft state with available session (inactive or active) Test is not visible. Test in draft state with upcoming session (inactive or active) Test is not visible. Test in draft state with expired session (inactive or active) Test is not visible. Test in suspended state Test is not visible. Test in published state with an expired session and no test attempt created (neither through self-enrollment nor a manually created session) Test is not visible. Test in published state with an expired session and created test attempt Test is visible on the page with an 'Expired' status Test in published state with an upcoming session Test is visible on the page with an 'Upcoming' status and a 'Book a seat' button. I can click the button to book the test, and upon successful booking, a confirmation message appears. Test in published state with an inactive session Test is not visible, unless there is another session in which the candidate is assigned. Test in published state with an available session Test is visible on the page with the 'Available now' status and 'Start' button. When i click the 'Start' button, a test instructions dialog appears, and I can start the test. Test in published state with an available session and authorization required If the candidate has authorization, the test is visible on the page with the 'Available now' status and 'Start' button. When i click the 'Start' button, a test instructions dialog appears, and I can start the test. Test in published state with an available session within the training course Test is visible on the page with the 'Available now' status and 'Start' button. When i click the 'Start' button, a test instructions dialog appears, and I can start the test. Test in published state with an available session assigned to a user group If the candidate is a member of the user group, the test is visible on the page with the 'Available now' status and 'Start' button. When i click the 'Start' button, a test instructions dialog appears, and I can start the test. Test in published state with an upcoming session with an expired booking deadline Test is visible on the page with the 'Not available' status and the message, 'Booking deadline passed'. Test in published state with an available now session with an expired booking deadline Test is visible on the page with the 'Not available' status and the message, 'Booking deadline passed'. Test in published state with an upcoming session with an expired cancellation deadline Test is visible on the page with the 'Upcoming' status and the message, 'Cancellation deadline passed'. Test in published state with an available now session with an expired cancellation deadline Test is visible on the page with the 'Available now' status, a 'Book a seat' button, and the message, 'Cancellation deadline passed'. Test in published state with an upcoming session that has a seat limit The test is visible on the page with the 'Upcoming' status. If all seats in the session are taken, it is visible with status 'Not available' and the message, 'No seats available,' . Test in published state with an available now session that has a seat limit The test is visible on the page with the 'Available Now' status. If all seats in the session are taken, it is visible with status 'Not available' and the message, 'No seats available,' . -
Bookmarked test link
You can get a bookmarked test link by copying and saving the link while taking the test on the test taking page.
Session and Test Status Overview Expected Behavior Test in draft state with available session (inactive or active) Test is not visible. Test in draft state with upcoming session (inactive or active) Test is not visible. Test in draft state with expired session (inactive or active) Test is not visible. Test in suspended state When the link is opened, it redirects to profile with message “Test/Survey is suspended”. Test in published state with an expired session and no test attempt created (neither through self-enrollment nor a manually created session) When the link is opened, it redirects to profile with message “You are not authorized to see desired content”. Test in published state with an expired session and created test attempt When the link is opened, it redirects to profile with message “You are not authorized to see desired content”. Test in published state with an upcoming session Can’t access. Test in published state with an inactive session When the link is opened, it redirects to profile with message “You are not authorized to see desired content”. Test in published state with an available session When the link is opened, it redirects to test taking page. Test in published state with an available session and authorization required If the candidate has authorization, when the link is opened, it redirects to test taking page. Test in published state with an available session within the training course If the link is copied from the training course, you can access it normally, and after finishing the test, you are redirected back to the training course. Test in published state with an available session assigned to a user group If the candidate is a member of the user group, when the link is opened, it redirects to test taking page. Test in published state with an upcoming session with an expired booking deadline The link is only available after you start the test, so booking does not impact the continuation of the test via the link. Test in published state with an available now session with an expired booking deadline The link is only available after you start the test, so booking does not impact the continuation of the test via the link. Test in published state with an upcoming session with an expired cancellation deadline The link is only available after you start the test, so booking does not impact the continuation of the test via the link. Test in published state with an available now session with an expired cancellation deadline The link is only available after you start the test, so booking does not impact the continuation of the test via the link. Test in published state with an upcoming session that has a seat limit The link is only available after you start the test, so booking does not impact the continuation of the test via the link. Test in published state with an available now session that has a seat limit The link is only available after you start the test, so booking does not impact the continuation of the test via the link. -
Start from the training course
A test/survey attached to training course step you should complete to move on to the next step. Please note that passing the test is required to advance to the next step. Depending on the test setup, you may need to wait for your test to be graded before continuing. For more details visit Taking a training course.
Session and Test Status Overview Expected Behavior Test in draft state with available session (inactive or active) Test is not visible. Test in draft state with upcoming session (inactive or active) Test is not visible. Test in draft state with expired session (inactive or active) Test is not visible. Test in suspended state Test is not visible. Test in published state with an expired session and no test attempt created (neither through self-enrollment nor a manually created session) Test is not visible. Test in published state with an expired session and created test attempt Test is visible on the page with an 'Expired' status Test in published state with an upcoming session Test is visible on the page with an 'Upcoming' status and a 'Book a seat' button. I can click the button to book the test, and upon successful booked, a confirmation message appears. Test in published state with an inactive session Test is not visible. Test in published state with an available session Test is visible on the page with the 'Available now' status and 'Start' button. When i click the 'Start' button, a test instructions dialog appears, and I can start the test. Test in published state with an available session and authorization required If the candidate has authorization, the test is visible on the page with the 'Available now' status and 'Start' button. When i click the 'Start' button, a test instructions dialog appears, and I can start the test. Test in published state with an available session within the training course For a session to be visible in a training course, it must be assigned to that training course. Test in published state with an available session assigned to a user group A session cannot be assigned to both a user group and a training course simultaneously. Test in published state with an upcoming session with an expired booking deadline Test is visible on the page with the 'Not available' status and the message, 'Booking deadline passed'. Test in published state with an available now session with an expired booking deadline Test is visible on the page with the 'Not available' status and the message, 'Booking deadline passed'. Test in published state with an upcoming session with an expired cancellation deadline Test is visible on the page with the 'Upcoming' status and the message, 'Cancellation deadline passed'. Test in published state with an available now session with an expired cancellation deadline Test is visible on the page with the 'Available now' status, a 'Book a seat' button, and the message, 'Cancellation deadline passed'. Test in published state with an upcoming session that has a seat limit The test is visible on the page with the 'Upcoming' status. If all seats in the session are taken, it is visible with status 'Not available' and the message, 'No seats available,' . Test in published state with an available now session that has a seat limit The test is visible on the page with the 'Available Now' status. If all seats in the session are taken, it is visible with status 'Not available' and the message, 'No seats available,' . -
Start the test from the notification
Notifications are displayed to users within the application, accessible via the bell icon in the upper right corner. Test taking can be accessed through multiple notifications, some of which are, test published, rescheduled sessions, new test assigned. Reports can be accessed through the grader report submitted notification. For more details visit Notifications.
Session and Test Status Overview Expected Behavior Test in draft state with available session (inactive or active) Test is not visible. Test in draft state with upcoming session (inactive or active) Test is not visible. Test in draft state with expired session (inactive or active) Test is not visible. Test in suspended state Dialog opens, and clicking the start button redirects to profile. Test in published state with an expired session and no test attempt created (neither through self-enrollment nor a manually created session) When the 'Start' button is clicked, a dialog opens with a warning message about the availability period and no button is displayed. Test in published state with an expired session and created test attempt When the 'Start' button is clicked, a dialog opens with a warning message about the availability period and no button is displayed. Test in published state with an upcoming session Don’t have start button. Test in published state with an inactive session When the 'Start' button is clicked, a dialog opens with a warning message about the availability period and no button is displayed. Test in published state with an available session When the 'Start' button in the notification is clicked, a dialog opens with 'Start' button, which redirects to the test taking page. Test in published state with an available session and authorization required When the 'Start' button in the notification is clicked, a dialog opens with 'Start' button, which redirects to the test taking page. Test in published state with an available session within the training course When the 'Start' button in the notification is clicked, a dialog opens with 'Start' button, which redirects to the test taking page. Test in published state with an available session assigned to a user group When the 'Start' button in the notification is clicked, a dialog opens with 'Start' button, which redirects to the test taking page. Test in published state with an upcoming session with an expired booking deadline The notification only appears when the candidate is assigned to the test. Test in published state with an available now session with an expired booking deadline The notification only appears when the candidate is assigned to the test. Test in published state with an upcoming session with an expired cancellation deadline The notification only appears when the candidate is assigned to the test. Test in published state with an available now session with an expired cancellation deadline The notification only appears when the candidate is assigned to the test. Test in published state with an upcoming session that has a seat limit The notification only appears when the candidate is assigned to the test. Test in published state with an available now session that has a seat limit The notification only appears when the candidate is assigned to the test.
My surveys
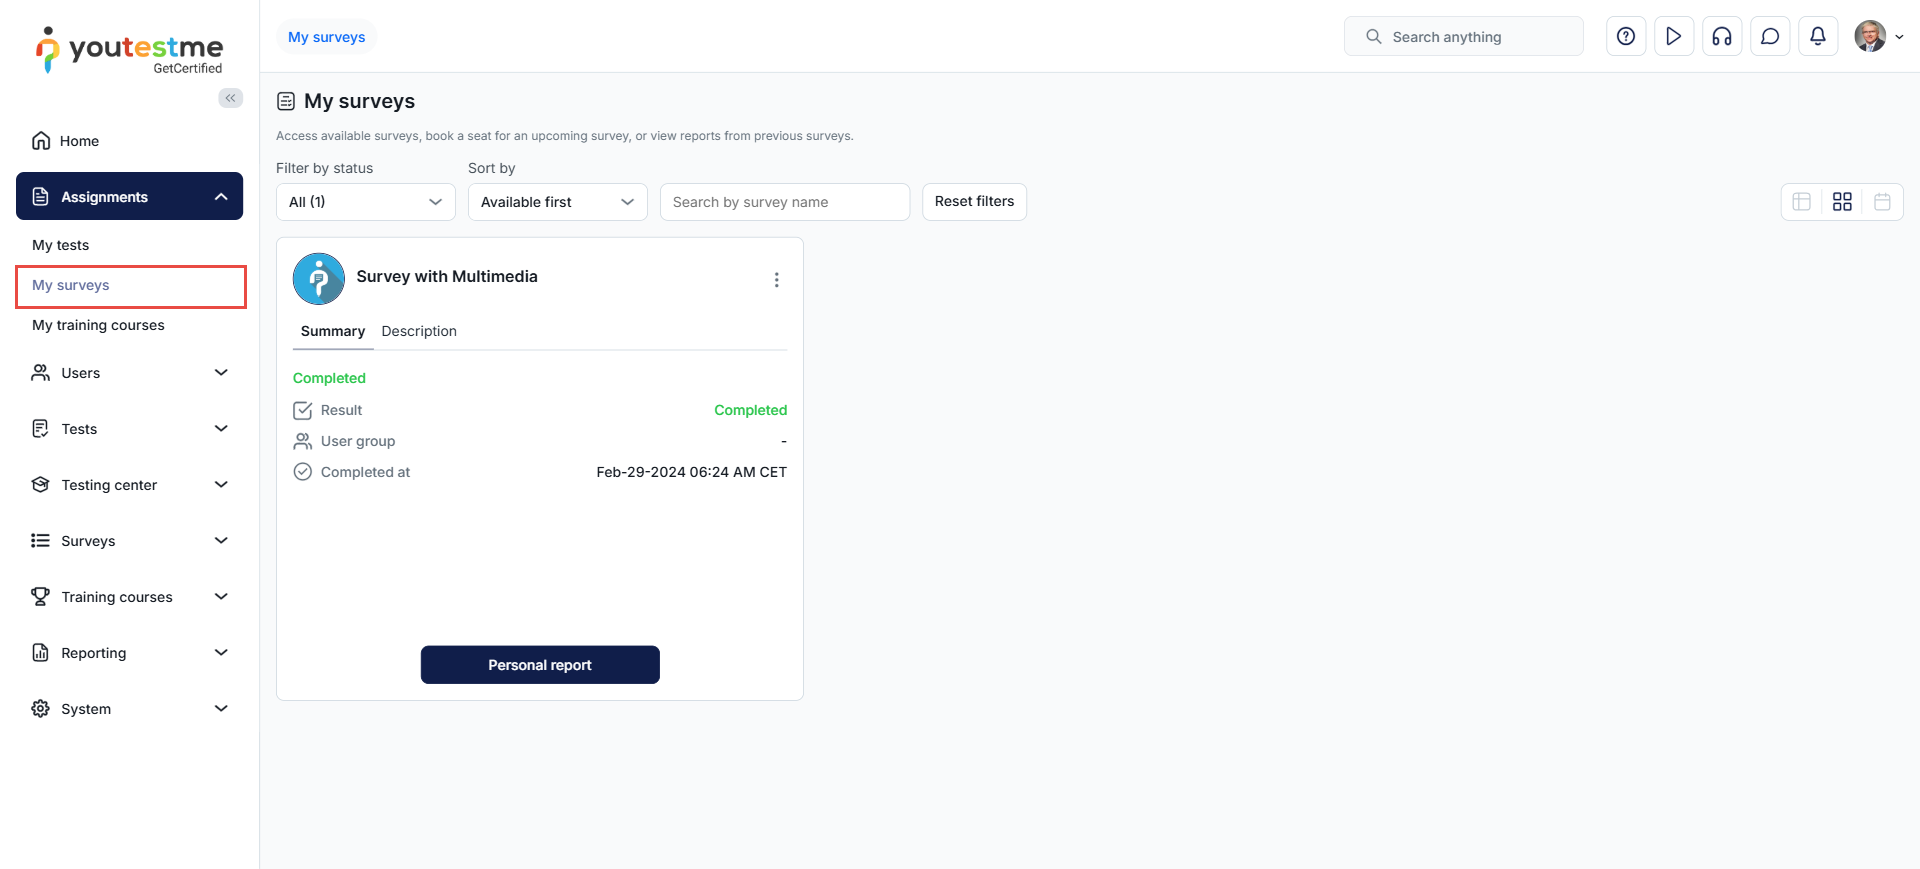
On the My surveys, candidates can access a list of assigned or available surveys for booking. They can take surveys and, depending on the settings, preview completed reports.
The process is the same as for My tests. For more detailed information about this process, please refer to the My tests chapter.
My training courses
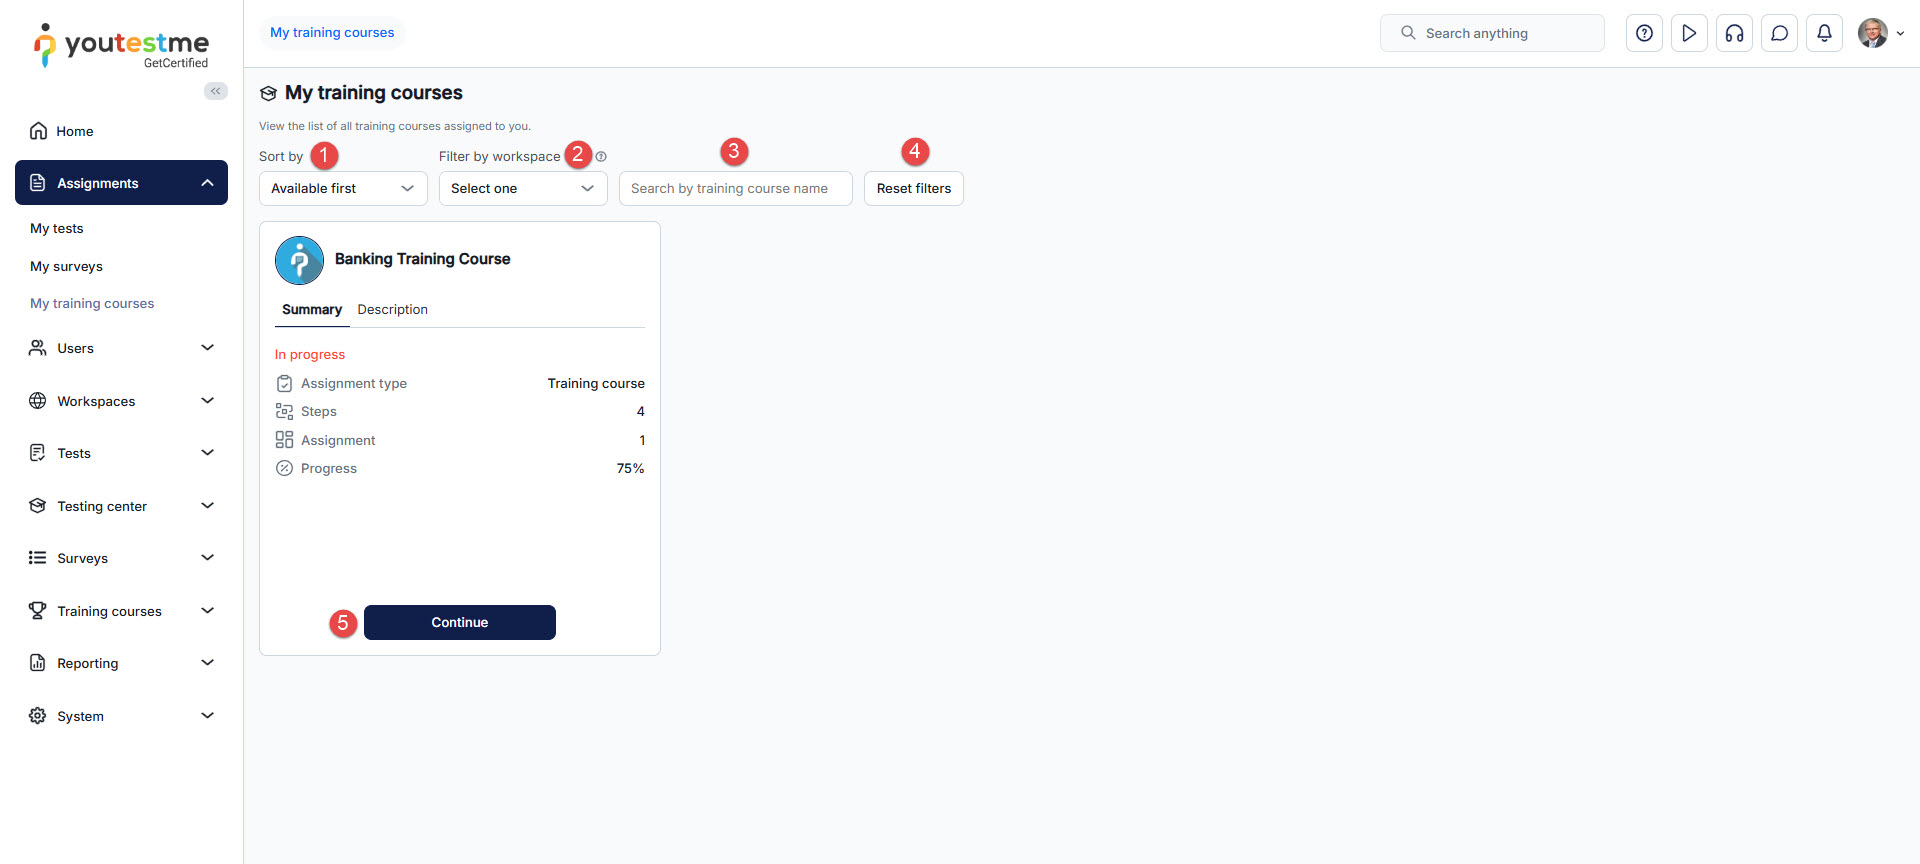
This page displays a list of all the training courses you have taken or should take.
On this page, you can:
-
Sort training courses by:
-
Available first - Sort training courses based on availability, prioritizing paused courses, followed by those not started and those requiring purchase before initiation. Lastly, display completed courses that are open for revisiting.
-
A → Z - Sorts training courses alphabetically (A to Z). If the training course name begins with numbers, numerical values take precedence over alphabetical characters.
-
Z → A - Sorts training courses in reverse alphabetical order. In this case, if the training course names start with numbers, those tests will be listed last.
-
Creation date ↓ - Sorts by creation date, showing the most recently created training courses first.
-
Creation date ↑ - Sorts by creation date, showing the oldest training courses first.
-
Self-enrollment first - First displays training courses where users can enroll themselves (A → Z), and then other training courses. If the training course name starts with numbers, numerical values take precedence over alphabetical characters.
-
-
Filter by workspace - If the workspace module is enabled and some assignments are divided into workspaces, you can filter your assignments to show only those from a specific workspace. By default, assignments from all workspaces will be displayed.
-
Search for a specific training course by name.
-
Reset the applied filters.
-
Perform the desired actions on each tile.
-
Tile layout
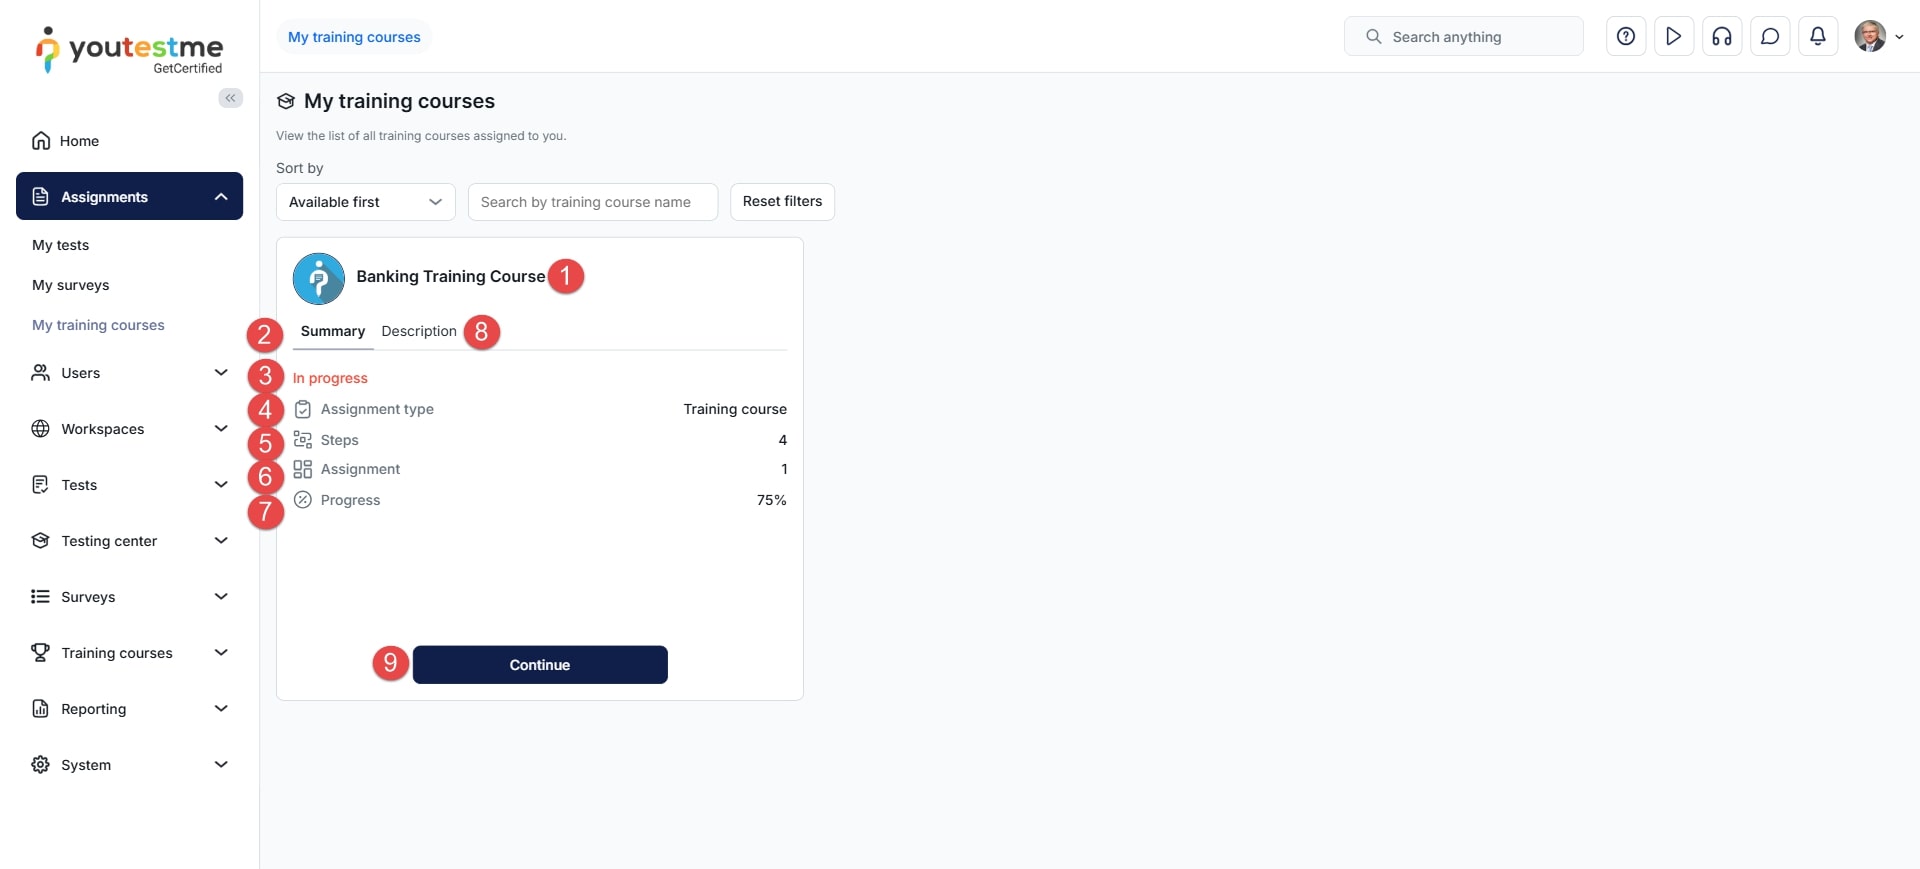
Each tile provides detailed information about a specific training course, including:
-
Training course name.
-
Training course summary.
-
Indication that this is training course assignment type.
-
The number of steps in the training course.
-
The number of assignments that need to be passed to complete the training course.
-
The percentage of the training course that you have completed.
-
The training course description.
-
Available actions, which vary based on the training course status.
-
-
Training course statuses
Available training course statuses are explained in the table below.
Value Description In progress The training course has been started but remains incomplete. If the course includes tests or surveys, the ability to complete the training depends on the testing session's settings and status. If the training course is configured to require the course manager to complete it on behalf of the candidate, the status will remain In progress until the manager completes it. Completed The training course has been completed, and you can revisit it. You can navigate through the steps in any sequence. Additionally, you can view your report if assignments are included in the training course or retake tests if available. Note: Training courses without a status on the tile are currently open for taking.
-
Actions
The available actions for the training course depend on its status. All possible actions are displayed in the table below.
Value Description Start The training course is available for taking; you can access and complete it. For more information on the process of taking a training course, visit the Taking a training course help page.
Purchase Appears only for the training courses that require payment. Once you purchase the training course, you can take it. For detailed instructions on how to purchase a training course, please refer to this article.
Continue The training course has been previously paused and can be continued. When you resume the training course, you will pick up from the point where you had paused. For example, if you had paused at step number 4, you would continue from step 4. Revisit The training course has been completed, but you can revisit it. You can navigate through the steps in any sequence. Additionally, you can view your report if assignments are included in the training course or retake tests if available.
-
-
User profiles
-
List of users
The User profiles page displays a list of users that you can manage. You can create new users, handle registration requests, configure registration links, and define user-related settings.
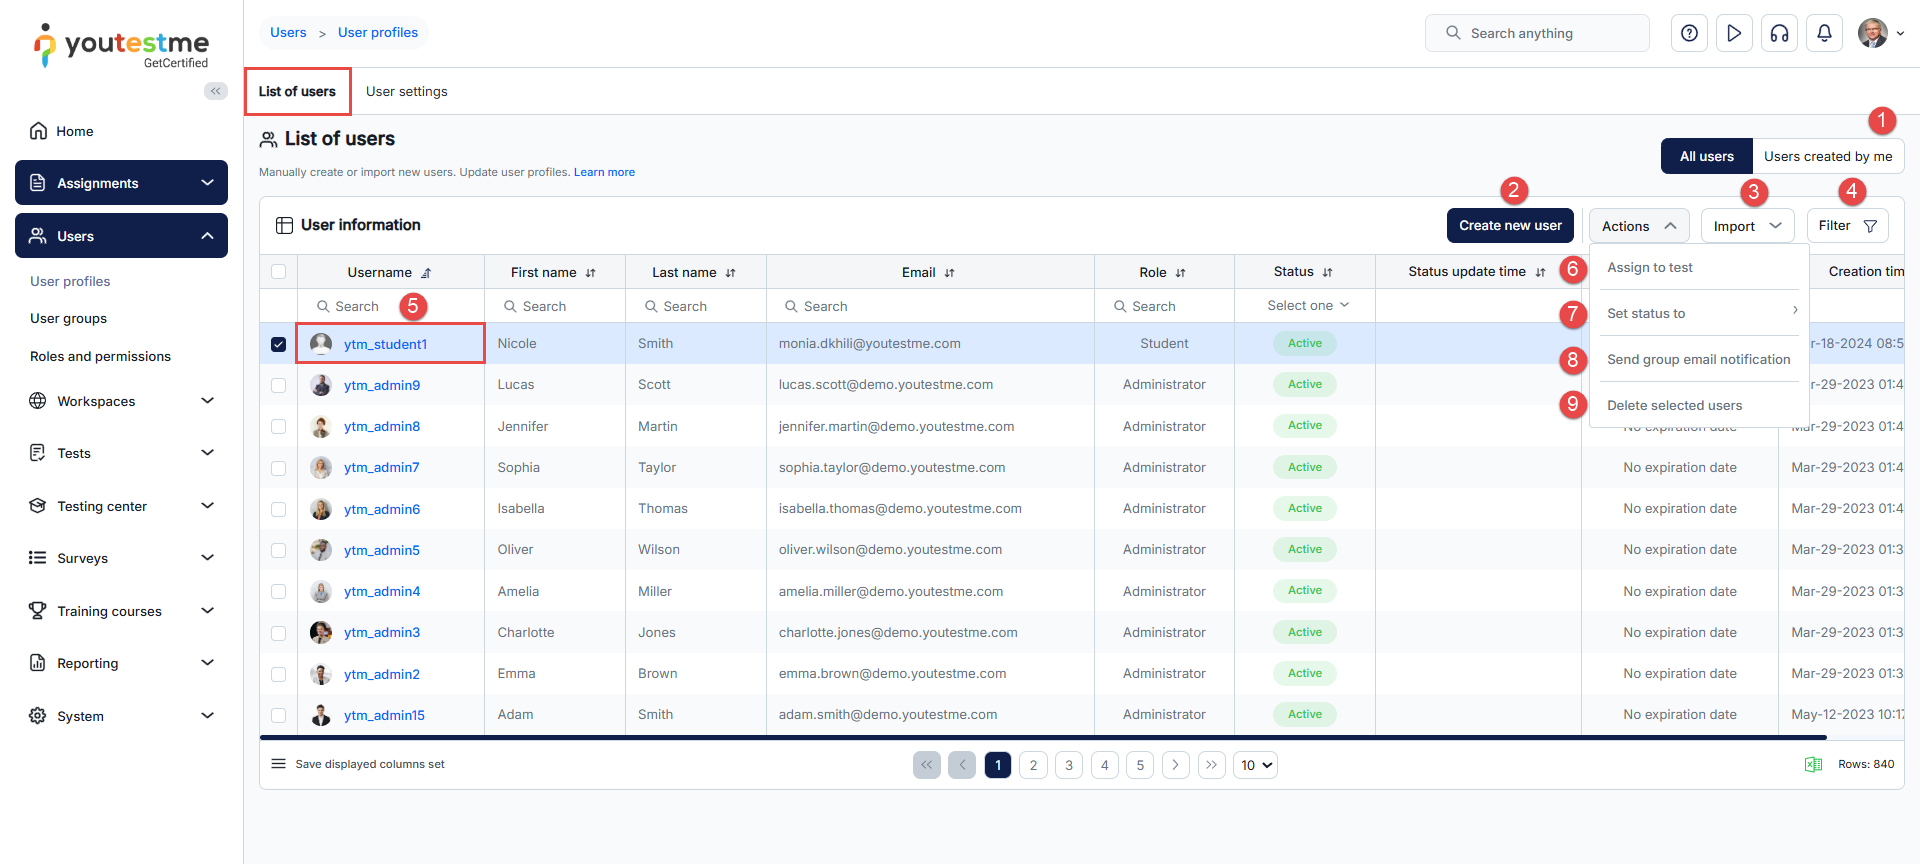
Explore the options for user management:
Switch between displaying either all users or only those you've created.
Import new users or import certificates, automatically assigning them to specified users.
Filter data by including inactive users in the list or by showing users from a specific user group.
Open a user's profile by clicking their username.
Select users to assign them to a test.
Select users to change their status.
Select users to send an email notification to their email addresses.
Select users and permanently delete them. To enable permanent user deletion, ensure the Allow delete data option is enabled in the system settings under Settings and customization/System preferences/Additional modules.
Note: The table columns represent attributes of user profiles, and their explanations can be found in the Create new user chapter.
-
User statuses
Status Description Active Enables users to log into the system using their username and password. It is also used for account reactivation. A new password is sent to the email address linked to the user account after switching the user's status to Active. Inactive Restricts users from logging in until their account is reactivated. Only a user manager can change the status to Inactive. Users with the Inactive status are not visible in the user list unless the filter to display inactive users is enabled. Additionally, their test results are not visible in the application or included in statistics. Suspended Restricts users from logging in until their account is reactivated. Only a user manager can change the status to Suspended. Results and data of users with the Suspended status remain visible in the application and included in statistics. Locked Requires users to change their password during the next login. Once the password is changed, the system automatically reactivates the user account. Only a user manager can change the status to Locked. Pending Indicates that a registration request is awaiting approval. Once approved, the user receives the Active status. If rejected, the profile is not created in the system. -
Create a new user
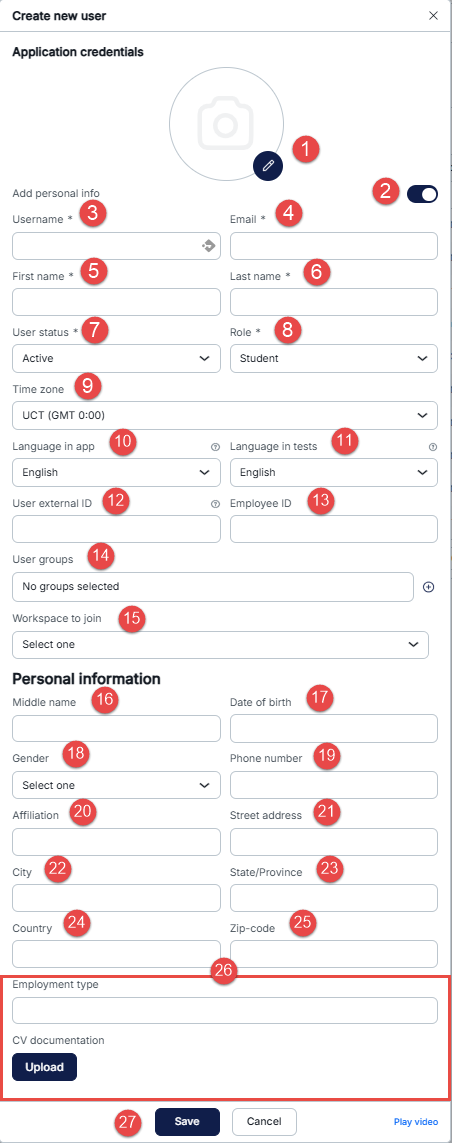
To create a new user, click the Create new user button on the User profiles page, and then:
-
Profile picture - Supported file types are JPG, JPEG, PNG, BMP, and the maximum size is 100MB.
-
Switch off to display Basic info only, and you'll only need to enter only primary information such as username, password, role, etc. Alternatively, all the user data fields will be displayed.
Enter the Username. The username field is case-sensitive.
-
Enter the Email address where the user will receive notifications.
-
Enter the First name.
-
Enter the Last name.
-
Set the user's account Status.
-
Set the Role assigned to the user.
-
Set the Time zone in which the data containing the date and time will be displayed.
-
Set the Language in app - Determines the application interface's language (excluding user-generated content, such as question text, test descriptions, etc.). If a language preference is set for a specific test, it overrides the application interface language for a user account.
-
Set the Language in tests - The default language for displaying questions and answers in tests, if defined during the question creation.
-
Enter a unique External ID, which serves as a distinctive label for the user in the system. This identifier can then be employed when integrating with other external systems.
-
Employee ID is a unique identifier used to distinguish employees within an organization.
-
Assign the new user to user groups.
Select the Workspace to join.
-
Enter the Middle name.
Enter the Date of birth.
Select the Gender.
Enter the Phone number.
Enter the Affiliation - Refer to the organization, institution, company, or group with which the user is associated or to which they belong. It is often used in systems where users are part of a larger entity.
Enter the Street address.
Enter the City.
Enter the State or province.
Enter the Country.
Enter the Zip code.
-
If Custom user properties have been created, enter the appropriate information, such as employment type, CV documentation etc.
-
Click the Save button.
Only fields marked with an asterisk (*) next to the field name are mandatory.
-
-
Importing users
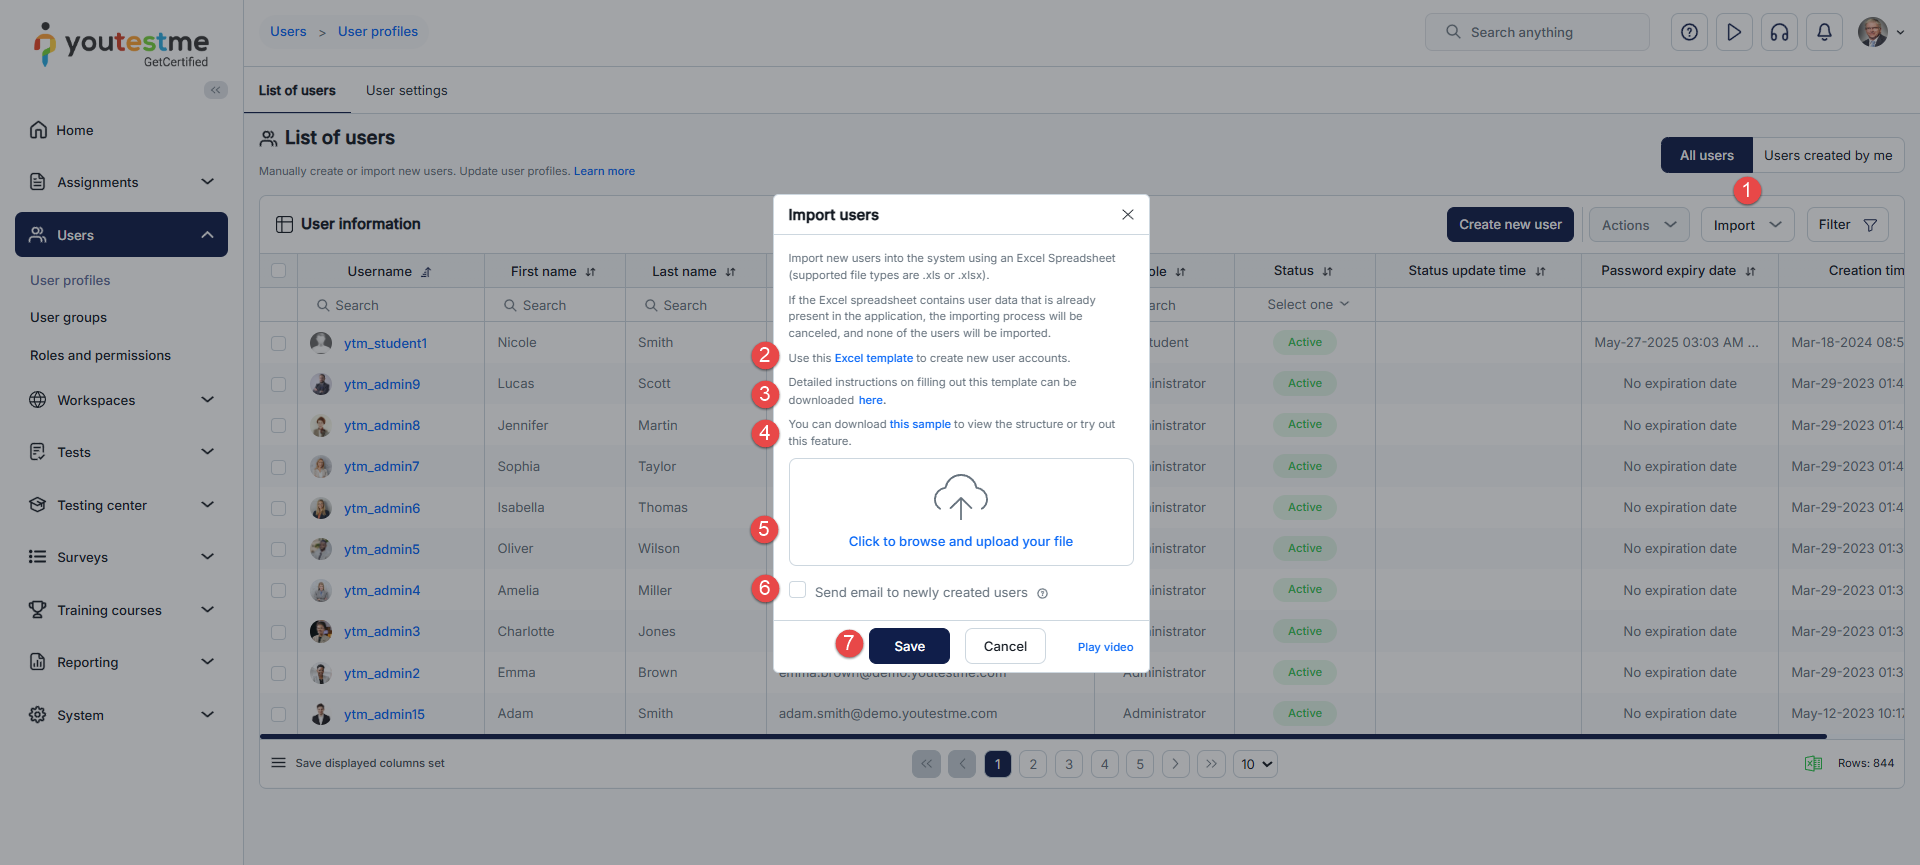
To import multiple users at once using an Excel file:
-
Click the Import button and select Users.
-
Download the Excel template and fill in the mandatory fields.
Download the Instructions for filling in the Excel template.
Download the Sample to view the structure of a properly filled Excel template or to explore the feature.
-
Click the Click to browse and upload your file area and select the Excel file from your computer.
-
Check the Send email to newly created users option to notify users about credentials and account creation.
-
Click the Save button.
Note: If the Excel file contains existing usernames or errors in the template, the entire operation will be canceled, and no users will be uploaded.
-
-
Importing certificates
To assign certificates to users, first create the certificates in the system. For detailed instructions on certificate creation, consult the Manage certificates help page.
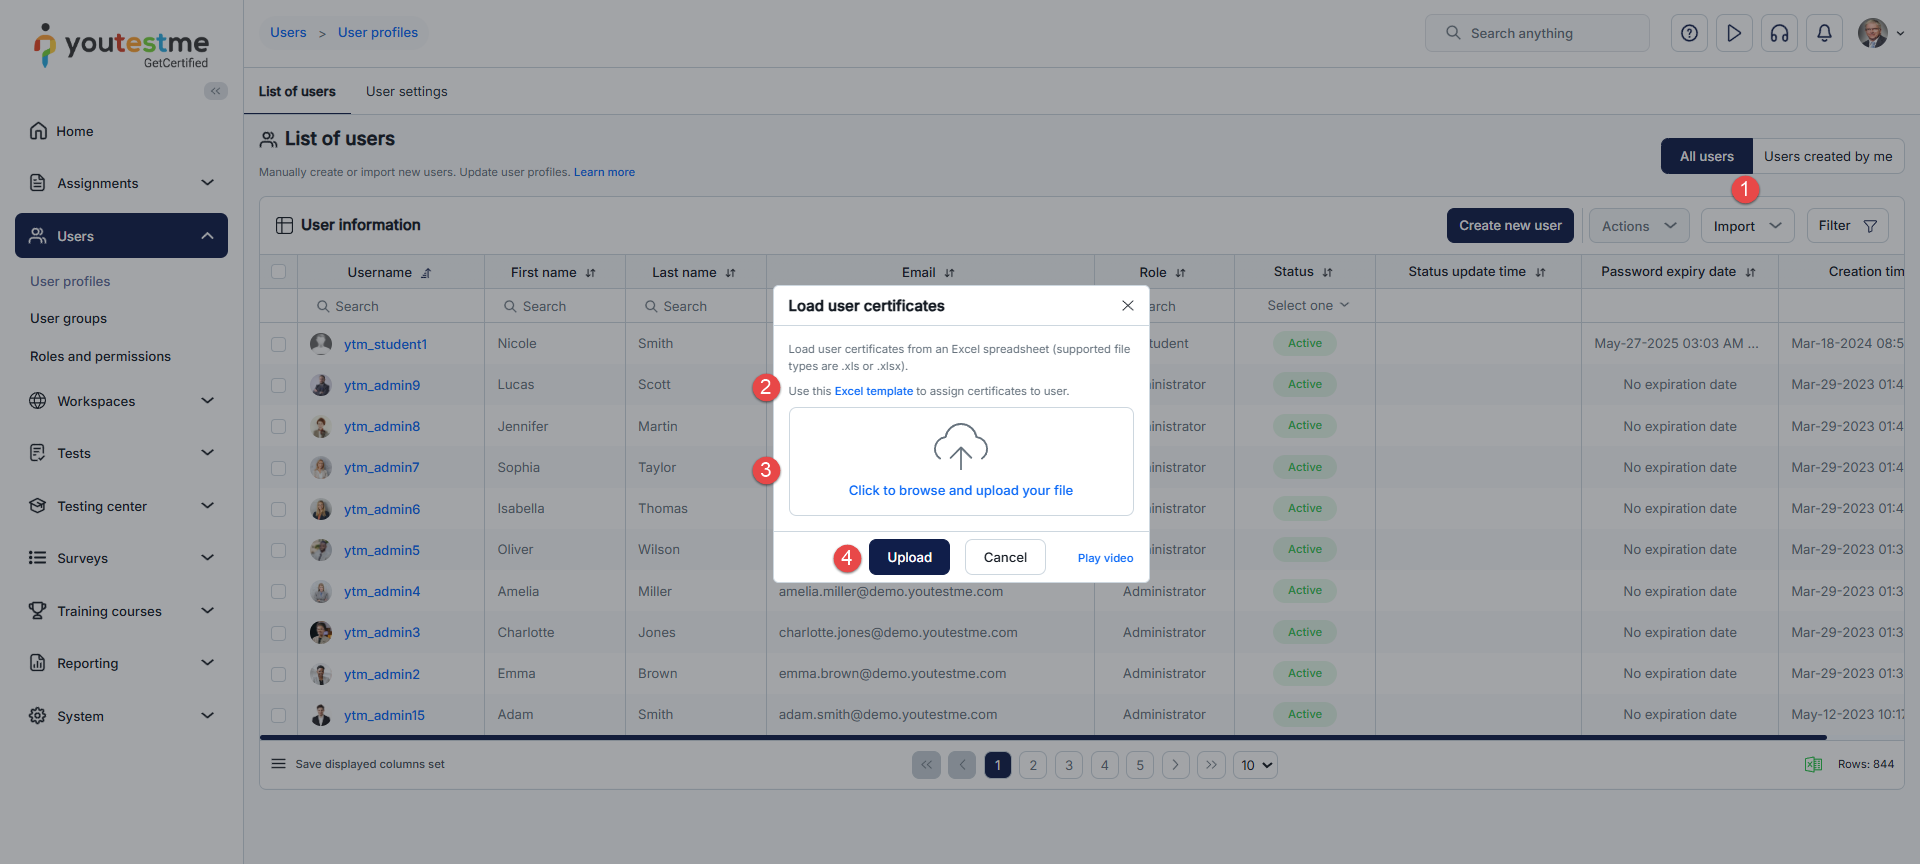
For bulk assignment of certificates via an Excel file:
-
Click the Import button and select User certificates.
-
Download the Excel template and fill in the mandatory fields. Refer to this article for more information on filling out the Excel template.
-
Click the Click to browse and upload your file area and select the Excel file from your computer.
-
Click the Upload button.
Note: If the Excel file contains errors, the entire operation will be canceled, and no certificates will be assigned.
-
-
User settings
-
Custom user properties
Custom user properties are additional fields added to a user's profile when specific information needs to be stored, but there is no default field for it. These properties will be displayed under the Personal Information tab on user profiles.
For detailed instructions on creating custom user properties, refer to this link.
-
Registration links
Create registration links for automatic user registration. Customize the link by specifying the user role to be assigned (default is the student role) and selecting the group where they will attain a member/manager role. Set a validity period for the link. Share the links with users, allowing them to register in the application within the specified timeframe and gain the defined role and group affiliations.
Note: As soon as a user submits a registration request (even if it hasn't been approved yet), the user will appear among the members of the user group they should belong to according to the link configuration. However, if you click on that user's profile, it will show that their status is Pending.
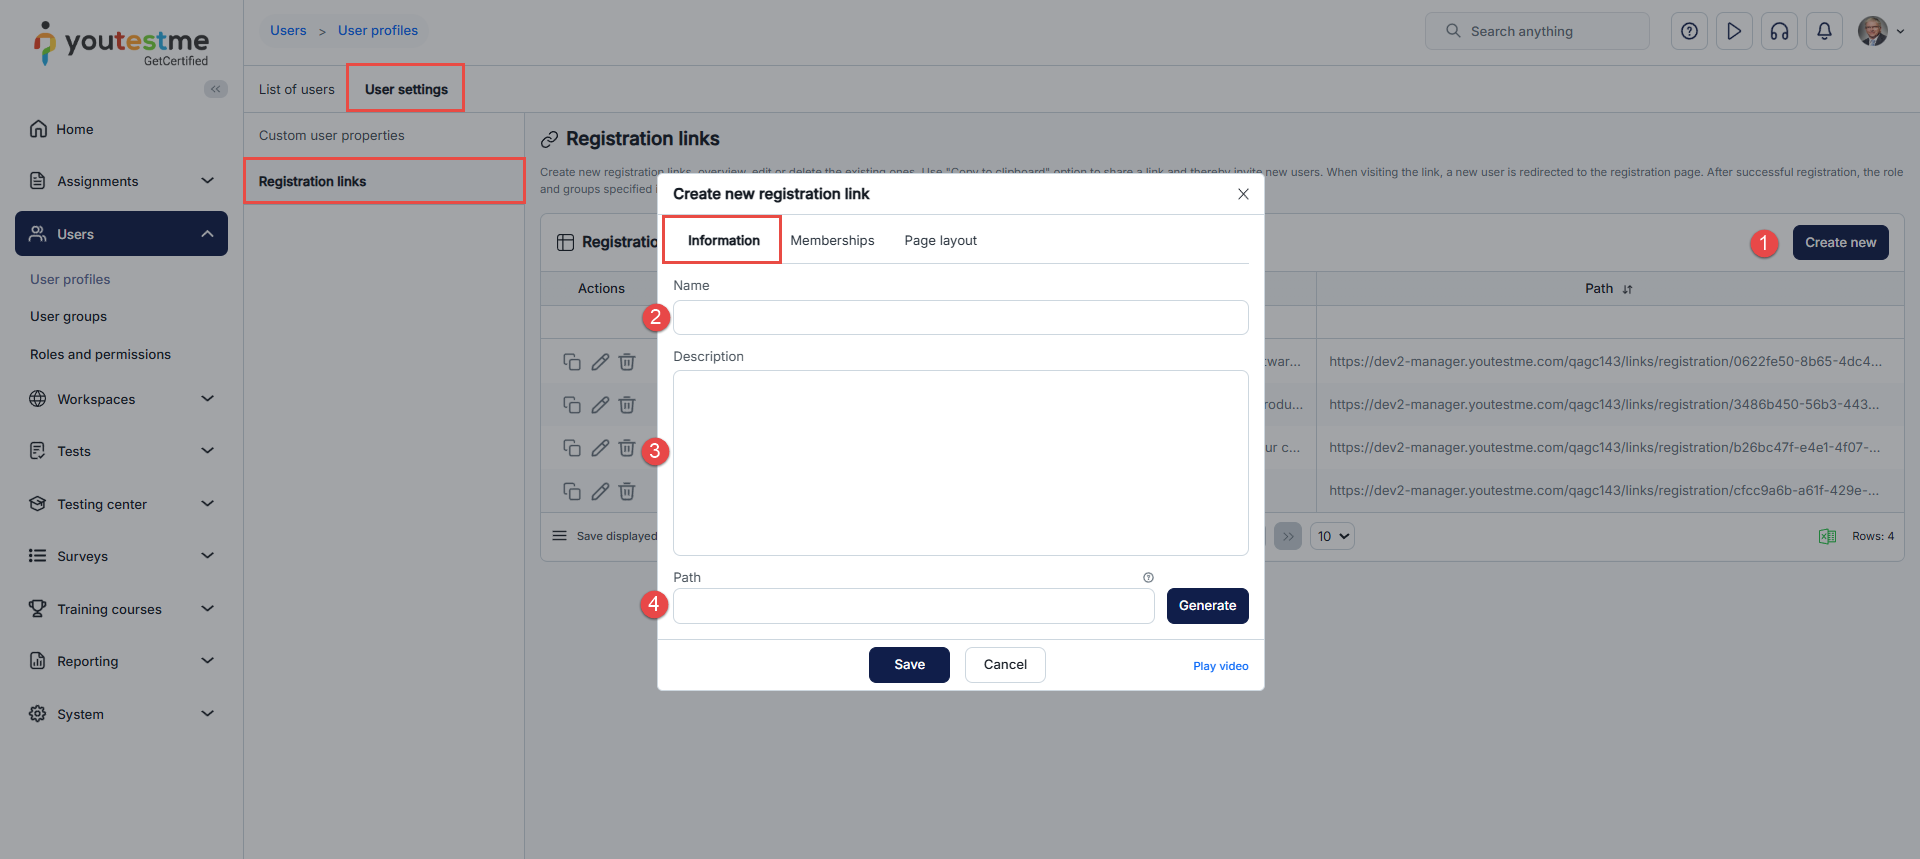
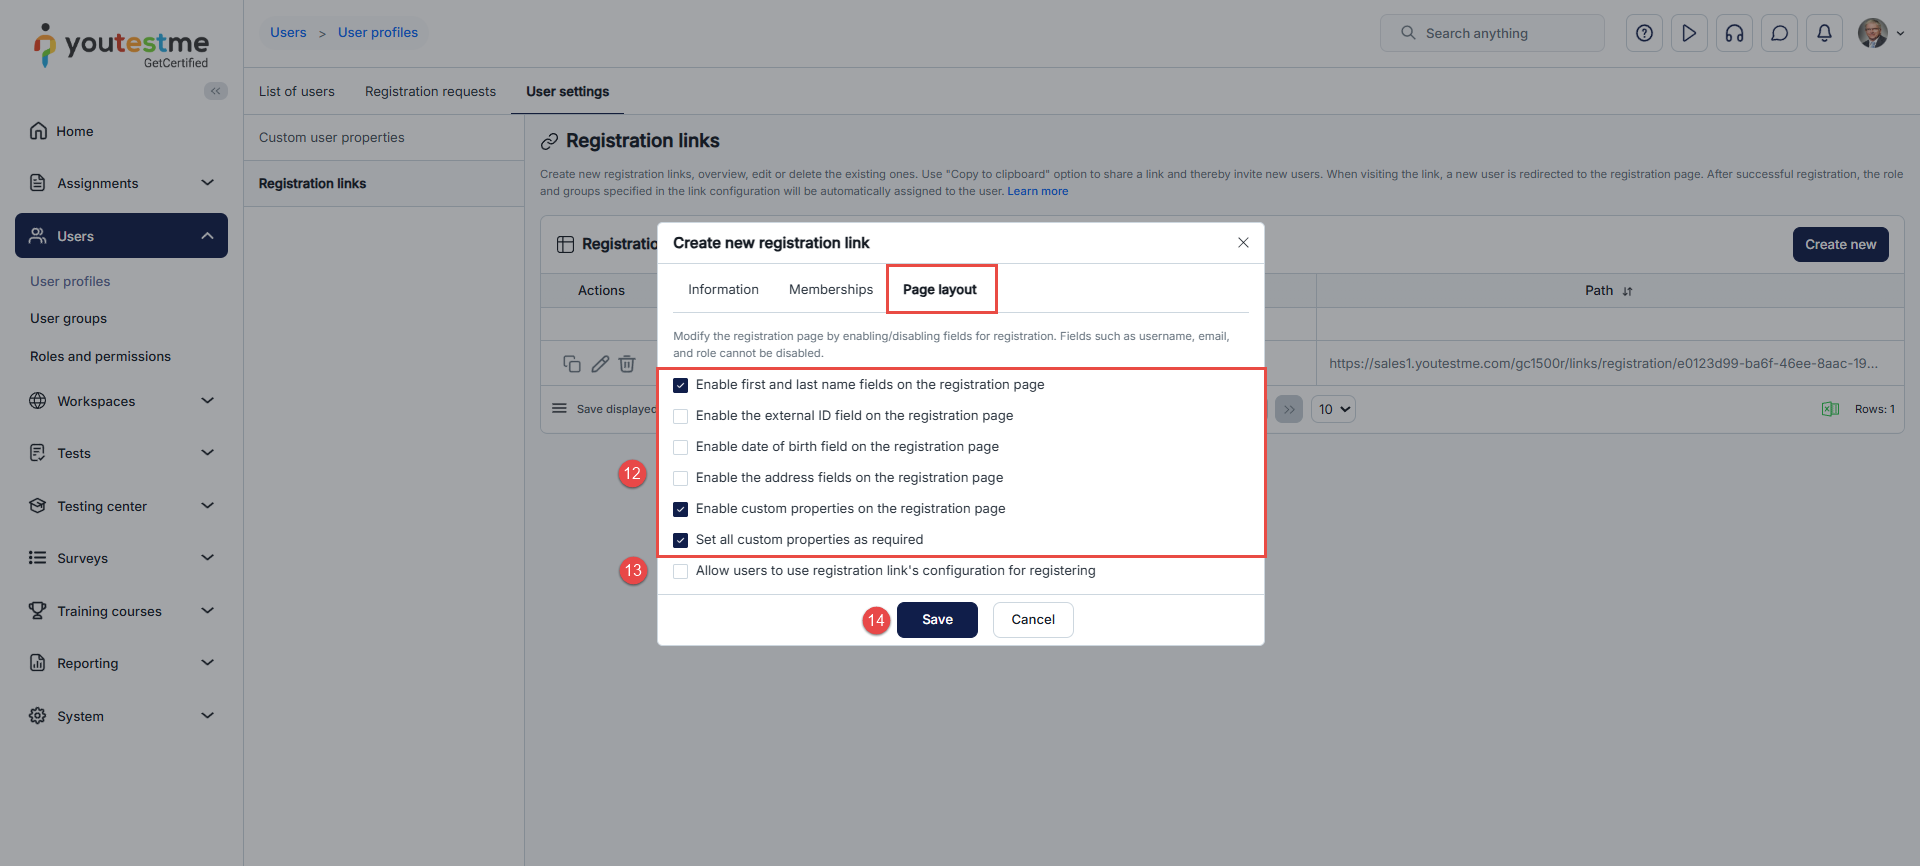
The creation dialog is split into three sections, each displaying a different group of settings. To create a new registration link:
-
Click the Create new button.
-
Enter the registration link Name.
-
Enter a Description, an additional information about the purpose of the registration link.
-
Insert a random Path to be used as a unique link identifier. It must consist of only letters, numbers, and hyphens. Alternatively, a unique path is automatically generated for the registration link upon clicking the Generate button.
-
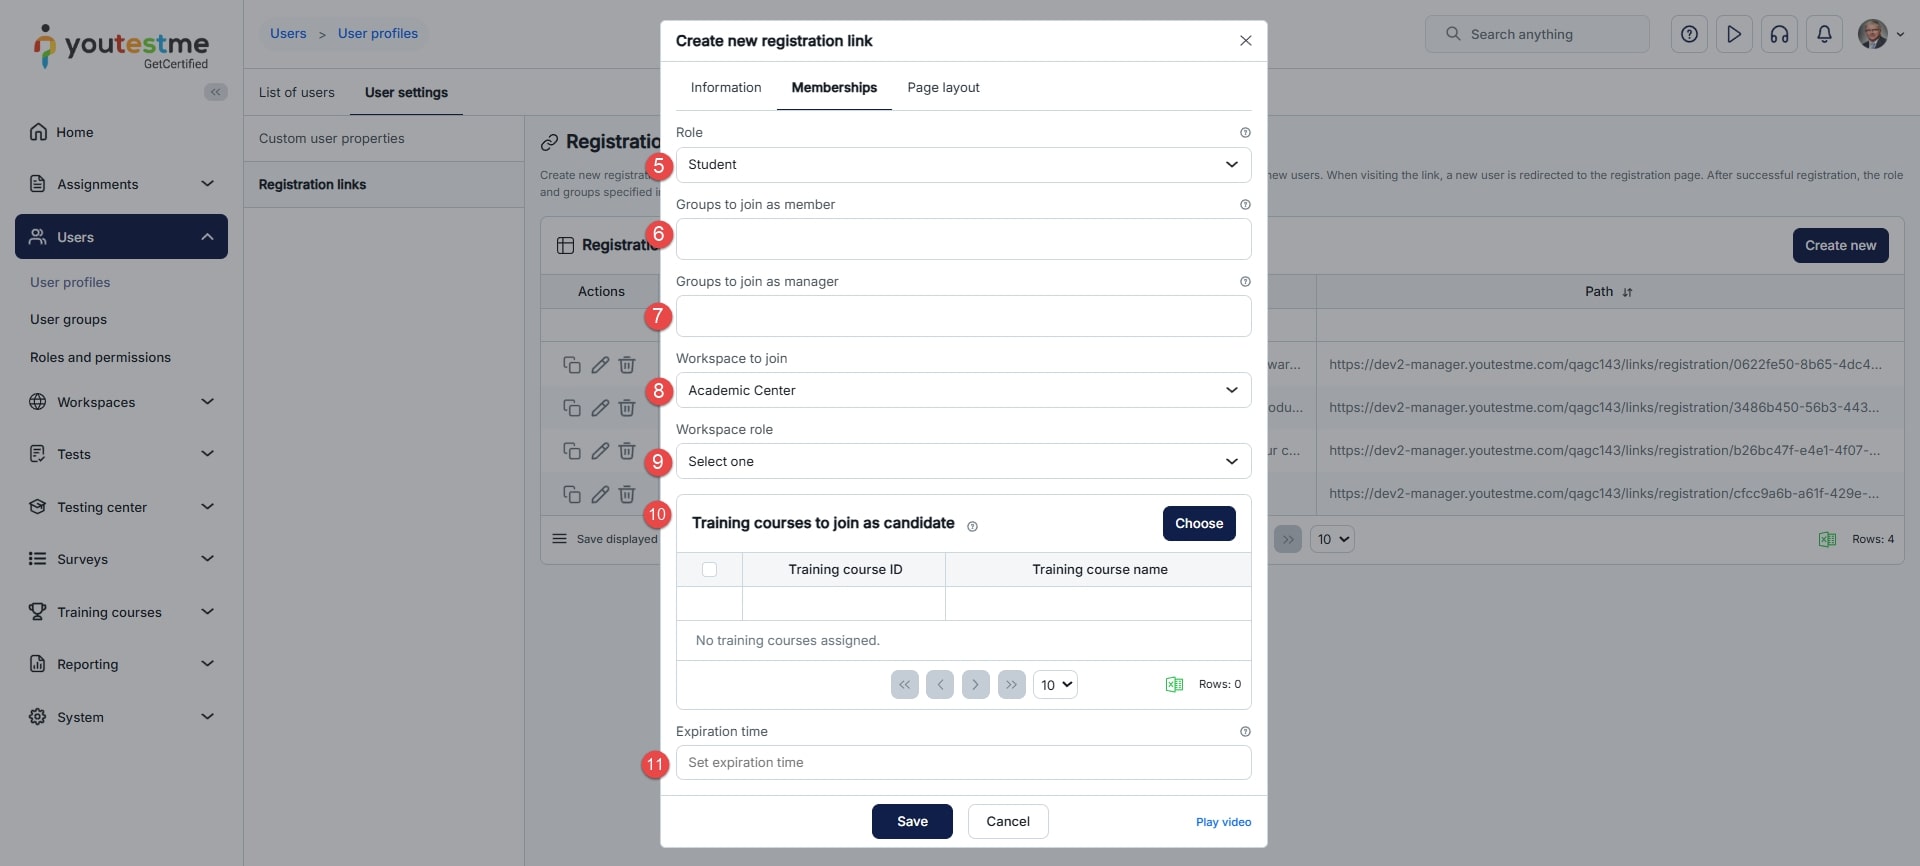
Select the user role that a user registering through this link will be assigned.
-
Designate user groups to which the user will be automatically enrolled as a member.
-
Designate groups to which the user will be automatically enrolled as a manager.
-
Select the workspace that a user who registers using this link will be automatically assigned to as a member.
-
Select the workspace role that a user who registers using this link will be automatically assigned to.
-
Select training courses that a user who registers using this link will be automatically assigned to as a candidate.
-
Define the Expiration time of the link. If set, the link will be valid until the specified time.
Note: Expired registration links can still be edited and shared, but users will not be able to use them to register for the application.
-
Configure the fields displayed on the registration page for users registering via the link.
-
Optionally, allow users when registering to use the displayed fields configuration of this link, but note that this option will only be available during self-registration and not when not using a registration link.
-
Click the Save button.
In the Information tab, we can do the following:
The memberships tab is used to determine which role the newly registered user will get, and which groups and training courses they will be assigned to.
Page Layout tab is used to configure which fields will be displayed to the user during registration when using the provided registration link.
Available Actions on the Registration links page are:
Copy the link path.
Edit a registration link.
Permanently Delete a registration link.
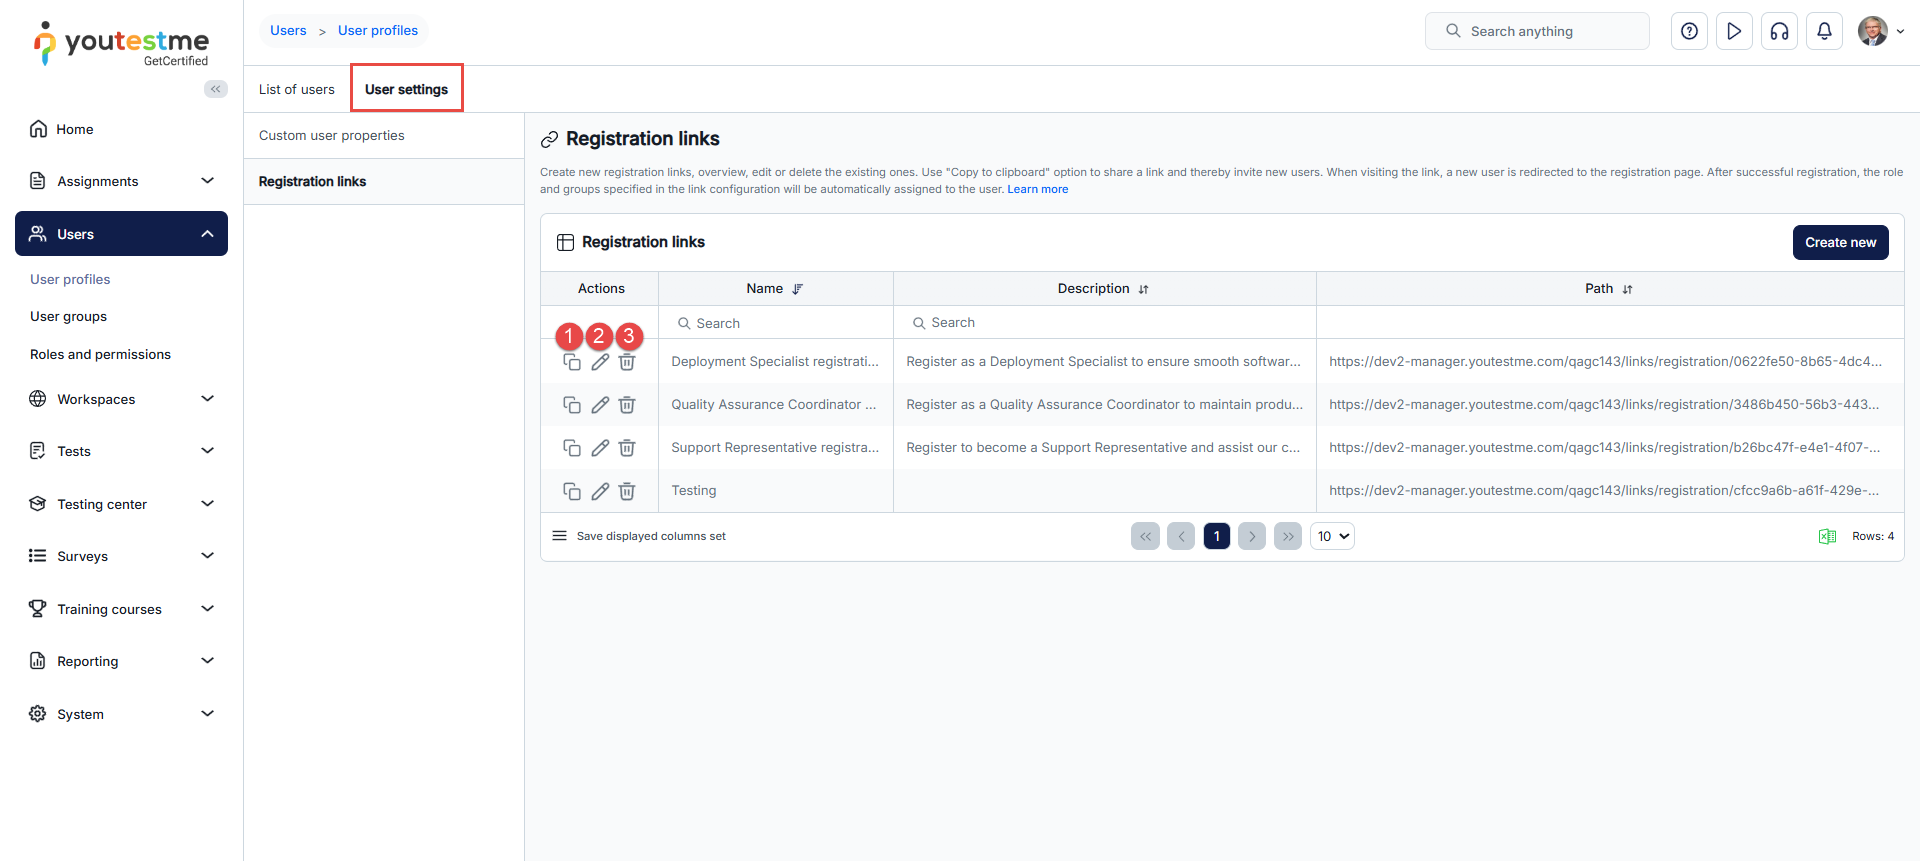
Note: The table columns represent attributes of registration links, and their explanations can be found in the Registration links chapter.
-
-
User groups
-
Introduction
Users can be organized into user groups for easier management; for example, a group may consist of users from a specific department, such as sales or development. Also, a group could represent an entire country if tests are conducted globally.
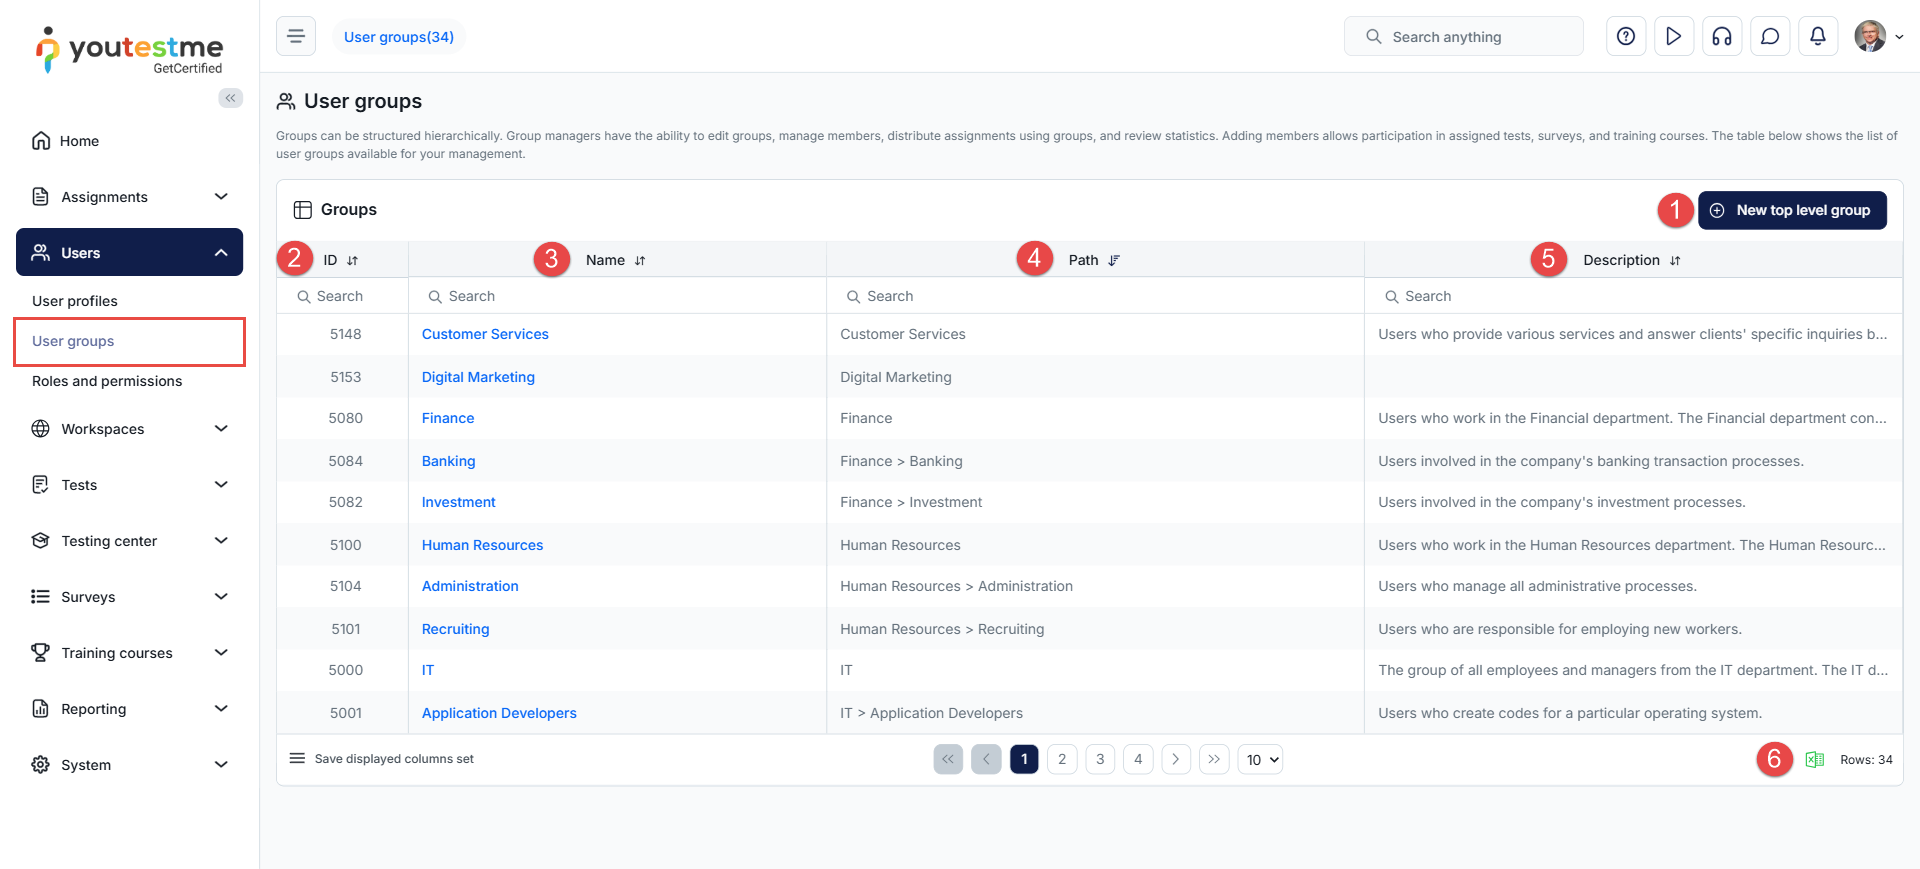
User groups have managers overseeing members and monitoring progress in their assignments. User groups can be assigned to multiple training courses, tests, or surveys, and users can belong to several user groups simultaneously. User groups may include multiple levels of subgroups.Navigate to the Users section in the left-side menu and select User groups. On the User groups page, you can:
Create a new user group. Enter the required information in the pop-up dialog to create a user group. Detailed explanations for all fields can be found in the Information chapter.
View the User Group ID – A unique identifier for each user group.
View the Name – The name assigned to the user group.
View the Path – The hierarchical path indicating the user group's location within the structure.
View the Description – Additional details or purpose of the user group.
Export the list of user groups as an Excel file.
Access
Information
The default panel is the Information tab, offering details including:
-
User group ID - Automatically generated upon user group creation and cannot be edited.
-
External ID - A unique identifier for integration with external systems.
-
Group name - A unique name for the user group.
-
Group path - Shows higher-level (parent) user groups to which the user group belongs.
-
Group description - Provides additional information about the purpose or content of the user group.
-
Your role in group - Defines the user's role within the user group.
-
Group manager - A manager can oversee user groups, distribute assignments, update group details, add or remove users, and review statistics related to group members. If a user is a manager of the parent group, they automatically become the manager of all its subgroups. If a user is removed as the manager of a subgroup, they will still retain the manager role in all its subgroups. However, in all parent groups, they assume a member role.
-
Group member - A member is a user who can take tests, surveys, or training courses assigned to the user group. Users can belong to multiple user groups. When added as a subgroup member, they will automatically become a member of the parent user group. If you remove a user from a subgroup, they won't be automatically removed from the parent group; their removal applies only to that specific subgroup. However, removing a user from the parent group will automatically remove them from all subgroups. Users with this role will only be able to view the Information tab.
-
-
Select workspace - Access to the user group is restricted to users from the chosen workspace. Subgroups cannot be assigned to workspaces; they inherit the workspace of their parent user group.
-
Created by - Displays the name of the user who created the user group.
-
Creation date - Displays the date and time when the user group was created.
-
Updated by - Displays the name of the user who last updated the user group.
-
Update time - Displays the date and time of the user group's last update.
-
Permanently Delete the user group and its subgroups.
-
Create a New subgroup. The subgroup will belong to this parent user group. Enter the required information in the pop-up dialog to create a subgroup. Detailed explanations for all fields can be found in the Information chapter.
Additional actions that can be performed:
Note: You cannot delete a user group or its subgroups if they are associated with testing sessions. To delete a user group, delete the testing sessions and then proceed with deleting the user group.
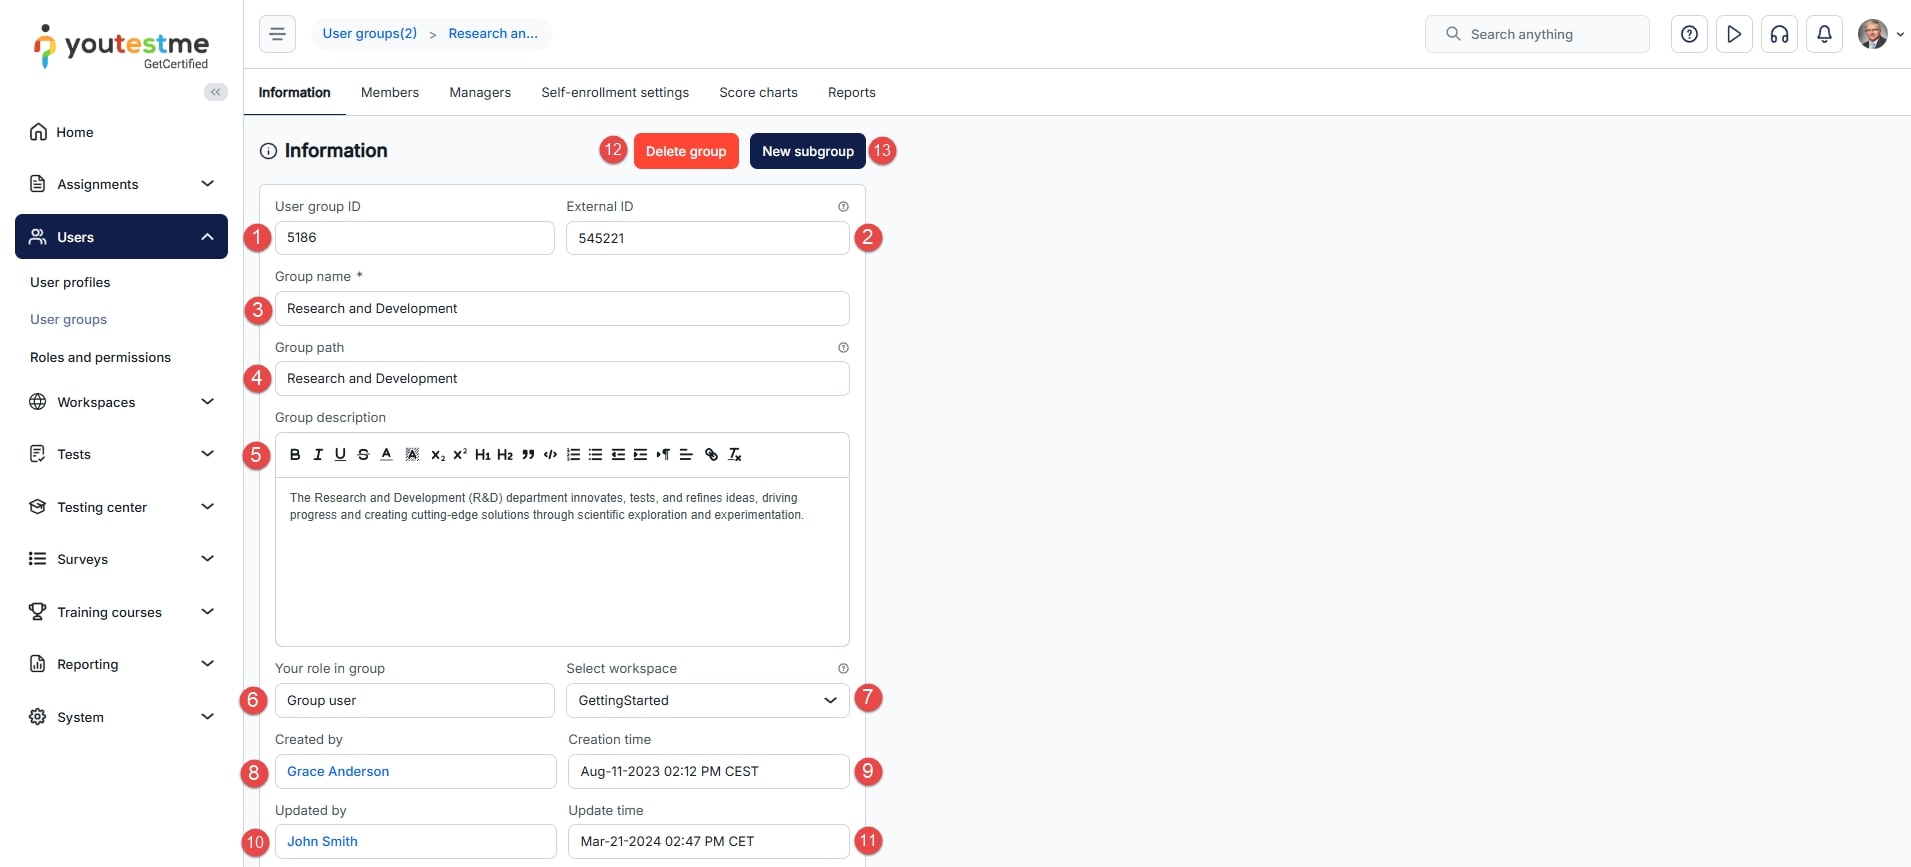
Members
The Members tab displays a list of all users in the user group, including members of its subgroups.
On this tab, you can also create new users by clicking the Create new user button. These users will automatically become members of this group.
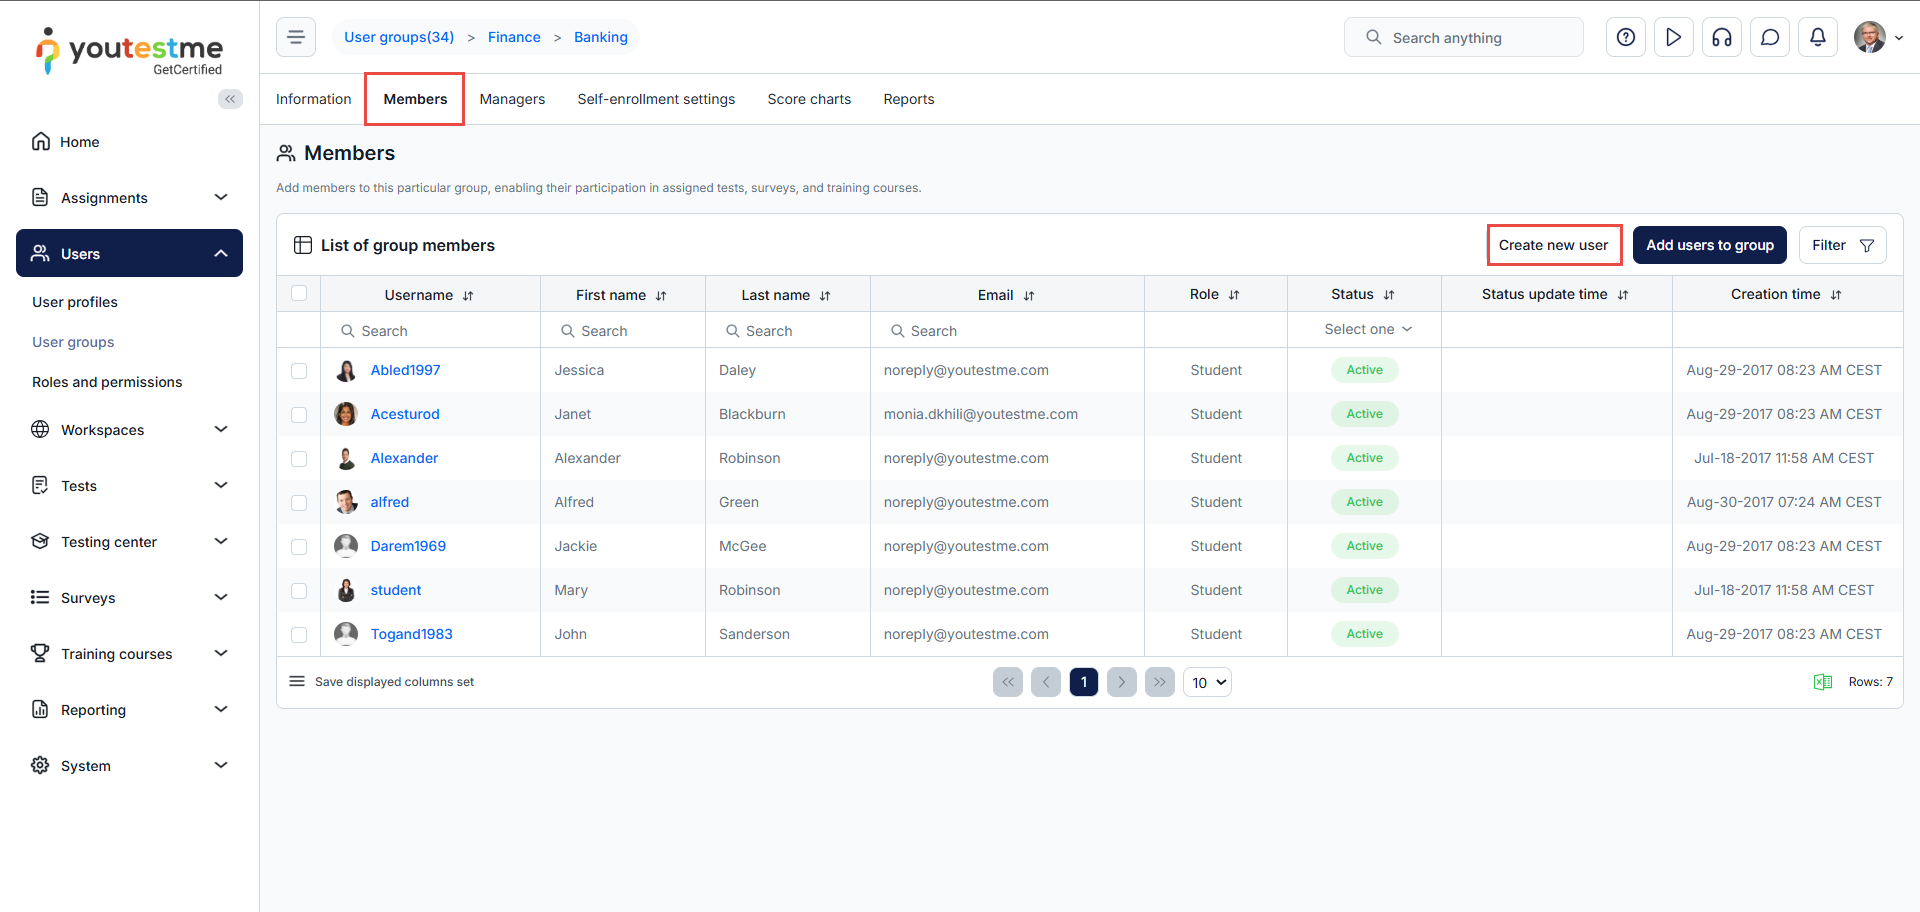
-
Adding users to user group
To add new users to a user group:
-
Click the Add users to group button.
-
Select the users that you want to add to the group.
-
Click the Confirm button.
Note: When a user is a member of a user group, they are not automatically a member of all subgroups. However, when a user is a member of a subgroup, they will automatically be added to all its parent groups.
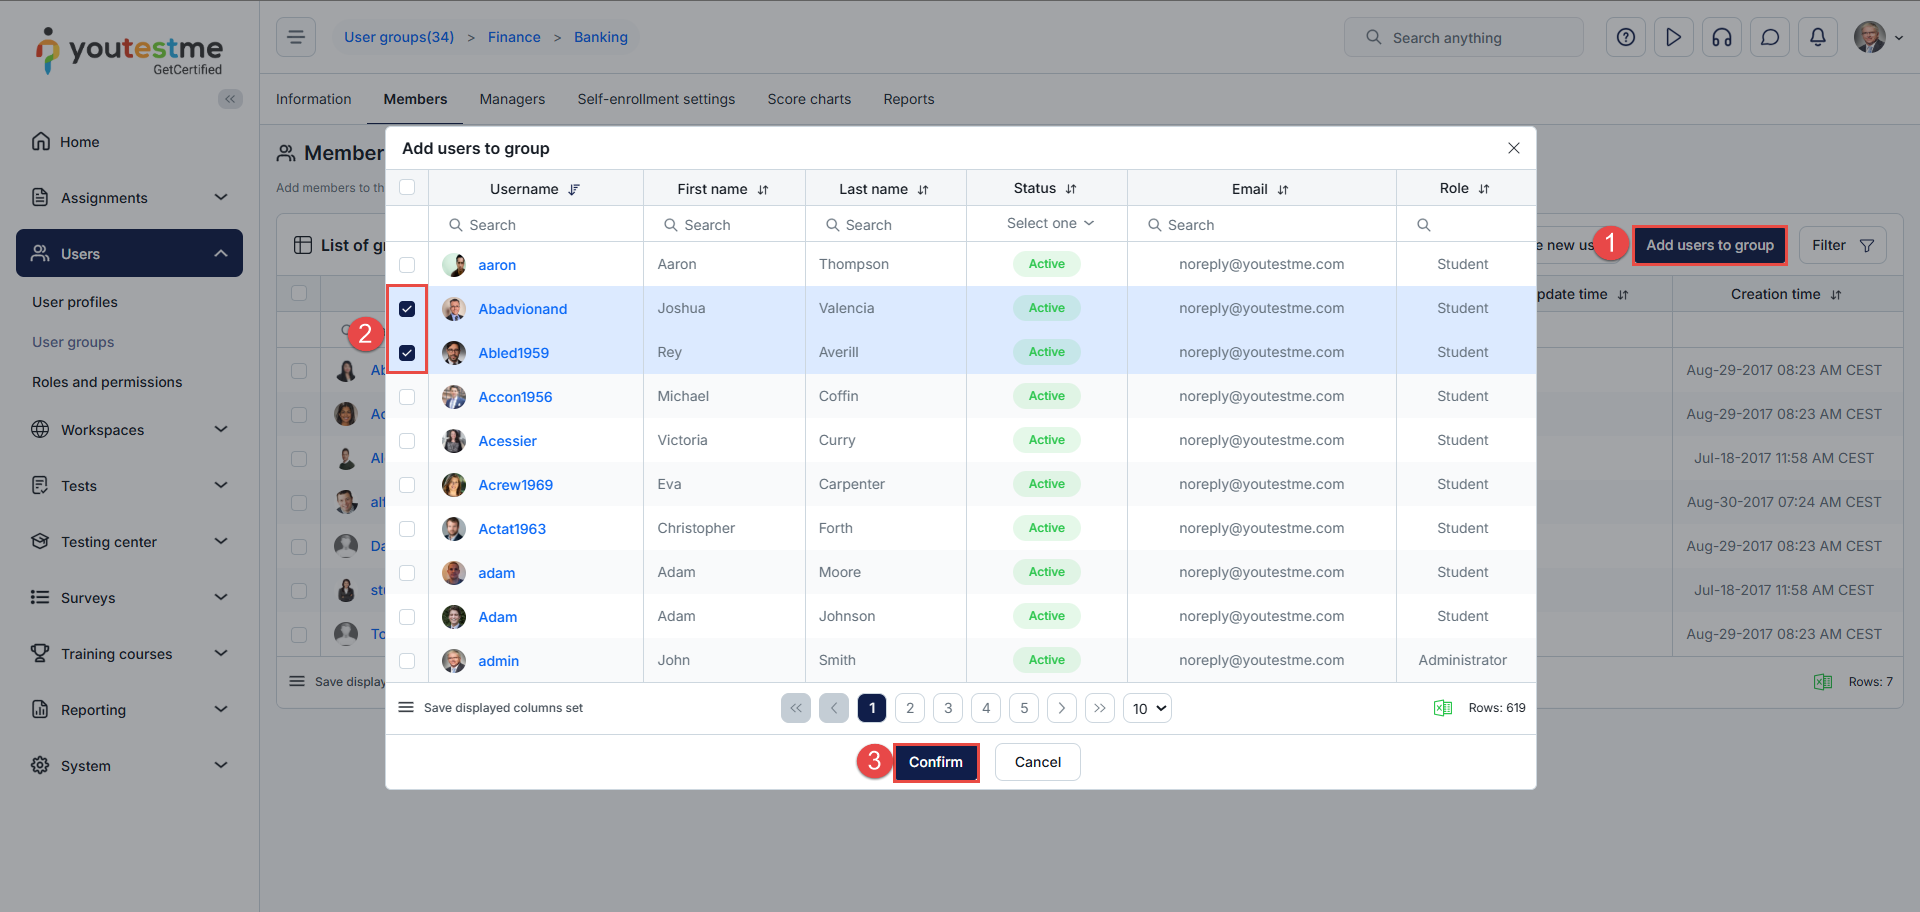
-
Removing users from a user group
To remove users from a user group:
-
Select the users you want to remove.
-
Click the Remove selected button.
-
Click the Yes button to confirm the action.
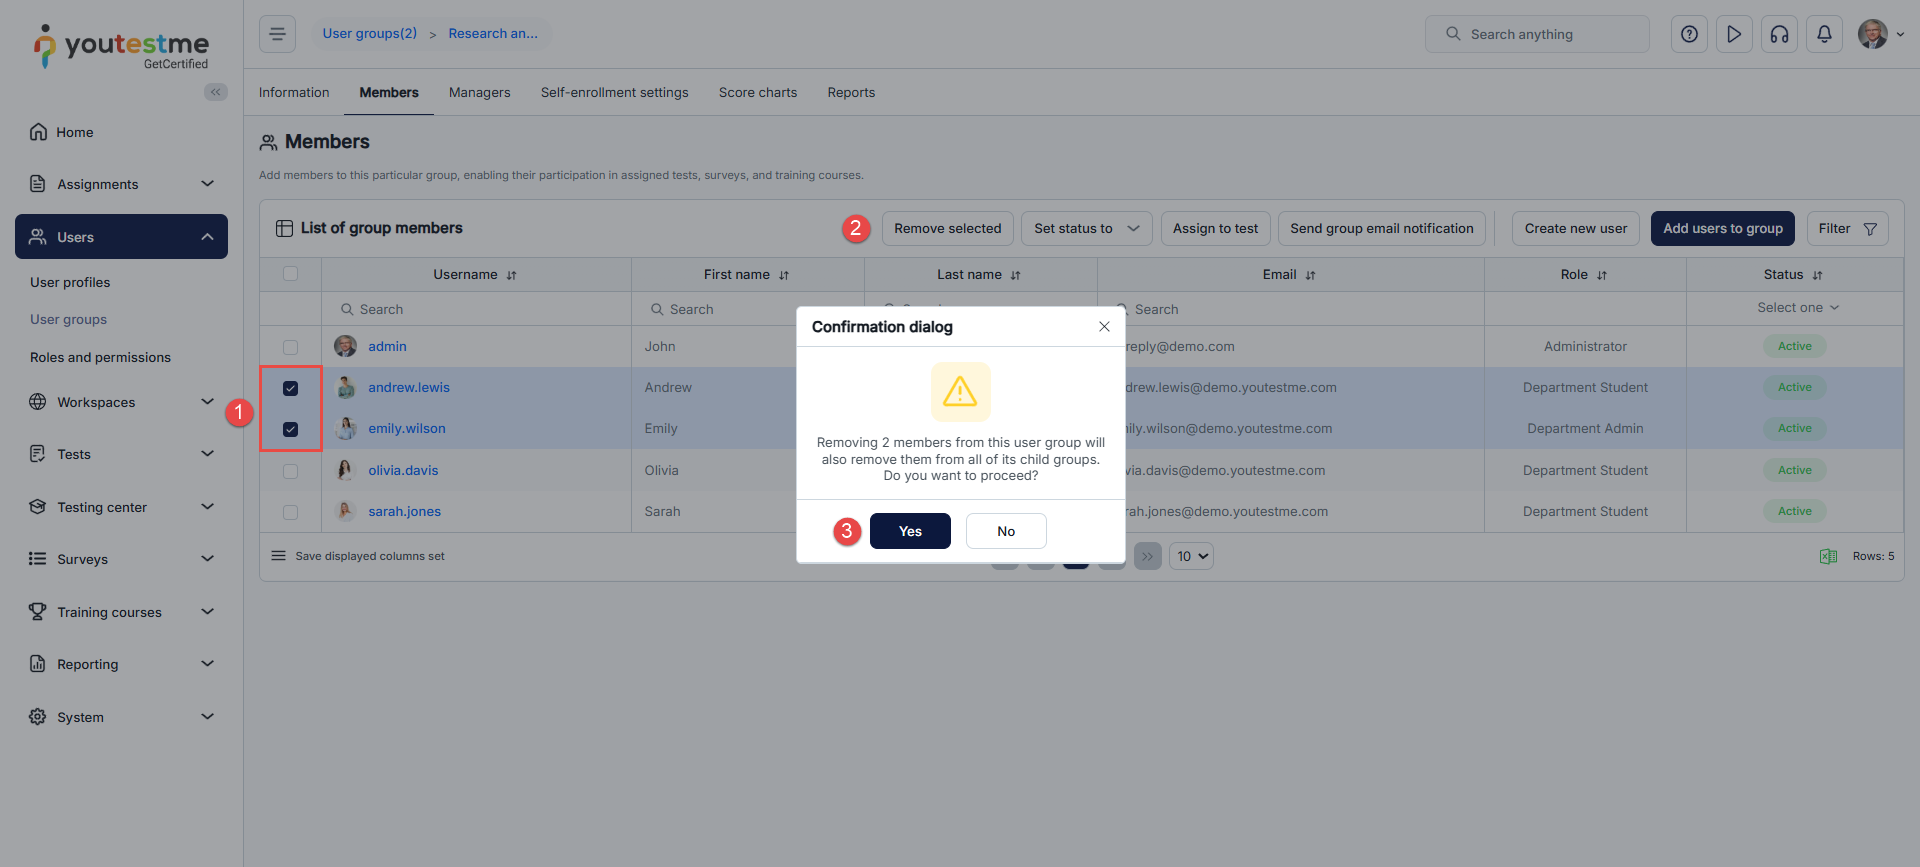
-
Assigning users to test
To assign users to test:
-
Select the users you want to assign to a test.
-
Click the Assign to test button.
-
Click the Select test button.
-
When the pop-up dialog appears, select the test you want to assign to the previously selected users.
-
Click the Confirm button.
-
Select the testing session in which the candidates should take the test.
-
Click the Confirm button again.
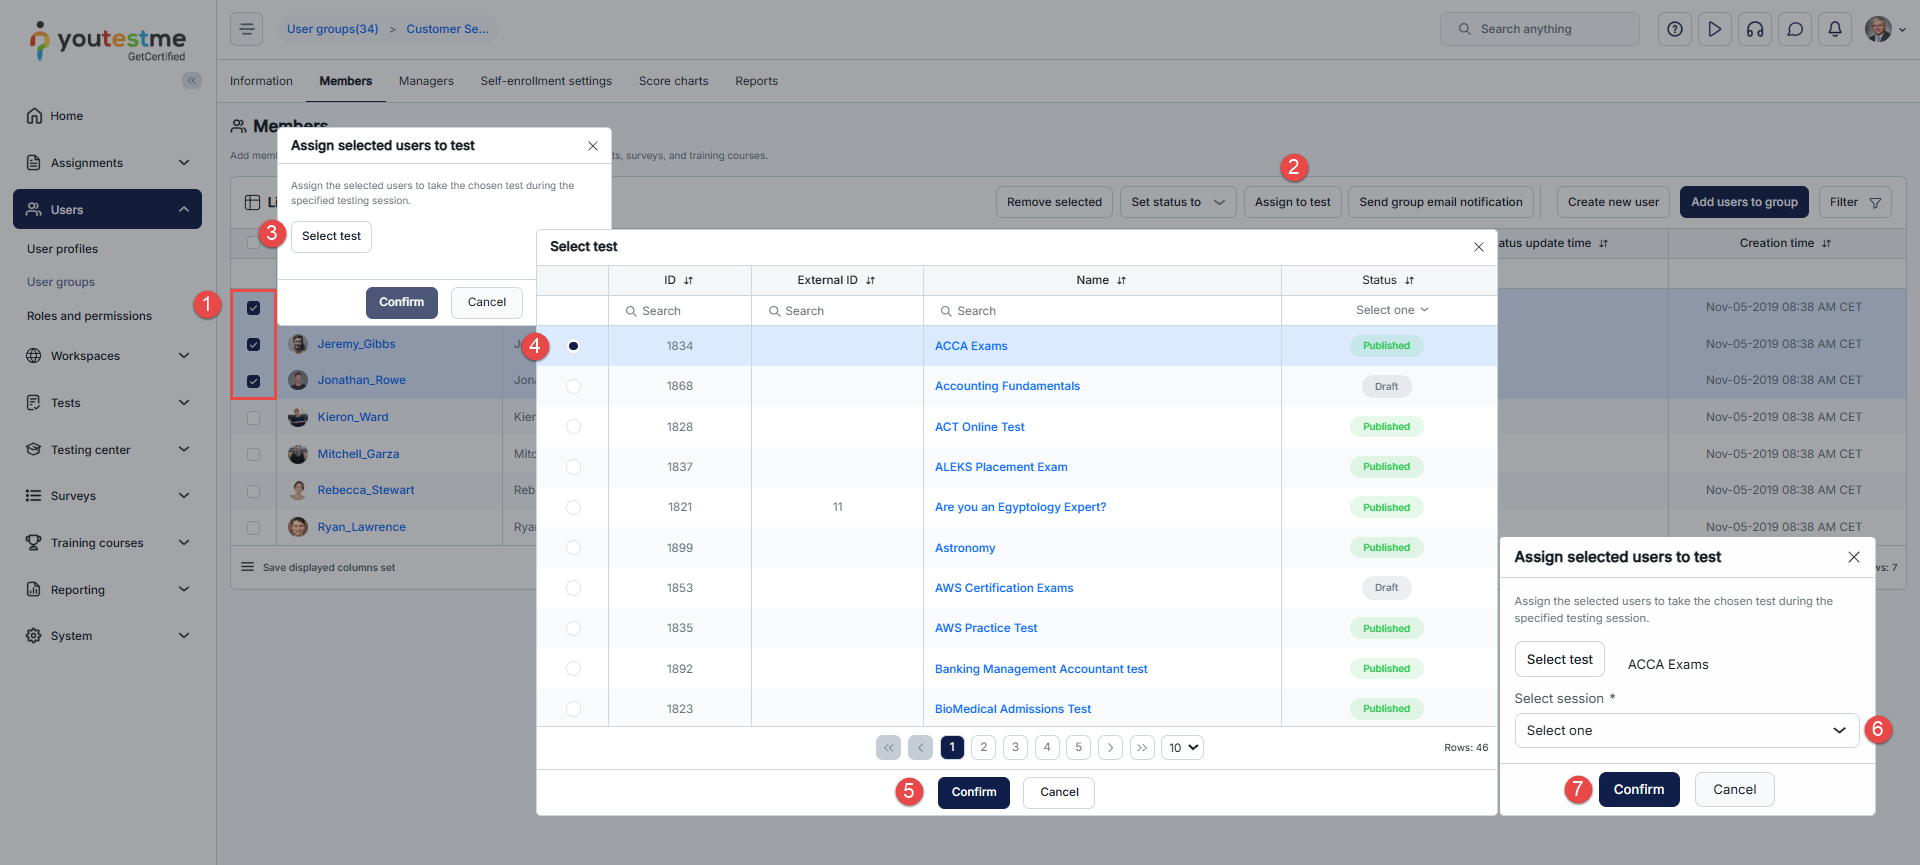
-
-
Managers
The Managers tab displays a list of all users assigned to manage the user group. Managers are responsible for distributing assignments, modifying group details, adding or removing users, and accessing relevant statistics.
Available Actions on this tab are:
Assigning a new manager from the list of users. When the pop-up dialog appears, select the users you want to assign as managers and click Confirm to save your changes.
Deleting an existing manager.
Switching between Tile and List formats.
-
Self-enrollment settings
Enable the self-enrollment option to allow users to join the user group independently through their profile. Optionally, configure the URL and share it with users to invite them to become group members. Users who register using the self-enrollment link will be automatically added as members of the user group.
To configure and copy the URL:
-
Choose the User group role that users will receive upon joining the group.
-
Specify the Expiration date until which the URL for join user group will be valid.
-
Copy the invite URL and share it with users.
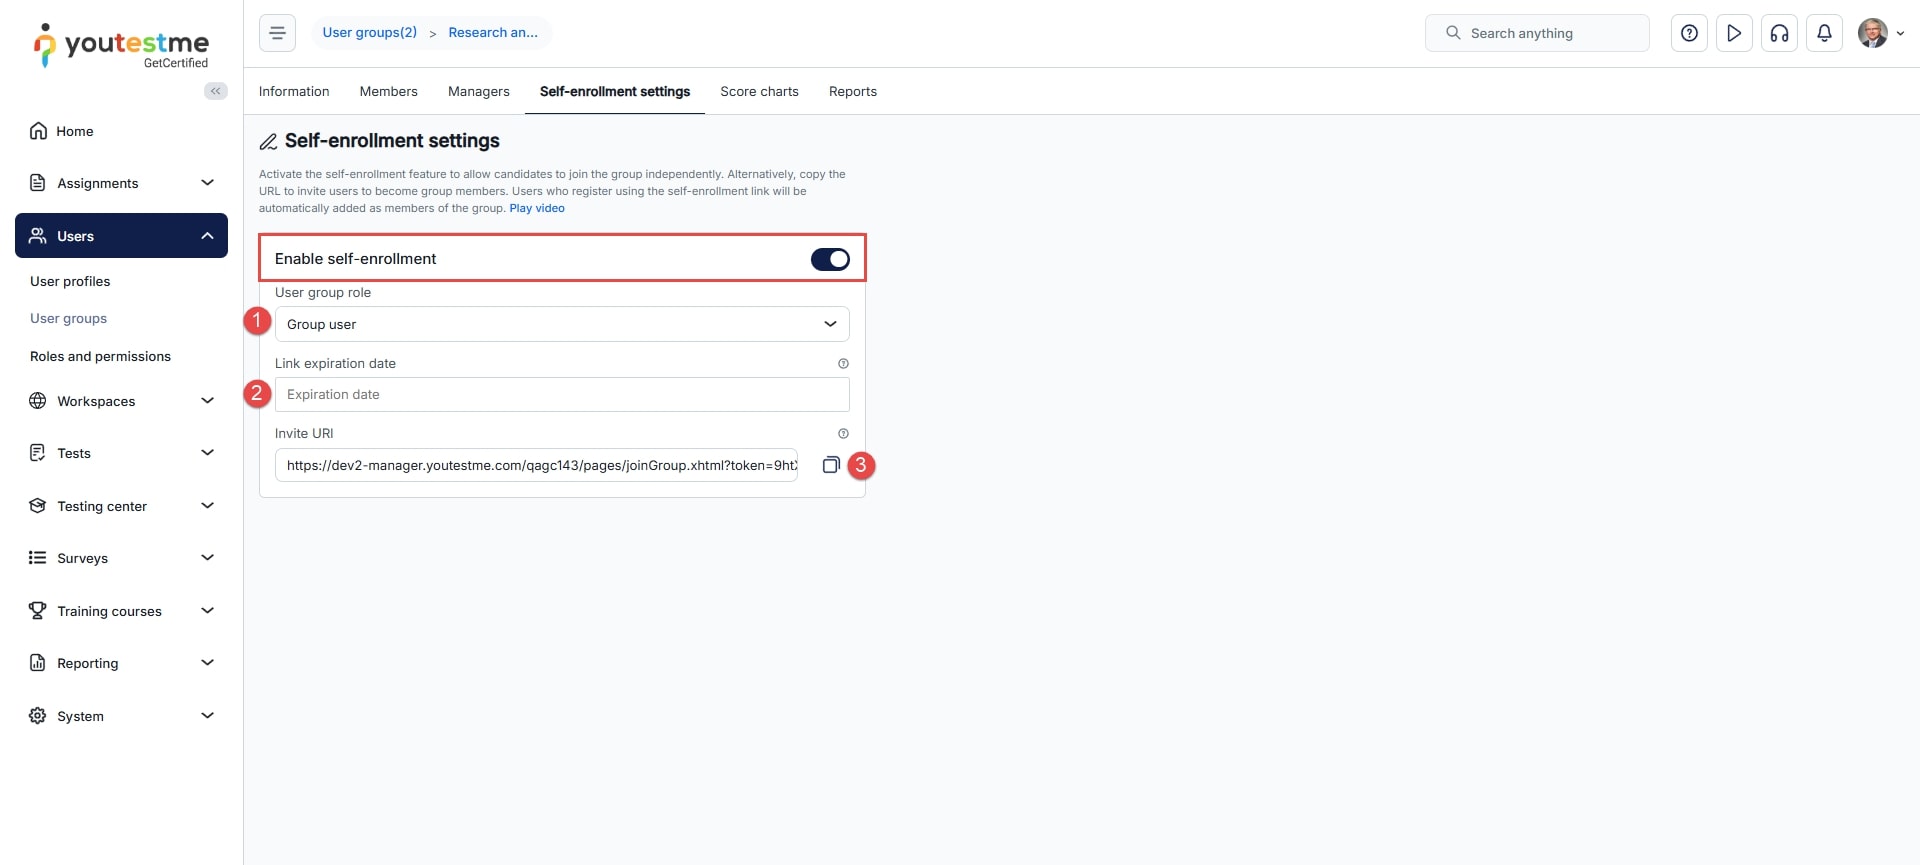
-
-
Score charts
Score charts analyze user performance within a group. You can compare the group's average performance with both test scores and survey results. Additionally, conduct a more detailed analysis by comparing individual members within the group. For additional information on conducting score chart analysis, refer to this article.
-
Reports
The Reports tab displays a list of predefined reports tailored to this user group. These reports contain organized and aggregated information from the database. You can schedule the automated delivery of these reports to specified email addresses. For instructions on scheduling reports, refer to this article.
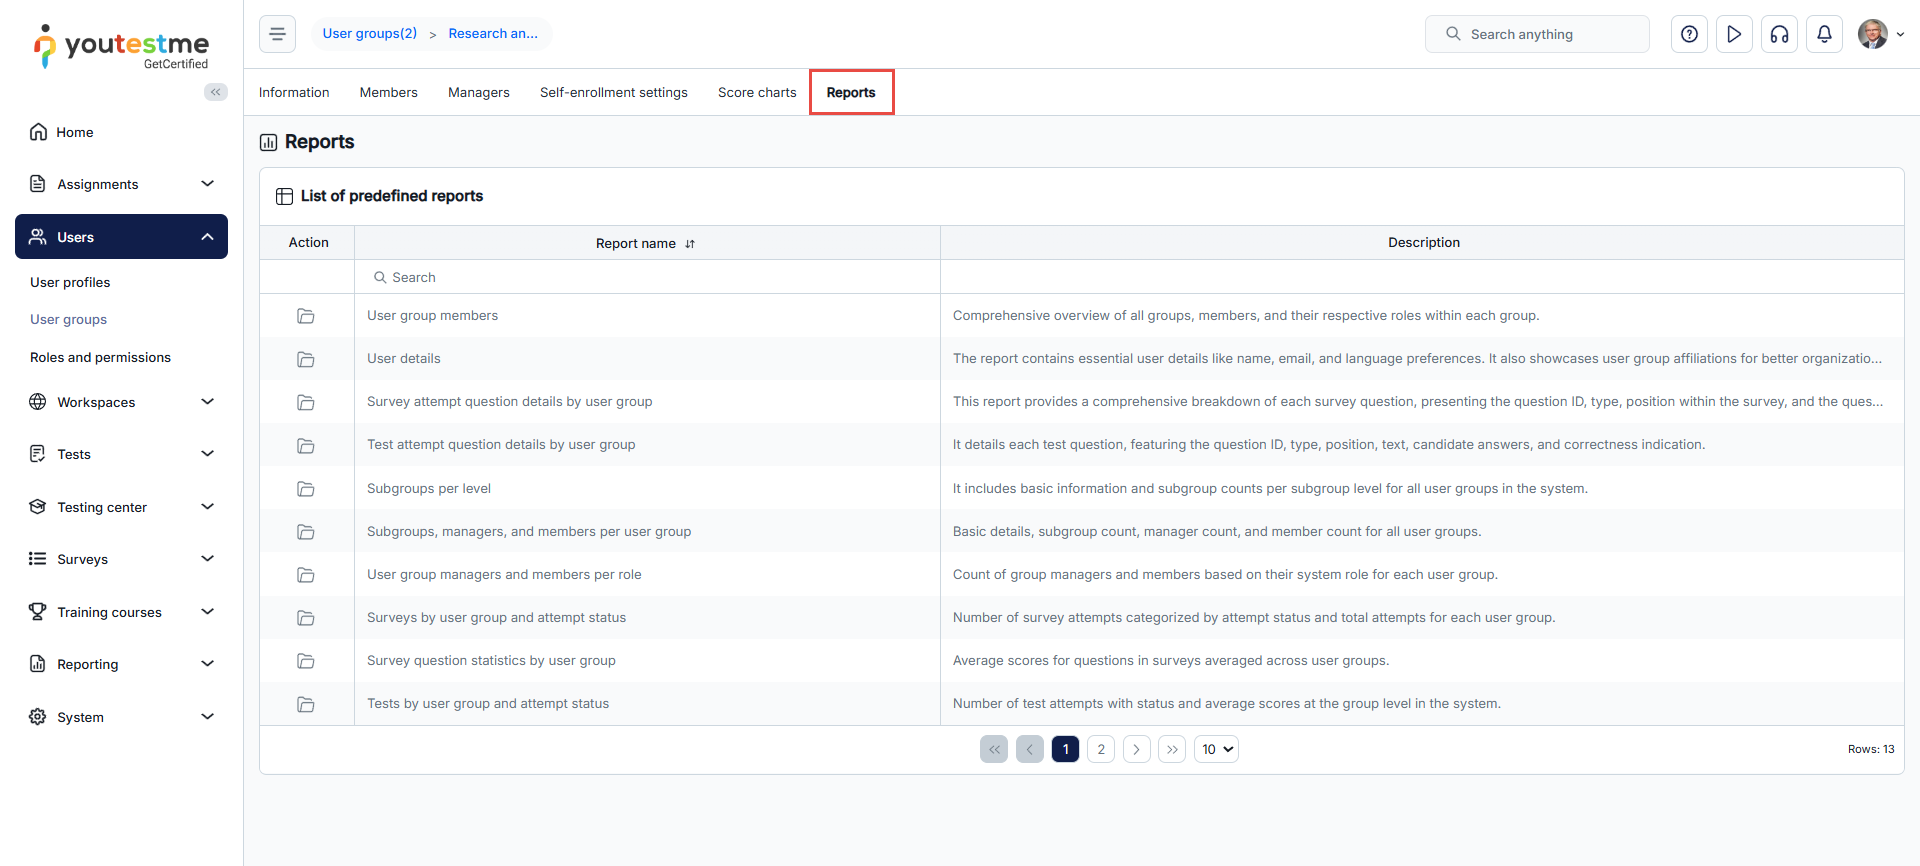
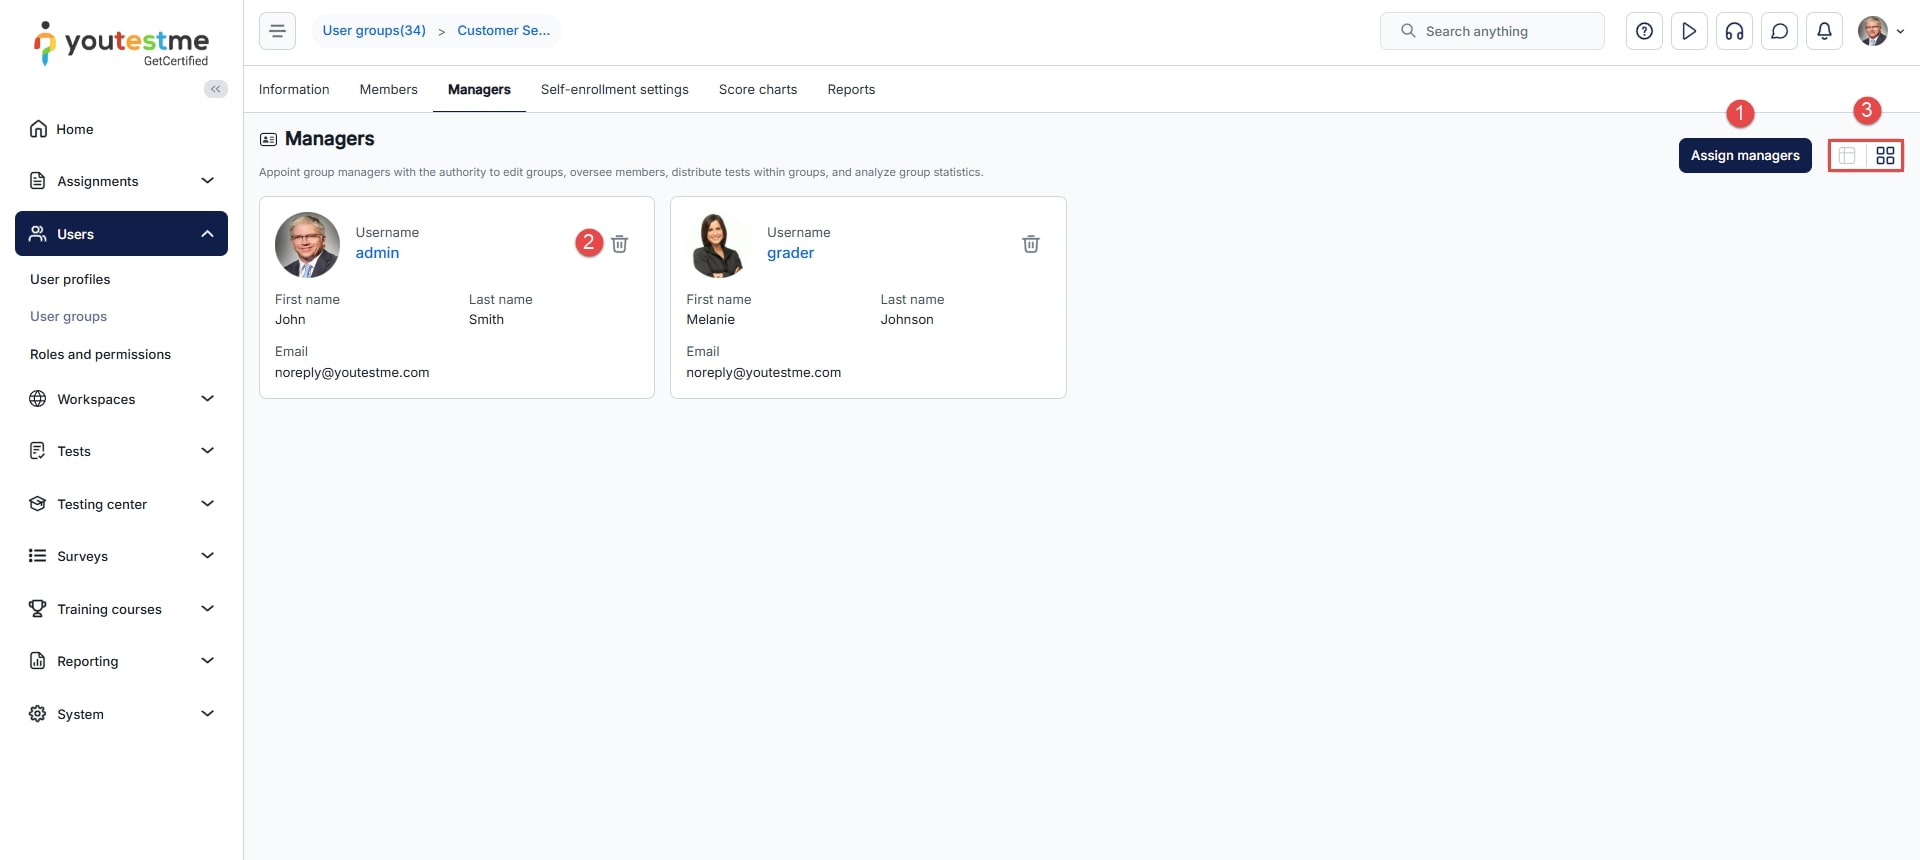
Roles and permissions
Introduction
Permission defines what a user can see or the actions they can take within an application. A User role is a predefined or custom set of permissions.
Predefined roles in the system:
| Role | Description |
|---|---|
| Administrator | Manages all system modules; cannot be deleted and its permissions are not editable. |
| Instructor | Manages groups, pools, tests, and reports they've created or been assigned as a manager. |
| Proctor | Monitors candidates during the test-taking process in real time or through recorded videos. |
| Student | Takes tests, surveys, and training courses; Views and downloads reports and certificates for completed activities. |
| Guest | Has temporary access to take tests and surveys without registration; no user data is stored or actions recorded. This role cannot be deleted or modified. |
List of permissions
| Role name | Description |
|---|---|
| Login | Access the application using unique credentials: a username/email and a password. When Single Sign-On (SSO) integration is used for logging into the application, it is recommended to disable this permission. This ensures that users are required to log in using the SSO integration. |
| Access the User profiles page | Access to the User profiles page. With additional permissions, users can manage other users and user settings. |
| Create new users | Create new users one by one or load them from an Excel template. Setting a role other than Student requires the Grant roles to users permission, and setting a status other than Active requires the Manage user statuses permission. |
| View a list of all users | View the list of all users on the User profiles page and in all user lists throughout the application. |
| View users with the status Inactive | Filter users with Inactive status in user lists (such as user profile list, list of candidates, etc.). |
| View any user's personal information | View any user profile and its basic information across all tables in the application. |
| Change own personal information | Update own profile information, including personal details, account information (excluding username and role), and profile attachments. |
| Change other user's personal information | Update profile information for other users, including personal details, account information (excluding username and role), and profile attachments. |
| Change own password | Change own password on their profile. |
| Change other user's password and 2FA settings | Change other users' passwords and disable Two-factor authentication (2FA) on their profiles. |
| Manage user roles | Access to the Roles and permissions page. Create, edit, or delete user roles. |
| Change own role | Change their own role on their profile. |
| Grant roles to users | Change other user's roles on their profile pages. |
| Manage user statuses | Modify users' statuses (activate, lock, suspend, set to inactive) or permanently delete users. |
| Manage registration requests | Approve or decline registration requests. When a user submits a self-registration request, notifications are sent to all users with this permission. |
| Enable viewing of achieved certificates | View a list of certificates the user has achieved through the My achieved certificates tab on their profile and in their personal reports for tests. |
| Access the My groups tab on the user profile | The overview of the list of user groups the user belongs to from the My groups tab on their profile. |
| Access the My pools tab on the user profile | The overview of the list of question pools (that the user can use or manage) from the My pools tab on their profile. |
| Access the My activity log tab on the user profile | Access a detailed log of the user's in-app activities through the My activity log tab on their profile. |
| Access the My subscribers tab on the user profile | Access to the list of subscribers of the user from the My subscribers tab on their profile. |
| Manage subscriptions | Manage subscription lists on the Reporting/Subscribers page or on the user's own or other users' profiles. This includes the ability to create, edit, or delete subscriptions. |
| Manage own registration links | Create new registration links and edit or delete existing ones the user has created. |
| Manage all registration links | Manage all registration links in the system: create new ones, modify, and delete existing links, including those created by other users. |
| Allow data export | Export any table content in PDF, Excel, or CSV format. |
| Access the User groups page | On the User groups page, allow the user to access the list of user groups of which they are a member or manager. |
| View all user groups | On the User groups page, allow users to access the list of all user groups in the system. |
| Create new sub-groups | Create new sub-groups within parent user groups user manages and automatically become managers of those sub-groups. |
| Delete sub-groups the user manages | Delete sub-groups the user manages. |
| Create and delete top-level user groups | Create top-level user groups and automatically become their managers. Additionally, allow users to delete top-level user groups they manage. |
| Manage any user group | Manage any user group in the system, including changing their settings, managing members and managers, and deleting user groups. |
| Access the Question pools page | On the Question pools page, allow users to access the list of question pools that they can use or manage. |
| Create new question pools | Create new question pools and automatically become their managers. |
| Manage any question pool | Manage any question pool in the system, including changing their settings, managing questions and question pool users, and deleting question pools. |
| Access to the Manage tests, Manage surveys, Grading scales, Training courses, and Personal report pages | Access to the Manage tests, Manage surveys, Grading scales, Training courses, and Personal report pages. |
| Create new tests, surveys, or training courses | Create new tests, surveys, or training courses, including the possibility to import new ones. Users can also copy existing tests and surveys to create new ones based on them. |
| Publish tests, surveys, or training courses | Change the status of tests, surveys, or training courses to published and make them available to candidates. |
| View questions | Access questions and details in tests and surveys managed by the user. |
| Access and grade reports | Access and grade candidates' reports for tests the user manages or to which they've been assigned as a grader. |
| Grade any report | View and grade all taken tests and surveys. |
| Assign user group members to testing sessions | Assign members of user groups the user manages to testing sessions for tests or surveys, and track the results of those user group members. |
| Fully manage own tests, surveys, or training courses | In tests, surveys, and training courses where users have been assigned as managers, allow them to edit settings, assign other managers, add publicly available grading scales, and access detailed reports. Additionally, provide options to delete and export them. |
| Manage any test, survey, or training course | Fully manage all tests, surveys, and training courses: edit their settings, manage candidates and managers, add all grading scales from the add any grading scale available in the system, delete, and export them. |
| Create new certificates | Create new certificates and use them in test creation. Upon creating certificates, users will automatically become their managers. |
| Create a test template | Create test templates and save configurations for generating future tests. |
| Set a test template to be public | Create publicly available test templates that other users can also use for future test generation. |
| View all special accommodations | On the Candidates page, view the list of all special accommodations and their details. |
| Request special accommodation | Request special accommodations for tests or surveys a user has booked or been assigned to. |
| Respond to special accommodation requests | Respond to special accommodation requests by approving or rejecting them. These users will receive a notification when a special accommodation request is created. |
| Manage special accommodations | Create, edit, respond, or remove special accommodations. Users with this permission will also receive a notification when a response on special accommodation is sent. |
| Manage special requests | Create and manage special requests sent to candidates. Users with this role will also receive notifications when a response is sent and when a special request is pending review. |
| Access the Testing center dashboards | Make the Testing center section visible in the main menu. Enable the desired permissions below to allow users to access additional pages within the module. |
| Access and view own testing sessions | Access to the Testing sessions page within the Testing center module. Users can view testing sessions managed/monitored by the user or scheduled for the tests that the user manages. |
| Create a testing session | Create and manage testing sessions for the tests the user manages. Even if the Testing center module is not used, this permission must be enabled to allow the creation of testing sessions. |
| Assign any user to the user's testing sessions | Assign any user from a list of all system users as a candidate in testing sessions the user is managing or testing sessions for a test/surveys where the user has been assigned to as a manager. To allow the assignment of any user from the system, this permission must be enabled, even if the Testing center module is not used. Without this permission, users can see and assign other users based on their other permissions. |
| Manage any testing session | Fully manage testing sessions, including editing session configurations, managing candidates, assigning proctors, managers and more. Users have complete control over all aspects of the testing sessions, and this level of management is only possible through the Testing center module. | Access Testing locations page | Access to the Testing locations page and view a list of all testing locations available in the system. |
| Manage testing locations | View and manage the Testing locations dashboard: Create new locations and edit or delete existing locations in the system. |
| Access the Candidates page | Access to the Candidates dashboard under the Testing center module. Users have the ability to manage special requests and special accommodations, as well as to view and monitor test/survey attempts and sessions they manage. |
| Manage test authorizations | Manage test authorizations by creating new ones, editing, or deactivating existing ones. |
| Change attachment availability | Change the availability of existing attachments to private or public. Attachments can be added to tests, surveys, training course steps, or questions, and candidates will view them during assignments. Public attachments are accessible to any test/question creator. If a user without the Manage any attachment permission sets someone else's attachment as private, it will no longer be visible to them. |
| Edit public attachment | Modify the name and description of any public attachment. |
| Manage any attachment | View, modify, and manage all attachments, including public and private ones created by other users. |
| Access the Manage workspaces page | Access to the Manage workspaces page. If the user is a member of a workspace, they will see that workspace on this page but cannot edit it without the Manage any workspace permission on their system role or the Manage workspace permission on their workspace role. |
| Create new workspaces | Create new workspaces and edit the ones the user has created. |
| Manage any workspace | Manage the Workspaces module, including accessing, creating, and managing workspace roles, as well as managing all workspaces in the system. |
| Access the Categories page | Access to the Categories page. |
| Create new custom categories | Create new custom categories and assign them to appropriate workspaces if needed. |
| Manage any custom category | Manage any custom category in the system by editing or deleting them. |
| Manage system settings | Access to the system settings module, including the Settings and customization, Integrations, and Maintenance pages. |
| Access the REST API | Authenticate to the REST API and make calls to the REST API endpoints. |
| Show or hide candidate reports | Show or hide candidate's test results on the "Personal report" page. |
| Export candidate reports | Export a test results from the "Personal report" page in available formats (PDF, Excel, score by question pools,...). Gain offline access, detailed result analysis, or share reports outside the system. |
| Access AI Orchestrator | Access and use the AI Orchestrator to perform actions in the application using natural-language commands. Enabling this permission automatically grants the content creation permissions required for Orchestrator actions, such as creating users, tests, surveys, training courses, and testing sessions. For more information on using the AI Orchestrator, refer to this article. |
Note: The Access AI Orchestrator permission grants broad content creation capabilities. Assign it only to appropriate and trusted roles. It should not be enabled for roles such as Student.
Creating/editing role
You can create an unlimited number of custom roles. All roles (custom and predefined) except the administrator role are editable.
-
Role settings
To create a role:-
Enter the Role name.
-
The role code is generated automatically by the system upon role creation and cannot be edited. The role code is a key identifier when importing users via an Excel template.
-
Enter the External ID, a unique identifier for integration with external systems. Otherwise, leave it blank.
-
Enter the Role description, which is displayed on the home page in the welcome message section.
-
Choose the landing page upon login.
-
Generate and share a User registration link. Users who receive it will use the link to create an account with this role.
-
If a user has permission to create a new user (12. Create new users - enabled) but does not have permission to assign roles (3. Grant roles to users - disabled), they can choose any role labeled as Grantable role when creating a new user.
-
Require two-factor authentication on login. Users assigned to this role must complete a two-factor authentication process during login. If two-factor authentication has not been set up, users will be prompted to configure it before proceeding. Please note that this option is applicable only during standard login with credentials. For more information on how to configure two-factor authentication, please refer to this article.
-
Public role is visible and accessible in all workspaces.
-
Hide user personal data - Enable this option to anonymize other users' personal information for users assigned to this role. When enabled, users will see anonymized identifiers, such as the User ID, instead of personal information such as username, first and last name, email address, and other personally identifiable information.
Note: Users with personal data anonymization enabled cannot access proctoring recordings or predefined reports, as these areas may contain personal or identity-related information.
For more information on enabling user anonymization, refer to this article.
-
Choose permissions to define the actions and viewing capabilities for this role. For details on each permission, consult the List of permissions chapter.
-
Click the Create/Update button.
-
-
Accessing predefined reports
Determine which reports users with this role can access in the Predefined reports section.
-
Navigate to the Access to predefined reports tab.
-
Filter the table displaying reports for which the user has either been granted access or not.
-
Control access to a specific report by setting it to Enabled or Disabled.
-
To mark specific reports as default favorite reports for that role, click the Add to role favorite reports button, or click the Remove button to delete the report from the favorite report list.
To grant access to predefined reports:
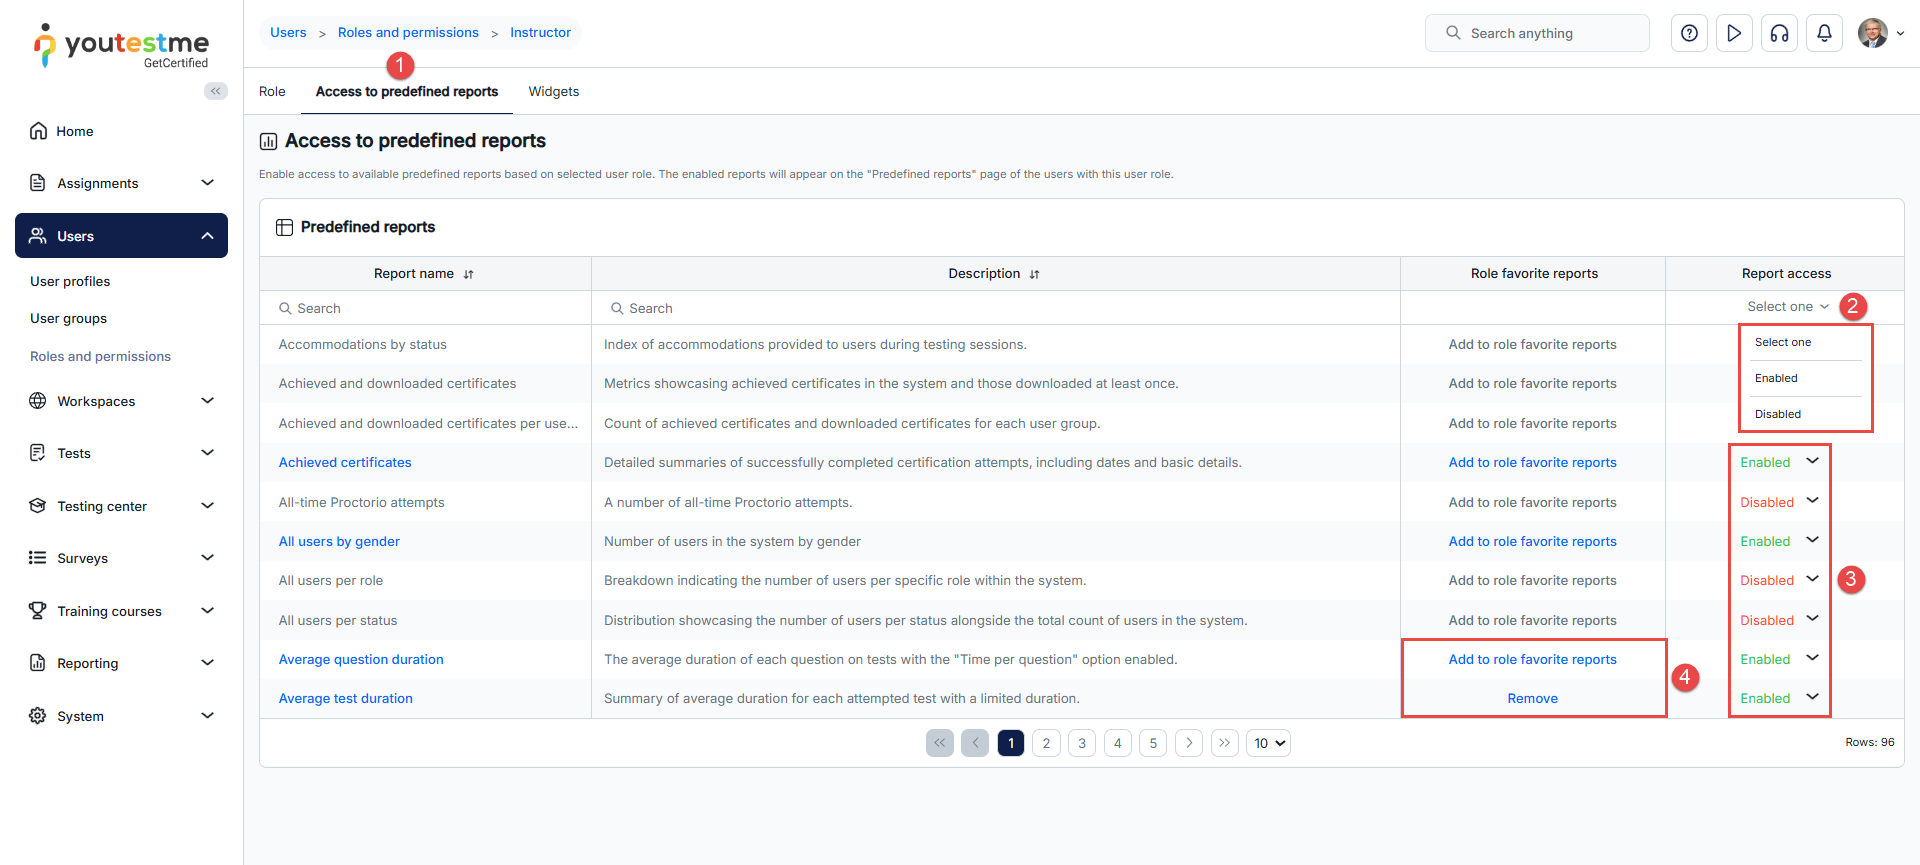
-
-
Widgets
Widgets provide quick access to frequently used application functions directly from the home page.
The configuration of widgets on the homepage can be tailored to your preferences:
-
Use the search bar to find a specific widget from the Available widgets.
-
Drag and drop the widget into the blank space on the right side.
-
To remove a widget, click on the minus button in the top-left corner of the widget.
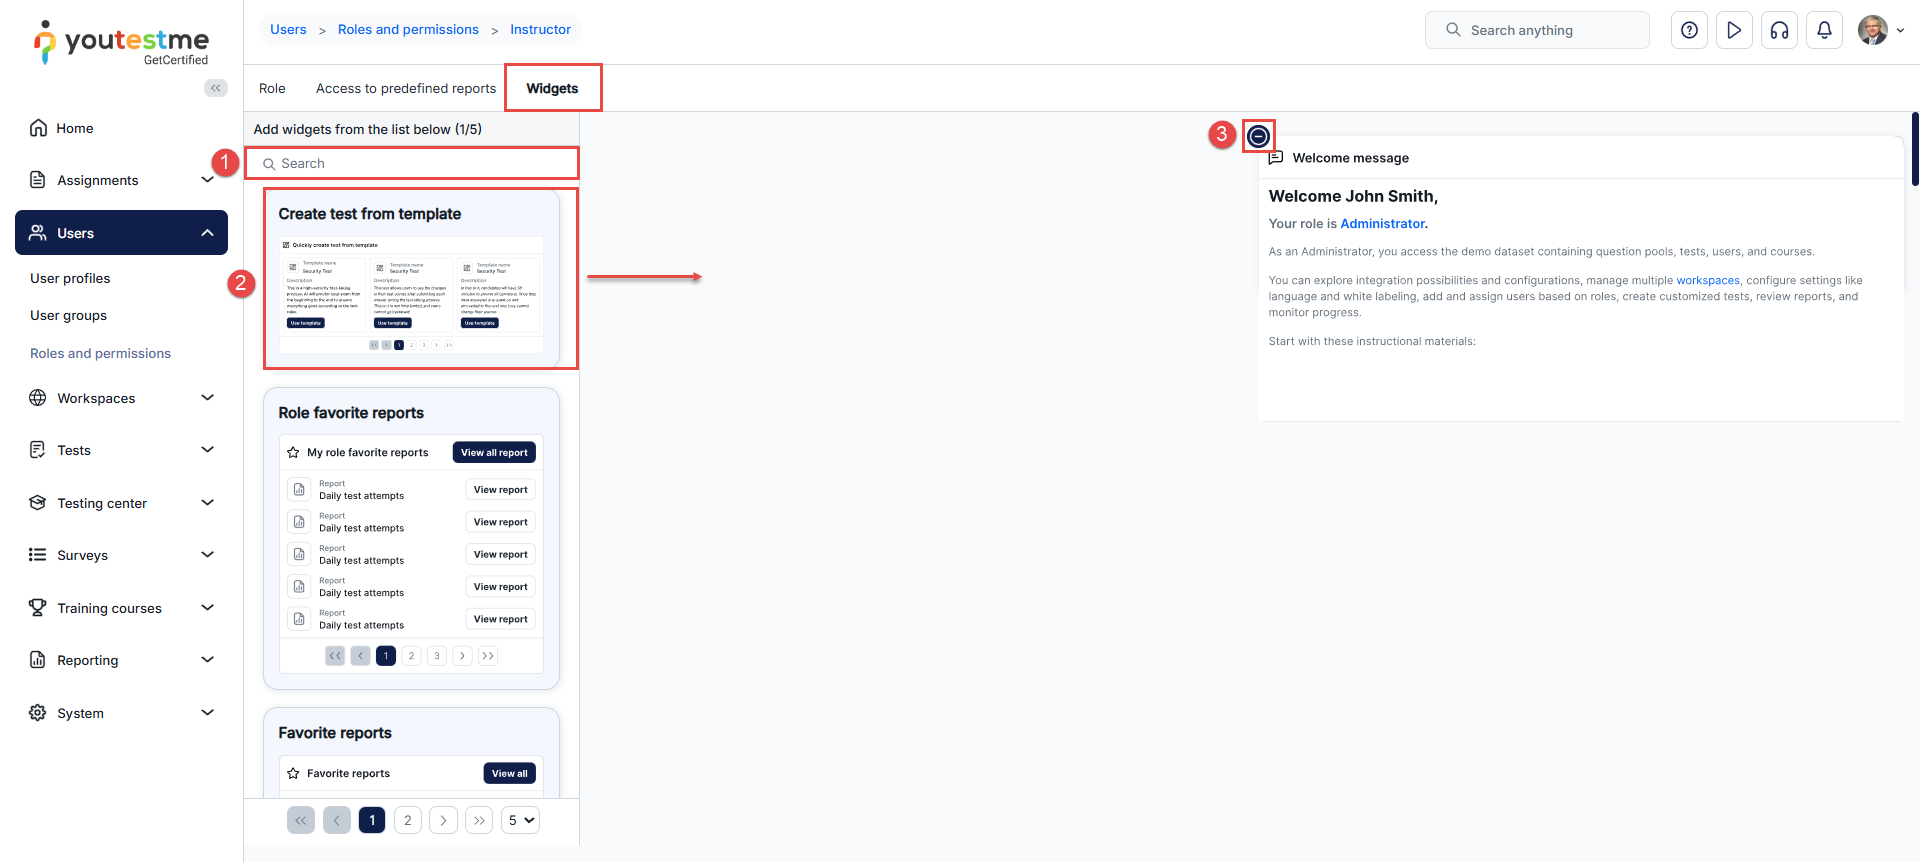
-
Types of widgets
Role description - Description of your role within the system. It can be modified in the Roles and permissions section under the Role description field.
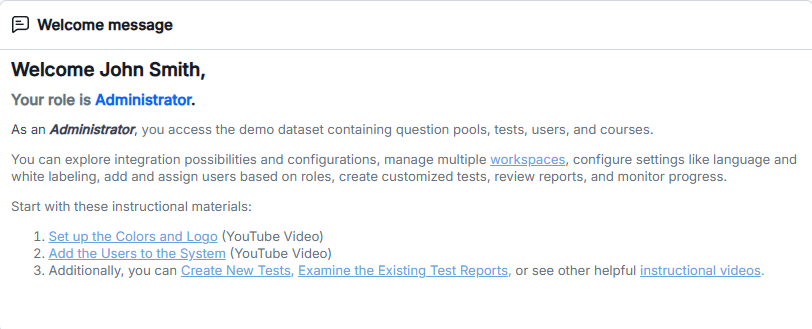
New user group - Shortcut widget for creating a new user group.
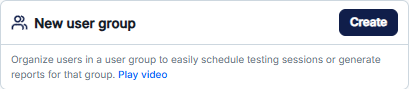
New test - Shortcut widget for creating a new test.
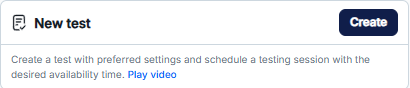
Testing sessions - A list of upcoming, active, and expired testing sessions.
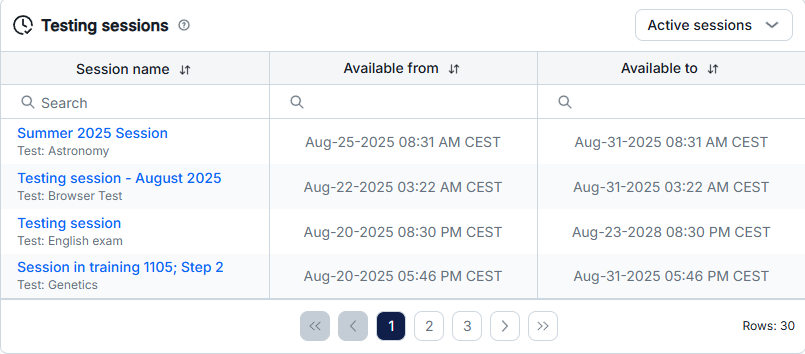
Recently created tests - A list of tests, sorted from most recently created to oldest. It includes associated statistics such as the number of passed, failed, and not graded test attempts. Additionally, you can manage testing sessions and access results.
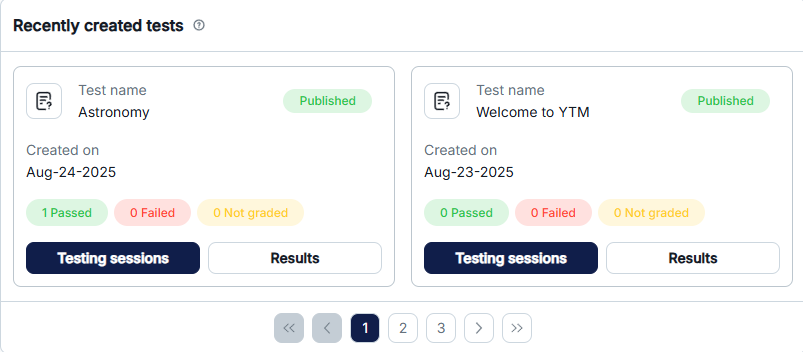
Quickly create test from template - A list of public test templates that can be utilized for creating new tests. For detailed instructions on creating test templates, refer to this link.
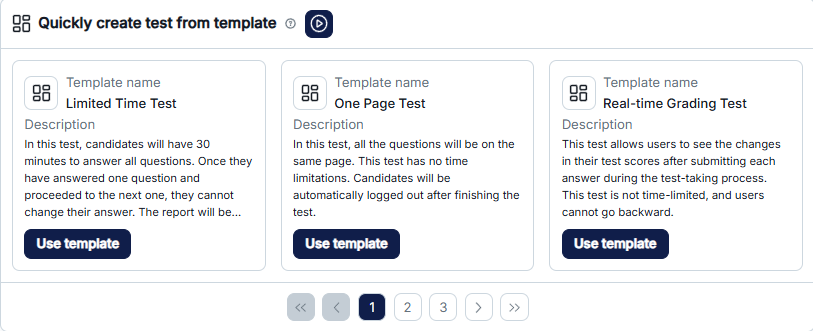
New training course - Shortcut widget for creating a new training course.
Recent payments from users - A list of user purchases with payment details, organized from most recent to oldest transactions.
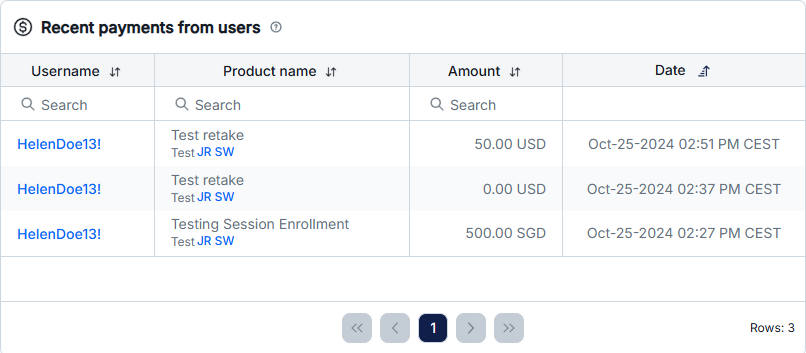
Proctoring minutes - The number of purchased and remaining proctoring minutes for proctored tests.
Users per role - The total number of users in the application grouped by their security role, along with the number of users created since the beginning of the current month.

My user groups - A list of groups assigned to a user for managing, sorted from oldest to newest, with basic group information.
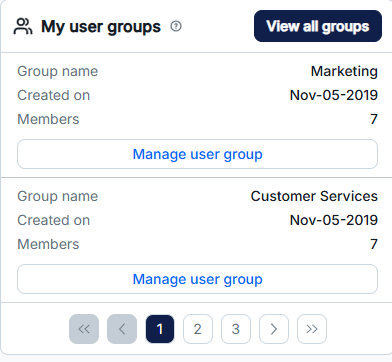
List of system settings - Main settings that allow you to easily customize the application. For more information, refer to the Settings and customization help page.
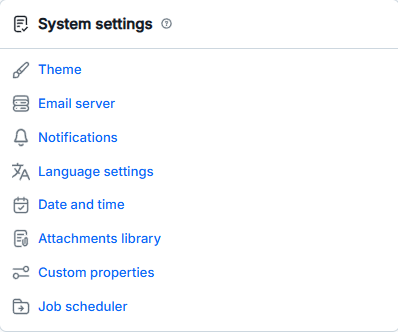
New user - Shortcut widget for creating a new user.
New surveys - Shortcut widget for creating a new survey.
Favorite reports - A list of reports the user has marked as favorite.
Exam attempts - A summary of test attempts with details.
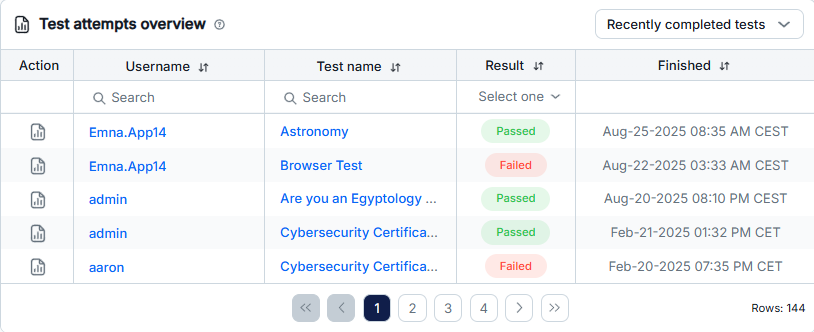
Recent activity - A list of the user's latest actions.
Attempted tests - The total and monthly number of attempted tests.
Note: For more information on personalizing the home page, please refer to this article.
-
-
Account security policy configuration
Security policies can also be configured for specific roles, allowing administrators to apply customized security requirements. The same configuration sections are available as on the system level: Web Session Parameters, Password Configuration, Password Lifecycle, Account Lockout, and Dormant Account.
-
Session timeout in minutes - Defines how many minutes a user may remain inactive before the session expires automatically.
-
Session maximum lifetime - Defines the maximum total duration of a session, regardless of user activity.
-
Minimum password length - The minimum number of characters a password must contain.
-
Minimum number of uppercase letters - The minimum required number of uppercase alphabet characters in a password.
-
Minimum number of lowercase letters - The minimum required number of lowercase alphabet characters in a password.
-
Minimum number of digits - The minimum required number of numeric characters (0-9) in a password.
-
Minimum number of special characters - The minimum required number of special characters in a password.
-
Prevent use of username and user ID in password - Prevents users from creating passwords that contain their username or user ID.
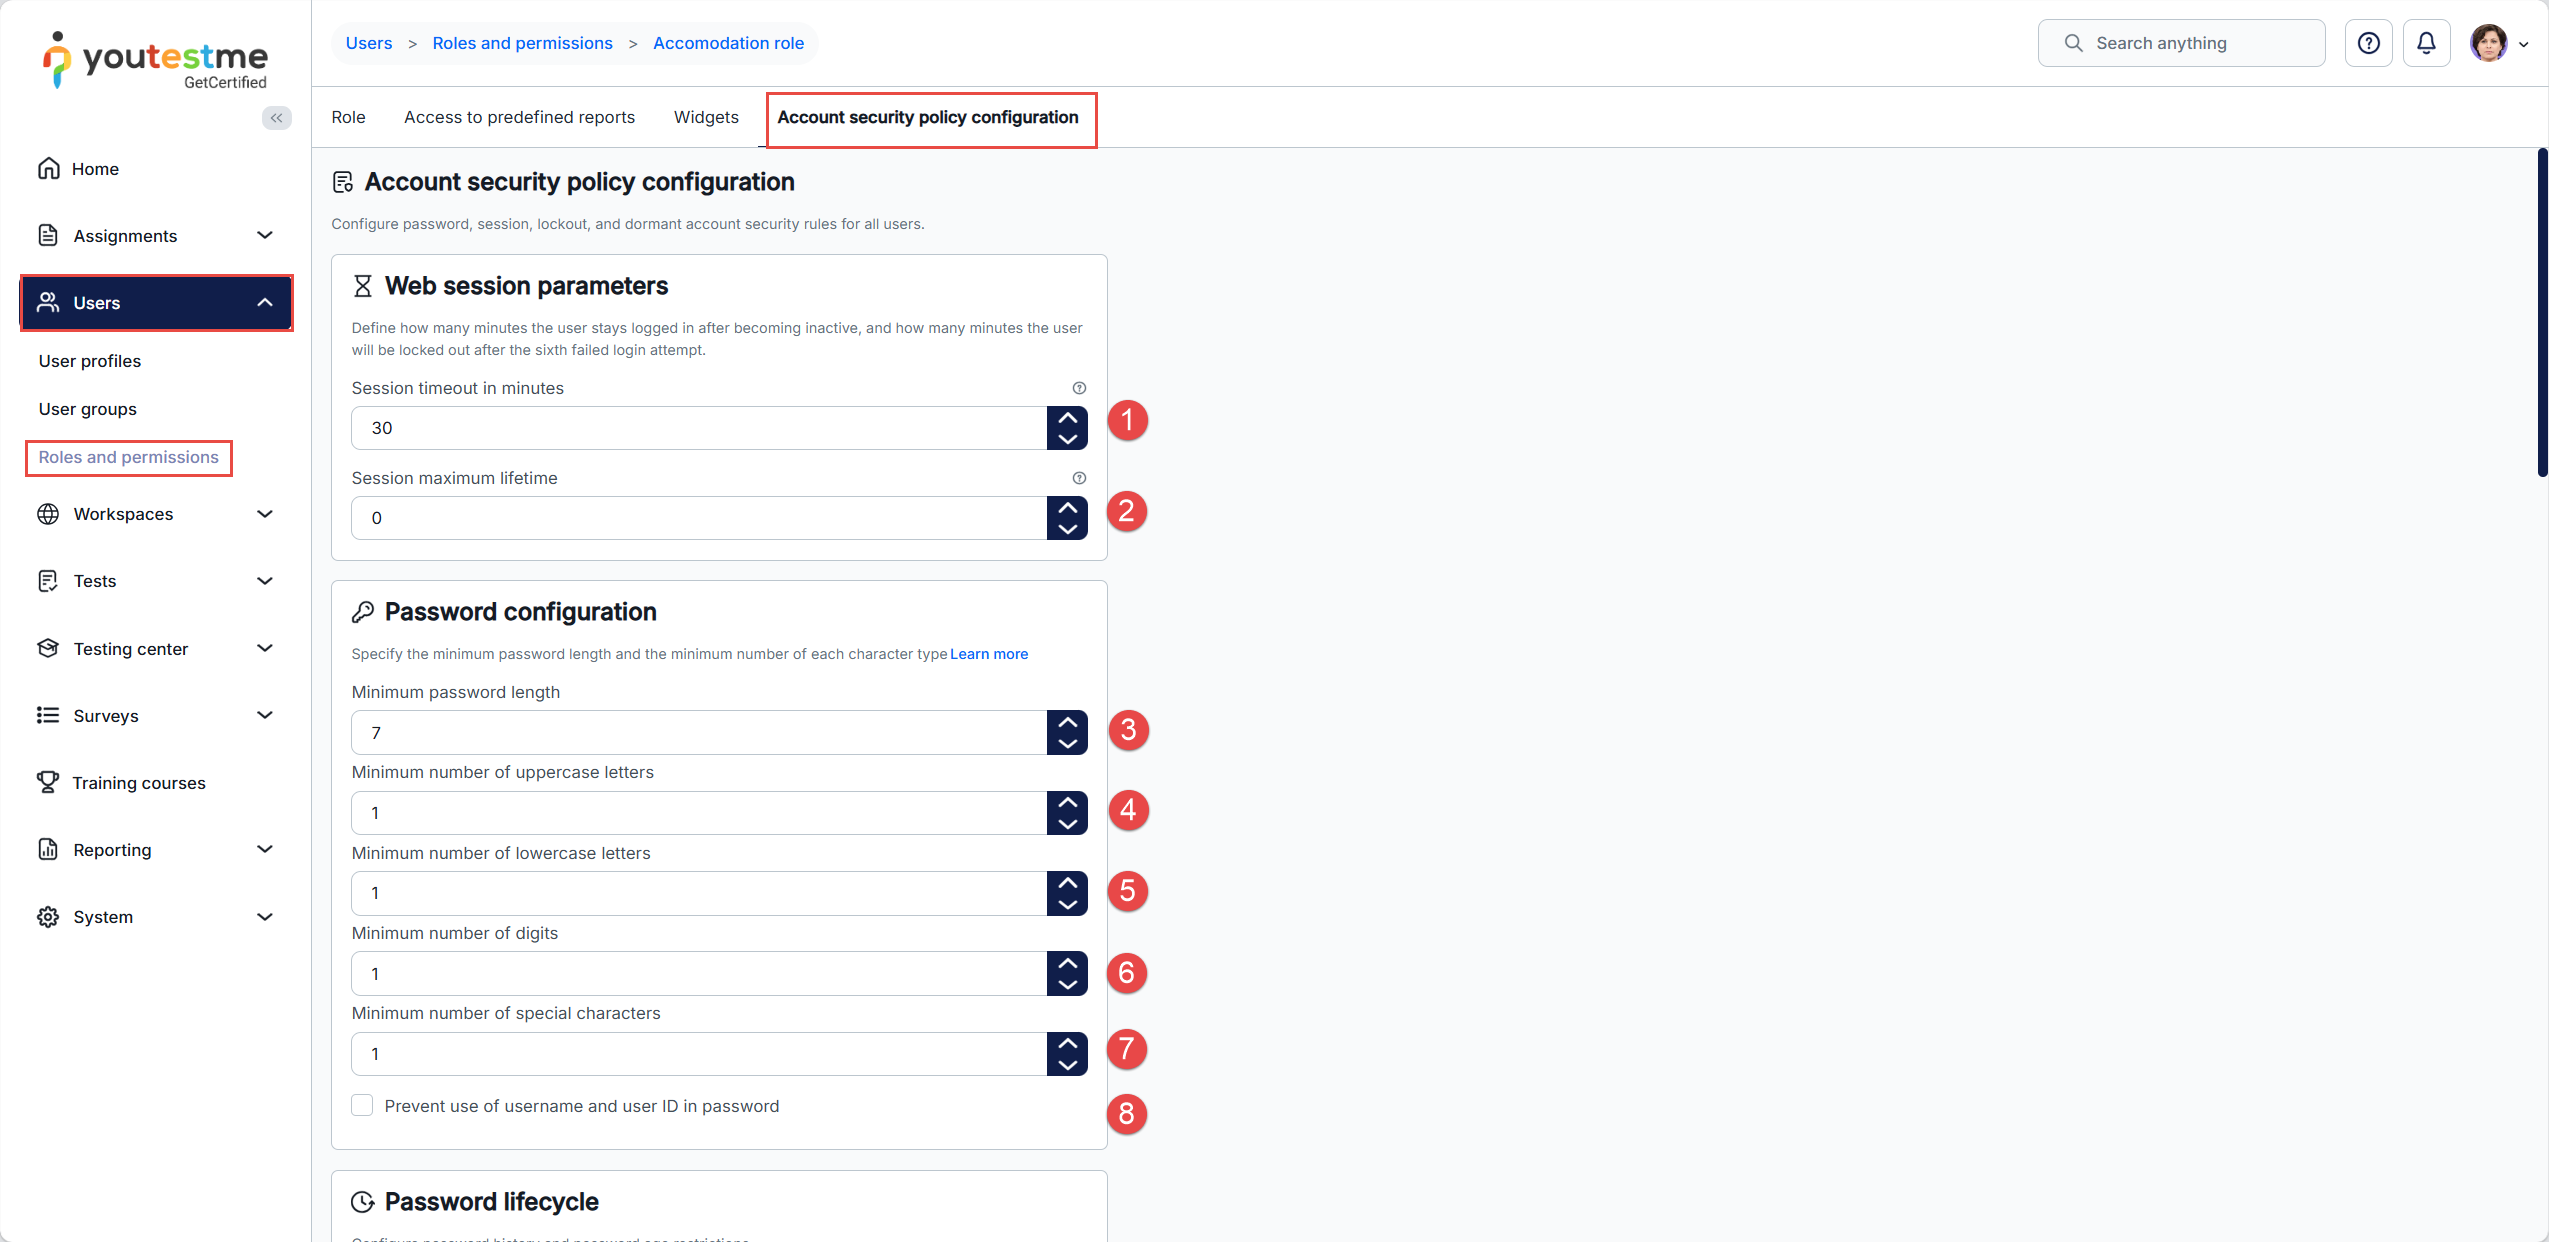
-
Password History Length - Defines how many previously used passwords are remembered and cannot be reused when setting a new password.
-
Minimum Password Age - Defines the minimum period that must pass before a user is allowed to change their password again.
-
Maximum Password Age - Defines the maximum period a password may be used before the user is required to change it.
-
Maximum Failed Login Attempts - Defines the number of consecutive failed login attempts allowed before the user account is locked.
-
Failed login reset window - Defines the time period during which failed login attempts are counted. After this period expires, the failed attempt counter is reset.
-
Lockout Duration - Defines how long the user account remains locked after the maximum number of failed login attempts is reached.
-
Dormant inactivity period - Defines the period of user inactivity after which the account is considered dormant.
-
Dormant no-reactivation period - Defines the maximum period during which a dormant account may remain inactive before further action is required.
-
Click the Restore to default values button to reset all account security policy values to their default settings.
-
Click the Use global settings button to apply the system-level account security policy values to the role.
-
Click the Confirm button to save the configured account security policy.
-
Click the Cancel button to discard the changes.
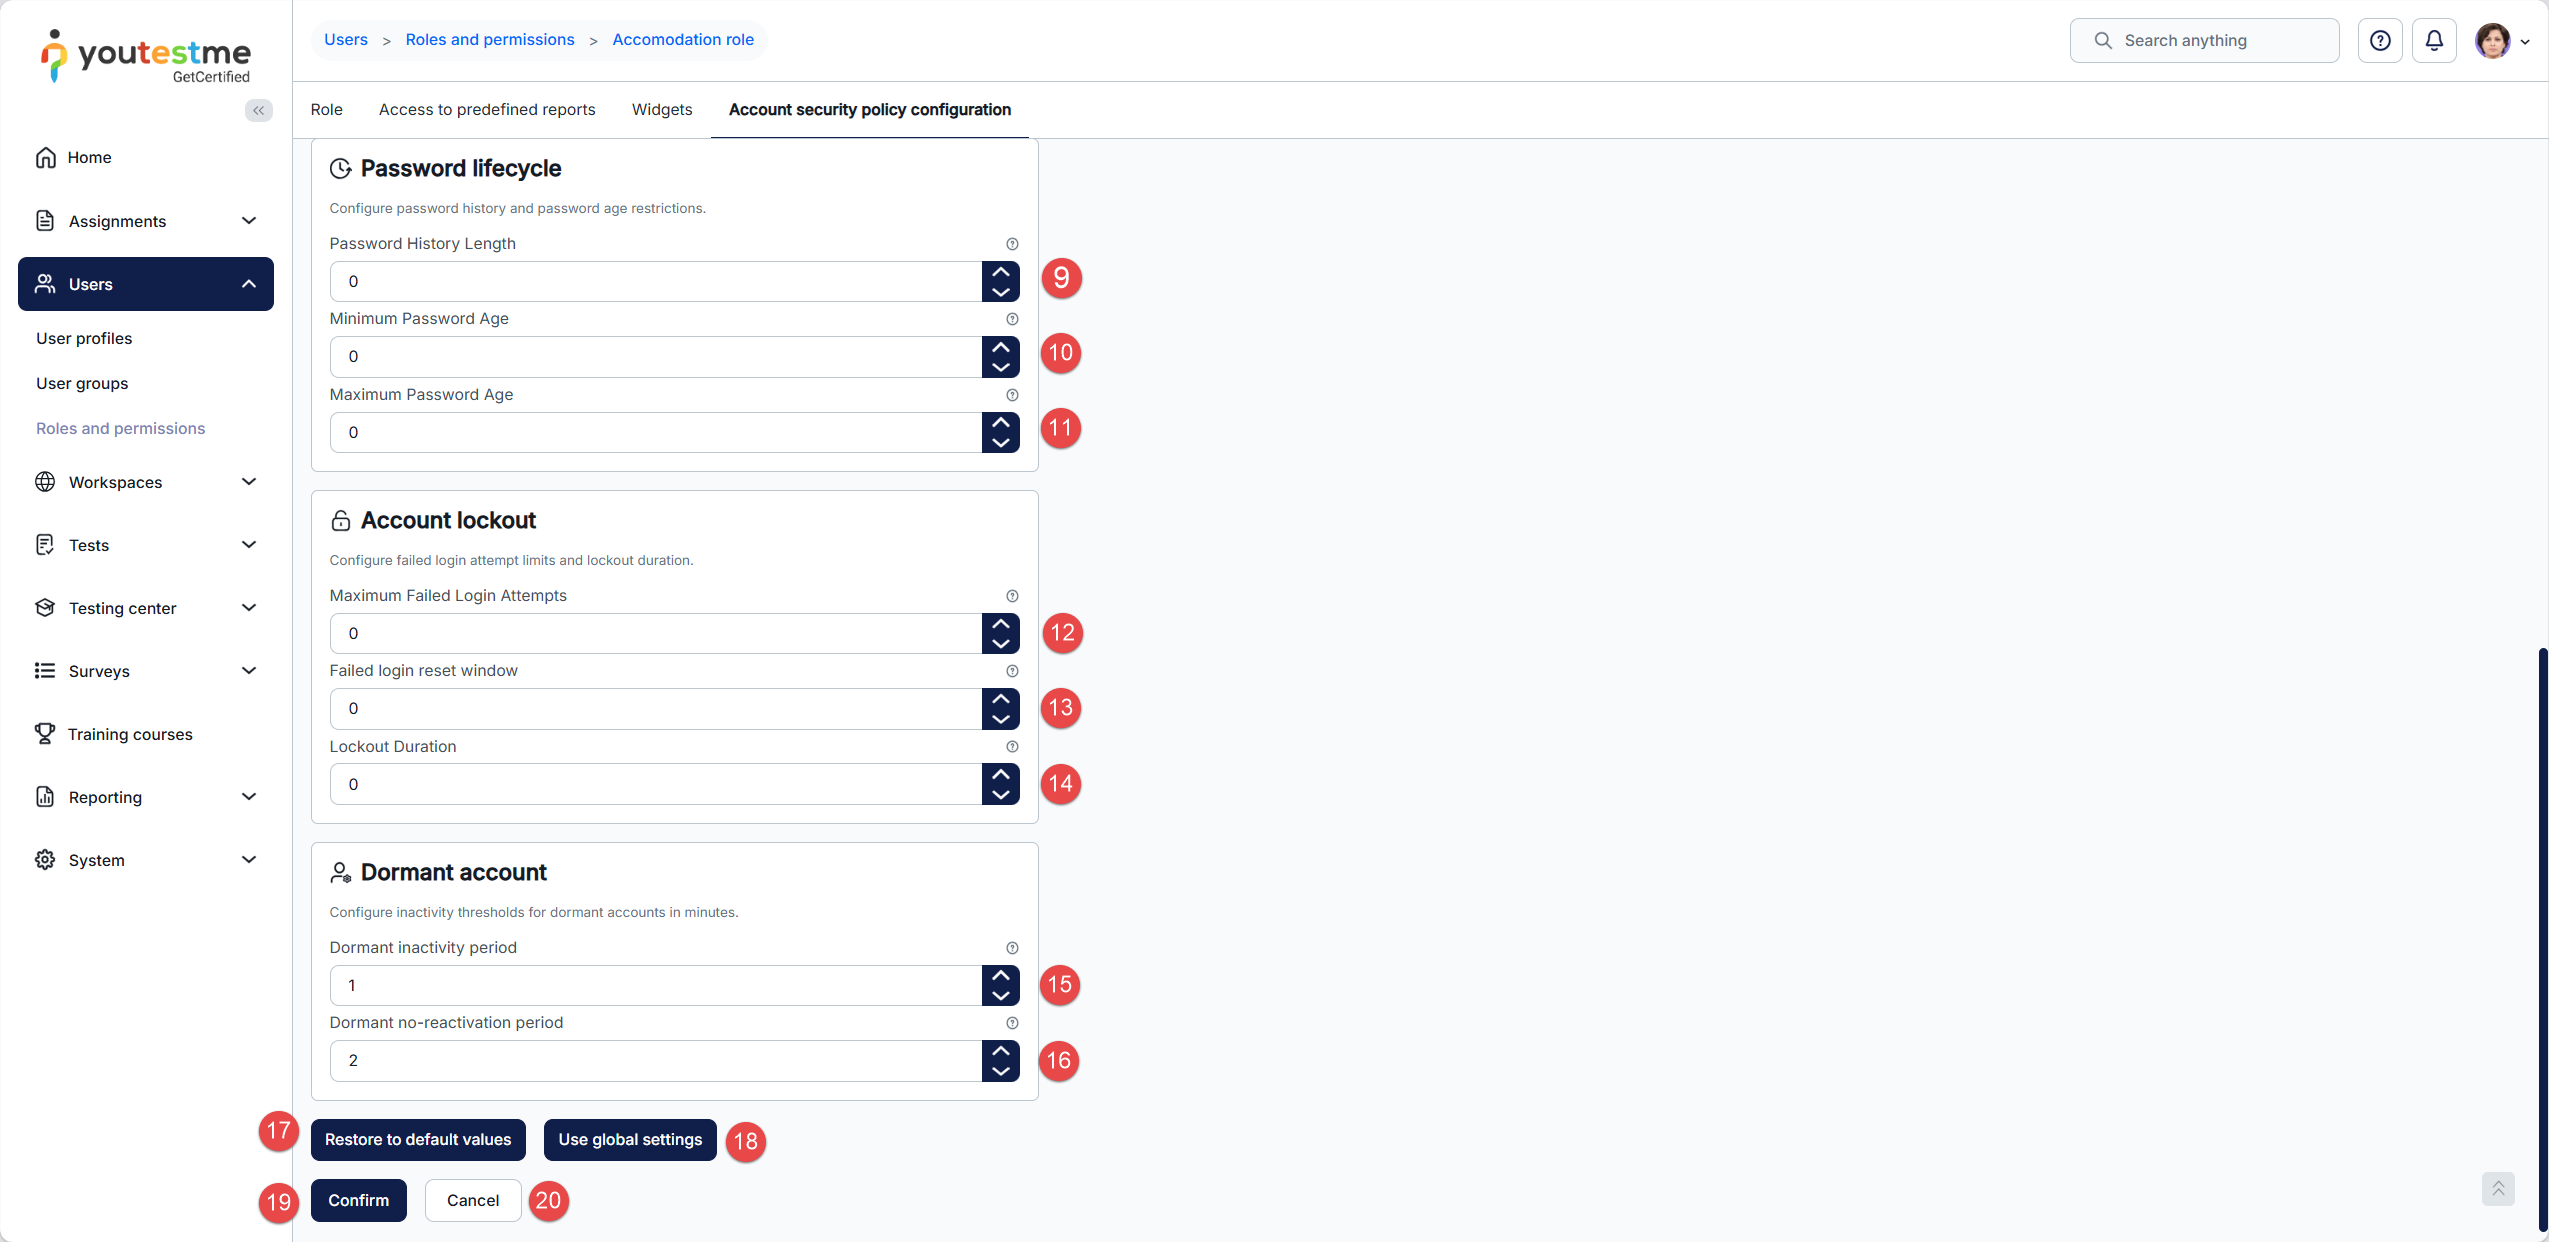
You can configure:
-
Note: Editing an existing system role mirrors creating a new one.
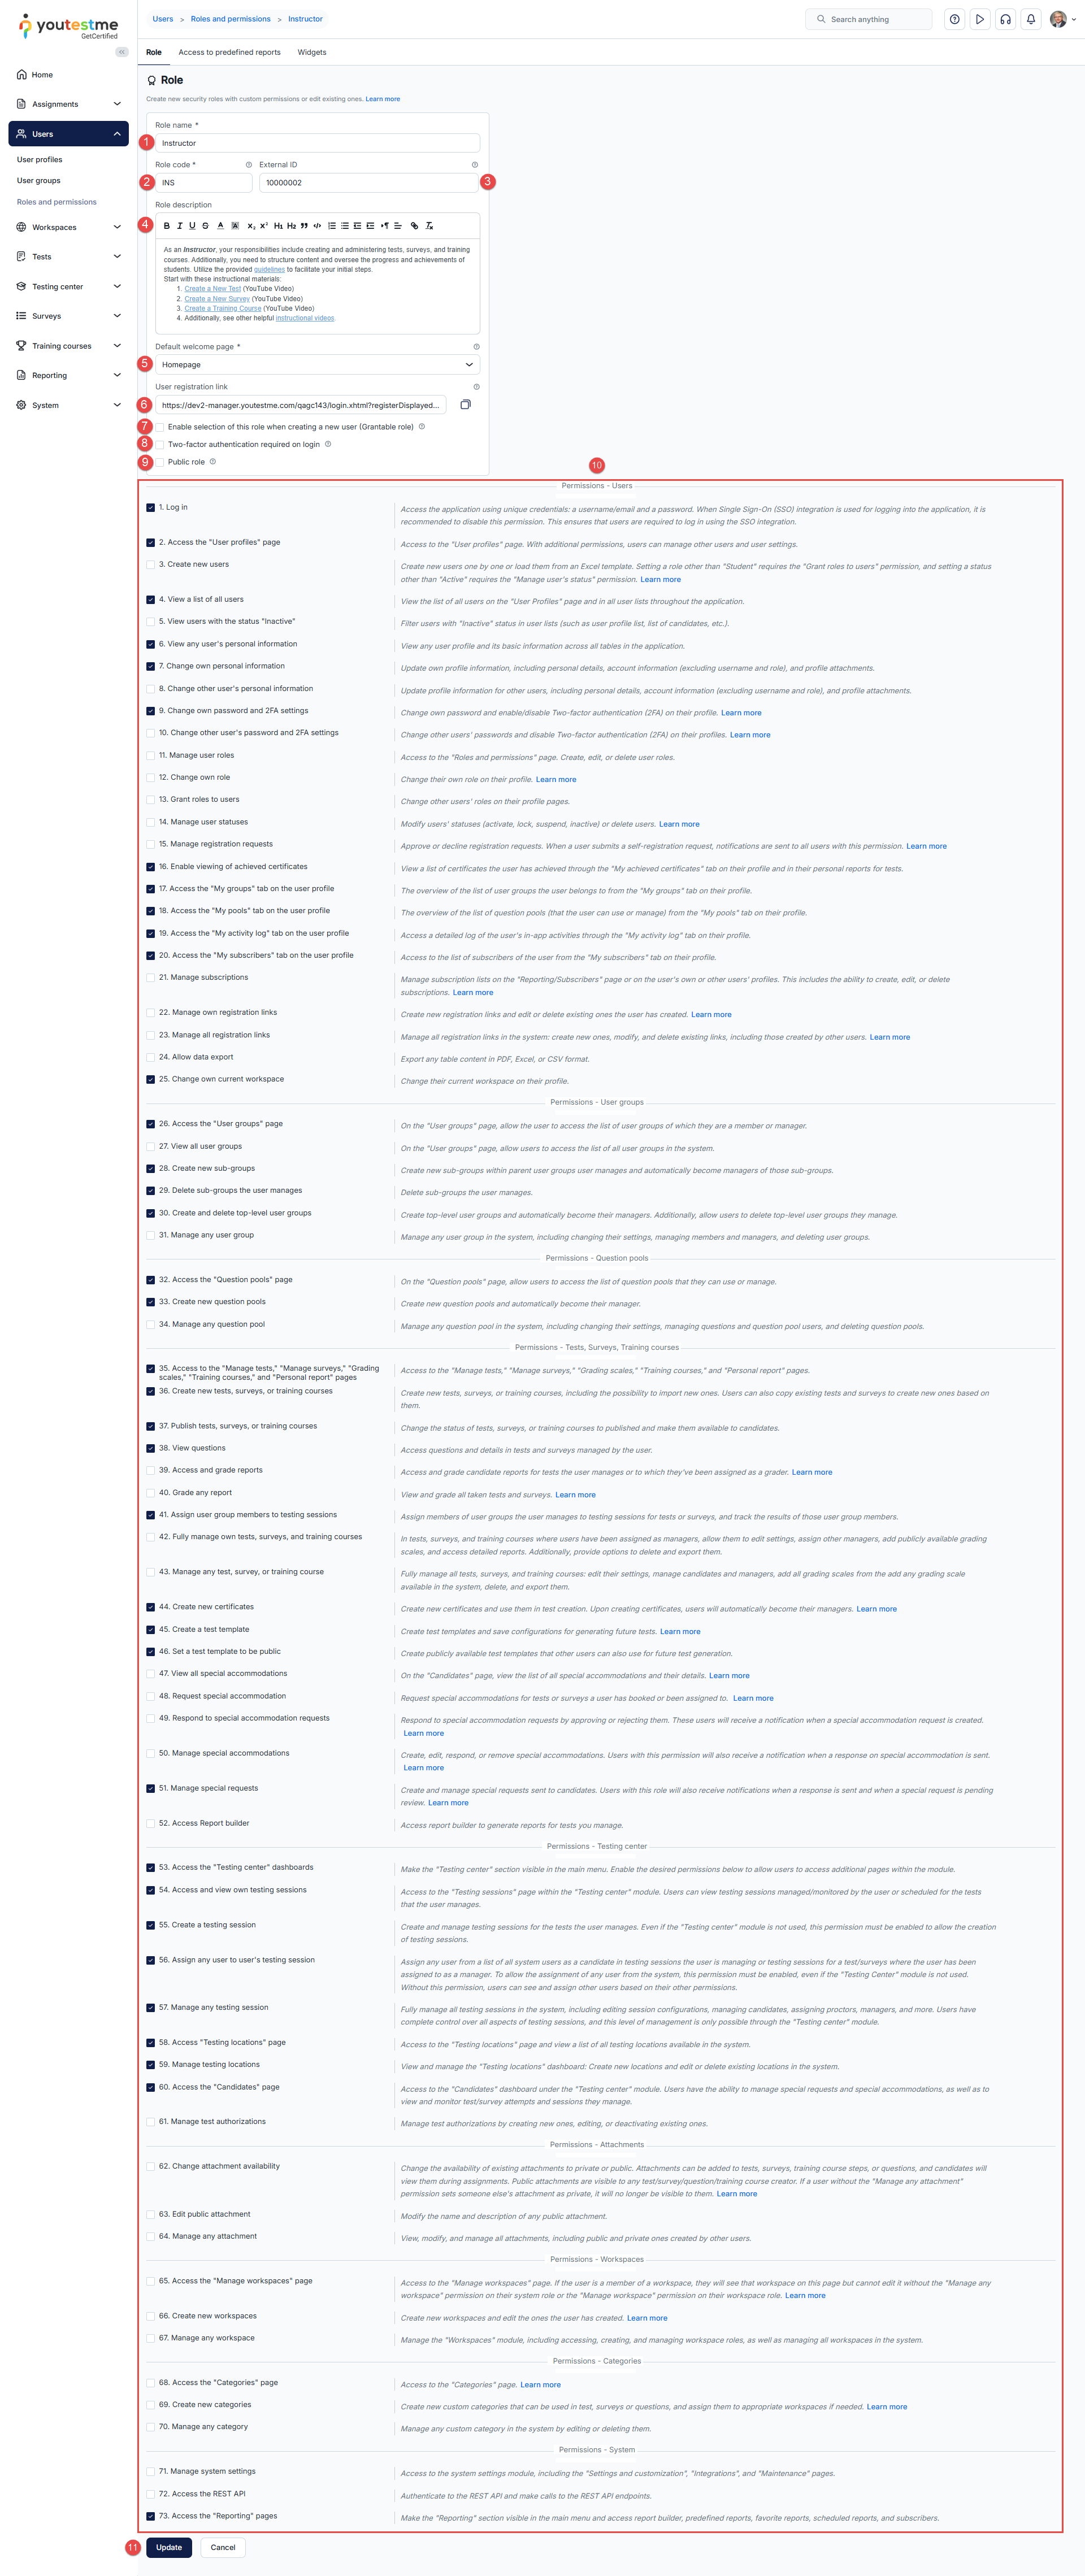
My profile/User profile
-
Introduction
The user profile page is a centralized location where users can view and manage their personal details and account settings. User actions on this page are determined by their system role and associated permissions.
A user can access their profile by clicking on the User menu in the top-right corner of the application and selecting the My profile option.
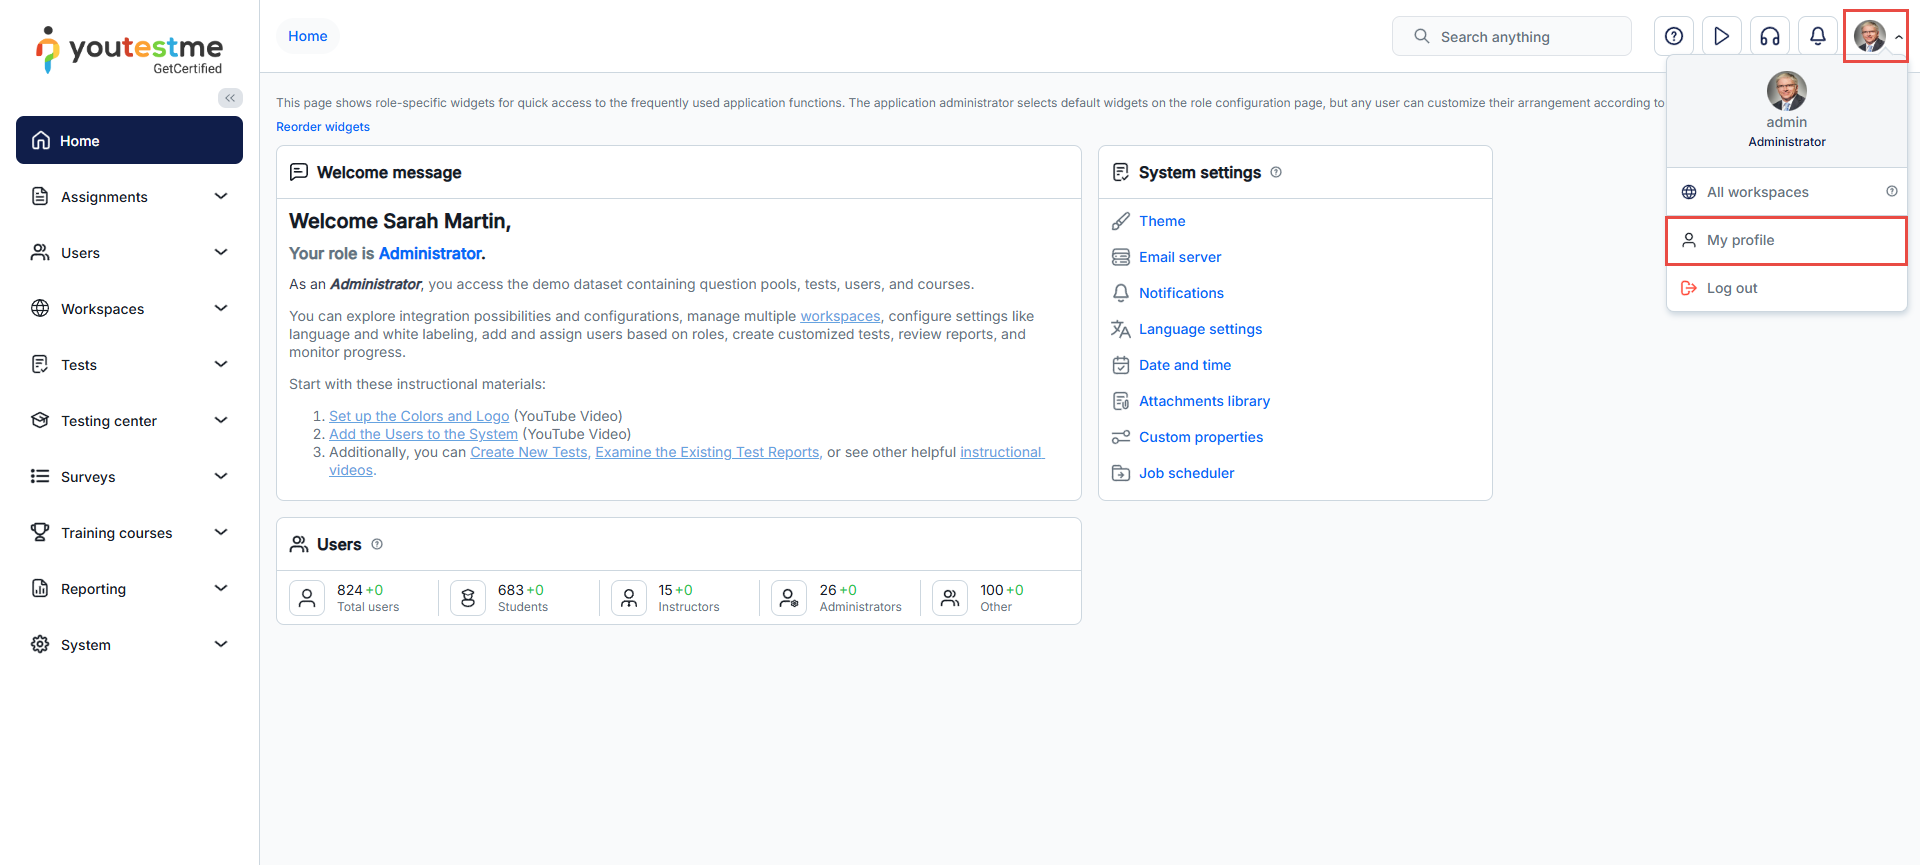
-
Information
-
Account information
This section contains information related to the user's profile.
-
User ID - Automatically generated upon user profile creation and cannot be edited.
-
Username - The username field is case-sensitive and must be unique.
-
Email address – The email address where the user will receive notifications.
-
Current workspace - You can filter and display data exclusively from the selected workspace if assigned to multiple workspaces. When you switch workspaces, the system customizes the display to show only the entities (users, tests, user groups, training courses, question categories, question pools) associated with the chosen workspace. If a workspace's theme, logo, and favicon are customized, the system branding will be overridden when the current workspace is selected. To view all available data, choose the All workspaces option.
This option is available for the users who have "Change own current workspace" permission.
-
Time zone in which the data containing the date and time will be displayed.
-
Switch the interface theme if multiple options are available. The change will be applied exclusively to your user profile..
-
Language in app - Determines the application interface's language (excluding user-generated content, such as question text, test descriptions, etc.). If a language preference is set for a specific test, it overrides the application interface language for a user account.
-
Language in tests - The default language for displaying questions and answers in tests, if defined during the question creation.
-
User external ID - a unique identifier that serves as a distinctive label for the user in the system. This identifier can then be employed when integrating with other external systems.
-
Profile picture - Supported file types are JPG, JPEG, PNG, BMP, and the maximum size is 100MB.
-
Link to access assignments quickly.
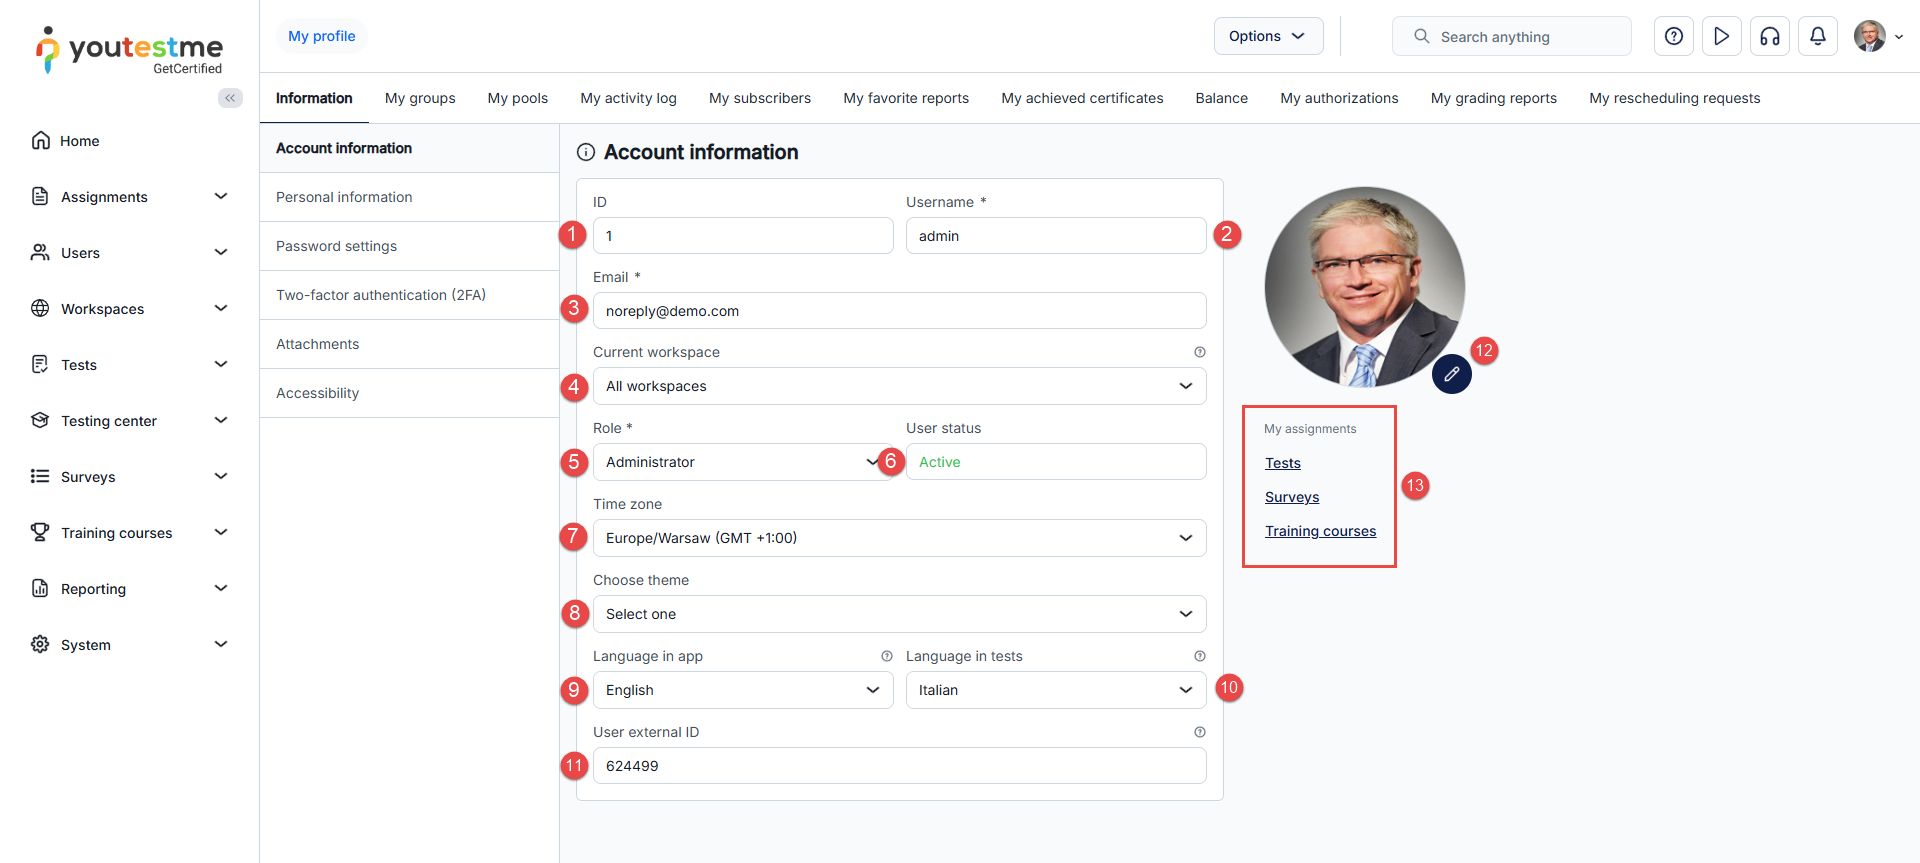
-
-
Personal information
This section displays users' personal information, including any custom user properties that have been created.
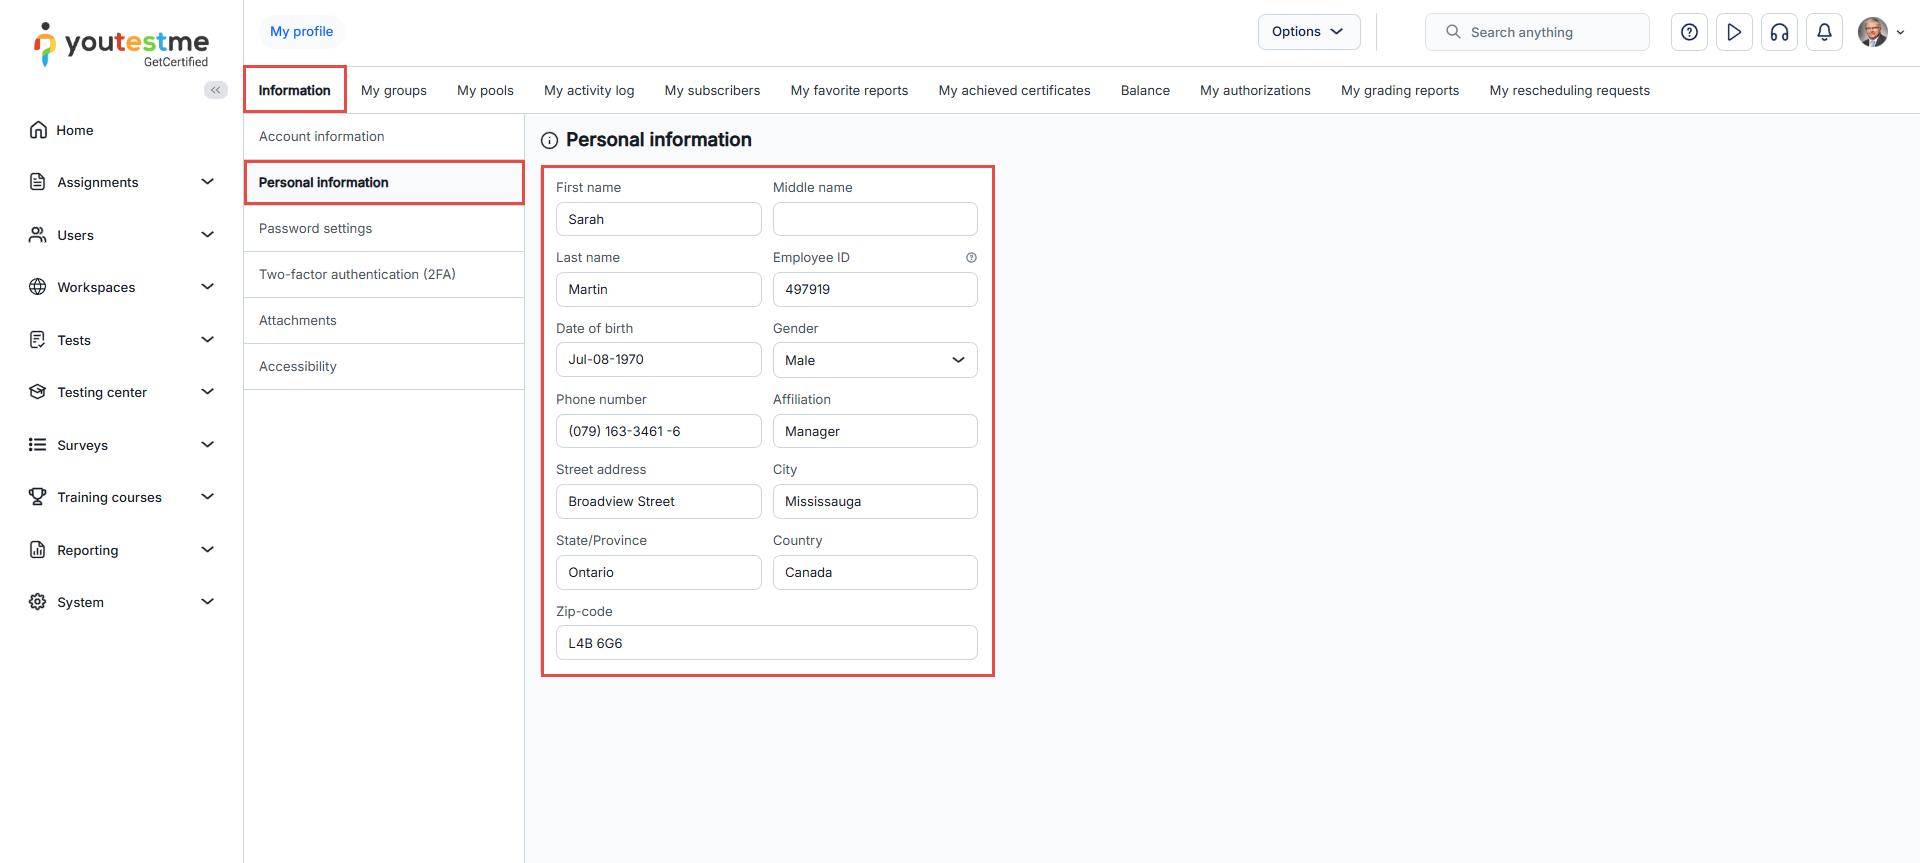
-
Password settings
This section is used to change the user profile password.
To change the password:-
Enter the Current password.
-
Enter a New password that meets all configured password requirements.
-
Re-enter the password in the Confirm password field.
-
Set the Expiration date if needed. This field can only be modified by users with the Admin role. For all other users, this field is disabled.
-
Click the Save button.
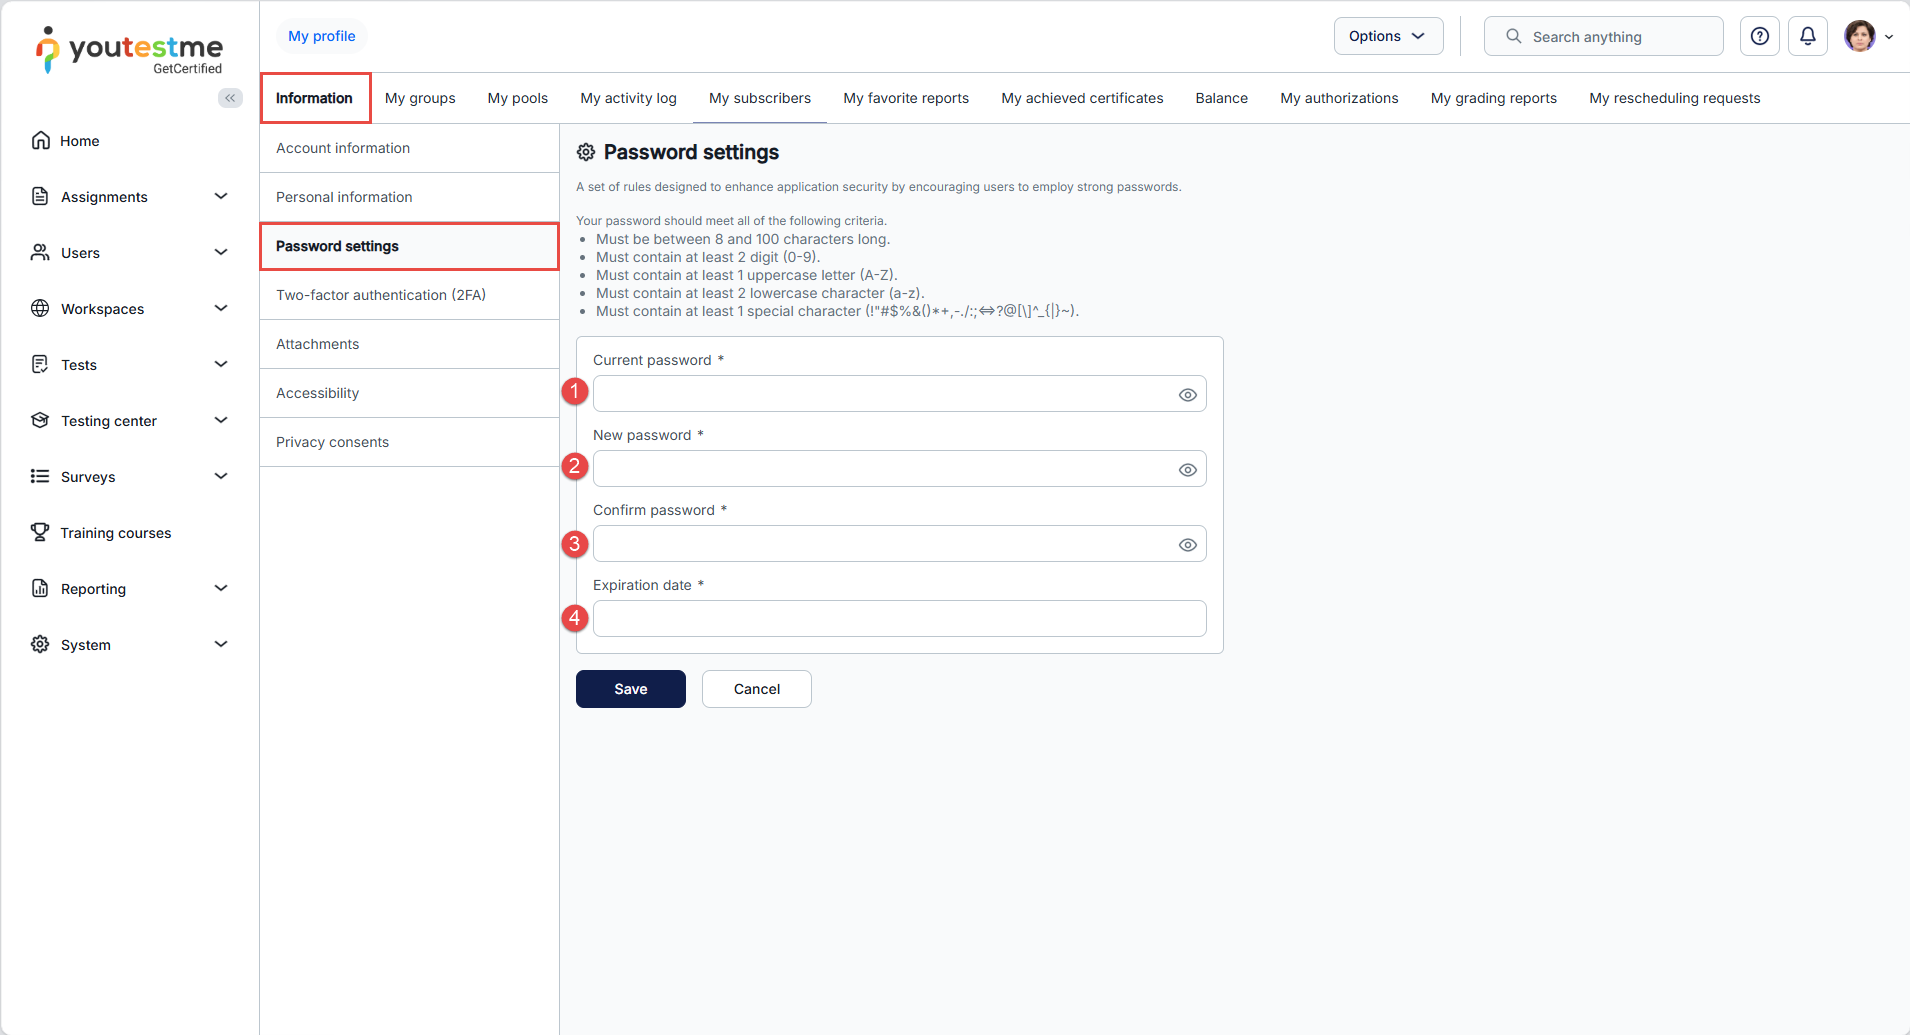
-
-
Two-factor authentication (2FA)
Two-factor authentication (2FA) is a security method that enhances account protection by requiring users to confirm their identity through two different authentication factors. This extra layer of protection, beyond usernames and passwords, blocks unauthorized access. For example, even with a compromised password, a second factor, like a phone-sent code, is required for a successful login.
To enable 2FA, click the Activate two-factor authentication button.
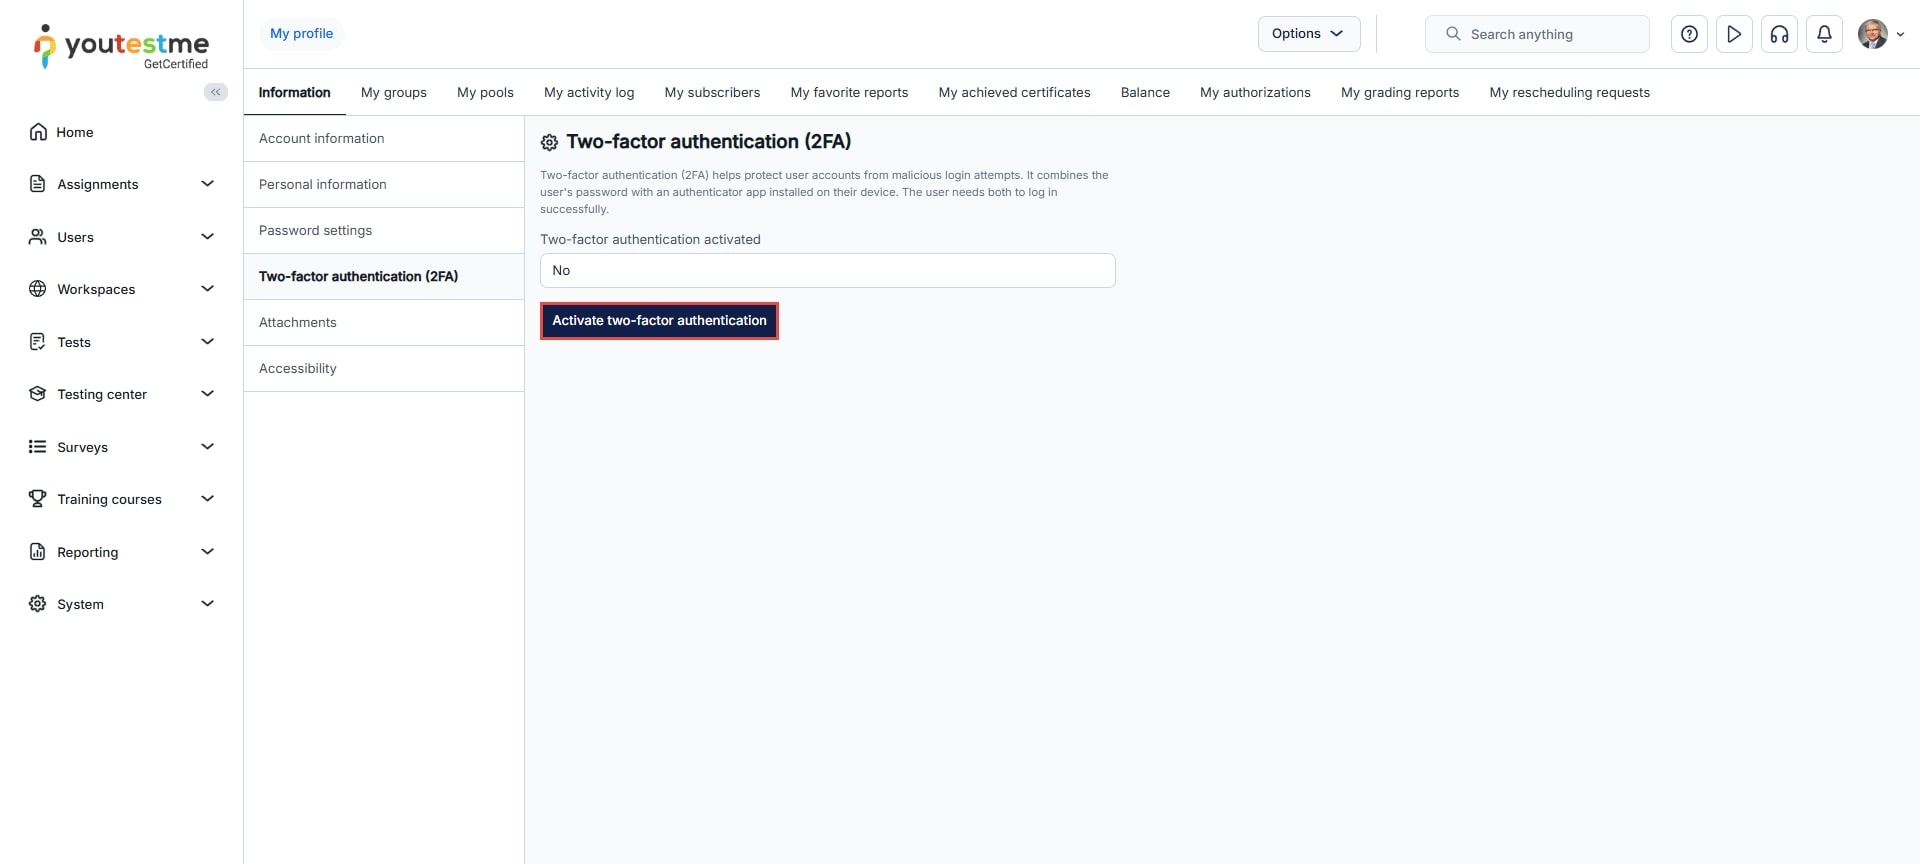
You can customize your 2FA settings:
The Hash algorithm for one-time verification codes - Choose SHA-256, SHA-3, or MD5 based on your security preference.
Validity period - Set how long each verification code remains valid.
Verification code length - Adjust this value to align with your security preferences. A longer code increases complexity, making it more resilient against malicious attempts to decipher it.
Note: The QR code changes after modifying any setting, and these settings match those in your authenticator app.
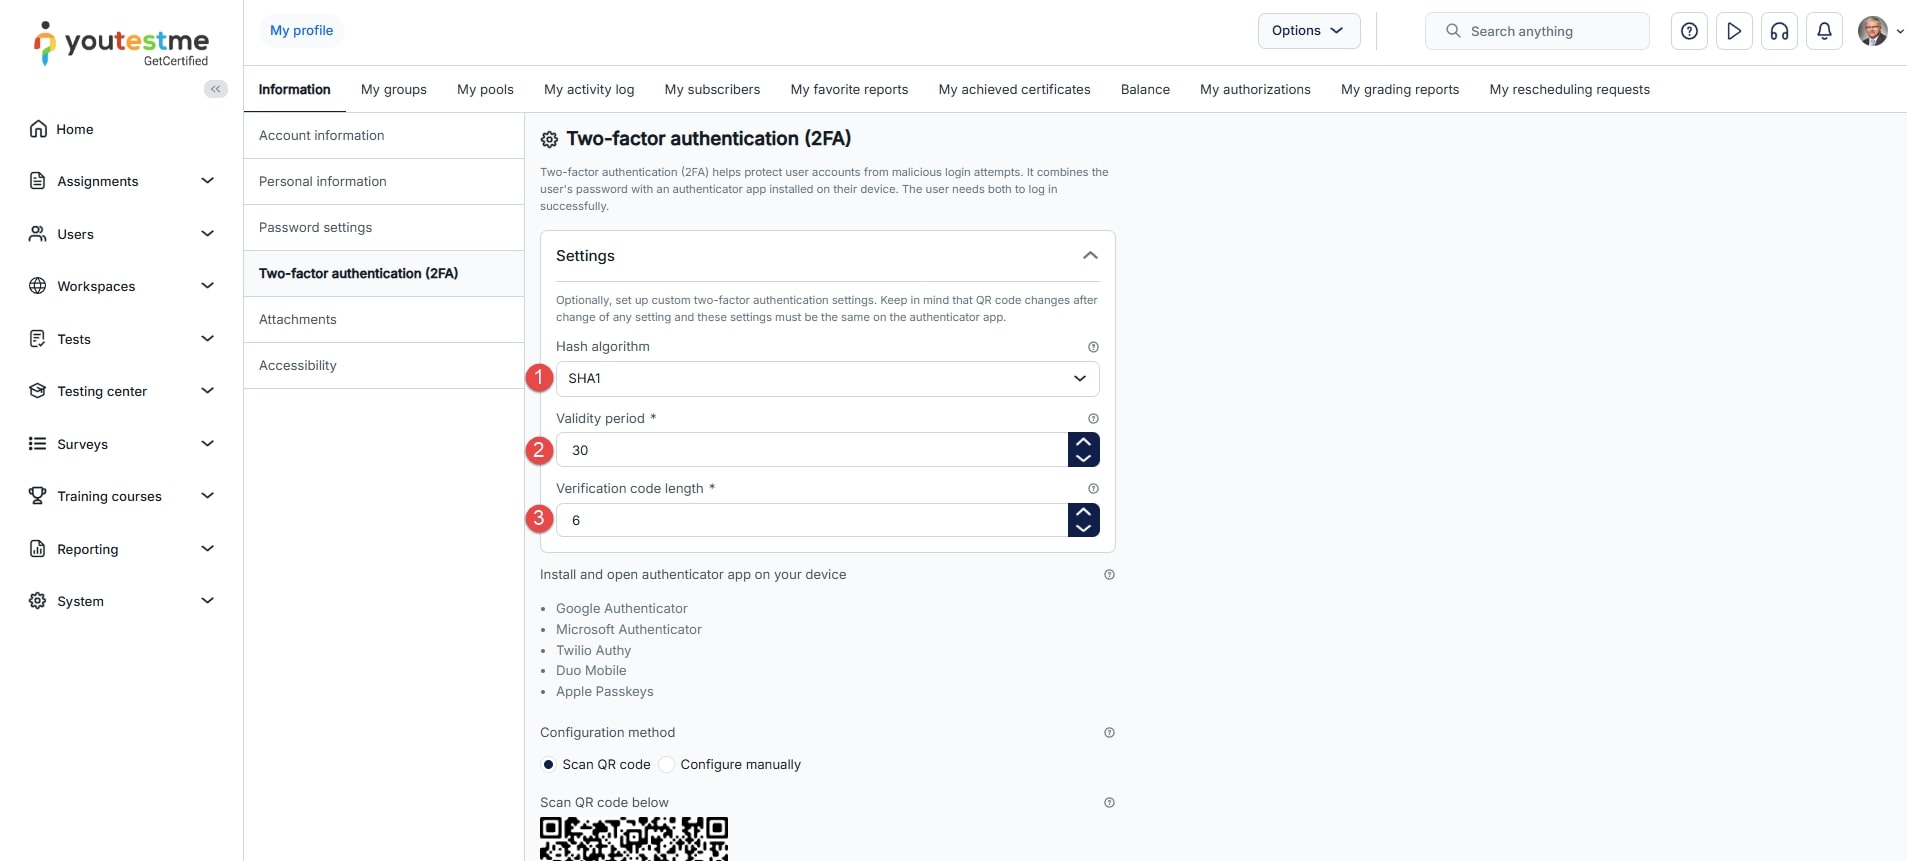
Configure the authenticator app by scanning the QR code or manually entering the secret.
After attempting to log in, the app will request the verification code sent to the user's device.
Users can activate/deactivate 2FA for their accounts, while admin accounts can only disable it. This is useful if a user loses the device on which they receive the verification code.
For more information on configuring 2FA, refer to this article. Additionally, for instructions on how to require 2FA activation at the role level, consult this article.
-
Set up the authenticator app by scanning the QR code
To set up two-factor authentication:
-
Install an authentication app on your device, such as Google Authenticator, Microsoft Authenticator, Twilio Authy, Duo Mobile, or Apple Passkeys.
-
Scan the QR code using the installed authenticator app.
-
Enter the verification code from the authenticator app.
-
Click the Verify and activate button.
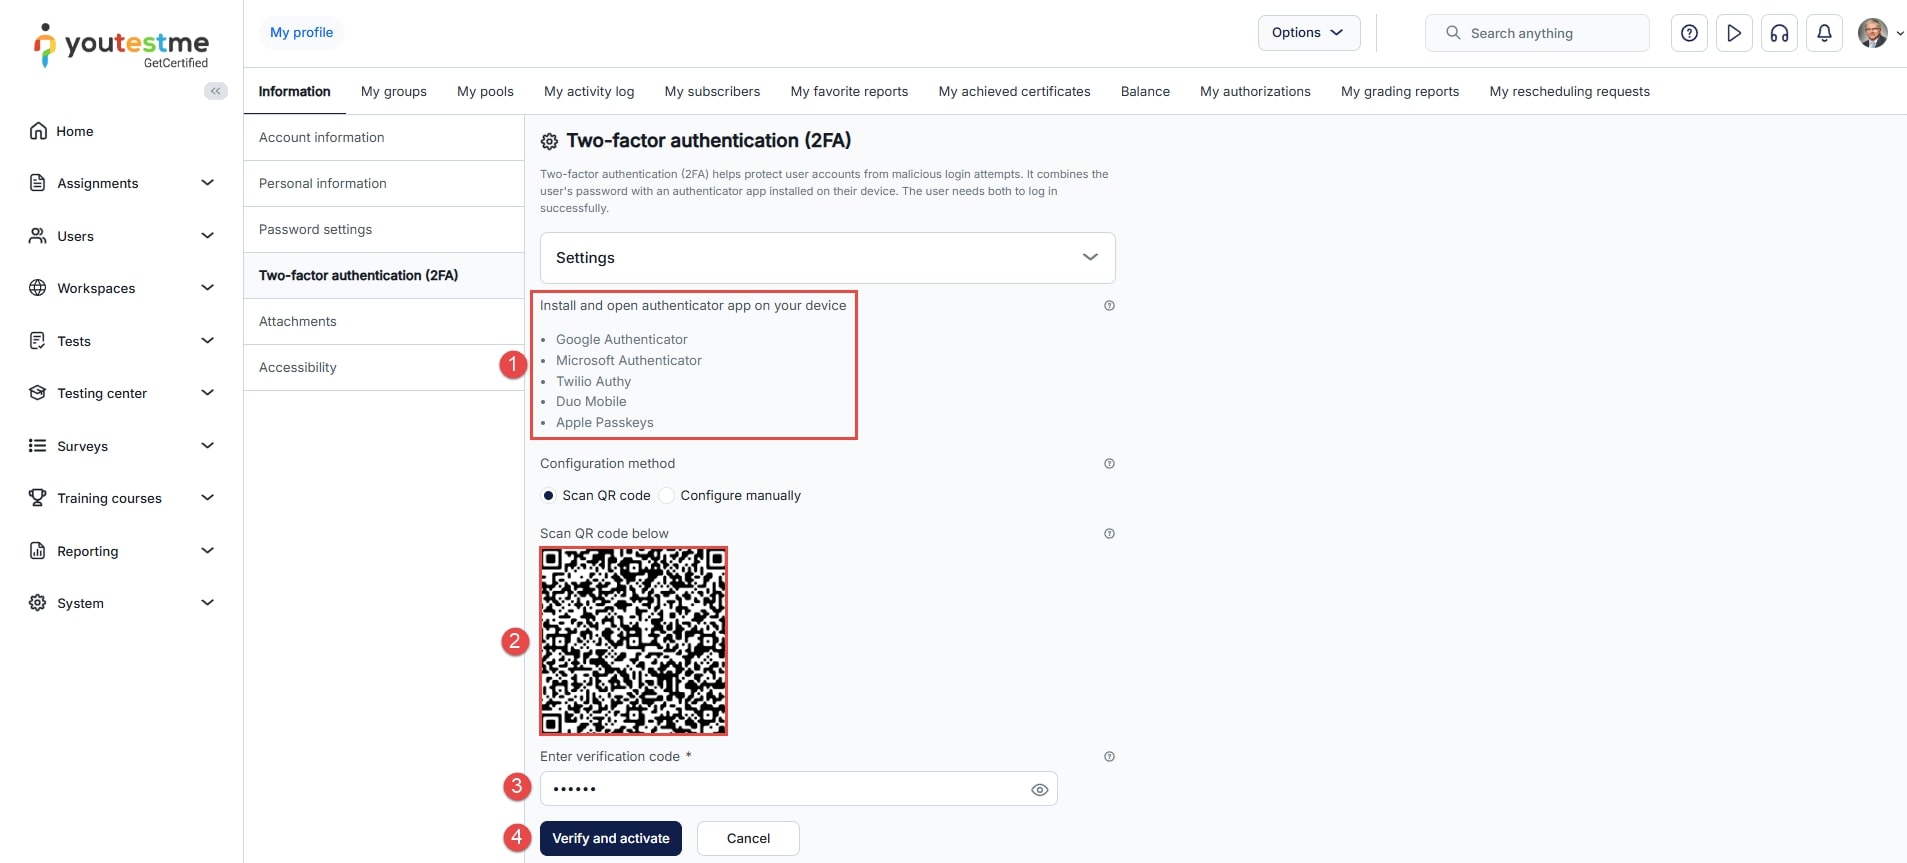
-
-
Set up the authenticator app manually
To set the two-factor authentication:
-
Install an authentication app on your device, such as Google Authenticator, Microsoft Authenticator, Twilio Authy, Duo Mobile, or Apple Passkeys.
-
Choose the Configure manually option for the Configuration method.
-
Copy the secret and manually configure the authenticator application.
-
Enter the verification code from the authenticator application.
-
Click the Verify and activate button.
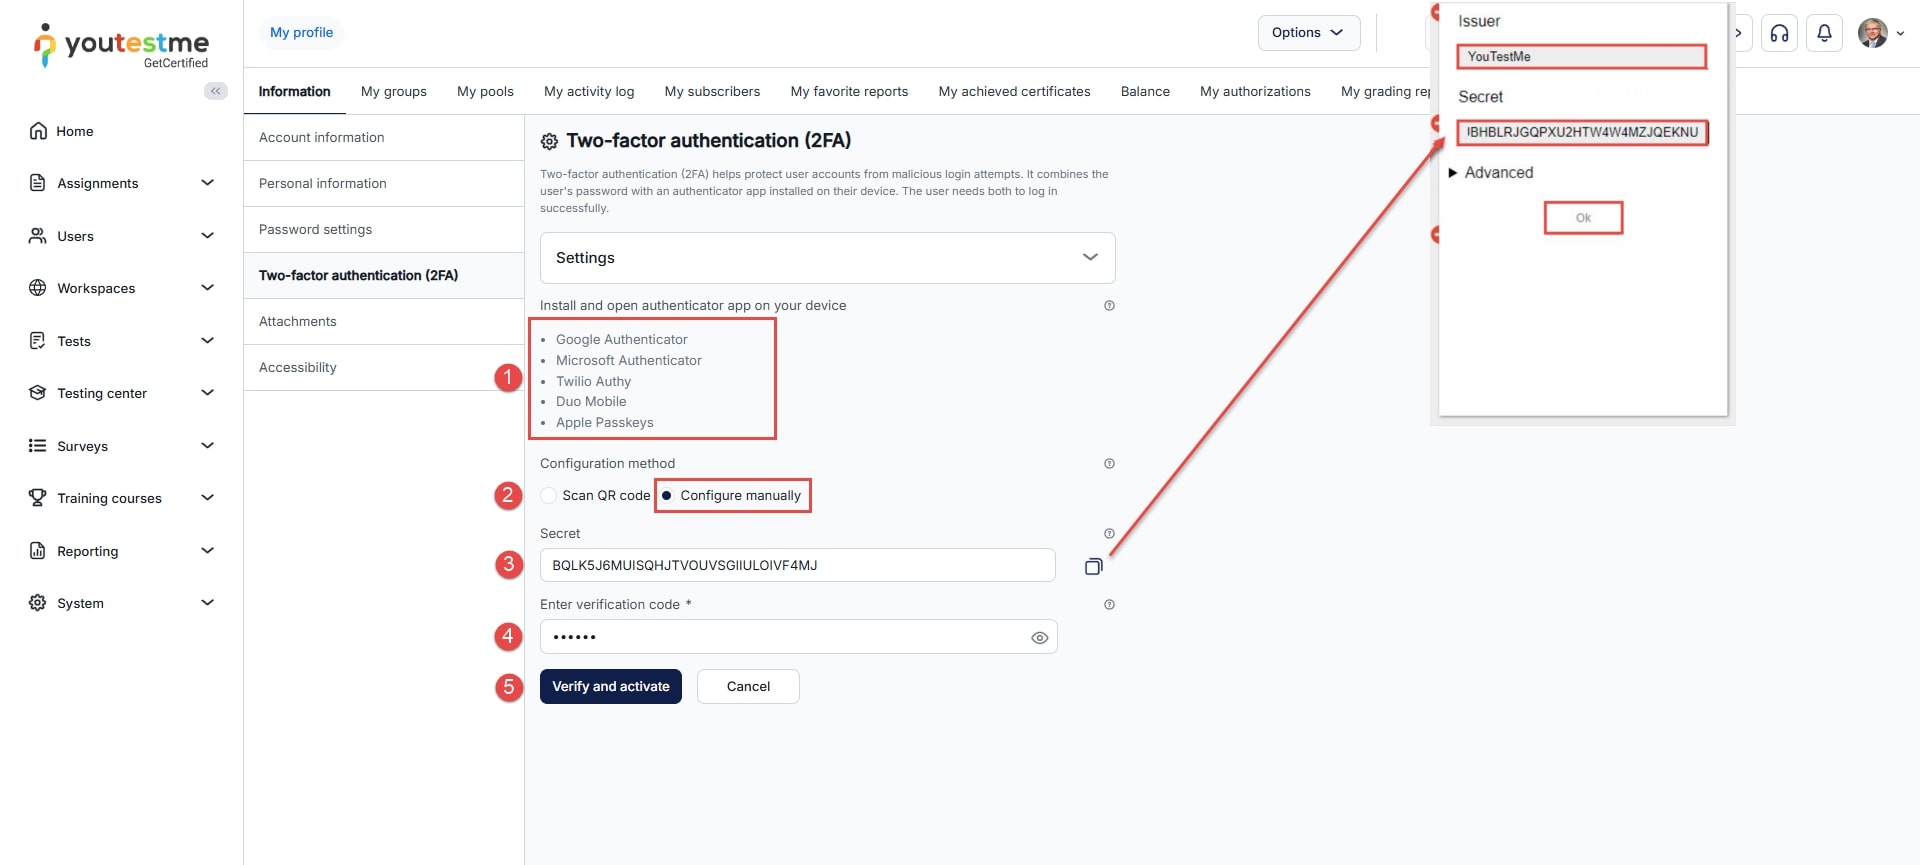
-
-
Attachments
This section stores documents in various formats, including CVs, certificates, and other files.
To add an attachment:-
Click the Create new button.
-
Enter the attachment name.
-
Provide an attachment description.
-
Choose the attachment type and either upload the file or provide a link.
-
Click the Save button.
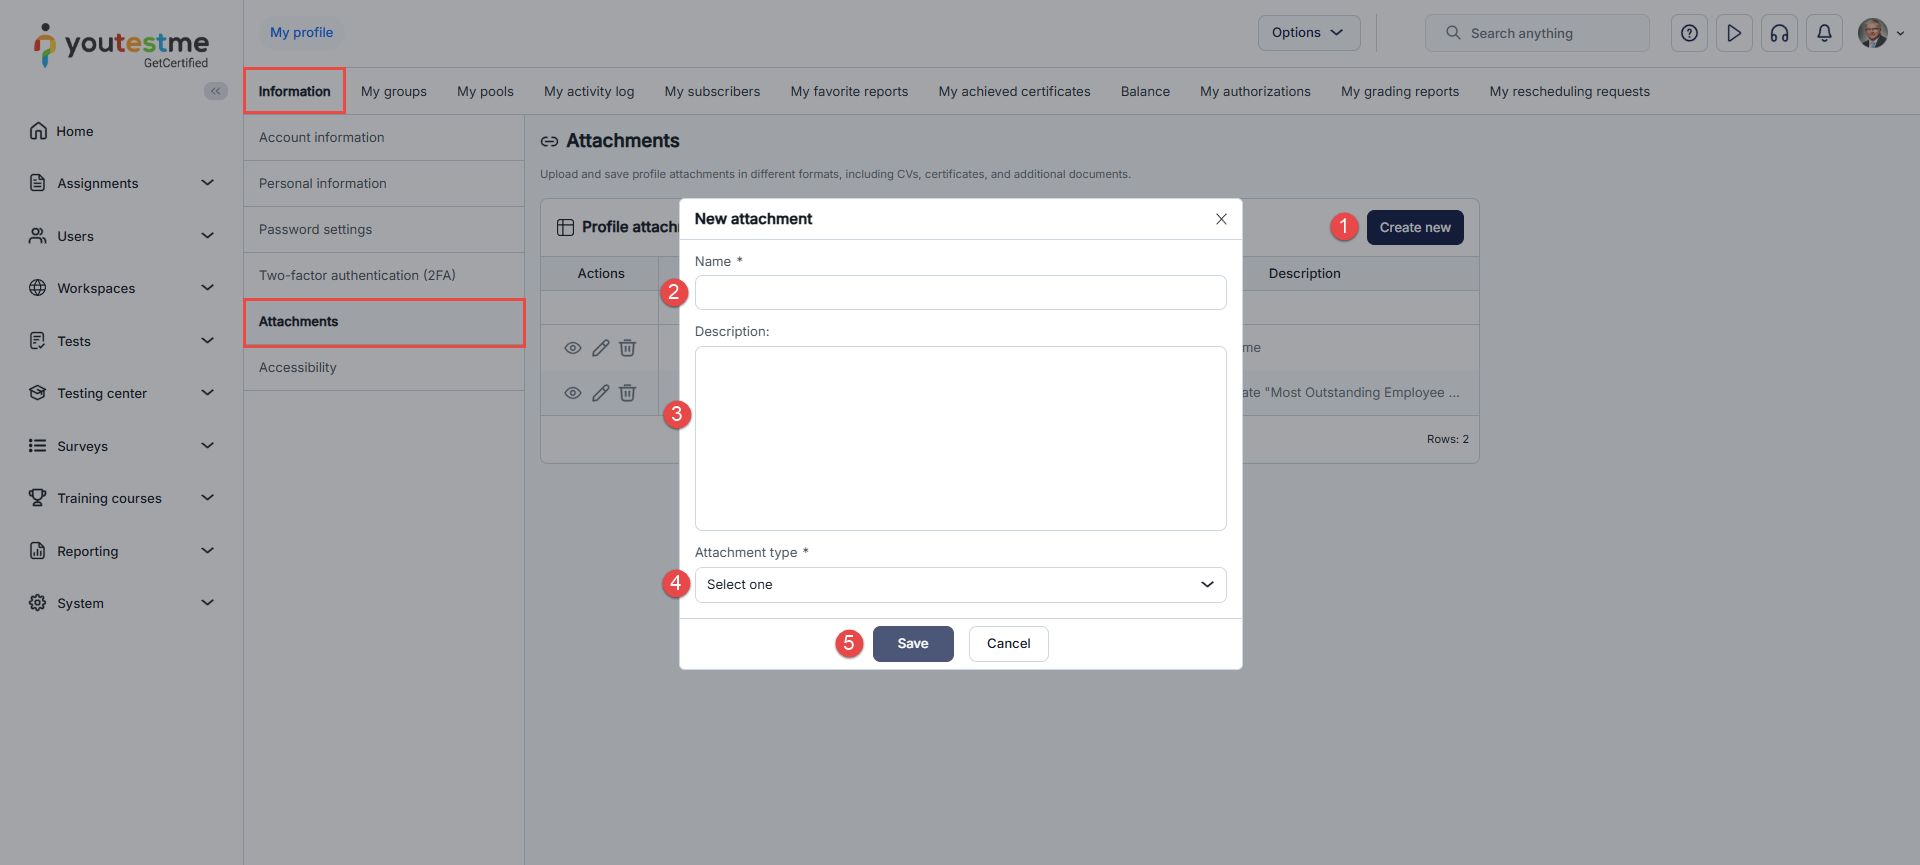
-
-
Accessibility mode
To use Accessibility mode, the Support for people with disabilities option must be enabled under the Settings and customization/System preferences/Additional modules.
To permanently enable the Accessibility mode on the profile:
-
Check the Turn on accessibility mode option.
-
Click the Save button.
In this case, the Accessibility mode will be enabled by default on the user's profile until this option is manually turned off.
-
Use TAB to move the cursor to the next tab stop.
-
Use SHIFT+TAB to move the cursor to the previous tab stop.
-
Use UP/DOWN to switch items in the text field of the main menu.
-
Use ALT+UP/DOWN for the main menu to list items in the list view.
To navigate the application using only a keyboard:
Temporarily activate Accessibility mode by pressing the TAB key. Options will appear in the side menu; press ENTER to enable it. Upon re-logging in, this option will be disabled.
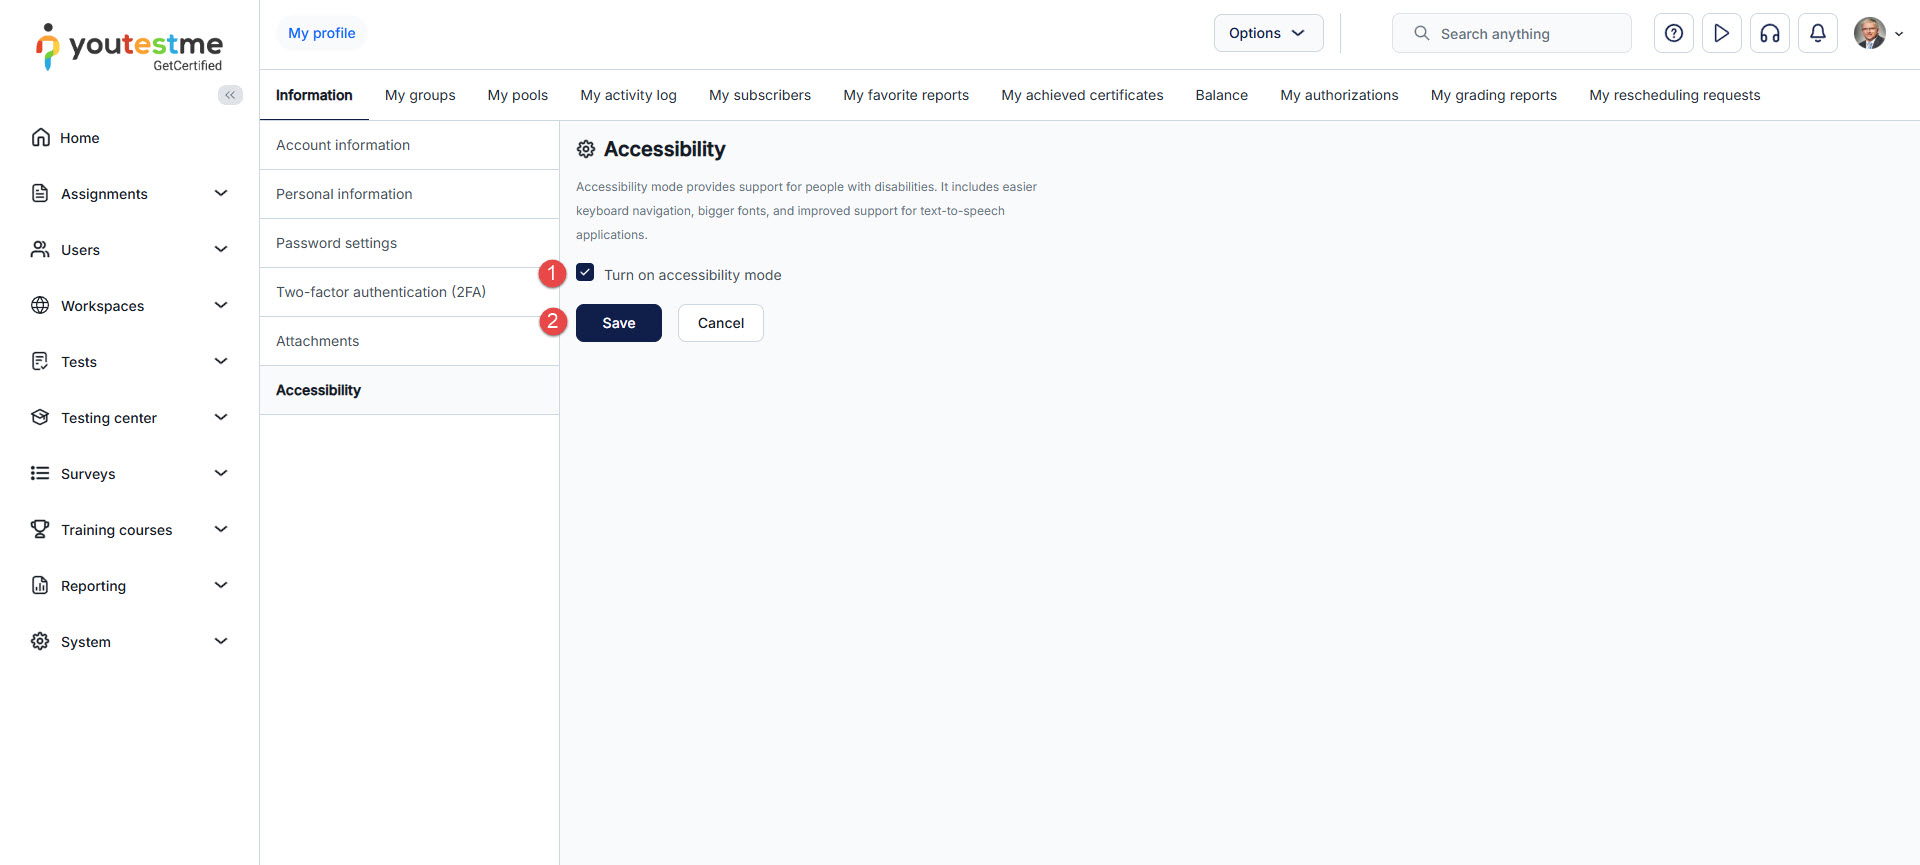
-
-
Privacy consents
The Privacy consents section on the user profile shows an overview of all privacy consents that the user has accepted, together with their acceptance dates.
To open the list of accepted privacy consents:
-
Navigate to My profile > Information > Privacy consents.
-
The Accepted consents page is displayed, containing the Consent history table.
The Consent history table contains the following columns:
-
ID – unique identifier of the consent.
-
Consent name – name of the consent that was accepted.
-
Consent content – short preview of the consent text the user agreed to.
-
Consent active – indicates whether this consent is currently active in the system.
-
Accepted on – date and time when the consent was accepted.
If the user has not yet accepted any privacy consents, the Consent history table will be empty.
New privacy consents that must be accepted are presented after login on the consent page. Once accepted, they will appear in the Consent history table on this screen.
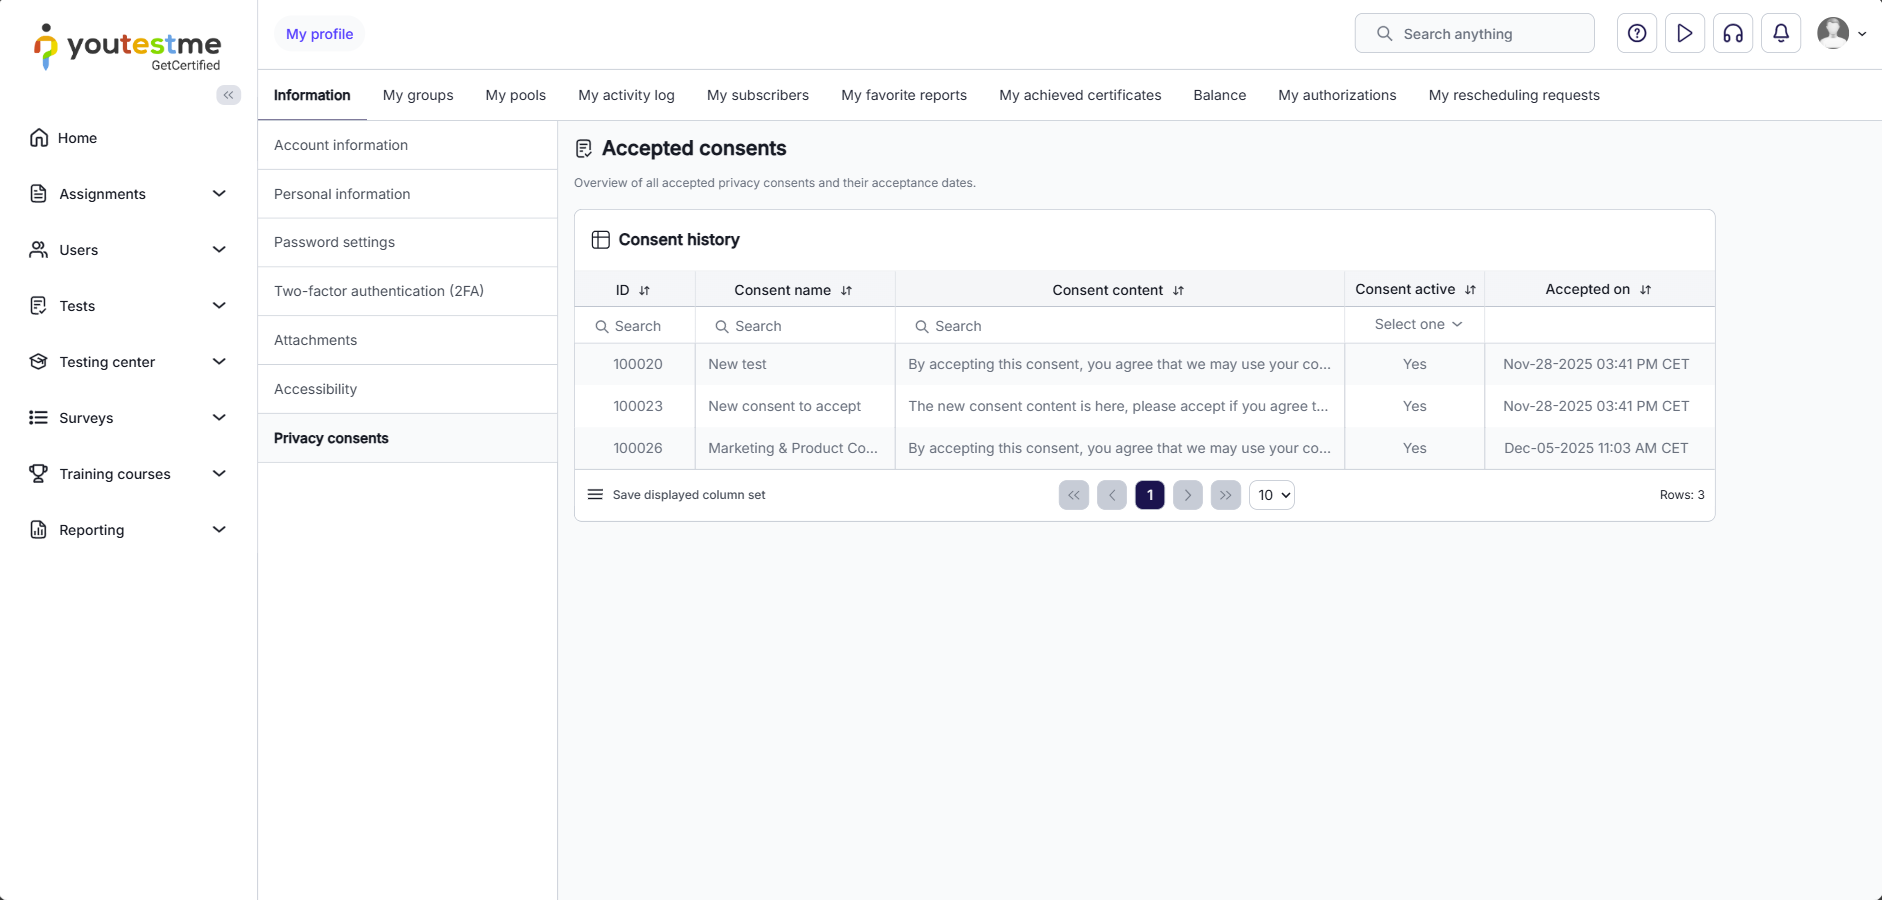
-
-
-
My groups
On this tab, you can see the list of available user groups .
Actions that can be performed:
-
See the groups in which the user is a member or a manager.
-
Switch between viewing groups you are a member of and all user groups accessible to you.
-
Permanently remove a user from a group. Required permission to perform the action: Manage any group.
-
Set a user's role within a group. Required permission to perform the action: Manage any group.
-
View details of a user group. Required permission to perform the action: View all groups.
-
If self-enrollment is enabled for a user group, you can join yourself or another user if you are on their profile. Required permission to perform the action: View all groups.
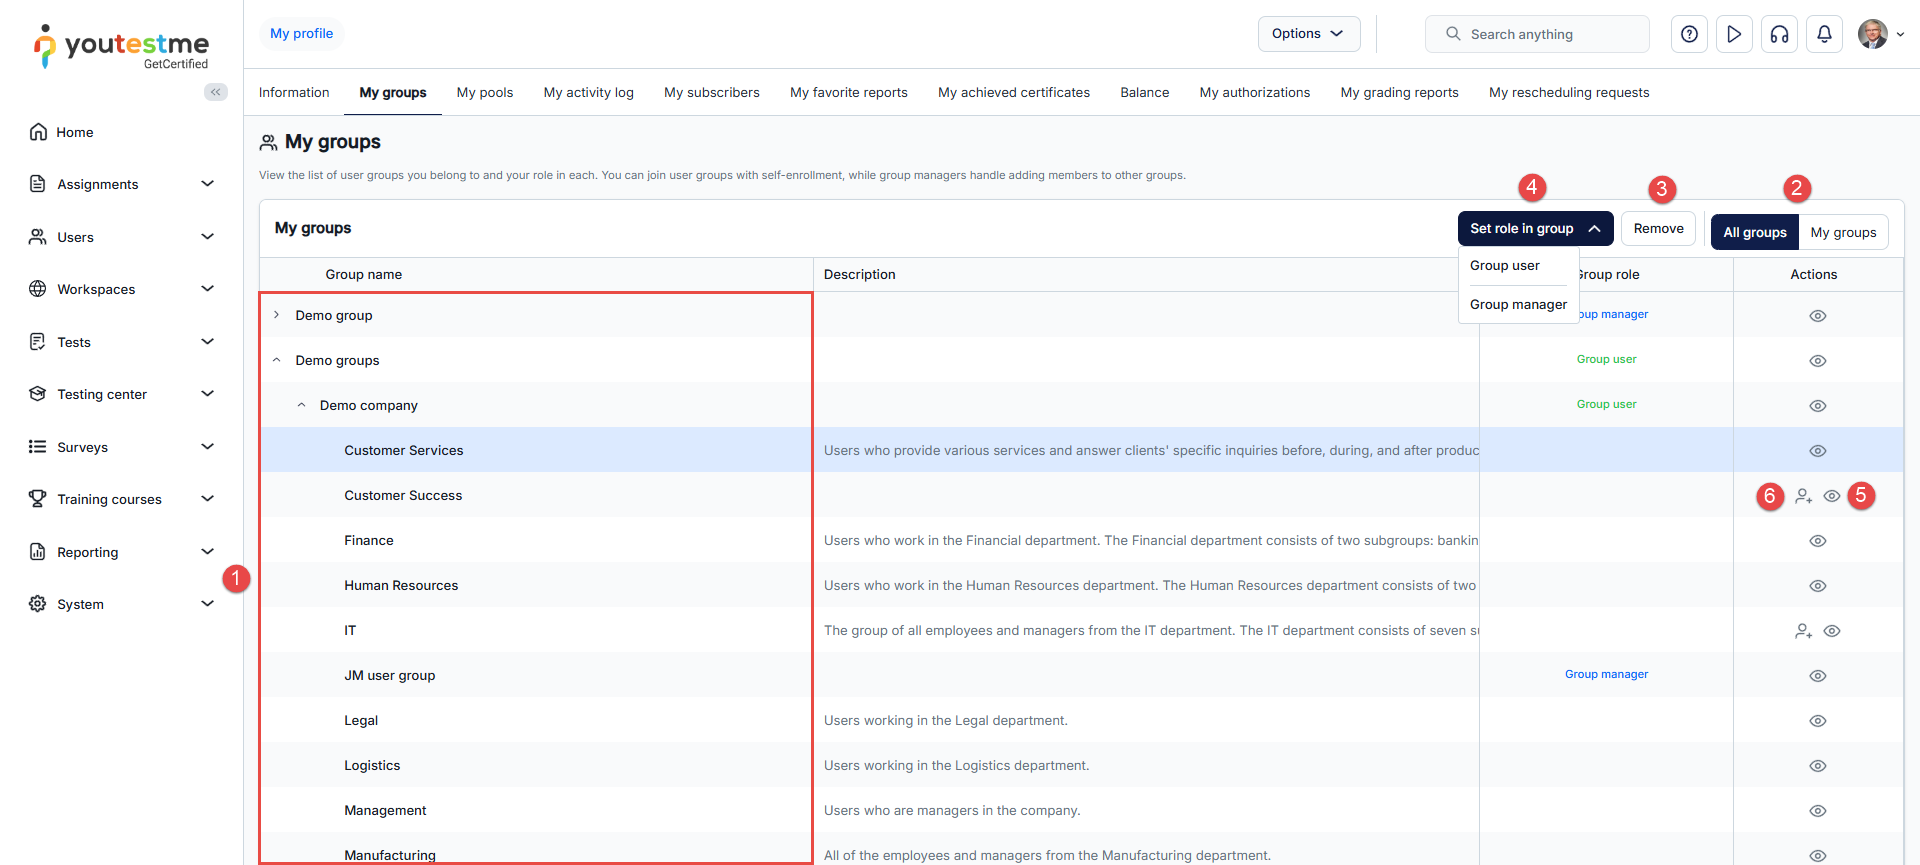
-
-
My pools
On this tab, you can see the list of available question pools.
Actions that can be performed:
-
See the question pools in which the user has a read-only or manager role.
-
Switch between viewing question pools you created and all available question pools.
-
Permanently remove a user from the question pool. Required permission to perform the action: Manage any pool.
-
Set a user's role within a question pool. Required permission to perform the action: Manage any pool.
-
View details of a question pool. Required permission to perform the action: Access the 'Pools' page.
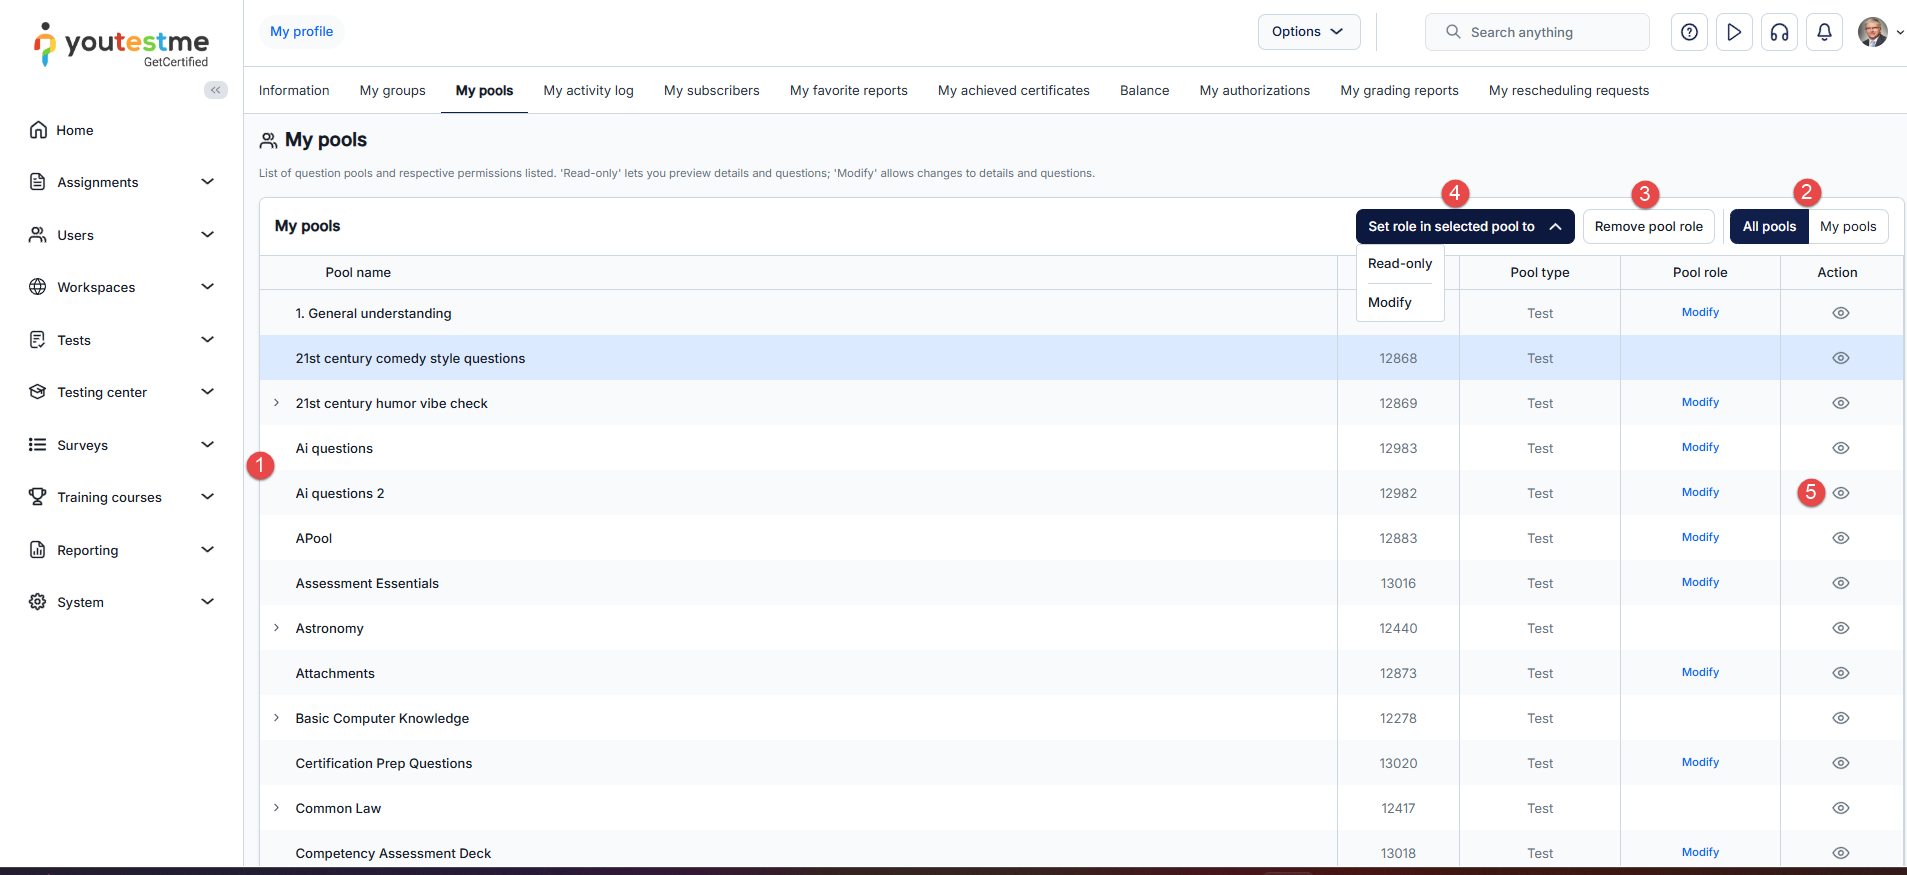
-
-
My activity log
This tab displays a summary of all the user's activities in the system. Click the corresponding icon to export a user's activity as an file. It is also possible to filter user activities by the date they occurred.
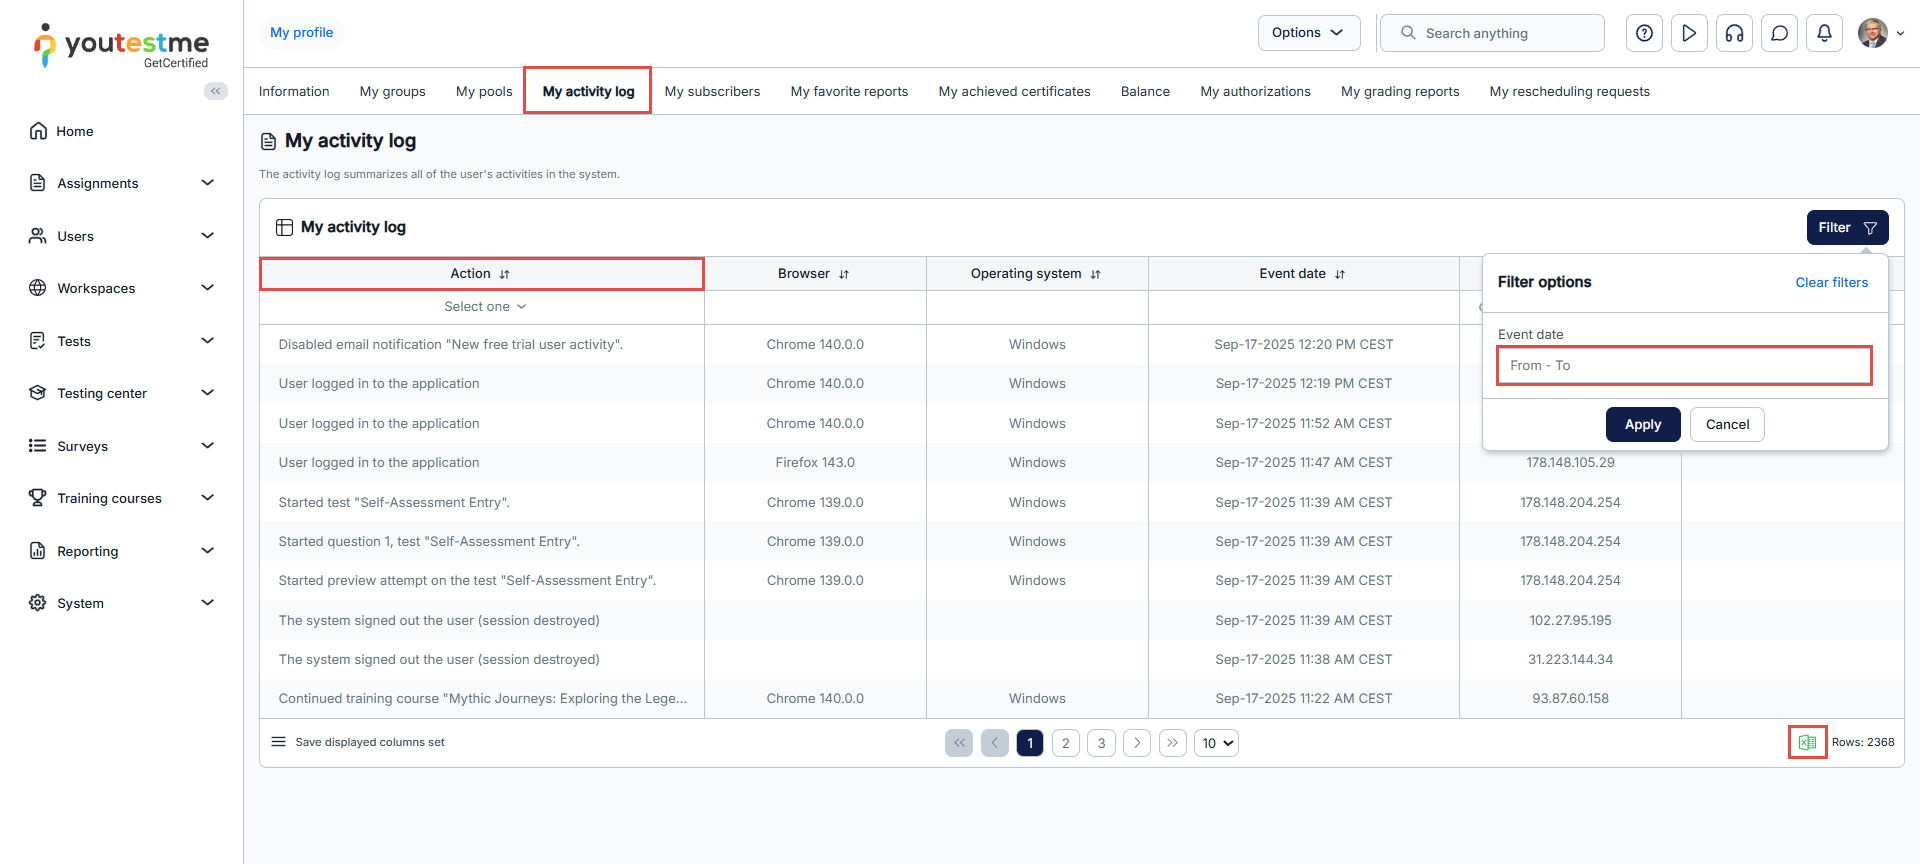
-
My subscribers
This tab displays a list of subscribers who will receive email notification about the user's test and survey results.
To add an existing subscriber list to a user:-
Click the Add existing subscriber list button.
-
Select the subscriber list.
-
Click the Confirm button.
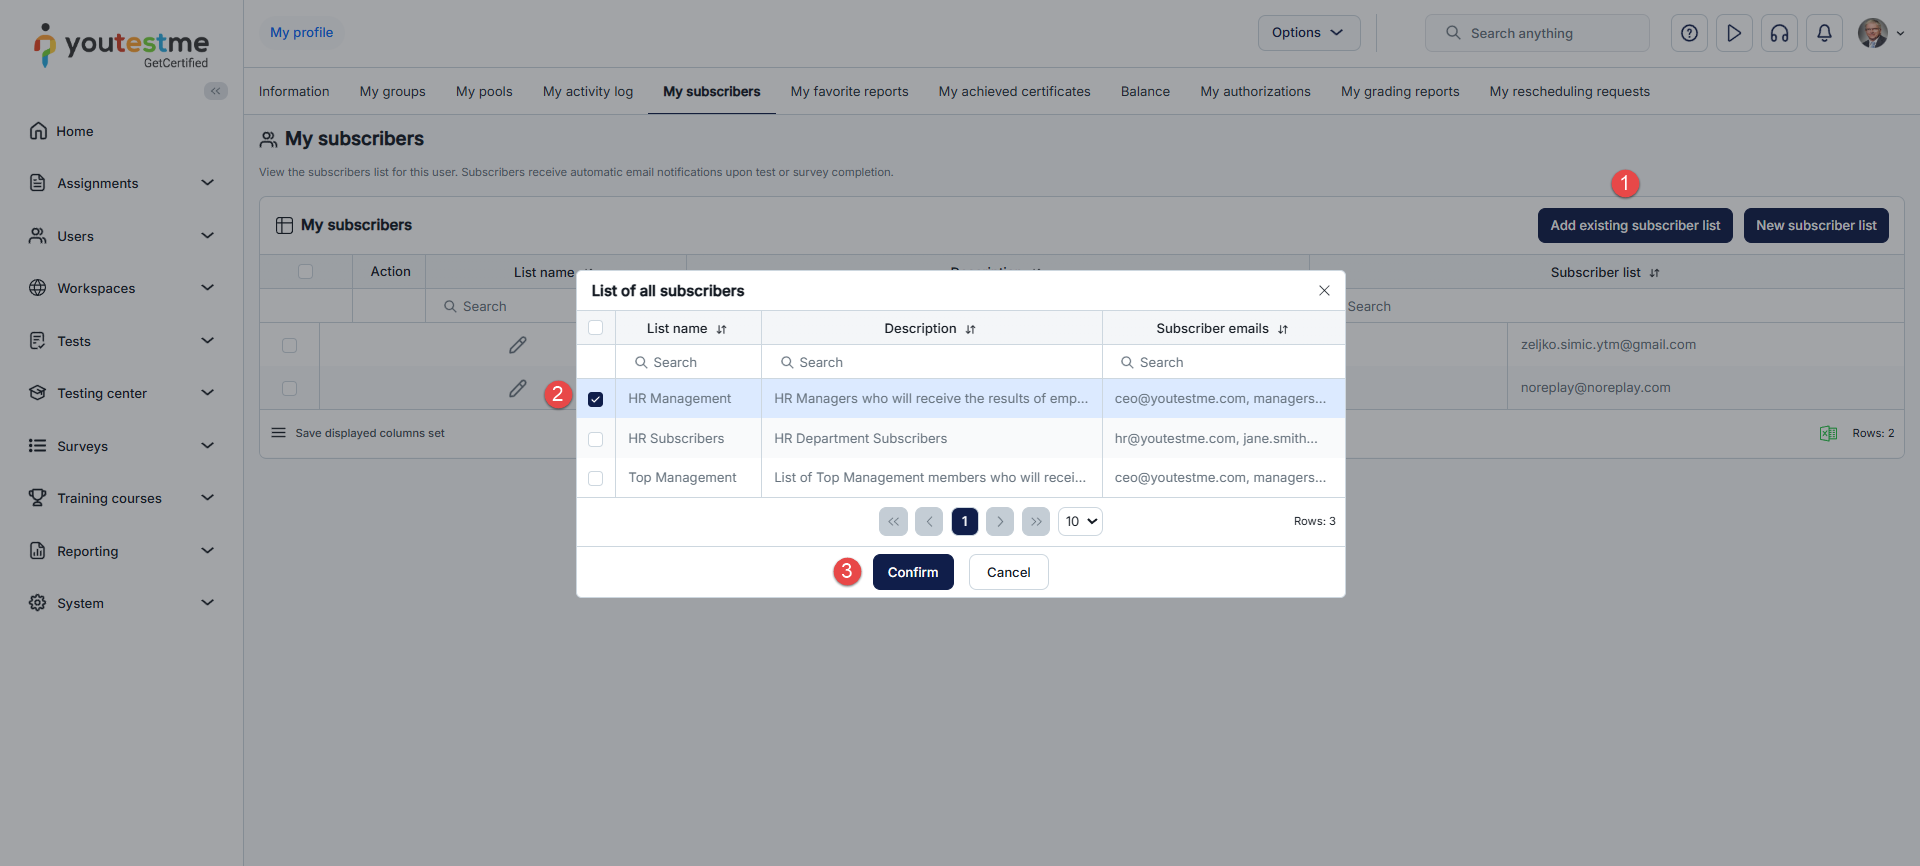
To create a new subscriber list to assign to a user:
-
Click the New subscriber list button.
-
Enter the subscriber list name.
-
Enter the subscriber list description.
-
Create a list of emails to receive notifications about the test and survey results of selected users. Enter each email individually, pressing the Enter key after each entry.
-
Click the Save button.
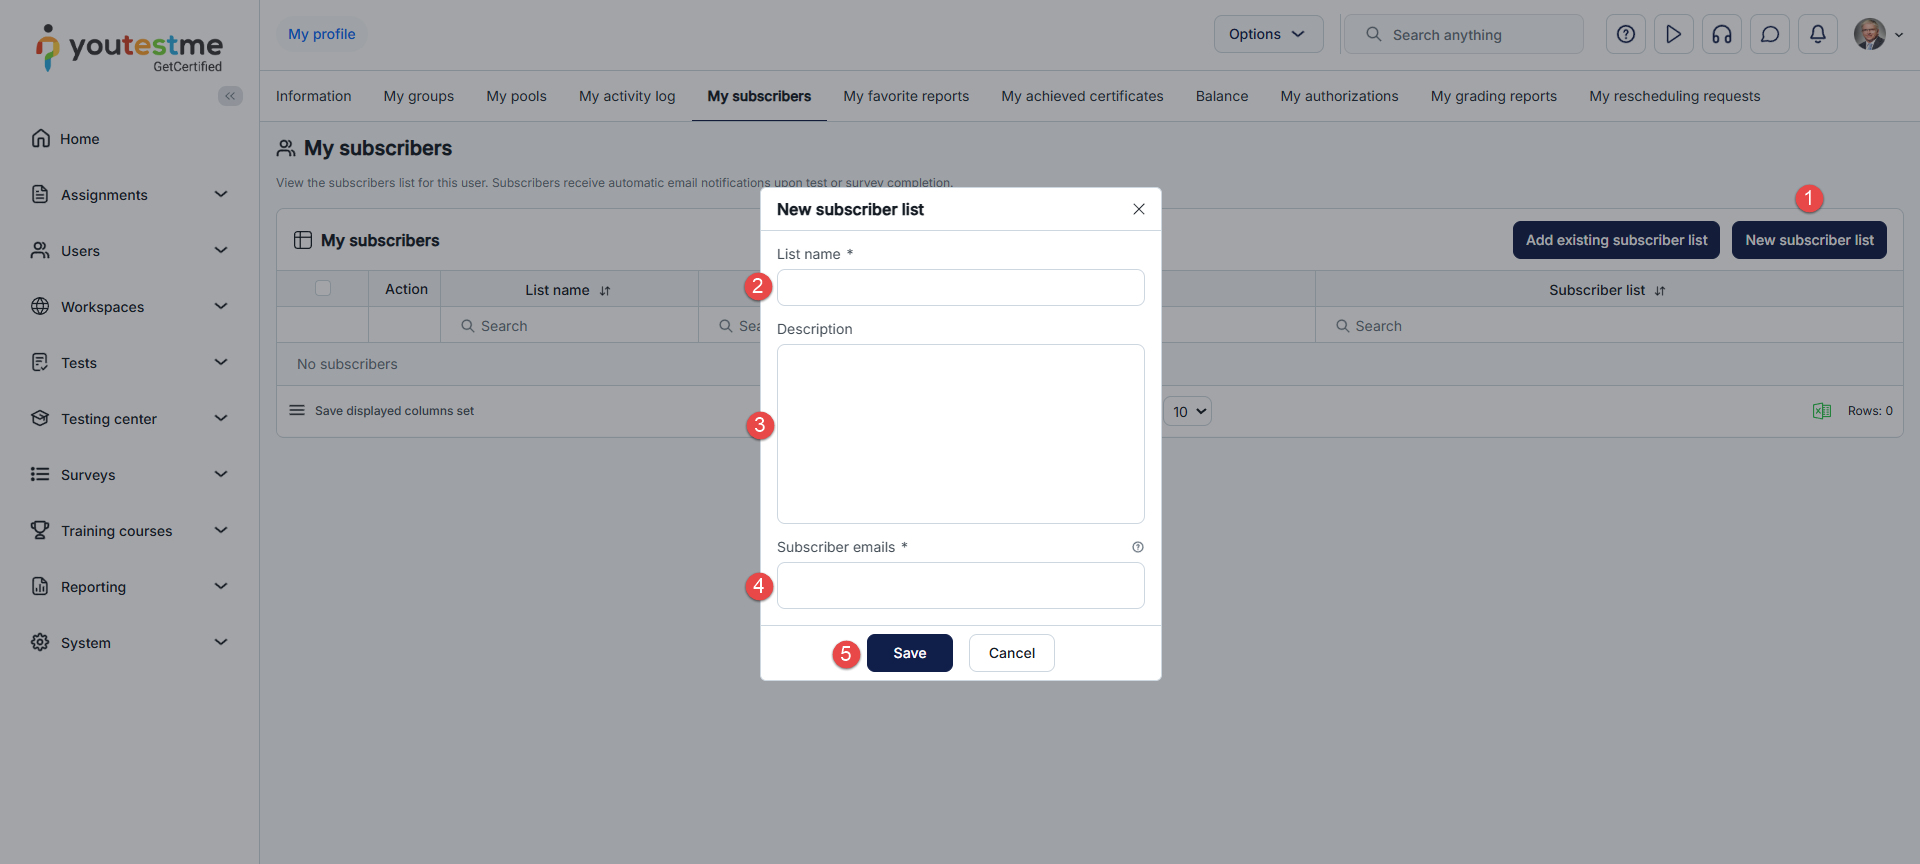
Additional actions that can be performed:
-
Edit a subscriber list.
-
Unsubscribe from a user - Select the desired subscriber list and click the Remove selected button.
-
Export the subscriber list as an Excel file.
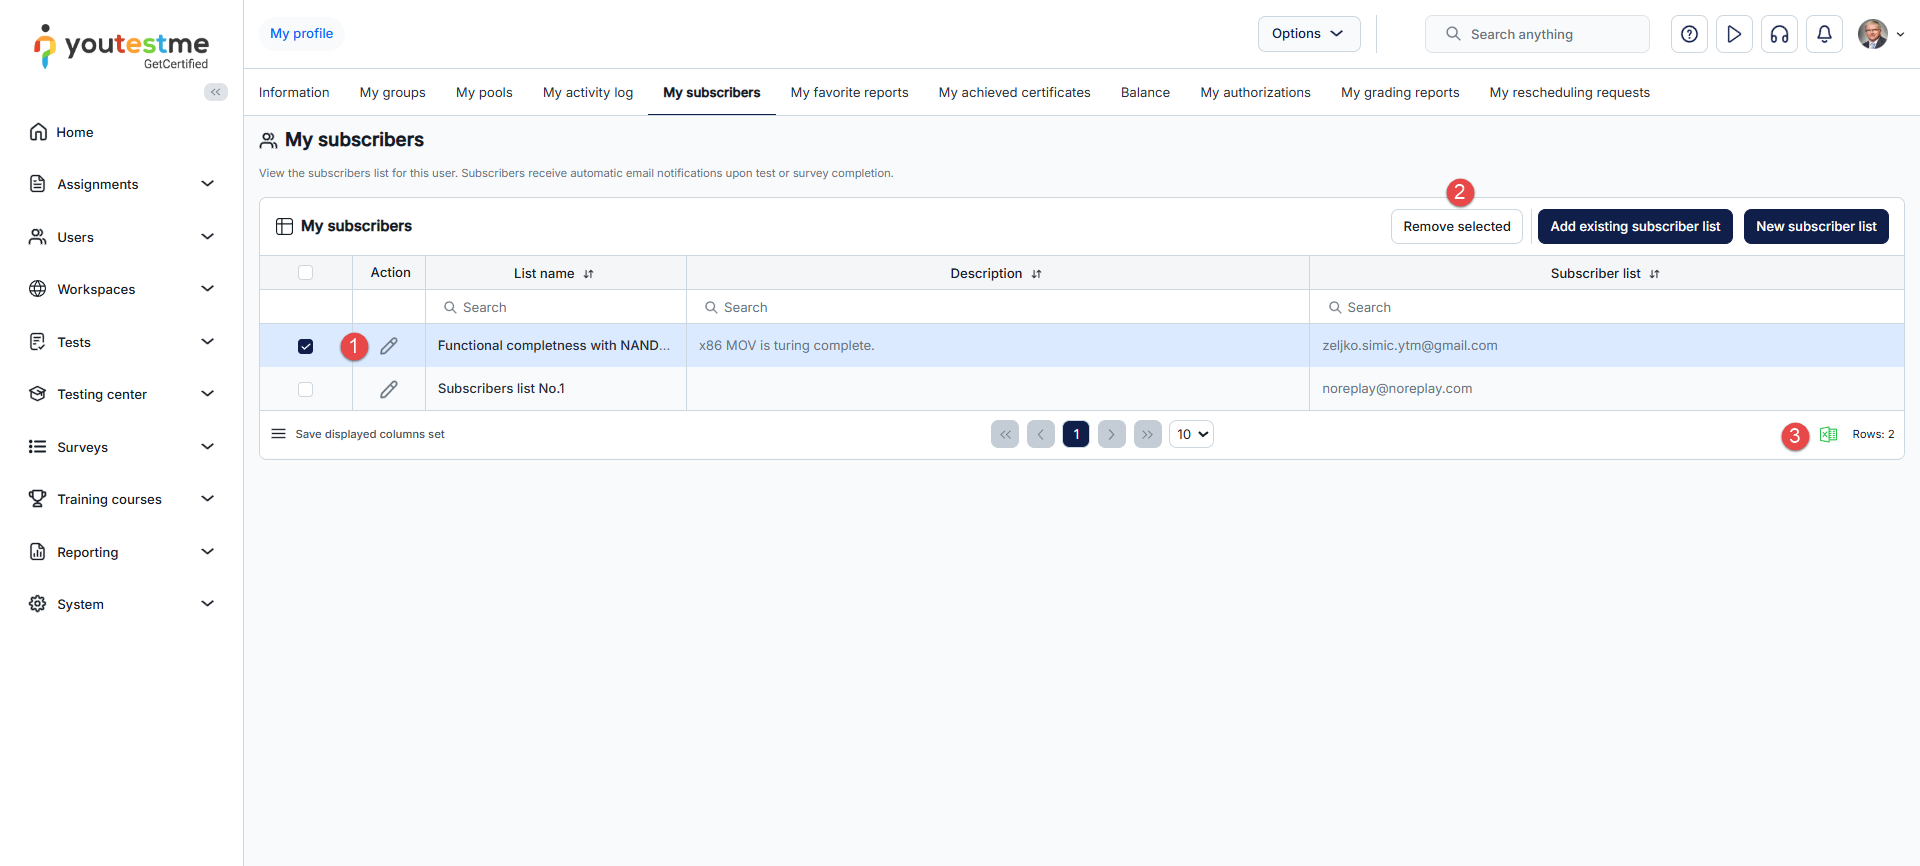
-
-
My favorite reports
This section displays a list of reports marked as favorites by the user or set as default for their role, typically including the most frequently used or important ones.
On this tab, users can switch between displaying reports they marked as favorites and those set as default for their role.
To add a report to the list of favorites:-
Click the Add favorite report button.
-
Select the desired report.
-
Click the Confirm button.
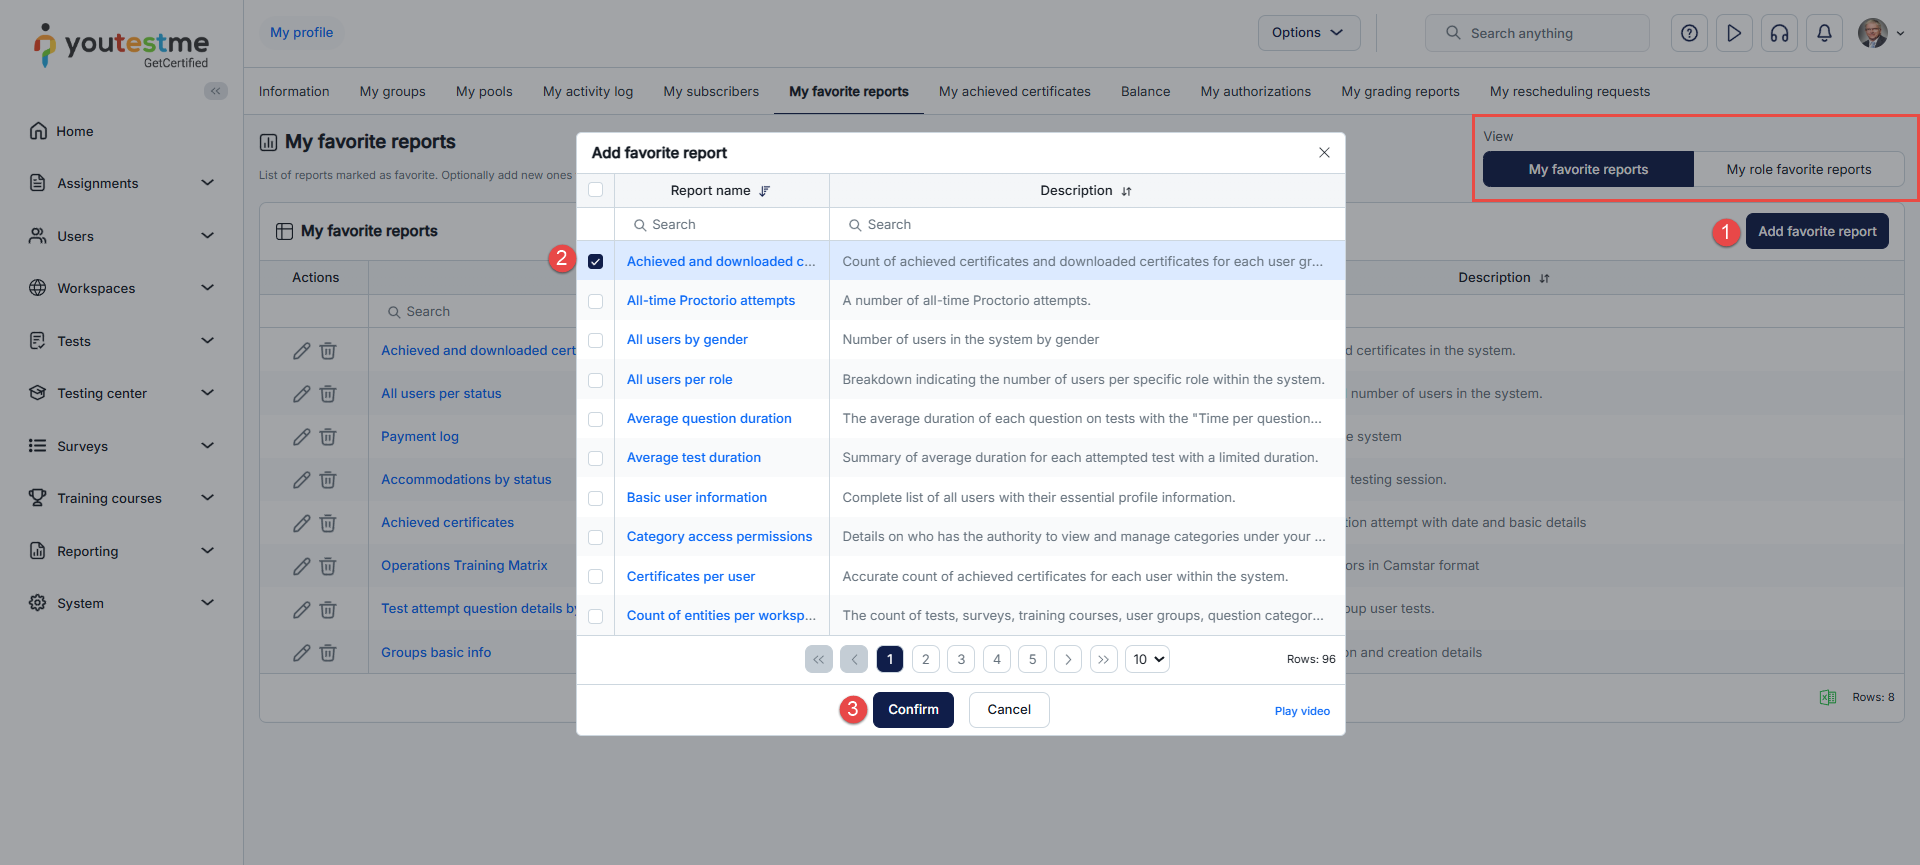
Additional actions that can be performed:
-
Edit a report's description.
-
Delete a report from the list of favorites.
-
Export the list of favorite reports as an Excel file.
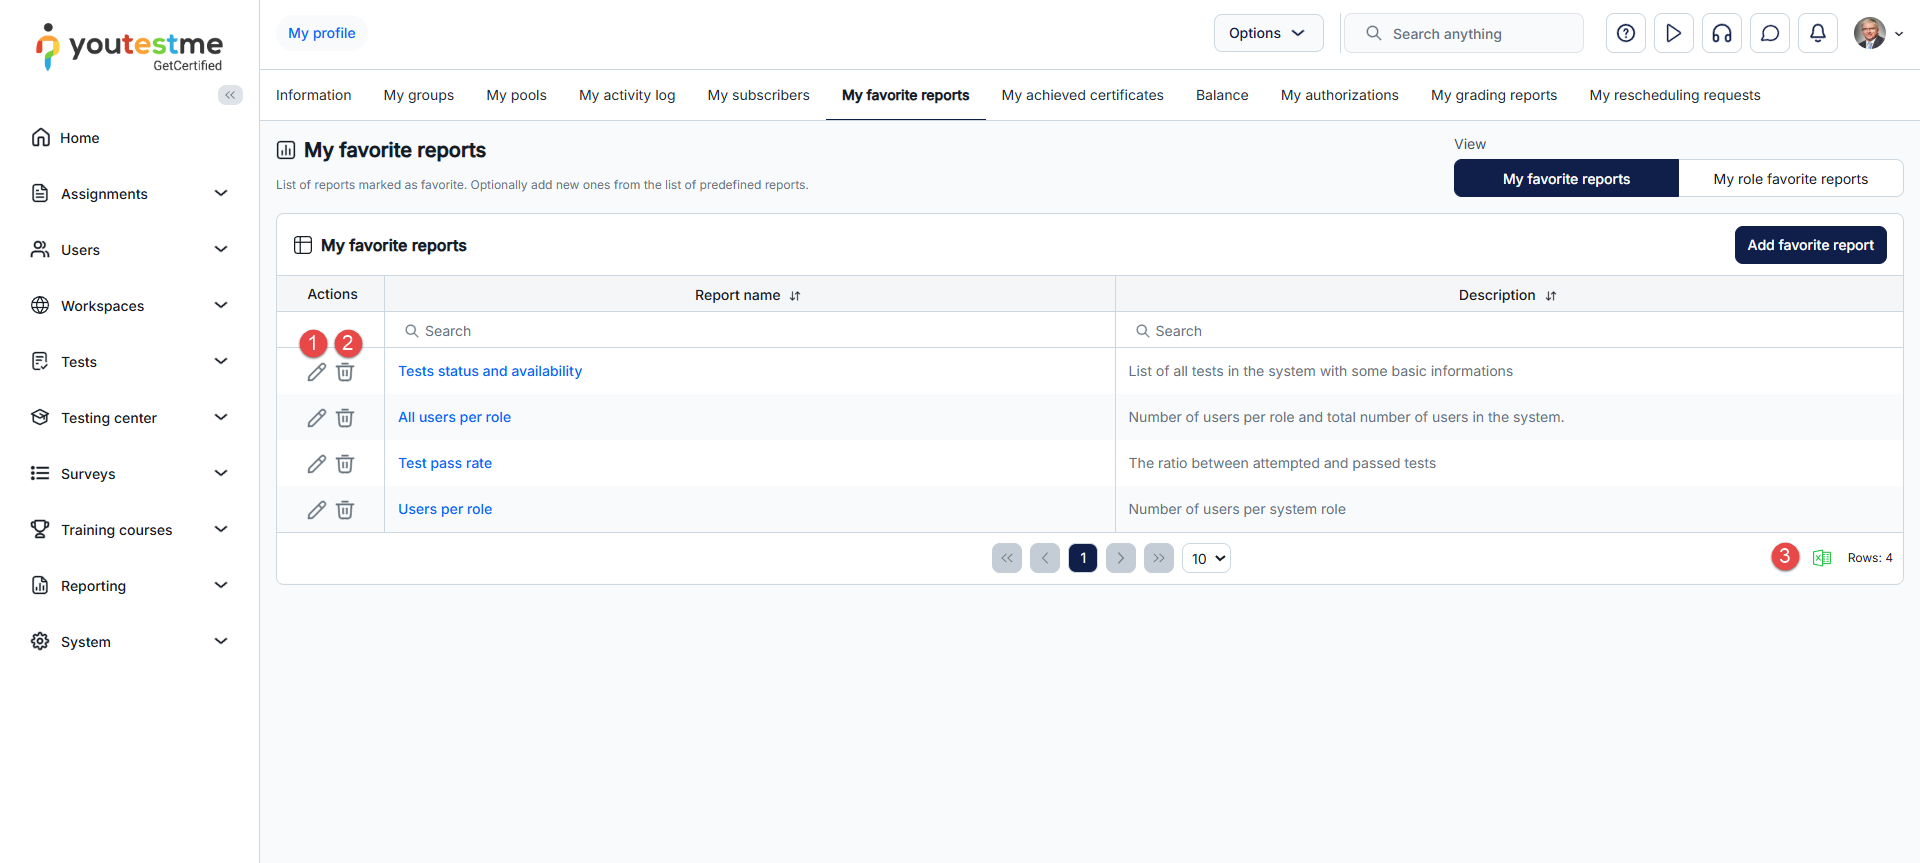
-
My achieved certificates
This tab displays all certificates acquired by the user upon completing relevant assignments.
To manually assign a certificate to a user without requiring them to complete an assignment:
-
Click the Assign certificate button.
-
Select the desired certificate.
-
Set the time frame within which the certificate will be valid.
-
Click the Confirm button.
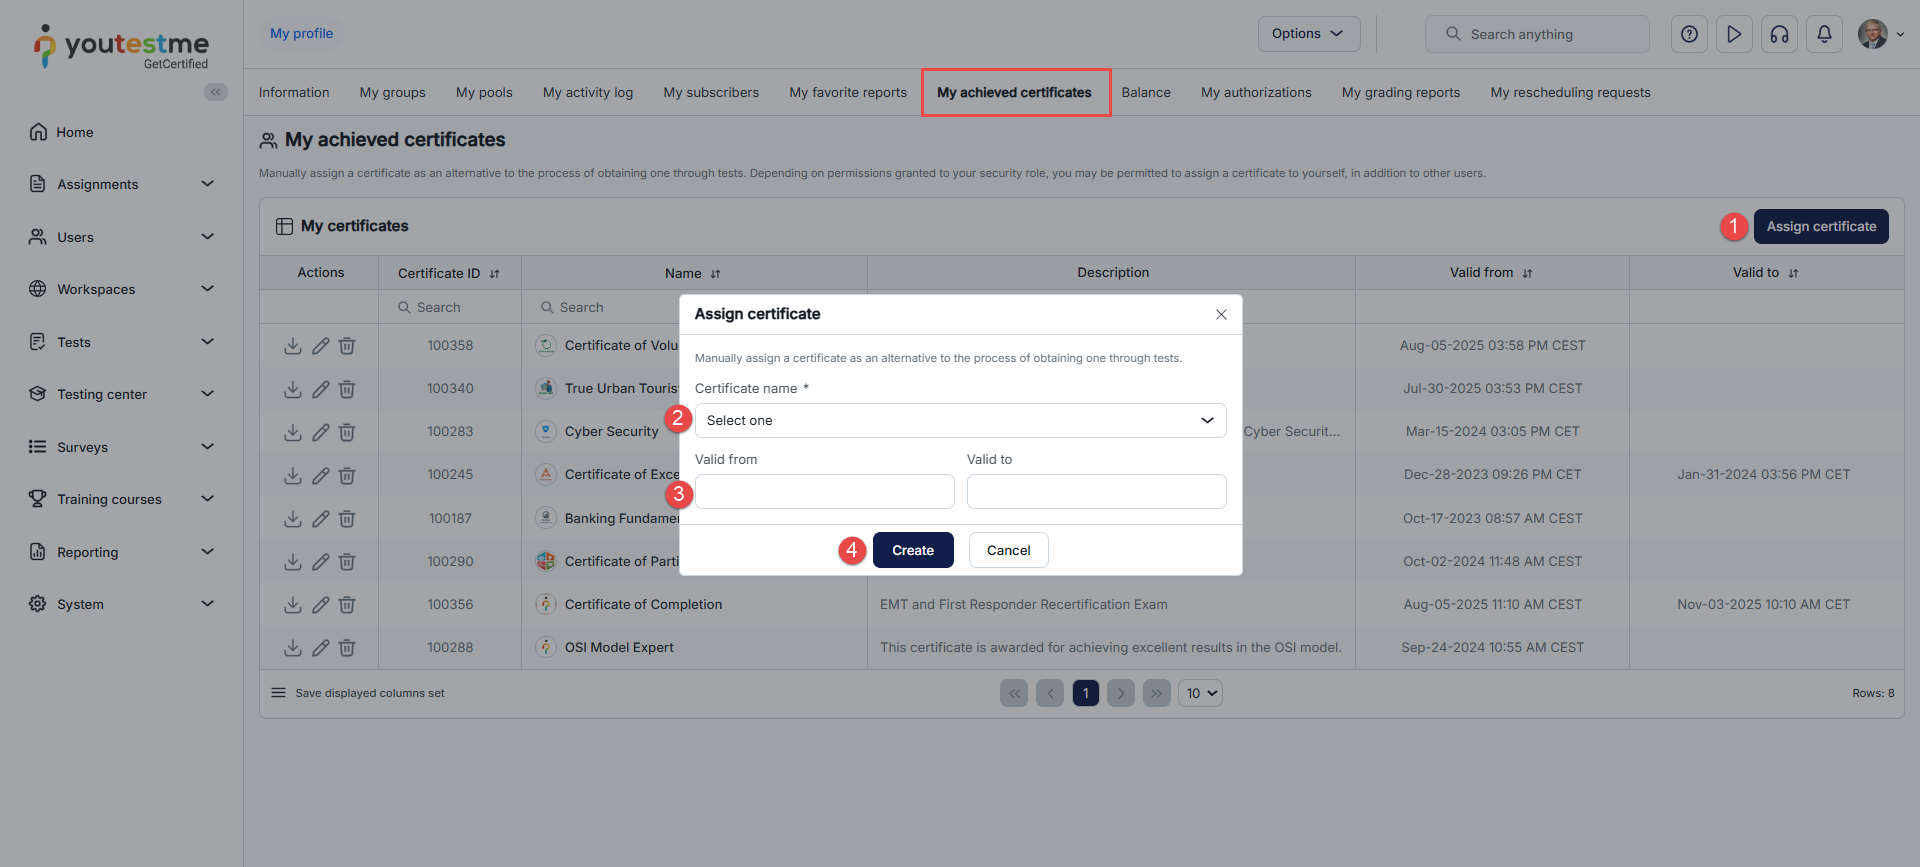
To edit, delete, or download a certificate as a PDF file, click the corresponding icon from the Actions column.
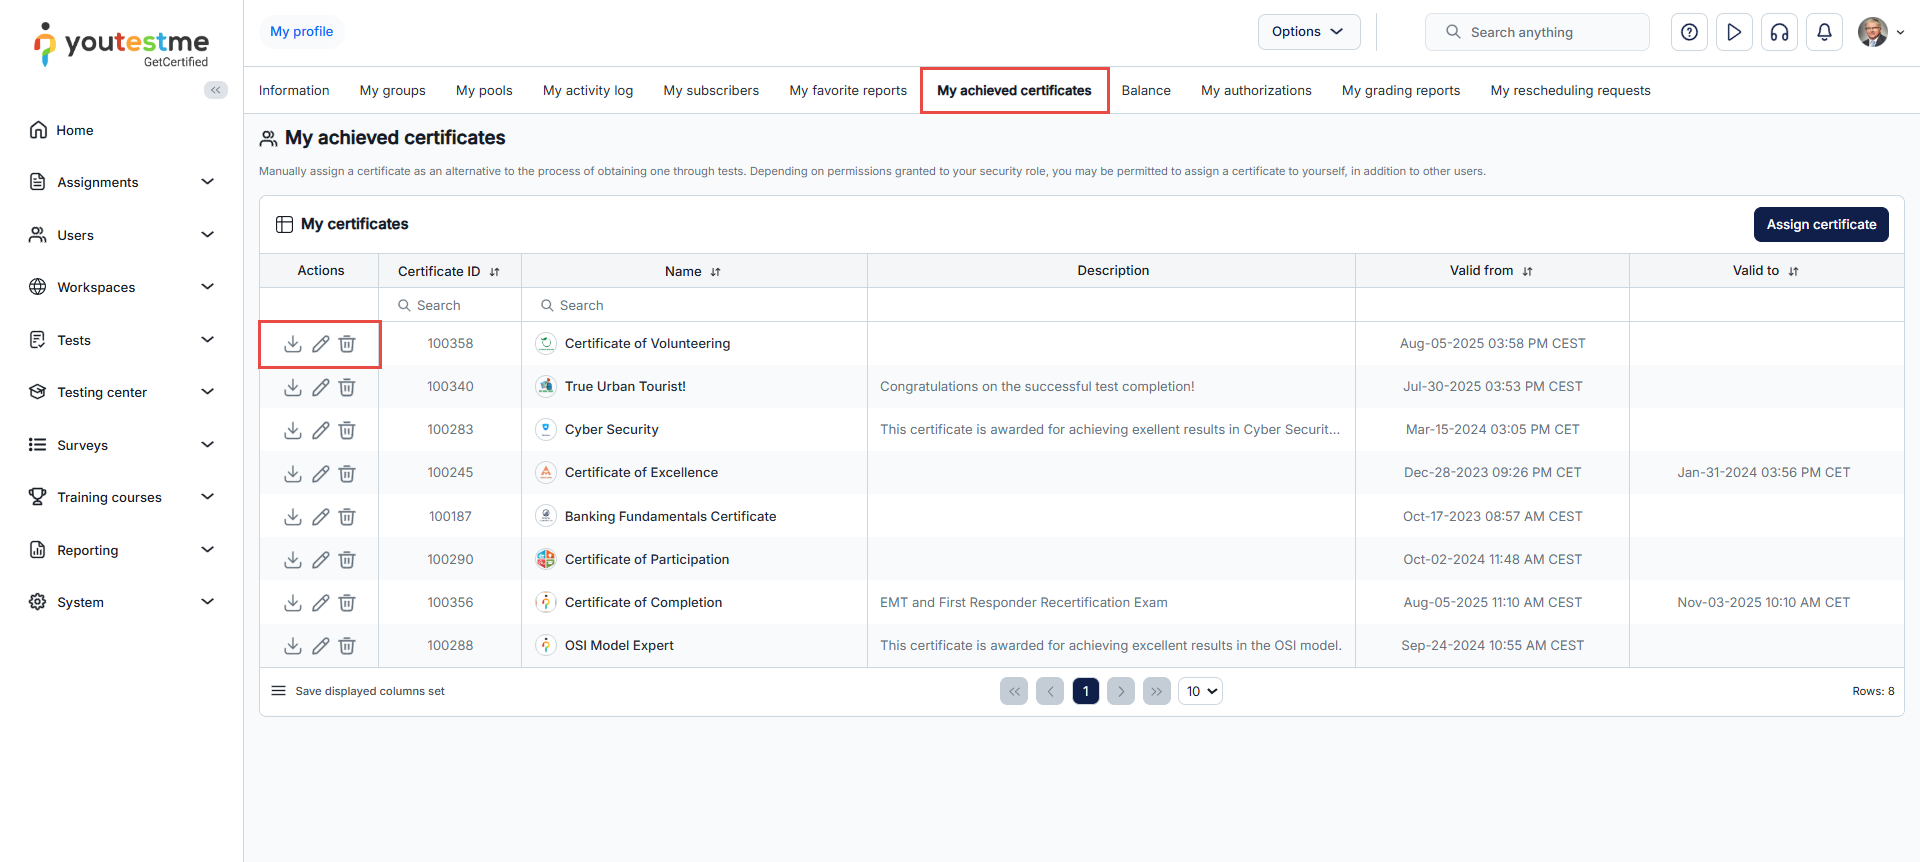
-
-
Balance
View a list of testing sessions and training courses purchased by the user. You can export the details of purchases as an Excel file.
This tab is accessible only if the E-commerce module is enabled. For details on configuring E-commerce, refer to this article.
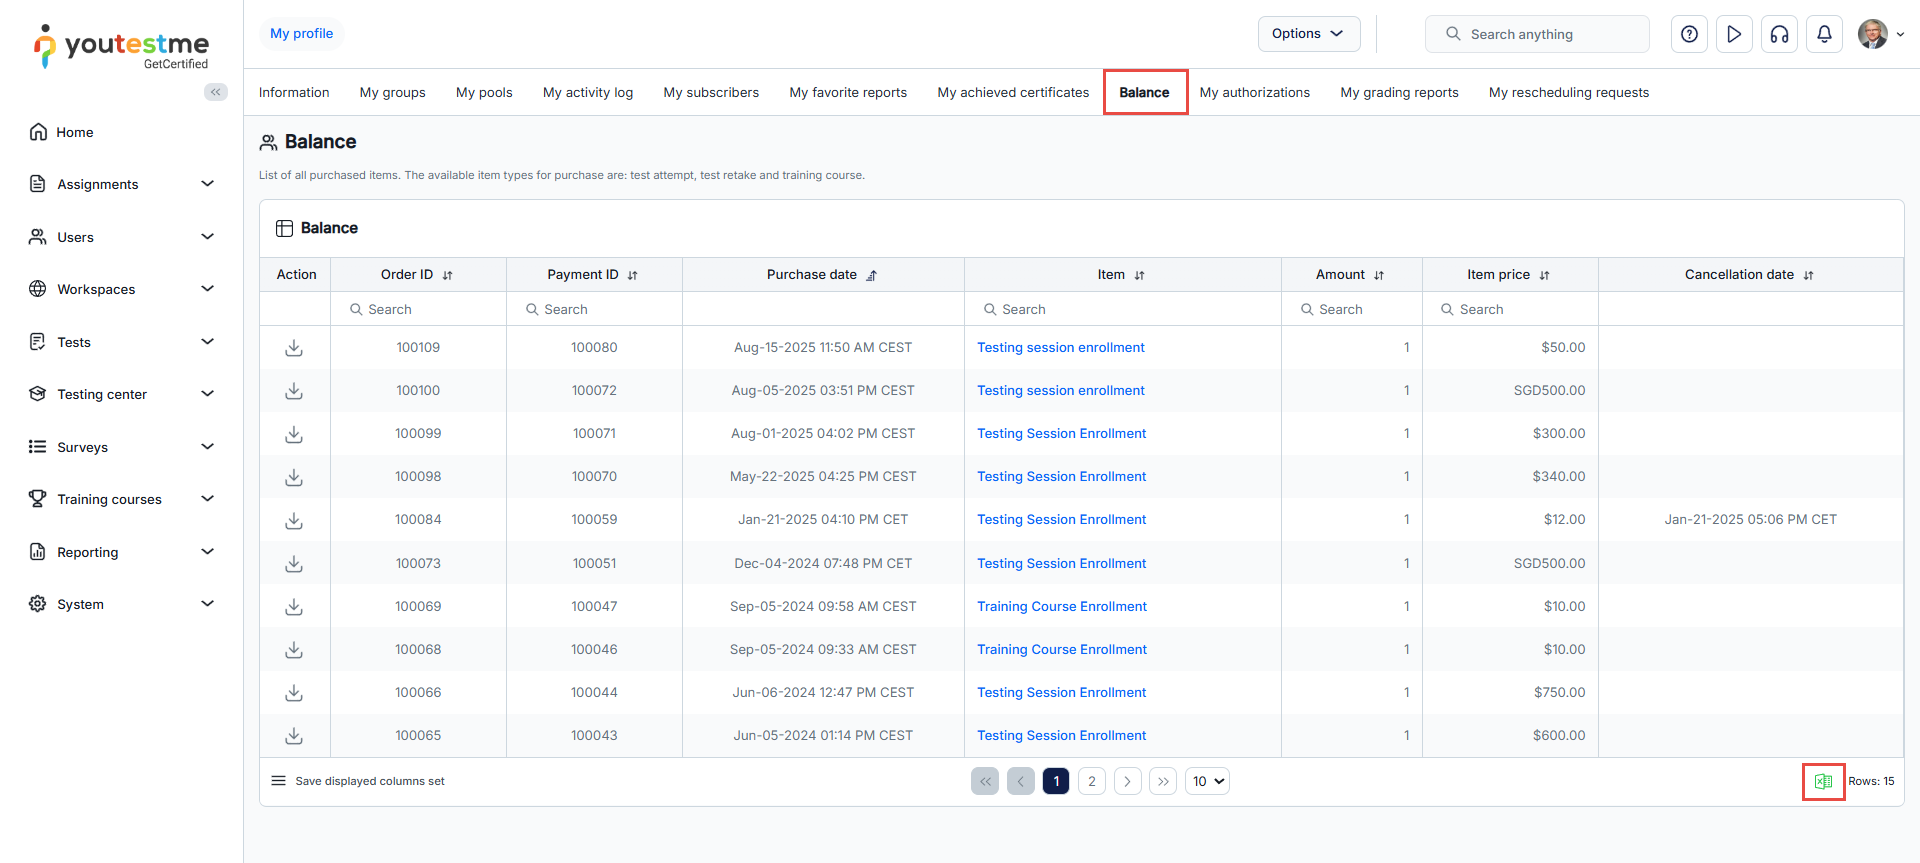
-
My authorizations
This tab displays a list of authorizations a user requires to book a testing session where authorization is required.
To manually create an authorization for the user:
-
Click the Create new authorization button.
-
Enter the External ID as a reference to the external system ID.
-
Set the authorization Expiration time - This authorization cannot be used for test-taking after this date. By default, the authorization validity period is unlimited.
-
Click the Assign to test button and select the test for which you intend to create an authorization.
-
Click the Create button.
The list of authorizations assigned to a user can be exported as an Excel file.
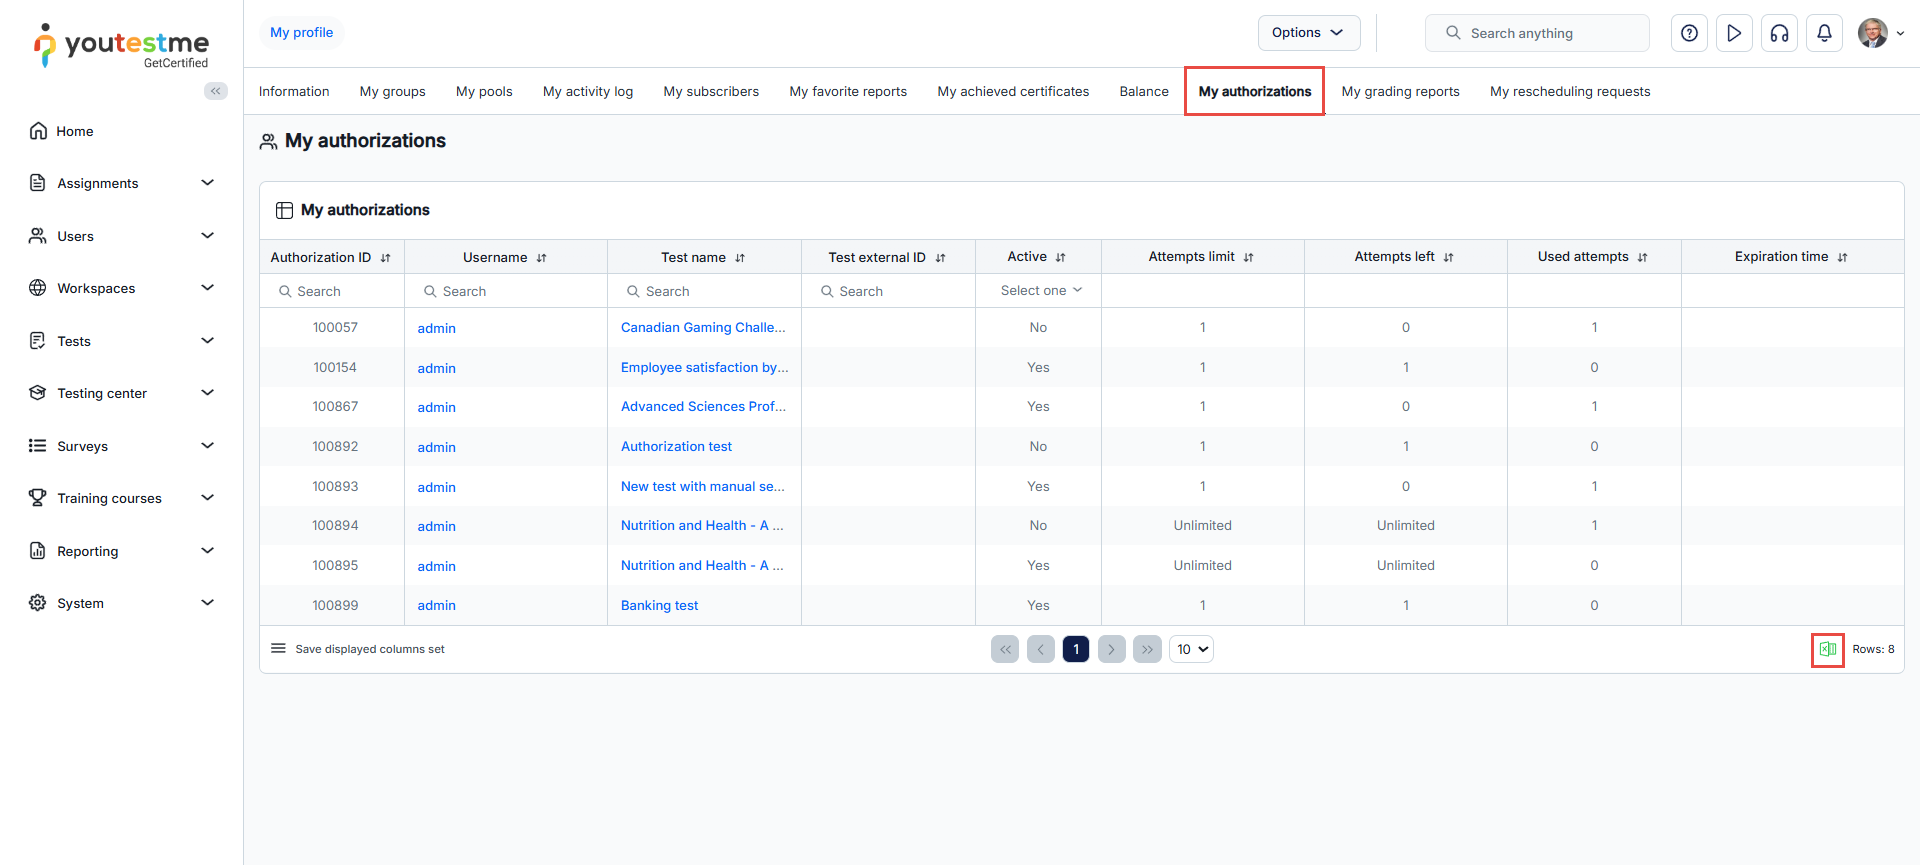
Note: Detailed explanations for each column can be found on the Booking authorizations help page.
-
-
My grading reports
This tab displays a list of reports assigned to the user for grading. When the Multiple graders option is enabled in a test, multiple graders evaluate the test, and a designated number of grader reports must be submitted to determine the final result.
To examine the candidate's report, click the corresponding button.
The list of assigned grading reports can be exported as an Excel or a PDF file.
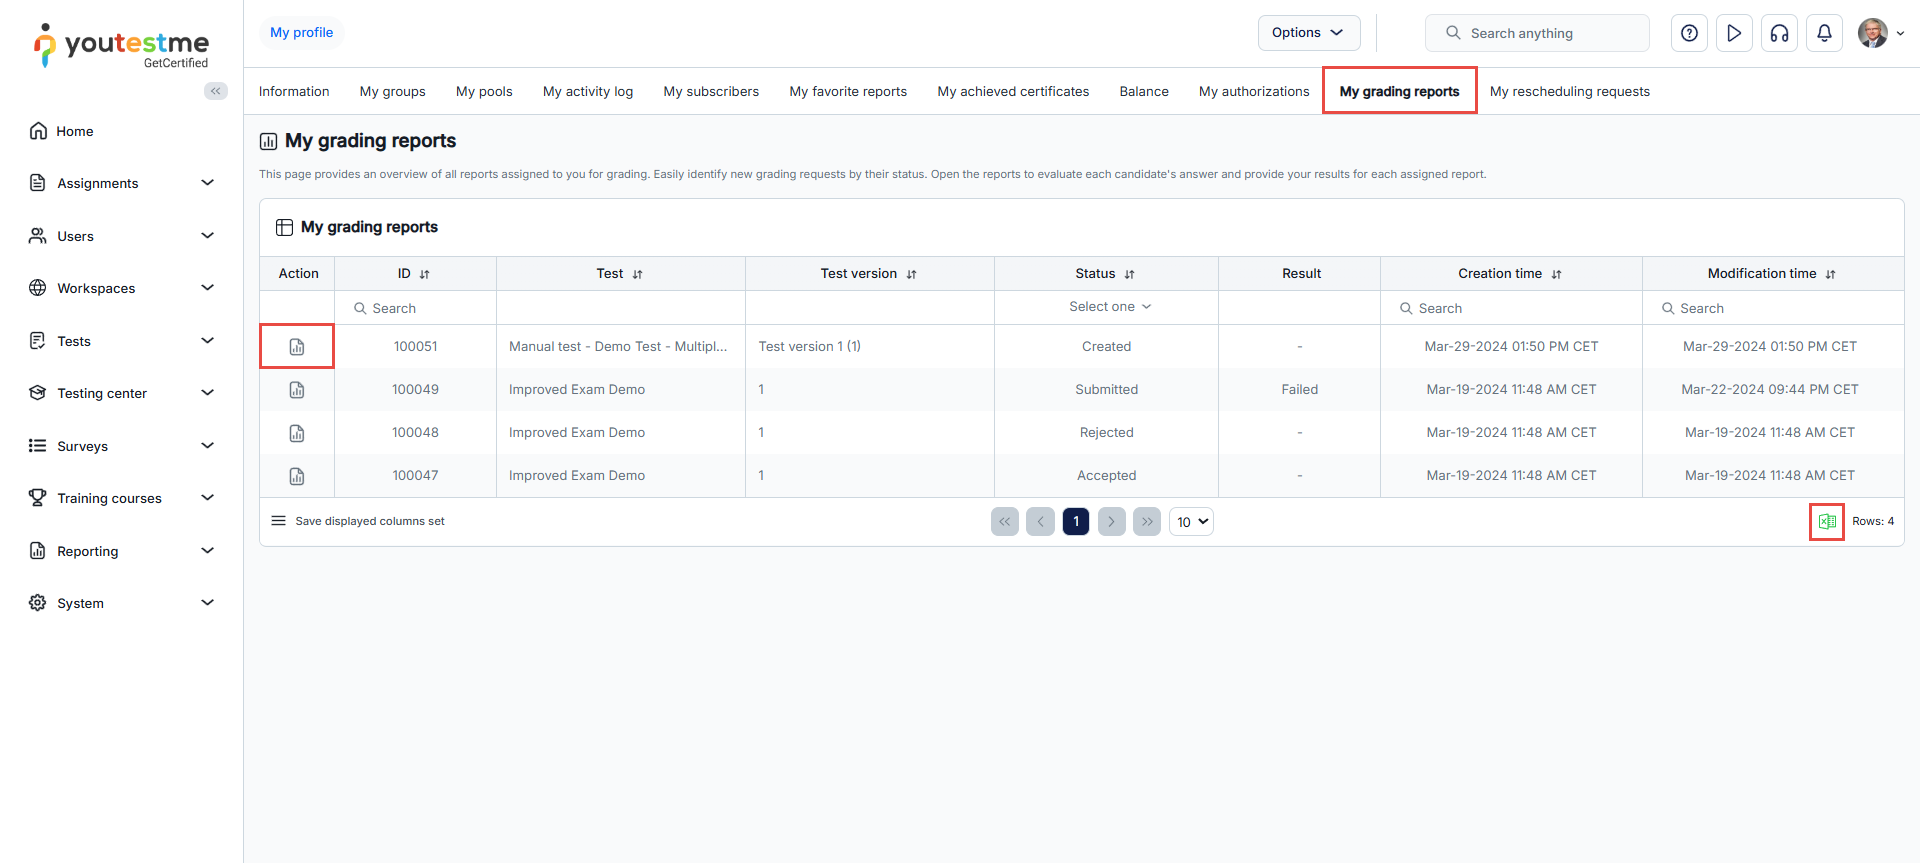
-
My rescheduling requests
This tab displays a list of all rescheduling requests sent by the user, including their statuses, conclusion messages, and resolution dates.
To View the rescheduling request, click the corresponding button.
The list of rescheduling requests can be exported as an Excel file.
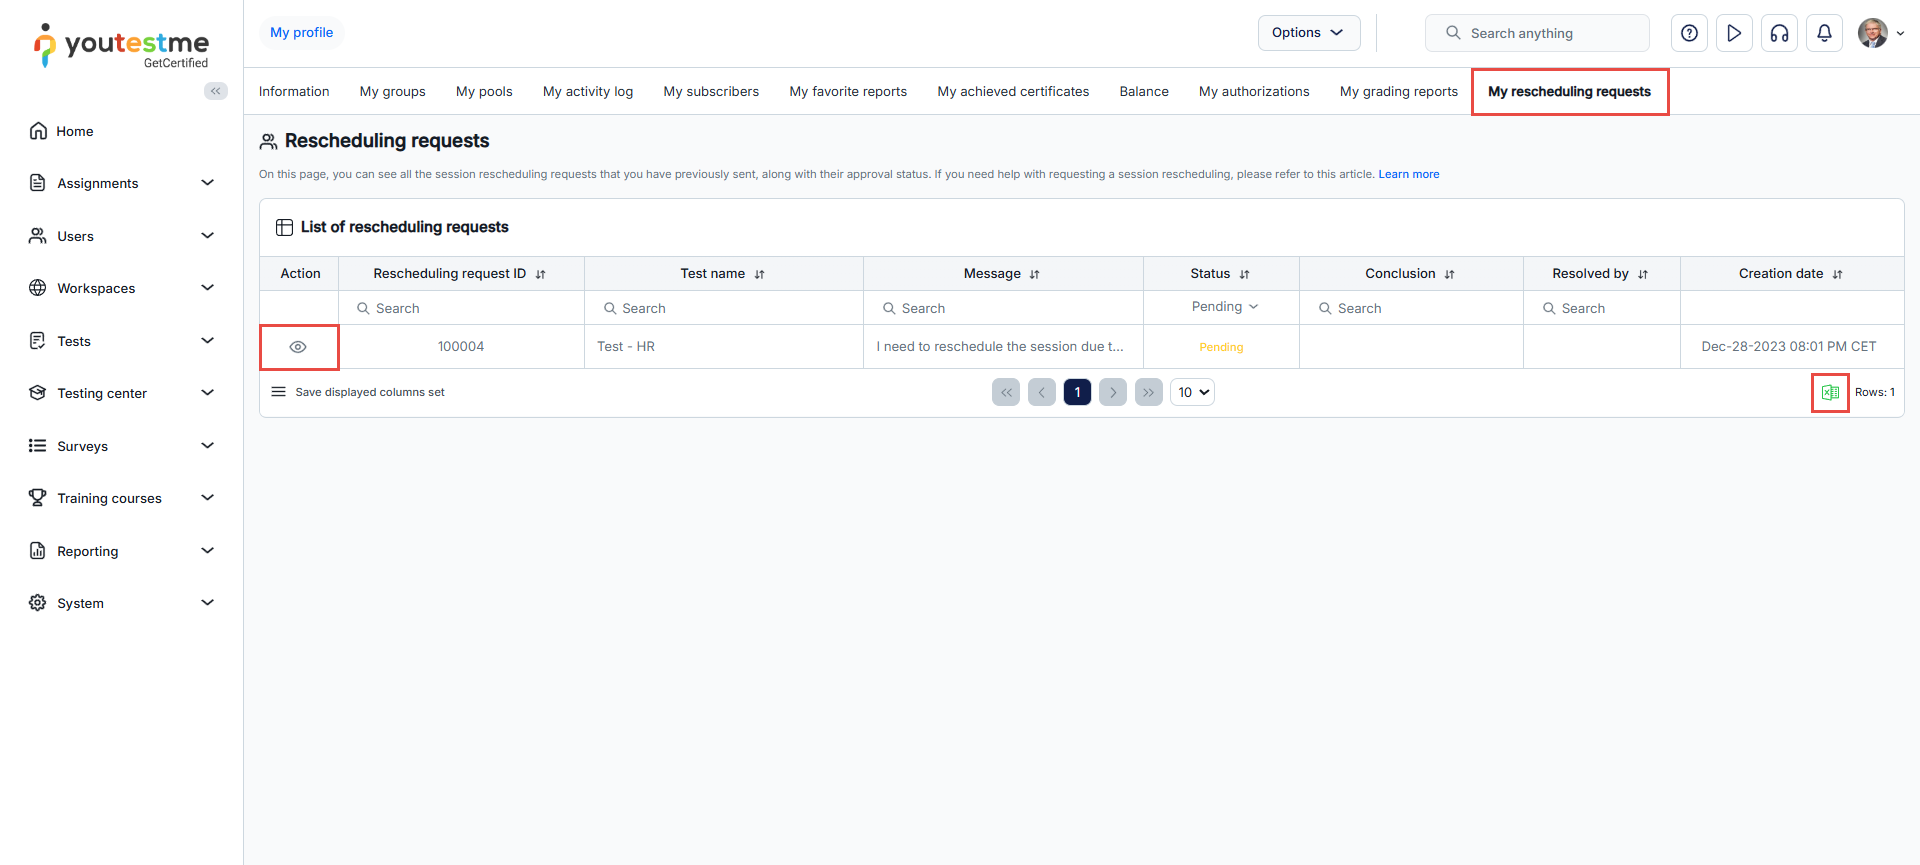
-
Manage workspaces
Introduction
Workspaces are virtual environments where users organize and manage their certification processes. For example, each workspace can represent a distinct company department. Workspaces separate entities within the system. Users in one workspace cannot view entities assigned to other workspaces, such as tests, training courses, surveys, question pools, question categories, users, and user groups.
If you want to organize the application using workspaces, you need to follow these steps:
-
Assign users to the desired workspaces through membership rules or direct assignment.
-
If necessary, distribute existing entities among workspaces or organize the creation of new entities according to workspaces.
The Manage workspaces page provides an overview of all workspaces within the system.
Actions that can be performed on this page include:
-
Option to view the contents of the page in Tile or List format.
-
Edit a workspace. Find additional information about each field in the Information chapter.
-
Delete the workspace. If any data is assigned to the workspace, deletion is not possible. To delete the workspace, ensure that all associated data (users, tests, etc.) has been removed beforehand.
-
Creating a new workspace
To create a new workspace:
-
Click the Create new button.
-
Enter the name of the workspace.
-
Enter a description to provide additional information about the workspace.
-
Click the Save button.
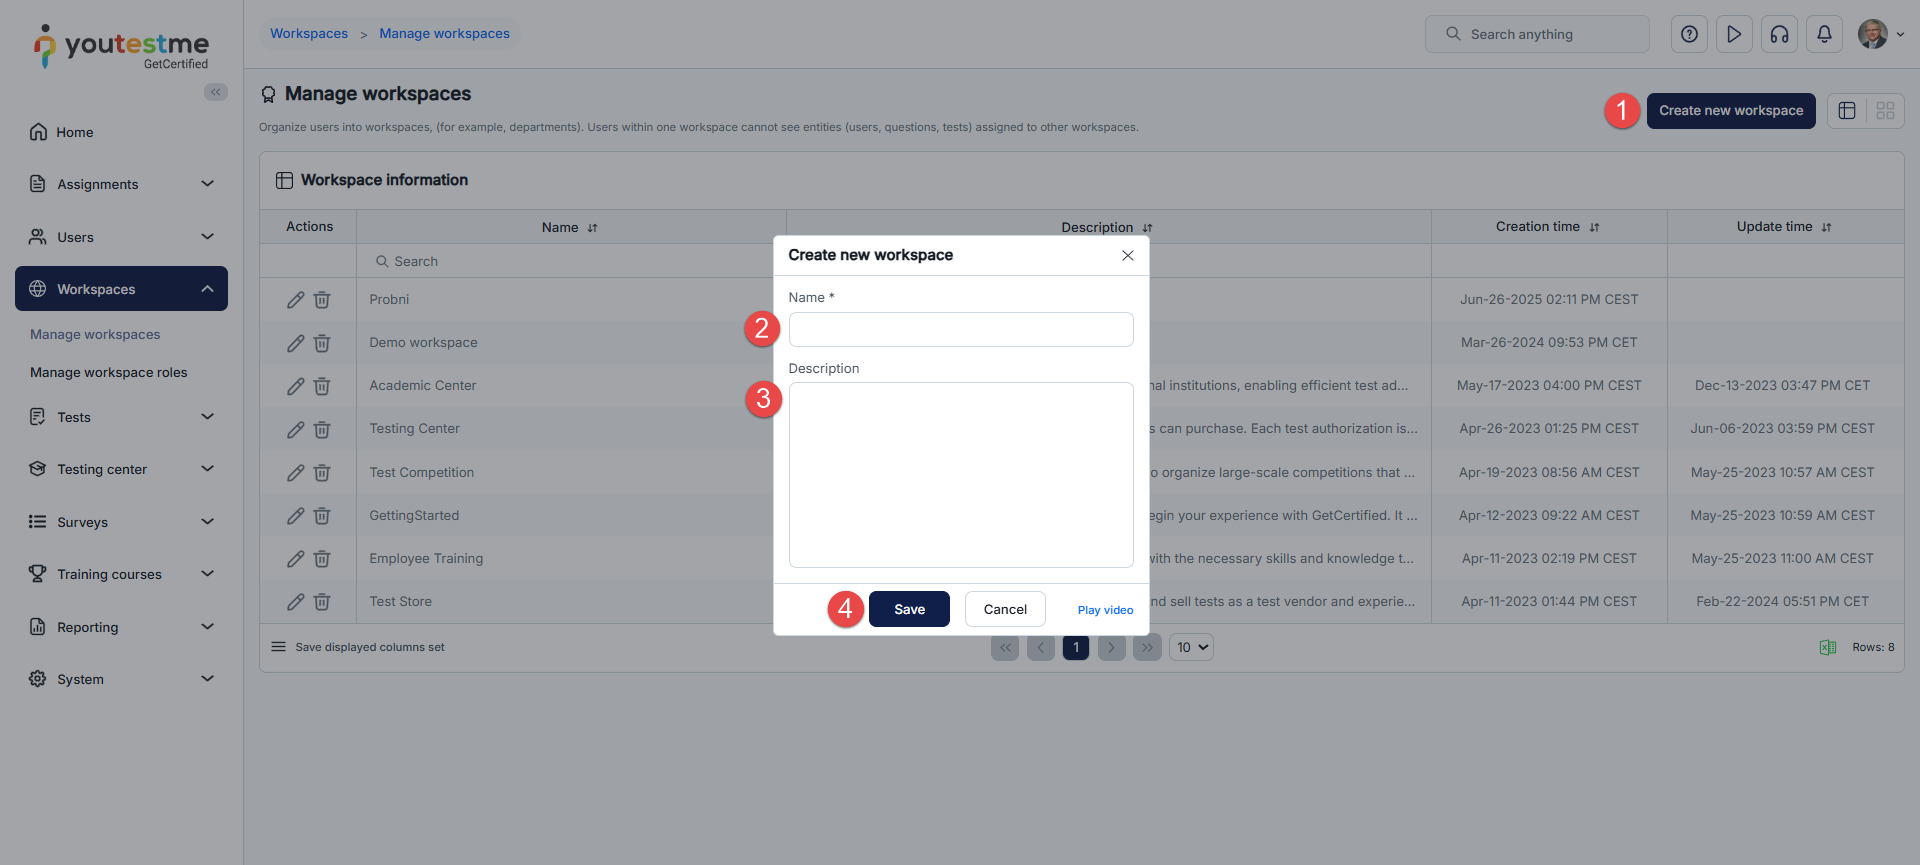
-
Workspace information
The Information tab displays the following workspace settings:
-
Workspace ID - A unique value generated automatically upon workspace creation.
-
Name - A unique name for the workspace.
-
Description - Provides additional information about the workspace.
-
Theme - Customizes the user interface by replacing the application's default theme. The chosen theme will be applied to all members of the workspace.
-
Created by - Displays the username of the workspace creator.
-
Creation date - Displays the date when the workspace was created.
-
Updated by - Displays the username of the user who last updated the workspace.
-
Date of update - Displays the date and time of the workspace's last update.
-
Logo - An uploaded image that will replace the system logo for all members of the workspace.
-
Favicon - An uploaded image that will replace the system favicon for all members of the workspace.
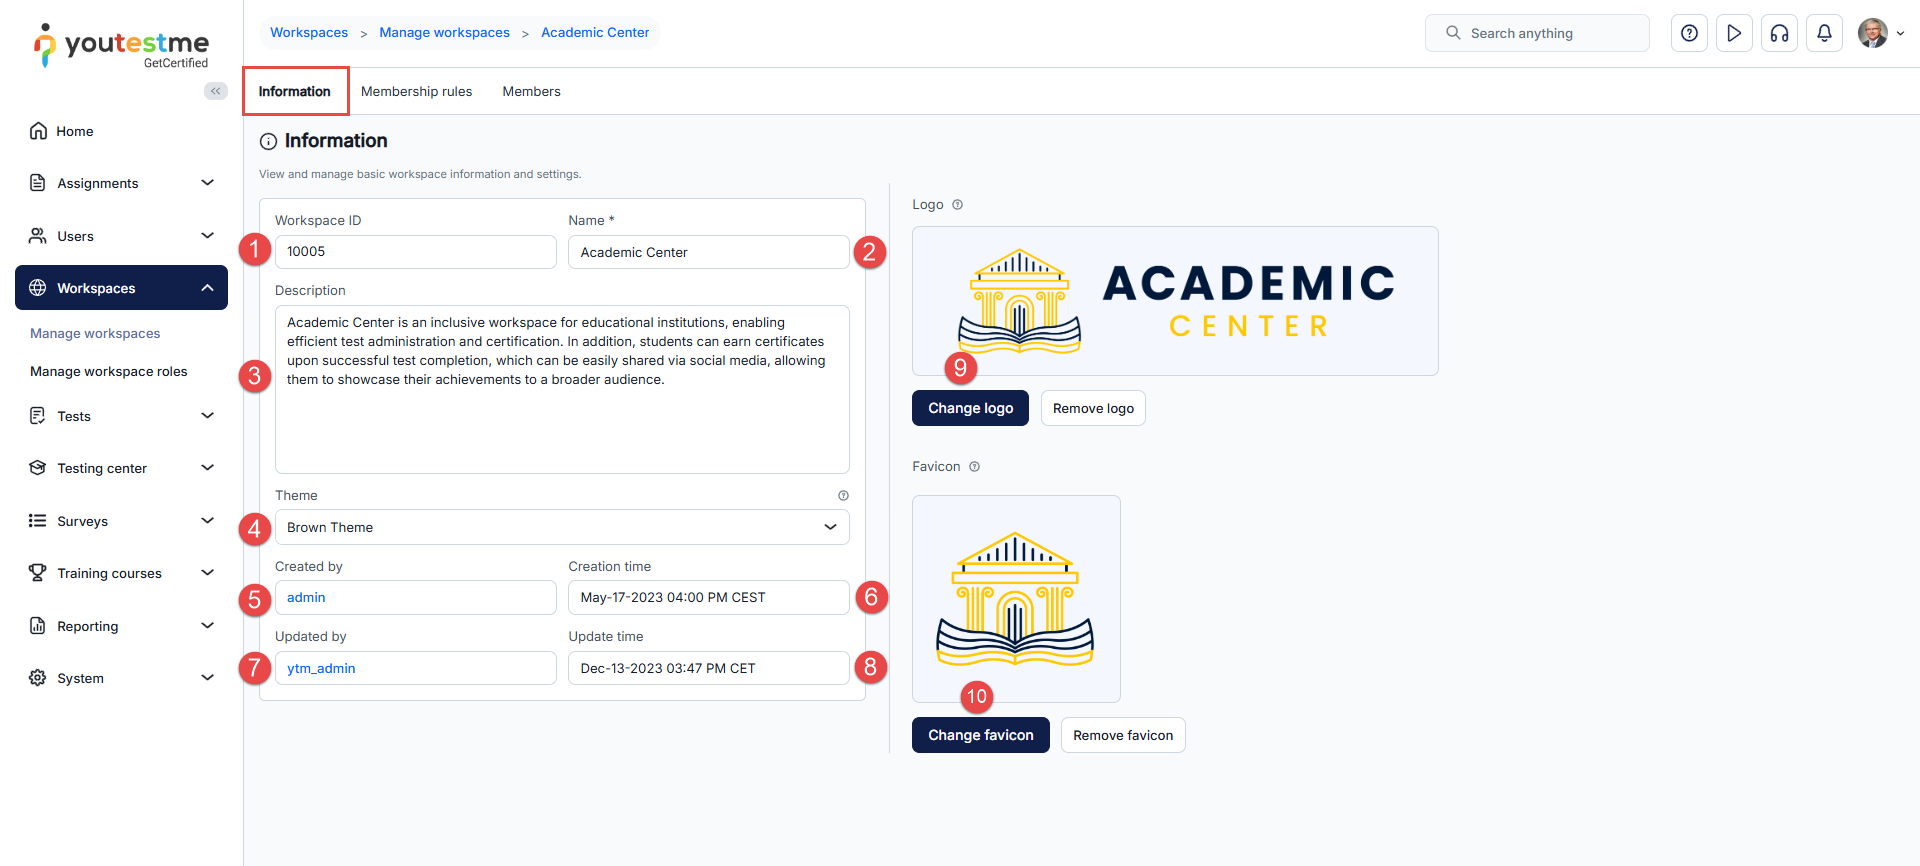
-
-
Membership rules
Automating user inclusion into a workspace is possible using a membership rule. This rule establishes a correlation between a system role (e.g., proctor) and membership in a workspace. For instance, by creating a workspace proctor role linked to the system's proctor role through a membership rule, all proctors within the system automatically gain membership in the workspace and assume the workspace proctor role.
To add a membership rule:
-
Click the Create new membership rule button.
-
Choose the System role. All users possessing the selected system role will be assigned to the workspace role chosen below.
-
Choose the Workspace role. The selected workspace role will provide assigned users with the permissions associated with that specific role within the workspace.
-
Click the Save button.
-
To delete a membership rule, click the respective icon next to the rule you want to remove.
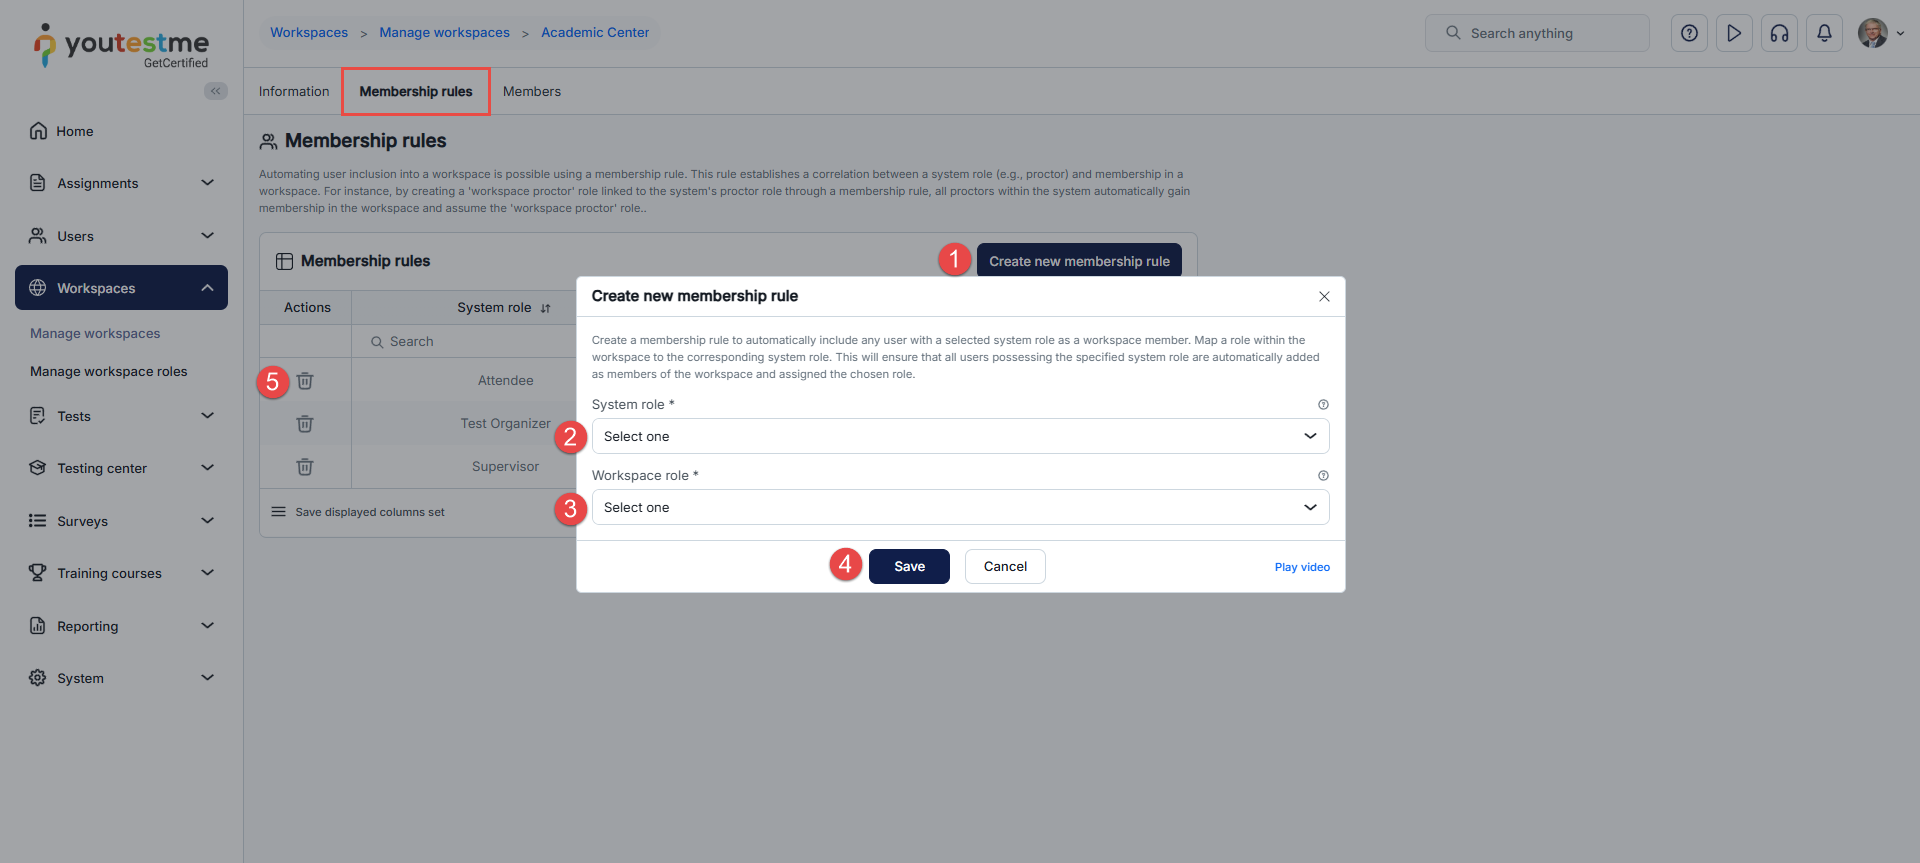
-
-
Workspace members
This tab shows a list of all members assigned to this workspace, along with their respective roles.
Available actions:
-
Add users to workspace - Click to manually add users to the workspace.
-
Filter - Filters the list to show only manually added workspace members.
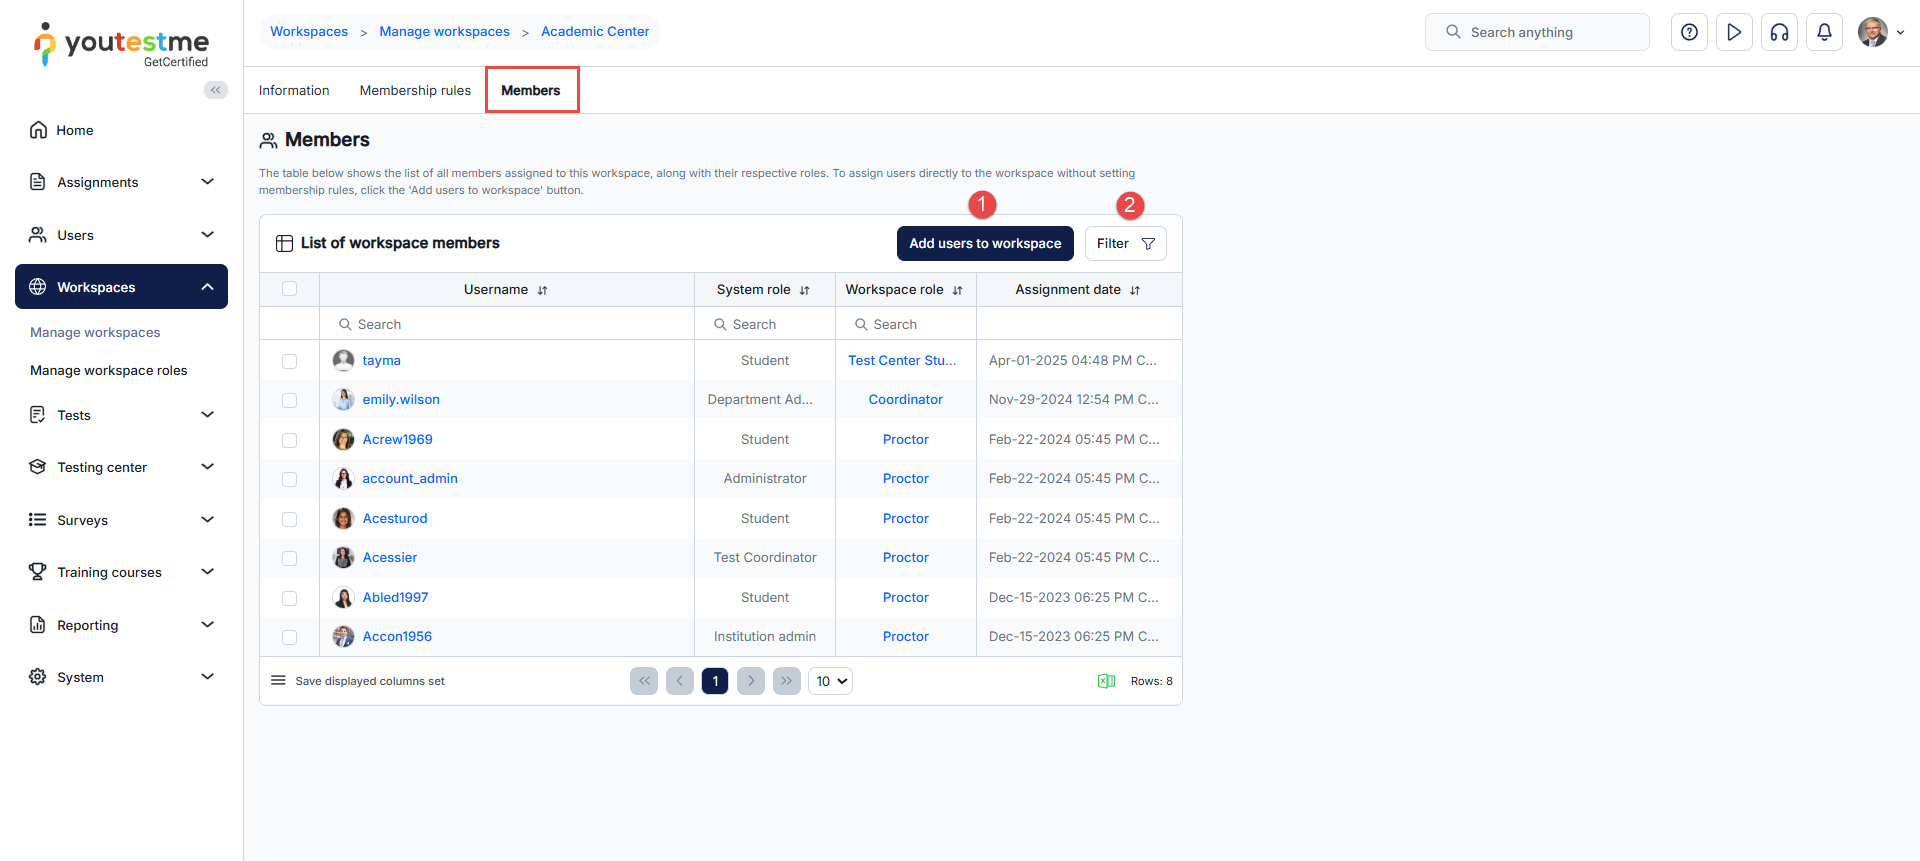
-
Directly assign members
To directly assign members to a workspace:
-
Click the Add users to workspace button.
-
Choose the Workspace role. The selected workspace role will provide assigned users with the permissions associated with that specific role within the workspace.
-
Select the users you wish to assign.
-
Click the Confirm button.
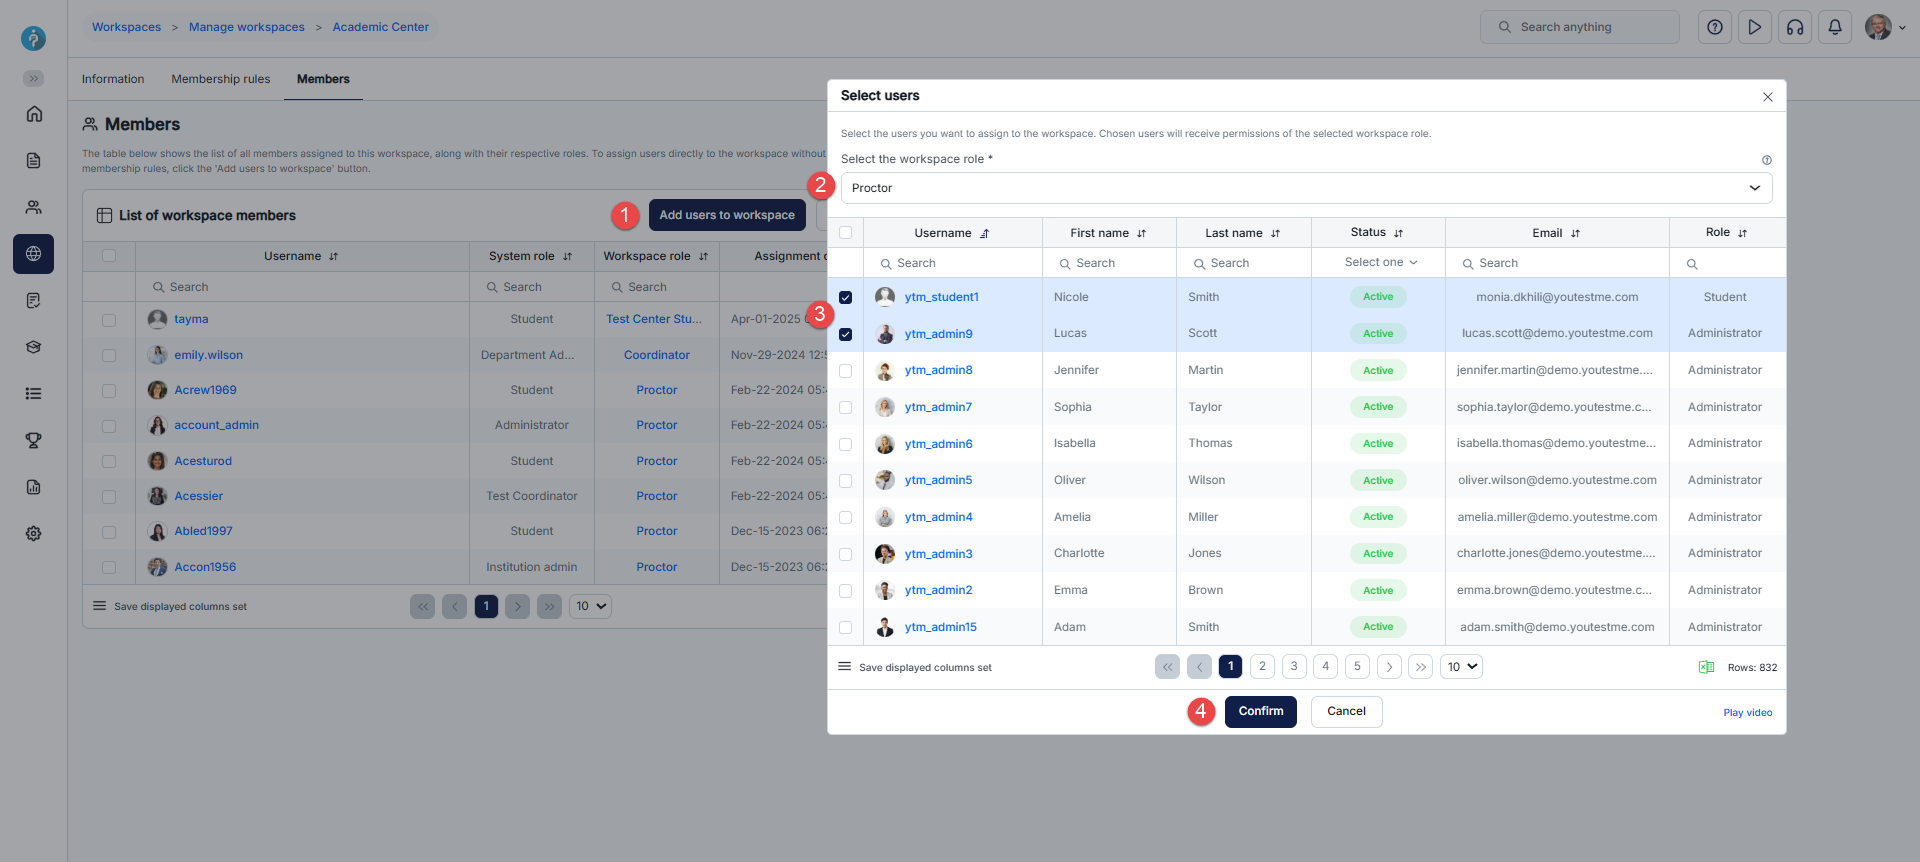
-
-
Removing directly assigned members
To remove members from a workspace:
-
Select the users you wish to remove.
-
Click the Remove selected button.
-
Click the Yes button.
Assignments completed by removed users will remain visible on their Assignments page. Access to other entities (such as tests, surveys, and user groups) associated with that specific workspace, will be prohibited.
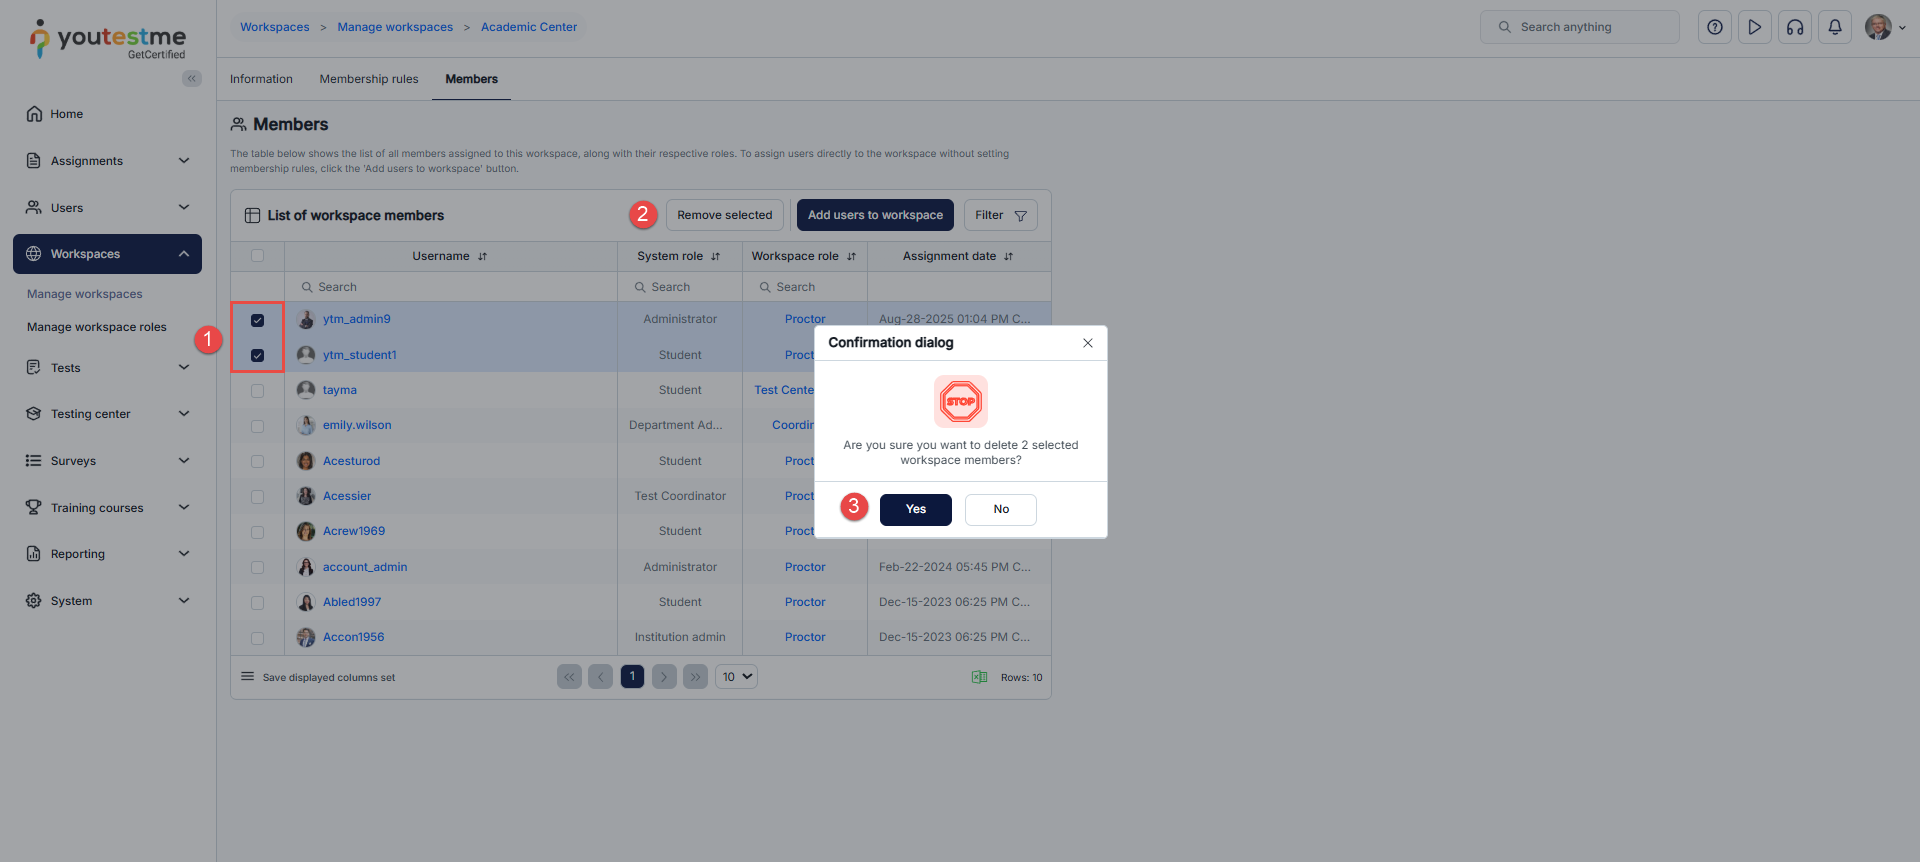
-
-
-
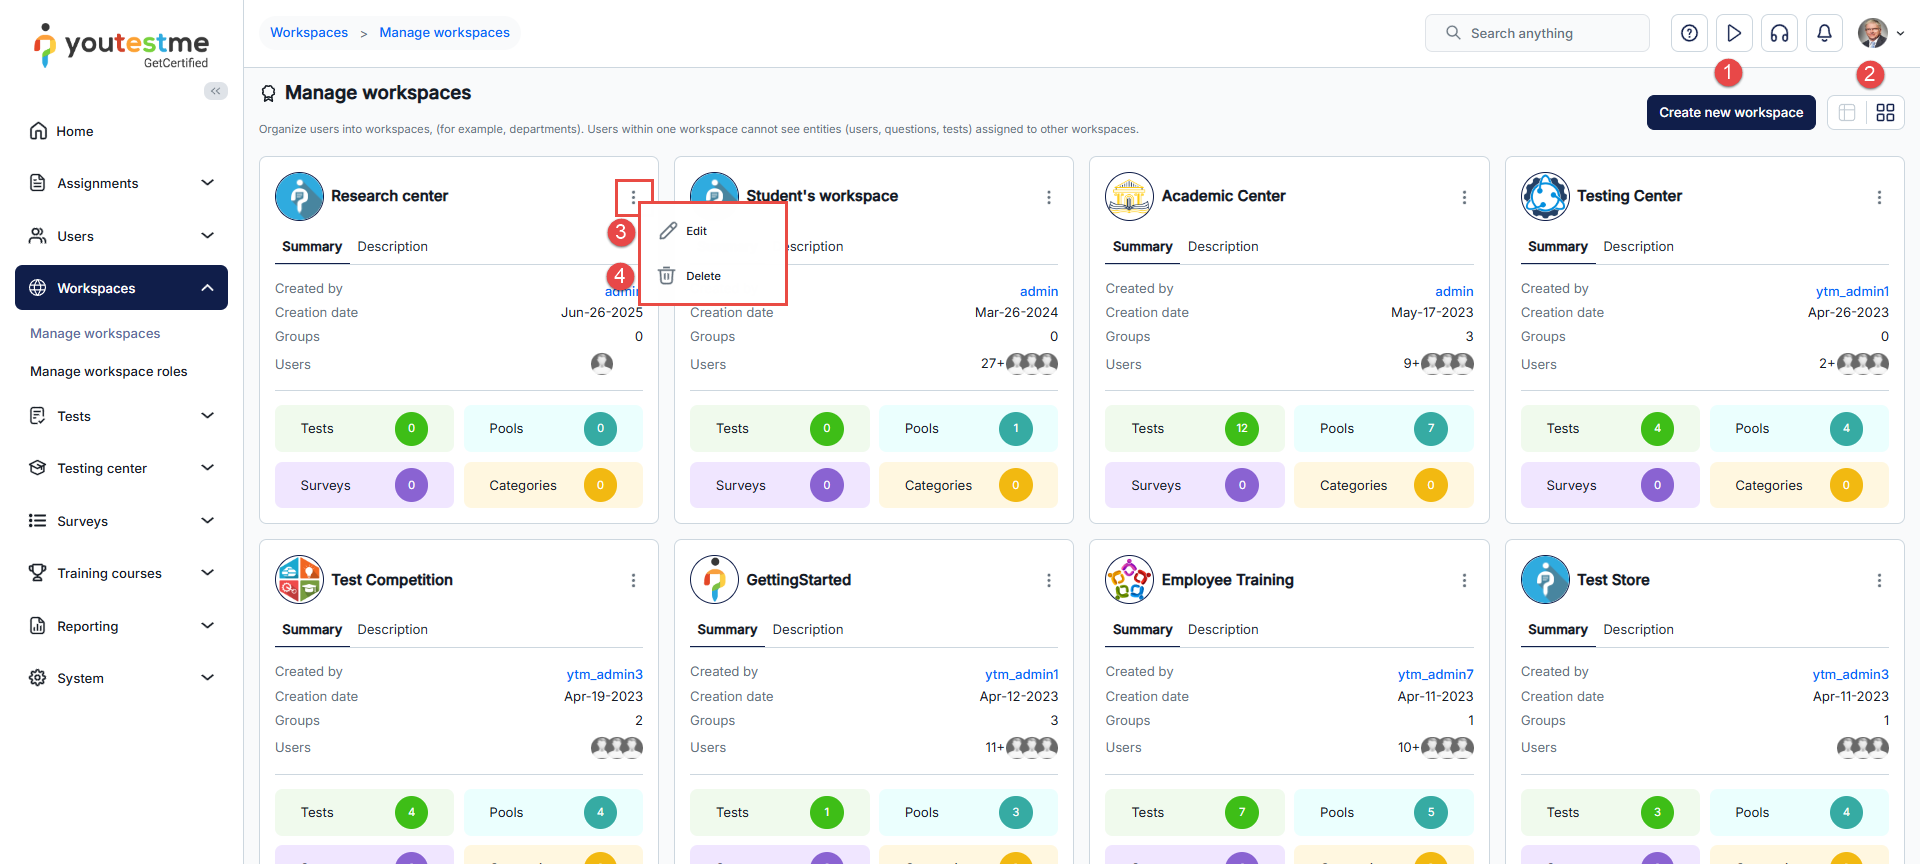
Manage workspace roles
-
Introduction
Permission defines what a user can see or the actions they can take within an application. A User role is a predefined or custom set of permissions. A Workspace role defines the set of permissions that determine what a user can see or the actions they can take within that specific workspace.
At the level of each workspace, membership rules can be defined, establishing a correlation between a system role (e.g., proctor) and membership in a workspace. For example, by creating a workspace proctor role linked to the system's proctor role through a membership rule, all proctors within the system automatically gain membership in the workspace and assume the workspace proctor role. Additionally, users can be assigned directly to workspaces rather than based on their role.
The allowed actions that a user can perform in the workspace depend on the permissions granted to them. Specifically for entities such as tests, training courses, surveys, question pools, question categories, users, and user groups, there are permissions that can allow the user to manage at the level of a specific workspace or all workspaces.
-
If you want to give the user the ability to manage all tests in the application (regardless of the workspace), then you should add them a permission for managing all tests at the level of their User role. On the other hand, if you want to allow them to manage all tests within a specific workspace, then you should only grant them permission to access the tests page at the level of their User role and give them permission to manage all tests at the level of their Workspace role.
-
The same principle applies to question pools and other entities mentioned above. If you want them to manage all question pools in the system, give them the Manage any pool permission at the level of their User role. If you want them to manage question pools only in a specific workspace, grant them Access the question pools page permission at the User role level and Manage any question pool in specific workspace permission at the Workspace role level.
System (user) role permissions take precedence over workspace role permissions. This means that if you give users permission at the User role level to manage all tests in the application and at the Workspace role level to manage all tests within a specific workspace, they will have permission to manage all tests in all workspaces (the entire application) because the User role takes priority.
For more information on managing entities within workspace, refer to the Managing entities within workspaces chapter.Note: Users can have only one system role, but they can be assigned multiple workspace roles - either across different workspaces or even within the same workspace. The data presented will reflect the combined permissions from all assigned roles.
On their profile, users can independently switch between their workspaces without affecting other users.Note: System administrators don't require workspace assignments since they manage all system data.
The Manage workspace roles page displays all workspace-related security roles within the system. To access the page, navigate to the Workspaces section in the main menu, then select the Manage workspace roles option.
On this page, you can:
-
View the list of all workspace roles, with their names, descriptions, and external IDs.
-
Create a new workspace role. You can create an unlimited number of custom roles.
-
Copy a workspace role to create a new one with the same permissions. The options are the same as for creating a new role.
-
Delete a workspace role. Note that a workspace role cannot be permanently deleted if it is used in some workspaces.
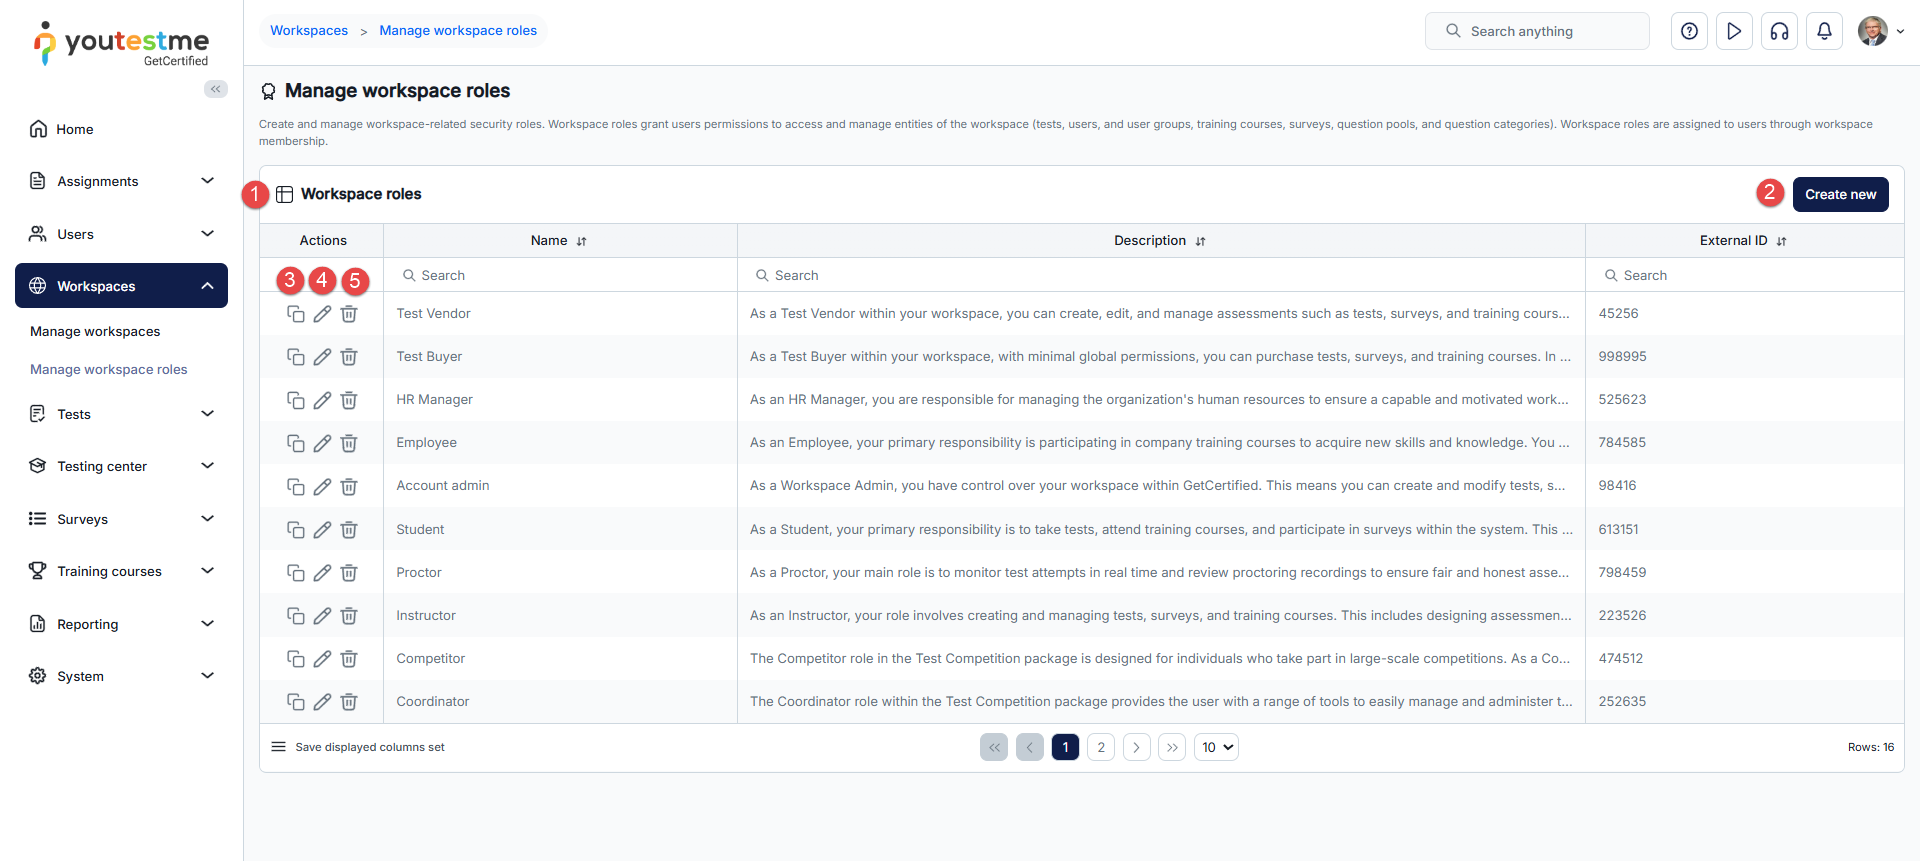
-
-
Creating/editing role
To configure the role:
-
Enter the role Name.
-
If needed, enter the External ID, a unique identifier for integration with external systems.
-
Enter the Role description to provide additional information about its purpose.
-
If a user has permission to create a new user (12. Create new users - enabled) but no permission to assign roles (3. Grant roles to users - disabled), they can choose any role labeled as Grantable role when creating a new user.
-
Choose permissions or click the Select all option to define the actions and viewing capabilities for this role. For details on each permission, consult the List of permissions chapter.
-
Click the Save/Update button.
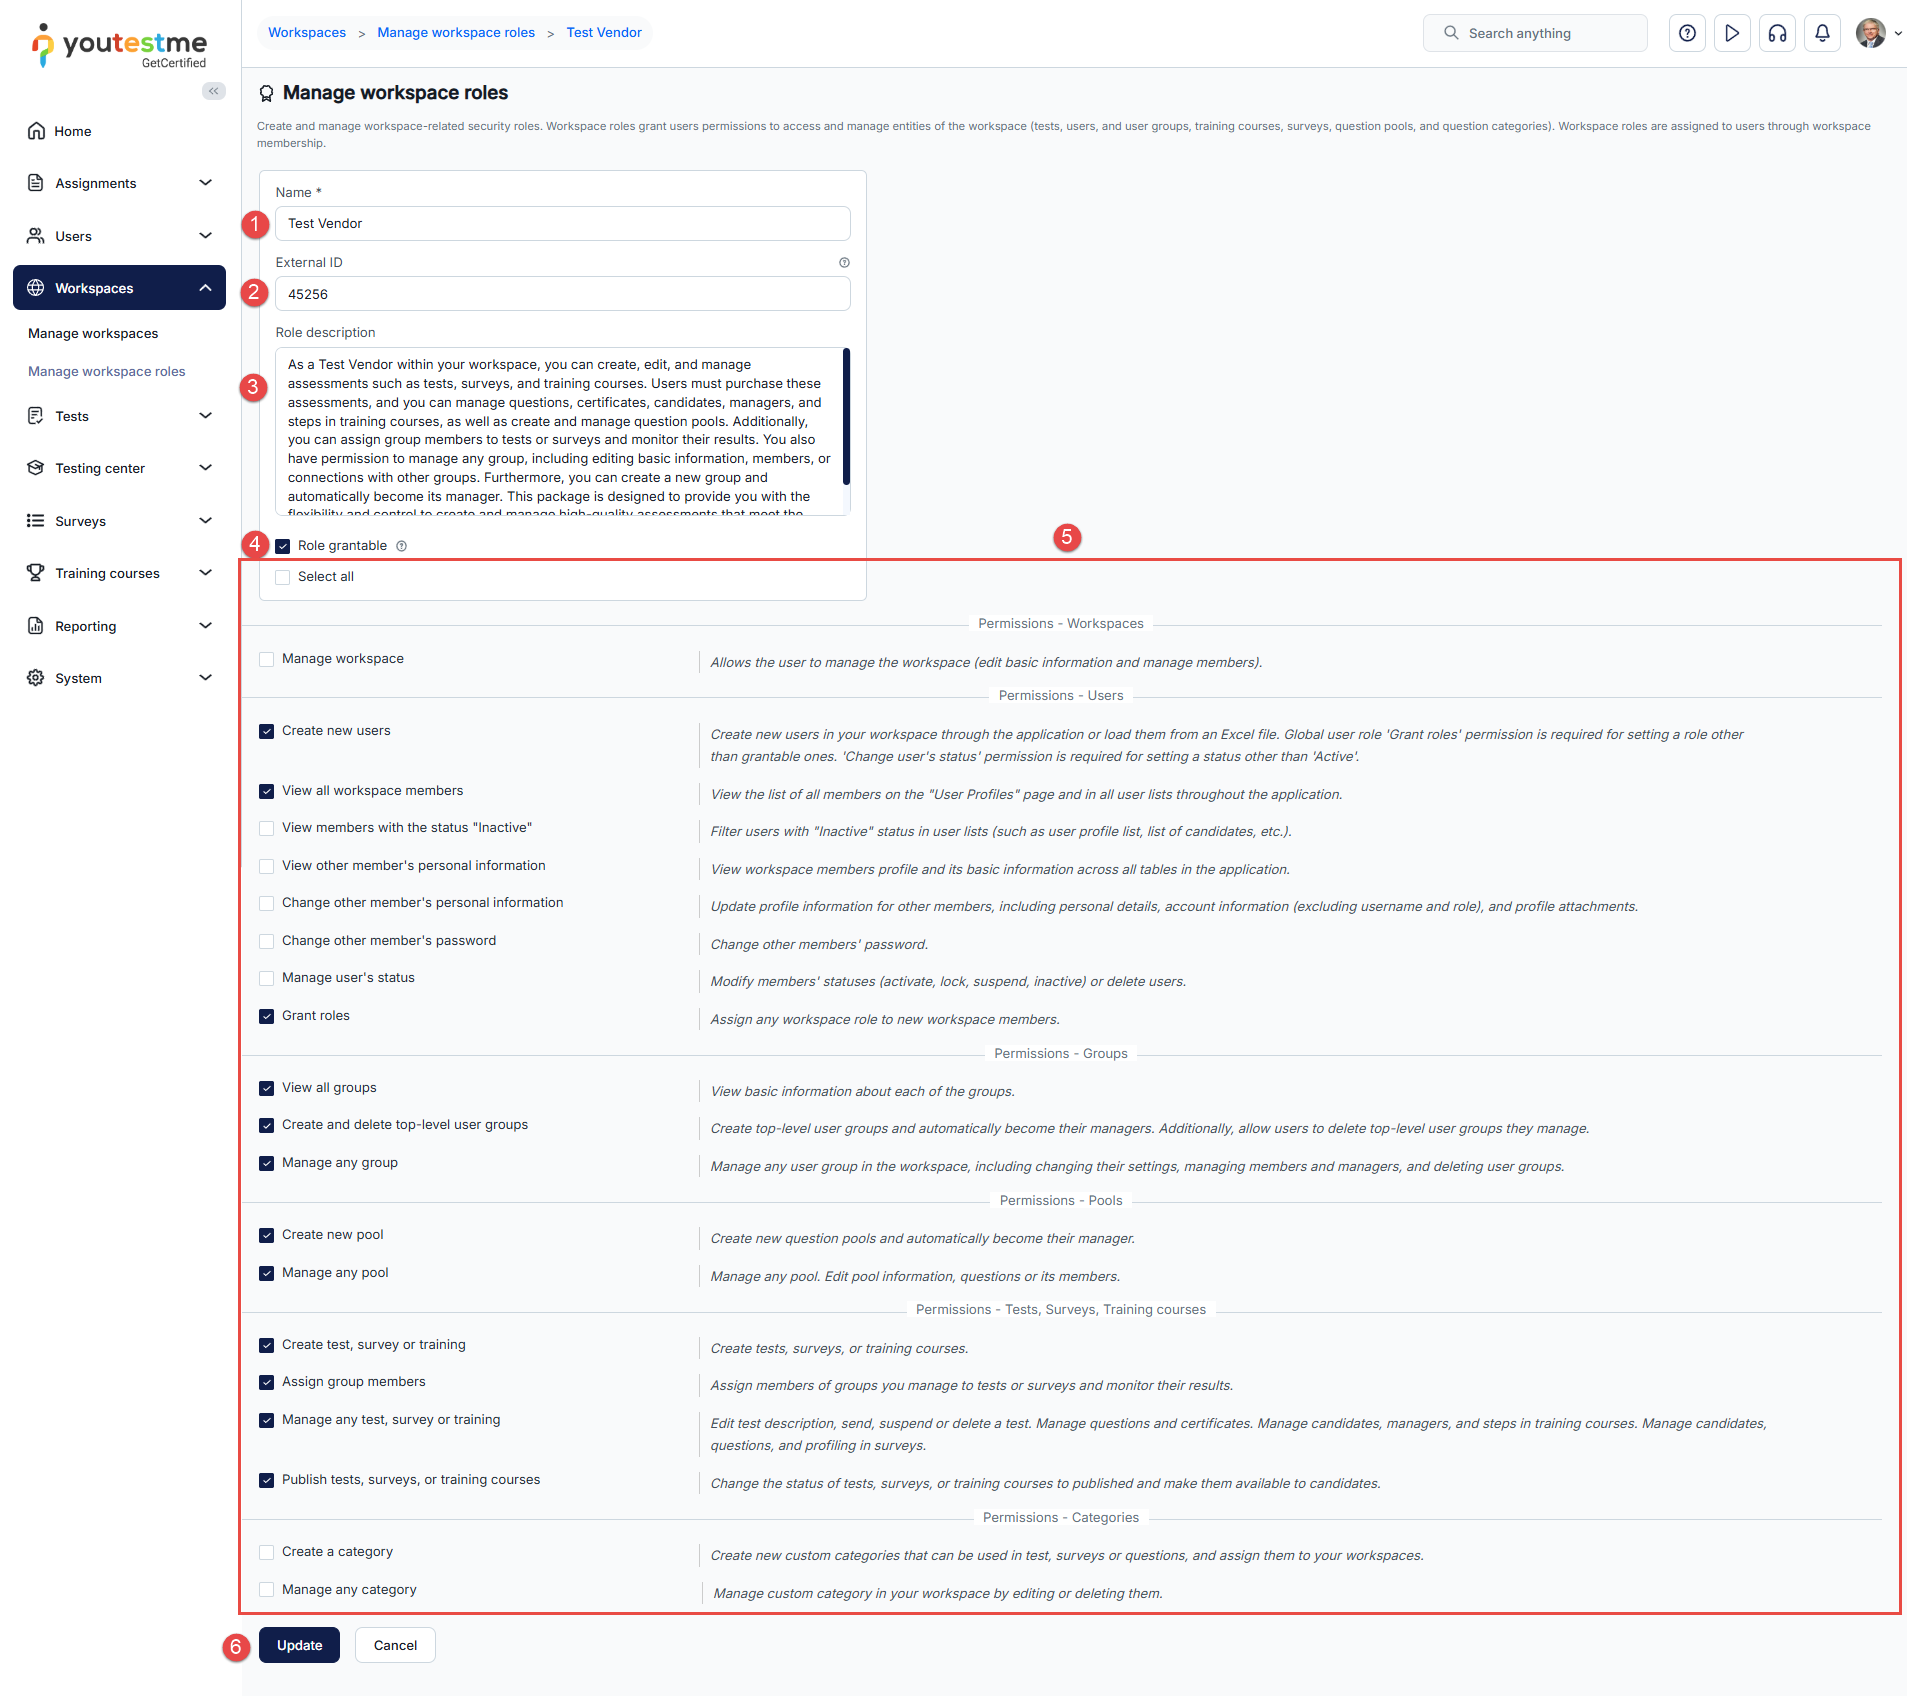
-
-
Managing entities within workspaces
-
Tests
The user is able to:
-
Create tests:
-
In any workspace with the system role permission, Create test, survey, or training.
-
Only in workspaces where they have the workspace role permission Create test, survey or training.
-
-
View and manage tests:
-
View and manage all tests in the application with the system role permission to Manage any test, survey or training.
-
View tests in a specific workspace if they have the Manage any test permission within their workspace role and also view all tests where assigned as a manager. Users need to have the Fully manage your tests and surveys permission in their system role to manage these tests.
-
Surveys
The user is able to:
-
Create surveys:
-
In any workspace with the system role permission, Create test, survey, or training.
-
Only in workspaces where they have the workspace role permission Create test, survey or training.
-
-
View and manage surveys:
-
View and manage all surveys in the application with the system role permission to Manage any test, survey or training.
-
View surveys in a specific workspace if they have the Manage any test permission within their workspace role and also view all surveys where assigned as a manager. Users need to have the Fully manage your tests and surveys permission in their system role to manage these surveys.
-
Question pools
The user is able to:
-
Create question pools:
-
In any workspace with the system role permission, Create a pool.
-
Only in workspaces where they have the workspace role permission Create new pool.
-
-
View and manage question pools:
-
View and manage all question pools in the application with the system role permission Manage any pool.
-
View and manage all question pools in a specific workspace with the workspace role permission Manage any pool.
-
View and manage question pools where they are assigned as a manager. Note that user's role must have the permission Access the 'Pools' page in their system role to view the Question pools page.
-
Note: Question pools can be organized into sub-pools. These sub-pools cannot have individual workspaces; they inherit the workspace of their parent pool.
User groups
The user is able to:
-
Create user groups:
-
In any workspace with the system role permission, Create groups.
-
Only in workspaces where they have the workspace role permission Create new group.
-
-
View and manage user groups:
-
View and manage all user groups in the application with the system role permission Manage any group.
-
View and manage all user groups in a specific workspace with the workspace role permission Manage any group.
-
View and manage user groups where they are assigned as a manager. Note that user's role must have the permission Access the 'Groups' page in their system role to view the User groups page.
-
Note: User groups can be organized into sub-groups. These sub-groups cannot have individual workspaces; they inherit the workspace of their parent user group.
Custom question categories
The user is able to:
-
Create question categories:
-
In any workspace with the system role permission, Create a question category.
-
Only in workspaces where they have the workspace role permission Create a question category.
-
-
View and manage question categories:
-
View and manage all question categories in the application with the system role permission Manage any question category.
-
View and manage all question categories in the specific workspace with the workspace role permission Manage any question category.
-
Training courses
The user is able to:
-
Create training courses:
-
In any workspace with the system role permission, Create test, survey or training.
-
Only in workspaces where they have the workspace role permission Create new test.
-
-
View and manage training courses:
-
View and manage all training courses in the application with the system role permission to Manage any test, survey or training.
-
View training courses in a specific workspace if they have the Manage any test permission within their workspace role and also view all training courses where assigned as a manager. Users need to have the Fully manage your tests and surveys permission in their system role to manage these training courses.
-
-
-
Question types
-
Introduction
Question types are different types of questions that can be used in tests and surveys. Possible types include single choice, multiple choice, hot spot, essay, ordering, matrix, open-ended, true/false, matching, and fill in the blanks. For more information on how to create each question type, refer to the Question types chapter.
The application offers users a diverse selection of question types, specifically designed to assess comprehension levels effectively.
-
Single choice - Multiple answers are displayed, but only one of them can be selected as correct.
-
Multiple choice - Multiple answers are displayed, and more than one answer can be selected as correct.
-
.
Essay - Users have to compose an answer themselves. These questions must be graded manually
-
Ordering - Users need to rearrange answers in the correct order.
-
Fill in the blanks - Users need to fill in the missing parts of a sentence. You can determine the format in which the candidates must provide their responses. The free text input format allows candidates to answer using characters and numbers. The numerical input format limits candidates to inputting only numbers, making it ideal for quantitative questions. Offered answers limit candidates to a set of predetermined answer options.
-
True/False - Users have to choose true or false to answer a question.
-
Matching - Users have to pair objects on the left side with the objects on the right side.
-
Matrix - Questions are represented in a grid format. The rows present the questions, and the columns offer a set of predefined answer choices that apply to the questions in the row.
-
Open-ended - A blank space needs to be filled with the correct answer that the system will automatically compare with the predefined correct answer.
-
Hot spot - Users are required to mark one or multiple spots on an image as an answer.
-
Accounting - - A table-based question where students must fill in the correct information in each cell, with the table structure and values defined through advanced question type settings.
-
-
Creating questions
Questions can be created through various methods. They can be created directly during the test creation process. Alternatively, questions can be created after the test is created within the Manage tests page under the Questions tab. Additionally, questions can be created and stored in a question pool.
Note: Questions created in the test creation wizard won't be accessible in other question pools and tests unless chosen for inclusion in a desired pool. Conversely, questions created in a question pool can be used in various questions and tests.
-
Creating questions directly in the test creation wizard
To create questions directly in the test creation wizard, do the following:
-
Navigate to the Test/New test tab. Alternatively, go to the Tests/Manage tests tab and select New test button.
-
Proceed to step 2 and enter the test creation wizard. Choose the Pick questions from pools or create them manually method. This will enable you to create different types of questions for the test.
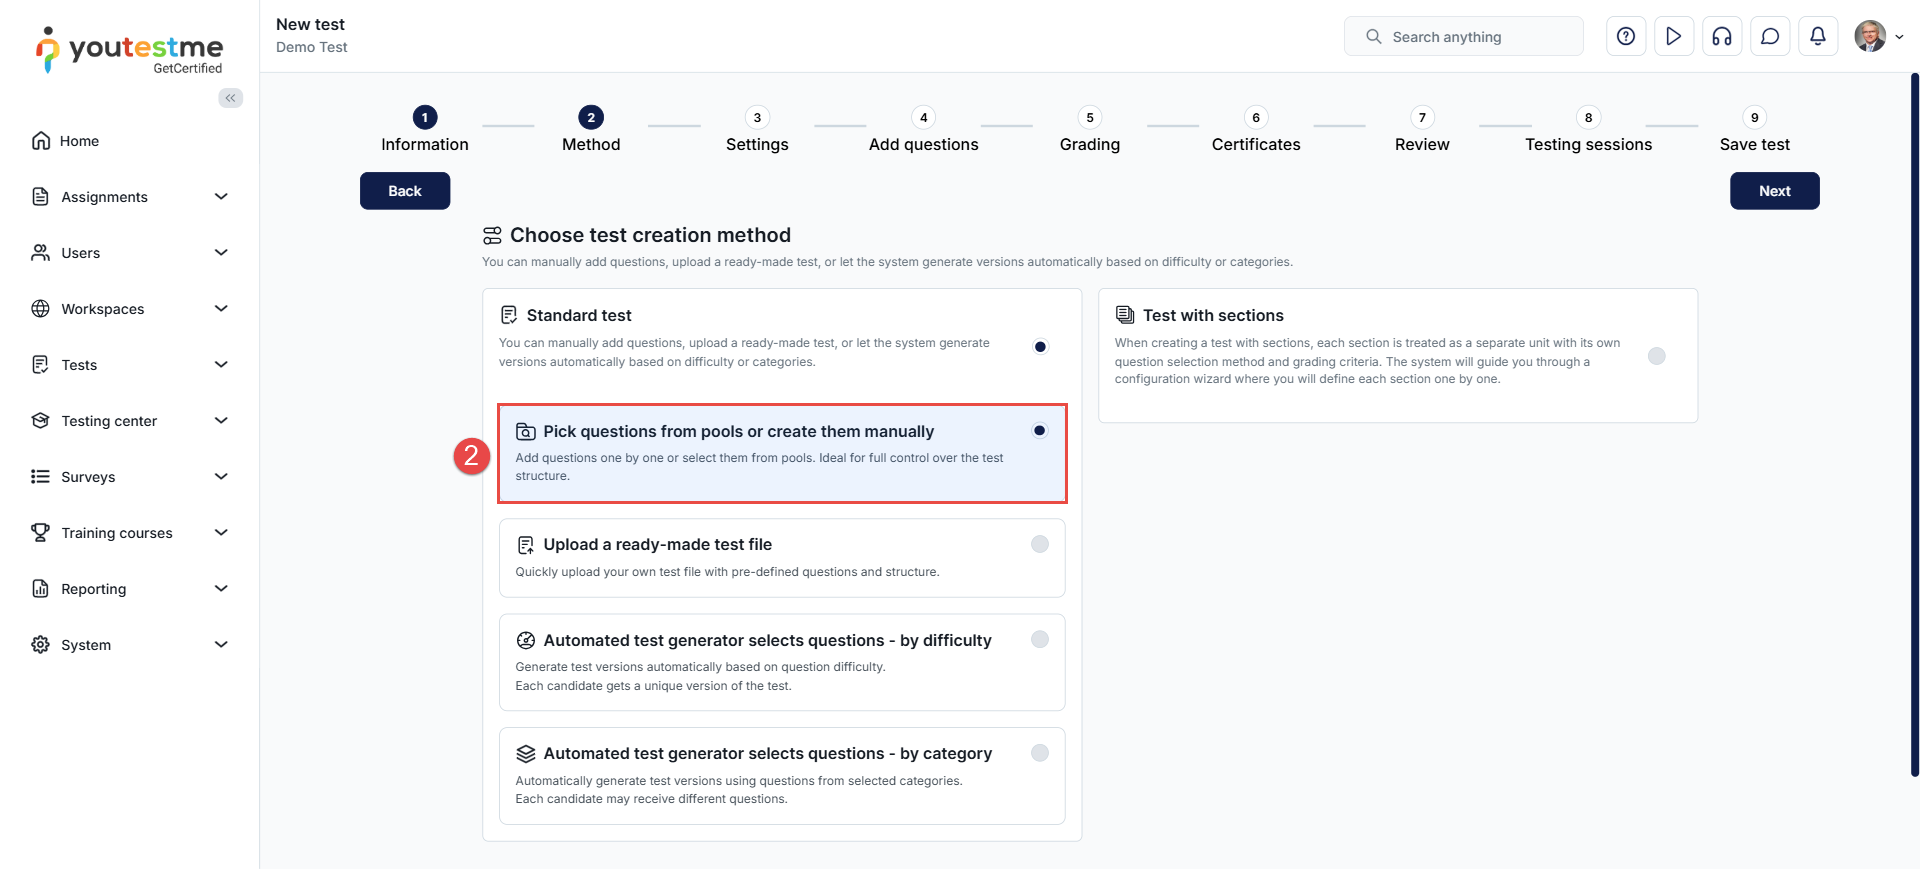
-
Click the Add new question button to open a drop-down menu containing all the question types you can create.
Note: You can hover over each question type to view an example of it.
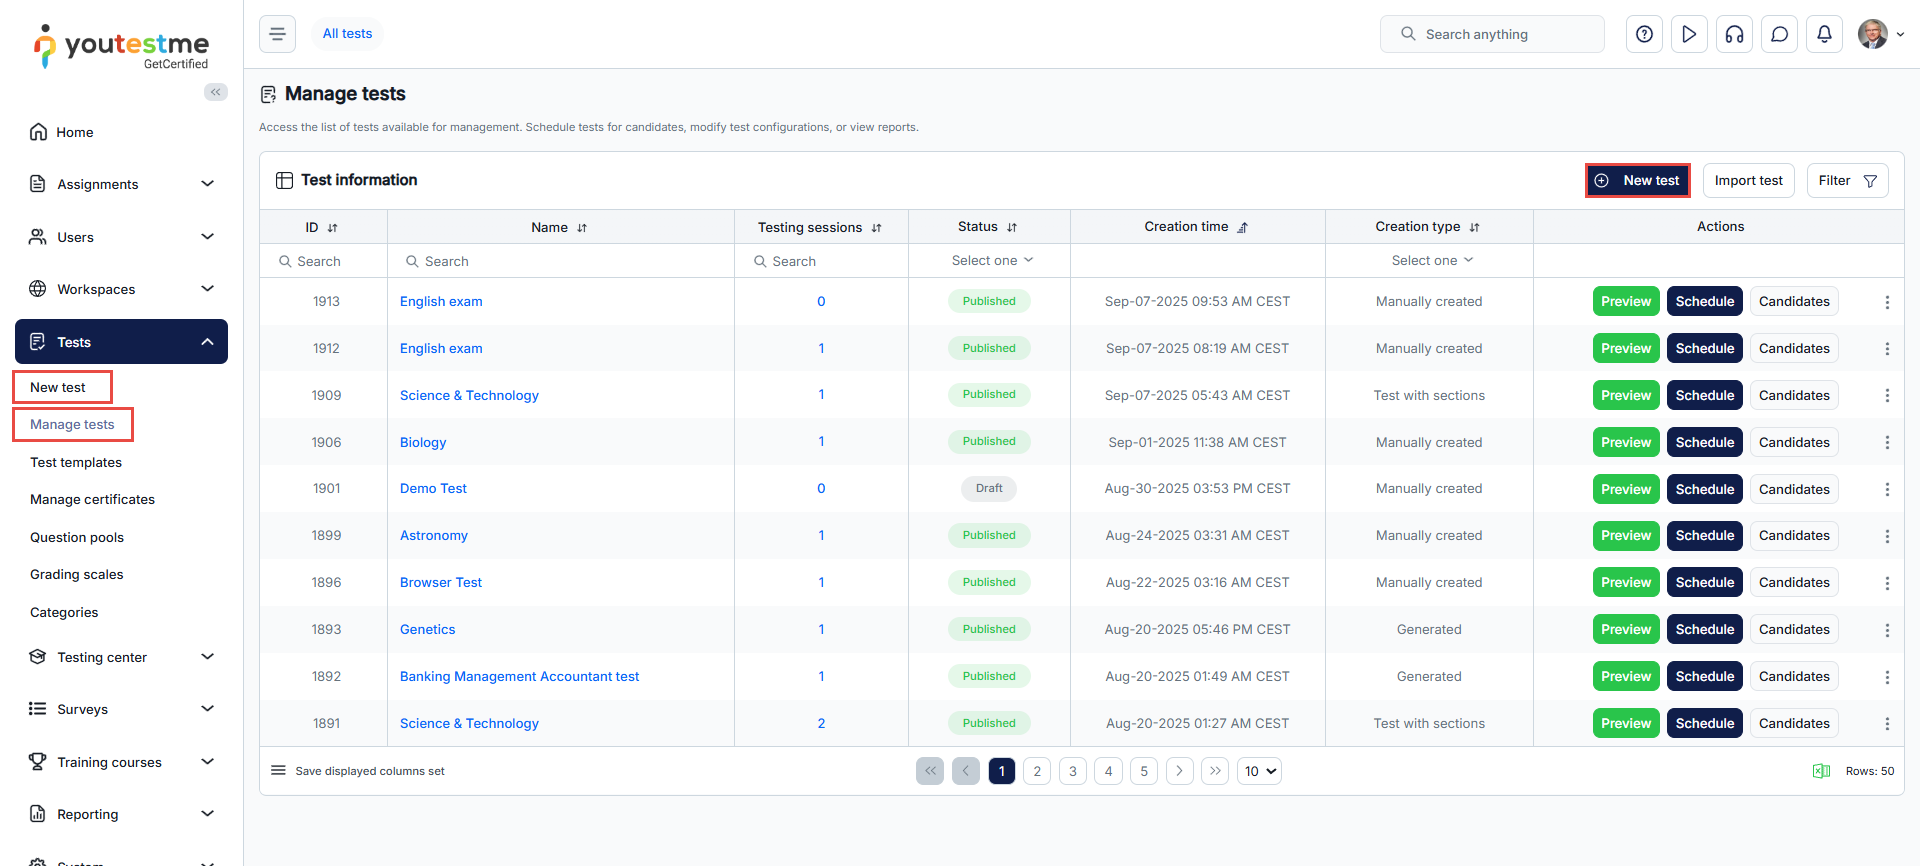
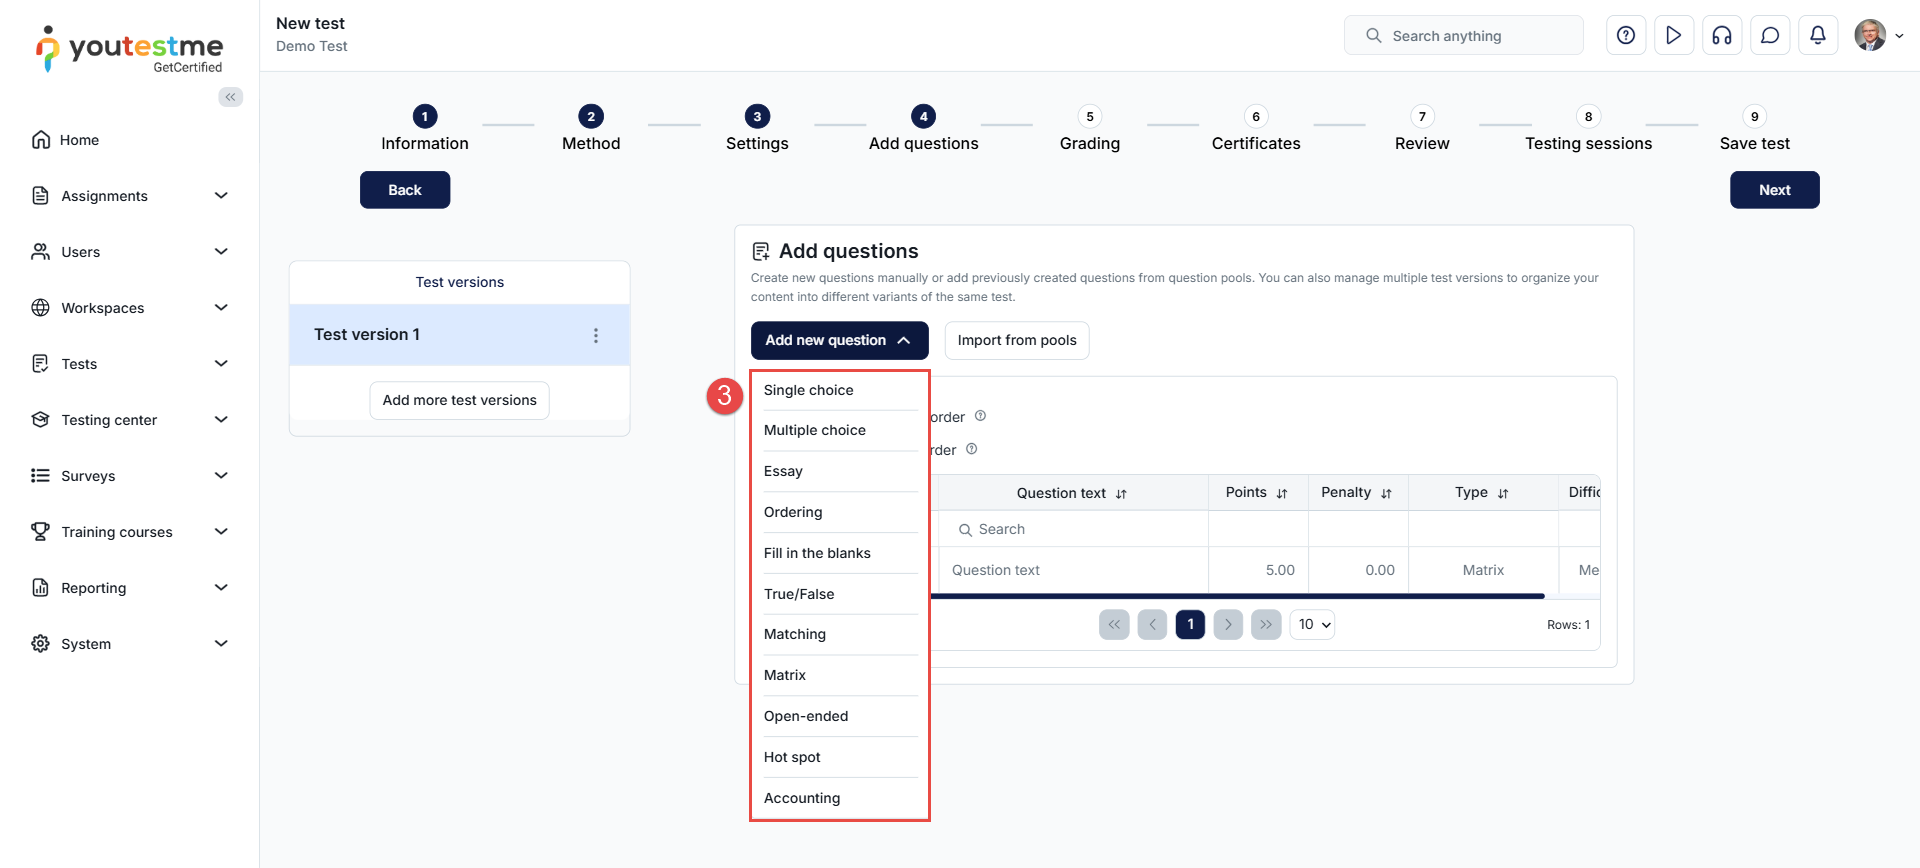
For detailed information on each question type and instructions on how to create them, please consult the Question types chapter.
-
-
Creating questions post-test creation on the Manage tests page
Note: Creating questions is only possible for tests created manually.
To create questions, follow these steps:
-
Select the Tests/Manage tests tab.
-
Open the desired test and select the Questions tab.
-
Click the Edit questions button and confirm the dialog prompt.
Note: If candidates have already completed this version of the test, the version will be archived, and a copy will be created for editing.
-
Click the New question button to be presented with the drop-down that contains all of the question types you can create.
Note: You can hover over each question type to view an example of it.
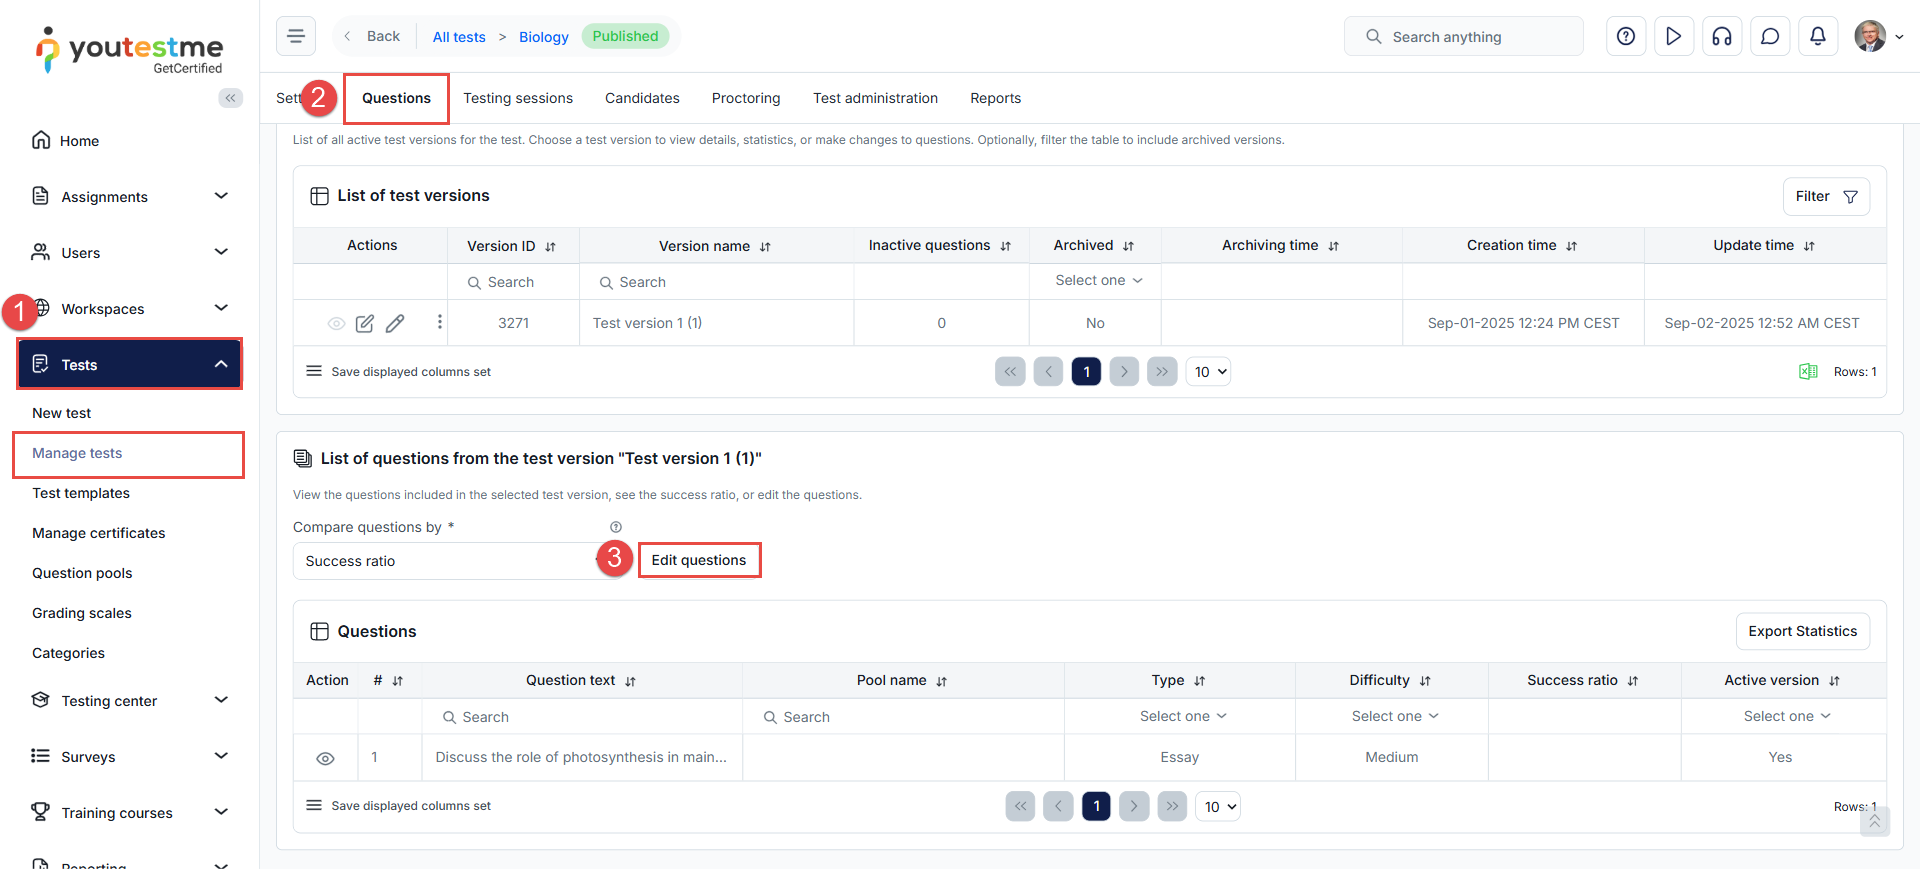
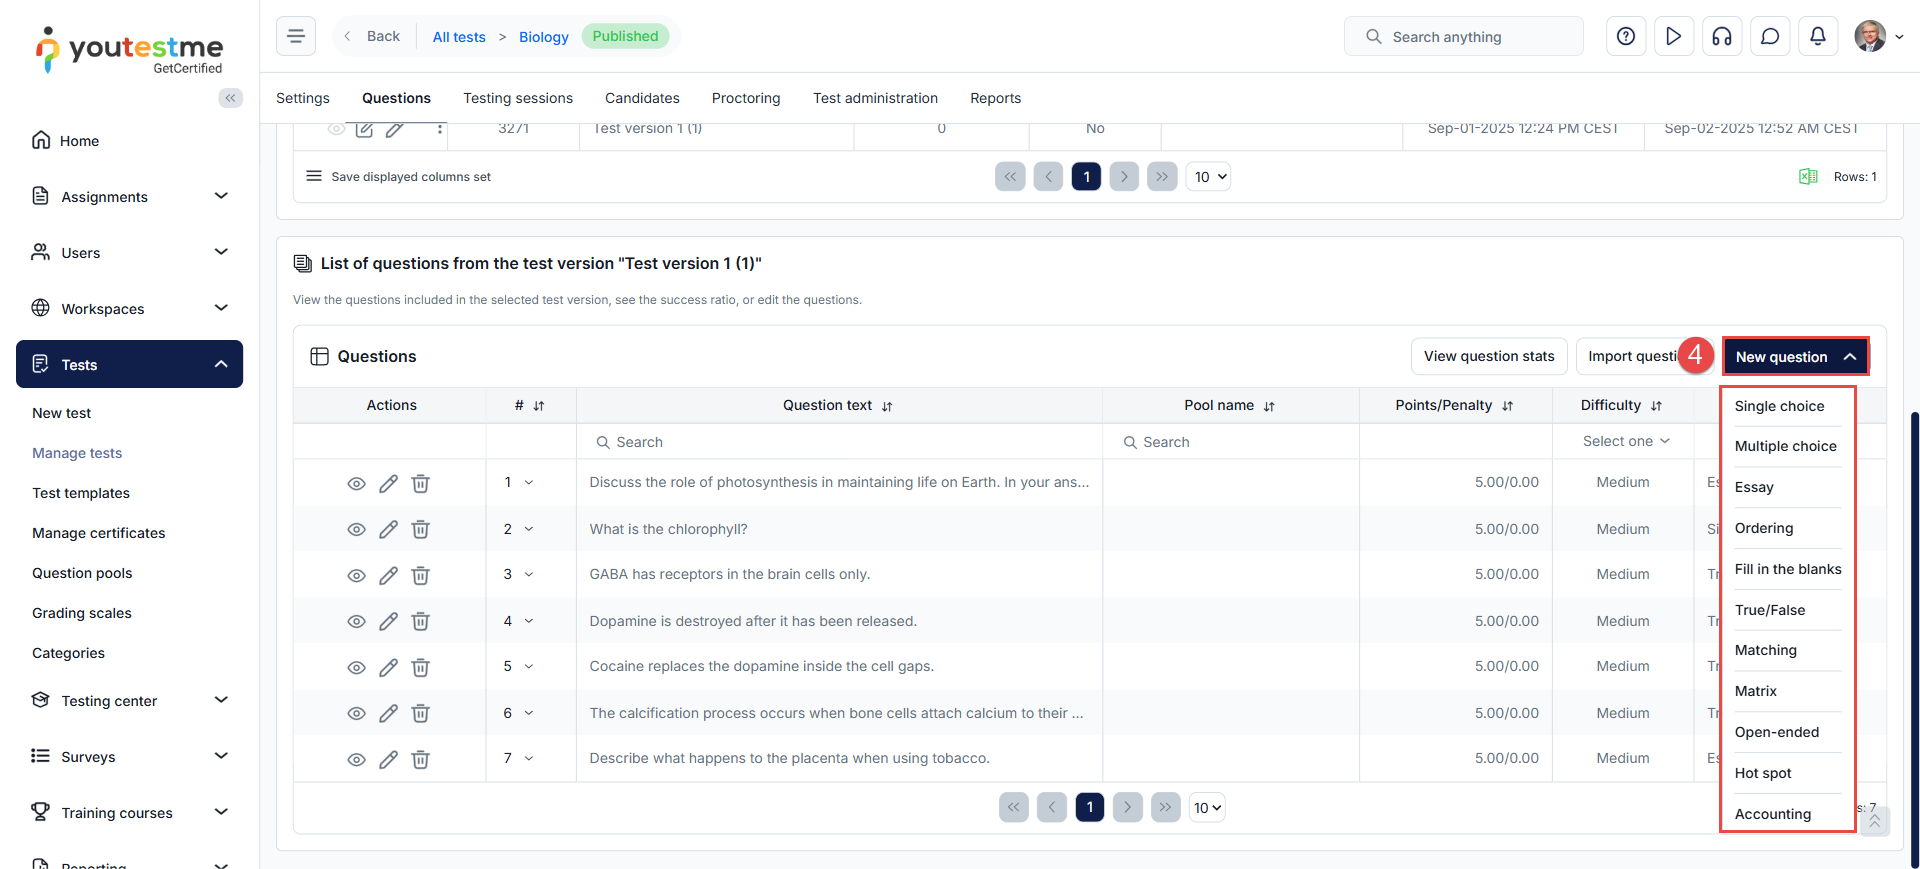
For detailed information on each question type and instructions on how to create them, please consult the Question types chapter.
-
-
Creating questions in a question pool
To create questions in a question pool, do the following:
-
Select the Tests/Question pools tab.
-
Create a new question pool or enter an existing one.
-
Upon navigating to the Questions tab, click the Add question button to open a drop-down menu that contains all of the question types you can create. For detailed guidance on adding questions manually, please refer to the Question pools help page, the Adding questions manually, one by one chapter.
-
Upon navigating to the Questions tab, click the Import questions button to upload questions from an Excel or a zip file. For detailed guidance on loading questions, please refer to the Question pools help page, the Importing questions chapter.
-
Upon navigating to the Questions tab, click the Generate questions with AI button to generate questions using an AI system. For detailed guidance on generating questions, please refer to the Question pools help page, the Generating questions through AI chapter. Additionally, for detailed information on each question type and instructions on how to create them, please consult the Question types chapter.
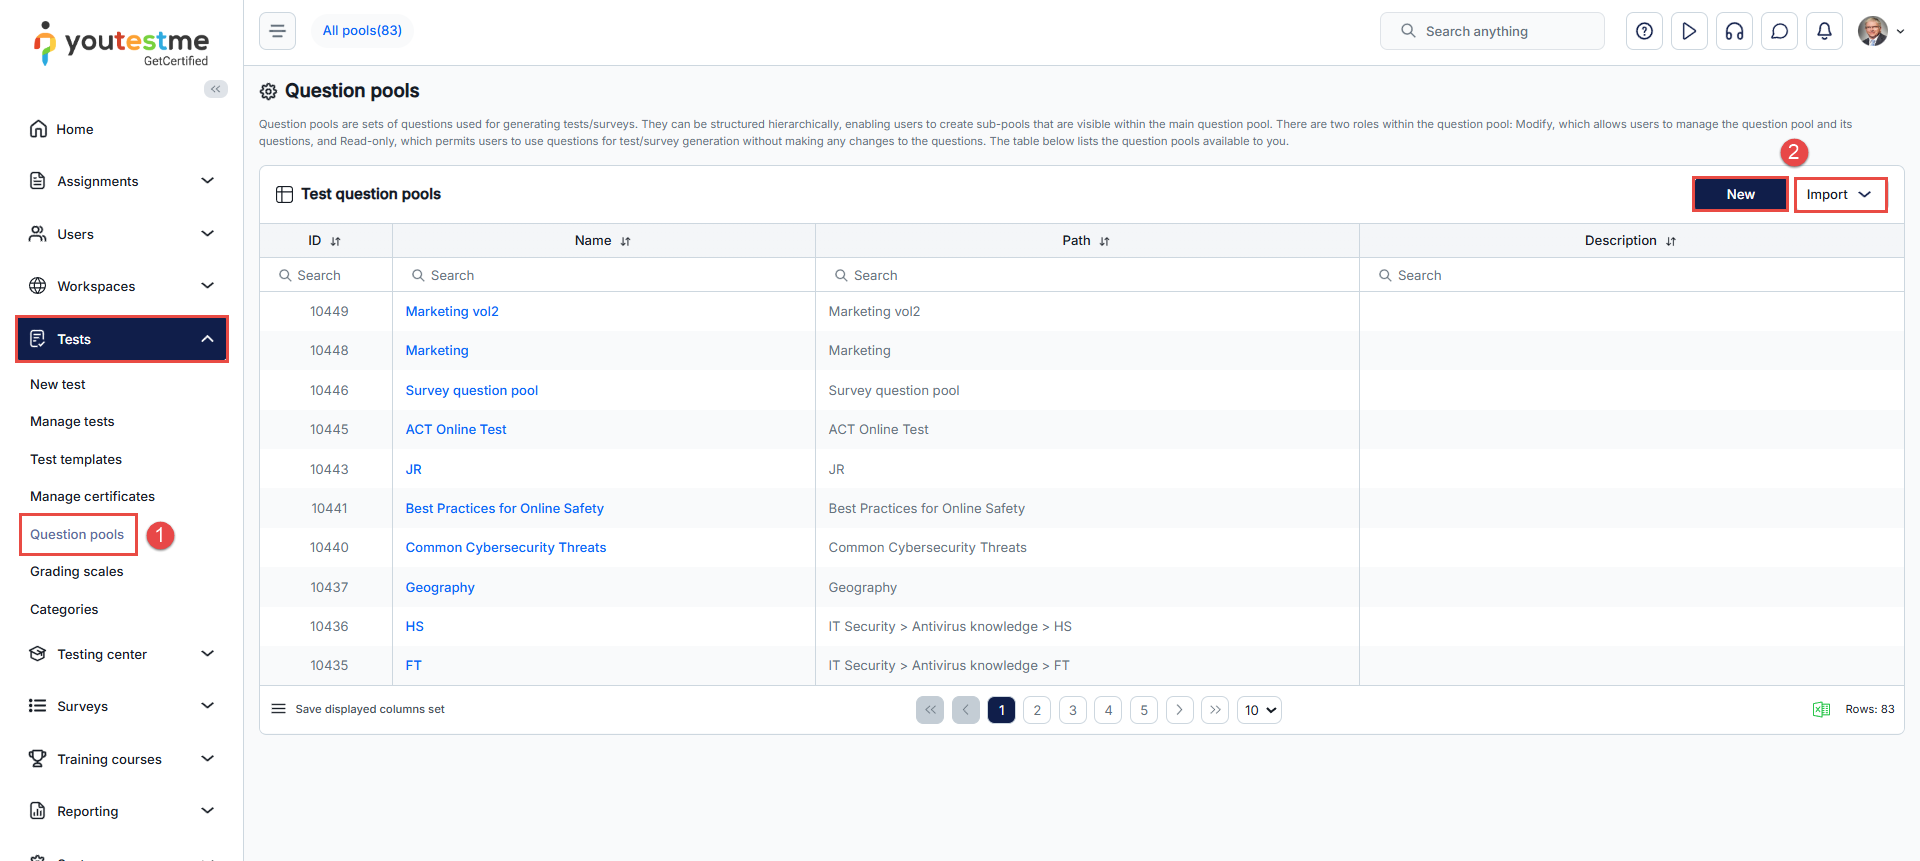
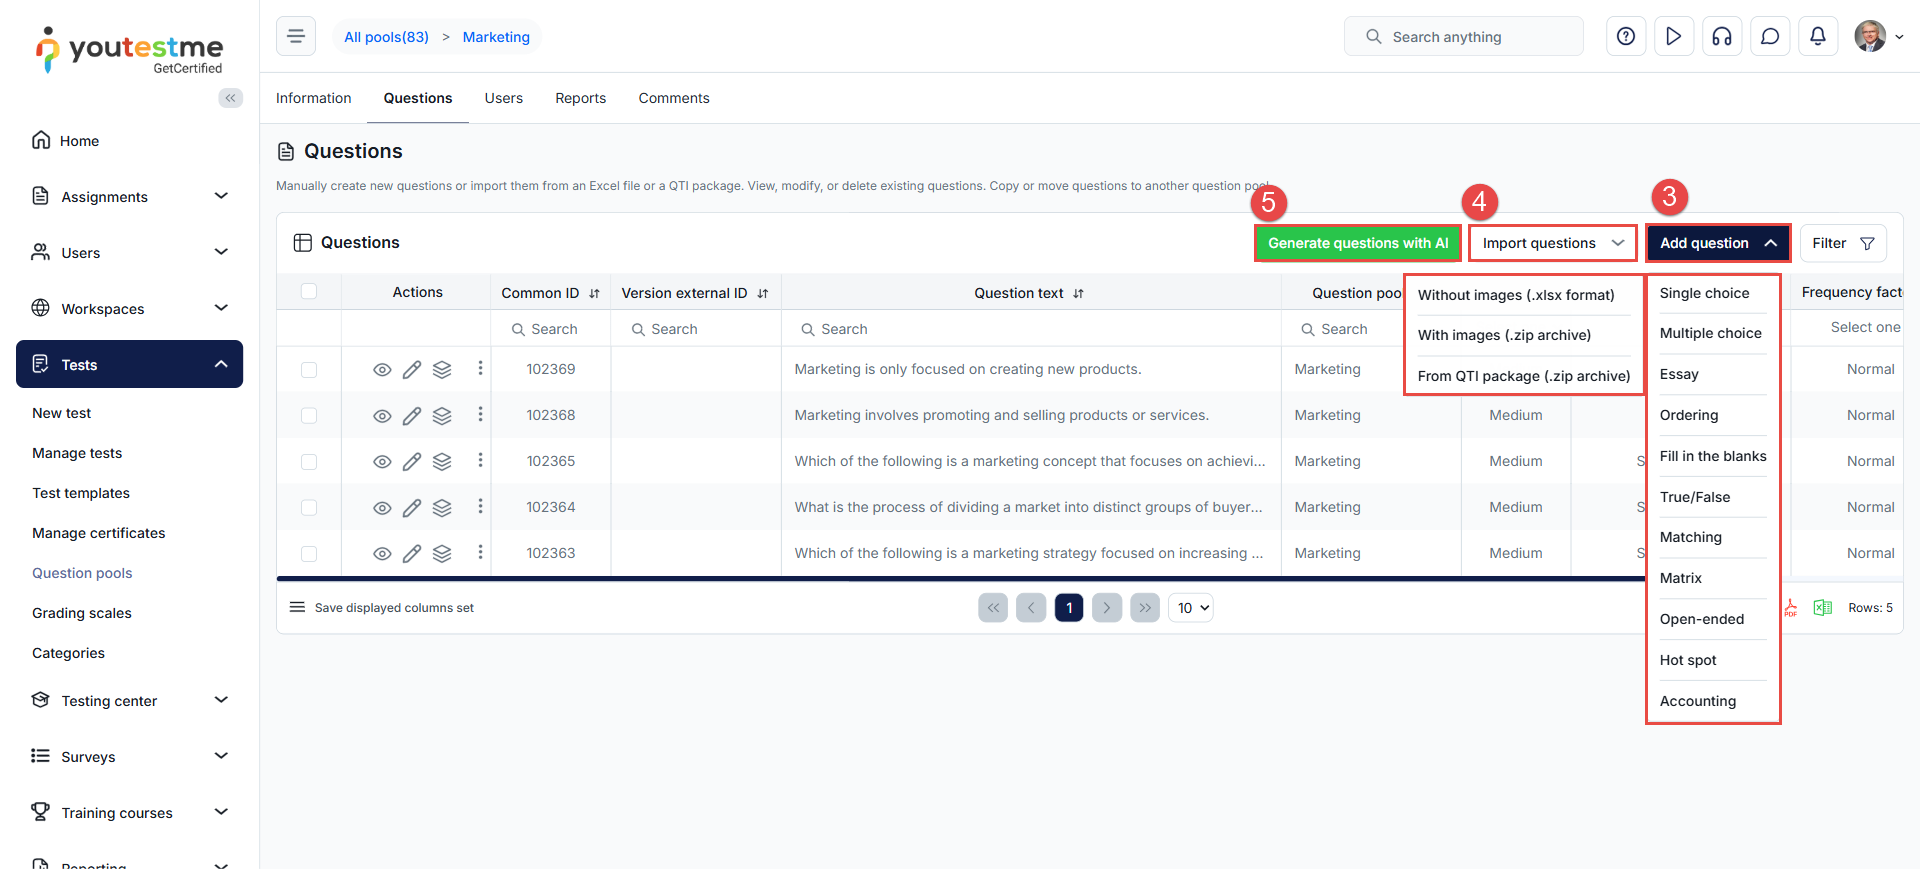
For detailed information on each question type and instructions on how to create them, please consult the Question types chapter.
-
-
-
Question types
-
Single choice questions
Single choice questions offer multiple possible answers, where only one can be selected as correct.
If you select a single choice question from the list of question types, the following screen is displayed:

To create and edit a single choice question and its answers, follow these steps:
-
Question text - Enter the question text into this field.
By clicking on the three dots, a dropdown menu will appear where you can additionally edit the question.
-
Advanced editor - Edit the format of the question or add a table.
-
Upload attachment - Add multimedia files (image, audio, video) to the question.
-
Add formula - Add formulas to the question.
-
Add question feedback - The feedback will be displayed to the candidate upon answering the question, or immediately while answering the question, depending on the test settings.
-
-
Answer text - Enter the answer text into this field.
By clicking on the three dots, a dropdown menu will appear where you can edit the answer.
-
Advanced editor - Edit the format of the answer or add a table.
-
Upload attachment - Add multimedia files to the answer (image, audio, video).
-
Add formula - Add formulas to the answer.
-
Add answer feedback - The feedback will be displayed to the candidate if they select this answer.
-
Click the Trash can icon to delete the answer.
-
-
Add answer - Add another answer to the list of offered answers.
-
Check the box next to the correct answer.
-
Click the arrow to add All of the Above or None of the Above as an answer.
-
Answer generator - Define a number of correct and incorrect answers that will be randomly selected and displayed to each candidate.
-
Add to test - Add the question you have just created to the test.
Note: If you are adding questions to the pool, you will have the Add pool button available.
-
Cancel the question creation.
-
-
Multiple choice questions
Multiple choice questions offer several possible answers, where more than one can be selected as correct.
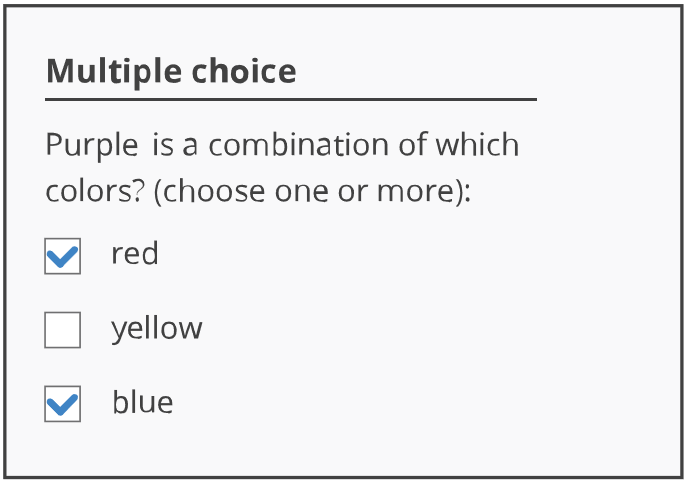
If you select a multiple choice question from the list of question types, the following screen is displayed:
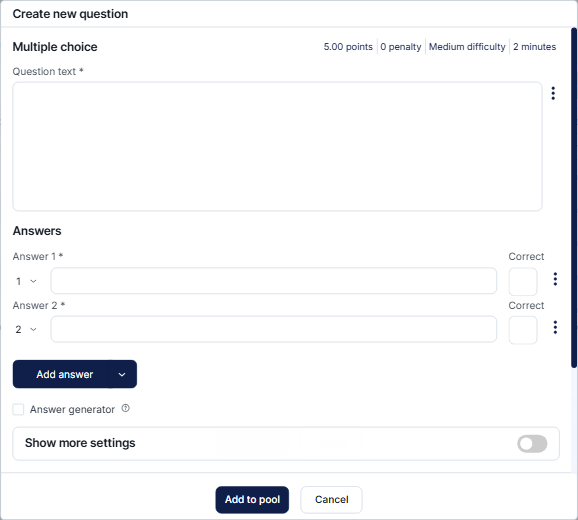
To create and edit a multiple-choice question and its answers, please refer to the Single-choice questions section.
-
Essay questions
Essay questions allow a test-taker to write a longer answer, such as an analysis or explanation, usually of a specified length.
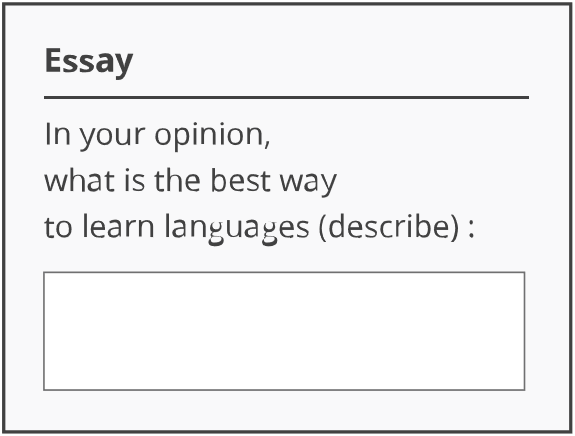
If you select an essay question from the list of question types, the following screen is displayed:
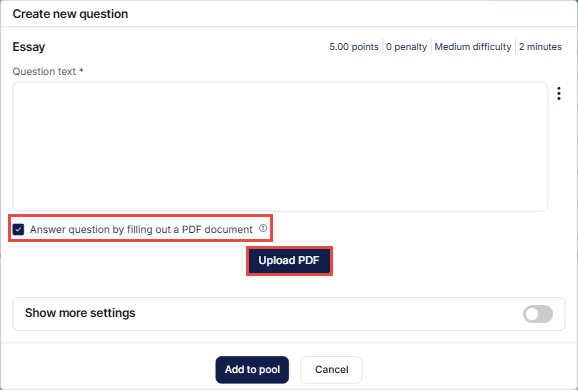
By activating the Answer question by filling out a PDF document option, candidates will be required to complete the question by filling out a PDF document instead of typing their response in a standard text editor. Click the Upload file button to upload an editable PDF file.
To create and edit an essay question and its settings, please refer to the Single-choice questions section.
-
Ordering questions
When creating an ordering question type, you should enter the question text, list the items, arrange them in the correct order.
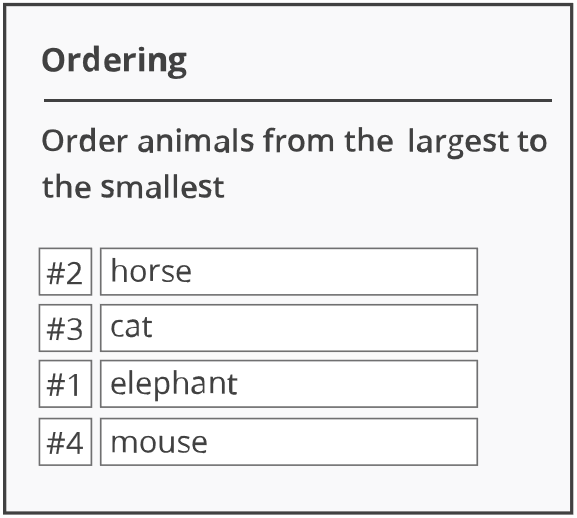
If you select an ordering question from the list of question types, the following screen is displayed:
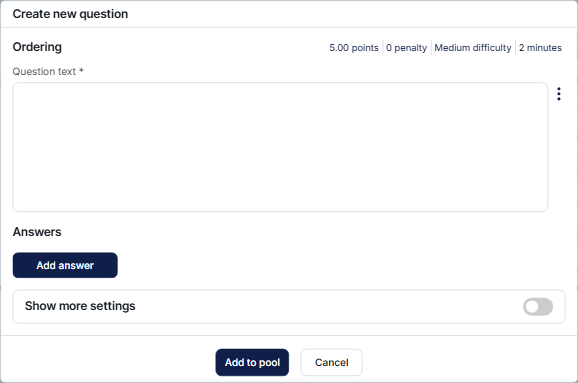
To create and edit an ordering question and its answers, please refer to the Single-choice questions section.
-
Fill in the blanks questions
Fill in the blanks questions require a test-taker to fill in the blanks or select one of the offered answers to gain maximum points.
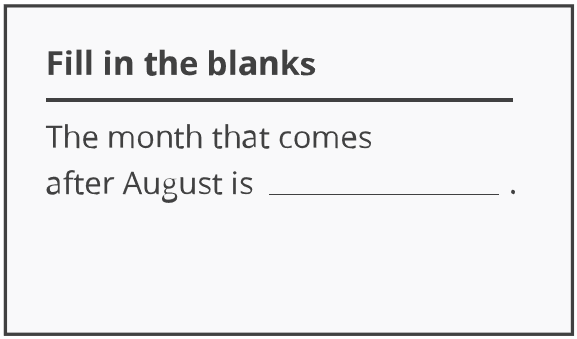
There are three ways to create this type of question. The first is to provide blank places for an answer, the second is to prepare offered answers in the drop-down list, where the test-taker will select one correct answer and the third is the numerical input format, which limits candidates to inputting only numbers, making it ideal for quantitative questions.
If you select a fill in the blanks question from the list of question types, the following screen will be displayed:
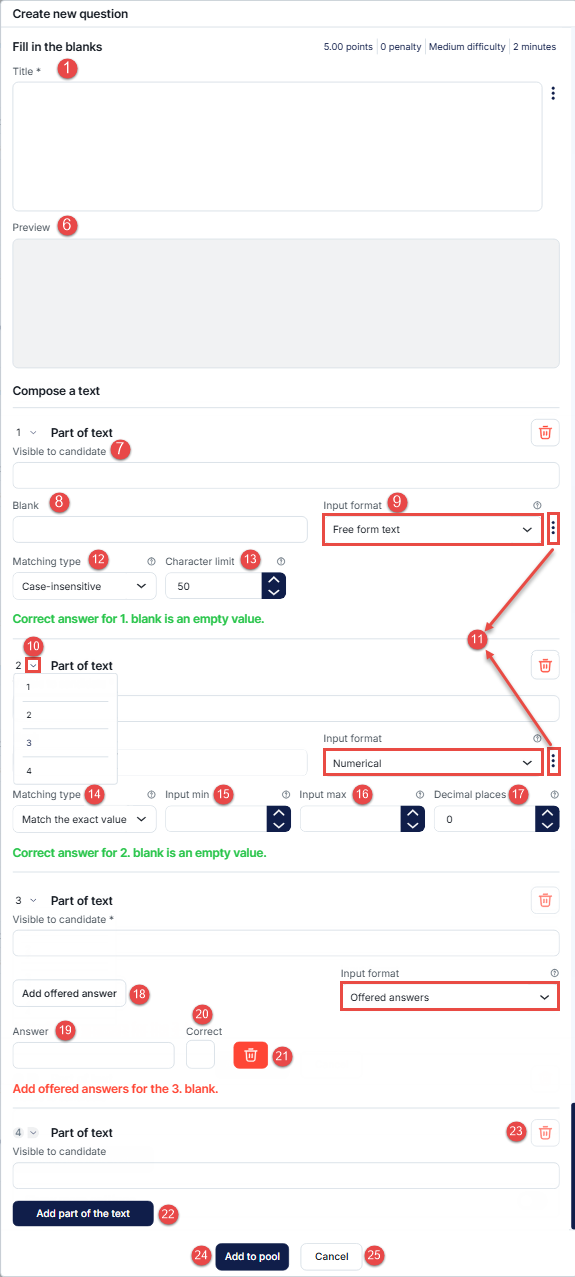
-
Title - Enter the question title into this field.
By clicking on the three dots, a dropdown menu will appear where you can additionally edit the question.
-
Advanced editor - Edit the format of the question or add a table.
-
Upload attachment - Add multimedia files (image, audio, video) to the question.
-
Add formula - Add formulas to the question.
-
Add question feedback - The feedback will be displayed to the candidate upon answering the question, or immediately while answering the question, depending on test settings.
-
-
In the Preview field, you will see a question preview with the correct answer. If there are multiple blank spaces in the text, the corresponding ordinal number will be indicated next to the words that should be filled in.
-
Blank text - Enter the response that the candidate should enter for an answer to be accepted as correct. The response can be textual or numerical type or selected from offered answers, depending on the input type you choose. If you leave the blank text empty, the correct answer will be to not enter any text or number.
-
Input format - Determine the format in which the candidates must provide their responses. There are three ways to create this type of question:
-
Free form text: Allows candidates to respond using both characters and numbers. For example, when asked 'What is the capital of France?,' candidates might input 'Paris' as the correct answer.
-
Numerical: Restricts candidates from entering only numerical values, making it well-suited for quantitative questions. In a question like 'What is 2 + 2?' candidates would enter '4' as the correct numerical answer.
-
Offered answers: Constrains candidates to a predefined set of answer options. In the question 'Which of the following is a primary color?' candidates would select 'Blue' as the correct offered answer from a list that includes 'Red,' 'Green,' and 'Blue.'
-
-
By clicking on the arrow, the drop-down list will open, allowing you to arrange each part of the text with its answer in the desired order.
-
Clicking on the three dots allows you to open the input configuration for Free form text and Numerical formats.
-
Matching type for free-form text format - Select the appropriate matching type for the input field to ensure accurate validation of candidate responses. Use exact matching for the entire sentence, ensuring the candidate's input precisely aligns with the correct character answer. For instance, if case sensitivity is configured, inputs such as "ABCDE" or "abcde" will not be accepted as correct for the answer "ABCDE." The provided answer must be an exact match to the text in the blank. The blank field is case-insensitive unless you configure the matching type as case-sensitive.
-
Limit the number of characters for free-form text format, and white spaces allowed for input to help candidates stay within the given limit when answering.
-
Matching type for numerical format - Choose the appropriate matching type for the input field to ensure accurate validation of candidate responses. Opt for exact value matching to ensure candidates' responses are an exact match for the correct answer. For example, if the correct answer is 545.59, only that exact input will be accepted. Alternatively, choose in-bound matching to define an acceptable range of values for input, ensuring candidates remain within the specified range. For instance, if the lower bound value is 540.00 and the upper bound value is 550.00, any input within the range of [540.00, 550.00] will be accepted.
-
Input min - Specify the minimum value allowed for input to ensure candidates stay within the acceptable range. If this field is left blank, the default value is set to -10,000,000,000,000.
-
Input max - Specify the maximum value allowed for input to ensure candidates stay within the acceptable range. If this field is left blank, the default value is set to 10,000,000,000,000.
-
Decimal places - Indicate the number of decimal places allowed for input.
-
Add offered answer - Define the number of offered answers.
-
Enter the answer in the text field.
-
Check the box next to the correct answer.
-
Delete offered answer.
-
Add part of the text with text before and after the blank field, specify the input format, and select the correct answers.
-
Remove the entire part of the text.
-
Add to test - Add the question you have just created to the test.
Note: If you are adding questions to the pool, you will have the Add pool button available.
-
Cancel the question creation.
To create and edit a fill in the blanks question and its answers, follow these steps:
-
-
True/false questions
True/false questions are used when a test-taker should evaluate a written statement as True or False.
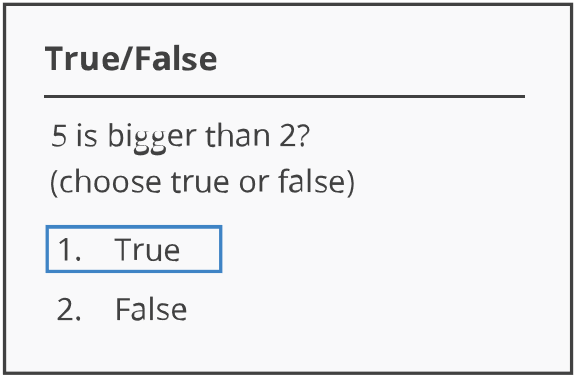
If you select a true/false question from the list of question types, the following screen is displayed:
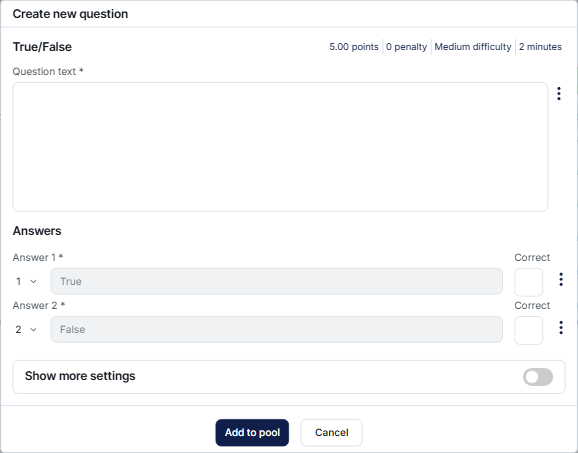
To create and edit a true/false question and its answers, please refer to the Single-choice questions section.
Note: The answer is automatically generated (True or False).
-
Matching questions
Matching questions require a test-taker to match an item on the left side with an item on the right side.
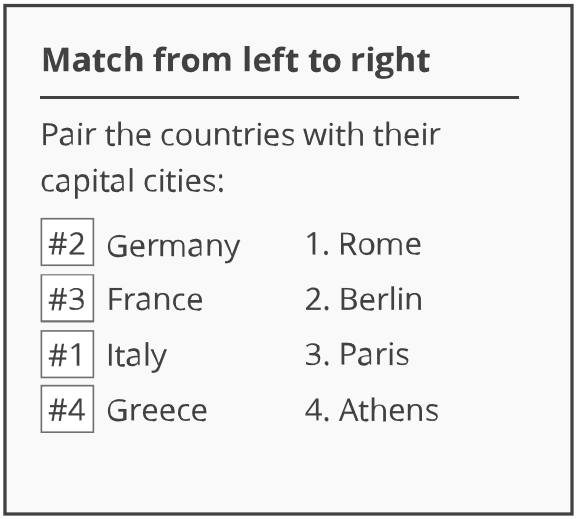
If you select a matching question from the list of question types, the following screen is displayed:
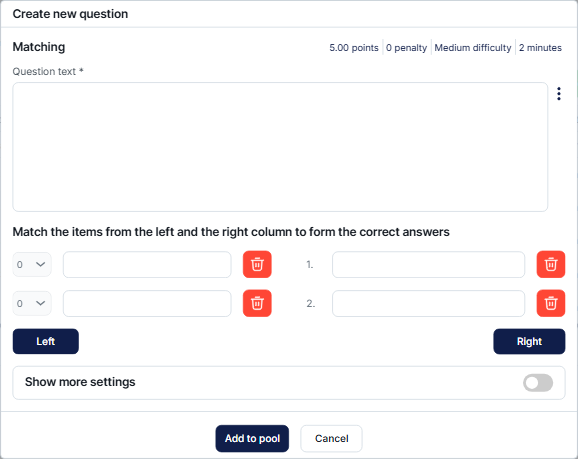
To create and edit a matching question and its answers, please refer to the Single-choice questions section.
-
Matrix questions
Matrix questions consist of several statements within and have only one correct answer per row.
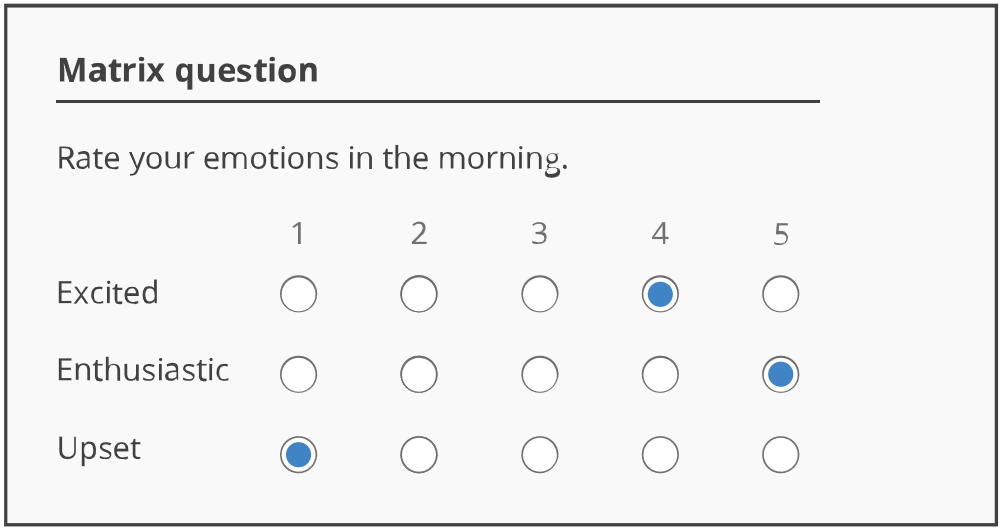
If you select a matrix question from the list of question types, the following screen is displayed:
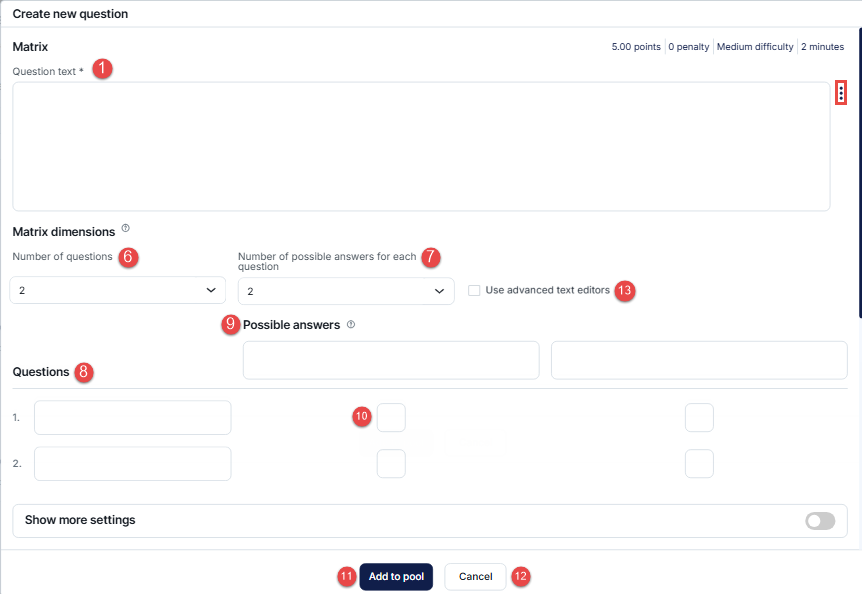
To create and edit an matrix question and its answers, please refer to the Single-choice questions section.
-
Open-ended questions
Open-ended questions are used when a test-taker should give an answer directly related to the given statement.
If you select an open-ended question from the list of question types, the following screen is displayed:
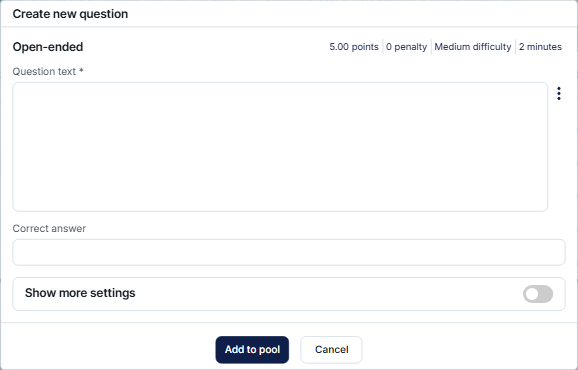
To create and edit an open-ended question and its answers, please refer to the Single-choice questions section.
-
Hot spot questions
Hot spot questions are used when a test-taker should answer a question by marking spots on an image.
If you select a hot spot question from the list of question types, the following screen is displayed:
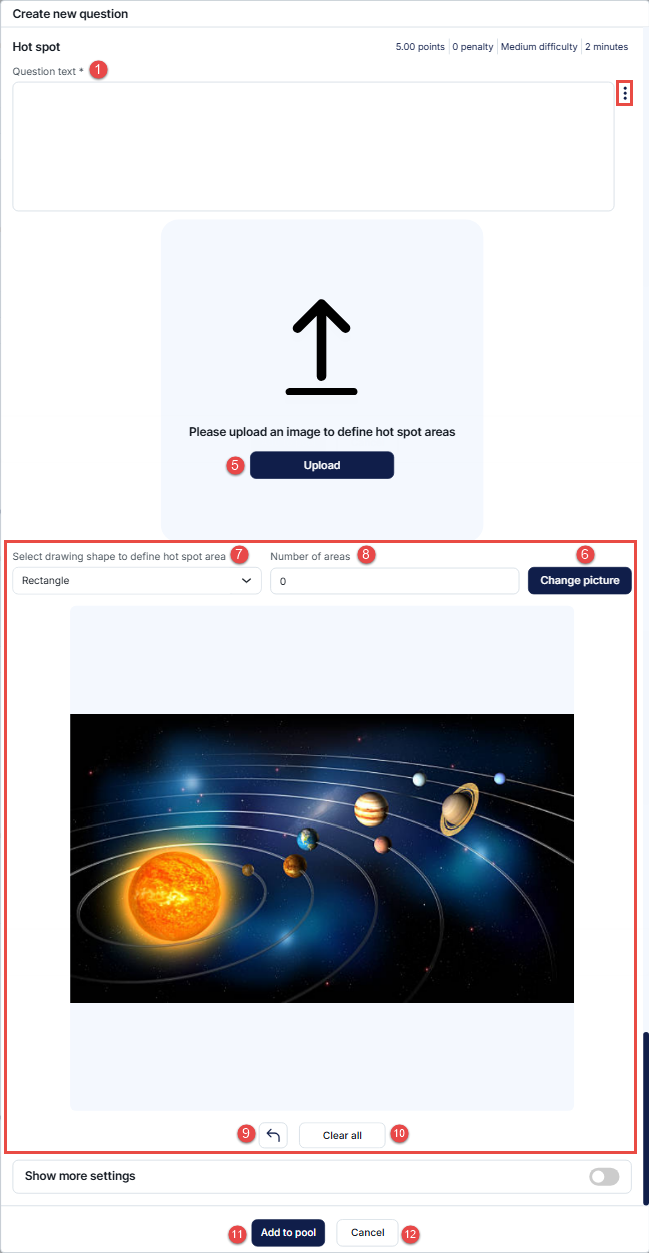
To create and edit a hot spot question and its answers, follow these steps:
-
Question text - Enter the question into this field.
By clicking on the three dots, a dropdown menu will appear where you can additionally edit the question.
-
Advanced editor - Edit the format of the question or add a table.
-
Upload attachment - Add multimedia files (image, audio, video) to the question.
-
Add formula - Add formulas to the question.
-
-
Upload - Insert the picture.
Once you upload the desired picture, the following settings will be displayed:
-
You can change the picture at any time while creating the Hot Spot question.
-
Select a drawing shape to define a hot spot area - Choose a drawing shape - rectangle or circle, to mark the exact spot on the picture a user will need to select when answering the question.
-
Set the number of areas which will be demanded to be selected.
-
You can undo changes after selecting the hot spot area on the uploaded photo.
-
Clear all - You can erase all hot spot areas you selected and mark new ones.
-
Add to test - Add the question you have just created to the test.
Note: If you are adding questions to the pool, the Add pool button will be available.
-
Cancel the question creation.
-
-
Accounting questions
Accounting questions are used for specific account balancing. Instructions on how to use this type of questions can be found here.
-
-
Advanced settings
If you click the Show more settings button the following screen will be displayed:
Note: Some fields in the Show more settings may vary depending on the question type.
-
Scoring method - Choose between these options:
-
Defining correct/incorrect answers - Check the correct answer while creating the question. The candidate will obtain points only if they choose the correct answer. This method requires you to set:
-
· Set the number of points a question is worth.
-
· Set the number of negative points for incorrect answers.
-
-
By answer weight - Define points for each answer. A candidate will be awarded different points depending on the chosen answer.
-
By combination of answers - Define the combination of answers that the correct answer consists of.
Note: The number of answers a candidate can select can be limited.
-
Manual grading - The test manager grades each candidate's tests manually. The highest number of points offered is equal to the number defined for points, and the lowest number is equal to the number defined for penalties.
For more information on using question grading templates for question grading, refer to this article. -
By grading rules - Define the points a candidate will be assigned for specific number of correct answers. If a candidate answers X number of answers correctly, but that number is not defined in a configuration - zero points will be assigned.
This scoring method is available only for question types with multiple choice answers.
-
-
Duration - Define the time frame within which the candidate must provide an answer to the question. Once the limit has been reached, the candidate will automatically be redirected to the next question. This prevents the candidate from returning to the question once they have moved onto the next question.
-
Branching is an optional feature that allows you to connect follow-up questions to an original question. Depending on the selected branching mode, the follow-up question can be displayed based on the candidate's answer, linked to the original question, or used to assist the grader during evaluation.
The following branching modes are available:
-
Standard Branching - Determines the next question based on the candidate's answer to the current question.
-
Linking - Links a follow-up question to the main question. The linked question is displayed next regardless of the candidate's answer.
-
Help for Grading - Adds a follow-up question that is hidden from the candidate and can be used by the grader to assist with evaluating the answer.
For more information on configuring and using branching modes, refer to this article.
Note: The branching option is available only for Single-choice, Multiple-choice when the By combination of answers scoring method is defined and for True/False question types.
Note: By selecting the option Show structure, you can examine the diagram that shows the relations between question branches and answers.
Note: If the following options are checked: Answer generator or Add assistance, the branching option will not be available.
-
-
Advanced question setup - These fields serve to group questions by characteristics to be used for filtering in generated tests.
-
Additional question properties - These fields do not exist in the application by default, but can be added manually. They will be displayed when creating questions and can be used for easier searching and filtering. For more explanation, click this link.
-
Additional attachments - Create new or Import from library - Create new attachments for the question or import existing attachments from the library.
-
Translations - Add translations of the question and answers in different languages. Set the default language for the question, then click Add translation, select the desired language, and enter the translated question and answer text. If the Google Cloud Translation API is configured, you can use the Auto-translate option to translate the content automatically. For more information on adding translations to questions, refer to this article.
-
Assistance - Enable a form of assistance for the candidate:
-
Hint - If you choose this option, you will see an additional field to enter the hint for the candidate.
-
Additional time - Allow additional time for answering the question.
-
Minus one wrong answer - Deduct one point for an incorrect answer.
Note: You can set penalty points for using each type of assistance.
-
-
Add to pool - By checking this option, you can add the question to one of the existing pools you manage. Choose the desired pool from a drop-down list.
-
Question review - If the question review process is enabled for the question pool, questions can go through a structured review process before being published. Editors can submit questions for review, while assigned reviewers can provide comments, approve a question version, or suggest changes. Once the required reviews are completed, the editor can select and publish the final version. Review actions are tracked to preserve the question review history. For more information about the question review process, refer to this article.
-
Question review notifications - Reviewers are notified when new questions in a pool are ready for review. Question editors are notified when reviews are completed. The editor notification can be triggered by reviewers or sent automatically when there are no more questions with the Ready for review status. For more information about notifications in the question review process, refer to this article.
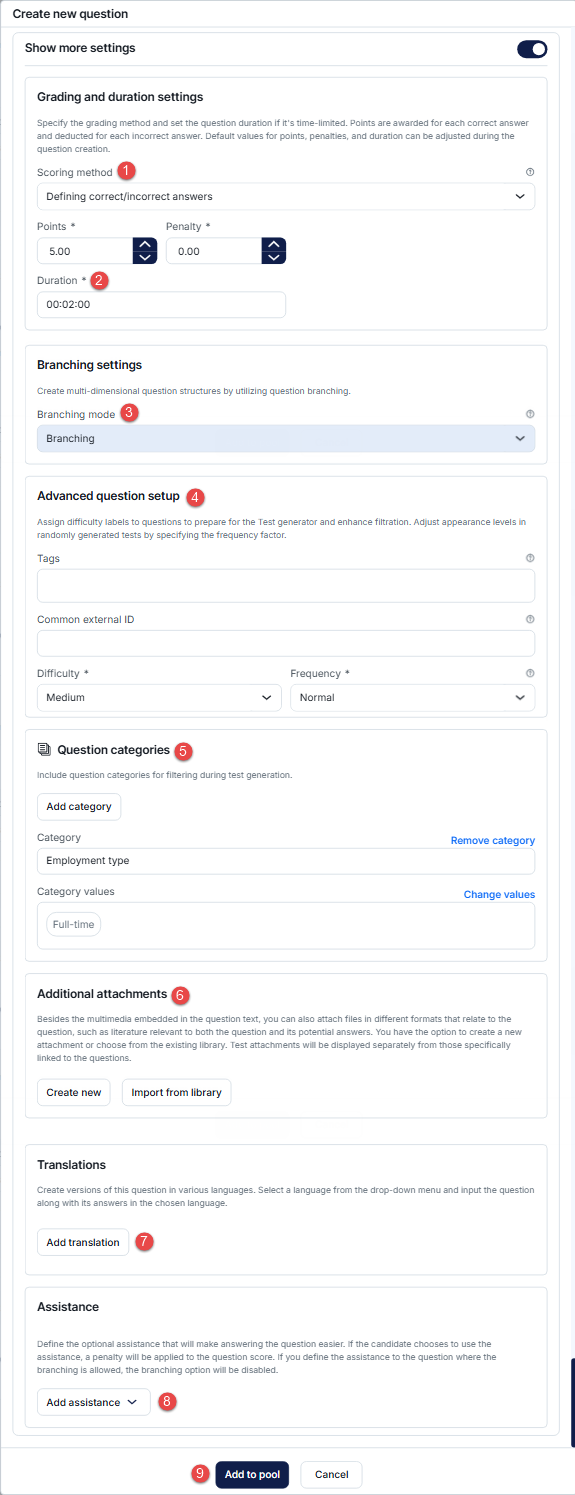
Note: Only questions with the Published status can be included in test creation and test generation. Questions in other statuses, such as Draft, Ready for review, Reviewed, or Retired, are not available for use in tests.
-
New test
-
Introduction
Tests are assessments designed to evaluate a user's knowledge, understanding, or proficiency in a specific area. A testing session needs to be created for the test to be accessible to candidates. Additionally, only users with the appropriate permission, Create test, survey, or training, can create tests. These tests can be customized with different settings, question generation methods, grading configurations, and more. They may be created either with or without sections.
Test with sections are an assessment type divided into test sections, each focusing on specific topics, skills, or question categories. Each section can have its own settings and passing marks.
To create a new test, you can access the New test page by clicking the corresponding button on the Tests/Manage tests page. A test creation wizard will guide you through the process step by step. Alternatively, a test can also be created by simply clicking Tests/New test in the menu.
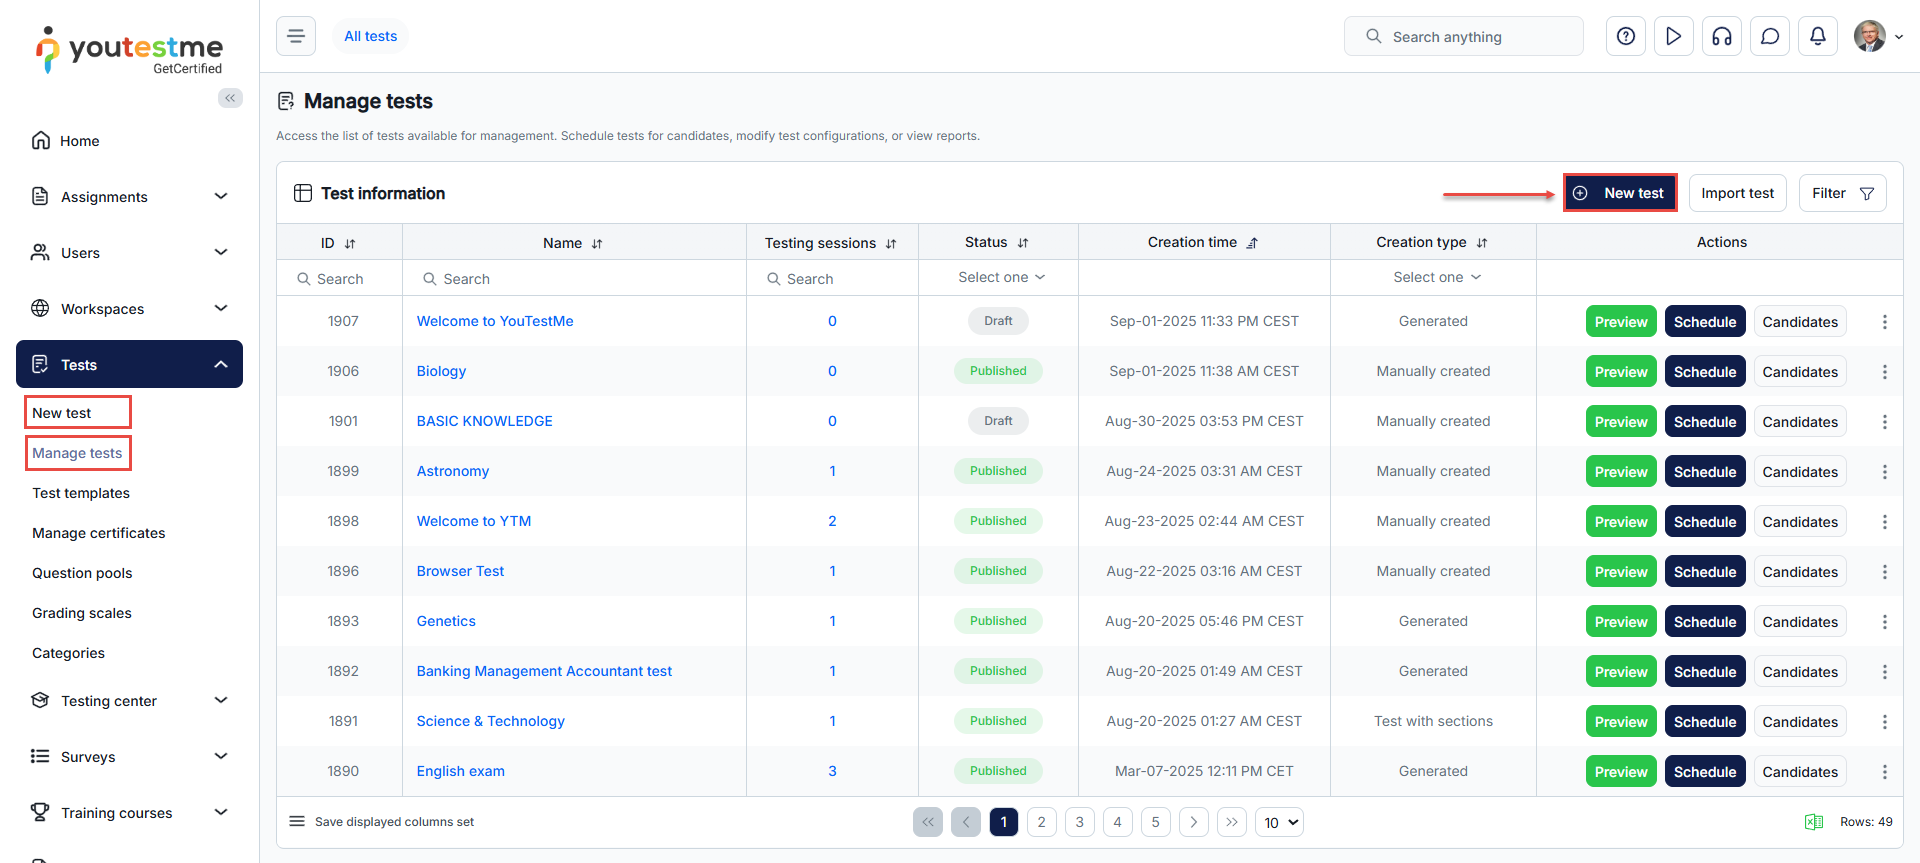
-
Test creation process
The process of creating a test, whether with or without sections, is similar. However, for tests with sections, specific settings need to be defined for each section individually because certain settings may be enabled on one section while you may want to disable them on another. Additionally, some settings can only be defined on tests with sections. Further information about each setting can be found in the text below.
-
Test without sections
-
Test information
In this step, you can:
-
Enter the Name of the test.
-
Enter a test description to provide additional information about the purpose or content of the test.
-
Use test template - When creating a test, you can save its settings and question pool as templates. You can use one of the previously created test templates by choosing it from the drop-down menu, and all saved test configurations will be automatically applied.
-
Upload or remove a custom test logo, which will appear on the candidate's My tests page.
-
Click Show advanced settings to preview and modify the advanced test settings.
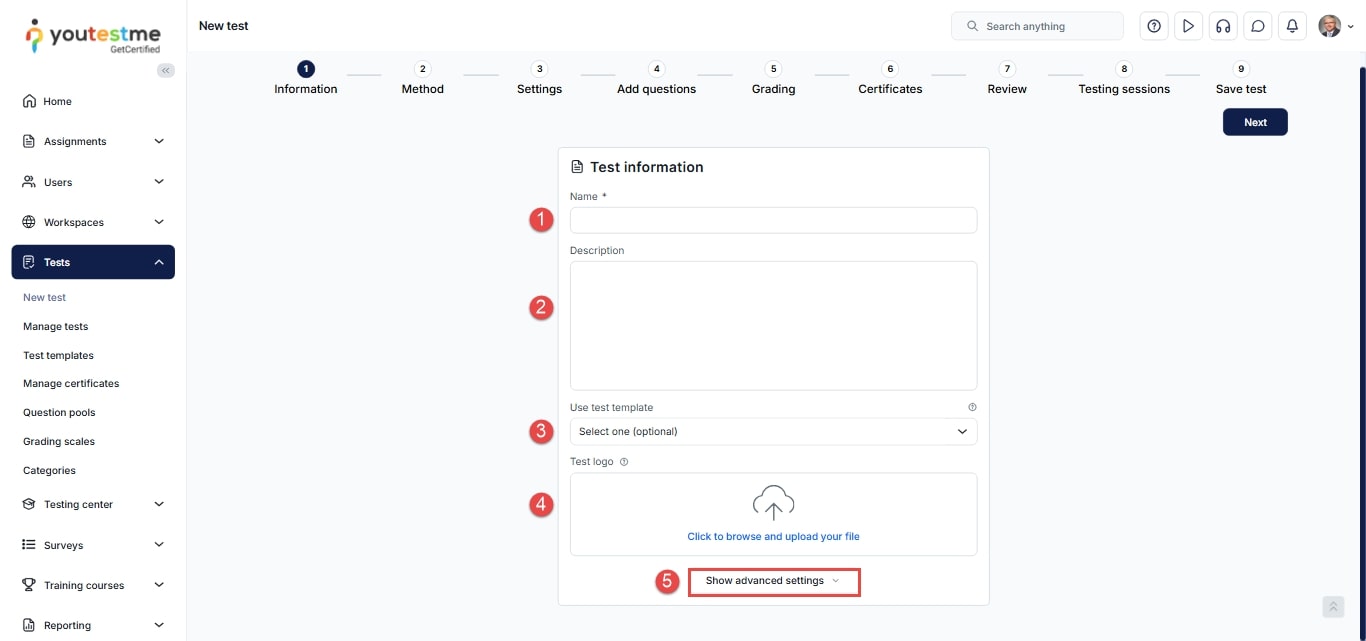
Additional settings and actions you may take are:
-
Add Test attachments containing instructions or useful materials in various formats.
-
Add a descriptive Label.
-
Choose a test category. If there are multiple types of categories, you should choose the Test category type first. It is possible to create new types or add new categories to the predefined ones under System/Settings and customization/Custom properties/Test categories. If there is only one test category type, only the Test category field will be visible.
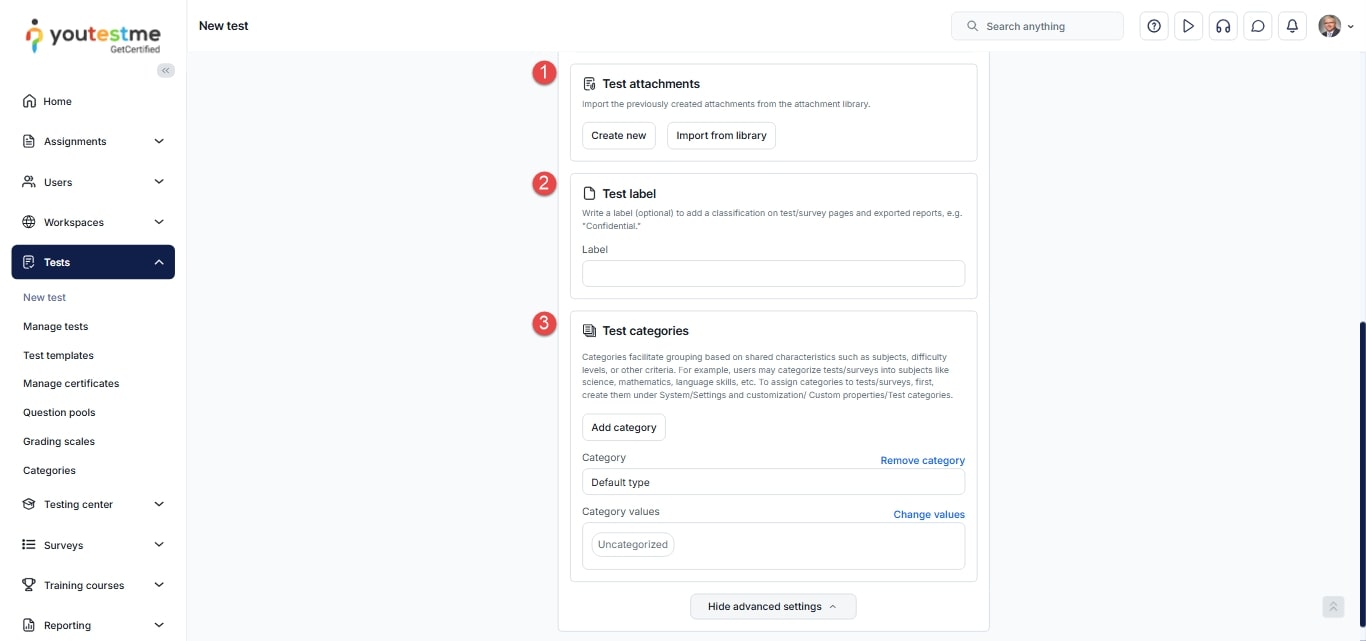
To include a SCORM package within a proctored test, click Create new in the Test Attachment section, enter the SCORM package name and optional description, then configure its availability and timing settings as needed. Select SCORM package from the Attachment type drop-down, click Upload, and choose the default HTML file from the Index page drop-down. Click Save to attach the SCORM package, then continue setting up the rest of the test.
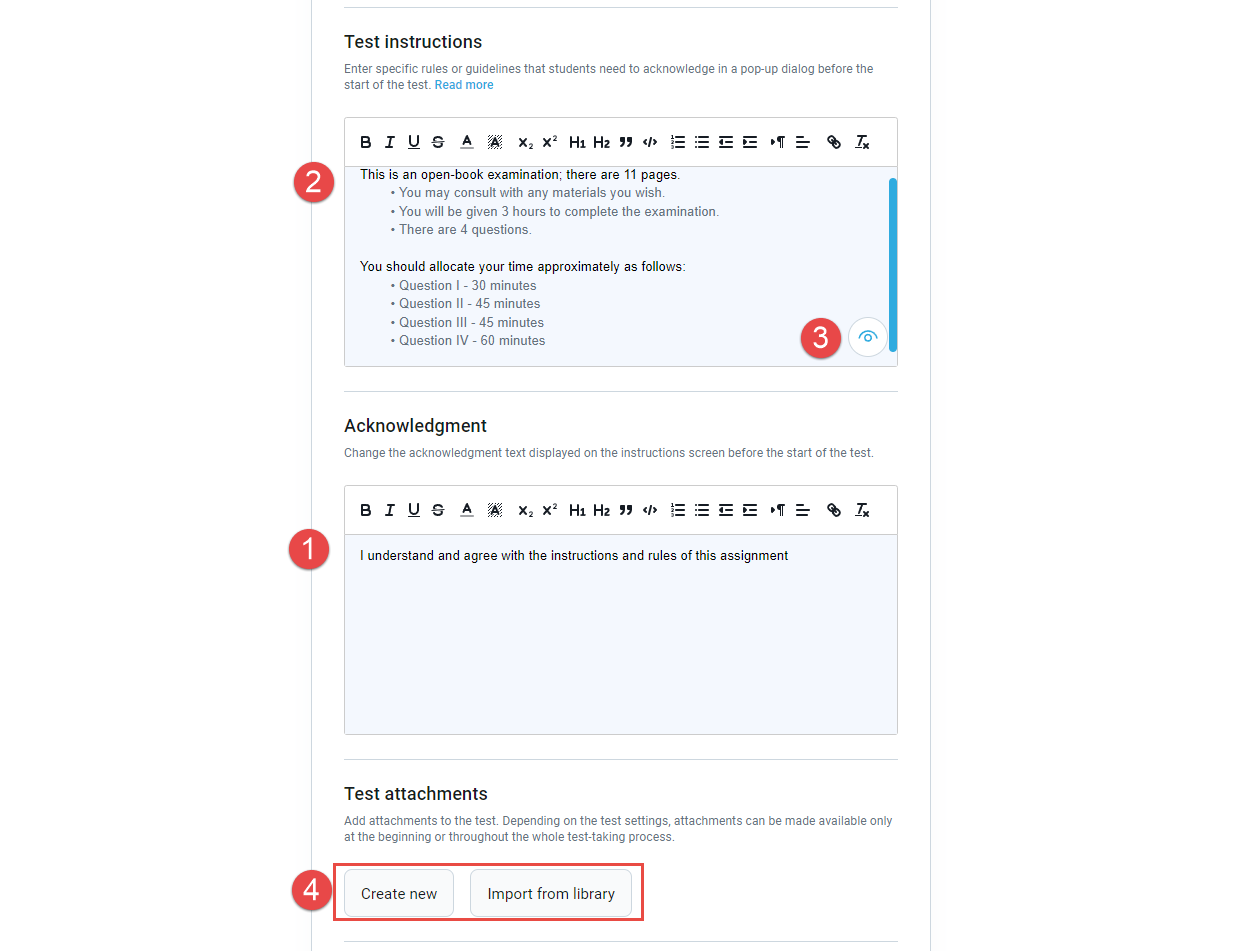
-
-
Methods for adding questions
You can choose between the following methods for adding questions to your test without sections:
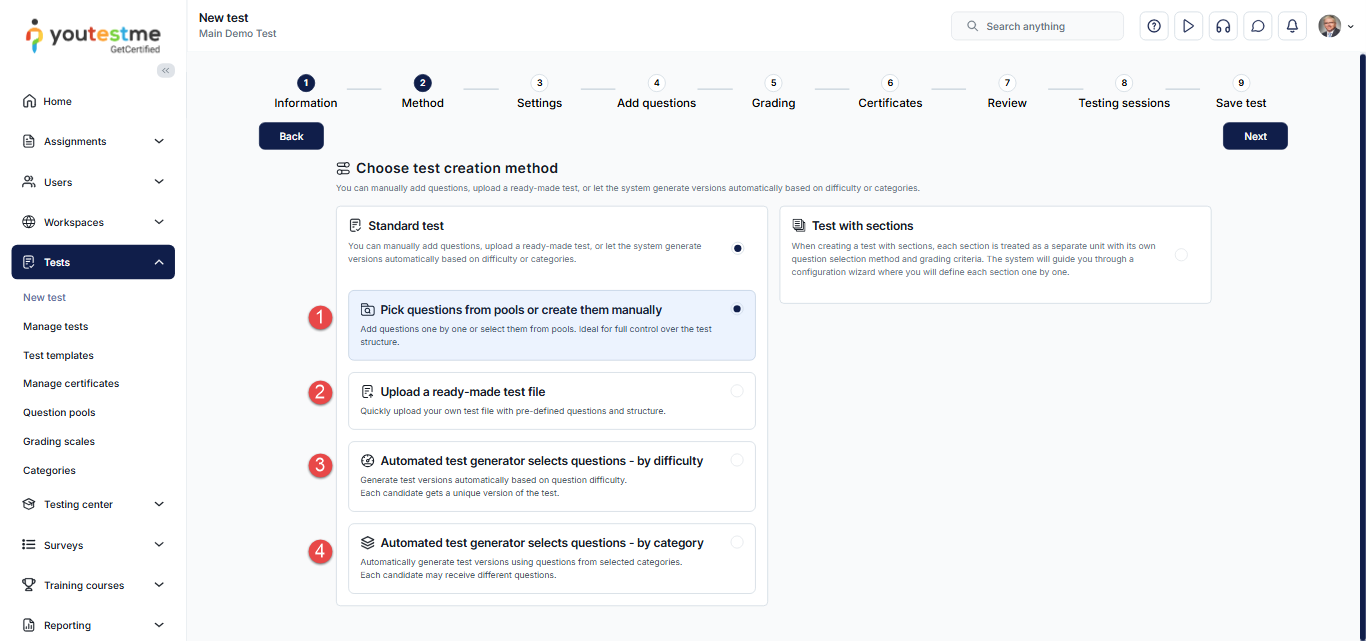
-
Pick questions from pools or create them on the spot
In this step, you can create questions manually one by one or add existing ones from question pools. You can also combine these two options.
To create a question one by one:
-
Click the Add new question button.
-
Select the type of question you want to create, fill in all necessary fields, and add the question to the test. Detailed instructions for creating each question type can be found on the Question types help page.
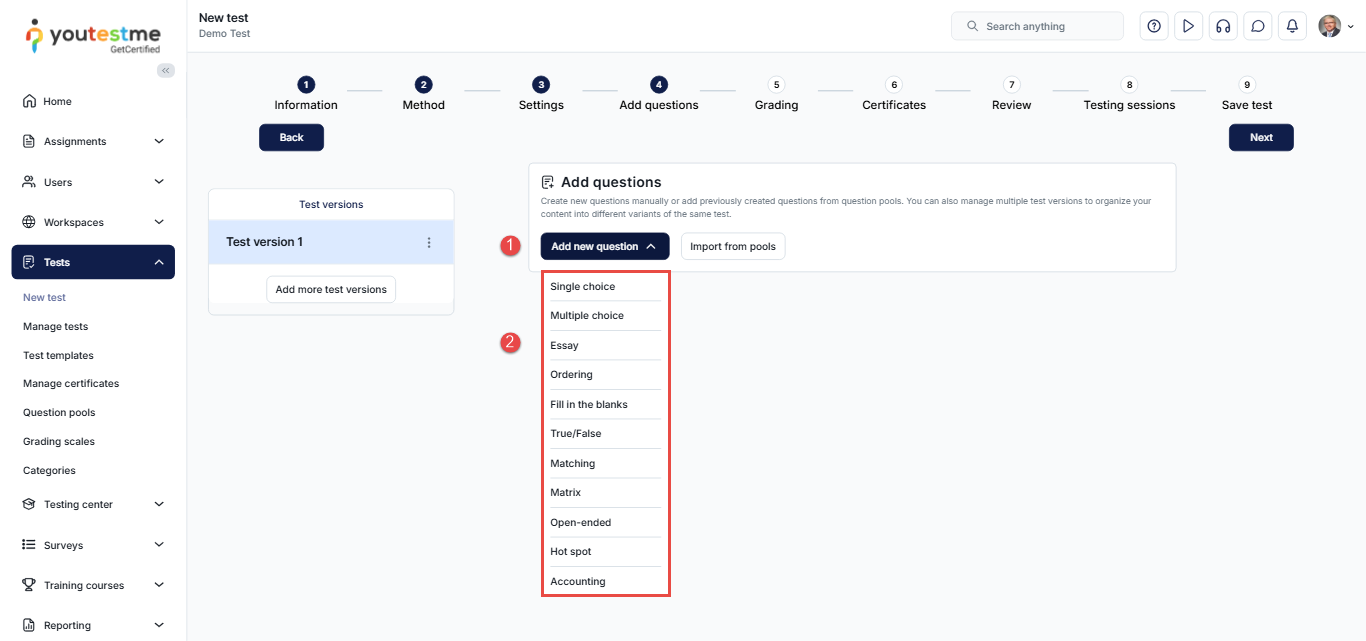
To add questions to a test from an existing question pool:
-
Select the Import from pools option.
-
Select the question pool from which you want to import questions.
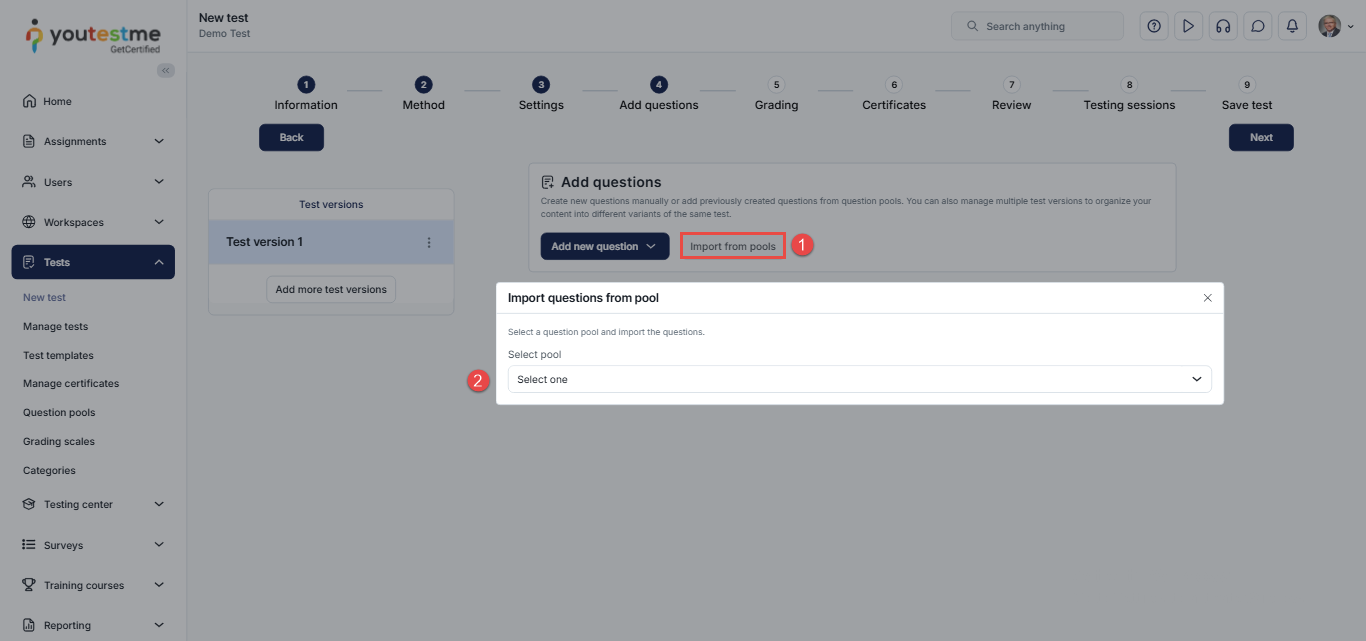
-
Preview each question.
-
Add a single question to the question pool.
-
Import all questions from the selected question pool.
-
Import selected question(s) from the question pool.
-
Change the question pool and repeat the steps to add more questions. All questions added from the previously selected question pool will remain in the test.
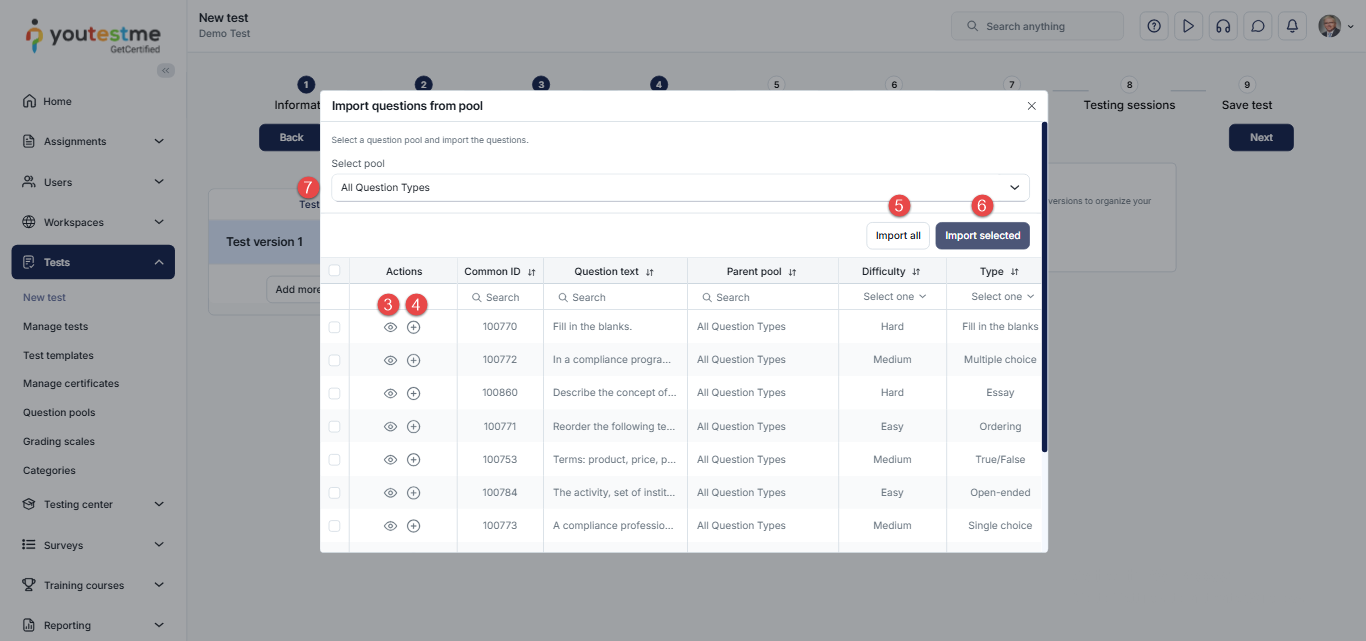
Once you choose a question pool, you can:
Once you have created and/or imported questions, you can define the following options:
-
Randomize question order - Each user will receive questions in a different order. The report will always show the questions in the same order as defined during test creation.
-
Randomize answer order - Each user will receive a different answer order for the same question.
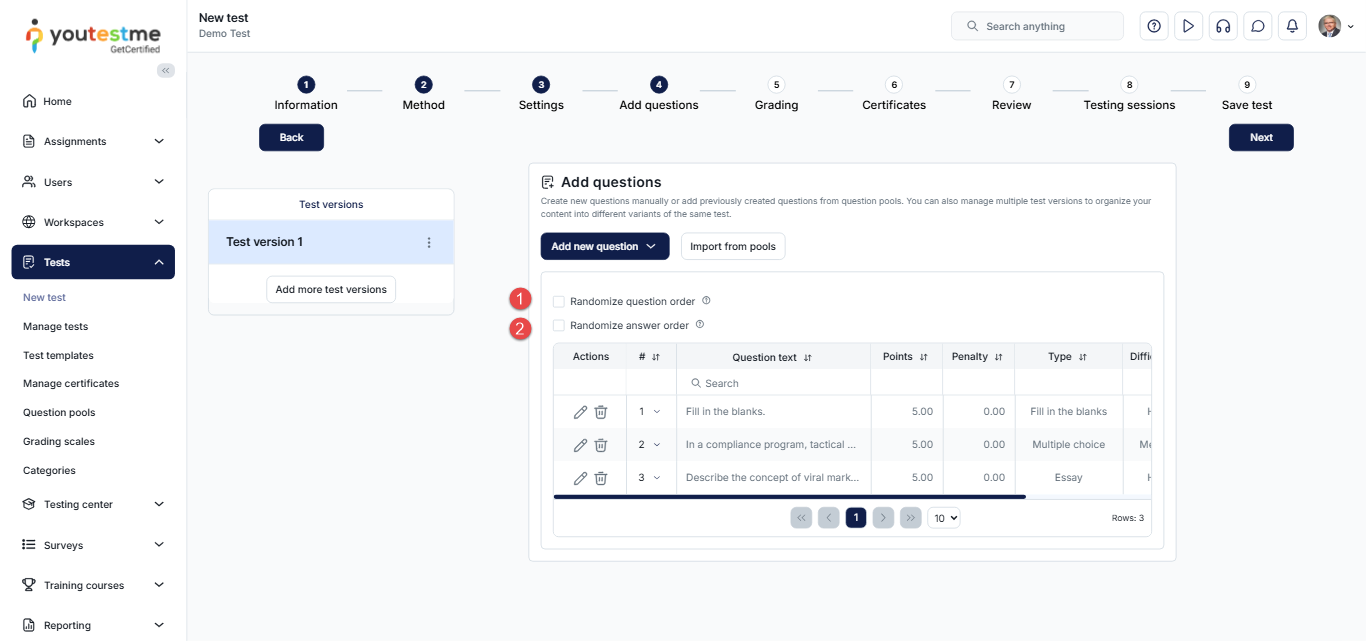
The following rules apply to a manually created test:
-
Answers for Ordering and Matching question types are always randomized.
-
Answers for Essay, True/false, Matrix, Open-ended, and Hot Spot questions always have the same answer order, which cannot be changed.
-
Multiple-choice and Single-choice questions always have the same answer order by default but can be randomized by enabling the Randomize answer order option.
-
Both options are disabled when the page format is set to All questions on one page.
On this step, you can also:
-
Change order of questions.
-
Remove specific question from question version.
-
Edit specific question.
-
Add more test versions - You can manually create as many test versions as you want. Test versions will be randomly assigned to candidates, or you can manually assign test versions when assigning candidates to a testing session.
-
Select the Current test version you want to edit.
-
Rename the test version.
-
Delete the test version.
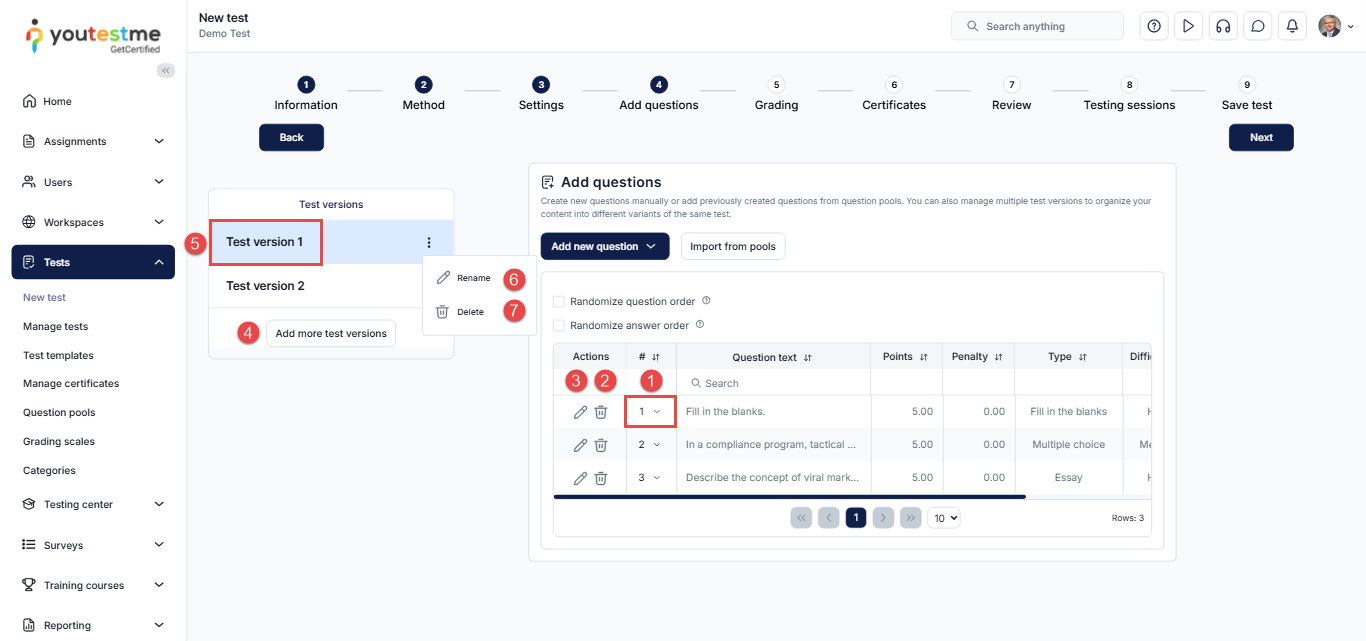
-
-
Upload test from Excel
You can quickly upload as many questions as needed using our predefined template.
-
Click the Upload test button.
-
Download the Excel template.
-
Download the detailed instructions on how to enter data into the template.
-
Once you have filled in the template, click the Click to browse and upload your file to select and upload the Excel file.
-
Click the Upload button.
Note: After uploading, you can additionally edit the questions and settings.
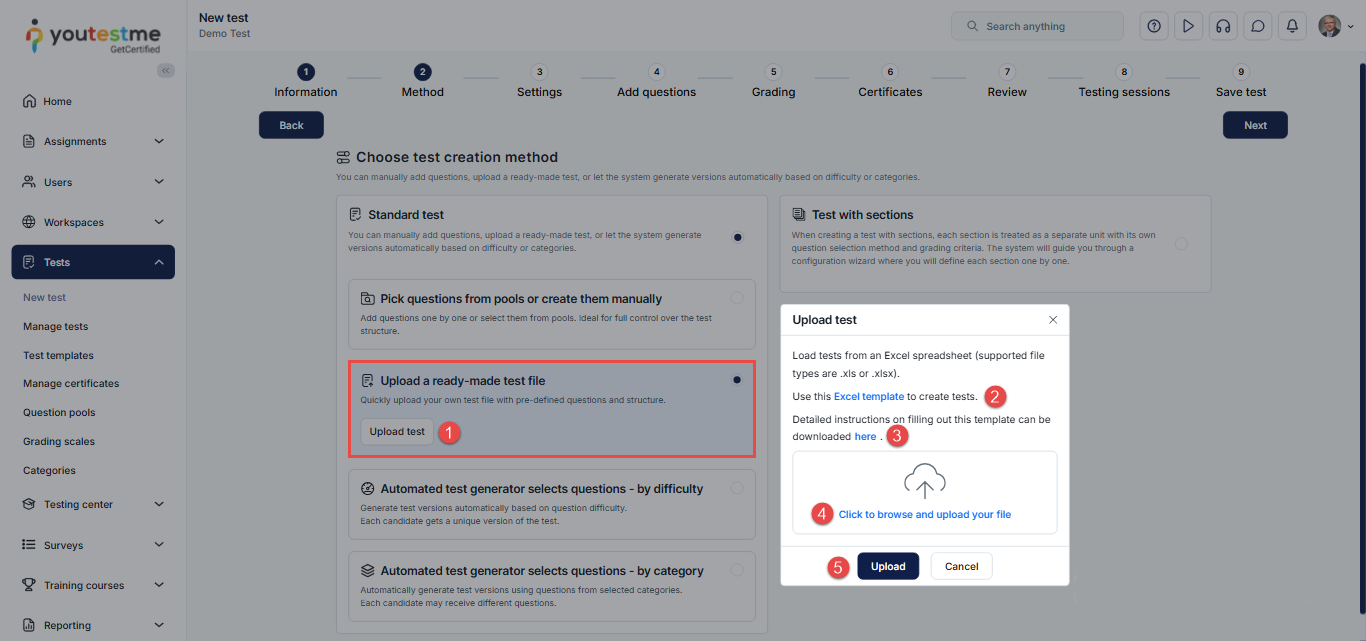
-
-
Test generator based on question difficulties
If you choose this test creation method, the system will generate test versions based on the difficulties assigned to questions.
To define generation settings, you can:
-
Enable Allow different points in test versions option. By default, branching questions and questions with the scoring method By answer weight are not included when generating test versions. Enabling this option includes them in test versions. Additionally, it allows the point and penalty of each question to be pulled from the configuration of the question itself instead of being uniform for all questions.
-
Click the Select question pool button.
-
Select the question pool.
-
Specify the number of easy, medium, and hard questions to be included in the test version.
Refer to Question pools help page for instructions on adding new questions to the question pool.
-
Click to View list of possible questions button if needed.
-
Click the Save button.
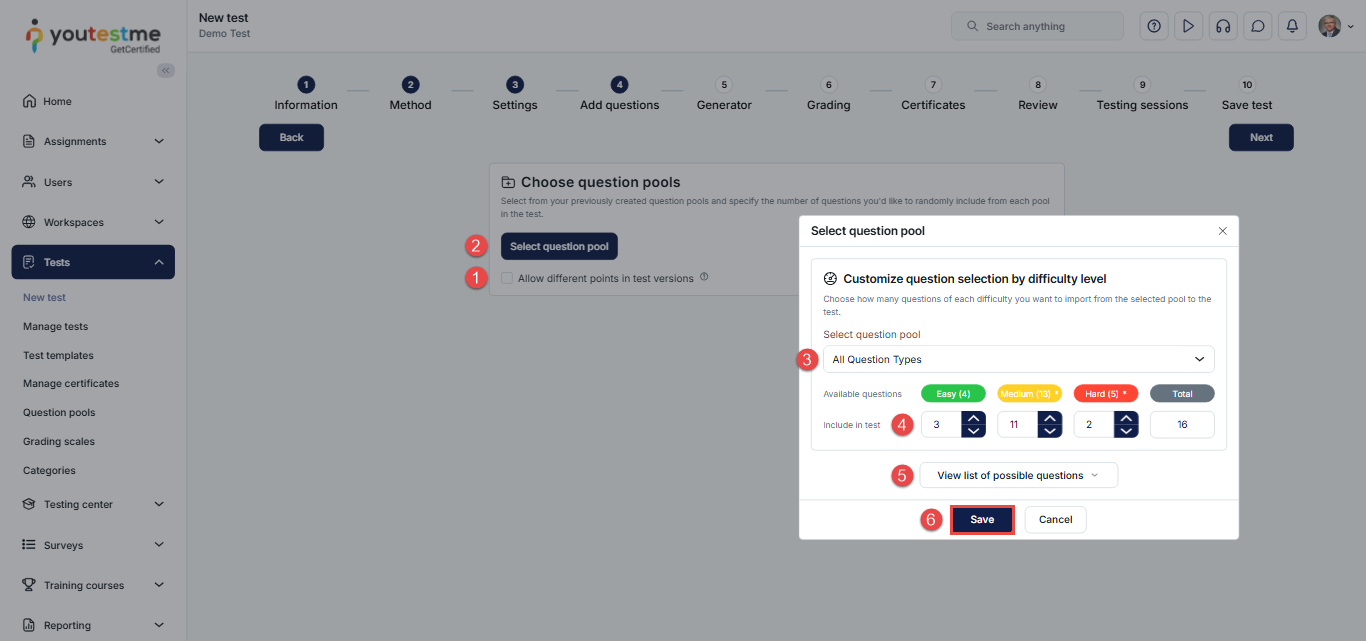
-
Add as many question pools as you want by clicking the Add question pool button and repeating the steps above.
-
Include the frequency factor when generating test versions. The system will take into account the frequency factor defined for each question and determine how often it will appear in the test versions.
-
Edit the number of questions that will be used from each question pool.
-
Remove a question pool if it's not needed for generating test versions.
-
Allow different points in test versions.
Also, on this step you can:
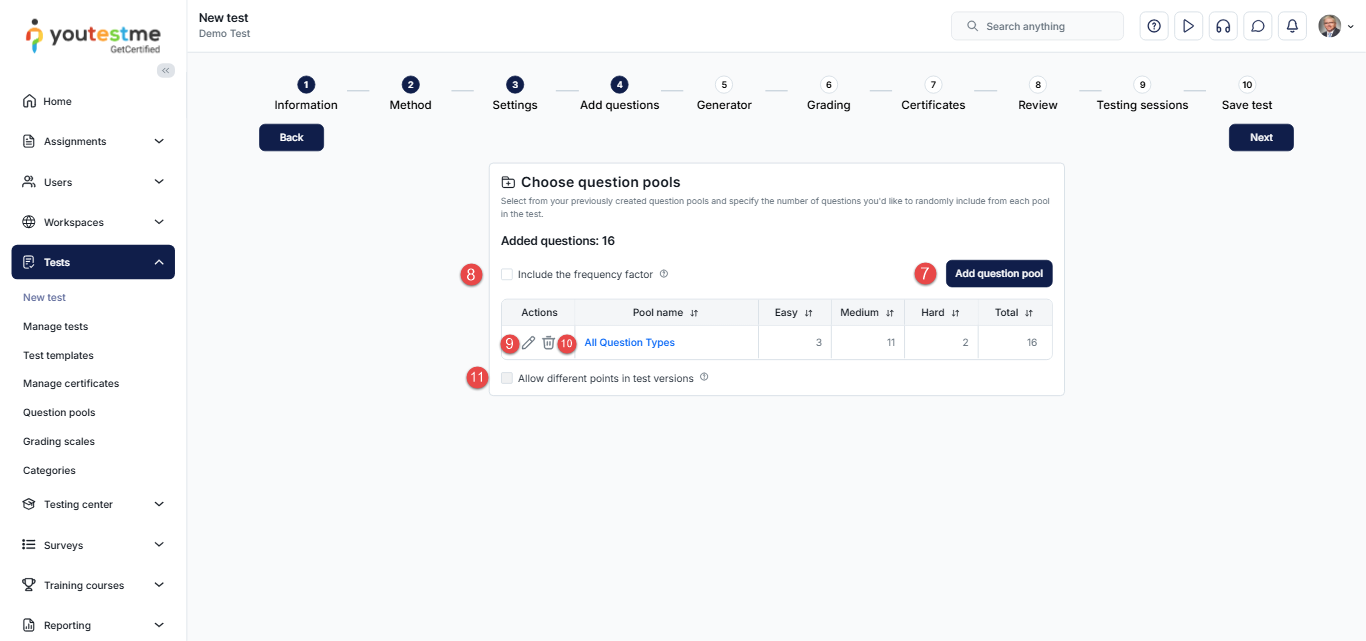
The next step is the Generator, and here you can:
-
Set the number of points for a correct answer per difficulty level.
-
Set the number of negative points for an incorrect answer per difficulty level.
-
Define the number of test versions to be created. Choose between unlimited dynamically generated versions or specify a limited number of versions.
-
Create this test as a Practice test, enabling candidates to specify the number of questions from each question pool the test will contain.
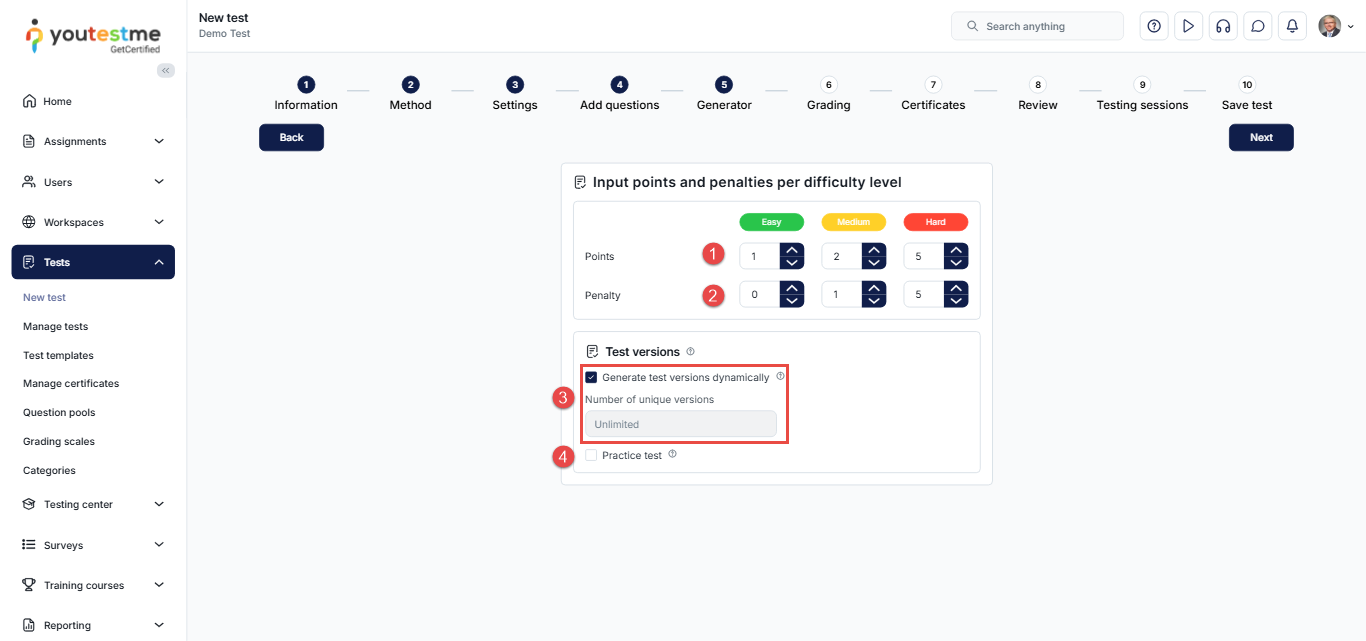
-
-
Test generator based on question categories
If you choose this test creation method, the system will generate test versions based on rules defined for questions from selected question pools. You can use question categories to further filter which questions should be included. If you want to generate test versions based on question categories, the categories must first be created and assigned to the questions in the pool. For more information on creating question categories, assigning them to questions, and defining generation rules, refer to this article.
You can also use this generation method without question categories. In this case, define the question pool and the number of questions that should be included in each generated test version.
On this step, you can:
-
Enable Allow different points in test versions option. By default, branching questions and questions with the scoring method By answer weight are not included when generating test versions. Enabling this option includes them in test versions. Additionally, it allows the point and penalty of each question to be pulled from the configuration of the question itself instead of being uniform for all questions.
-
Include the frequency factor when generating test versions. The system will take into account the frequency factor defined for each question and determine how often it will appear in the test versions.
-
Define a New rule for test versions generation.
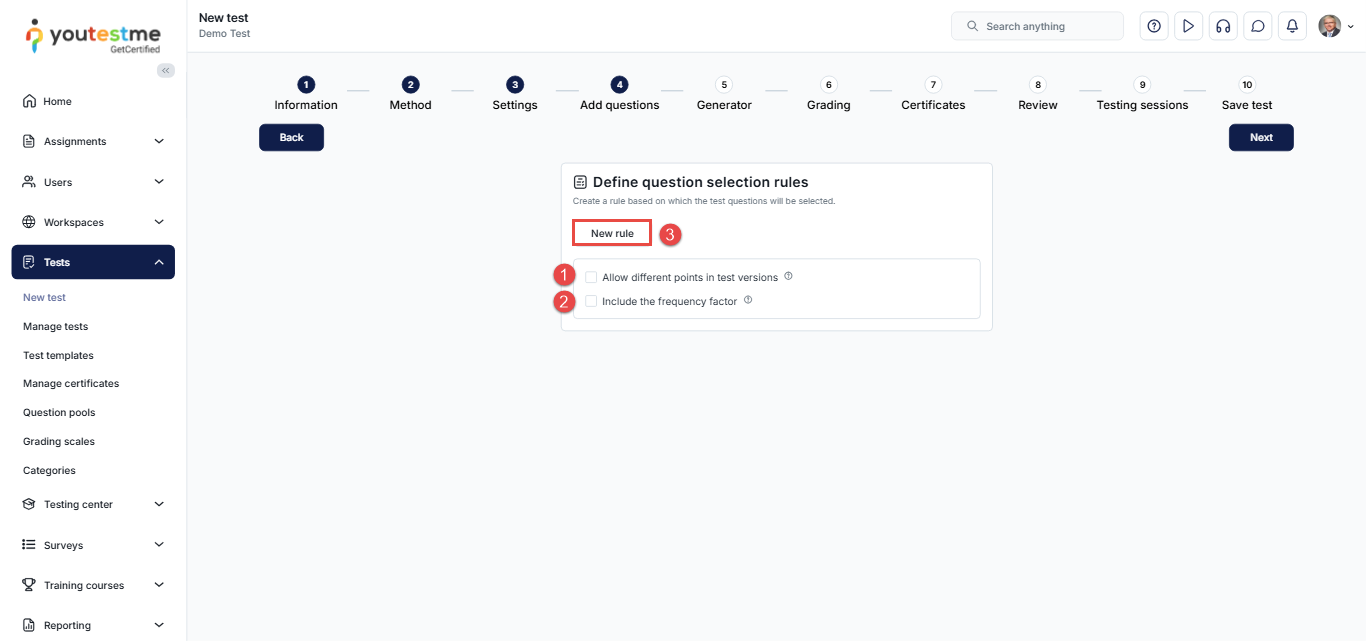
When you click the New rule button, a dialog will appear where you should:
-
Select the question pool.
-
Select the Include all questions from question pool option if you want to include all questions from the question pool instead of entering the number of questions manually. Note that if the number of questions in the question pool that meet the defined conditions changes, the number of questions included in the test version will also change.
-
Define the number of questions from the question pool you want to include in the test versions.
-
Define the number of points that will be applied for correct answers to the questions.
-
Define the number of penalties that will be applied for incorrect answers to the questions.
-
Click the Add new condition button. One rule may have multiple conditions.
-
Select the desired question category from the dropdown menu.
-
Select the desired values of the question category, which will be used for filtering in the process of test version generation.
-
Review the number of available questions that match the defined condition.
-
Click the Select button.
If you want to add more conditions for test generation, you can repeat the steps above.
-
Click the Change button if you want to edit a defined condition.
-
Click the Delete button if you want to remove a defined condition.
-
Click the Confirm button to create the test rule.
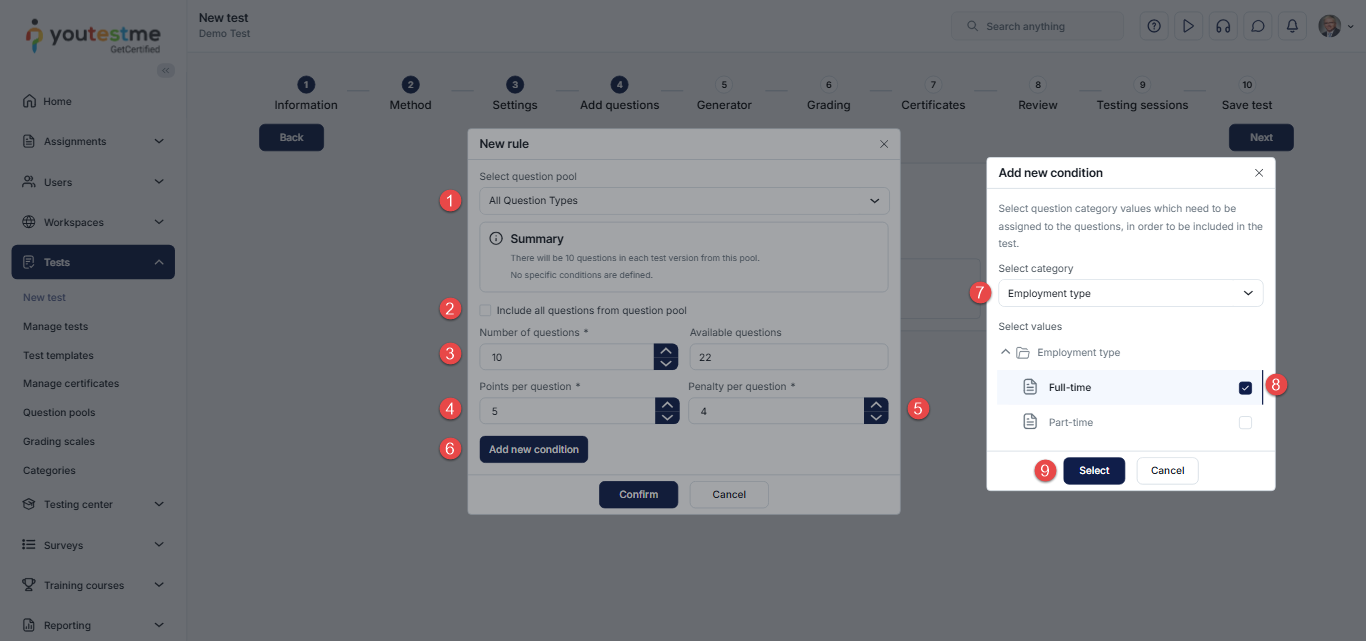
Note: In the Summary field, you can see a set of rules for generating test versions. If you have multiple conditions, the AND rule applies between them.
If you have selected multiple values for the question category, the OR rule applies between them.
If there are multiple rules, the test version will contain a defined number of questions from each rule, according to the specified conditions.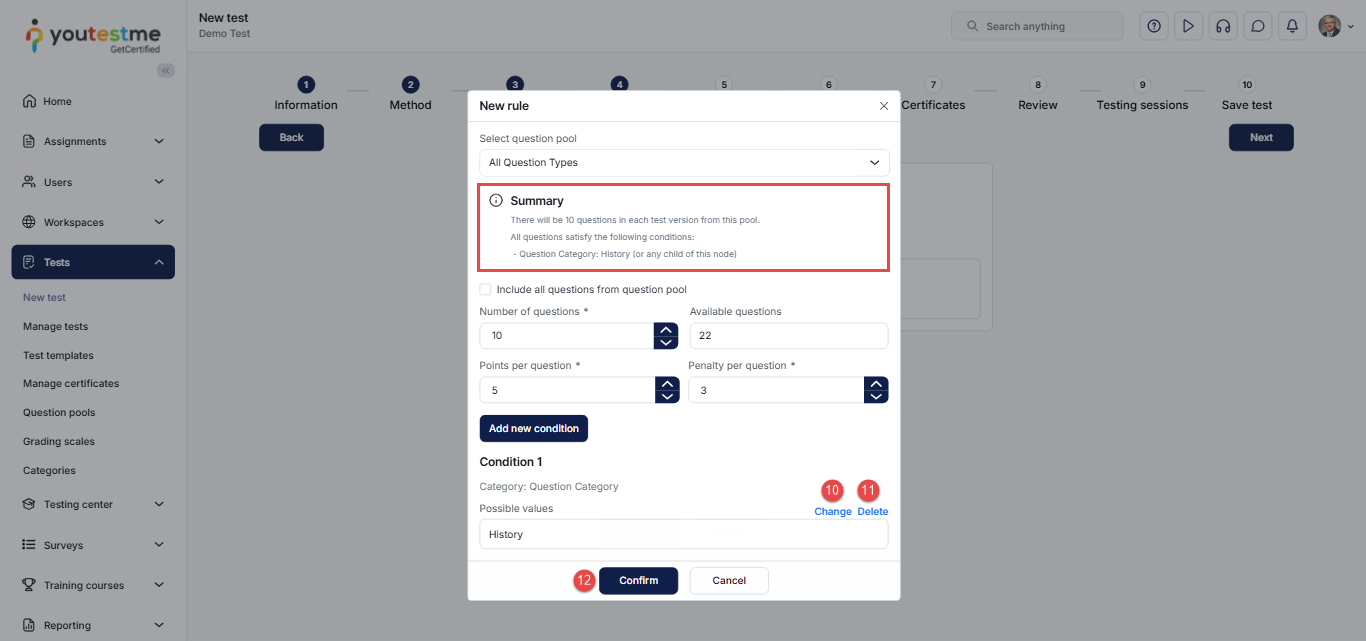
To define more test rules, you can repeat the steps above. You can also Edit or Delete the rule.
Once you have configured all the rules, click the Next button to proceed to the next step.
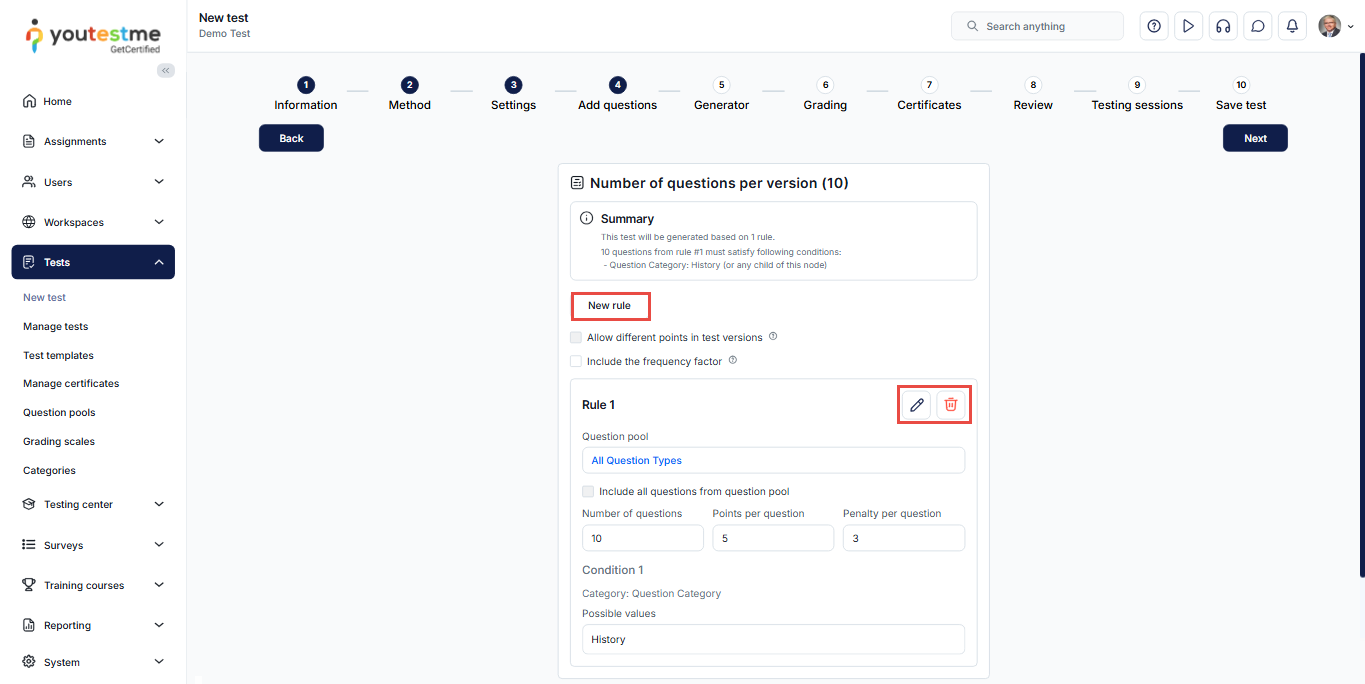
The next step is the Generator, and here you can:
-
Define the number of test versions to be created. Choose between unlimited dynamically generated versions or specify a limited number of versions.
-
If there is a limited number of test versions, you can enable the Randomize question order option.
-
If there is a limited number of test versions, you can enable the Randomize answer order option.
-
If there is an unlimited number of test versions, you can create the test as a Practice test, allowing candidates to specify the number of questions from each question pool the test will contain.
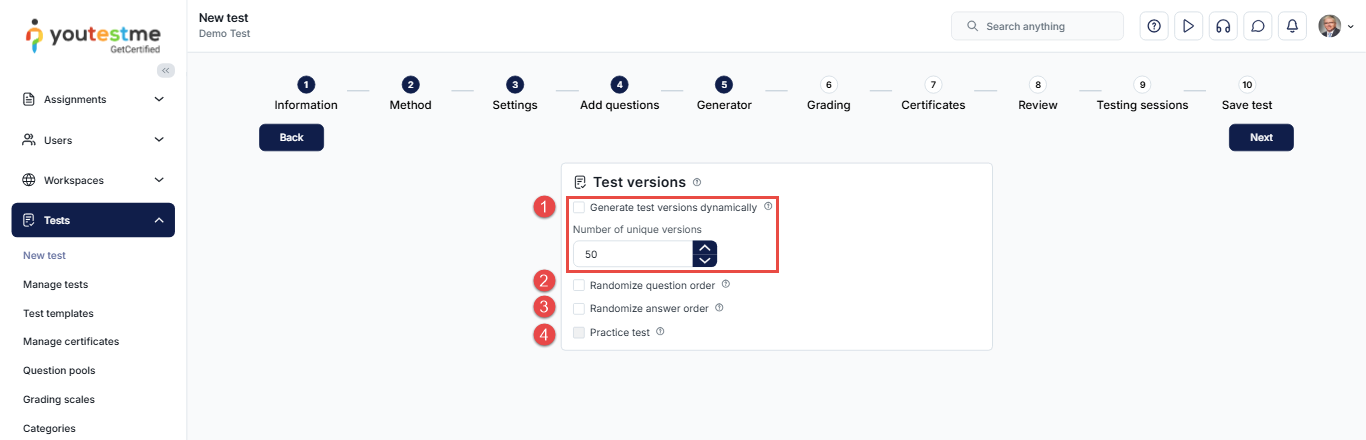
-
-
Test settings
The Settings step contains the following options for configuring your test:
-
Duration type - Specify the type of time limit for completing the test.
-
Page format - Select whether all questions will be displayed on one page, or one question per page.
-
Show report - Select when the report will be displayed to candidates.
-
Define Report content.
-
Select workspace - Add the test to your chosen workspace, and access will be limited to users within that specific workspace.
-
Enable proctoring.
-
Enter test instructions.
-
Click the preview icon to see test instructions and the dialog that appears to candidates when starting the test.
-
Change the Acknowledgment text.
By clicking on the Show advanced options button, additional test configurations will appear.
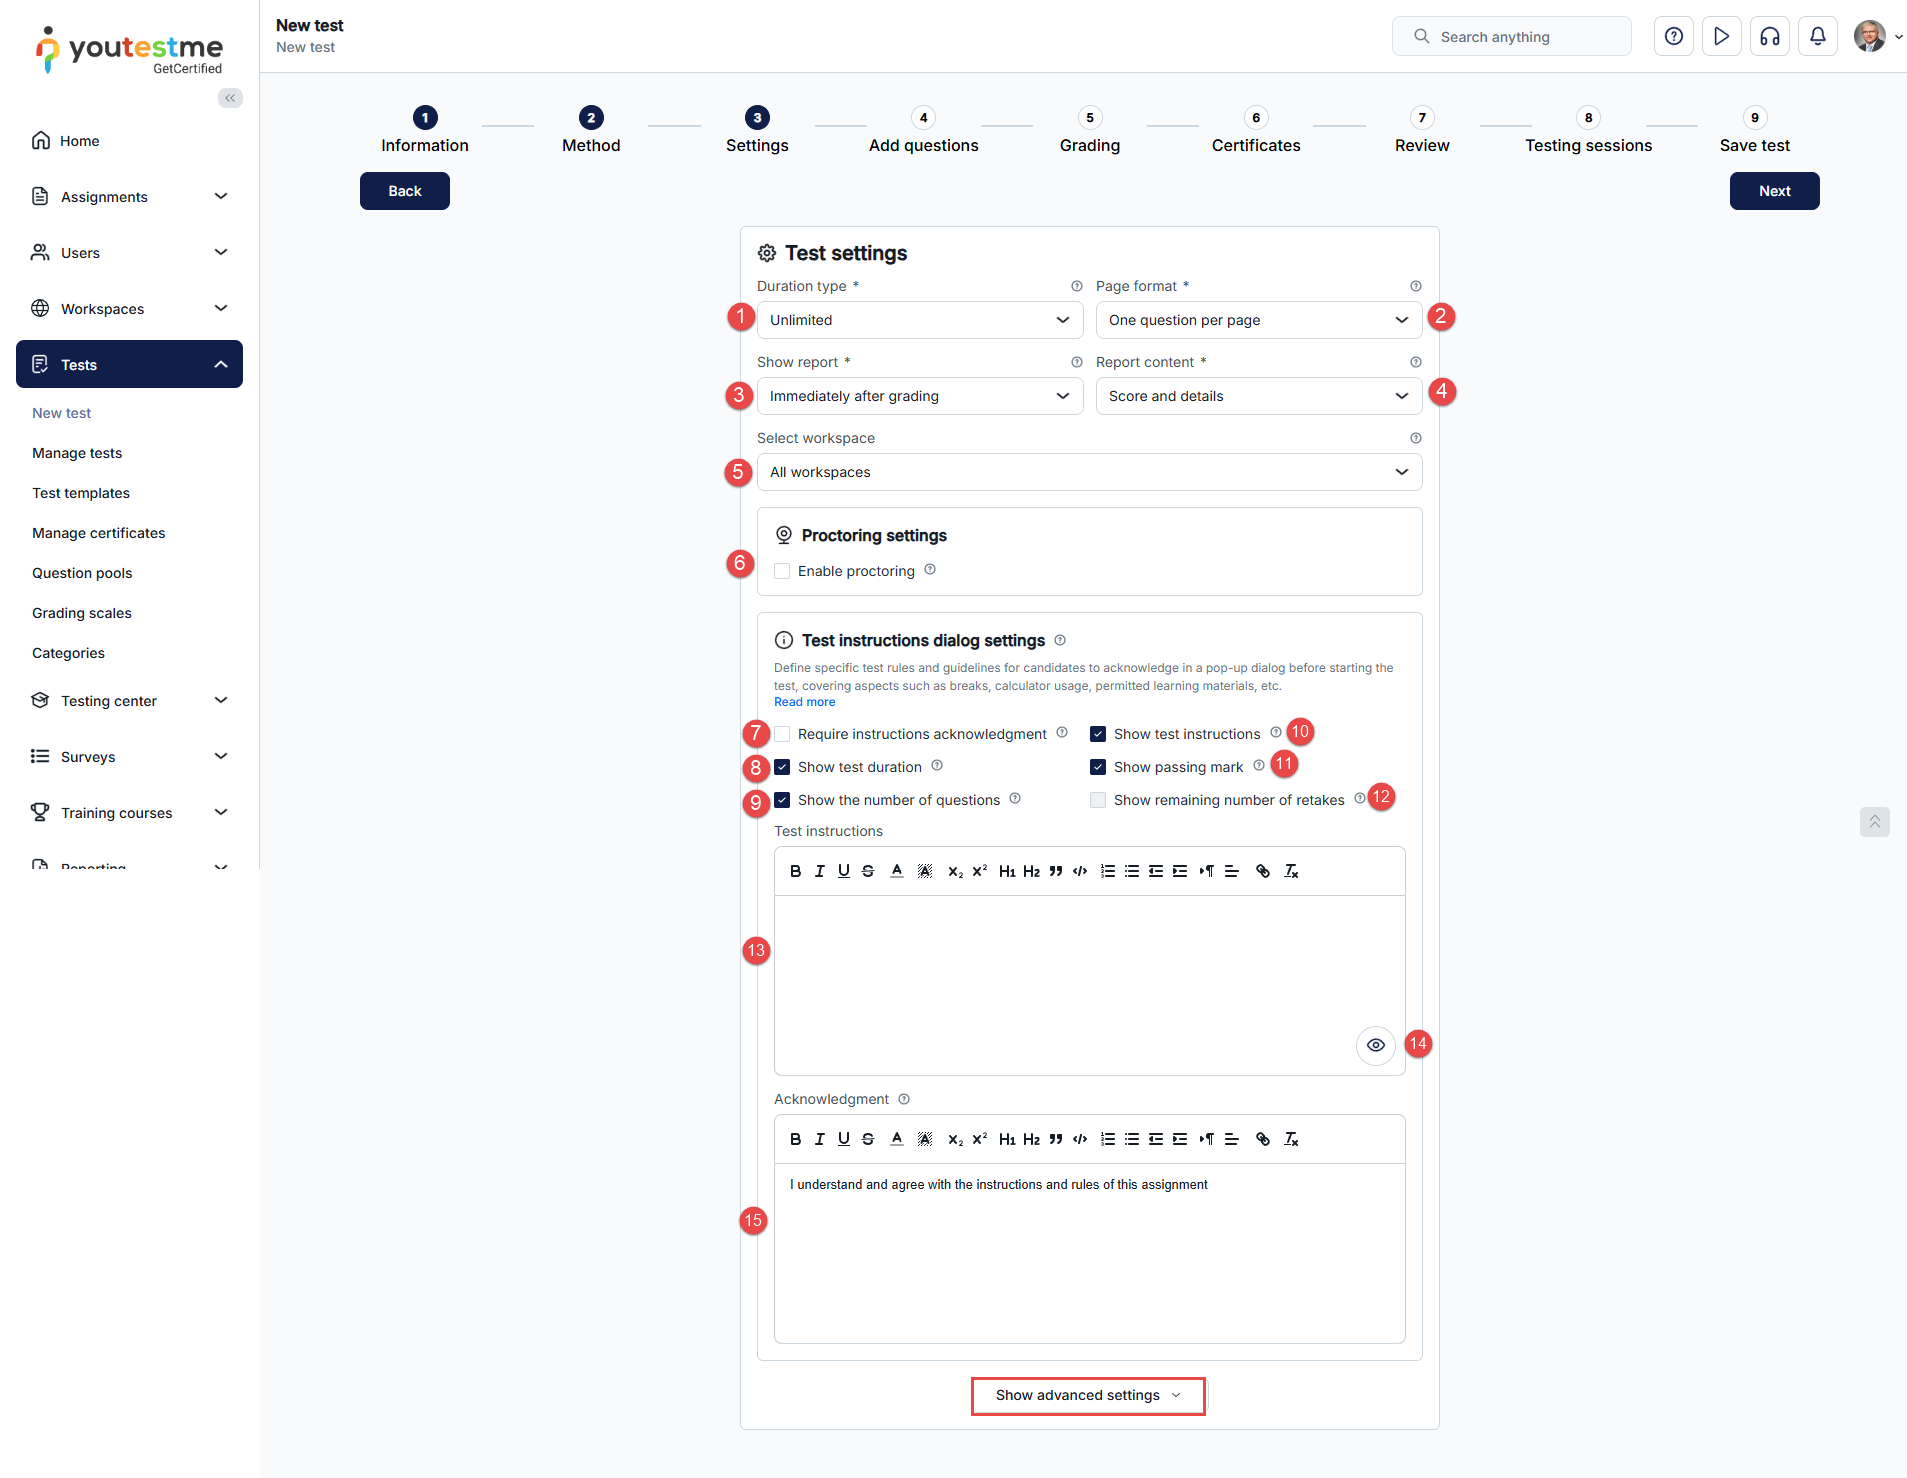
Advanced options are:
-
Test completion message. Define guidance or information candidates will see after completing the test.
-
Note: This option can not be combined with the Enable browser lockdown option.
-
Enable "I don't know" option. View how it looks from the candidate's perspective on this link.
-
Enable answer feedback to candidates. View how it looks from the candidate's perspective on this link.
-
Show question attachments. View how it looks from the candidate's perspective on this link.
-
Enable notes. View how it looks from the candidate's perspective on this link.
-
Enable candidates' feedback on questions. View how it looks from the candidate's perspective on this link.
-
Choose the calculator type.
-
Require answering all questions. View how it looks from the candidate's perspective on this link.
-
Browser lockdown on by default.
-
Require updating user profile. View how it looks from the candidate's perspective on this link.
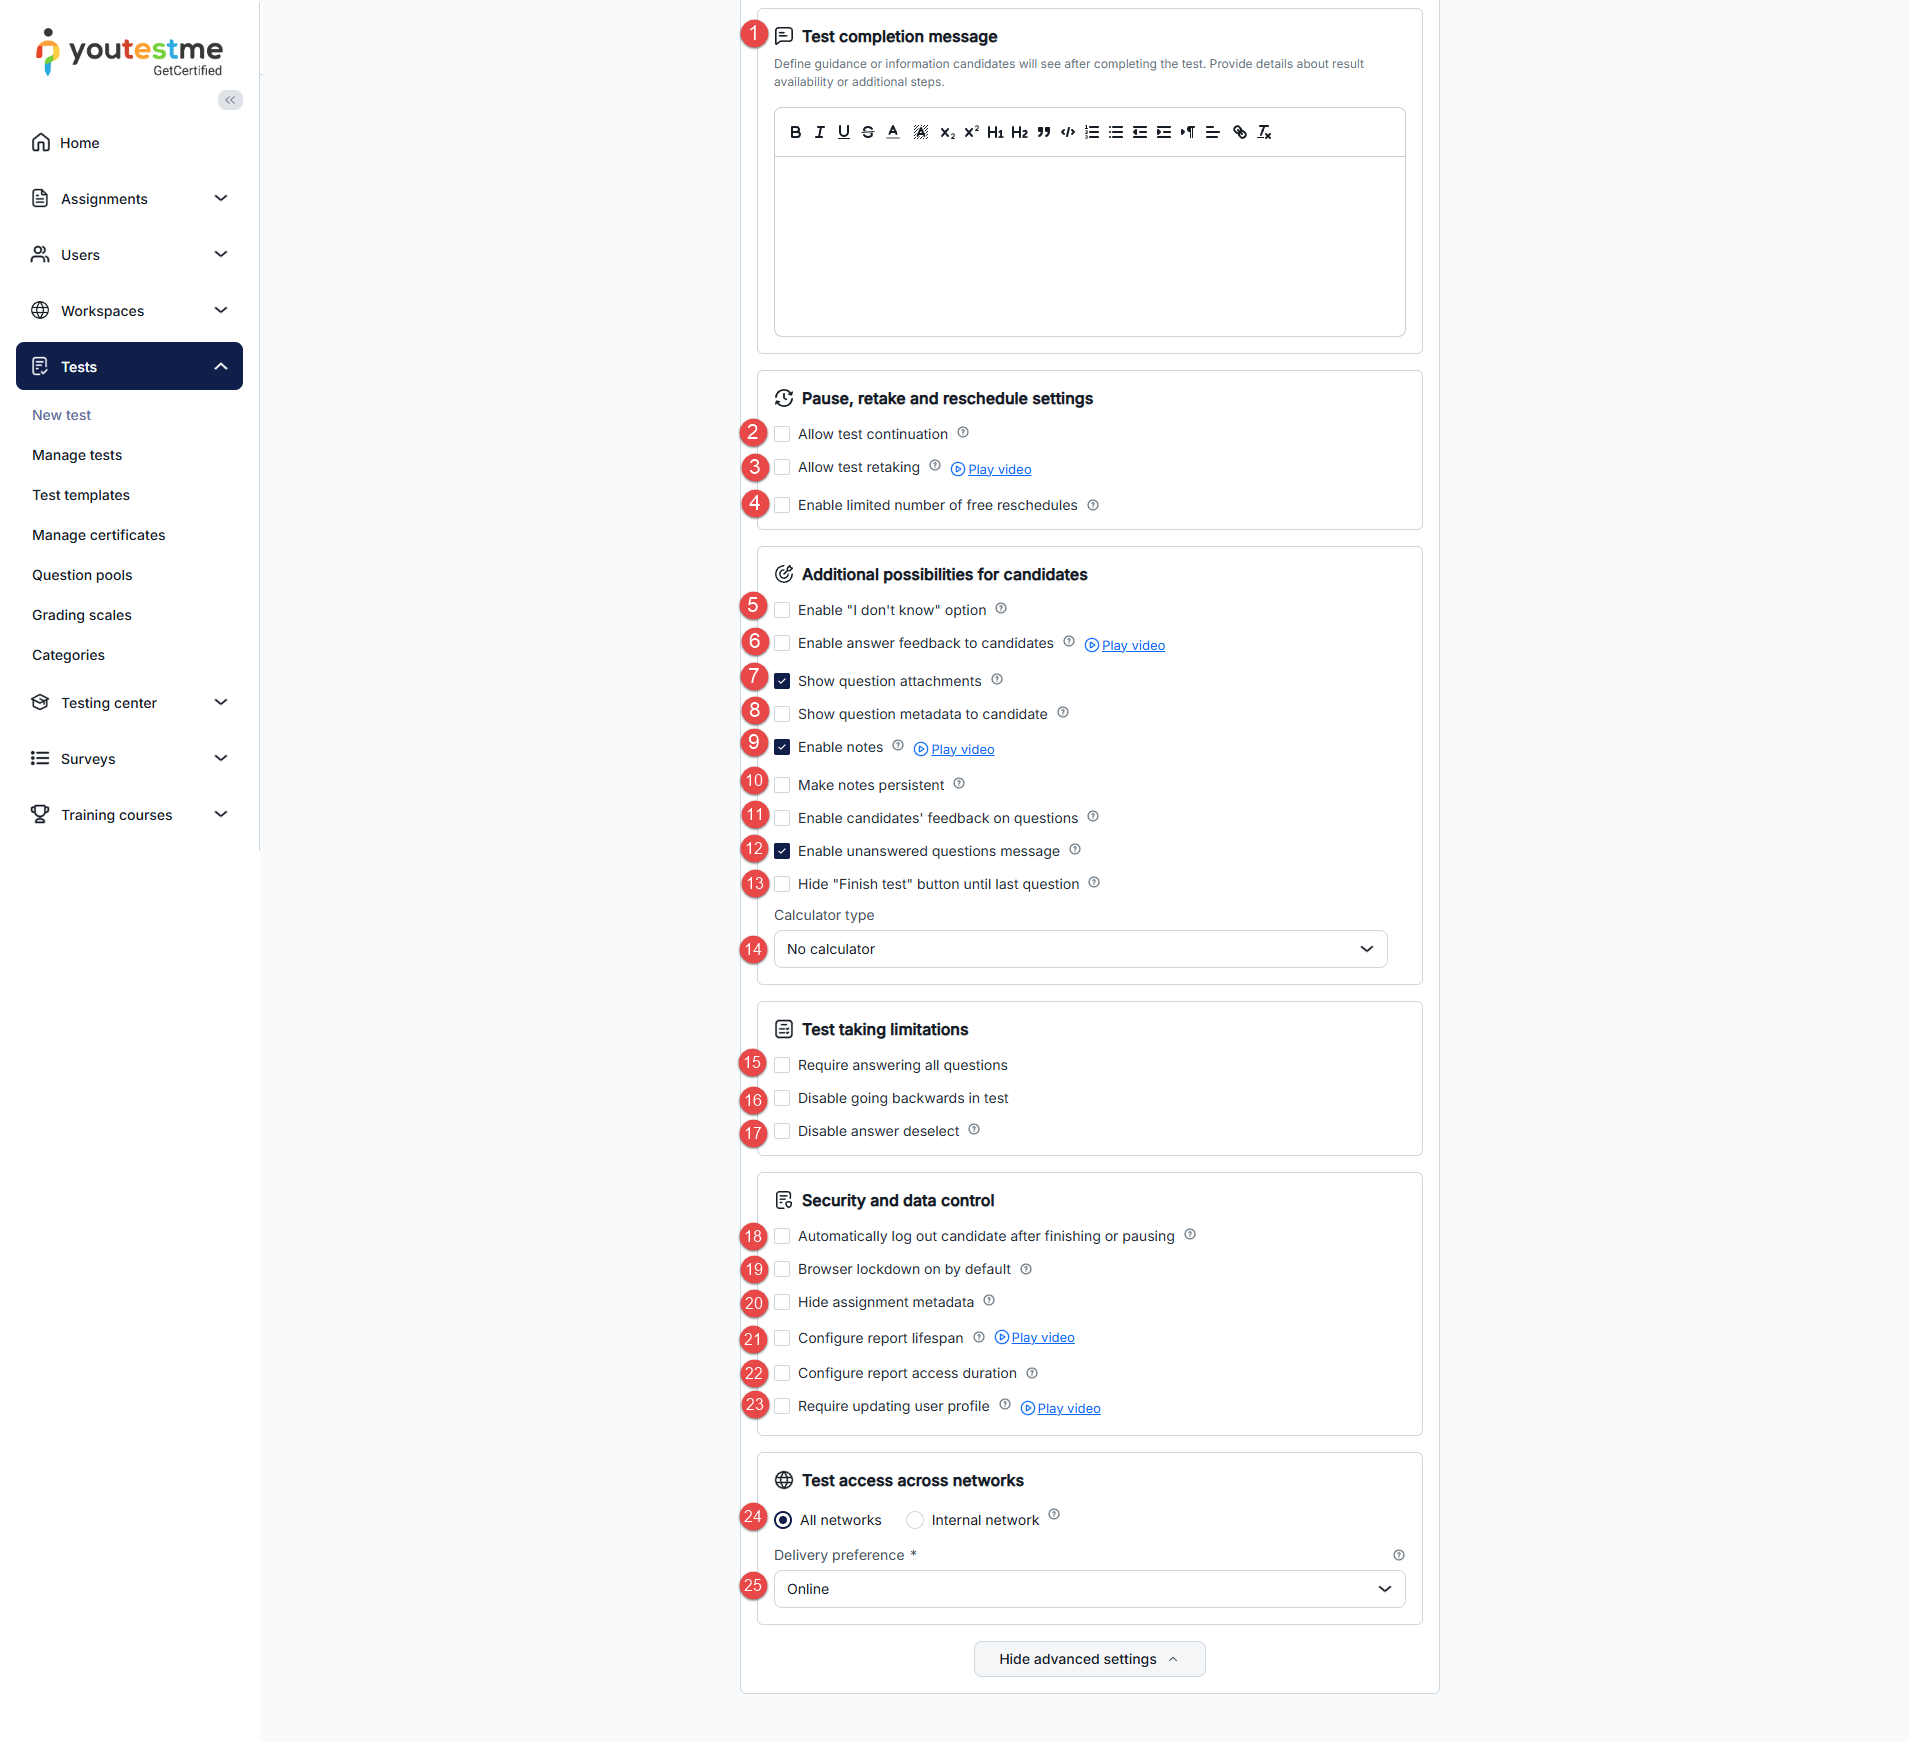
Click the Next button to proceed to the next step of test creation.
-
-
Grading test
On this step, you can define the passing criteria for your test. Use advanced grading configurations if needed, such as defining passing marks for each section, group of sections, etc. Optionally, select a grading scale you previously created to represent the test results as grades, e.g., from A to F.
For more information on configuring each grading setting, refer to the Grading configuration help page.
-
Certificates
On this step, you can include certificates that will be awarded to candidates upon passing or meeting specifically defined completion conditions. Candidates have the option to download the certificate in PDF format, as an image, or share it via a link. To add a certificate to the test, click the Add certificate button, or click the Next button to move on with test creation without adding certificates.
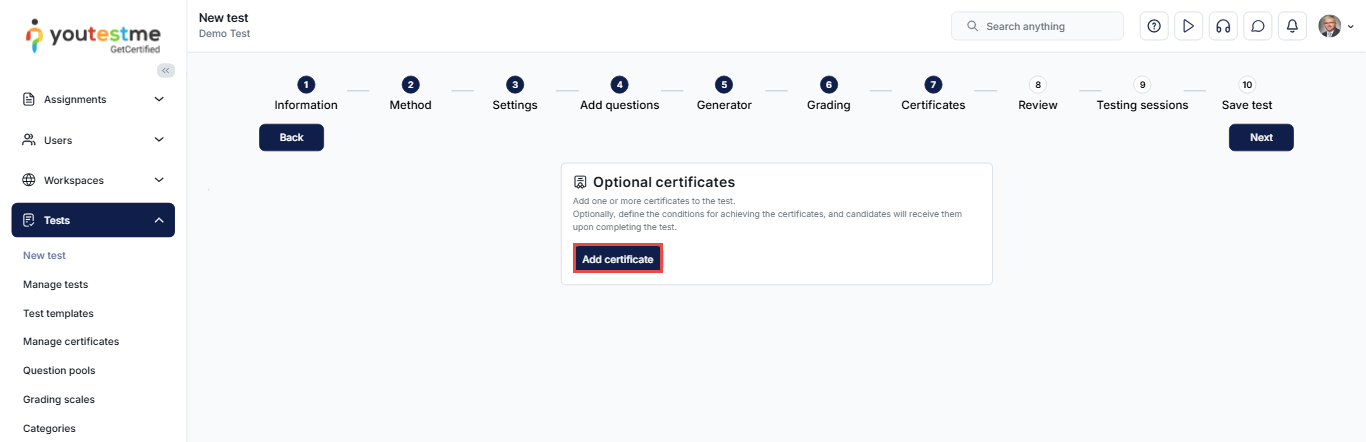
-
You can Choose the certificate from the list of existing certificates and add it to the test. Optionally, you can modify it before adding it to the test by using the fields below.
-
Alternatively, you can create a New certificate by configuring all the fields. For more information about each field, refer to the Manage certificates help page.
Note: Click the View button to check what the certificate looks like. Be sure to click the Save button to add the certificate before clicking Next.
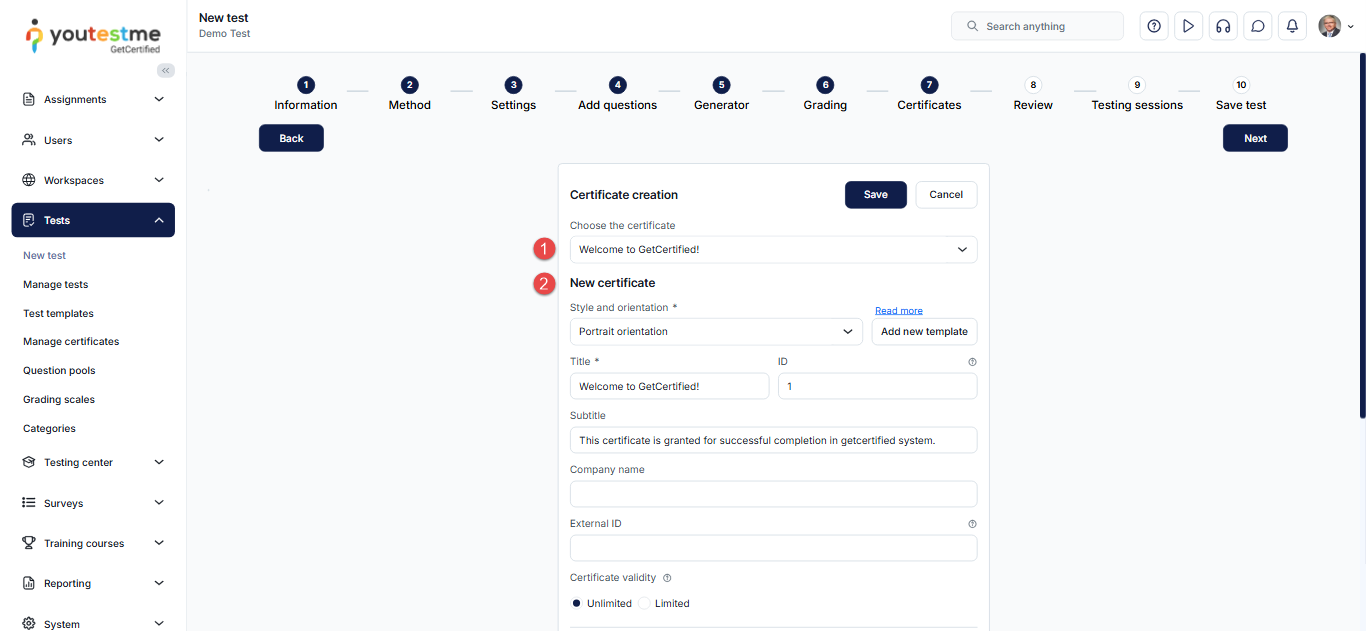
Additionally, options that you can customize only during the creation process (and cannot be defined on the Manage certificates page) include:
-
Display title - Choose whether to display the title on the certificate.
-
Display test name - Choose whether to display the test name on the certificate.
-
Display score - Choose whether to display the achieved score on the test in the certificate.
-
Display date of issue - Choose whether to display the date when the certificate is granted.
-
Display expiration date - Choose whether to display the date when the certificate expires.
-
Display unique ID - Choose whether to display the certificate's unique identification number.
-
Display default logos - Choose whether to display the default logo in the certificate if another is not uploaded.
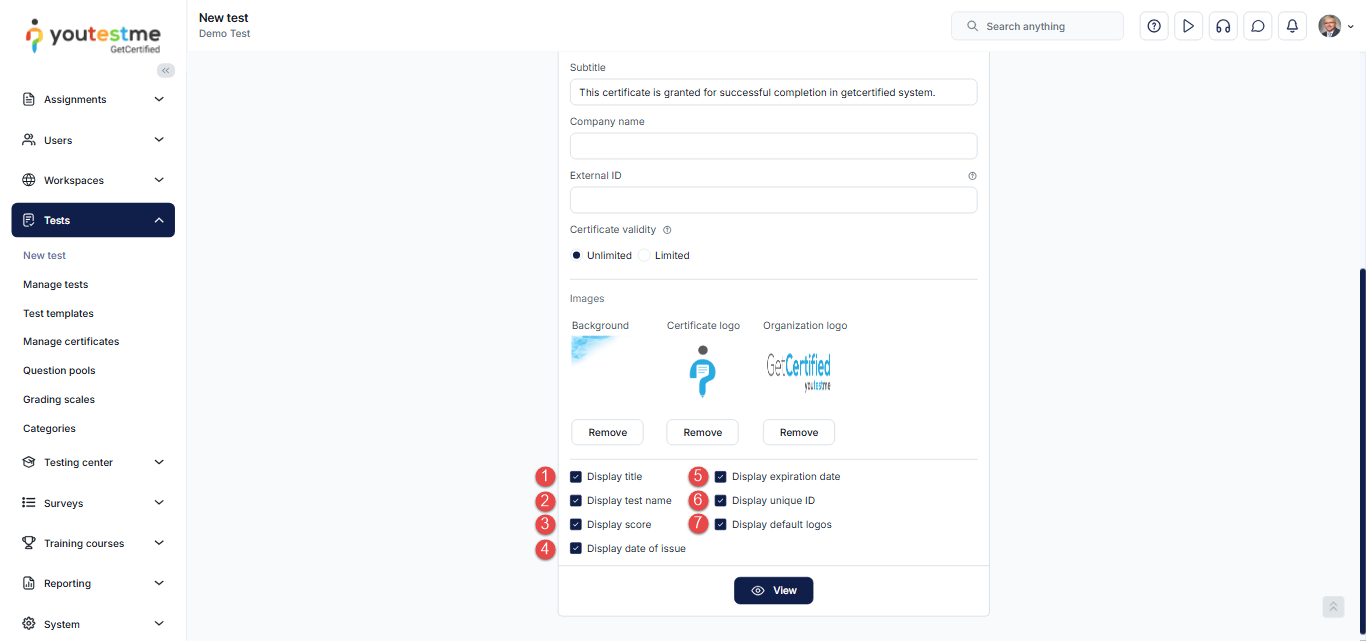
If you add multiple certificates to the test, you can manage them from the left side panel with the following actions:
-
Edit - Open the selected certificate in the panel for editing.
-
Remove - Delete the selected certificate from the test.
-
Edit condition - Change the condition under which the certificate will be granted to the user.
-
Add certificate - Add a new certificate to the test.
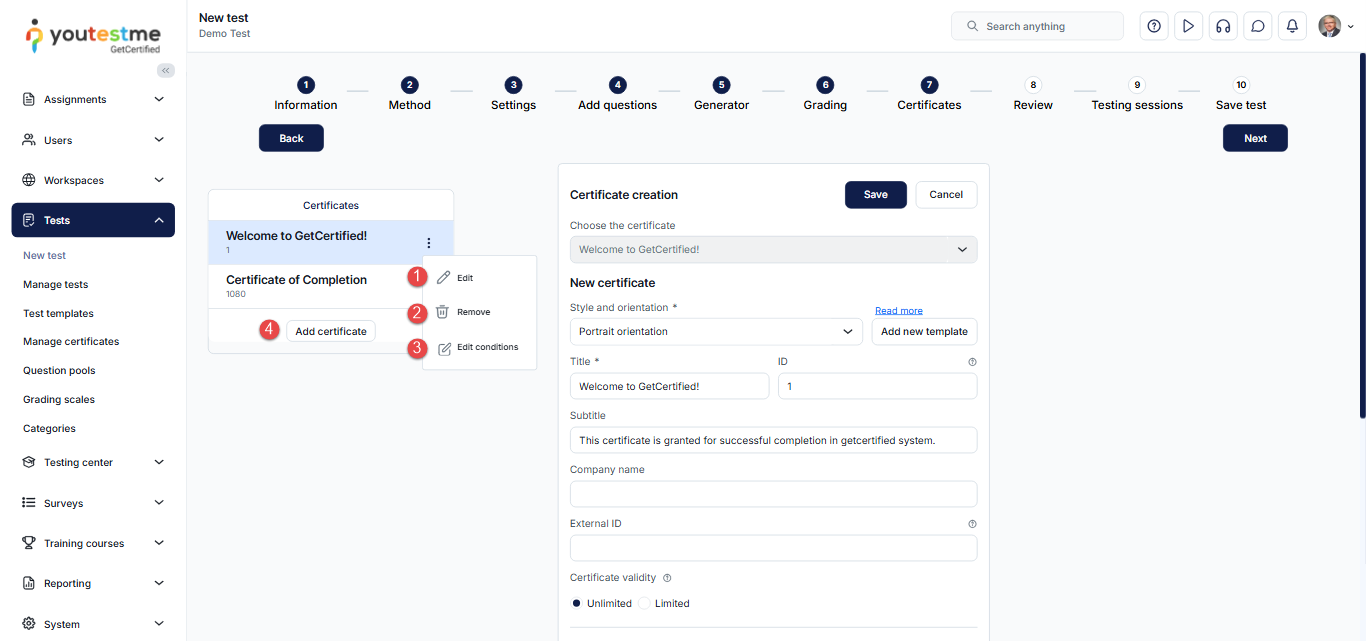
-
-
Review test
The Review step includes:
-
A summary of the test settings.
-
A list of all question pools included in the test.
After you have checked everything, click the Next button to continue with the test creation process. You can return to any step if you want to make changes to the test.
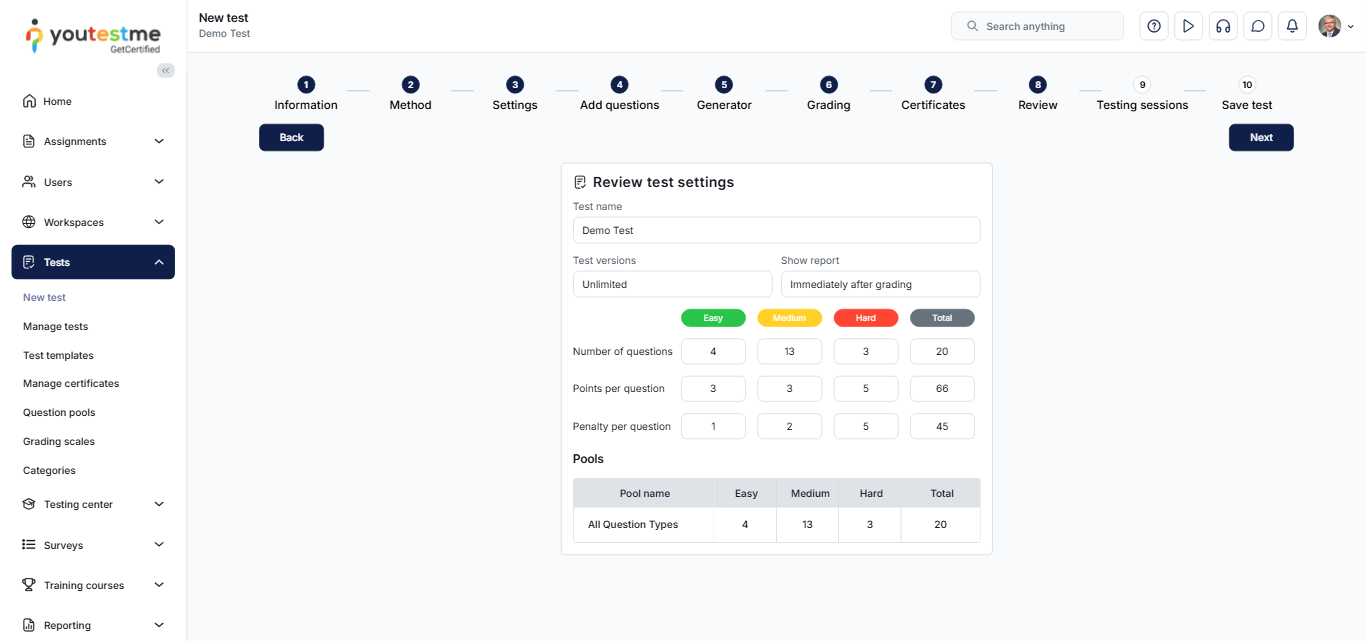
-
-
Testing sessions
On this tab, you can manage existing testing sessions and create new ones specifically for this test. All available actions are the same as those available when managing sessions via the Testing center screen.
Explanations for all available options can be found under the Testing center/Testing Sessions. -
Save test
This is the last step in the Test creation wizard where you can:
-
Save and publish the test by clicking the Finish wizard button. To make the test available to candidates, you need to schedule testing sessions.
-
Save the test as draft.
-
Save as test template.
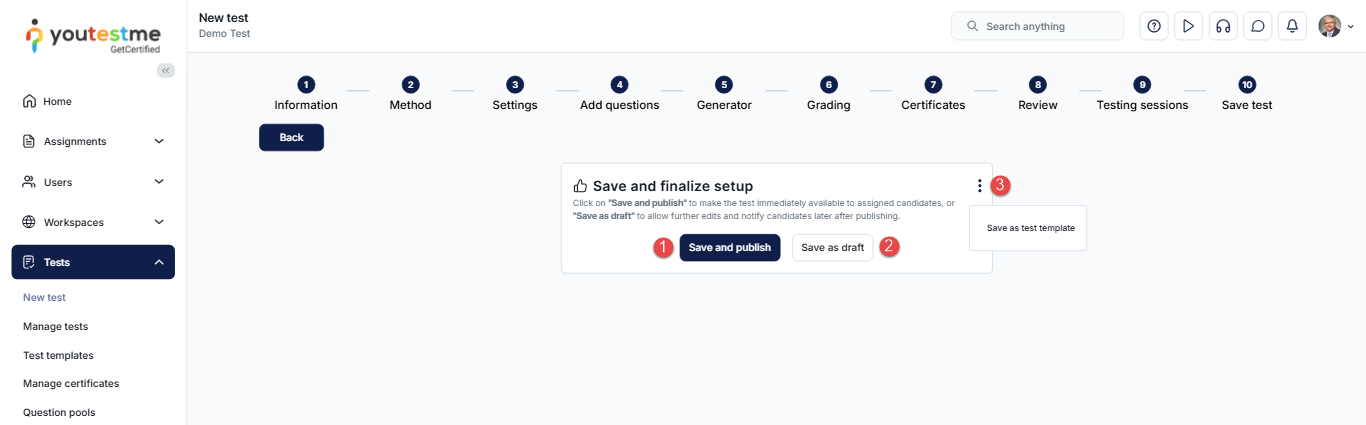
To save your test settings as a template:
-
Enter the name of the template.
-
Add a description, e.g., provide additional information about template configuration, included settings, etc.
-
Set the Privacy of the template. A Public test template is available to all users with the adequate permissions, while a Private test template is available only to the user who has created it.
-
Click the Save button.
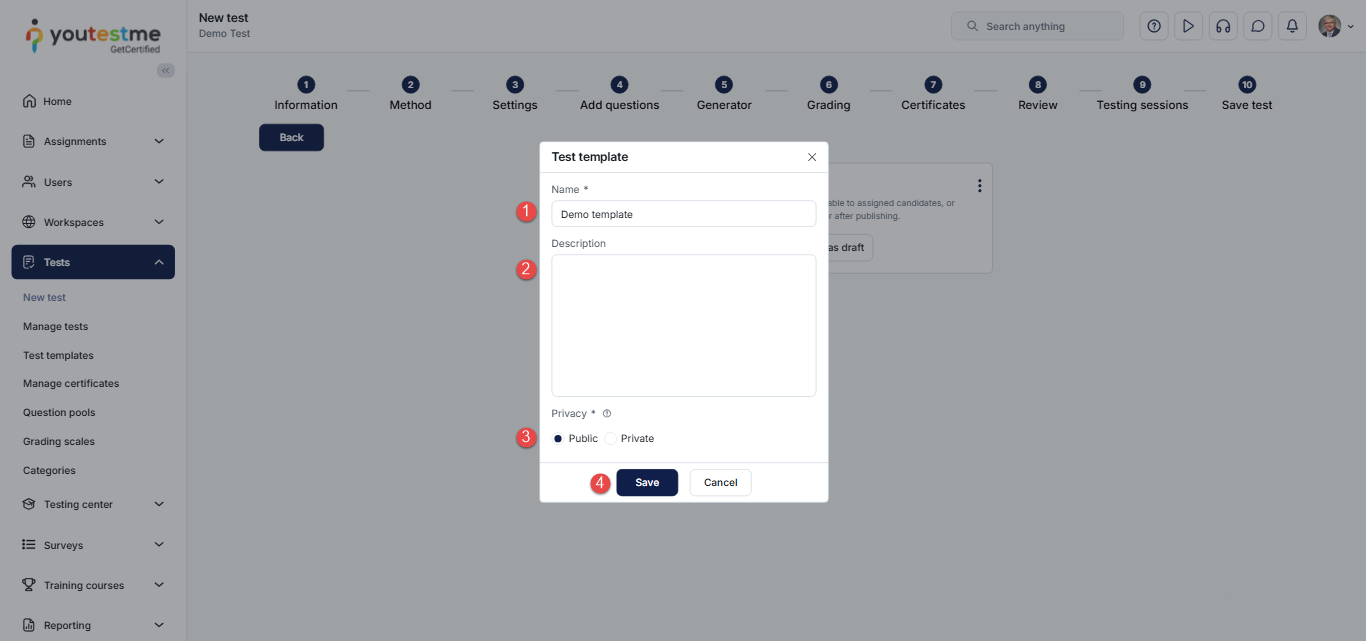
-
Click the Next button to proceed to the next step of test creation.
-
-
Test with sections
Information on all settings defined specifically for sections can be found below.
-
Test information
To start creating a test with sections, select the Test with sections option in the Method section of the wizard.
For more information about other fields you can define, refer to the Test information help page.
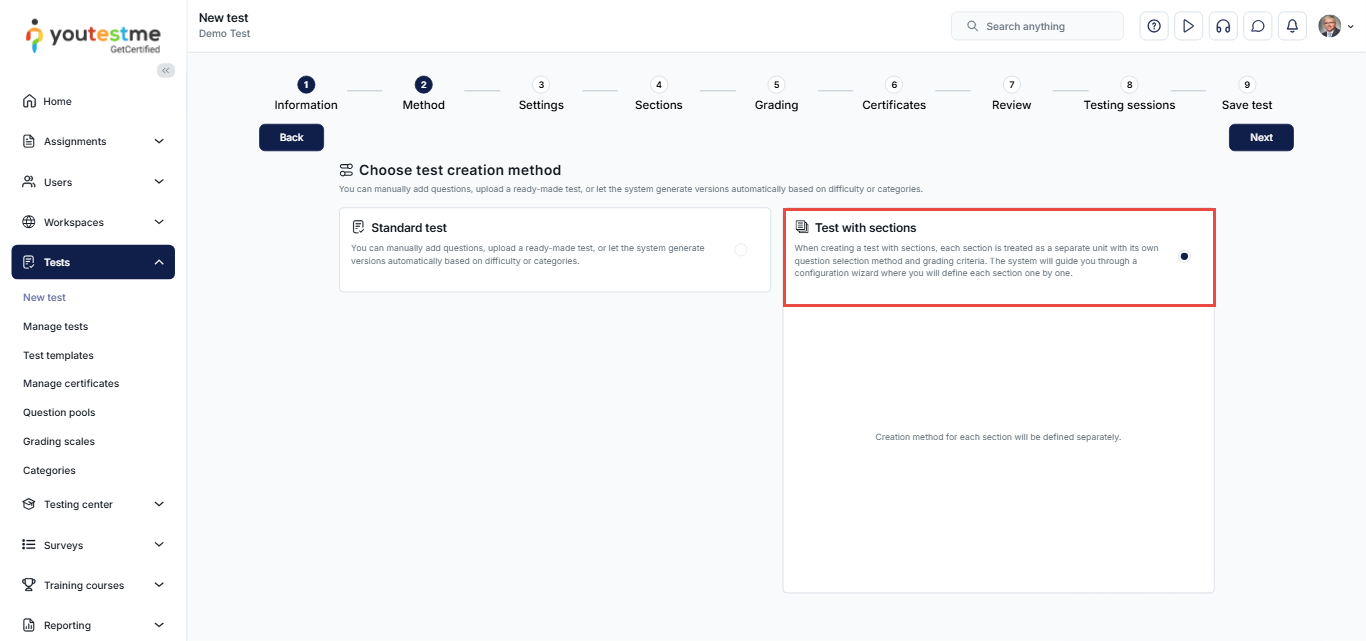
-
Test settings
Refer to the Test settings chapter for detailed information about each field.
-
Sections
To start adding sections, click the Add section button.
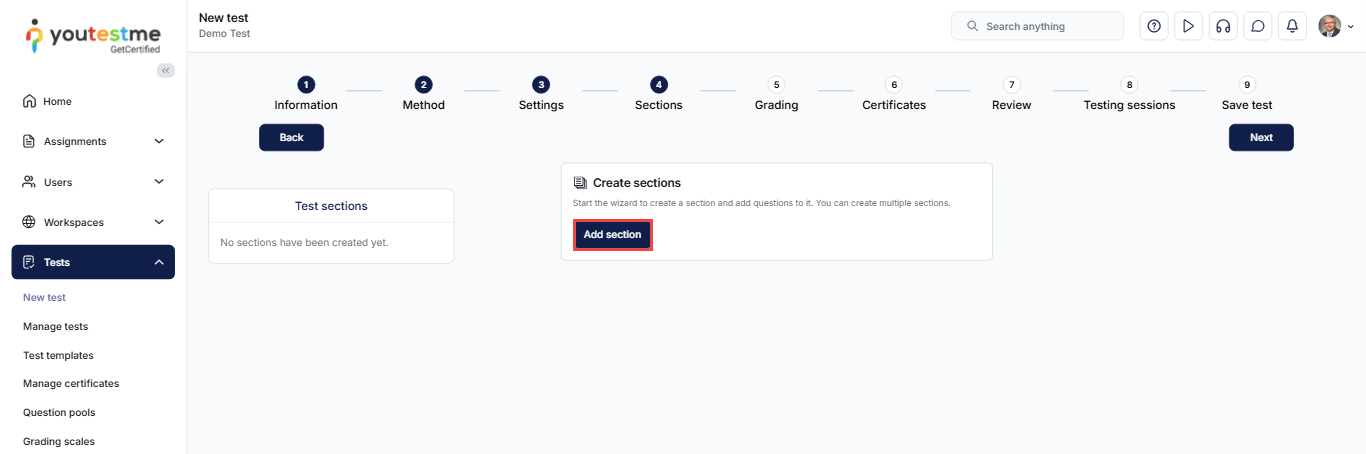
-
Section information
For more information on filling out Section information fields, refer to the Test information chapter. The purpose of these settings is similar, with the main difference being that you define settings for each section specifically, rather than for the entire test.
-
Section settings
For more information about each Section setting, refer to the Test settings chapter.
An additional option you can enable only on the section level is Enable revisiting section. -
Method (sections)
The methods used for adding questions to the sections are the same as those for tests without sections. Please consult the Method chapter.
-
Add questions (sections)
Adding questions is done in the same way as for tests without sections. Please refer to the Add questions chapter.
-
Review (sections)
Reviewing sections is identical to reviewing tests without sections. Please refer to the Review test chapter.
-
Testing sessions (sections)
On this tab, you can manage existing testing sessions and create new ones specifically for this test. All available actions are the same as when managing sessions via the Testing center screen.
Explanations for all available options can be found under the Testing center/Testing Sessions. -
Save (sections)
In this step, you can choose to:
-
Add new sections by clicking the Add another section button.
-
Save the section and continue with the other steps in the Test creation wizard.
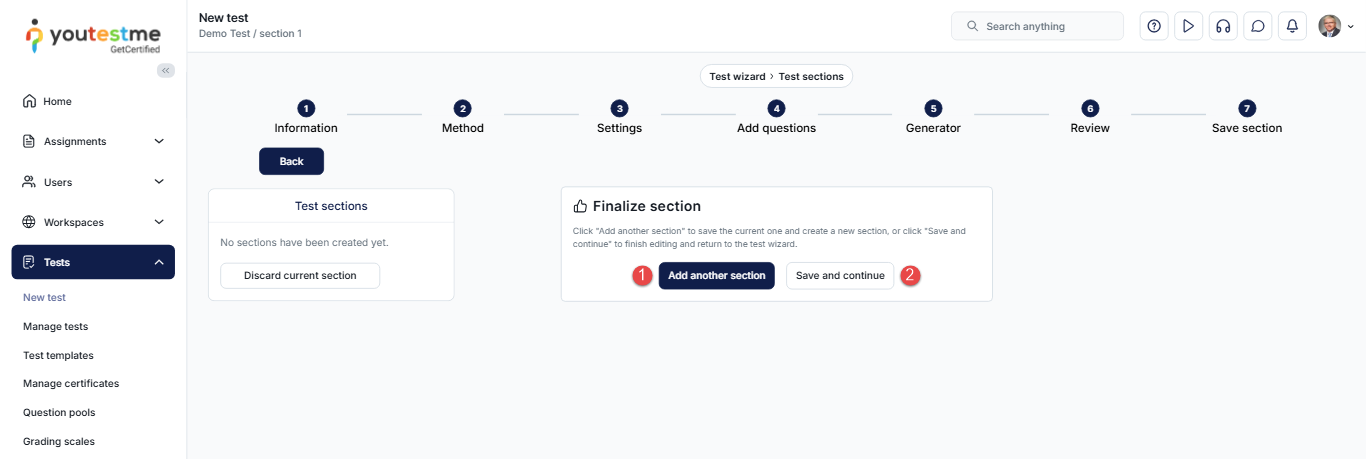
-
-
Grading (test with sections)
For more information on configuring each grading setting, refer to the Grading configuration help page.
-
Certificates (test with sections)
For details about each field in the certificate settings, consult the Certificates chapter.
-
Review (test with sections)
Reviewing a test with sections is done in the same way as for tests without sections. Please visit the Review test chapter.
-
Save (test with sections)
Saving a test with sections is done the same way as for tests without sections. Please visit the Save test chapter.
-
-
Manage tests
-
Introduction
The Manage tests page is the central hub for managing the list of available tests. Here, you can schedule tests, adjust configurations, or check reports.
To access this page, navigate to the Tests section in the main menu, then select Manage tests.
On this page, you can:
Access the test you wish to manage.
-
Preview the test to simulate the test-taking process. To review the entire test-taking process, which also includes accessing the test and previewing the report, you can assign yourself to the test and start it as if you were a candidate.
-
Schedule testing sessions for the test. Create new testing sessions as needed.
View candidates assigned to the test. Preview their reports and take any necessary actions.
Copy the test to create a duplicate with the same questions and settings.
Permanently delete the test. Delete all test attempts and testing sessions first.
For permanent test deletion, ensure the Allow delete data option is enabled in the system settings under Settings and customization/System preferences/Additional modules.
Create a New test.
Import the test from a JSON file exported from another YouTestMe application.
Filter the list of tests. Choose to include archived tests and/or show tests created during a specific period.
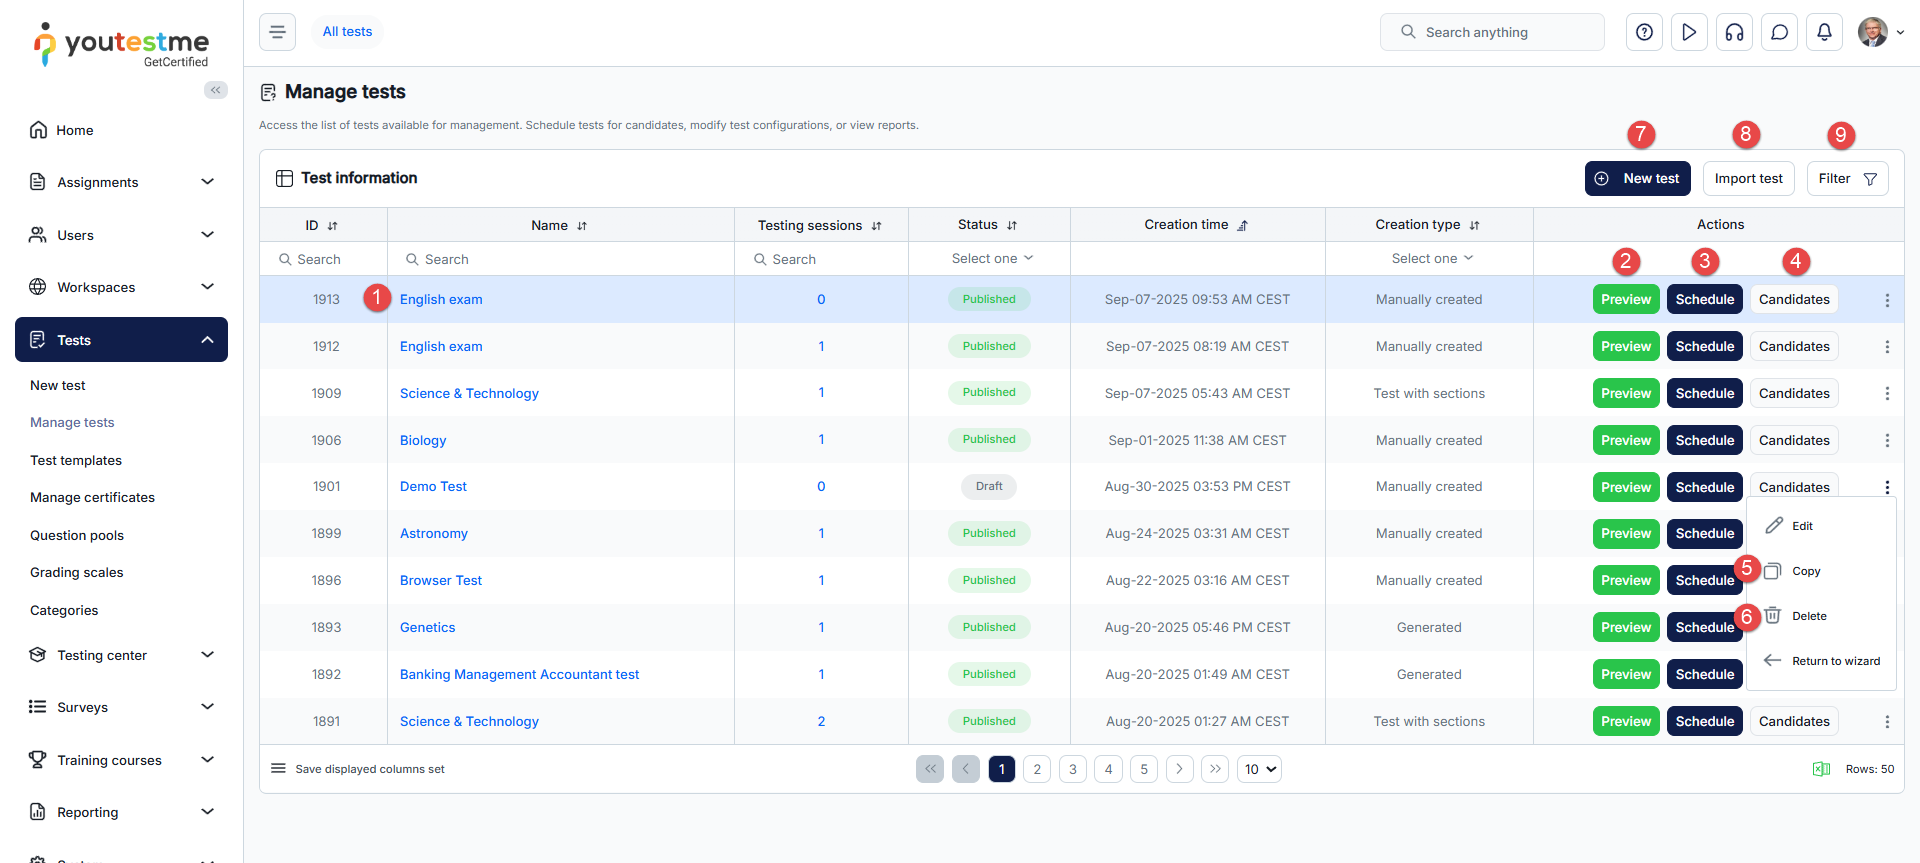
Open the side menu to view test categorization by test categories.
Filter to show categories only from a specific Category group.
Add a New category under the selected category group.
Create a new subcategory under the chosen test category.
Edit the test category, changing its name and description.
Delete the test category. Test categories can be deleted if they are not associated with any tests/surveys.
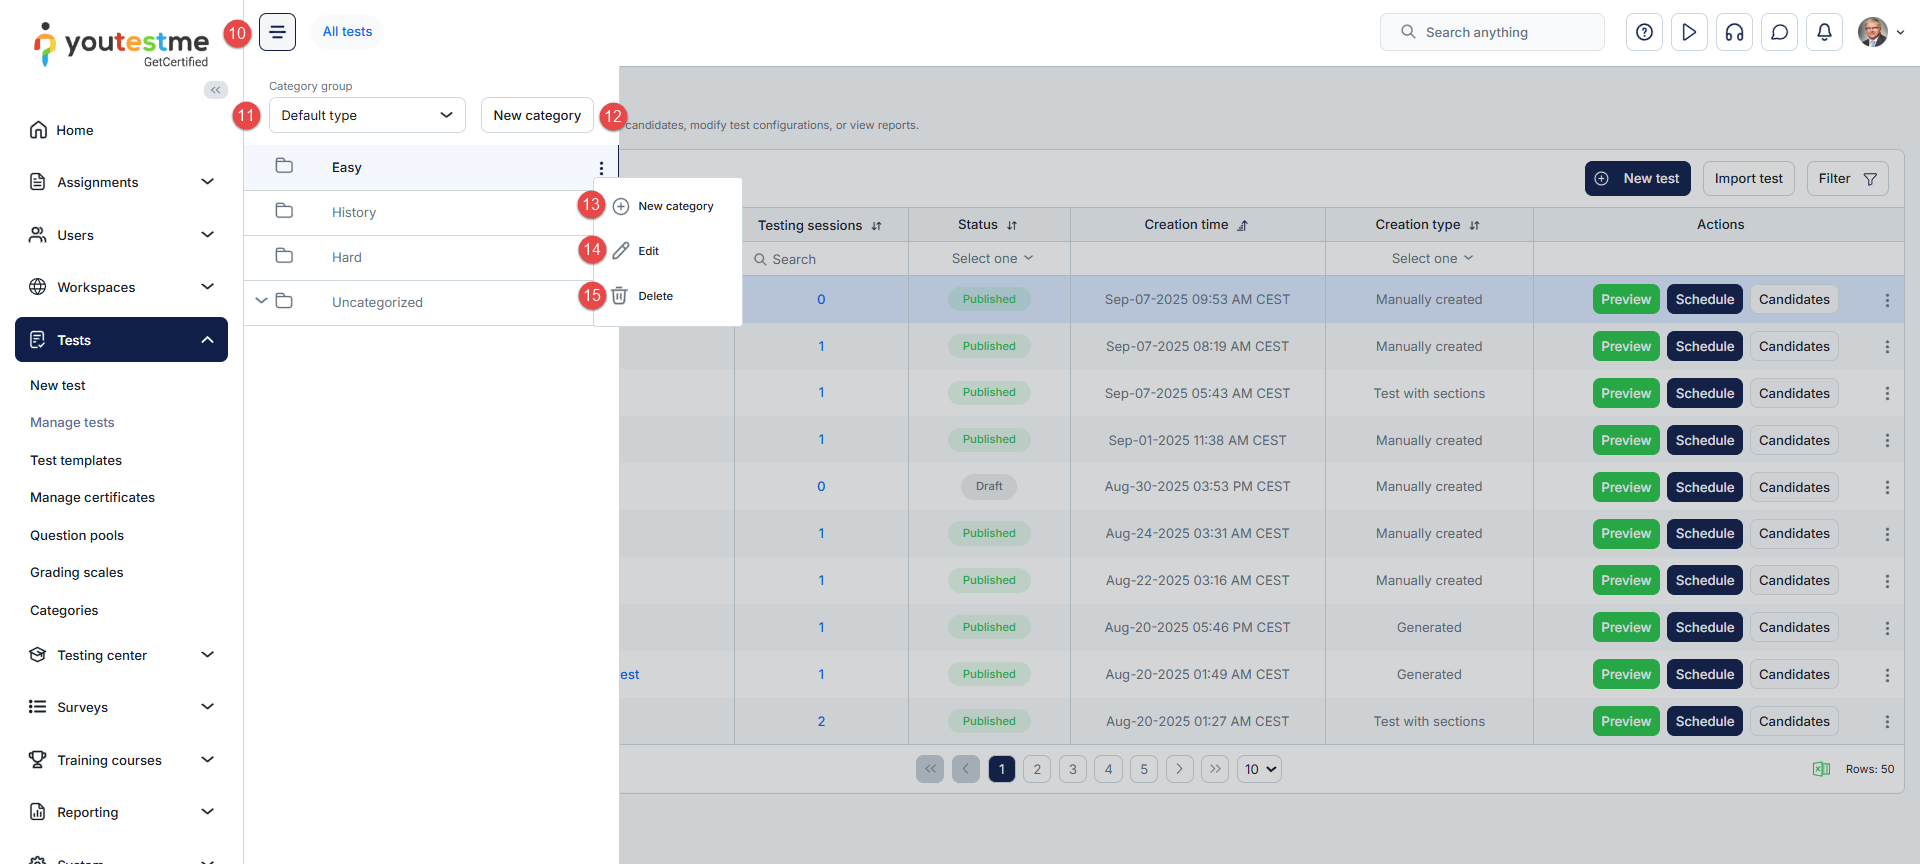
-
Settings
-
Basic information
This section contains essential test information and primary actions.
-
Preview button - Preview the test to simulate the test-taking process.
-
Publish button - Publish the test to make it available to candidates during the active testing session' availability period. The test is not visible to candidates while it is in draft mode. Permission "Publish tests, surveys and training courses" is required on system or workspace role (for tests in a workspace) in order to publish the test.
-
Options button - Allow you to perform additional actions:
-
Export as PDF - when exporting a test, you can choose the export form, test version, language of labels, question and answer text.
Available export types are:
For more information, refer to this article.-
Download the blank test (PDF) - test with blank space where candidates write answers with pen. Suitable for paper based testing.
-
Download the test key (with correct answers marked) (PDF) - test with correct answers marked for each question. Suitable for paper based testing.
-
Download the blank bubble sheet (PDF) - test with blank circles (that represent answers) that candidates fill. Suitable for Optical Mark Recognition (OMR) software. Maximum number of answers are 8 and it is recommended to have same number of answers on all questions. Supported question types are: single choice, multiple choice and true/false.
-
Download the bubble sheet key (with correct answers marked) (PDF) - test with circles where correct ones are filled. Suitable for Optical Mark Recognition (OMR) software.
-
Download blank test, key and bubble sheet (ZIP) - compressed (ZIP) file that contains all above options. Suitable for both paper based testing and when using Optical Mark Recognition (OMR) software. Further, it is useful in generated tests, because same tests will be exported for the same test version.
Important notes:
-
Tables in HTML form are supported in question texts, but not in answer texts.
-
Branching questions are not supported for export.
-
When working with generated tests, use "Generate new test version" option in test version drop-down menu, to generate new version on each export.
-
If you wish to export all test versions in one file, use Export the paper-based assignment package option.
-
Selected language will be applied to labels. Question and answer text will be exported in desired language only if translation is available.
-
-
Archive - Disable further test-taking and test modifications. When a test is archived, all testing sessions containing that test are also archived, meaning they are no longer available.
Candidates cannot initiate the test, and it won't be visible on the My tests page. If candidates have already taken the test, their results won't be visible on the My tests page.
If a candidate is in the process of taking the test when it's archived, they can complete the attempt without interruption. The report will be available immediately if configured in the test settings. Once the candidate closes the report, it won't be accessible on the My tests page.
When the Archive option is clicked, the Unarchive option becomes available. Unarchive the test at any time to make it visible again and open for taking. -
Create a copy - Make a duplicate with the same questions and settings.
-
Export as xAPI - Export the test in xAPI format.
-
Export as JSON - Export the test to a custom JSON file. Import this JSON file into another YouTestMe GetCertified application, facilitating data migration across different environments. This allows you to prepare tests in a testing environment and easily transfer them to the production environment when ready.
-
Delete "Preview" attempts - Delete preview attempts generated by clicking the Preview button.
-
Show direct access links - Open a dialog with direct access links to the test. The first link in the table is the regular direct access link with the default login into the application. Upon login, the candidate will be redirected to the My tests page, with this test being the only one shown. The candidates can book a session (only self-enrollment sessions are bookable) and take the test. With SSO configurations set up with OpenID, additional direct access links are available. They function the same as the regular link, with the difference being the candidates will have to log in through an SSO.
-
-
Name - The name of the test.
-
Status od the test. It can be:
-
Draft - A test in the Draft state is an unpublished test that is not visible to candidates even if they have testing sessions created. These tests can be fully edited and modified. Once a test has been published, it cannot return to the Draft state again. In such cases, if you want the test to not be visible to candidates during the session's availability period, you can switch its testing sessions to the Inactive status.
-
Published - Published tests are accessible to candidates during the availability period of active testing sessions. They can take the test or book it if self-enrollment is allowed. If a test is published without a testing session or it contains only inactive testing sessions, it remains invisible to candidates until active testing sessions are created. Published tests can be archived, and in that case, further modifications or test-taking are disabled. However, they can be reactivated later if required, reverting to the Published status.
-
Archived - A test with this status cannot be modified further, nor can it be taken. All testing sessions containing that test are also archived, meaning they are no longer available. f necessary, tests can be reactivated later by clicking the Unarchive option. Their status will return to Published.
-
-
Test ID - Automatically generated upon test creation and cannot be edited. This ID is used for linking the testing session to a particular test when uploading testing session through an Excel file.
-
Description - Provides additional information about the purpose or content of the test.
-
Descriptive label - An optional label used for additional classification that will be displayed in every exported report. For example: Classified, Confidential, etc.
-
Creation type - The method that was used when creating the test.
-
Test versions - Number of test versions created for the test.
-
Practice test option - When starting the test, let candidates choose the number of questions they want from each question pool included in the test. This way, they can customize the test according to their preferences.
-
Select workspace - Add the test to your chosen workspace, and access will be limited to users within that specific workspace.
-
Created by - Displays the name of the user who created the test.
-
Creation date - Displays the date and time when the test was created.
-
Updated by - Displays the name of the user who last updated the test.
-
Update time - Displays the date and time of the test's last update.
-
Upload or remove the custom test logo, which will appear on the candidate's My tests page. Supported file types are JPG, PNG, and BMP; the maximum file size is 1 MB. For the best experience, upload a square image of 200 x 200 pixels or higher. If no custom logo is uploaded for a test, the application favicon will be used as the test logo.
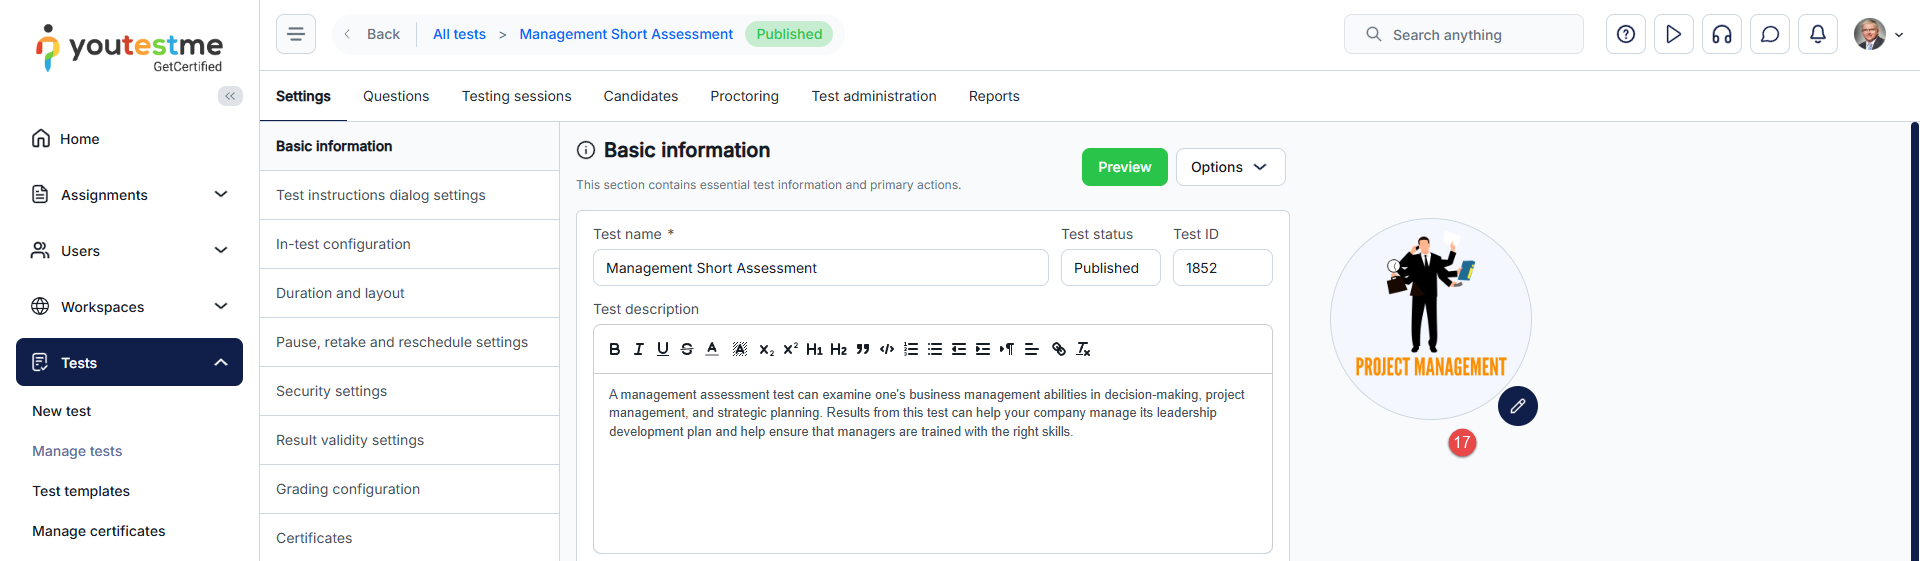
-
Test sections - Indicates the number of sections in the test. Clicking on it redirects you to the Test sections tab.
-
Enable section selection - Test managers can assign particular sections to candidates. If conditions are configured for sections when candidates start or book tests, they can only access sections that align with the specified conditions. For more information, refer to this article.
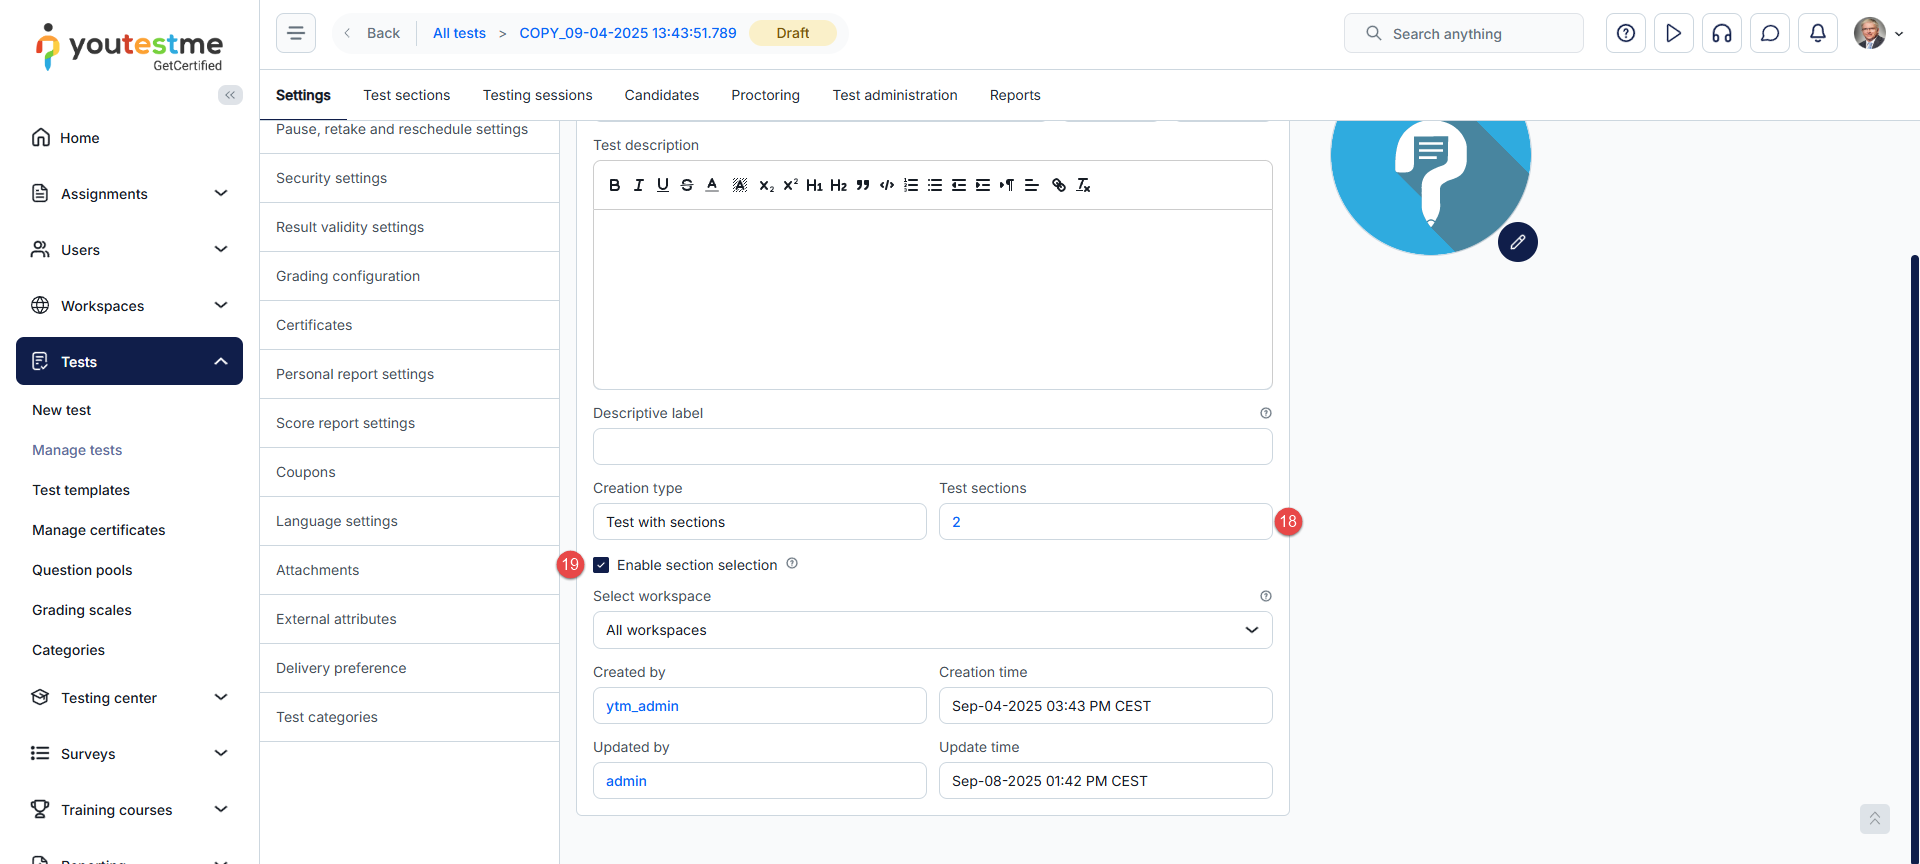
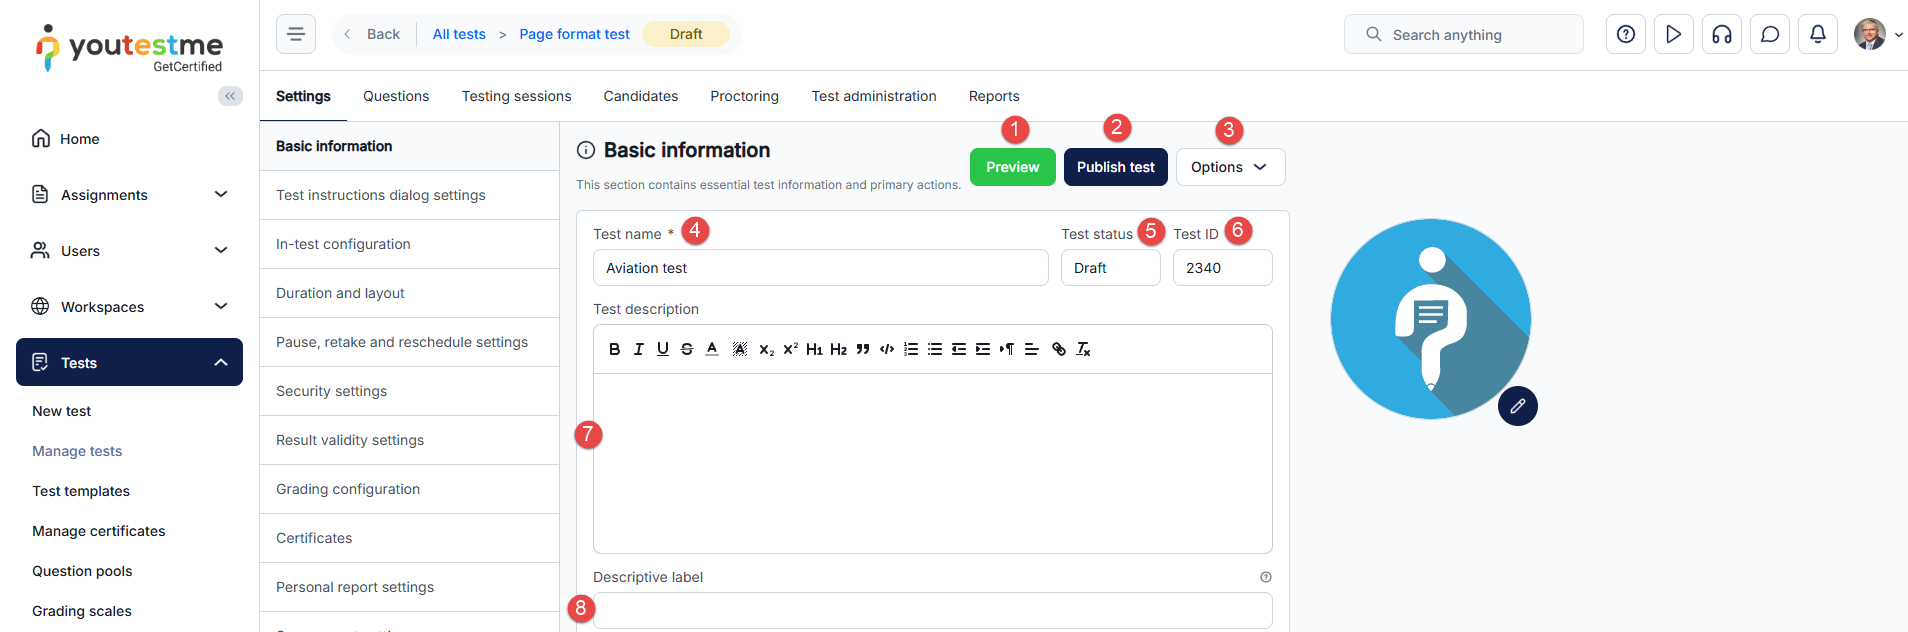
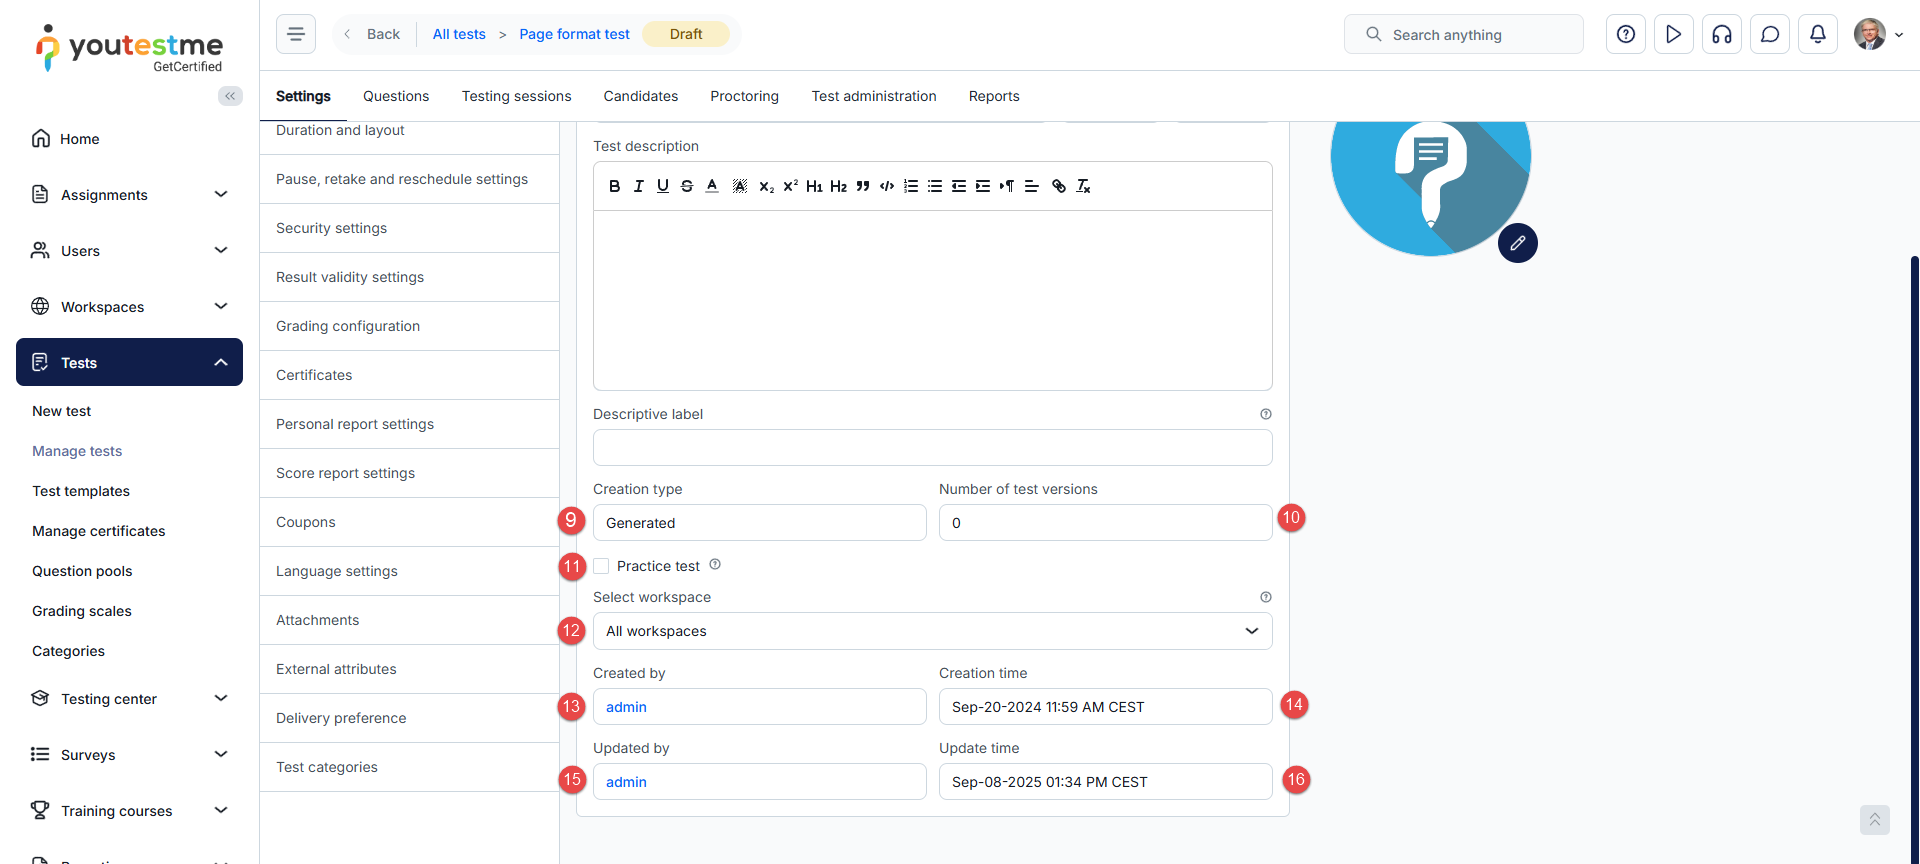
If the chosen test includes sections, additional settings will be available:
-
-
Test instructions dialog settings
This page allows you to customize the information displayed to candidates in the pop-up dialog when starting the test.
-
Require instructions acknowledgment - Before starting the test, candidates need to confirm they've read and understood the test instructions. Once confirmed, the Start button becomes available.
-
Show test instructions - Display the test instructions in a pop-up dialog when candidates start the test. These instructions are set under the Basic information tab.
-
Show test duration - Show the allocated time for completing the test in a pop-up dialog when candidates start the test. The duration can be customized under the Duration and layout tab.
-
Show passing mark - Display the passing mark required to pass the test in a pop-up dialog when they start the test. The passing mark can be set under the Grading configuration tab.
-
Show the number of questions - Show the total number of questions in a pop-up dialog when candidates start the test.
-
Show remaining number of retakes - Indicate the available number of test retakes in a pop-up dialog as candidates start the test (if retakes are allowed). You can configure the retake settings in the Pause, retake and reschedule settings tab. If test retakes are not allowed, this option is disabled.
-
Test instructions - Define specific test rules and guidelines for candidates to acknowledge in a pop-up dialog before starting the test. Include details on breaks, calculator usage, permitted learning materials, etc. These instructions can be accessed throughout the entire test-taking process.
-
Test completion message - write a text that will be displayed to candidates after finishing the test.
-
Test acknowledgment - Modify the acknowledgment text presented on the instructions screen before the test begins.
Note: The default text I understand and agree to the instructions and rules of this task is integrated into the system and can be translated depending on which language is selected. Custom acknowledgment sentences will not be translated.
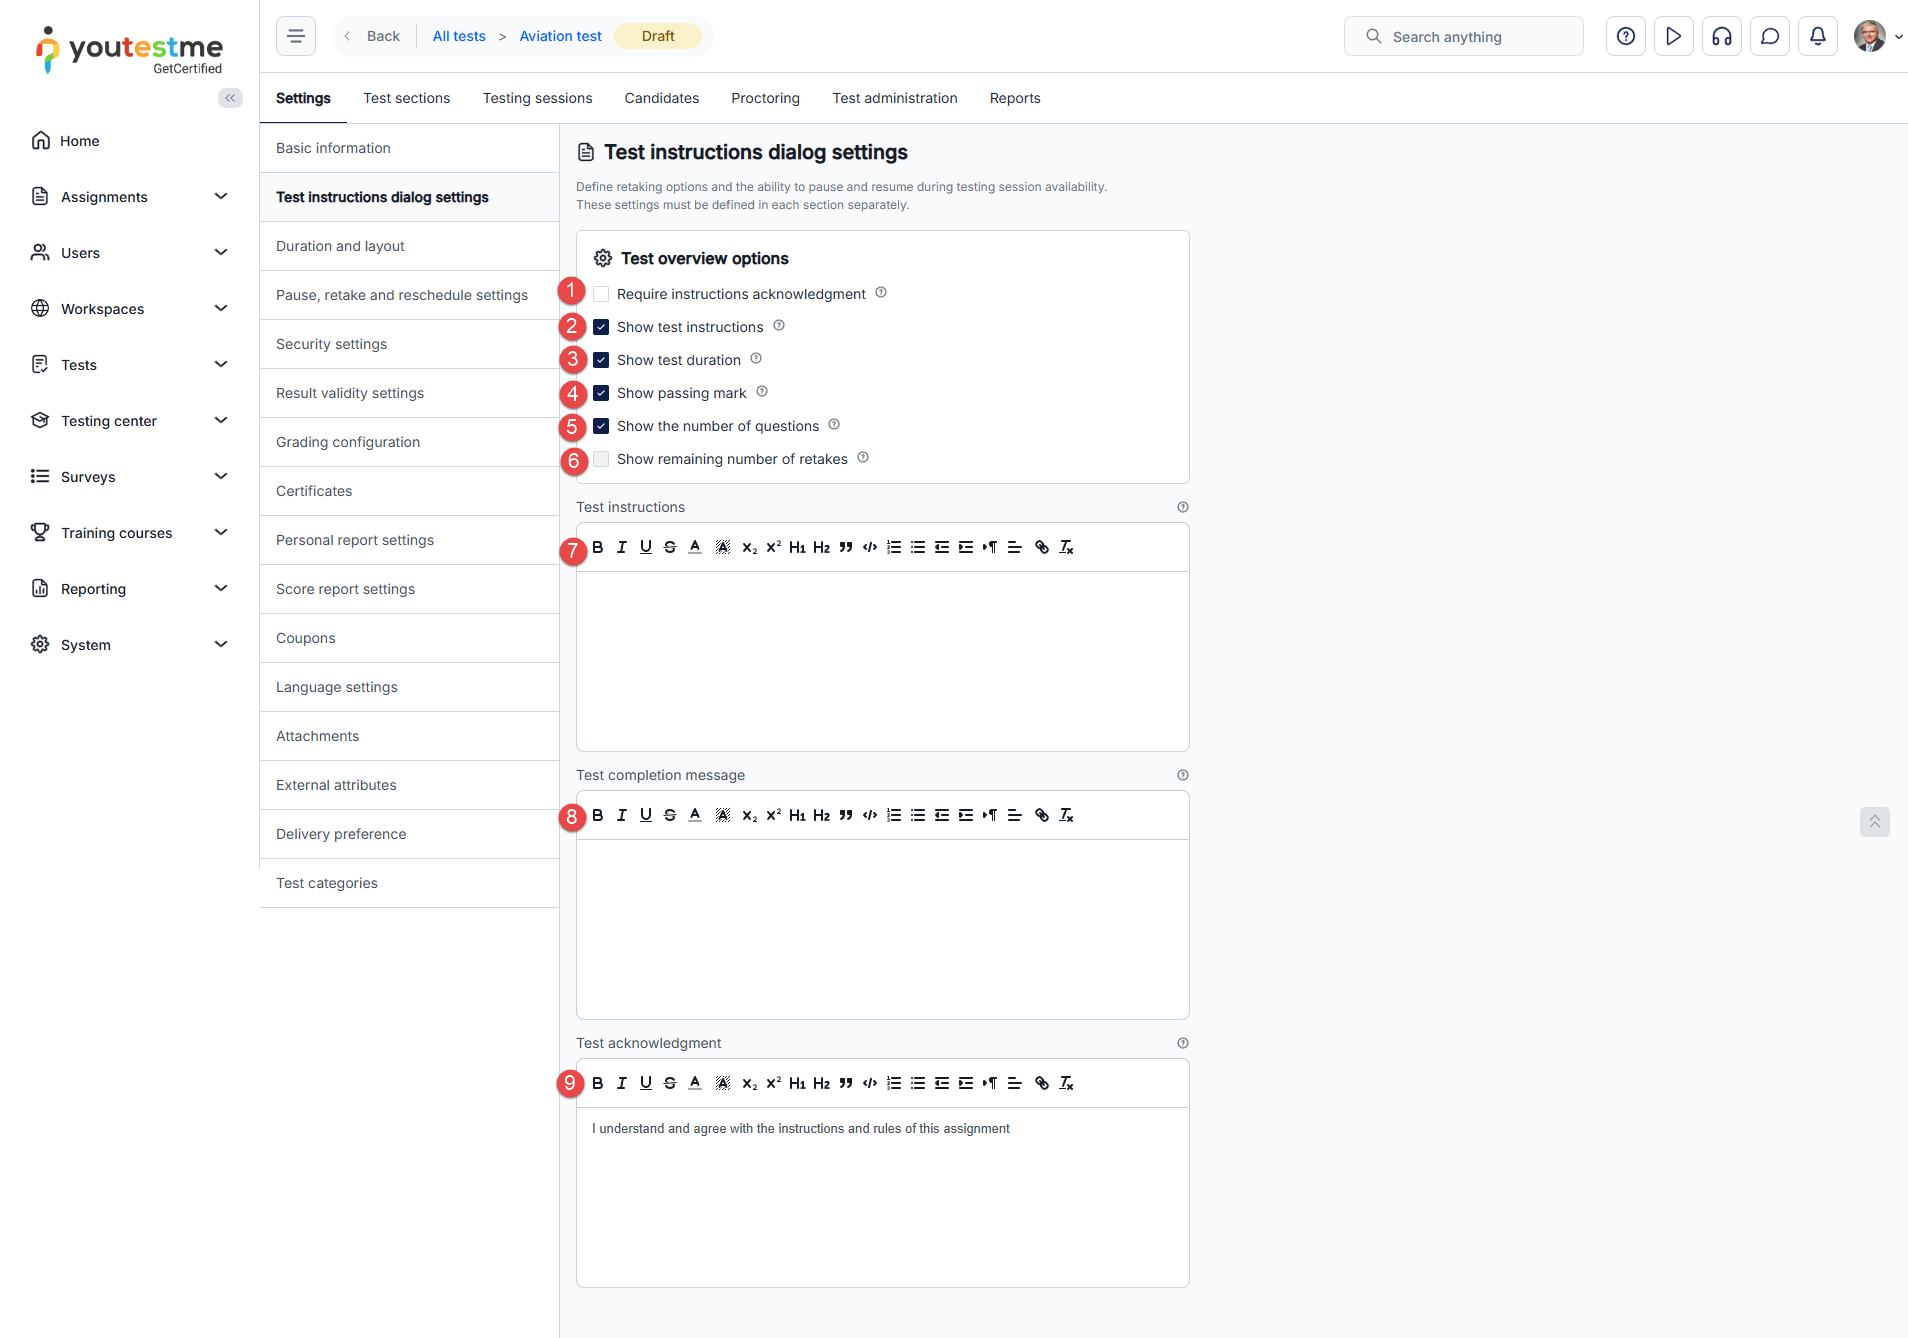
-
-
In-test configuration
Manage permissions and restrictions during the test. Choose whether candidates can view additional options or if specific actions are mandatory.
Note: If the test contains sections, these options must be configured individually for each section.
-
Require answering all questions - If you select this option, candidates will receive a notification in a pop-up dialog when they click the Finish test button, indicating that they must answer all questions before completing the test. However, they still have the option to click the Finish anyway button to submit the test.
-
Enable "I don't know" option - Allow candidates to select this option to avoid negative points when unsure of an answer. Candidates will get specified penalties for incorrect answers or skipped questions if this option is not enabled.
-
Disable answer deselect - Do not allow candidates to deselect their answers. This rule applies to single-choice, multiple-choice, and true/false questions.
-
Enable answer feedback to candidates - Allows feedback for selected answers during the test-taking process. The feedback will be shown either when moving on to the next question or when clicking to finish the test. Feedback is added when creating questions.
-
Show answer feedback in the personal report only - Show answer feedback to candidates only in the personal report. They will not be visible during the test-taking process.
-
Enable immediate answer feedback - Show answer feedback below the chosen answer immediately after the candidate clicks on it. This feature is applicable only to single-choice and multiple-choice questions. It can be enabled only when both Enable answer feedback to candidates and Disable answer deselect options are enabled.
-
Show question metadata to candidates - Display question details to candidates during the test-taking process, including information such as possible points, penalties, and difficulties.
-
Show question attachments - Show the attachments linked to a question during the test-taking process. Attachments should be added when creating questions.
-
Disable going backwards in test - Candidates will be prohibited from returning to the previously answered questions during the test-taking process.
-
Enable notes - Permit candidates to take notes during the test-taking process. Notes are only visible to the candidate while taking the test and will not be visible once the candidate finishes the test. To save notes after the test and make them visible in the candidate's report for both the candidate and test managers, enable the Make notes persistent option.
Note: If the test or question has attachments, the candidate can open the attachment as a note and write text underneath it by selecting the Open this attachment as note option.
-
Make notes persistent - Save the notes made during the test-taking process and display them in the reports for both test managers and candidates. This option can be activated only when the Enable notes option is enabled first.
-
Enable candidates' feedback on questions - Enable candidates to provide feedback for each question during the test-taking process. Candidates can rate questions as easy, medium, or hard and provide freeform feedback. The candidate's question feedback will be visible in the candidate's report for both the candidate and the test manager. Furthermore, question feedback will be displayed in the Predefined reports/Pool reports/Question feedback statistics on the pool level if questions are imported from question pools.
-
Enable unanswered questions message - After completing the test by pressing the Finish test button, candidates will receive a pop-up message indicating which questions were left unanswered.
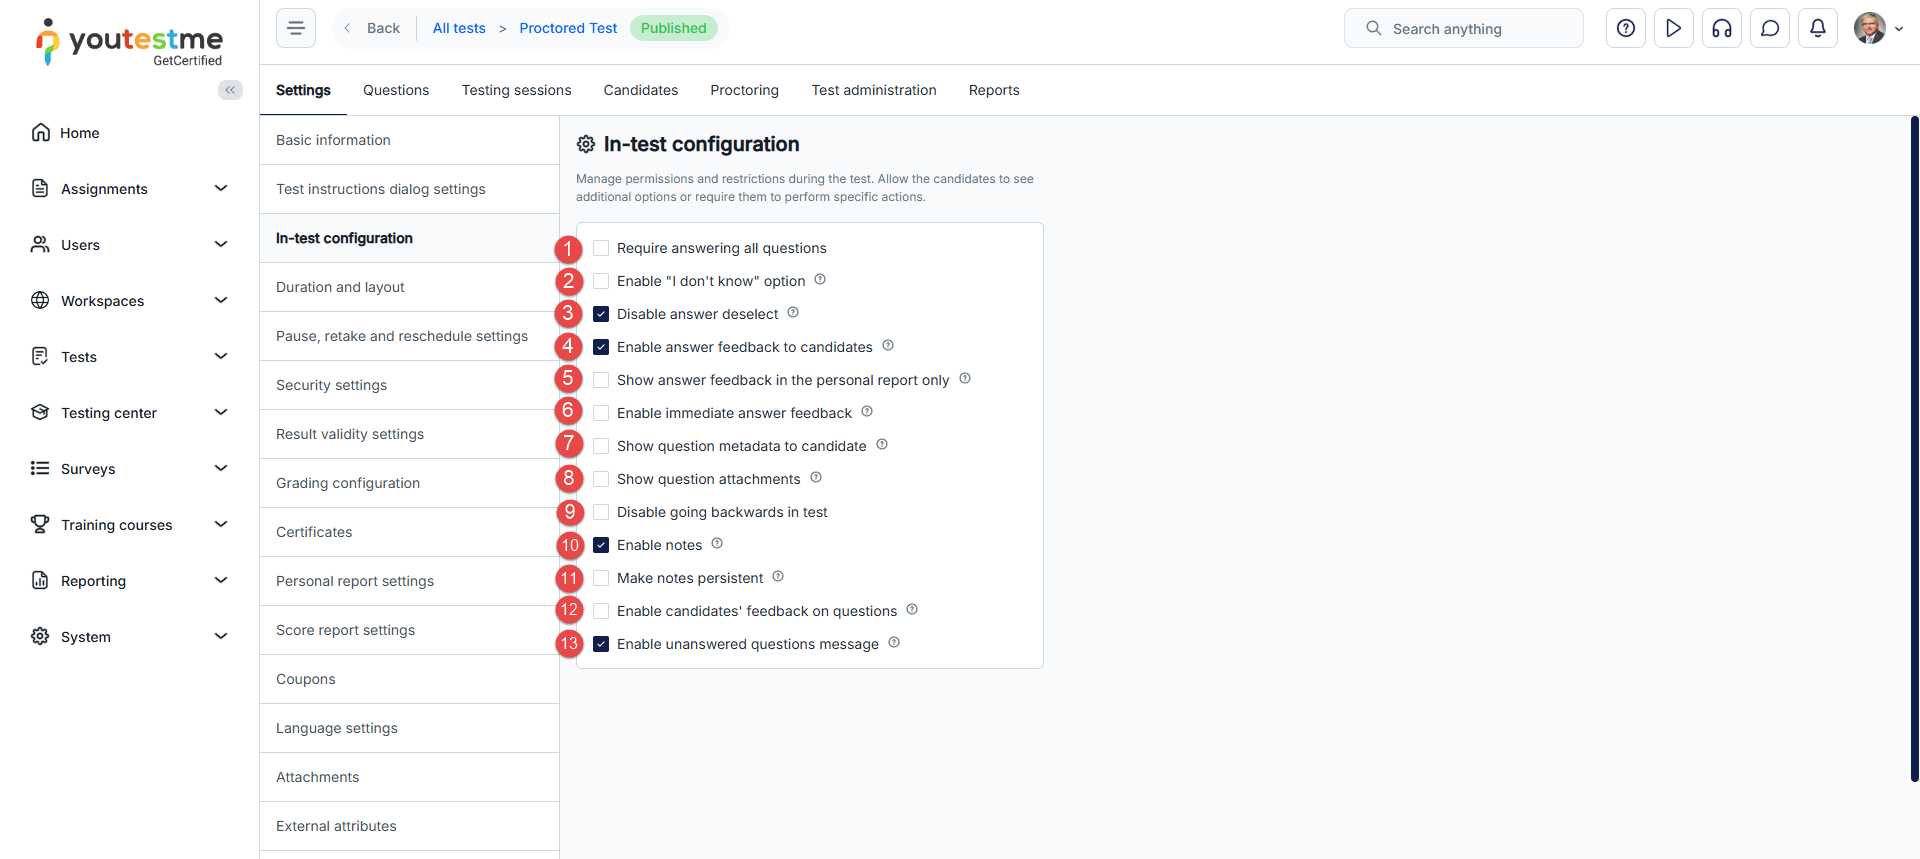
-
-
Duration and layout
Available options on this tab are:
-
Duration type - Specify the type of time limit for completing the test. The duration type can be:
-
Unlimited - The test will not be time-limited.
-
Time per question - Each test question has its own time limit, which can be specified during the question creation process.
-
Time to answer all questions - Specify the time limit for the entire test.
If the test contains sections, the duration type can be:
-
Time defined in each section - The time limit will be set independently for each test section.
-
Time per test - Specify the time limit for the entire test.
-
-
Page format - Select whether all questions will be displayed on one page, or one question per each page.
-
Hide assignments metadata - Tailor the appearance of the test on the My tests page by selecting whether metadata fields, including the test logo, type, location, certificate name, etc., are visible or hidden.
-
Hide "Finish test" button until last question - Candidates will not see the Finish test button until they answer all questions or they are on the last question of the test.
-
Calculator type - Select the type of calculator available during the test:
- No Calculator - No calculator will be provided.
- Simple Calculator - A basic calculator with standard functions.
- Advanced Calculator - A scientific calculator with extended functionality.
-
If the test contains sections, Enforce section order - Candidates are required to start the sections in sequential order, starting with the first section, followed by the next, and so on.
Note: Duration type can be modified only in the test wizard.
Note: If the test contains sections, the page format must be set in each section separately.
If the test contains branching questions, the option All questions on one page is automatically disabled.
The All questions on one page option is recommended for tests up to 20 questions.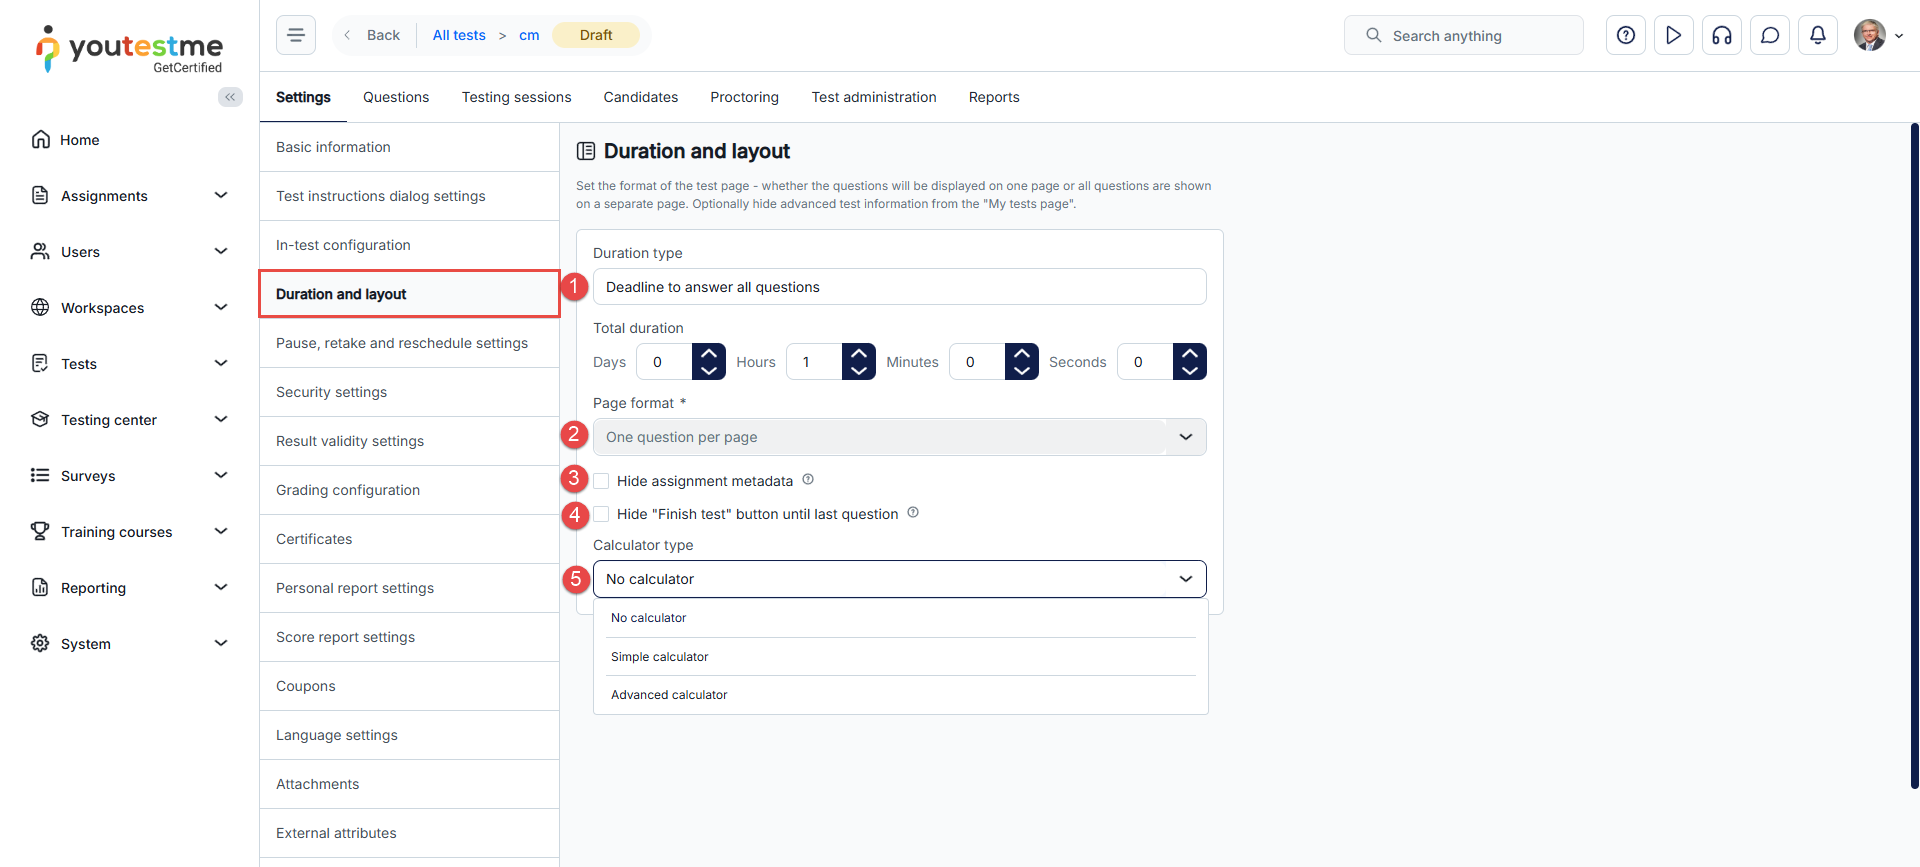
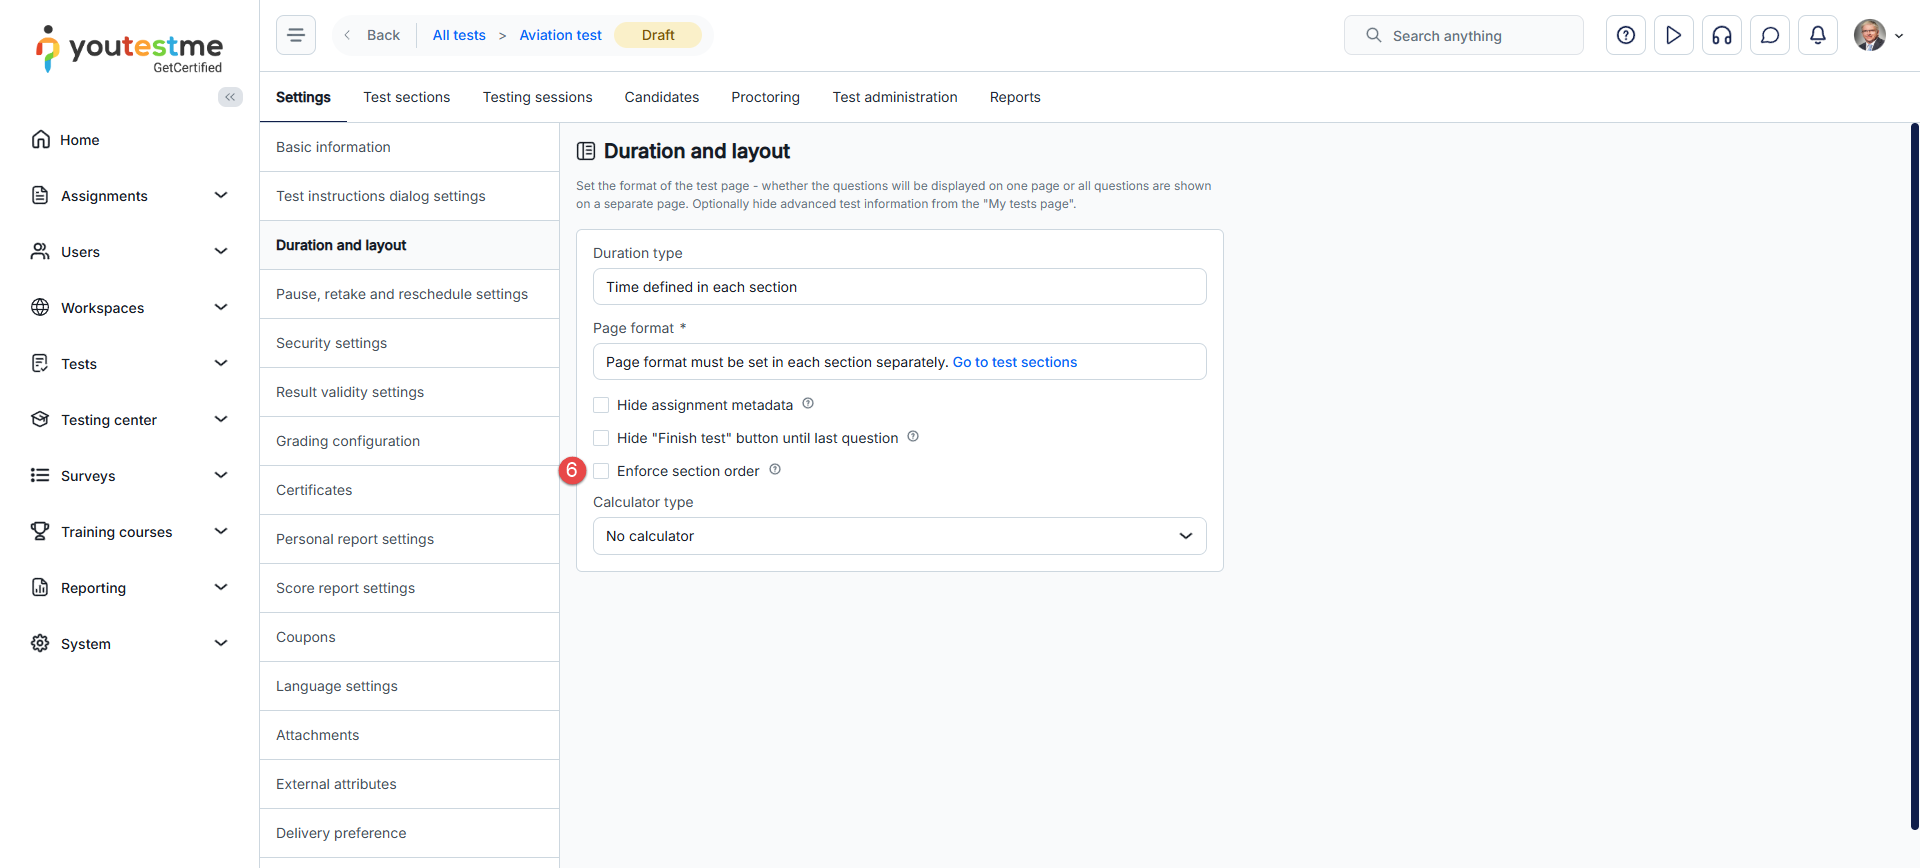
-
-
Pause, retake and reschedule settings
Available options on this tab are:
-
Allow test continuation - Enable candidates to pause and resume the test within its availability period. The progress they've made before pausing the test will be saved. The availability period is set during the testing session creation process.
-
Allow test retaking - Enable candidates to retake the test within the specified availability period, which is determined during the testing session creation process. Retake conditions can be defined using the options explained below.
-
Number of allowed test attempts can be:
-
Unlimited - Candidate can retake the test an unlimited number of times.
-
Limited - Restrict the number of times a candidate can retake a test.
-
-
Time required to pass between attempts - Specify the duration that must elapse before a candidate is allowed to retake a test after their previous attempt.
-
Retake interval in days - Define the time window for a test retake. If set to 2 days, the retake is only allowed within the following 2 days after the initial attempt.
-
Enable retakes for failed attempts only - Allow retakes only for candidates who did not pass the test.
-
Enable limited number of free reschedules - Set a limited number of free reschedules candidates can use. After spending all of the free reschedules, they will have to send a request to reschedule again.
-
Allow rescheduling even after the seat booking cancellation deadline has expired - Candidates can cancel and reschedule the test even if the cancellation deadline has expired, but they will have to send a rescheduling request.
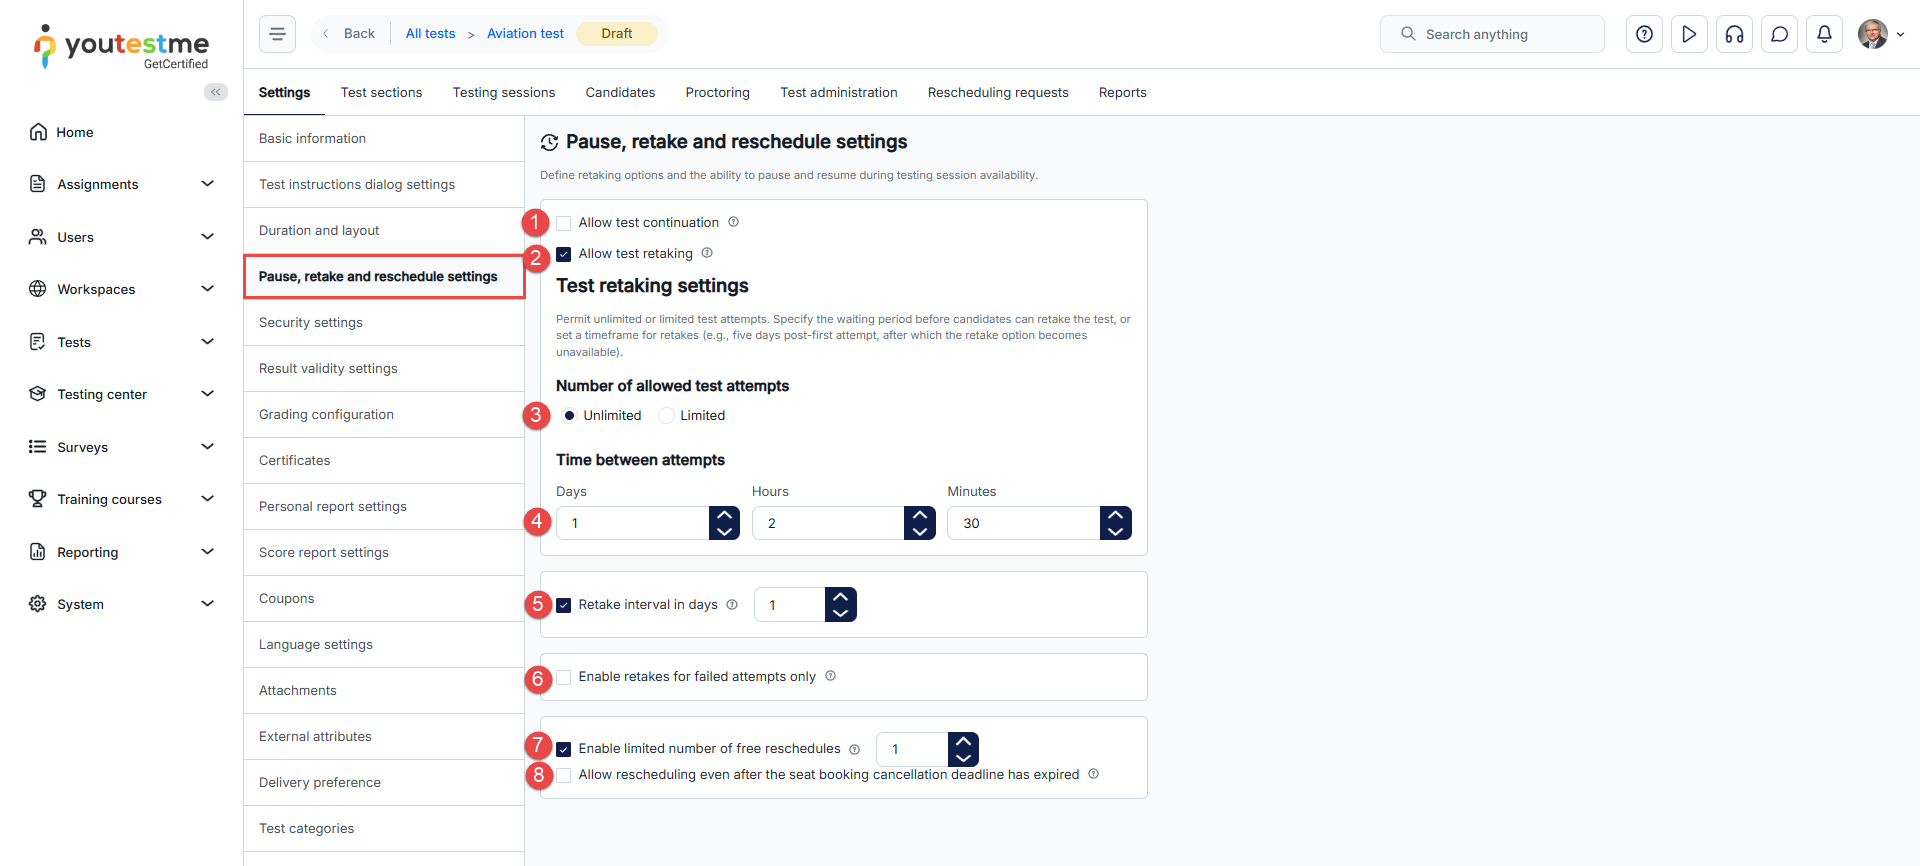
-
-
Security settings
Available options on this tab are:
-
Browser lockdown on by default - Choose between two options:
-
Built-in protection - During the test, the web browser will operate in full-screen mode. Functions such as cutting, copying, pasting, utilizing the print screen key, and right-clicking on the mouse will be deactivated. If candidates attempt to minimize it, the test attempt will be terminated.
-
Safe Exam Browser - Candidates can only take the test using the Safe Exam Browser (SEB). If this option is chosen, a default configuration will be applied. The configuration file can be modified by uploading a custom configuration created with the SEB Configuration Tool. SEB must be downloaded and installed on the candidate's device (a download link for SEB will be provided if the candidate tries to start the test with a different browser).
Note: You can enable this setting at the test level, but you can also enable or disable it for each testing session separately.
-
-
Enable proctoring - Elevate test integrity through dedicated tools that observe and document a candidate's test-taking actions via a camera and microphone. By selecting this option, proctoring will be automatically activated for all new testing sessions, though you have the flexibility to disable it for specific testing sessions as required.
Note: You can enable this setting at the test level, but you can also enable or disable it for each testing session separately.
-
Network access - Select whether you want to restrict test access solely to users within your local network by opting for the Internal network option or permit access to candidates both inside and outside your network by selecting the All networks option. Internal network settings must be configured under System/Settings and customization/System preferences/Internal network.
-
Automatically log out candidate after finishing the test - Upon test completion, the application will automatically log the candidate out.
-
Require updating user profile - Upon initiating the test, a screen displaying the candidate's profile information will appear. The candidate can either confirm the existing information or make modifications to proceed with the test.
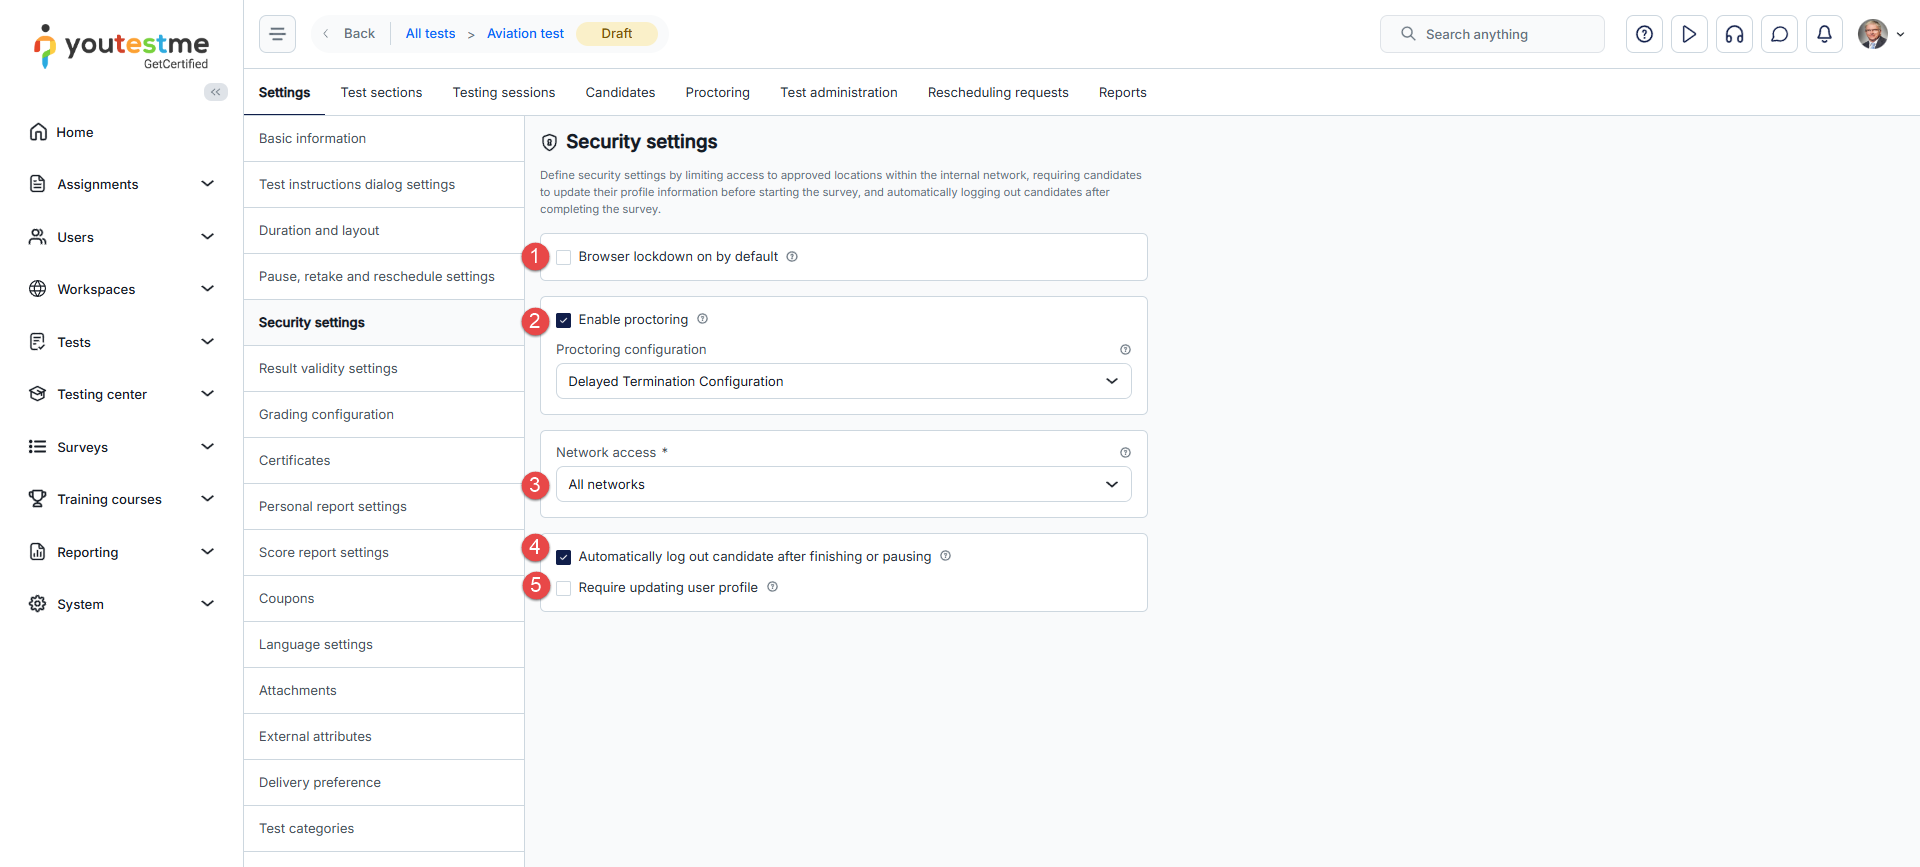
-
-
Result validity settings
You can set the validity period for test results in days, starting from the completion of the test. After this period expires, the results will no longer be considered valid, and the test attempt will be marked as Suspended.
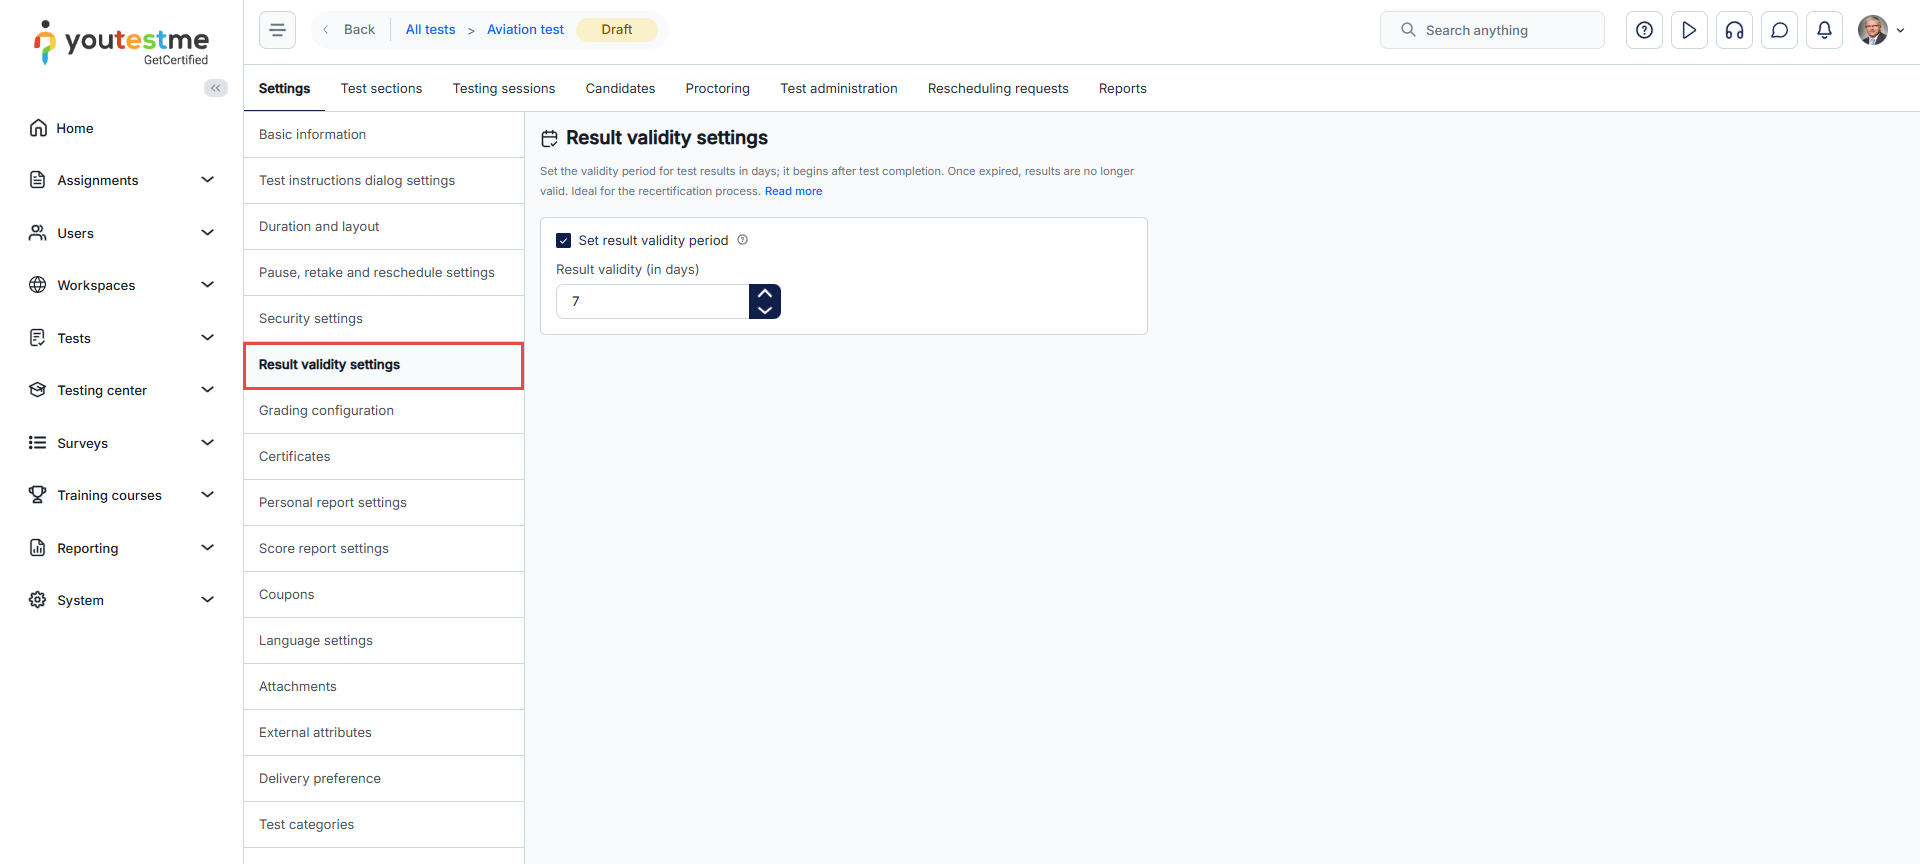
-
Grading configuration
On this tab, you can define the passing criteria for your test. Use advanced grading configurations if needed, such as defining passing marks for each section, group of sections, etc. Optionally, select a grading scale you previously created to represent the test results as grades, e.g., from A to F.
-
Set passing mark - Define the passing mark in percentage or points.
-
Make the passing mark inclusive and candidates will pass the test if they gain a score equal to or higher than the passing mark.
-
Enable the option to require candidates to obtain a positive proctoring grade in order to pass the test. Otherwise, the proctoring report will not impact the final score of the test.
-
Select a grading scale that you have previously created to link specific grades with corresponding points or percentages achieved. This mapping allows the system to represent the test results using grades, for example, from A to F.
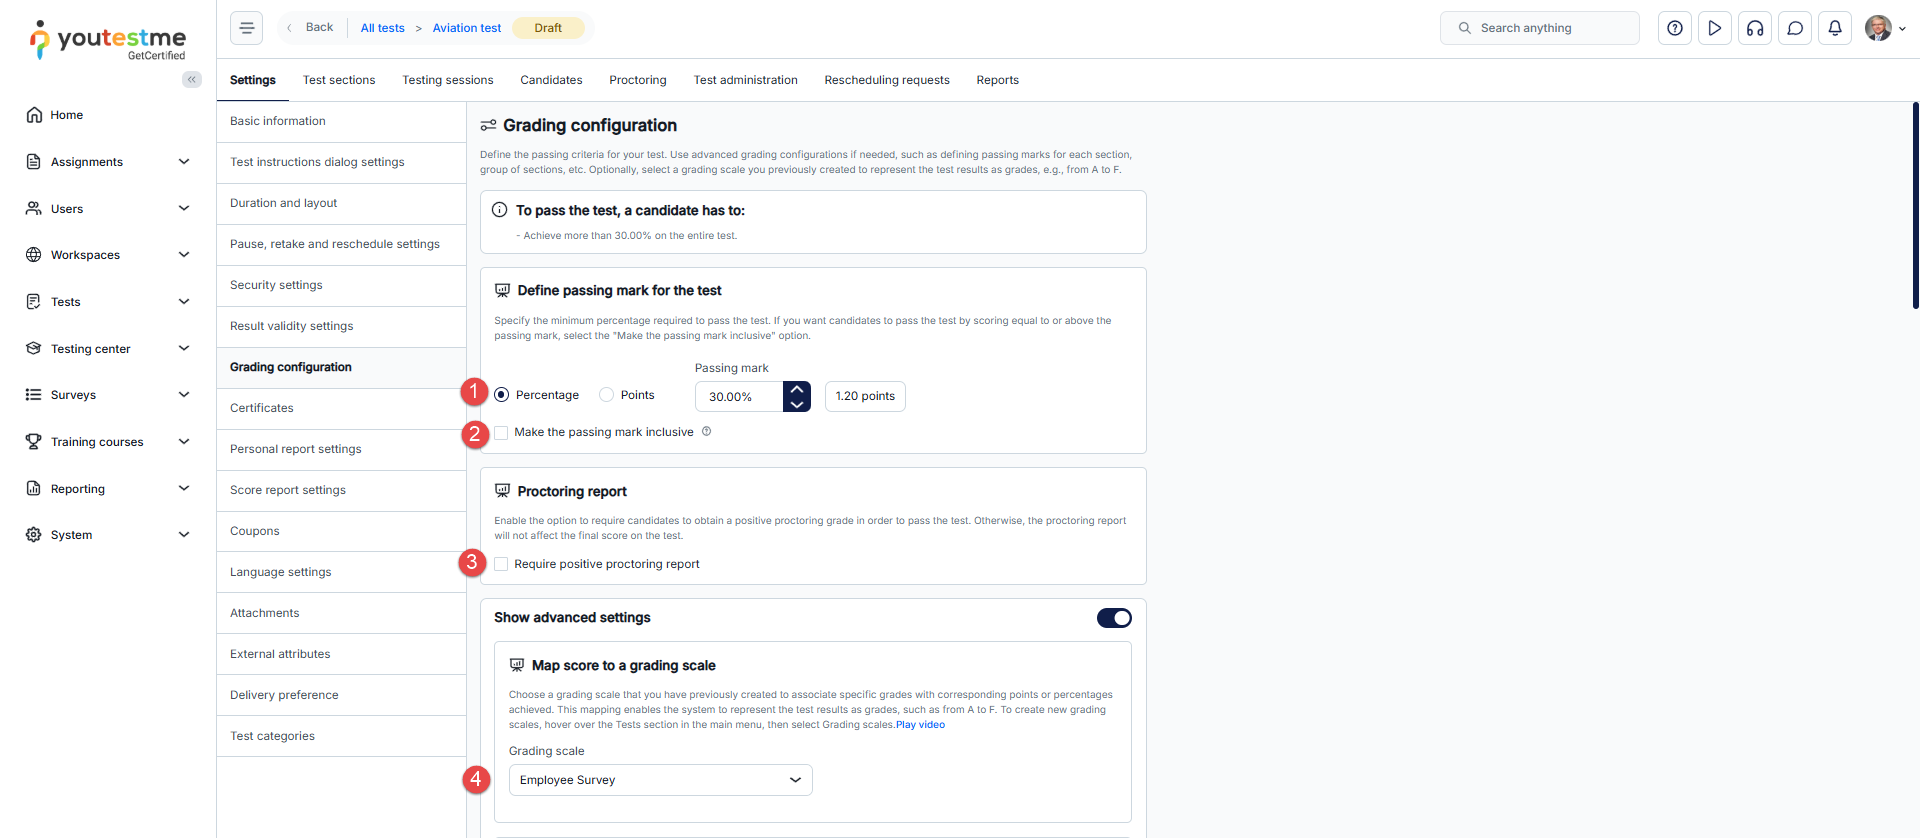
-
Allows collaborative grading by multiple graders. You can set the minimum required grader reports for a final result and enable automatic grader assignments. With auto-assign enabled, the system automatically dispatches grading requests to the specified number of graders based on the minimum required grader reports configuration. Alternatively, you can manually add graders for each candidate attempt. In both cases, graders are chosen from the list defined under the Test administration page.
Once a candidate completes the test, the assigned grader for that specific version, first in the queue, receives a notification. If a grader declines the request, it moves to the next in the queue until the minimum number of accepted reports is received. Graders assess the questions, and their scores contribute to the final result. In cases of conflicting grades, the next grader in the queue makes the decision. For more detailed information, refer to the Grader report help page.
-
View the list of all question pools used in the test and define passing marks for each. These passing marks represent the expected level of knowledge for a particular topic but do not affect the final score on the test, unless "Passing required" is checked. In that case, achieved percentage has to be greater than the passing mark in order to pass the test. Option "Inclusive passing mark" allows achieved percentage equal or greater than the passing mark. Additionally select a grading scale for each pool to map specific grades with corresponding points or percentages achieved. Grades will be displayed in candidate's Aggregated reports with "Score by question pools" results.
-
Define passing marks based on custom properties assigned to the questions. Dropdown custom question properties can be created, and questions labeled using their values. Optionally, you can define criteria for test passing based on these custom values. For more details on creating a question property report, read explanation below.
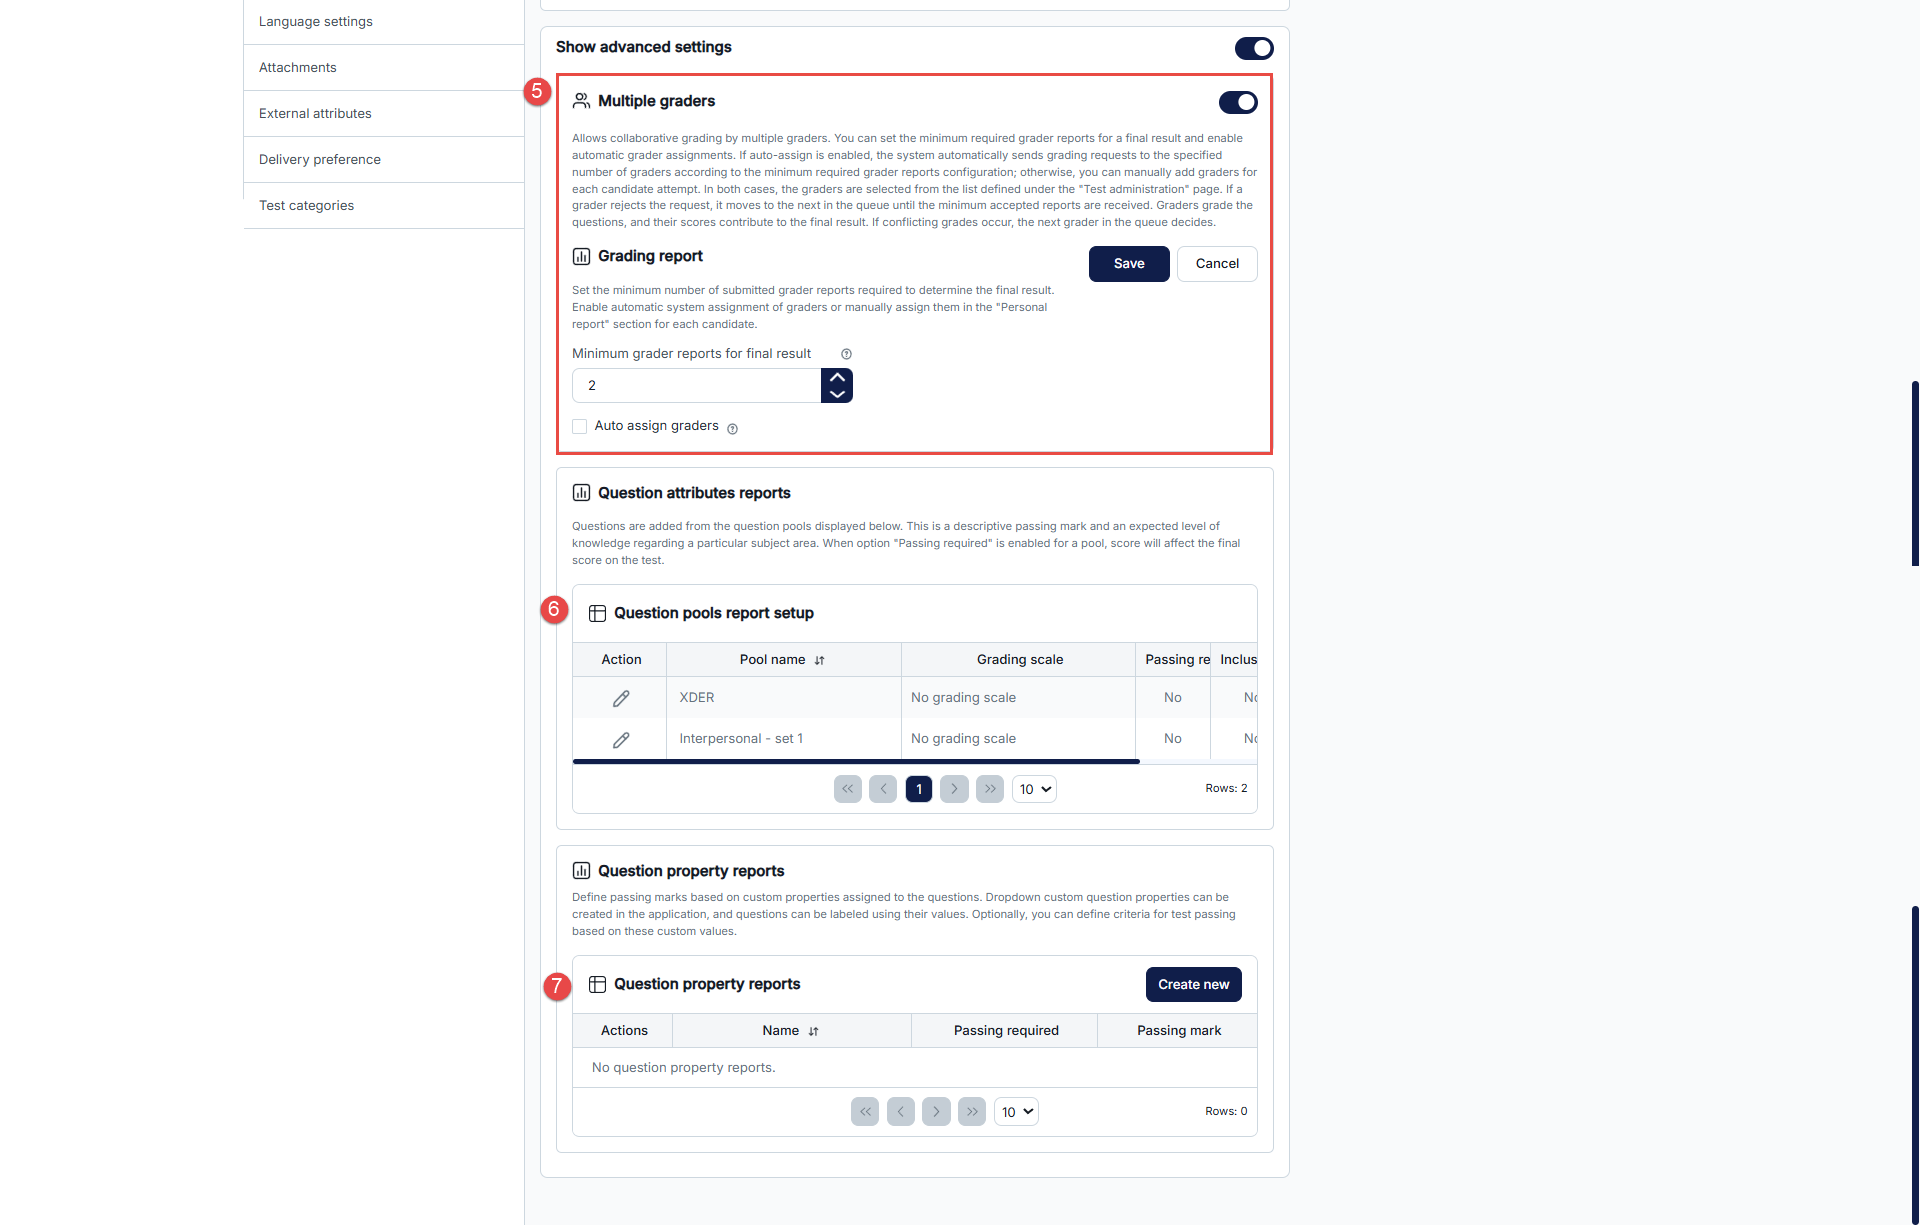
To create question property report:
-
Click the Create new button.
-
Enter the Name of the question property report.
-
Provide Description of question property report.
-
Select the question property based on which you want to define grading configuration.
-
Select question property values.
-
Define the passing mark. The candidate must achieve a score higher than the defined score to get a Passed in the question property report.
-
Select Inclusive passing mark to allow candidates to pass the question property report if they gain a score equal to or higher than the passing mark.
-
Select Passing required to make the passing of this question property report mandatory for passing the test as a whole.
-
Select one of the previously created grading scales if needed, to associate specific grades with corresponding percentages achieved in the question property report.
-
Click the Save button.
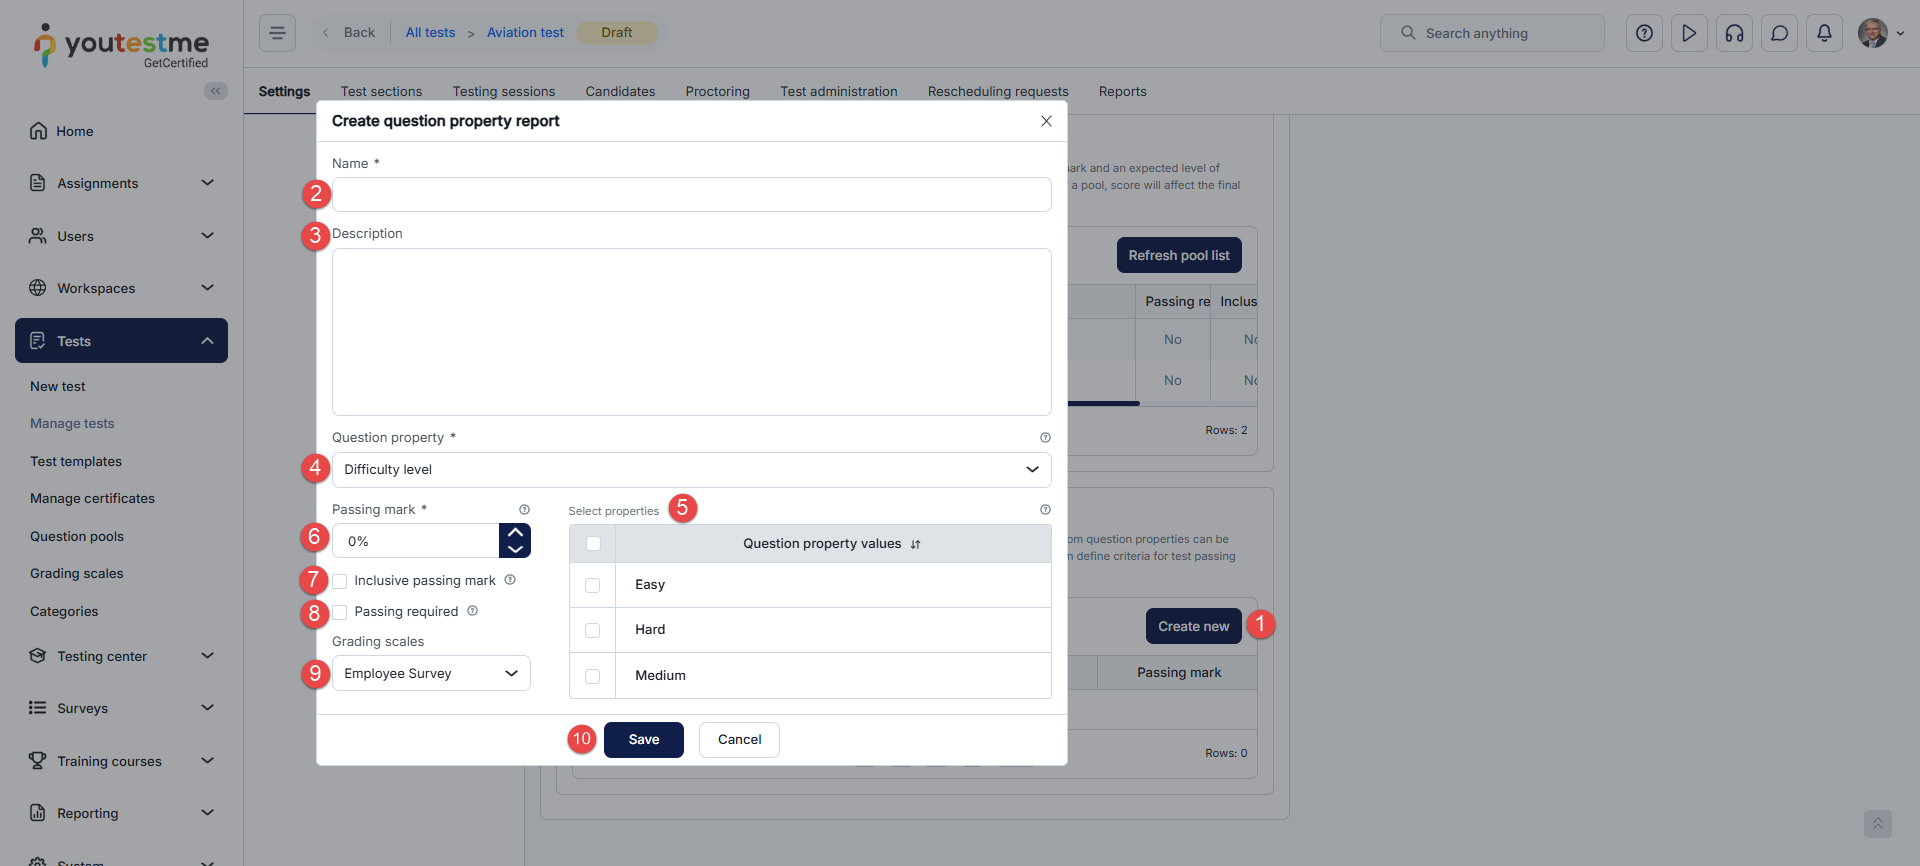
Note: If one item of the Question property report needs to be passed, candidates can download the Score report with question properties from their report. However, if multiple items need to be passed, the report will not be available.
-
-
Grading configuration (test with sections)
Grading in a test with sections follows the same configuration process as described for a test without sections (explained above). Additionally, there are two additional grading configurations:
-
Define passing marks for sections - Define the passing mark for a section and specify whether passing the section is required for the candidate to pass the test. Set whether the defined passing mark is inclusive and decide if you want to assign a grading scale to associate specific grades with corresponding percentages achieved.
-
Define passing marks for section groups.
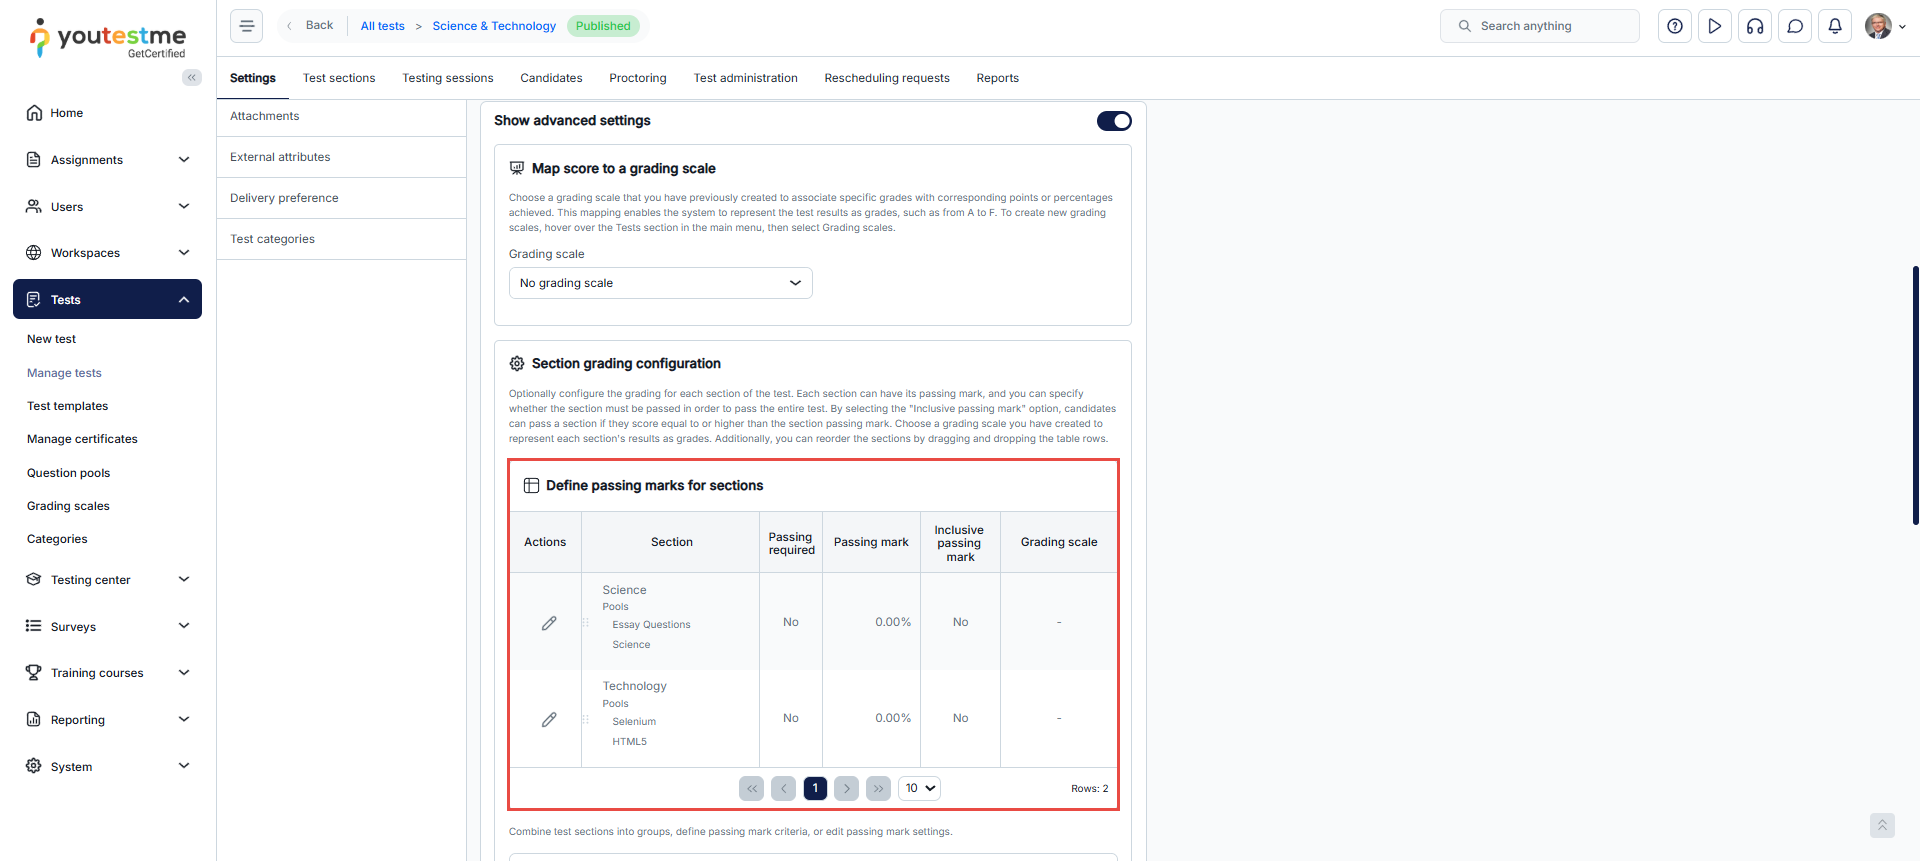
To create a section group:
-
Click the Create new section group button
-
Enter the section group name.
-
Enter a section group description to provide more information about the section group.
-
Choose the passing mark in percentages or points.
-
Make the passing mark inclusive (candidates pass the section group if they score equal to or greater than the passing mark).
-
Check the Passing required option if passing the section group is necessary for passing the test.
-
Select a previously created grading scale to associate specific grades with corresponding percentages achieved in the section group (e.g., on a scale from A to F).
-
Choose which test sections to include in the section group.
-
Click the Save button.
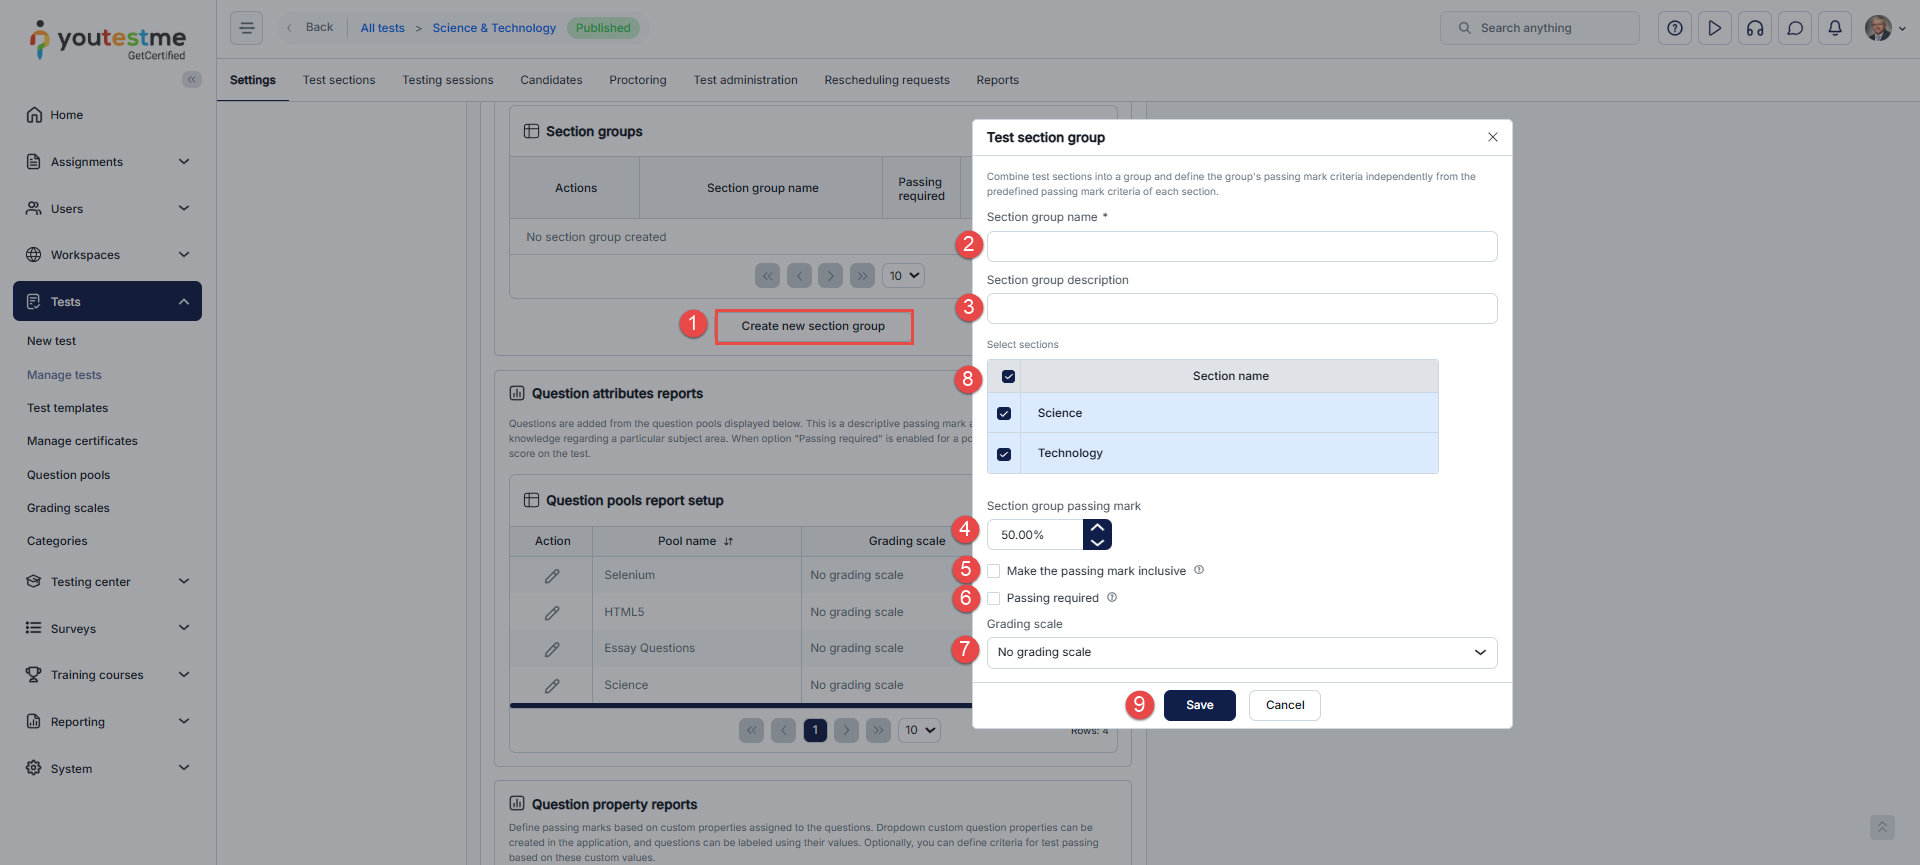
-
-
-
Certificates
On this tab, you can:
Include certificates in the test that will be awarded to candidates upon passing or meeting specifically defined completion conditions. Candidates have the option to download the certificate in PDF format, as an image, or share it via a link. To add an existing certificate or create a new one, click the Add certificate button. For additional details on creating new certificates, please consult the Manage certificates help page.
-
Synchronize certificates - This action will re-evaluate current certificate assignment conditions and assign or remove certificates from users who meet the criteria. It is recommended to perform this action after modifying the test's grading configuration, changing users' attempt results, or assigning new or removing existing certificates from the test, as these changes will not automatically synchronize the achieved certificates for the candidates of the test.
Present certificates in a tabular format.
Edit already added certificates. For detailed information about each field, please refer to the Manage certificates help page.
Edit certificate conditions - Set a custom condition for awarding the certificate to candidates upon test completion. Choose the property, criteria, and value. For instance: [Percentage], [greater than or equal], [60]. Using this condition, certificates will be granted to candidates who achieve a percentage greater than or equal to 60%. By default, the certificate will be assigned if the candidate passes the test.
Remove the certificate from the test. If a candidate has already earned it and you remove the certificate from the test, it will still be visible in the candidate's report.
-
Personal report settings
Customize the content of candidates' reports for tests. Adjusted report settings will be applied only on the candidates' side, while the test managers will see the entire content.
-
Show report - Select when the report will be displayed to candidates.
-
Immediately after finishing - Candidates will see the report immediately after completing the test, although some questions may not be graded.
-
Immediately after result grading - Candidates will be able to view the report once the test manager has finished grading all questions that require manual evaluation. Additionally, if a positive proctoring report is needed, the proctor's grades must be finalized to resolve the report. The report will be available immediately if there are no questions requiring grading.
-
Immediately after result verification - Candidates will view the report after the test manager verifies their test attempt. Once verified, no further changes to the test results will be possible.
-
On manager's approval - Candidates will access the report after approval by the test manager. The approval can be done collectively for all candidates (on the Candidates tab) or individually for each candidate (via the candidate's report).
-
Real-time grading - Candidates will observe score updates in real-time during the test-taking process, with changes reflected after submitting each answer.
-
-
Configure report lifespan - Specify the timeframe during which the question details will be visible to the candidate upon opening the report. The system will periodically check the defined time, and if the candidate's report is still open, the system will automatically hide the details after the defined period expires.
-
Configure report access duration - Define how long candidates can view their report after test completion, regardless of whether they accessed it immediately or later. The system will periodically check the defined time, and if the candidate's report is still open, the system will automatically redirect to profile page.
-
Report content - Choose whether the report will display only the score or also the preview of the given and correct answers to each question.
-
Display score - Display achieved score in the report. If this option is not activated, the Export personal report as Excel file and Export personal report as a PDF file options cannot be enabled.
-
Show Passed/Failed onfo - Display passed/failed labels in the report.
-
Display sub-scores based on question pools - Display the table with test results broken down by question pool scores.
-
Display score for each question - Show question details, including metadata, offered, selected, and correct answers, for all questions in the test. If this option is not activated, the Export personal report as Excel file and Export personal report as a PDF file options cannot be enabled.
-
Show section scores - Show the sections scores in the personal report. This option is available only on tests with sections
-
Display notes the candidate took for instructors only - Notes taken by candidates during the test will not appear in the personal report. Only instructors can view these notes within the report.
-
Display percentage required to pass - Show the percentage required to pass the test in the personal report.
Display candidates' user groups - Show user groups where a candidate is a member.
-
Display employee ID - Display the candidate's employee ID below the username.
-
Show full timestamps - Show the date and the time of day. If disabled, only the date is shown
-
Display achieved score on the summary tab - If disabled, the achieved score will not be shown on the summary tab of the personal report.
-
Show rounded scores - Show scores rounded to the closest whole number. Otherwise, the scores are displayed with 2 decimal digits
-
Display score description - Show a message to the candidate instead of the score and pass fail info. Requires the Display score and Show Passed/Failed info options to be disabled.
-
Export personal report as Excel - If you select both the Display score and Display score for each question options, the Excel export option will be automatically enabled and checked by default. You can uncheck the option if you prefer not to allow the export of the candidate's report in Excel format.
-
Export personal report as PDF - If you select both the Display score and Display score for each question options, the PDF export option will be automatically enabled and checked by default. You can uncheck the option if you prefer not to allow the export of the candidate's report in Excel format.
-
Enable score report download to candidates - The score report represents an upgraded iteration of the personal report. The content within the score report is customizable for each test. Candidates can download their score report directly from their report.
-
Enable knowledge deficiency report to download - Candidates can download the knowledge deficiency report from the personal report. The report will display a list of question pools from which the candidate answered at least one question incorrectly. The report will show the lowest level of the question pools (sub-pools). The question pools will be arranged in alphabetical order and will not be divided into sections, if any.
Charts - Generate charts that select questions based on specific properties assigned to them and display the total score or average points. For more information on creating a radar chart, refer to this article.
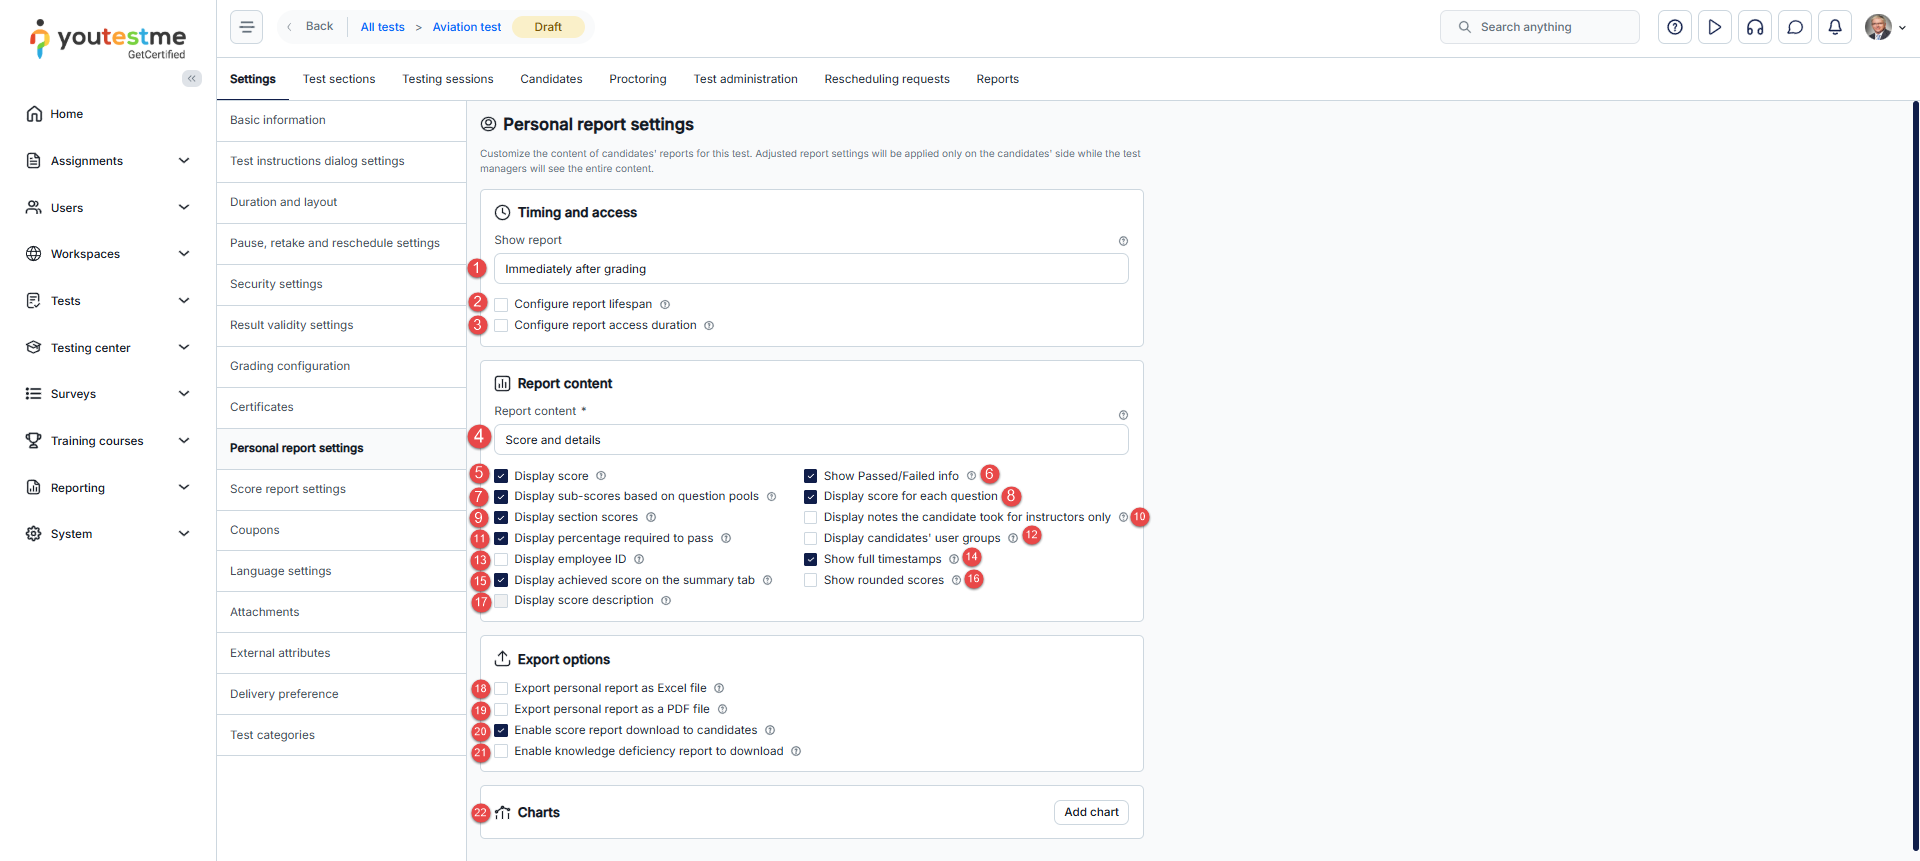
Note: Some question types, such as essays, require manual grading by an instructor. Therefore, the results of tests containing this type of question cannot be immediately displayed.
-
-
Score report settings
The score report is an advanced version of the personal report intended for export. Customize the content of the score report for a particular test. These settings will override the global configuration for score reports.
Click the Create custom settings button.
-
Passing criteria - Enter the text outlining the conditions for passing the test.
-
Main text description - Provide necessary information about the test.
-
Sections description - Enter information about individual sections.
-
Re-test policy - Include details about the retake policy for the test.
-
Show pool information - Check this option if you want the report to contain information about the question pools used in the test.
-
Show sections diagram - Check this option if you want the report to display information about candidates' results for each section.
-
Show section groups diagram - Check this option if you want the report to include a diagram for created section groups.
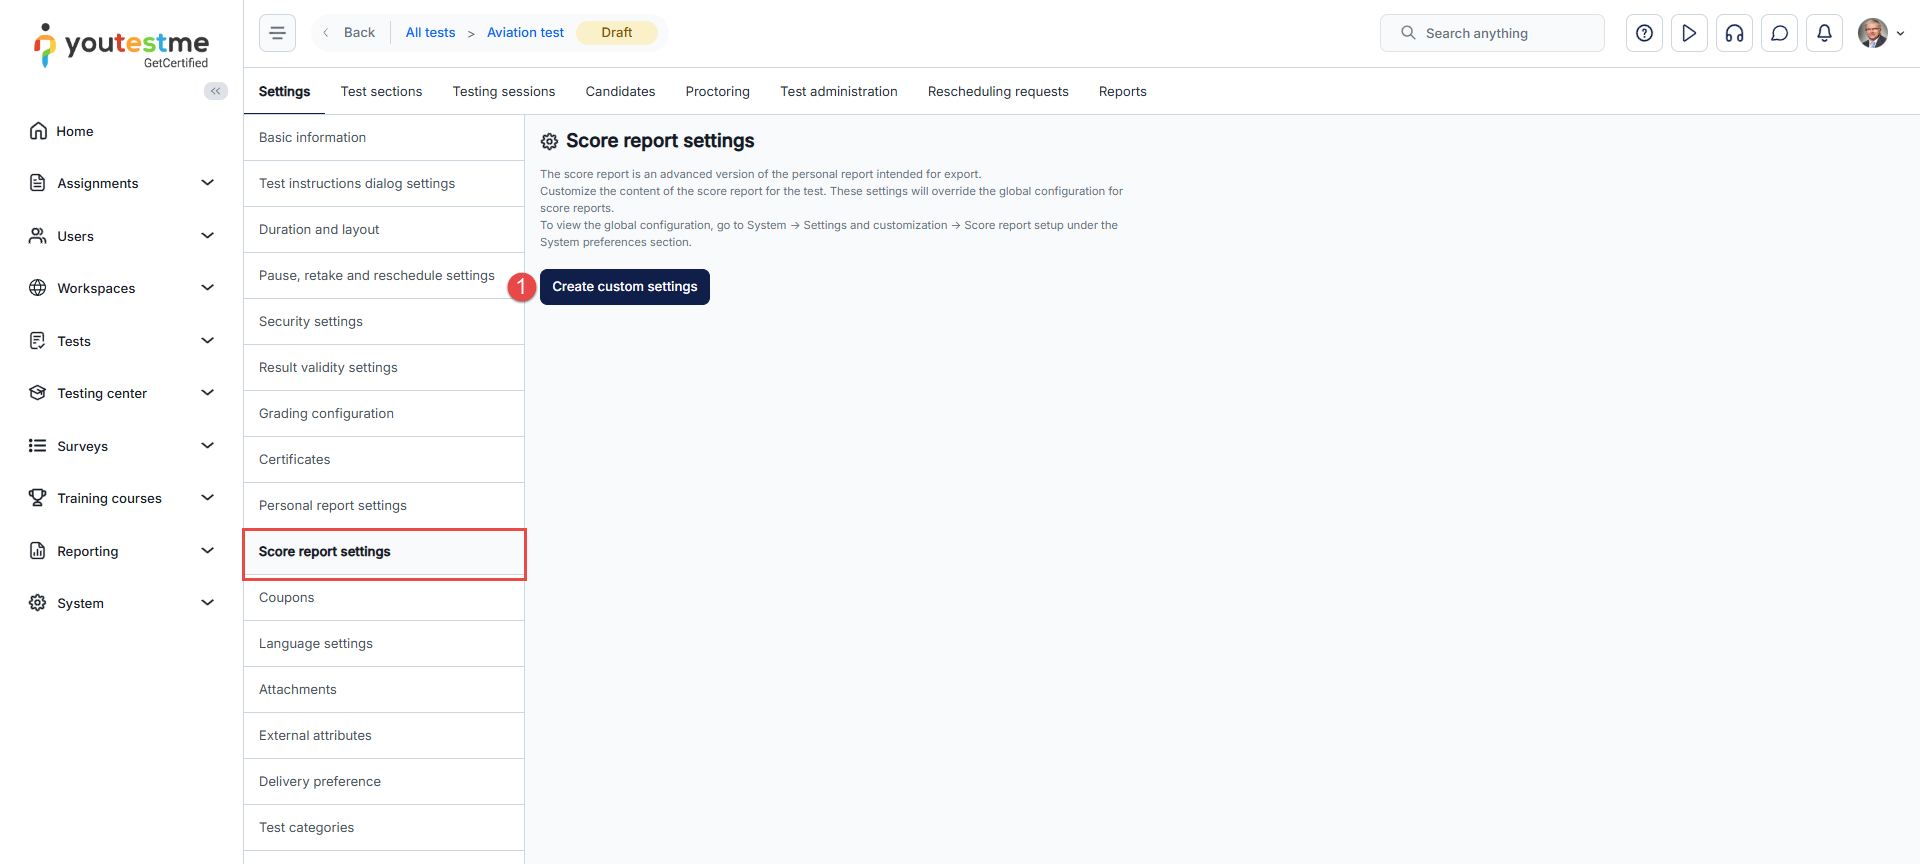
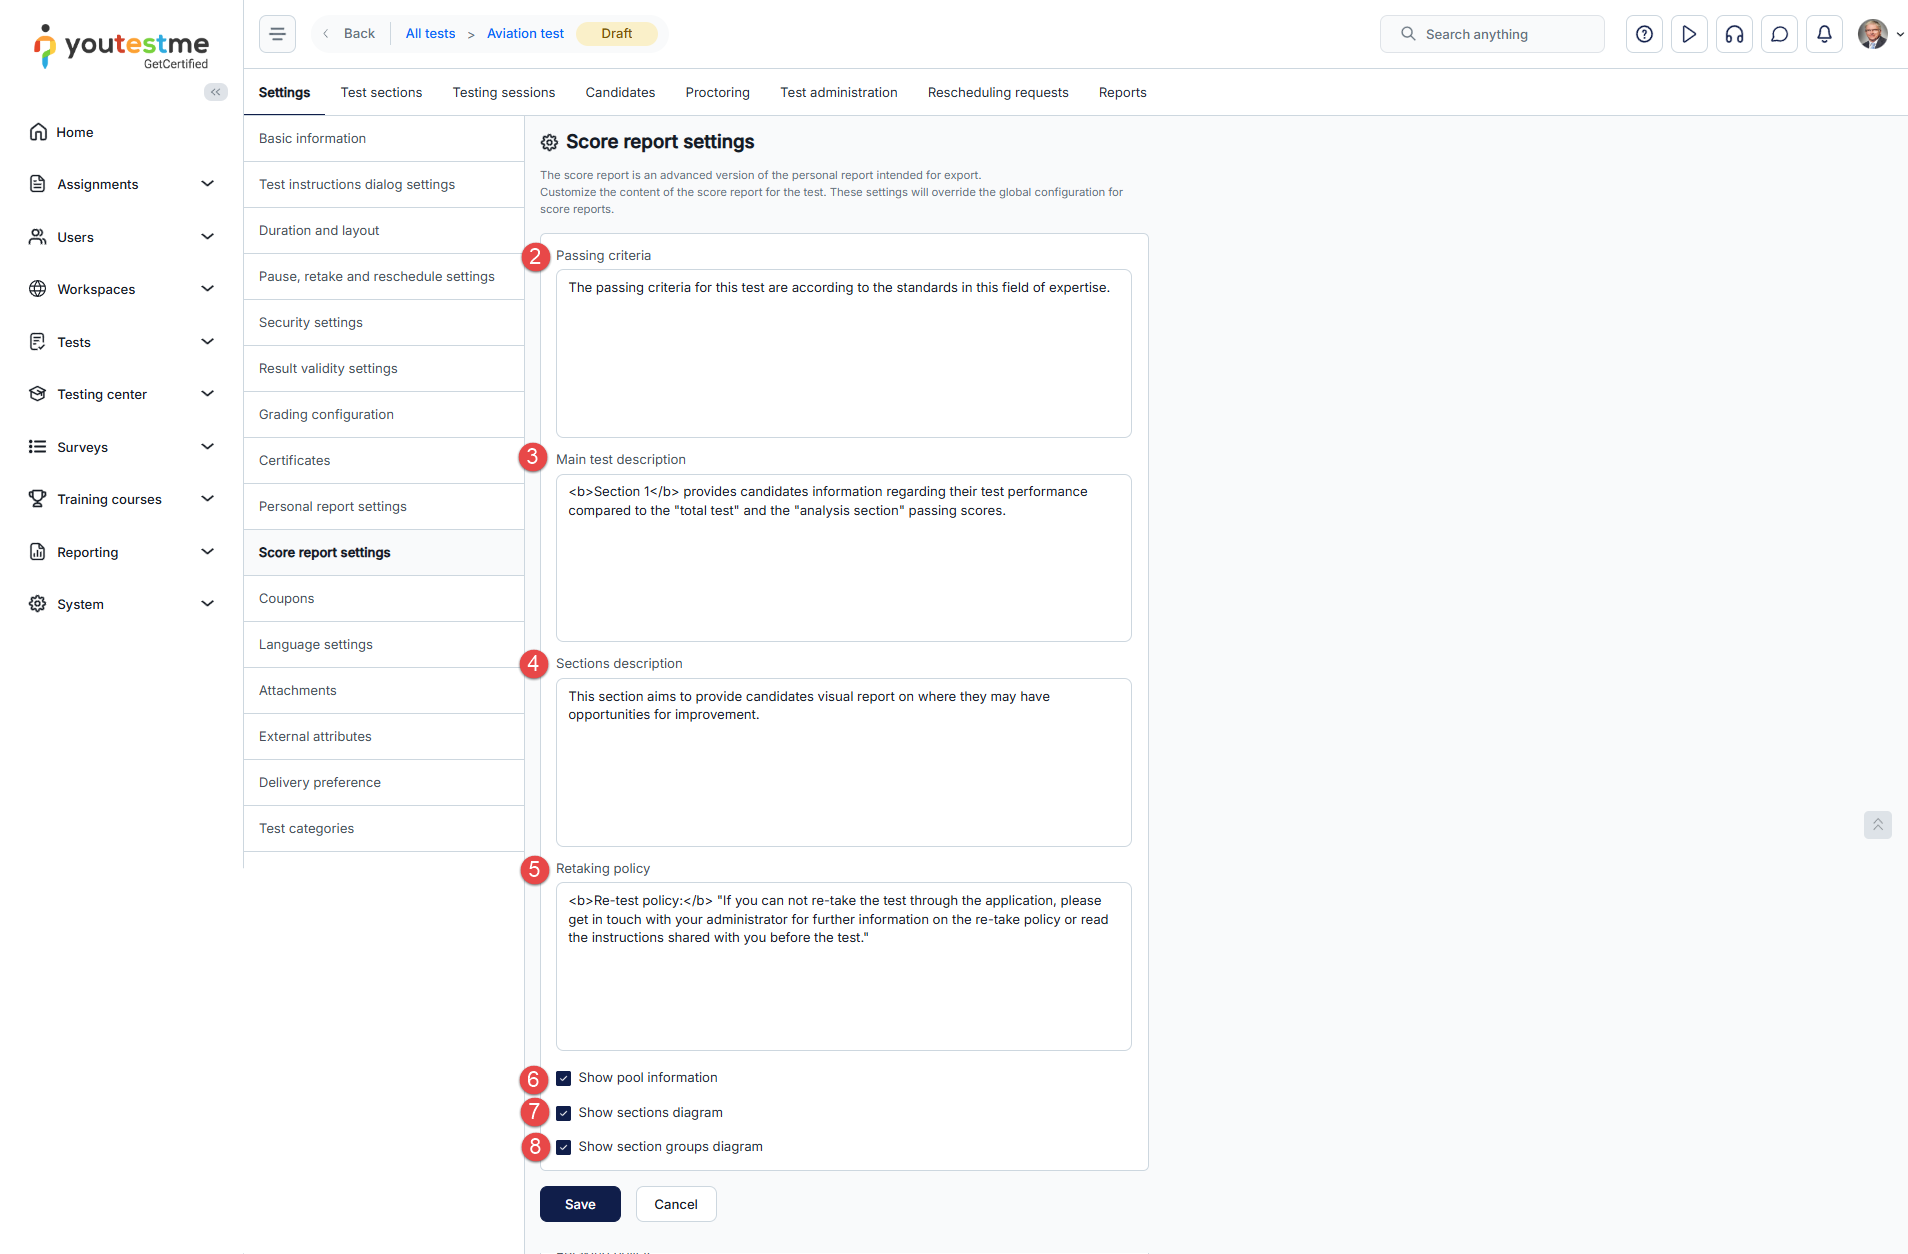
-
Coupons
Generate coupons to provide users with access to testing sessions with a specified discount. Coupons are valid for all testing sessions within the test and can only be used once for sessions where the purchase price is set.
-
Click on the "Generate coupons" button to create coupons. A new pop-up window will appear where you can enter the parameters of the coupons.
-
Generated coupons will be added to the coupon table.
-
The generated coupons can be exported to PDF or Excel file using the buttons in the lower right corner.
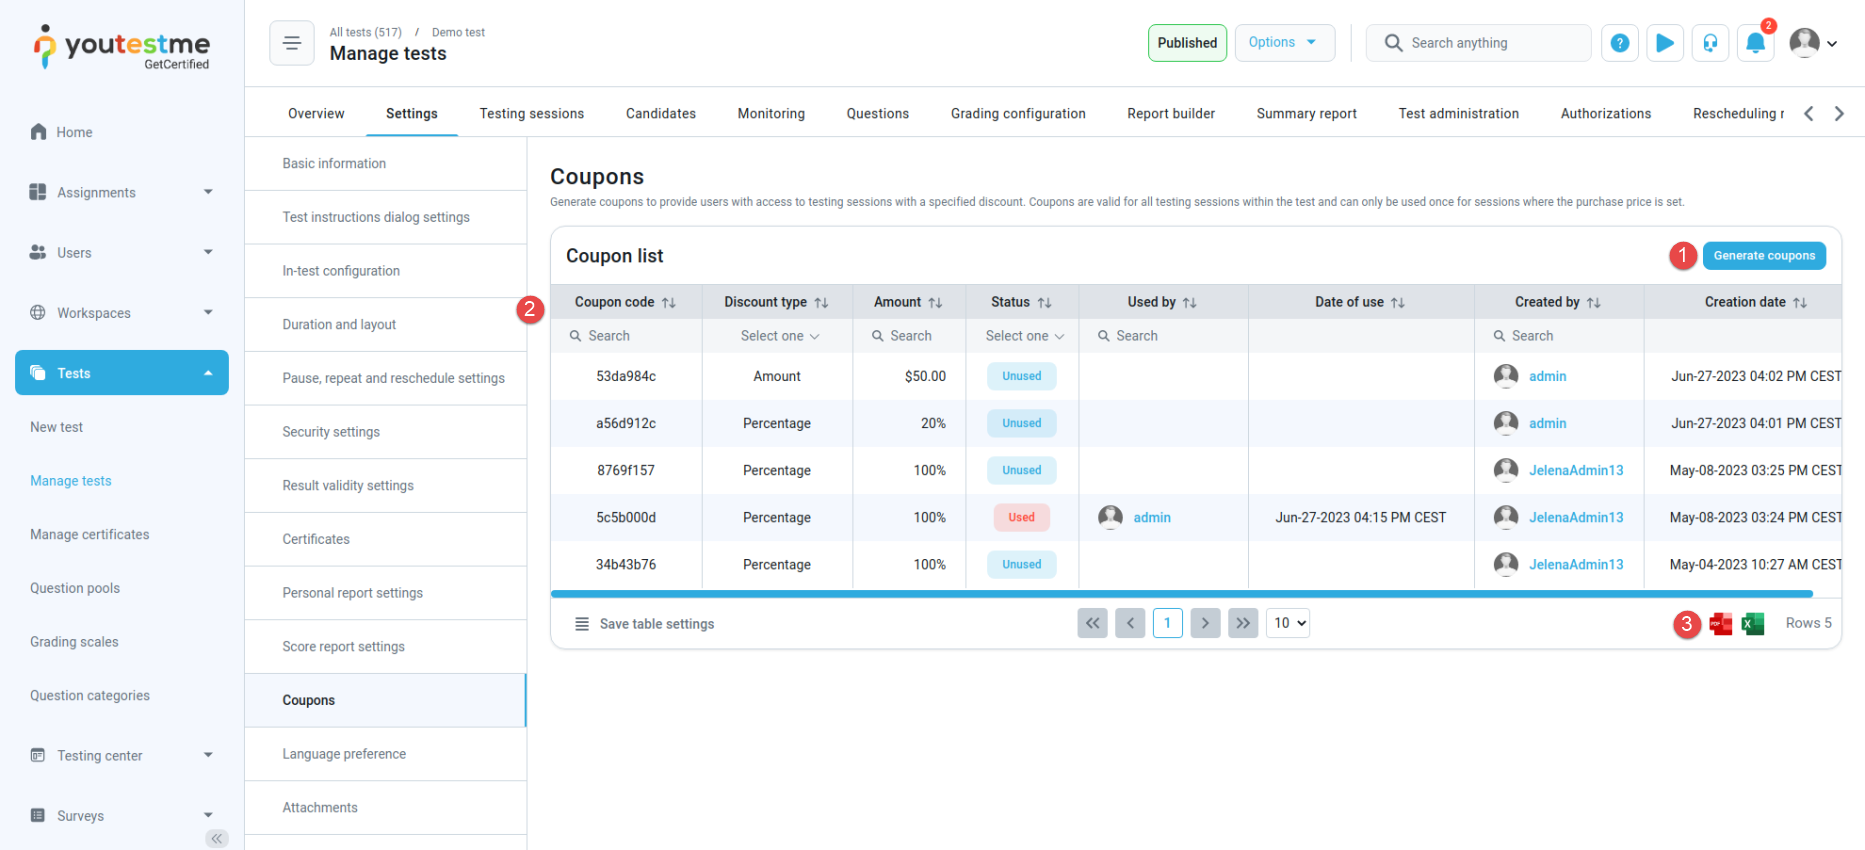
When generating coupons:
-
Choose the "Number of coupons to be generated" . These coupons will have the same parameters.
-
Choose the coupon "Discount type". If discount type is "Percentage", in the "Amount" field you can specify the percentage by which the original price will be reduced when this coupon is applied. If discount type is "Amount", the coupon can be applied only to prices expressed in the currency you choose. Then, in the "Amount" field you can specify the exact amount by which the original price will be reduced when this coupon is applied.
-
Choose the "Currency" if the coupon discount type is "Amount".
-
Enter the coupon discount "Amount" .
-
Optionally set the "Expiration time" of the coupon. If it is set, the coupon will be valid until the specified time.
-
Click the "Confirm" button to generate coupons or click the "Cancel" button to cancel the generation of the coupons.
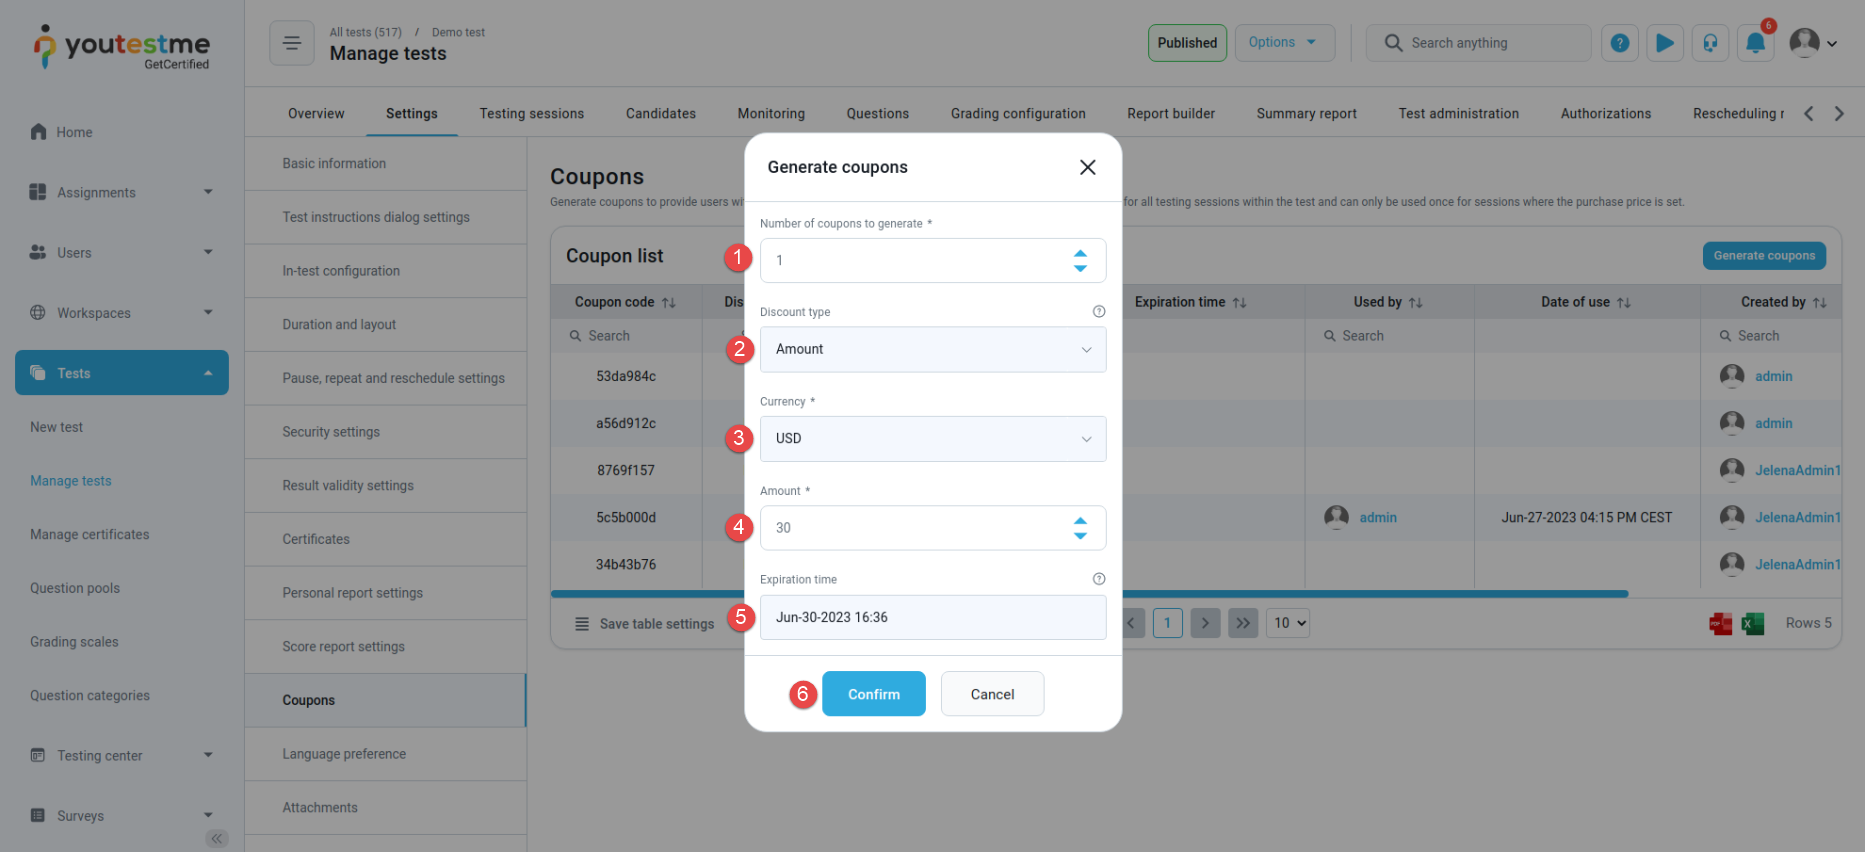
-
-
Language preference
Specify the default language for the test-taking screen interface (excluding user-generated content, such as question text, test descriptions, etc.) when accessing this test. If a language preference is configured, it will override the application interface language for the user account.
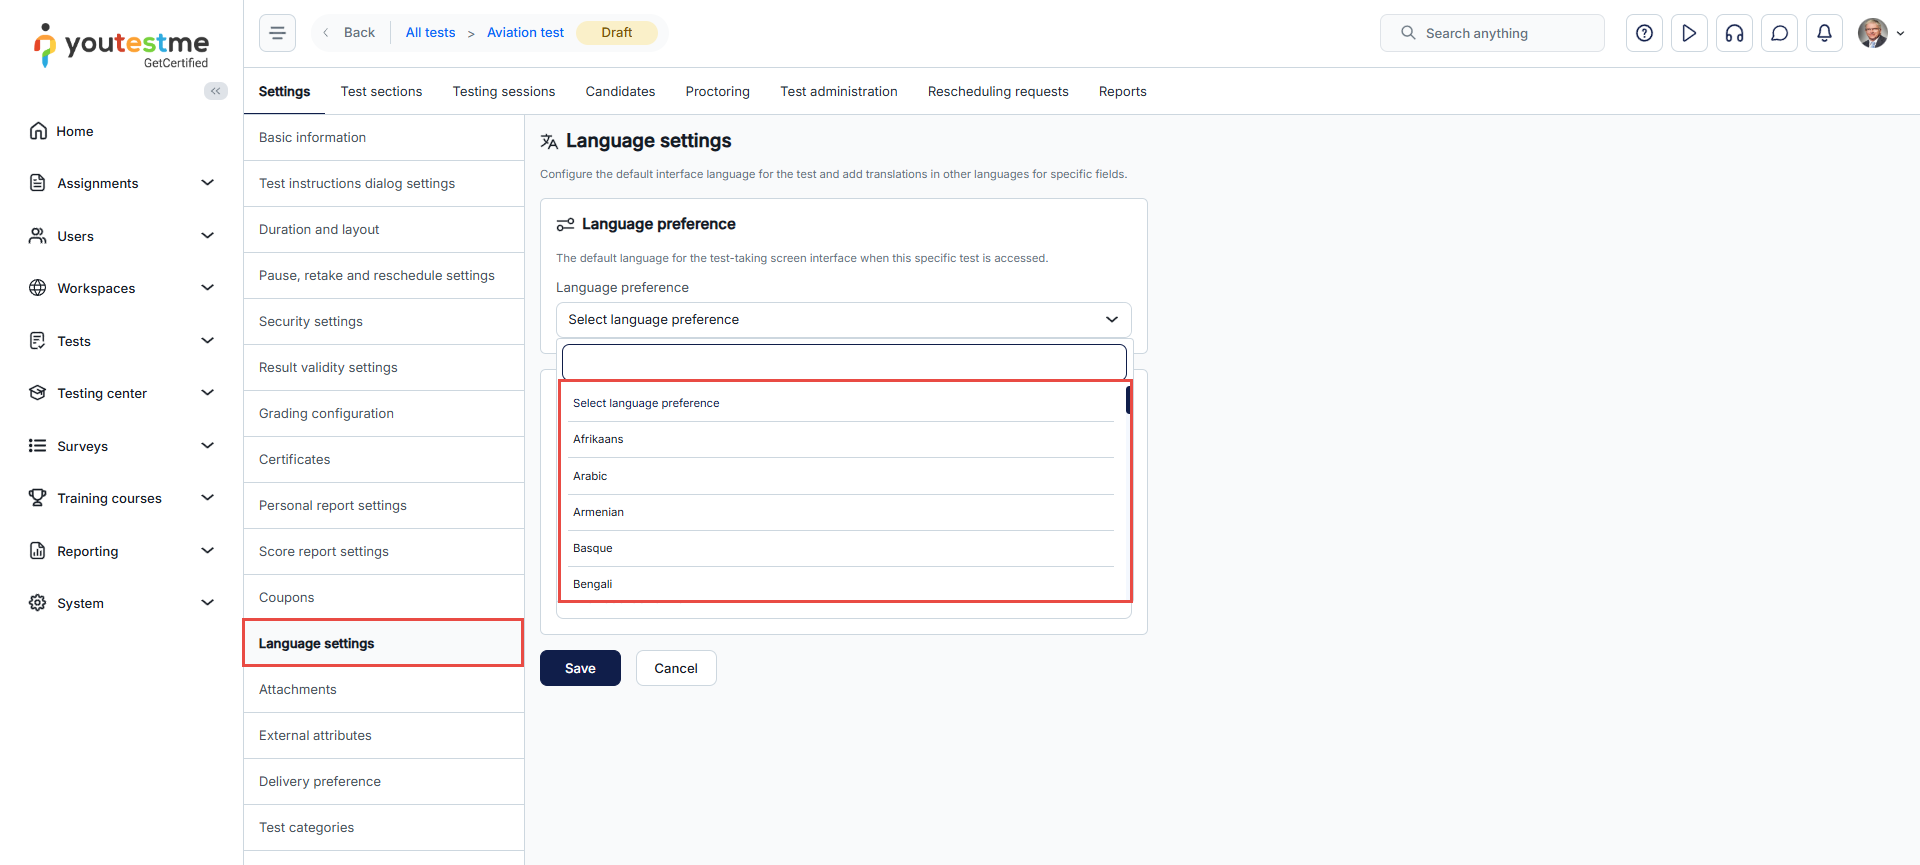
Translations
Test name and test description can be translated to any supported language. On this page you can:
-
Add translation - Create a translation in a new language.
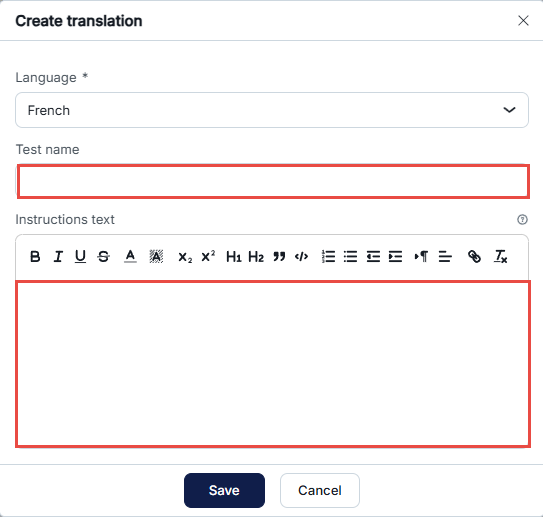
Edit translation - Change the existing translation.
Delete translation - Permanently delete the translation.
Save - Save all changes.
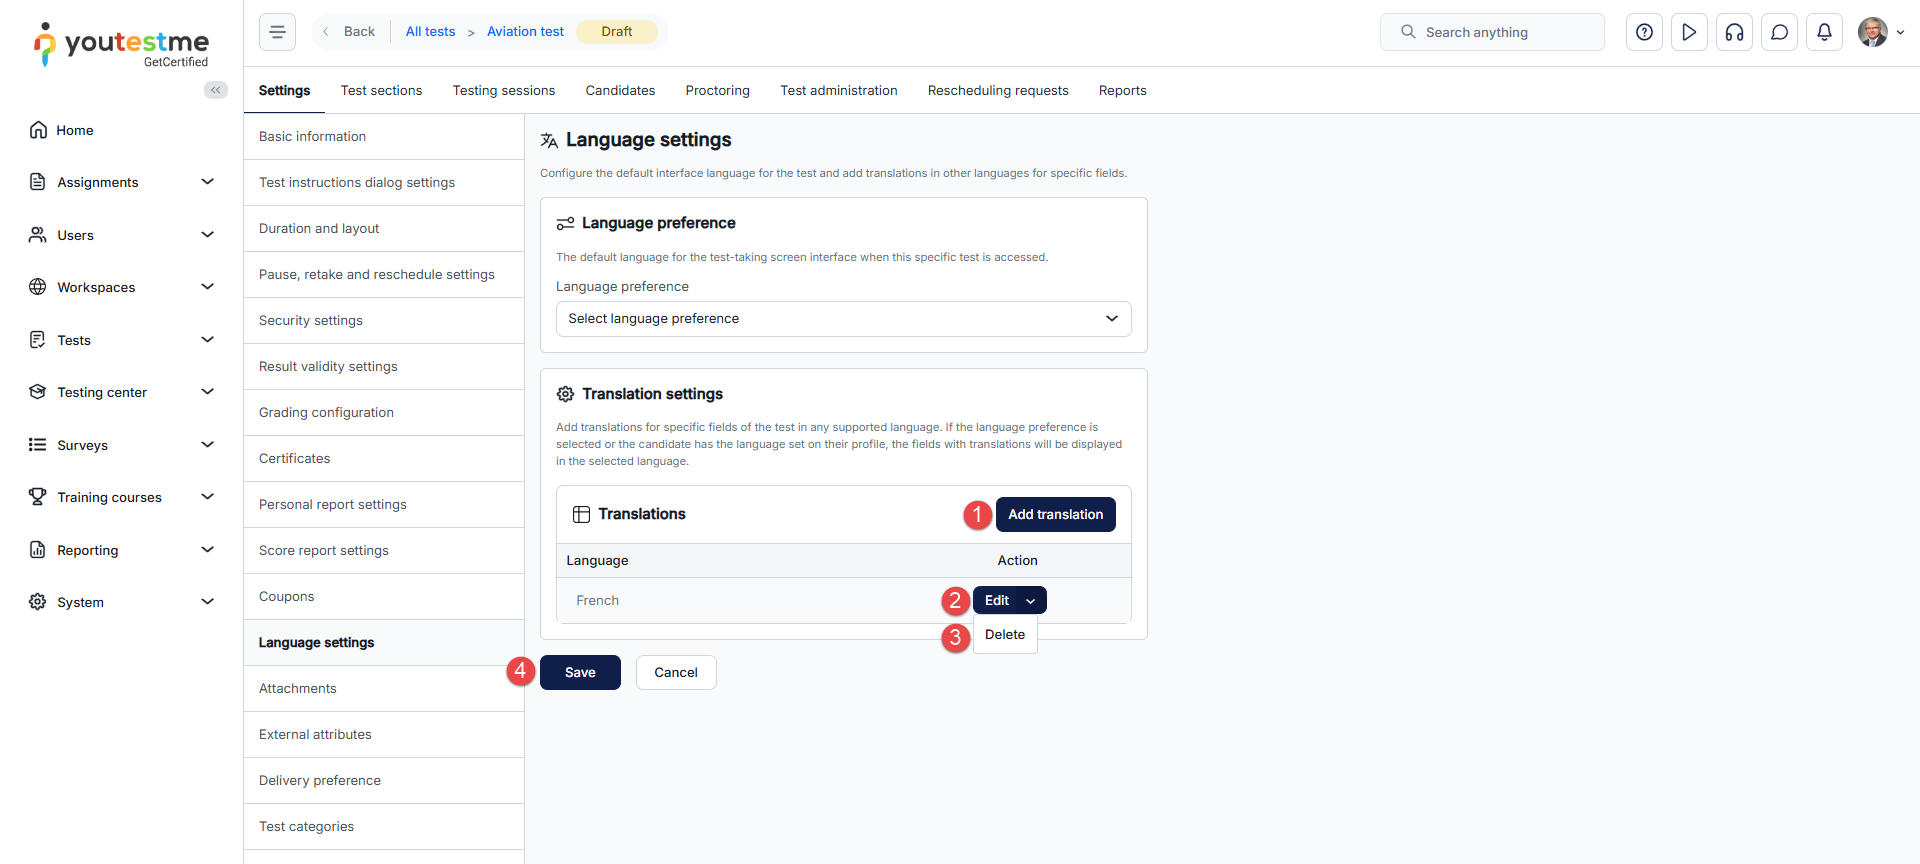
-
Attachments
Add attachments containing instructions or useful materials in various formats. Depending on the test settings, attachments can be accessible either only at the beginning or throughout the entire test-taking process. Test attachments will be presented independently from those attached to the questions themselves. You can create new attachments or import existing ones from the library. An explanation of all fields for attachment creation and import can be found on System/Settings and customization/Attachment library.
All test attachments will be presented in a table, allowing you to view, edit, download, or remove them by clicking the corresponding icon.
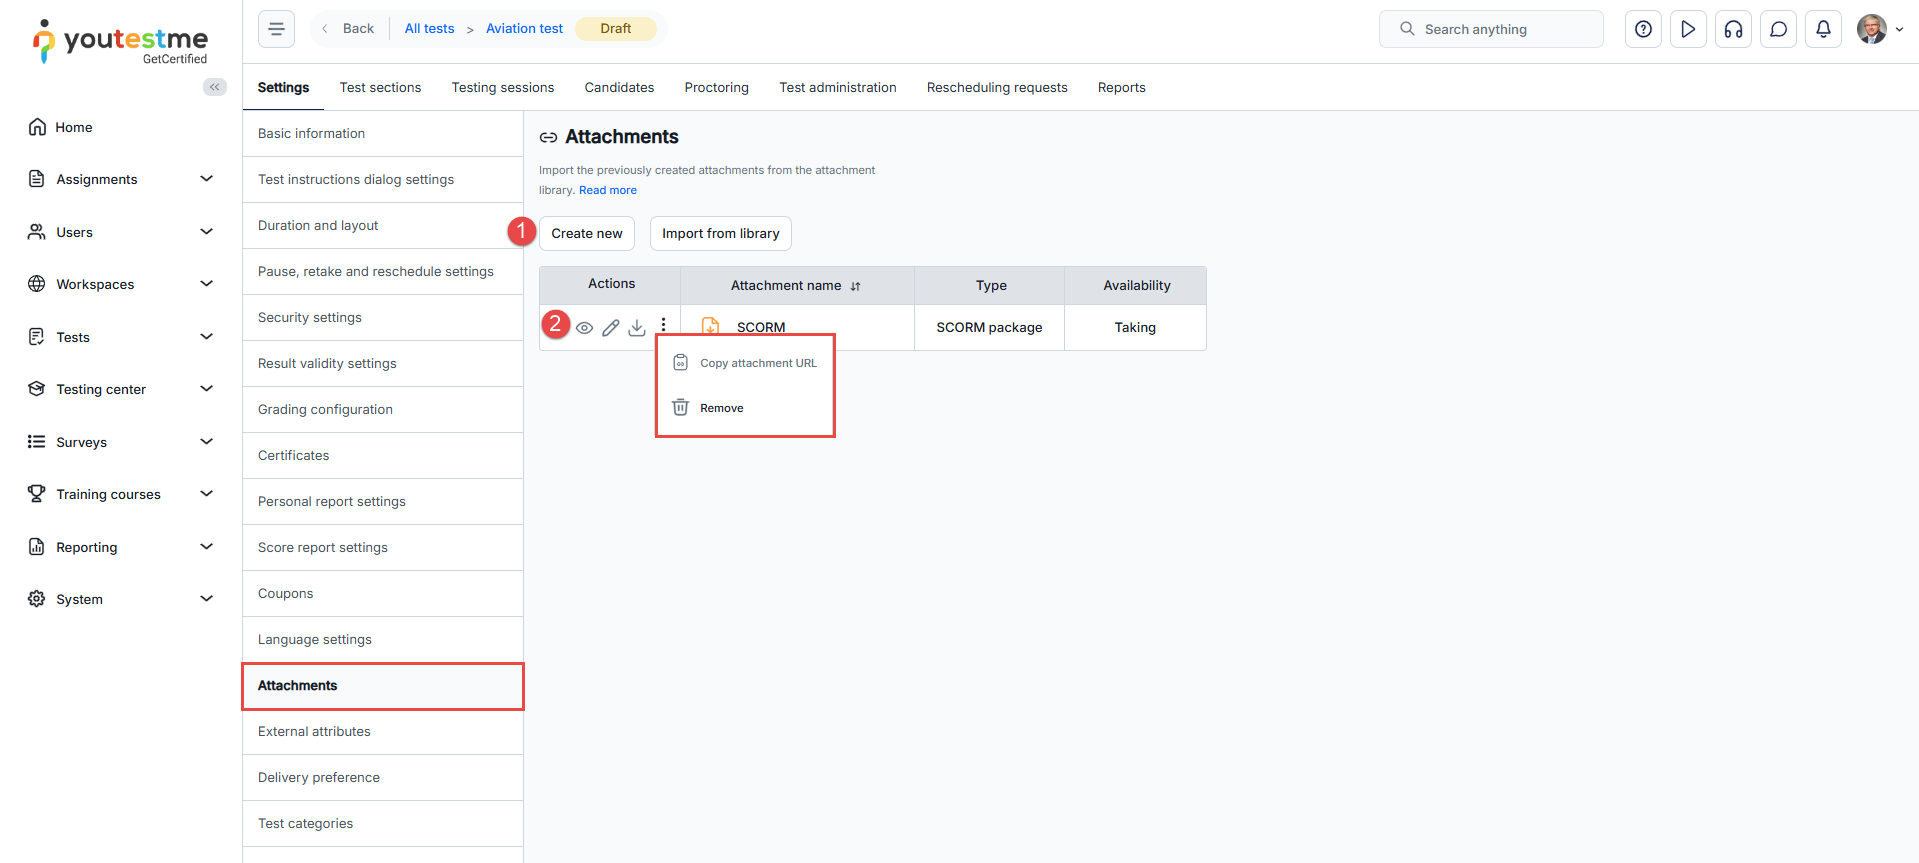
-
External attributes
Fill in these fields if this test is referenced in another software (external system). External ID represents the external system's unique identifier for this test, and Data source is the name of the external system.
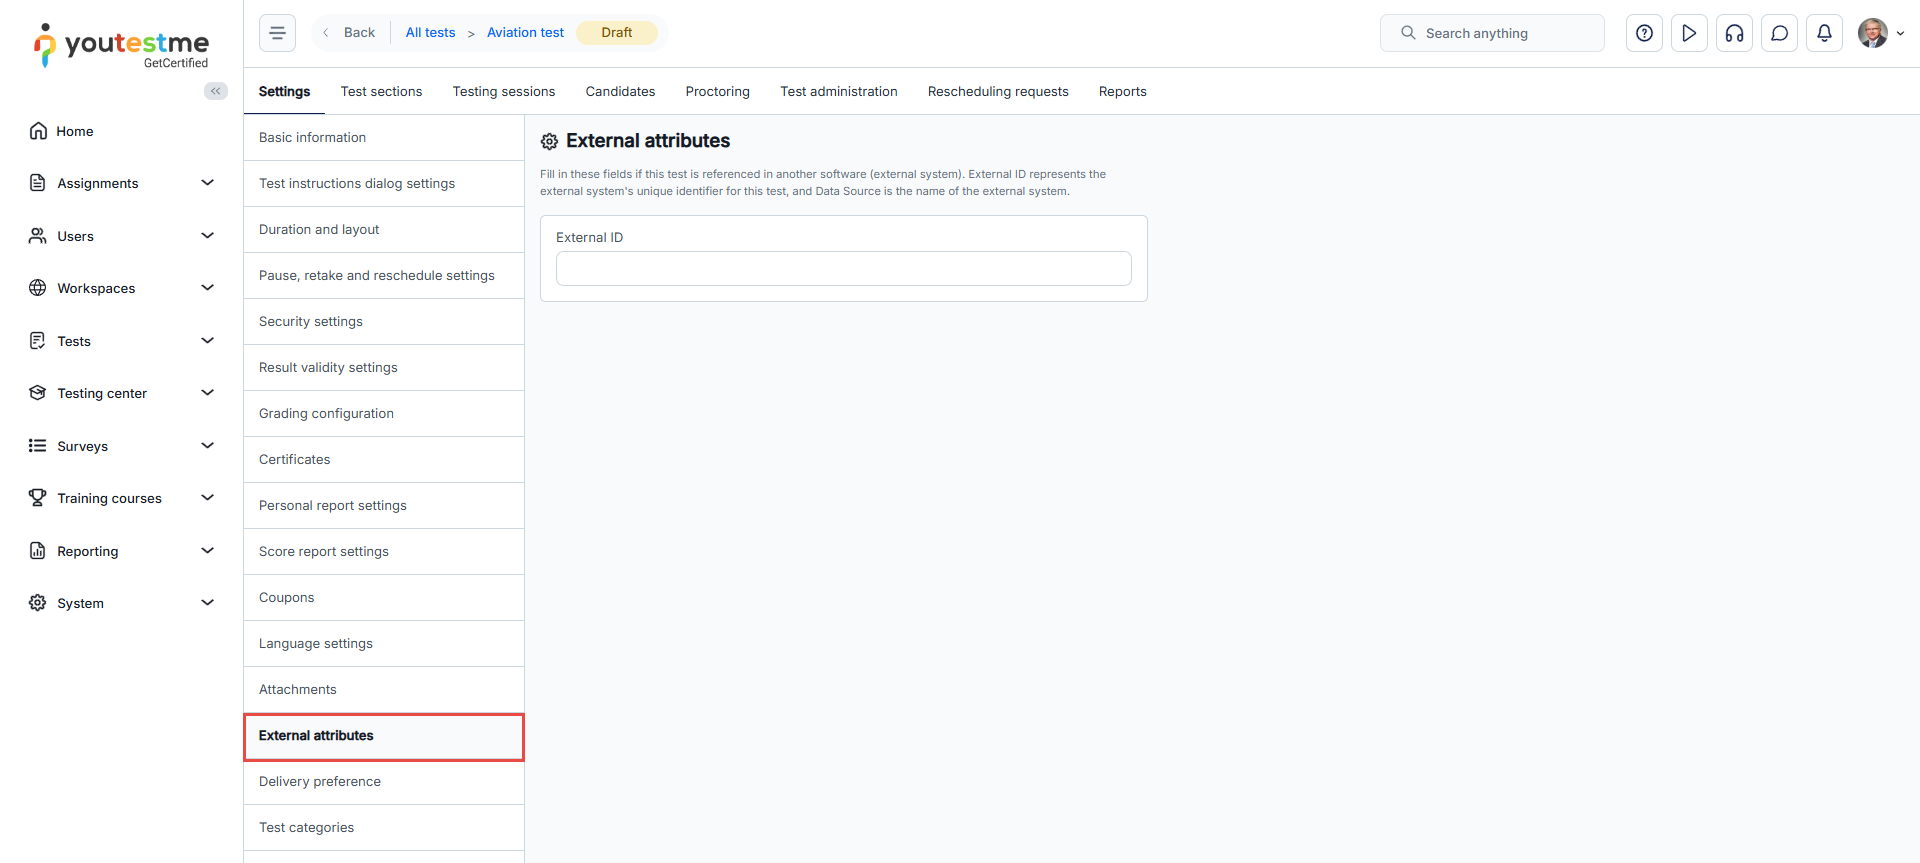
-
Delivery preference
Delivery preference is a descriptive label aiding filtering for tests distributed through different methods, such as online tests with AI/live proctoring, online tests without proctoring, or paper-based tests.
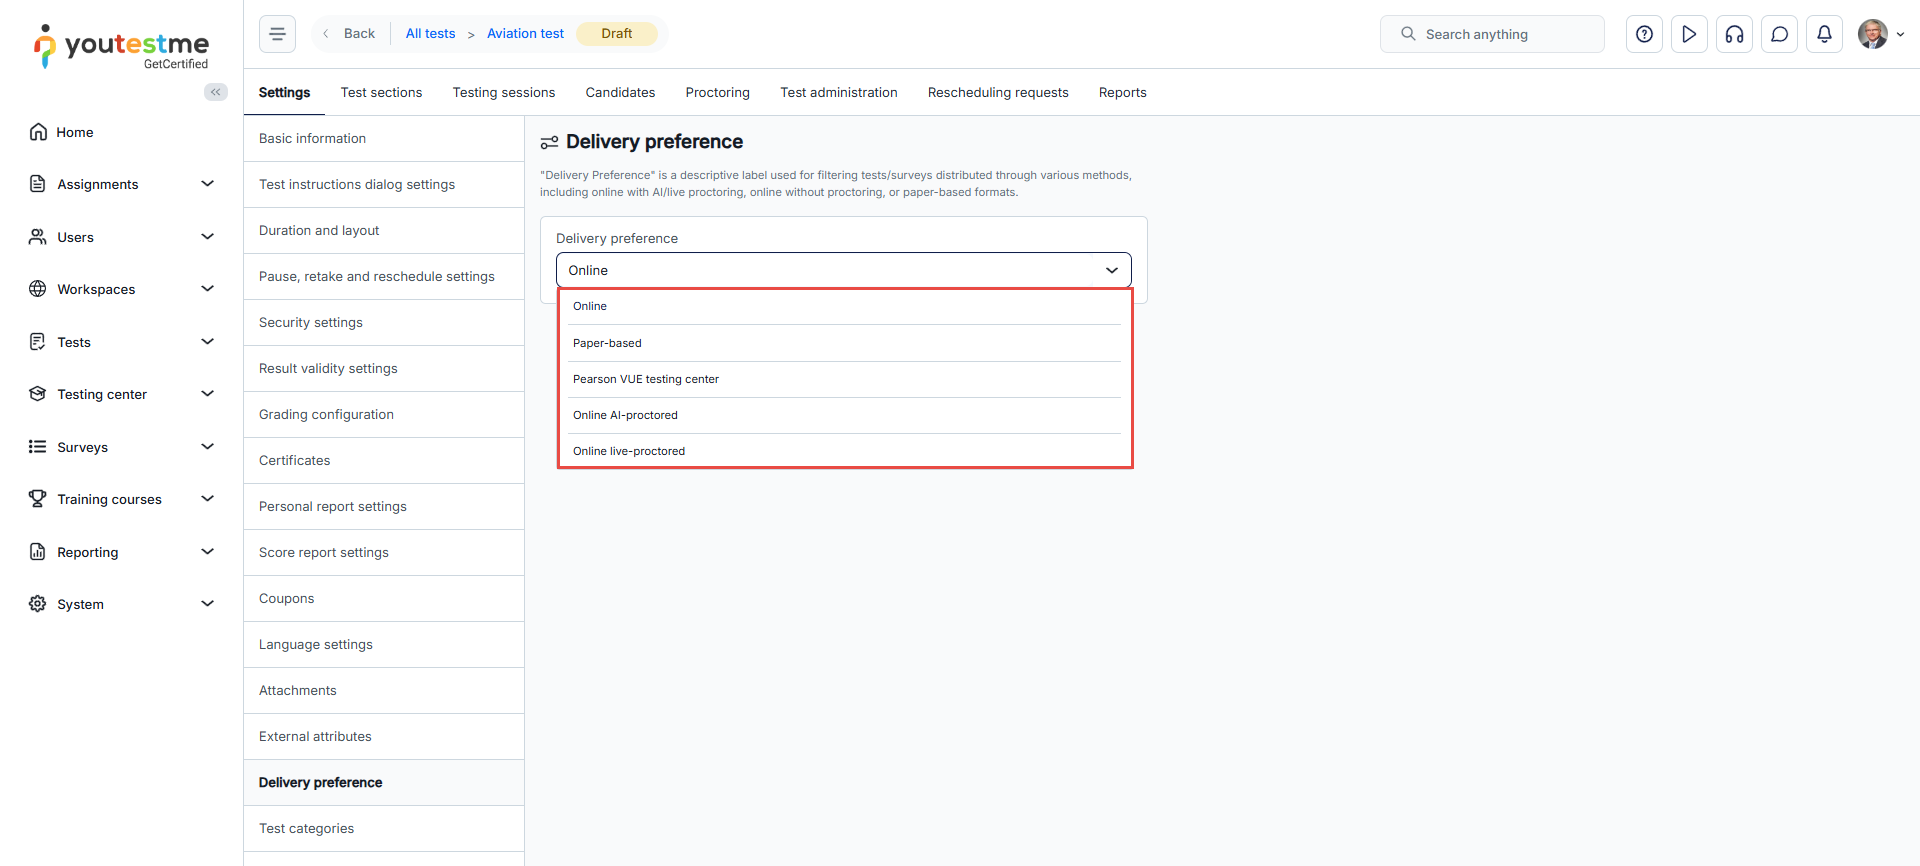
-
Test categories
Test category - Group tests based on shared characteristics such as subjects, difficulty levels, or other criteria.
Click the "Add category" button
Select one of the available categories. If there are none, close the dialog and click "Change value" to select other values for already added categories, or create new categories on the Test category types page.
Select the desired values.
Click select button to close the dialog.
Save the test settings.
Note: Tests that don't belong to any category will be added to the "Uncategorized" category once test settings changes are saved.
-
-
Questions
In the Questions tab, you can view and edit the test questions, and monitor question statistics.
Available sections on this page may include:
Test structure information - This section is visible for tests generated based on question difficulties and question categories. Here, you can view the rules for test generation, including the number of questions from each rule or question difficulty that will be included in the test version. Additionally, information about points and penalties is provided.
List of question pools.
Randomization settings - In this section, you can choose to randomize the question order for each candidate, as well as the answer order in single and multiple-choice questions.
List of test versions - In this section you can see the list of all test versions generated for the test. Optionally, filter the table to include archived versions. For more information on managing test versions, check the Managing test versions chapter.
List of questions from chosen test version - For generated tests, you can review details and examine statistics about the questions. In manually created tests, you can also edit the list of questions. This includes removing or editing existing questions, as well as adding new ones. For more information on editing questions, refer to the Editing questions chapter.
List of question pools used for generating questions from the test version - This section is accessible for tests generated based on question difficulties and manually created tests.
Exporting Test Statistics - This feature allows you to generate a detailed statistical report for the selected test version. The report provides insights into how candidates answered each question, along with key metrics at the test level, including median, mean, lowest, and highest scores. It is available for single-choice, multiple-choice, and true/false questions. Additionally, tests with sections can be fully exported.
-
Answer distribution - View how candidates selected the available answers for a question. The distribution can be analyzed for all test takers, as well as separately for high-performing and low-performing candidates. For more information on checking answer distribution in a test, refer to this article.
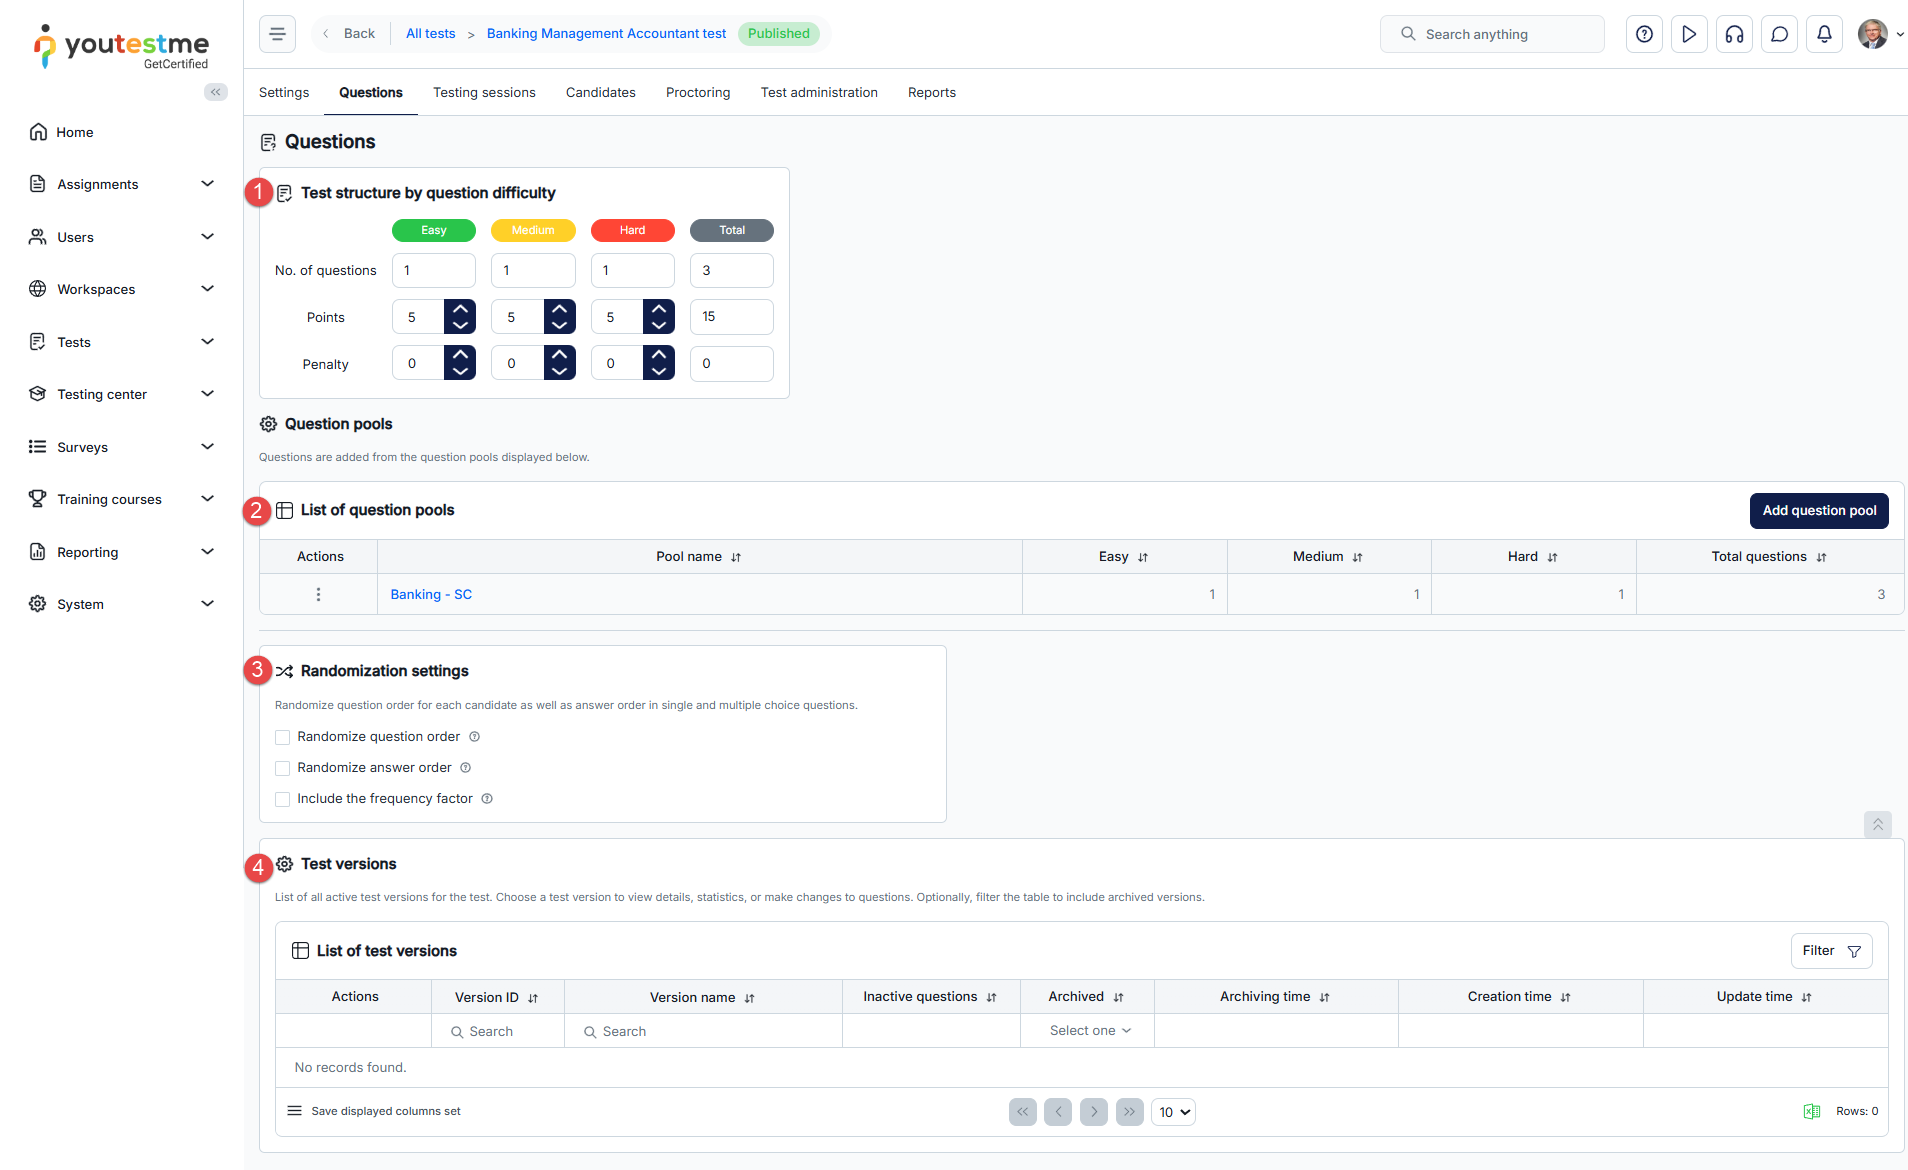
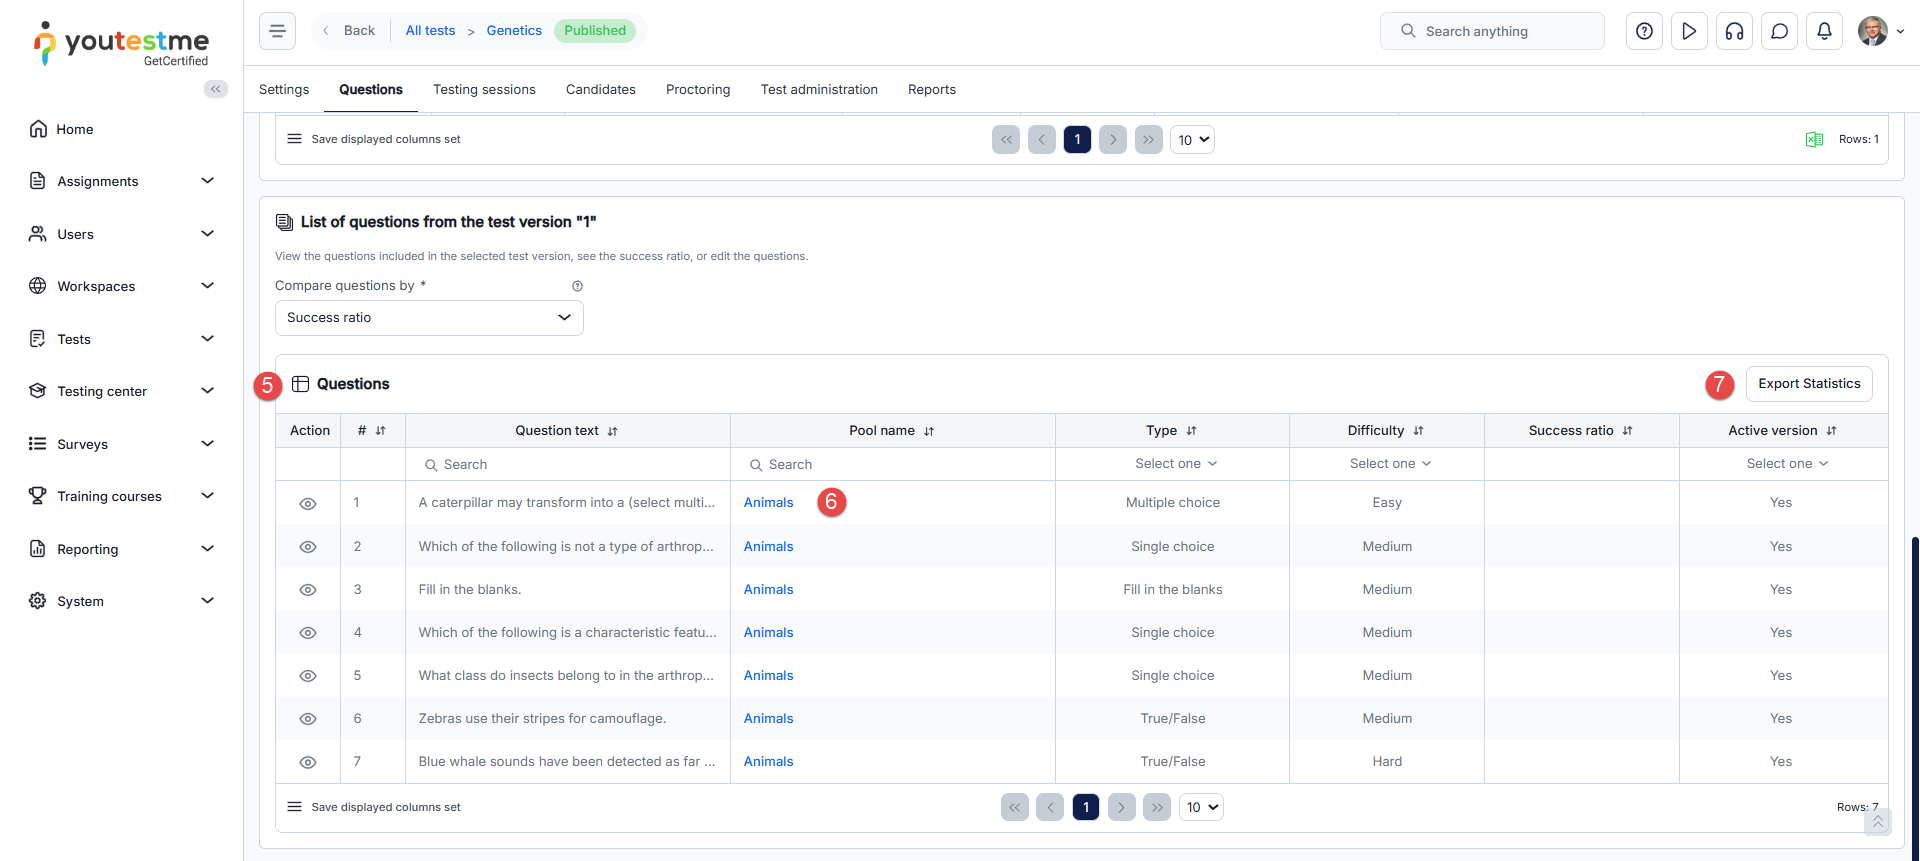
Managing test versions
For test versions generated in the test, you can perform the following actions:
View test version.
Rename test version.
Edit version code - This code can be useful when exporting tests for paper format or when categorizing tests using custom codes.
Copy test version – Create a duplicate of the version, which you can further customize.
Archive test version – Archived versions will not be presented to candidates in future test attempts.
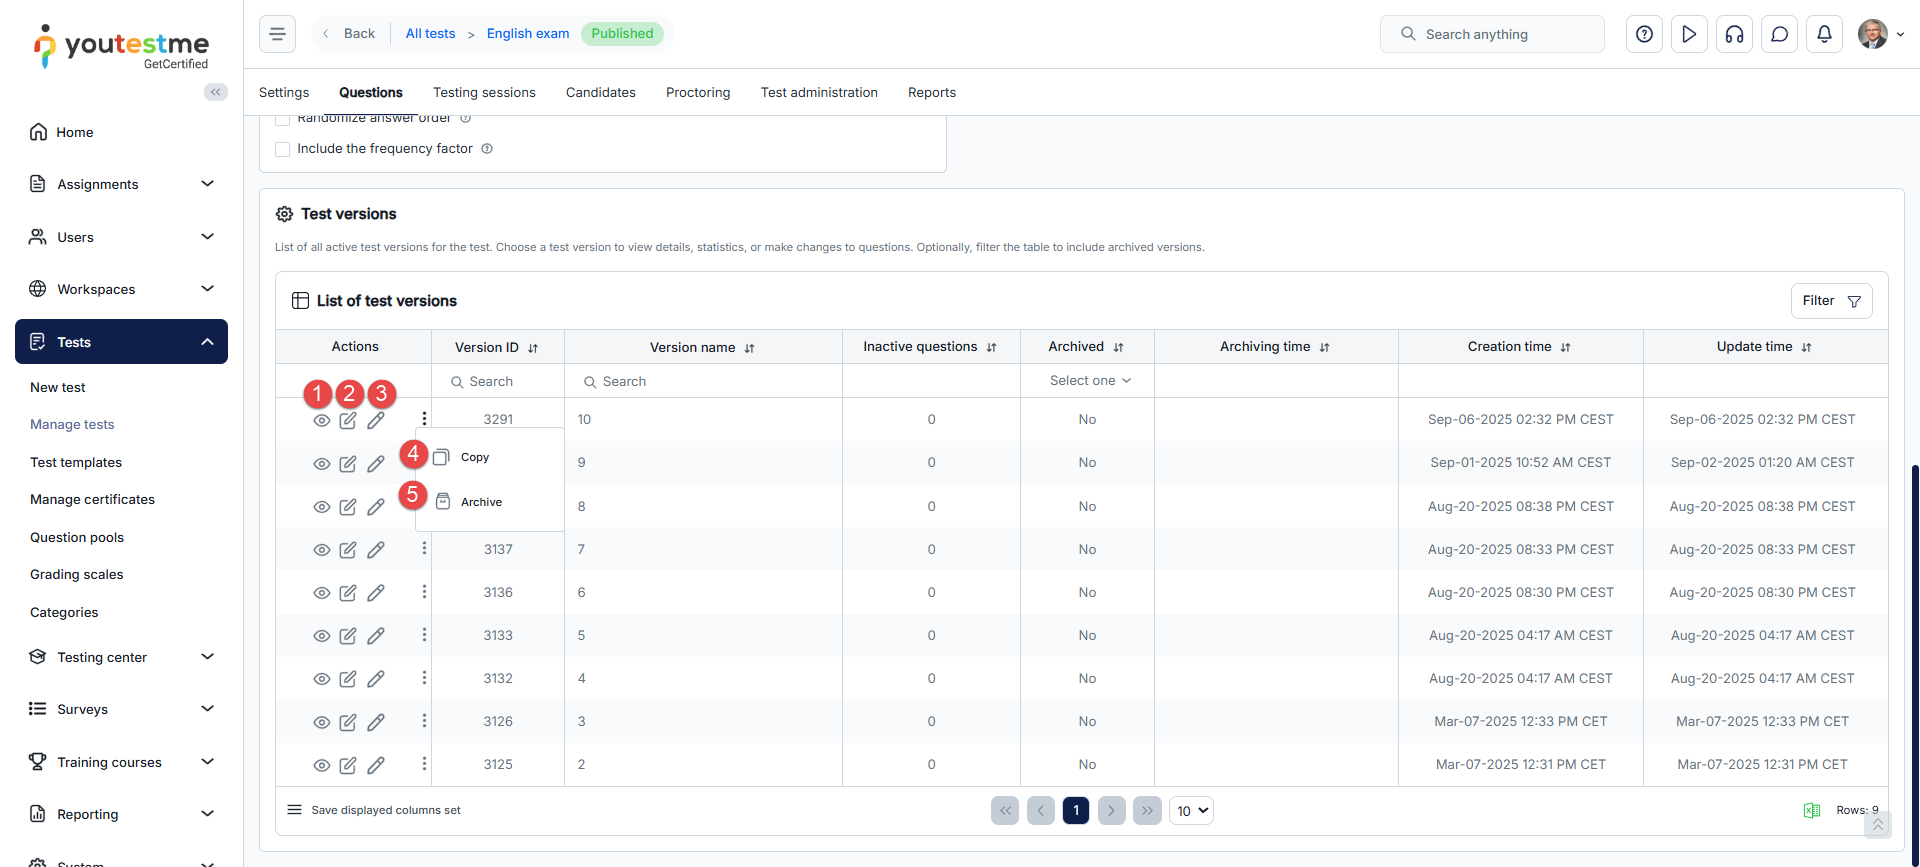
Note: In manually created tests, changes in question pools won't automatically update questions in test versions. Information about inactive questions in the test version can be useful in such cases. For more details on how to easily update questions in manually created tests, refer to this article.
Editing questions
Editing questions in the test version will archive the previous version, but you can still access it to view the questions if there were candidates who had already taken that version of the test. Additionally, a new version of the test will be created and provided to candidates taking the test after the changes.
Note: Editing questions directly from this tab is possible only for manually created tests. To update questions from generated tests (both using questions difficulties or question categories), you should edit them directly in the question pool, and changes will be applied as soon as candidates start new test attempts.
To update the test version:
-
Click the Edit questions button. Confirm creating a copy of the test version by clicking Yes.
-
Click the Import questions button to add existing questions from question pools. Select the desired question pool and questions for import.
-
Create a new question by clicking the respective button and choosing the desired question type.
-
Adjust the question order by specifying the desired number.
-
Preview how the question looks in the test-taking process.
-
Edit the question. For explanations of each field, refer to the Question types help page.
-
Delete a question from the test version.
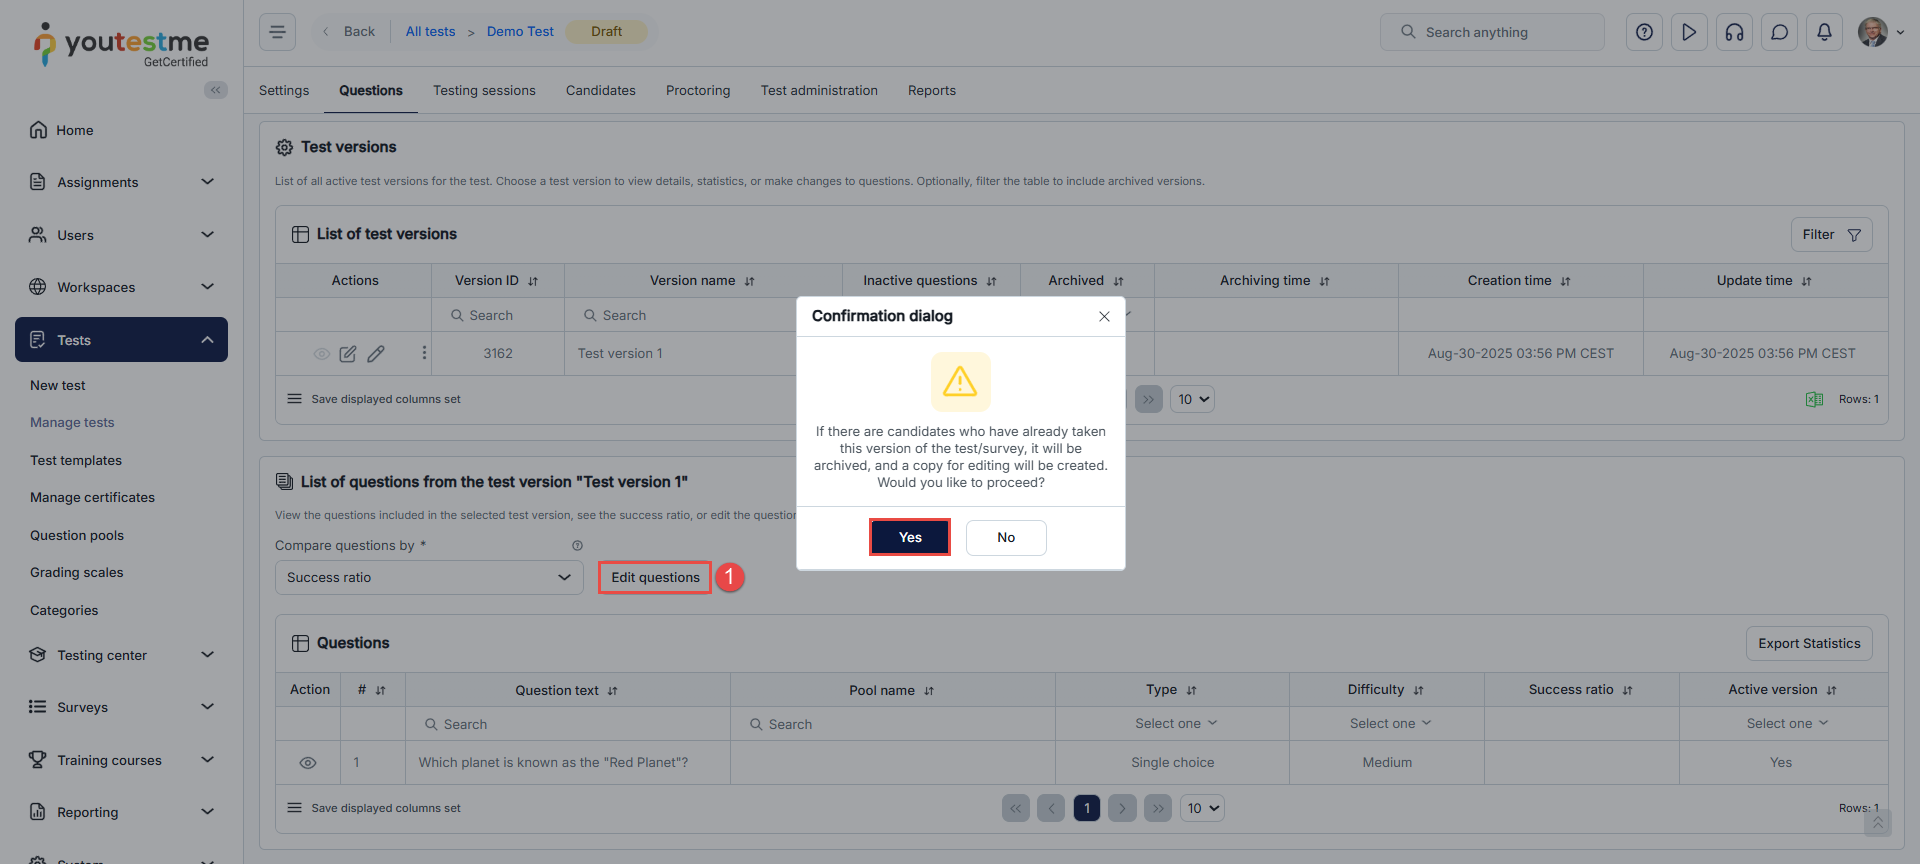
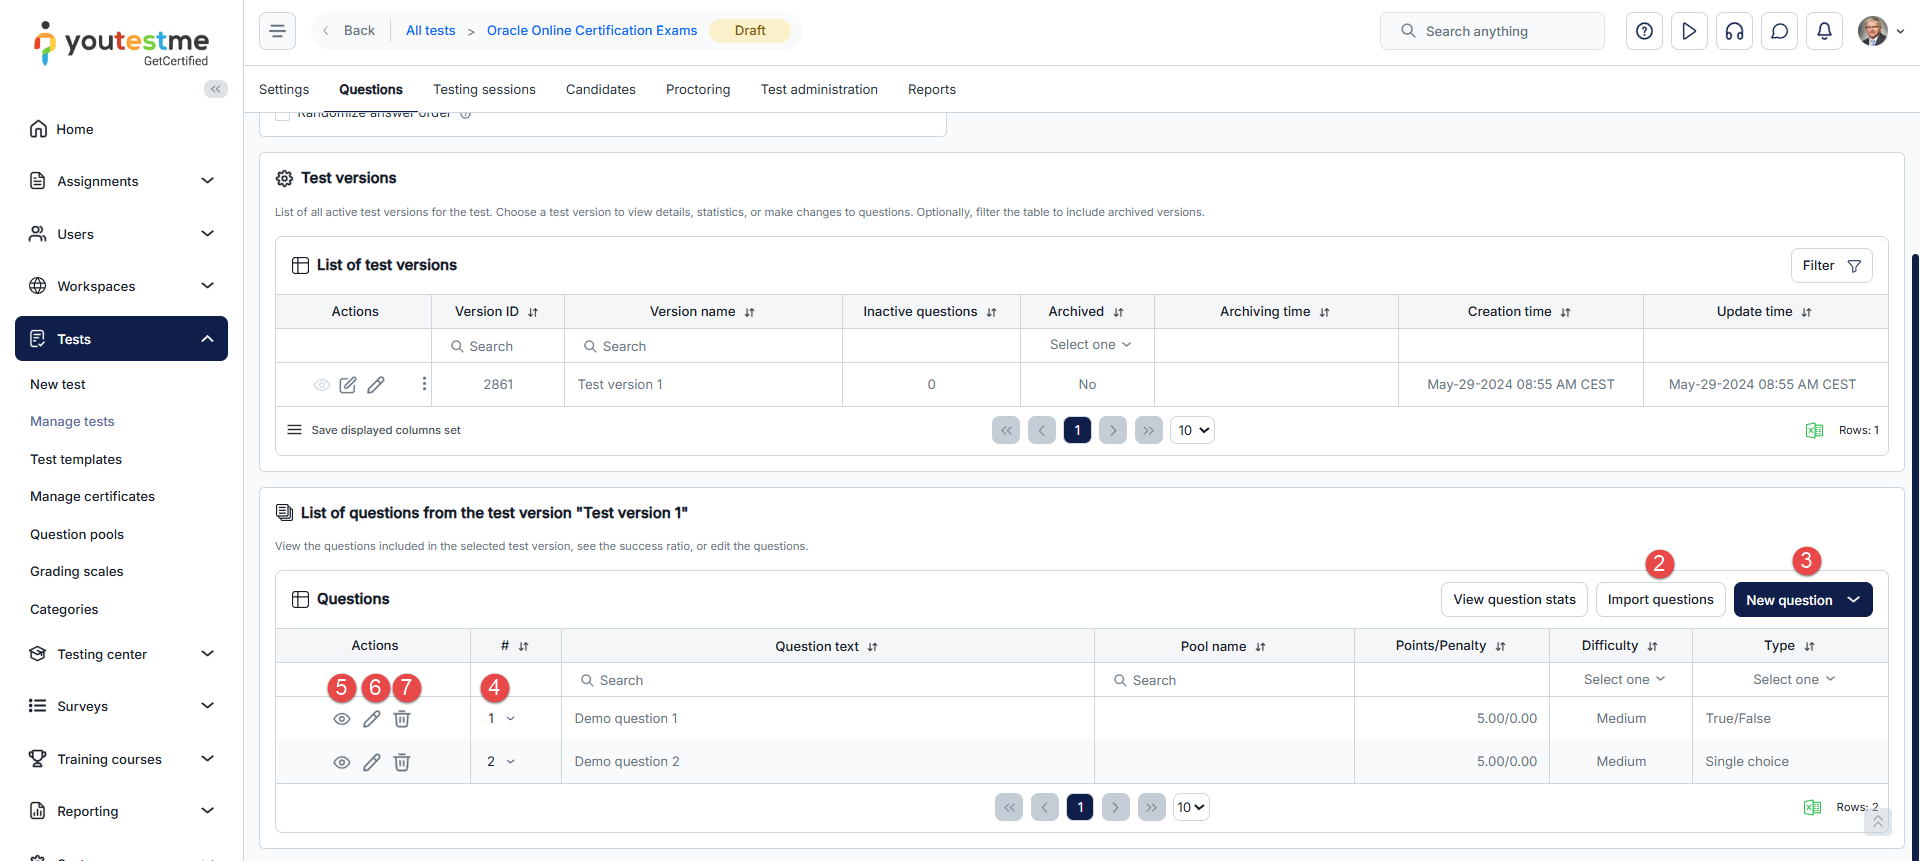
-
Answer distribution
To ensure meaningful and reliable results, the Answer Distribution view is available only for Single Choice and True/False questions and when a test has at least 10 completed attempts.
Once the table with questions is displayed:
-
Select the Answer distribution for the desired question.
-
High - candidates with the highest overall scores.
-
Low - candidates with the lowest overall scores.
-
Total - all candidates who answered the question.
-
p-value - percentage of all candidates who selected the correct answer (lower values indicate more difficult questions).
-
Discrimination Index - difference between High and Low groups (higher values indicate better discrimination between stronger and weaker test takers).
-
Close - Closes the Answer Distribution card for the current question.
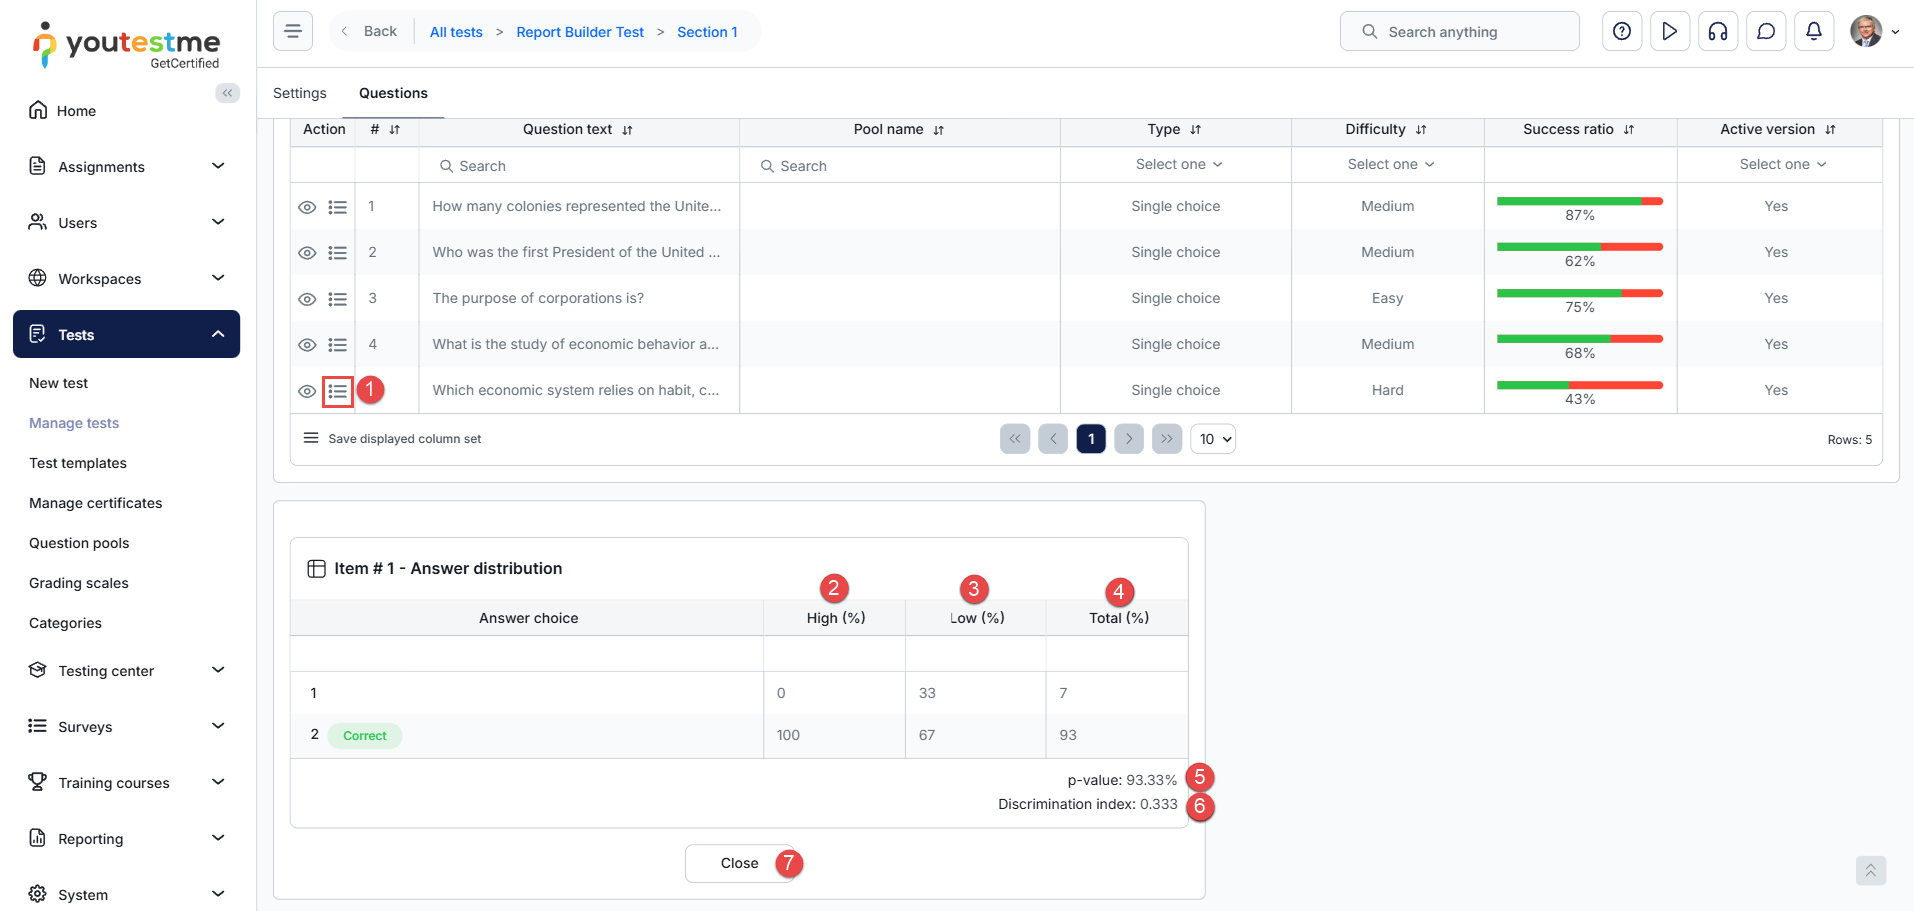
-
Test sections
In the Test sections, you can view information about the test sections included in the test. This includes details about each section such as the section name, passing mark, and whether it is required to pass in order to pass the overall test. Click the Details button to access the section and manage its settings.
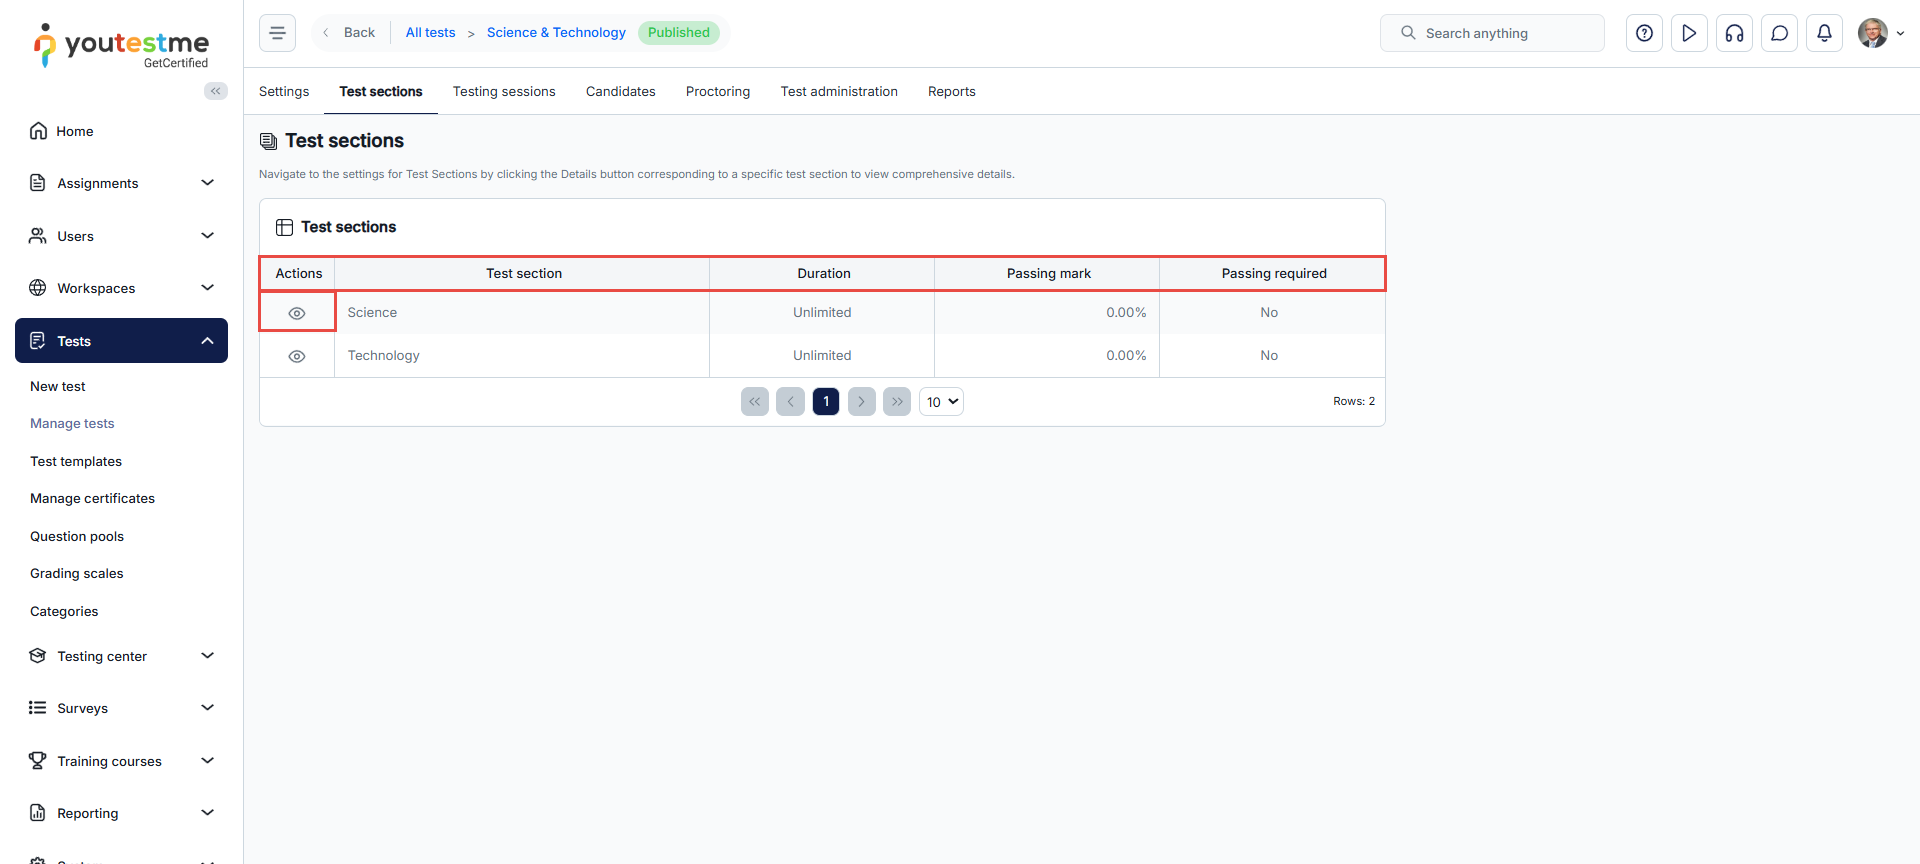
Testing sessions
On this tab, you can manage existing testing sessions and create new ones specifically for this test. All available actions are the same as when managing sessions via the Testing center screen.
Explanations for all available options can be found under the Testing center/Testing Sessions.Candidates
On this tab, you can manage test attempts, assign new candidates, or remove them from this specific test. All available actions are the same as when managing test attempts via the Testing center screen.
Explanations for all available options can be found under the Testing center/Candidates.Manual grading - Test attempts containing questions that require manual evaluation are marked as Report Incomplete until the required questions are graded. To manually grade an attempt, open the candidate's report and navigate to the Questions tab. Filter the questions by the Not Graded status and select Grade for the question you want to evaluate.
-
Enter the candidate's Achieved Points and submit the grade.
-
Optionally, add feedback that can be displayed to the candidate if the Personal Report settings allow question details to be shown.
-
Use the Next question and Previous question buttons to navigate between questions that require grading.
When available, select View score changelog to review previous score changes, including who changed the score, the old and new score values, and the time of the change.
For detailed instructions on manually grading a test attempt, refer to this article.
Proctoring
On this tab, you can monitor test attempts from this specific test. You can review candidate recordings, grade them as a proctor, handle special accommodation requests, and create and review special requests sent to candidates. All available actions are the same as when monitoring test attempts via the Testing center screen.
Explanations for all available options can be found under the Testing center/Candidate/Proctoring.Test administration
-
Managers
The user assigned as a test manager will possess all administrative privileges for the test. This includes the ability to edit test settings, add new candidates, proctors, and managers, create testing sessions, and monitor the progress of each candidate. Additionally, a manager can generate test reports and view question statistics.
On this page, you can:
-
Assign users as test managers.
-
Remove existing users as test managers.
-
Present a list of managers in tabular format.
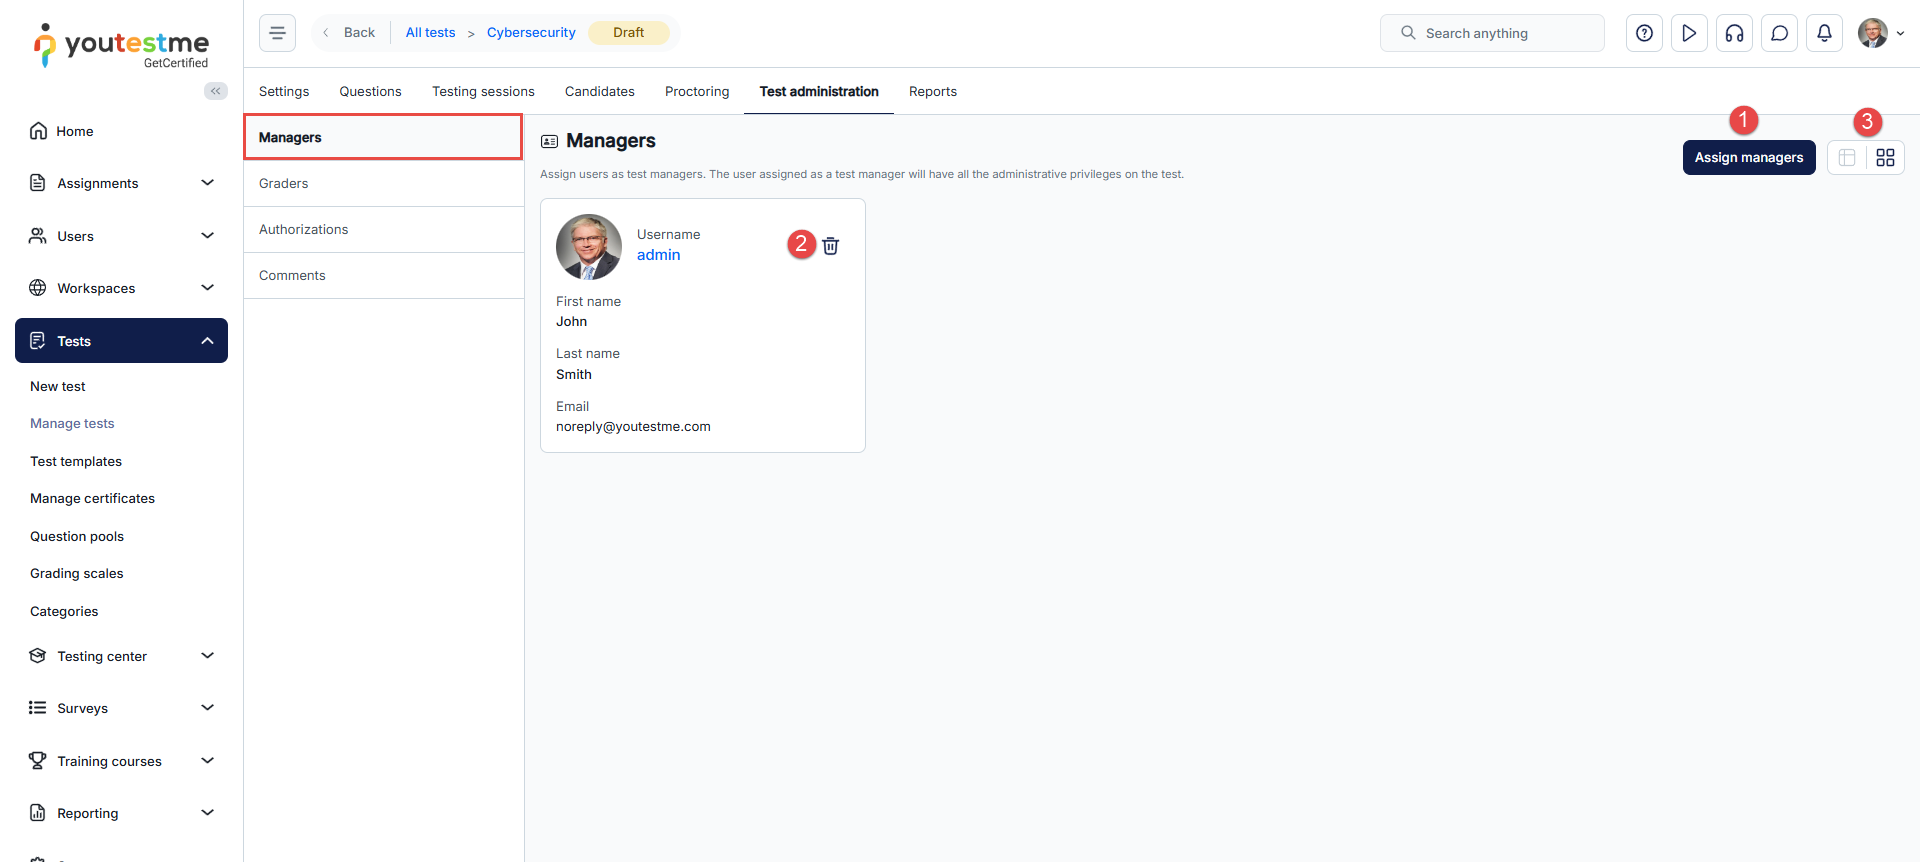
-
-
Graders
Graders can review test attempts on the assigned test version when the Multiple graders option is selected in the grading configuration. If auto-assignment is enabled, grading requests are immediately sent to a specified number of users with this role, determined by the Minimum grader reports for final result setting. Graders are chosen based on their position in the queue. For instance, if the setting is 2, the first two graders in the queue will get the grading requests. If a grader declines, it moves to the next in the queue until the minimum required reports are received. Graders assess the questions, and their scores contribute to the final result. Candidate results are released only after each assigned grader completes grading, depending on the specified number of required graders. If there are conflicting grades, the next grader in the queue makes the final decision. If auto-assignment is turned off, you can manually select graders from the list for each candidate's report.
On this page, you can:
-
Choose the test version to which you want to assign graders.
-
Click the Assign graders button.
-
Select the users you want to assign.
-
Remove a grader from the list.
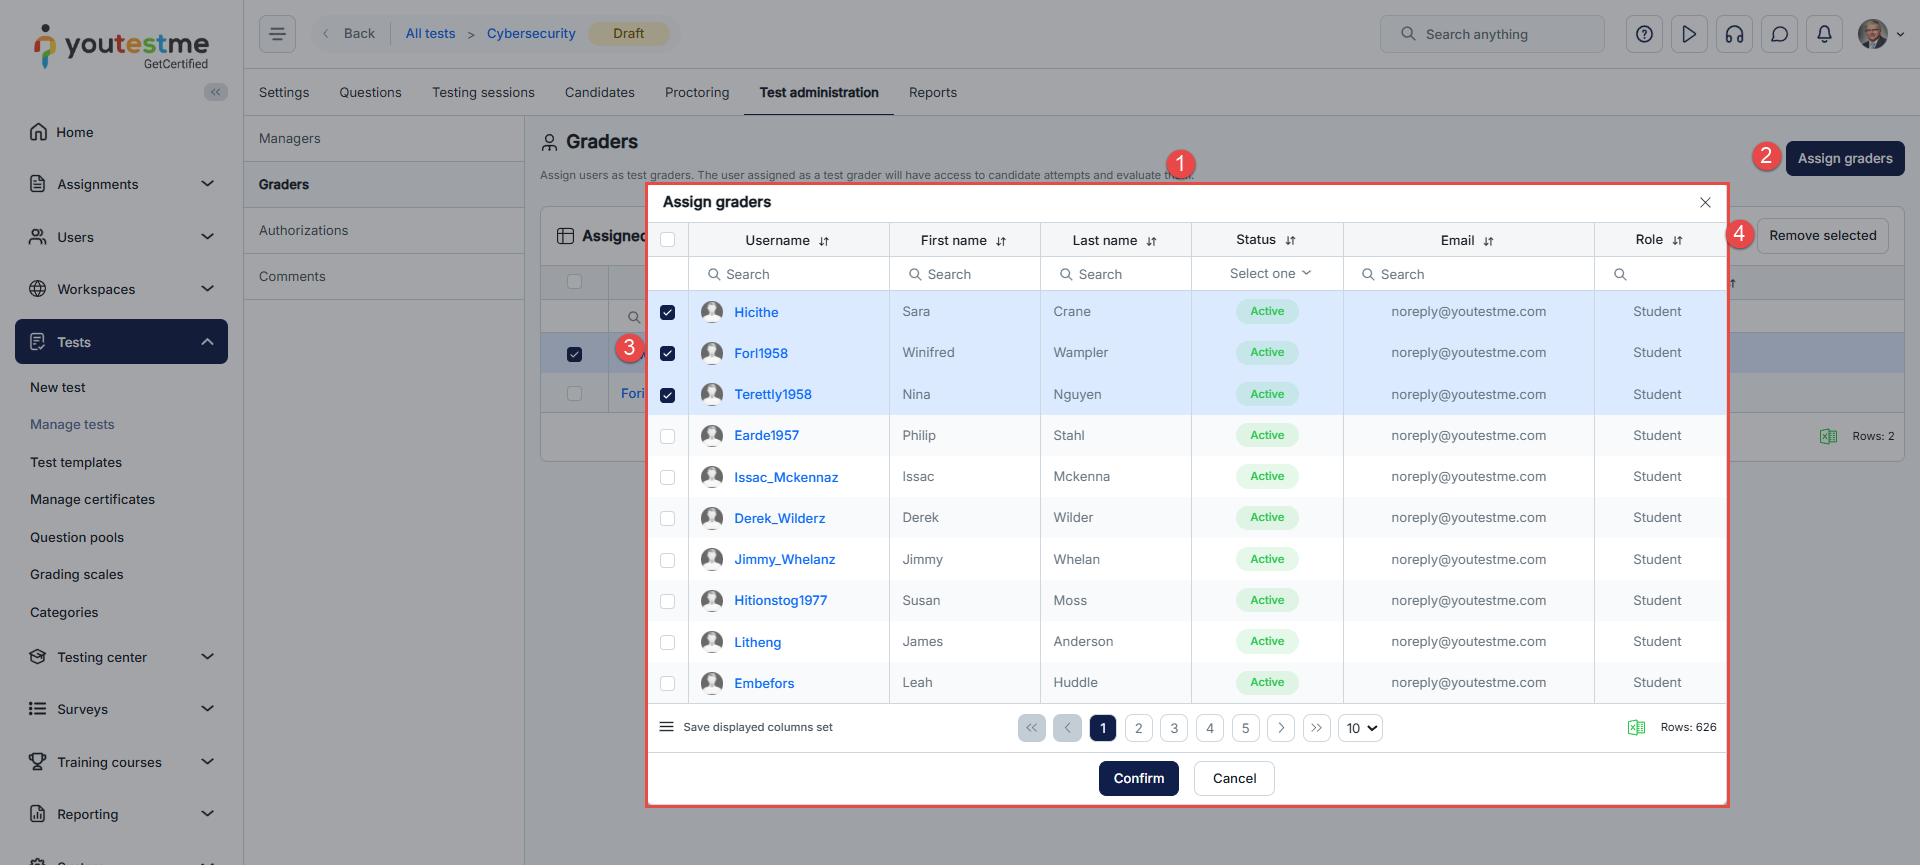
-
-
Authorizations
Test authorization regulates user access to tests. You can establish criteria, like mandatory payments or specific qualifications, for users to gain test authorization. Users without the necessary authorization for a test will not be able to view the test in their assignment list.
In the table, you can view all authorizations for the test. For detailed explanations of each column, refer to the Test authorizations help page.
For instructions on creating a new authorization, refer to this article.
To configure auto-authorization settings:
-
Navigate to Auto-authorization settings.
-
Define the conditions users must meet to be automatically authorized for the test.
-
Specify how many times a candidate can use the same authorization to take the test. If not set, the candidate can have an unlimited number of test attempts with the same authorization.
-
Set the expiration date for the authorization. Once this time passes, the user can no longer access the test with that authorization.
-
Click the Save button.
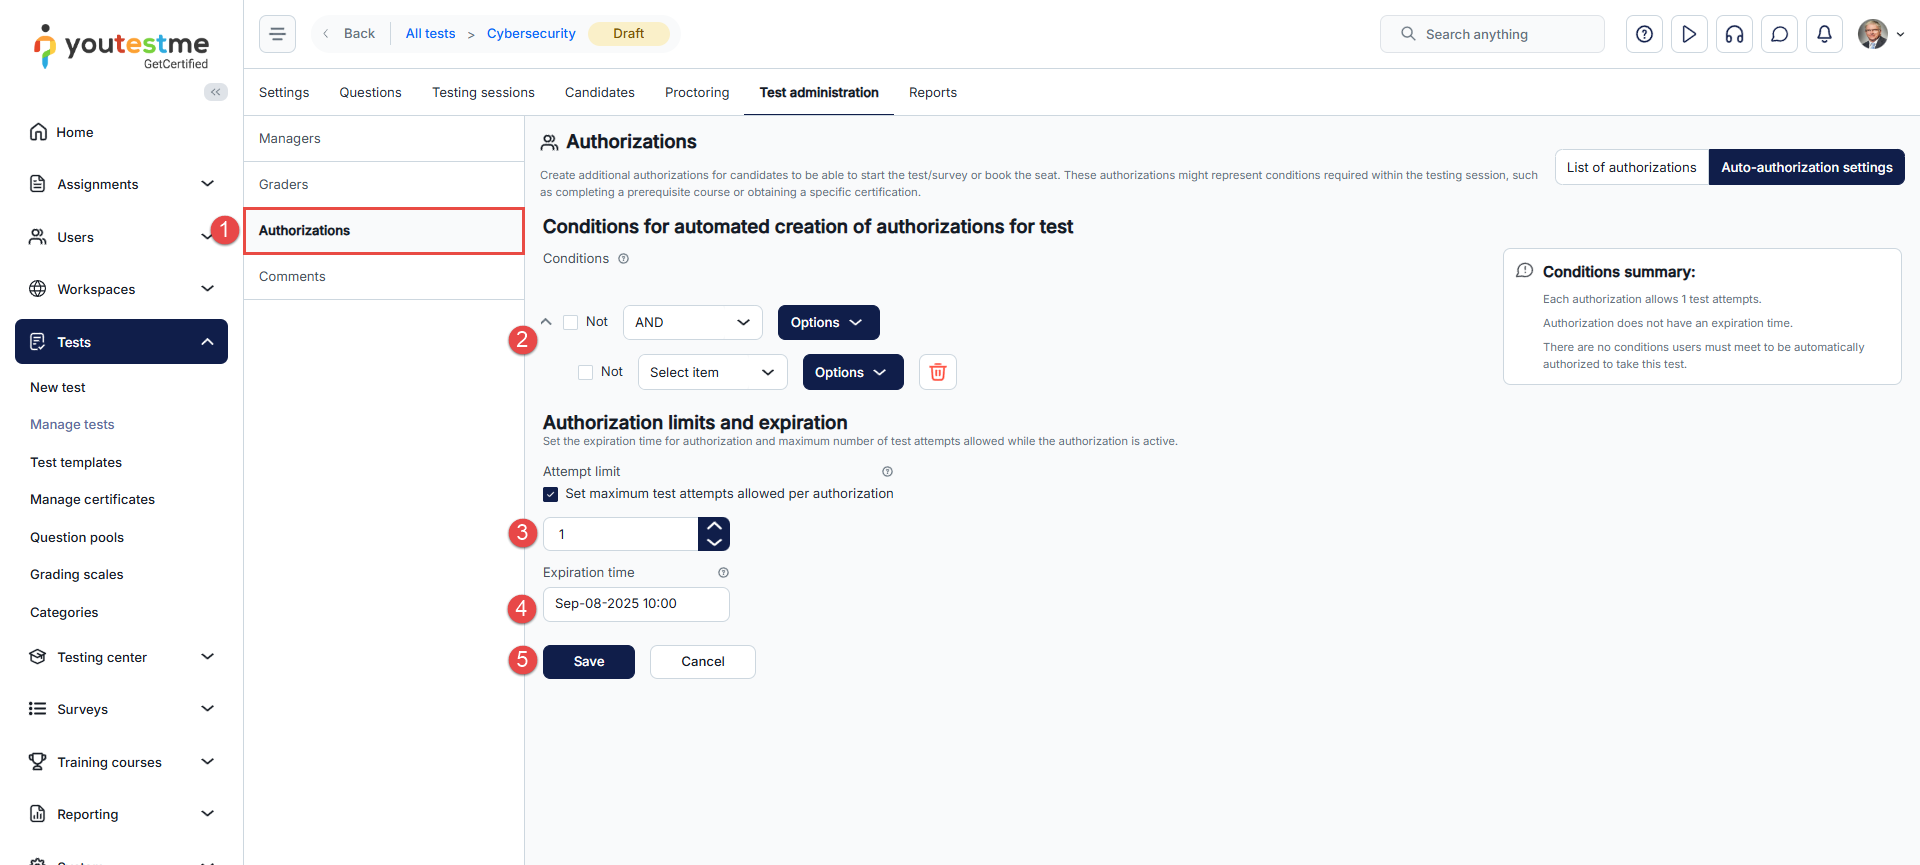
-
-
Comments
The Comments tab shows all comments linked to the chosen test. This is where you can make notes about changes in test settings, test organization, and so on. You can switch to see all comments for the test or just the ones you made.
To add a new comment:
-
Click the New comment button.
-
Type in your comment.
-
Click the Confirm button to save your comment.
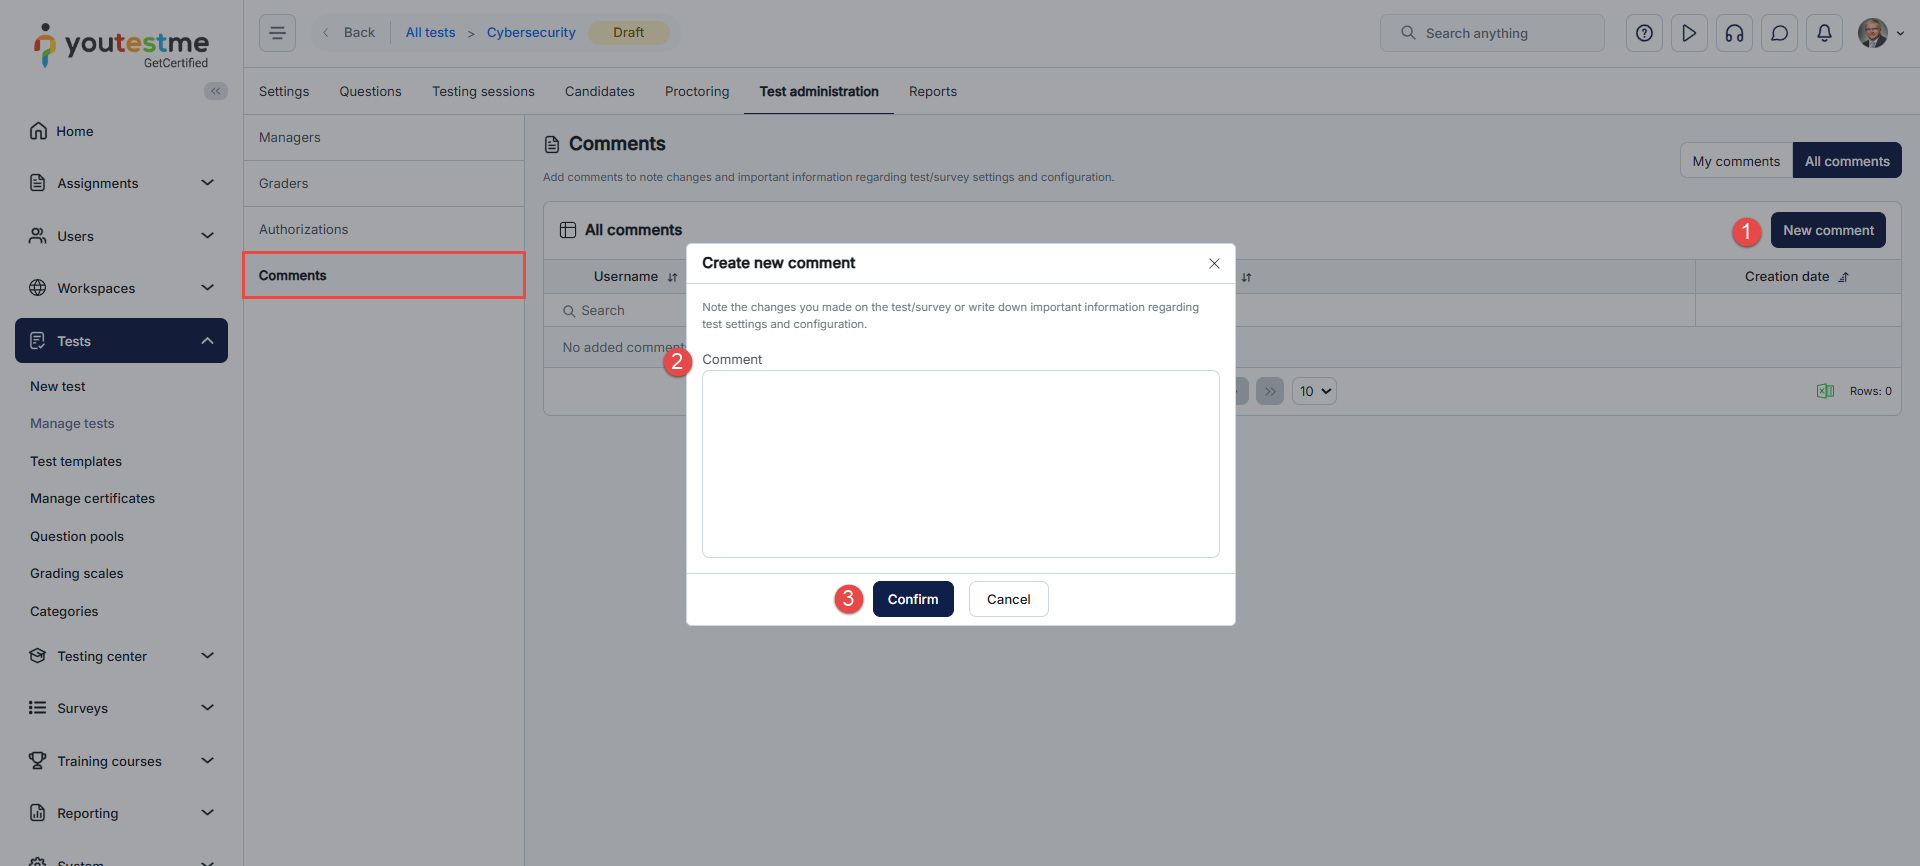
-
Reports
Here, you can access and view various reports related to test results, candidate performance, and other relevant analytics.
On this page, you can:
-
Open report builder to generate custom reports. To access report builder, users are required to have "Access Report builder" permission.
-
Choose to Include suspended attempts in the statistics displayed below.
-
Preview attempts summary report. This report provides details like the total number of candidates who took the test, candidates who started but didn't finish, those who completed it, the number of reports that need grading, and the passed/failed attempts. It also shows the highest score, lowest score, average score, median, and standard deviation.
-
View a graphical presentation of the number of passed and failed test attempts.
-
See a visual representation of score distribution in the test. The graph displays the percentage of test attempts in different score ranges, making it easy to see the count of attempts for each range.
-
Display test attempt statistics summarized by testing sessions created for the test. Optionally, you can use a filter to show only the attempts that started within a specific time period.
-
Show test attempt statistics summarized by testing locations where the test is organized. Optionally, you can use a filter to display only attempts that began within a specific time period.
-
Access the desired predefined reports. Open a report and easily schedule it for regular, automated sending.
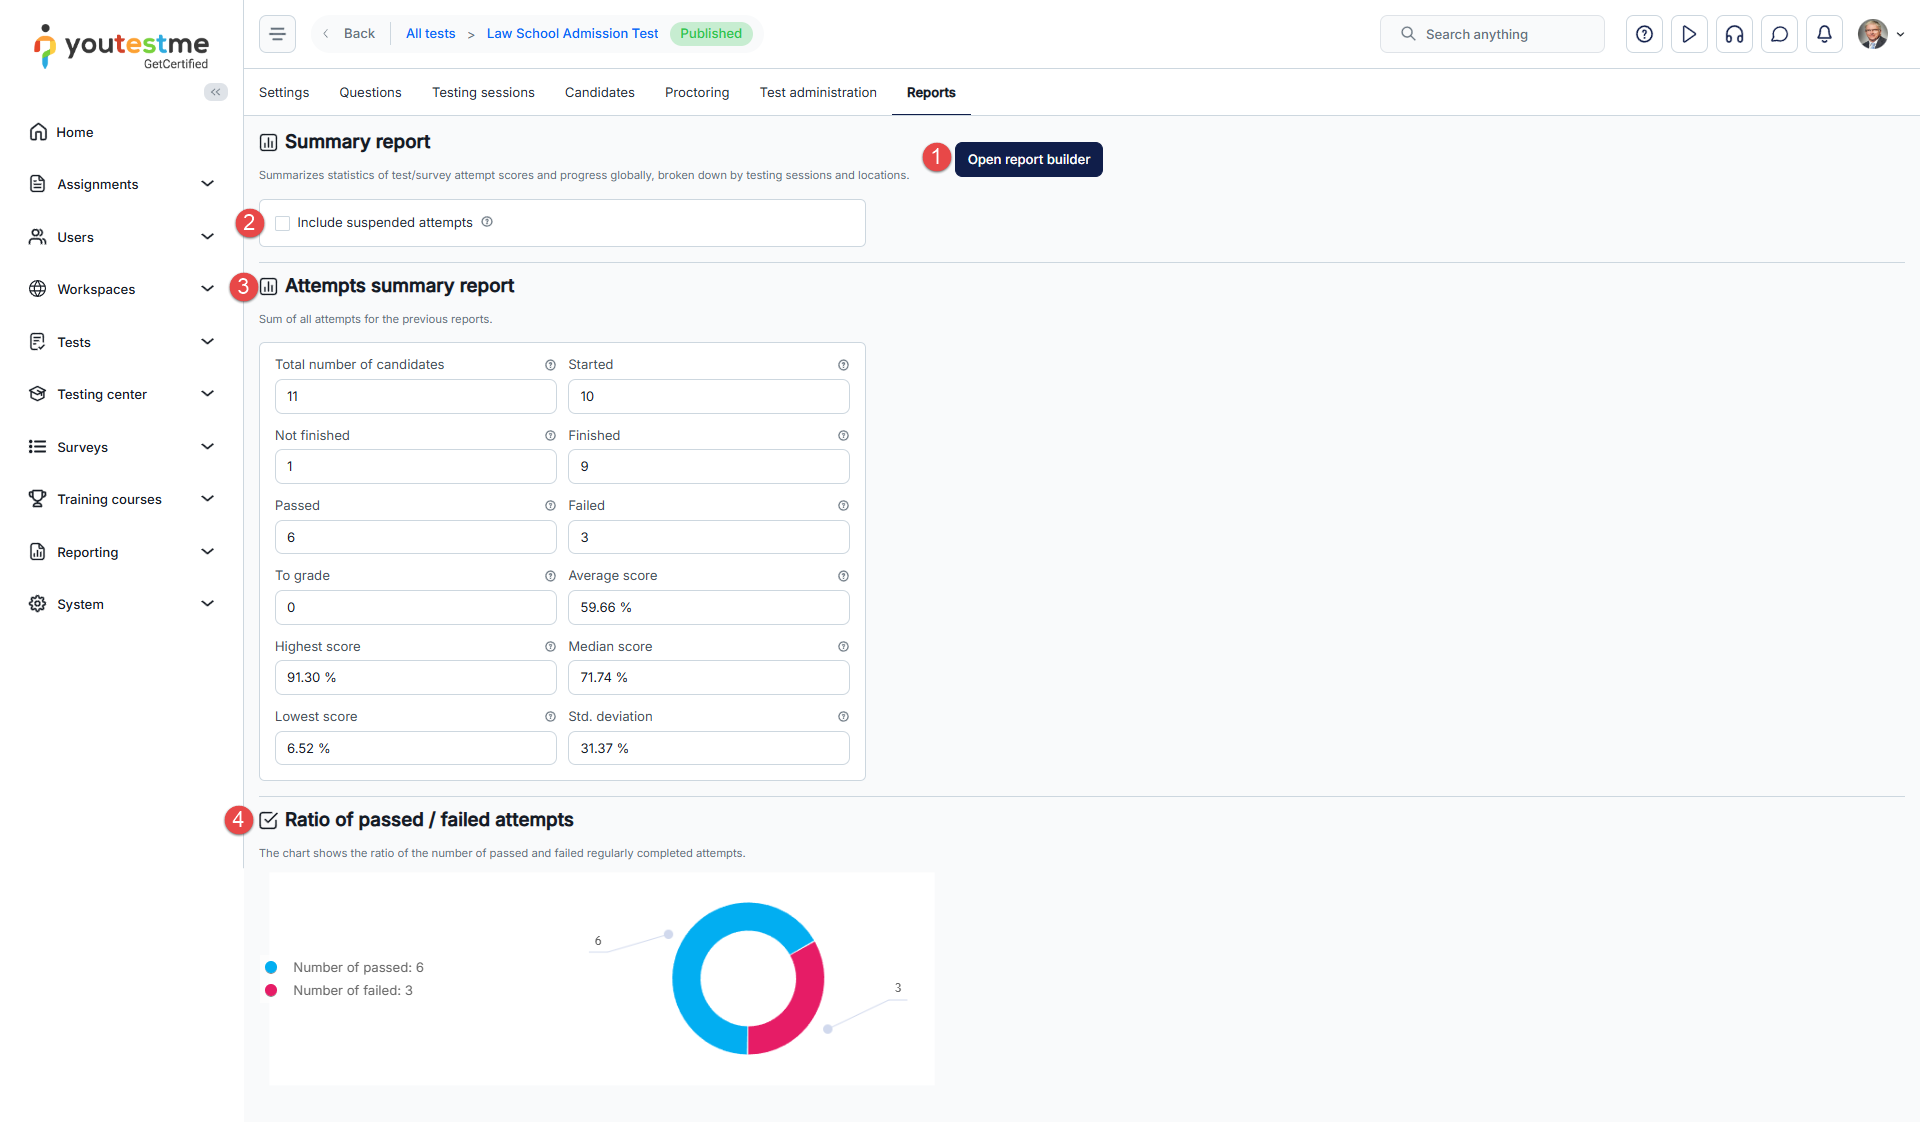
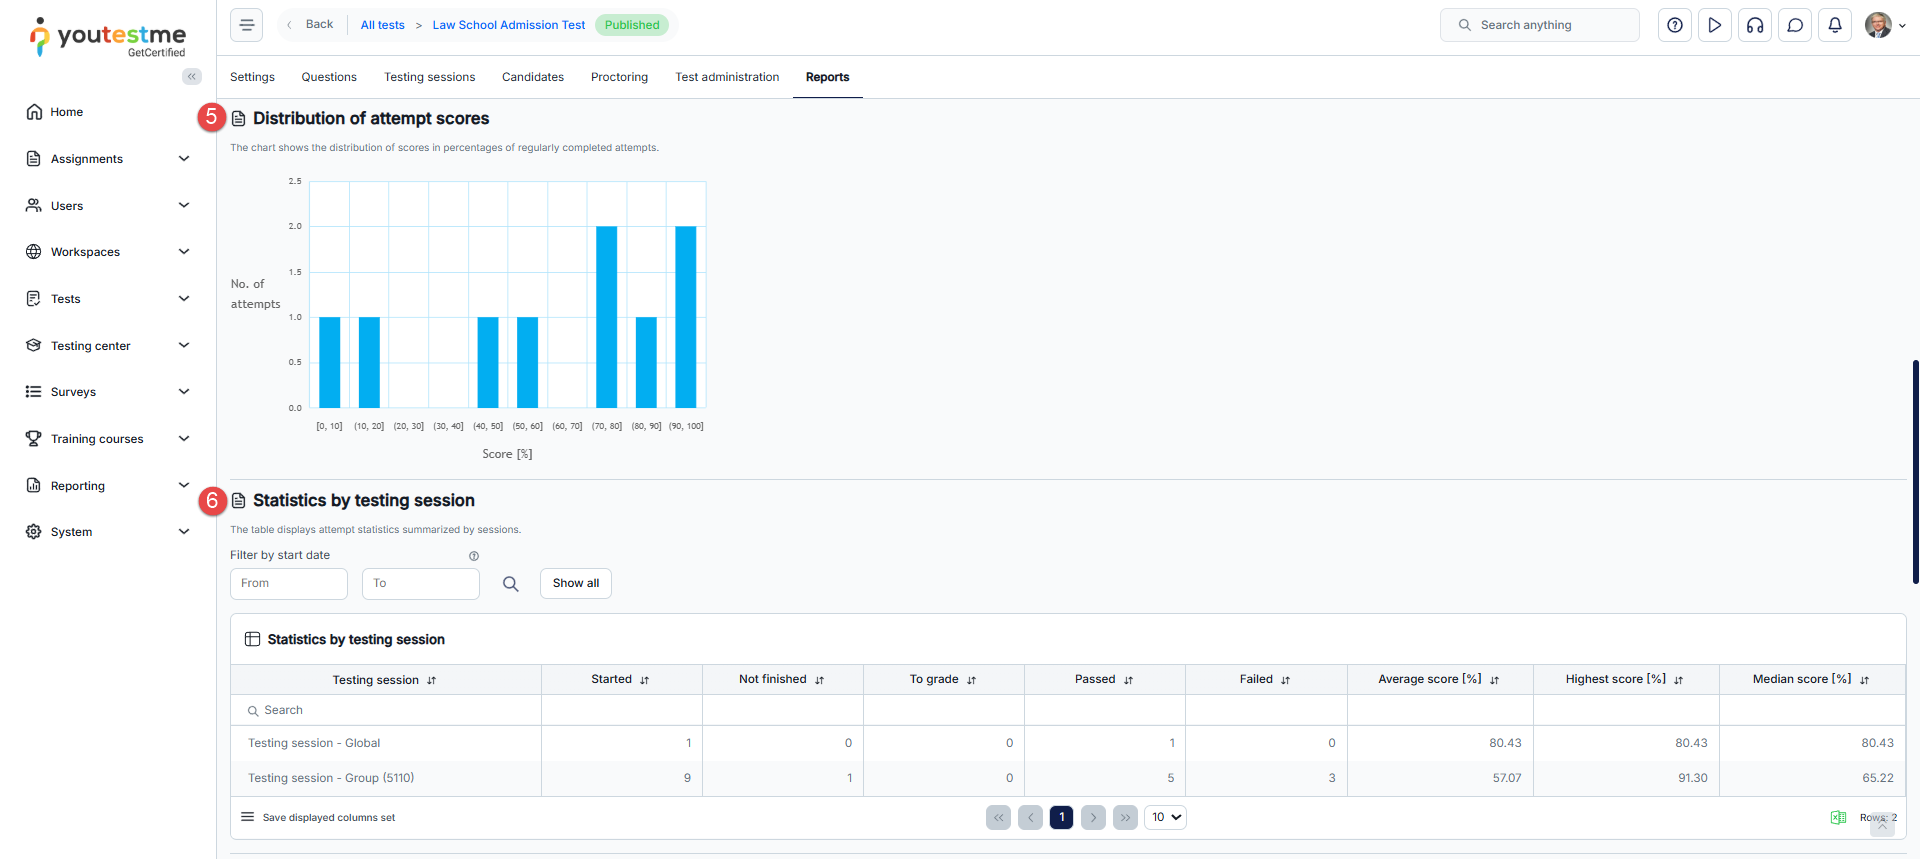
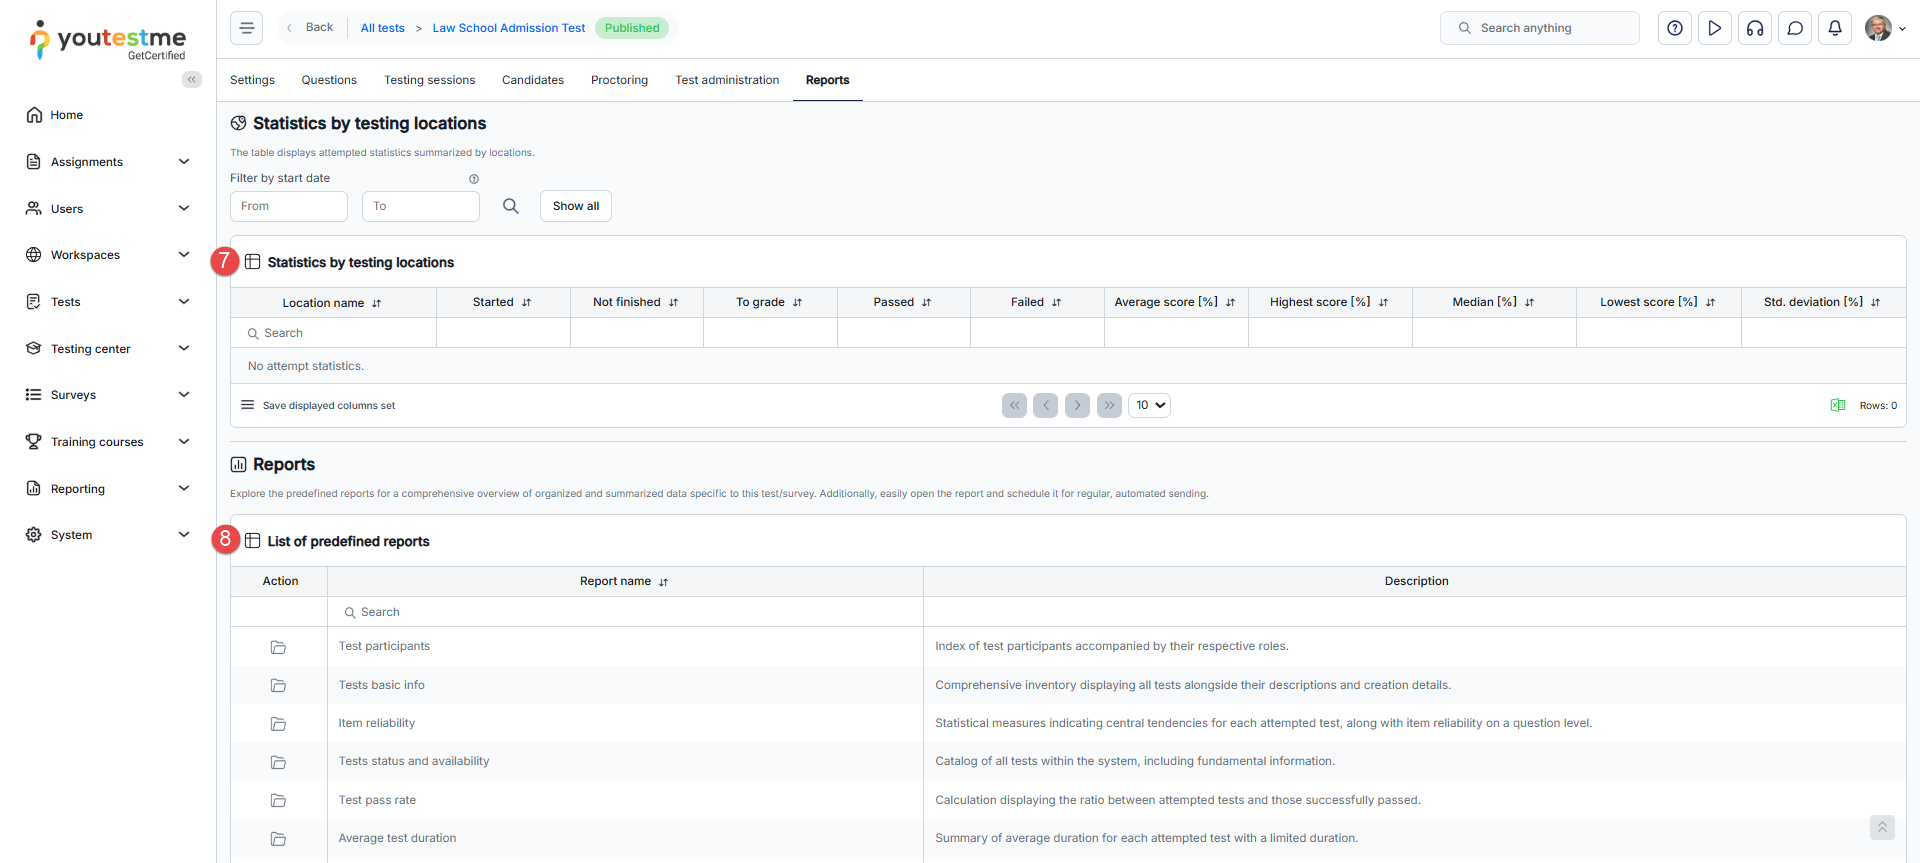
Test authorizations
Introduction
Authorization regulates user access to tests. You can establish criteria, such as mandatory payments or specific qualifications, for users to gain authorization. Those without authorization for a test that requires it can't see it in their assignment list.
To learn more about how to restrict test access with authorization, refer to this help page.
For more information on how to manage test authorizations for each test separately, refer to the Tests/Manage tests/Test administration/Authorizations help page.-
List of authorizations
-
Table overview
-
Authorization ID - Automatically generated upon authorization creation and cannot be edited.
-
Username - This column displays the usernames of users who have been granted authorization.
-
Test name - This column displays the names of the tests for which users have been authorized.
-
Active - The authorization status is active when the expiration time has not passed, the remaining attempts exceed the limit, and the authorization is not manually deactivated. If these conditions are met, a user can use this authorization for the test. Otherwise, a new authorization is needed.
Attempts limit - It shows the maximum number of test attempts a user can have on the test using this authorization.
Attempts left - It shows the remaining number of test attempts the user can take a test using this authorization.
Used attempts - It shows the total test attempts a user has used with this authorization.
-
Expiration time - If the expiration time has passed, the user can no longer access the test with this authorization. If the expiration time is not defined, there will be no time limit for using the authorization.
Note: Candidates will be allowed to take the test if they book it before the authorization expiration date or if they are assigned to a session by a manager.
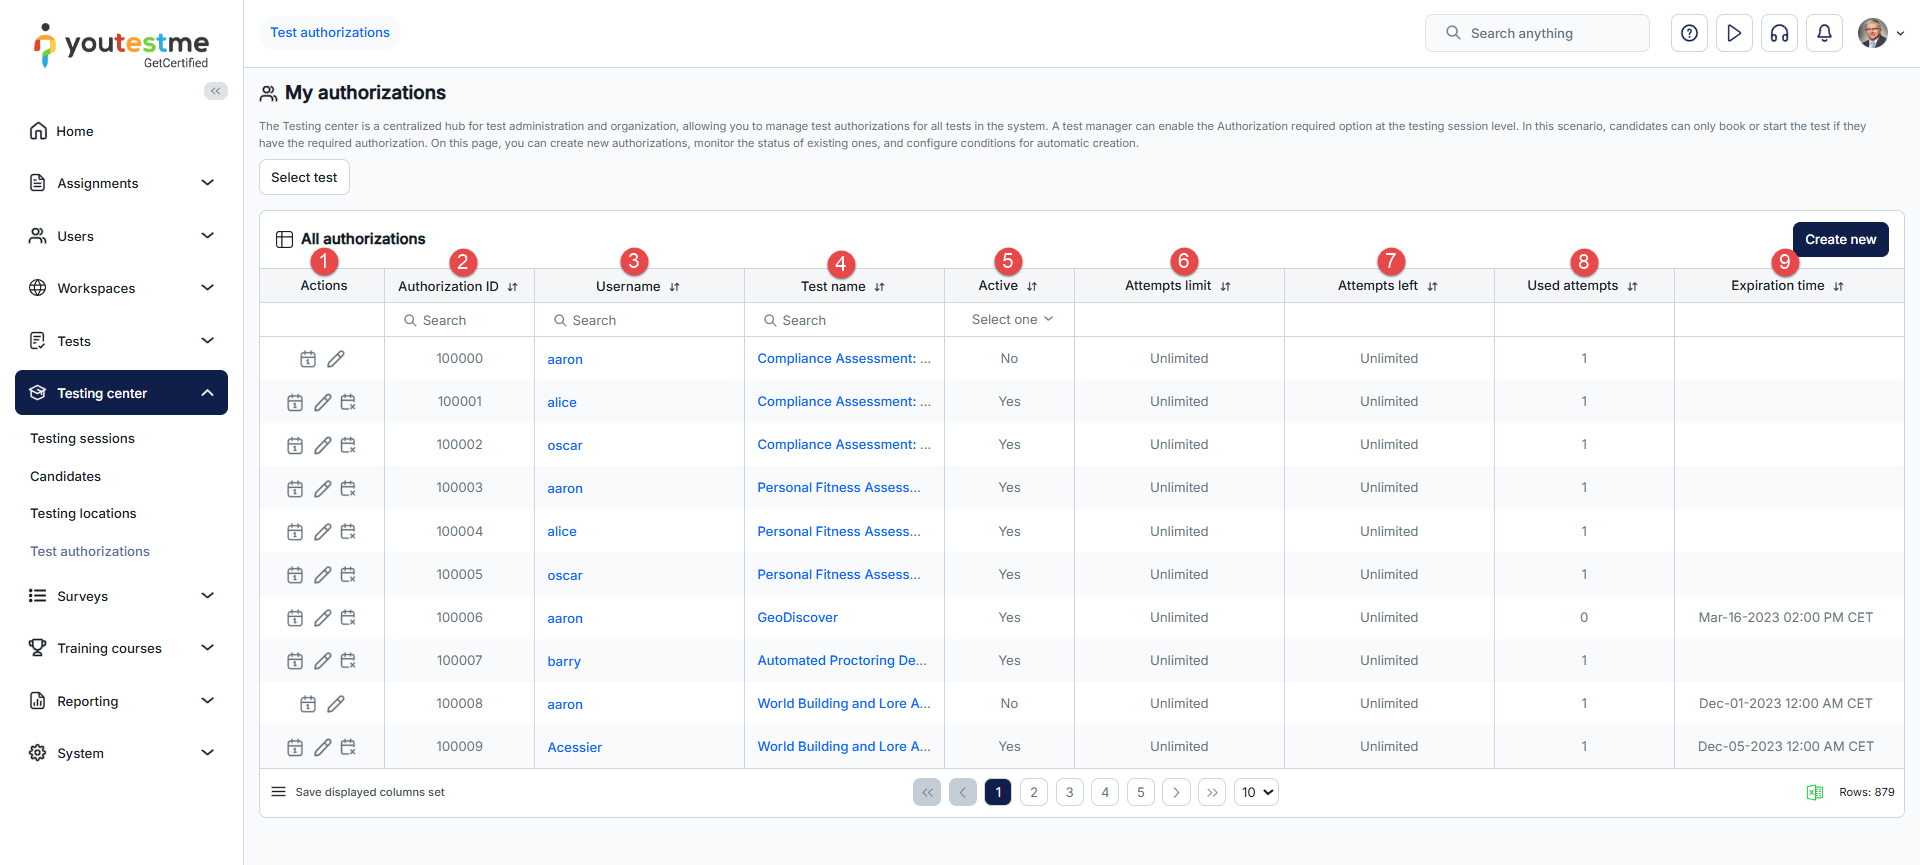
-
Actions
-
Select test - Display only authorizations for the selected test.
- Create new
-
Reschedule testing attempt - The test manager can directly assign a user to take the test in a specific testing session. Only testing sessions not open for user self-enrollment (self-enrollment option is disabled) will be displayed.
-
Edit - Adjust the authorization expiration time to your preference by either shortening or extending it.
-
Deactivate - This action sets the authorization status to inactive, preventing the user from using it to take the test, even if the expiration time hasn't passed and the remaining attempts exceed the limit.
-
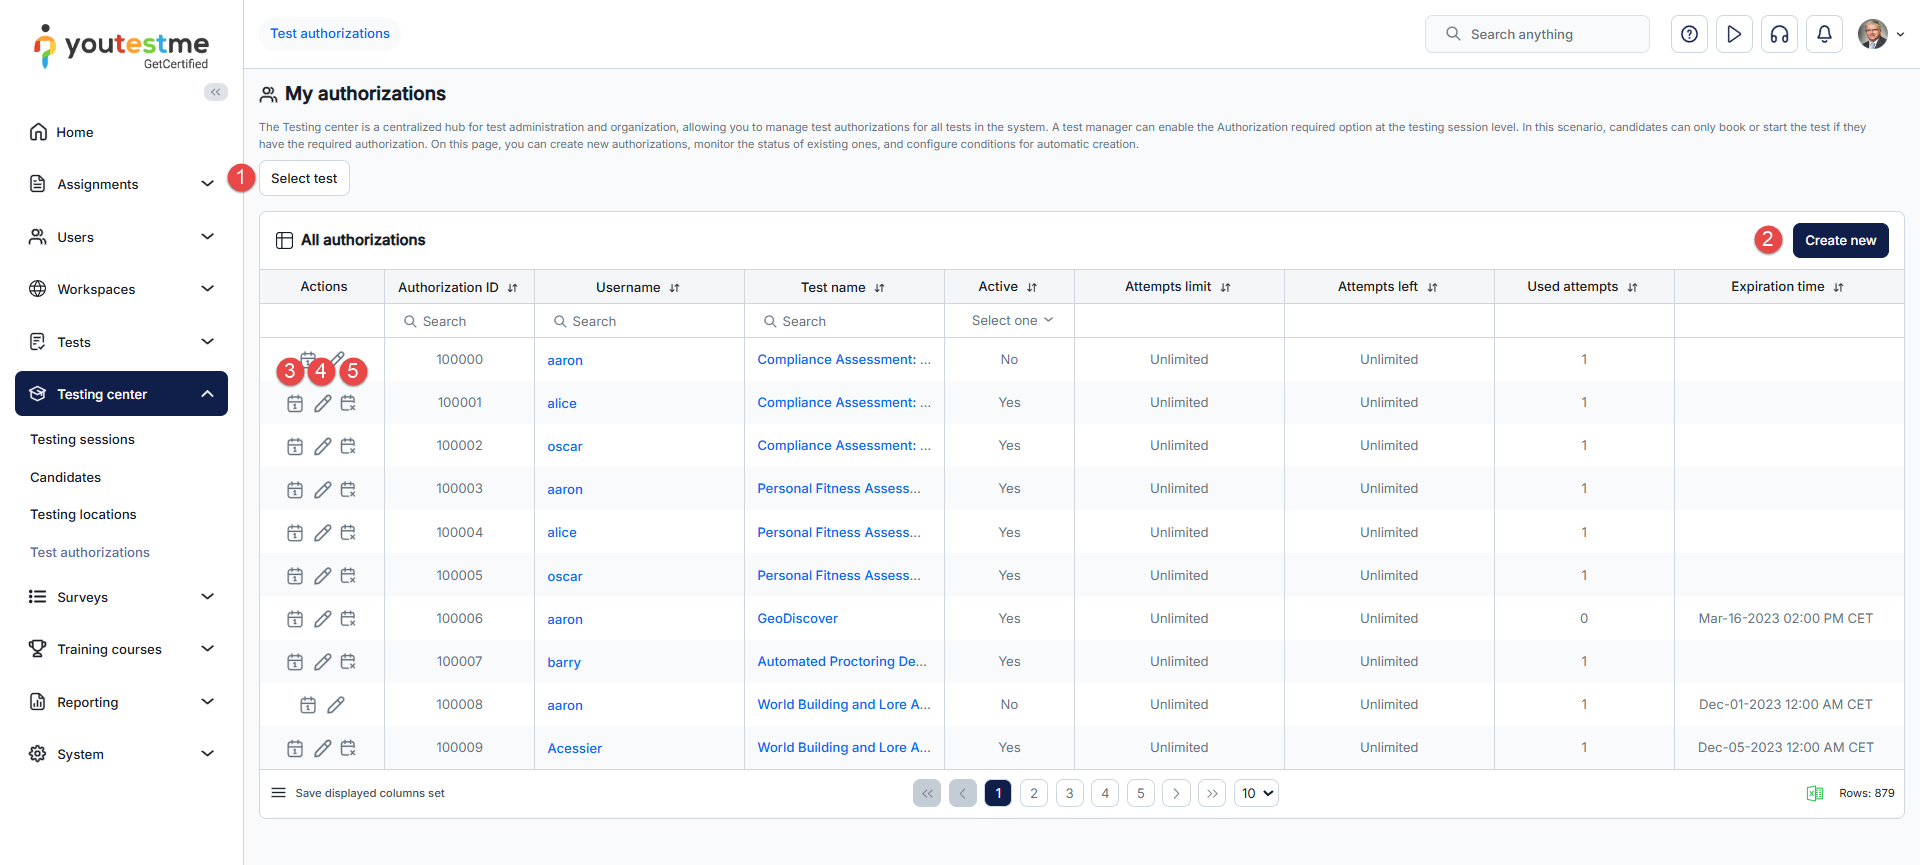
-
Test Templates
Test templates
Test templates represent saved test configurations that can be loaded and used when creating new tests. Templates can always be further modified, and these modifications will be reflected to any new test created afterwards when the template is applied.
To get here, navigate to the Tests section in the main menu, then select Test templates.
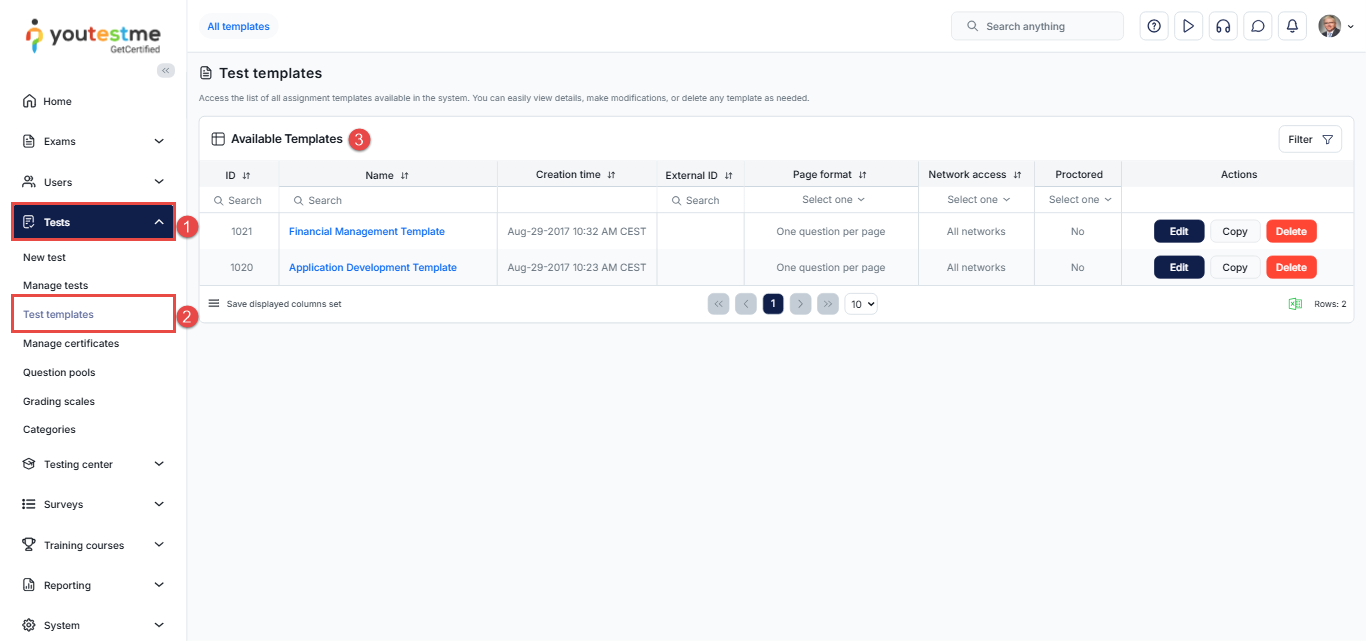
On this page, you can:
-
Open a template for editing.
-
Copy a template, creating a duplicate of the template.
-
Delete a template, removing it from the system.
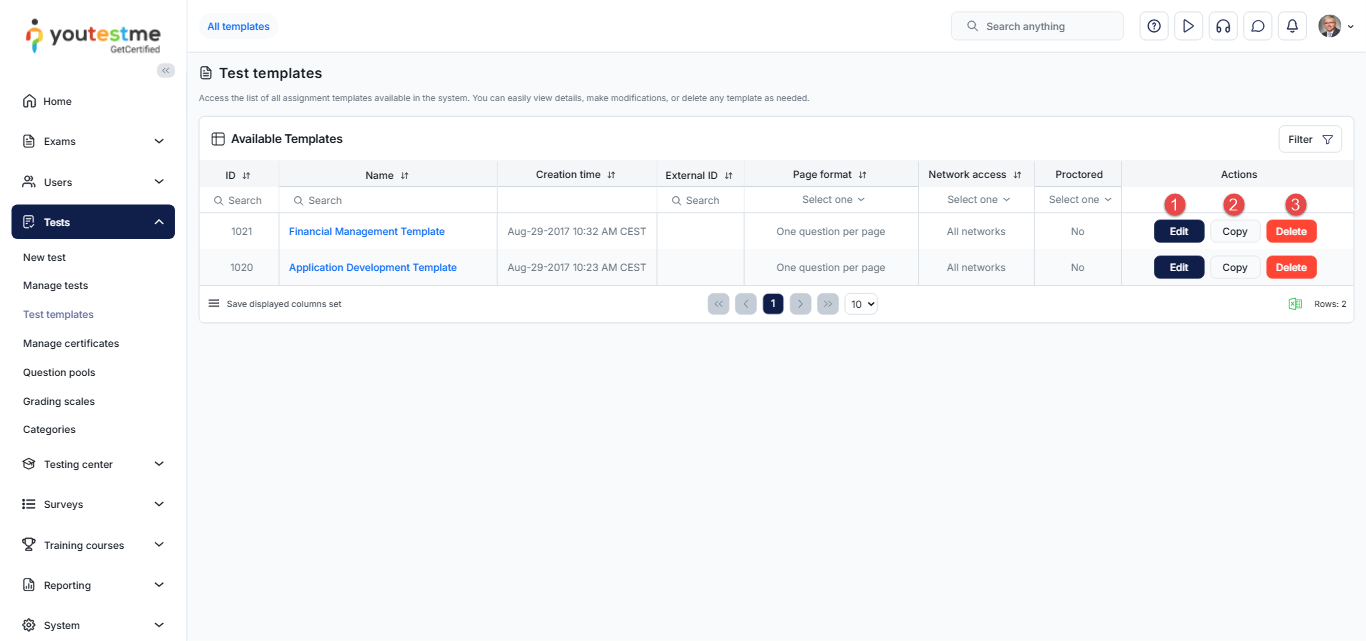
Access the template you wish to manage.
Test template settings are the same as Test settings. For further information about each option, please visit Test settings.
Note: Please note that "Question pools" tab of test templates is visible only for templates which were created from GENERATED test type.
Note: Please note that it is not possible to create a test template from a test that contains sections.
Manage certificates
-
Introduction
On the Manage certificates page, you can create custom-branded certificates that can be assigned to tests and awarded to candidates upon successfully passing tests or meeting specifically defined completion conditions. Candidates have the option to download the certificate in PDF format, as an image, or share it via a link.
To manage certificates, navigate to the Tests panel in the left-side menu, and select Manage certificates.
On the left side of the screen, you will find a sidebar where you can:
-
Search for a specific certificate.
-
Access and edit a certificate by clicking on its name.
Additionally, at the top of the page you can click the New certificate button to create a new certificate (The fields are similar to those for managing existing certificates).
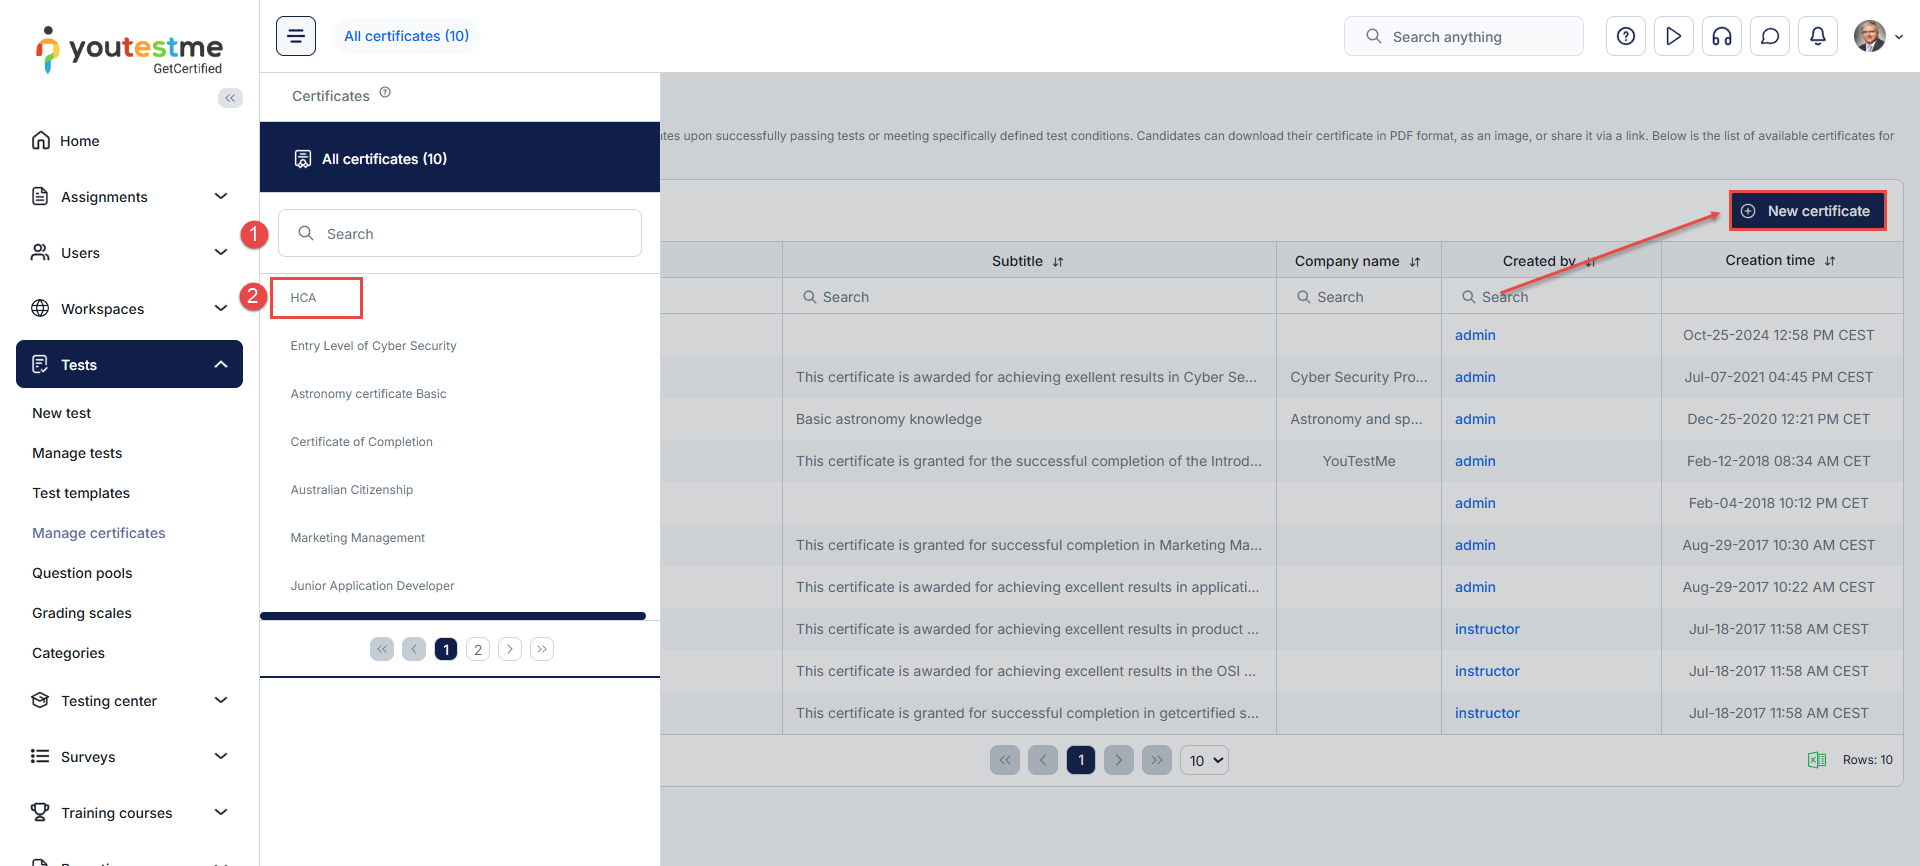
-
-
Manage certificates
-
Information
The Information tab displays all certificate settings, which can be modified.
On this tab, you can:
-
Choose the certificate Style and orientation. Default certificate templates are available, but custom templates can also be created and uploaded to the application in .jasper format. Once uploaded, a custom template can be selected when creating or editing a certificate. For detailed instructions on creating and uploading custom certificate templates, refer to this article.
-
Define the Title of the certificate.
-
Check the ID of the certificate. It is a unique value generated automatically once the certificate is created.
-
Optionally, add a Subtitle to the certificate to further clarify its purpose.
-
Enter the Company name that issued the certificate.
-
Enter the External ID, a unique identifier used for integration with external systems. This field allows connecting certificates from this system to objects in external systems. For instance, when integrating with Credly, set the template ID of the Credly badge as the external ID for the YouTestMe certificate.
-
Specify the Certificate validity period. Make the certificate valid for an unlimited period of time or set a limited validity period in days or years. After the validity period expires, the candidate will need to retake the test to obtain the certificate again. The expiration date will be shown on the certificate and in the candidate's report.
-
Upload or remove the certificate Background.
-
Upload or remove the Certificate logo.
-
Upload or remove the Organization logo.
-
Click the View button to check how the certificate looks.
-
Click the Save button to save the certificate or the Cancel button to discard changes.
-
Permanently Delete the certificate. A certificate cannot be deleted if it has been added to any test.
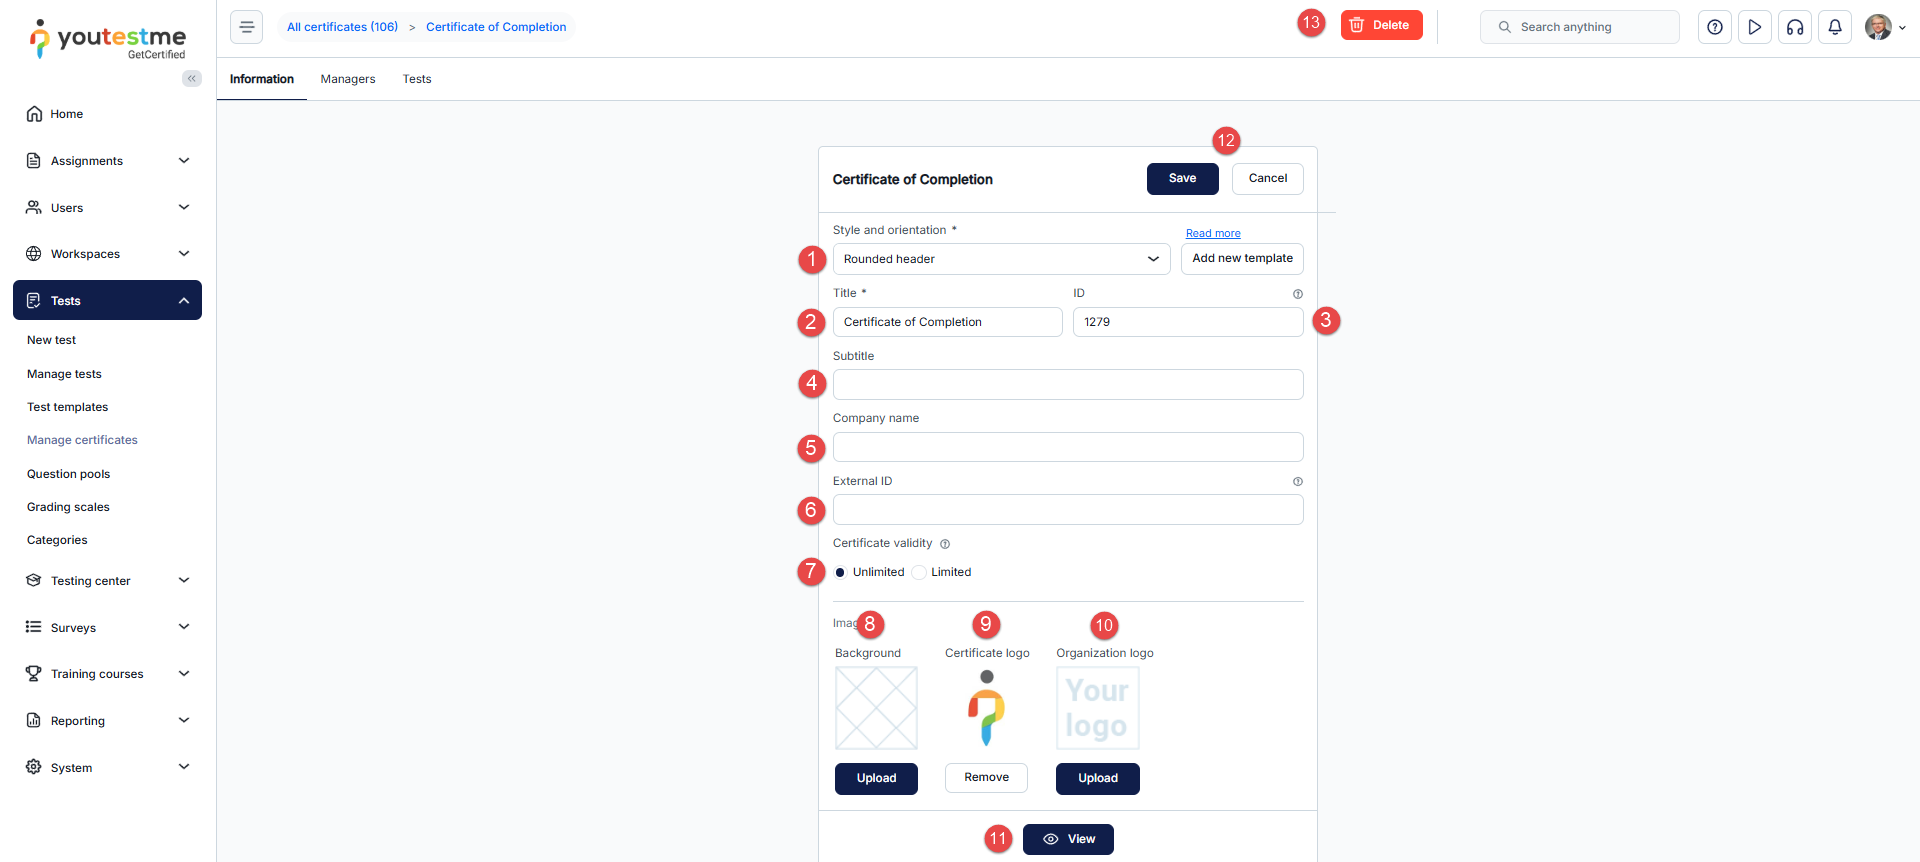
-
-
Managers
The Managers tab contains a list of users who have been granted permission to edit the certificate and use it in tests they manage.
On this tab, you can:
-
View a list of managers in tabular format.
-
Assign users as certificate managers. Select the users you want to assign as certificate managers and click the Confirm button.
-
Remove existing users as certificate managers. In the tabular format, you can select multiple users, click the Remove selected button, and remove them all at once.
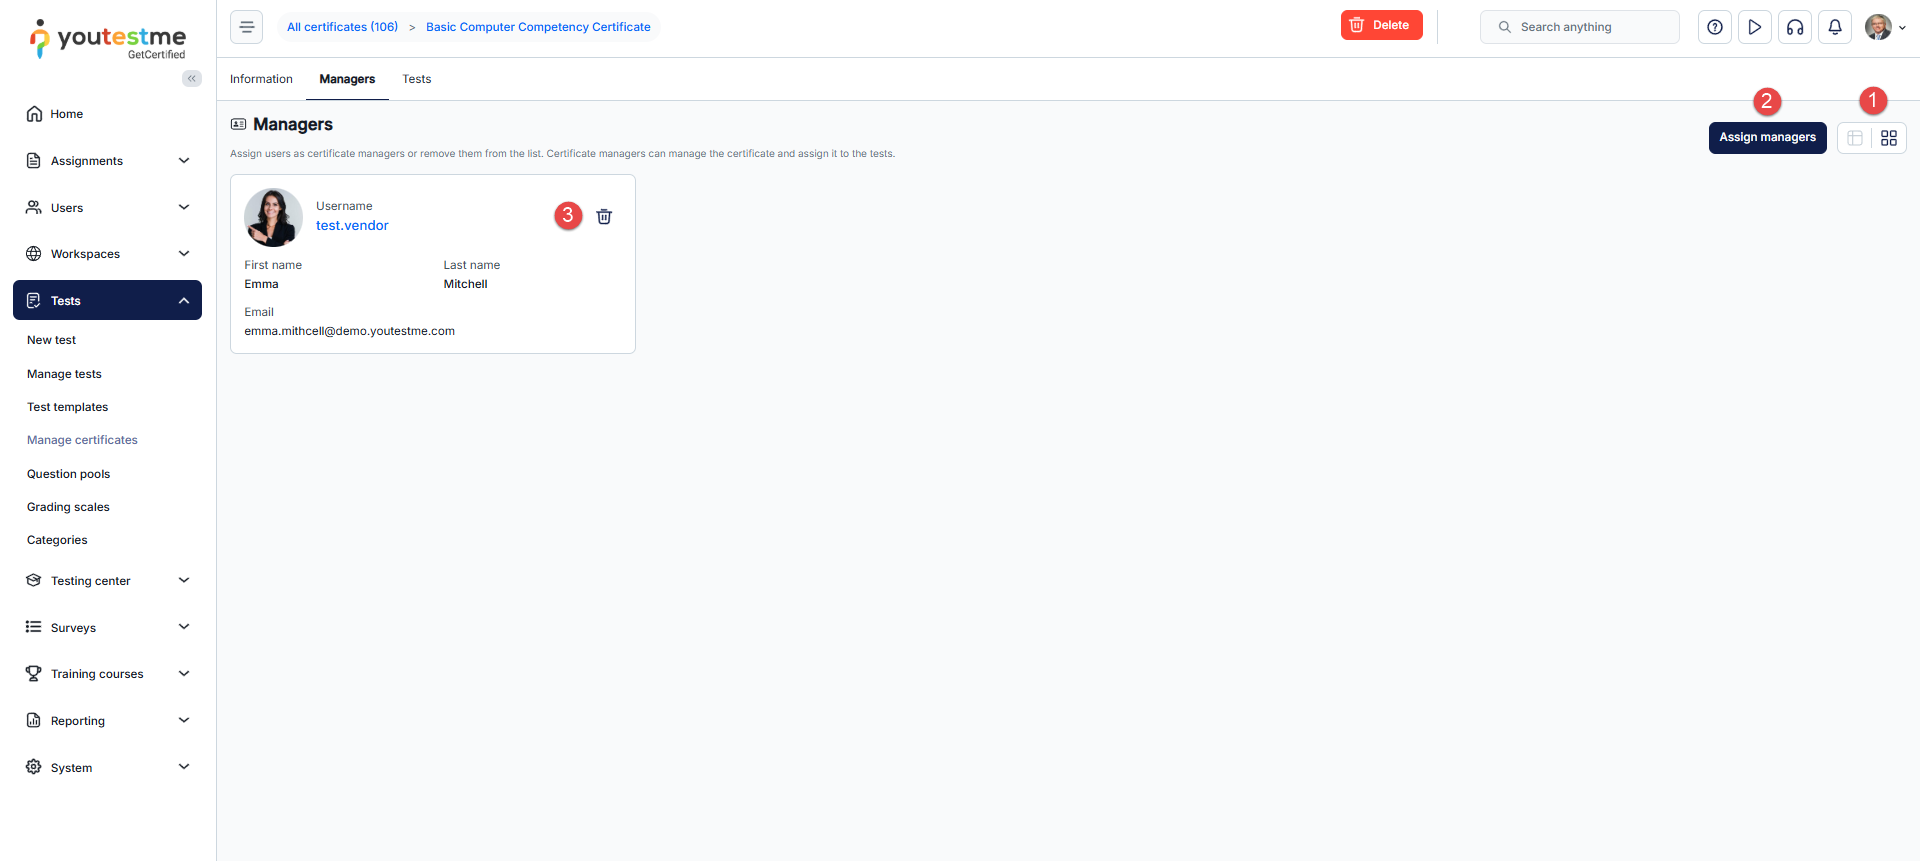
-
-
Tests
The Tests tab displays a list of all tests to which the certificate is assigned. This means that the certificate will be awarded to users upon successfully completing or meeting specifically defined completion conditions of any of the listed tests. You can associate the certificate with new tests or remove it from existing tests. One test can have multiple certificates.
To link tests to the certificate:
-
Click the Link tests to this certificate button.
-
Select the tests to which you wish to assign the certificate.
-
Click the Confirm button.
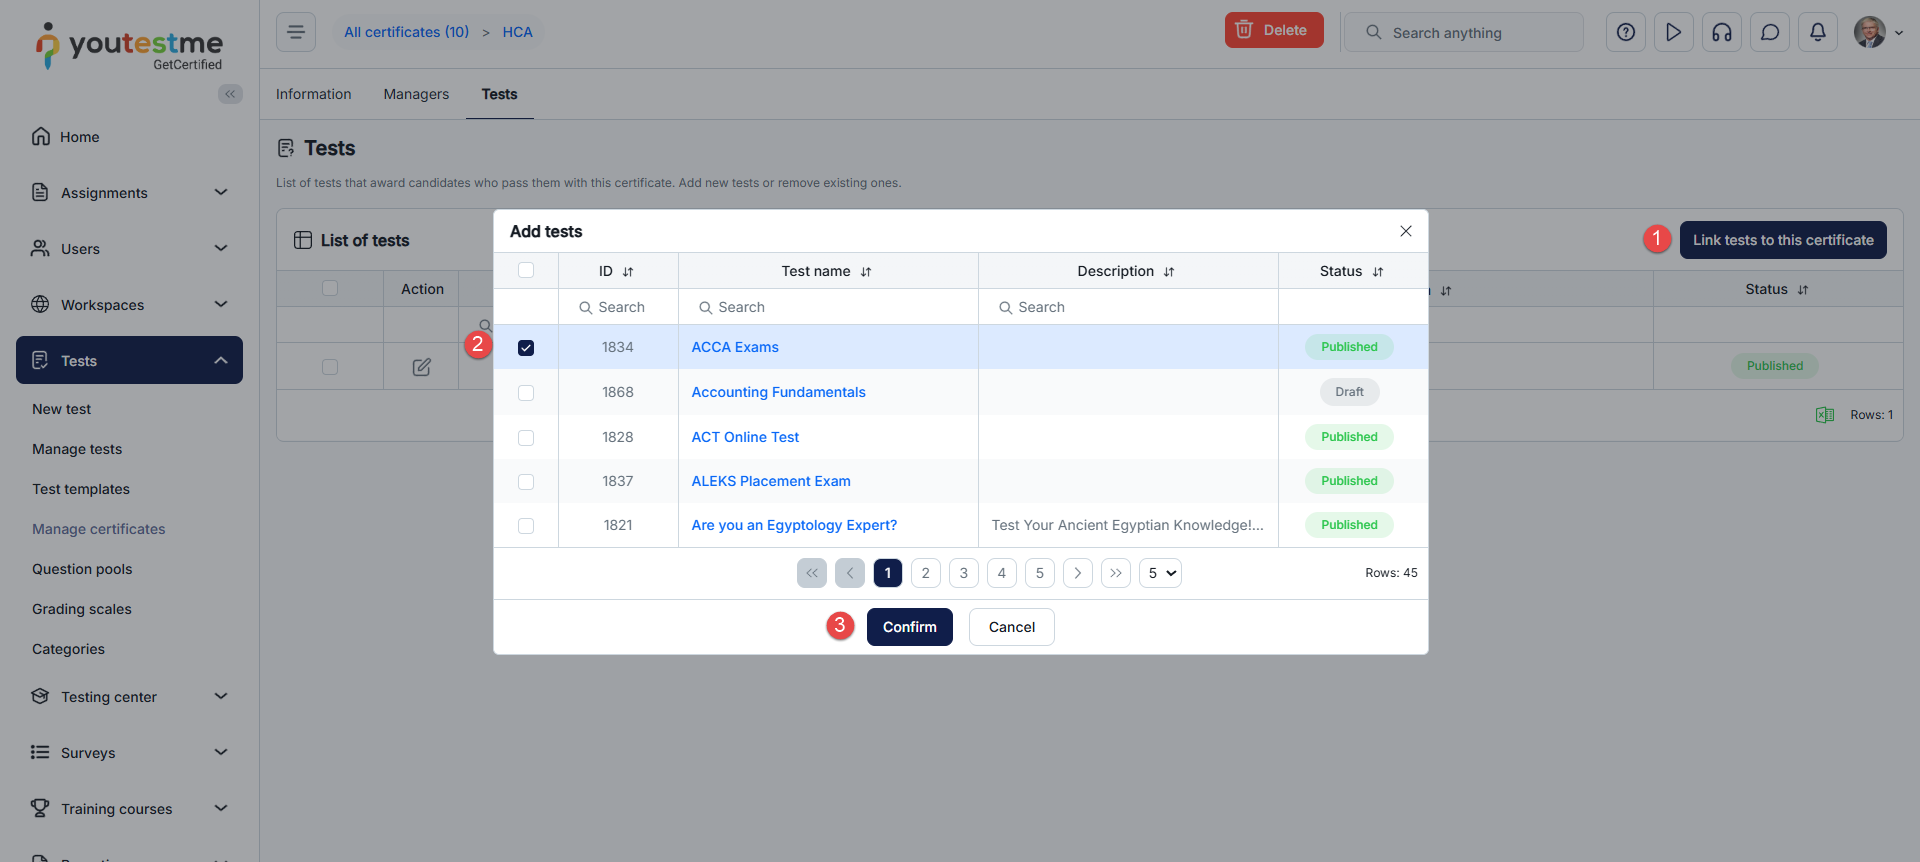
To remove existing tests, select the test you want to remove and click the Remove selected button.
Additionally, you can download the list of tests to which the certificate has been assigned as an Excel file by clicking the corresponding button.
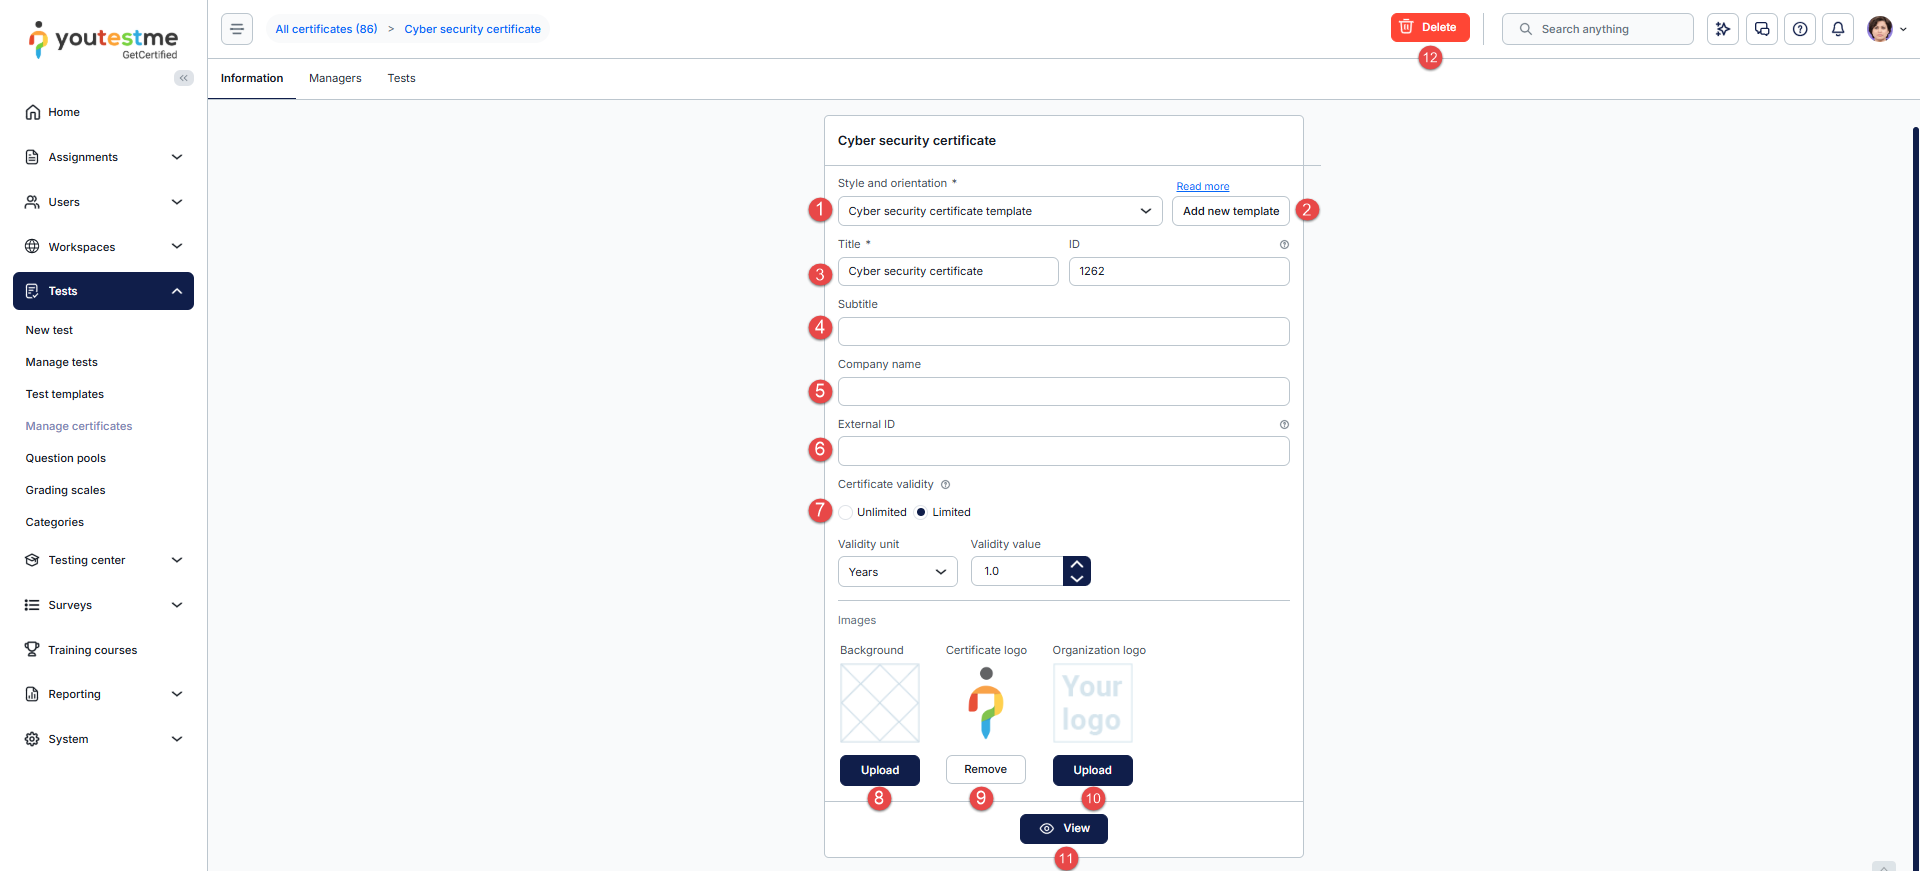
-
To establish a custom condition for granting the certificate to candidates upon test completion:
-
Click the Edit condition button.
-
Set a custom condition for awarding the certificate to candidates upon test completion. Choose the property, criteria, and value. For instance: [Percentage], [greater than or equal], [60]. Using this condition, certificates will be granted to candidates who achieve a percentage greater than or equal to 60%. By default, the certificate will be assigned if the candidate passes the test.
-
If needed, click the Reset button to revert the condition to a state that assigns the certificate when the user passes the test.
-
Click the Save button.
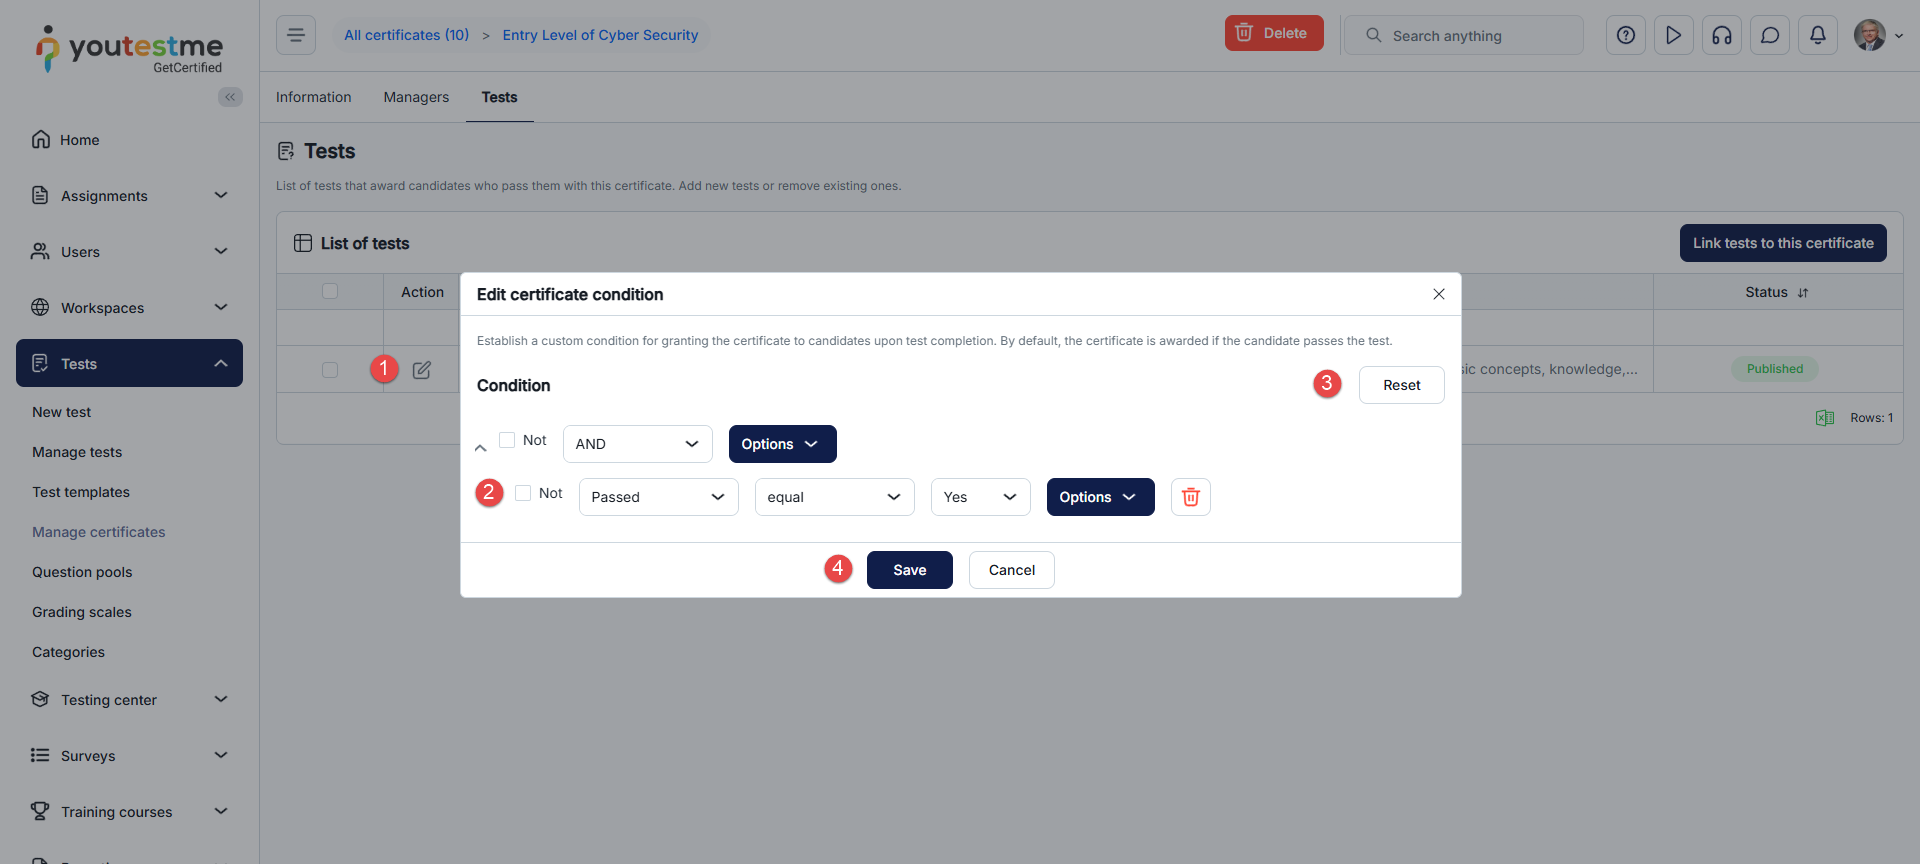
-
Question pools
-
Introduction
Question pools are sets of questions used for generating tests or surveys. They can be structured hierarchically, enabling users to create sub-pools that are visible within the main question pool.
Navigate to the Tests section in the left-side menu and select Question pools. On the left side of the screen, you will find a sidebar where you can:
-
Create a New question pool. For more information, check this article.
-
Import question pools from JSON and Excel files. For more information, check this article.
-
Search for a specific question pool.
-
Preview sub-pools by clicking the dropdown arrow next to the question pool name.
-
View the total number of sub-pools inside the question pool.
-
Edit a question pool - Modify details, questions, etc. Find additional information about each field in the Information chapter.
-
Create a sub-pool under the desired question pool. For more information, check this article.
-
Move a question pool and its sub-pools to another designated pool. For more information, check this article.
-
Permanently Delete a question pool and all its sub-pools from the system.
Note: Question pools and sub-pools can only be permanently deleted or moved to other question pools if they are not assigned to any test or survey. Additionally, if the Integrity check for generated tests option is enabled in the system section, it validates whether there are sufficient questions for generating tests when someone attempts to move, or delete questions from the question pool.
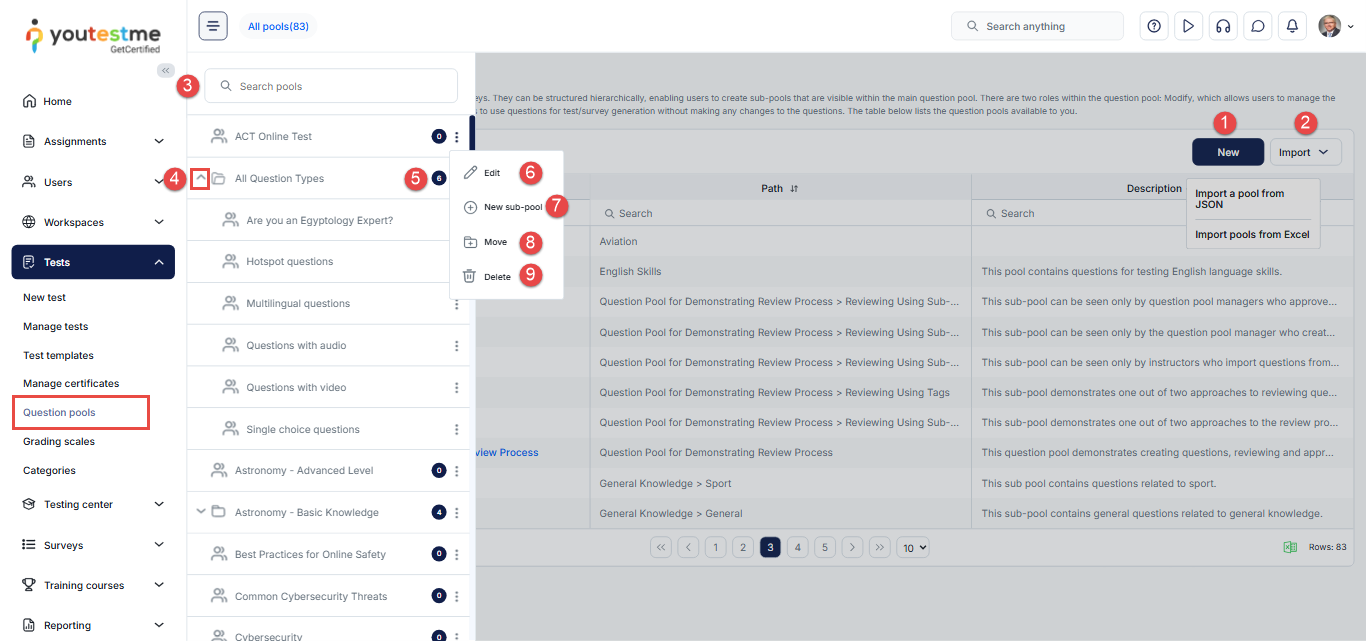
-
-
Information
The default panel is the Information tab, offering details including:
-
Pool name - A unique name for the question pool.
-
Pool ID - Unique numerical identifier of the question pool.
-
Pool path - Shows higher-level pools (parent) to which the question pool belongs.
-
Pool description - Provides additional information about the purpose or content of the question pool.
-
External ID - A unique identifier assigned to a question pool that can be used to integrate with other external systems. This identifier allows the external systems to access the question pool's information and reference it without using the ID assigned within the original database.
-
Workspace - Access to the pool is restricted to users from the chosen workspace. Sub-pools cannot have individual workspaces; they inherit the workspace of their parent pool.
-
Your role - Defines the user's role within the question pool.
-
Modify - Users with this role can manage the question pool and its questions. When a user creates a pool, the Modify role is automatically assigned.
-
Read-only - User can use questions from the question pool in their tests/surveys but do not have permission to make any modifications to question pool settings and question configurations.
-
-
Pool type - Indicates whether the question pool belongs to a test or survey.
-
Created by - Displays the name of the user who created the pool.
-
Creation date - Displays the date and time when the pool was created.
-
Updated by - Displays the name of the user who last updated the question pool.
-
Update time - Displays the date and time of the question pool's last update.
-
Create a sub-pool under the desired question pool. For more information, check this article.
-
Permanently delete the question pool and its sub-pools from the system.
-
Export the question pool as a JSON file, suitable for data migration between different GetCertified environments. For instructions on importing a JSON file, check this article.
-
Make a copy of the question pool, including all sub-pools. Ensure that the name of the copied question pool is unique.
Additional actions that can be performed:
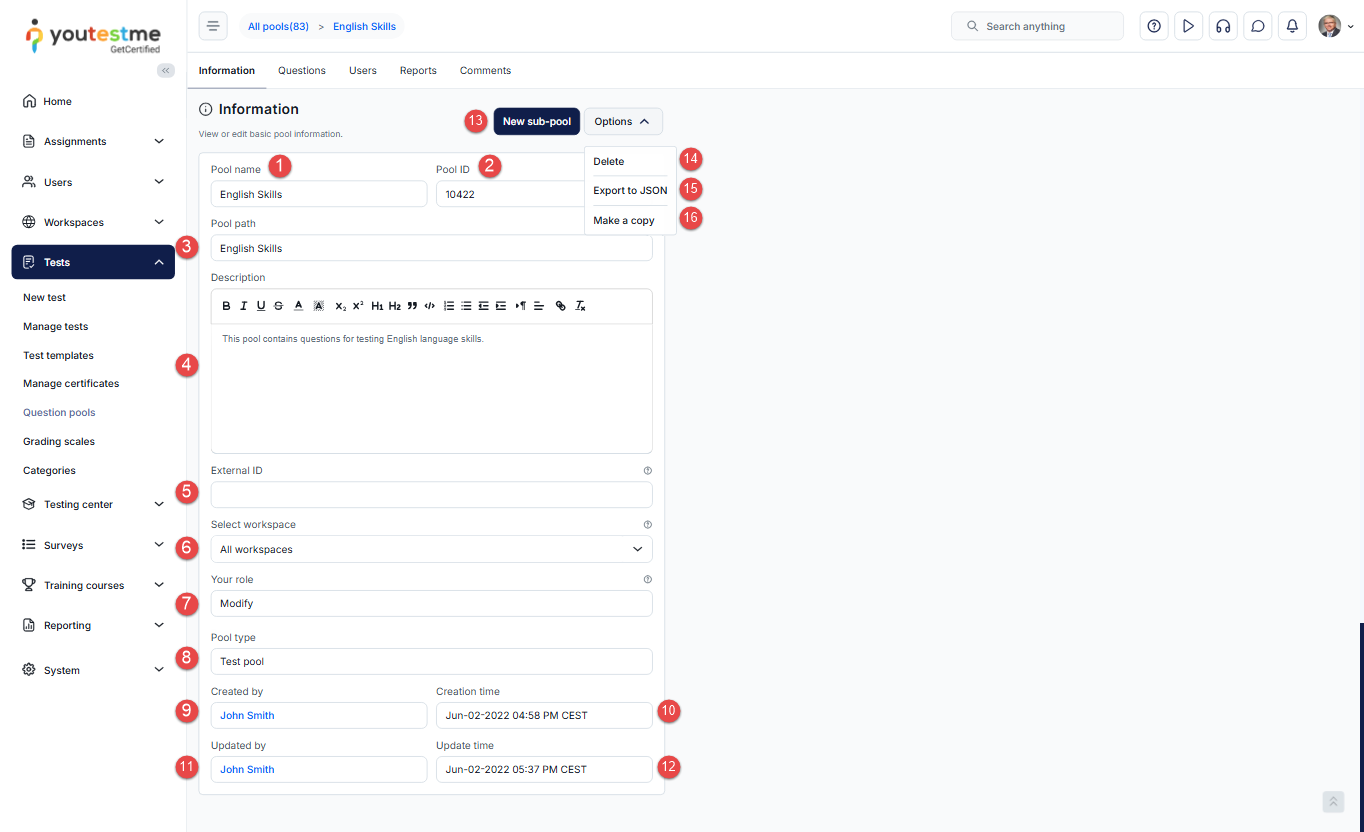
-
-
Questions
On the Questions tab, you can:
-
View the list of questions in the question pool. Refer to the Table layout chapter for information on each table column.
-
Filter the list of questions:
-
By Tags added to questions. When you enter text or part of a text, matching tags will be displayed, and you can select them to confirm your selection. You can add as many tags as you like by pressing the Enter key after adding each one.
-
By custom question categories added to questions. You can select one or more category values.
Click the Apply button to filter the table. To clear the filtered questions, click the Clear filter button.
When using two filtering criteria, the AND rule is applied. Within a single criterion, the OR rule is applied if more than one value is entered/selected. If two tags are entered, questions containing either of those tags or both will be shown. If two category values are selected within the same question category, questions containing either or both of those categories will be displayed. However, if a category value is selected along with a tag, only questions meeting both criteria (having both the added tag and an assigned category value) will be shown. The same rule applies when selecting a value from Category 1 and some value from Category 2; only questions meeting both criteria will be displayed. -
-
Add a question to the question pool. For instructions on creating each question type, refer to the Question types help page. After saving the question, a pop-up dialog may appear where you can enter the external ID of the question and add a comment, e.g. to explain its purpose or goal.
The confirmation dialog will not appear if the Question create confirmation dialog option is disabled in the Settings and customization page, under the Question create/edit option tab.
-
Move question to another pool. Select checkboxes next to the desired questions, click the Actions button, click the Move questions button, select the question pool where you want to move the questions, and confirm the moving process. If the Integrity check for generated tests option is enabled in the Settings and customization page, questions cannot be moved if used in any test.
Note: Questions used in tests can be moved to other pools when the Integrity Check for Generated Tests module is disabled. This does not affect test results by pools.
-
Copy question to another pool. Select checkboxes next to the desired questions, click the Actions button, click the Copy questions button, select the question pool where you want to copy the questions, and confirm the copying process.
-
Delete multiple questions at once. Select checkboxes next to the desired questions, click the Actions button, click the Remove selected button and confirm the deletion. If the Integrity check for generated tests option is enabled in the Settings and customization page, questions cannot be deleted if used in any test.
-
Preview how a specific question looks in the test-taking process. You'll see question details such as question text, penalty and points achievable, question type, etc.
-
Edit a specific question. Refer to the Question types help page for instructions on creating each question type. After saving changes to the question, a pop-up dialog may appear where you can enter the external ID of the question version, add a comment to explain changes, and define question version activation time. For more information on defining question version activation time, refer to this article.
The confirmation dialog will not appear if the Question edit confirmation dialog option is disabled in the Settings and customization page, under the Question create/edit option tab.
Note: The edit option will not appear if the Enable direct editing of active question versions option is disabled in the Settings and customization page, under the Additional modules setup tab.
-
View all versions of a question.
-
Show question comments.
-
Edit external IDs of a specific question.
-
Show question log for a question.
-
Delete a specific question from the question pool. If the Integrity check for generated tests option is enabled in the Settings and customization page, the question cannot be deleted if it is used in any test.
-
Export the list of questions in PDF or Excel format. When exporting in Excel format, you have two export templates. Select the desired export template and confirm the export.
If you want to preserve HTML structure in the question and answer texts, select the Preserve HTML option. This may reduce human readability in the exported Excel file but preserves HTML styling if questions need to be imported elsewhere.
-
YOUTESTME import/export template contains two sheets: one for questions and one for answers. The same format is used for importing questions into question pools, so you can use this template to export the list of questions from one question pool and import questions into another YouTestMe application.
Export to Excel is supported only for scoring methods Defining correct/incorrect answers and Manual grading, and the following question types: Single choice, Multiple choice, True/False, Matching, Ordering, Fill in the blanks, Essay, and Open-ended.
Note: Non-supported question types will not prevent the export but will not be visible in the exported Excel file.
-
Inline questions and answers display all answers in the same row as the question.
Export to Excel is fully supported only for scoring methods Defining correct/incorrect answers and Manual grading, and the following question types: Single choice, Multiple choice, True/False, and Open-ended.
Note: The exported Excel file will contain both supported and non-supported questions. However, some information for non-supported question types may not be visible.
-
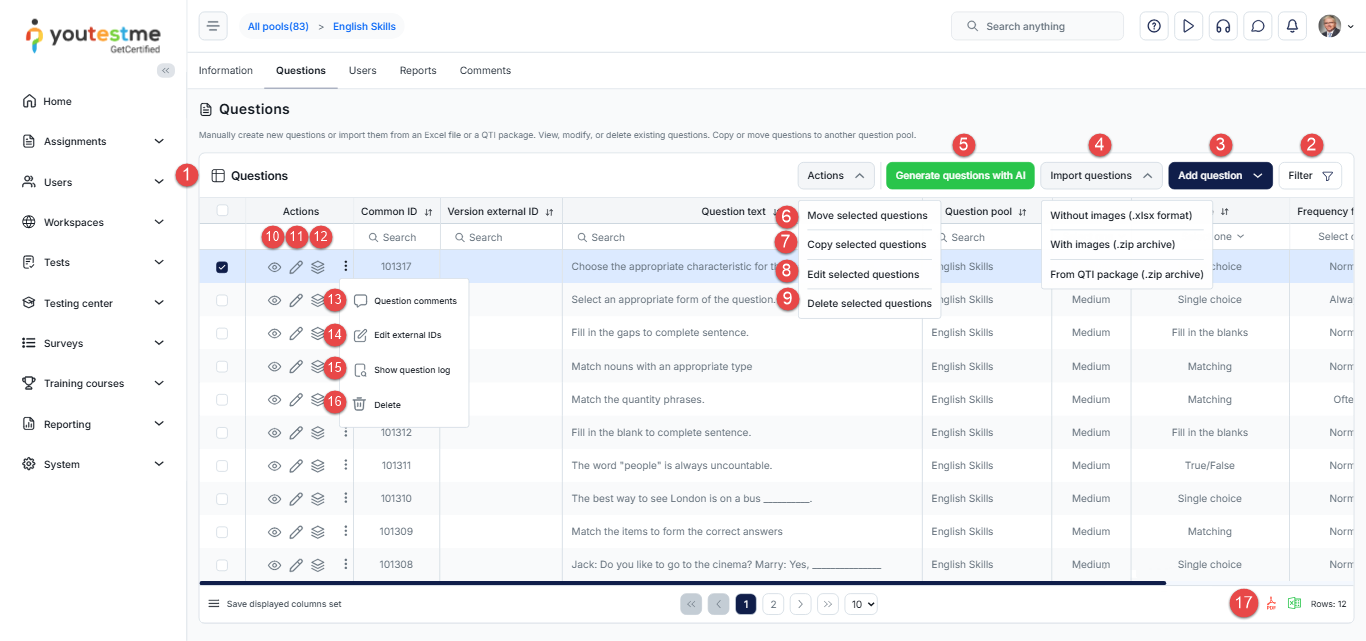
-
Table layout
The table displays a list of all questions contained in the question pool along with the most important information about each question.
The columns in this table provide the following information:
-
Common ID - A unique identifier for the question generated upon its creation.
-
Version ID - A unique identifier for a specific version of the question. Each time the question is edited, a new Version ID is generated, while the question ID remains the same.
-
Common external ID - A unique identifier for the question used for integration with an external system. This External ID must be unique and can only be added during question creation. If you edit a question and add a new External ID, it will become the External ID for that version of the question.
-
Version external ID - A unique identifier for the question version used in integration with external systems. This Version external ID must also be unique. When creating a question and adding an external ID, it will be added to both the External ID and Version external ID fields. However, when editing a question and adding an external ID, it will be added as the Version External ID while the question External ID remains the same if defined during question creation or will be empty if not defined during creation.
-
The Text of the question.
-
Question pool - Indicates the name of the question pool to which the question belongs. As a question pool can contain sub-pools, in this column you will see whether the question belongs to the current question pool or its sub-pool.
-
Difficulty - Indicates the difficulty level of the question.
-
Type - Specifies the type of question. For more information about each question type, please refer to the Question types help page.
-
Frequency factor - Indicates how often a question appears in the test. In order for the frequency factor to be taken into consideration during the test generation process, the Include frequency factor option must be enabled when creating tests generated based on question difficulties and tests generated based on question categories.
-
Question properties created in the application with their values added to questions.
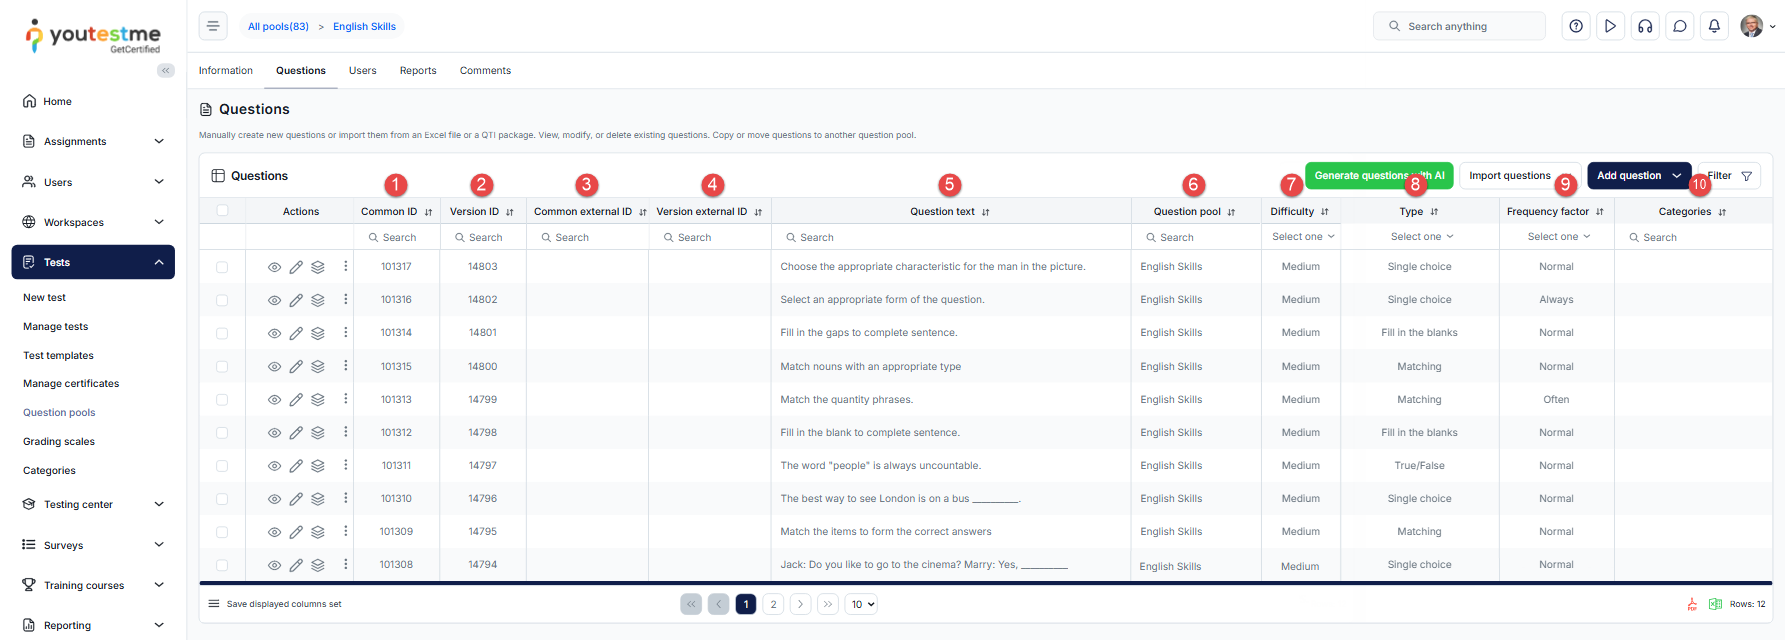
-
-
View all versions
When you click the View all versions button, a list of all versions for the question will open. This list includes information about the currently active version, the user who made changes to the question, comments, version creation and activation dates, and more.
The table columns are similar to the question table layout. Additional columns include:
-
Active - Indicates whether the version of the question is currently active or not.
-
Version number - Displays the version number of the question. The first version of the question after creation is numbered 1.
-
Creation time - Shows when the version of the question was created.
-
Version activation time - Displays the time when the version of the question will become active if defined during question version editing. If not defined, the version becomes active immediately. When the specified activation time arrives, the version becomes active, and Yes is written in the Active column. The previously active version of the question becomes inactive.
Within the dialog, you can:
-
View the details of the question. The same dialog as when creating/editing a question will open.
-
Edit a version of the question. If the version is not used in any test, you will edit the current version of the question. If the question is used in a test, a new version of the question will be created, and you can schedule its activation time.
In order to allow setting question version activation time, the Question edit confirmation dialog option must be enabled in the Settings and customization page, under the Question create/edit option tab. If this option is disabled, the confirmation dialog after question edit will not appear, and you cannot set activation time.
-
Set the time for automatic activation of the question version using the Question version activation job or activate the version immediately. Refer to this article for more information on the scheduling job.
-
Compare the question version with the previous version. This allows you to see the differences between the question versions side by side, with color markers indicating changes.
-
Delete the question version. Only question versions that are not used in any test versions can be deleted.
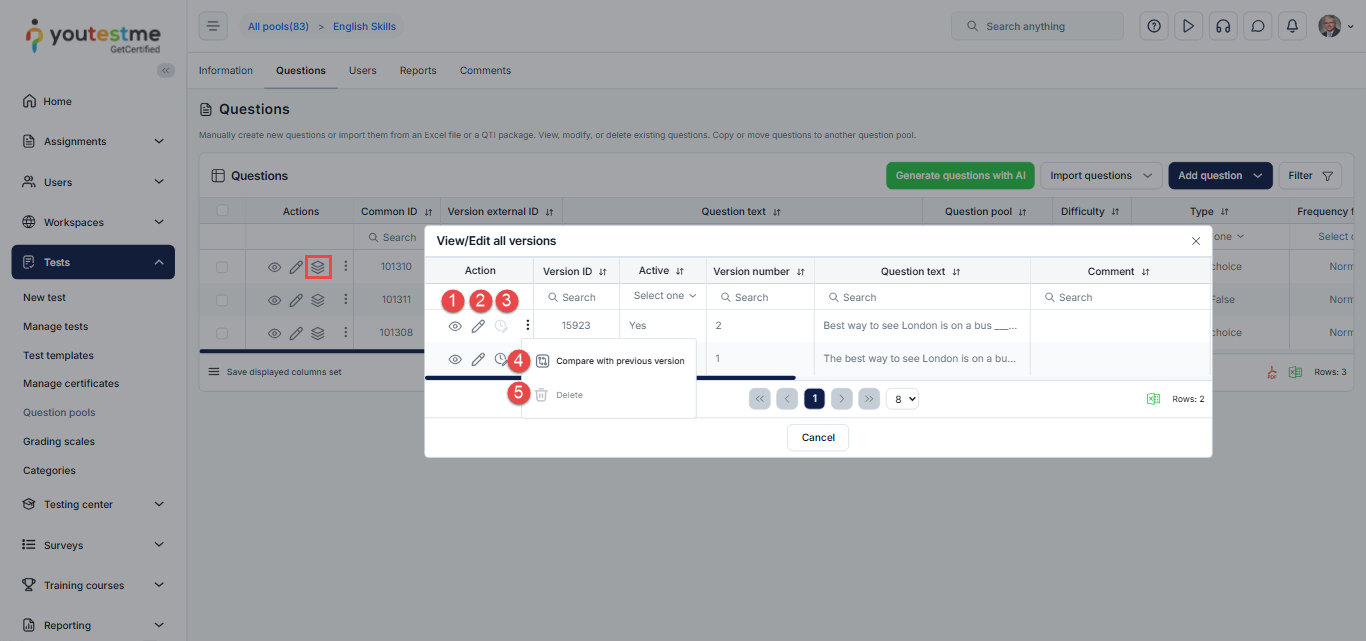
-
-
Question comments
The Question comments option allows users to add comments to the currently active version of a question or to review already created comments.
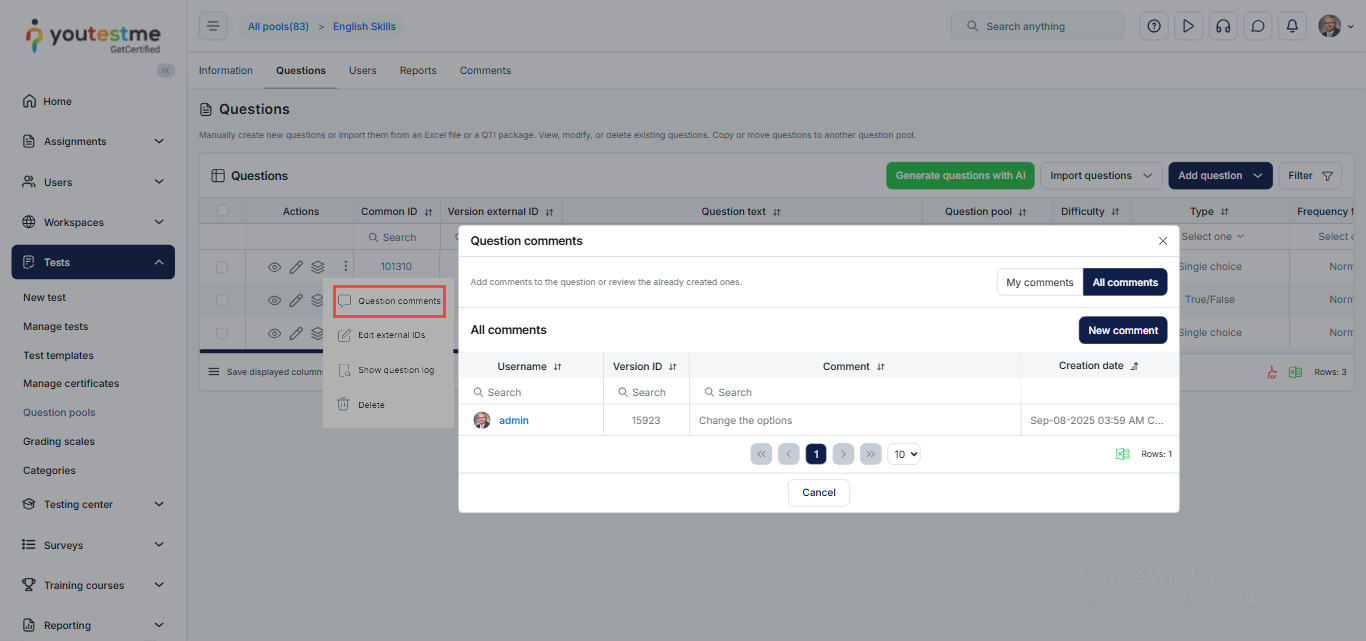
-
Edit external IDs
The Edit external IDs option allows users to edit the Common external ID and/or Version external ID of a question.
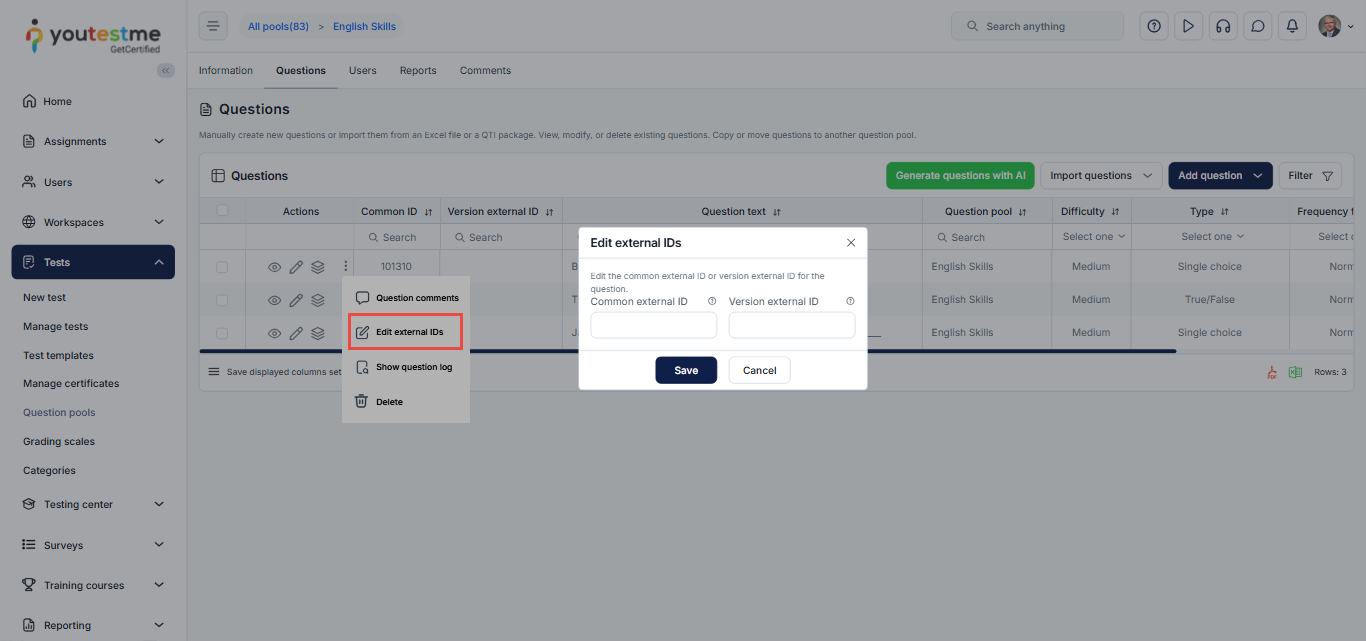
-
Question log
The Question log option provides a detailed history of a specific question and its various versions. It records actions such as creating new question versions, updating existing versions, activating or scheduling versions, and deleting versions, along with the user responsible for each action. This log offers valuable insight into the management of individual questions over time.
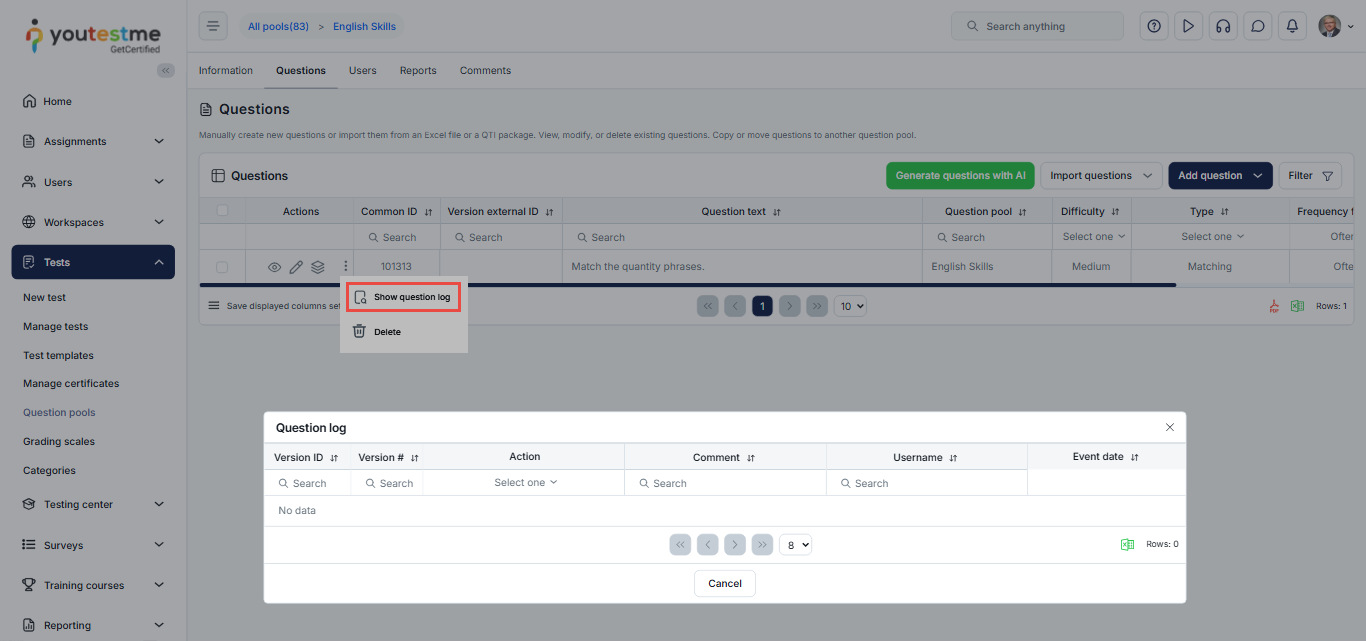
-
Generating questions with AI
ChatGPT allows you to generate multiple questions at once on a selected topic easily. You can either enter a topic for generating questions or add the desired document to the local library based on which the questions will be generated.
There are 7 supported question types:
-
Single choice.
-
Multiple choice.
-
Ordering.
-
Fill in the blanks.
-
True/False.
-
Matching.
-
Open-ended.
To generate questions:
-
Click the Generate questions with AI button.
-
Select where you'd like to generate questions from, either the Global knowledge base or the Local library.
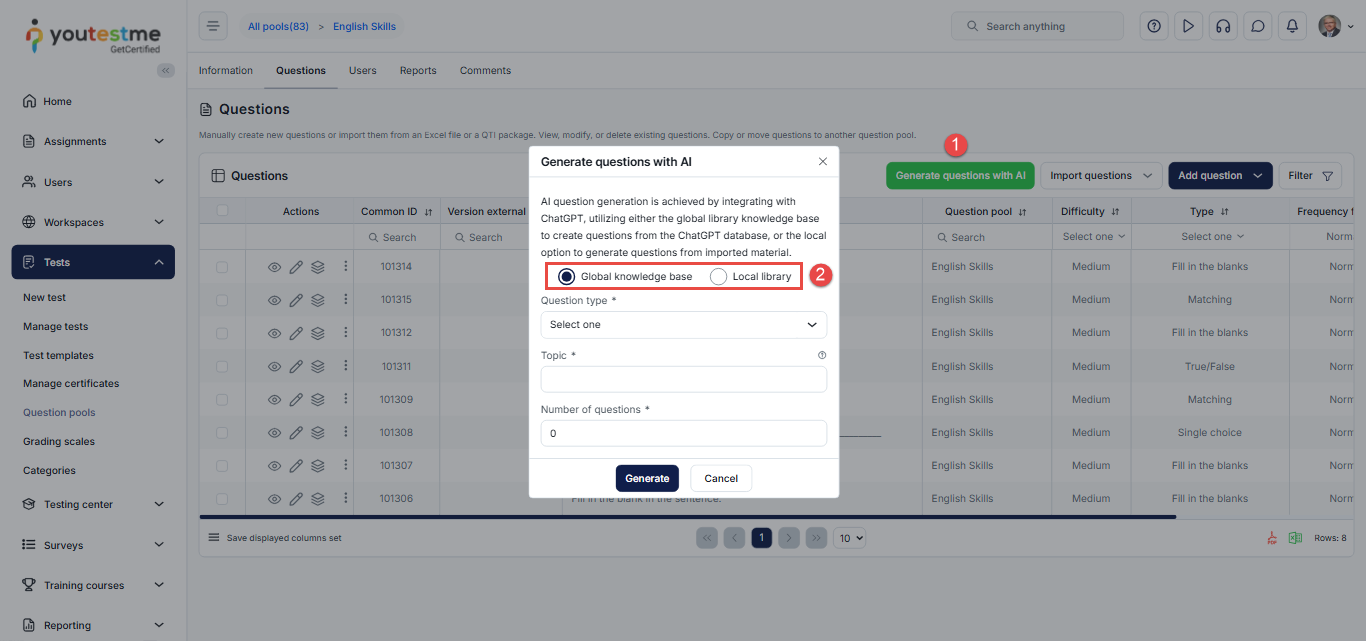
To generate questions from the Global knowledge base:
-
Choose the type of questions you wish to create.
-
Specify the topic on which you'd like the AI to generate questions.
Useful tip: Get creative with the Topic field! If you’re basing the questions on written content – instructions, book snippets, etc., you can copy the text in the field and prompt the generator to create questions based on it.
-
Specify the number of questions you'd like the AI to generate.
-
Once you click Generate, it may take a few minutes to see questions in the list.
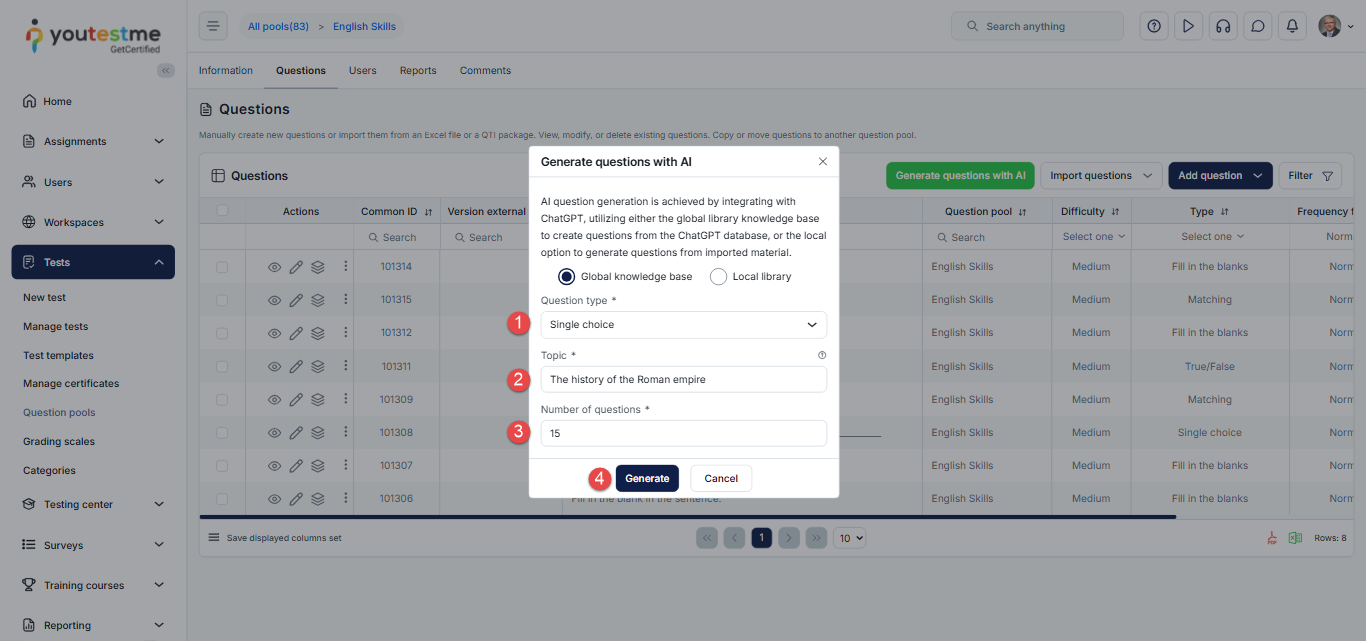
To generate questions from the Local library:
-
If you wish to upload new test material, click the Library button.
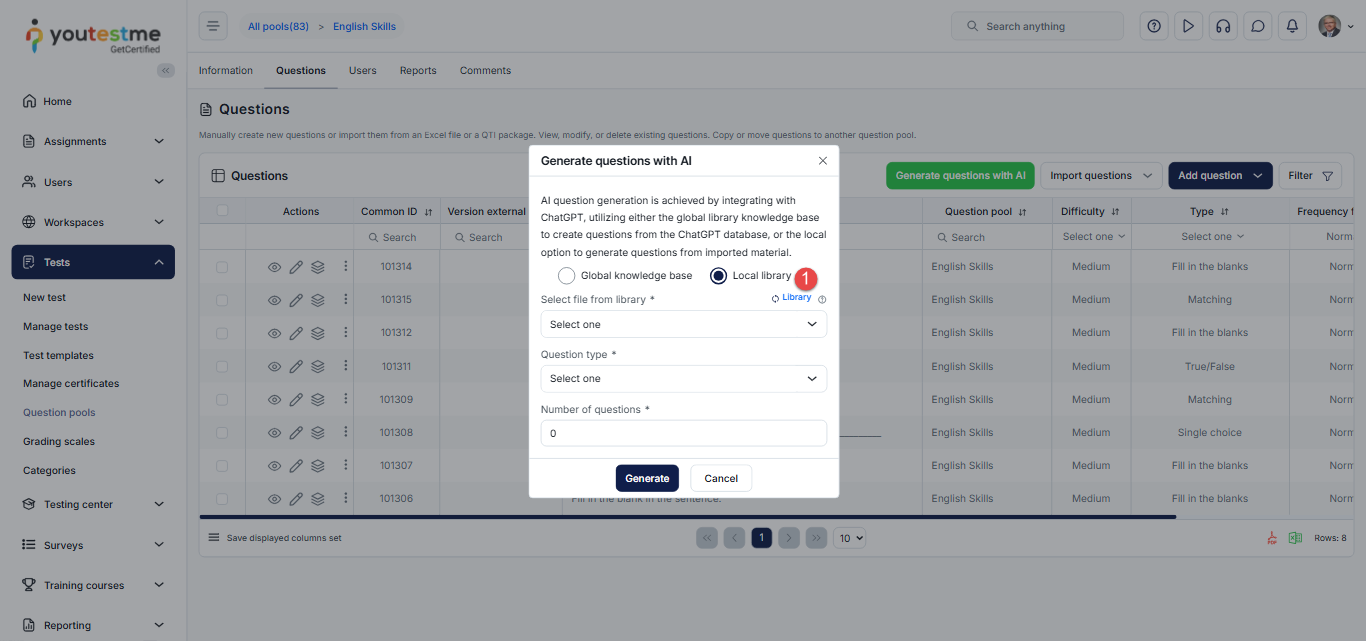
-
Upload test material by clicking the Browse files button.

-
After uploading a file from the local library, return to the YouTestMe GetCertified application and click the Refresh button to update the list of materials for question generation.
-
Choose the file you previously uploaded.
-
Choose the type of questions you wish to create.
-
Specify the number of questions you'd like the AI to generate.
-
Once you click Generate, it may take a few minutes to see questions in the list.
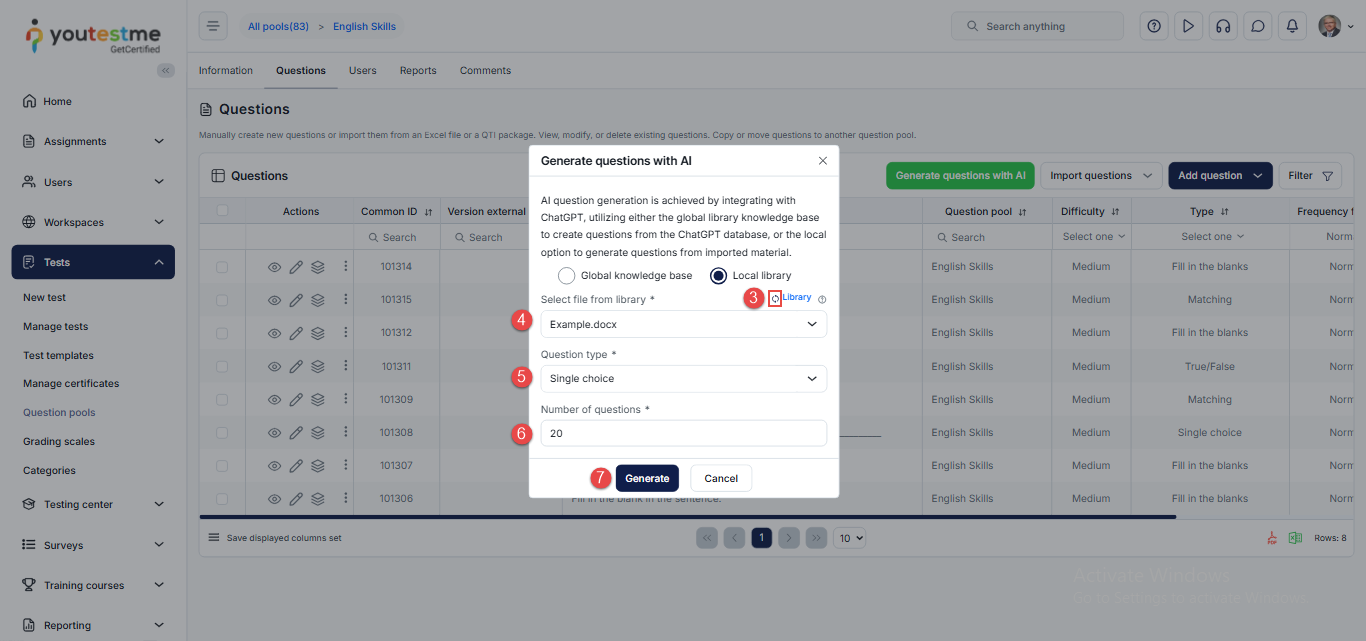
-
-
Import questions
You can import questions into the selected question pool using three methods:
-
From QTI package (in .zip archive).
Note: This package is not intended to be manually created.
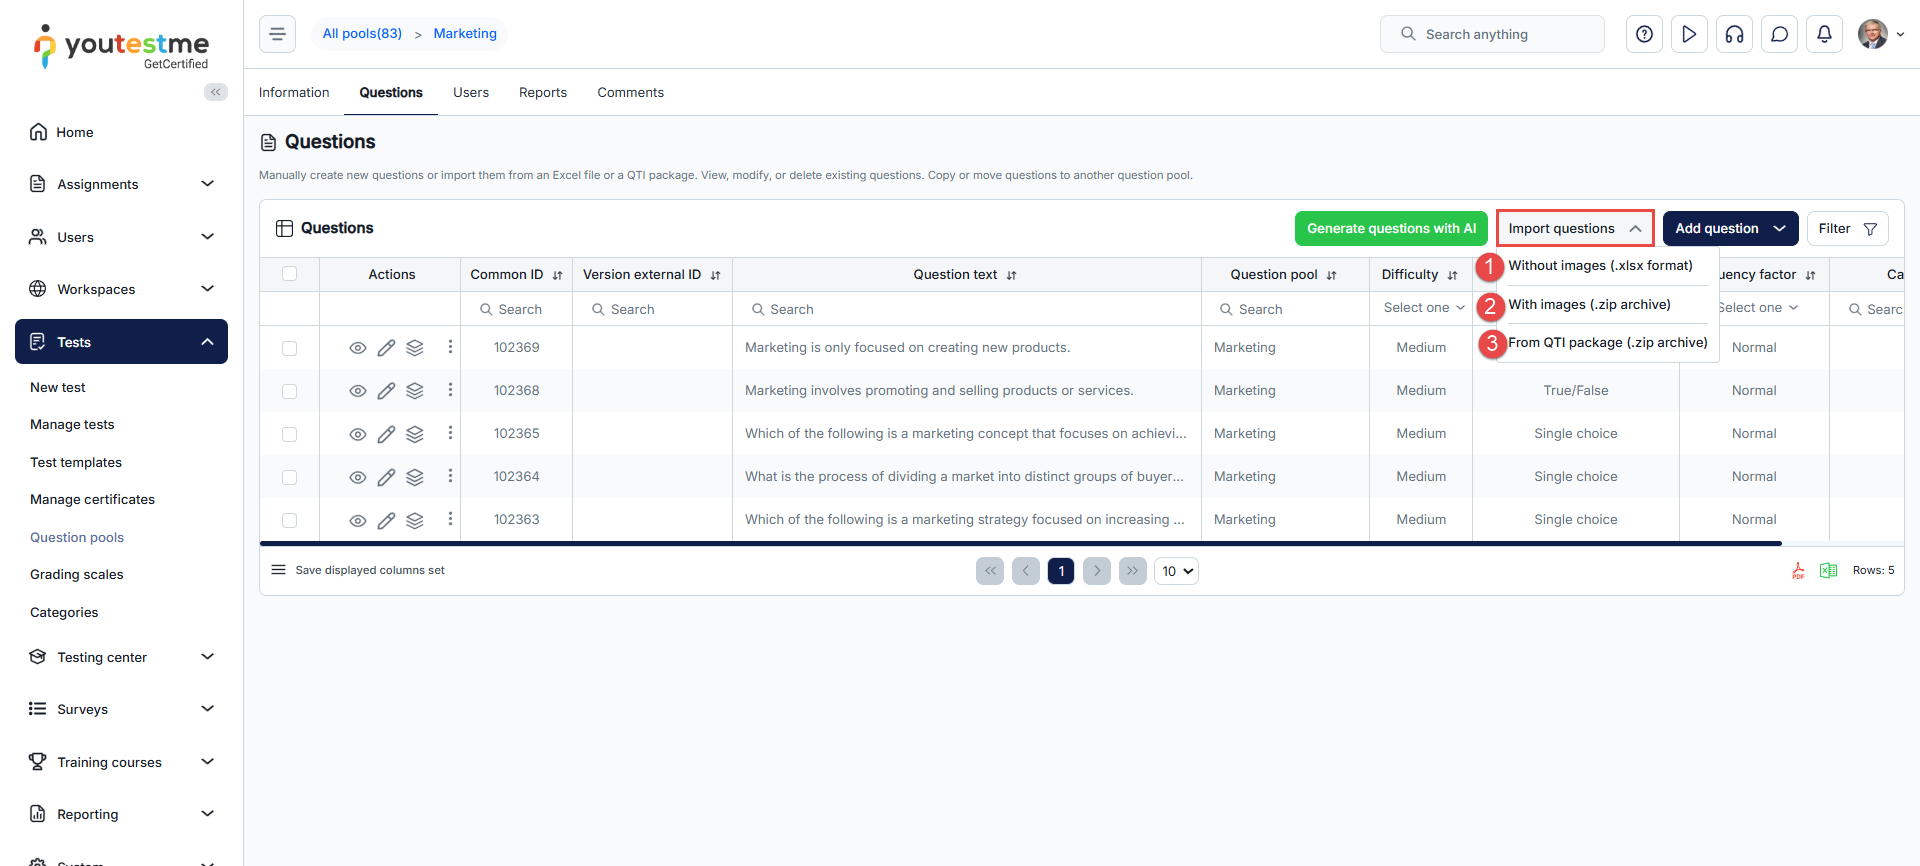
-
Import questions without images
To import multiple questions into the question pool using an Excel file, follow these steps:
-
Click the Import questions button, and select the option Without images.
-
Download the Excel template by clicking the provided link.
-
Refer to the detailed instructions for filling in the template.
-
Add an Excel file with questions by clicking the Select file button.
Note: Supported file types are .xls or .xlsx.
-
Check the box if you want to skip importing questions that already exist in the question pool. This means that questions with identical text to existing ones will not be imported.
-
Click the Upload button to load questions into the system.
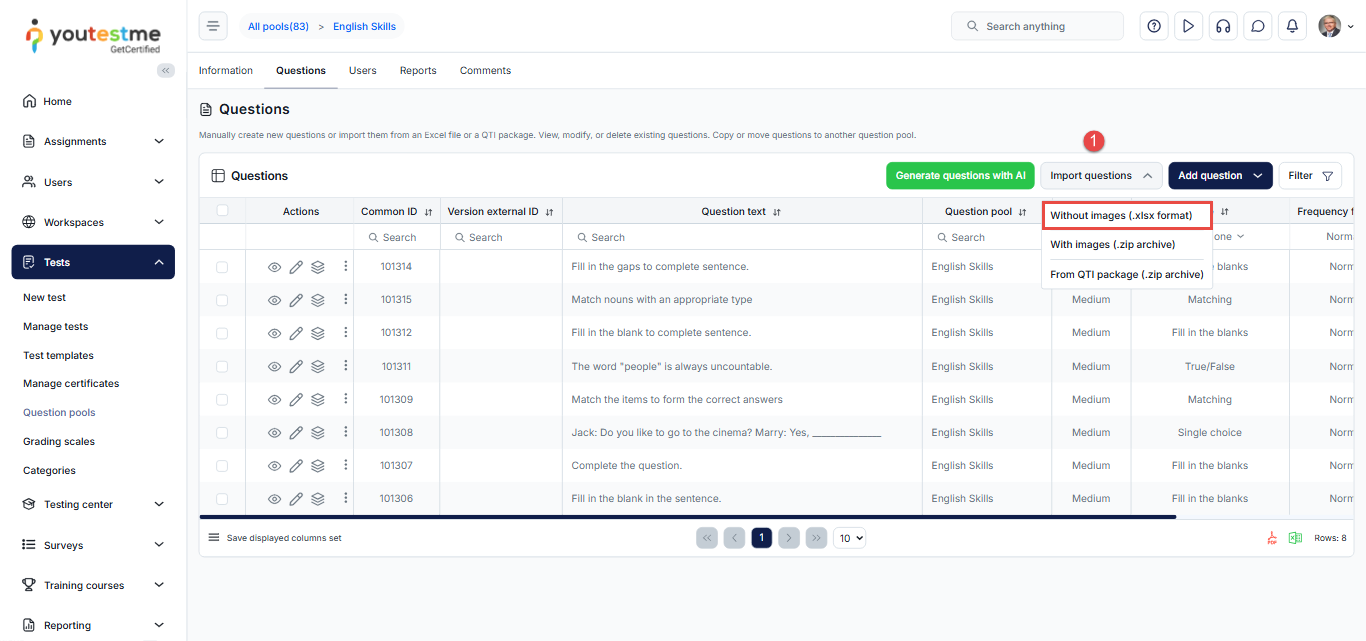
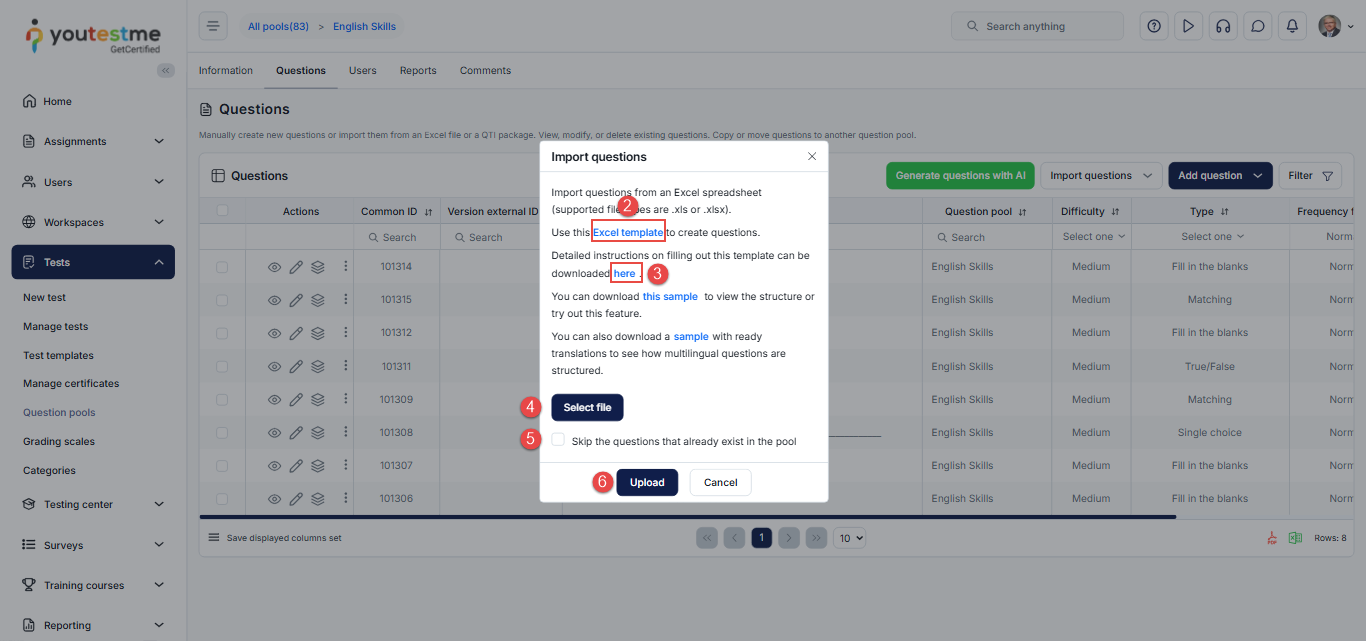
-
-
Import questions with images
To import multiple questions with images into the question pool using a .zip file, follow these steps:
-
Click the Import questions button, and select the option With images.
-
Download the Excel template by clicking the provided link.
-
Refer to the detailed instructions for filling in the template.
-
Add a .zip file containing the Excel file with questions and a folder with images by clicking the Select file button.
Note: Ensure that each image's name matches the corresponding Question ID in the Excel template.
-
Check the box if you want to skip importing questions that already exist in the question pool. This means that questions with identical text to existing ones will not be imported.
-
Click the Upload button to load questions into the system.
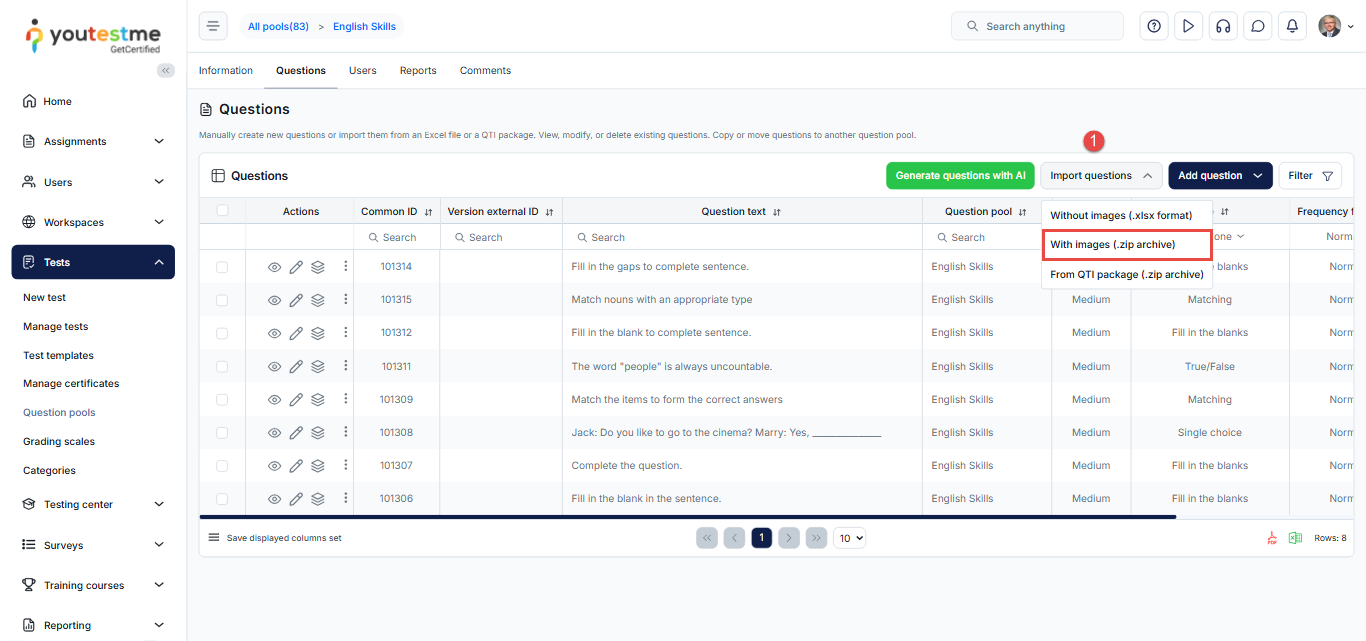
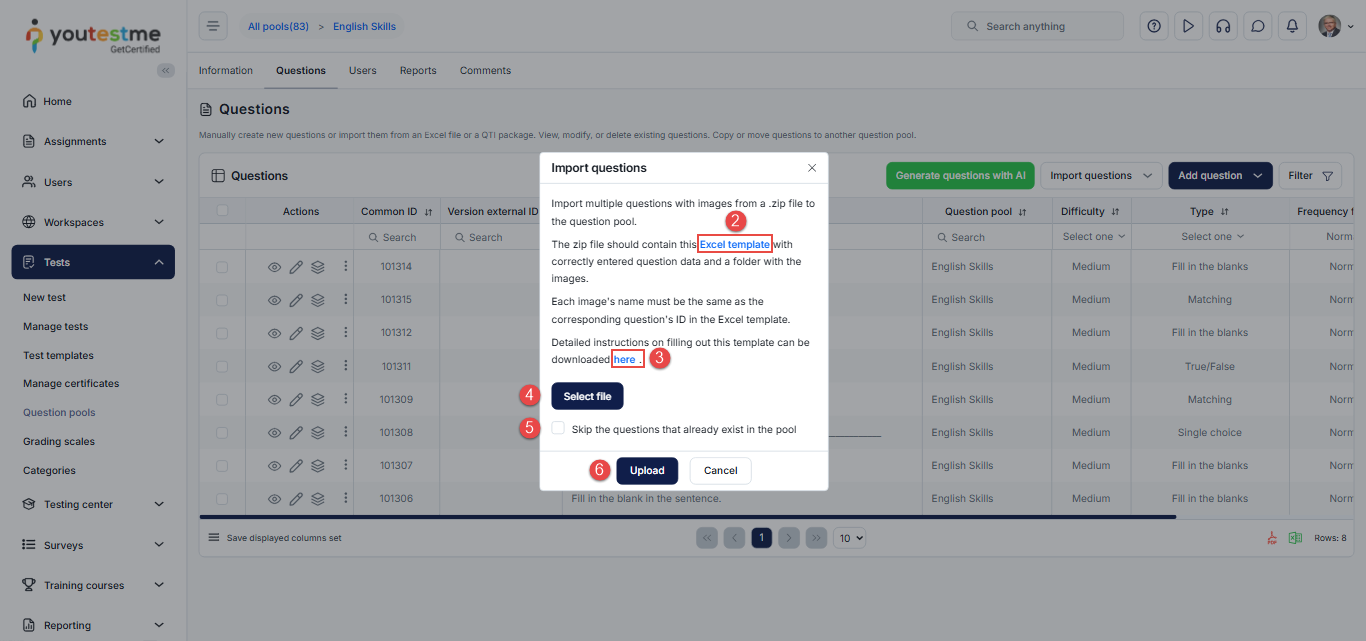
For more information about loading questions with images, please refer to this article.
-
-
Import questions from QTI package
To import multiple questions from the QTI package, follow these steps:
-
Click the Import questions button, and select the option From QTI package.
-
You can view the package structure by downloading a sample file.
-
Click the Select file button to choose the QTI file from your device.
-
Click the Upload button to load the questions into the system.
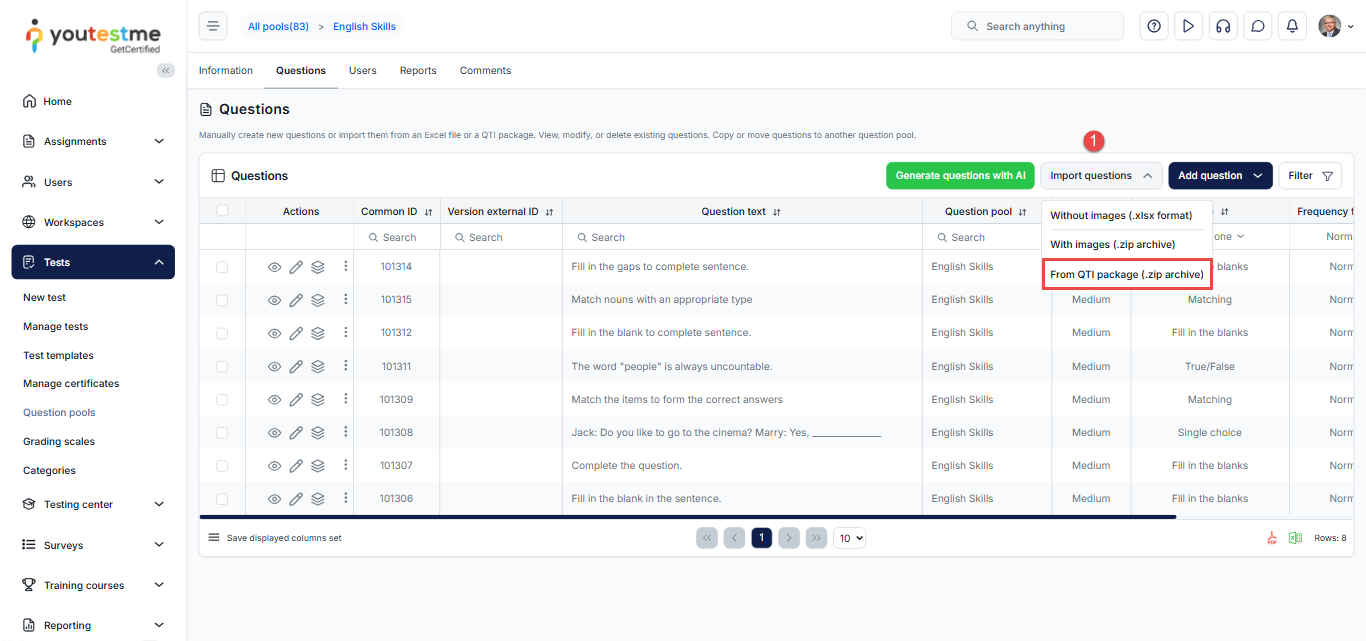
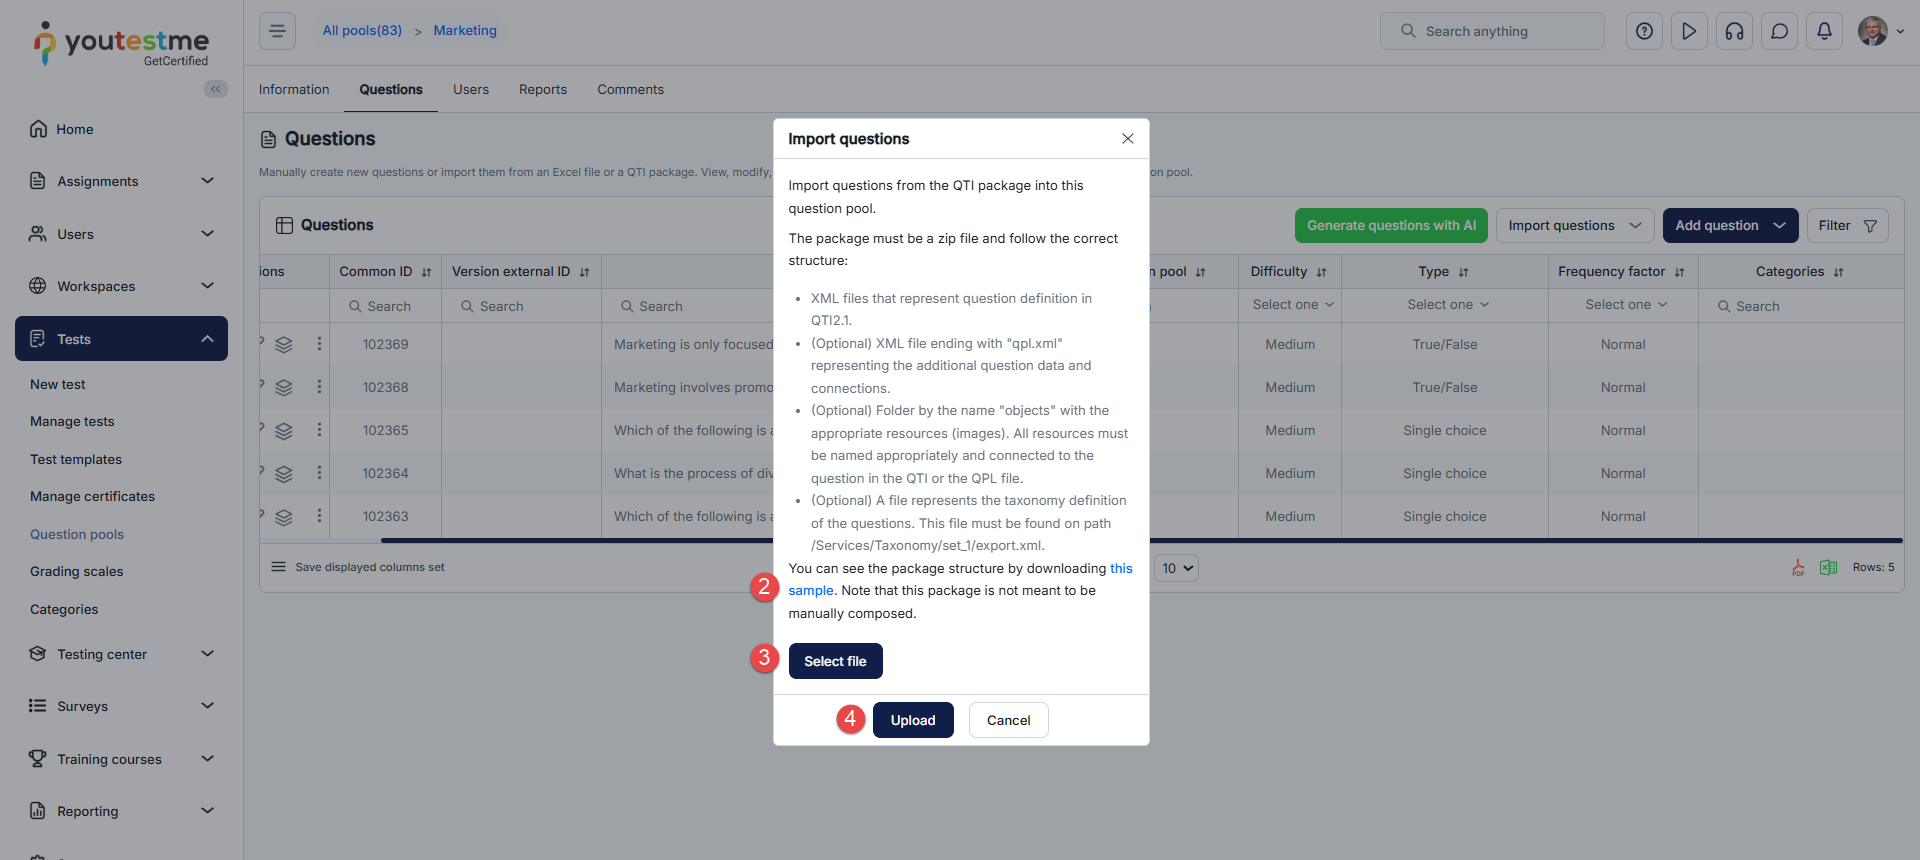
-
-
Edit selected questions
This option allows you to edit multiple questions at once.
-
Select the questions you want to edit.
-
Click the Actions button, then choose Edit selected questions.
-
Select the question settings you want to change. You can select multiple settings.
-
Update the question settings with the desired values.
-
Click the Save button to update the questions.
For more information about bulk editing option, refer to this article.
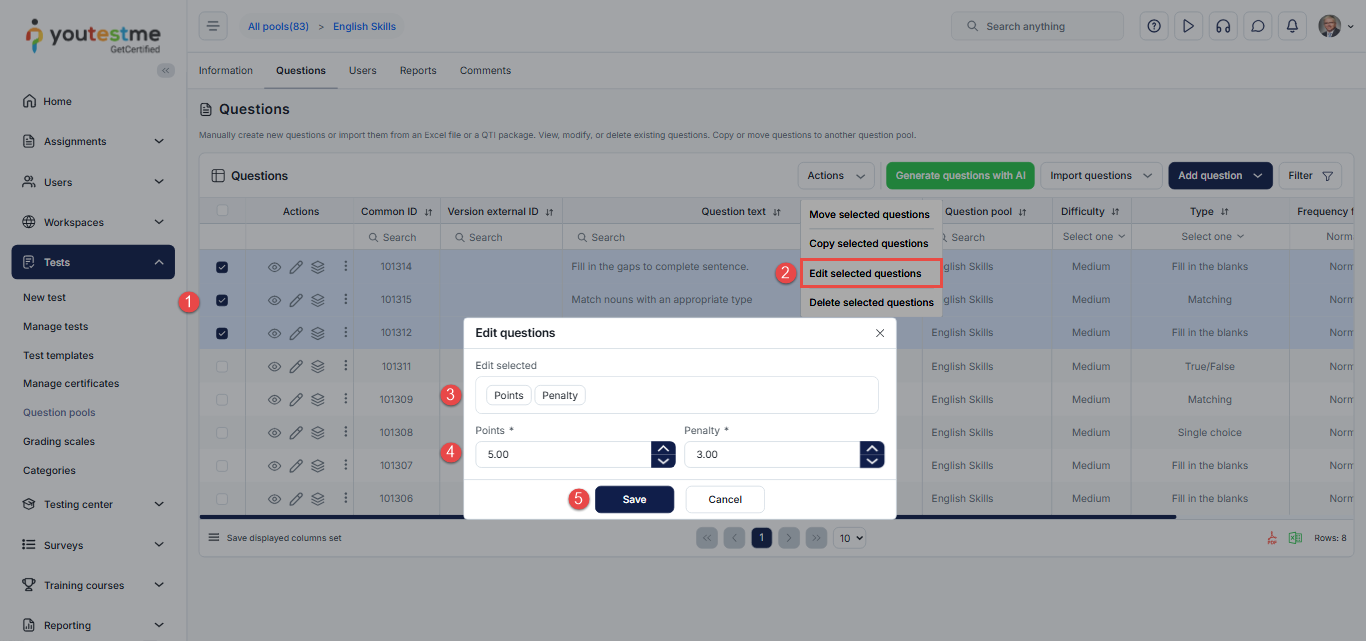
-
-
-
Users
The Users provides an overview of all question pool users and allows you to add new users and remove existing ones.
Question pool users can have two roles:
-
Read-only - Allows users to use questions from the question pool in tests/surveys but does not permit any modifications in question pool settings and question configuration. Users with the Manage any pool permission will still be able to modify the question pool.
-
Modify - Allows users to manage the question pool and its questions. When a user creates a question pool, the Modify role is automatically assigned.
On this tab, you can:
-
Assign users to question pool from the list of all users or a specific user group (which you manage or created).
Note: The question pool user automatically becomes a sub-pool user. If the user has a Read-only role in the parent pool, they can have a Modify role in the sub-pool, but not vice versa.
-
Edit the role of already assigned users. Click the pencil icon, choose the desired role, and confirm the change.
-
Remove selected users from the list of question pool users.
-
Export the list of users as an Excel file.
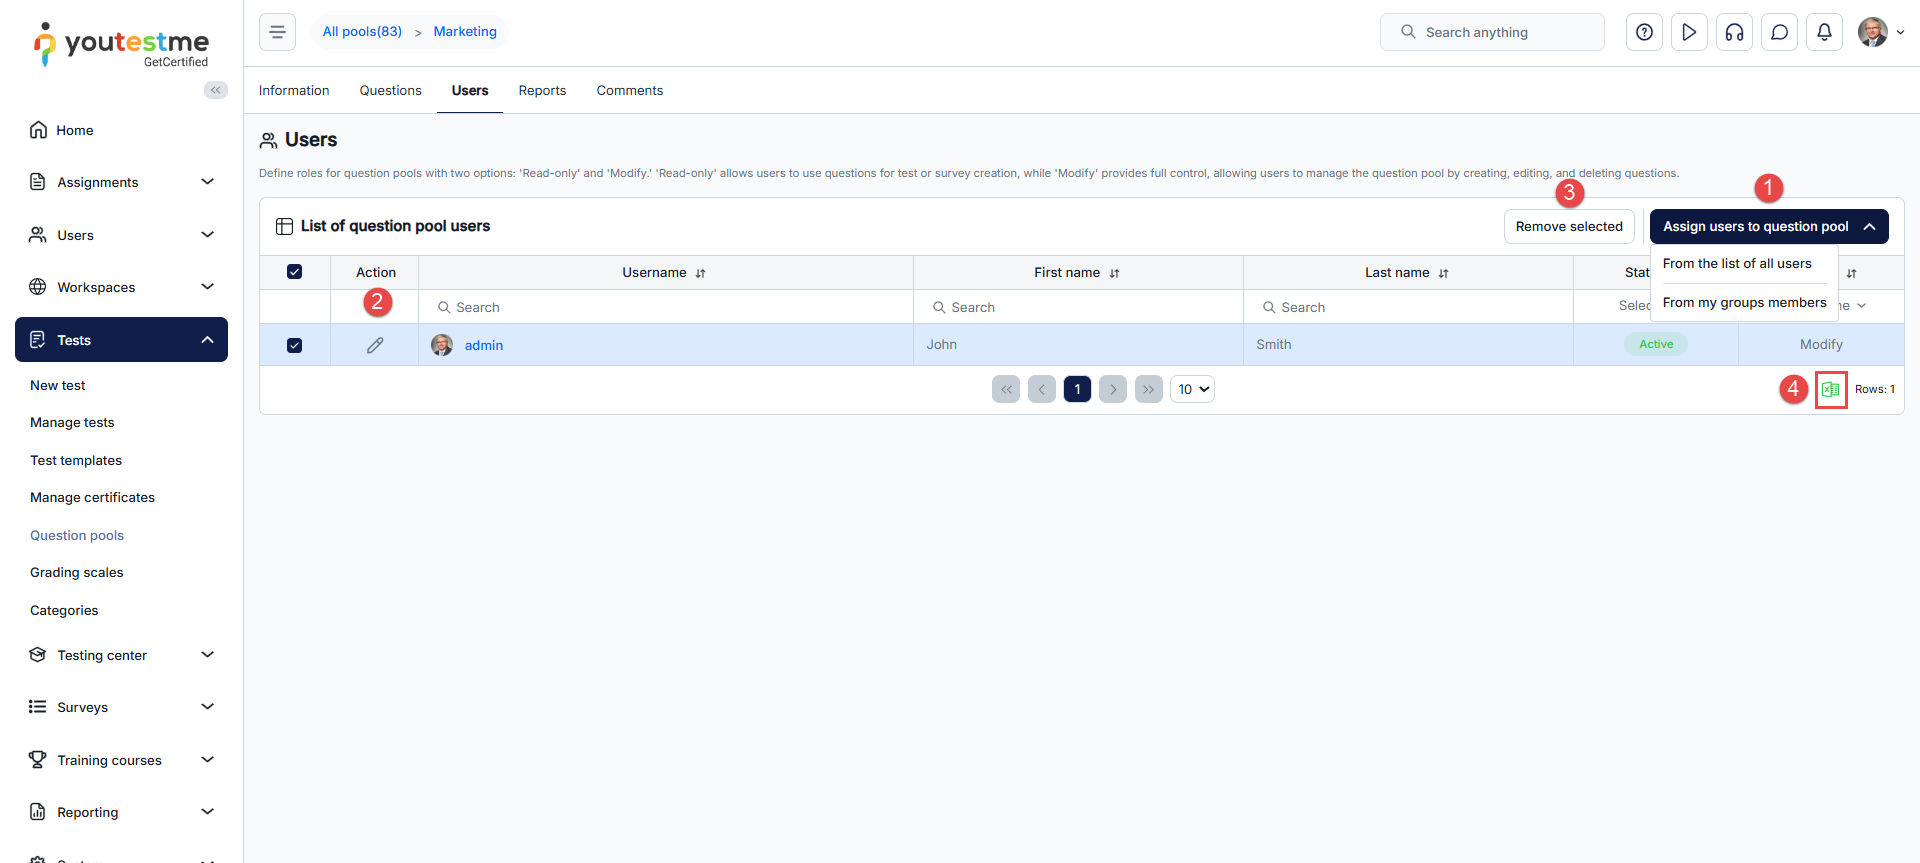
-
Assigning users from the list of all users
To assign new users from the list of all users:
-
Click the Assign users to question pool button and choose From the list of all users.
-
Set the question pool role to Modify or Read-only.
-
Select the users you want to assign.
-
Click the Confirm button.
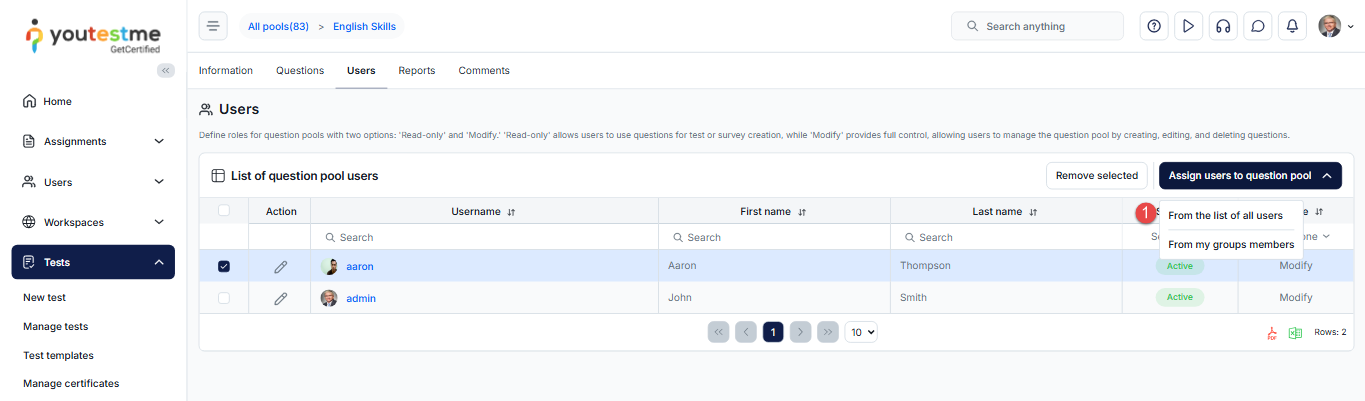
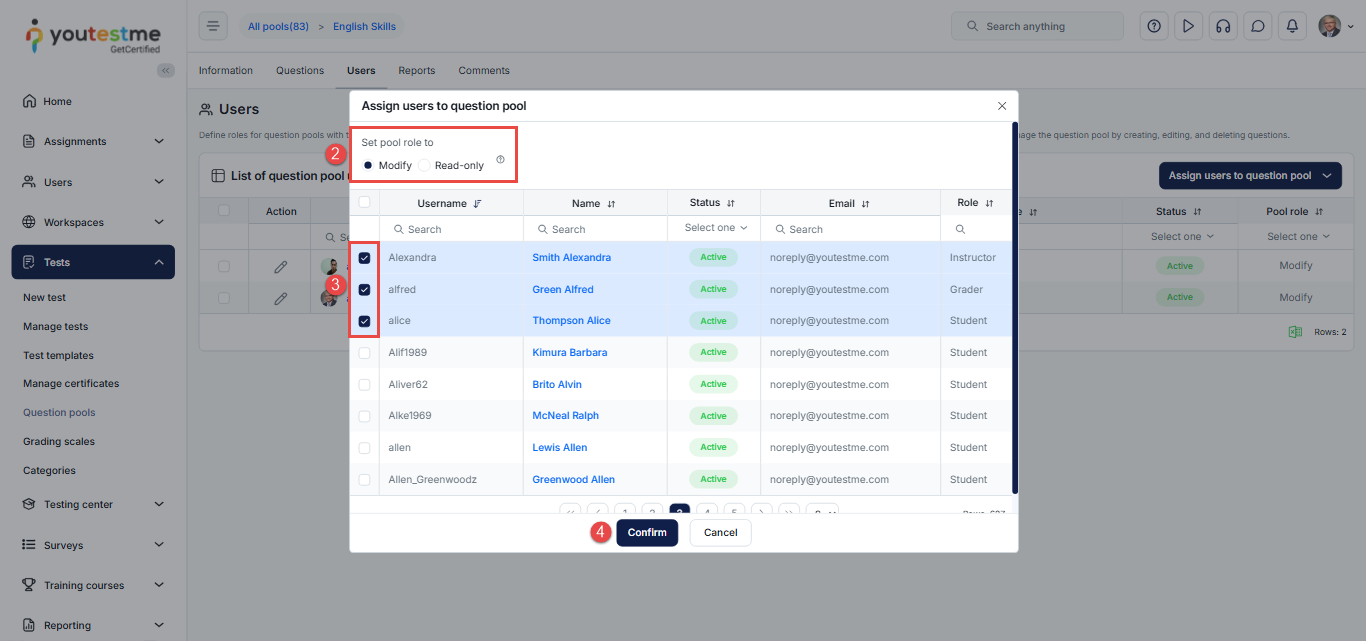
-
-
Assigning users from a user group
To assign new users from user groups you created or manage:
-
Click the Assign users to question pool button and choose From my groups members.
-
Set the question pool role to Modify or Read-only.
-
Select the group from which you want to assign users.
-
Select the users you want to assign.
-
Click the Confirm button.
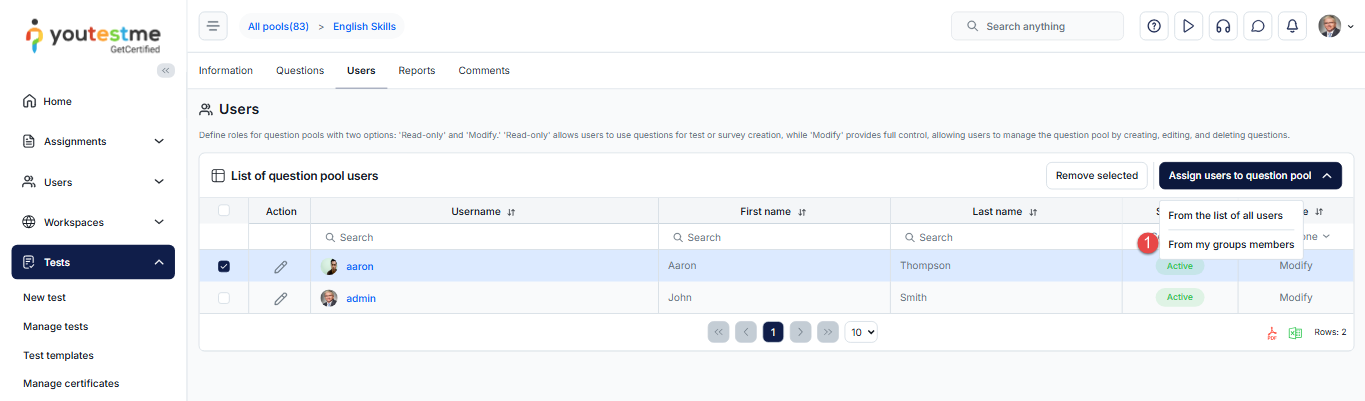
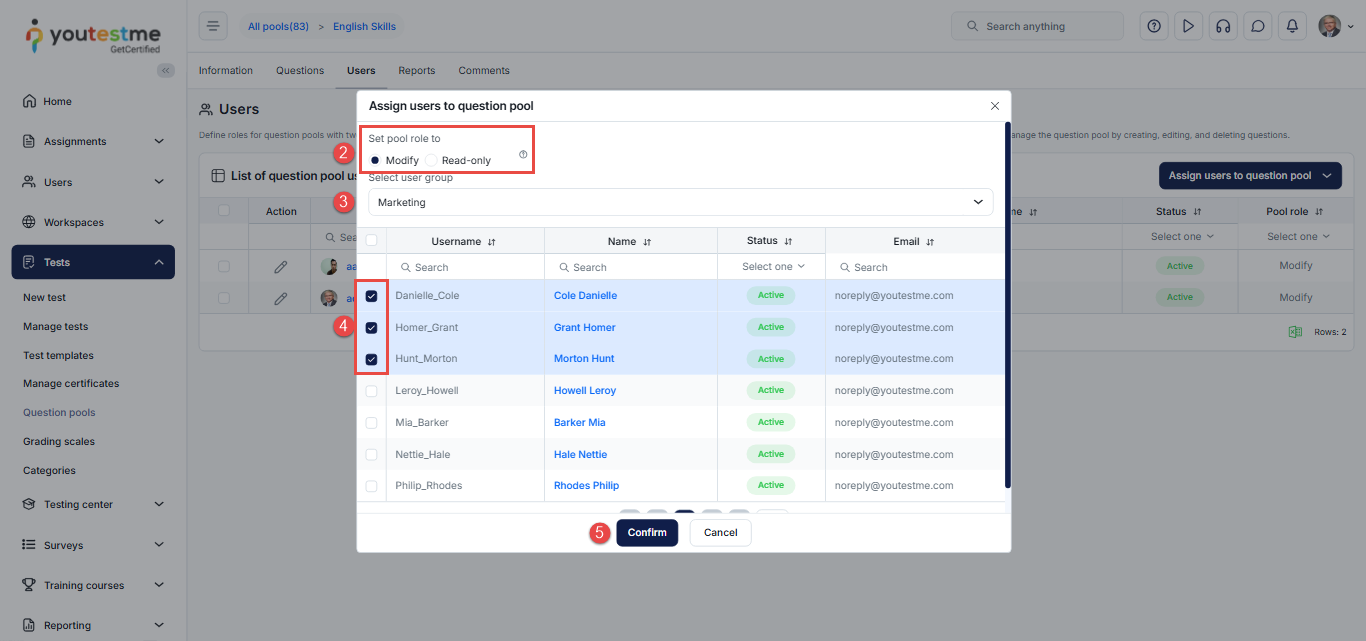
-
-
-
Reports
In the Reports tab, you can access different reports categorized into three sections. For more information about each section, please refer to the chapters below.
-
Question statistics
This section provides information about questions to assess candidates' performance. The table shows performance data for currently active question versions only. If a question's active version hasn't been used in any test, it won't appear in the table. Similarly, if a question has been edited but its new version hasn't been used in any test since the edit, it won't appear in the table (even if its previous version was used). Therefore, the statistics displayed do not indicate that the question has never been used in tests; rather, its latest active version has not yet been included in any test version.
The table includes the following information:
-
Version ID - The unique identifier of the question created upon its creation.
-
The Text of the question.
-
The Difficulty level of the question which can be categorized as easy, medium, or hard.
-
Appearances - The total number of occurrences of the question in all tests.
-
Total correct - Number of times the question was answered correctly in all tests.
-
Partial correct - The number of times the question was partially answered correctly in all tests, i.e., where the number of points was between zero and the maximum number of points for the question.
-
Zero-negative - The number of times the question was answered incorrectly in all tests, i.e., where the number of points was zero or less.
-
Total ratio - The percentage representation of the ratio between the Total correct and Appearances columns.
-
Partial ratio - The percentage representation of the ratio between Partial correct and Appearances columns.
-
Negative ratio - The percentage representation of the ratio between Zero-negative and Appearances columns.
-
Average percent - The average percentage of points scored on the question.
-
Average time - The average time spent on answering the question.
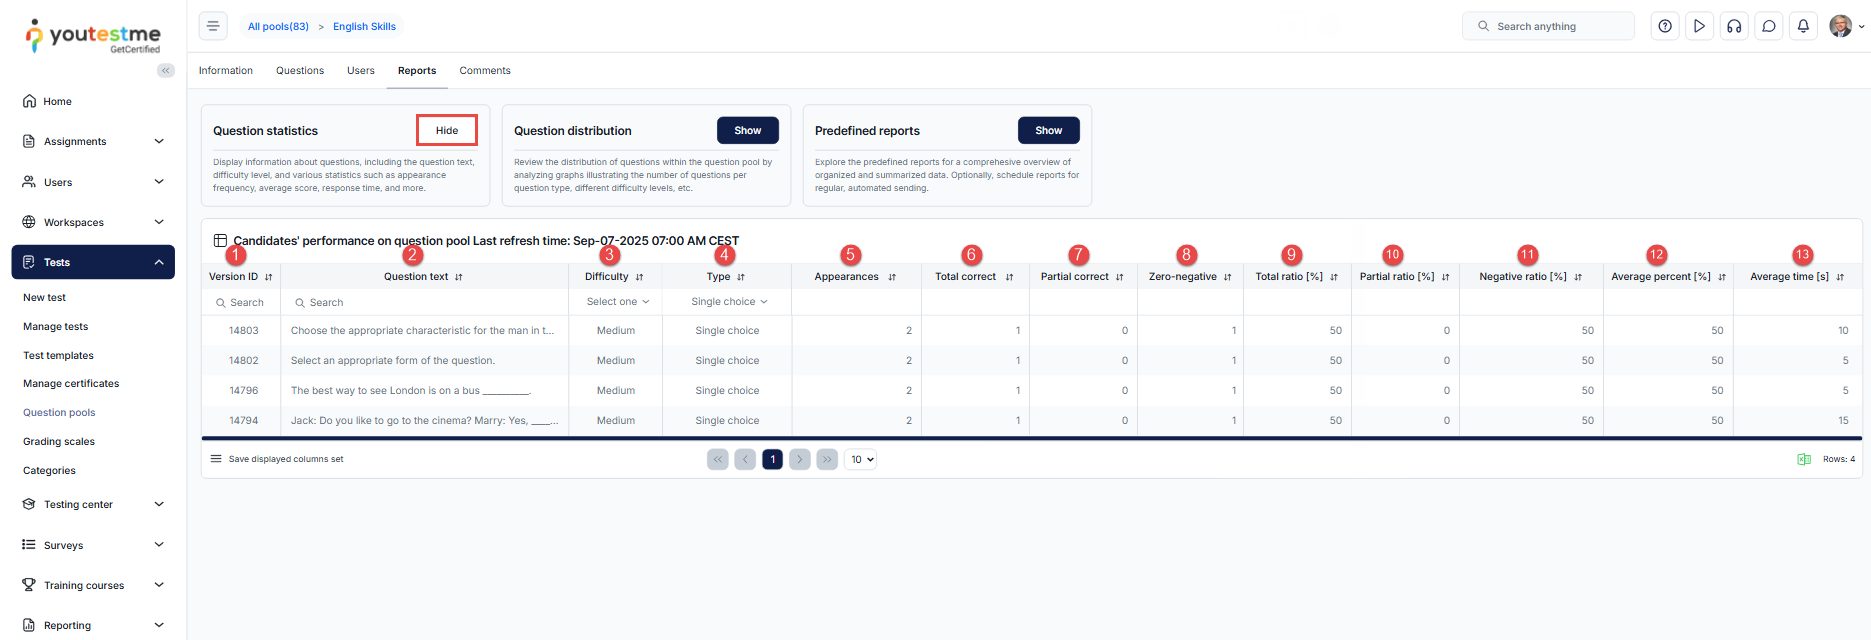
-
-
Question distribution
In this section you can review the distribution of questions within the question pool by analyzing graphs illustrating the number of questions per question type, different difficulty levels, or question property values added to the questions.
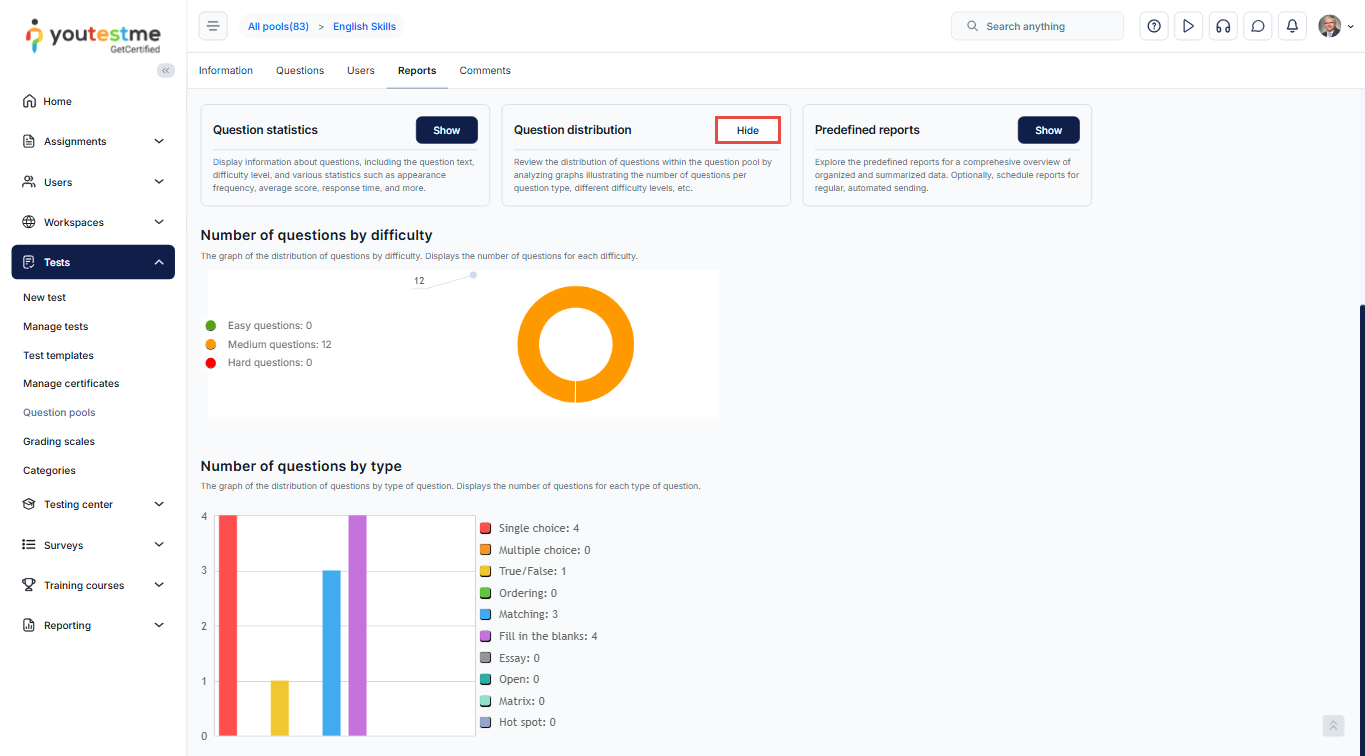
-
Predefined reports
This section allows you to access predefined reports for a comprehensive overview of organized and summarized data. You can also choose to open a report and schedule it for regular automated sending.
To open a report, click the Open button next to the report you want to access.
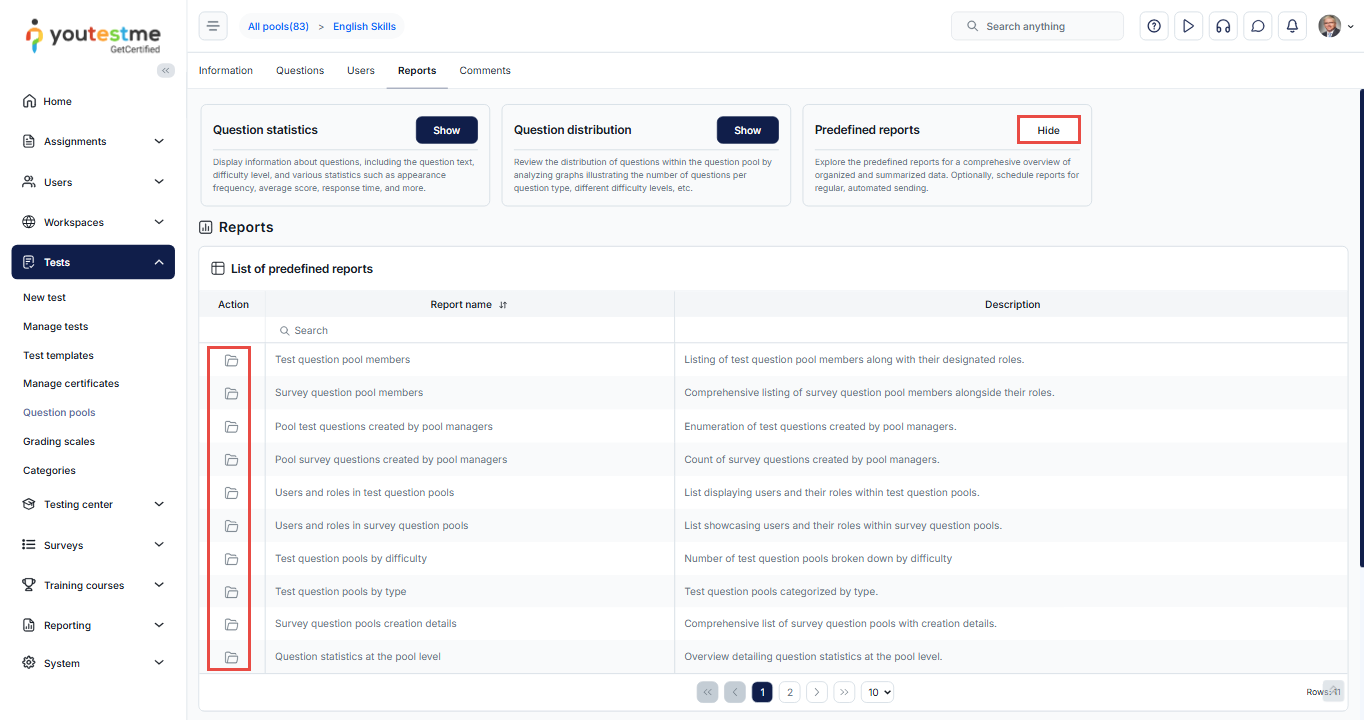
-
-
Comments
The Comments tab shows all comments added to the question pool. Comments can be used to note who, when and why made changes in question pool or questions configuration. On this tab, you can:
-
Create New comment by clicking the corresponding button, entering the desired text, and confirming the comment creation.
-
Filter the list of comments to display only your comments or all comments created by all users.
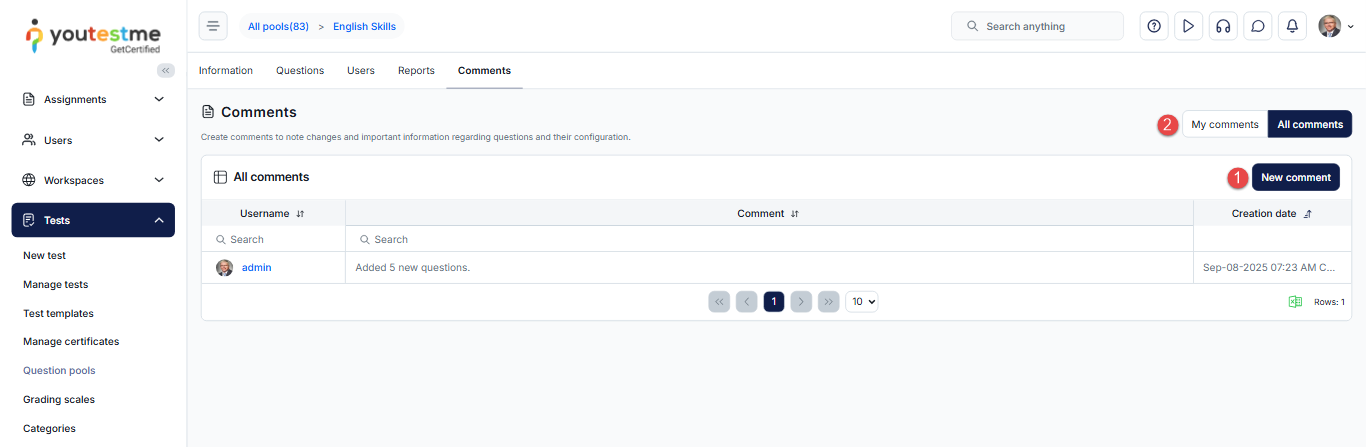
-
Categories
Create categories to link questions, test, or surveys that share common attributes. These categories can improve the organization, search, and management.
Note: This page can only be accessed by users with the "Access category page" permission.
A category can optionally be added to a workspace. When added, it will be available only in that workspace's scope and all the members of the workspace will be able to access it. If the category is not added to a workspace (option "Visible to all workspaces" selected), it will be available (visible) to all the users, but only its creator and users with system role "Manage any category" permission can manage it (change the name, description and add/remove from a workspace).
The displayed data may vary depending on the following conditions:-
• Whether the user has the system role "Manage any category" permission, which allows them to preview all categories in the system.
-
• Whether the user has the workspace role "Manage any category" permission, which allows them to preview all categories added to their workspace.
-
• Whether the user has the "Create a category" permission which allows the user to create and manage said categories.
Note: A category must have a unique name in the same scope.
This means that multiple categories can exist with the same name, but in different workspaces or with option "Visible to all workspaces" selected.Accessing the page
Navigate to the Tests panel in the left-side menu and select Categories.
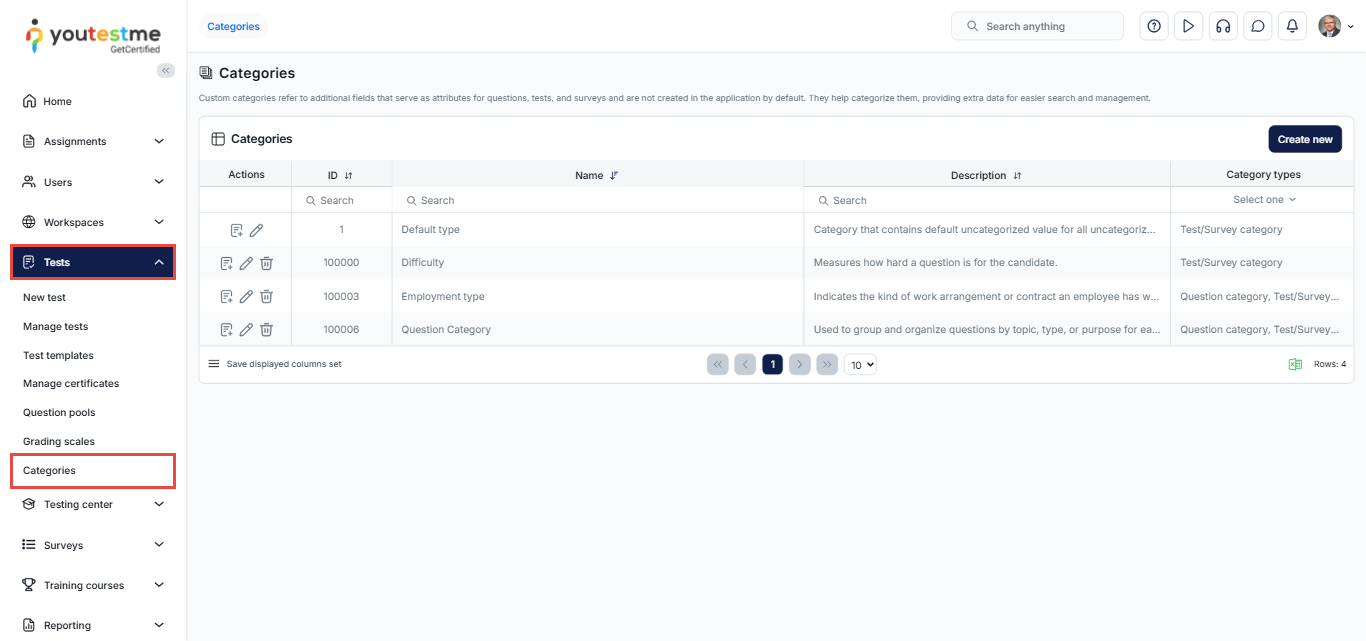
Creating a new category
To create a new category, do the following:
-
Click the Create new button.
-
Enter the name of the category.
-
Optionally, enter a description.
-
Choose the type of the category. This aims to help reuse same category in both questions or tests/surveys. When editing, type can be removed from the category only if it's not being used.
-
Choose the workspace where the category will be added.
-
Click the Save button to create a category.

Creating a new category value
-
Click the Add new value button.
-
Enter the name of the category value.
-
Optionally, enter a description.
-
Click the Save button to create a category value.
To create a new value, do the following:

To access category values click the Details button next to the desired category. Upon doing so, you will be displayed all values created within that category. Each category value can contain as many sub-values as desired.

For instructions on utilizing categories, please visit How to generate tests based on categories.
Grading scales
-
Introduction
Grading scales are used to establish specific labels for categorizing results. These scales enable the standardized presentation of test outcomes using a predefined range, e.g., from A to F.
To access the list of grading scales, navigate to the Tests section in the main menu, then select Grading scales.
On this page, you can:
-
View a table with existing grading scale templates categorized as:
-
Grading scale templates you created.
-
Publicly available grading scale templates - The list of grading scale templates accessible to all users who can access the Grading scales page.
-
All grading scale templates in the system - The list of all the grading scale templates, both public and private. Visible only to users with the Manage any test, survey, or training course permission.
-
-
Edit a grading scale. A grading scale cannot be modified once assigned to a test template or test. Save changes as a new grading scale instead.
Note: Editing grading scales is restricted to users with the Create test, survey or training course permission within their user role.
-
Delete grading scales permanently (only possible if they are not used in any tests or surveys).
Note: Deleting grading scales is restricted to users with the Create test, survey or training course permission within their user role.
-
Export data from the table as an Excel file.
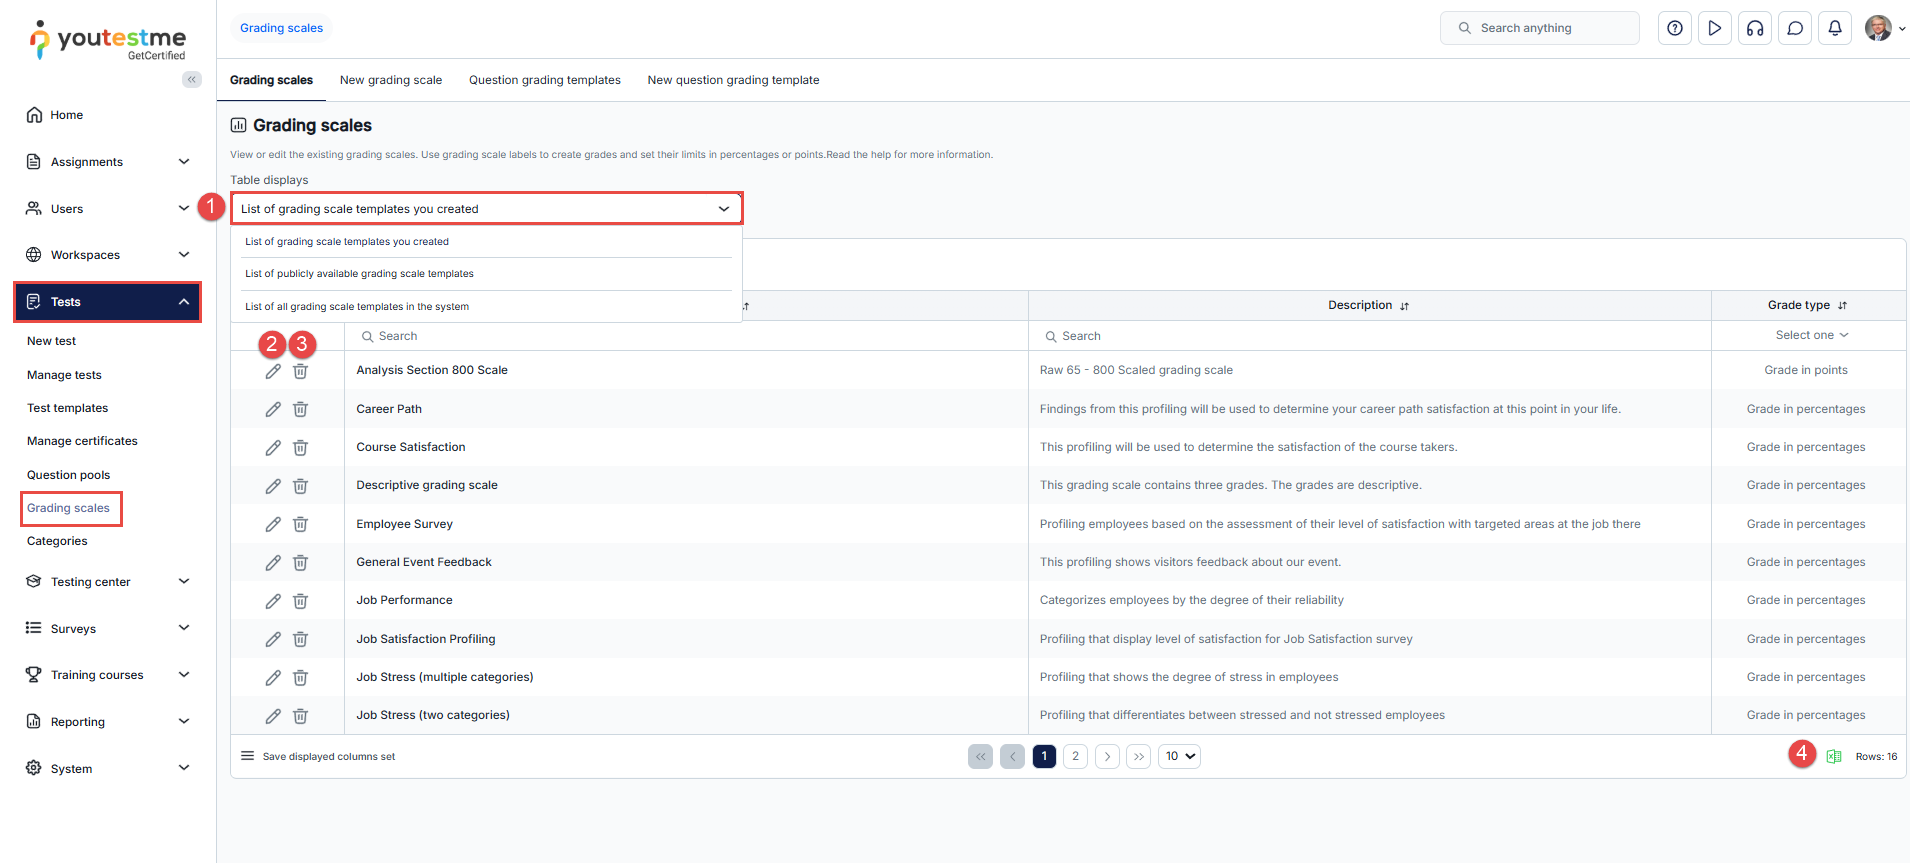
New grading scale
To create a new grading scale:
-
Navigate to the New grading scale tab.
-
Enter the grading scale's name.
-
Set the privacy to private or public. Public scales can be viewed by users with Manage any test, survey, or training course permission; private ones are visible only to the creator.
-
Enter a description.
-
Determine whether the grades will correspond to the percentage or the number of points earned. The minimum percentage grade is 0, with a maximum of 100. For points, the range is 0 to the total points achievable on a test.
-
If the grades are linked to the number of points achieved, establish the minimum and maximum grades.
-
Add as many grading scale labels as needed.
-
Define the name of the grade.
-
Define the range of points or percentages associated with this grade. The From value is inclusive, meaning that if grade A encompasses points up to 30, and grade B begins from 30, a candidate will be assigned a grade of B.
-
Click the Save button.
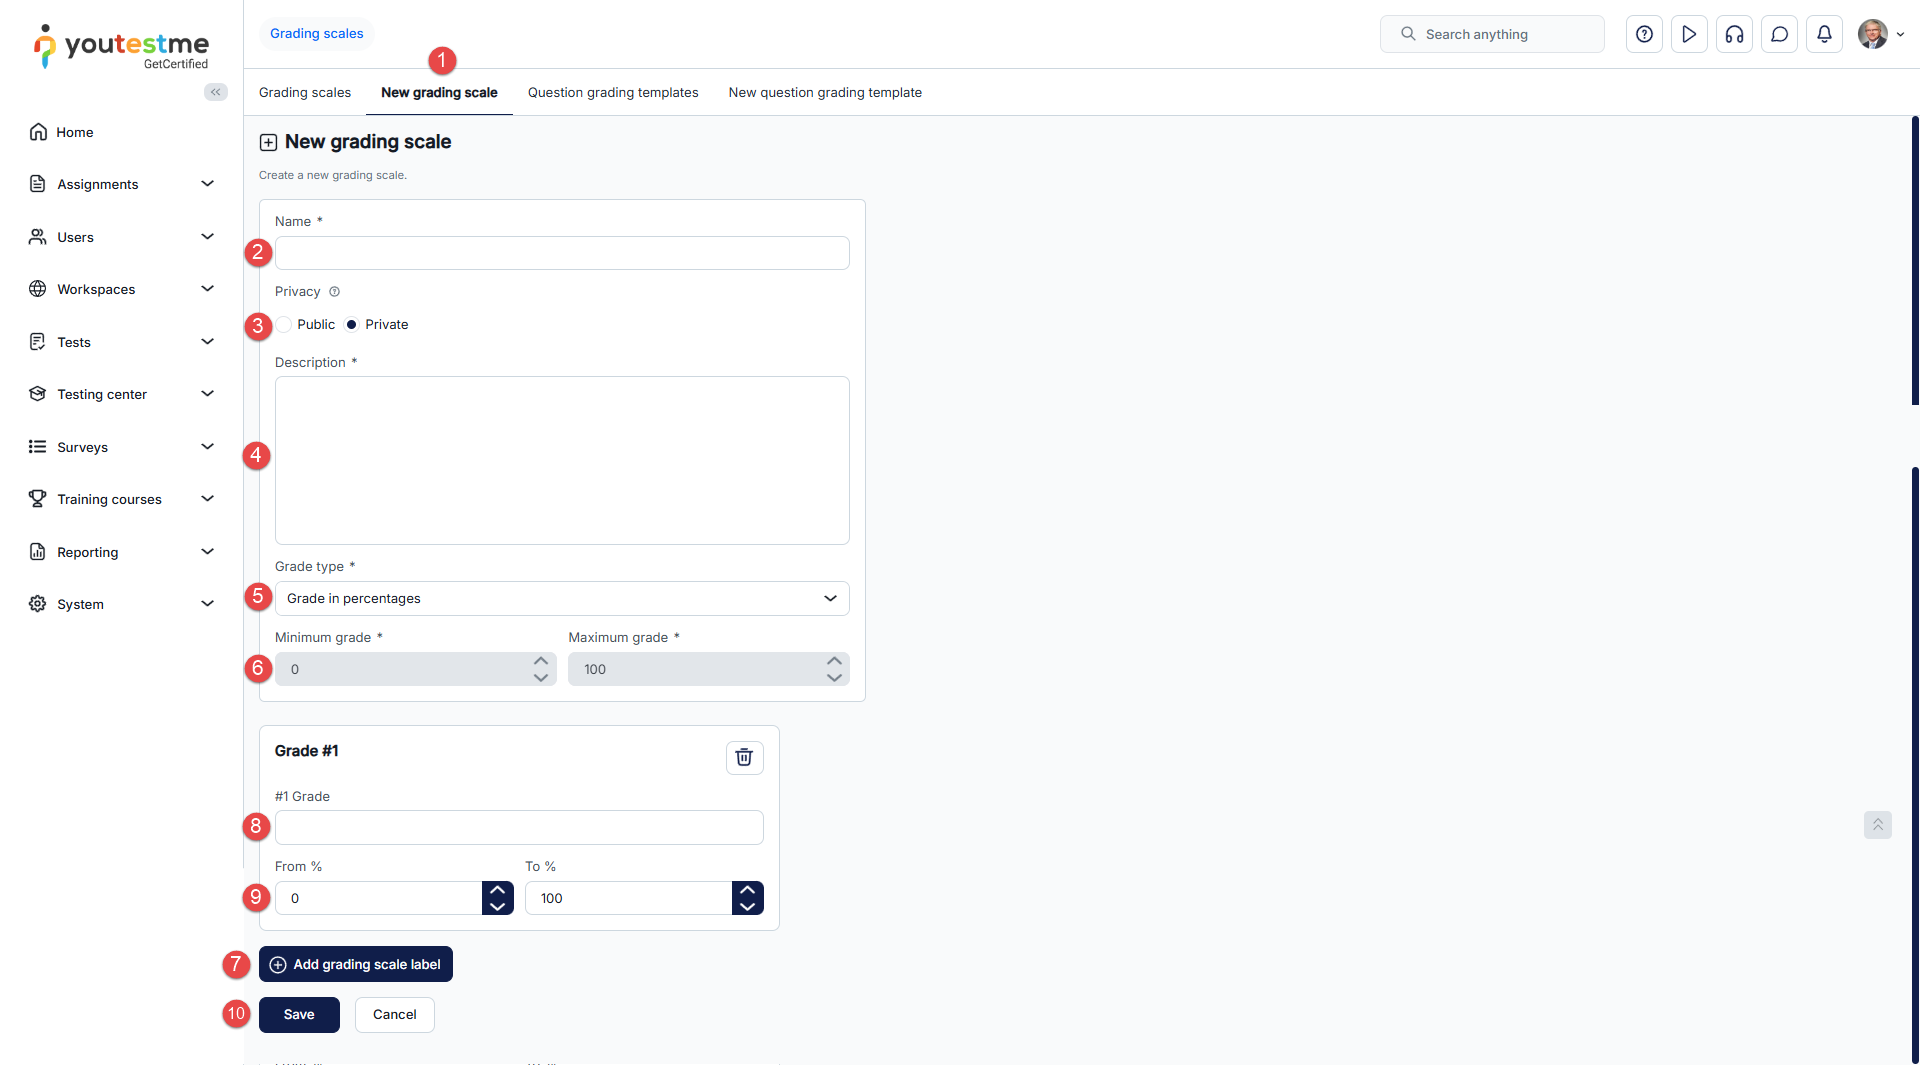
The grading scales are used when creating new tests. For more information on how to add a grading scale to a test, please visit the Grading test help page.
-
Question grading templates
-
Introduction
Question grading templates with predefined points are used to simplify the questions grading process. Adding these templates to manually graded questions will allow you to grade questions by using preset grades instead of entering values manually.
To access the list of question grading templates, navigate to the Tests section in the main menu, then select Grading scales, and go to the Question grading templates tab.
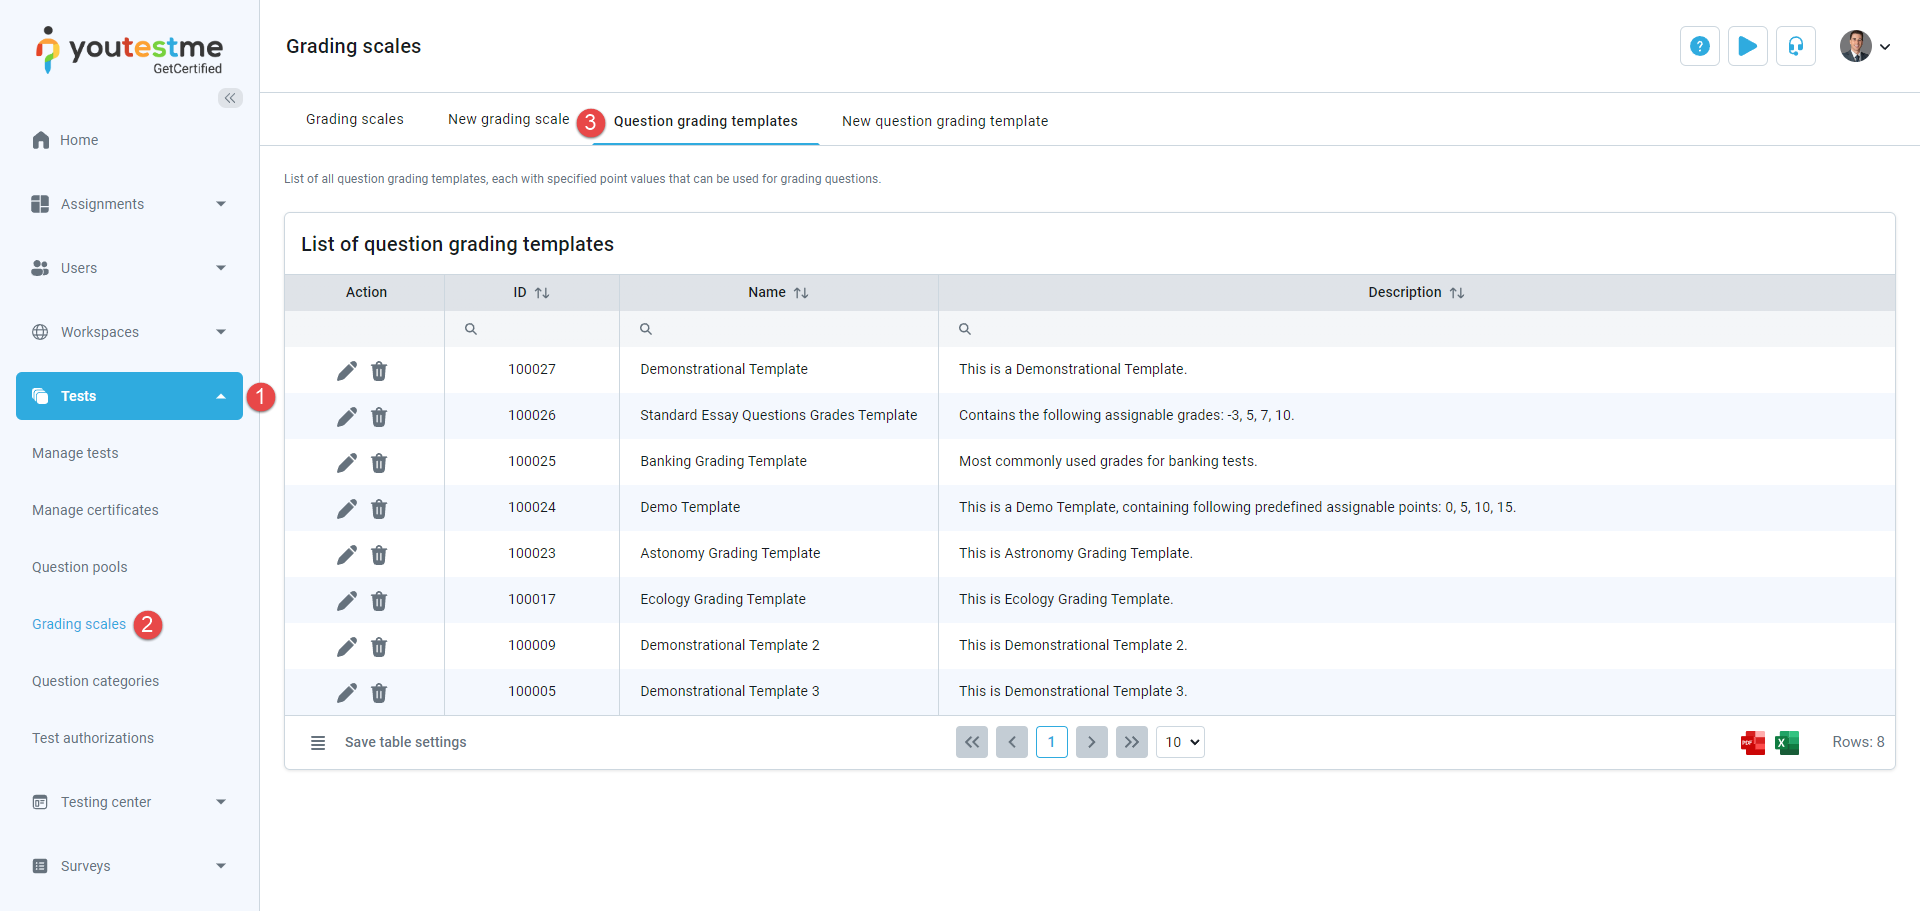
On this page, you can:
-
View a table with existing question grading templates. Depending on your role and permissions in the system, you can access only your templates, public templates of other users, or all question grading templates in the system.
-
Edit the question grading template. When editing an existing template, you’ll have the option to update it or create a new template based on it.
-
Delete questiona grading templates (only possible if not used in questions).
-
Export data from the table as a PDF or Excel file.
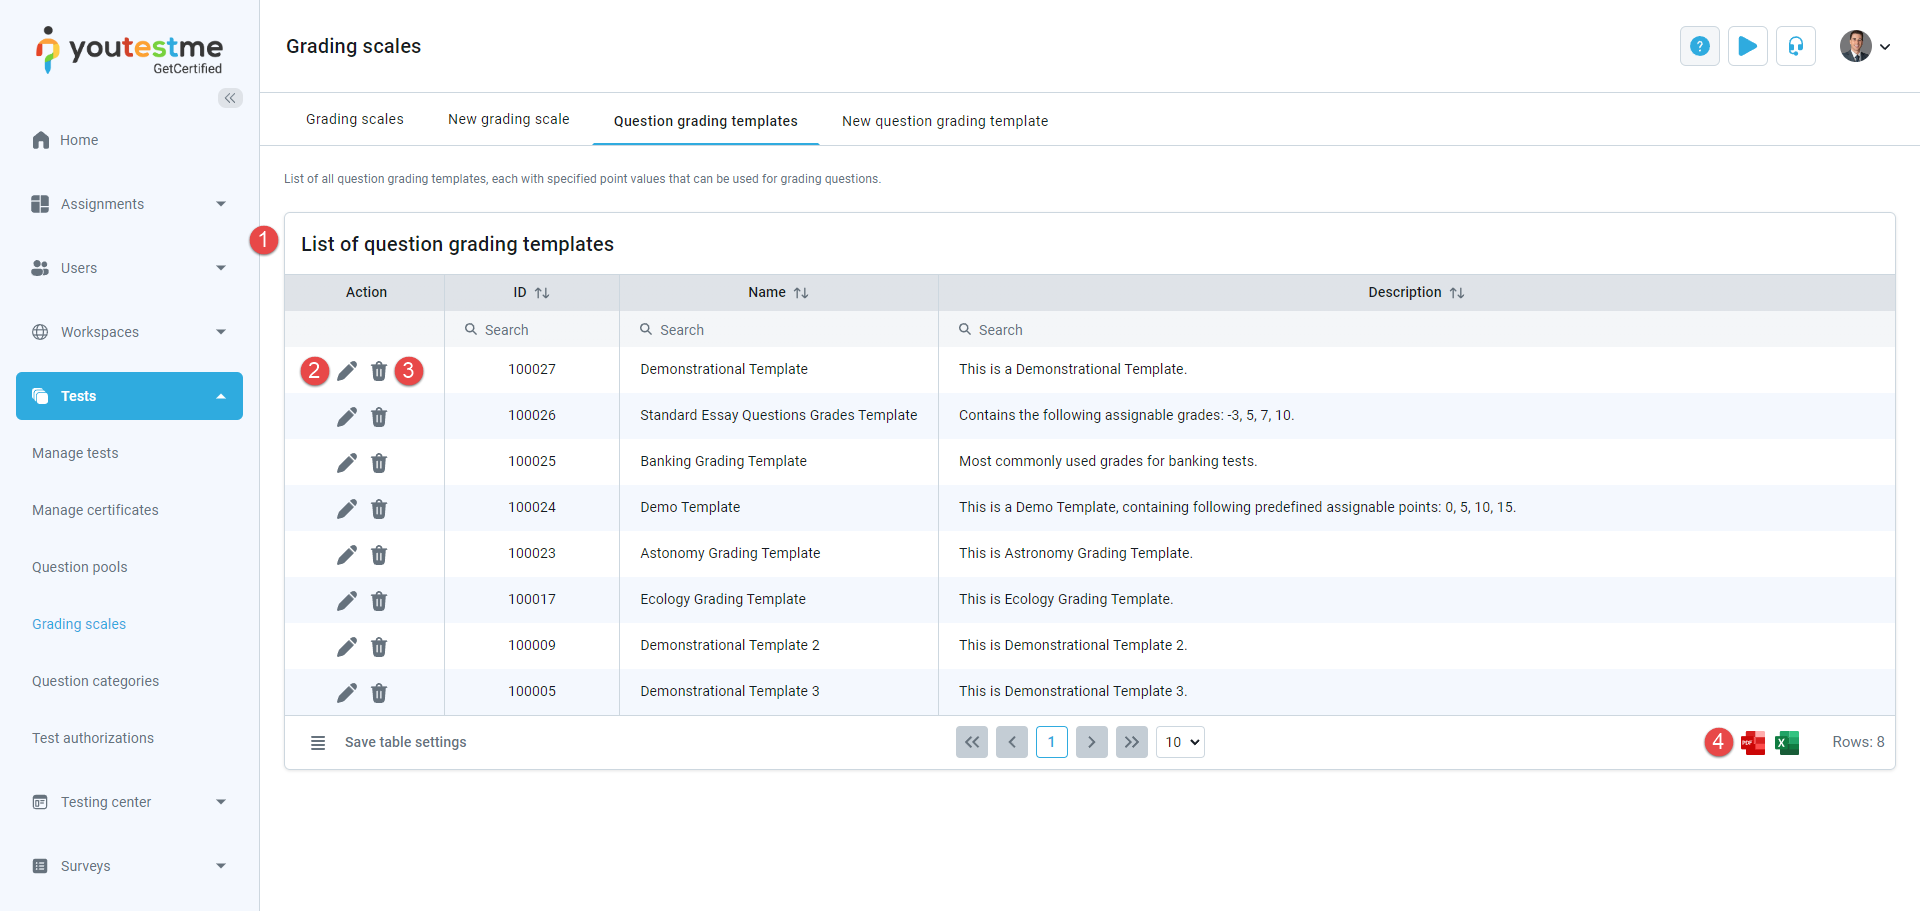
Create question grading template
To create a new question grading template:
-
Navigate to the New question grading template tab.
-
Enter the name of the template.
-
Define the template’s privacy settings. Public templates can be previewed by all users with Manage any test, survey, or training course permission, while private templates are visible only to their creators.
-
Define the description of the grading template, e.g., you can describe how many preset points the template has, etc.
-
Click the Add question grade points button.
-
Add as many grading points labels as needed.
-
Define the points of the grade.
-
Click the Save button.
The created question grading template will be displayed on the Question grading templates tab.
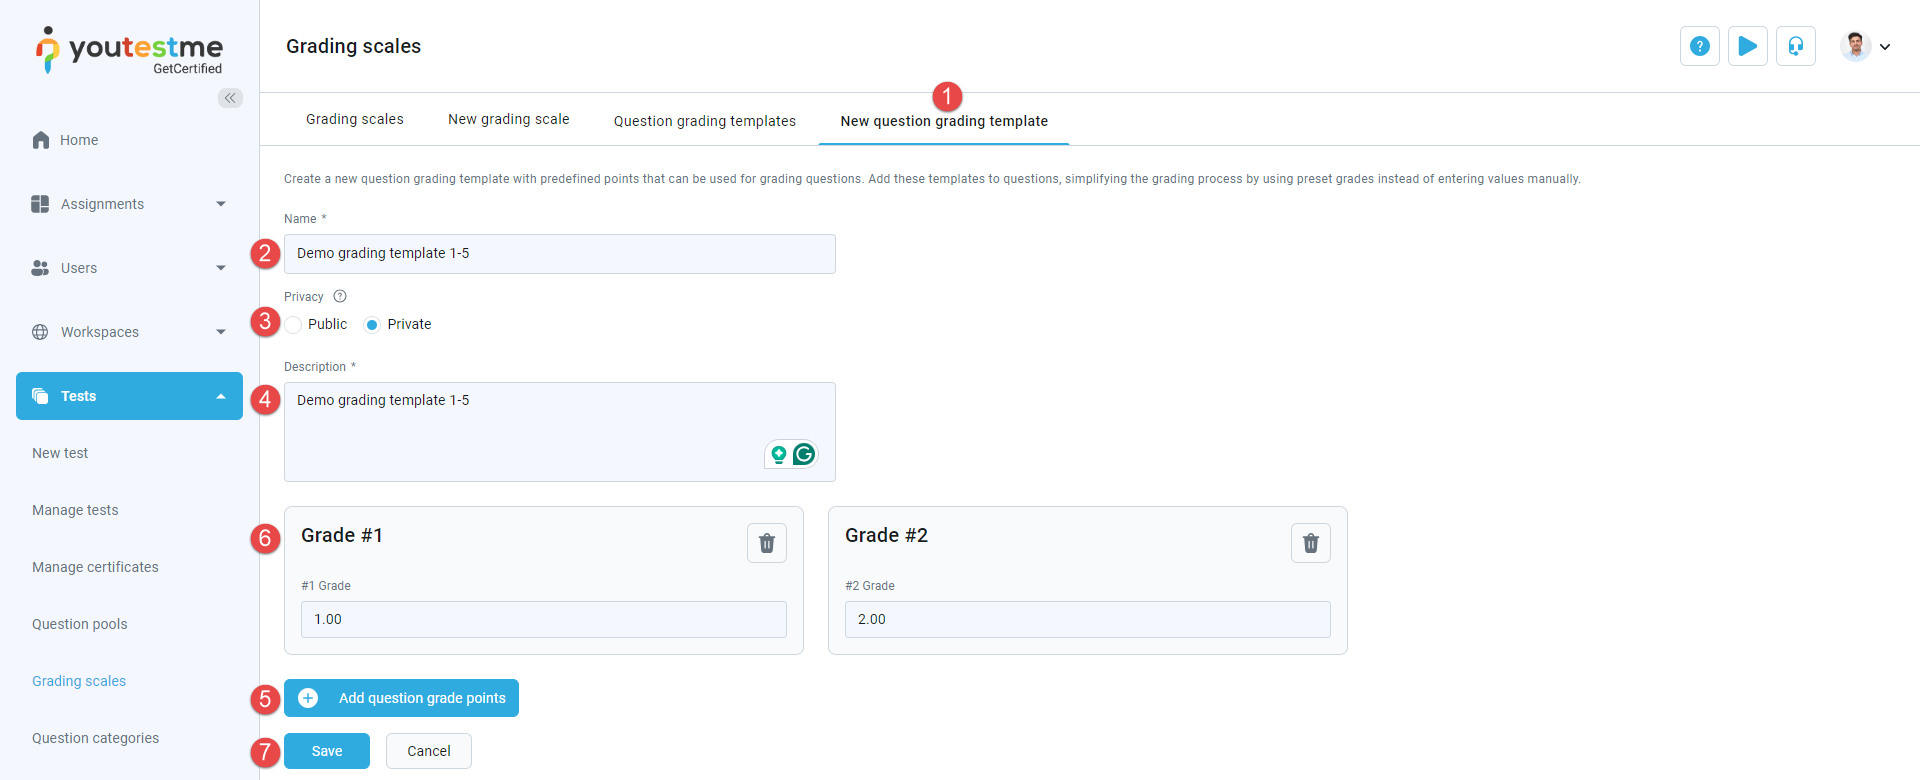
Note: Question grading template names must be unique, and assignable points must be unique inside a single question grading template.
For more information on how to define question grading templates in the question configuration, refer to this article.
-
Grader report
-
Introduction
This module enables collaborative grading by multiple graders. The test manager must define the minimum number of graders required to grade questions in order to generate the final result for a candidate's test attempt.
The process can be summarized as follows: the test manager creates a test, defines a multiple grader configuration, and adds a list of graders for the test. Depending on the grading configuration, grading requests are either automatically sent to graders, or the test manager assigns grading reports to graders.
The grader accepts the request, evaluates the candidate's report, and their grades contribute to the final result. Once the necessary number of graders has evaluated the report, the final result for the candidate's test attempt is obtained.
In case conflicting grades arise, the next grader in the queue makes the final decision.
For more detailed information about each step, refer to the headings below.
Note: This module is available only for tests without sections and that are manually created.
-
Test manager's perspective
-
Allowing multiple graders for a test
The configuration for multiple graders can be set either on the Grading step of the test creation wizard or under Tests/Manage tests/Grading configuration. The options available are the same, and they will be explained using the example of the Test creation wizard:
-
Define the desired grading settings for the test, such as passing marks, grading scales, etc.
-
Click on Show advanced settings.
-
Enable the Multiple graders option.
-
Set the Minimum grader reports for final result number, which determines the number of non-conflicting reports needed for the grade to be resolved.
-
Enable the Auto assign graders option if needed. This setting allows the system to automatically send grading requests to the specified number of graders. Graders are selected from the list defined under Test administration/Graders page. If this option is disabled, you must manually assign graders to each candidate's personal report.
-
Configure the rest of the test settings and finish the test wizard.
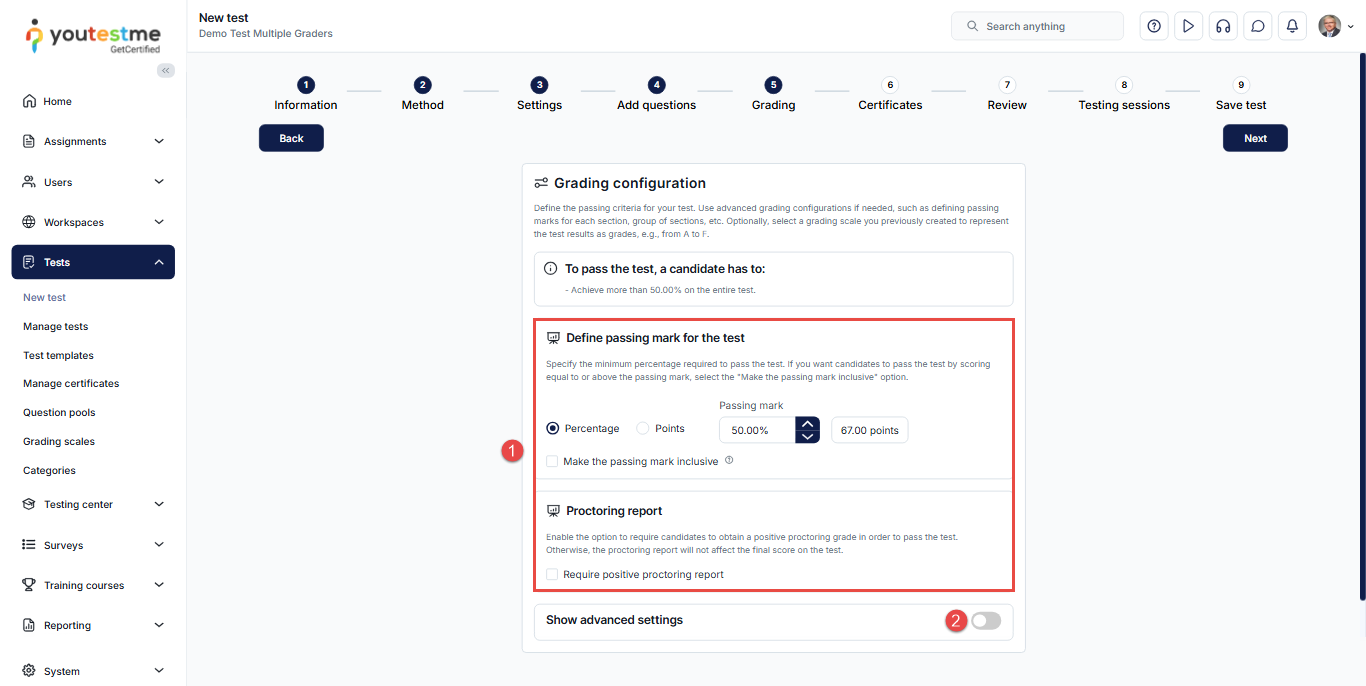
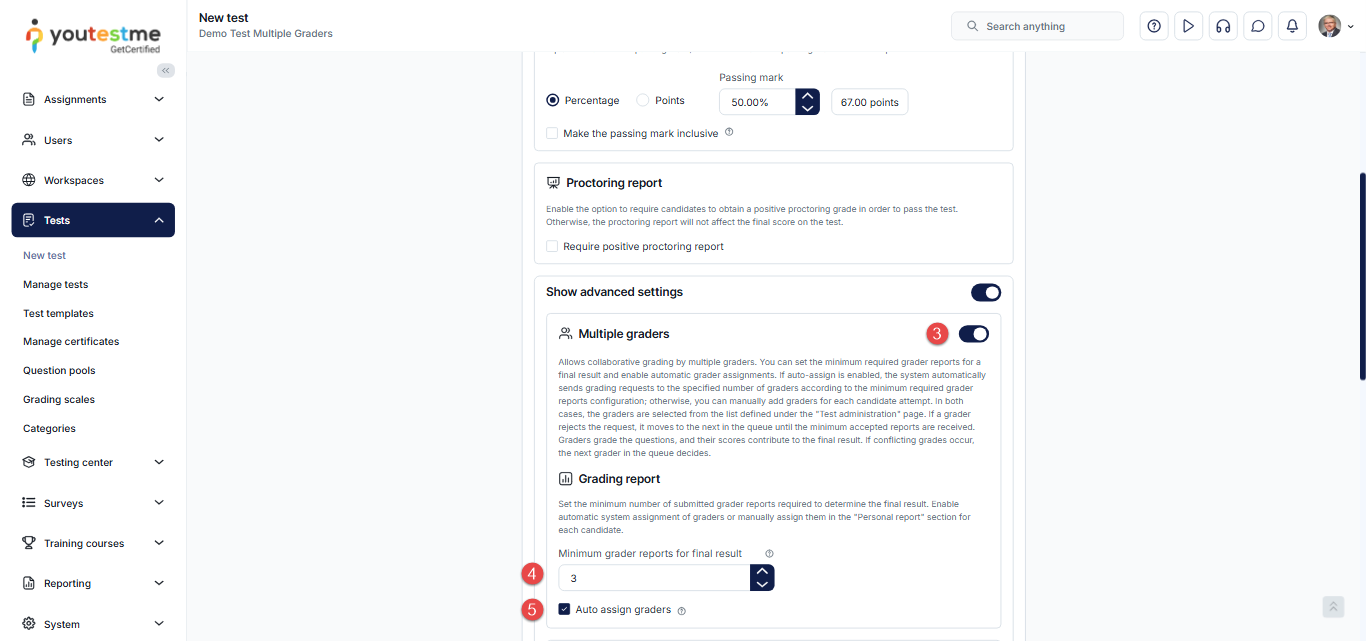
-
-
Assigning graders to a test
For more information on assigning graders to a test, refer to the Test administration/Graders help page.
-
Manually assigning graders to a test version
If the Auto assign graders option is not enabled, you can manually assign graders to a candidate's report after they complete the test. Follow these steps:
-
Open the list of test attempts for the desired test.
-
Click on the Personal report button of the candidate whose report you want to assign graders to.
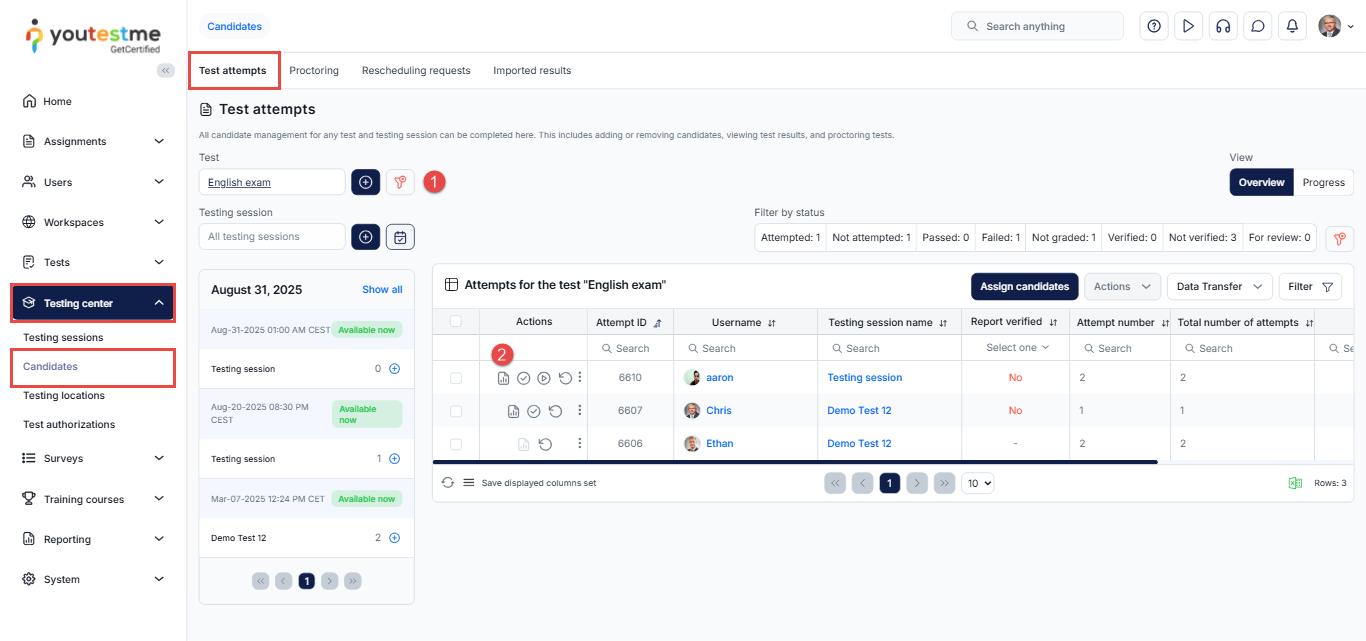
-
Click the Assign graders button.
-
Select the graders from the list of users.
-
Click the Confirm button.
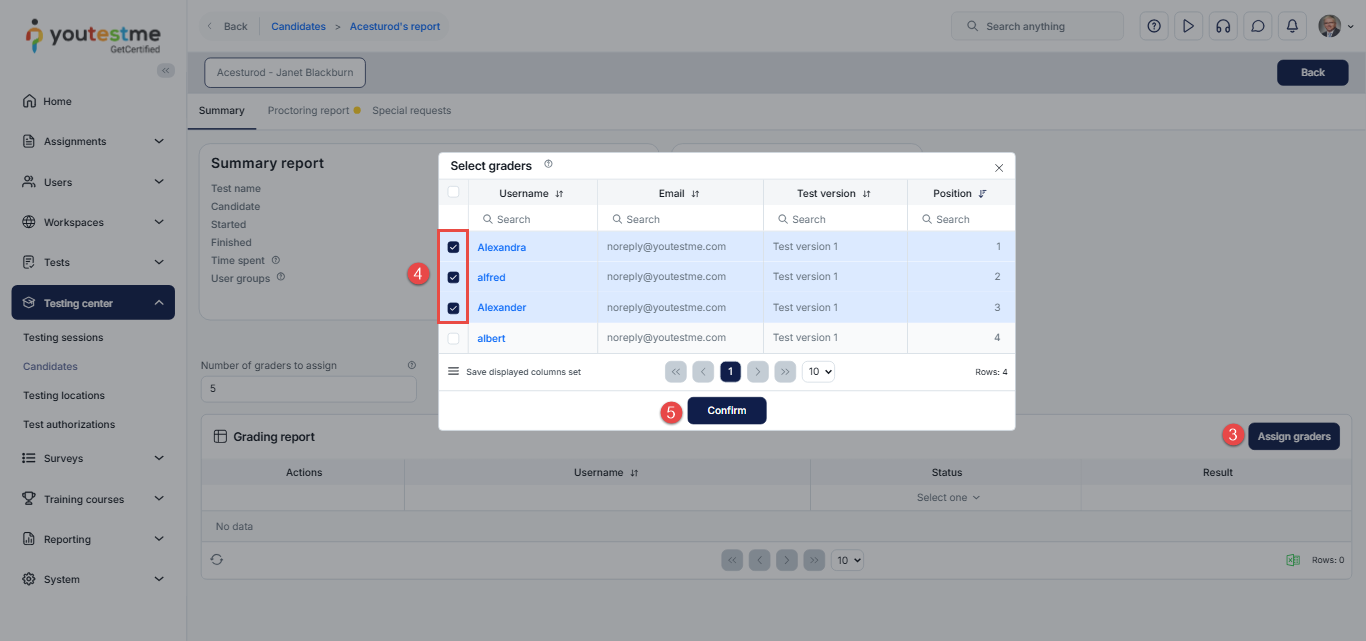
-
-
Changing report status
The test manager can access the grader's reports and check or change their statuses. However, changes to the report status can only be made if the test attempt has not yet been verified.
The possible statuses are as follows
-
Created - This status indicates that a grader has yet to accept or reject a grading request.
-
Accepted/Rejected - If the status is Accepted, the grader will be able to grade and submit the report. If the status is Rejected, the grader won't be able to access the Grader report page, and the grading request will be sent to another grader.
-
Invalid - This status indicates that the submitted report will not be counted toward the candidate's final score, and the assigned grader will not be able to access the grading page.
-
Submitted - This status indicates that the grader has completed their review, and the grades from the report will be calculated into the candidate's final score.
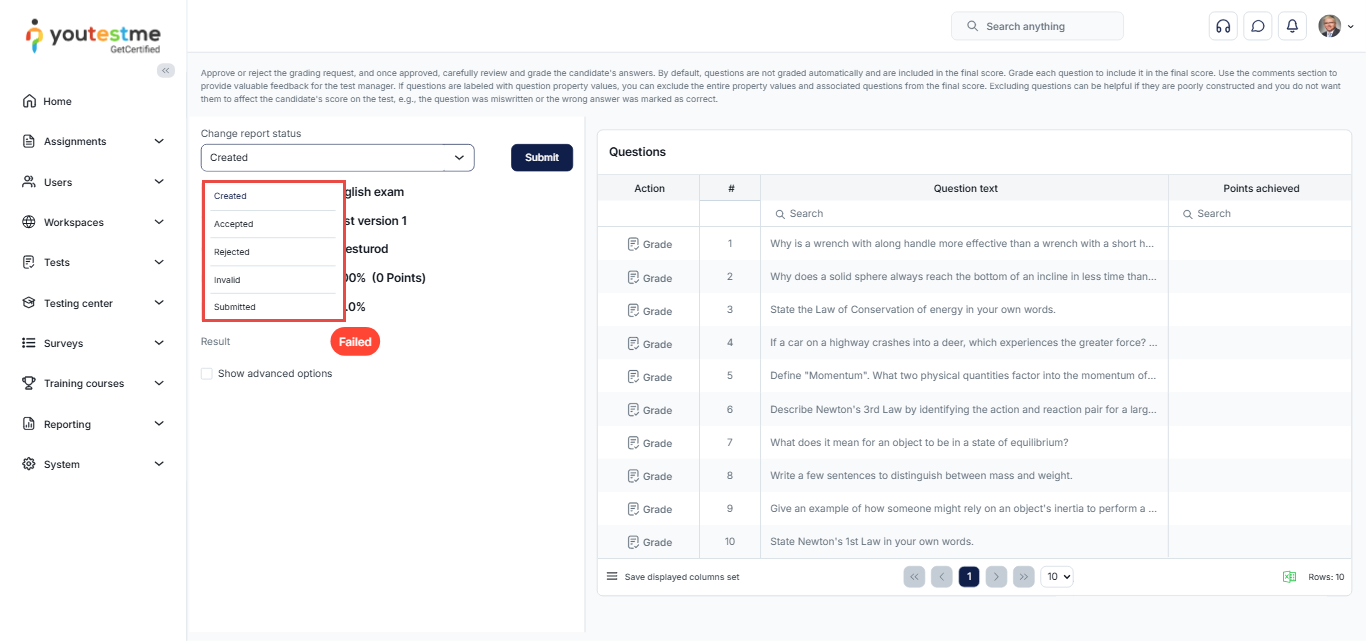
The final result is Not resolved if one of the following conditions is met:
-
There is at least one unresolved grader report.
-
All grader reports are resolved, and the number of passed submitted grader reports is equal to the number of failed submitted reports.
The final result will be Passed if the following conditions are satisfied:
-
All grader reports are resolved.
-
The number of submitted grader reports is greater or equal than the minimum number of submitted reports.
-
The number of passed submitted grader reports exceeds those of failed submitted reports.
The final result is Failed in all other cases.
For an example of how the report will be resolved if the minimum number of submitted grader reports is 2, see below:
-
First grader's report: Passed, Second grader's report: Passed, Other graders' reports: Rejected or Invalid -> Final result: Passed
-
First grader's report: Failed, Second grader's report: Failed, Other graders' reports: Rejected or Invalid-> Final result: Failed
-
First score: Passed, Second score: Failed, Other graders' reports: Rejected or Invalid -> Final result: Unresolved. An additional grader should be assigned to resolve the final result.
-
-
Notifications
Test managers can receive several types of notifications:
-
No graders remain notification - Test managers will receive a notification if the Auto assign graders option is enabled and there are not enough graders available to grade the candidate's report. This can occur due to insufficient graders assigned on the Test administration/Graders page or because some graders rejected the request, resulting in an insufficient minimum number to resolve the report. This notification alerts them that the system lacks the necessary graders for grading the report.
-
Grading response notification - Test managers will receive a notification when a grader responds to the request for grading the test.
-
Grader report submitted notification - Test managers will receive a notification when a grader submits grades for the candidate's report.
-
-
-
Grader's perspective
-
Resolving a grading request
In order for the grader to evaluate the report, they must first accept it. Graders can access the report and their grading requests through the notification they receive or through their profile (Profile/My grading reports tab).
To accept or reject a grading request:
-
On the My grading reports tab, click the Examine report button.
-
Choose to Accept or Reject the grading request.
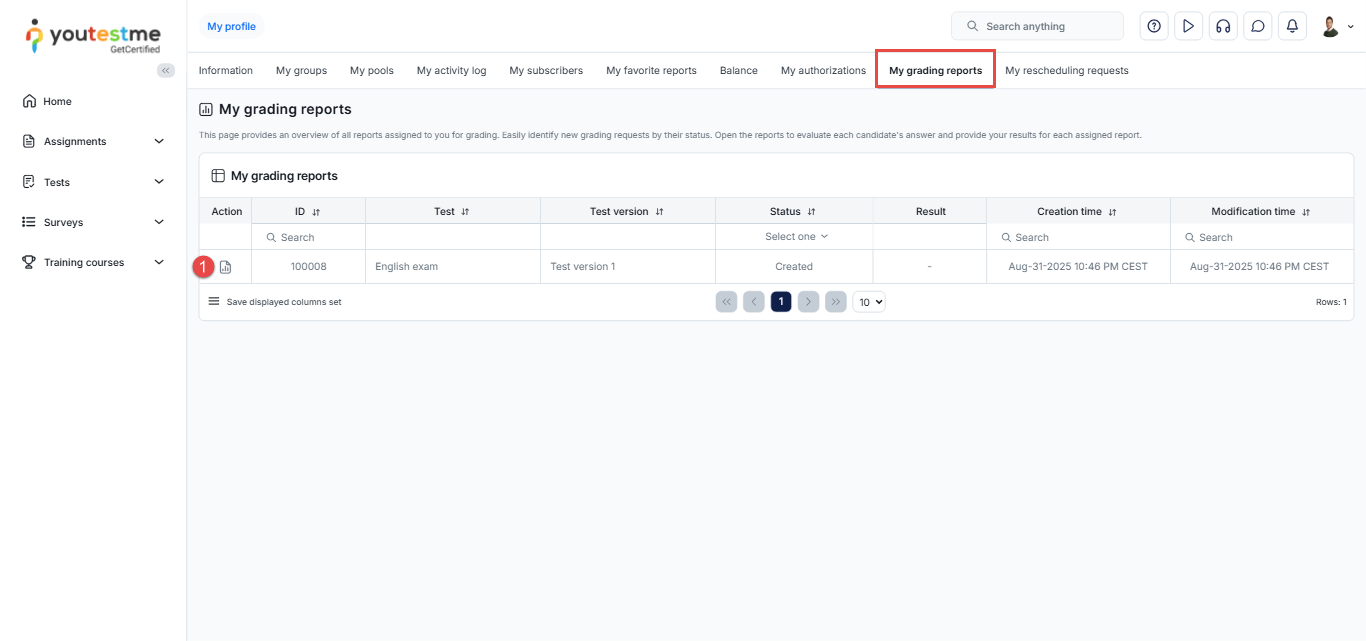
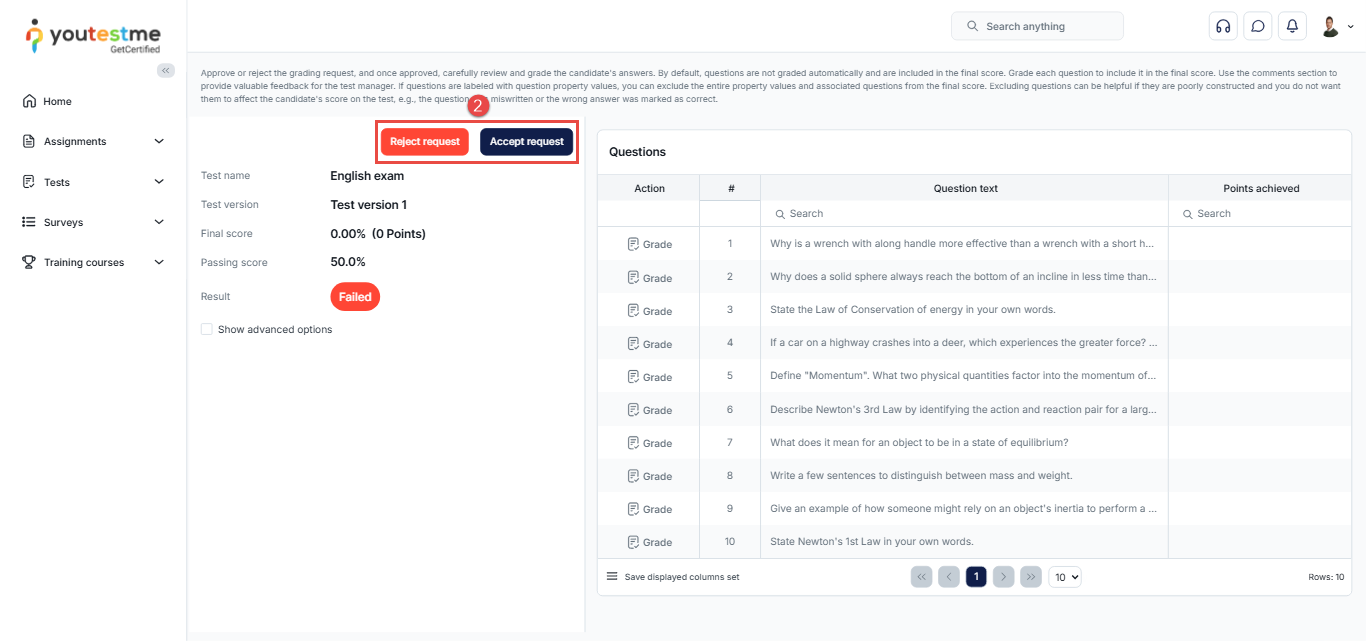
-
-
Grading a report
In the candidate's report, you can:
-
See the Test name.
-
See the name of the Test version you are grading.
-
View the Final score achieved by the candidate. By default, questions are not graded automatically and are included in the final score. As you grade the questions, the final score will update accordingly.
-
See the Passing score required to pass the test.
-
Check whether the candidate Passed or Failed the test.
-
Add your comments to the test managers. Click on Save comment after entering feedback.
-
Show additional options.
If questions are labeled with question property values, you can exclude entire property values and associated questions from the final score. Excluding questions can be helpful if they are poorly constructed and you do not want them to affect the candidate's score on the test, e.g., the question was miswritten or the wrong answer was marked as correct. Follow these steps:
-
Select the property for breakdown.
-
Click on the Exclude action. This will set the final points for that score to zero and reduce the final score accordingly.
-
Explanation of the Property value breakdown table columns:
-
Value column represents the number of questions with that property value.
-
Points initial column shows the sum of points submitted for questions with that property value.
-
Points final column shows the sum of points for questions with that property value, after all of the graders submit their points for questions with that property value and after the performed Include or Exclude actions.
-
Actions allows you to include or exclude points from the questions with that property value. Excluded questions will not be calculated into the final result.
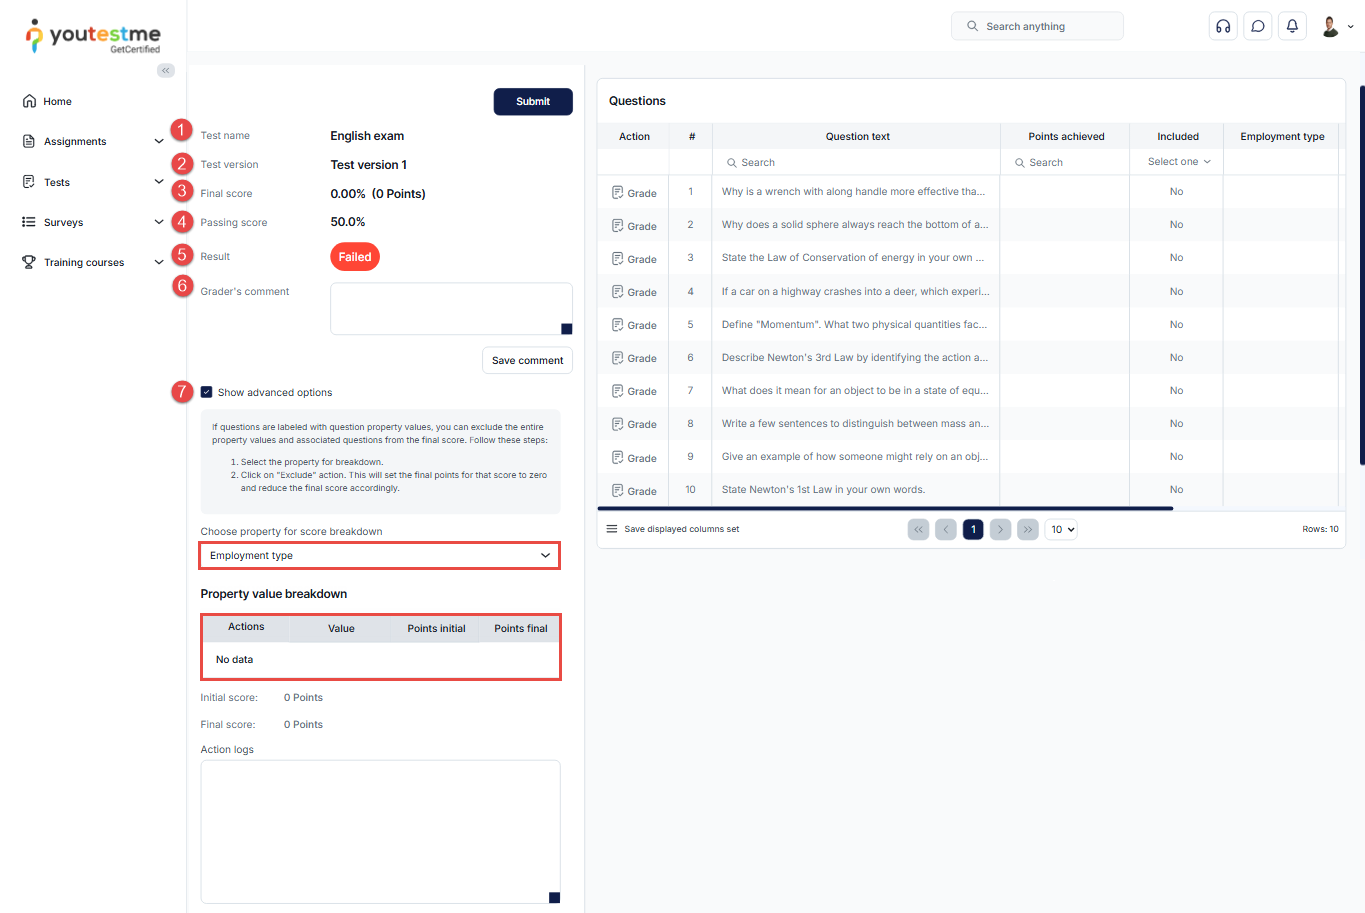
To grade questions:
-
Click the Grade button next to the question you want to grade.
-
Enter the desired number of points for the question.
-
If you want to add feedback to the question, click the Add feedback for question button and enter the desired text.
-
Save the entered changes by clicking the Submit button.
-
Repeat the steps to grade all questions. When your report is complete, click the Submit button to save it.
Note: As long as the test attempt is not verified by the test manager, the grader can Unsubmit the report, and grading options will become available again. Once the attempt is verified, the grader will no longer have the ability to change the report status.
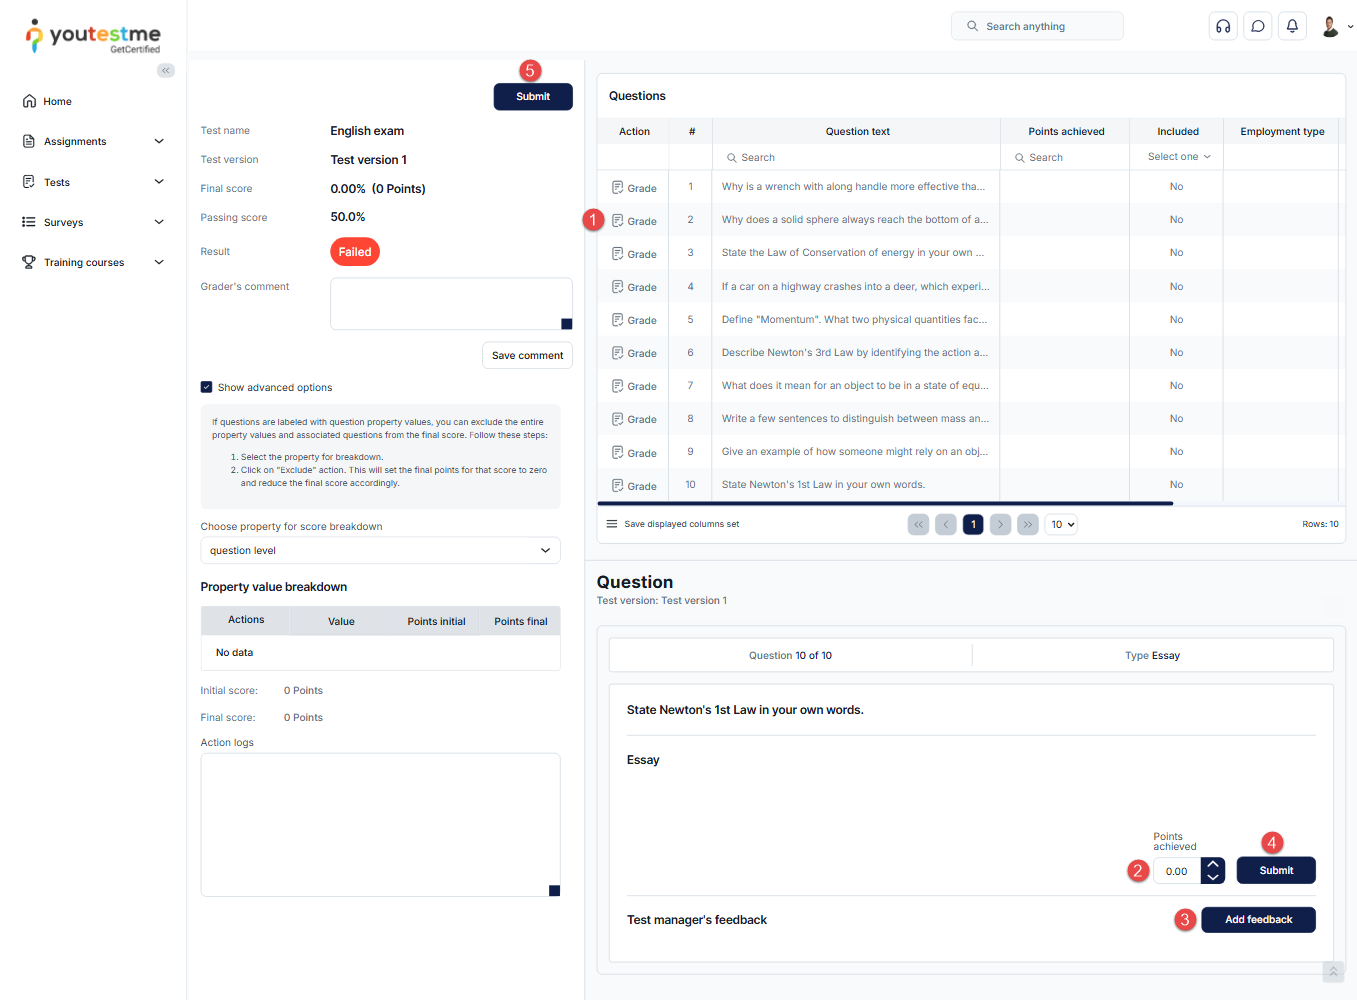
-
-
Notifications
When the candidate completes the test, a grading request is automatically sent to the grader. Through the grading request notification, the grader can directly open the grading request, accept or reject it, and proceed to grade the report.
-
Test results
In this page you can:
- manage when and how the test results will be verified.
- manage non-verified test results.
- enable and disable auto, on-demand, and one-by-one verification.
- configure the hold conditions for the auto and on-demand verification.
- manage the non-verified test results by changing their statuses.
- marking test results for review with the review notes.
- manually verify test results.
You can also import test related data.
The Test results page can be accessed from the Testing sessions section in the left side menu.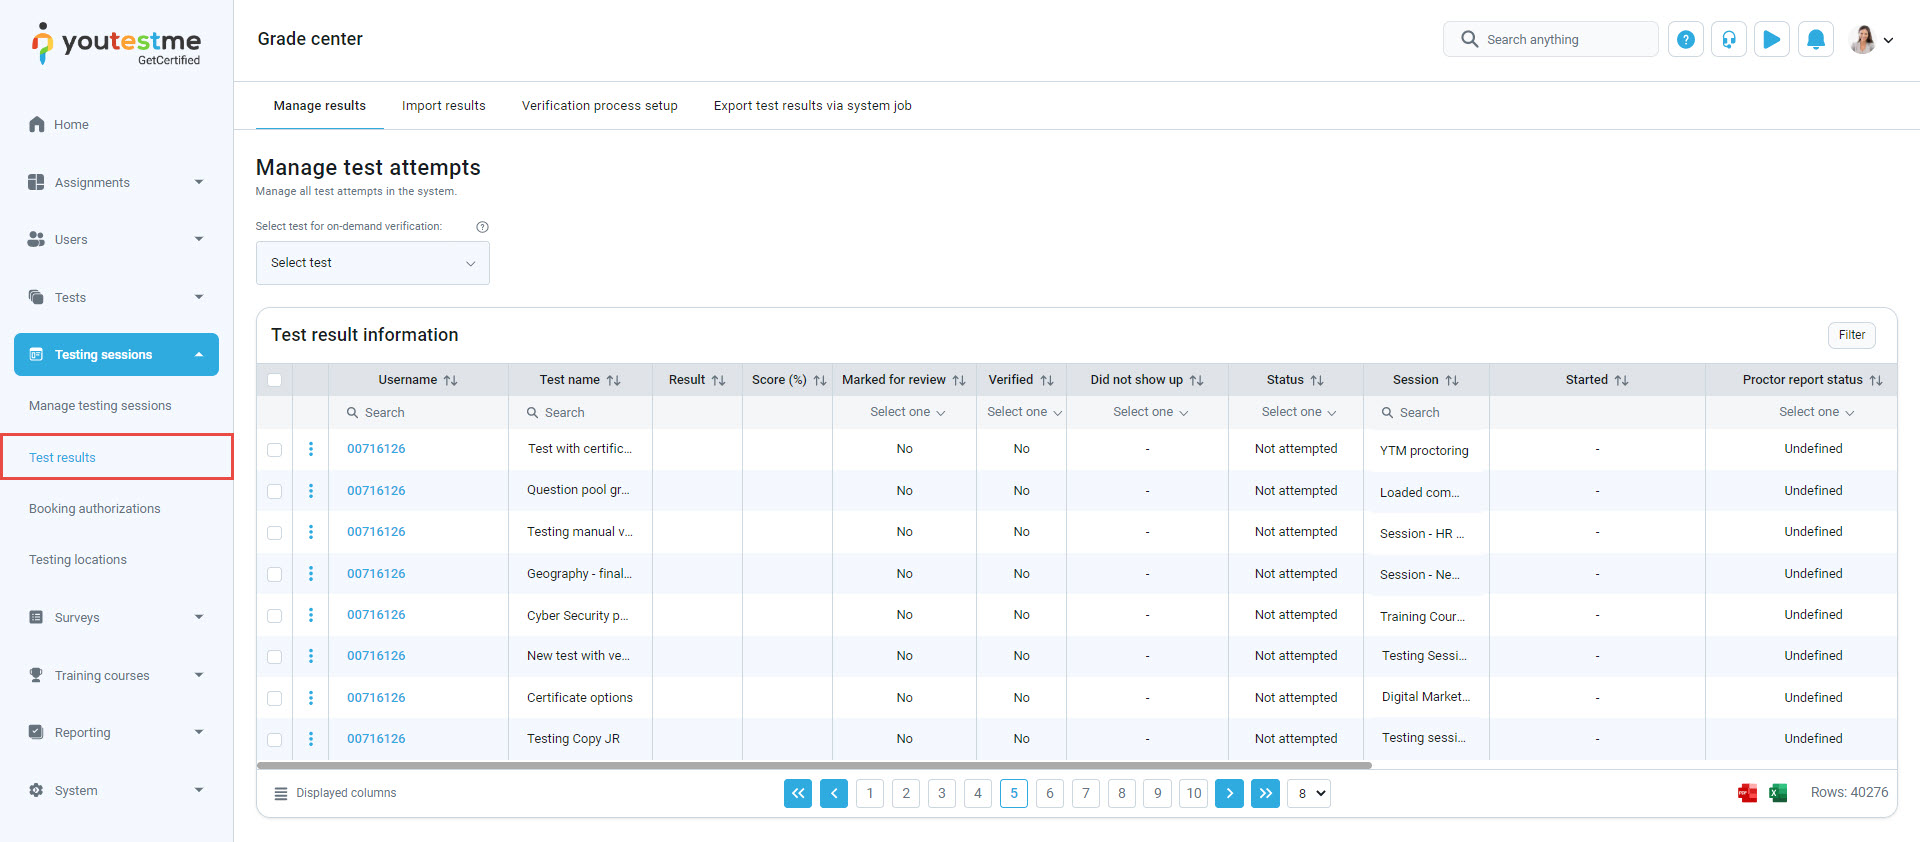
-
Test results page
This page is separated into the following parts:
-
Manage results - Manage all test attempts in the system. For more information about it, please visit Manage results.
-
Import results - See all staged batches, manage batch processing and see the logs of the processed batches. For more information about it, please visit Import results.
-
Verification process setup - Test results verification is the additional step upon test completion often needed to certify that results have been checked by humans or a specifically configured system process. For more information about it, please visit Verification process setup.
-
Export test results via system job - Export test results via the system settings. Only authorized and verified results will be sent. For more information about it, please visit Export test results via system job.
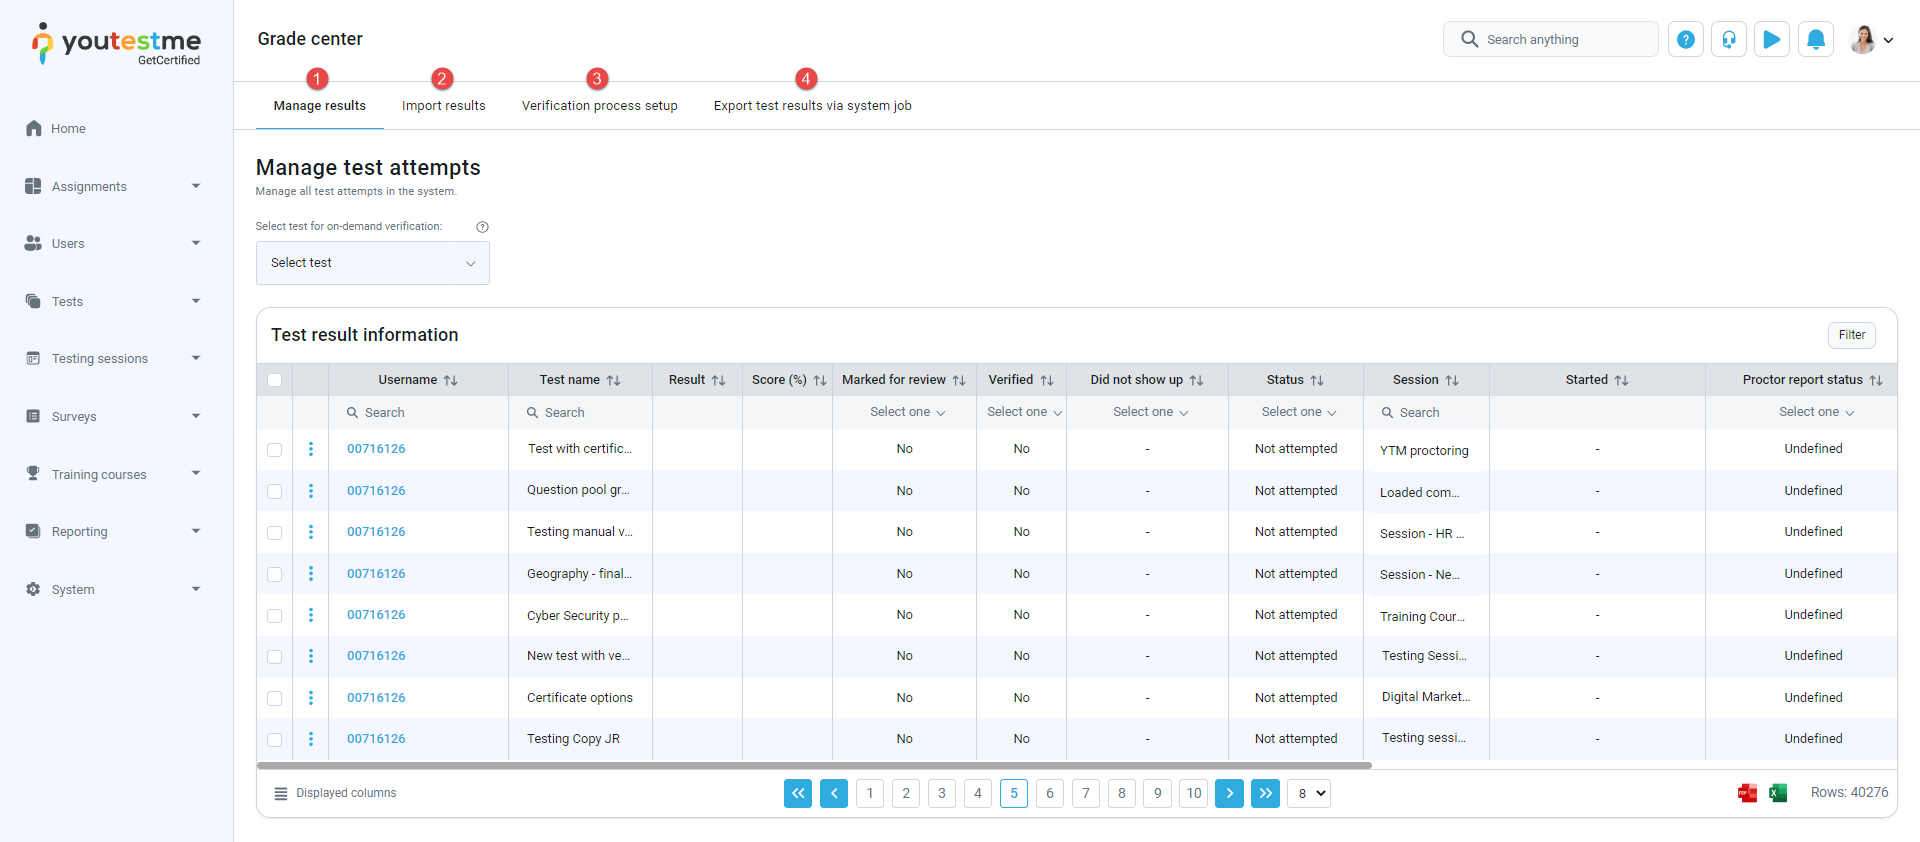
-
-
Manage results
Manage all test attempts in the system.
-
On-demand verification
Select the test and execute the on-demand verification by hold criteria for all non-verified attempts on the selected test. By selecting the test, the candidates' table will be filtered to the test attempts on the selected test.
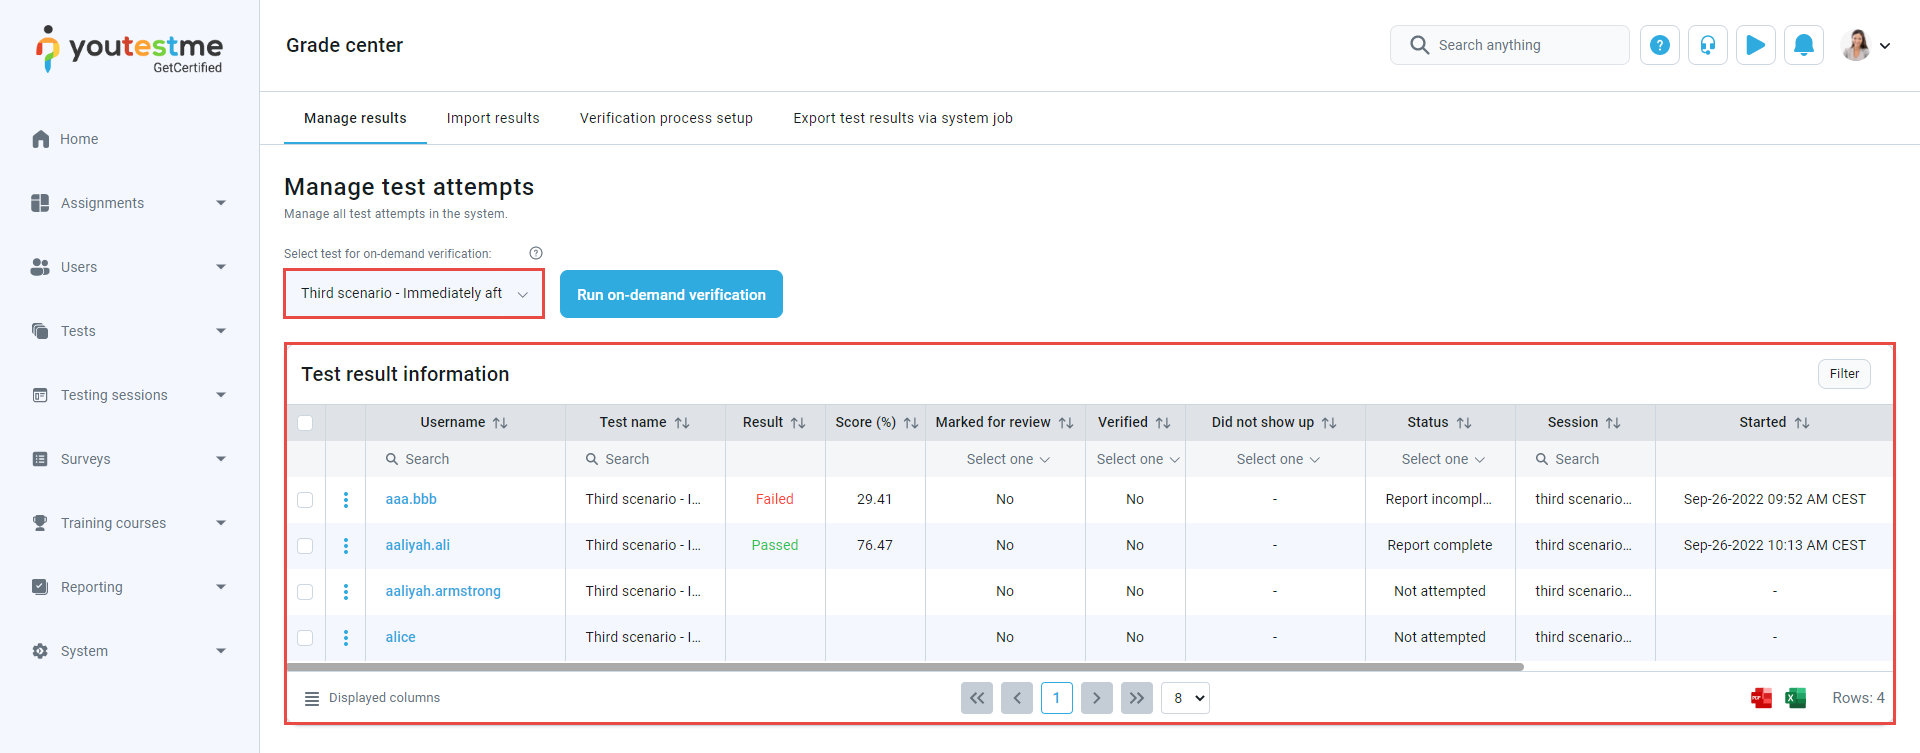
By clicking the Run on-demand verification, the non-verified attempts will be verified by hold criteria. When the process is finished, the verified candidates will not be visible in the table. To see them, click in the drop-down menu Yes option in the Verified column.
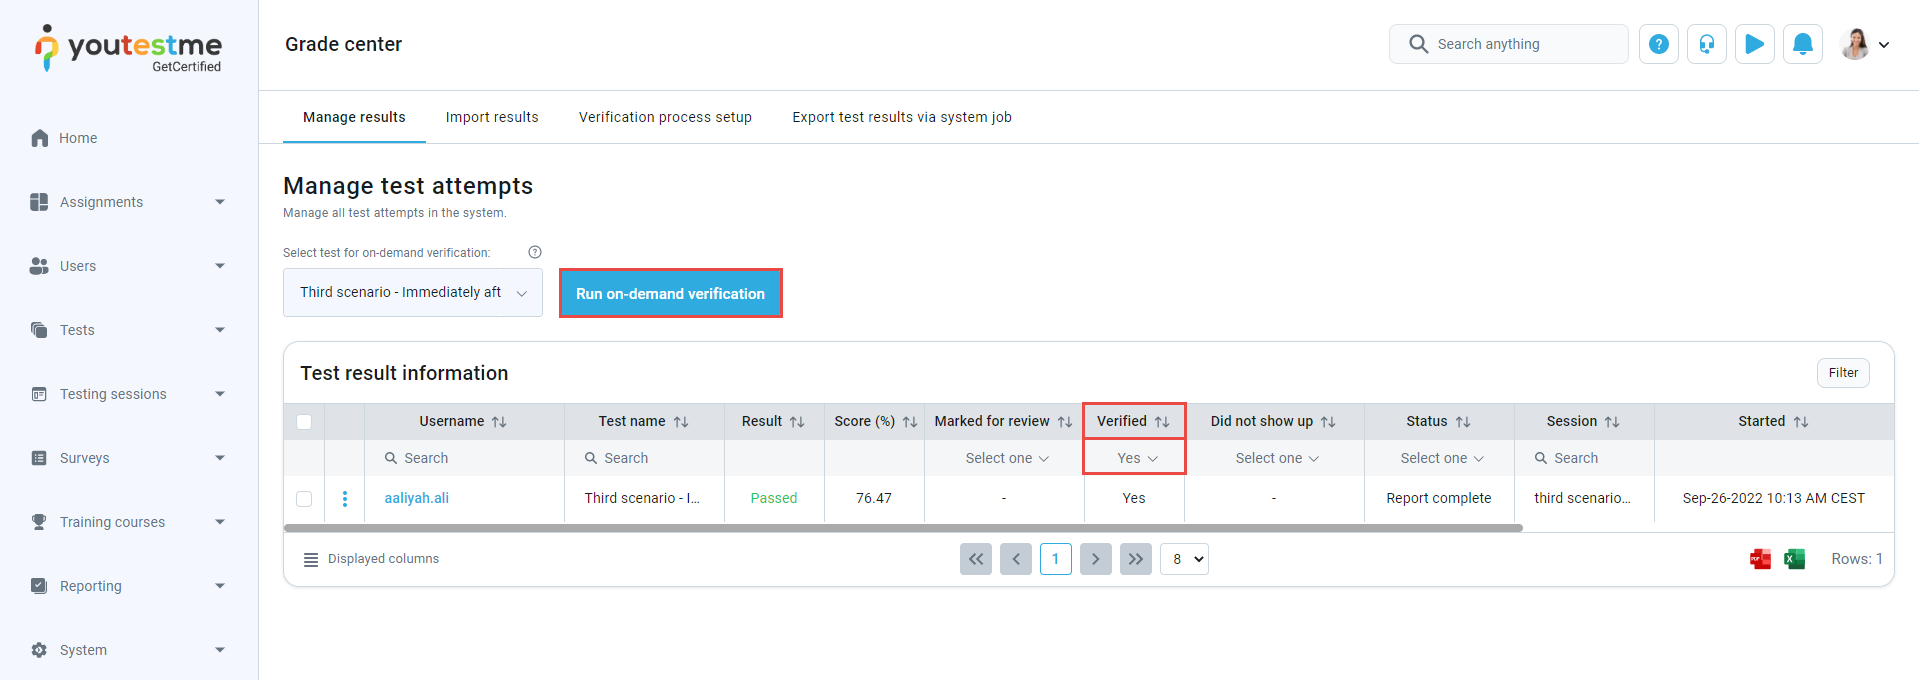
-
Manage candidates
Manage the non-verified candidates by examining their data, changing their statuses, or manually verifying them.
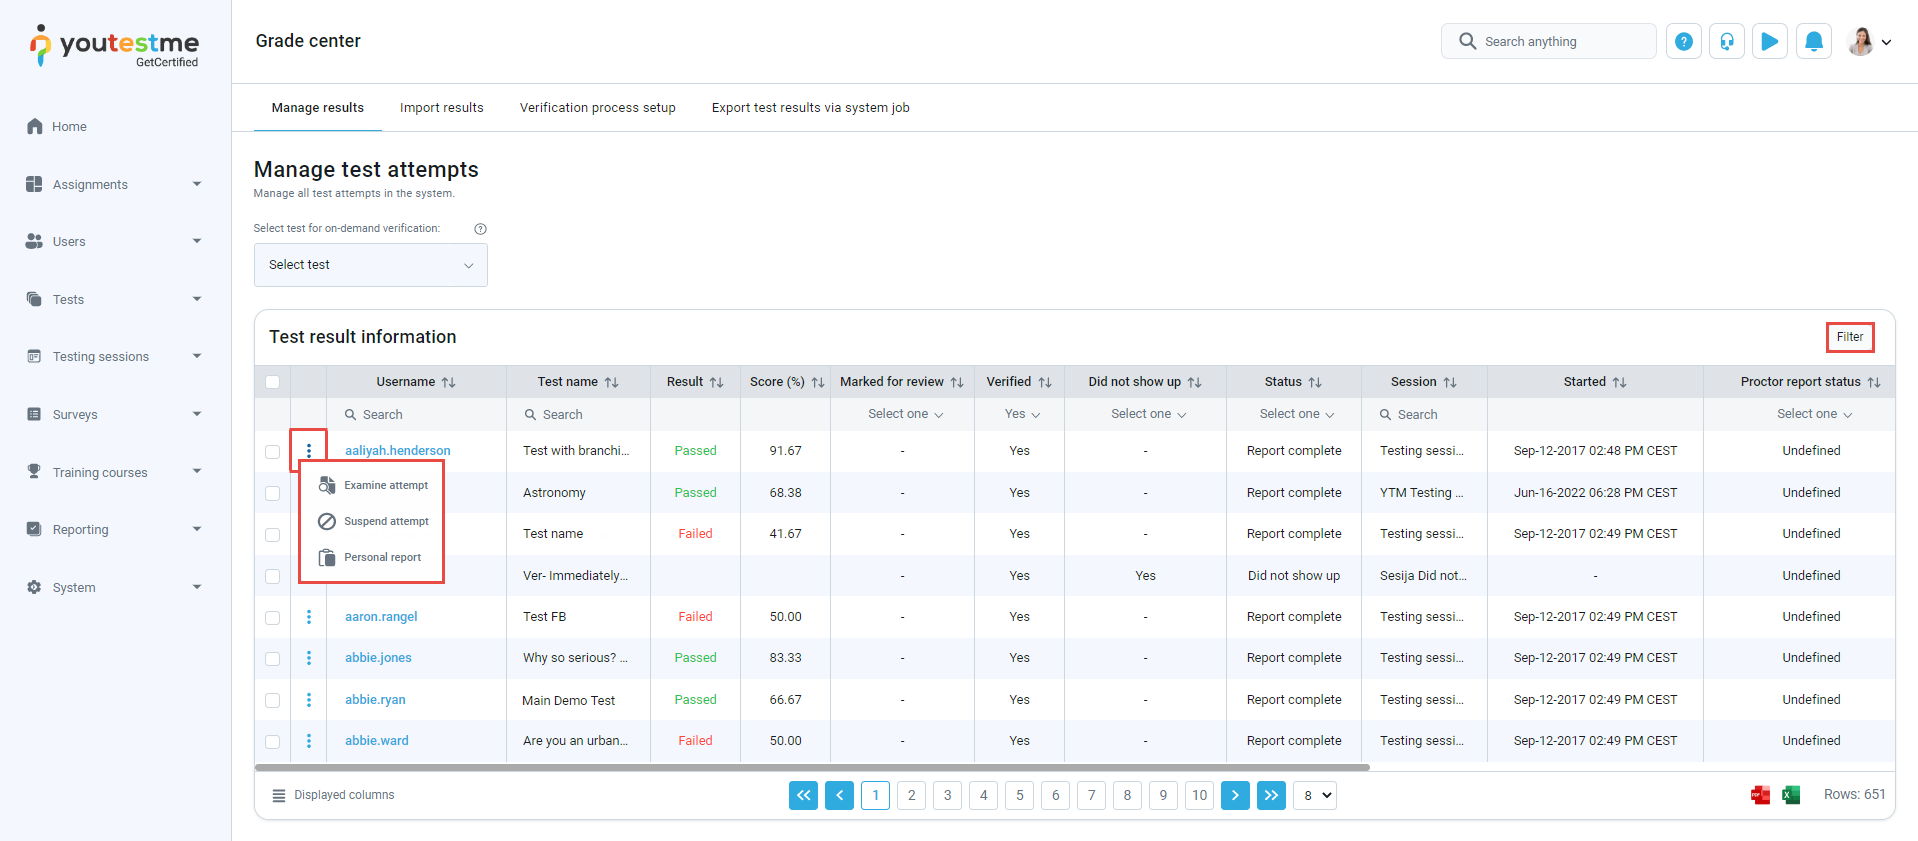
Filter options - Specify the date range when the attempt result is imported and its results are processed. Only From or only To can be specified.
-
Filter by finished time - Filter by the time range when the candidate finished the test.
-
Filter by session end time - Filter by the time range when the testing session ends.
-
Filter by import time - Filter by the time range when the candidate result was imported from the external system and processed.
-
Filter by delivery preference - The delivery preference allows test creators to plan the organization of the test under different locations and conditions. It filters and highlights immediate actions for different types of test distributions. The option favors specific ways but doesn't prevent other styles of deliveries if the configurations allow it. The most common way to take the test is via the application. You can choose the following options:
-
Online.
-
Paper-based.
-
Pearson VUE testing center.
-
Online AI-proctored.
-
Online live-proctored.
-
-
Click the Apply button to apply the filter.

Select a candidate and click on the Action column, and depending on the test status, the following options will be displayed:
-
Verify - Verify the attempt for this candidate.
Note: Once the candidate's report is verified, changing the grading setting will not affect the candidate's score.
-
Set candidate's grade to zero - Overwrite the candidate's current score and set it to zero.
Note: This action cannot be undone, so be careful when setting the rating to 0.
-
Examine attempt - See the candidate's attempt details and examine the attempt if needed. For more information, please visit Examine candidate's attempt.
-
By clicking on the Suspend attempt button, the status of the attempt will be changed to Suspended, meaning that the attempt is archived for historical purposes, and the new attempt can be assigned to the candidate, or the candidate can book a new attempt.
-
Personal report - Open personal report for this candidate.
-
Delete the attempt.
Note: This action cannot be undone, so be careful when deleting the attempt.
-
Mark as "Did not show up" - Set candidate's status as Did not show up. That way, the candidate who did not attempt the test can be verified.
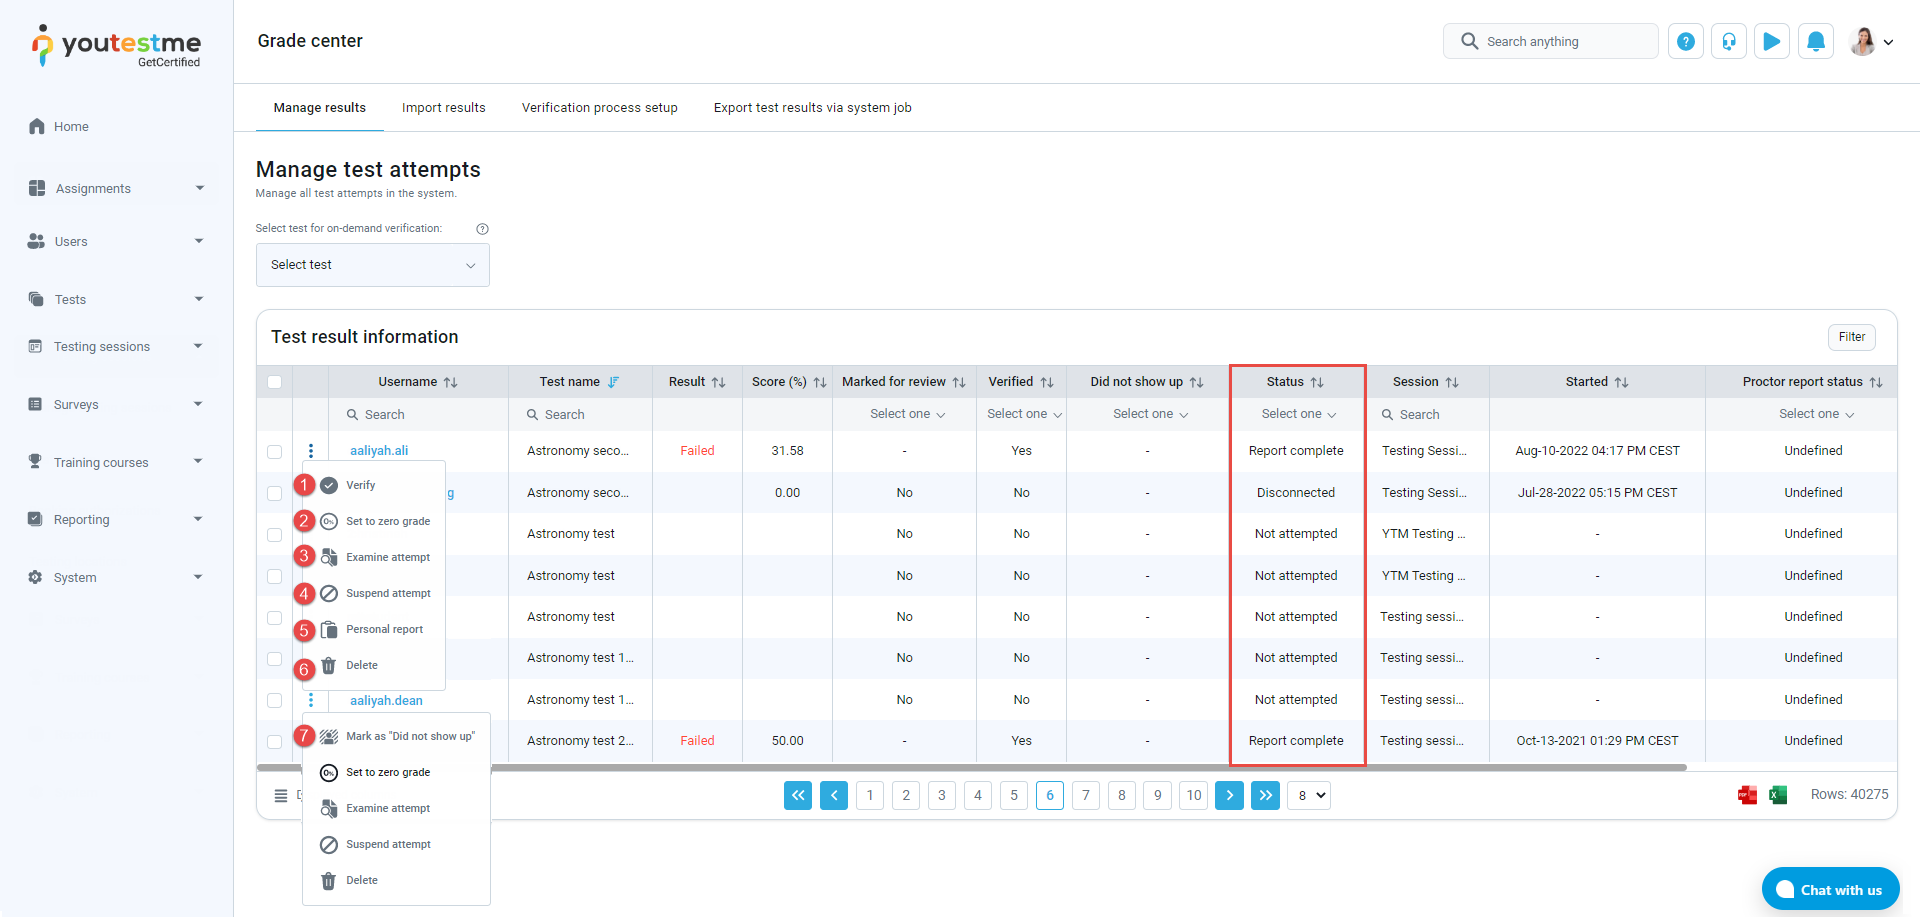
-
-
Examine candidate's attempt
To examine a candidate's attempt, click on the following action in the candidates table.
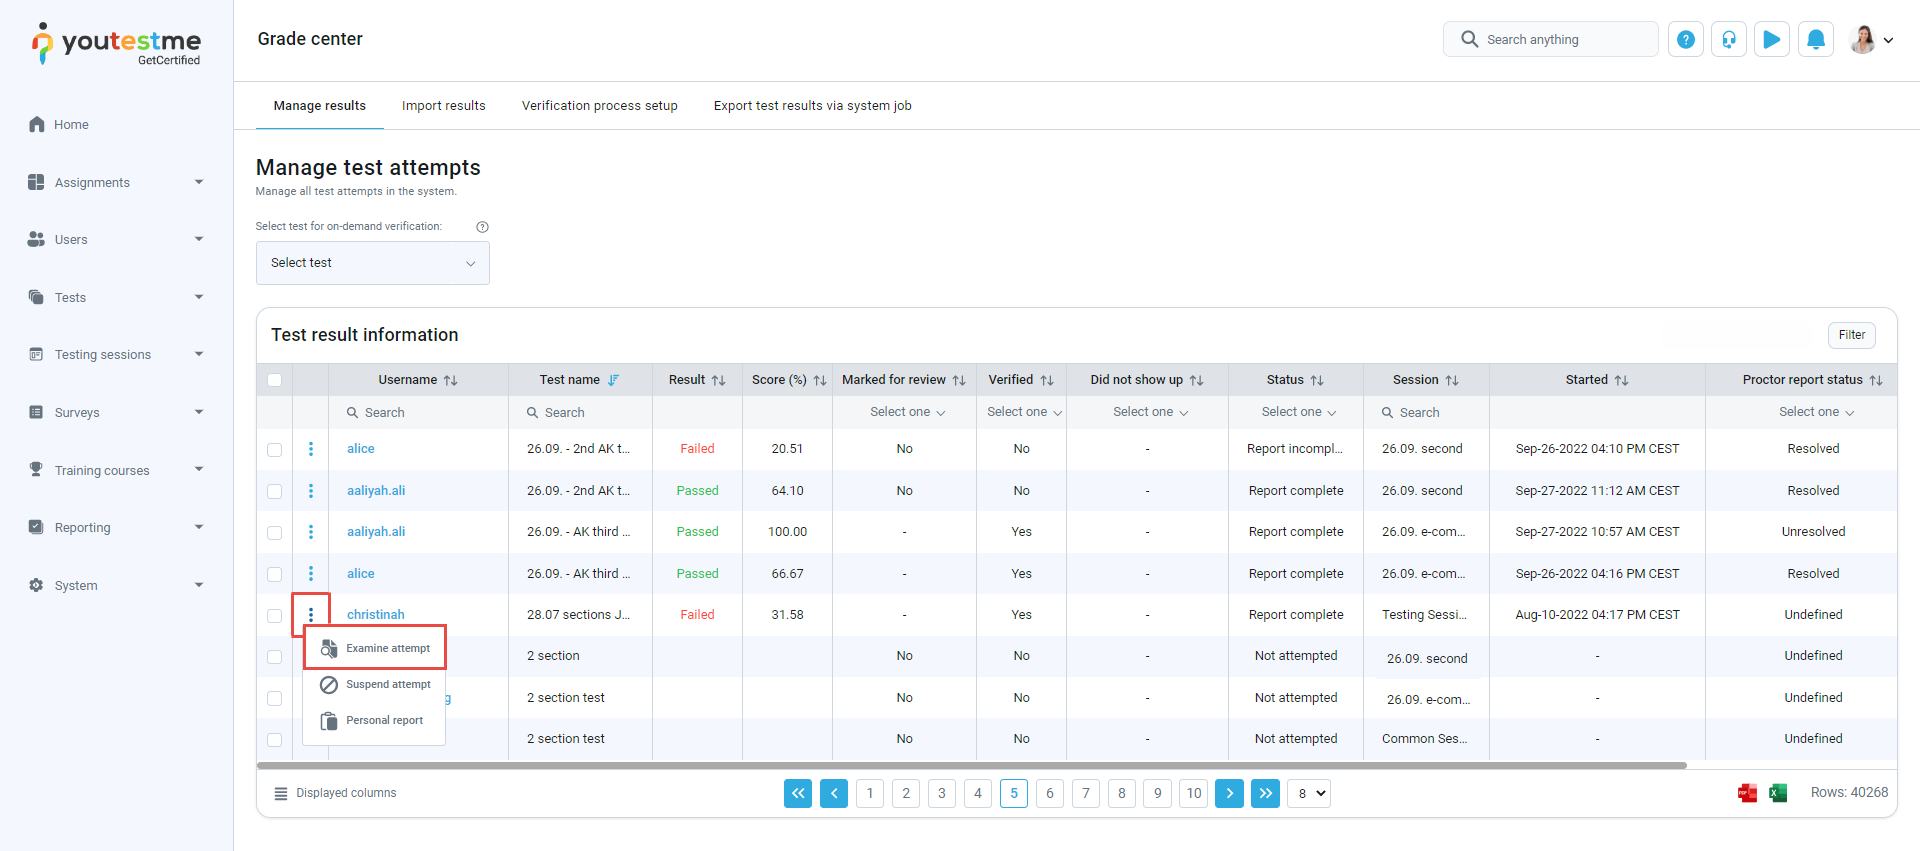
The dialog will appear with the following information:
-
First name of the candidate.
-
Last name of the candidate.
-
Username of the candidate.
-
The name of the test.
-
Test external ID - External ID represents the external system's unique identifier for this test.
-
Passed - Shows whether the candidate passed or failed the test.
-
Score - Achieved score on the test.
-
Enabled from/Enabled to - Start date, end date, and time the session is available to the user.
-
Started/Finished - The time when the user started and completed the test.
-
Import time when the candidate result was imported from the external system and processed.
-
Update time for the latest changes.
-
Marked for review - Shows whether the attempt is marked for review.
-
Mark for review - Set the attempt to be Marked for review and optionally specify the review notes so that other managers can see the details of the attempt analysis.
Note: After making for review, the attempt is no longer able to be automatically verified.
-
"Verify" - Verify the candidate's attempt.
Note: Manual verification is not affected by hold criteria.
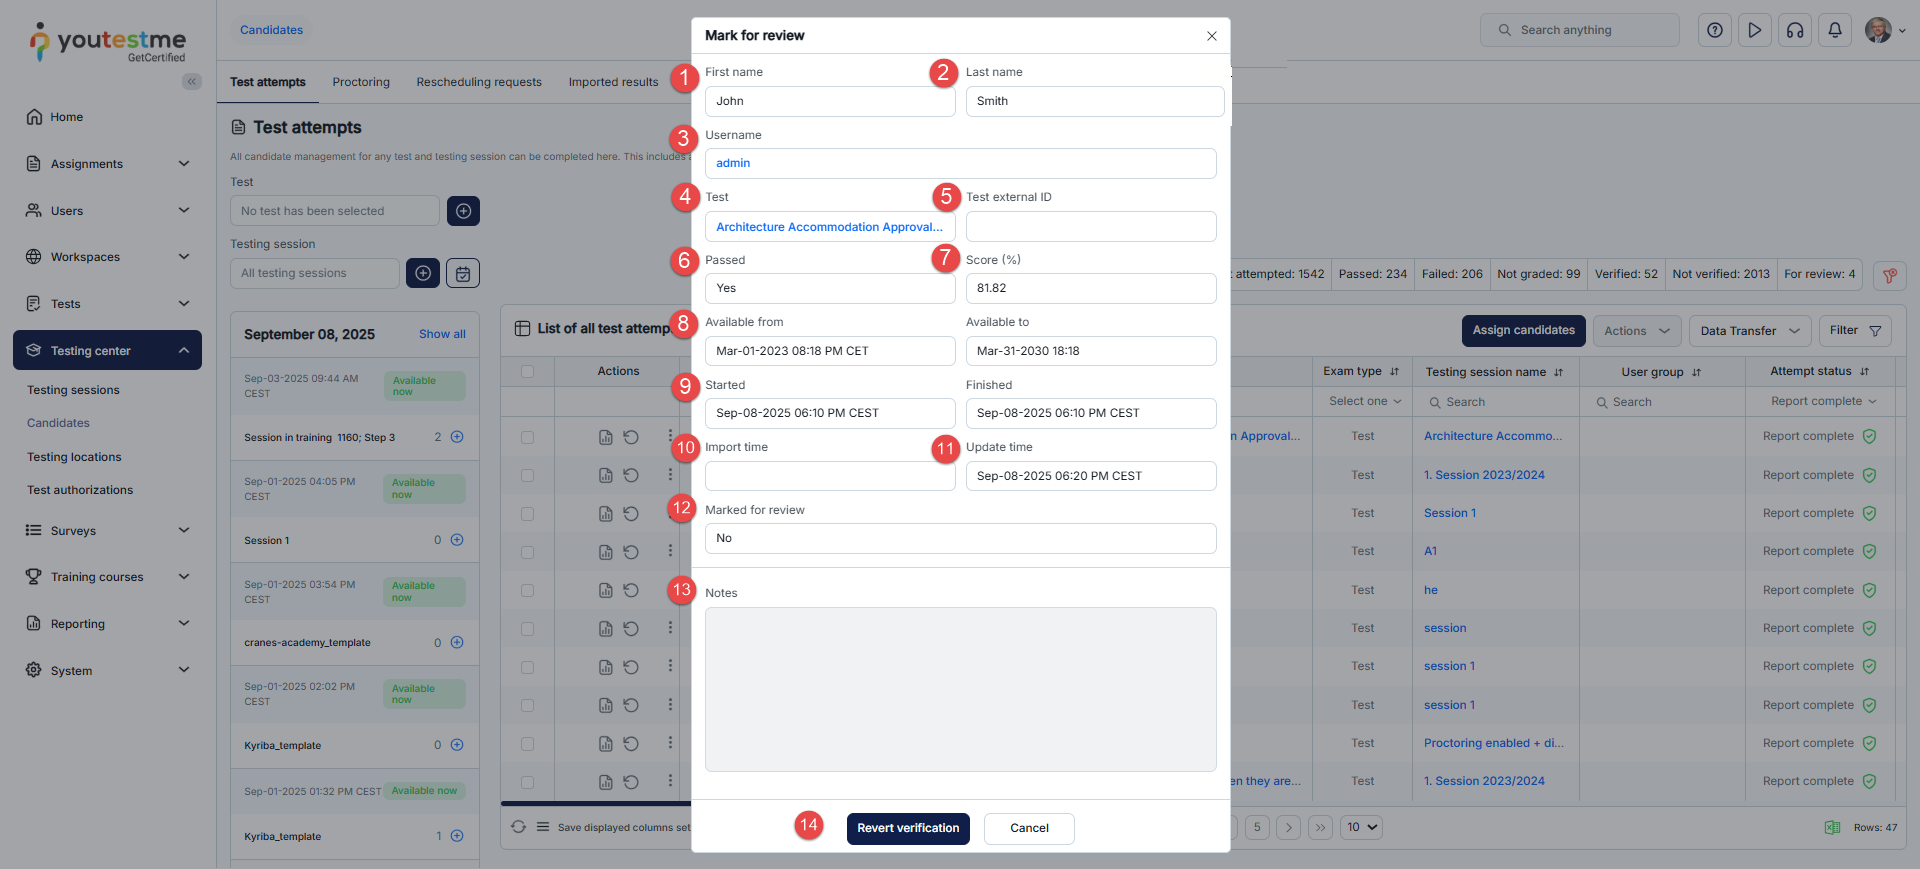
Once the attempt has been verified, you will be able to revert the verification by clicking on the button Revert verification, and after that, the attempt will become changeable again and be affected by the latest grading setup on the test.
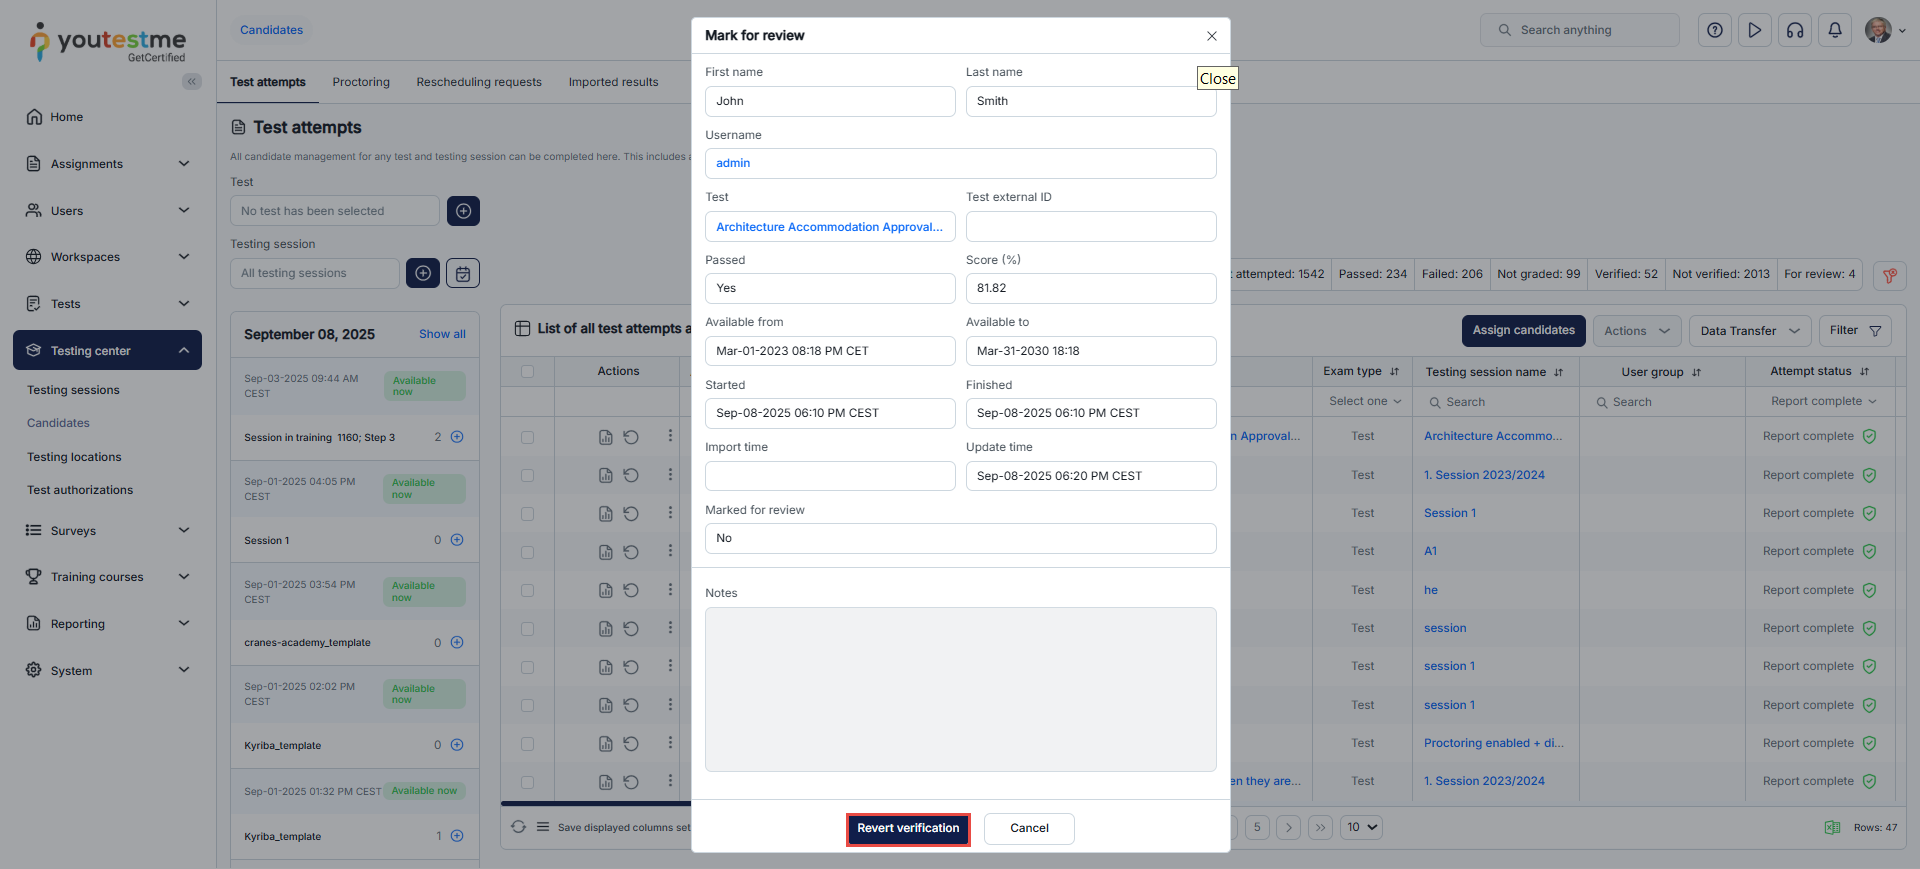
-
-
-
Import results
Note: This feature is only for Pearson VUE testing center and Paper-based delivery preference.
See all staged import batches and process them. The imported batches are initially sorted by the creation date. The most recent one is at the top of the table.
In the Actions column, you can see the following options:-
Process - Start the batch processing. After the batch processing is finished, the candidate's test results will be imported, and the log of the processed batch will be stored.
-
Show log - See the log of the processed batch. The log usually contains information about the import process, imported result, results that failed validation and are skipped from import, and errors happened while importing and is abnormally interrupted.
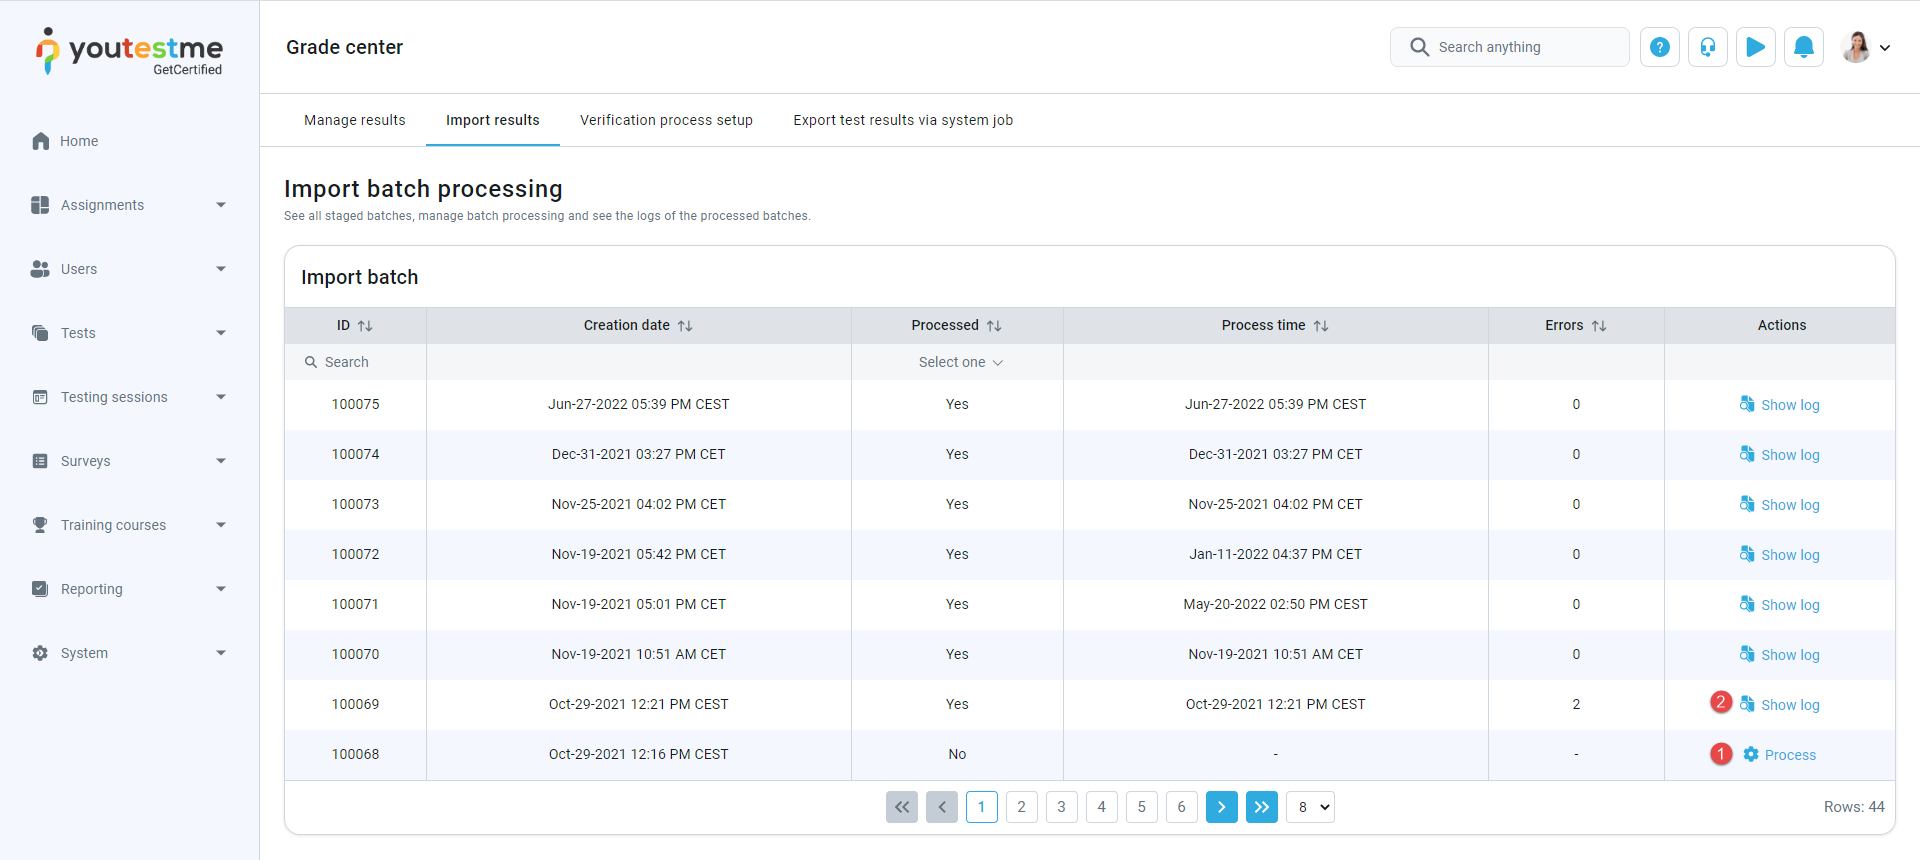
When you click Show Log, a pop-up window will appear with information about the import process, import result, and errors.
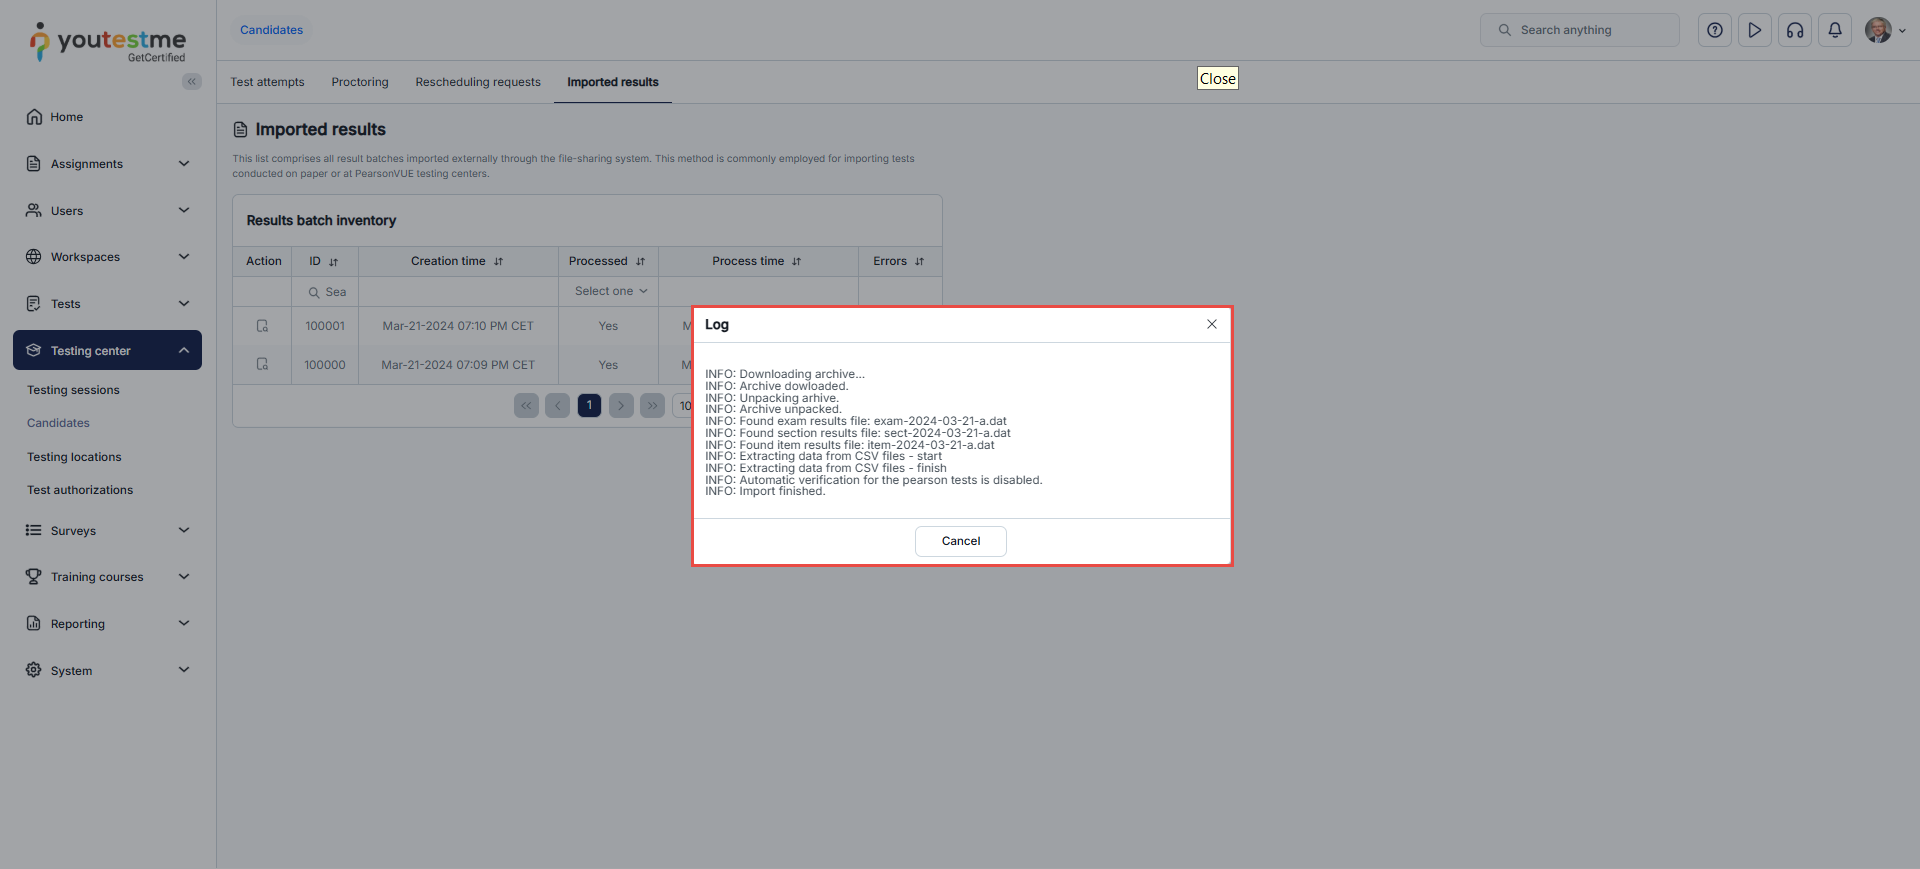
-
-
Verification process setup
Select the delivery preference for which type of tests you want to manage the verification and click the Setup verification process button in the Action column.
-
Online tests.
-
Remote AI-proctored tests.
-
Remote live-proctored tests.
-
Pearson VUE tests.
-
Paper-based tests.
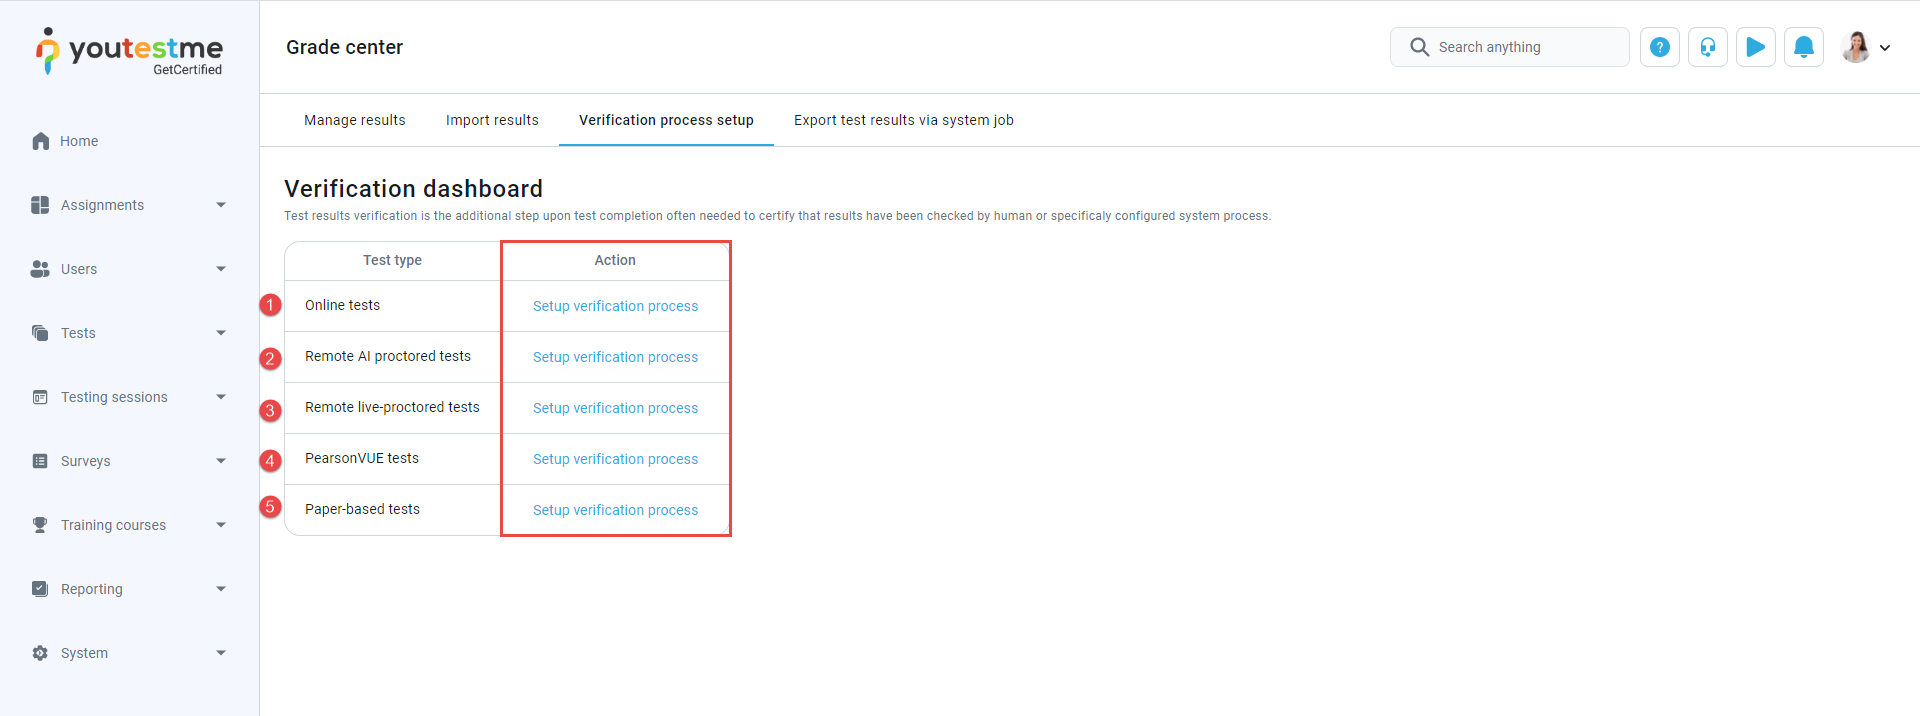
Types of tests:
For example, by selecting the Online tests delivery preference, manage the verification for all candidates on the tests with the delivery preference set to Online tests.
-
Immediate verification by hold criteria after the test - If this option is enabled, each time when candidate finishes the test, the test attempt will be verified by hold criteria. The test results imported through the Pearson VUE or Remark package will also be verified by hold criteria.
-
On-demand verification by hold criteria - Enable the option to verify by hold criteria on click for the selected test. The Start auto-verification for the selected test will not be available by disabling this option.
-
Percent scored below - The candidate scored percent below the specified value.
-
Report needs grading - Some questions need manual grading, and/or the proctor report is not graded if the proctor report is required.
-
Not finished - The candidate did not finish the test yet.
-
Time used below - Candidate finished the test below the specified time.
-
Refused NDA - This condition is Pearson VUE specific. The condition is met if the candidate is marked as NDA Refused in the Pearson VUE result.
-
Did not show up - The candidate did not take the test within the allotted time and is marked as Did not show up by the manager.
-
Click on the Save button to save changes.
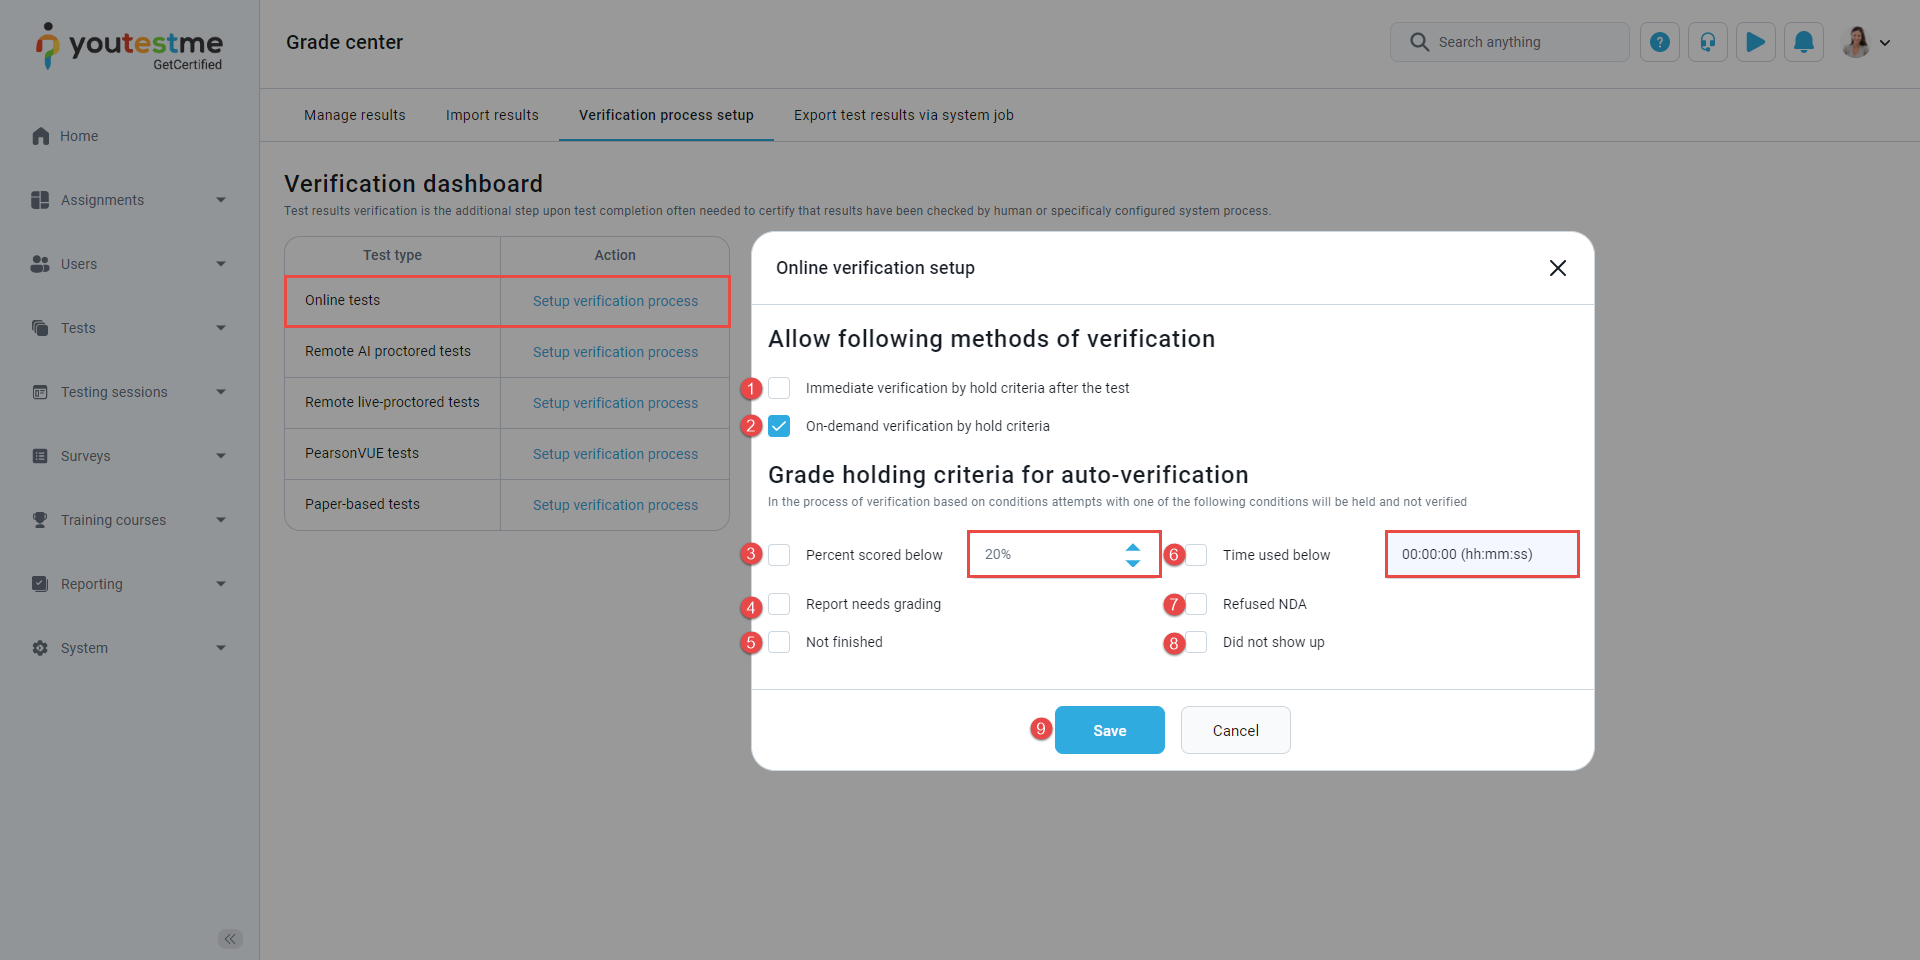
Here, you can Allow following methods of verification when and how the verification will happen.
Grade holding criteria for auto-verification - In the verification process based on conditions, attempts with one of the following conditions will be held and not verified.
-
-
Export test results via system job
Export test results via the system settings. Only authorized and verified results will be sent.
Select the Export test results job from the dropdown menu and execute it.
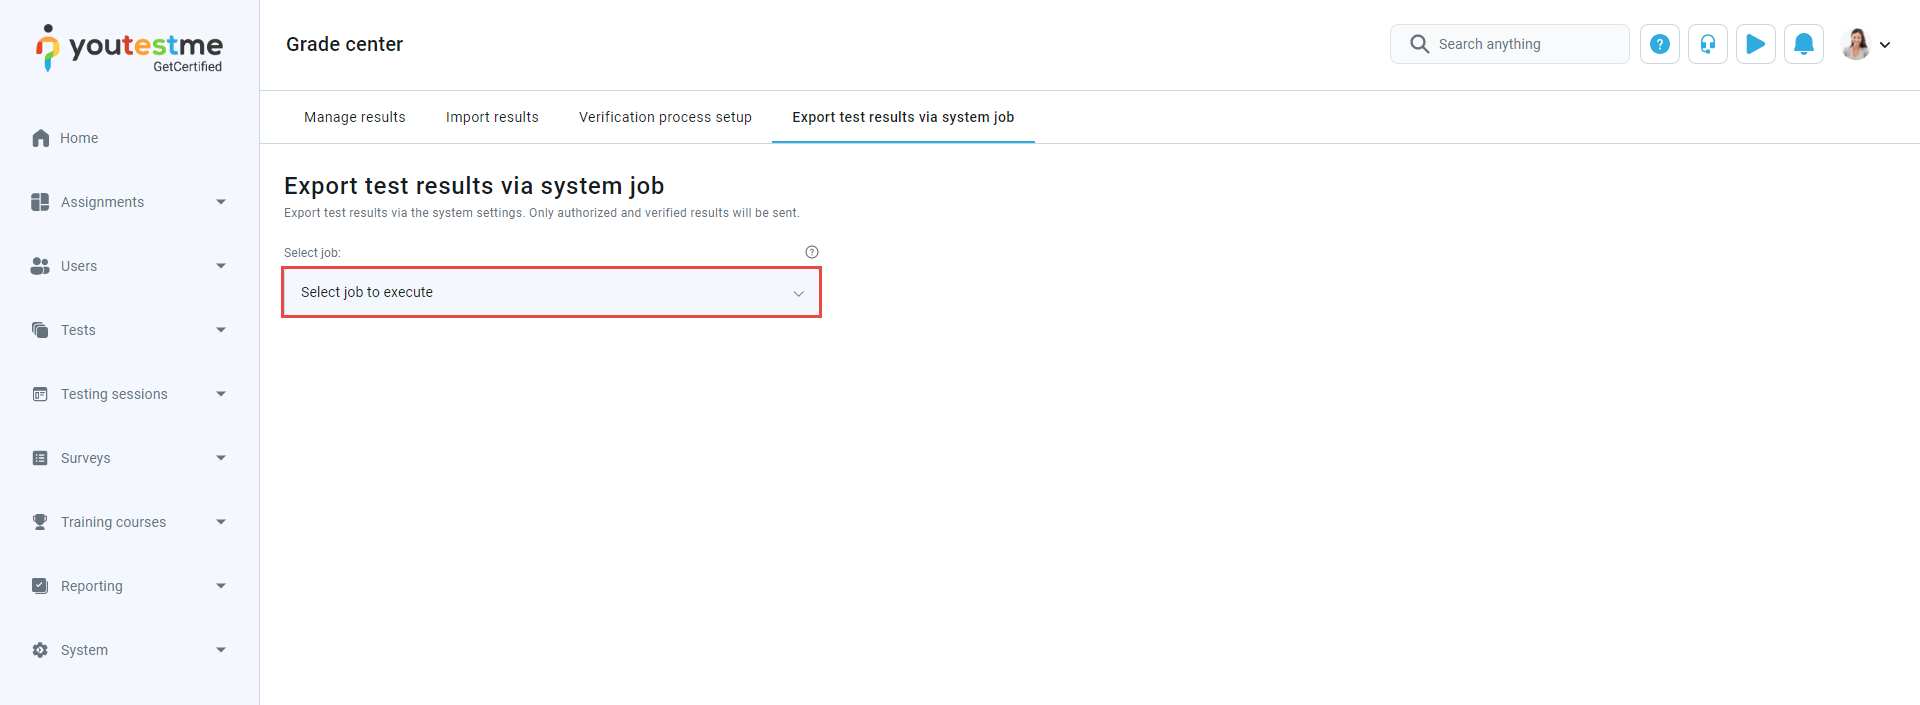
For more information about system job, please visit Jobs scheduler.
Testing sessions
-
Introduction
A testing session is a designated timeframe within which a candidate can start a specific assignment. On this page, you can manage existing testing sessions and create new ones for both tests and surveys. To access the page, navigate to the Testing center section in the main menu, then select Testing sessions.
Note: All information and explanations pertaining to tests are equally applicable to surveys.
Depending on the testing session settings, candidates may be manually assigned to the testing session by test managers, or they can self-enroll. Testing sessions possess various attributes that determine a candidate's access to the test, including the availability period, number of seats available in the session, deadline for booking the test, etc. A testing session can be scheduled for one or more tests. More information about each option can be found in the following chapters.
There are three different views you can use to manage testing sessions:
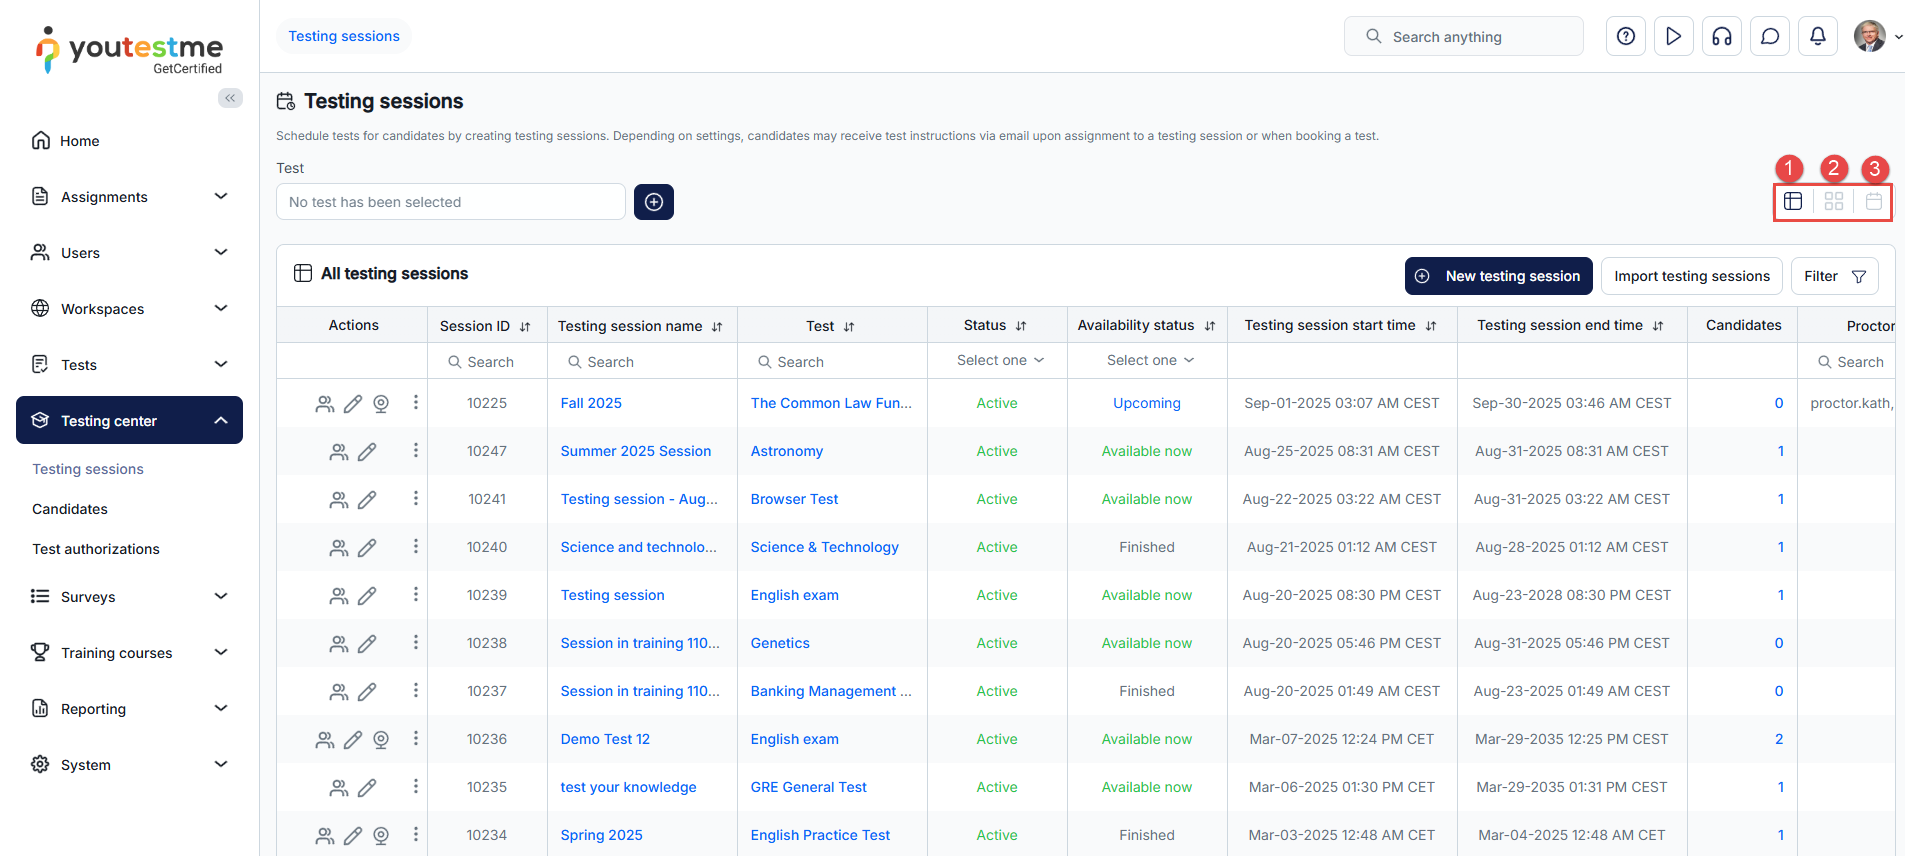
-
List view
In this view, you can:
-
Import multiple testing sessions at once.
-
Filter already created testing sessions by their start time. Choose to display only testing sessions that start within the selected time range.
-
Edit the testing session. Fields are the same as explained for testing session creation.
-
Enter the proctoring supervision dashboard to monitor proctoring sessions live or review and grade past proctoring sessions.
-
View testing session details.
-
Permanently Delete the testing session.
-
Assign candidates to the testing session.
-
Remove candidates from the testing session.
-
Manage Special accommodations.
-
Manage Special requests.
-
Manage tests for which the testing session is created.
-
Manage proctors responsible for monitoring the testing session.
-
Manage session managers. Session managers can manage testing sessions; they can change all settings for sessions they manage, assign/remove candidates, etc., but they cannot manage the tests for which testing sessions are scheduled. To assign a session manager, click on Manage session managers and select the users you want to assign as managers.
-
Share direct access link. An automatically generated link that redirects candidates directly to this testing session upon registration or login. The direct registration link does not insert new registrations into the group, and in that case, this will not work. When SSO configuration is set up, a direct link with the SSO integration can be copied. Share the link directly with candidates, display it on your website, or include it in email notifications. Customize the notification for test publishing under System/Settings and customization/Notifications.
-
Share guest access link. Automatically generated link that allows unauthorized users to take the test in the testing session without creating an account. A temporary guest profile will be created for them, and the system will automatically delete the profile upon completion or exit from the test. This link can be useful for candidates to explore the application before their official tests. Share this link with candidates or display it on your website.
-
Export the paper-based assignment package which contains:
-
Tests and bubble sheets - Each test and bubble sheet are placed in a separate sub-folder. Files contain all the non-archived test versions.
-
Student labels - Includes all candidates and the respective test versions assigned to them.
-
Signing sheet - Includes a section for candidates to sign next to the test version they are completing.
-
Package summary - Includes a list of tests along with the corresponding number of candidates assigned to each.
-
-
Set the price for the testing session.
-
Set the retake price for the testing session.
Note: Prices can only be set for self-enrollment testing sessions when the E-commerce module is enabled in the application. For details on configuring E-commerce and setting prices, refer to this article.
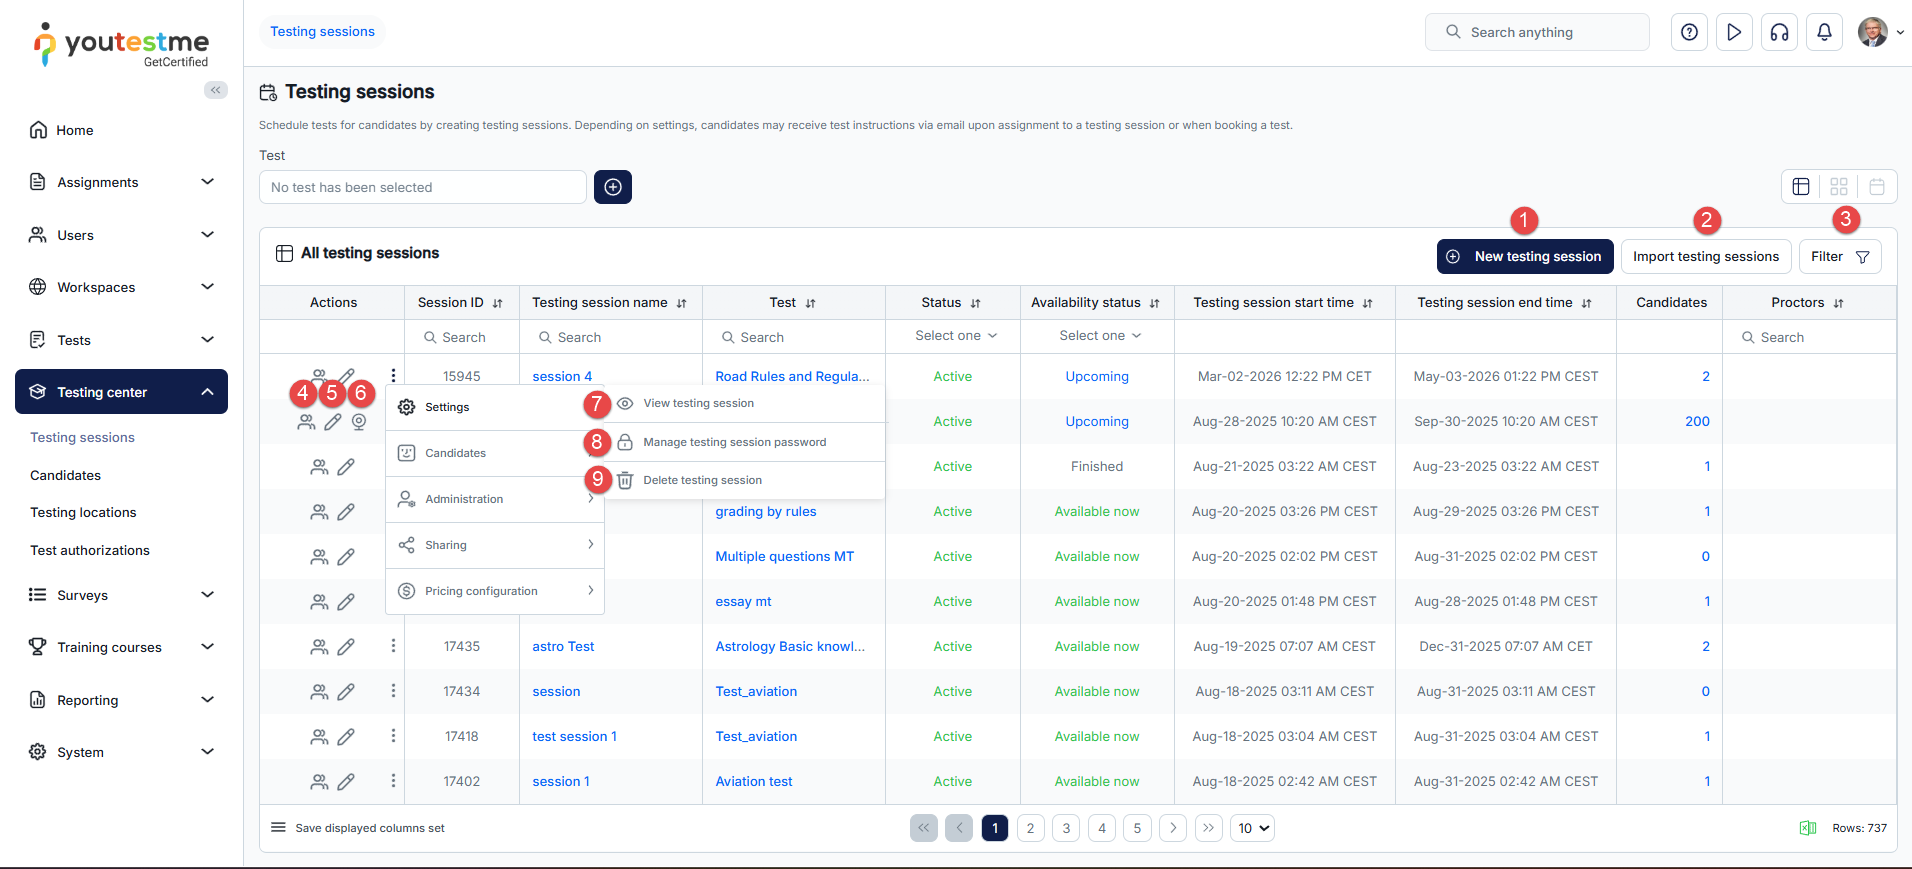
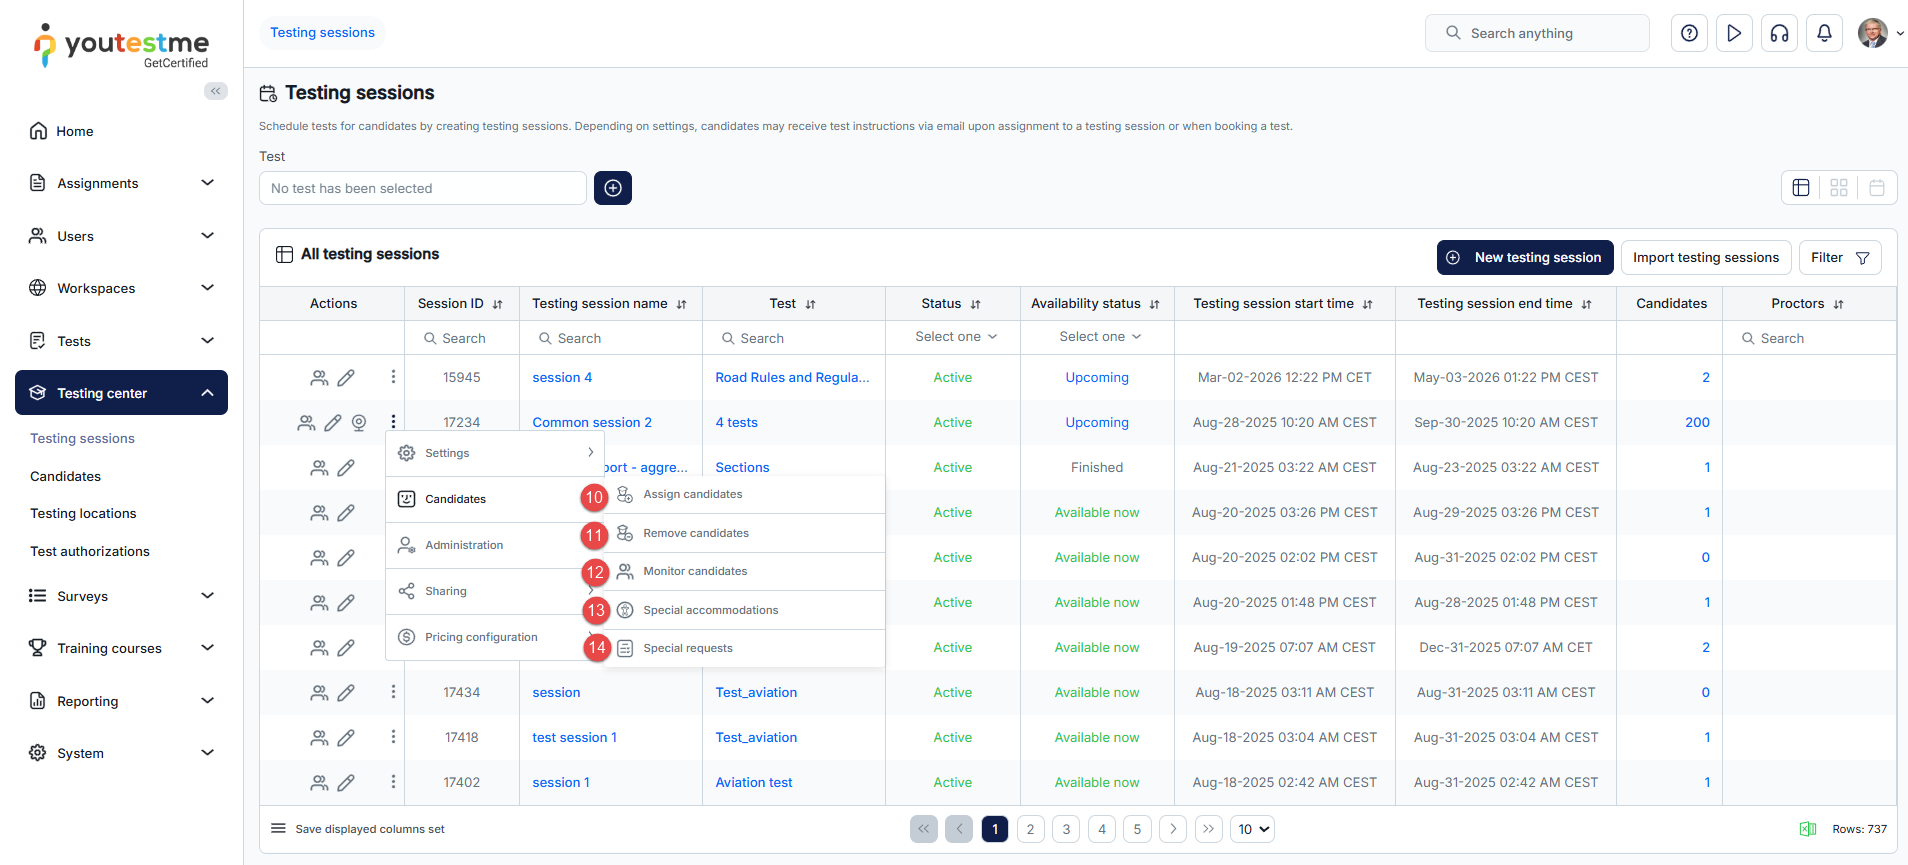
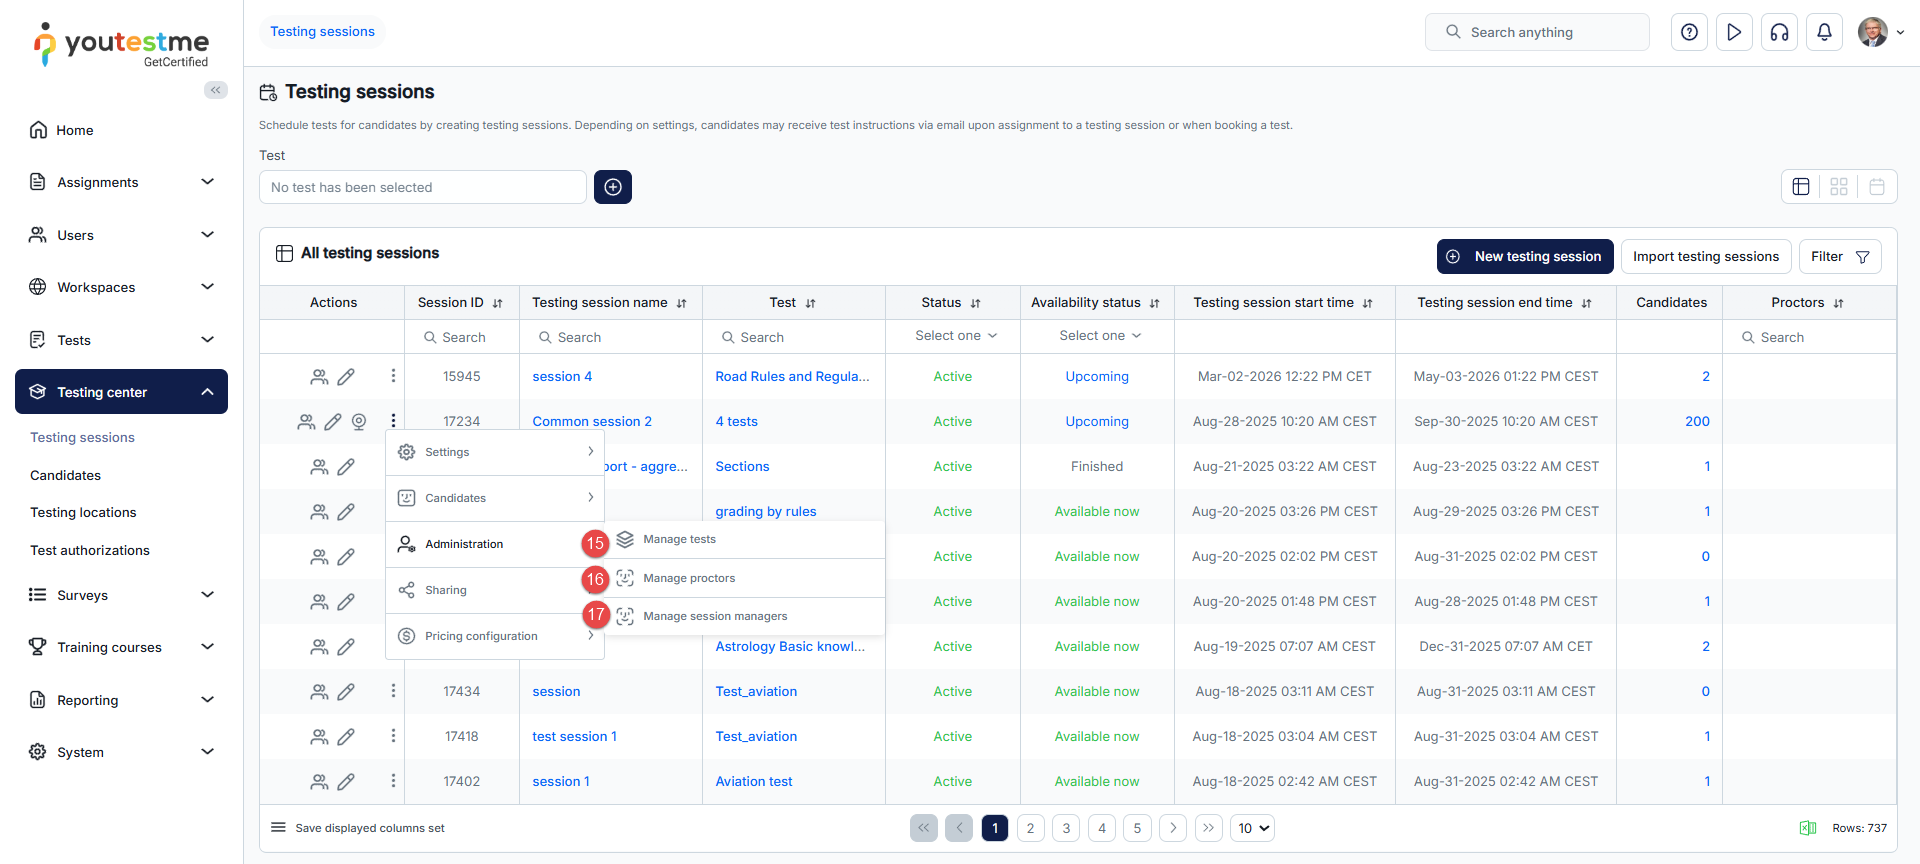
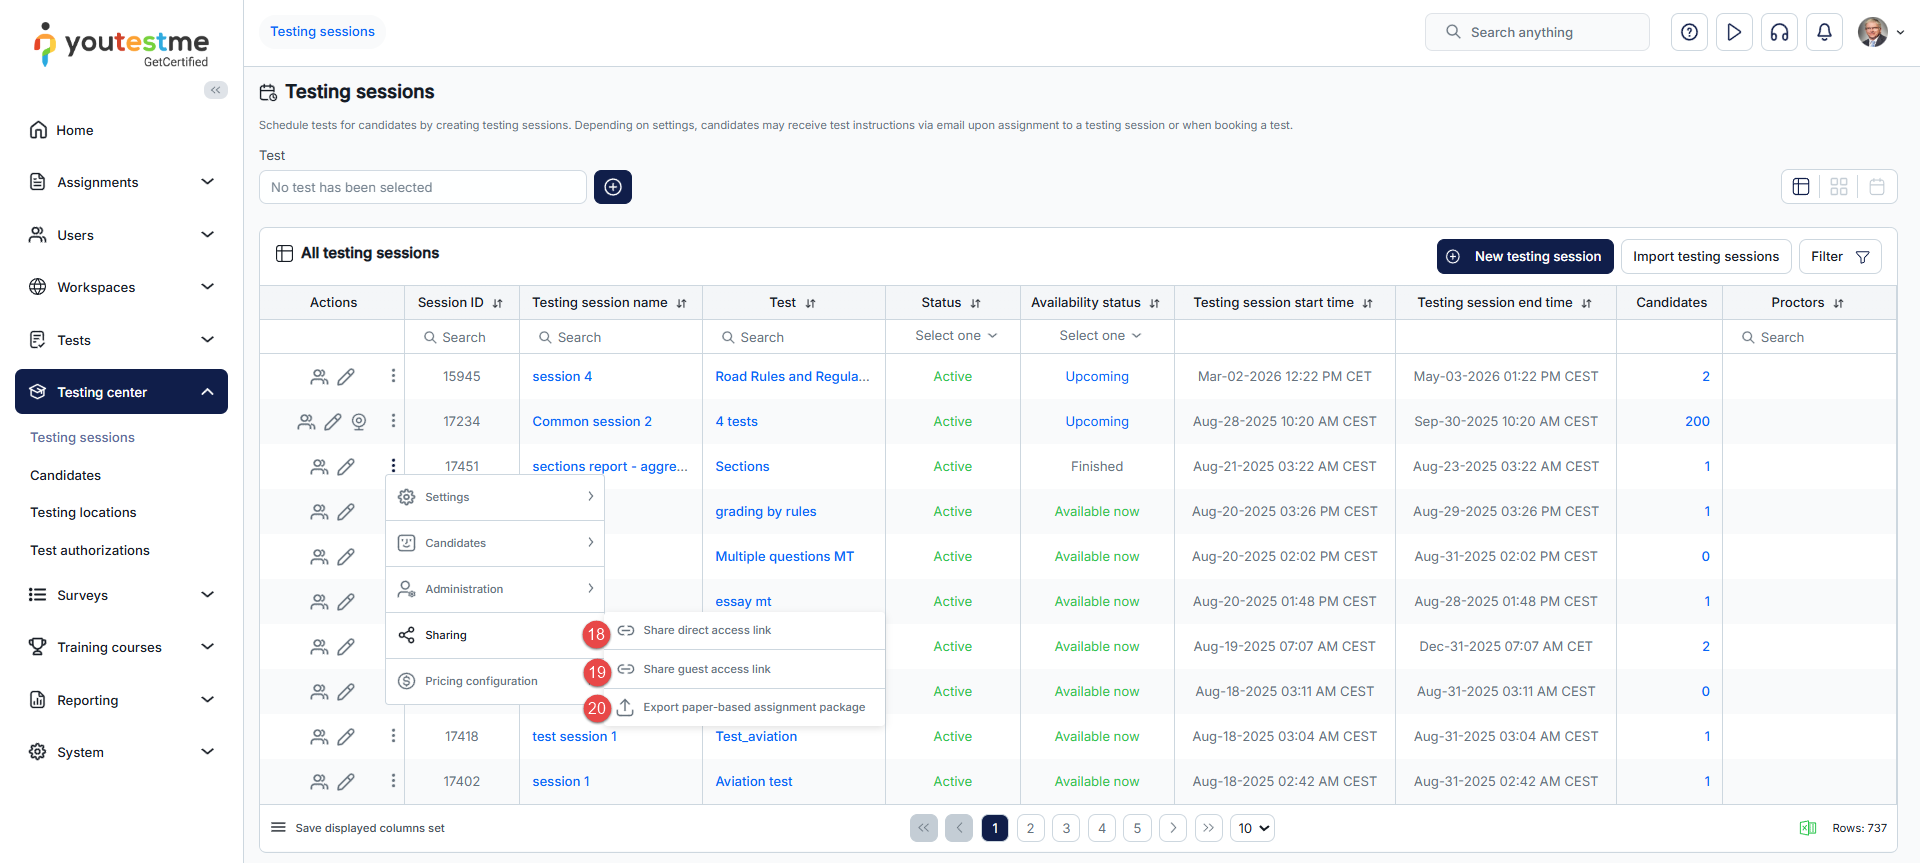
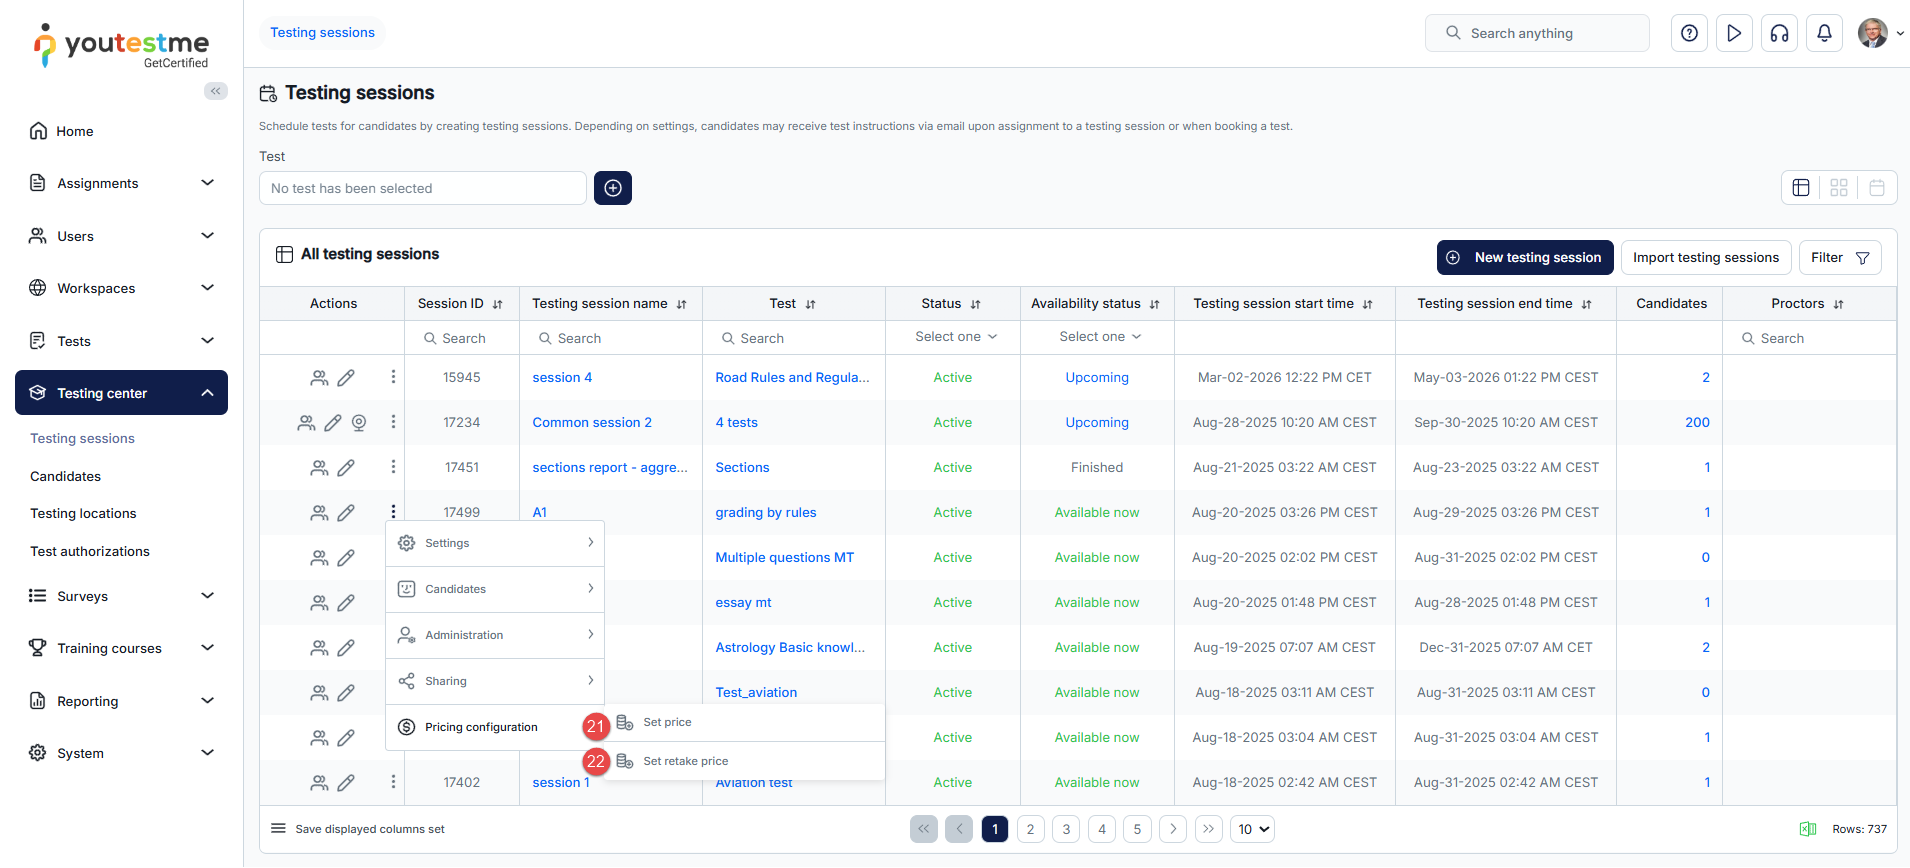
-
Table layout
This table contains essential information about testing sessions.
Most columns are explained in the section for testing session creation. Here are explanations for additional columns:
-
Session ID - Automatically generated upon testing session creation and cannot be edited. This ID may be useful for LTI integration; it allows direct assignment of candidates to the testing session.
-
Status - Indicates whether the session is currently active, meaning visible to candidates during its availability period. If the status is Inactive, the testing session will not be visible even during its availability period. Please note that the test must also be published for active sessions to be visible during their availability period.
-
Availability status of testing session can be:
-
Finished - The assignment is no longer accessible as the testing session period has expired.
-
Upcoming - Assignments will be available for taking in the future, starting from the specified date and time.
-
Available now - The assignment is currently accessible for candidates.
-
Suspended - The assignment is no longer accessible because the test for which the testing session was scheduled has been suspended.
-
-
Proctors - Usernames of assigned proctors for the testing session.
-
Direct access link - An automatically generated link that redirects candidates directly to this testing session upon registration or login. Share the link directly with candidates, display it on your website, or include it in email notifications. Customize the notification for test publishing under System/Settings and customization/Notifications.
-
Meeting link - If proctoring using conference tools is enabled, this is the link for the meeting that candidates need to start before beginning the test.
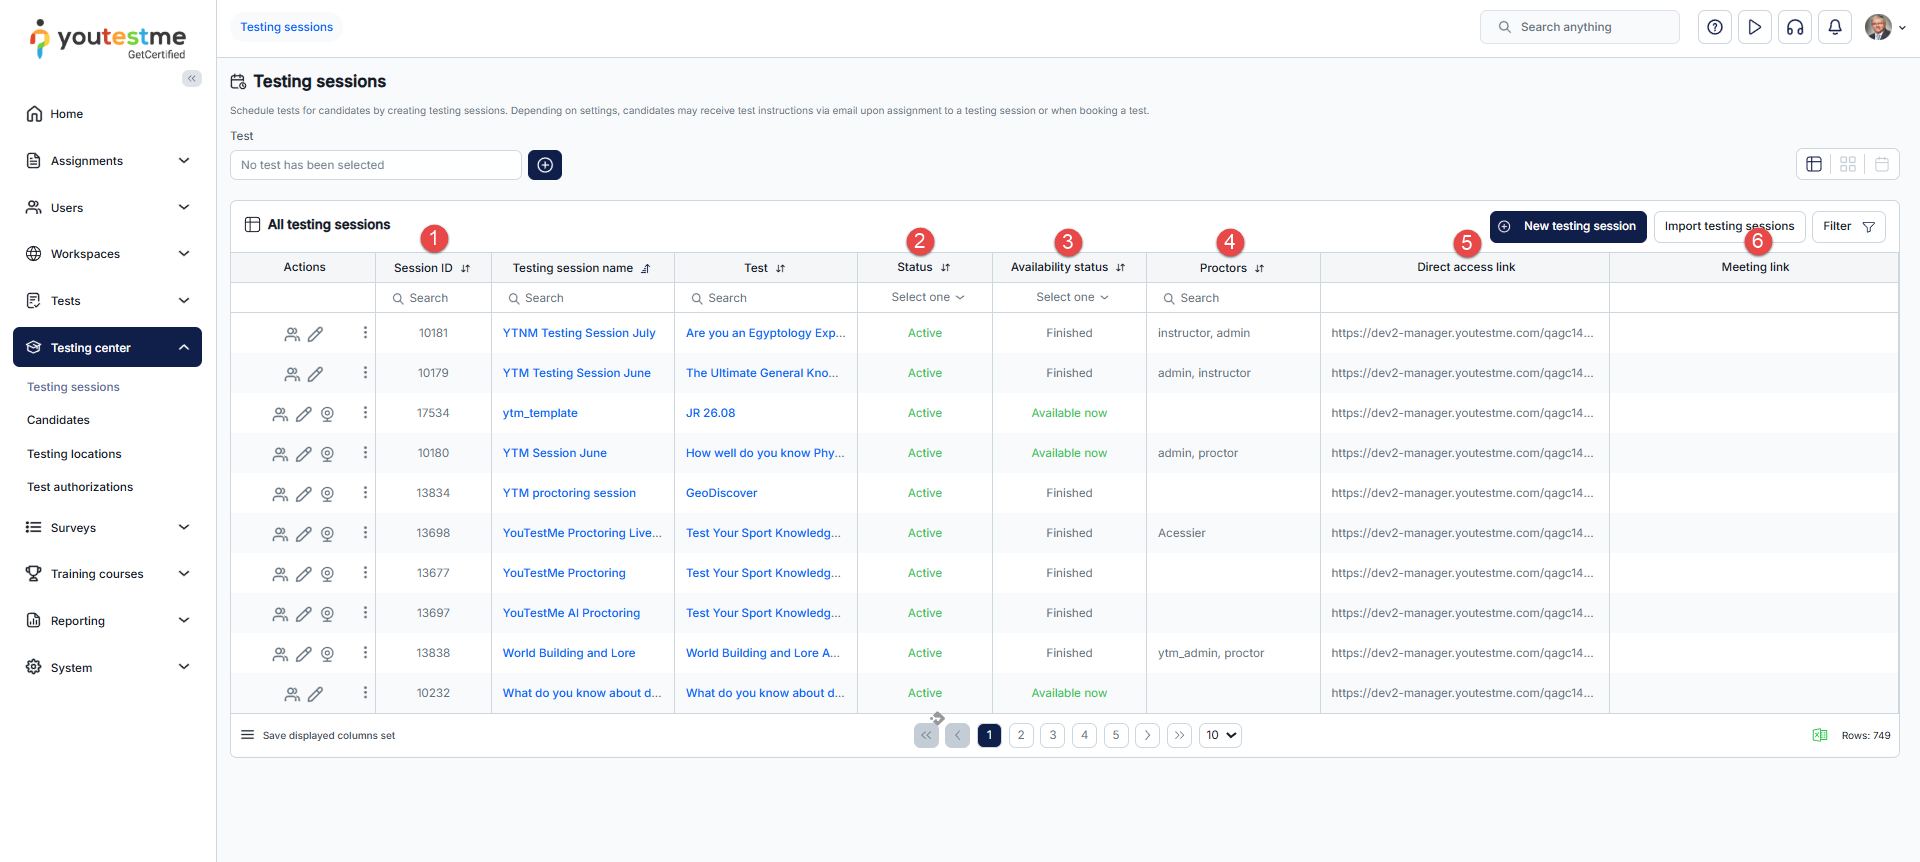
-
-
Create a testing session
To create a new testing session:
-
Define the session's status as either Active or Inactive. An active session is visible to candidates during its availability period, while an inactive session is not visible even during its availability period. Please note that the test must also be published for active sessions to be visible during their availability period. Additionally, notifications will be sent to all assigned users for an active session upon test publishing.
-
Enter the Testing session name. The maximum number of characters that can be displayed in this field is 100.
-
Select one or more tests for which the testing session will be created.
-
Select previously created Testing location and its time zone; assigned proctors will be automatically set for the testing session.
-
Specify Testing session start and end times - Define the period during which the test will be available for taking.
-
Select the Time zone in which date fields will be displayed.
-
Manually Add candidates to the testing session by selecting users from the list of all users or a specific user group.
-
Allow candidates to self-enroll. If this option is enabled, additional settings will become available.
-
Select Who can self-enroll - any user from the system, only members of a user group, or only members of a training course. This option is available if the Allow candidates to self enroll option is enabled.
-
Set Booking price - Specify the amount candidates must pay to start or book the test. The testing session is free by default.
Note: The price can only be set for self-enrollment testing sessions when the E-commerce module is enabled in the application. For details on configuring E-commerce and setting prices, refer to this article.
-
Set Retake price - Specify the amount candidates must pay to retake the test.
Note: The price can only be set for self-enrollment testing sessions when the E-commerce module is enabled in the application. For details on configuring E-commerce and setting prices, refer to this article.
-
Specify seat reservation options, allowing the definition of booking and cancellation deadlines, as well as seat limits. This option is available if the Allow candidates to self enroll option is enabled.
-
Define Booking deadline - The date until which candidates can book the testing session. If not specified, candidates can book the testing session at any time by the end of the testing session.
This option is available if Specify seat reservation options is enabled.Note: You can define the rule for automatic booking deadline setup under System/Settings and customization/System preferences/Test booking settings.
-
Define Cancellation deadline - The deadline for candidates to cancel a booking for the testing session. If not specified, candidates can cancel their testing session booking at any time before the end of the testing session.
This option is available if Specify seat reservation options is enabled.Note: You can define the rule for automatic cancellation deadline setup under System/Settings and customization/System preferences/Test cancellation settings.
-
Define Seat limit - Specify how many candidates can book the testing session. This option is available if Specify seat reservation options are enabled.
-
Select that Authorization is required for the test - Enable this option, and candidates will require authorizations to start the test. Test authorizations can be created under Test Administration/Authorizations.
-
Enable Proctoring to prevent cheating and maximize test integrity. Choose one of the offered Proctoring configurations to define the set of features and proctoring type that applies to the session.
Note: Proctoring module must be set under System/Integrations/Proctoring settings.
Note: When utilizing proctoring through conference tools, you need to choose between using Webex integration or manually copying the meeting link of your choice (Google meet, Zoom, etc.). If opting for Webex integration, you must first configure it under System/Integrations/Webex settings. For more detailed instructions on using proctoring with conference tools, refer to this article.
-
Enable the Browser lockdown option and choose between Built-in protection or Safe Exam Browser (SEB). In either case, the browser will enter full-screen mode during testing, with certain actions like cutting, copying, pasting, using the print screen key, and right-clicking disabled. If the Safe Exam Browser option is selected, the configuration can be selected from a predefined list, or you can upload your own with a .seb extension. Candidates starting a test with Safe Exam Browser option enabled must install the SEB browser to begin.
-
Define Access password to prompt candidates to enter a password when starting the test. This option may be useful when tests are conducted in physical locations, allowing you to provide the password to candidates at the designated time for starting the test. Additionally, this option is automatically enabled when the test is monitored using conferencing tools to ensure that only authorized users can start the test.
-
Define additional Instructions for candidates. Write additional instructions and rules that candidates must follow during the testing session. This information, along with the test instructions, can be added to the email notification sent to candidates. Customize notifications under System/Settings and customization/Notifications.
-
Enter the External ID used for integration with external systems.
-
Enter the External name, an optional name used for integration with external systems.
-
Click the Save button to create the testing session.
Note: Institutional administrators can manage testing sessions and assign candidates according to the user groups and permissions assigned to them. Depending on their permissions, they may be limited to users from the groups they manage. For more information on managing users and testing sessions as an institutional administrator, refer to this article.
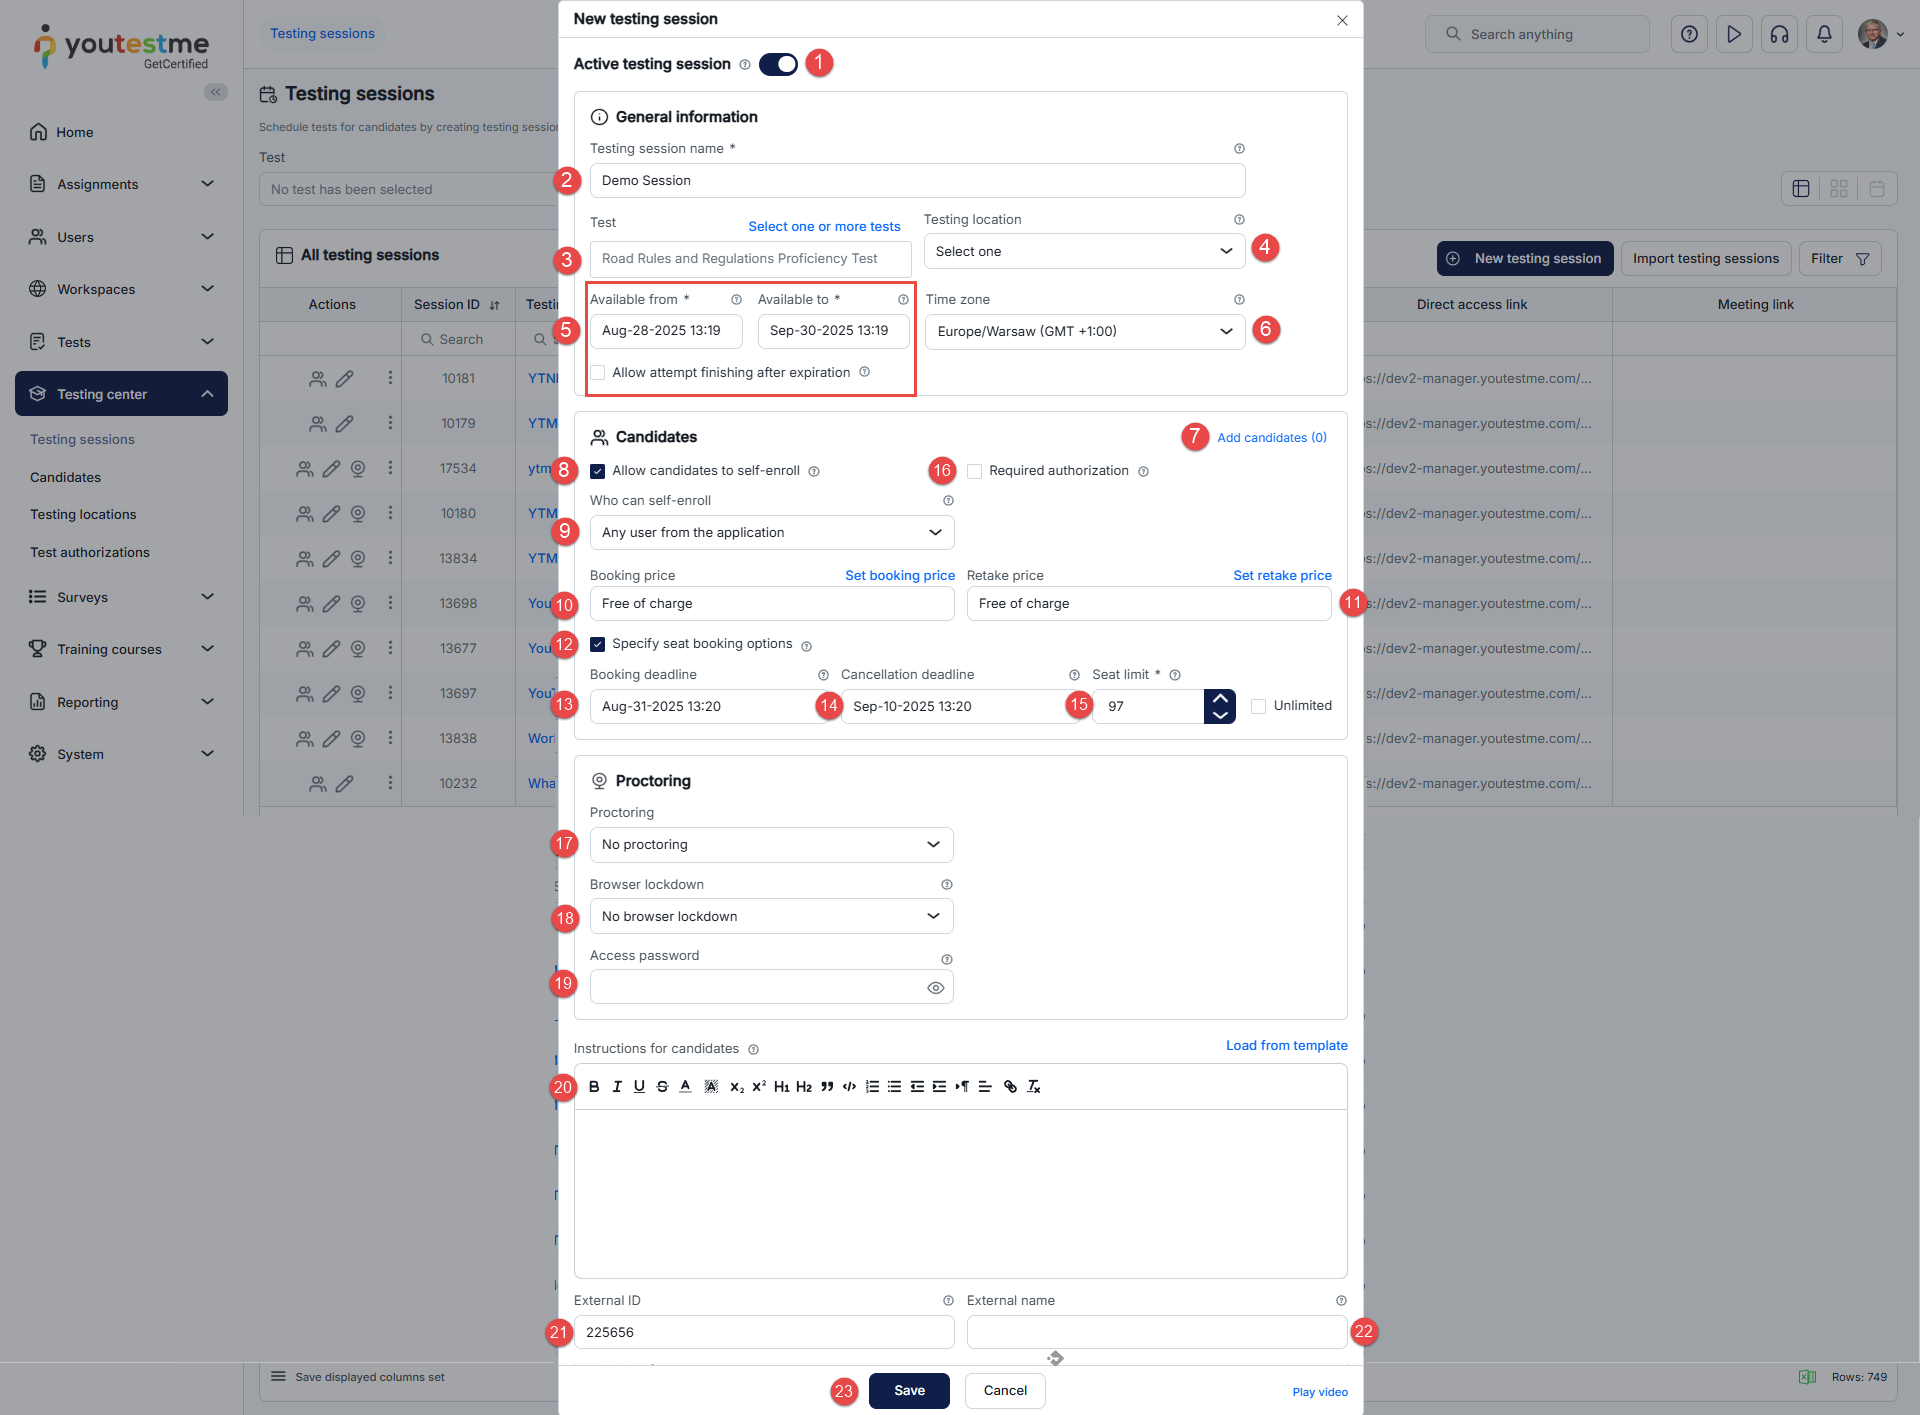
When the test contains sections, you can customize the availability for each section during the creation of the testing session:
-
Enable the Define availability for each test section option.
-
Decide whether candidates are allowed to finish sections started within the timeframe or must start and finish within a defined timeframe.
-
Click the pencil icon to modify section availability settings. If not defined, the section is available throughout the testing session period.
-
Set the specific timeframe during which the section will be available.
-
Save the configured settings for the section.
For additional guidance on defining availability periods for test sections, refer to this article.
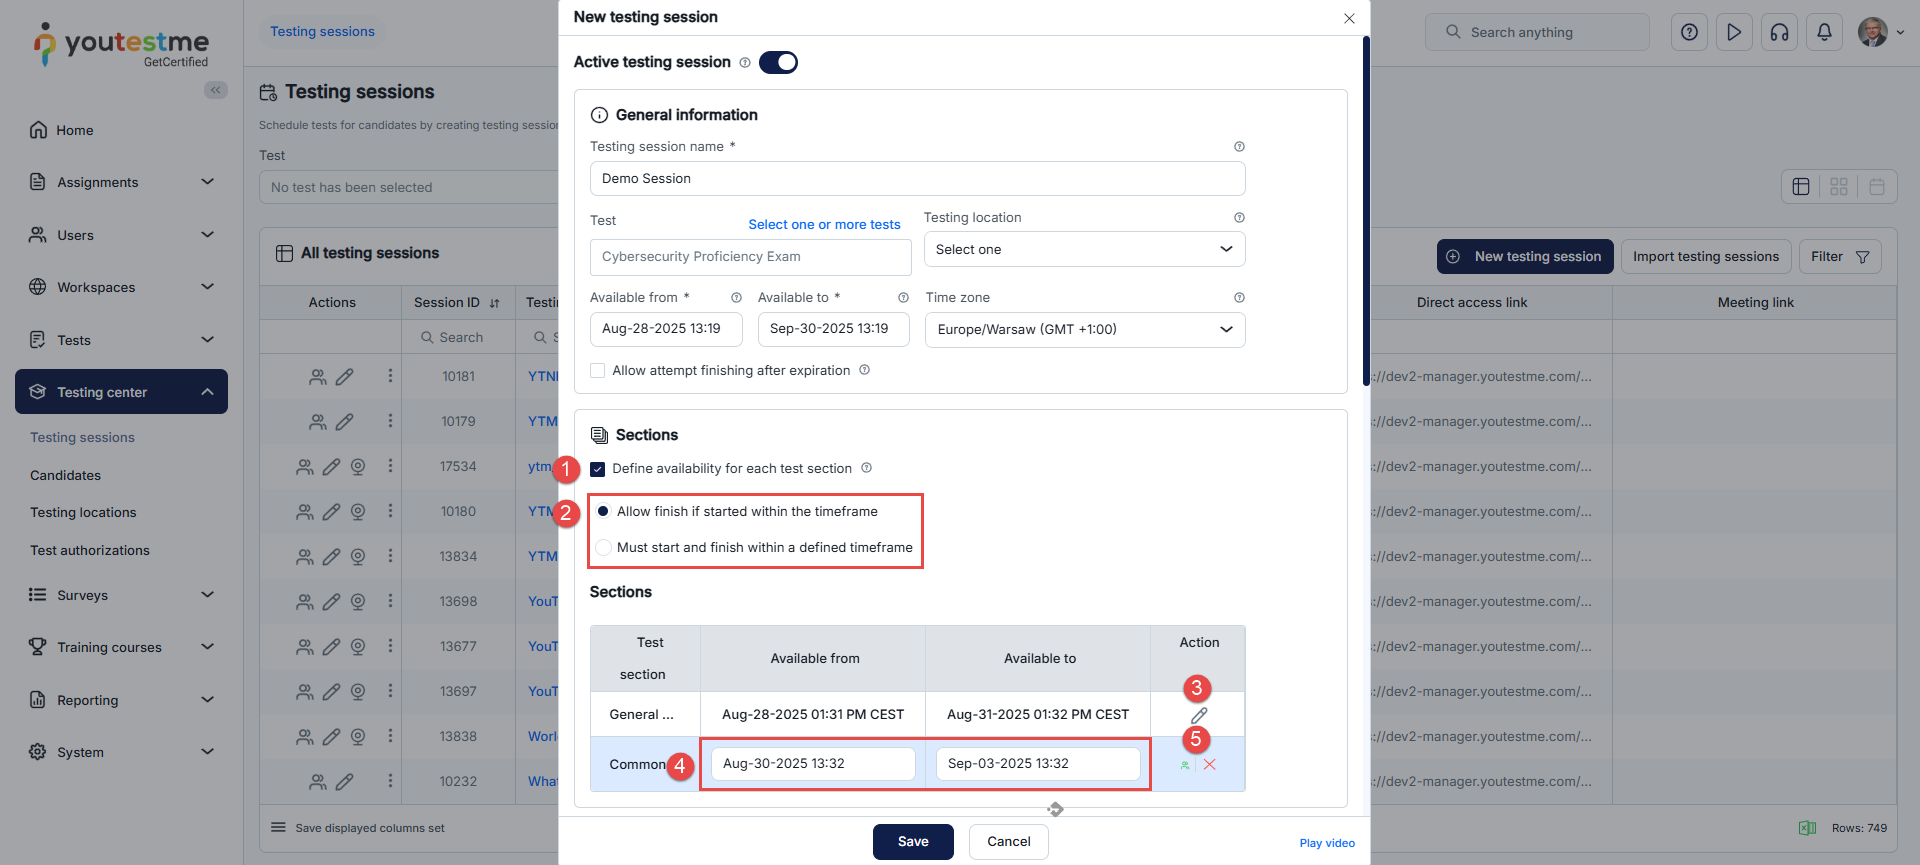
-
-
Import testing sessions
To import a large number of testing sessions from an Excel file:
-
Click the Import testing sessions button.
-
Select the test for which you want to create testing sessions.
-
Download the Excel template.
-
Refer to the provided instructions for guidance on completing the template.
-
Add the Excel file by clicking the Click to browse and upload your file section and choosing the file from your device.
-
Click the Upload button.
For more information on importing testing sessions, refer to this article.
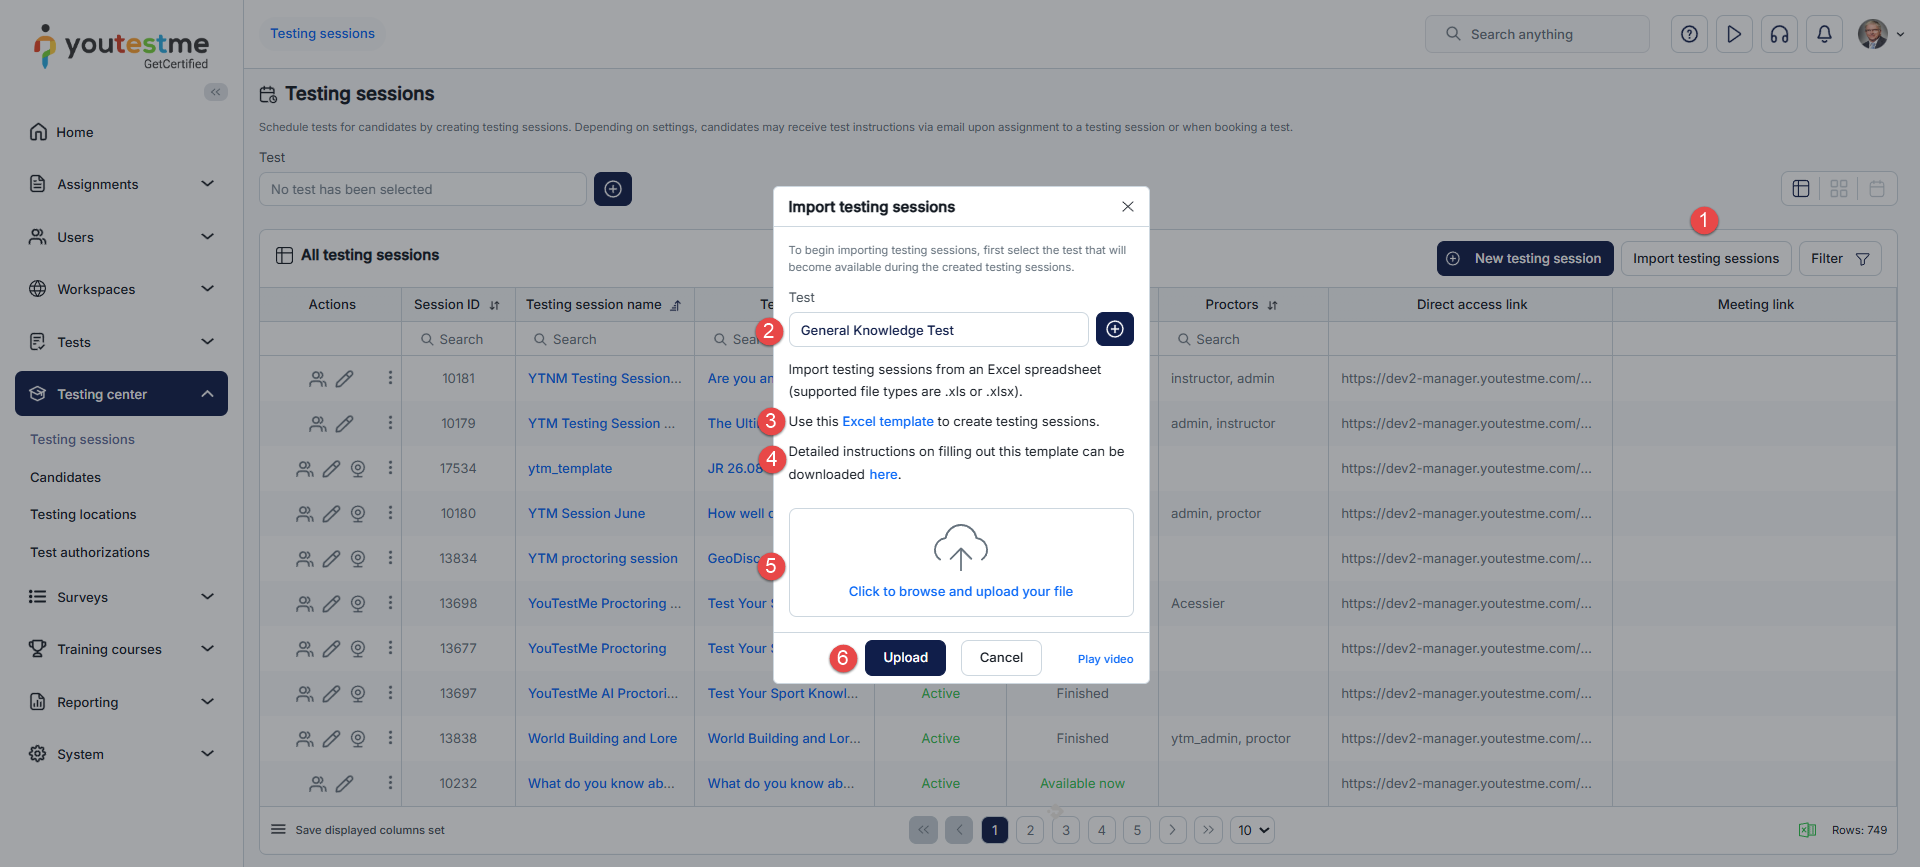
-
-
Testing session details
On this page, you can access a summary of all information related to the testing session. All fields are explained in the Create a testing session chapter.
Additional actions you can perform on this page include:
-
Edit testing session.
-
Permanently Delete the testing session. If candidates are assigned, delete all their test attempts before attempting to delete the testing session. To enable permanent testing session deletion, ensure the Allow delete data option is enabled in the system settings under Settings and customization/System preferences/Additional modules.
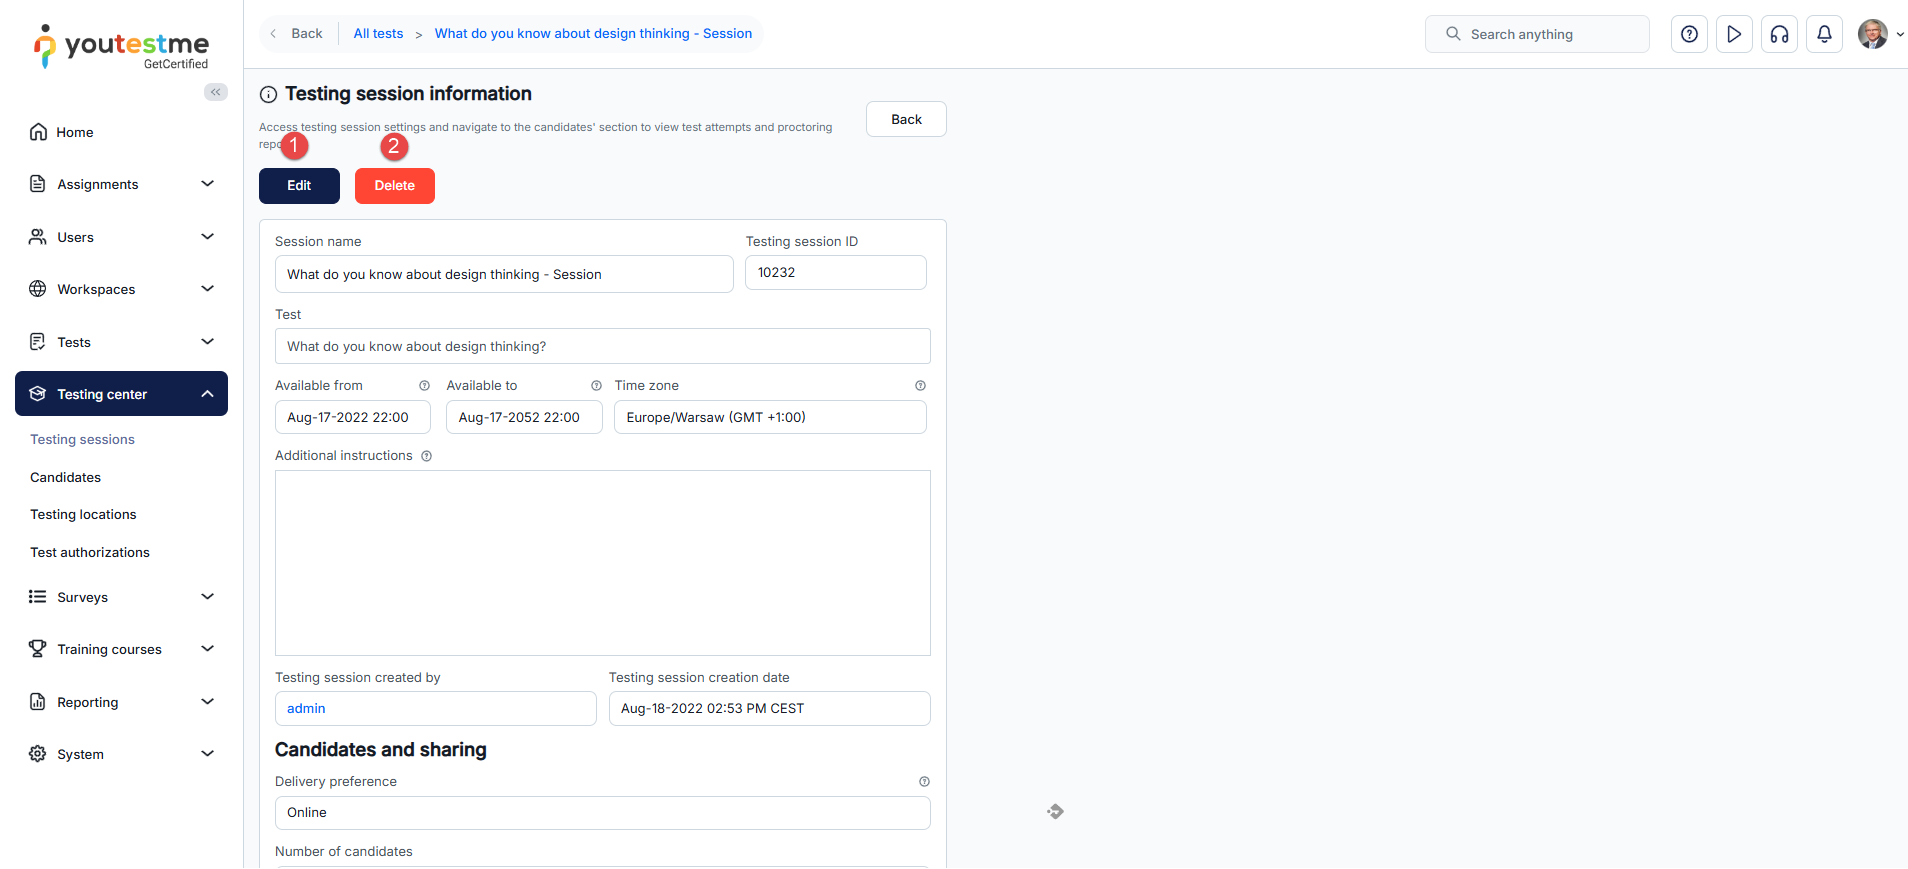
-
-
Tiles view
This view offers the same functionalities and information as others, but presents testing sessions in a tile format. You can find an explanation of actions in the List view chapter.
On this view, you can:
-
Sort tests by testing session name - Alphabetically (Z to A). If the name begins with numbers, alphabetical values take precedence over numerical characters.
-
Sort tests by creation date - Starting from the most recently created sessions.
-
Search by testing session name - Enter text to find all tests containing the specific testing session name.
-
Filter by test - Enter part of the test name.
-
Filter by candidate assigned in session - Enter the candidate's username to locate testing sessions they are assigned to.
-
Filter by test manager in session - Enter the test manager's username to find testing sessions they are assigned to.
-
Filter by proctor assigned in session - Enter the proctor's username to find testing sessions they are assigned to.
-
Filter by testing session start time - Choose to display only testing sessions starting within the selected time range.
-
Filter by status - Show only sessions currently available, those scheduled for the future, or those that have concluded and are no longer available for taking.
-
Filter by location - Enter text to display only testing sessions scheduled at a specific testing location.
-
Filter by delivery preference - Choose to display only tests with the selected delivery preference.
Additionally, filtering options are organized as follows:
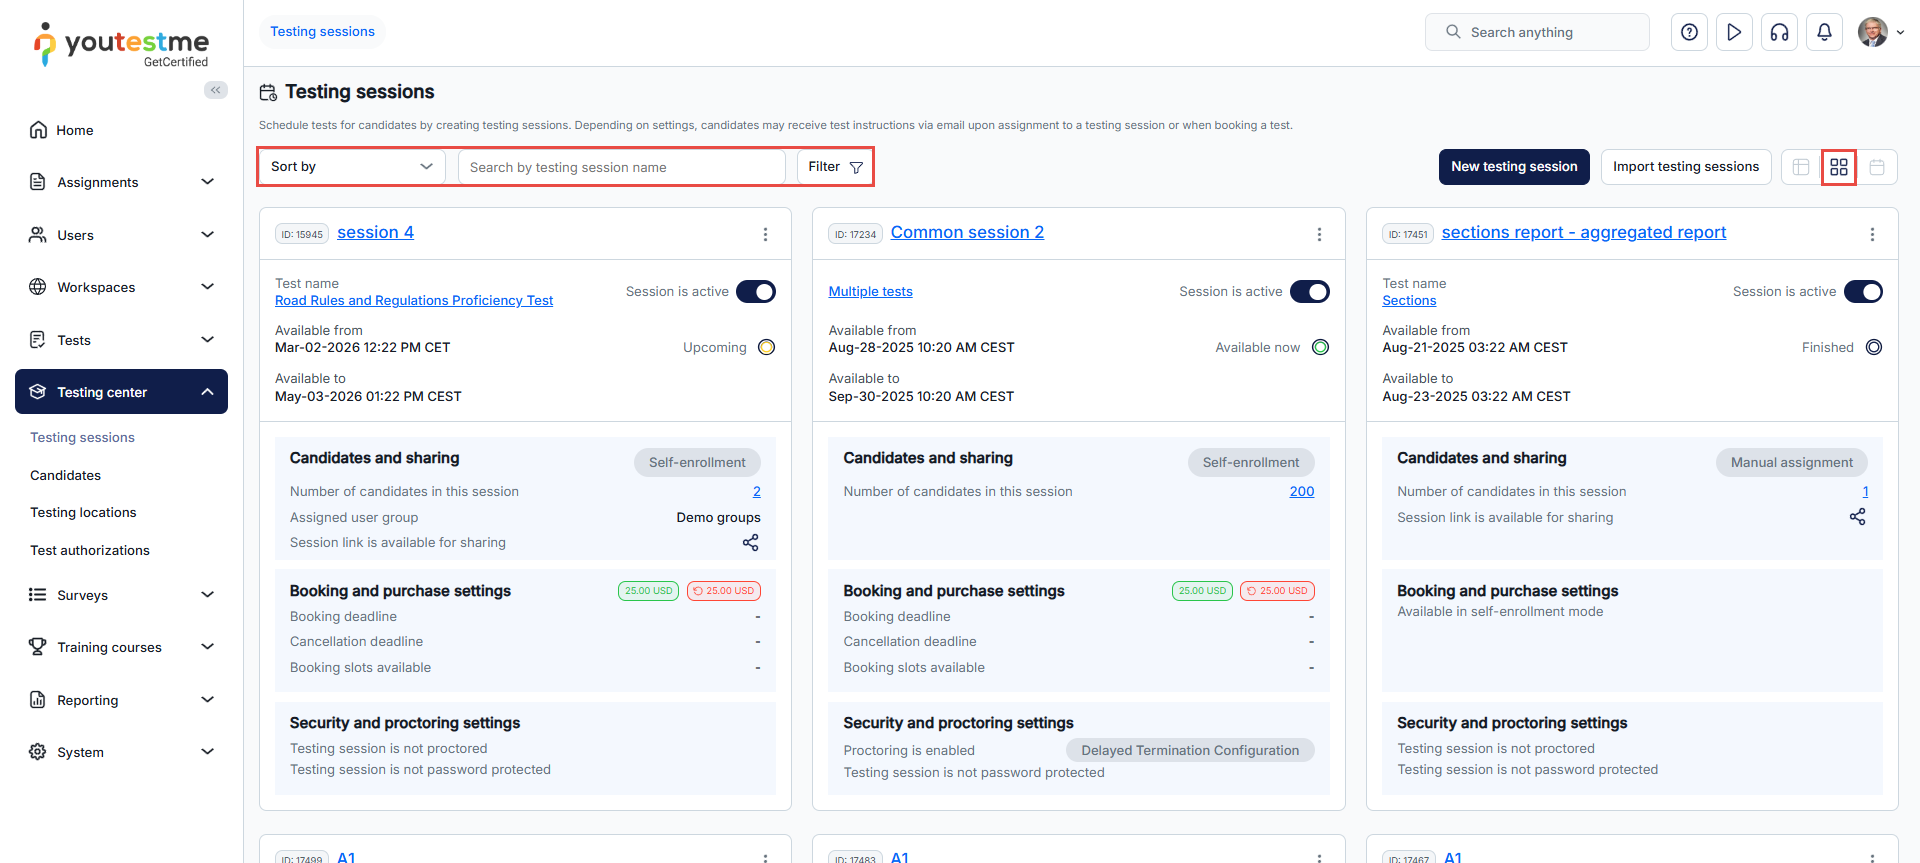
-
-
Calendar view
This view presents testing sessions in a calendar format. Each session is marked with a different colored line indicating the testing session start and end dates. Clicking on a testing session name allows you to view its details.
You can filter the testing sessions in two ways:
-
Display testing sessions only for a specific test.
-
Display testing sessions for the next or previous month.
-
Filter testing sessions based on availability:
-
Testing sessions lasting less than one day.
-
Testing sessions lasting more than one day.
-
Testing sessions starting this month.
-
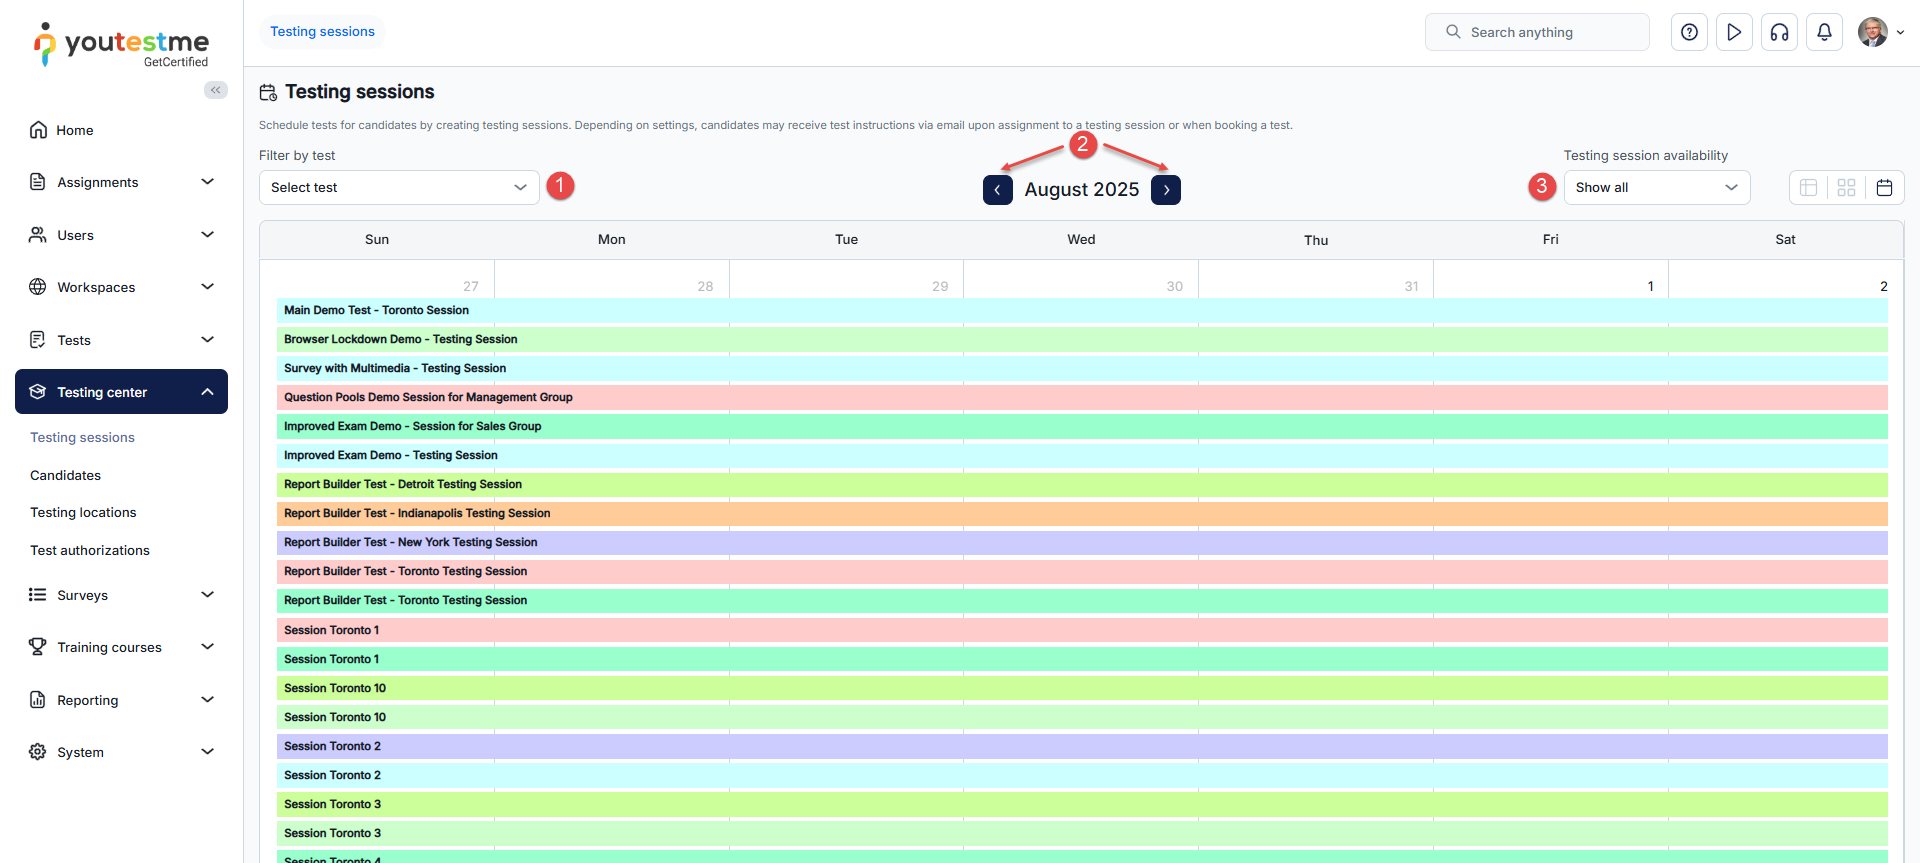
-
Candidates
-
Introduction
The Candidates page allows you to oversee participants in all tests and surveys. You can assign new candidates, remove those already assigned, view candidates' reports, and keep track of their progress.
Access it by going to the Testing center in the main menu and selecting Candidates.
Note: All information and explanations pertaining to tests are equally applicable to surveys.
The following tabs are available:
-
Test attempts - Assign candidates to testing sessions or remove those already assigned, view their test attempts, and grade them accordingly.
-
Proctoring - Efficiently manage and monitor test attempts from all tests on one page. Review candidate recordings and grade them as a proctor, handle special accommodation requests, and create and review special requests sent to candidates.
-
Rescheduling requests - Manage candidate requests to reschedule the testing session for taking the test.
-
Imported results - Process and view all staged import batches.
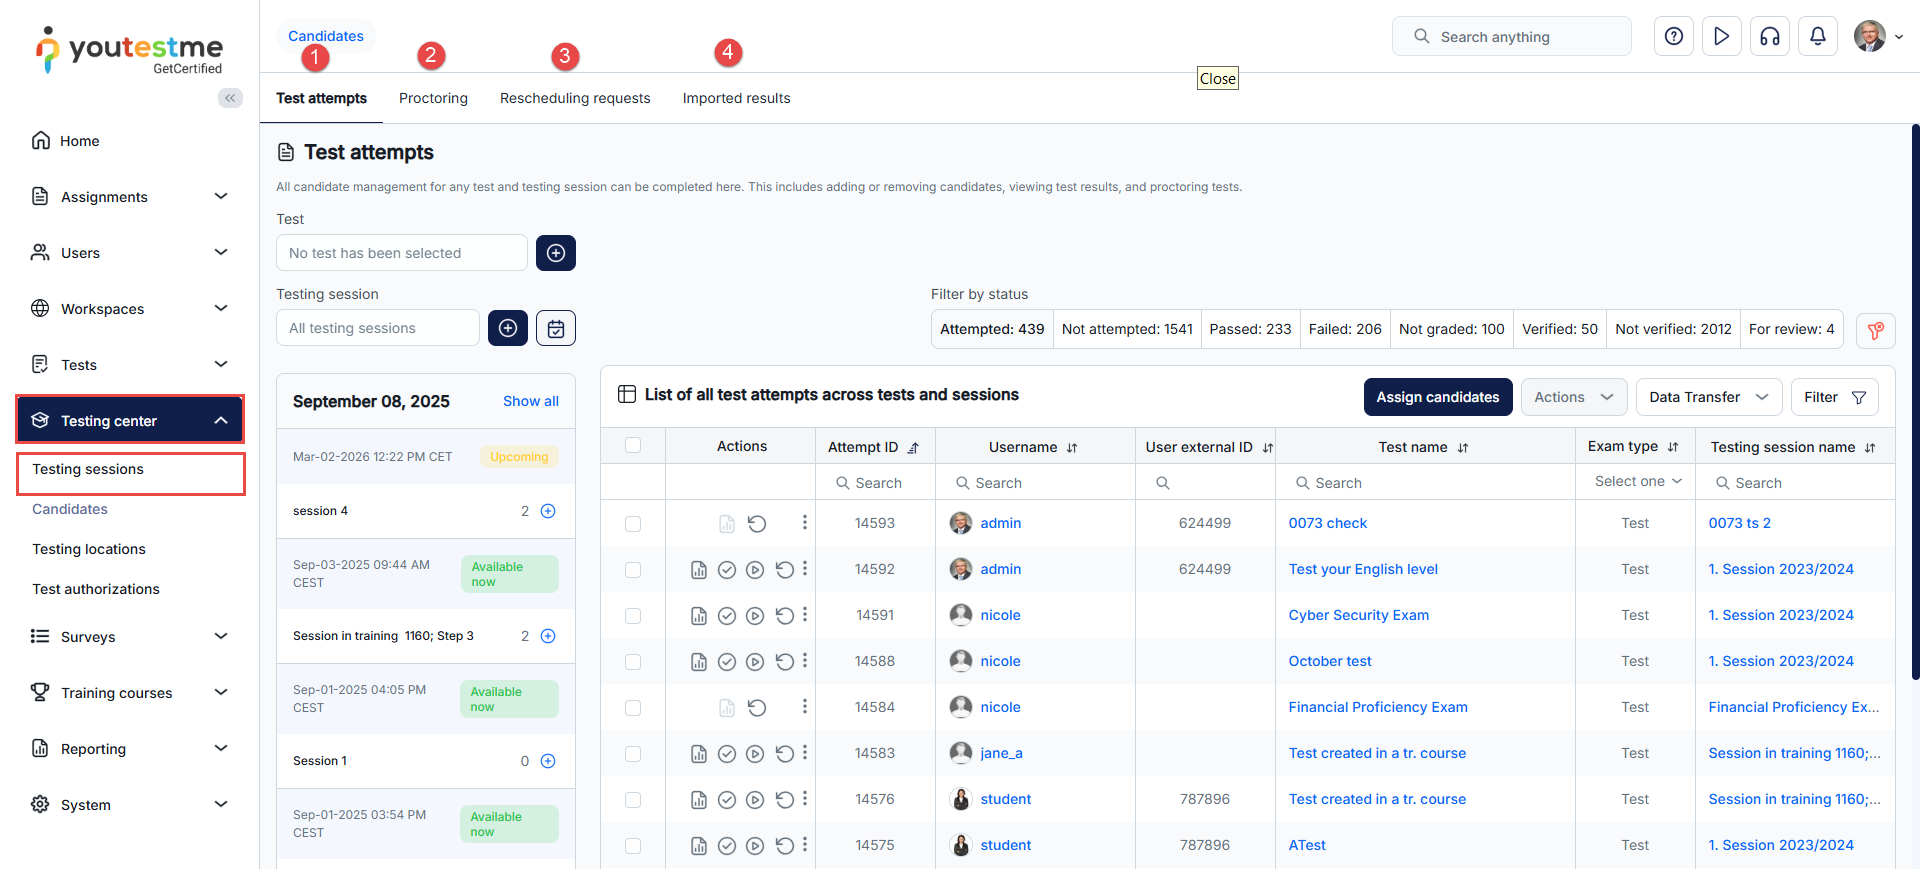
-
-
Test attempts
On this view, you can oversee all test attempts within the system.
All test attempt statuses are explained in the table below.
Value Description Not attempted Candidate has been assigned to a testing session but did not start the assignment. In progress Candidate is currently in the process of taking the test. Ready to continue Candidate paused the assignment but can resume where they left off during the testing session availability period. Ready to modify The candidate completed the assignment, and the test/survey manager permitted the candidate to modify answers. Disconnected Candidate left the test/survey either by closing the test window voluntarily or due to technical issues, like an unstable internet connection. Only users with permission to Manage any testing session or test managers can allow them to resume. If the system setting Attempt continuation always enabled is activated under System/Settings and customization/System preferences/Additional modules, the candidate can resume an attempt with this status at any time during the testing session availability period, regardless of the test/survey settings. This status does not appear when the test offers the option to pause and continue the test. Did not show up Candidate didn't start the test/survey, and the user with permission to Manage any testing session or test manager marked it as a no-show. Report incomplete The testing report is incomplete and inaccessible for candidates to review. This status can arise for three reasons: If the test/survey includes questions requiring manual grading.
When the Show report setting is configured as On manager approval or Immediately after result verification.
If the candidate completes the test, and the proctor submits a proctoring report with a neutral grade.
Report complete The report has been fully graded and is available to the candidate. Suspended The validity of the test/survey attempt has expired, resulting in a status of Suspended. Additionally, the test manager has the capability to manually designate the attempt as Suspended in case of violations during test-taking, issues with internet connection, etc. Refused NDA The candidate declined the non-disclosure agreement required to start the test. -
Choose the specific test for which you want to see test attempts. Click the plus icon to change the test, and you can remove filters as needed.
-
Select the testing session for which you want to see test attempts. Click the plus icon to change the testing session, and you can remove filters as needed.
-
Quickly filter test attempts by their statuses.
-
Select a testing session to display only test attempts taken during its availability period, or click Show all to remove testing session filtering. To hide the session list, click the calendar icon.
-
Filter by test attempt starting time - Display test attempts started within the selected date range.
-
Filter by test attempt finishing time - Display test attempts completed within the selected date range.
-
Filter by testing session end time - Display test attempts that belong to testing sessions completed within the selected date range.
-
Filter by test result importing time - Display test attempt results imported within the selected date range.
-
Filter by delivery preference - Filter tests distributed through various methods, including online tests with AI/live proctoring, online tests without proctoring, or paper-based tests.
-
Show suspended attempts in the table.
-
Show test attempts from inactive users - Include test attempts of users whose profile are inactive.
To filter the test attempts:
Also, you have additional filters under the table header:
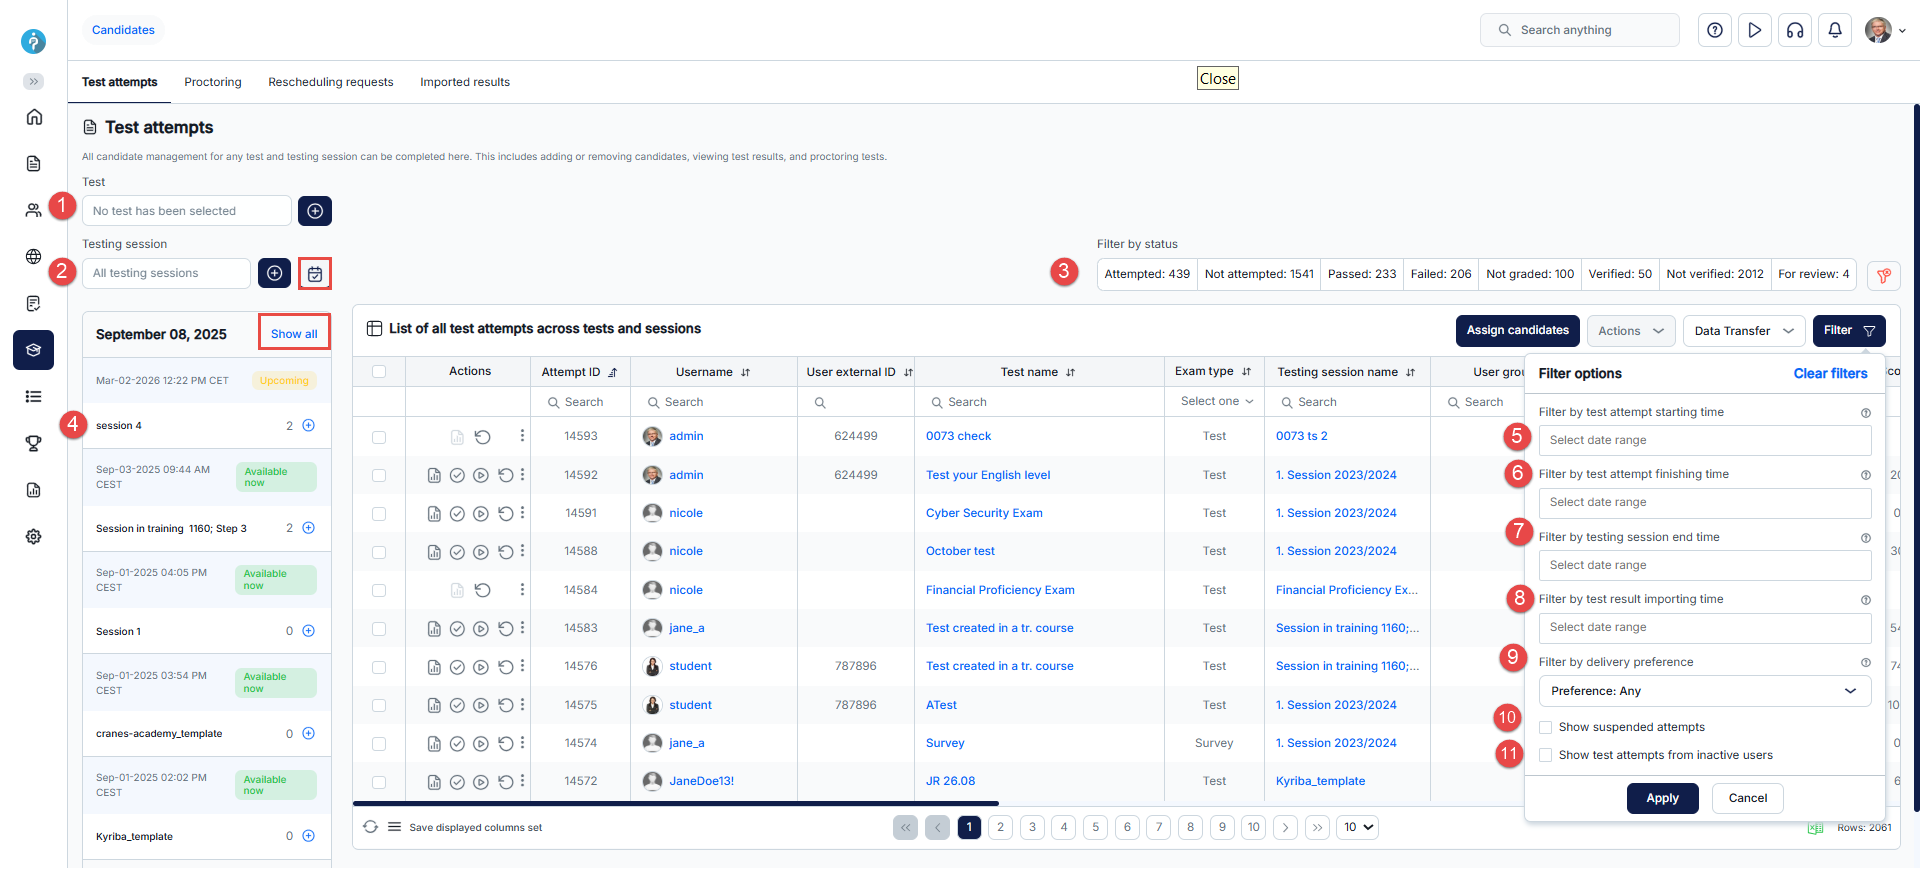
In the table of test attempts, you can:
-
Open the candidate's personal report.
-
Verify the test attempt for the candidate. Once verified, changing the grading settings will not affect the candidate's score.
-
Allow the candidate to continue their test attempt if they accidentally close the window or encounter technical issues. Users with permission to Manage any testing session or test managers can allow this by selecting this option. The candidate must initiate the test continuation during the testing session availability period; otherwise, the test cannot be continued. However, if the testing session concludes during the attempt, the candidate can finish the test without any interruption.
-
Reset the test attempt for the candidate. After the reset, the candidate can initiate the test again within the testing session availability period.
-
Preview the candidate's previous attempts. Optionally, open the desired report for a specific previous attempt.
-
Allow the candidate to modify their test attempt and change answers. The candidate must initiate test modifications during the testing session availability period; otherwise, modifications cannot be made. However, if the testing session concludes during the attempt, the candidate can finish the test without any interruption.
This option is not available for surveys, when a test attempt is suspended or incomplete, and when the Real-time grading option is enabled under the Show report setting. -
Add a comment for the selected candidate's attempt. Should be used to provide feedback. Comment will be visible to the candidate on the personal report.
This option is not available for surveys, when a test attempt is suspended or incomplete, and when the Real-time grading option is enabled under the Show report setting. -
Set to zero grade - Overwrite the candidate's current score and set it to zero. This action cannot be undone.
-
Mark for review the candidate's test attempt.
-
Change the version of the test for the candidate.
-
Suspend the test attempt. In the event of violations during test-taking, issues with the internet connection, etc., you can suspend the candidate's current attempt and optionally permit them to retake the test later.
-
Change the testing session in which candidate should take the test.
-
Finish the test attempt for the candidate. For example, you can use this option if violations are noted during test monitoring, allowing for an immediate test interruption.
-
View or edit notes for the test attempt. This option becomes visible only when the test attempt is marked for review.
-
Assign candidates to the selected test scheduled in the chosen testing session.
-
Make bulk changes to the selected attempts.
Verify all attempts for the selected test. Once verified, changing the grading settings will not affect candidates' scores.
Run on-demand verification by holding criteria for all non-verified attempts in the selected test. Criteria are defined under System/Settings and customization/System preferences/Verification process setup.
Verify selected attempts. Once verified, changing the grading setting will not affect candidates' scores.
Revert verification for the selected attempts. Test attempts will become changeable again and will be affected by the latest test grading setup.
Mark selected attempts for review.
Remove "Mark for review" from the selected attempts.
Mark selected attempts as "Did not show up" if candidates didn't take the test within the allotted time. Only attempts with the status Not attempted can be set as Did not show up.
Remove "Did not show up" status from the selected test attempts.
Send group email notification. Define the subject and text of the email to be sent to selected candidates.
-
Transfer the data.
-
Import Scantron results. Ensure you've selected the test before importing results. If you don't see this option, the test may contain unsupported question types. Results can be imported only for single-choice, multiple-choice, and true/false questions in tests without sections. Import is possible only for test attempts with the Not attempted status. Refer to this article for more information on importing test results.
-
Send test results to LRS. Currently, only results for tests containing true/false, single-choice and multiple-choice questions can be sent. Sending results for generated tests and tests with sections is not currently supported. For more information refer to this article.
-
Export test results via system job. The Export data job type must be created first under System/Settings and customization/ Job scheduler. Only verified results will be sent.
-
Export direct testing links. Use these URLs to test users without requiring registration or providing a username and password. The system will generate links in an Excel file for you to copy and embed in an external system, such as emails. The Excel file will include meeting links if the test is proctored using conference tools. Upon completing the test, candidates are redirected to the specified URL, and results are saved in the system for instructor review. You can specify the redirect URL, under System/Settings and customization/System preferences/Finish test URL.
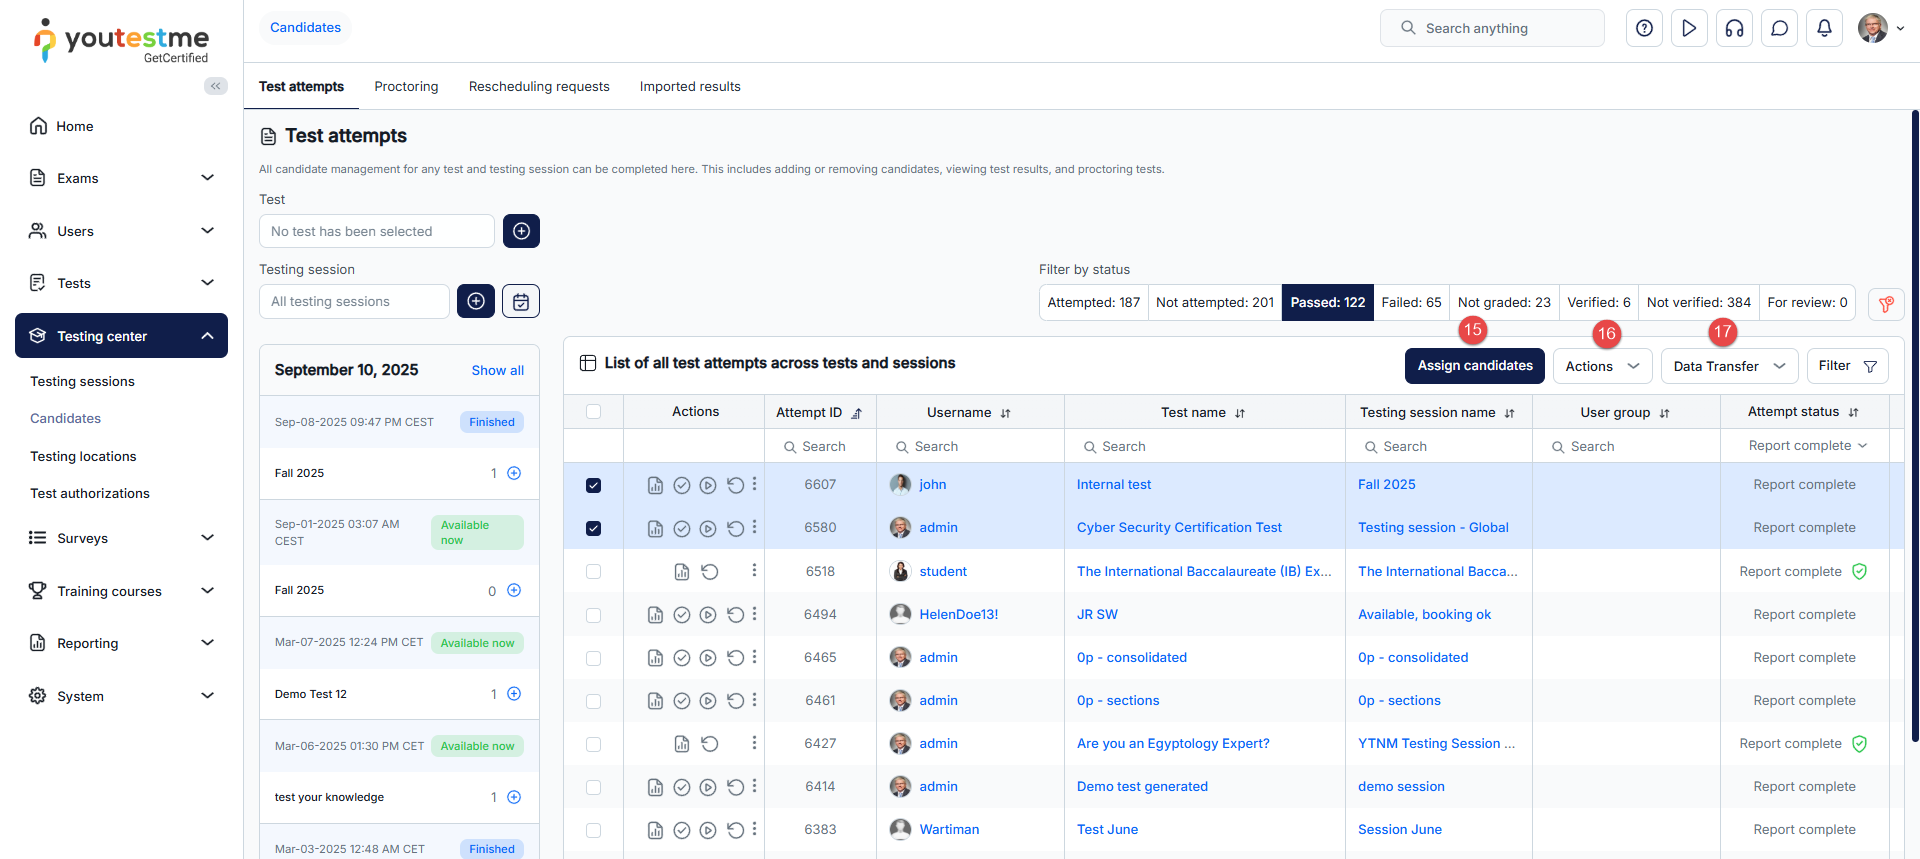
-
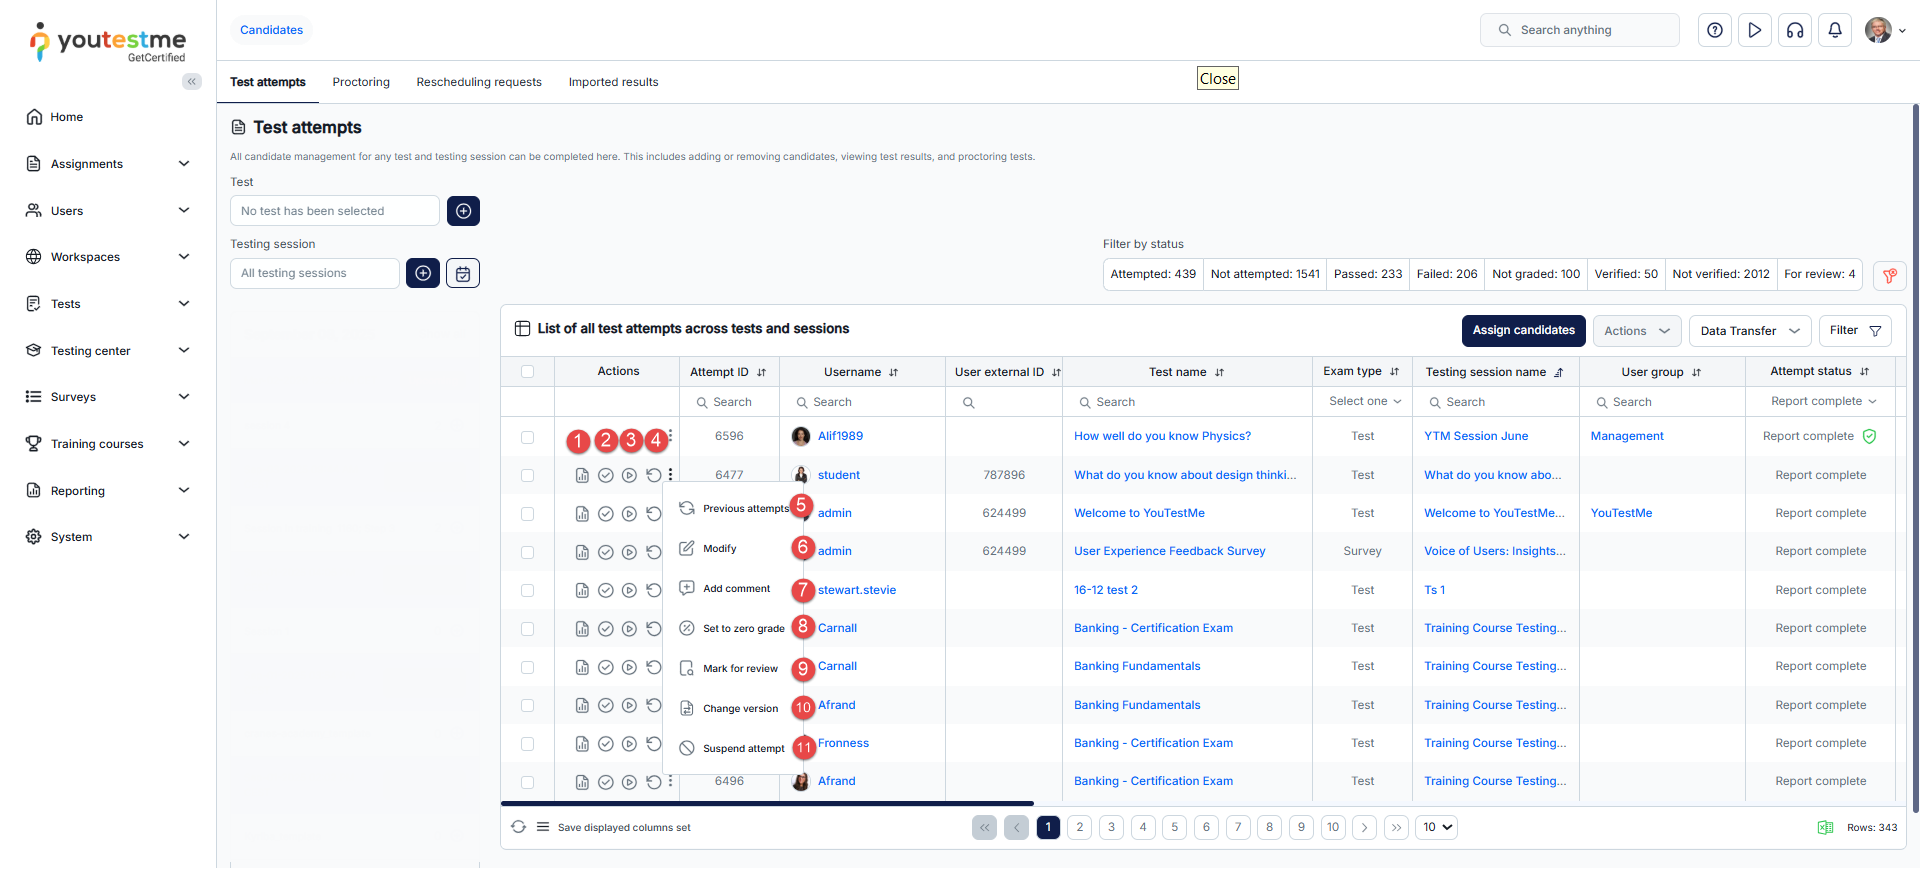
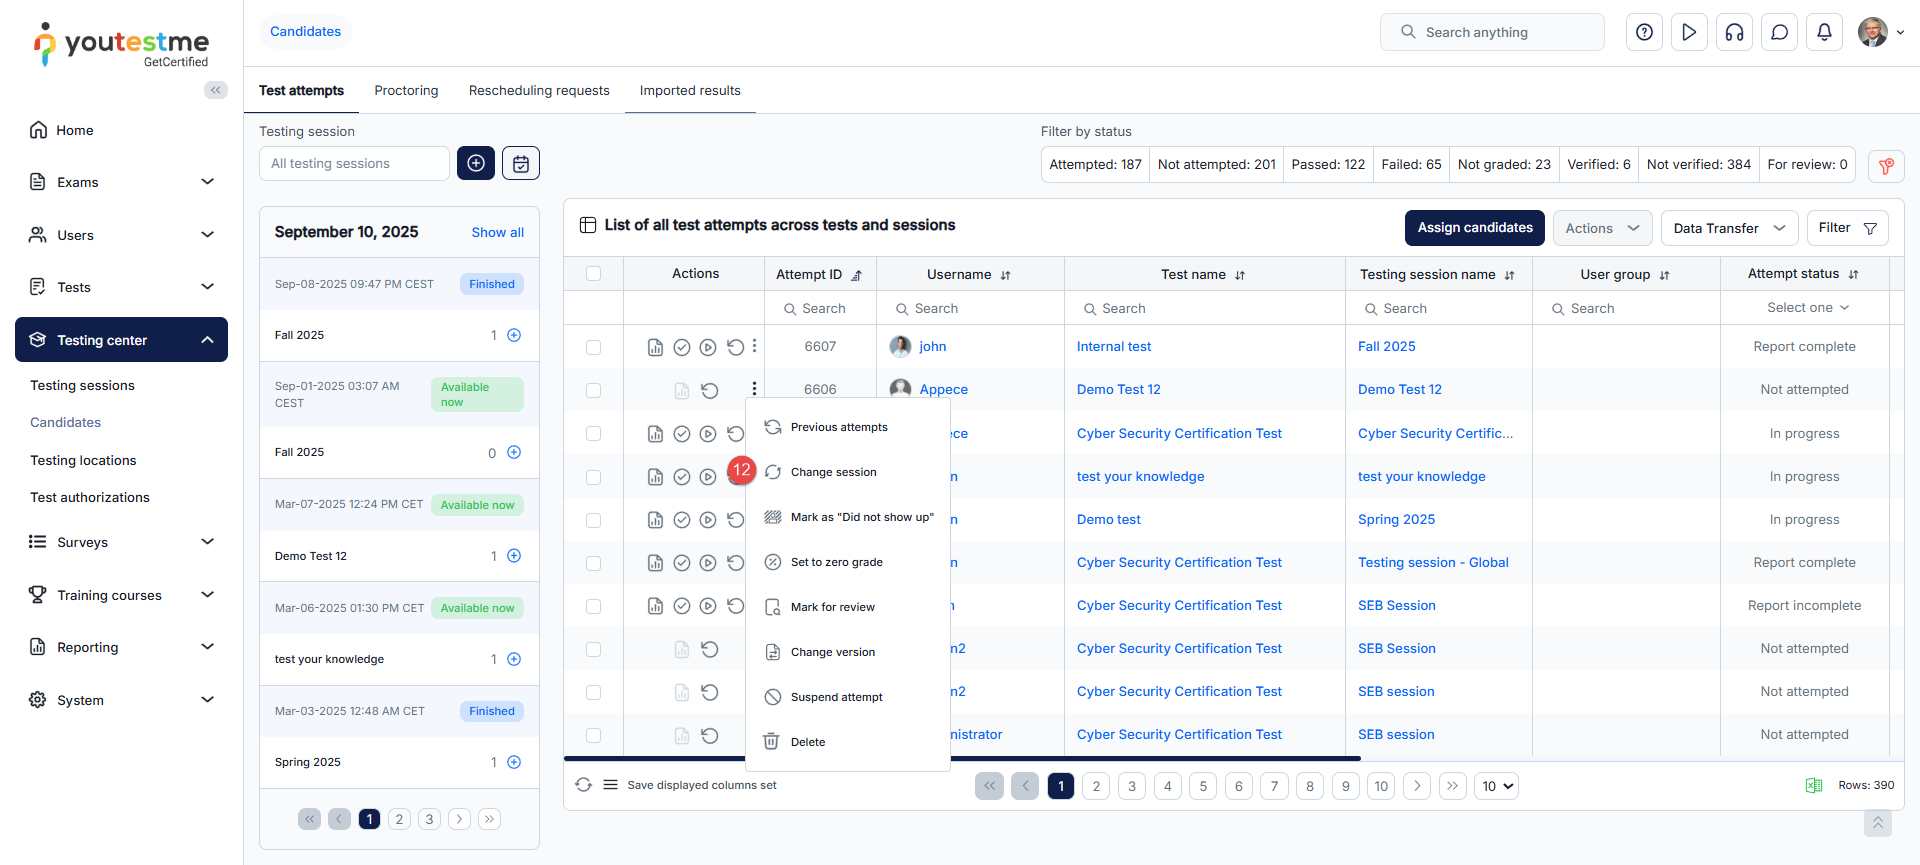
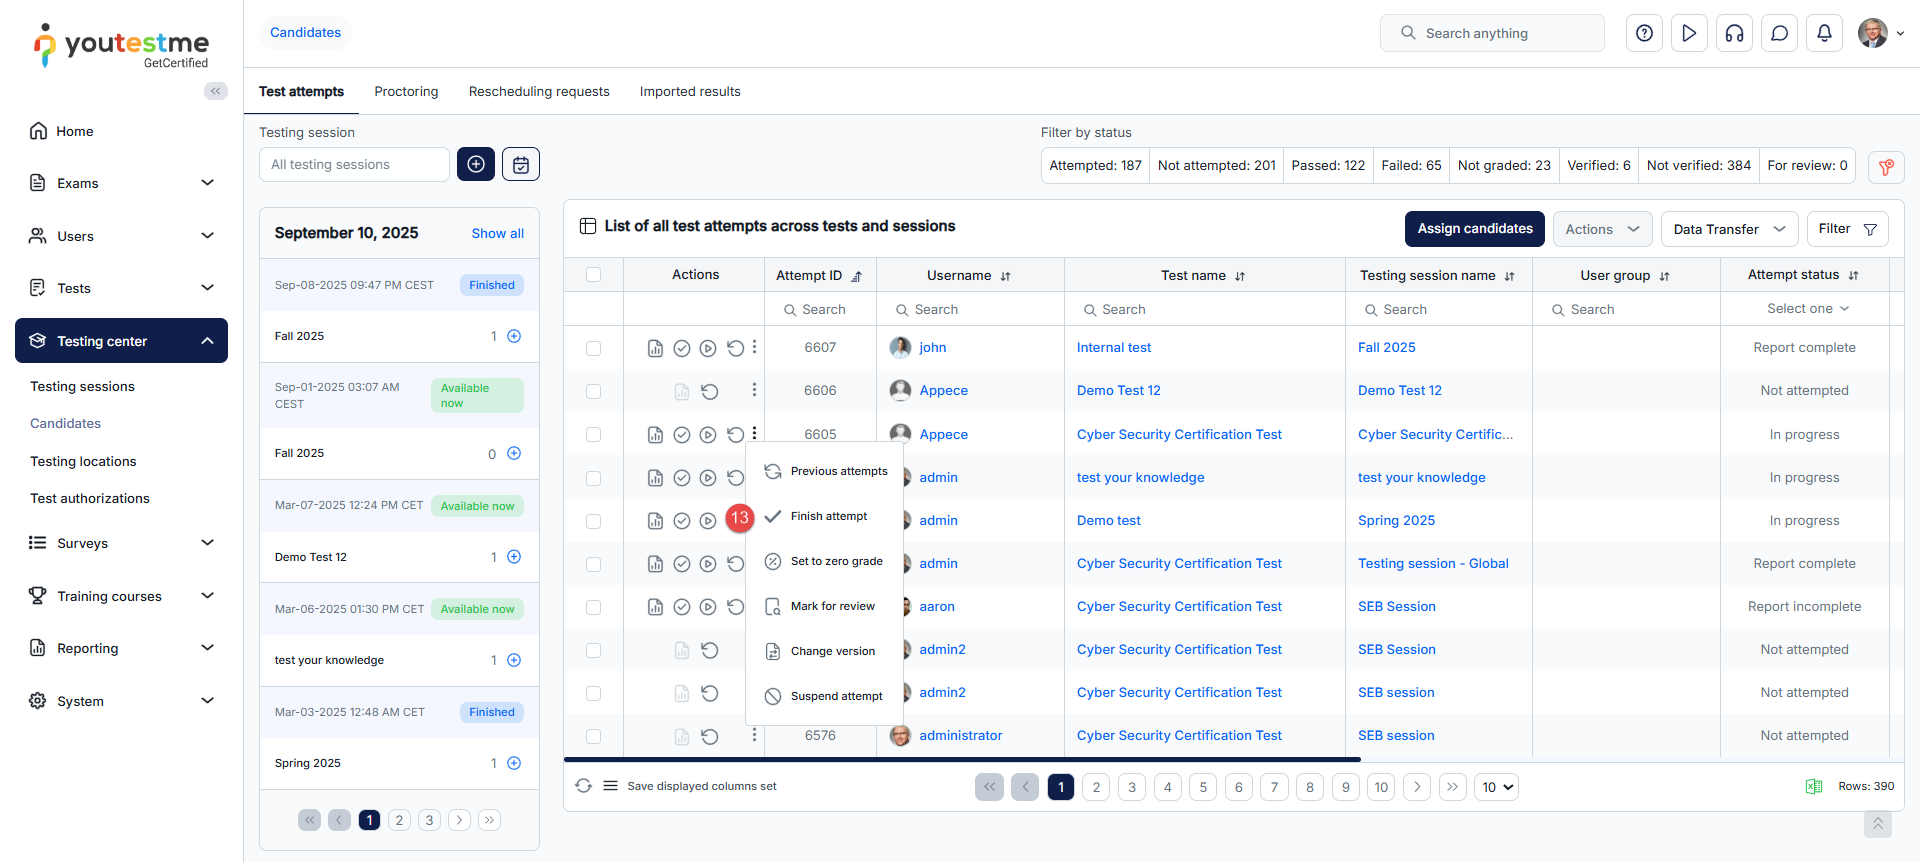
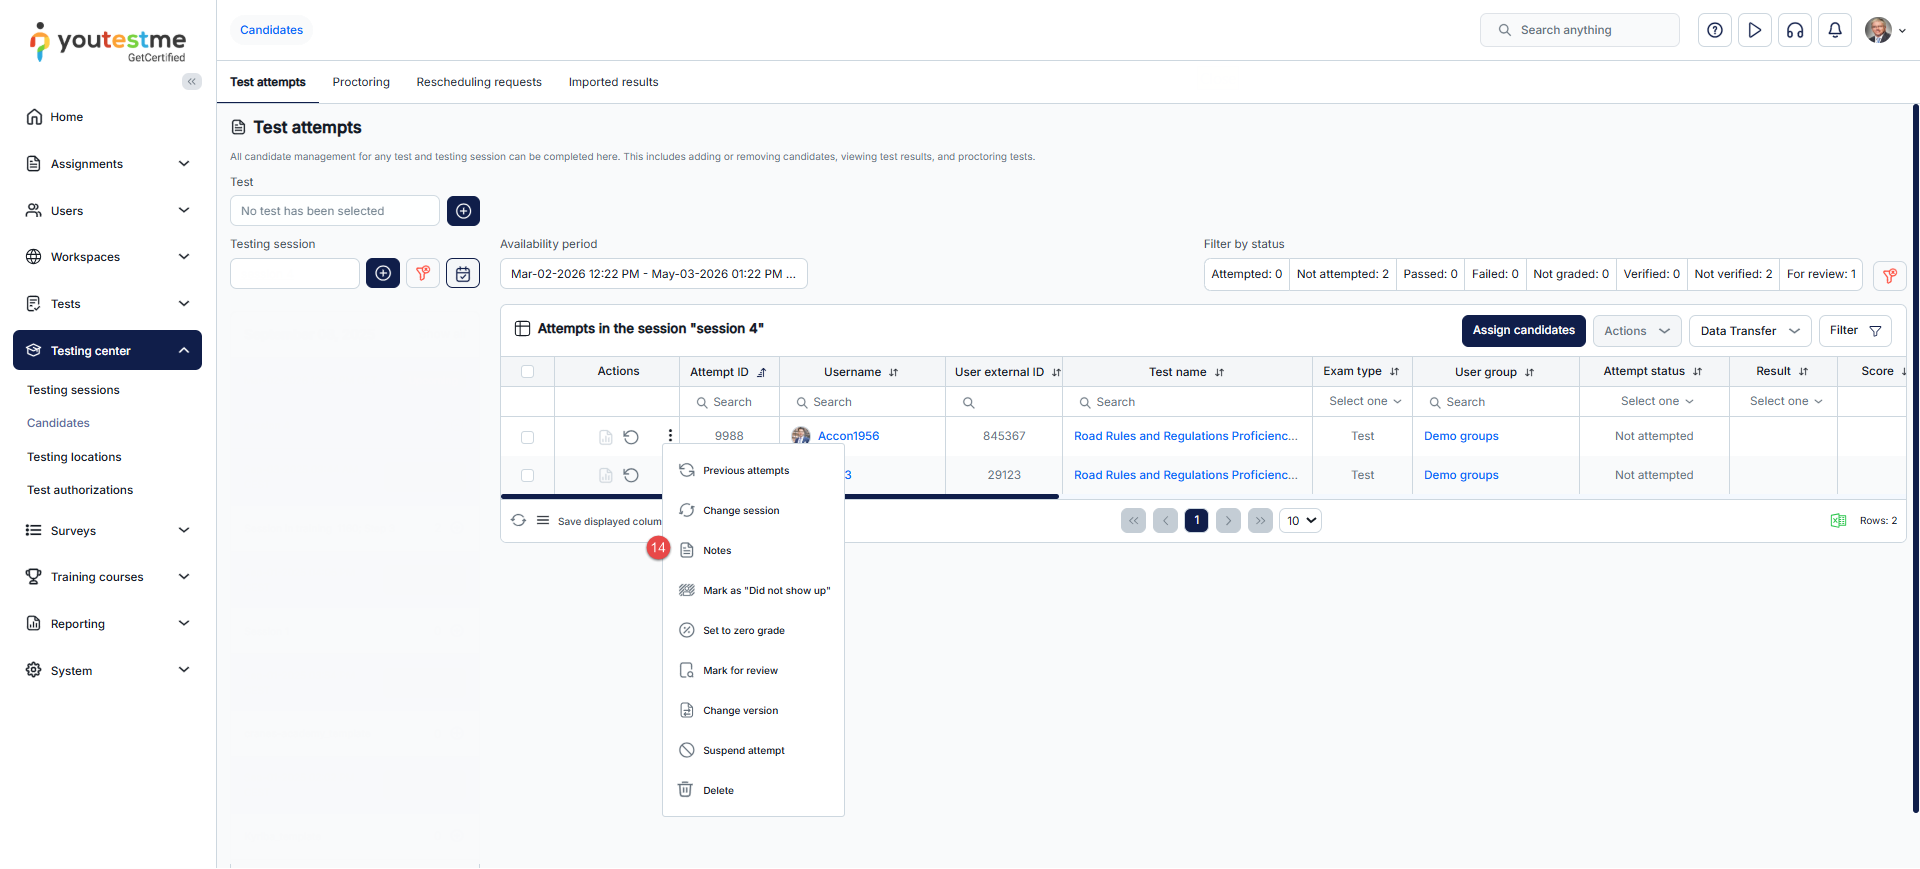
-
Personal report
The personal report offers thorough details on a candidate's performance and activity during a test. It includes information about the score, questions, time taken, earned certificates, and more. Here, you can review the candidate's reports and grade their answers.
Below, you'll find explanations for each tab in the personal report.
-
Summary page
The summary page is the main section of the report, offering an overview of essential information regarding the test and the candidate's results:
-
Test name - The name of the test that the user has completed.
-
Candidate - The name of the candidate who took the test.
-
Started/Finished - The time when the user started and completed the test.
-
Time spent - The total time taken to complete the test including any pauses or interruptions that may have occurred during test attempt.
-
Passing score - The percentage that must be achieved to pass the test. Depending on the test settings, this passing score may or may not be inclusive. If the passing mark is inclusive, candidates will pass the test if they gain a score equal to or higher than the passing mark. You can check whether the passing score is inclusive or not in the tooltip next to the label name.
-
Achieved score - The percentage achieved by the candidate.
-
Achieved points - The total points earned by the candidate.
-
Result - Indication of whether the candidate passed or failed the test.
-
Verification date - The date when the test attempt has been verified. Once verified, changing the grading setting will not affect the candidate's score.
-
If the test attempt has been verified, you can view the grading setup that was relevant at the time of verification.
-
User groups - Names of user groups to which the user belongs. If there are no user group names listed, it means the candidate is not a member of any user group. If a user is a member of a subgroup, the complete path to the subgroup will be shown.
-
Report completion summary:
-
Test finished - Indicates that the test has been successfully completed.
-
Graded questions - Shows whether all questions are graded. An X indicates that some questions need to be graded under the Questions tab, while a checkmark indicates that all questions have been graded.
-
Proctor report - Indicates whether the proctor has graded the report. Depending on the test settings, a proctor report may not be required. If required, the proctoring grade should be defined on the Monitoring page. A checkmark indicates that the proctoring report has been provided.
-
Visible to candidate - Indicates whether the report is accessible to the candidate.
-
Verified - Indicates whether the report is verified. If verified, changing the grading setting will not affect the candidate's score.
-
-
Achieved certificates - Displays the certificates that the candidate has earned.
-
List of graders assigned to grade the test attempt (If the Multiple graders module is enabled under the Grading configuration).
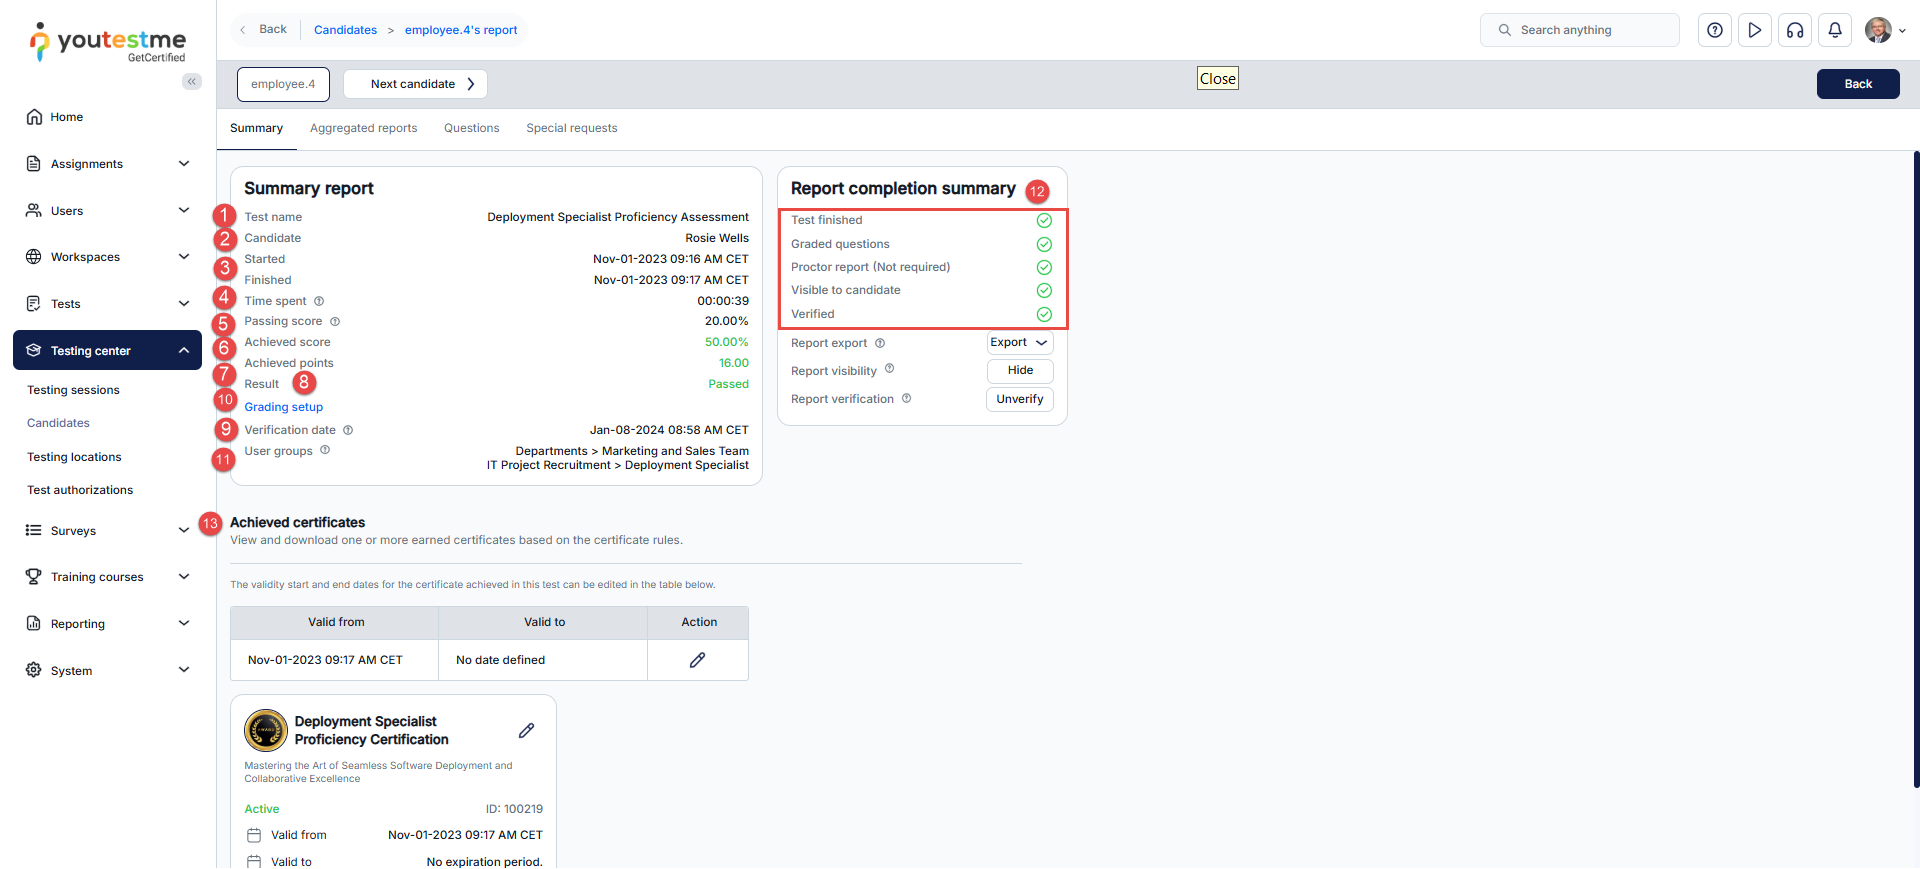
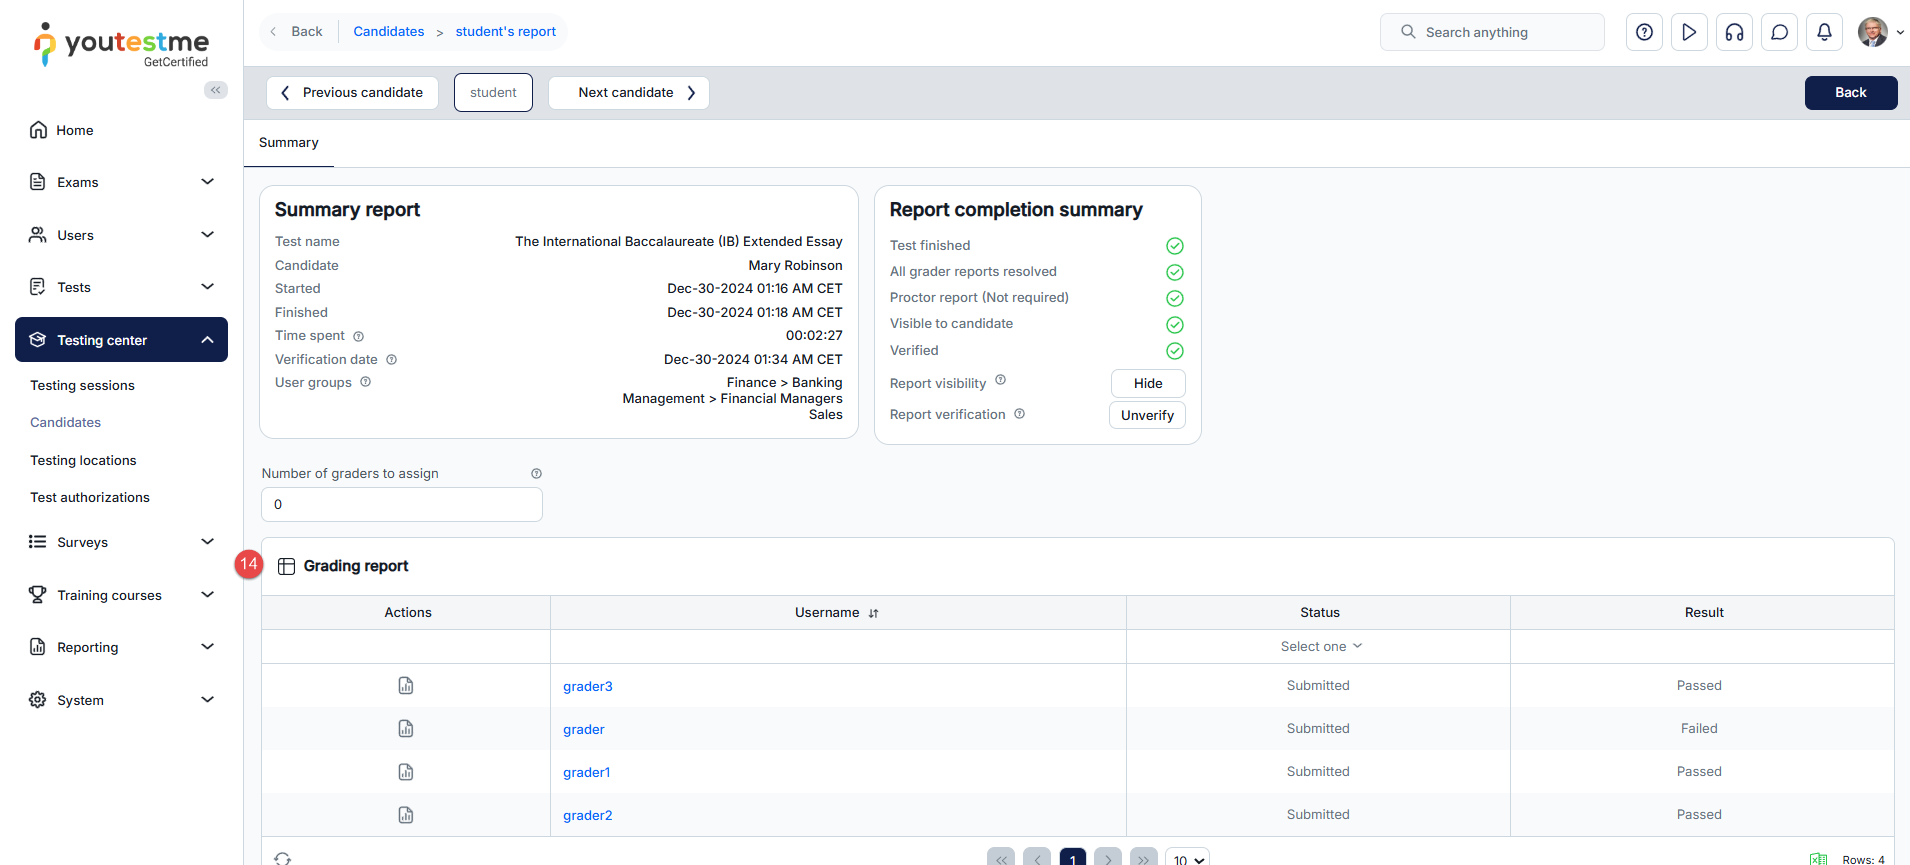
Additionally, the options that can be performed on this page include:
-
Report export - Allows you to export:
-
Personal report as Excel
-
Personal report as PDF
-
Score report by question pools
-
Knowledge deficiency report - The report will display a list of question pools from which the candidate answered at least one question incorrectly. The report will show the lowest level of the question pools (sub-pools). The question pools will be arranged in alphabetical order and will not be divided into sections, if any.
-
-
Show/Hide report - Allows you to make the report visible to the candidate and send a notification that the report is ready. Otherwise, make the report unavailable to the candidate.
-
Verify/Unverify report. When you verify the test attempt, the verification date will be shown, and changing the grading settings will not affect the candidate's score. After verification, you can unverify it by clicking the corresponding button.
-
Edit certificate validity. By default, the certificate has unlimited validity. If you define a date, it will be written on the certificate as the expiration date. The certificate is marked as Active until its validity period expires, at which point it changes to the Expired status.
-
Export certificate as PDF or image.
-
Share the certificate as a link.
-
Manage graders assigned to grade the test attempt. Click to auto assign graders from the list of Graders for the test (They will be assigned per their position defined for grading), or click to assign graders manually by selecting the desired users. To see how a particular grader rated a candidate's test attempt, click on the report icon.
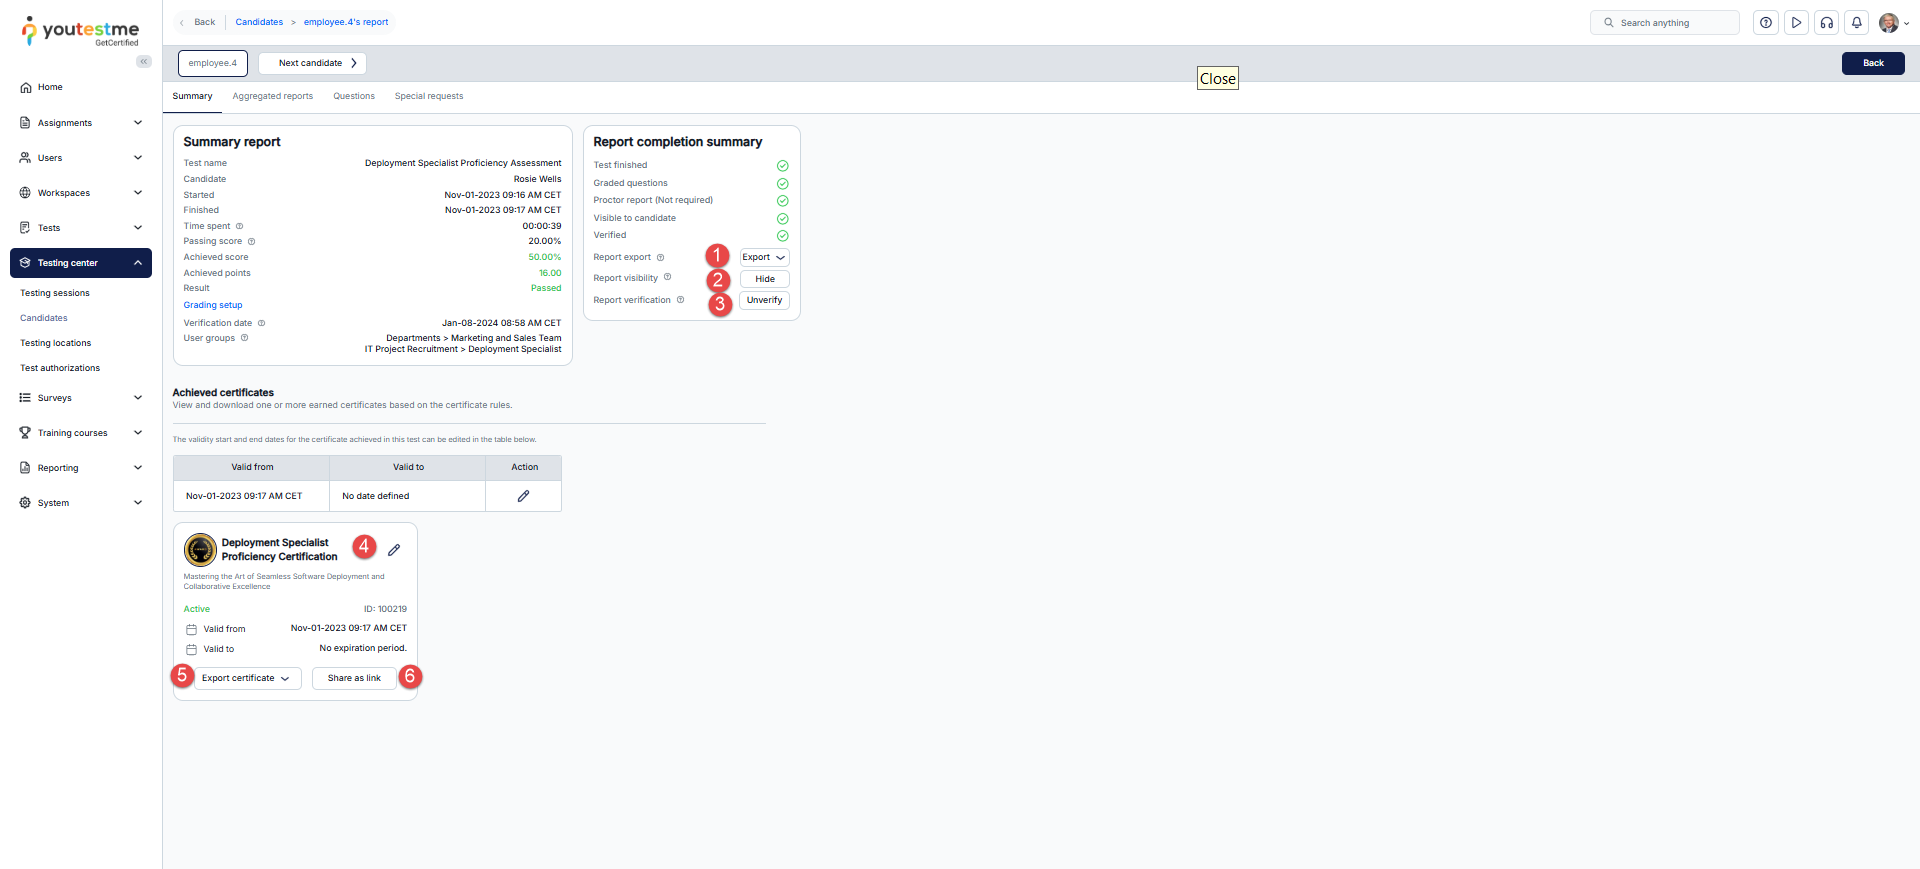
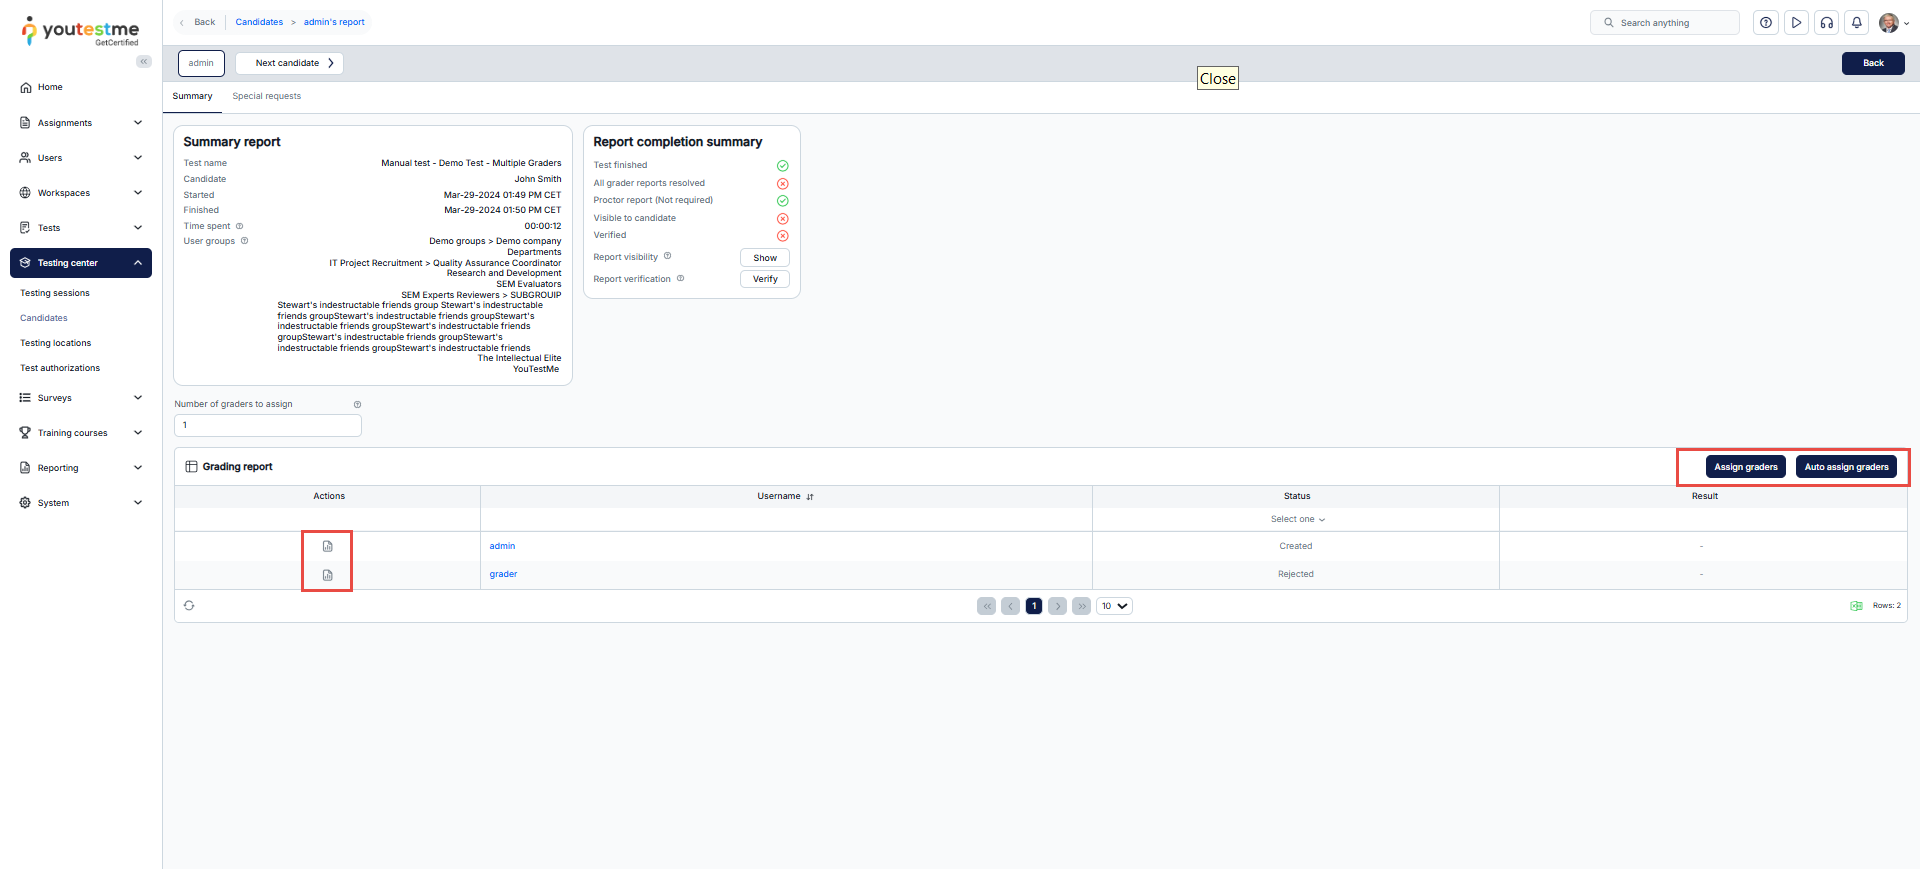
-
-
Notes
Depending on the test settings, candidate notes taken during the test may appear in the report.
In this tab, you can review all notes created by the candidate. To preview a note, click the arrow icon. For each note, you can view the associated question number, its ID, and the section number if the test contains sections.
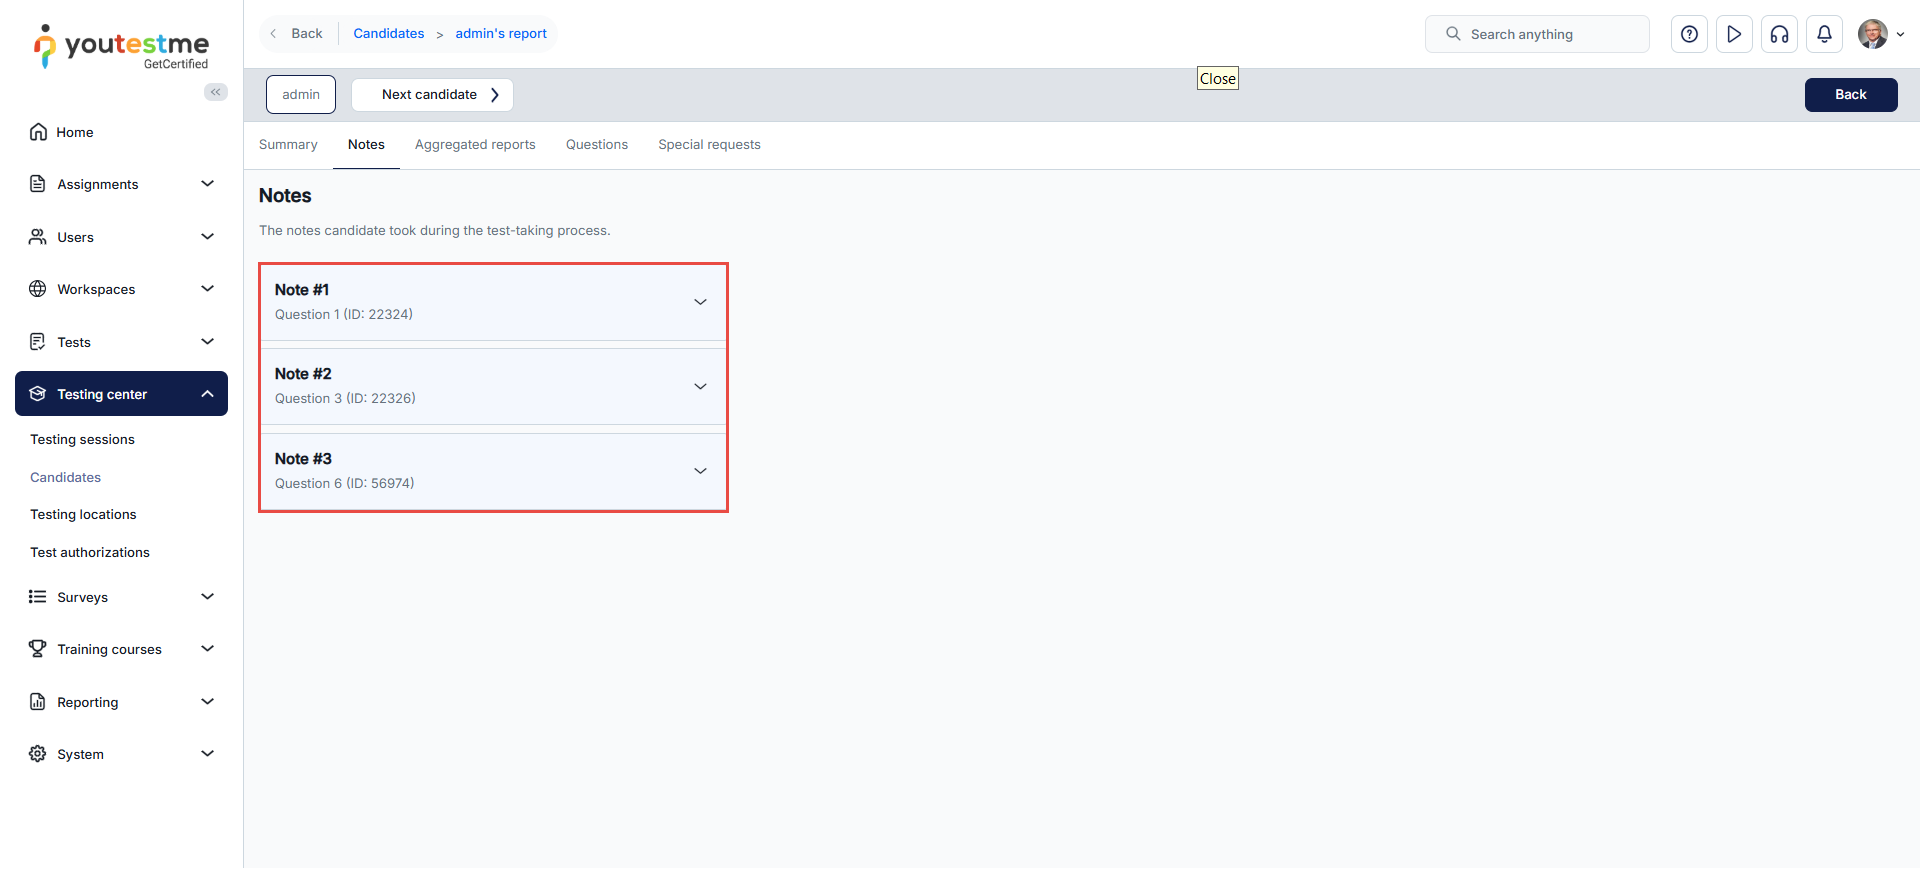
-
Aggregated reports
Aggregated reports are classified into overall test statistics and statistics at the test section level (if the test contains sections).
At the test level, results are presented based on question pools used for test generation. Each question pool may have its own descriptive passing mark, representing the expected knowledge level for a specific topic, but it does not impact the final test score.
Additionally, you can track statistics based on custom question properties assigned to questions, where passing marks and grading scales can also be defined. For more information, refer to this article.
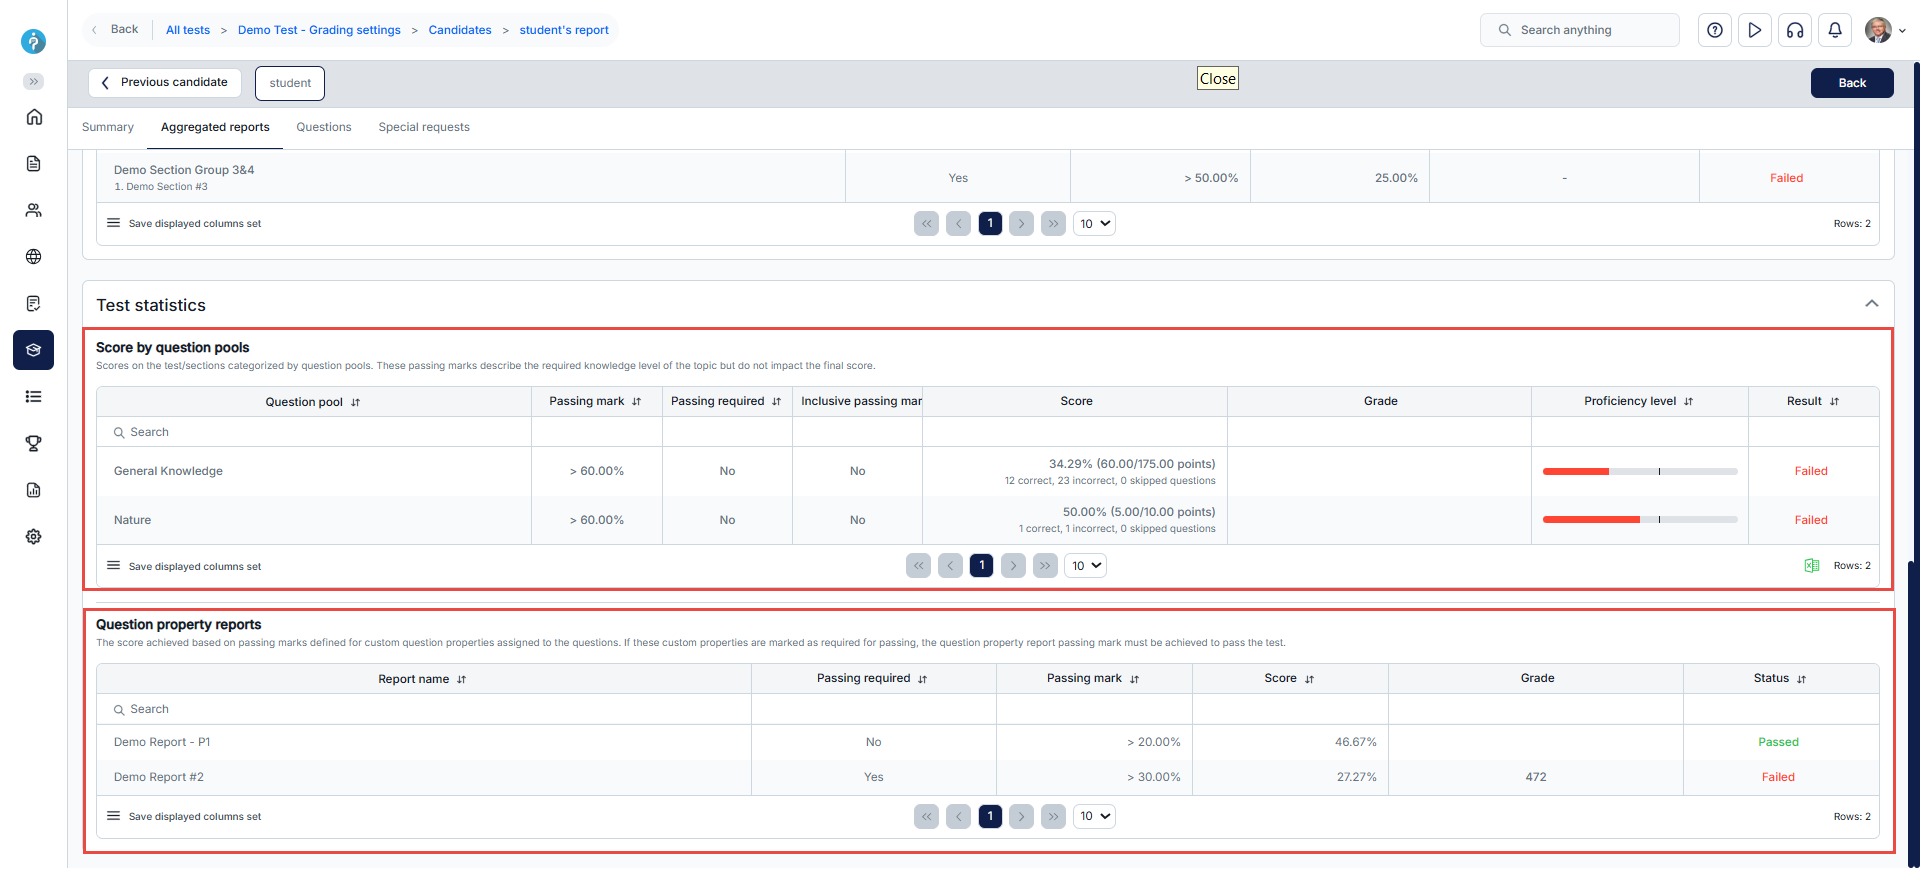
For test sections, various statistics can be tracked:
-
Statistics for sections, where each section may have its own passing mark and grading scale. Depending on test settings, passing a section may be mandatory to pass the test. If passing a section is necessary to pass the entire test, the Passing required column will indicate Yes. If a candidate fails the section that requires passing, the overall test result is considered a failure.
-
Statistics for question pools used for the test section generation. Each question pool may have its own descriptive passing mark, representing the expected knowledge level for a specific topic, but it does not impact the final test score.
-
Statistics at the section group level - Displays passing marks and grading scales for section groups. For example, if a test has six sections, there can be a group for sections #1 and #2 with a passing mark of 60%. Similarly, a group for sections #3 and #4 with a passing mark of 50%. This group can be set as passing required, meaning passing sections #3 and #4 is necessary to pass the test. If a candidate fails the section group that requires passing, the overall test result is considered a failure.
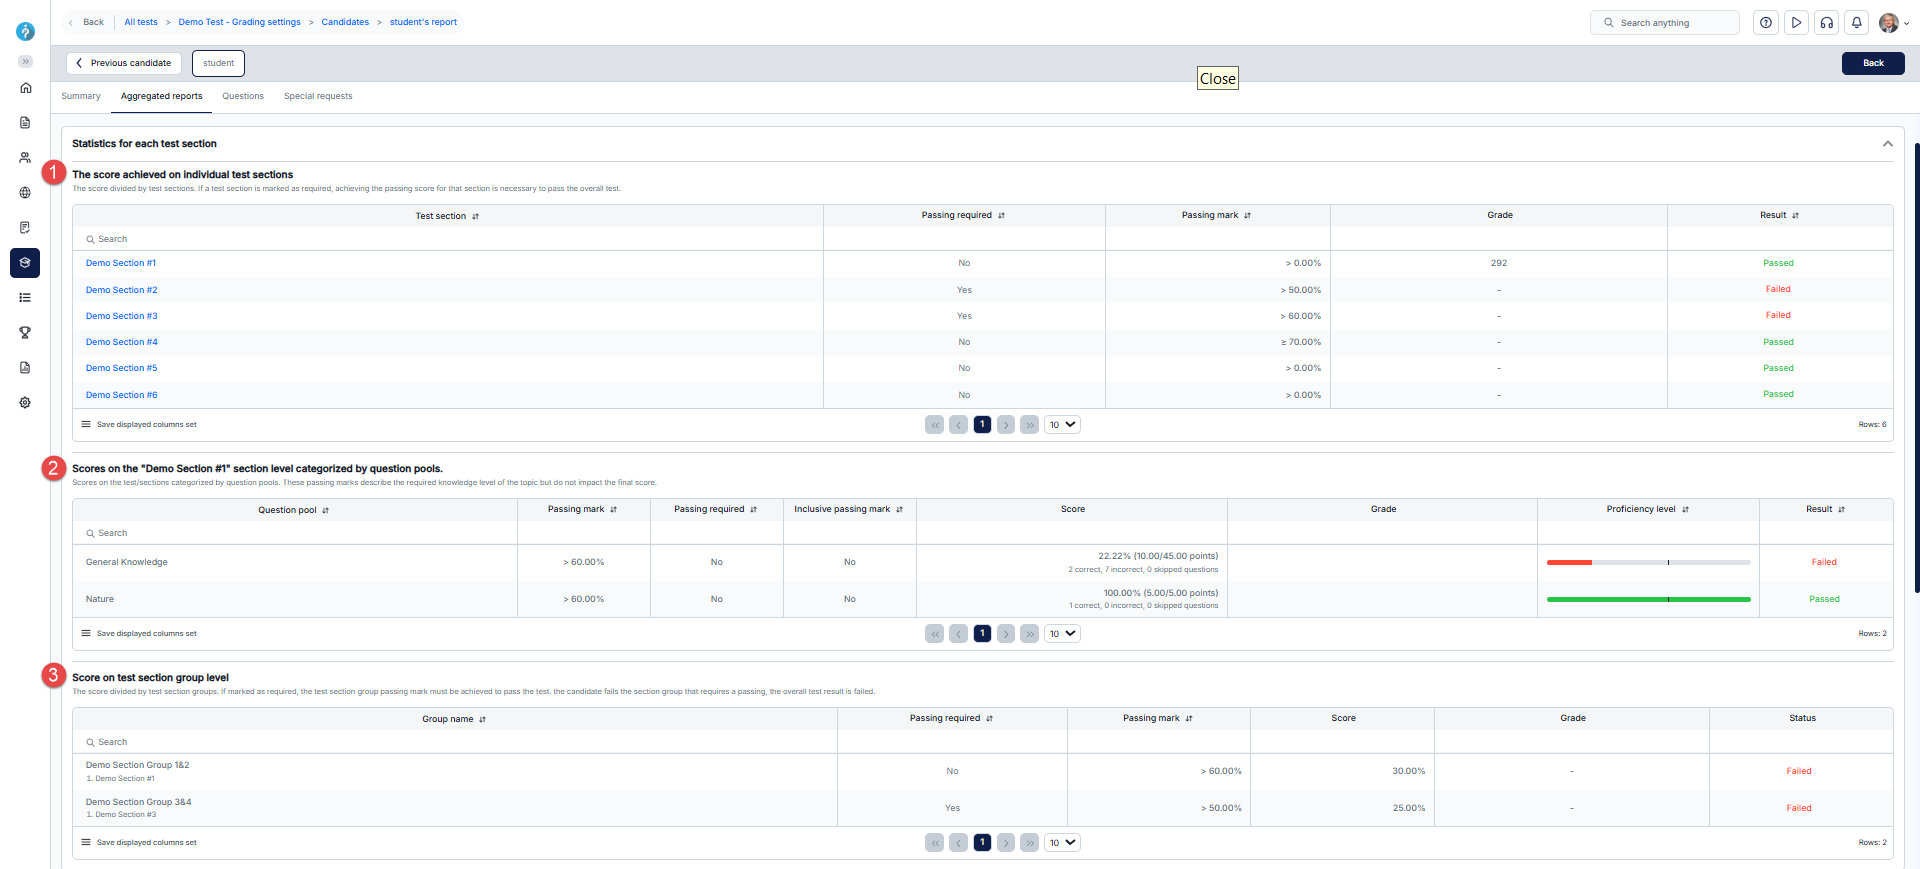
-
-
Questions
This tab contains all the questions from the test. If the test has sections, you'll see a dropdown with a list of all sections.
-
Choose a section from the list to open the questions for that specific section.
-
The list of all users that manually graded questions in the selected section will be displayed here.
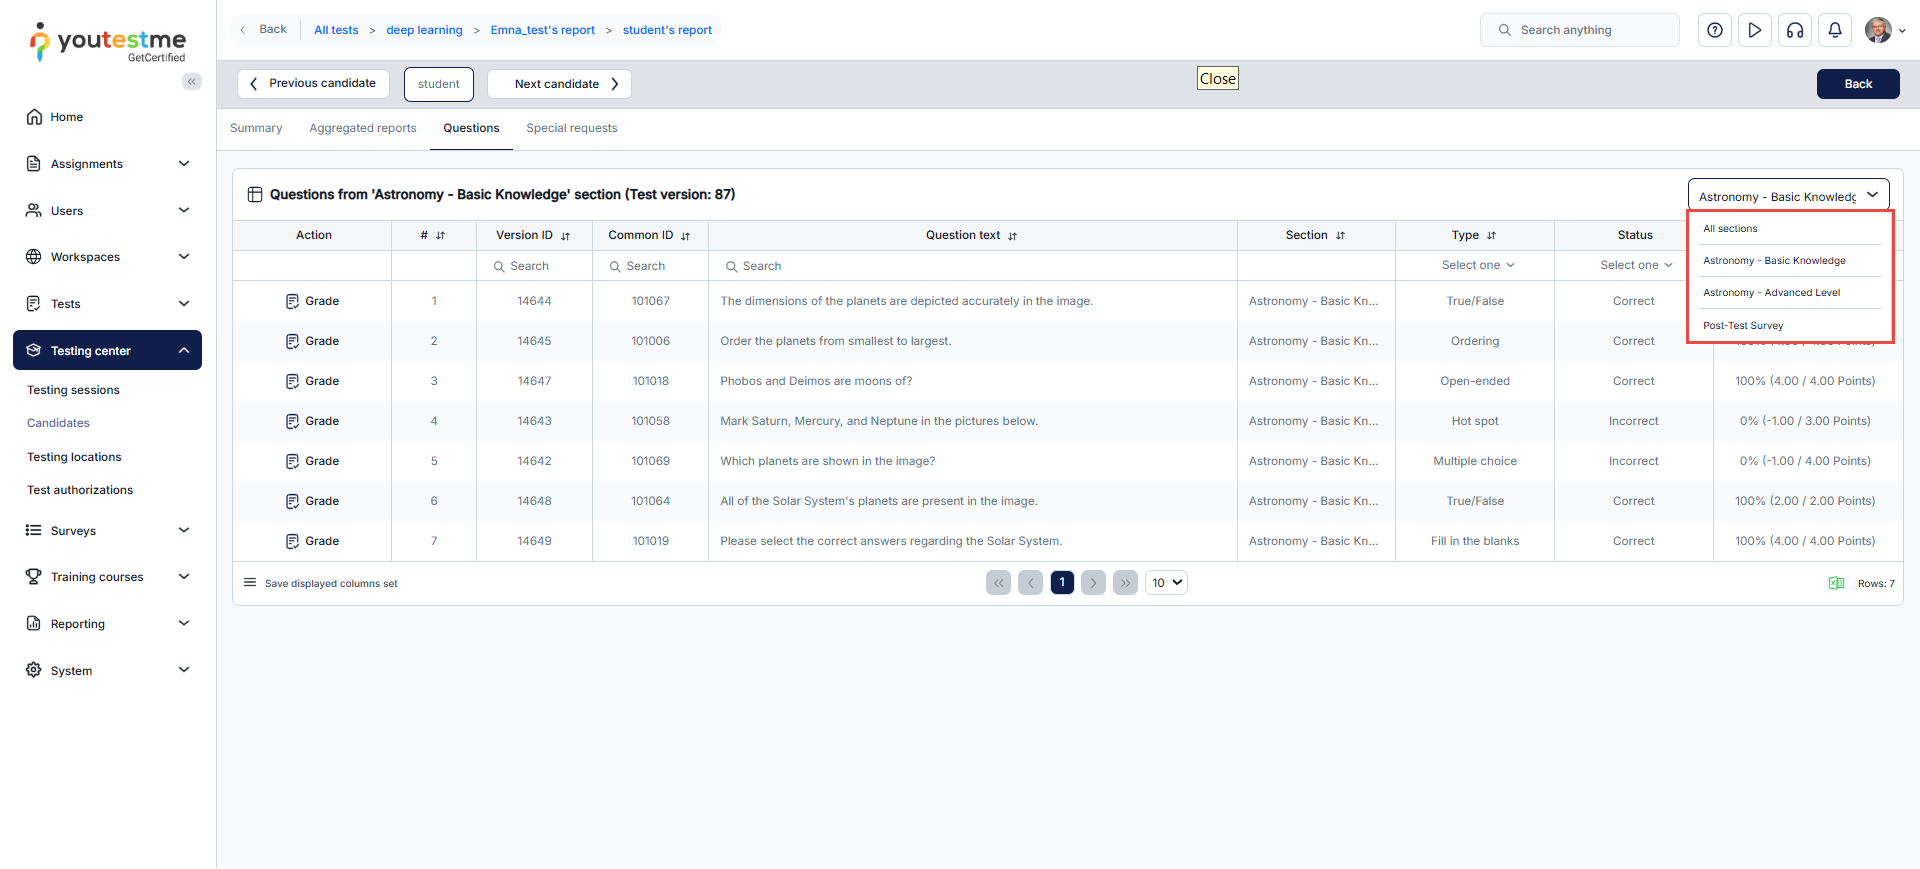
Depending on the question type and settings, some questions may be automatically graded, while others require assessment by the test manager. A yellow indicator will appear next to the tab name if the report has unanswered questions. Additionally, a filter will appear to facilitate access and review of unanswered questions.
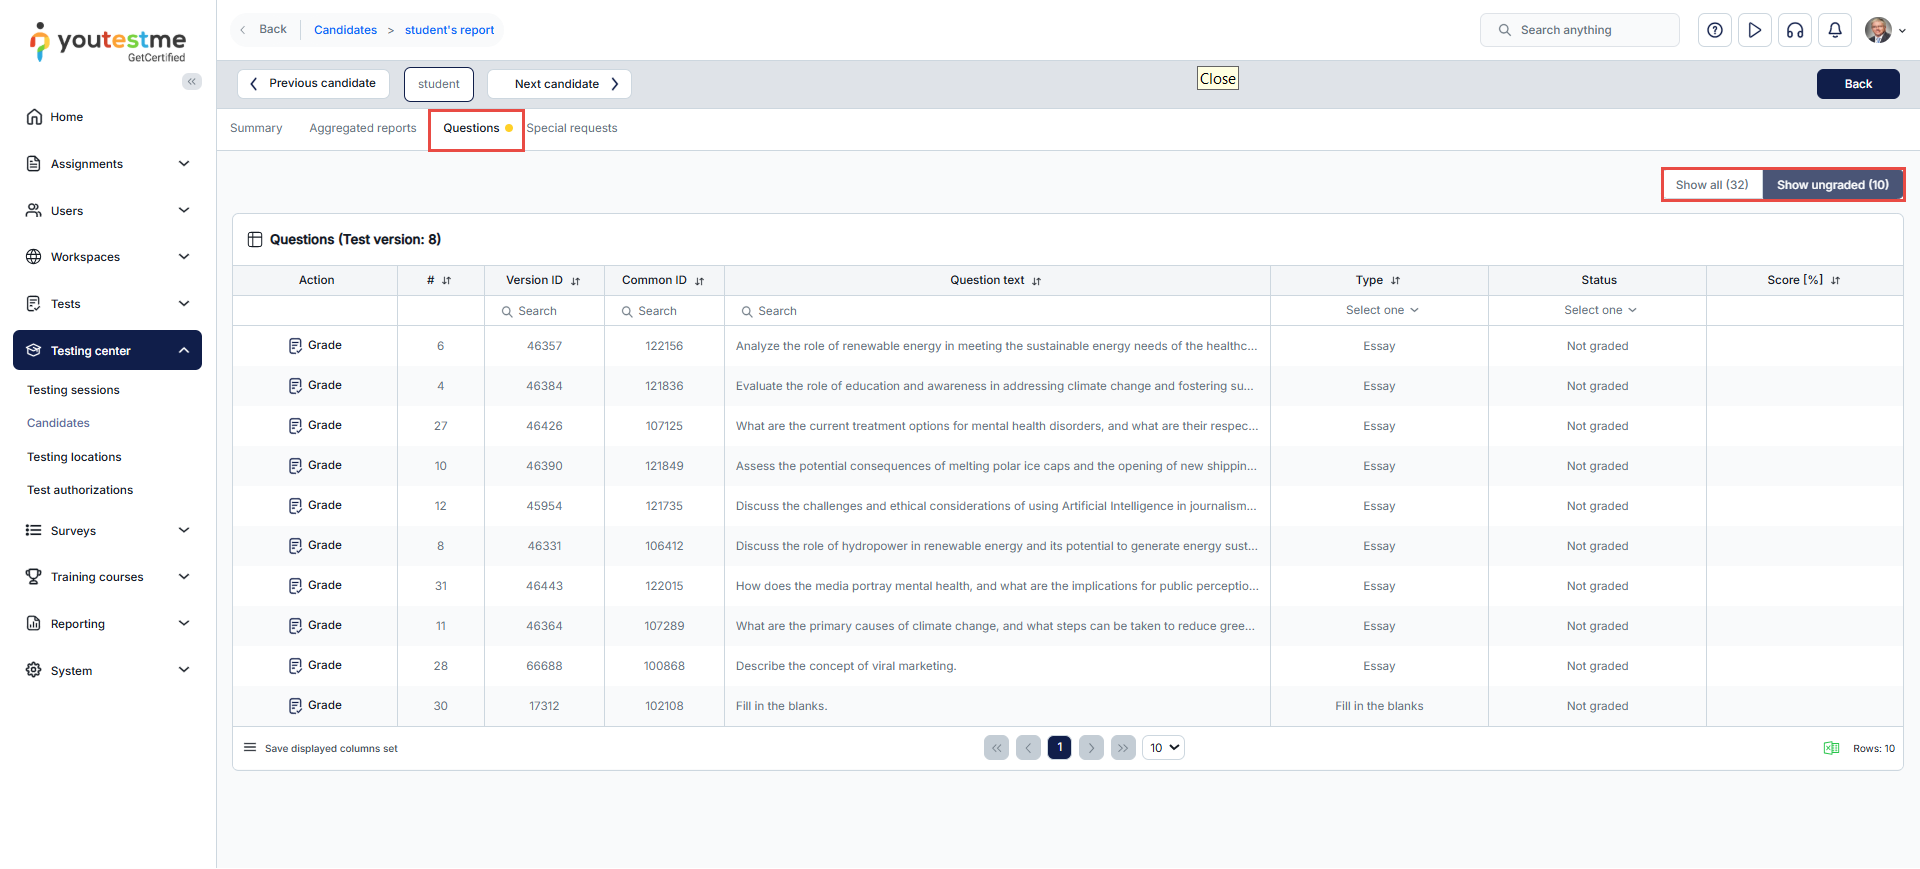
The question list provides basic information such as the question text, points earned, and question type. To grade a question:
-
Click the Grade button.
-
After reviewing the question, enter the assigned points. For more information on how to use predefined question grading templates when grading questions, refer to this article.
-
To provide feedback on the candidate's answer, select Add feedback and enter the desired feedback. This feedback will be displayed in the report when the candidate views it.
-
Click Submit.
-
After submitting the change, a table with all changes made to that score will be available.
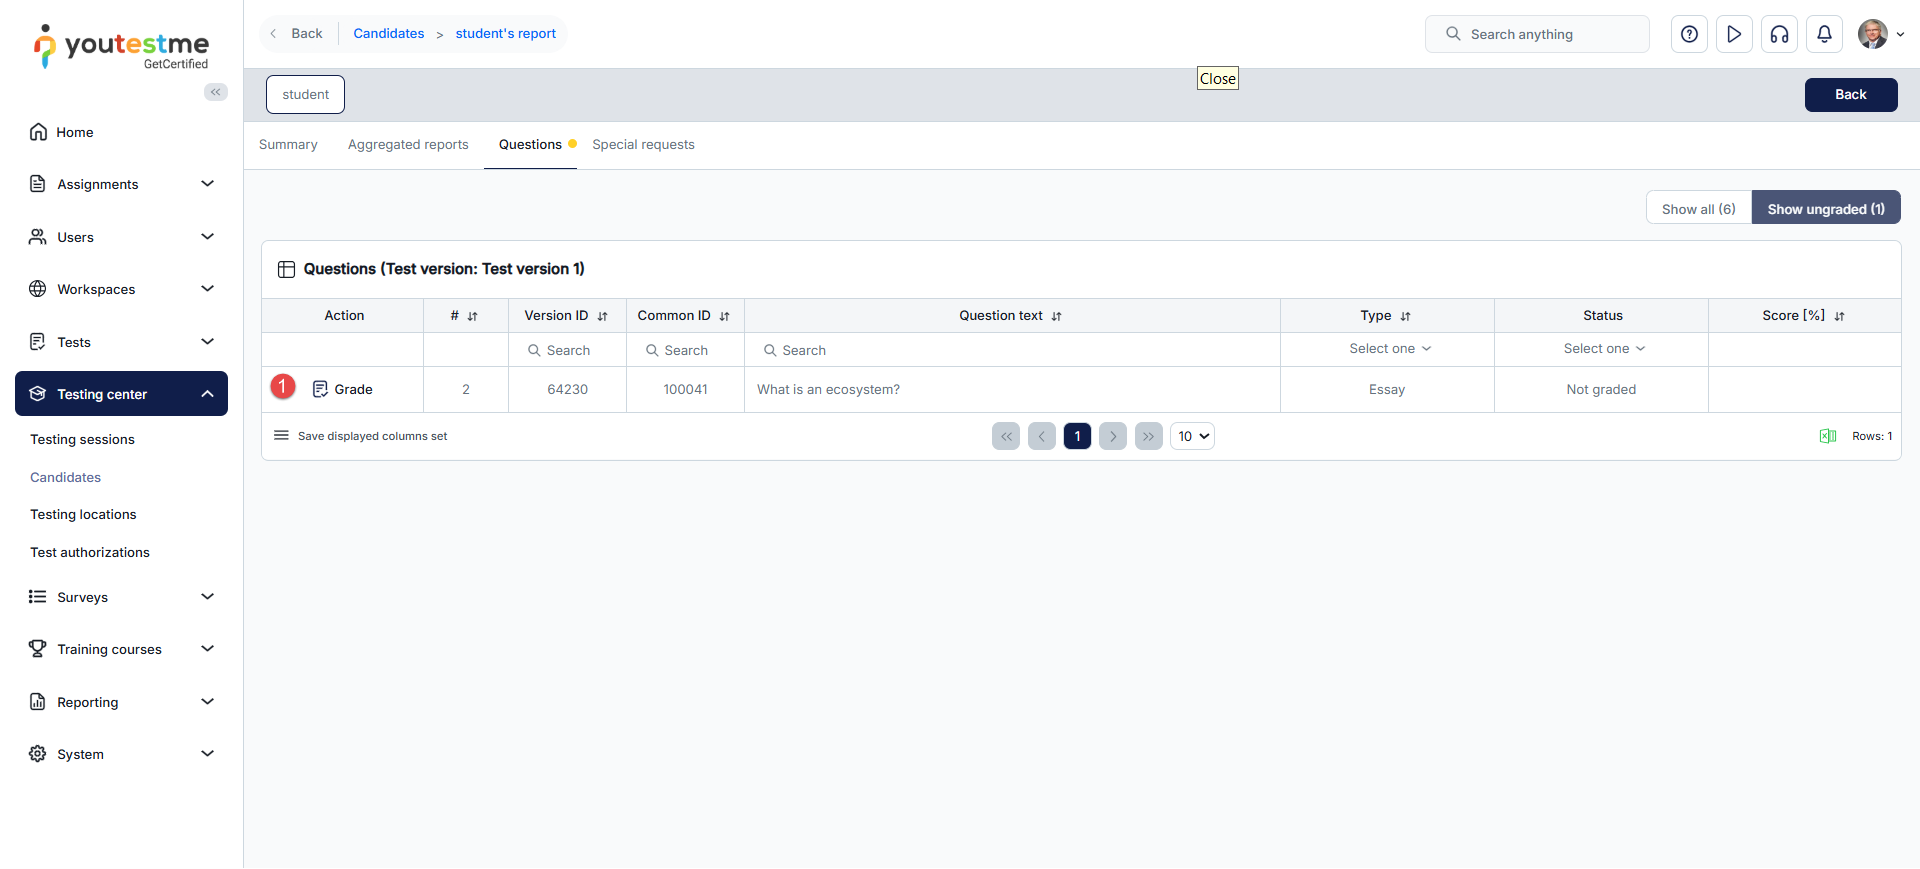
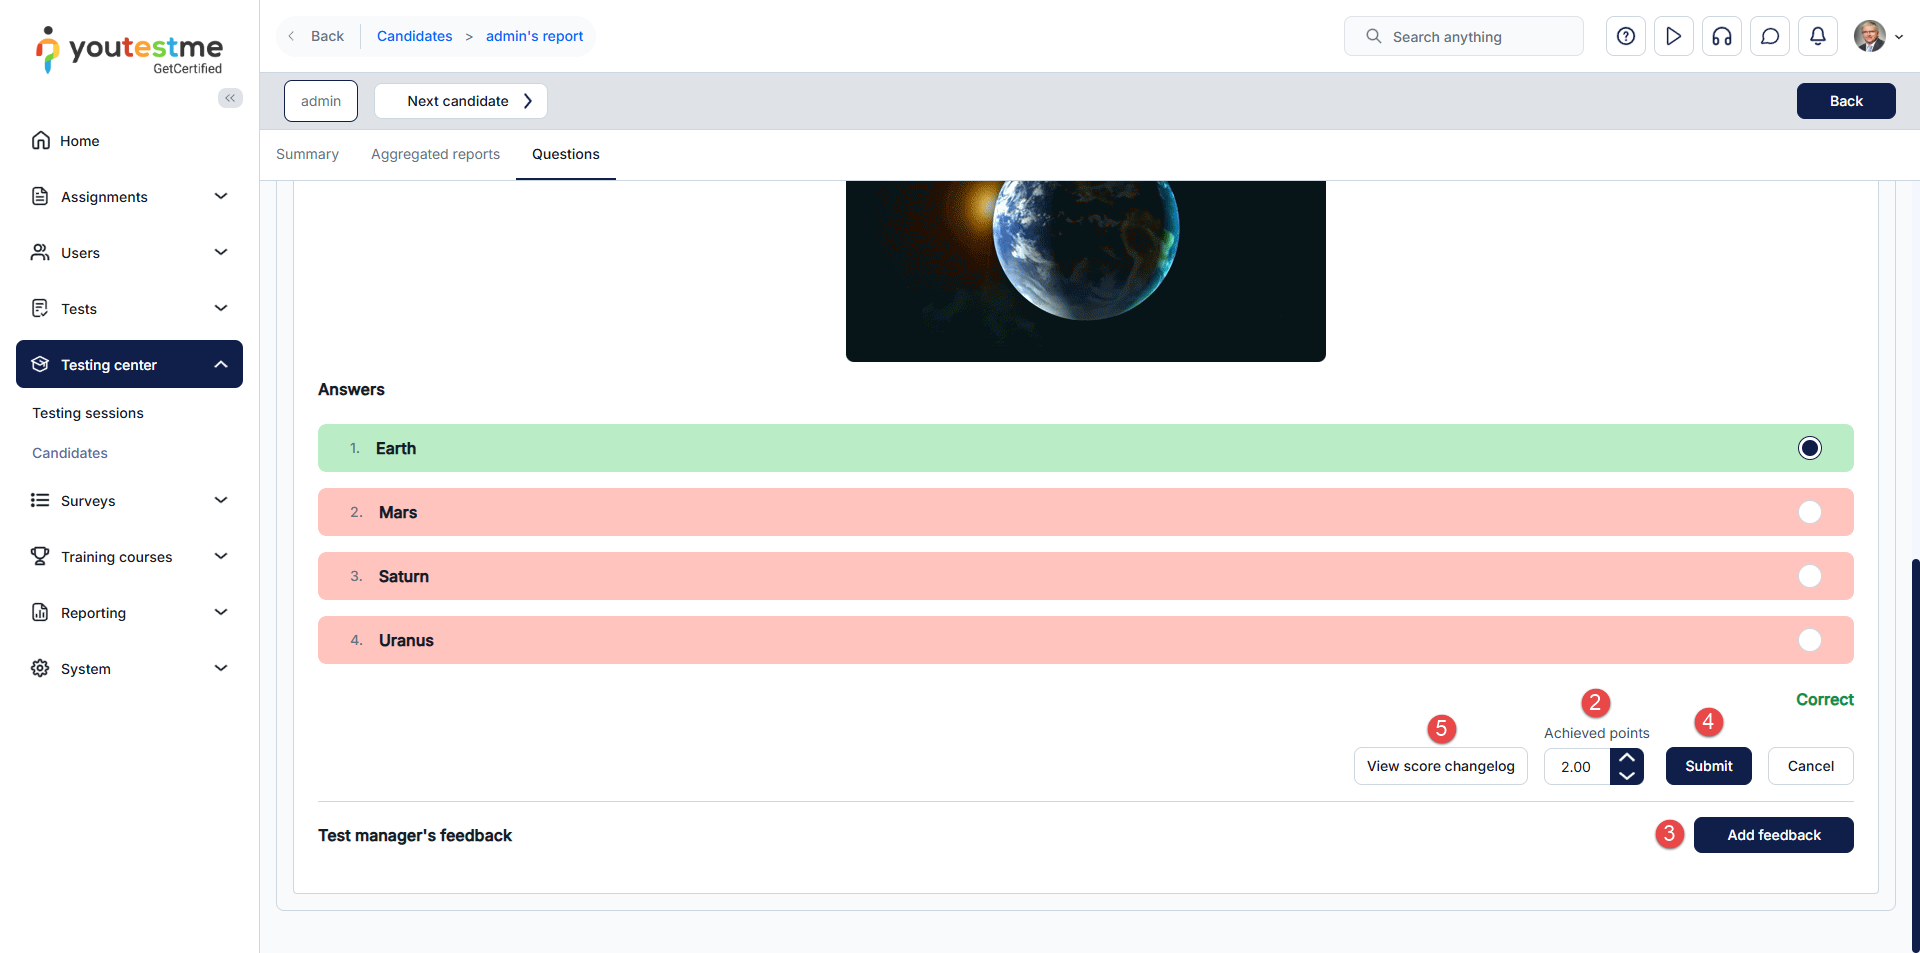
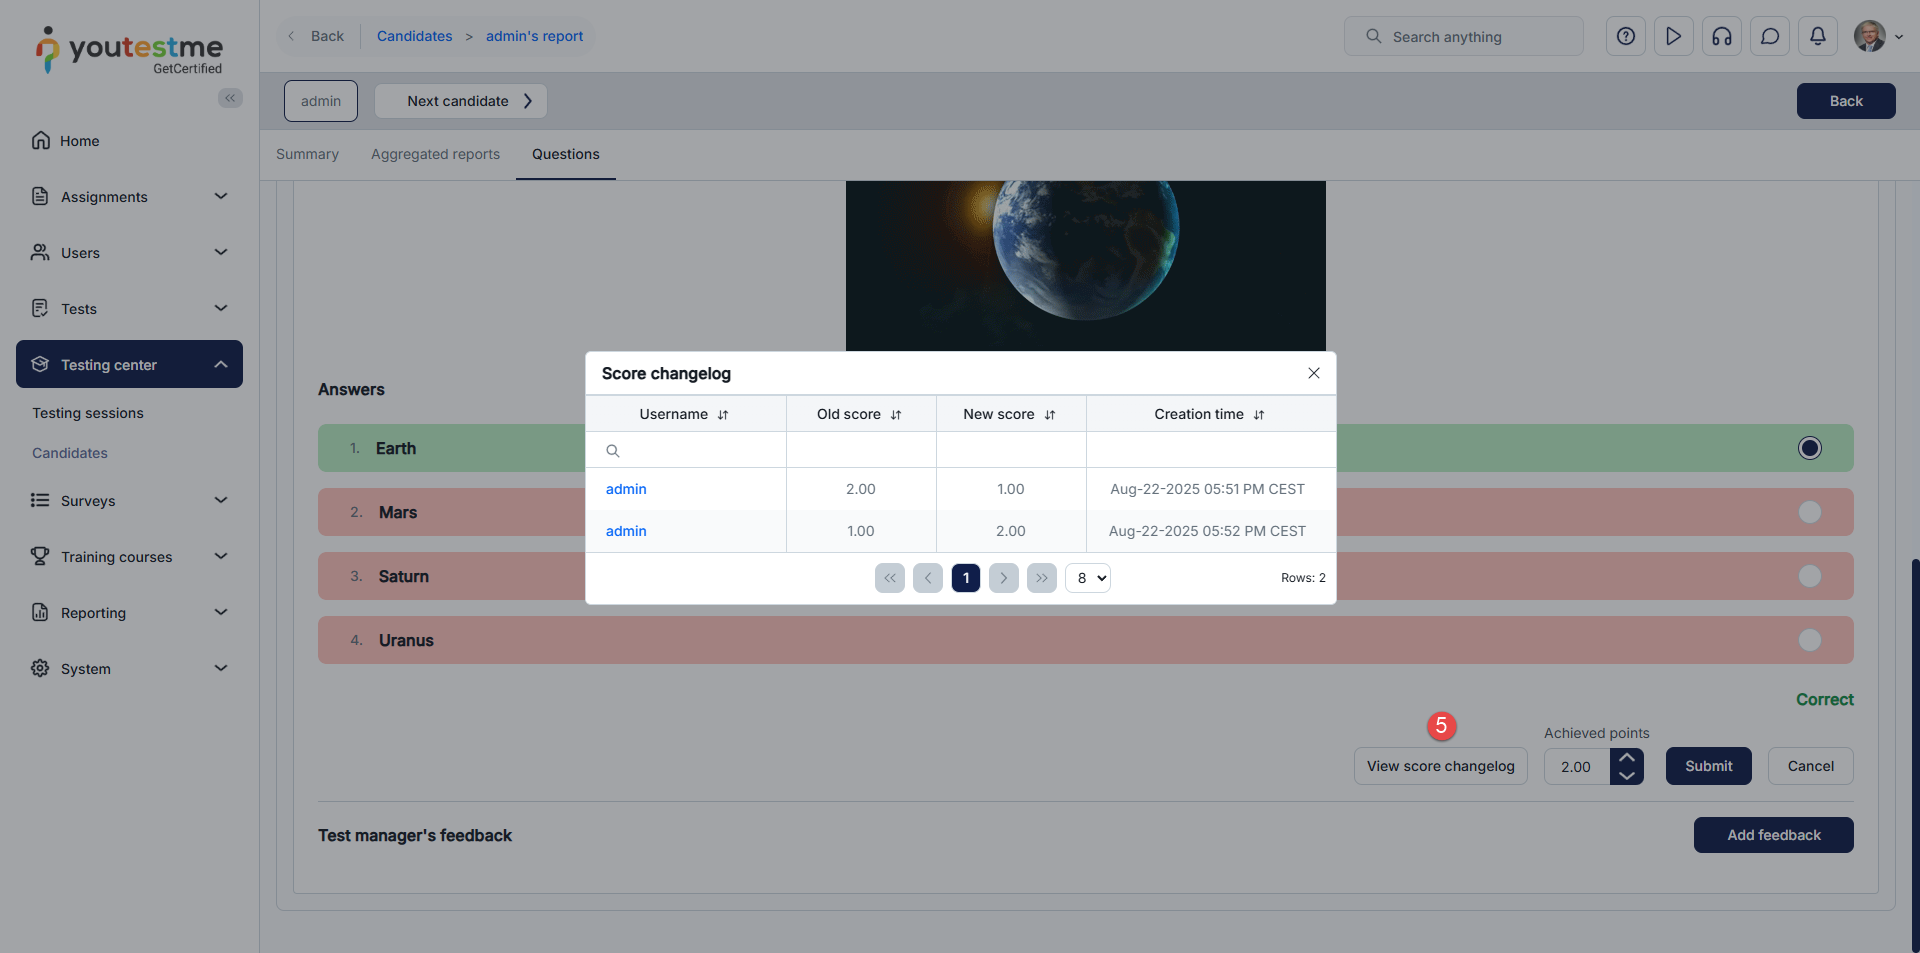
Test manager's feedback - To add feedback, please follow the steps:
- Click the "Add feedback" button.
- Enter your feedback.
- Click the "Save" button.
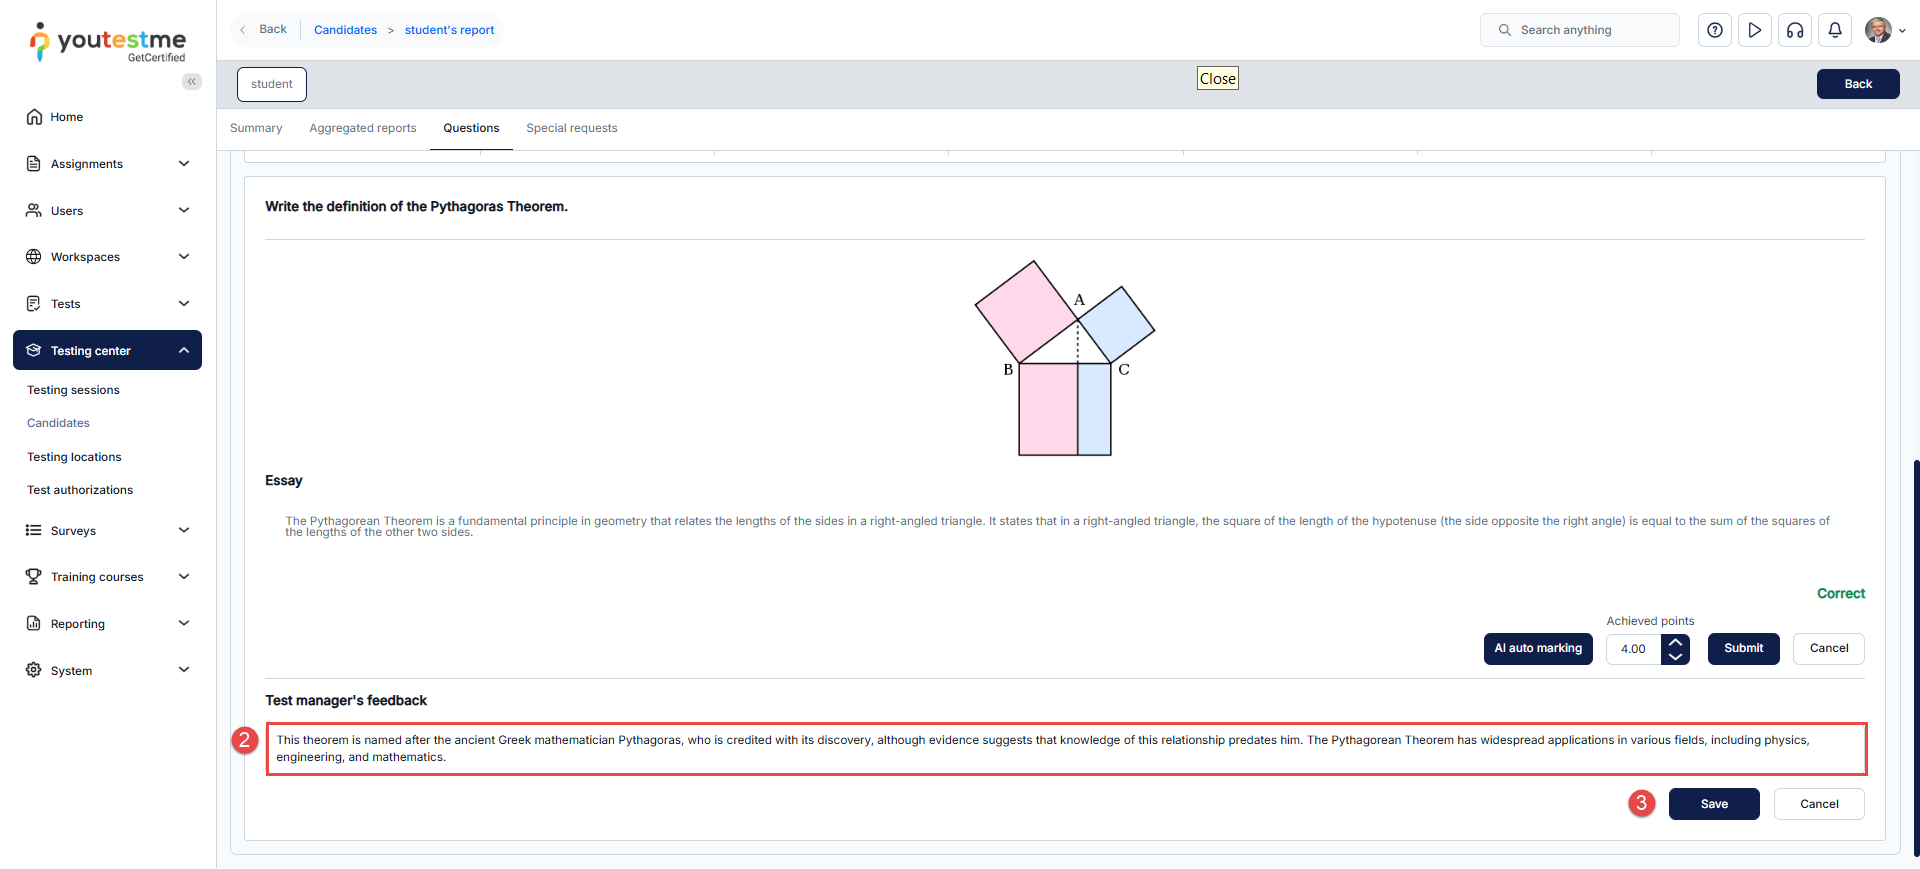
An AI grading option may be available for evaluating essay questions. To grade an essay question using AI:
-
Click the AI auto marking button.
-
Click the Library button to add a new document as a reference for grading (skip this step if you've already added a document to the library).
-
Click the Browse files button and choose the document from your device (skip this step if you've already added a document to the library).
-
Click the Refresh button to update the document list (skip this step if you've already added a document to the library).
-
Select the reference document from the list.
-
Click Run auto marking.
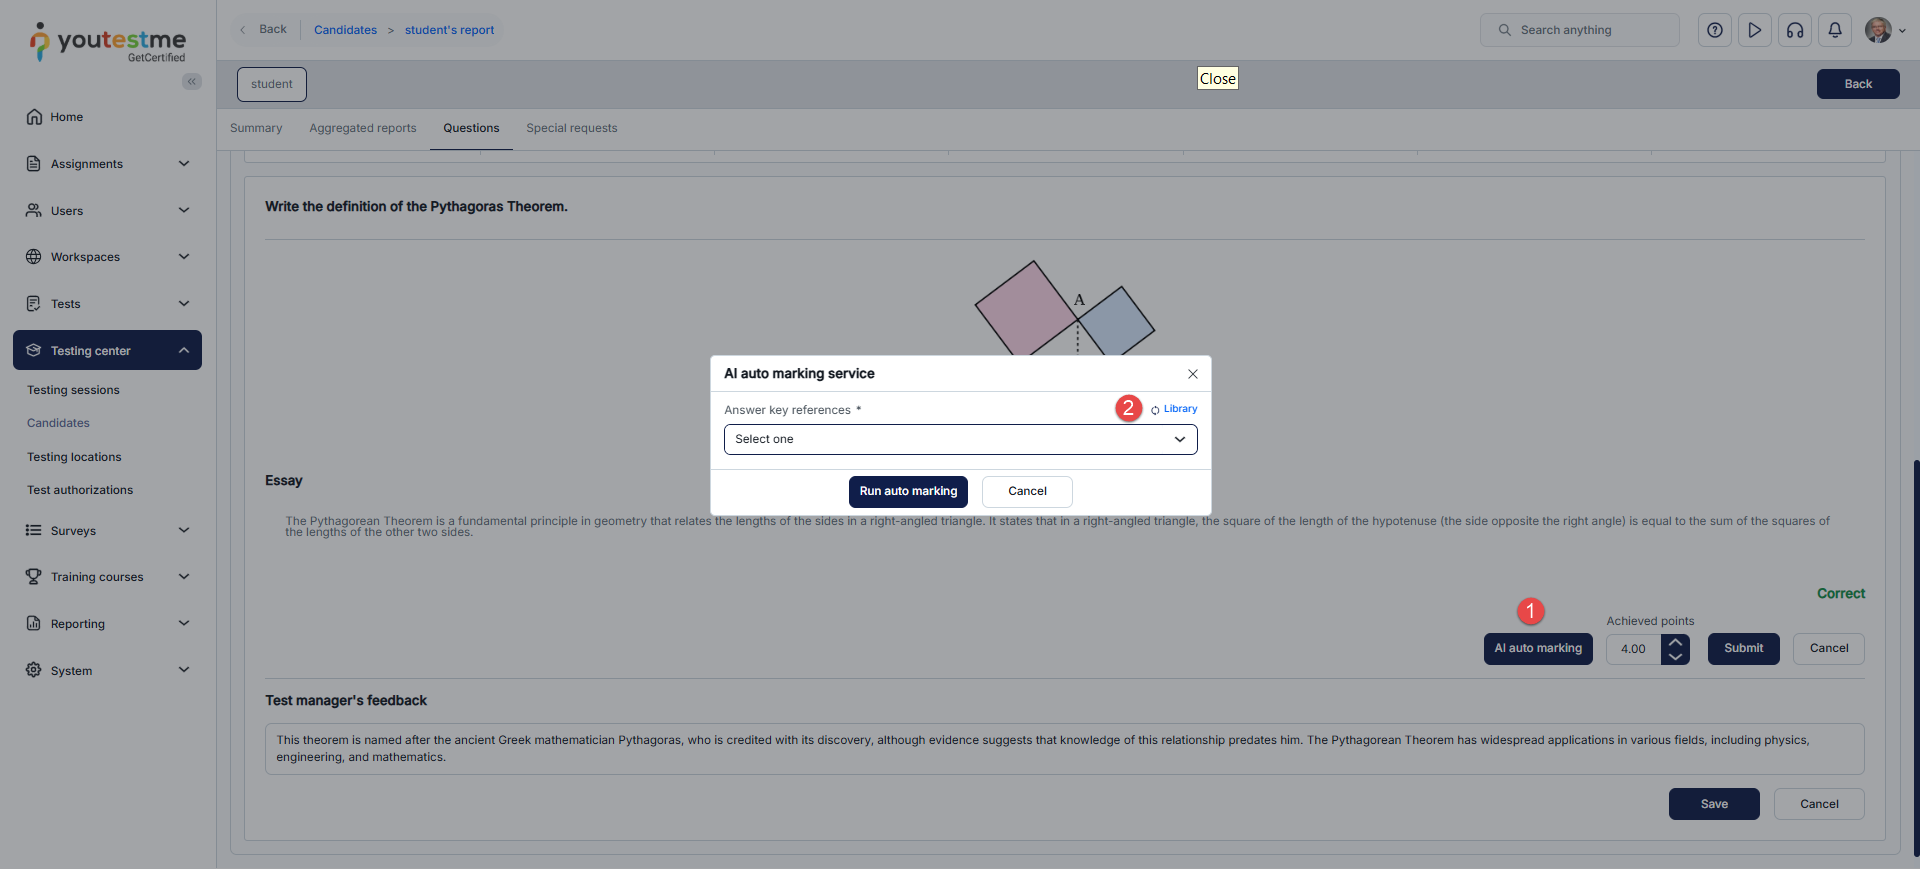
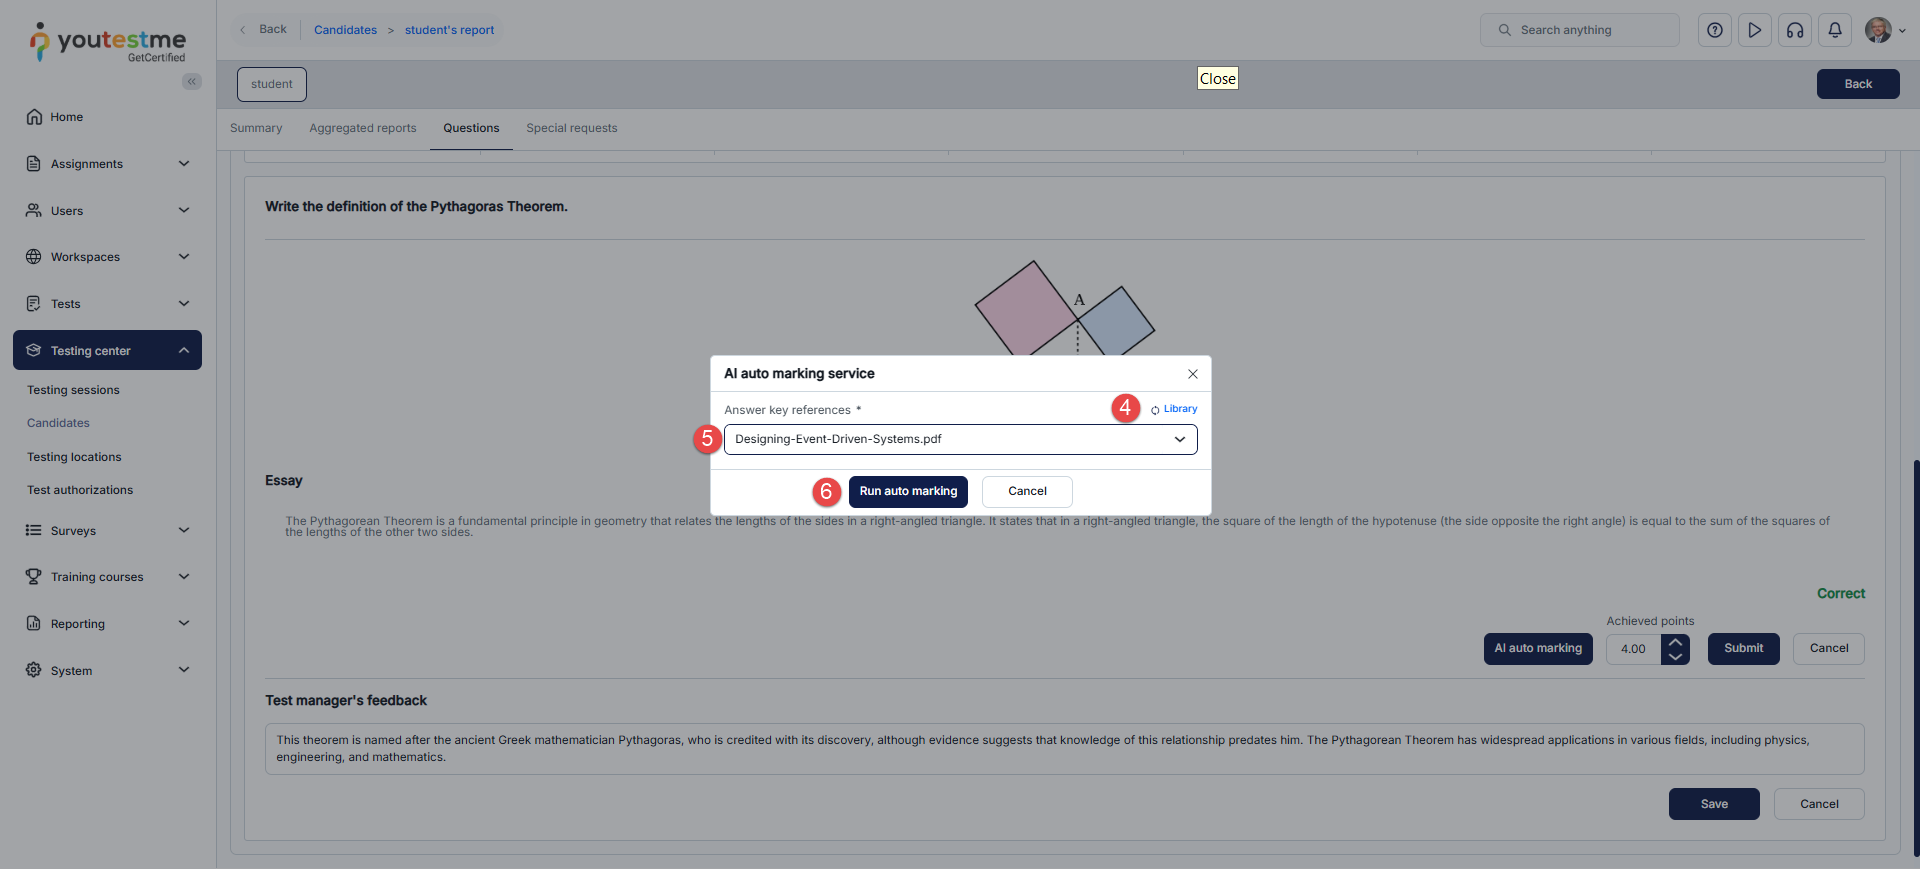
The number of assigned points will be updated. Note that when generating points, the AI focuses on comparing the candidate's answer with the selected reference document, without considering the question text. This method may not yield a 100% result as it checks for similarity in sentences, words, paragraphs, word order, and the use of synonyms. It provides answers based on the entire document, so the question should pertain to a significant part or the entirety of the document.
If you have a large document and wish to focus the question on a specific section, extract that section into a separate document to align with the question. Additionally, entering a keyword, i.e., a word frequently mentioned in the document, will result in a significantly higher accuracy percentage than 0.
Review the information and click the Submit button to save the assigned points or update the number if necessary.
-
-
Charts
This tab features a chart displaying summarized or average points scored by question categories assigned to each question. This tab is only visible if a chart is created for the test. For detailed instructions on creating a chart, please consult the Personal report settings help page.
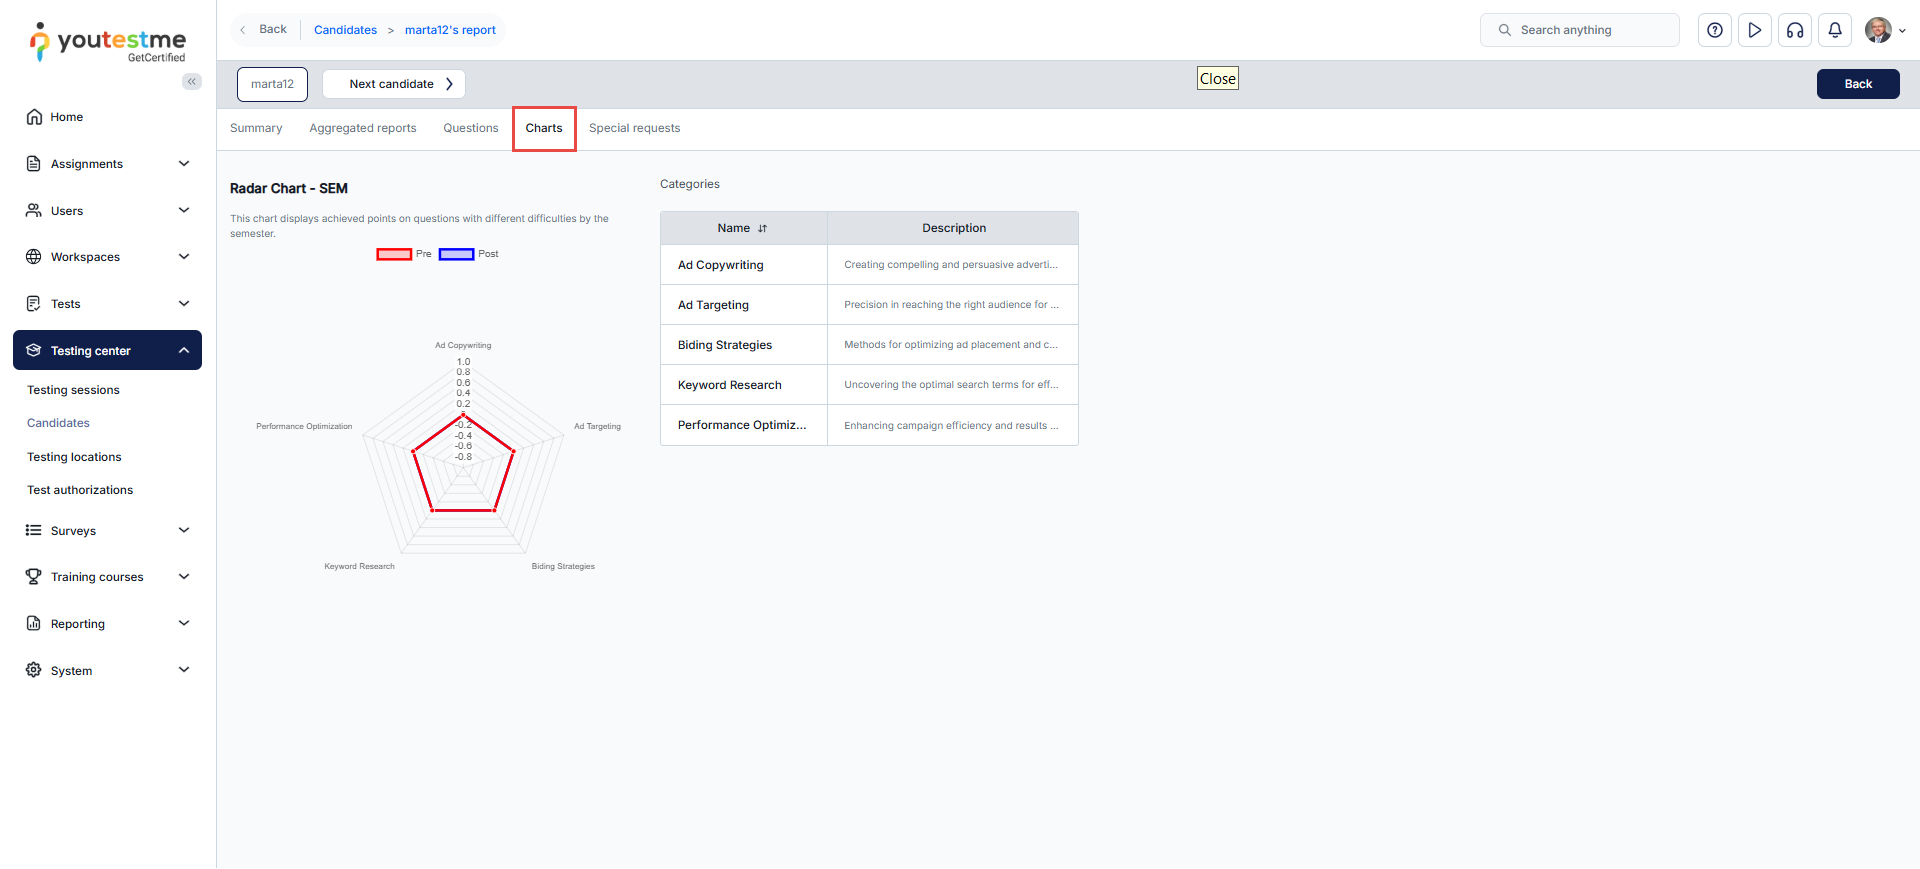
-
Special requests
This tab displays all special requests for the candidate and enables the creation of new ones. Special requests are used to request information or documentation from candidates, either before or after a test. For instance, if a candidate needs to provide an ID before a test, and it's found invalid, the instructor can send a special request for a valid ID to avoid canceling the test attempt.
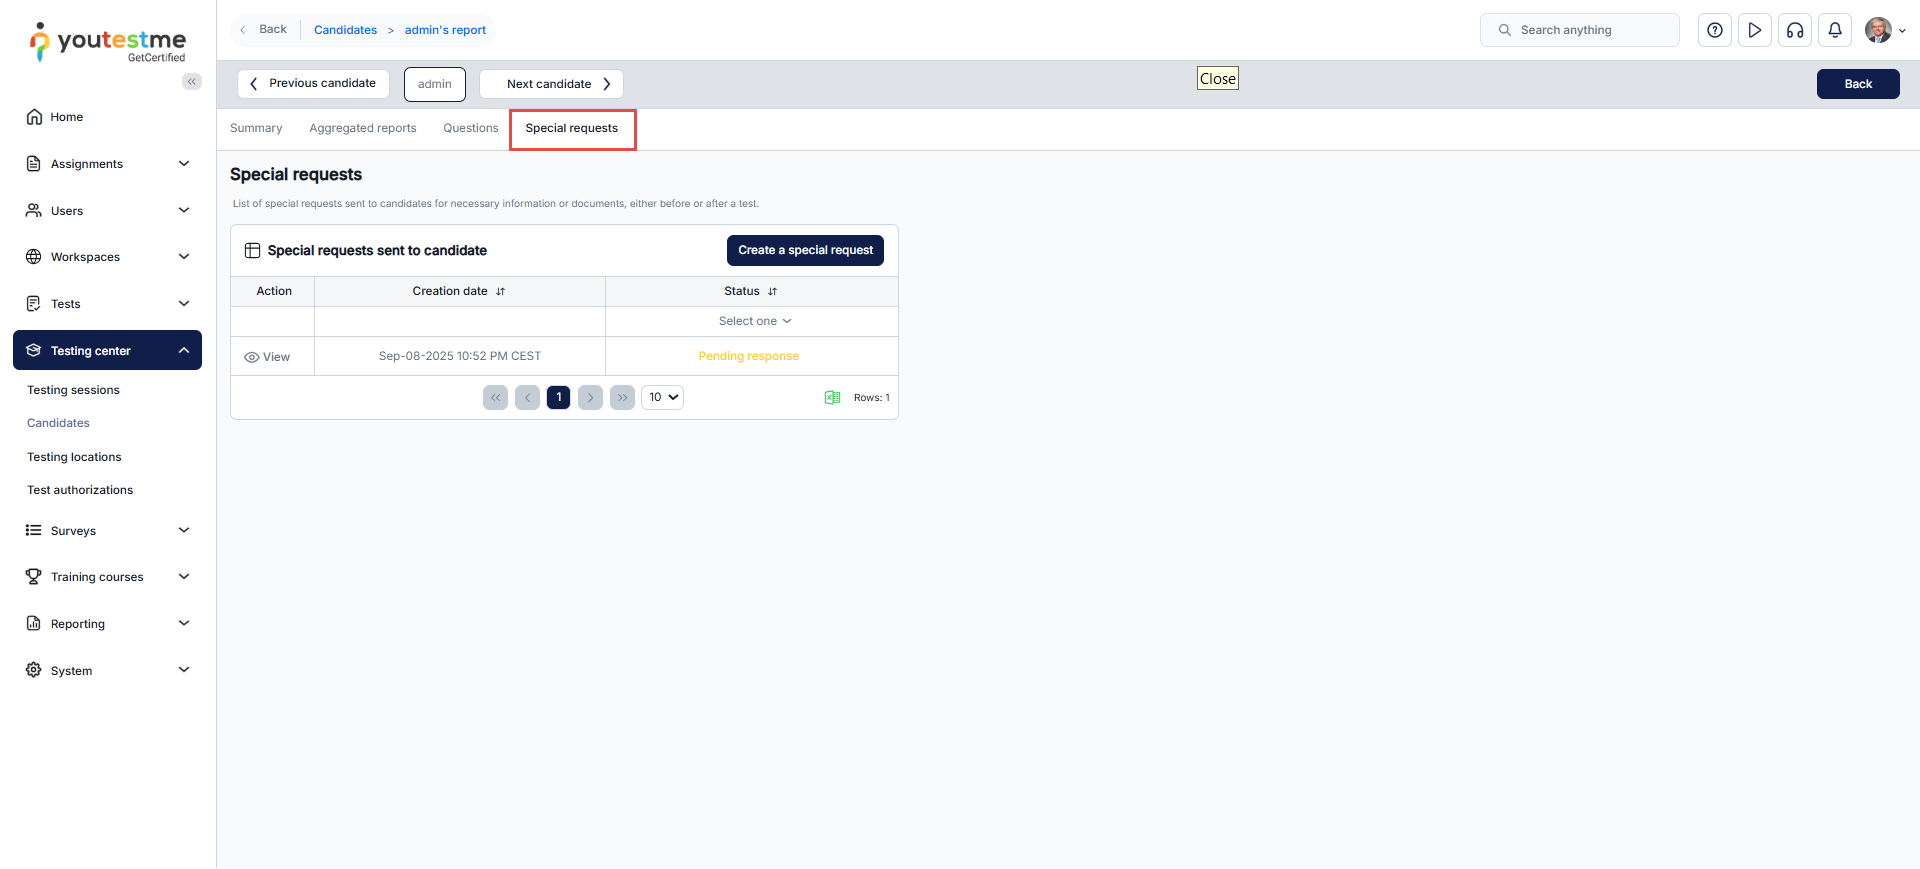
-
Proctoring report
If the test is proctored, this tab is visible and contains recordings of the candidate's test attempt. If the proctoring recording is unresolved, a yellow indicator will appear next to the tab name. There might be one or more recordings (e.g., if test continuation is allowed or due to internet connection issues where the candidate had to change the computer, restart the router, etc.).
The test manager can grade the candidate's recording by clicking on the camera icon.
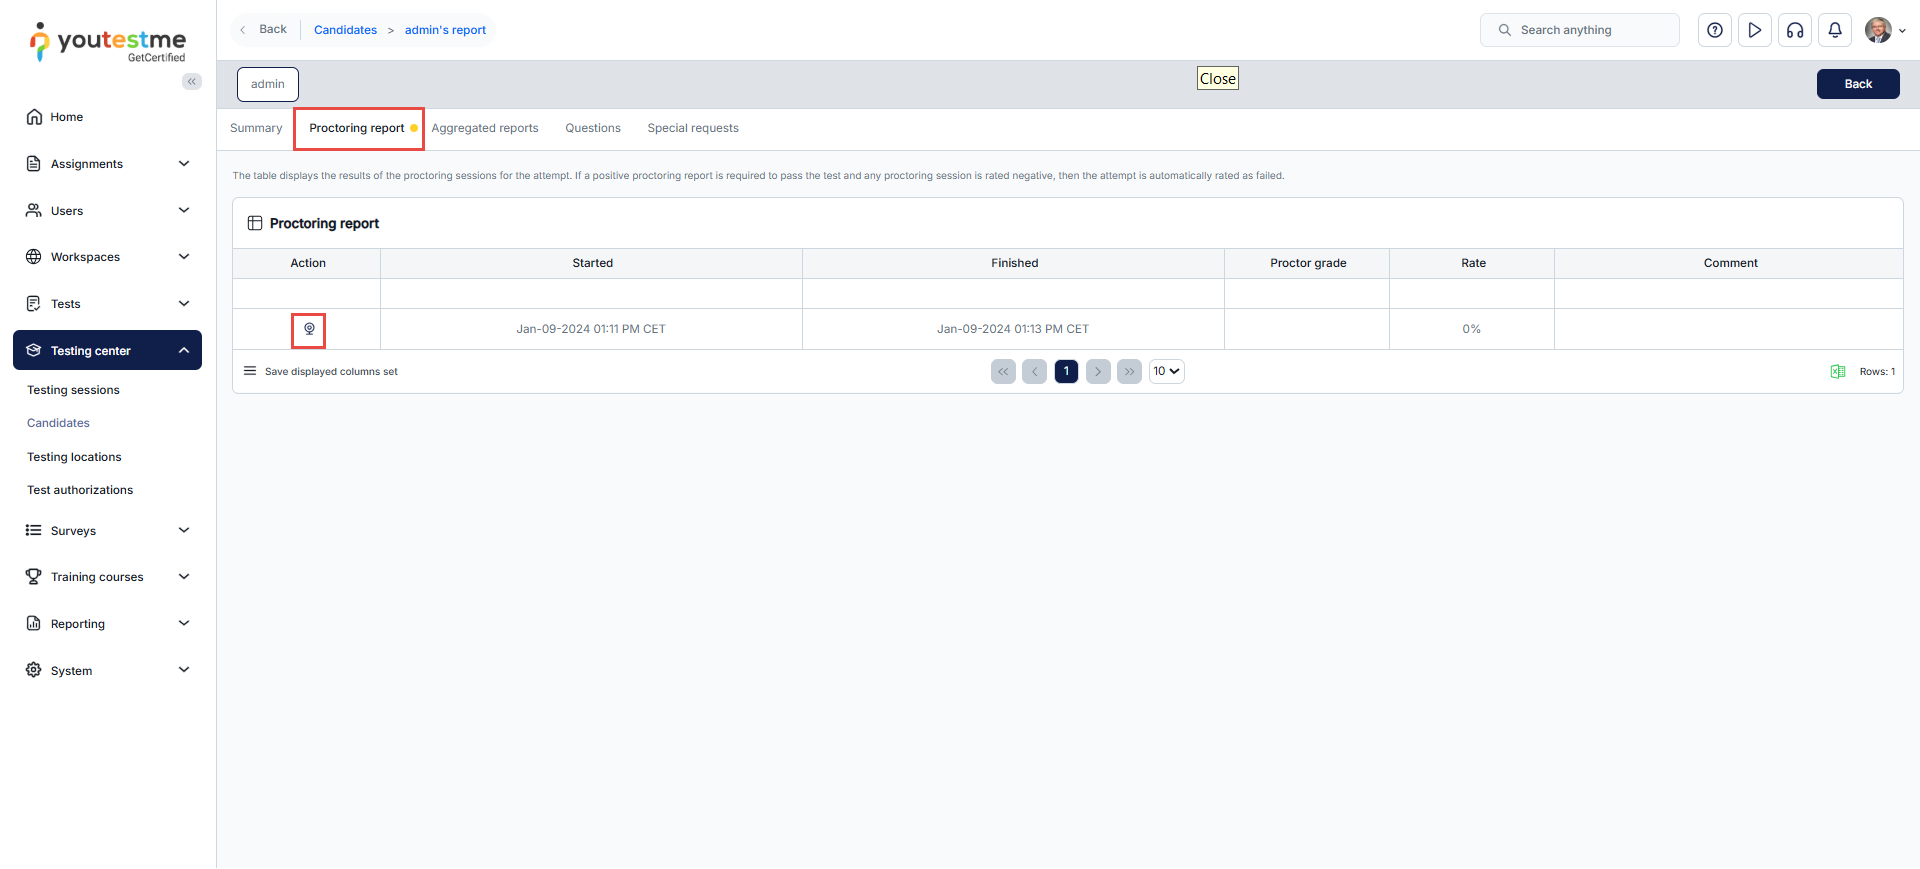
Depending on the test setting (if the Require positive proctoring report option is enabled under Grading configuration), the proctor must grade the candidate's behavior during the test for the attempt to be fully graded. In this case, the proctoring report will impact the final test result. If a candidate passes the test but receives a negative proctor's grade, they will fail the test. The default proctoring grade is Neutral. If a candidate completes the test and the proctor leaves a behavior report with a Neutral grade, a user with higher-level privileges should review the video for potential suspicious behavior. They will then decide whether to categorize the rating as Positive or Negative. The candidate's report remains incomplete until the proctoring report is graded as Positive or Negative.
If the Proctorio integration is used for proctored tests, this tab will appear after the candidate's recording is evaluated through Testing center/Candidates/Monitoring. The proctor's rating and comment will be displayed.
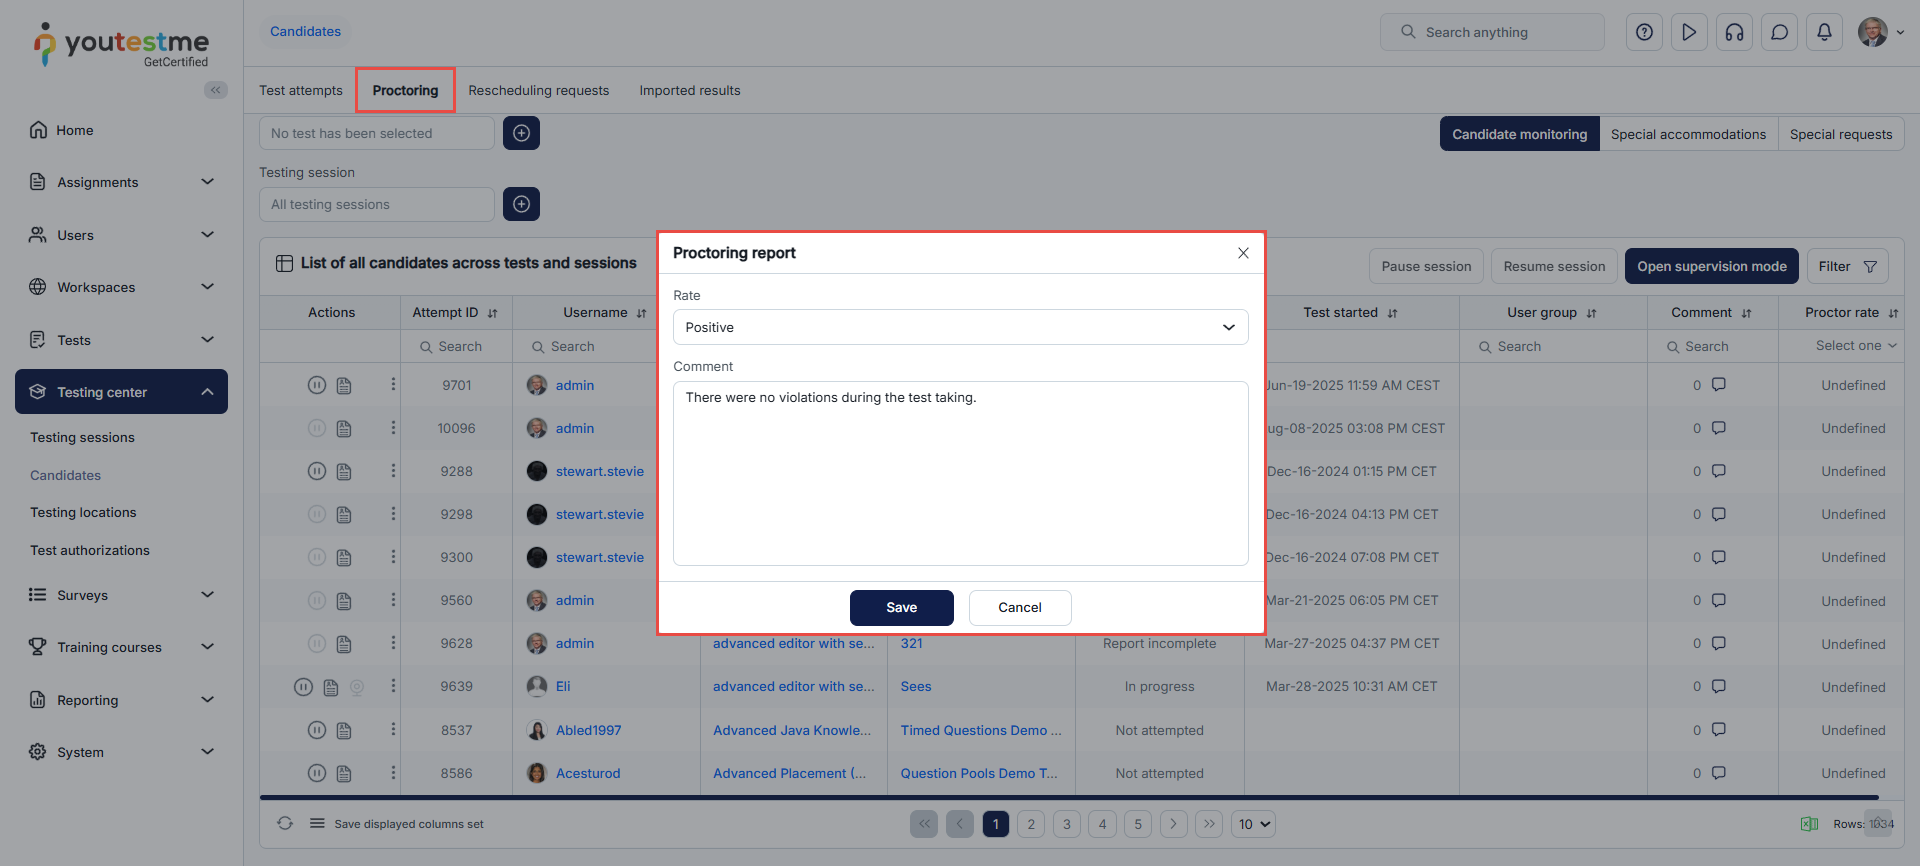
-
-
Mark candidate's attempt for review
To mark a candidate's attempt for review, click Mark for review and a dialog will appear with the following information:
-
First name of the candidate.
-
Last name of the candidate.
-
Username of the candidate.
-
The name of the test.
-
Test external ID - Represents the unique identifier for this test in the external system.
-
Passed - Indicates whether the candidate passed or failed the test.
-
Score - The percentage of the achieved score on the test.
-
Available from/Available to - Timeframe during which the test can be started.
-
Started/Finished - The time when the candidate started and completed the test.
-
Import time - The time when the candidate's result was imported from the external system and processed.
-
Update time - for the latest changes on the test attempt.
-
Marked for review - Indicates whether the attempt is marked for review.
-
Additionally, you can use the Mark for review option to set the attempt for review. Optionally, you can provide review notes for other managers to view the details of the attempt analysis.
Note: Once marked for review, the attempt is no longer eligible for automatic verification.
-
To verify the candidate's attempt, use the Verify option. Manual verification is applicable to all test attempts irrespective of hold criteria.
After verifying the attempt, you can revert the verification by clicking the Revert verification button. Subsequently, the attempt will become editable again and will be affected by the latest grading setup on the test.
-
-
Additional attempt progress
Furthermore, users can access more detailed information about candidates' progress by switching to the progress view. This includes data such as the number of questions answered, the number of questions graded, and the total number of questions attempted for any candidate's attempt.
To streamline this process, simply filter the table by entering the attempt ID of the candidate. This will display the relevant statistics for the entire attempt, as well as separately for any test sections if applicable.
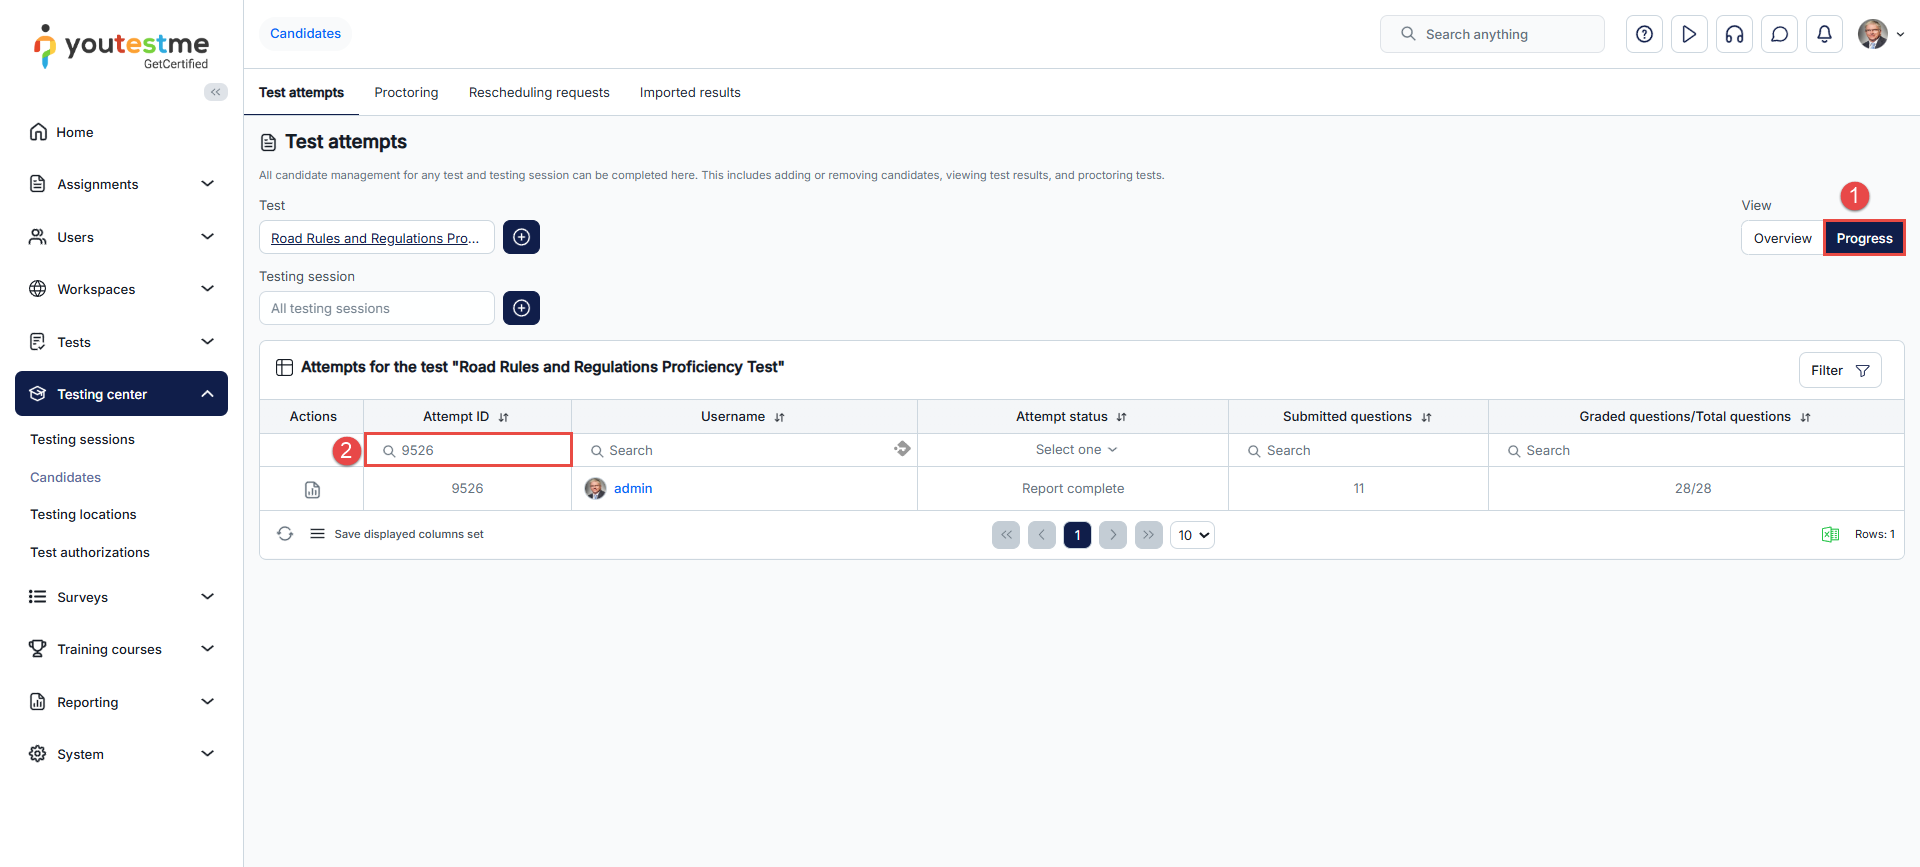
-
Proctoring
Efficiently manage and monitor test attempts from all tests on one page. Review candidate recordings and grade them as a proctor, handle special accommodation requests, and create and review special requests sent to candidates.
On this page, you have access to the following views:
-
Candidate monitoring - Efficiently manage and monitor test attempts from all tests on one page. Review candidate recordings and grade them as a proctor.
-
Special accommodations - Handle special accommodation requests for the test, whether responding to existing requests or creating new ones. This can include special accommodations like additional time, screen reading, and others.
-
Special requests - Create and review special requests sent to candidates by the proctor during the test attempt.
-
Candidate monitoring
To filter the test attempts you can monitor:
-
Choose the specific test for which you want to see test attempts. Click the plus icon to change the test, and you can remove filters as needed.
-
Select the testing session for which you want to see test attempts. Click the plus icon to change the testing session, and you can remove filters as needed.
-
Attempt start time - Display test attempts started within the selected date range.
-
Show suspended attempts in the table.
-
Show inactive users - Include test attempts of users whose profiles are inactive.
Also, you have additional filters under the table header:

In the table, you can:
-
Pause the testing session for all candidates in the testing session. Write a message that will be displayed to candidates when the session is paused. Candidates can initiate the test, but the message will be visible on the screen, and they won't be able to view questions until the testing session is resumed.
-
Resume the testing session if it was paused.
-
Open supervision mode. Enter the proctoring supervision dashboard to monitor proctoring sessions live or review and grade past proctoring sessions.
-
Pause the testing session for a specific candidate. Write a message that will be displayed to the candidate when the session is paused. They can initiate the test, but the message will be visible on the screen, and they won't be able to view questions until the testing session is resumed.
-
Open proctoring report for the candidate. Depending on the test setting (if the Require positive proctoring report option is enabled under Grading configuration), the proctor must grade the candidate's behavior during the test for the attempt to be fully graded. In this case, the proctoring report will impact the final test result. If a candidate passes the test but receives a negative proctor's grade, they will fail the test. The default proctoring grade is Neutral. If a candidate completes the test and the proctor leaves a behavior report with a Neutral grade, a user with higher-level privileges should review the video for potential suspicious behavior. They will then decide whether to categorize the rating as Positive or Negative. The candidate's report remains incomplete until the proctoring report is graded as Positive or Negative.
Note: After the test manager verifies the test attempt, you can no longer make any adjustments to the proctoring report. Changes to the proctoring report are only possible before the test manager verifies the attempt.
-
Open video recording for the candidate, allowing proctors to live-monitor candidates during the test and/or view the recording after the test is finished. For more information on grading the proctoring report, refer to the Grading a proctored test chapter.
-
View the progress of the candidate by tracking the event log and the status of each test question. You can see:
Action logs - Displaying all actions with timestamps for the attempt.
Question status - Showing the time a user spent on each question. For tests with multiple sections, you can also view the time spent on each section and the time spent on each question within the section.
-
Prohibit the candidate from taking the test attempt. However, if there are multiple testing sessions in the test, the candidate can book another testing session and take the test. To allow the candidate to take the test again, click the Allow this candidate to take the test option.
-
Open personal report for the candidate.
-
Finish attempt for this candidate.
-
Allow additional five minutes to a candidate in real-time. This option only works if the candidate is currently taking a test. You can use this option an unlimited number of times.
-
Create or edit special requests for the candidate.
-
Remove special accommodation for the candidate.
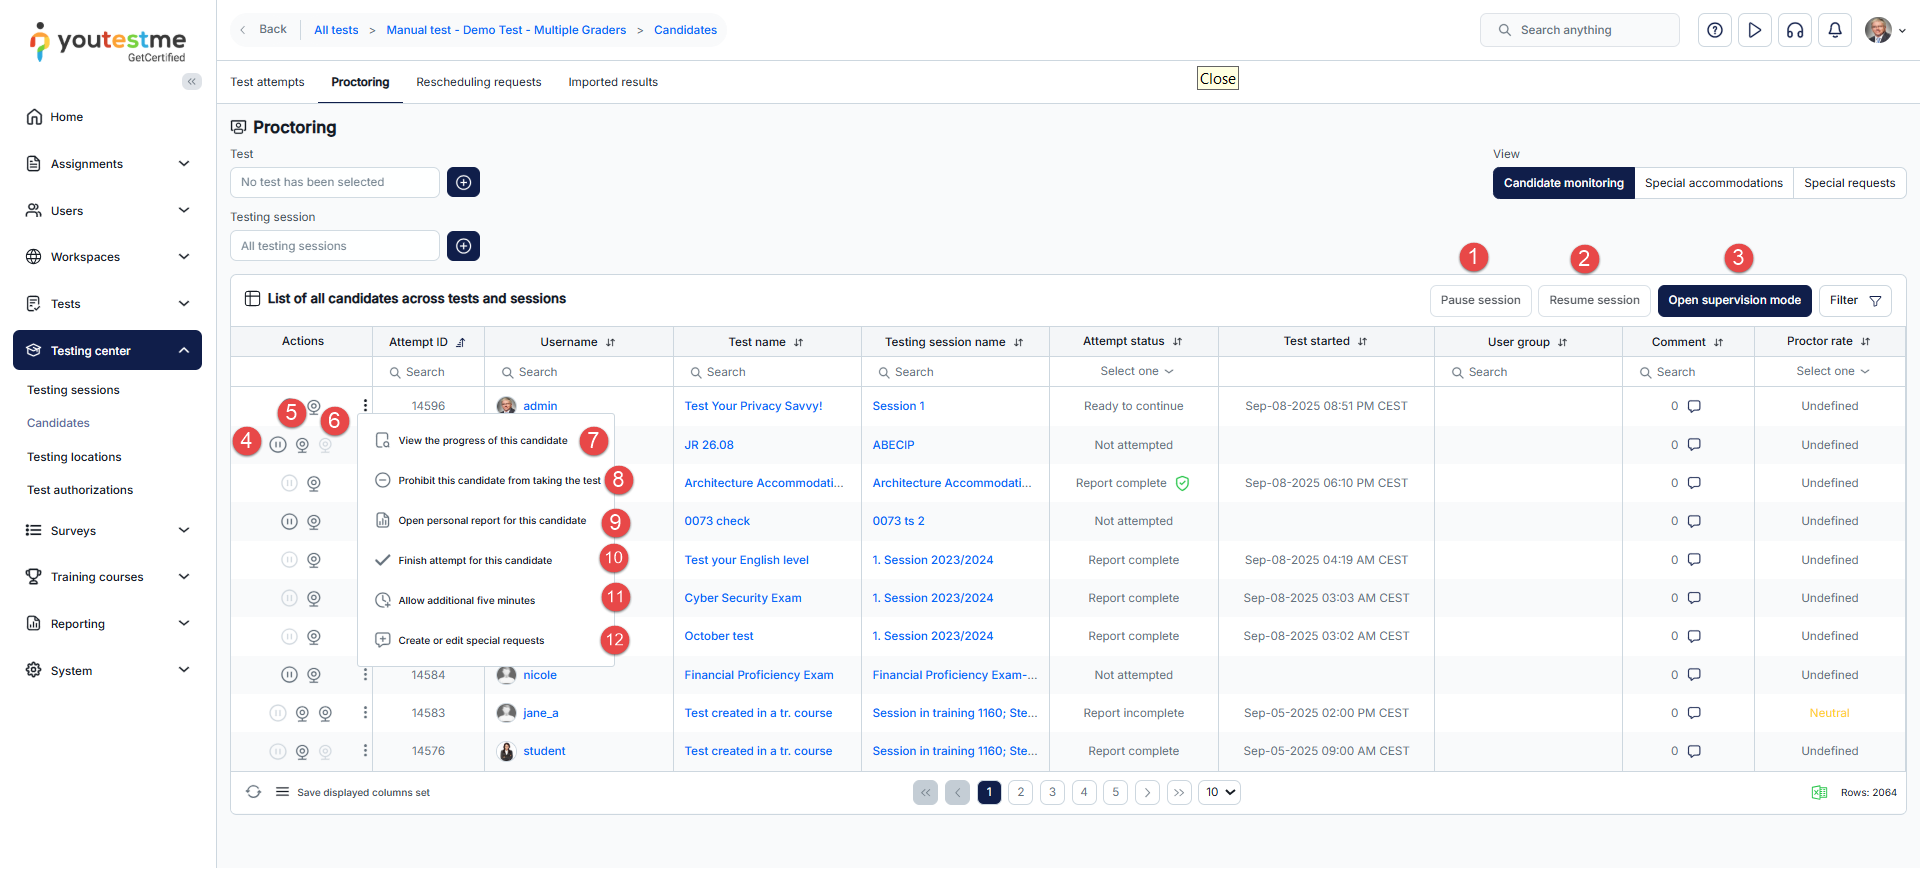
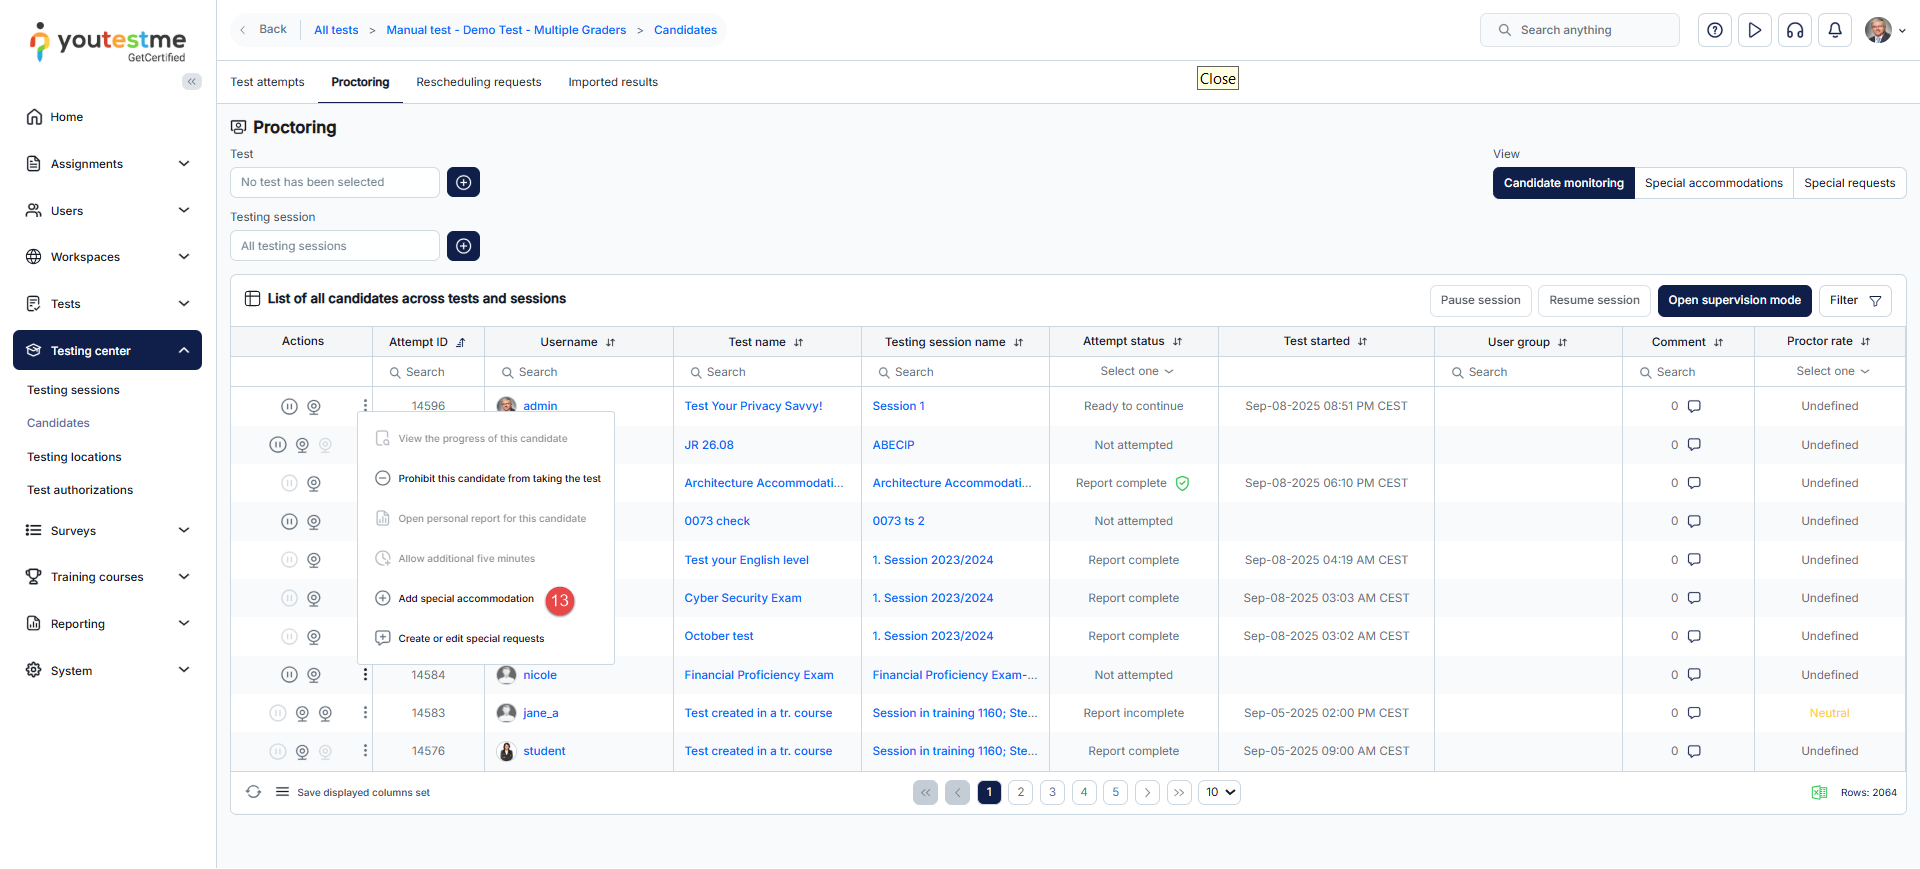
-
Grading a proctored test
To preview the recording of the test-taking process, click the camera icon, which will take you to the proctoring software.
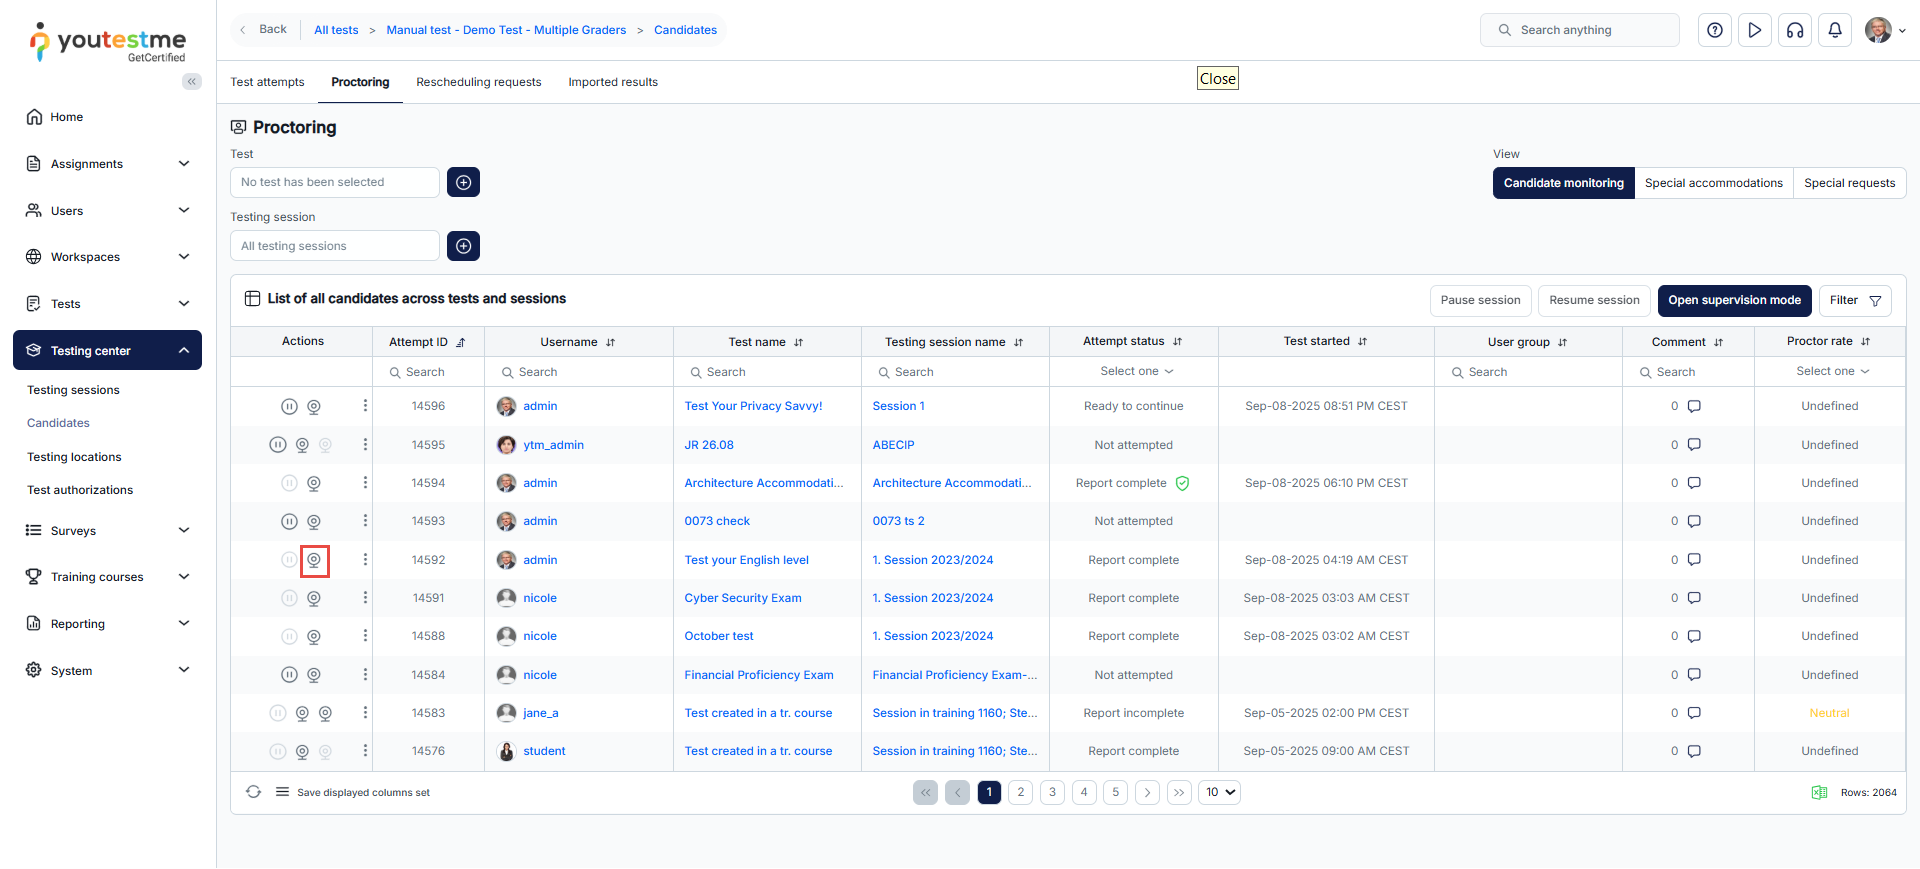
When accessing the proctoring report, you can:
-
Rate the test attempt. Choose the grade, optionally write a comment to explain the grade, and save your evaluation.
-
Download the PDF report for the candidate.
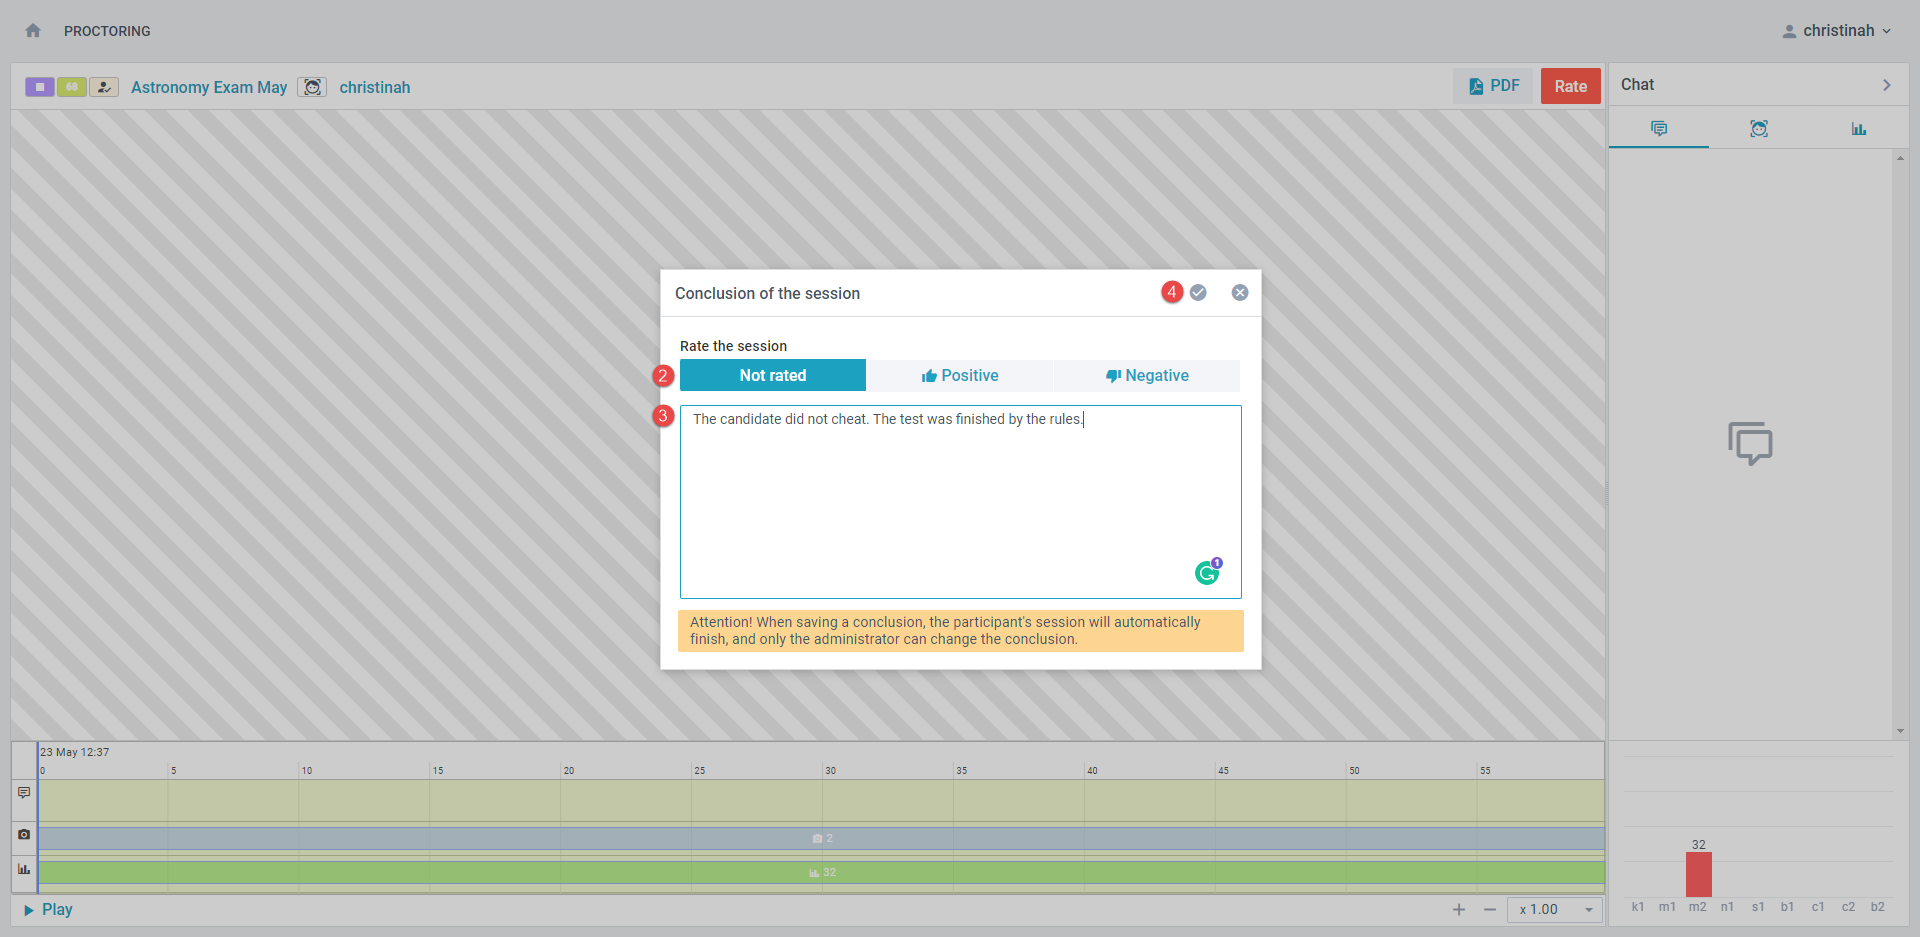
If the test attempt contains multiple recordings, you must grade all of them to resolve the candidate's report. Click the camera icon next to each recording and grade it as explained above.
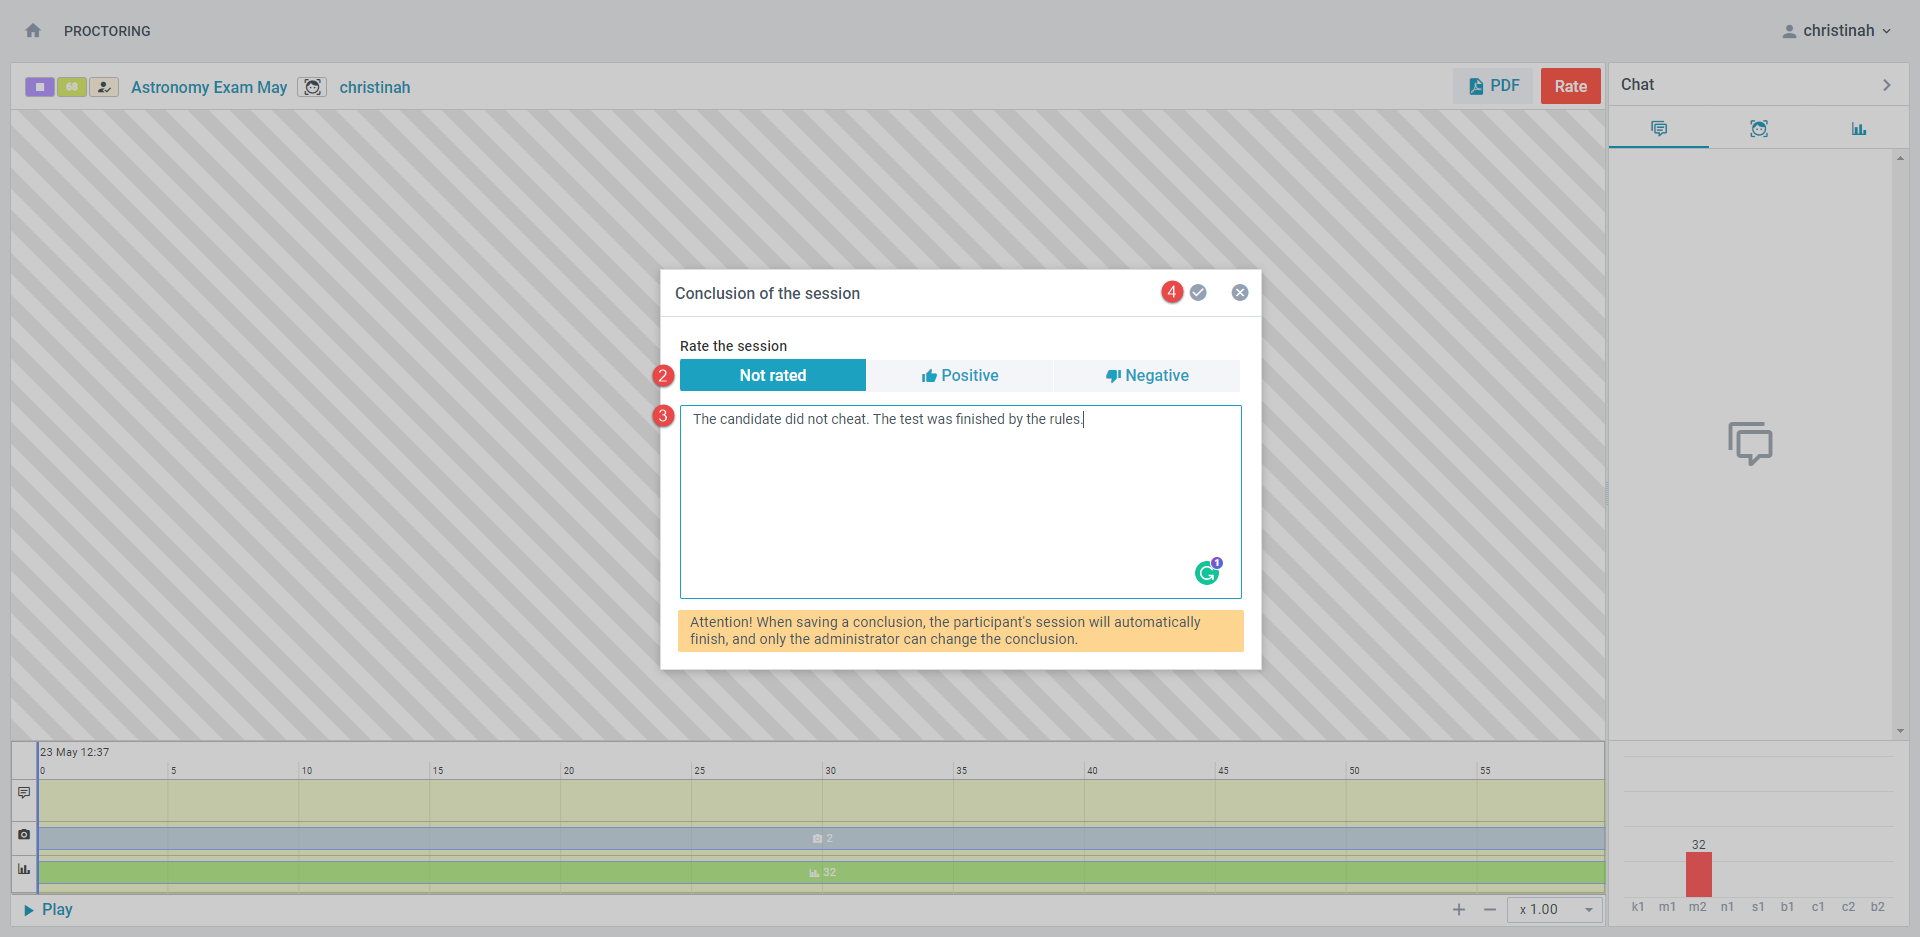
-
-
-
Special accommodations
Special accommodations refer to customized support provided during test-taking for users with unique needs. This can include special accommodations like additional time, screen reading, and others. A special accommodation applies only to the test attempt for which it is created.
Supported types of special accommodations:
-
Time accommodation that can be added if the test has a time limit for the entire test. You can choose one of the following options:
-
Manually defined time.
-
Extra time - Double the amount of the original test time.
-
Extra time - 50% of the original test time.
-
Extra time - 1 hour.
-
-
Other special accommodations - Define other special accommodations in free-form text, such as allowing food and drink during the test.
-
Required to have a 1-1 session with a proctor - Allow the candidate to have a separate testing session with a proctor who will monitor the entire test-taking process.
The status of special accommodation can be:
-
Pending - Special accommodation still needs to be resolved.
-
Approved - The proctor has approved the requested special accommodation.
-
Rejected - The proctor has declined the requested special accommodation.
On this page, you can:
-
Choose the specific test for which you want to see special accommodations. Click the plus icon to change the test, and you can remove filters as needed.
-
Select the testing session for which you want to see special accommodations. Click the plus icon to change the testing session, and you can remove filters as needed.
-
Create a new special accommodation request.
-
Filter the table to:
-
Show suspended attempts - Include special accommodations for users whose test attempts are suspended.
-
Show special accommodations for inactive users - Include special accommodations for users whose profiles are inactive.
-
-
Manage special accommodation requests - Approve or reject accommodations and provide an explanation of your decision.
-
Edit special accommodation requests.
-
Remove special accommodations regardless of their status.
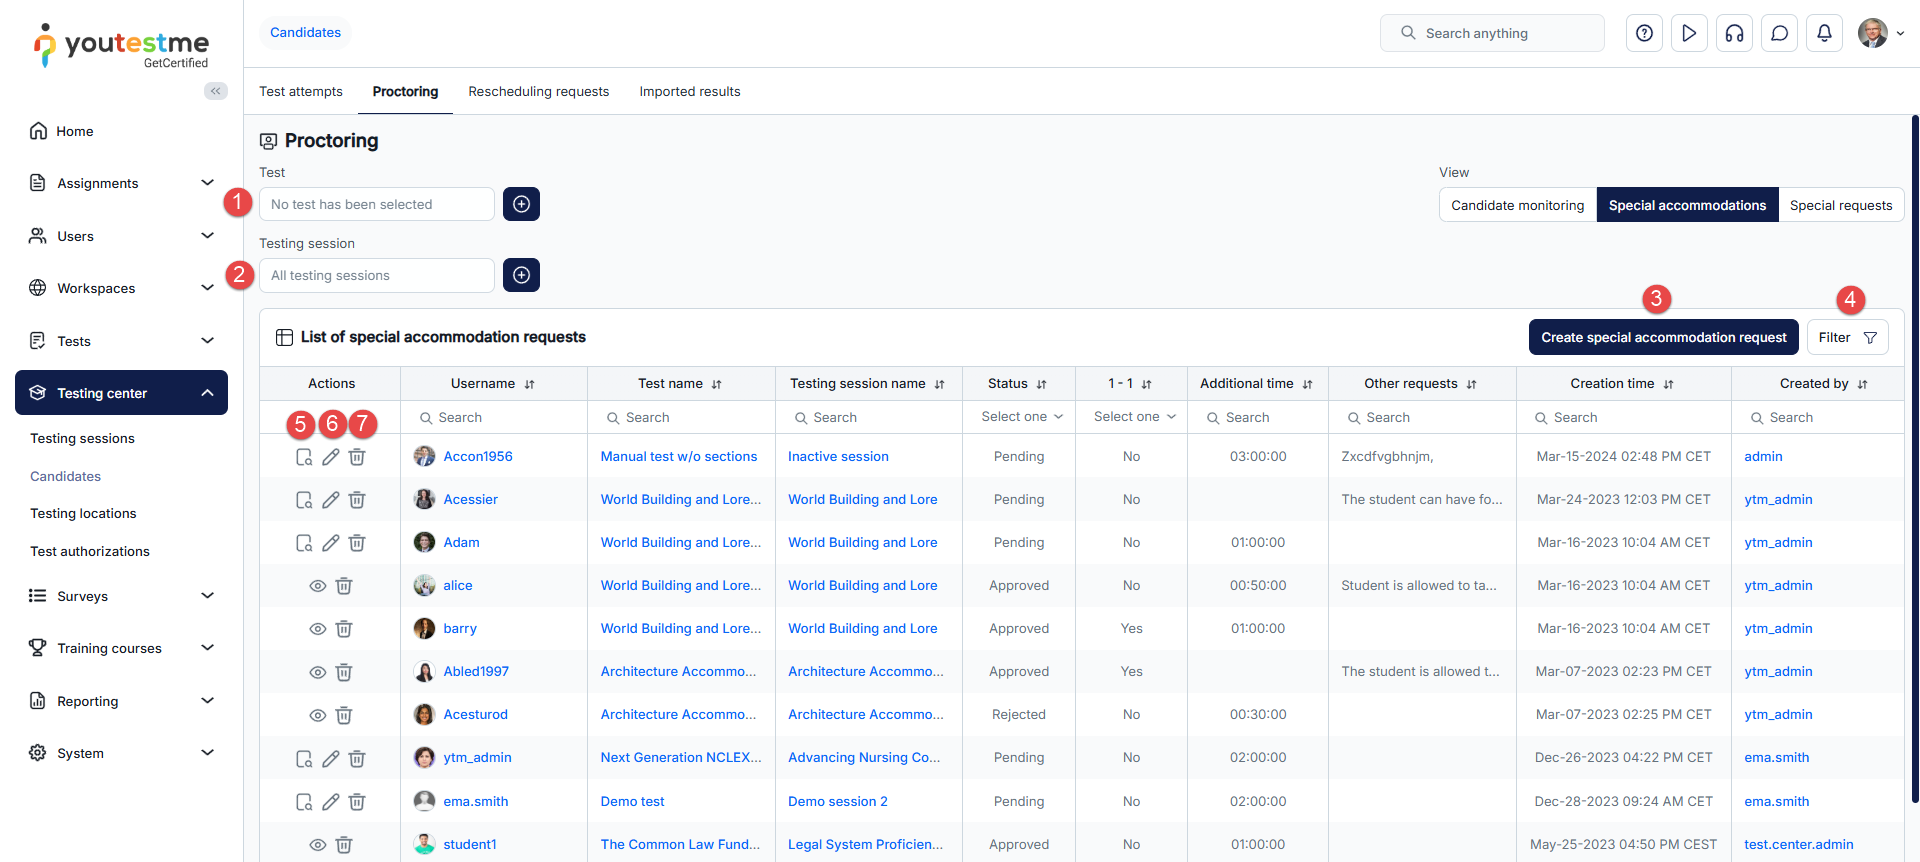
A role with the Manage accommodations permission can add new special accommodations, manage, and remove existing ones. A role with the View all accommodations permission can only view already created special accommodations. A role with the Respond to accommodation requests permission can resolve created special accommodations.
-
-
Special requests
Special requests are used to request information or documentation from candidates, either before or after a test. For instance, if a candidate needs to provide an ID before a test, and it's found invalid, the instructor can send a special request for a valid ID to avoid canceling the test attempt.
The status of special request can be:
-
Pending response - Proctor has sent a request to the candidate and is waiting for the candidate's response.
-
Pending review - The candidate has responded to the special request, and the proctor should now review it.
-
Satisfactory - The proctor has reviewed the candidate's response and marked it as satisfactory.
-
Unsatisfactory - The proctor reviewed the candidate's response and marked it as unsatisfactory.
On this page, you can:
-
Choose the specific test for which you want to see special requests. Click the plus icon to change the test, and you can remove filters as needed.
-
Select the testing session for which you want to see special requests. Click the plus icon to change the testing session, and you can remove filters as needed.
-
Create a new special request.
-
Filter the table to:
-
Show suspended attempts - Include special requests for users whose test attempts are suspended.
-
Show special requests for inactive users - Include special requests for users whose profiles are inactive.
-
-
View Details of already sent special requests.
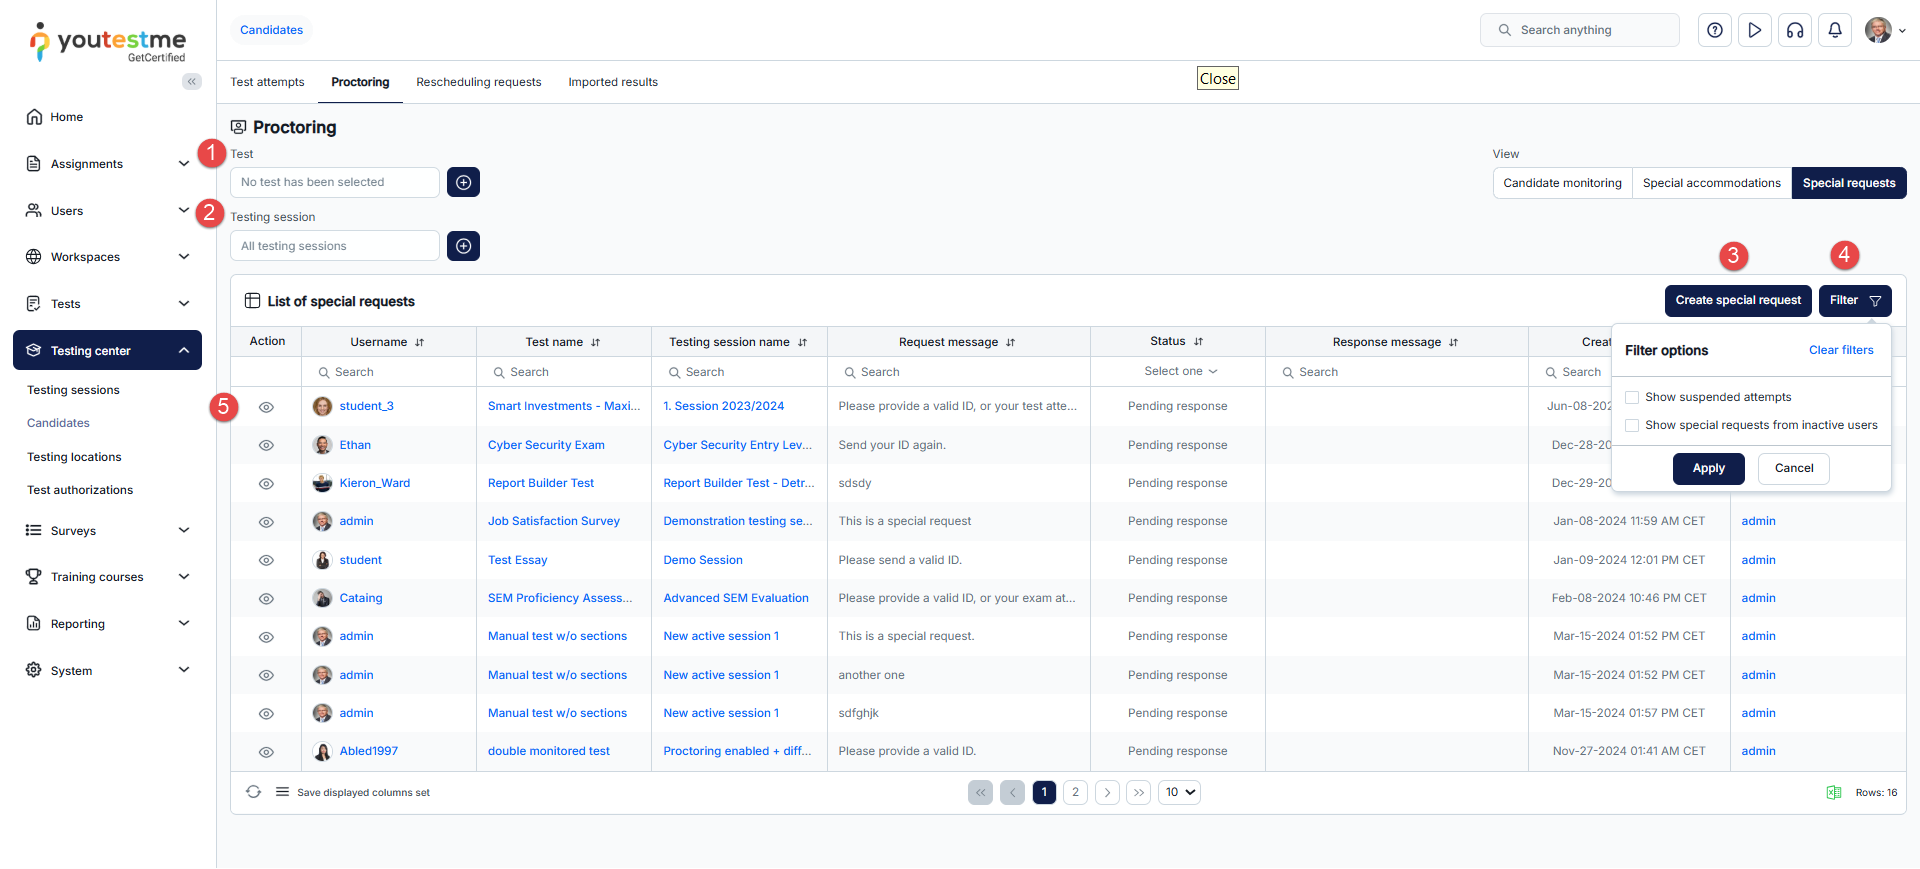
-
Rescheduling requests
Rescheduling requests enable users to change the testing session they are assigned to for a specific test. Before starting the test, users may choose one of the offered testing sessions if the test allows a certain number of free reschedules. However, if free rescheduling is not allowed, users must submit a rescheduling request, providing a reason and, optionally, proof of why they need to change their current testing session. These rescheduling requests are forwarded to test managers for review. Managers can either approve the request, allowing the user to reschedule the desired session, or decline the request.
For more information, please check this article.
On this page, you can:
-
Choose the specific test for which you want to see rescheduling requests. Click the plus icon to change the test, and you can remove filters as needed.
-
Select the testing session for which you want to see rescheduling requests. Click the plus icon to change the testing session, and you can remove filters as needed.
-
Check the current status of rescheduling requests. If the status is Pending, it means the manager hasn't reviewed the request yet.
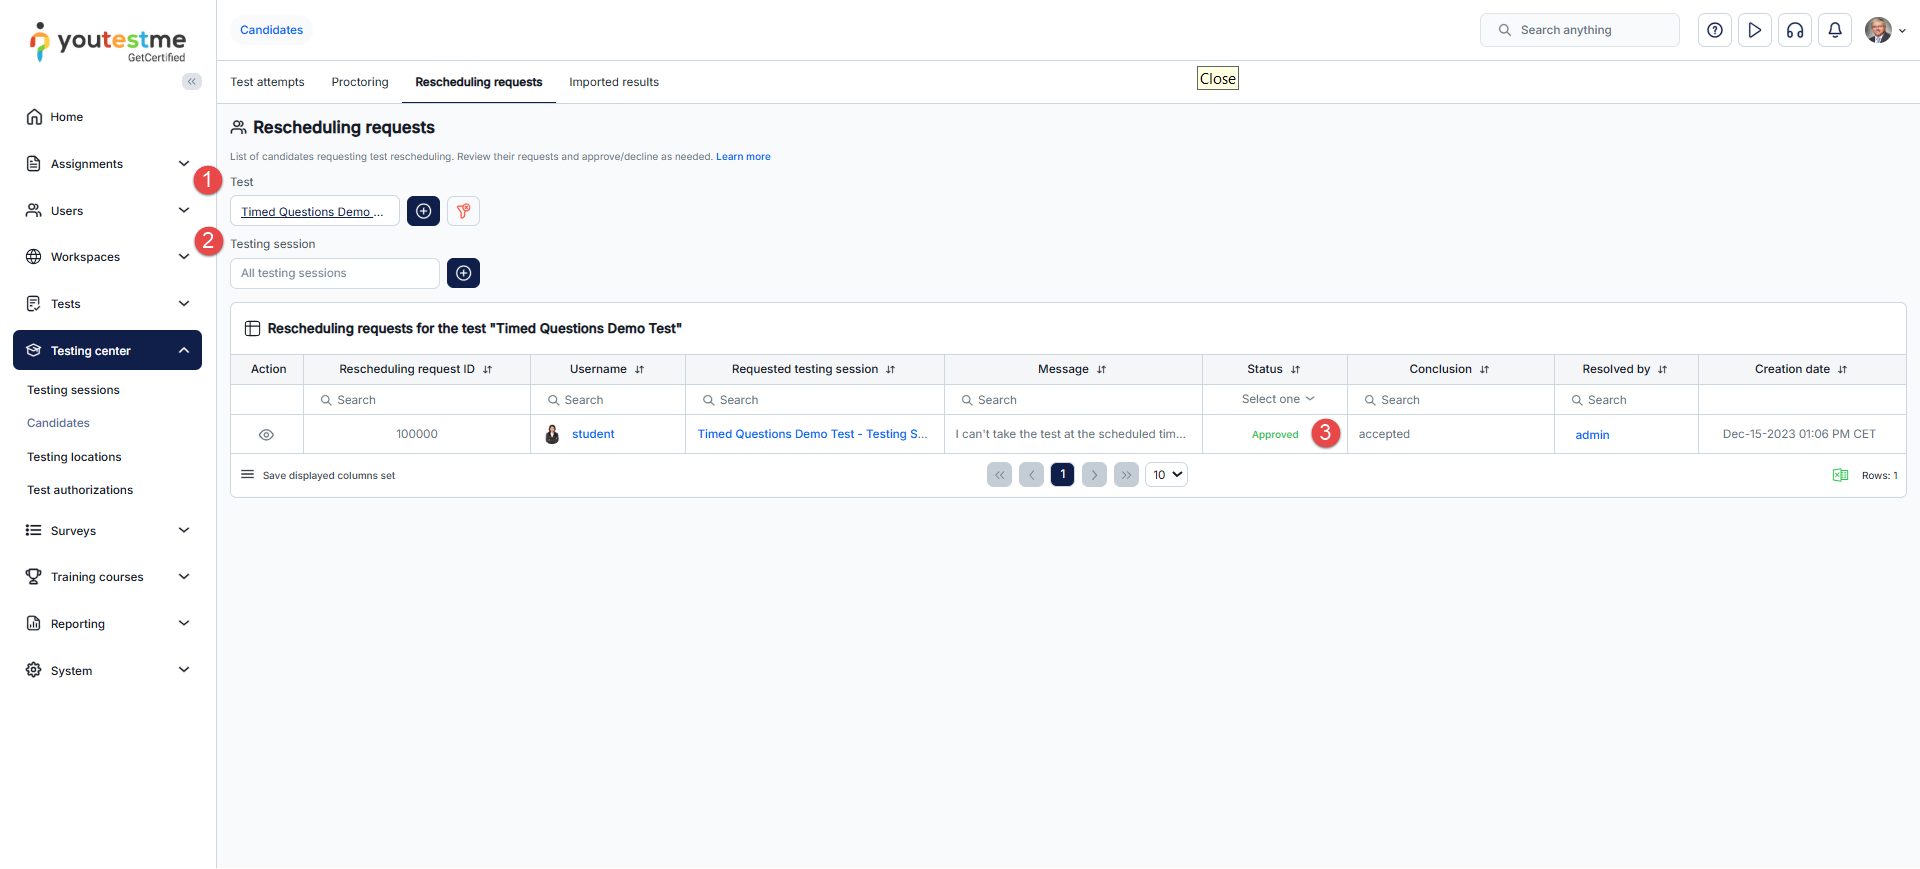
To resolve the rescheduling request:
-
Click the View button.
-
Write a Conclusion message for your response.
-
Choose the status to resolve the request.
-
Click the Save button.
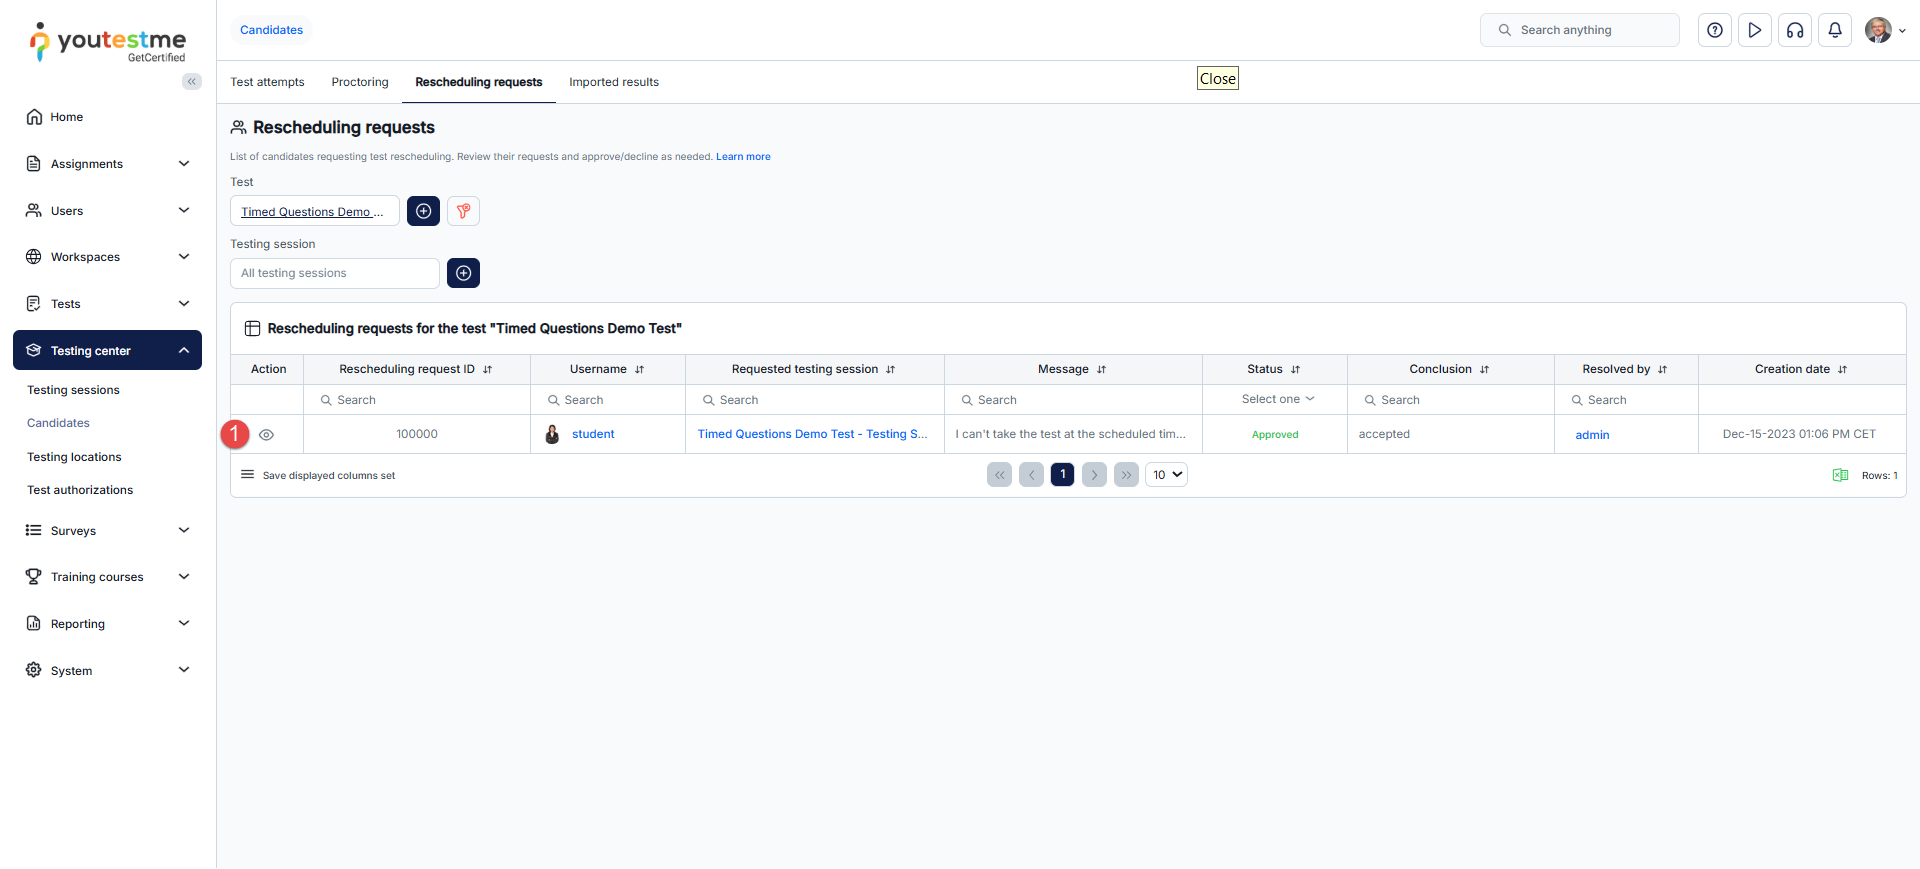
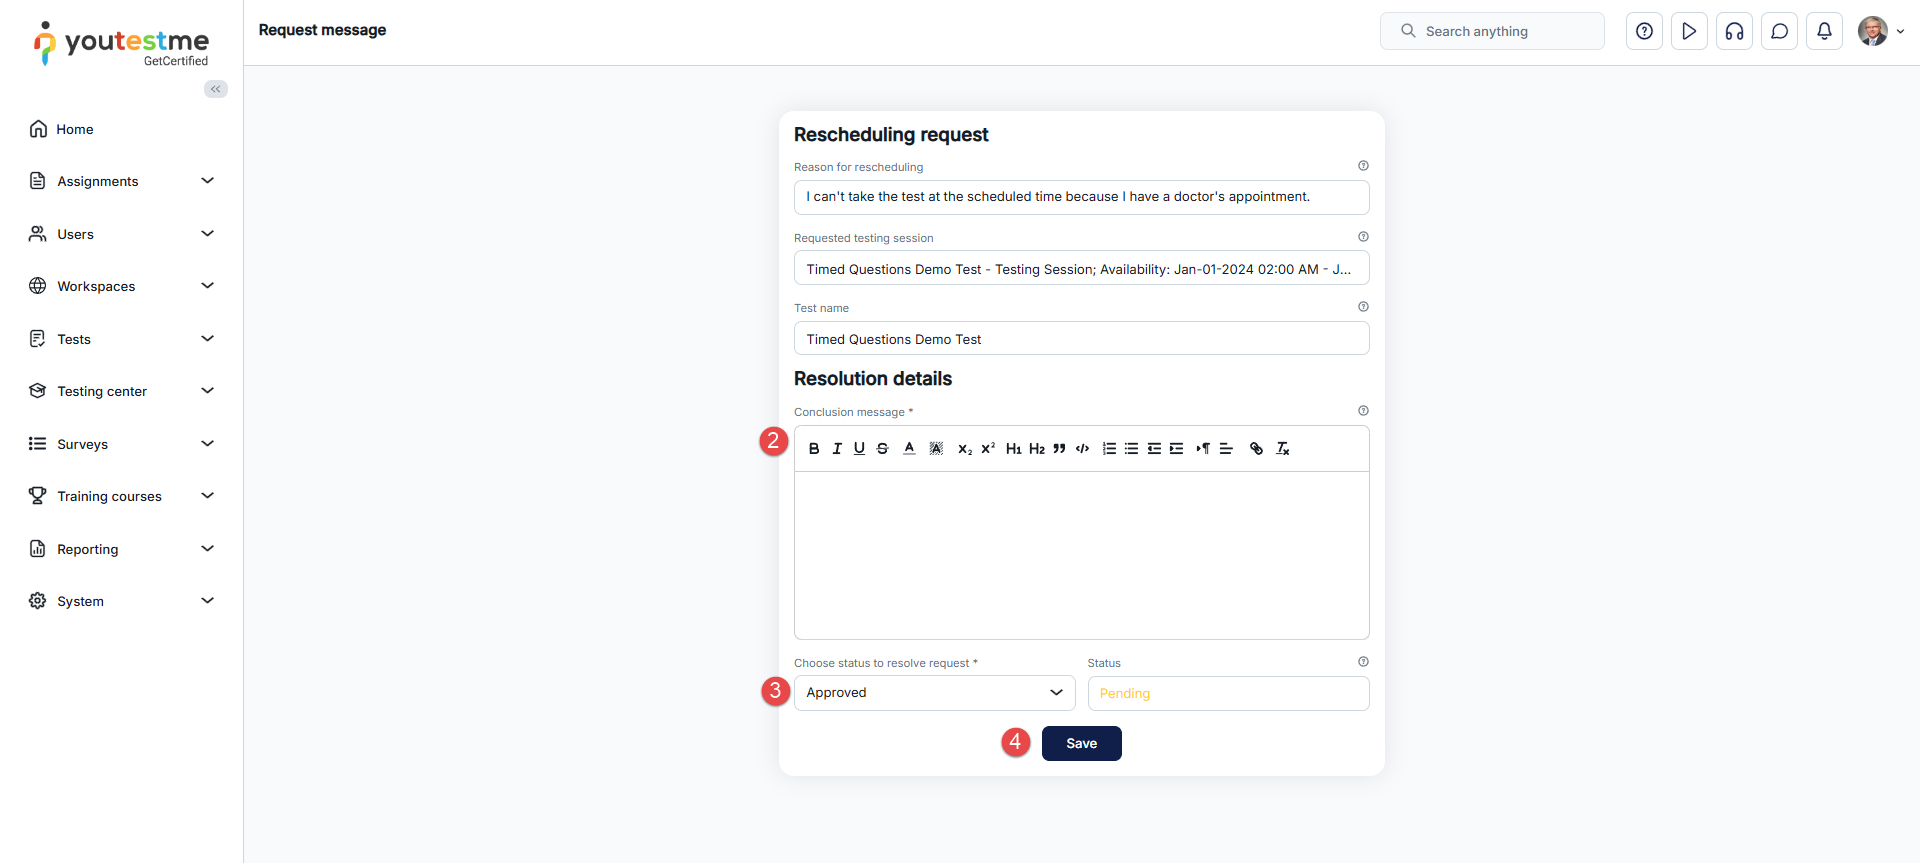
Imported results
Note: This feature is supported only when the test is set up with the Pearson VUE testing center and the Paper-based delivery preference.
View all staged import batches and process them. Imported batches are initially sorted by creation date, with the most recent one at the top of the table.
In the Actions column, you can find the following options:
-
Show log - View the log of the processed batch, containing information about the import process, imported results, skipped results failed during validation, and errors encountered during import and abnormal interruptions.
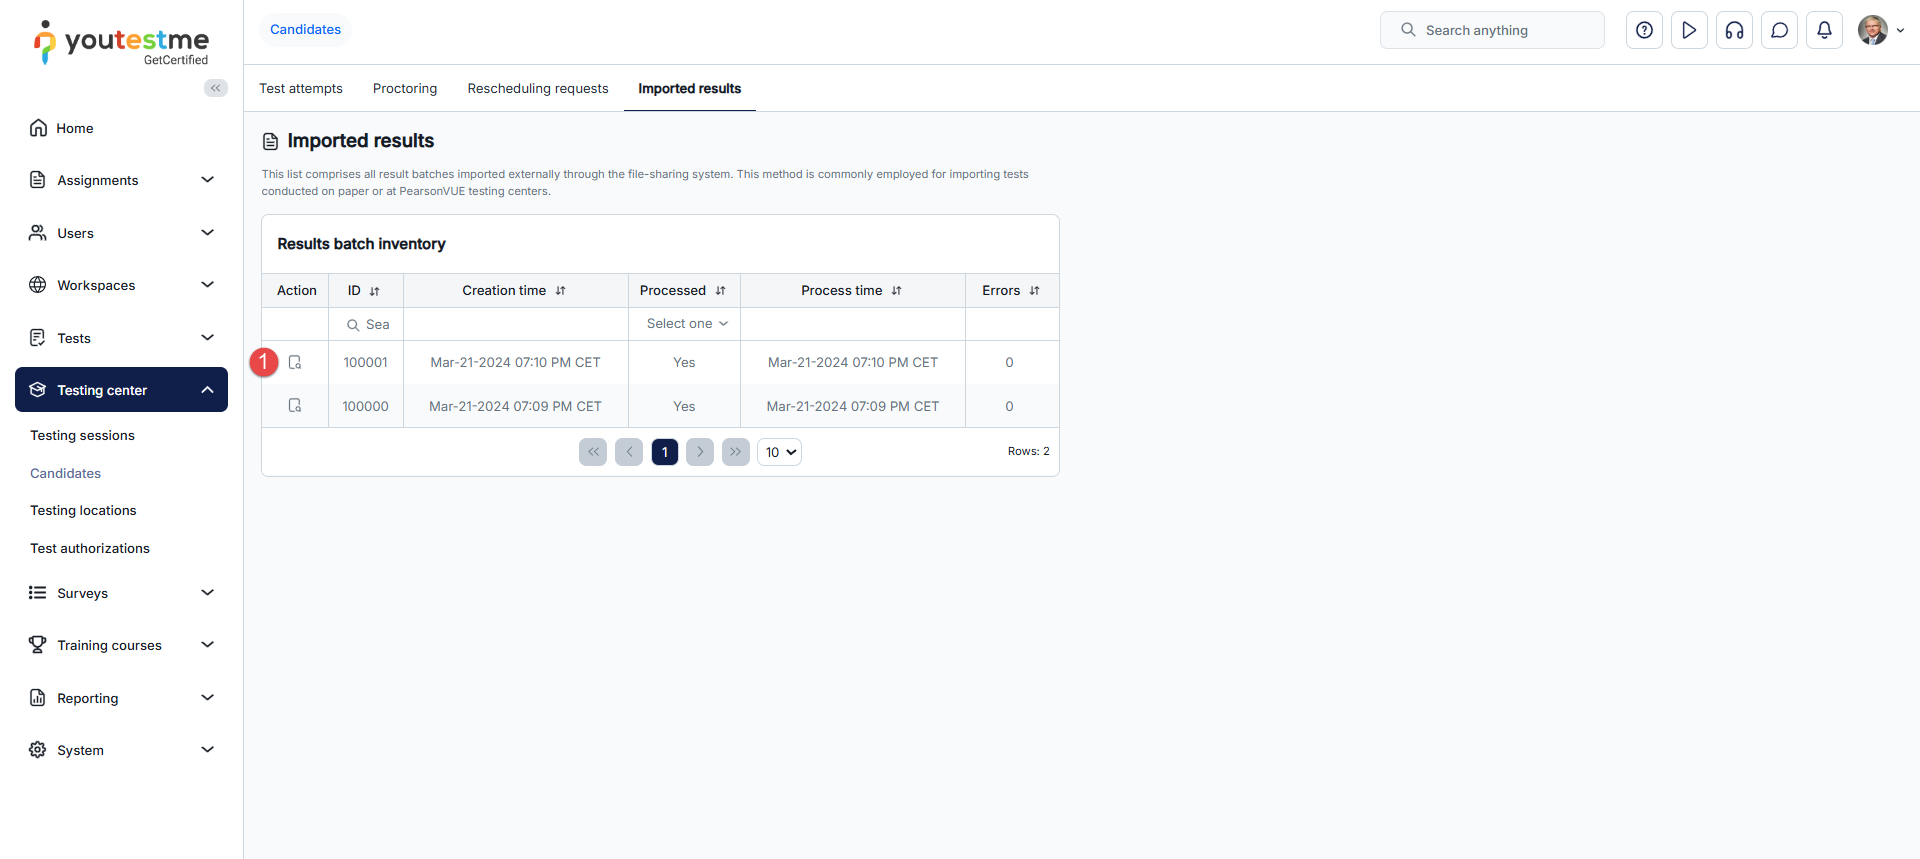
Clicking Show log opens a pop-up window with details about the import process, imported results, and any errors.
-
Testing locations
-
Introduction
Testing locations in the system mirror physical test venues, capturing details such as street address, phone number, building and unit numbers, city, country, postal code, state/province, room number, capacity per room, and time zone. Testing sessions can be created at these testing locations. When generating testing sessions from a testing location, the testing session automatically inherits properties like the time zone, testing location details, and assigned proctors.
-
Tile view
This is the default view for testing locations where you can:
-
Filter testing locations by:
-
All locations - Displays all testing locations within the system, whether created by you or other users.
-
Only where I am the proctor - Displays only those testing locations where you are assigned as a proctor.
-
Created by me – Displays only those testing locations that are created by you.
-
- Create new.
- Switch to list view.
-
Testing location tile - Each testing location is represented as a tile with details such as testing location name, time zone, phone, street, and city.
Additional options on this page include:
-
Edit testing location - Edit testing location name, external ID, time zone, description, capacity, and picture.
-
Testing location address - Specify the address of the testing location (street, phone number, building number, unit, city, country, postal code, state/province, additional address information).
-
Define testing location rooms - Specify the testing location more precisely by entering details about the specific room or classroom for the test. It's useful to store this information, especially when multiple rooms are available at the same testing location.
-
Manage proctors on testing session - View the list of proctors assigned to this testing session and assign additional proctors to monitor candidates.
- Delete - Remove testing location.
Note: The testing location cannot be deleted if testing sessions use this testing location.
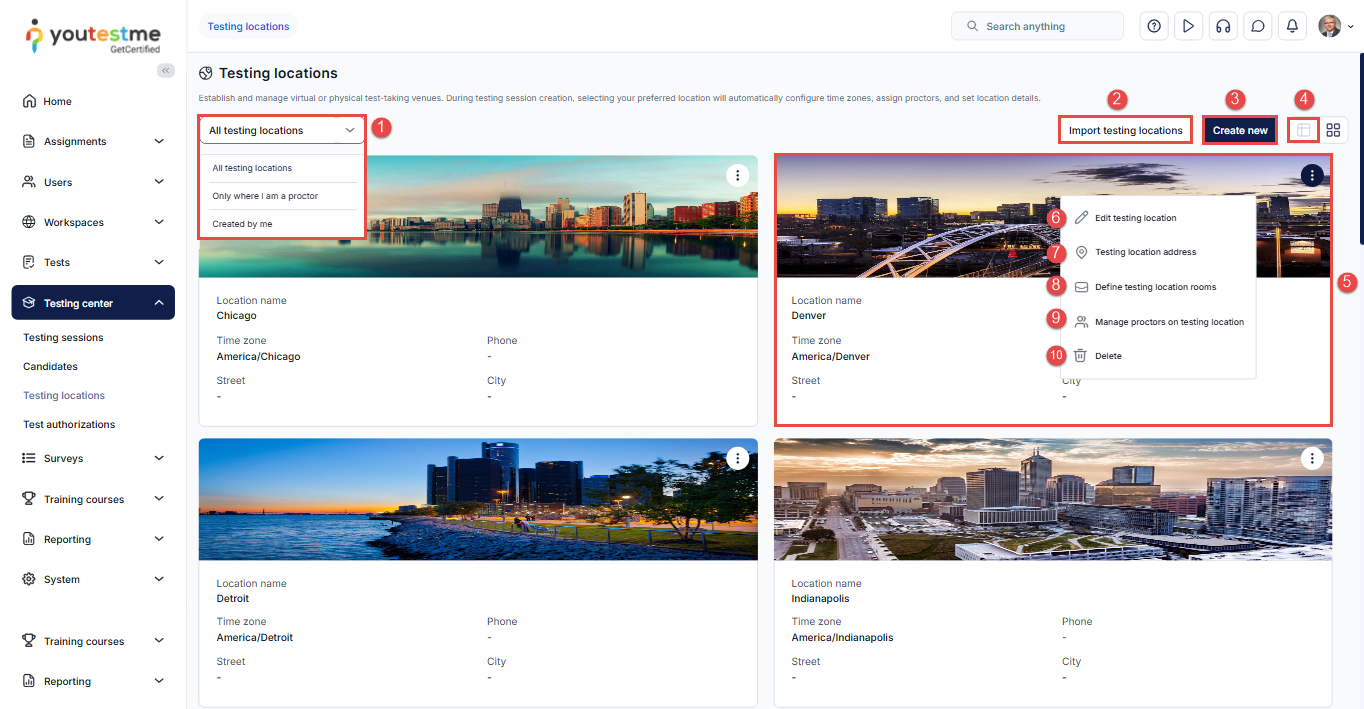
-
-
List view
List view is an alternative display mode for testing locations, offering the same options as the tile view. In this view, you can:
-
Filter locations by:
-
All locations - Displays all testing locations within the system, whether created by you or other users.
-
Only where I am the proctor - Displays only those testing locations where you are assigned as a proctor.
-
Created by me – Displays only those testing locations that are created by you.
-
- Create new.
- Switch to tile view
- Testing location details - Each testing location is represented in a row with details such as testing location name, time zone, phone, street, and city.
-
Edit testing location - Edit testing location name, external ID, time zone, description, capacity, and picture.
-
Testing location address - Specify the address of the testing location (street, phone number, building number, unit, city, country, postal code, state/province, additional address information).
-
Define location rooms - Specify the testing location more precisely by entering details about the specific room or classroom for the test. It's useful to store this information, especially when multiple rooms are available at the same testing location.
-
Manage proctors on testing session - View the list of proctors assigned to this testing session and assign additional proctors to monitor candidates.
- Delete - Remove testing location.
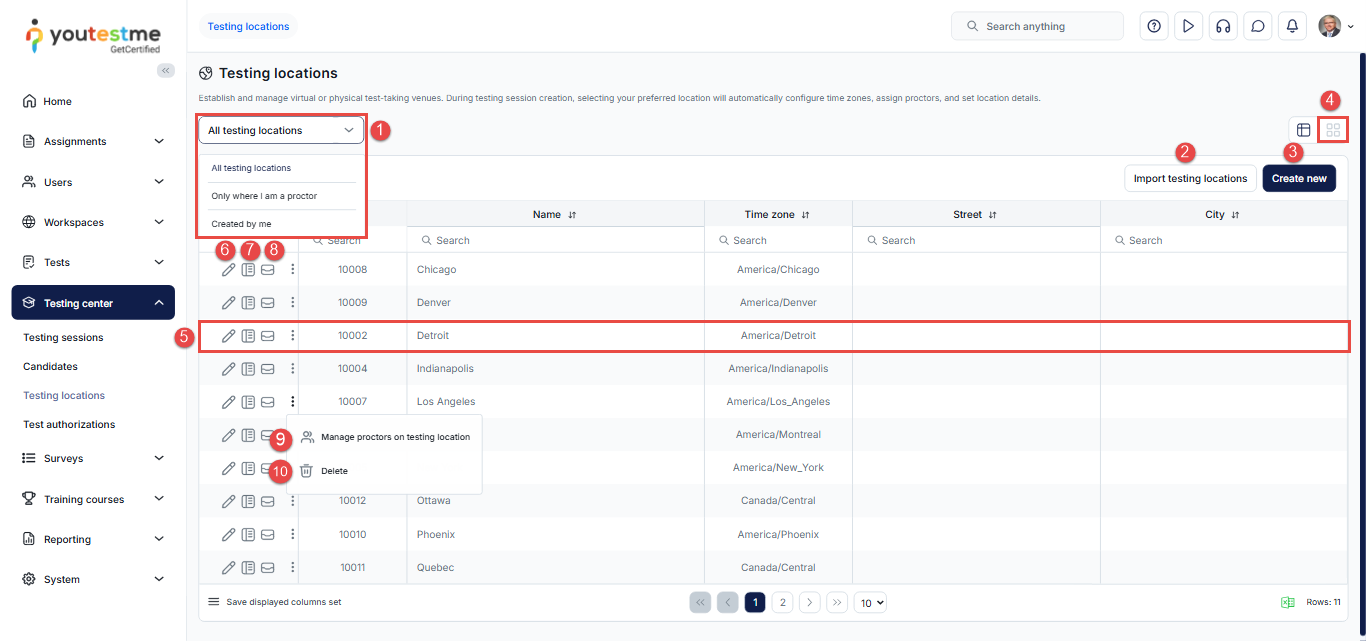
-
New survey
-
Introduction
A survey is used to create questionnaires or forms to collect user feedback, opinions, or data. You can manually create survey questions one by one or import them from existing question pools. Each survey can include a grading scale linking grades to specific scores. This mapping allows the system to represent survey results as grades, for example, measuring satisfaction levels or the degree of agreement with a statement.
A testing session needs to be created for the survey to be accessible to candidates. Additionally, only users with the appropriate permission, Create test, survey, or training, can create surveys.
To create a new survey, you can access the New survey page by clicking the corresponding button on the Surveys/Manage surveys page or by selecting Surveys/New survey from the left-side menu. A survey creation wizard will guide you through the process step-by-step.
Note: The process of creating and managing surveys is the same as that for creating and managing tests. Additionally, most of the available options are identical.
In the chapters below, you will find explanations of the parts that differ from test management, or you will find adequate links to help pages for test management, where you can find explanations of the options that are the same.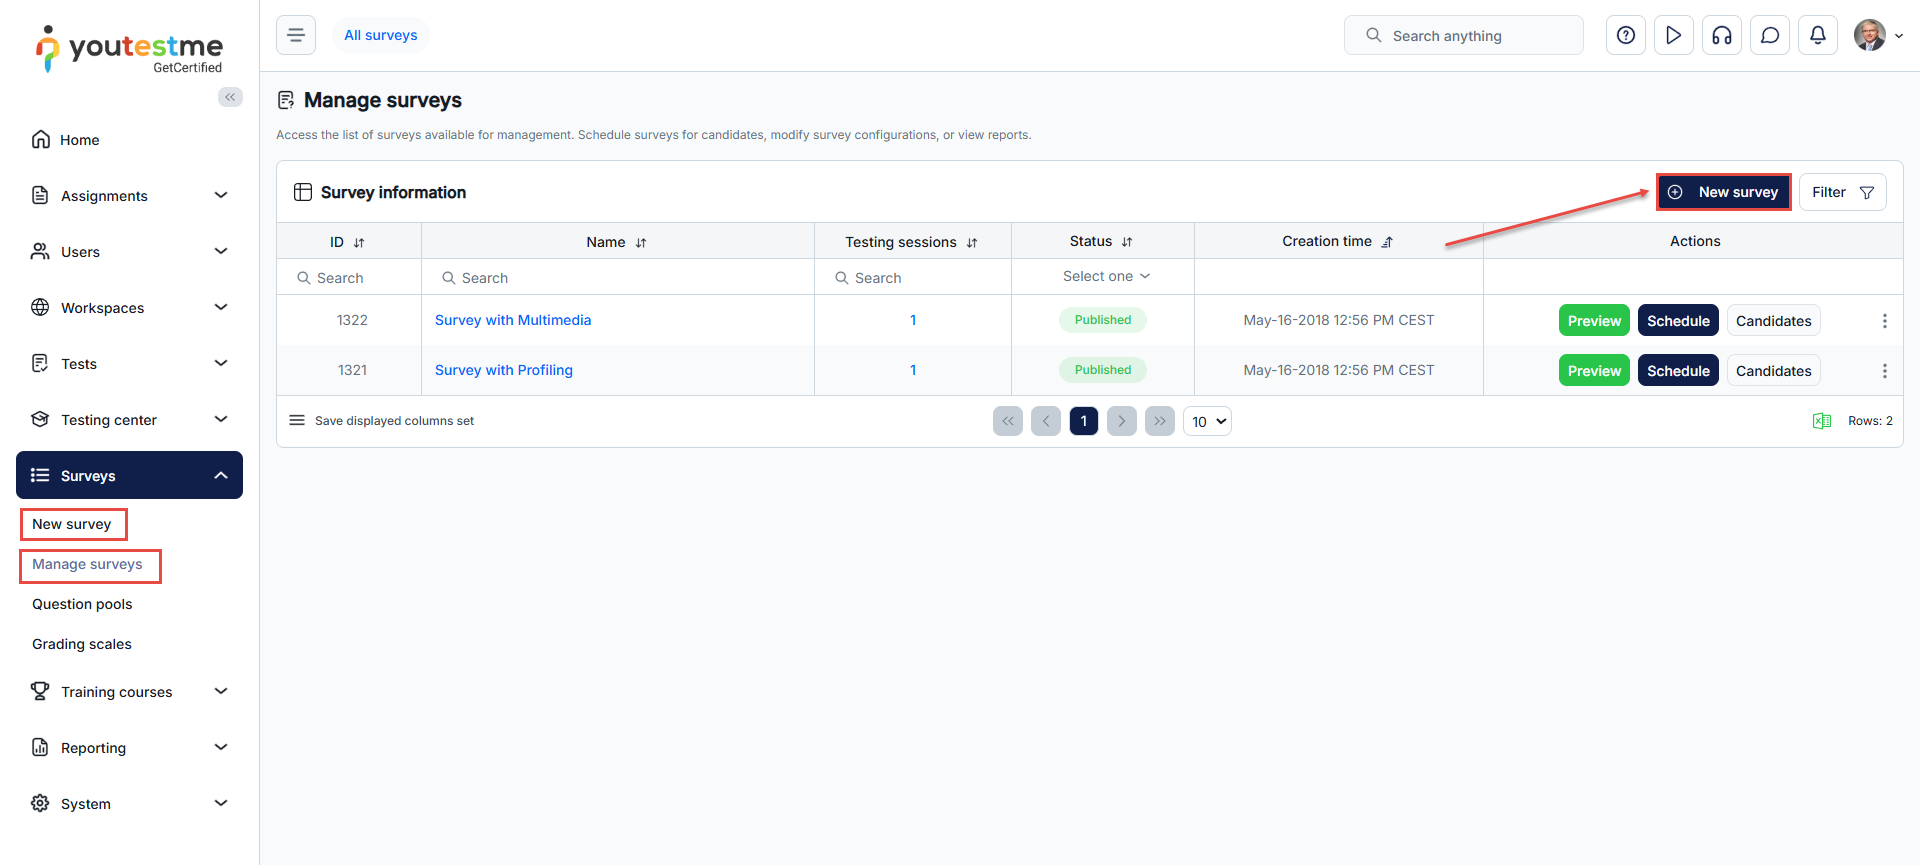
-
Survey information
Explanations for available options can be found under the Tests/New test/Test without sections/Test information help page. The only difference is the Upload survey option.
To upload a survey using an Excel template:
-
Click the Upload survey button.
-
Download the Excel template.
-
Download the detailed instructions on how to enter the data into the template.
-
Once you have filled in the template, go to the Click to browse and upload your file to add the Excel file.
-
Click the Upload button.
Note: After uploading, you can still edit the questions and settings.
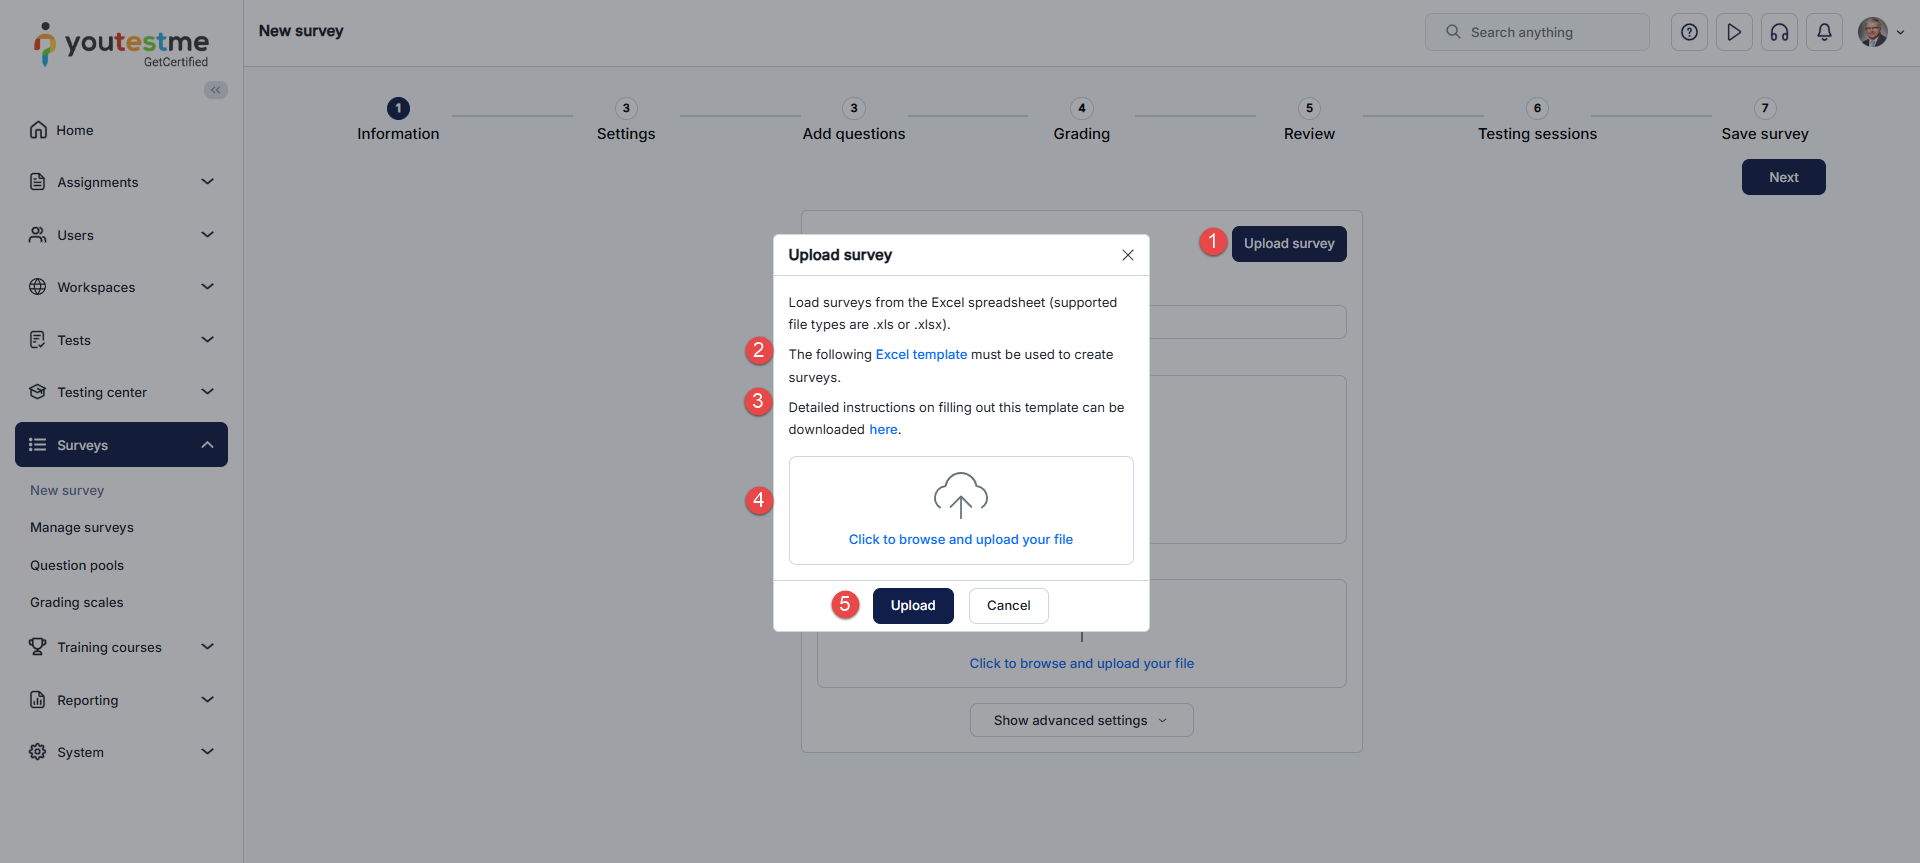
-
-
Survey settings
Explanations for available options can be found under the Tests/New test/Test without sections/Test settings help page.
-
Add questions
Explanations for available options can be found under the Tests/New test/Test without sections/Methods for adding questions/Pick questions from pools or create them on the spot help page.
-
Grading
For more information on configuring grading settings, refer to the Grading configuration help page.
-
Review
Explanations of information available on the Review step can be found under the Tests/New test/Test without sections/Review test help page.
-
Testing sessions
On this tab, you can manage existing testing sessions and create new ones specifically for this survey. All available actions are the same as those available when managing sessions via the Testing center screen.
Explanations for all available options can be found under the Testing center/Testing Sessions. -
Save survey
This is the last step in the Survey creation wizard where you should click the Save and publish button to save and publish your survey. To make the survey available to candidates, you need to schedule testing sessions.
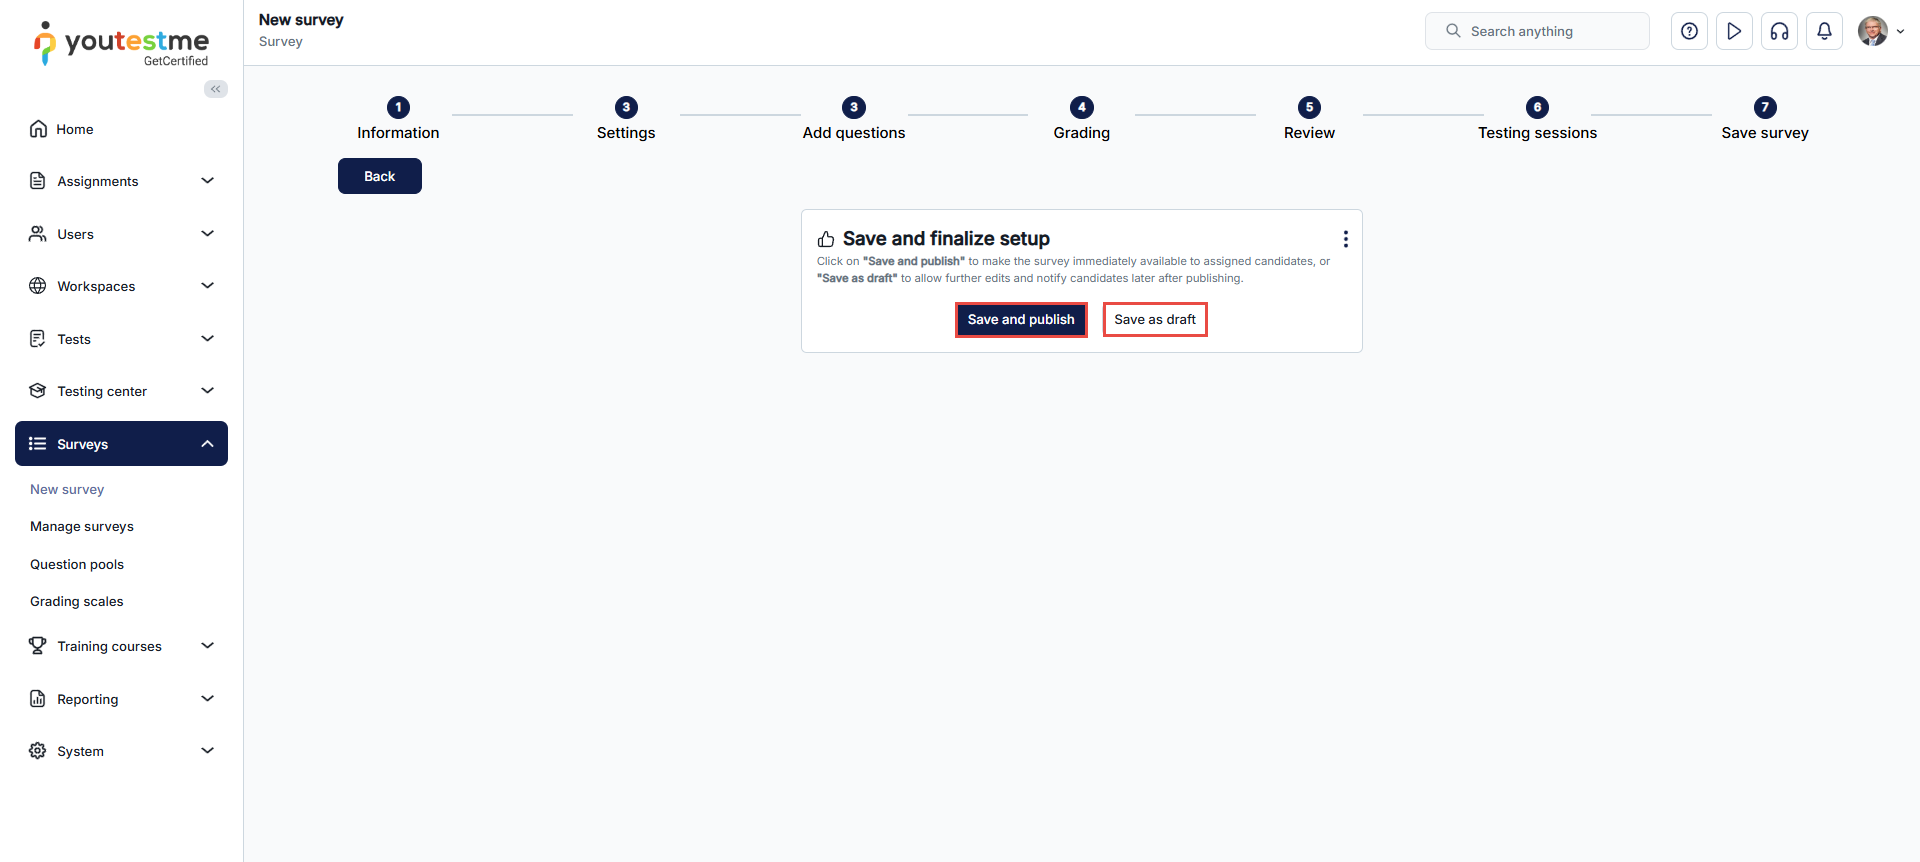
Manage surveys
-
Introduction
The Manage surveys page is the central hub for managing the list of available surveys. Here, you can schedule surveys, adjust configurations, or check reports.
Note: The process of creating and managing surveys is the same as that for creating and managing tests. Additionally, most of the available options are identical.
In the chapters below, you will find explanations of the parts that differ from test management, or you will find adequate links to help pages for test management, where you can find explanations of the options that are the same.To access the Manage surveys page, navigate to the Surveys section in the main menu, then select Manage surveys.
The available options on this page are the same as those for test management. For further information, please refer to the Manage tests/Introduction help page.
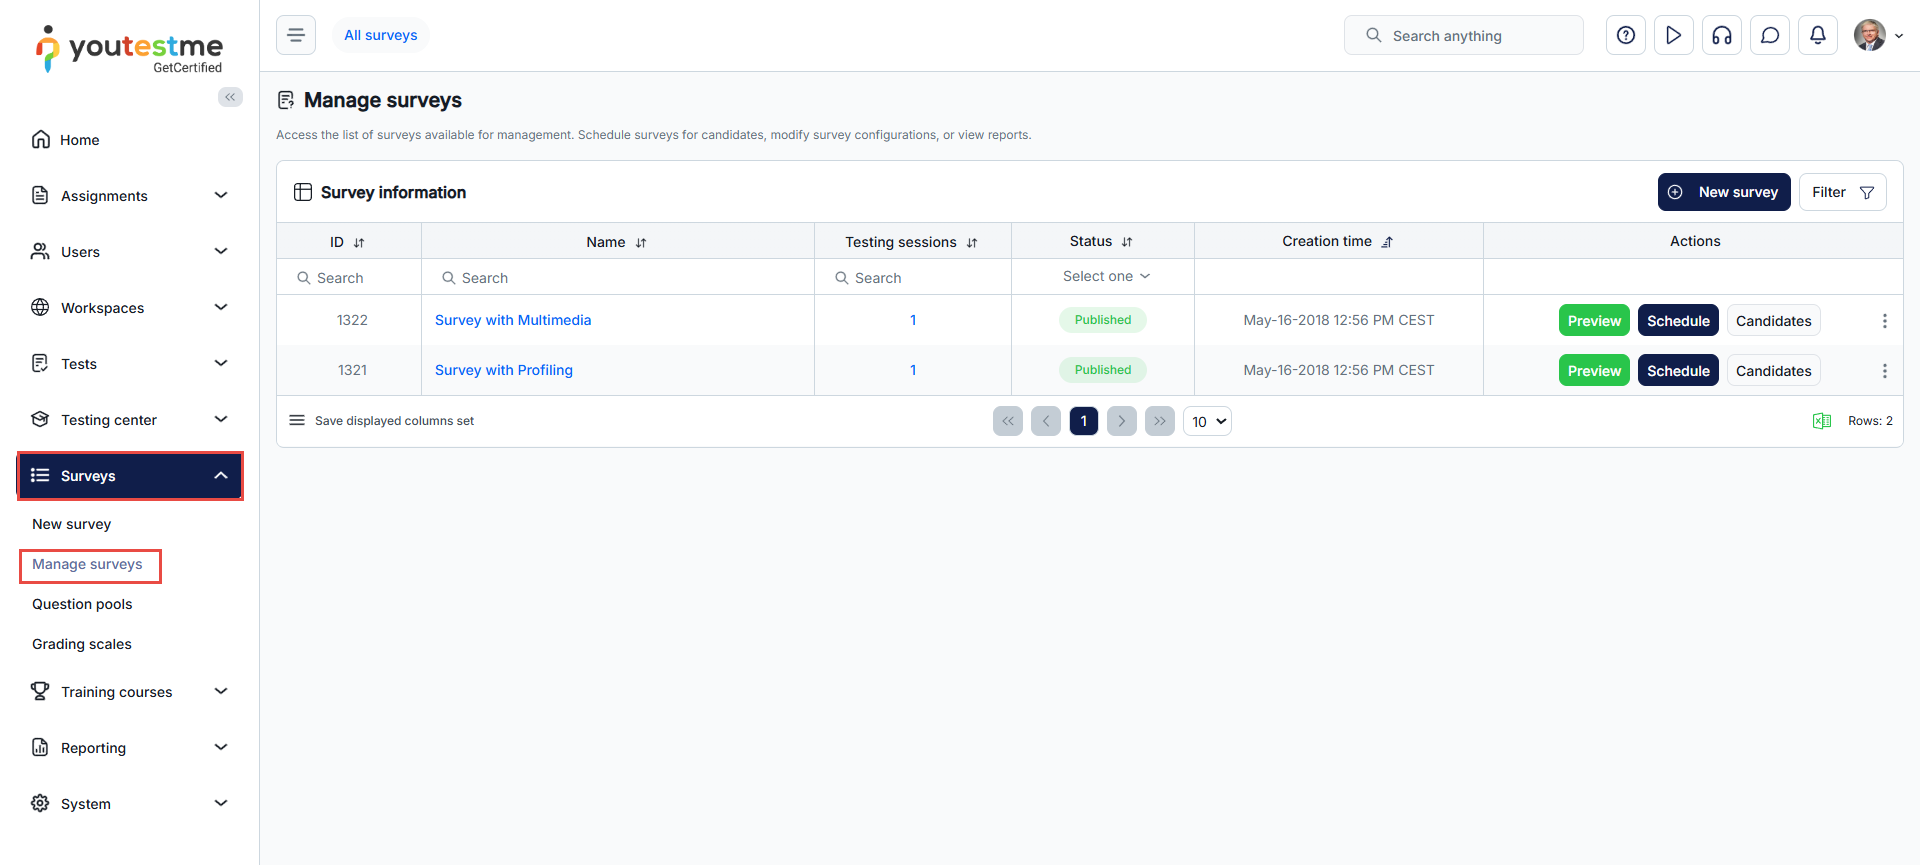
-
Survey settings
-
Basic information
Explanations for all available options can be found under the Tests/Manage tests/Basic information help page.
-
Pause, retake and reschedule settings
Explanations for all available options can be found under the Tests/Manage tests/Pause, retake and reschedule settings help page.
-
Security settings
Explanations for all available options can be found under the Tests/Manage tests/Security settings help page.
-
Grading configuration
Each survey can include a Grading scale that links grades to specific scores. This mapping allows the system to represent survey results as grades, for example, measuring satisfaction levels or the degree of agreement with a statement.
Here, you can select one of the previously created grading scales.
The process of configuring grading scales for surveys is the same as for tests. For instructions on creating grading scales, please visit the Grading scales help page.
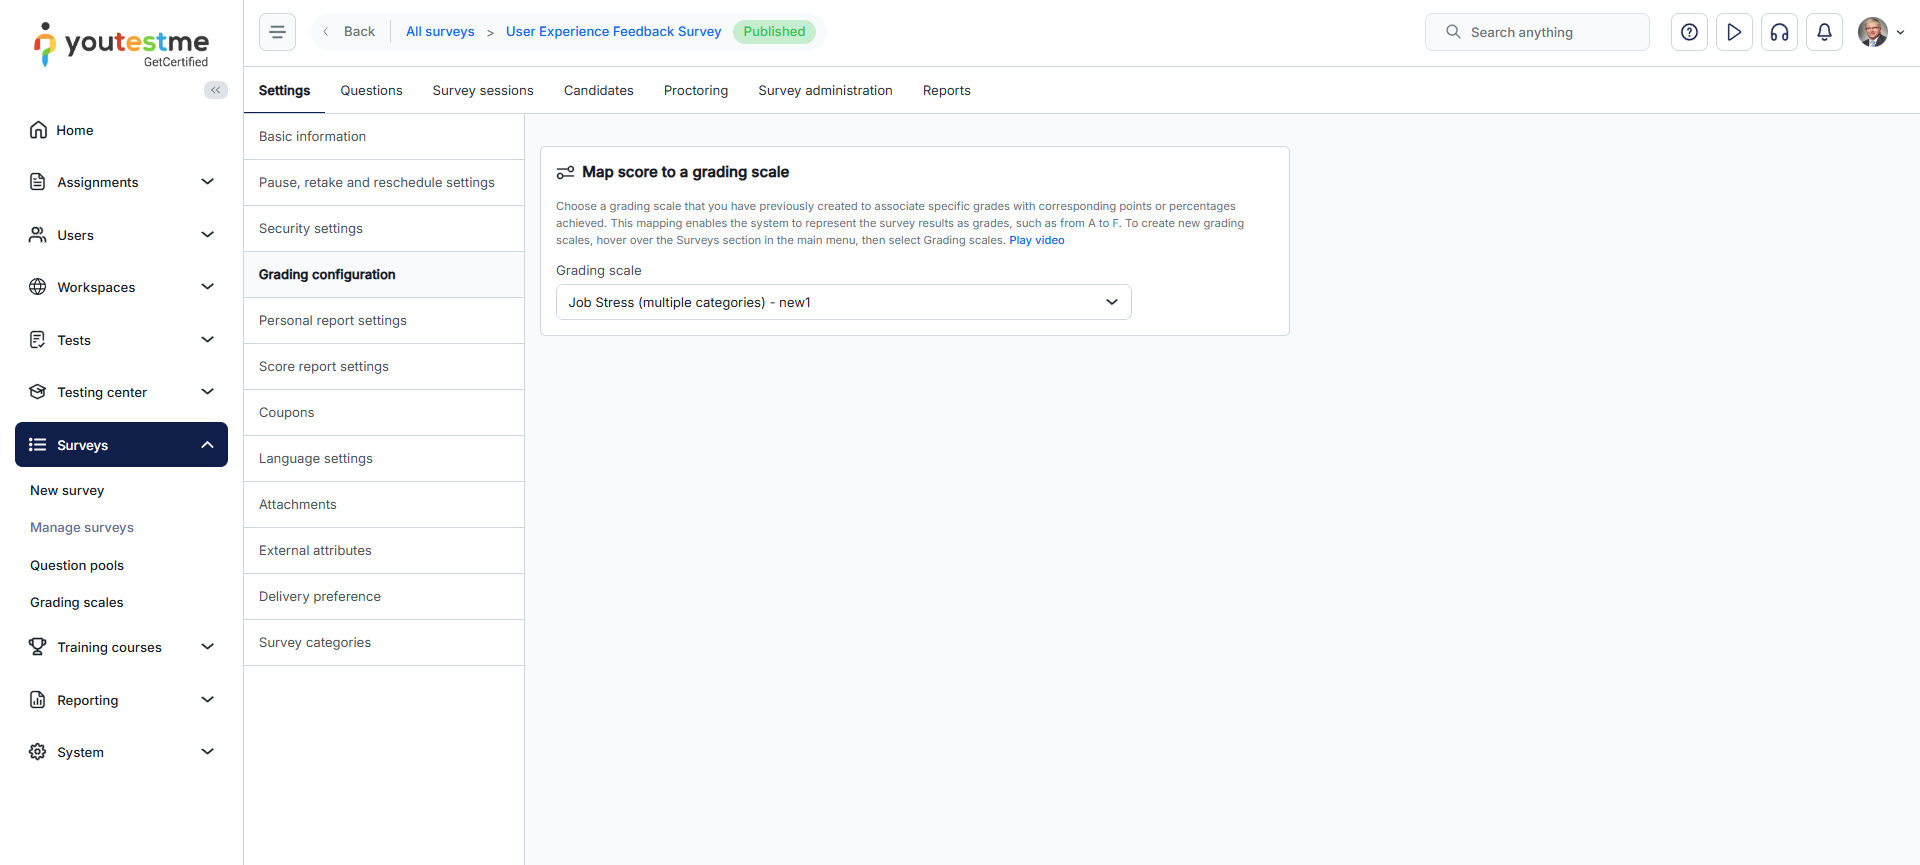
-
Report settings
Explanations for all available options can be found under the Tests/Manage tests/Personal report settings help page.
-
Score report settings
Explanations for all available options can be found under the Tests/Manage tests/Score report settings help page.
-
Coupons
Explanations for all available options can be found under the Tests/Manage tests/Coupons help page.
-
Language preference
Explanations for all available options can be found under the Tests/Manage tests/Language preference help page.
-
Attachments
Explanations for all available options can be found under the Tests/Manage tests/Attachments help page.
-
External attributes
Explanations for all available options can be found under the Tests/Manage tests/External attributes help page.
-
Delivery preference
Explanations for all available options can be found under the Tests/Manage tests/Delivery preference help page.
-
Survey categories
Explanations for all available options can be found under the Tests/Manage tests/Test categories help page.
-
-
Questions
Explanations for all available options can be found under the Tests/Manage tests/Questions help page.
-
Survey administration
Explanations for all available options can be found under the Tests/Manage tests/Test administration help page.
-
Survey reports
Explanations for all available options can be found under the Tests/Manage tests/Reports help page.
Training courses
-
Introduction
Training courses are sets of lessons organized into steps that include assignments (tests or surveys) and additional materials (different types of multimedia content).
On this page, users can find training courses categorized as:
-
Drafts - Training courses in the creation process, not visible to candidates and fully editable.
-
Published - Training courses that are ready for users to access. They can be further modified if necessary.
-
Suspended - Training courses that are currently unavailable to candidates. Candidates cannot start or see them on the My training courses page.
-
Click a category to open a drop-down list and view all training courses within it. Each category includes a search bar to quickly search for the desired training course.
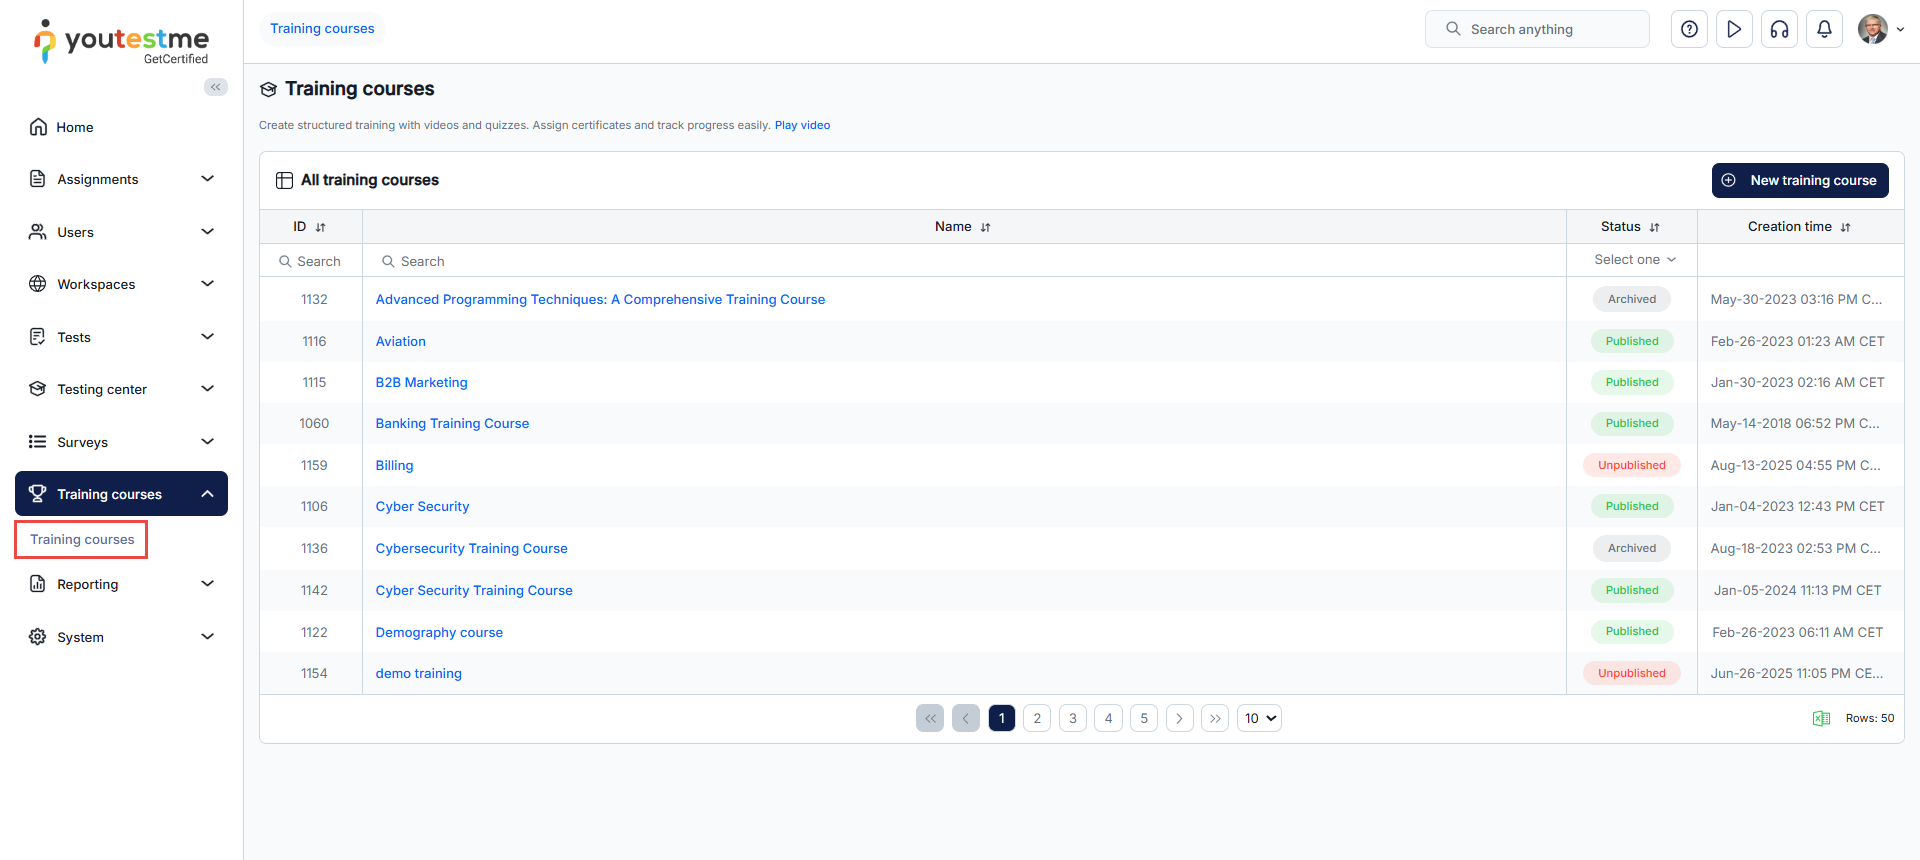
-
-
Creating a new training course
To create a new training course:
-
Click the New training course button.
-
Enter the Name of the training course.
-
Enter a Description to provide additional information about the purpose or content of the training course.
-
Select the workspace to limit access to the training course for users within that specific workspace. For more details on what workspaces are, visit the Workspaces help pages.
-
Click the Save button.
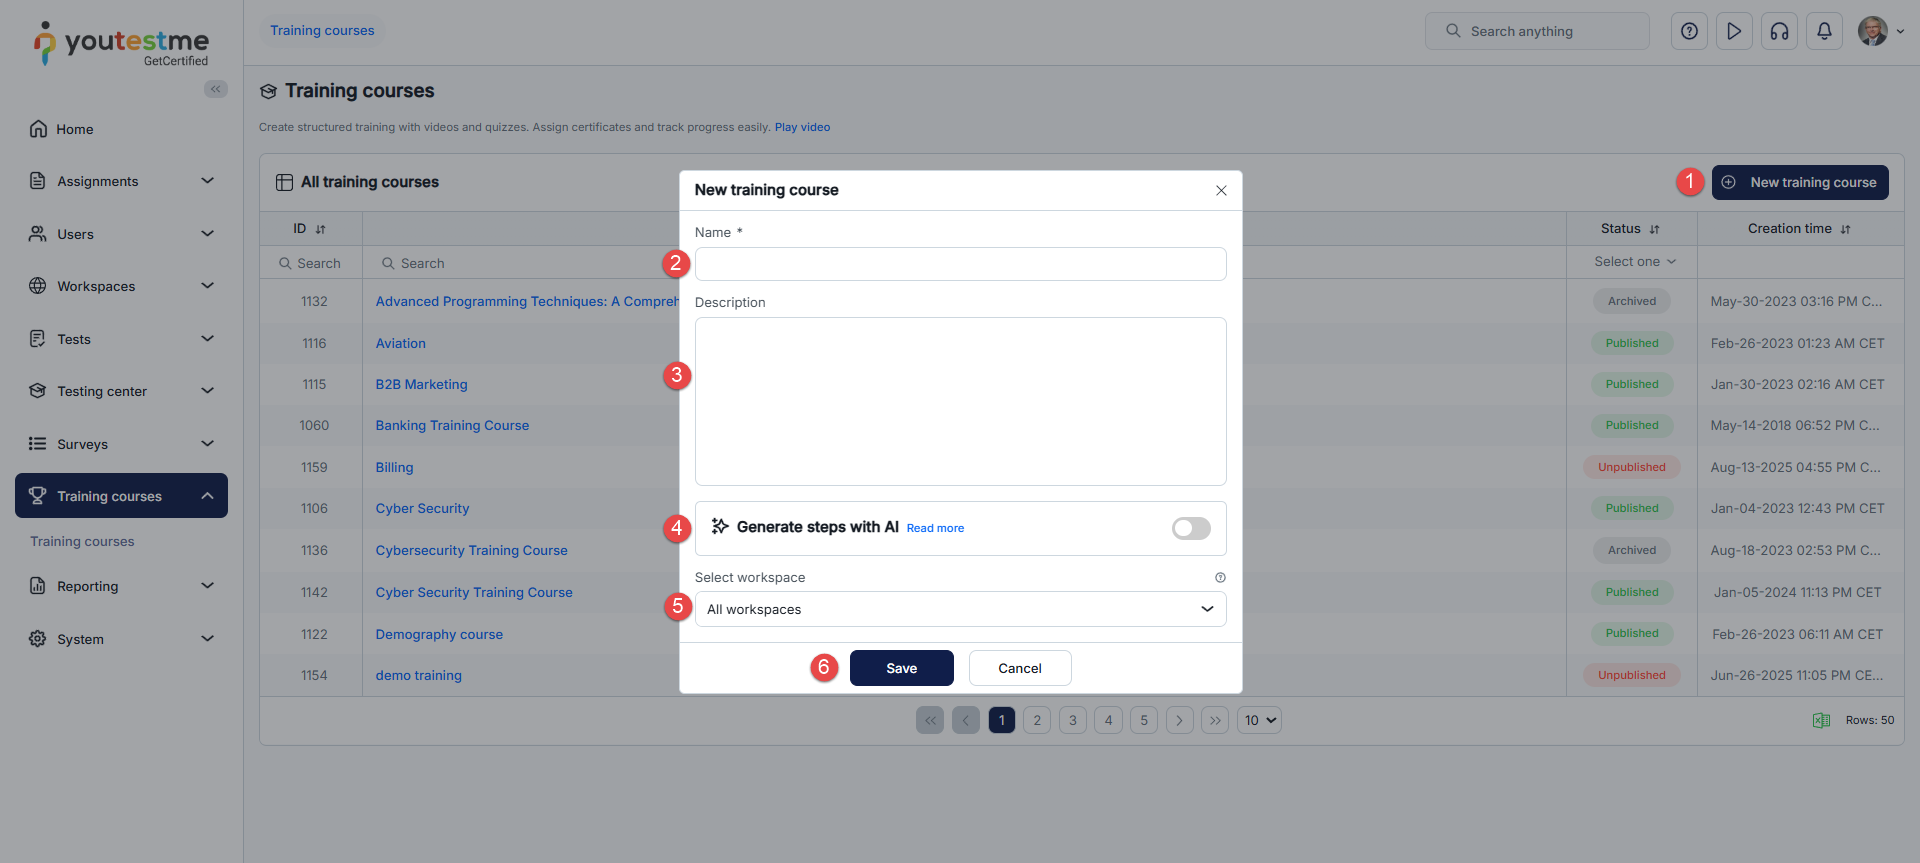
-
-
Training course overview
-
Information
When creating or opening a training course, the Information tab provides the following details:
-
Name - The name of the training course.
-
Training course ID - The unique numerical identifier of the training course.
-
Description - Additional information that explains the purpose or content of the training course.
-
Status - Current status indicating whether the course is published, suspended, or in draft state.
-
Draft - Training courses in the creation process, not visible to candidates and fully editable.
-
Published - Training courses that are ready for users to access. They can be further modified if necessary.
-
Suspended - Training courses that are currently unavailable to candidates. Candidates cannot start or see them on the My training courses page. Only published training courses can be suspended. If needed, a training course can be unsuspended, and it will regain Published status.
-
-
Select workspace - Choose a workspace to limit access to the training course for users within that specific workspace. For more details on what workspaces are, visit the Workspaces help pages.
-
Unlock all steps at once - Allow candidates to move between training course steps, even if they haven't passed the assignments. However, they can complete the training course only when they've successfully passed all the assignments for each step.
-
Self-enrollment - Enable self-enrollment for the training course, granting accessibility to all users. This allows them to start the training course without needing prior manual assignment by the training course manager.
-
-
Direct access link - Copy this link and share it with training course candidates.
When users open this link, they will be automatically redirected to the training course. If they are not logged in, they will need to register first before starting the training course. The training course must have self-enrollment enabled, or users must already be assigned to the training course. If the training course has an enrollment fee, users will not be required to pay it; instead, they will gain direct access to the training course.
Users will not be able to access the training course using the direct link if:
-
The training course with the ID in the direct access link does not exist.
-
The training course is not published.
-
The training course is not in self-enrollment mode and the user is not already a candidate of the training course.
-
-
Require manager's completion - Prevent candidates from finishing the training course themselves. Instead, training course managers are responsible for completing the training on behalf of the candidates.
-
Require confirmation for attachment review - Require candidates to confirm they have reviewed attachments before proceeding to the next training course step. The confirmation dialog appears only in steps that include attachments. For more information, check this article.
-
Hide assignment metadata - Simplify the My training courses page by displaying only essential information needed to start the training course. Exclude details such as assignment type, steps, and other non-essential information.
-
Created by - Displays the name of the user who created the training course.
-
Creation date - Displays the date and time when the training course was created.
-
Updated by - Displays the name of the user who updated the training course.
-
Update time - Displays the date and time when the training course was updated.
-
When you edit any of these details, the Save button will appear, and you must click it to confirm the changes.
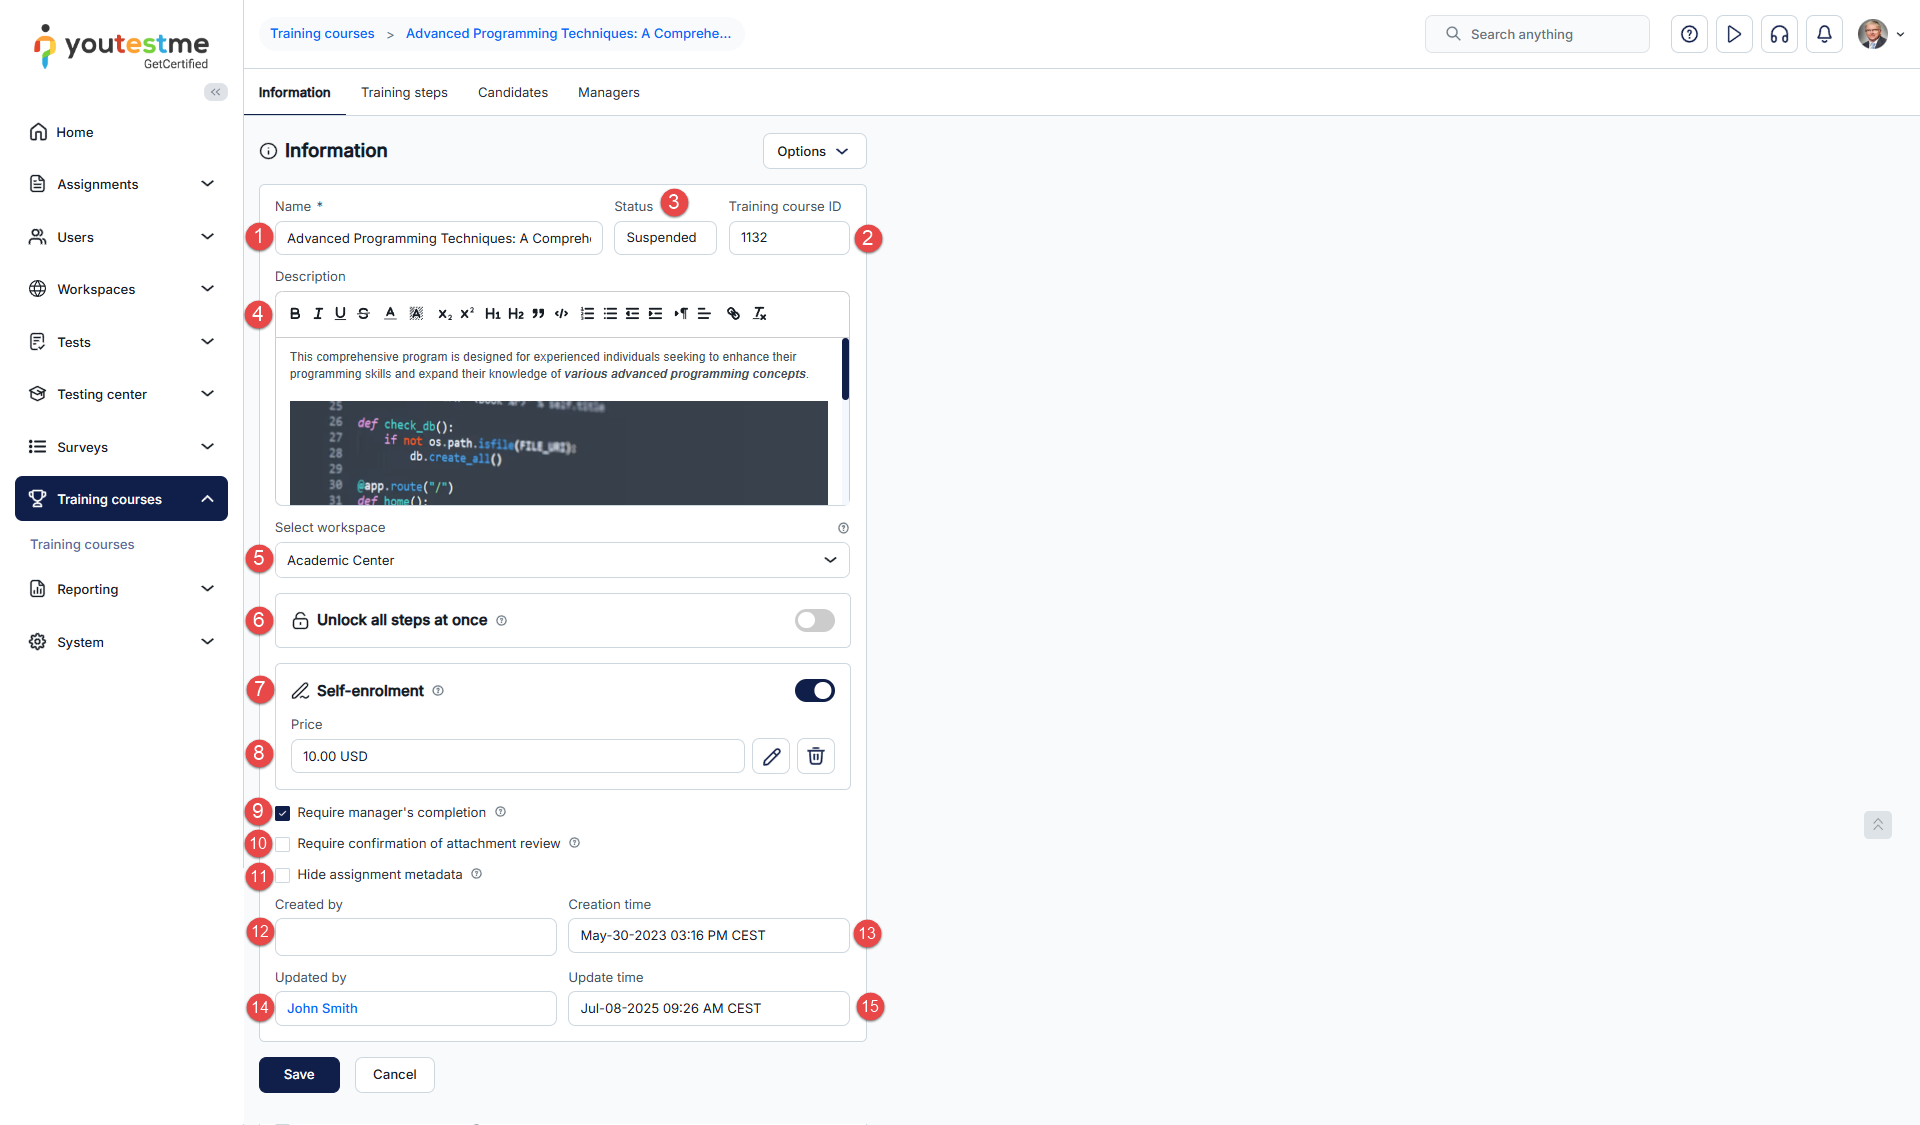
-
-
Training steps
Candidates must pass each training course step to complete the training course. Each training course step may include an assignment (test or survey) and attachments (training course materials).
On this tab:
-
Click the Create new button to create a new training course step.
-
When the pop-up window appears, enter the Training course step name.
-
Provide additional information about the step in the Description field. Use the rich-text editor to format the content and add elements such as links, images, tables, and other supported media.
-
Specify the ordinal number for the step. By default, the new step is added at the end.
-
Click the Save button to create the training course step.
-
Select the Generate steps with AI button to generate training course steps automatically. For more information, refer to this article.
-
Add a test in the training course step that candidates must pass to proceed to the next step. For more information on how to Assign existing test or Create an ad hoc test, check this article.
-
Add a survey in the training course step that candidates must complete to proceed to the next step.
-
Adjust training course Settings:
-
Edit step metadata, including the training course step name, description, and ordinal number. Use the rich-text editor to format the description and add supported content.
-
Add different types of attachments, such as MP4, MP3, PDF, Google Docs, .ZIP, YouTube video, Vimeo video, Link, or Picture. The file size limit is 1 GB. For more information, check this article.
-
Import already existing attachments from the media library. For more information, check this article.
-
Delete the training course step permanently.
-
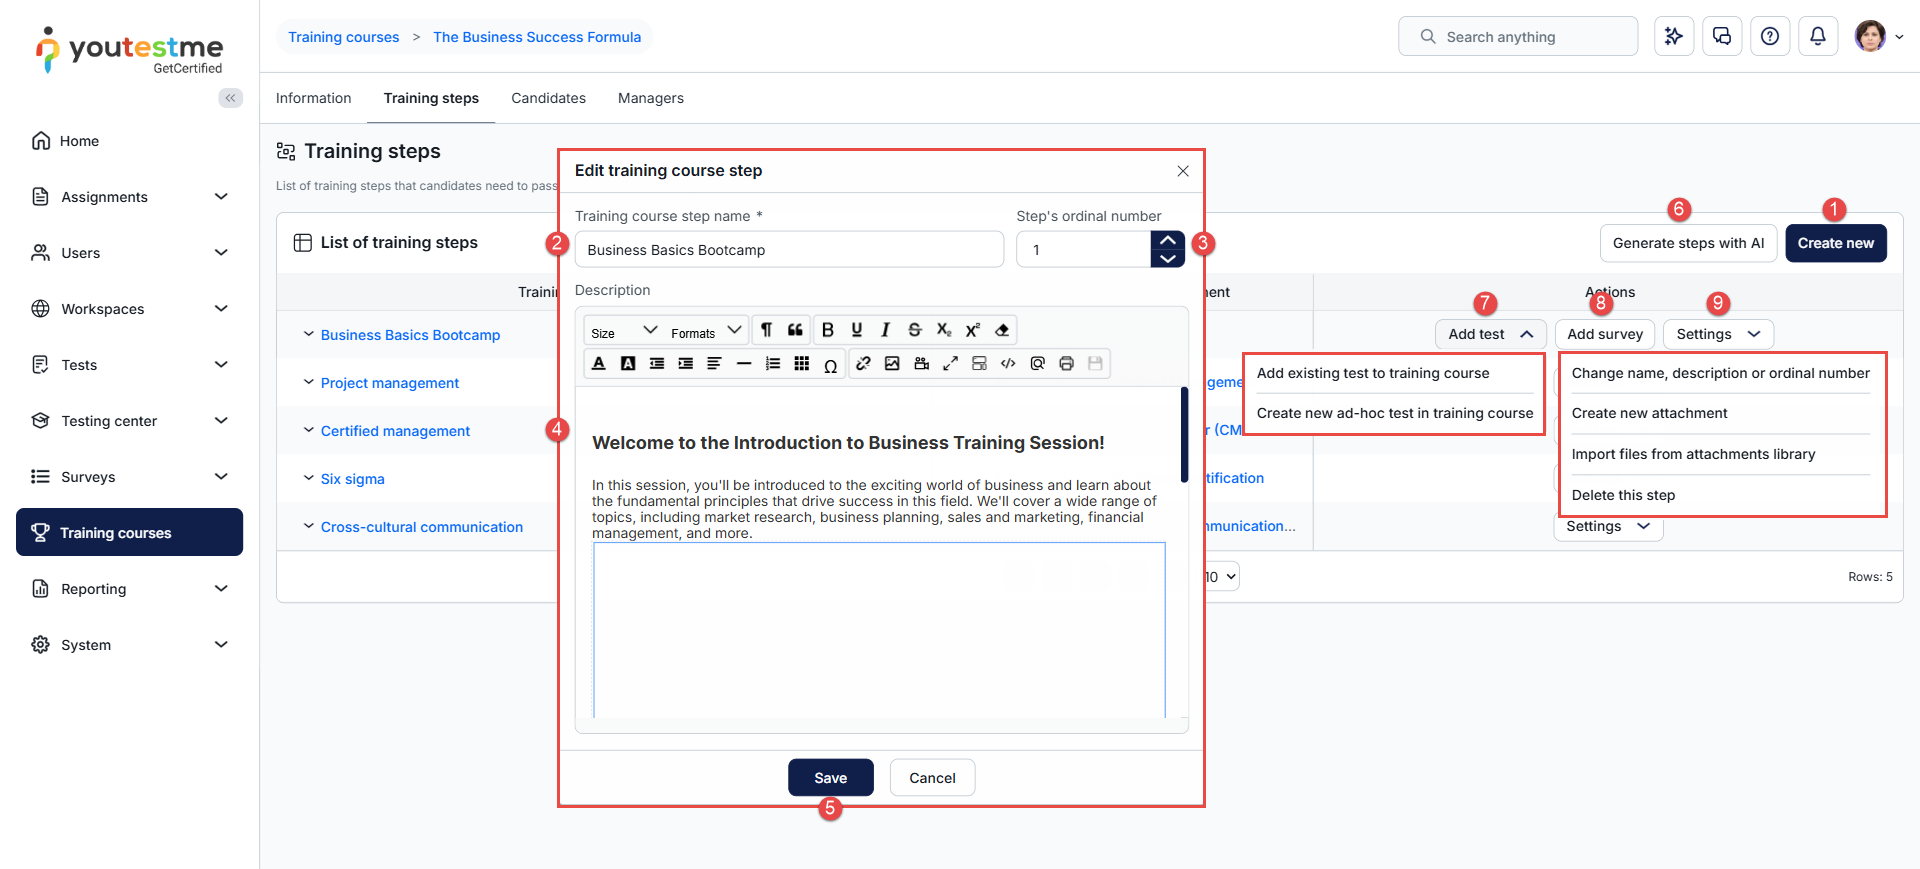
For attachments in training course steps, the following actions are available:
-
Preview the attachment.
-
Download the attachment.
-
Copy the attachment URL to embed attachments in training course step descriptions, instead of adding them separately. For more information on embedding attachments in descriptions, refer to this article.
-
Delete the attachment from the training course step.
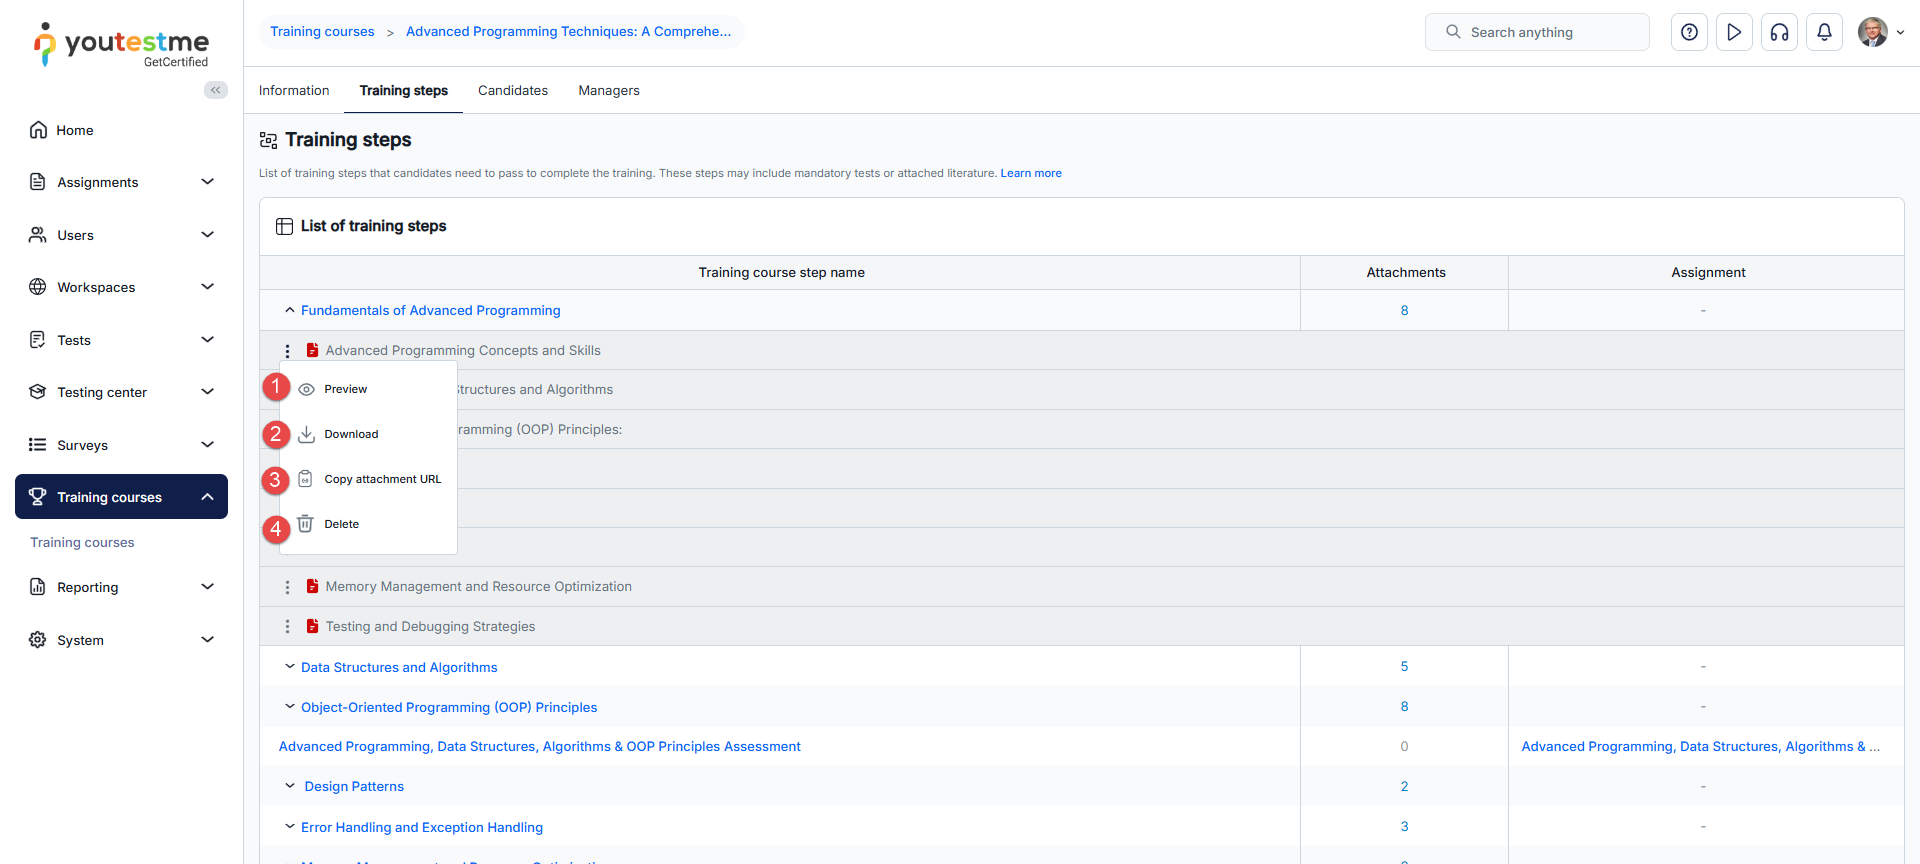
-
-
Candidates
On the Candidates tab, you can assign candidates to the training course or manage those already assigned.
To assign candidates to the training course:
-
Click the Assign candidates button. Choose users from the list of all users or specifically from your user groups.
-
If assigning candidates from your user groups, select a user group from which you want to assign candidates. Note that this field does not exist if assigning candidates from a list of all users.
-
Select the candidates you want to assign.
-
Click the Confirm button.
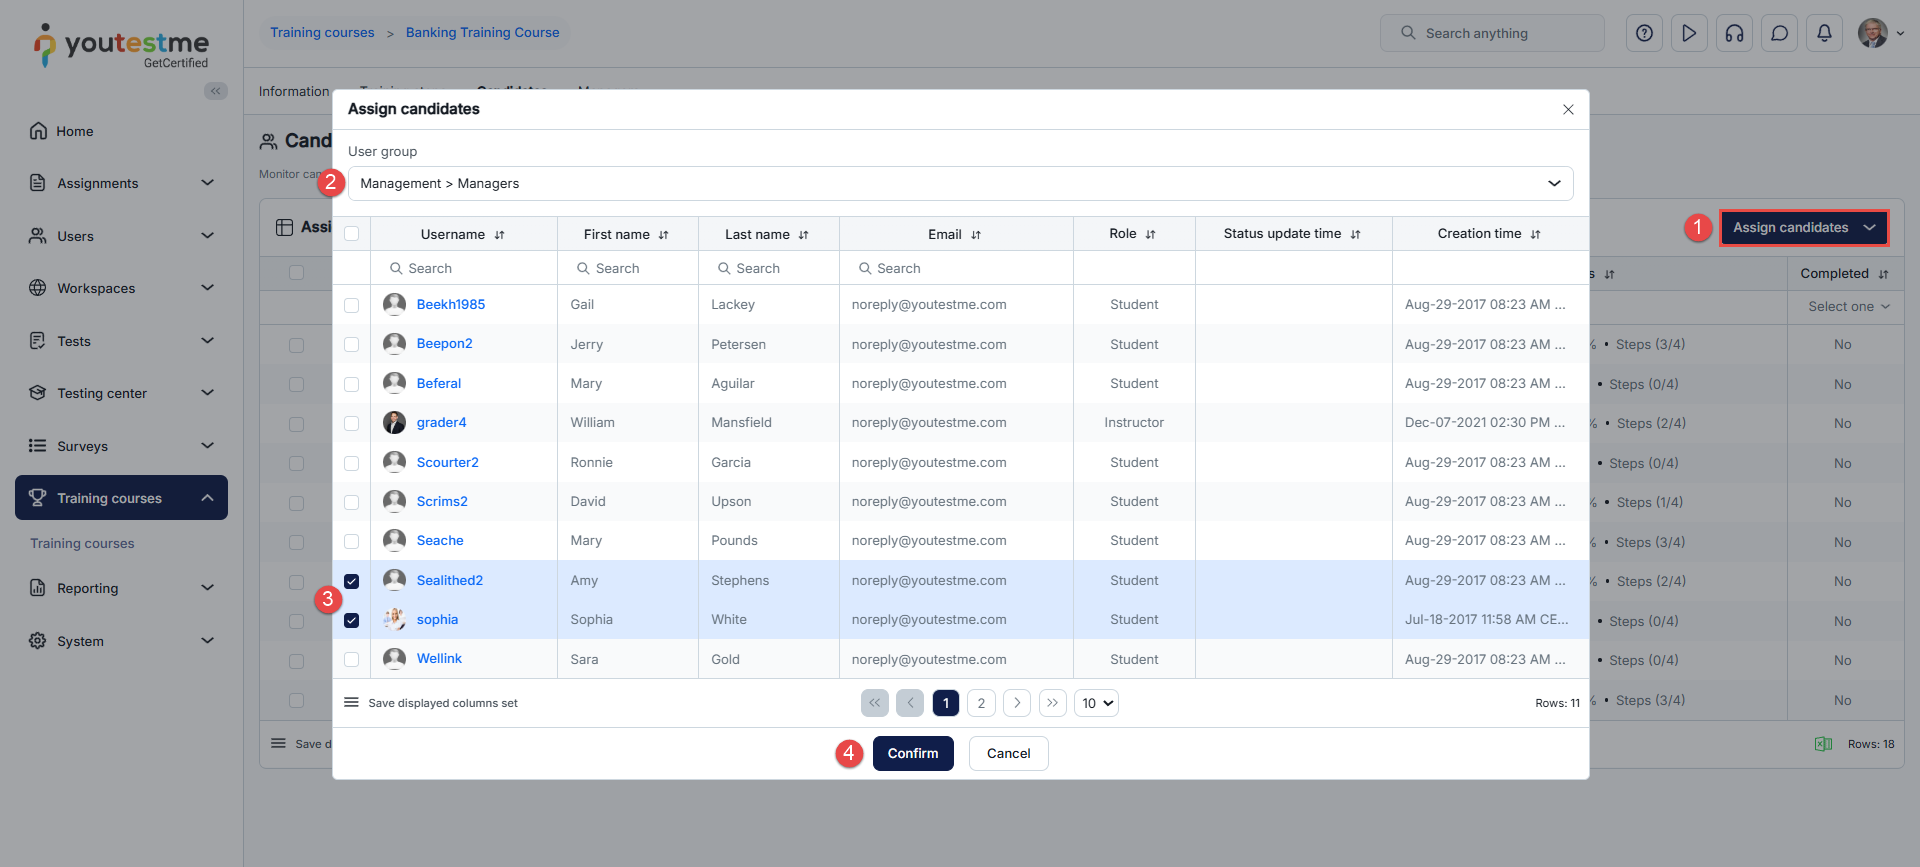
Specific actions can only be performed for already assigned candidates. Select the candidates, click the Actions button, and then:
-
Remove the selected users from the list of training course candidates. They will no longer have access to the training course on the "My Training Courses" page and won't be able to take it.
-
Change the candidate's assignment status to indicate they haven't completed the training course, even if the status was previously marked as Completed.
-
Move the candidate to a specific training course step, regardless of their progress. If the step includes assignments, the candidate will be moved to the chosen step, even if they haven't completed it.
-
Complete the training course on behalf of the selected candidates who have reached the final step and completed all the assignments within the training course.
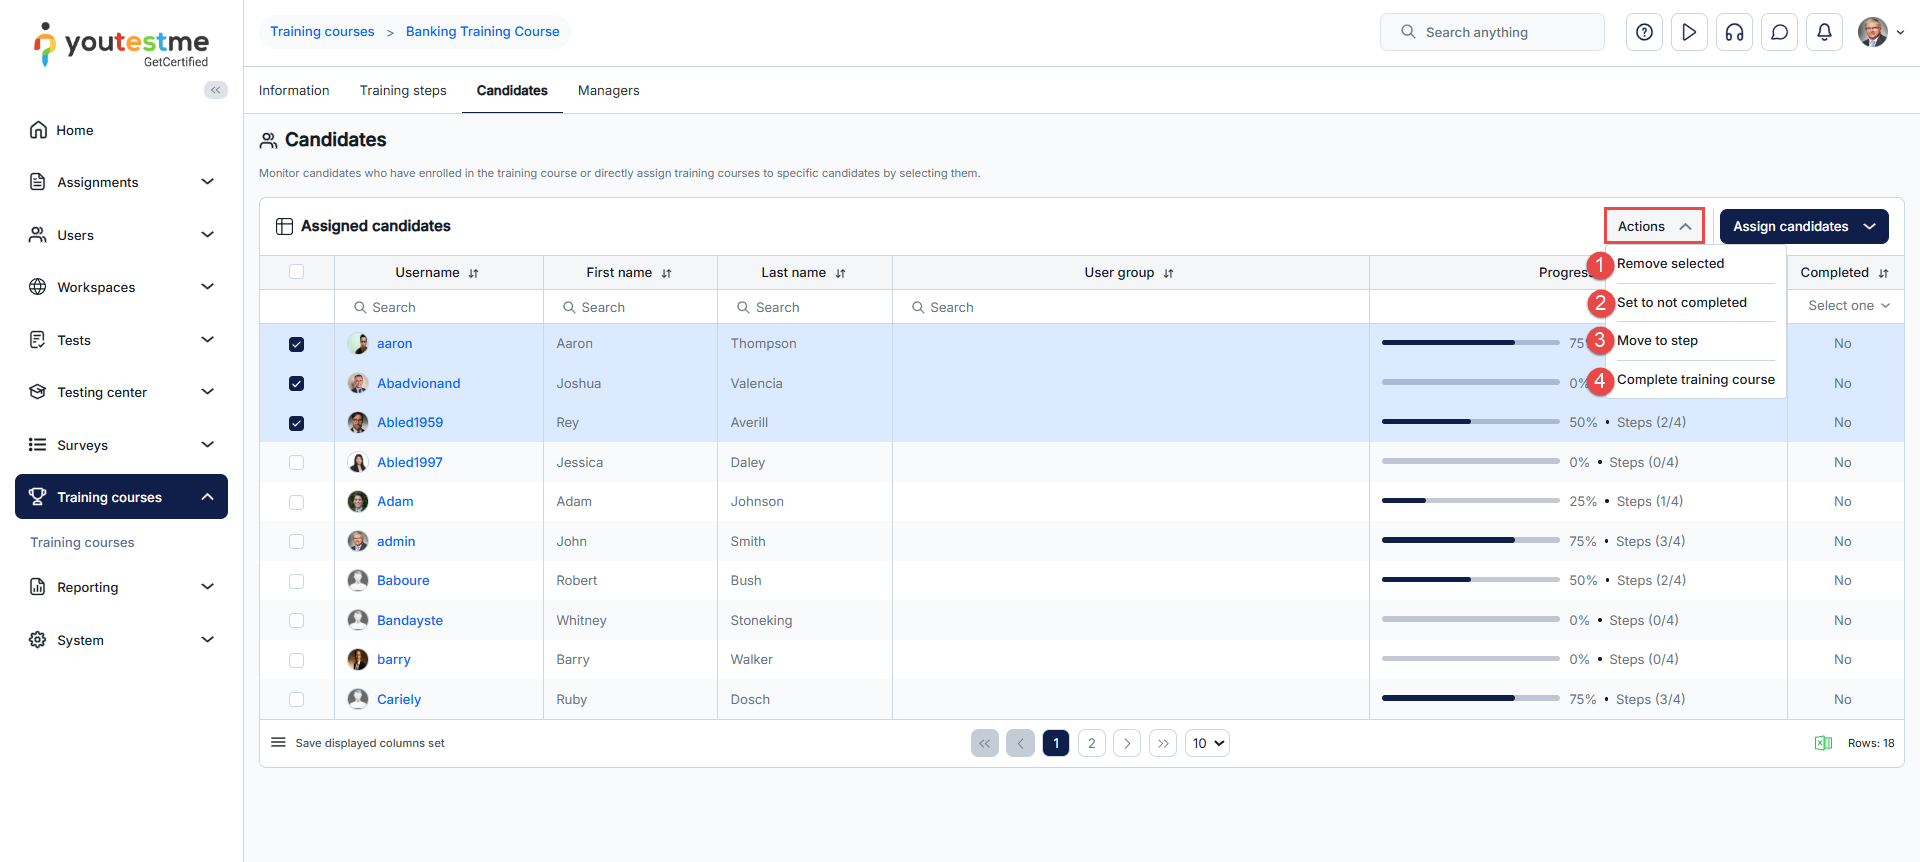
-
-
Managers
Use the Managers tab to assign users as managers with full editing rights for the training course. The training course creator is automatically assigned as the manager, but they can also delegate these privileges to others.
On the Managers tab, you can:
-
Click the Assign managers button to add training course managers. Choose users from the list of all users or specifically from your user groups.
-
Remove the user from the list of training course managers.
-
Switch to view the list of course managers in a table format.
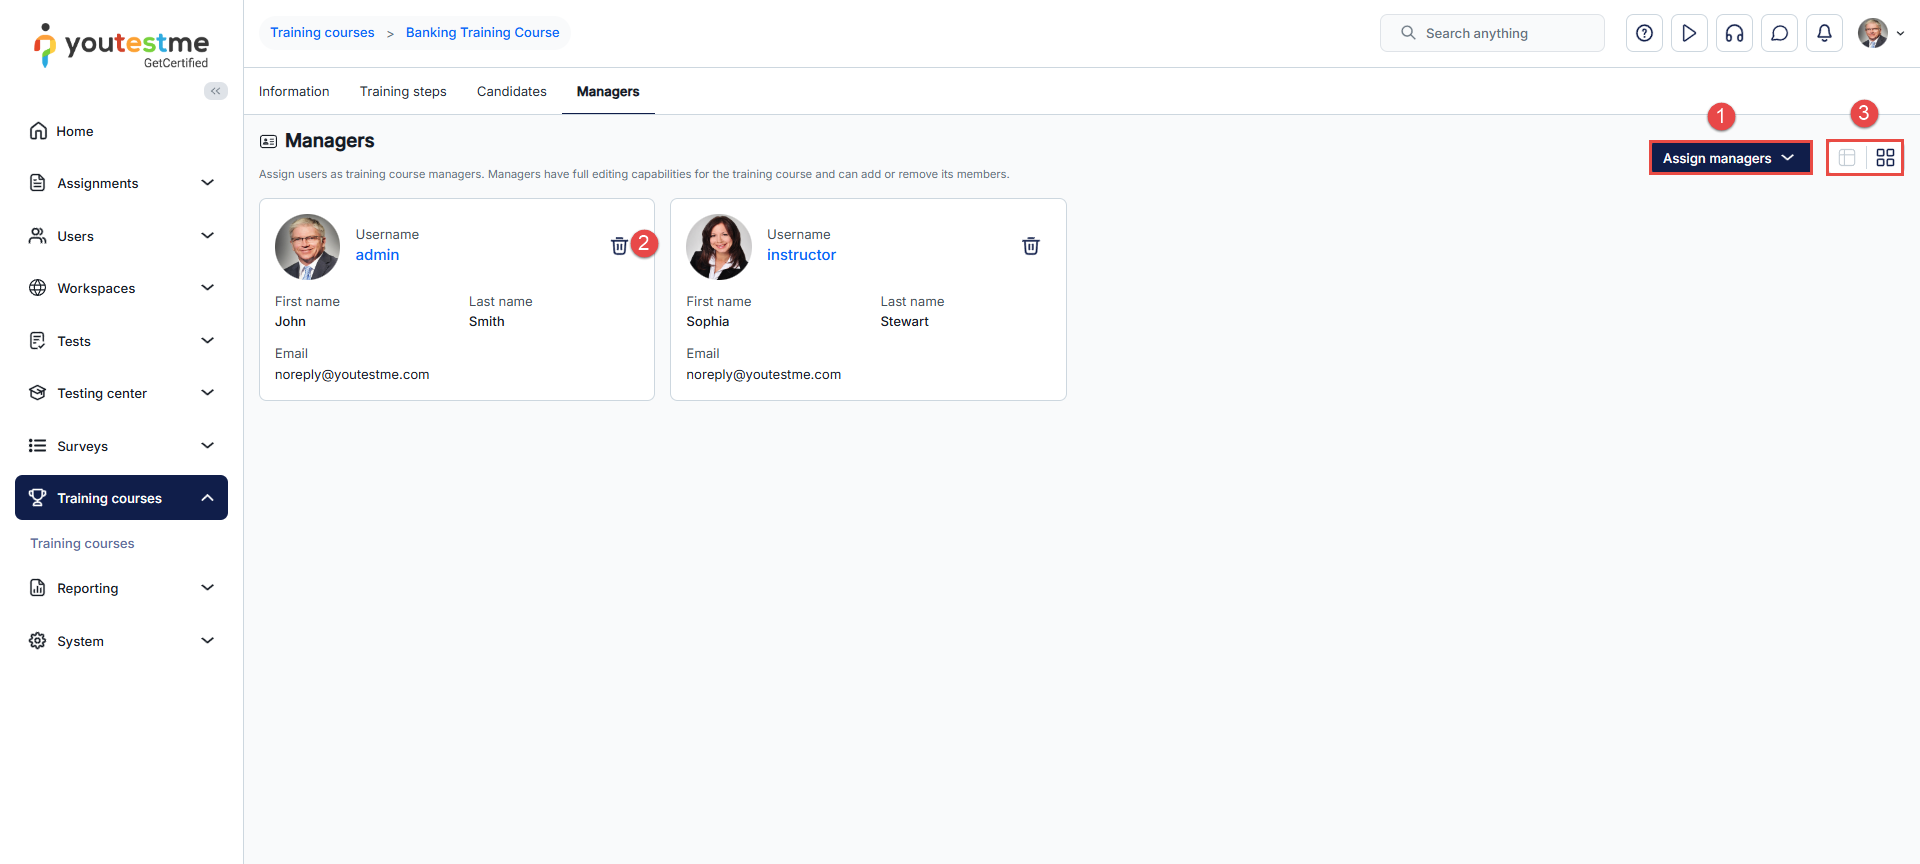
-
-
-
Publishing/suspending/deleting training courses
-
After completing the training course creation, click the Publish button to allow access to the training course. Candidates assigned to the training course can start it by accessing it through the My Training Courses page, and others can self-enroll if allowed.
-
To permanently delete a training course, click Delete training course under Options. All training course content and the candidate's progress will be removed from the system.
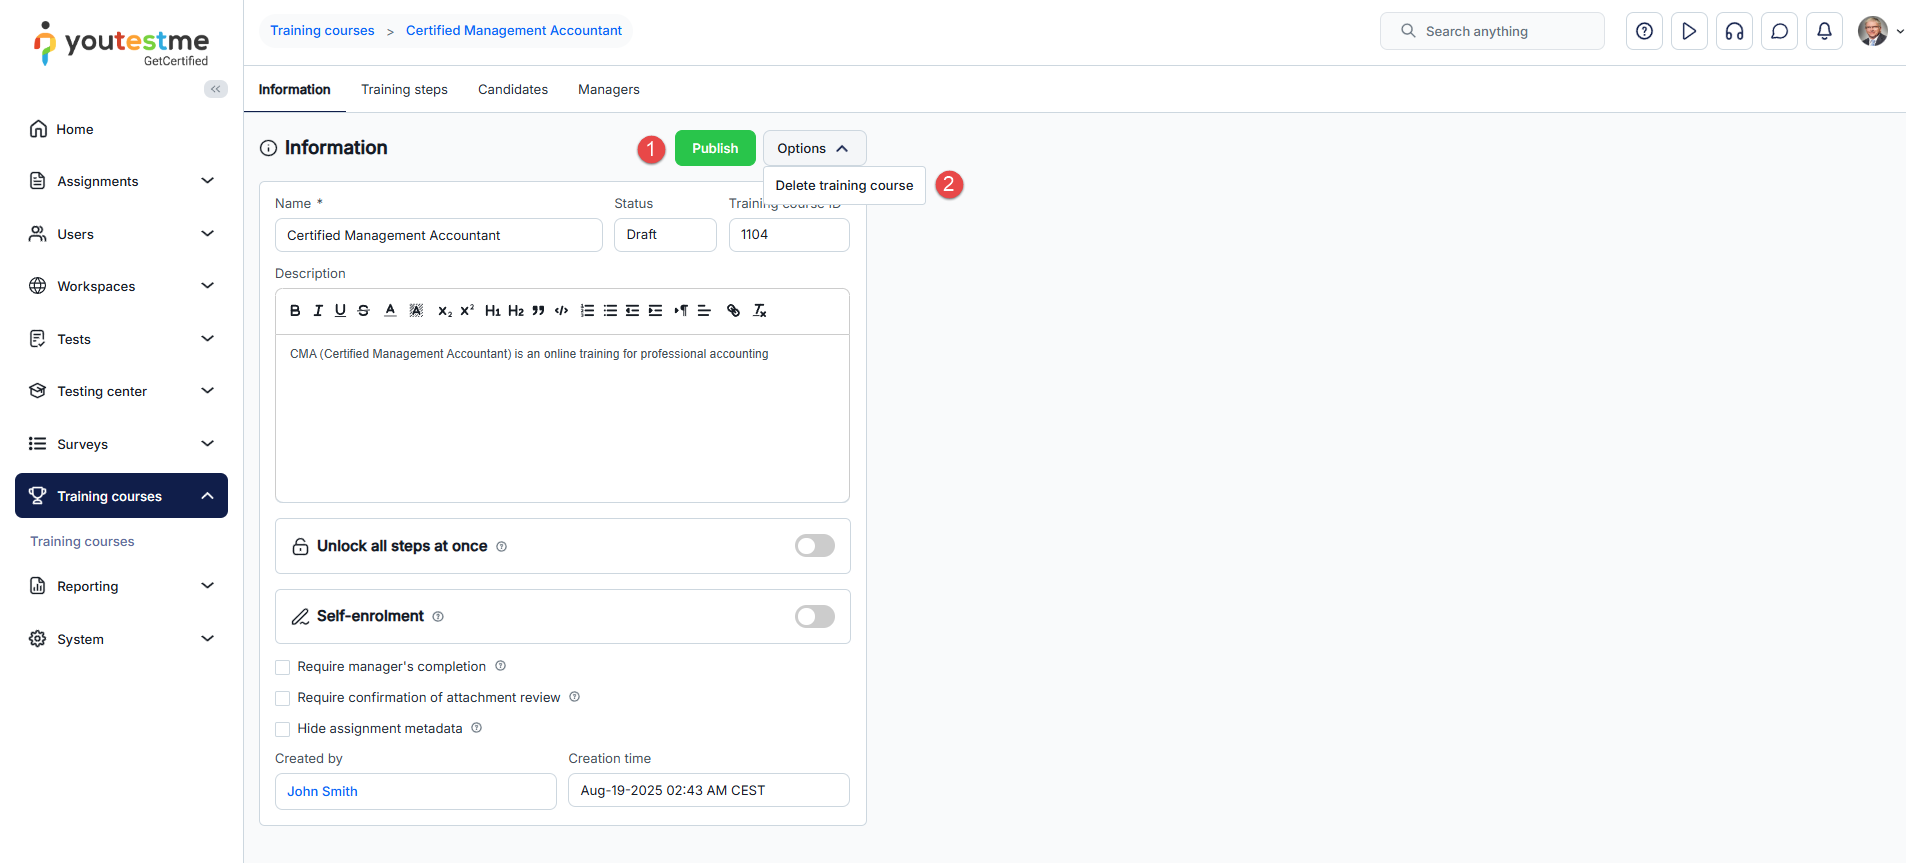
You can suspend any published training course:
-
Click the Options button.
-
Click the Suspend training course option.
Training courses with the status Suspended are currently unavailable to candidates. Candidates cannot start or see them on the My training courses page.
Note: You can unsuspend a training course, allowing candidates to access it again, by selecting Unsuspend training course under the Options.
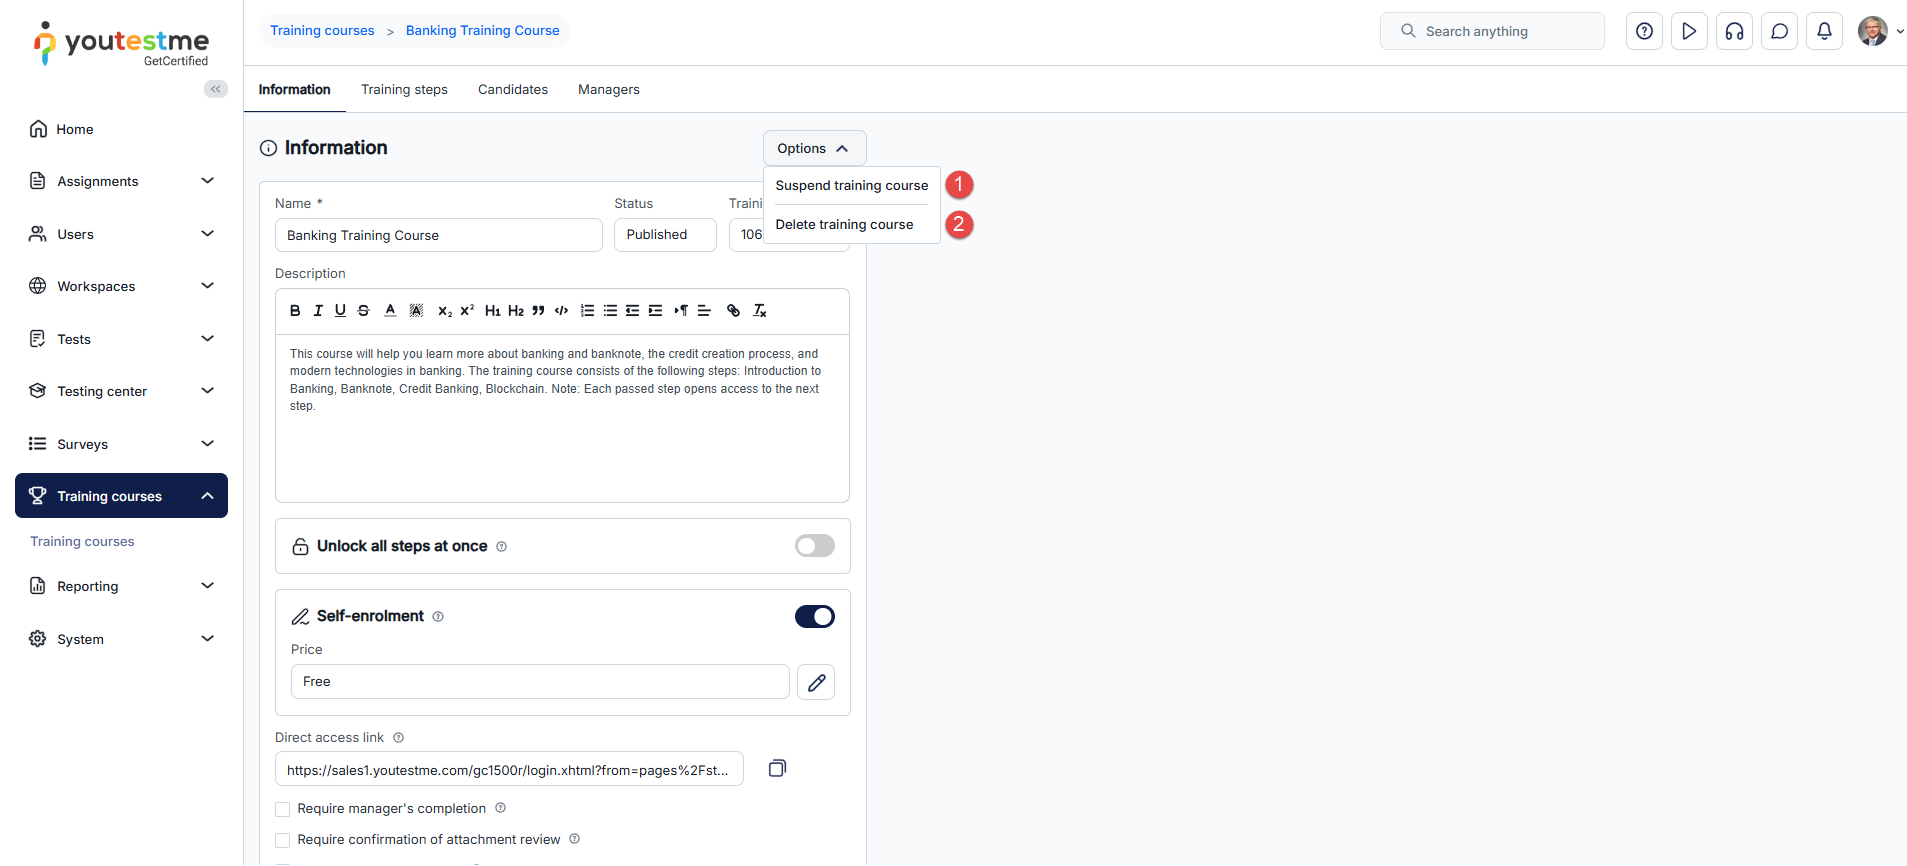
-
Report builder
-
Introduction
The Report builder module enables users to create customized reports based on data collected during the testing process. Users can generate unique reports by utilizing advanced search filters to analyze test or survey statistics, compare items, or delve into individual items in detail.
To access the page, users are required to have "Access Report builder" permission.
This feature is accessible from the Reporting section in the left-side menu and supports the creation of reports for tests and surveys.
On this page, you can:
-
Switch to display Tests or Surveys you can create the report for.
-
Filter the list of tests and surveys.
-
Show archived tests/surveys in the list.
-
Filter the list of tests/surveys to display only those created within the selected timeframe.
Click the Apply button to filter data, or Clear filters by clicking the corresponding button.
-
-
Select the test or survey name from the table to create a report.
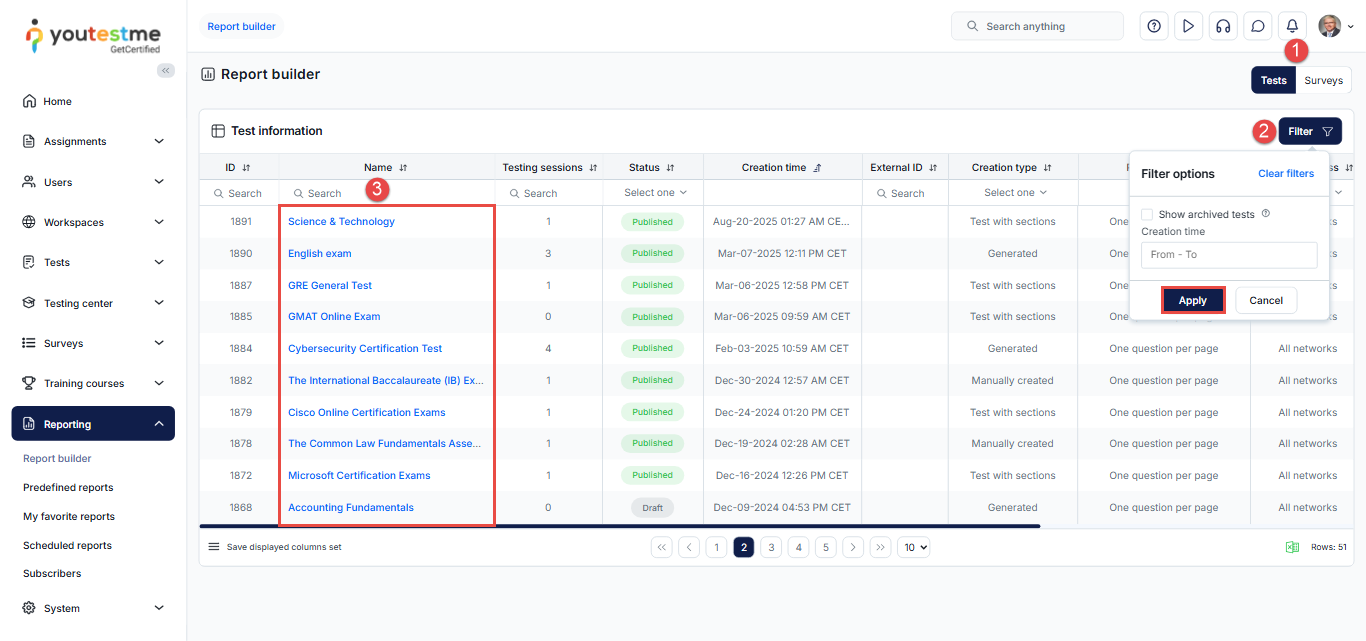
-
-
Report builder
On this tab, you can:
-
Load report column configurations from one of the previously saved report templates.
-
Manually select the columns you want to display in the report. Each selected option will be featured as a column in the report table.
-
Check the Group columns option to group similar headers under parent columns. For example, all columns about user information will be grouped under the parent column named User.
-
Edit column titles. In the Custom title column, enter a new name for the column you want to change, then click the Save button.
-
Use advanced search to build structured queries to generate custom reports.
-
See aggregated results for multiple test sections by creating a Test sections group. This option is available for tests with sections only.
-
Save a New report template. Click the Save as button, then select New report template. Enter the name of the template and save it. Once saved, you can quickly load the template and generate the report, instead of manually choosing each option one by one.
-
Update Existing report template. Click the Save as button, then select Existing report template. Choose the desired report Template you want to update. If the selected template is already loaded, that template will be chosen by default.
If you want, you can change the name of the selected template by editing the Name field, then click Save. -
Click the Display report button to generate a report based on the chosen report configuration. The test/survey report and table with the columns you selected will open. Click the Back to report builder button to return to the Report builder tab.
Note: If you want to save the report configuration as a new or existing template, please note that only report columns will be saved. Advanced search queries and test section group configurations will not be saved.
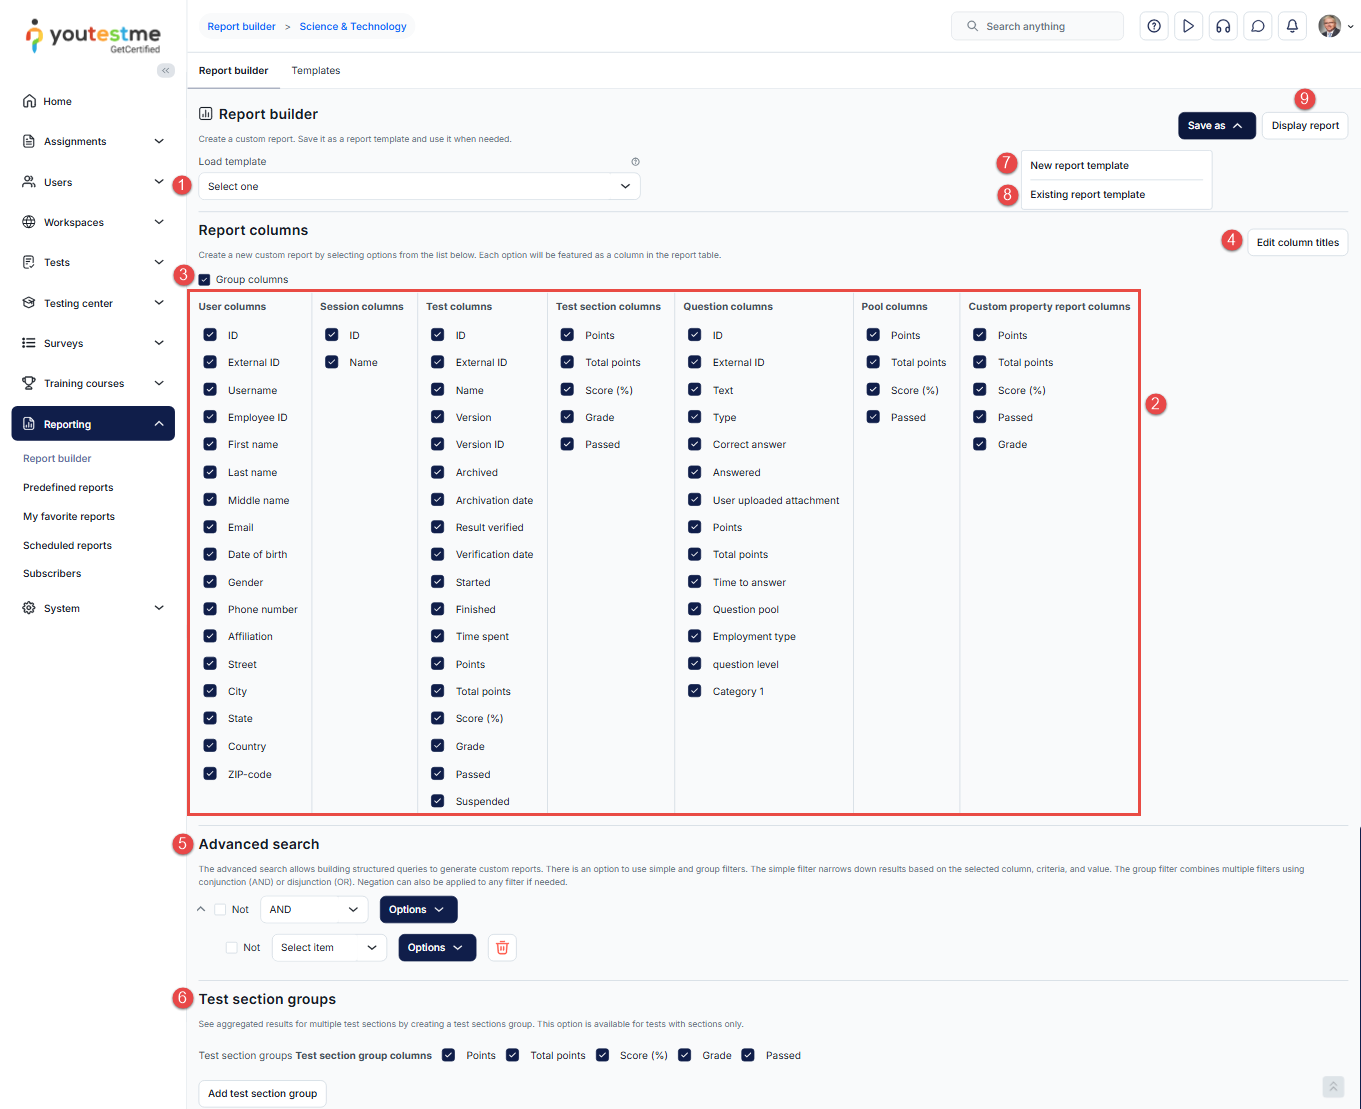
-
Advanced search
The Advanced search feature enables you to create specific, structured queries using filters. The Simple filter allows you to display results based on specific columns, criteria, and values. The Group filter enables you to combine multiple filters using AND or OR operators, and you can also apply negation to any filter.
Below, you can see an example of how to view only suspended test attempts:
-
Check the columns represented in the screenshot below.
-
Set values for the query as shown.
-
Click the Display report button.
Note: Follow the same steps to apply advanced search for other columns. Check the columns you need and define conditions according to your preference.
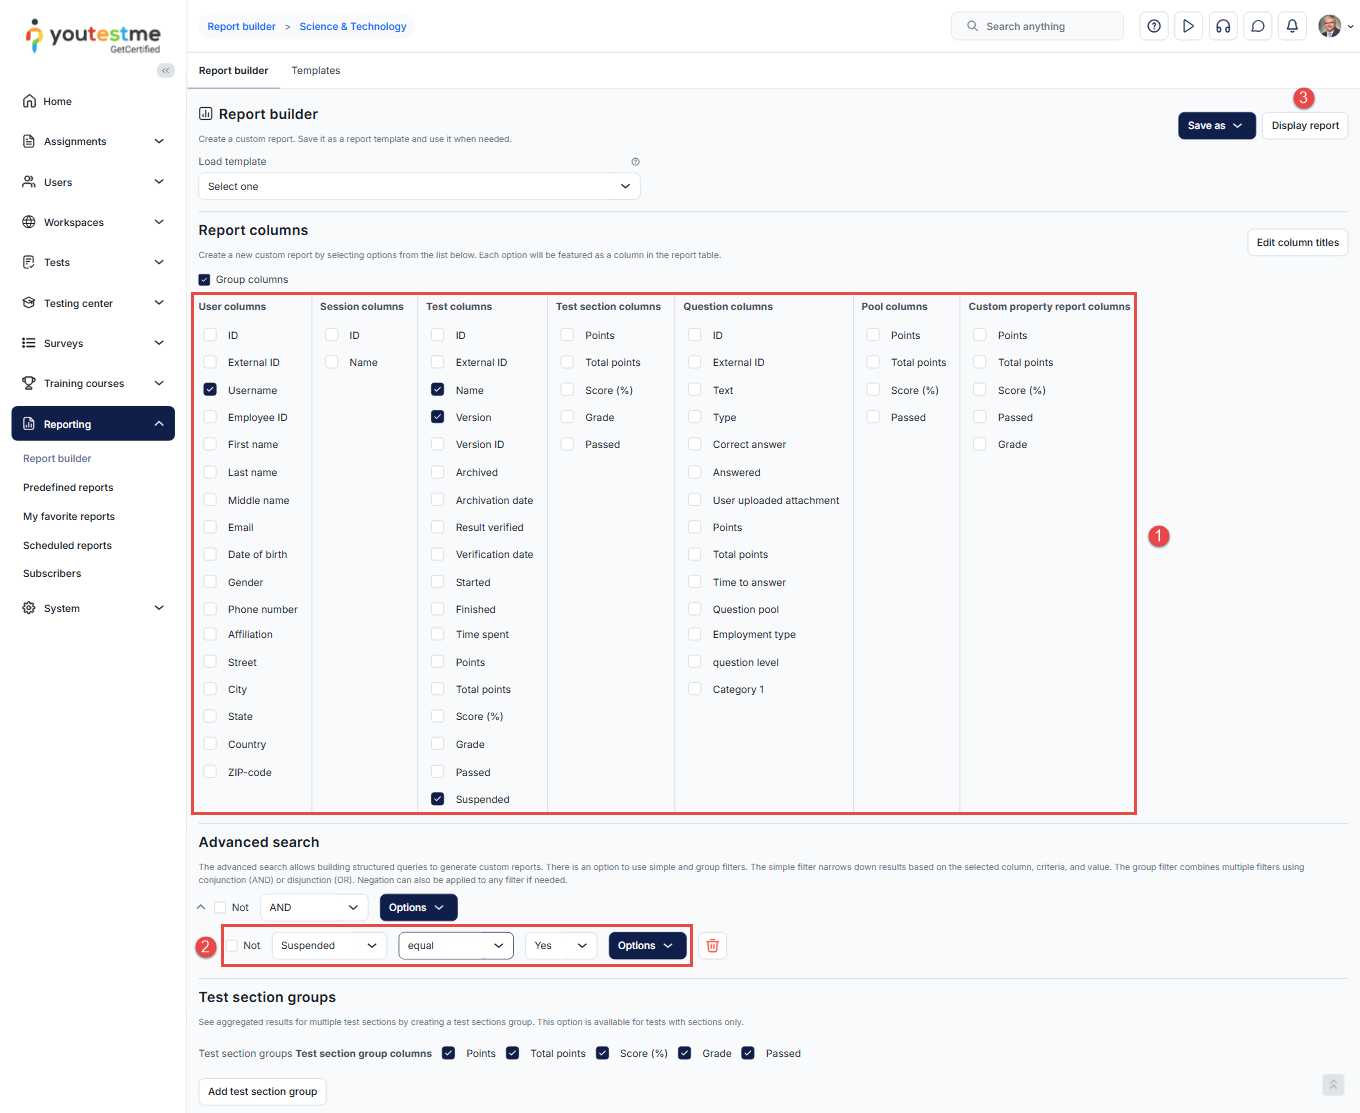
Now, you can see only the suspended test attempts.
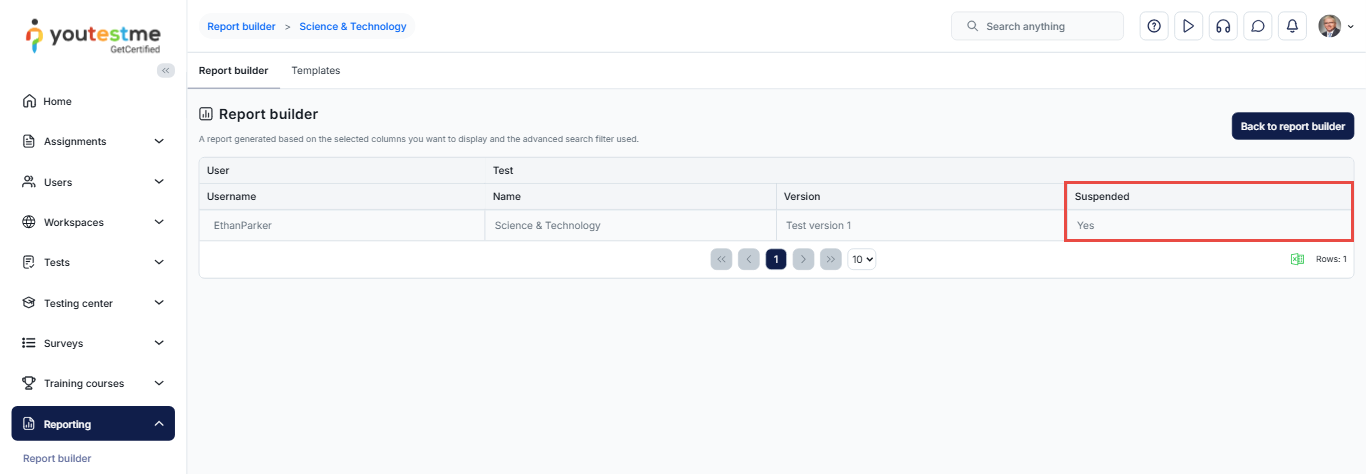
-
-
Test section groups
This feature allows you to see aggregated results for multiple test sections by creating test section groups. This option is available only for tests with sections.
To see aggregated results for multiple test sections by creating a test sections group, do the following:
-
Choose the options from the list to be displayed in the report. Each selected option will appear as a column in the report table.
-
Select the options from the list to be displayed in the report.
-
Click the Add section group button.
Note: You can add as many section groups as you want.
-
Enter the Test section group name.
-
Choose the Test sections for which you want to see the aggregated results.
-
You can choose a Grading scale for each section group to present results as grades.
-
Set Passing mark za section group. Based on this passing mark, the section group will be considered passed or failed, and the result will be displayed in the Passed column.
-
Make the passing mark inclusive so that the section group will be considered passed if the result is greater than or equal to the passing mark.
-
Click Display report to see aggregated results.
-
Click the corresponding icon if you want to remove test section groups.
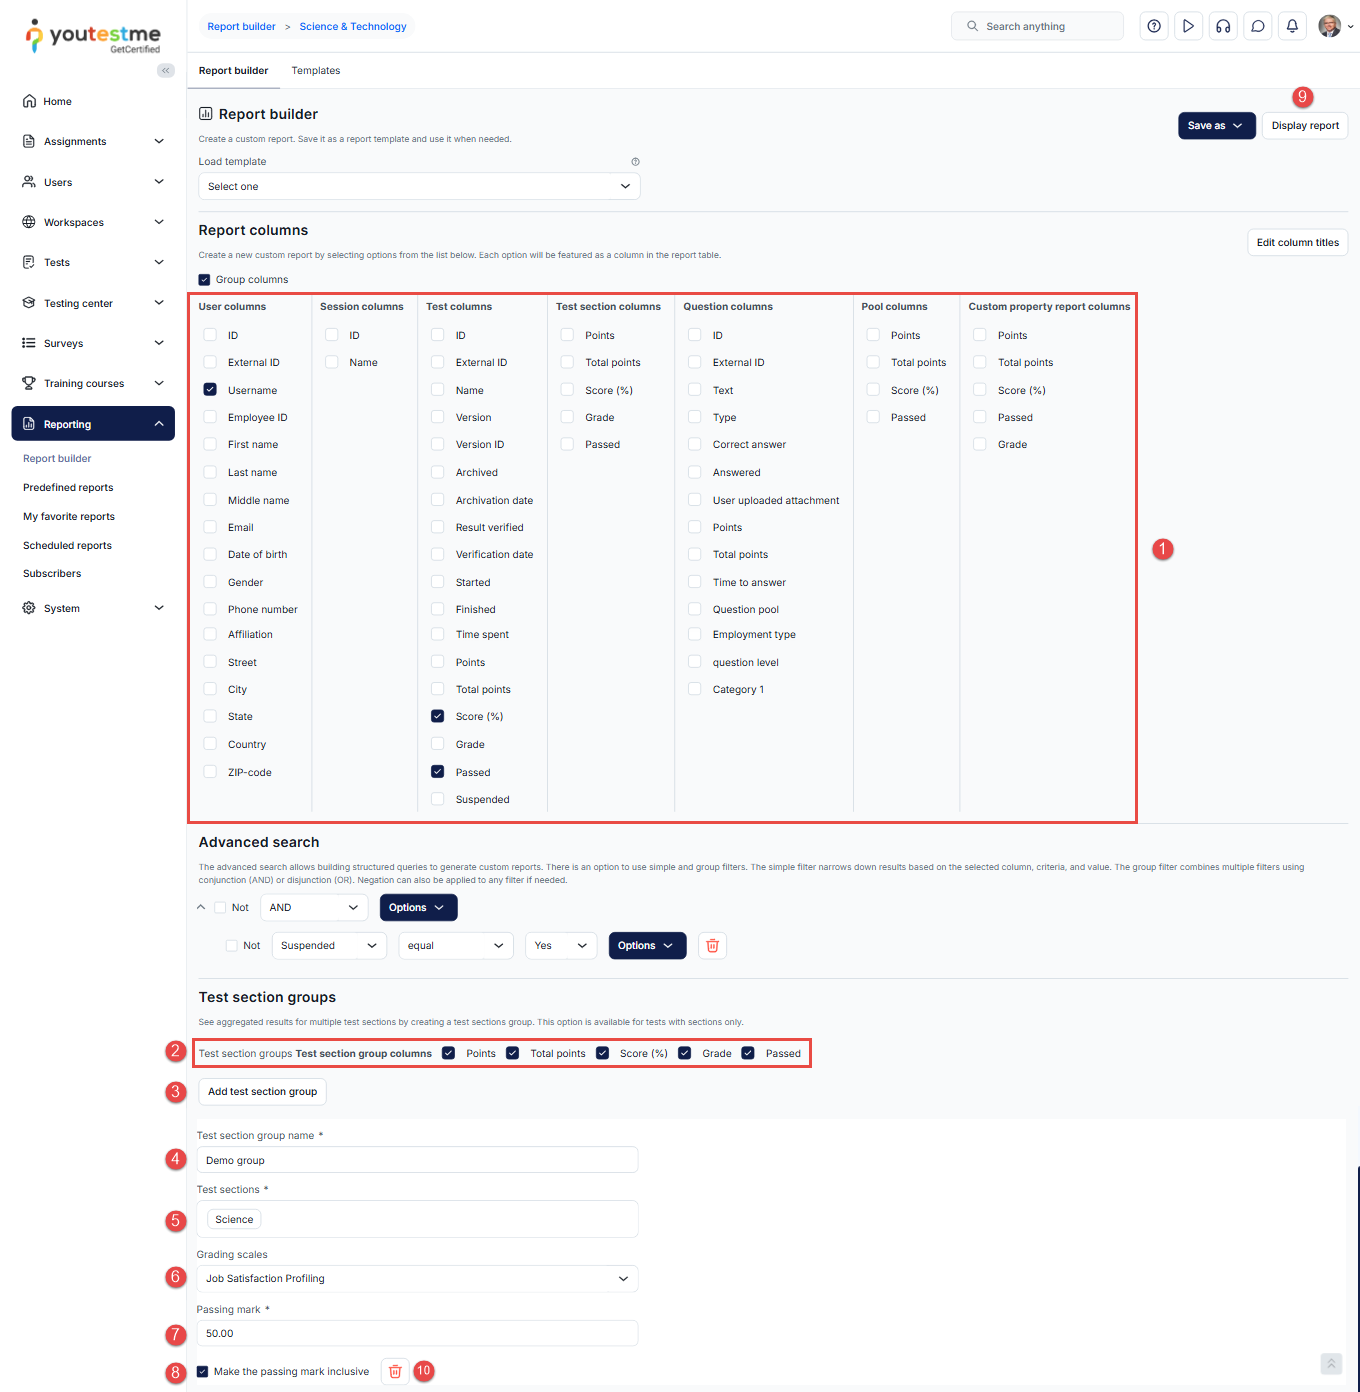
By clicking the Display report button, you can see aggregated results for the section groups you defined.
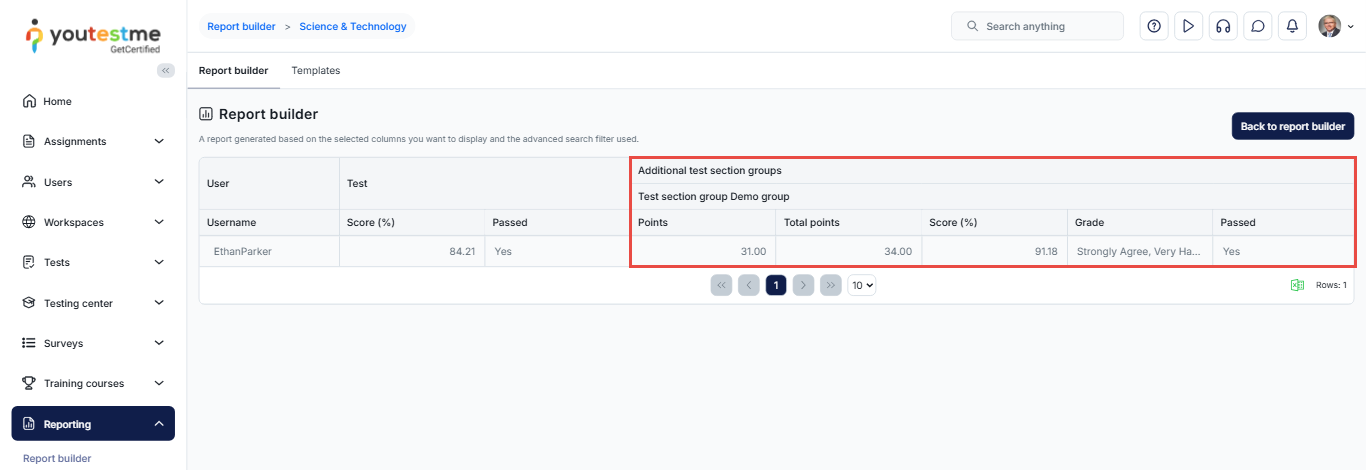
-
-
-
Templates
On this tab, you can view all saved report templates.
-
Click the Apply button to use the template and generate a report.
-
Click the Edit button to change the report template name.
-
Click the Delete button to permanently remove the report template from the system.
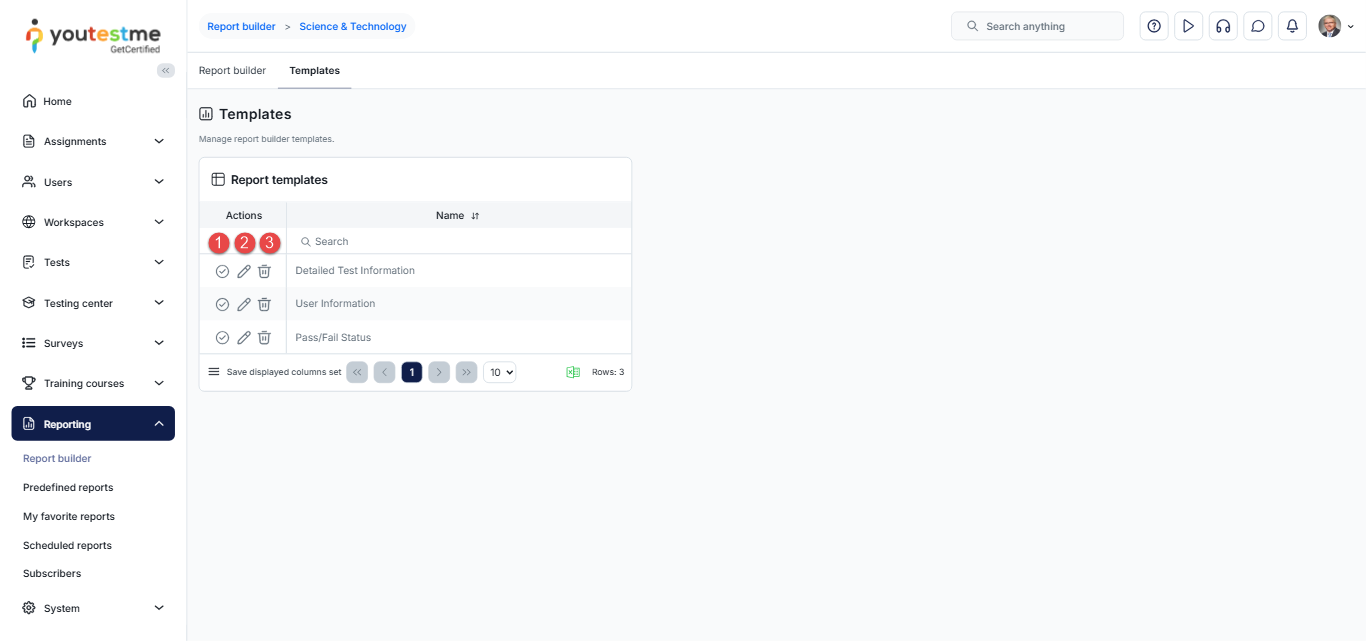
-
Predefined reports
-
Introduction
On the Predefined reports page, you'll find various report categories that contain pre-created reports. Navigate to the Reporting section in the main menu and select Predefined Reports. Users can select a predefined report that best suits their needs, eliminating the need to create a report from scratch.
To access predefined reports, a user must have report access allowed at their user role level. The page showcases report categories based on users' access permissions, ensuring visibility only for authorized content.
Report categories:
-
User reports - Information about users, including personal details, audit trail activities, test and survey results, achieved certificates, and participation in training courses. User activity can be reviewed using the User activity log for the past 30 days report, which includes the current day, or the User activity log for the past 365 days report, which displays activity from the previous 365 days, excluding the current day.
-
Test reports - Details on tests, covering basic information, item reliability, test results, and more.
-
Pool reports - Insights into question statistics and feedback at a pool level.
-
Survey reports - Information about surveys, including basic details, grading scale labels, and their frequencies.
-
User group reports - In-depth insights into user details, encompassing basic information, group affiliations, and detailed breakdowns of survey and test attempts.
-
Training course reports - Comprehensive information about training courses, including basic details, participant information, and progress tracking.
-
Question reports - Details about questions used in tests and surveys, including categorization by difficulty, type, creation details, and the average duration of each question in tests with the Time per question option enabled.
-
Usage reports - Essential metrics for monitoring application usage, including the number of active and concurrent users, spent proctoring minutes, and more.
-
Workspace reports - Insights into the number of entities per workspace, covering tests, surveys, training courses, user groups, question categories, and test and survey pools.
-
User access reports - Reports for key system modules, illustrating the criteria (such as user role, workspace role, entity manager, etc.) determining a user's ability to access and manage each module.
On this page, you can:
-
Click the report category name to open the list of all related reports.
-
See the number of reports related to a specific category.
-
View basic aggregated information for a specific report category.
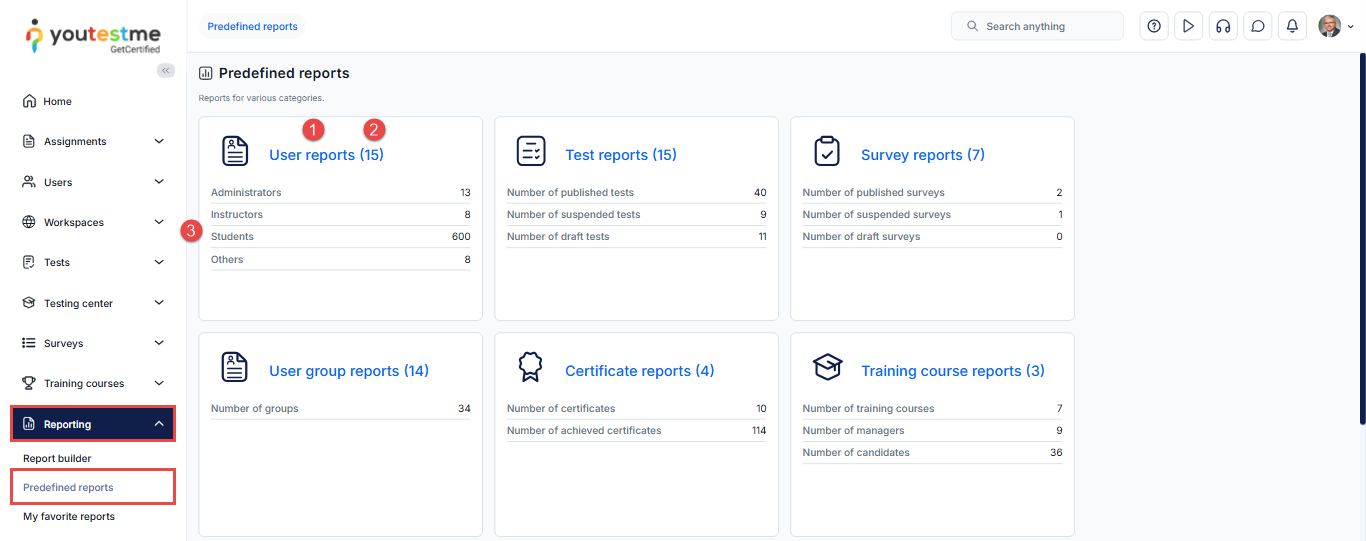
-
-
Accessing reports
Choose a report category and click to see a list of all available reports, along with their names and descriptions.
On this page, you can:
-
Open a report by clicking its name.
-
Add a report to your favorites list. Your favorite reports will appear under My favorite reports on your profile and under Reporting/My favorite reports.
-
Remove a report from your favorites list.
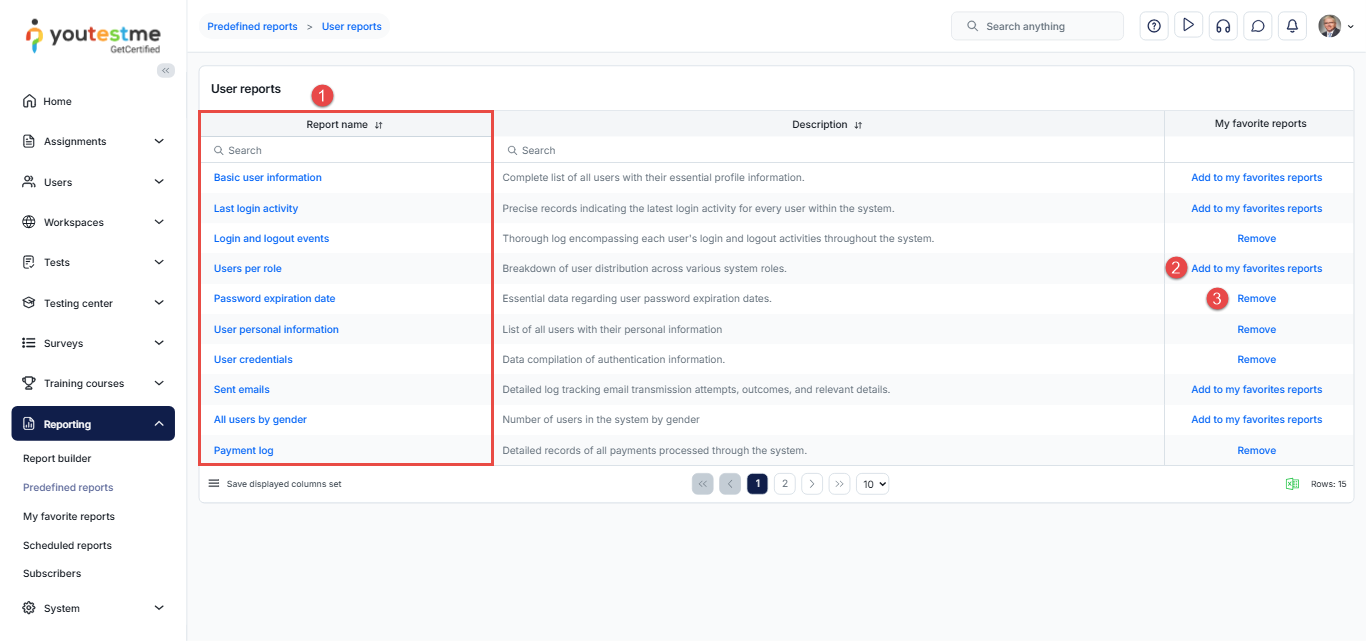
-
-
Additional actions
Reports are typically presented in a tabular format, allowing users to schedule, sort, search, and filter data, as well as export it to Excel files.
For instance, in the Test results report:
-
Schedule the report to be sent at specific intervals. Detailed explanations for each field can be found on the Scheduled reports help page.
-
Sort, filter, and search data to locate specific test information quickly.
-
Access detailed test information by clicking on the test name.
-
Customize columns displayed in the report. Uncheck to hide a report column.
-
Set the default number of rows to be displayed.
-
Save your preferred table settings by clicking the Save table settings button. This ensures that selected columns and the default number of rows are displayed each time you access the report.
-
Use navigation options to move between report pages.
-
Export the report to Excel format.
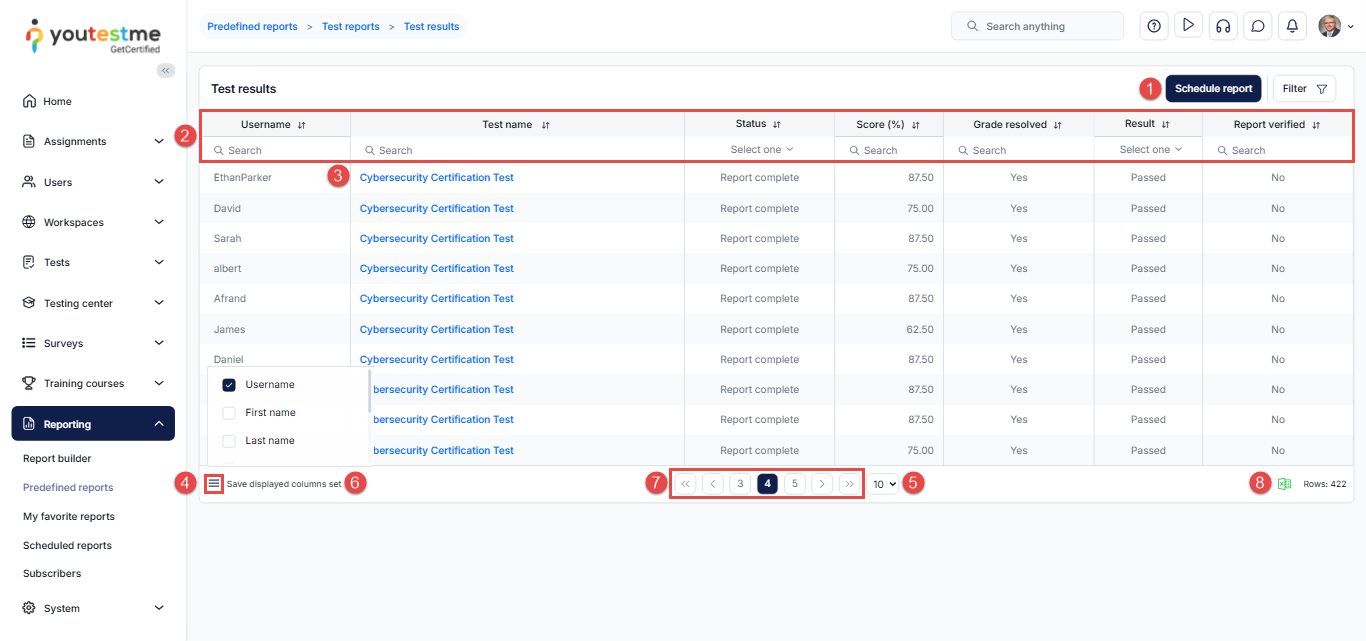
-
My favorite reports
-
Introduction
You can create a list of My favorite reports and include the most frequently used reports or those most important to you.
-
Adding favorite reports
-
Click on the Add favorite report button.
-
Select reports.
-
Click the Confirm button.
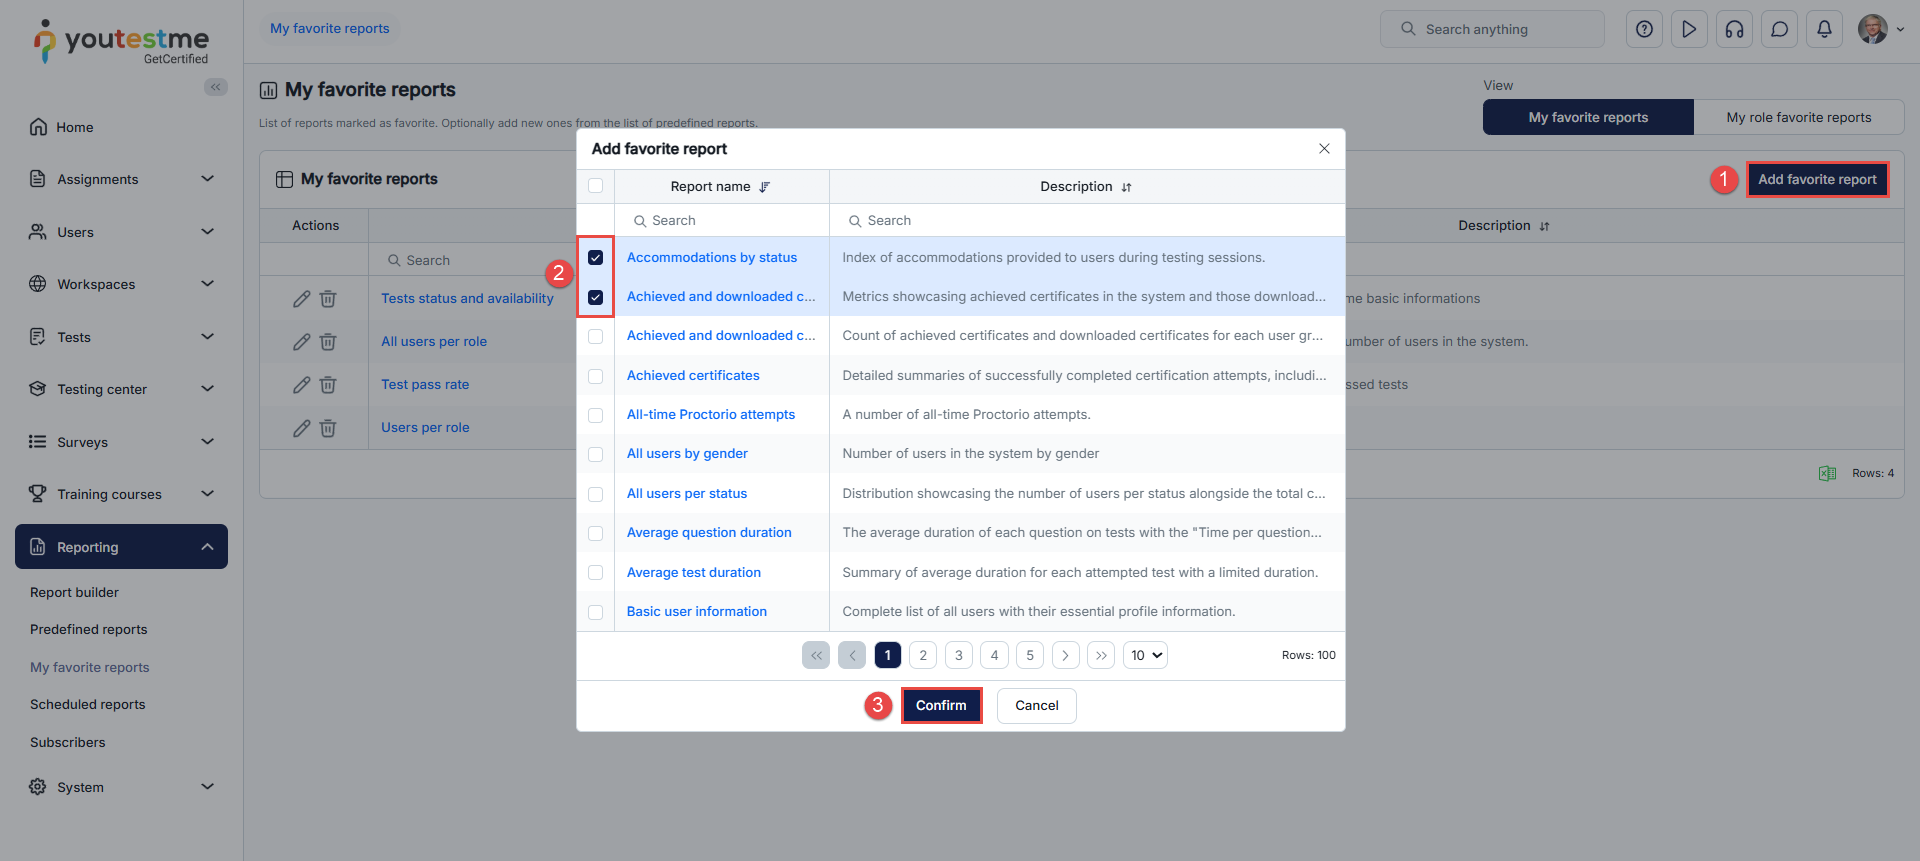
-
-
Additional actions
After adding your favorite reports, they will appear in the Favorite Reports table with basic information: the report name and its description. Actions you can perform on already added reports:
-
Edit - Modify the default description and replace it with your preferred one. You can also revert to the default description at any time.
-
Remove - Exclude the report from the My Favorite Reports list.
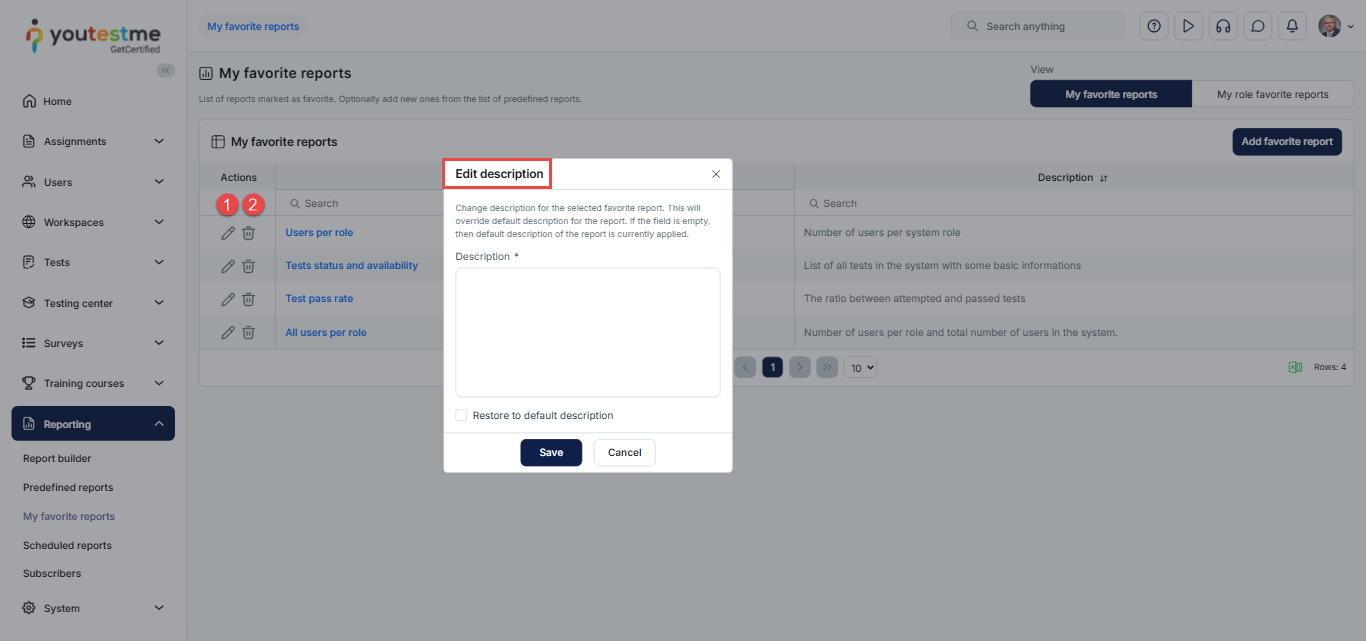
-
Scheduled reports
-
Introduction
Scheduled reports deliver predefined reports via email to designated recipients automatically. Subscribers receive these reports at specified intervals, allowing easy previewing without logging into the application. These users are not required to be registered users of the application.
To view all scheduled reports, navigate to the Reporting section in the main menu, then select Scheduled reports.
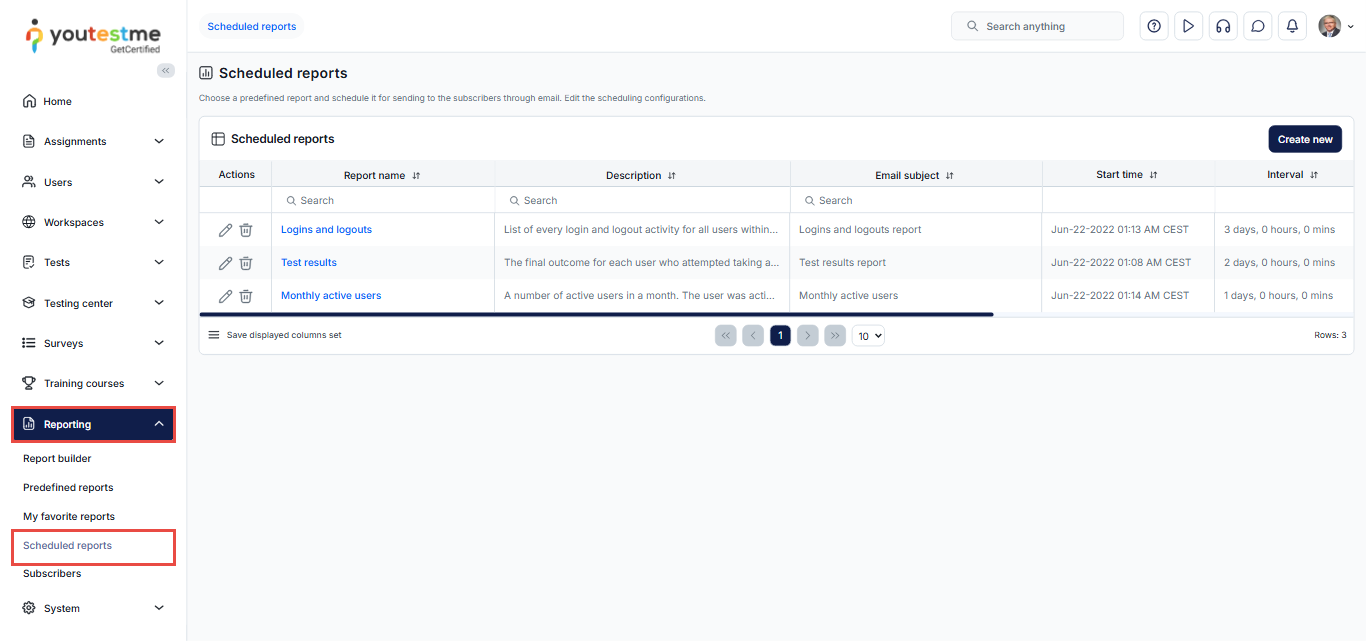
-
Scheduling a new report
Note: Before creating a new scheduled report, ensure that the mail server settings are correctly configured.
To configure the mail server, navigate to System/Settings and customization/System preferences/Mail server.
For instructions on verifying correct mail server settings, refer to the following article.To schedule a new report:
Click the Create new button.
Choose the report you wish to schedule.
Define the report's initial sending date and time.
Note: The start time of sending a report is presented in the user's time zone.
Specify the interval/frequency of the report's sending.
Define the subject that subscribers will see when they receive the email.
Define the Email message that subscribers will receive.
The report will be sent to the defined list of emails. Enter each email individually, pressing the Enter key after each entry.
-
Define the conditions that must be met for the report to be sent.
Click the Save button.
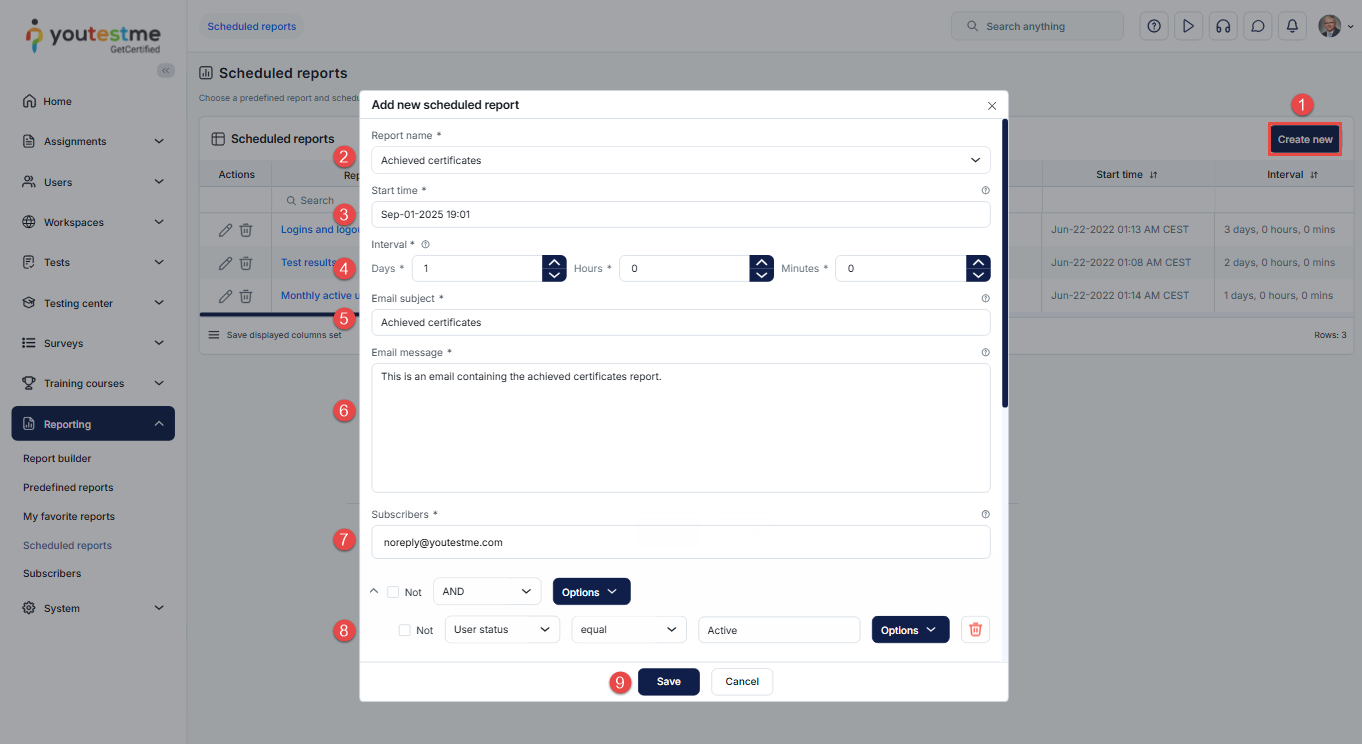
-
Additional actions
Actions that can be performed on already scheduled reports:
View the report and its information by clicking its name in the table.
Enable/disable scheduled reports. Choose the Disabled option to turn off the report's sending. Subscribers will not receive an email containing scheduled report details until its status is set to Enabled again.
Edit the scheduled report using the same fields as during the report scheduling.
Additional fields include:-
Report ID - This unique identifier is assigned upon scheduling the report and cannot be modified.
-
Schedule only changed data option - Available only for the Test results report. Check the box if you want to send only new or changed records compared to the last report. Otherwise, all records will be sent. This option is available only when the report is created.
-
Delete the scheduled report. The report will still be visible in the list of predefined reports but will no longer be automatically sent to subscribers.
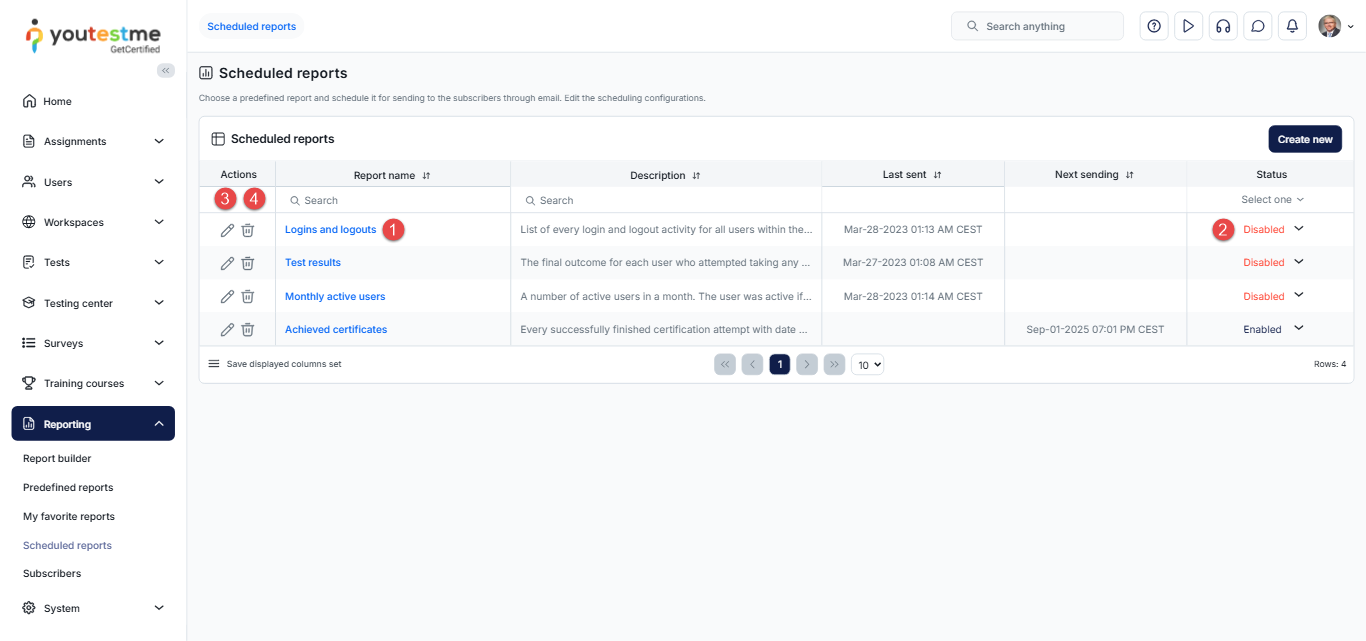
Subscribers
-
Introduction
Manage email subscriptions for test and survey results. Create lists of subscribers and add as many email addresses as needed, even if they aren't application users. Everyone on the list will receive an automatic email notification when a tracked user completes a test or survey, and their attempts are graded and visible.
To view a list of subscribers, navigate to the Reporting section in the main menu, then select Subscribers.
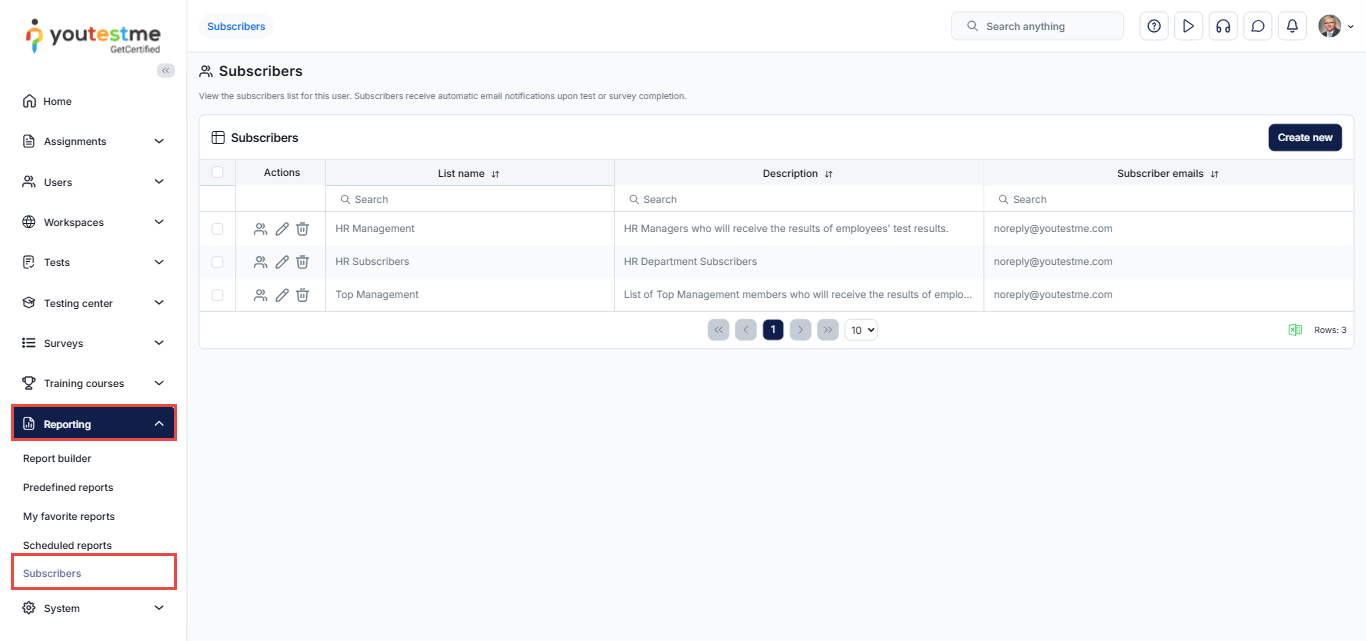
-
Creating a new subscriber list
To create a new subscriber list:
-
Click the New subscriber list button.
-
Enter the List name.
-
Enter the subscriber list Description.
-
Create a list of emails for notifications regarding the test and survey results of their selected users. Enter each email individually, pressing the Enter key after each entry.
-
Click the Save button.
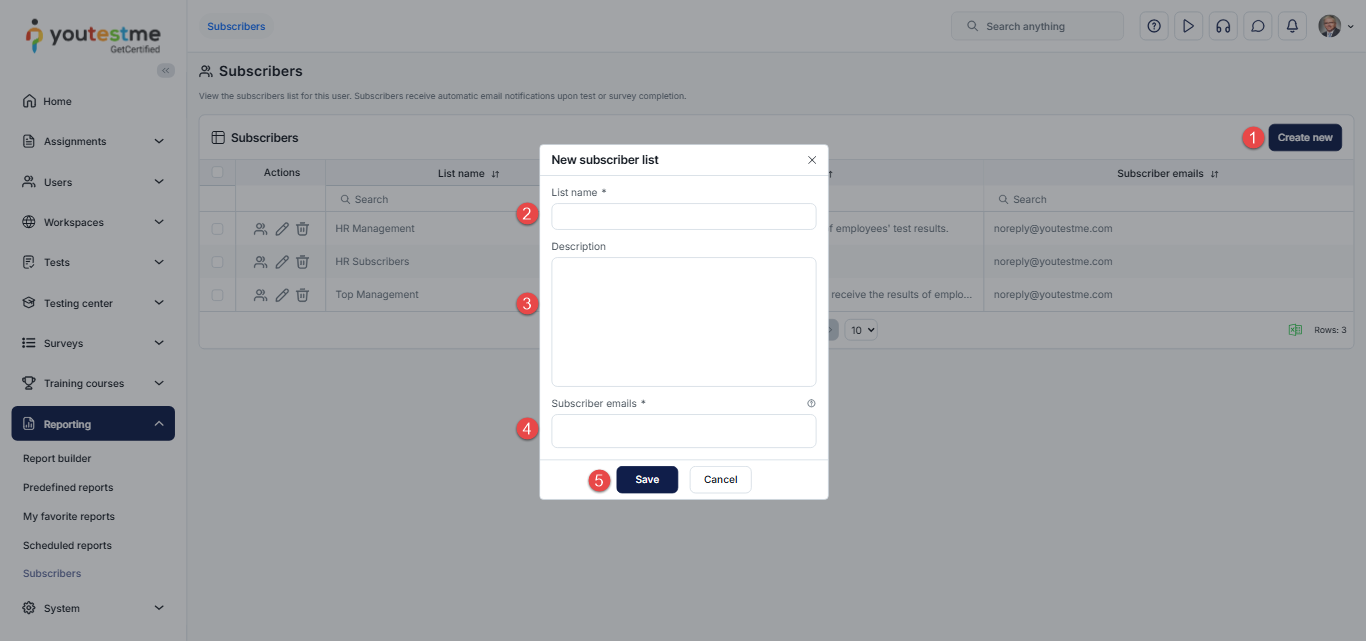
-
-
Updating list of tracked users
-
Click the List of tracked users button to review the users whose test and survey results are tracked by the subscriber list.
-
To add users to the tracked users list, click the Add users button, and select the users.
-
If you want to remove users from the tracked users list, select the users, and then click the Remove selected button.
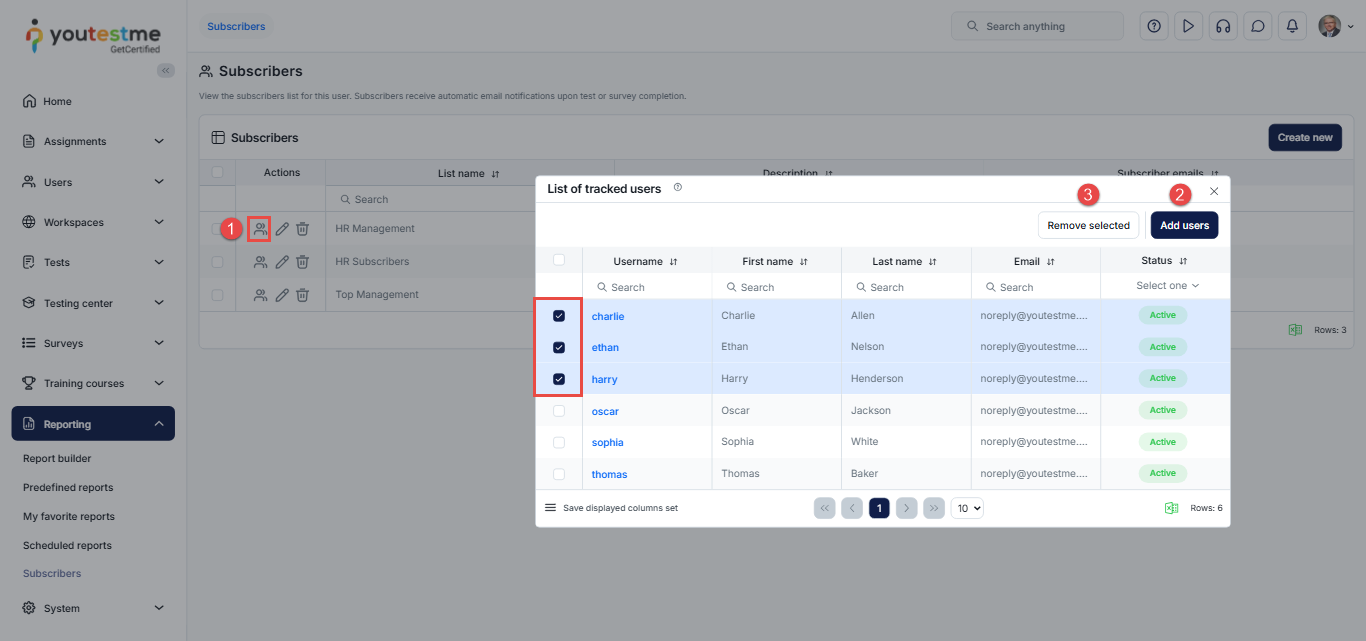
-
-
Additional actions
Additional actions that can be performed:
Edit subscriber lists. The fields are the same as when creating a new subscriber list.
Delete a subscriber list.
Delete multiple subscriber lists at once. Select the lists, then click the Remove selected.
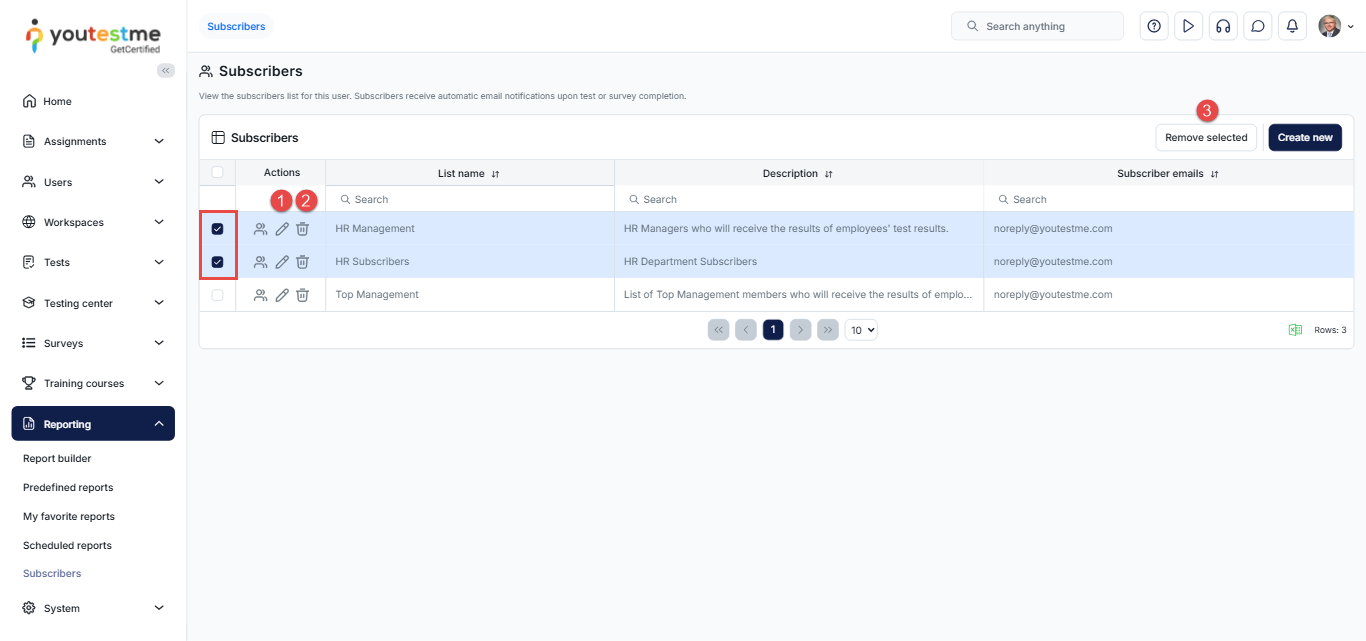
Advanced reporting
-
Introduction
Superset is a powerful tool for data visualization and the creation of interactive dashboards. Integrated into the YTM application, it helps users easily explore and analyze their data. With Superset, users can create charts, build interactive dashboards, and export reports for sharing. Superset provides the tools to make complex data accessible and intuitive.
On the Advanced Reporting page, users can access advanced data visualization and reporting features powered by Apache Superset. Navigate to the Reporting section in the main menu and select Advanced Reporting to open Apache Superset.
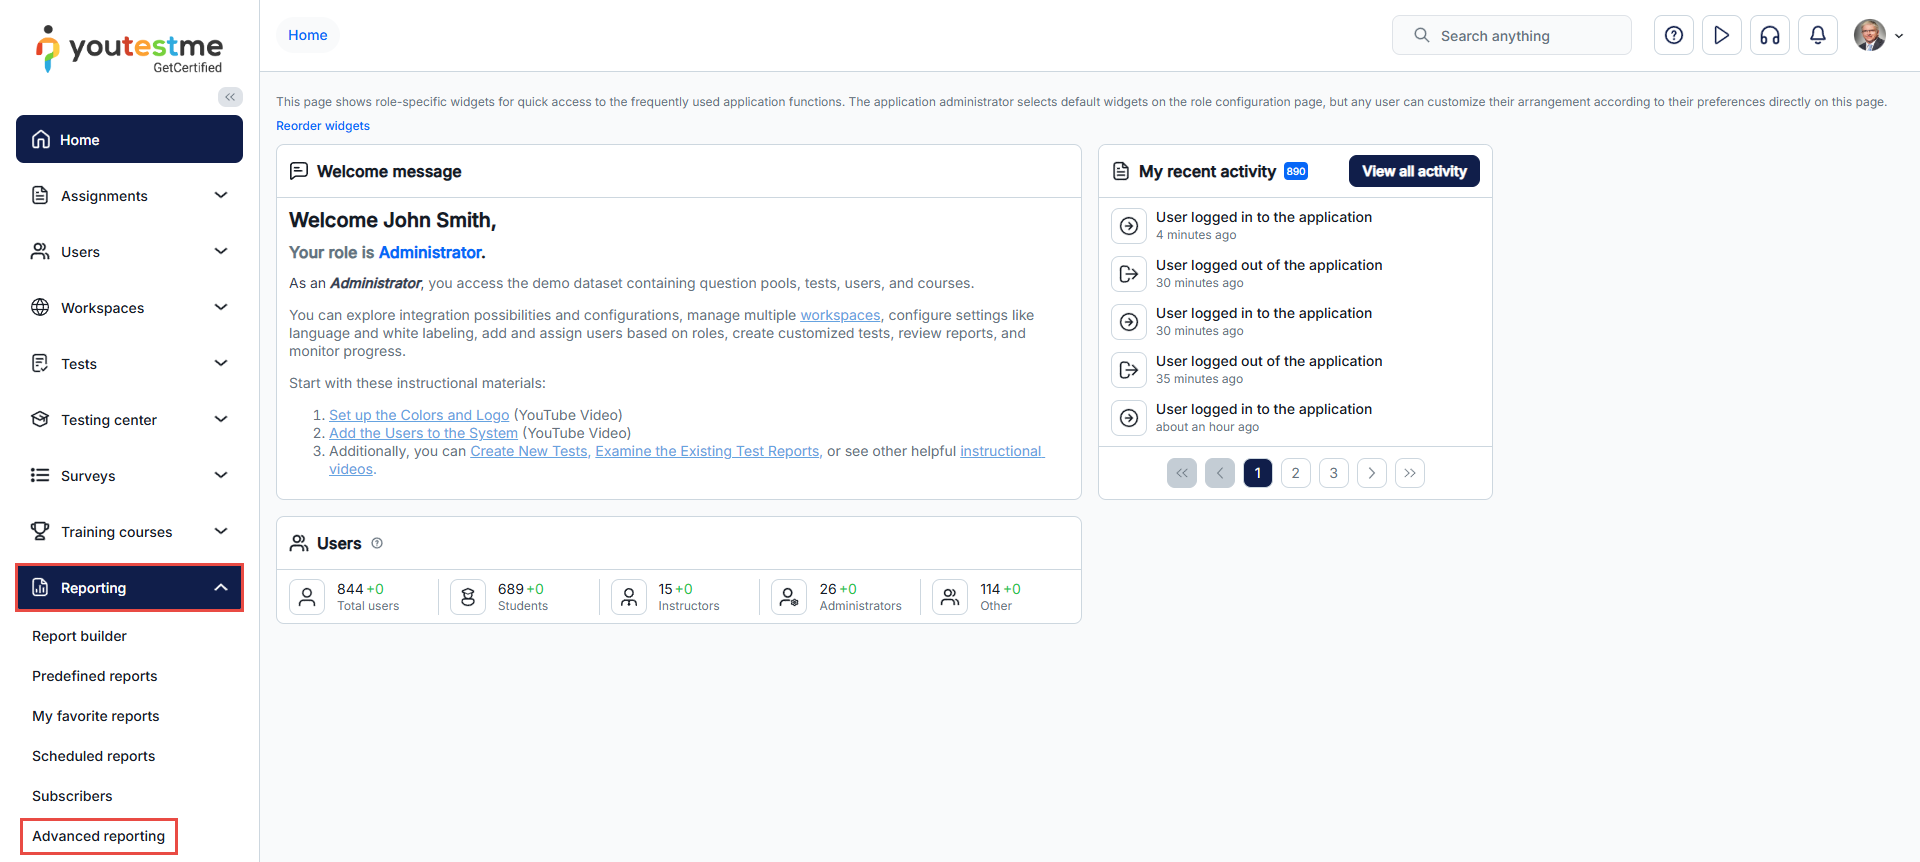
-
Welcome Page
The Superset welcome page is your starting point for navigating dashboards, charts, datasets, and SQL Lab.
On this page, you can:
-
Access Dashboards to view or create interactive data visualizations.
-
View or manage Charts. This section allows you to create new charts or edit existing ones.
-
Navigate to the Datasets section to manage datasets used for creating charts and dashboards.
-
Open SQL Lab to execute and save SQL queries. This feature is ideal for exploring and preparing data for visualizations.
-
View recently accessed Recents, including charts, dashboards, and queries, to quickly resume your work.
-
Explore the Dashboards Section, categorized into "Favorite," "Mine," and "All," to easily locate or create dashboards.
-
Access the Charts Section, similar to dashboards, categorized for quick navigation to your saved or favorite charts.
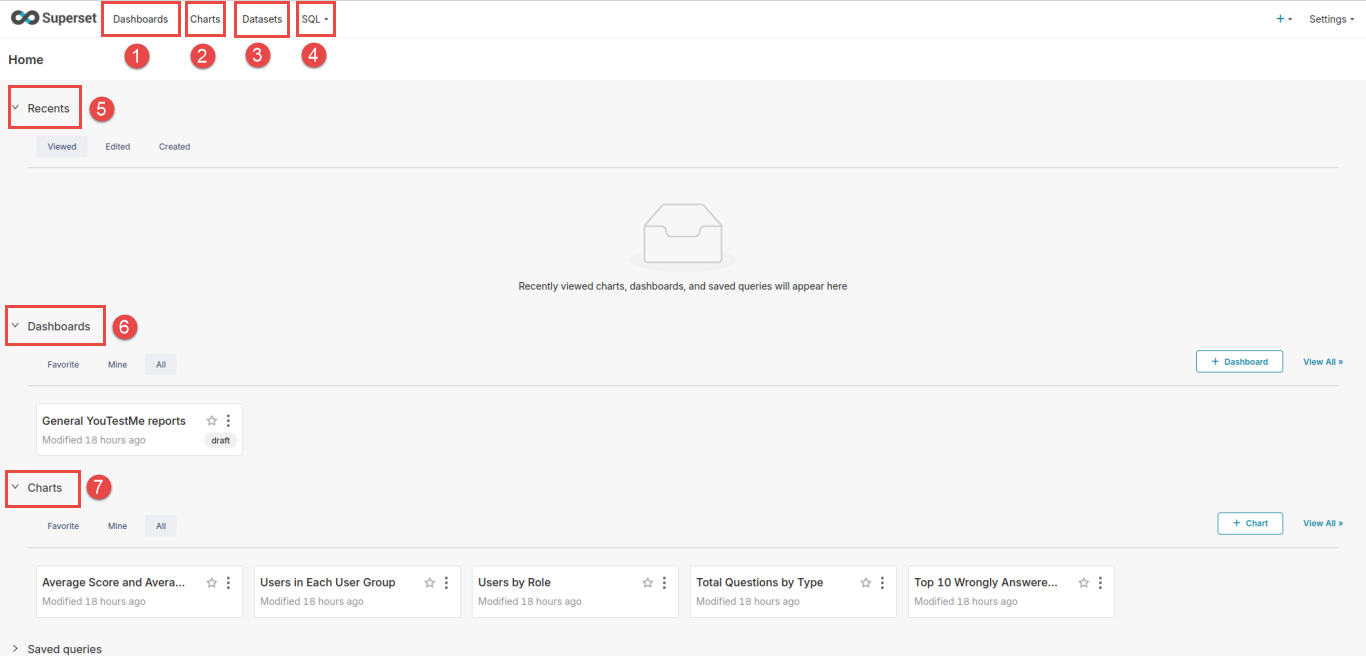
-
-
Dashboards Section
To access this page, click on Dashboards in the main menu. In the Dashboards tab, you can view all existing dashboards. When you hover over a specific dashboard, additional options become available: the first option allows you to delete the dashboard, the second enables you to export it, and the third lets you edit the dashboard.
The dashboard creation page allows users to organize and visualize their data by adding charts and components. Follow the steps below to create and customize a new dashboard. To create new Dashboard click on the + Dashboard button in the top-right corner in the Dashboards tab. On this page, you can:
-
Rename the dashboard by clicking on the default name [untitled dashboard]. Enter the desired name for your dashboard.
-
Click on the + Create a new chart button to start building your dashboard. This allows you to create new charts to be added to the dashboard.
-
Alternatively, add existing charts from the Charts panel on the right-hand side. Use the filters to search for specific charts or sort them by recent modifications.
-
Once you've added your desired charts, click the Save button in the top-right corner to save your dashboard.
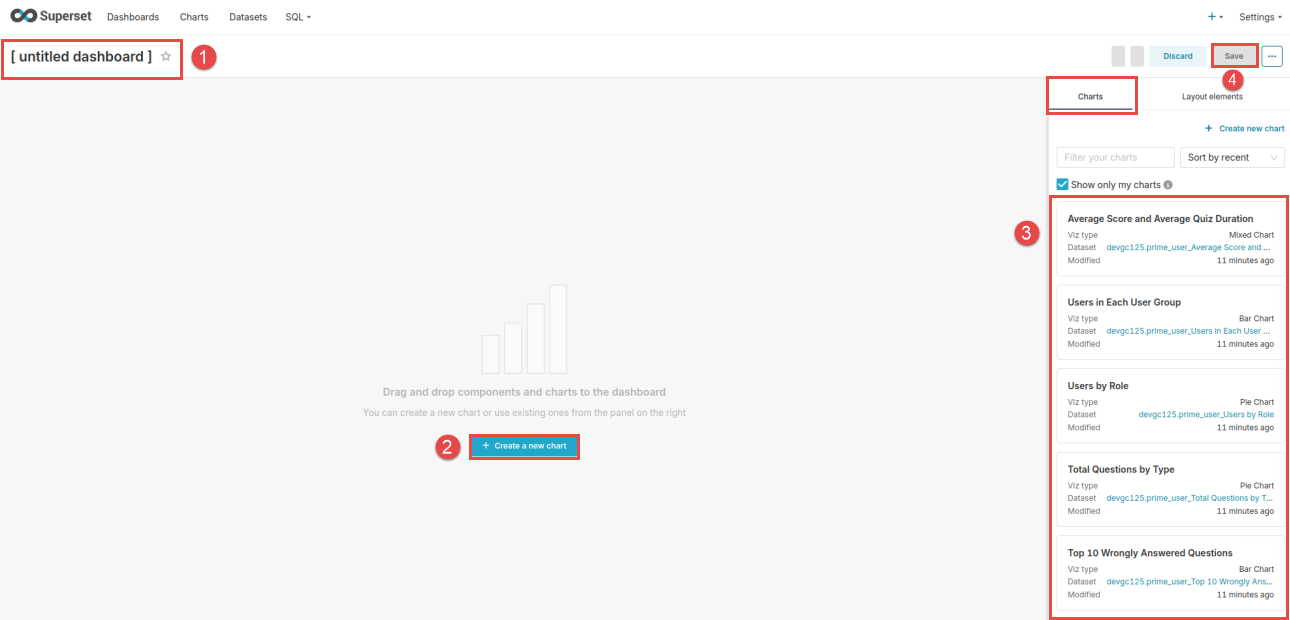
-
General YouTestMe Reports Dashboard
The General YouTestMe Reports dashboard is a default, pre-configured dashboard provided to all clients upon setup. It includes multiple report categories such as User Reports, Quiz Reports, Question Reports, Certificate Reports, and Billing Reports, offering an initial overview of key metrics based on data from your system.
To view and interact with this dashboard, navigate to the Dashboards section and select it from the list. You can further refine the data displayed using the Filters panel on the left-hand side:
-
Add/Edit Filters: Click this option to specify filtering criteria.
-
Adjust Filters: Use the available options to focus on specific data points.
-
Apply or Clear Filters: Click the Apply filters button to refresh the charts, or use the Clear all button to reset the filters.
This dashboard is designed to give you a quick overview and can be further customized to meet your organization's specific requirements.
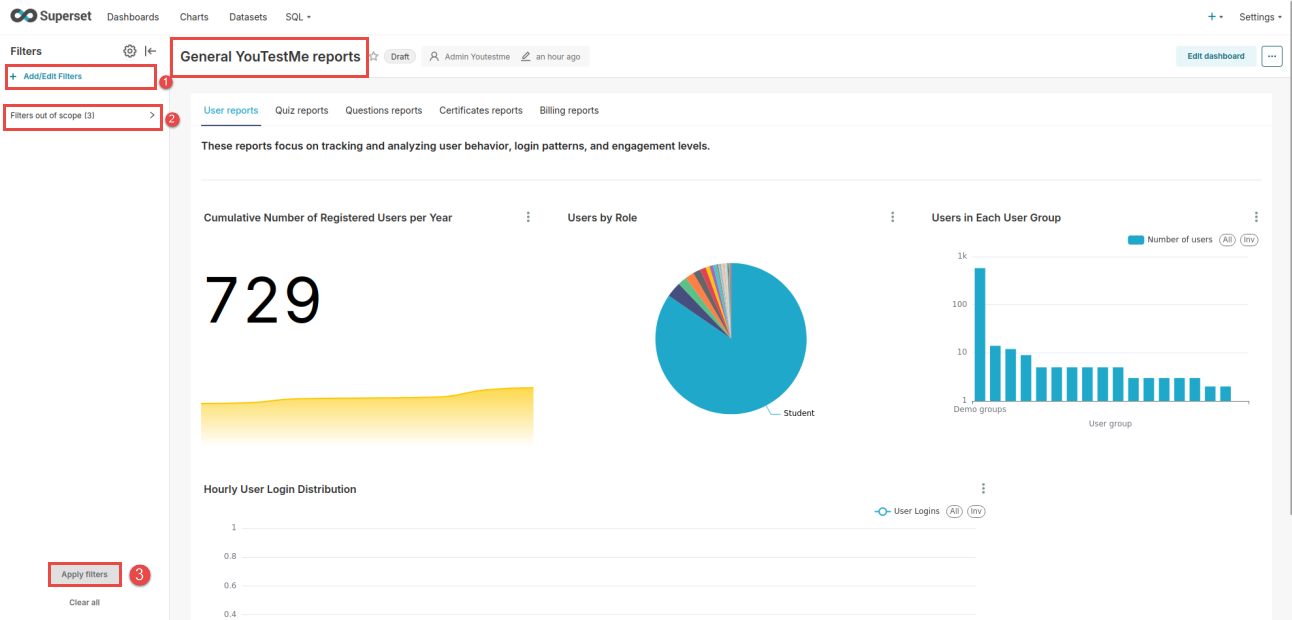
-
-
-
Charts Section
To access this page, click on Charts in the main menu. In the Charts tab, you can view all existing charts. When you hover over a specific chart, additional options become available: the first option allows you to delete the chart, the second enables you to export it, and the third lets you edit the chart.
The chart creation page allows users to visualize their data by creating charts. Follow the steps below to create and customize a new chart. To create a new chart, click on the + Chart button in the top-right corner in the Charts tab. On this page, you can:
-
Select a dataset by choosing it from the dropdown menu or clicking on Add a dataset to create a new one.
-
Choose the chart type from the available options. Use the categories on the left-hand side to filter the types or search for a specific chart in the search bar.
-
Click on the chart type to select it and proceed to the customization step.
-
Once you have selected a dataset and chart type, click the Create new chart button in the bottom-right corner to proceed to the customization page.
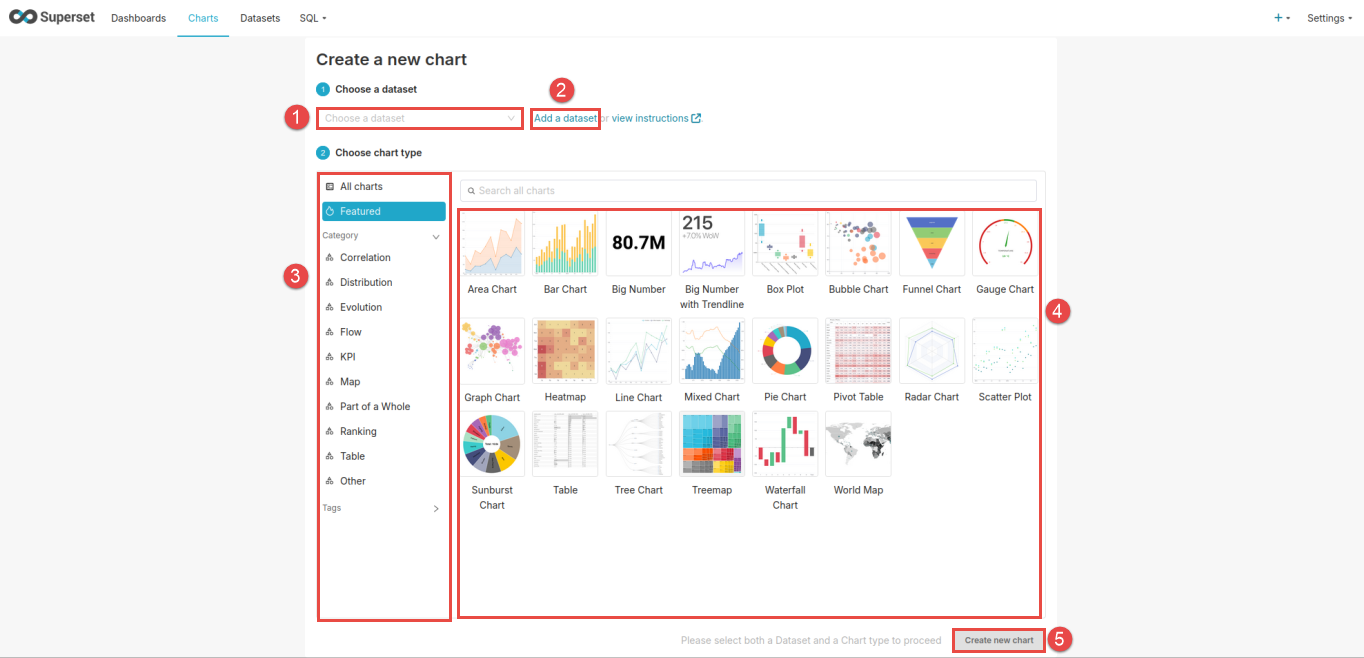
-
Bar Chart Configuration
To create or customize a chart, you are directed to the chart editing interface after selecting a dataset and chart type. The available options and fields in this interface depend on the type of chart you select. In this example, we demonstrate the configuration for a Bar Chart. Note that not all fields will be available or required for other chart types. On this page, you can:
-
Add the name of the chart: Provide a meaningful name for your chart to easily identify it later.
-
Select a chart type: The chart type is pre-selected based on your choice, but you can change it if needed.
-
X-axis: Specify the column to use as the X-axis for the chart, such as a time series or category.
-
Metrics: Define the metric(s) to visualize on the chart, such as counts, sums, or averages.
-
Dimensions: Add dimensions to break down the data further, such as grouping by specific categories (e.g., by month or user group).
-
Contribution mode: Select a contribution mode (e.g., percentage) to display data in proportion to the total.
-
Filters: Apply filters to narrow down the dataset and focus on specific data points.
-
Series limit: Limit the number of series displayed on the chart to improve readability.
-
Sort by: Define the order in which the data should appear (e.g., sorted by value or category).
-
Row limit: Set the maximum number of rows to display on the chart.
-
Create chart: Click this button to generate and preview the chart based on your selections.
-
Results tab: View the generated chart preview. You can also switch to the "Samples" tab to see the raw data used for the chart.
-
Customize tab: Access additional styling options to adjust the appearance of your chart, such as colors or labels.
-
Save: Once satisfied with your chart, click the Save button in the top-right corner to save it for future use.
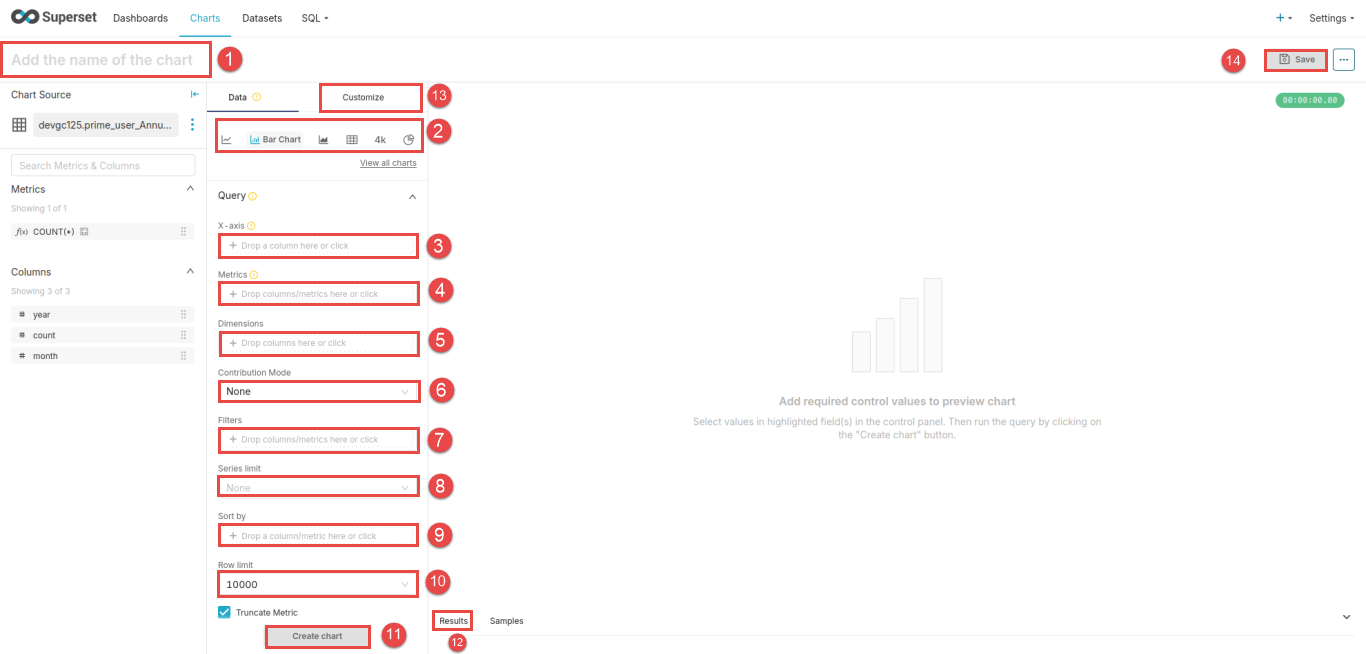
-
-
-
Datasets Section
To access the datasets section, click on Datasets in the main menu. In the Datasets tab, you can view all existing datasets. When you hover over a specific dataset, additional options become available: the first option allows you to delete the dataset, and the second lets you edit it.
To create a new dataset, click the + Dataset button in the top-right corner of the Datasets tab. On this page, you can:
-
Select Database: From the dropdown menu, select the database that contains the table or data you wish to use.
-
Select Schema: Choose the schema within the selected database to narrow down the tables.
-
Select Table: Pick the table from the selected schema that will serve as the dataset source.
-
Preview Section: View a preview of the selected table's structure and contents to ensure it meets your requirements.
-
Create Dataset: Once the database, schema, and table are selected, click the Create dataset and create chart button to save the dataset and proceed directly to chart creation.
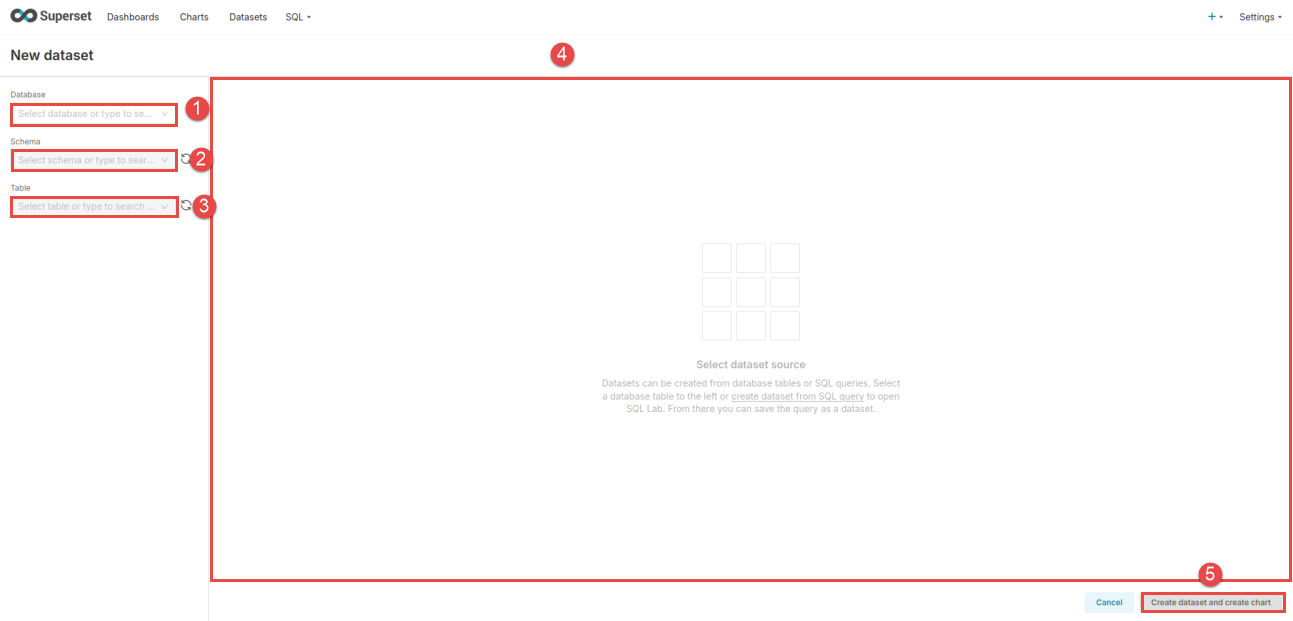
-
-
SQL Lab
To access the SQL Lab, click on SQL in the main menu. SQL Lab provides a powerful interface for writing, executing, and saving SQL queries directly within Superset. Follow the steps below to work with SQL Lab:
-
Name your query: At the top, you can provide a name for your query to easily identify it later (default name is "Untitled Query").
-
Select Database: Choose the database you want to query from the dropdown menu. Users will only have access to the schema(s) associated with their permissions.
-
Select Schema: Narrow down your query by selecting a schema within the chosen database. Only the schema(s) specific to your account will be available.
-
View Table Schema: Optionally, select a table to preview its schema and understand its structure, including column names and data types.
-
Write your query: In the main editor area, type your SQL query. Syntax highlighting and basic error checking are provided to streamline query creation.
-
Run the query: Click the Run button to execute the query. You can adjust the row limit before running it.
-
View Results: After execution, the results of the query will be displayed under the "Results" tab. You can also switch to the "Query History" tab to revisit past queries.
-
Save your query: Once satisfied, click the Save button to save the query for future use. Options for saving include naming the query and categorizing it.
Note: After running a query, users can use the results to create a chart. This option allows for seamless visualization of query results, making SQL Lab an essential tool for both data exploration and chart creation.
-
Settings and customization
-
Introduction
Access the page by navigating to the System section in the main menu and then selecting Settings and customization. Customize your testing experience by configuring parameters to adapt the application to your specific requirements.
Options include setting up the mail server and notifications, specifying language preferences, branding the application, and more. For detailed information on each setting, refer to the content below.
Multiple setting sections are available:
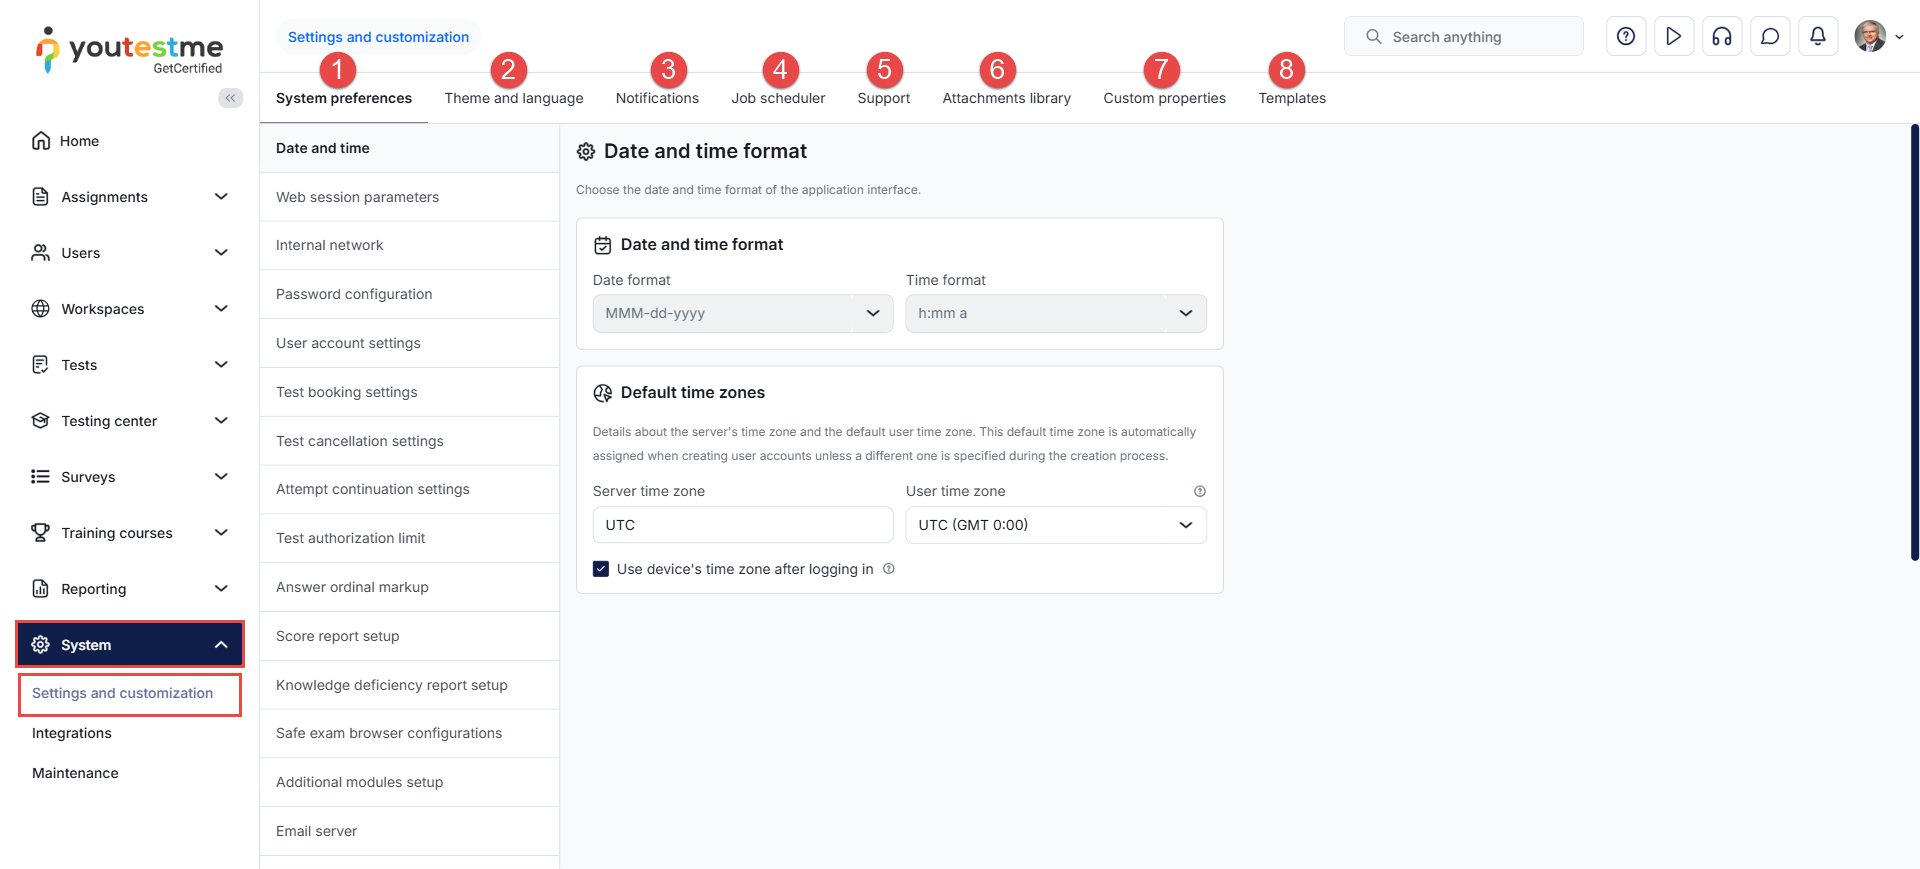
-
System preferences
-
Date and time
On this page, you can:
-
Check the date format used in the application. The MMM-dd-yyyy format is currently in use, with "MMM" representing the abbreviated month (e.g., Jan for January), "dd" signifying the day of the month with a leading zero for single-digit days, and "yyyy" indicating the four-digit year. For example, "Jan-01-2022" would denote the first day of January in the year 2022.
-
Check the time format used in the application. The current time format in use is hh:mm a, following a 12-hour clock system. Here, "hh" represents the hour in two digits with leading zeros, "mm" denotes the minutes, and "a" indicates whether it is in the morning ("AM") or the afternoon/evening ("PM"). For example, "09:30 AM" indicates 9:30 in the morning, and "03:45 PM" represents 3:45 in the afternoon.
-
View the server time zone.
-
If enabled, after logging in, the user's time zone will be automatically changed to the device's time zone.
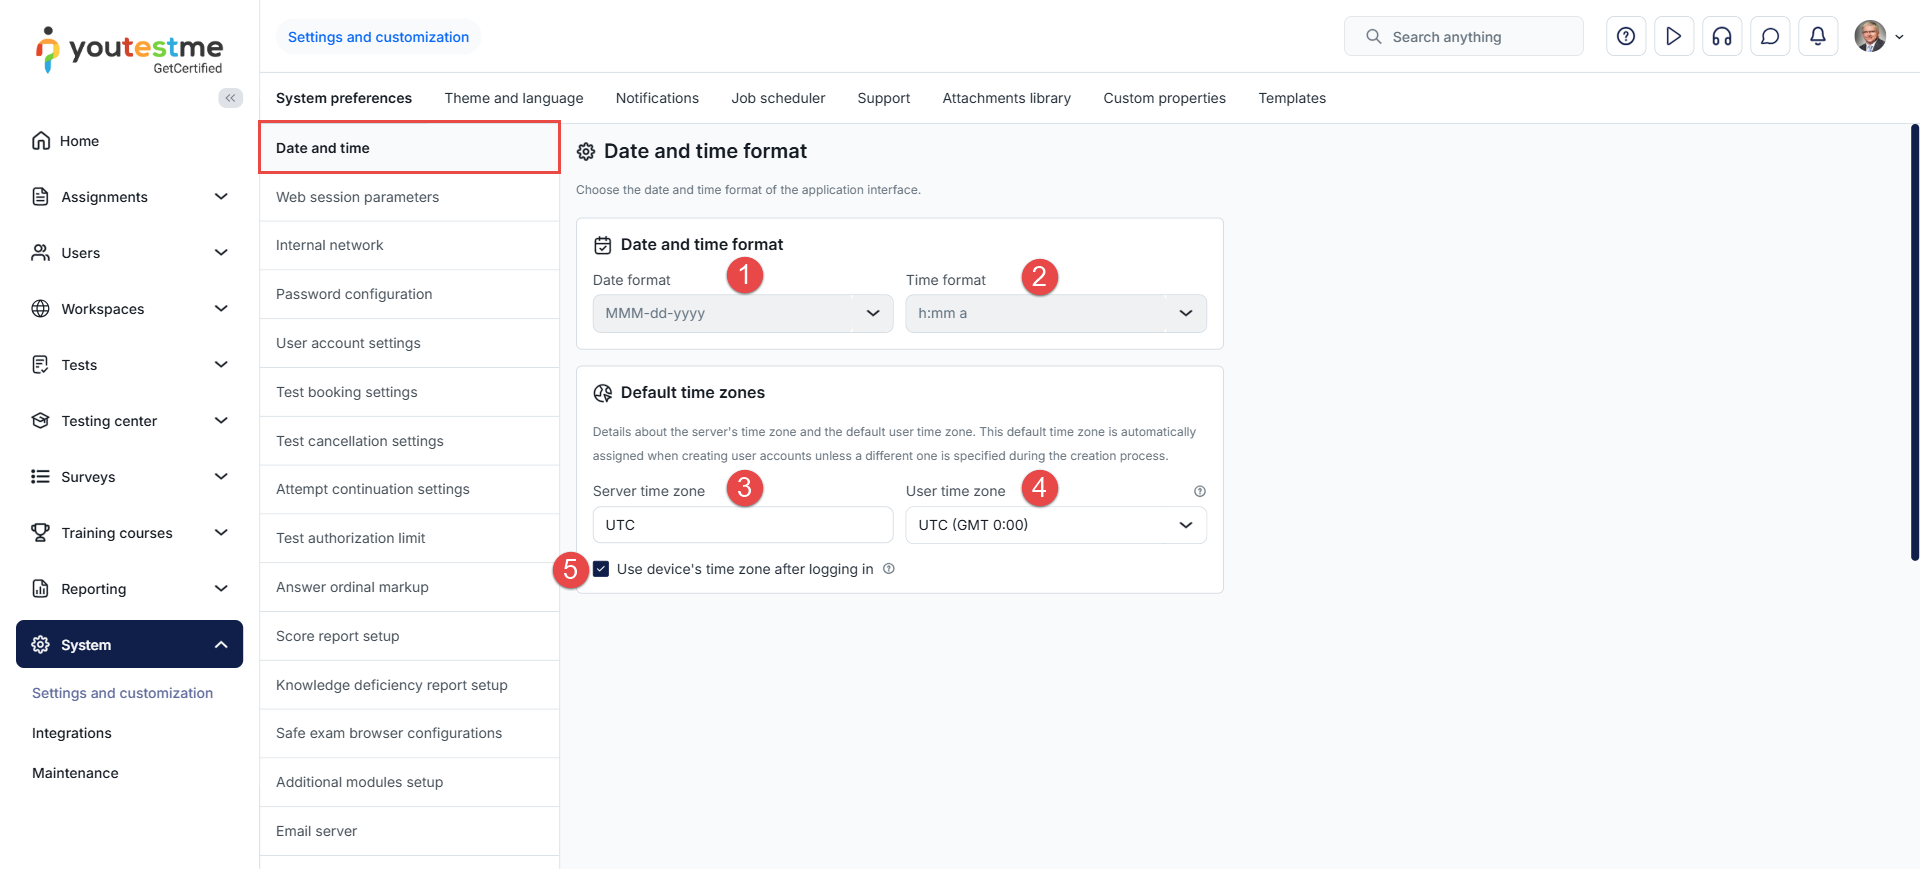
-
-
Web session parameters
On this tab, you can define Session timeout in minutes, which determines the duration of user inactivity before automatic logout. Once this period expires, users must log in again to perform any actions. Additionally, there is a Lockout duration in minutes option, which defines the period after which the user will be required to log in to the application again.
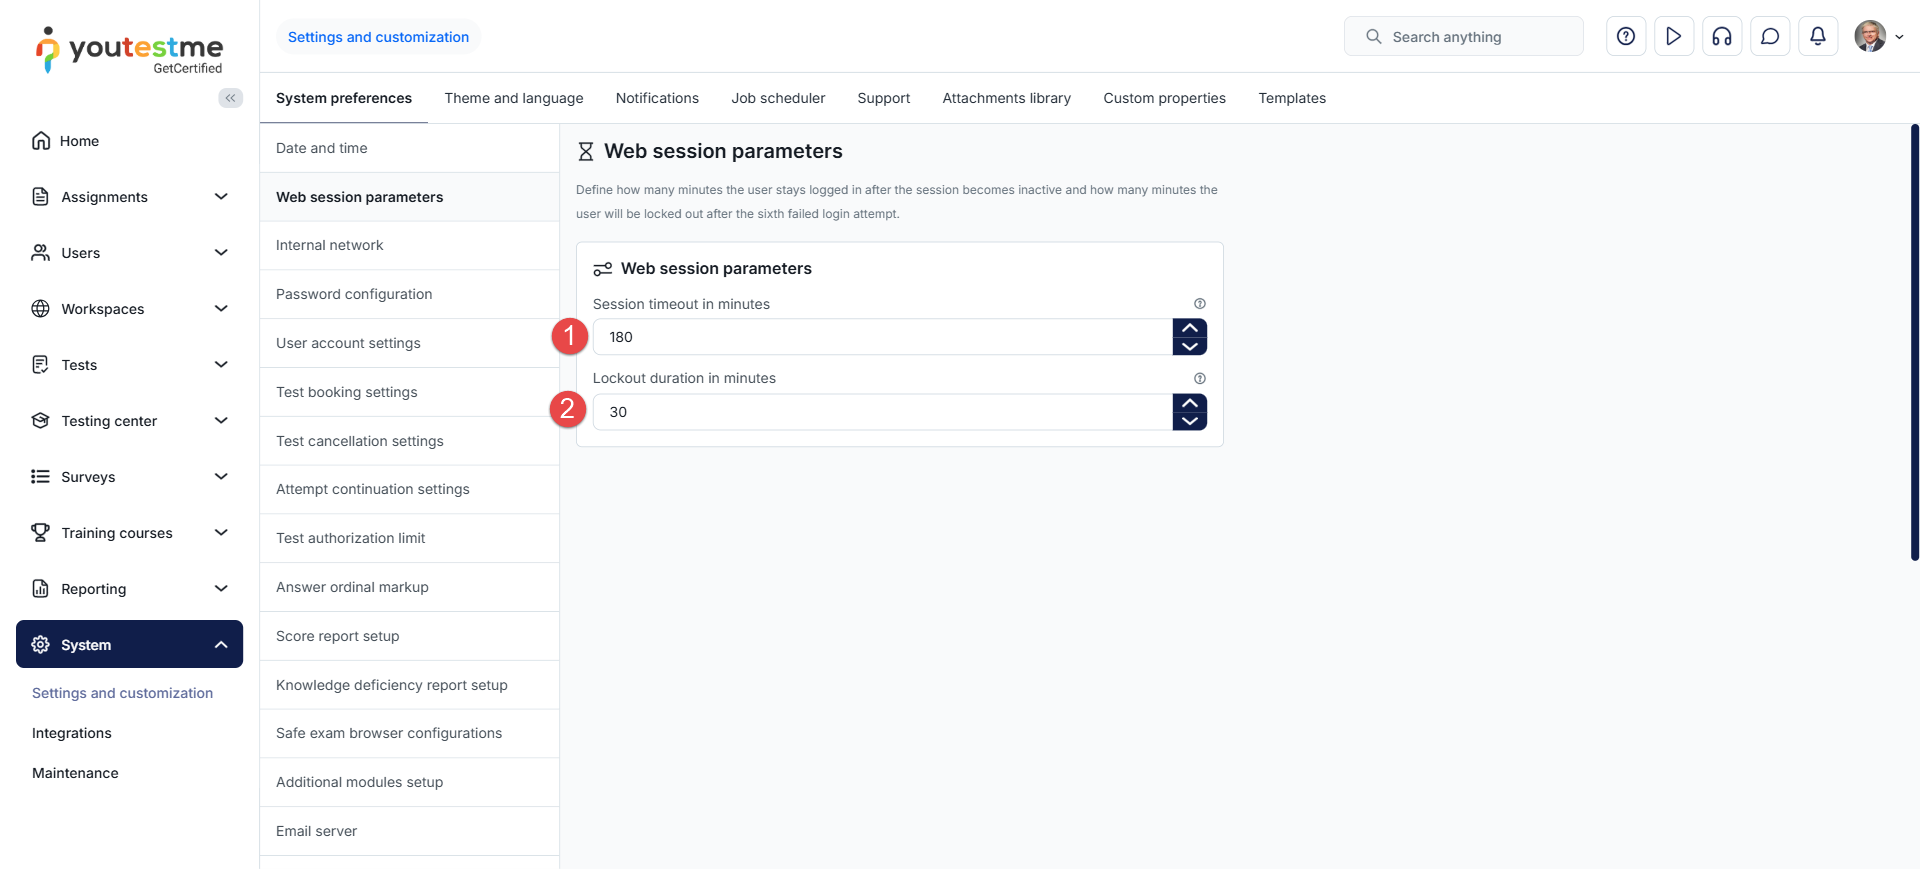
-
Internal network
On this tab, specify the allowed IP addresses for accessing tests limited to the internal network (defined under the test Security settings). For instance, setting the IP mask to 192.168 allows access only to users within the local network with IP addresses ranging from 192.168.0.1 to 192.168.255.254.
Client's IP - This represents your IP address.
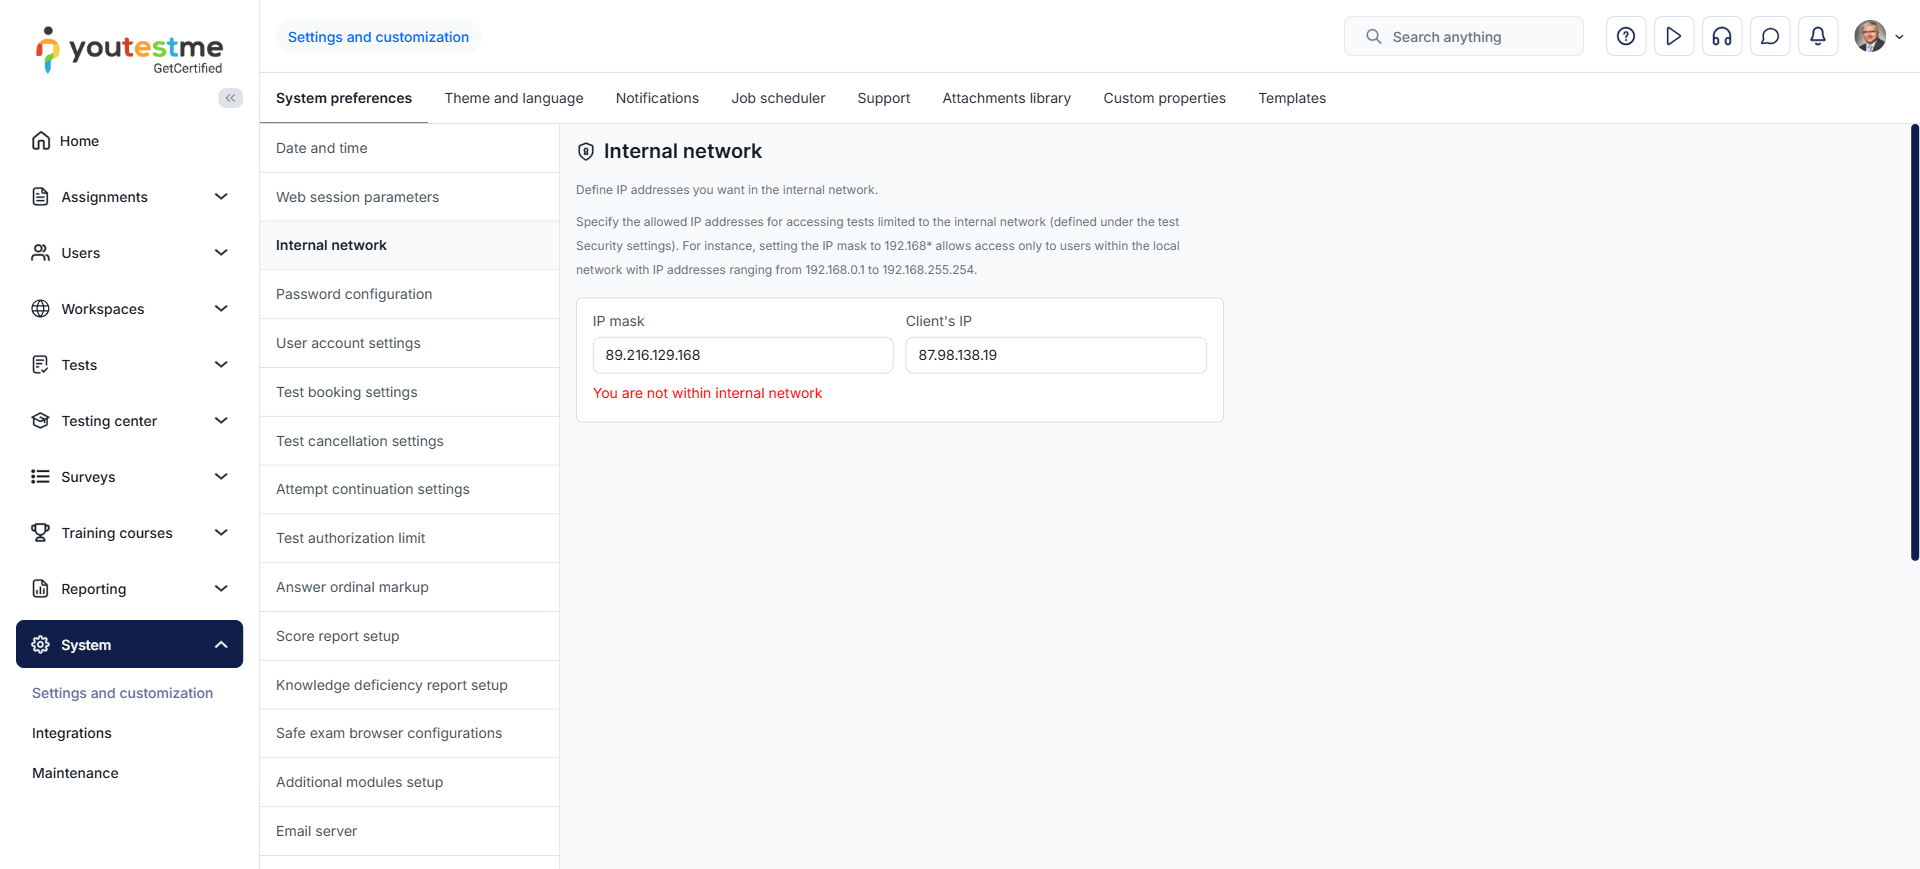
-
Account security policy configuration
On this tab, configure session and password security rules for all users. You can define web session parameters and password complexity requirements.
-
Session timeout in minutes - Defines how many minutes a user may remain inactive before the session expires automatically.
-
Session maximum lifetime - Defines the maximum total duration of a session, regardless of user activity.
-
Minimum password length - The minimum number of characters a password must contain.
-
Minimum number of uppercase letters - The minimum required number of uppercase alphabet characters in a password.
-
Minimum number of lowercase letters - The minimum required number of lowercase alphabet characters in a password.
-
Minimum number of digits - The minimum required number of numeric characters (0-9) in a password.
-
Minimum number of special characters - The minimum required number of special characters in a password.
-
Prevent use of username and user ID in password - Prevents users from creating passwords that contain their username or user ID.
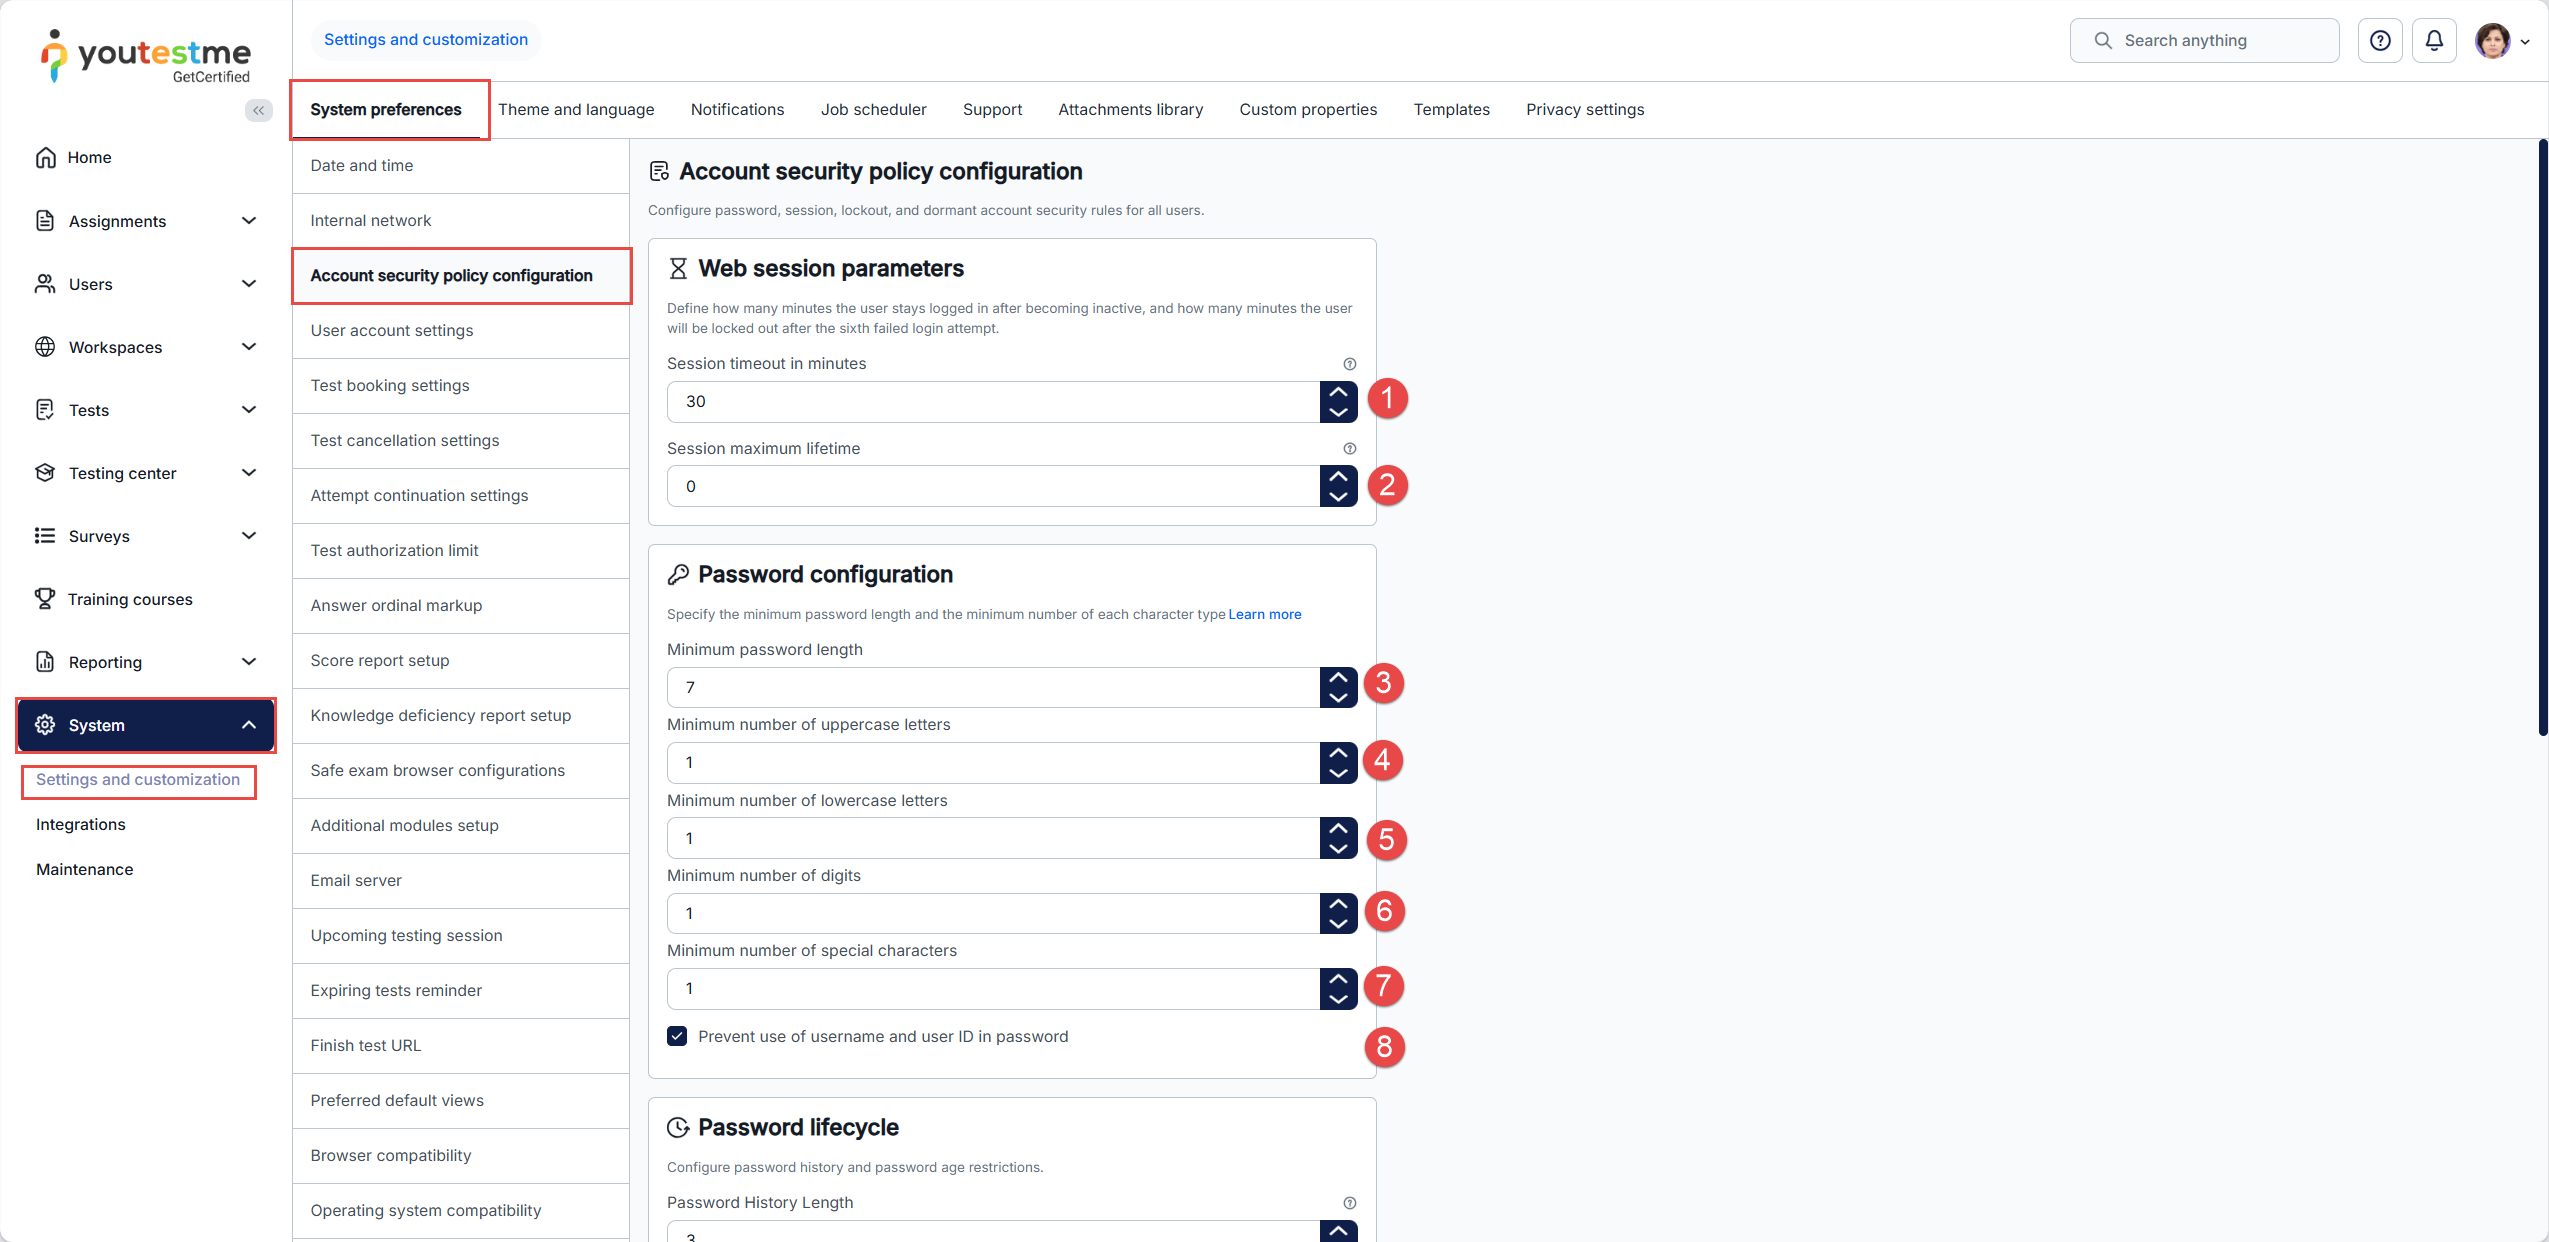
-
Password History Length - Defines how many previously used passwords are remembered and cannot be reused when setting a new password.
-
Minimum Password Age - Defines the minimum period that must pass before a user is allowed to change their password again.
-
Maximum Password Age - Defines the maximum period a password may be used before the user is required to change it. (Changes to this setting apply only when a password is set or changed. Passwords that were already set before the change are not affected until they are changed again)
-
Maximum Failed Login Attempts - Defines the number of consecutive failed login attempts allowed before the user account is locked.
-
Failed login reset window - Defines the time period during which failed login attempts are counted. After this period expires, the failed attempt counter is reset.
-
Lockout Duration - Defines how long the user account remains locked after the maximum number of failed login attempts is reached.
-
Dormant inactivity period - Defines the period of user inactivity after which the account is considered dormant. Once this period is reached, the account can be automatically inactivated according to the configured account security policy.
-
Dormant no-reactivation period - Defines the maximum period during which a dormant account may remain inactive. If the account is not reactivated within this period, it can be automatically deleted according to the configured account security policy. For more information about configuring account security policies, including session settings, password policies, failed login attempts, account lockout, and dormant account settings, refer to this article.
-
Click the Restore to default values button to reset all account security policy values to their default settings.
-
Click the Confirm button to save the configured account security policy.
-
Click the Cancel button to discard the changes.
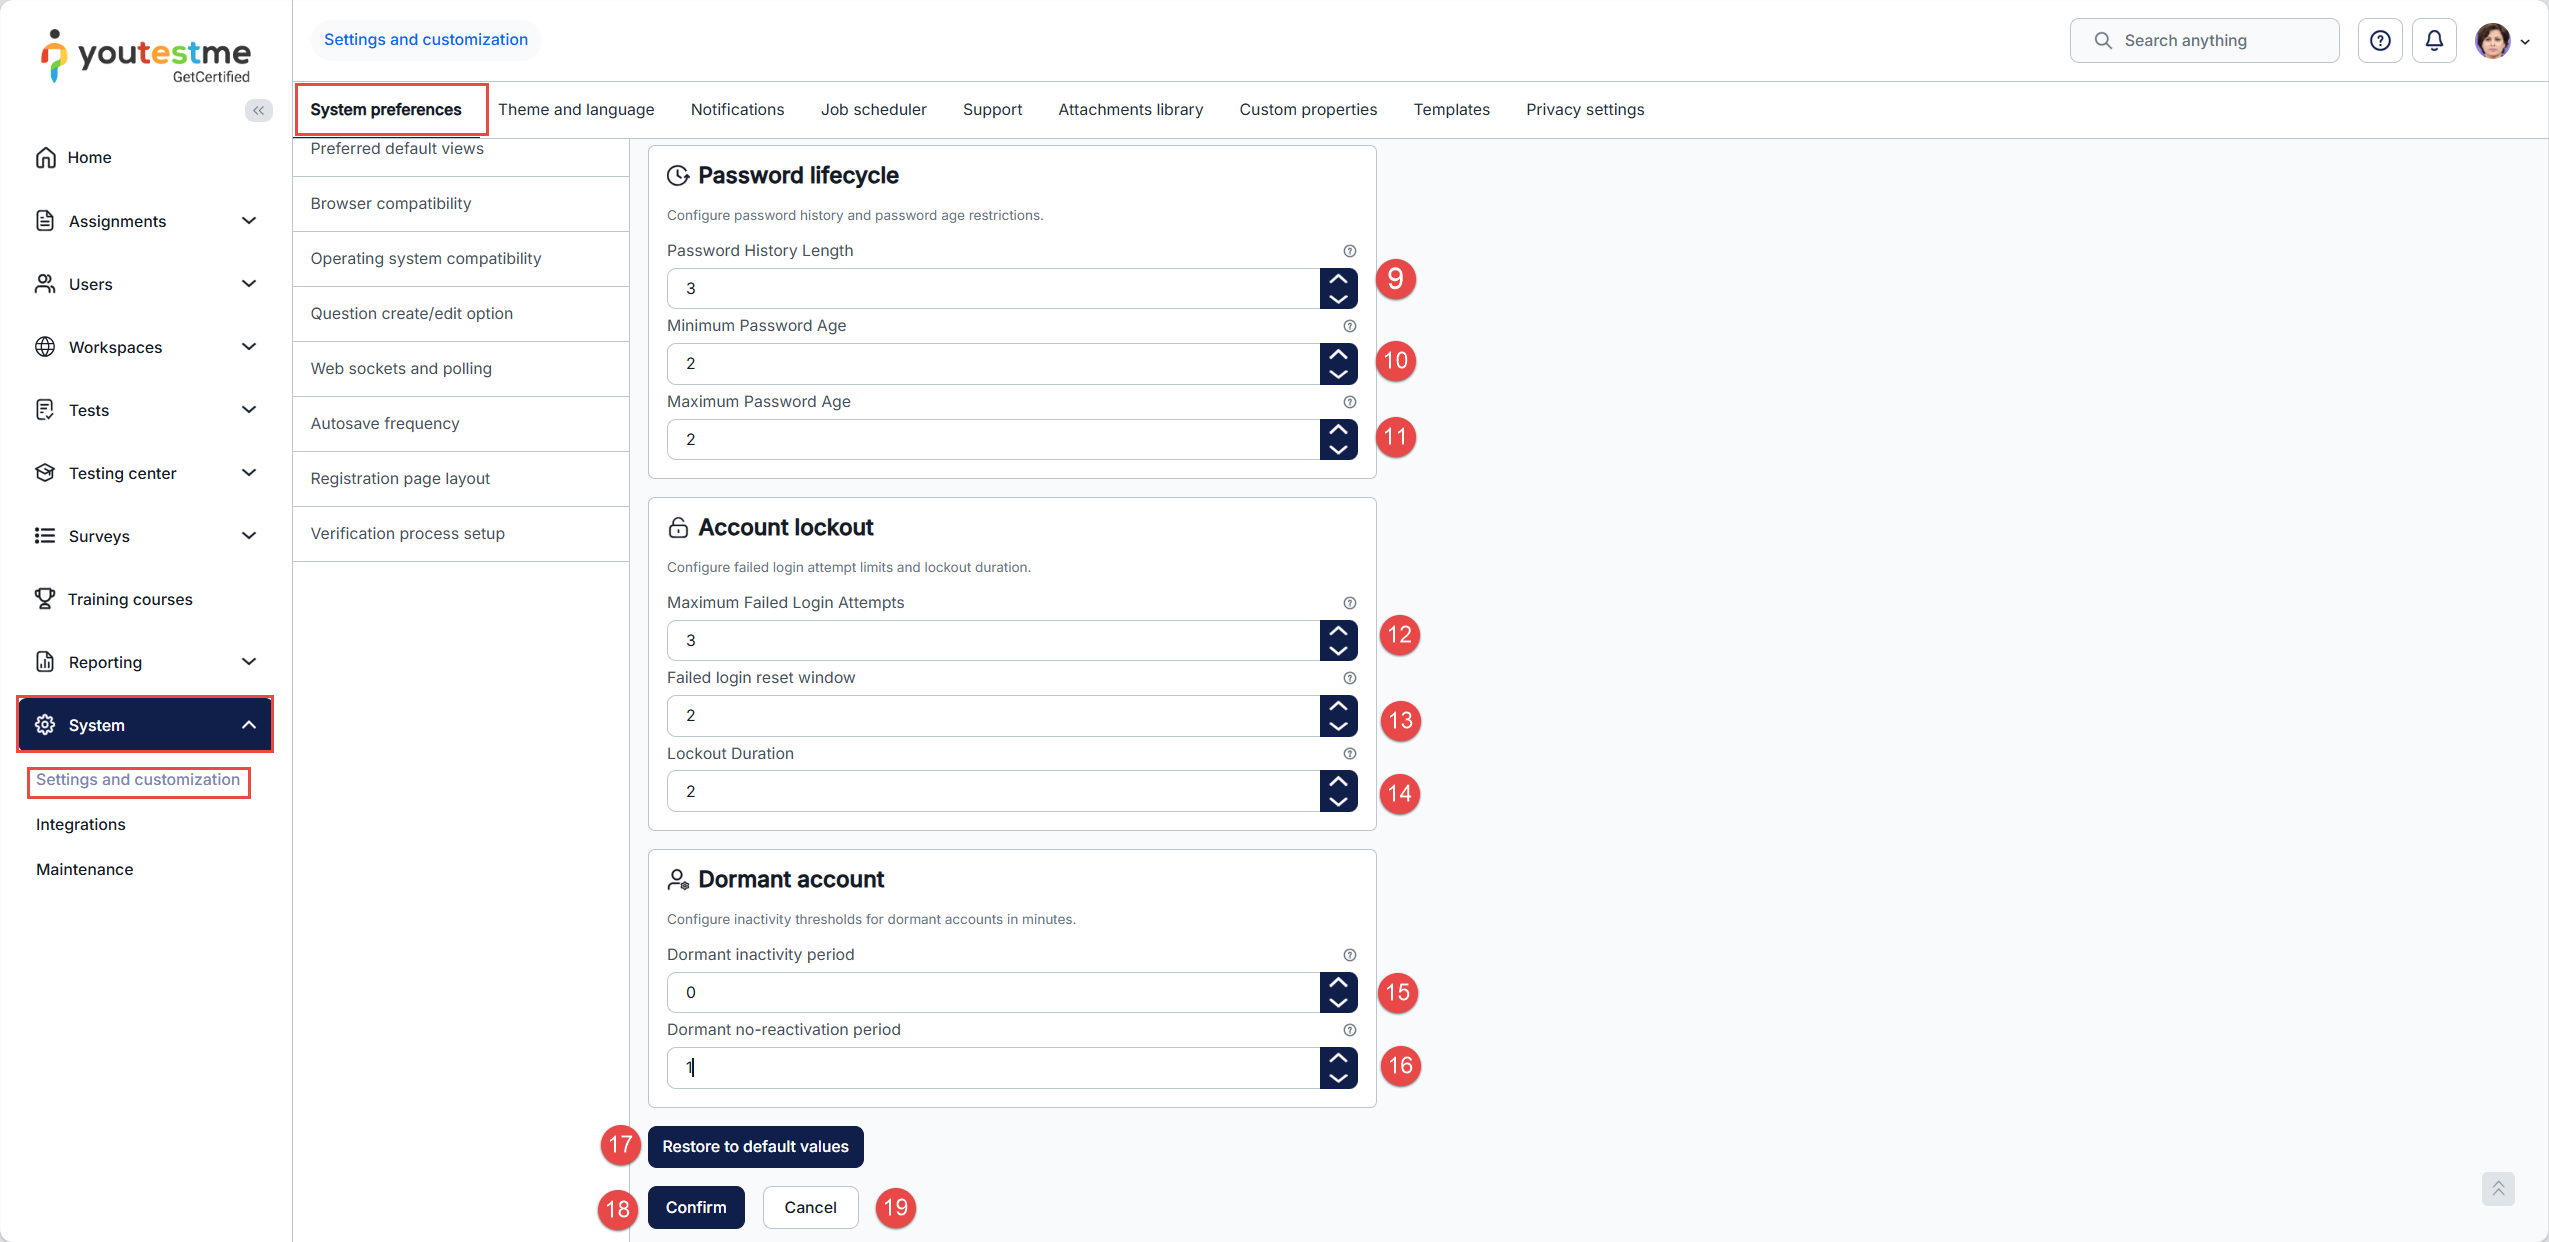
You can configure:
-
-
User account settings
Change system-wide settings related to user accounts.
It is possible to configure the following settings:
-
Username case-sensitive - If the username is case-sensitive, the system will allow the creation of new accounts with usernames that differ only in capitalization. For example, an account with the username "Andy.Connor123" can be created even if an account with the username "andy.connor123" exists. Existing accounts with duplicate lowercase usernames will be preserved even if the setting is changed. On log-in, users must provide the username with the correct letter case, regardless of this setting.
-
Email is used as the username - If the option is enabled, the email address is used as the username for all new user accounts. In other words, the username will be the same as the email for all new accounts. During the account creation process, only the email is requested.
-
Delete guest users - If this option is enabled, users with the 'Guest' role will be deleted upon signing out. To support anonymous surveys using guest links, this setting should be disabled.
-
Click the Confirm button to save the settings.
-
Click Cancel button to discard the settings.
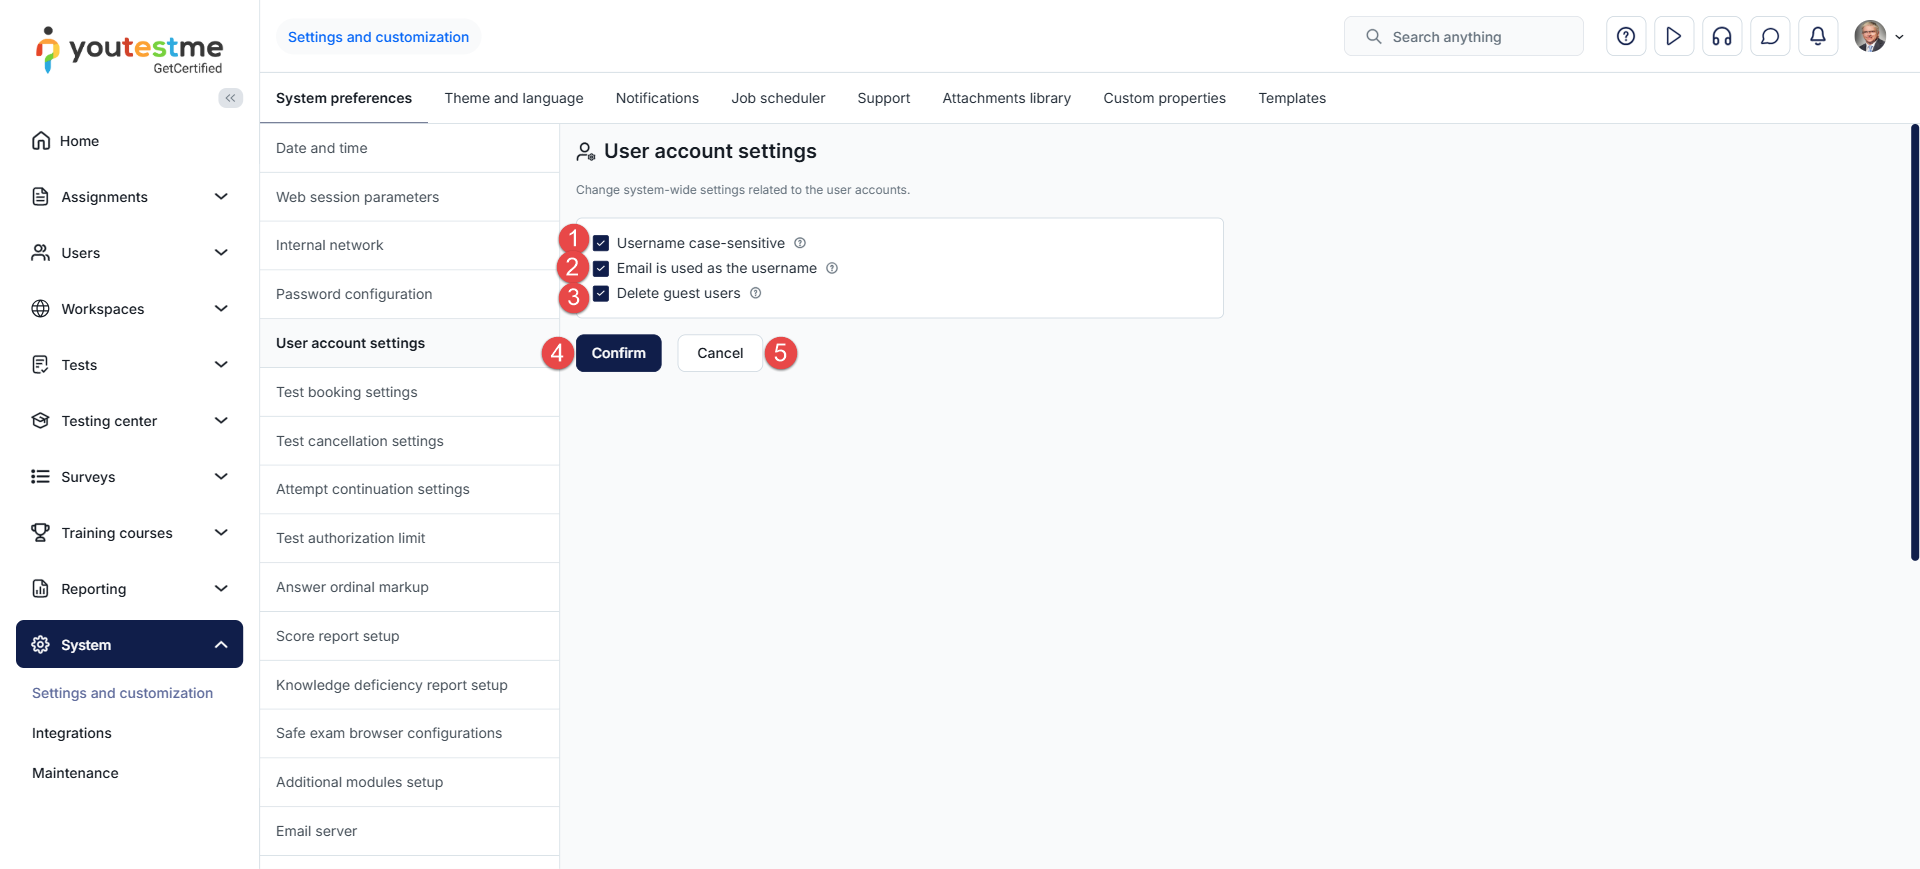
-
-
Test booking settings
On this page, you can set the number of days, hours, and minutes before the start of a testing session that will automatically be established as the test booking deadline. Click Set and customize values for each delivery preference. The booking deadline is calculated by subtracting the entered duration from the testing session start time.
For instance, if a testing session starts on January 21, 2023, and a 4-day automatic booking deadline period is configured in the settings, then when creating the session, the automatic booking deadline will be set to January 17, 2023.
Although the automatic booking deadline is initially set during testing session creation, you can modify it according to your preferences.
Click Reset to opt out of the automatic booking deadline setting.
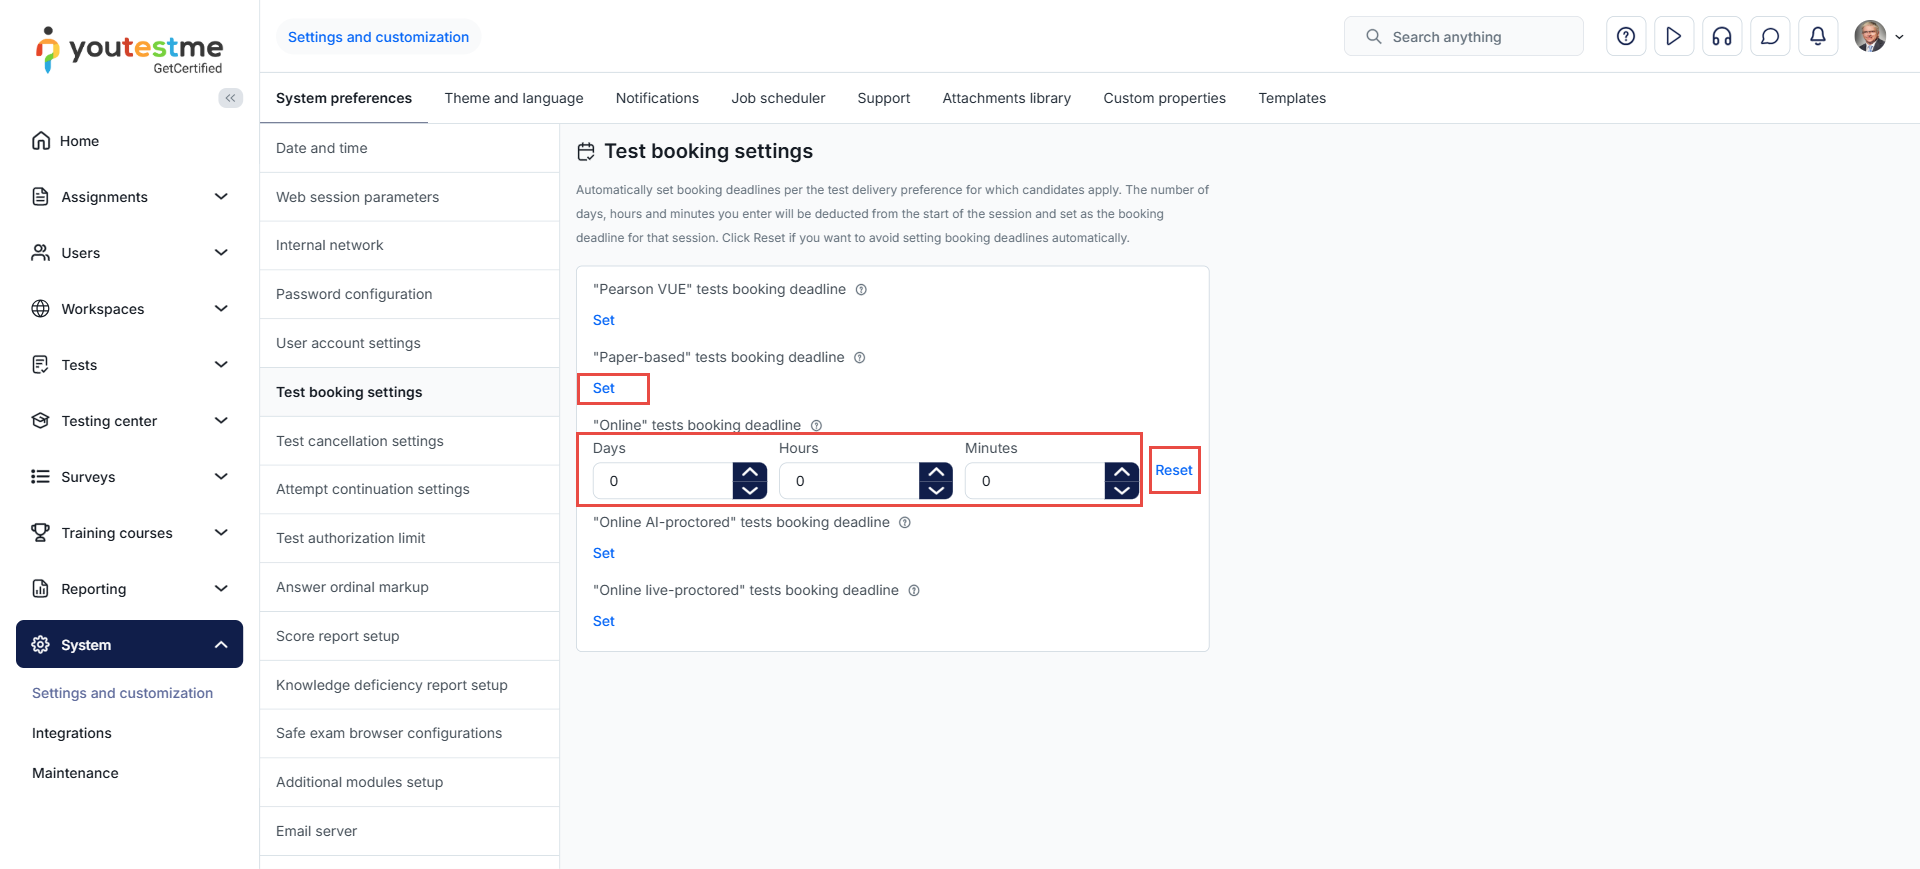
-
Test cancellation settings
On this page, you can set the number of days, hours, and minutes before the start of a testing session that will automatically be established as the test cancellation deadline. Click Set and customize values for each delivery preference. The cancellation deadline is calculated by subtracting the entered duration from the testing session start time.
For instance, if a testing session starts on January 21, 2023, and a 3-day automatic cancellation deadline period is configured in the settings, then when creating the session, the automatic cancellation deadline will be set to January 18, 2023.
Although the automatic cancellation deadline is initially set during testing session creation, you can modify it according to your preferences.
Click Reset to opt out of the automatic cancellation deadline setting.
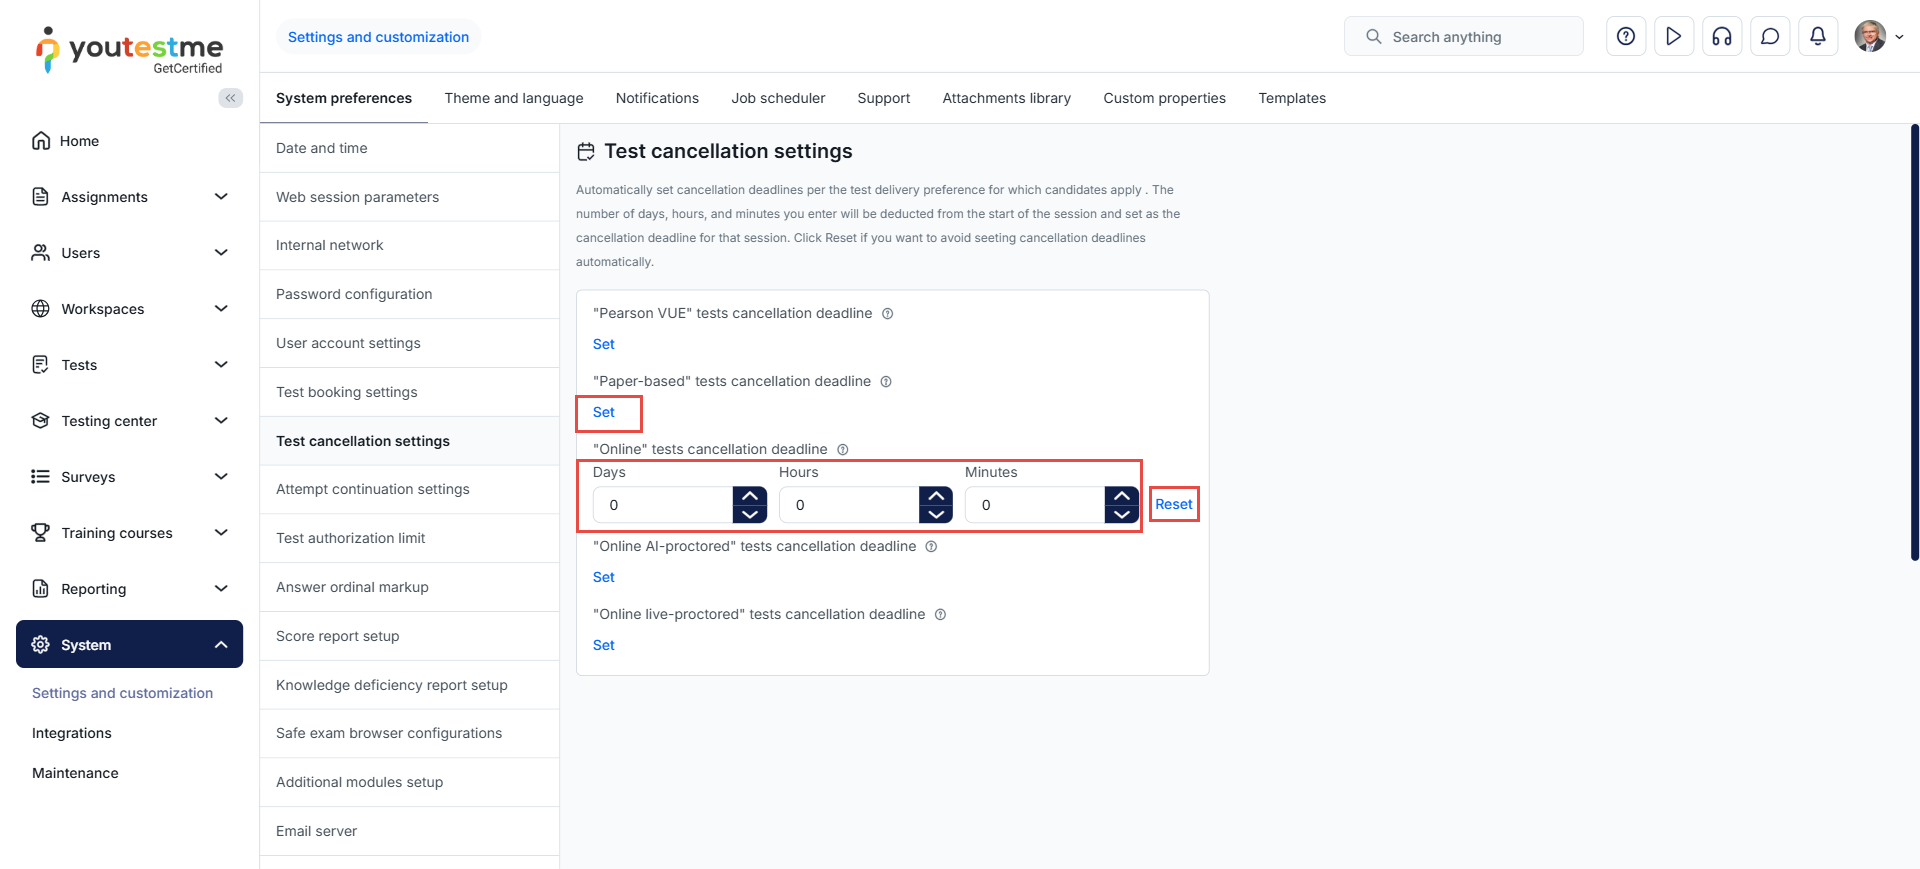
-
Attempt continuation settings
On this tab, you can define rules for resuming a test in the event of a test interruption (e.g., poor internet connection), that is when the test attempt statuses are Disconnected or In progress.
The available options are:
-
'Disconnected' and 'In progress' attempts can be continued - If selected, candidates can resume Disconnected or In progress attempts within the testing session availability period, regardless of the test/survey settings (even if the Allow test continuation option is not enabled). If not selected, and the Allow test continuation option is also not enabled in the test settings, candidates won't be able to resume the test attempt after an interruption. Instead, they can continue the test only if granted permission by the test manager (by clicking the Allow to continue option for the desired candidate on the Testing center/Candidates page).
-
Limit continuation period - If selected, candidates can resume Disconnected or In progress attempts within a specified period since the test interruption/disconnection. If this period expires, candidates can only continue the test if granted permission by the test manager (by clicking the Allow to continue option for the desired candidate on the Testing Center/Candidates page), even if the 'Disconnected' and 'In progress' attempts can be continued option is enabled.
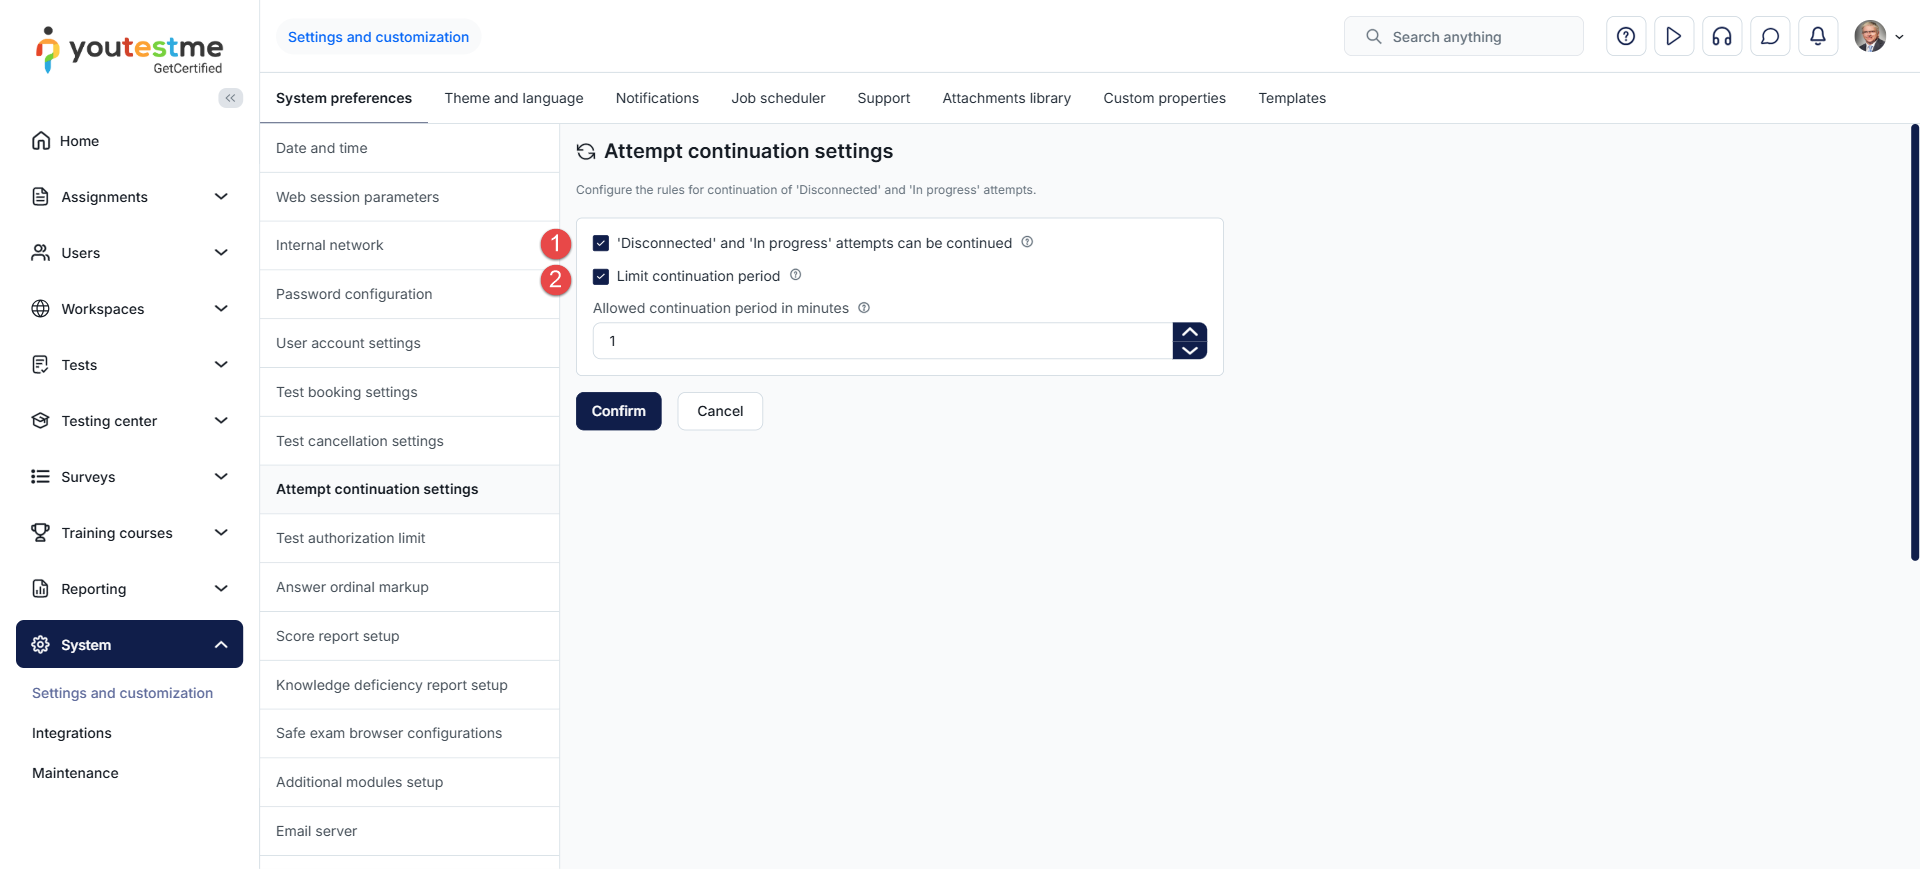
-
-
Test authorization limit
On this tab, you can limit on the number of times a candidate can take a test with a single test authorization, regardless of whether the authorization is manually created or auto-generated. The default value is 1; leave it blank for an unlimited number of test attempts that can be taken with a single authorization.
Changes to this setting apply only to tests created after the adjustment, while previously created tests retain their previously defined limits.
Additionally, during the auto-authorization setting at the test level, despite the default limit being set, you can customize the limit for that specific test.
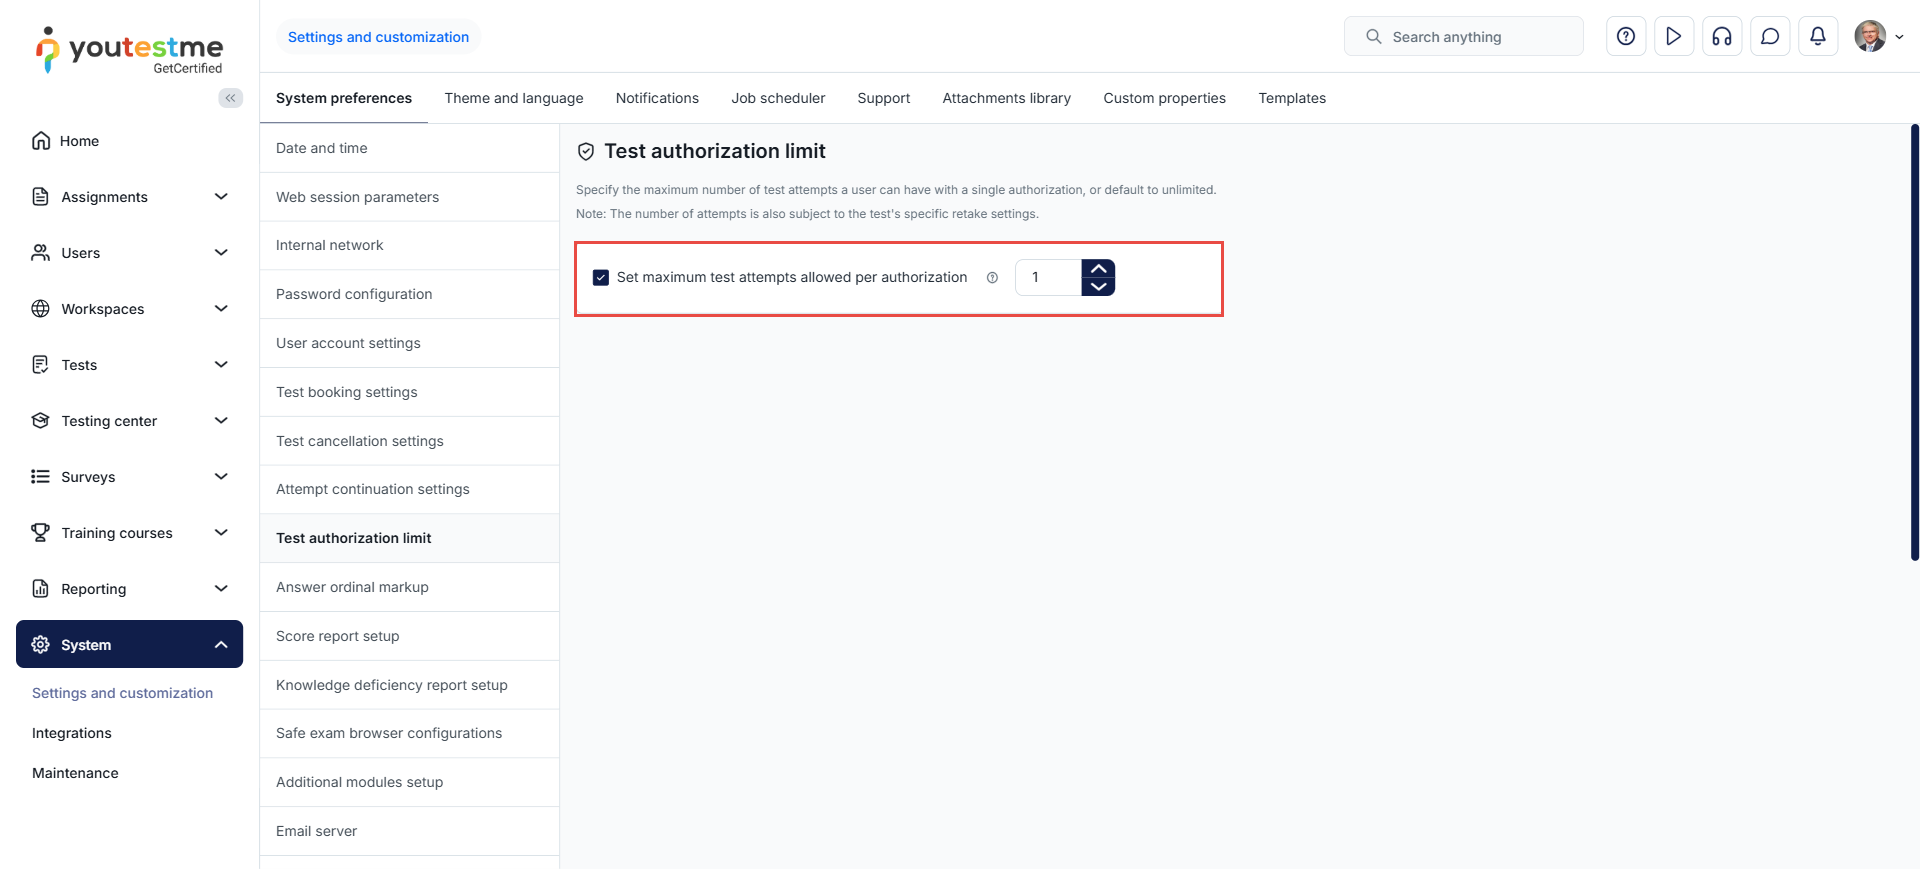
-
Answer ordinal markup
On this tab, customize the presentation of ordinal numbers next to question answers. The selected markup will appear during question creation, test-taking, in candidate reports, and in the report builder.
Choose from three options for displaying answer ordinal numbers:
- NUMERICAL - Presented as '1. 2. 3...'
- ALPHA_LOWER - Presented as 'a. b. c...'
- ALPHA_UPPER - Presented as 'A. B. C...'.
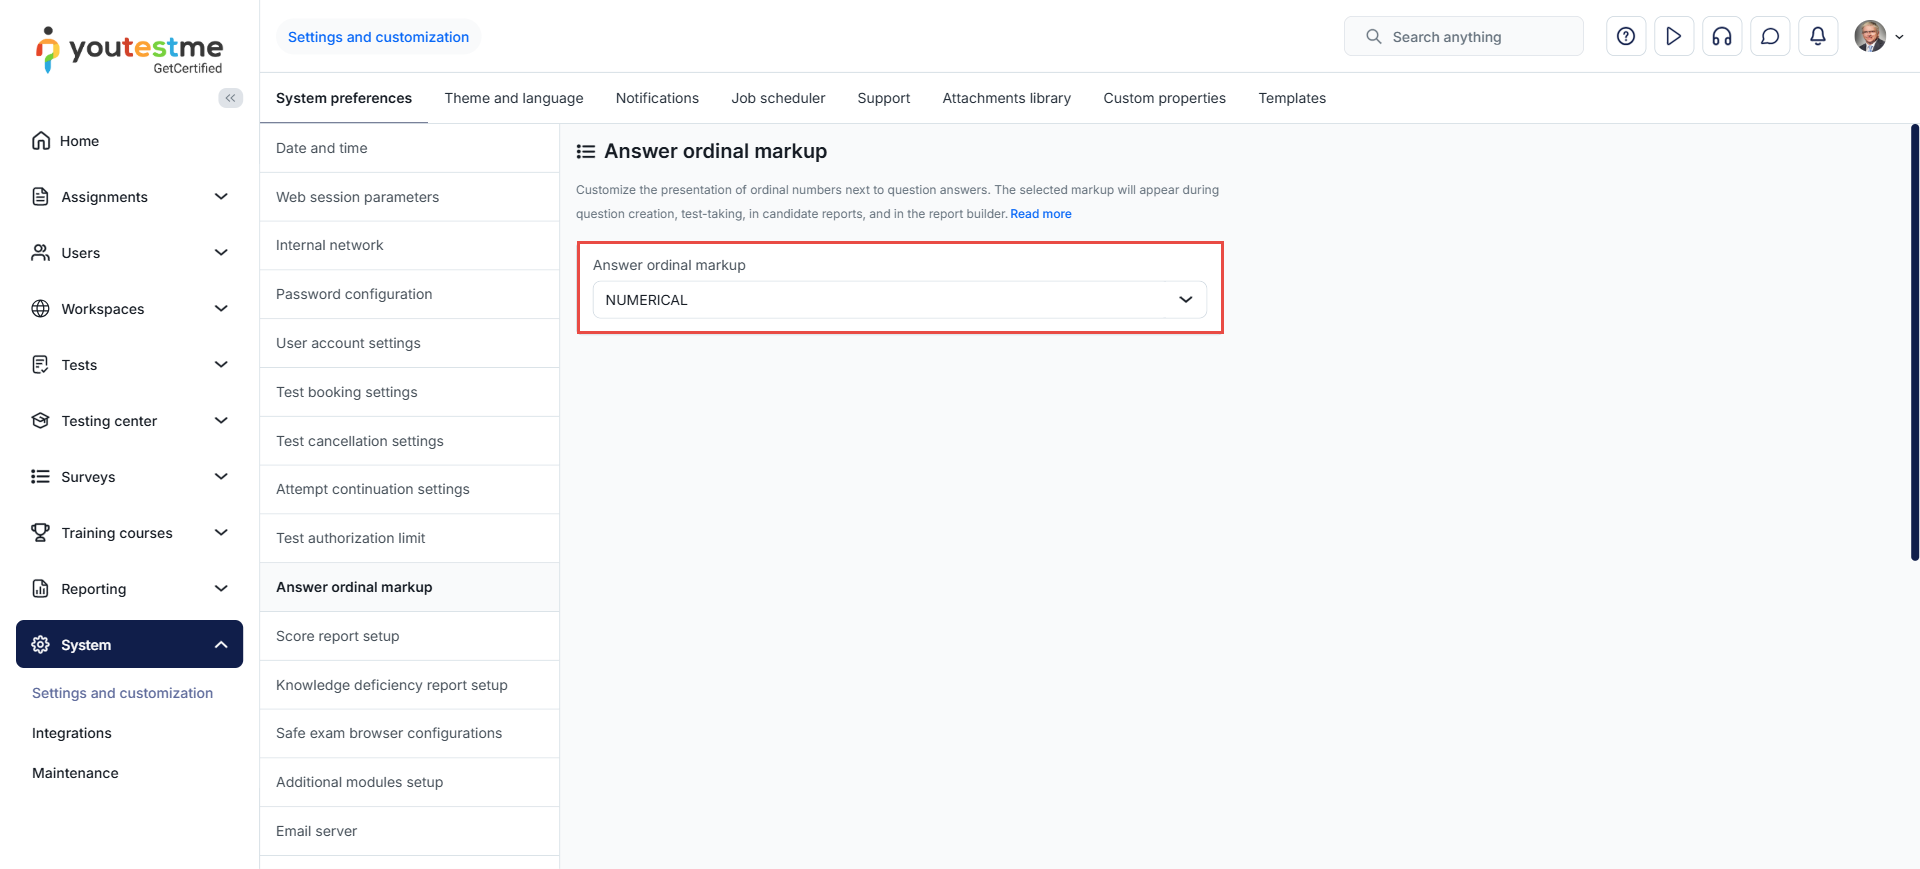
Your markup will be applied to all new and existing tests/surveys. Answer ordinal markup is configurable for all question types except fill-in-the-blank and ordering questions, which are always numerical.
Examples of the modified ordinal number markup:
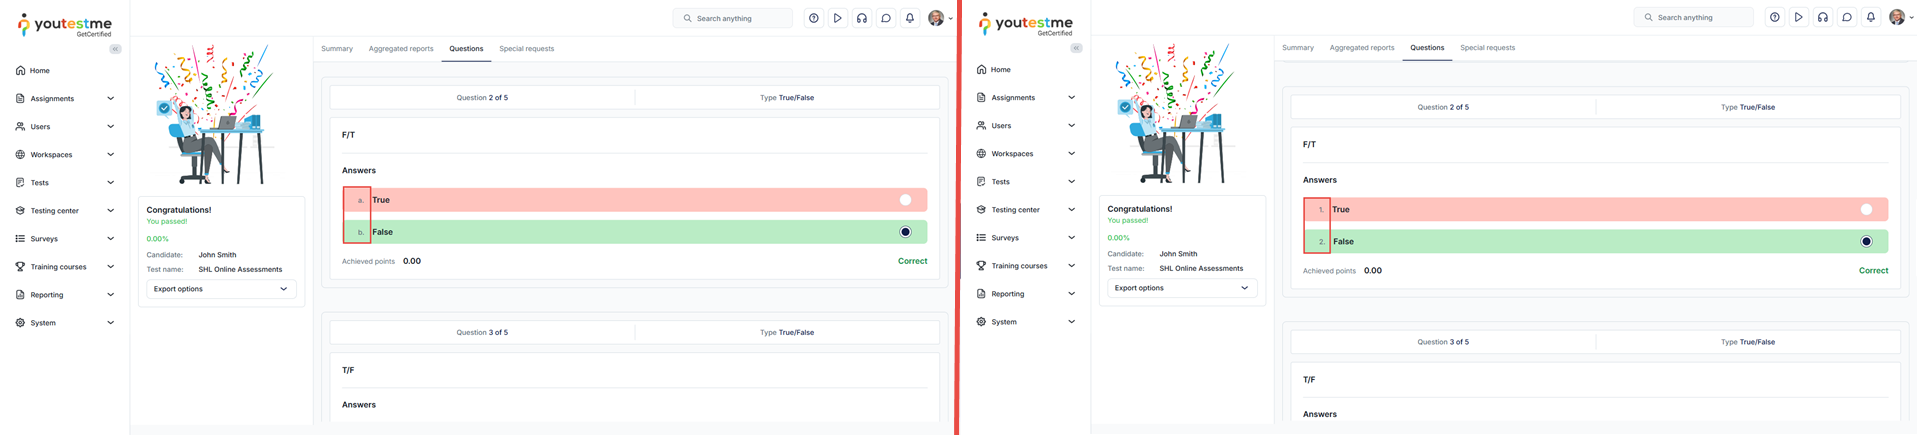
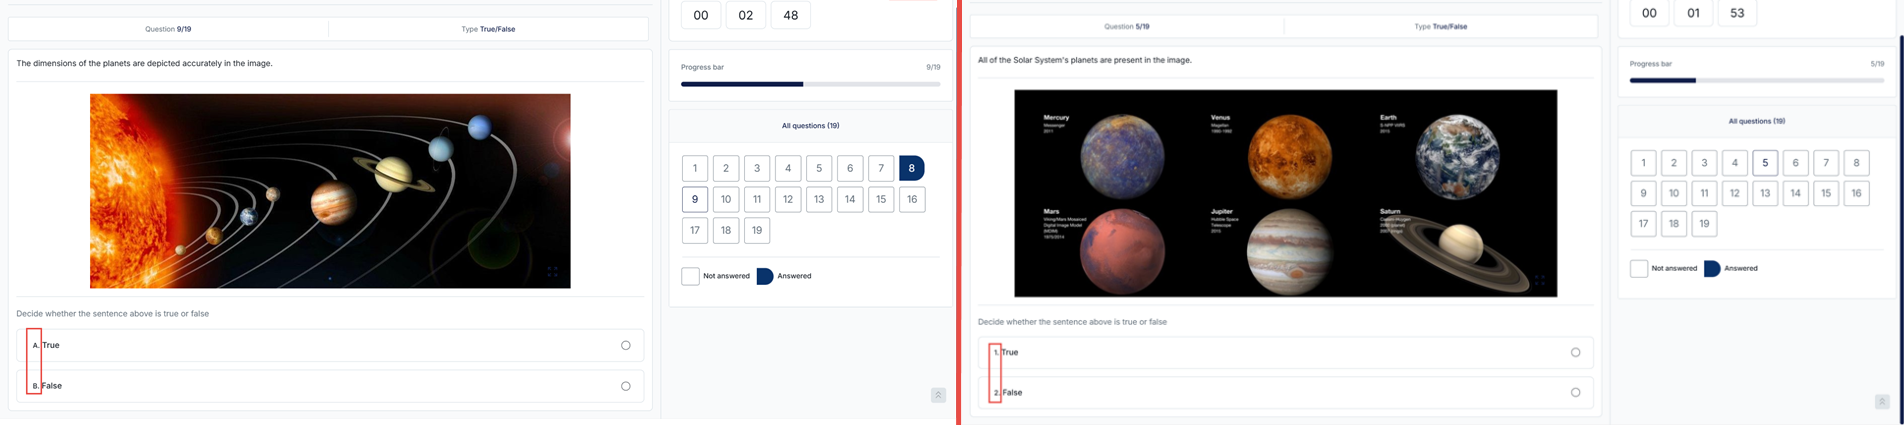
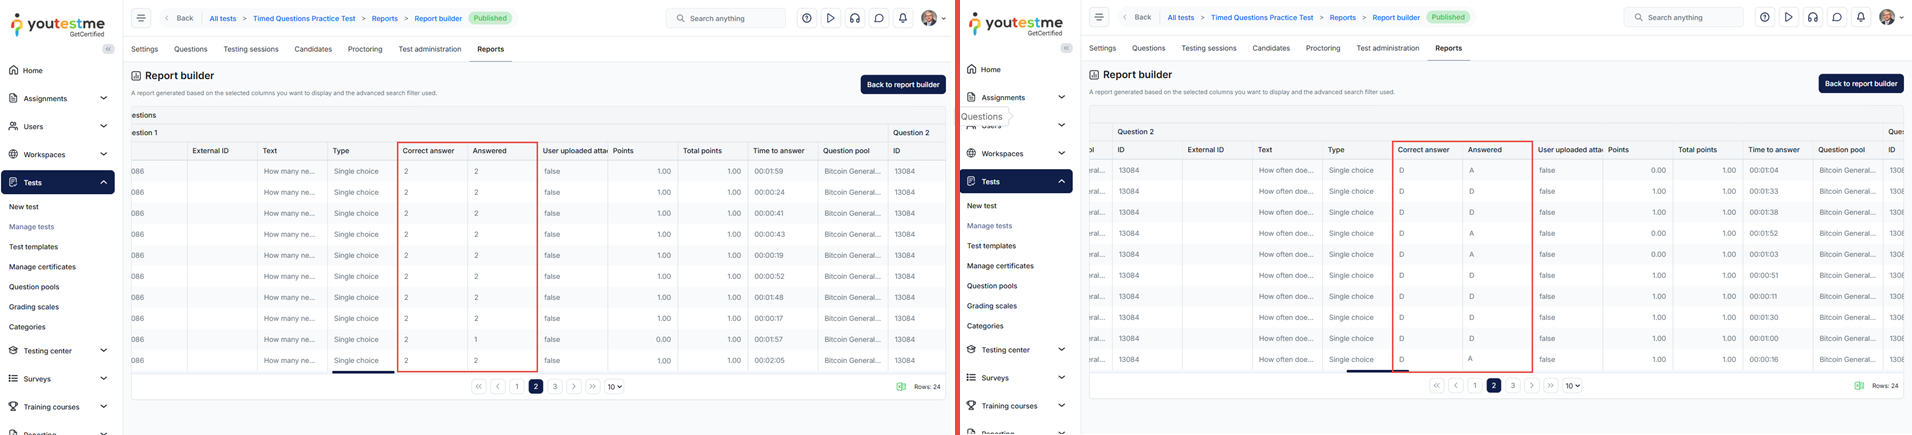
-
Score report setup
The score report is an enhanced version of the personal report designed for export. On this tab, you can customize the default content of the score report. Additionally, you can adjust score report settings for specific tests under Score report setup.
-
Passing criteria - Enter the text outlining the conditions for taking the test.
-
Main text description - Provide necessary information about the test.
-
Sections description - Enter information about individual sections.
-
Re-test policy - Include details about the retake policy for the test.
-
Show pool information - Check this option if you want the report to contain information about the question pools included in the test.
-
Show sections diagram - Check this option if you want the report to display information about candidates' results for each section.
-
Show section groups diagram - Check this option if you want the report to include a diagram for created section groups.
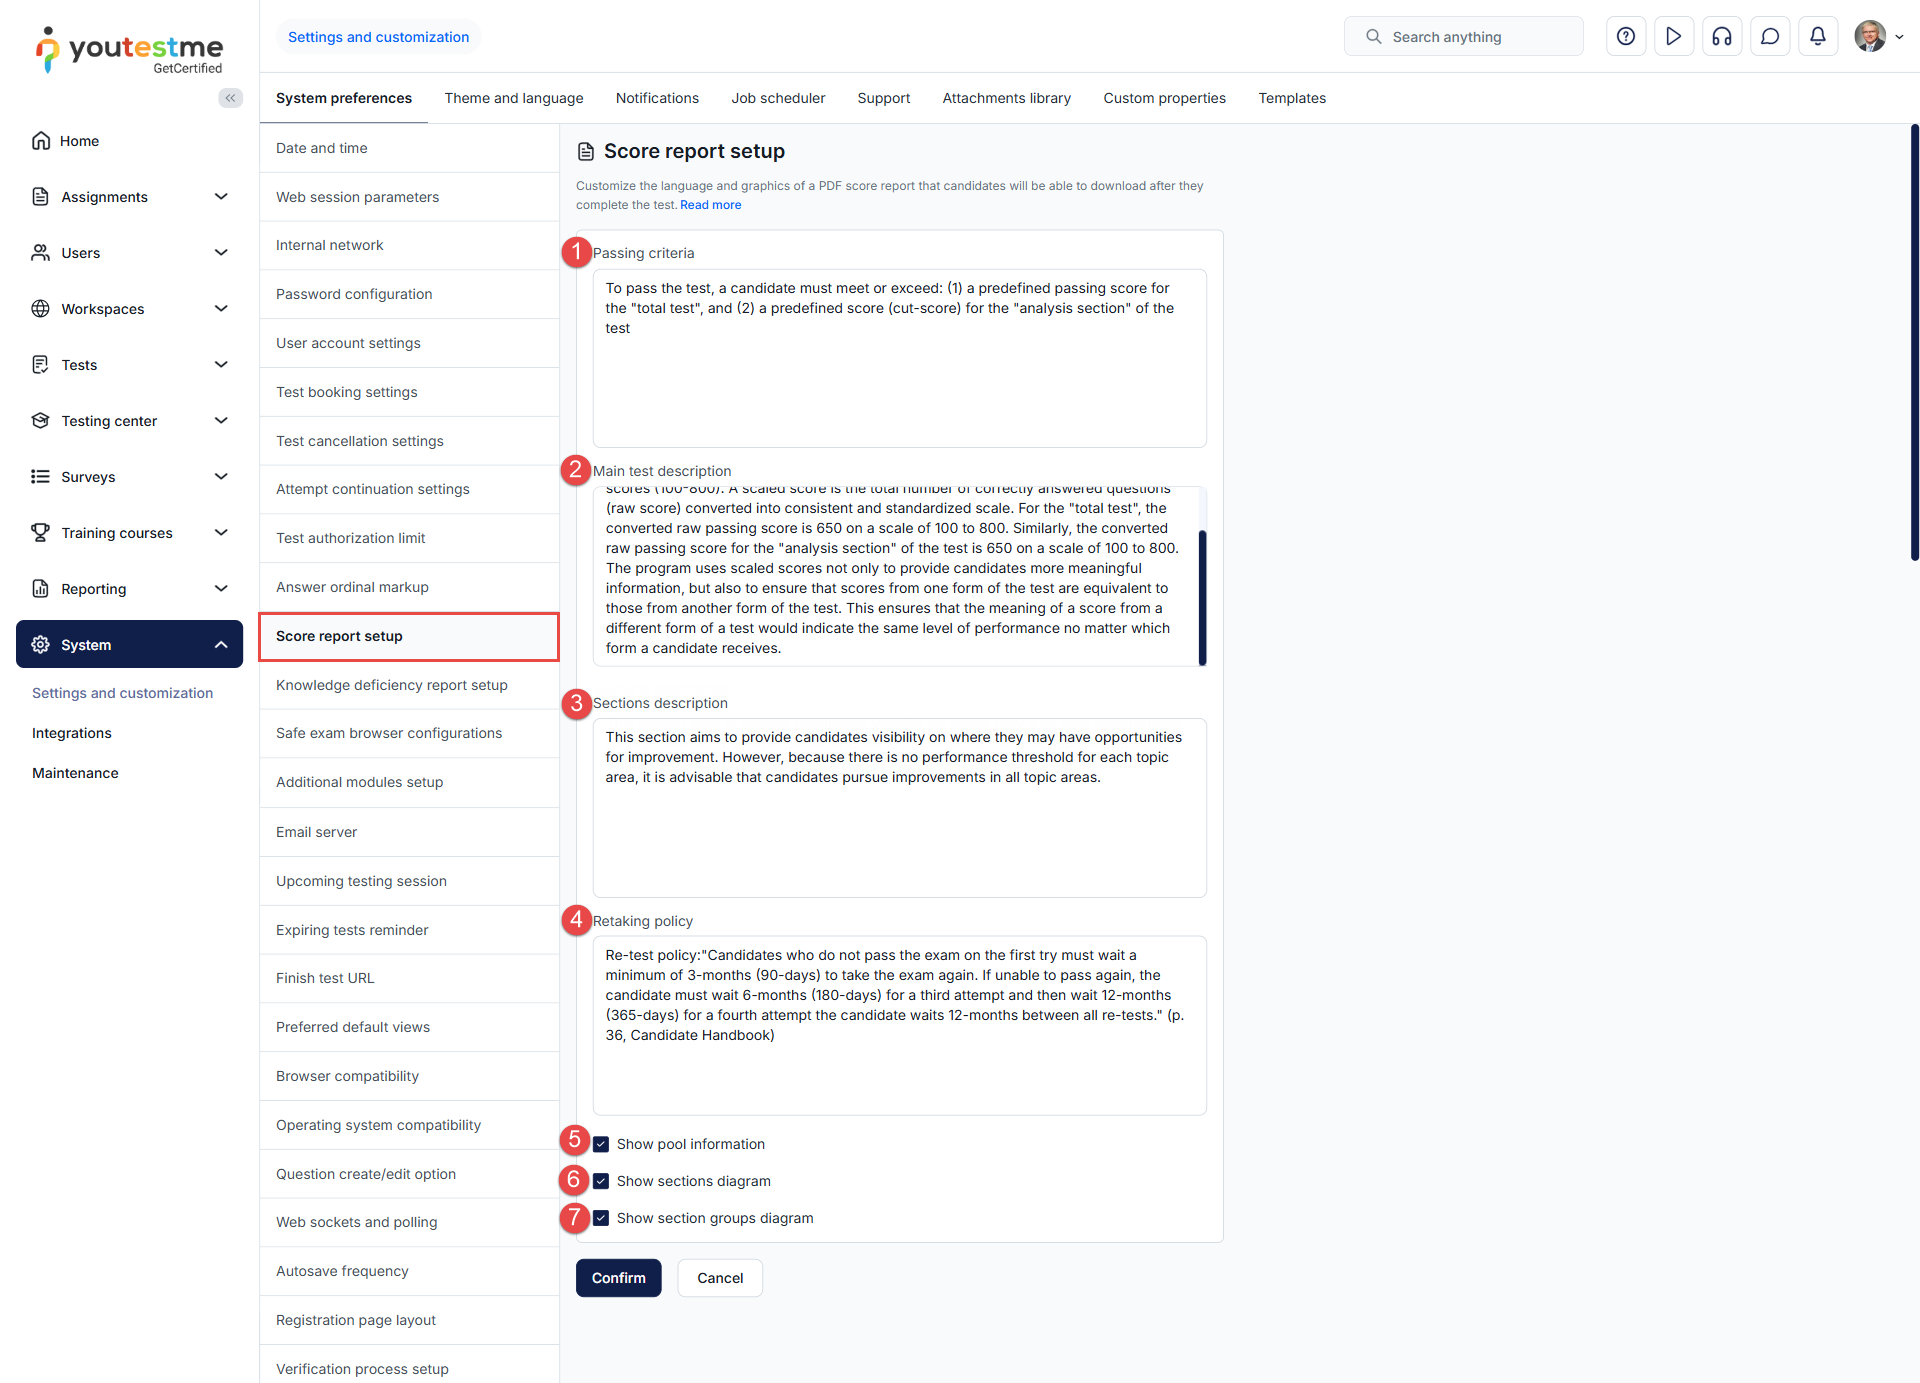
Candidates can export the score report by opening their personal report, selecting Export options, and choosing the Score report by question pools option.
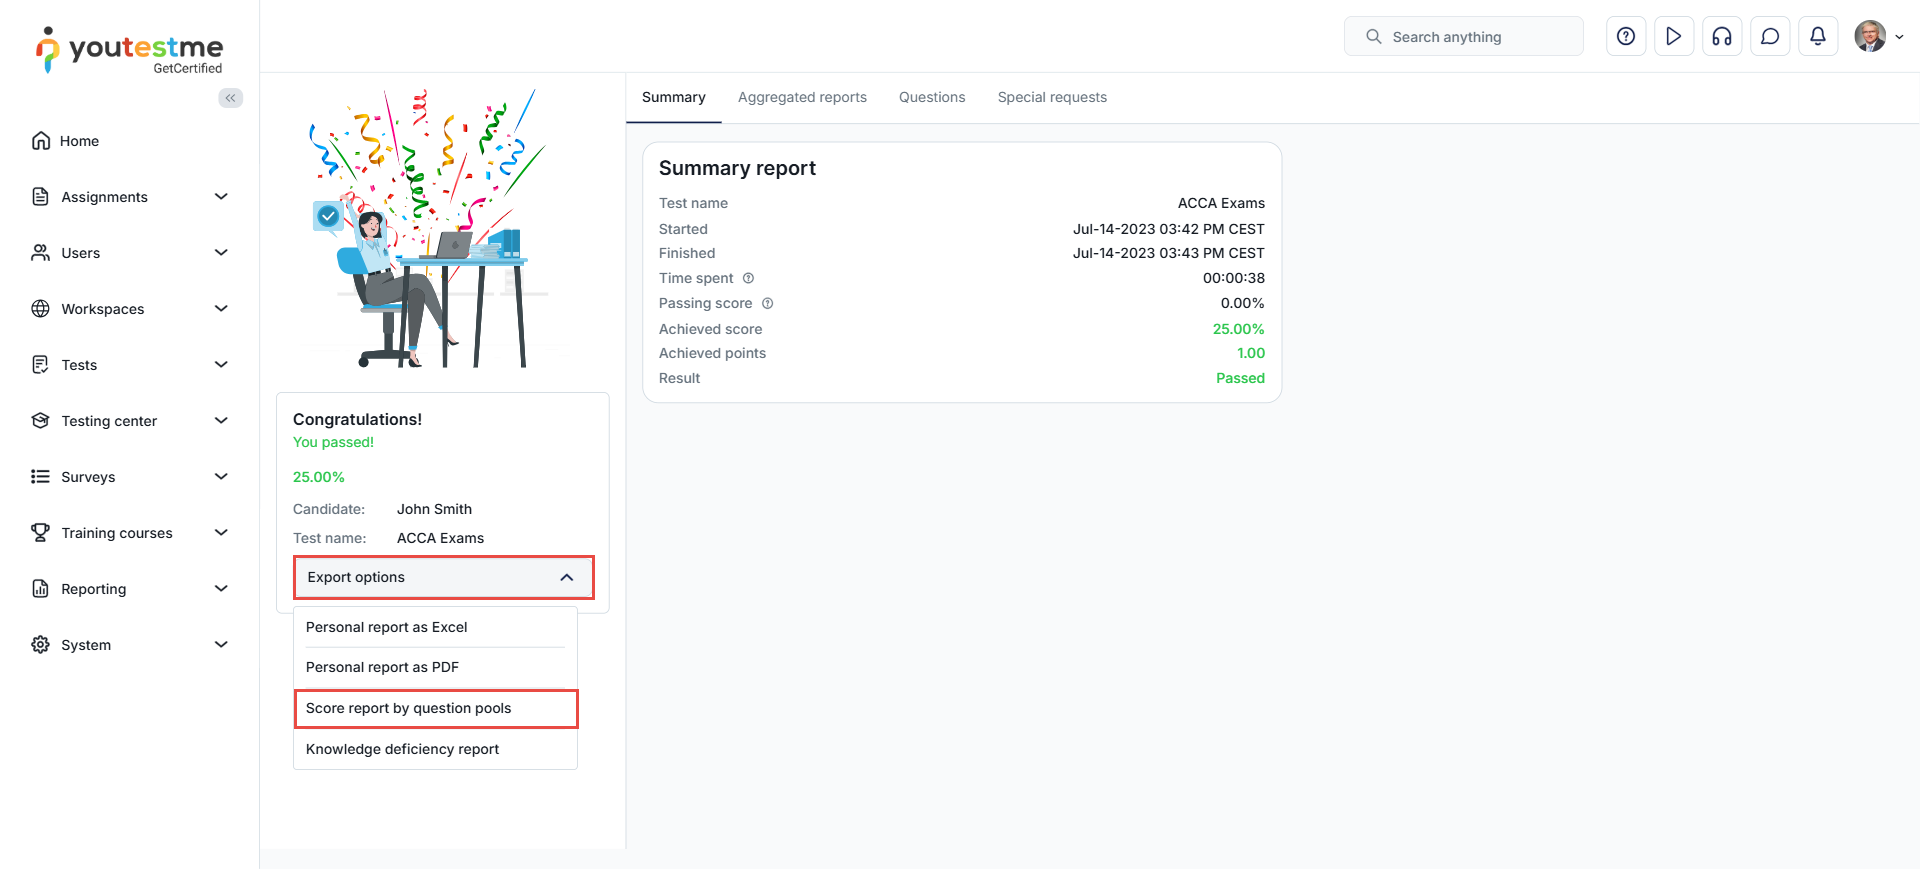
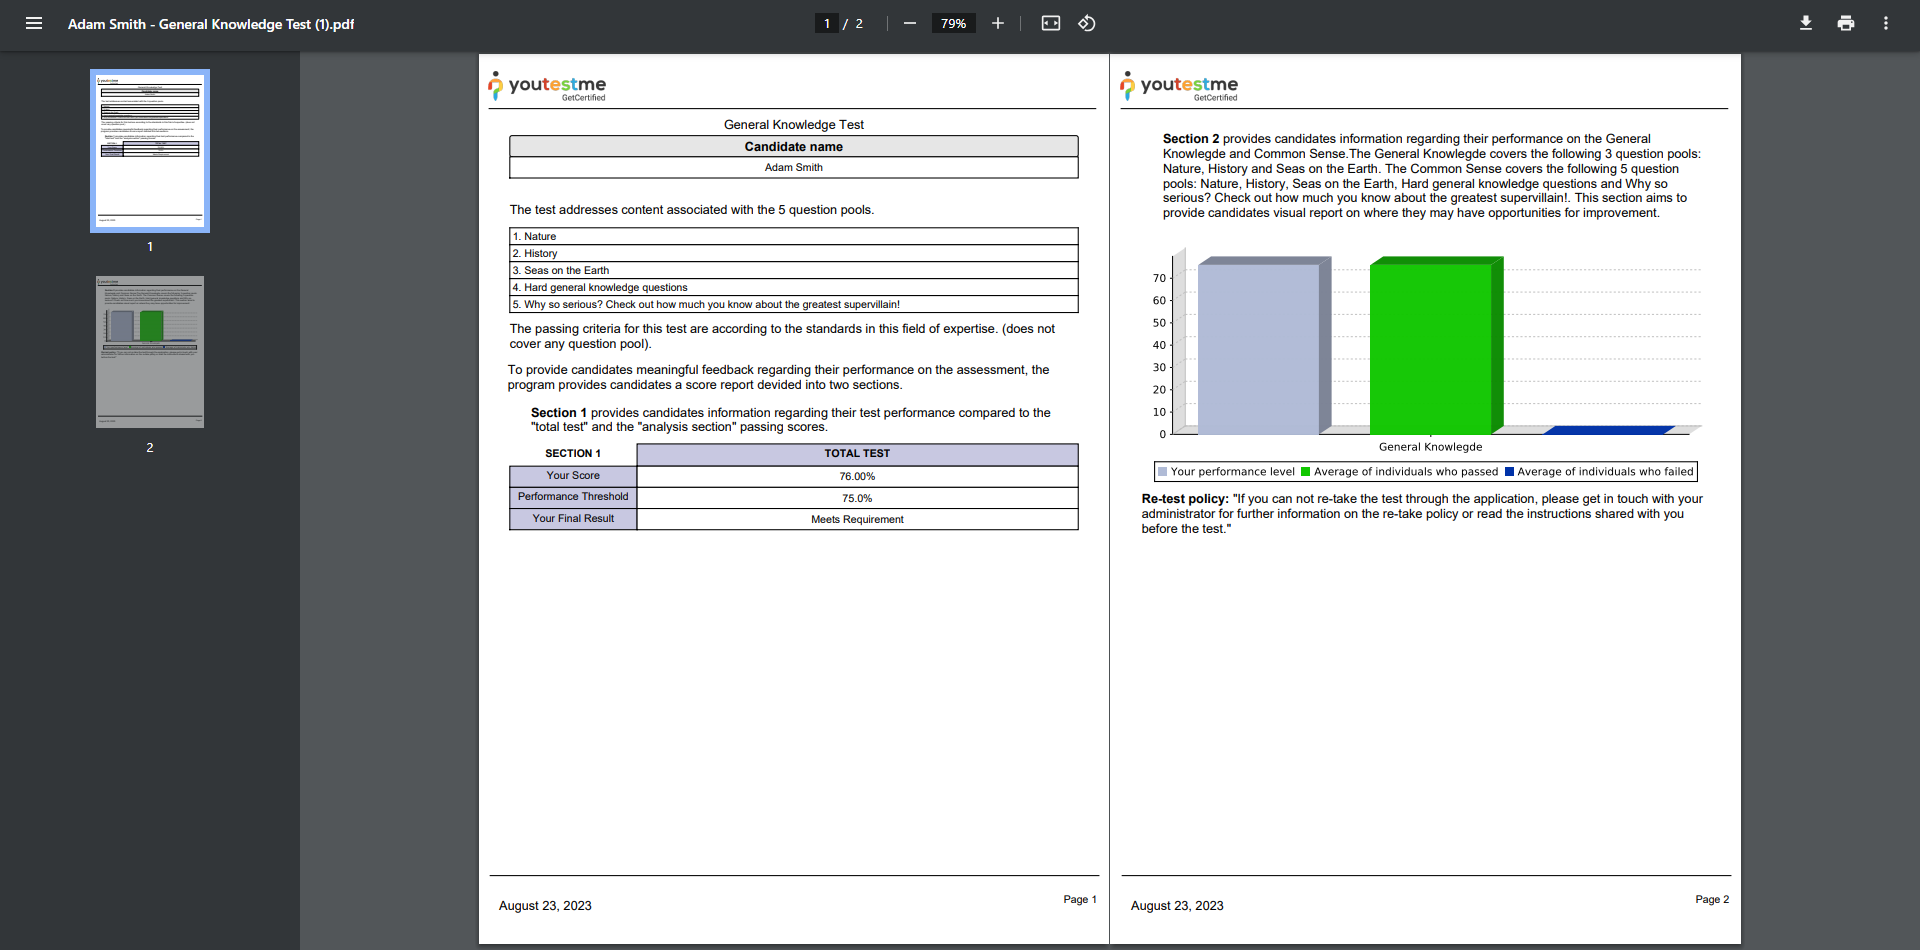
-
-
Knowledge deficiency report setup
-
Change the Header image (e.g., insert your organization logo).
-
Header text - Input custom text for the report header.
-
Free form text - Add a custom text explanation about the report.
-
Free form explanation - Enter a custom text explanation about the report.
-
Download demo - DOwnload a demo version of the report to preview its appearance for candidates.
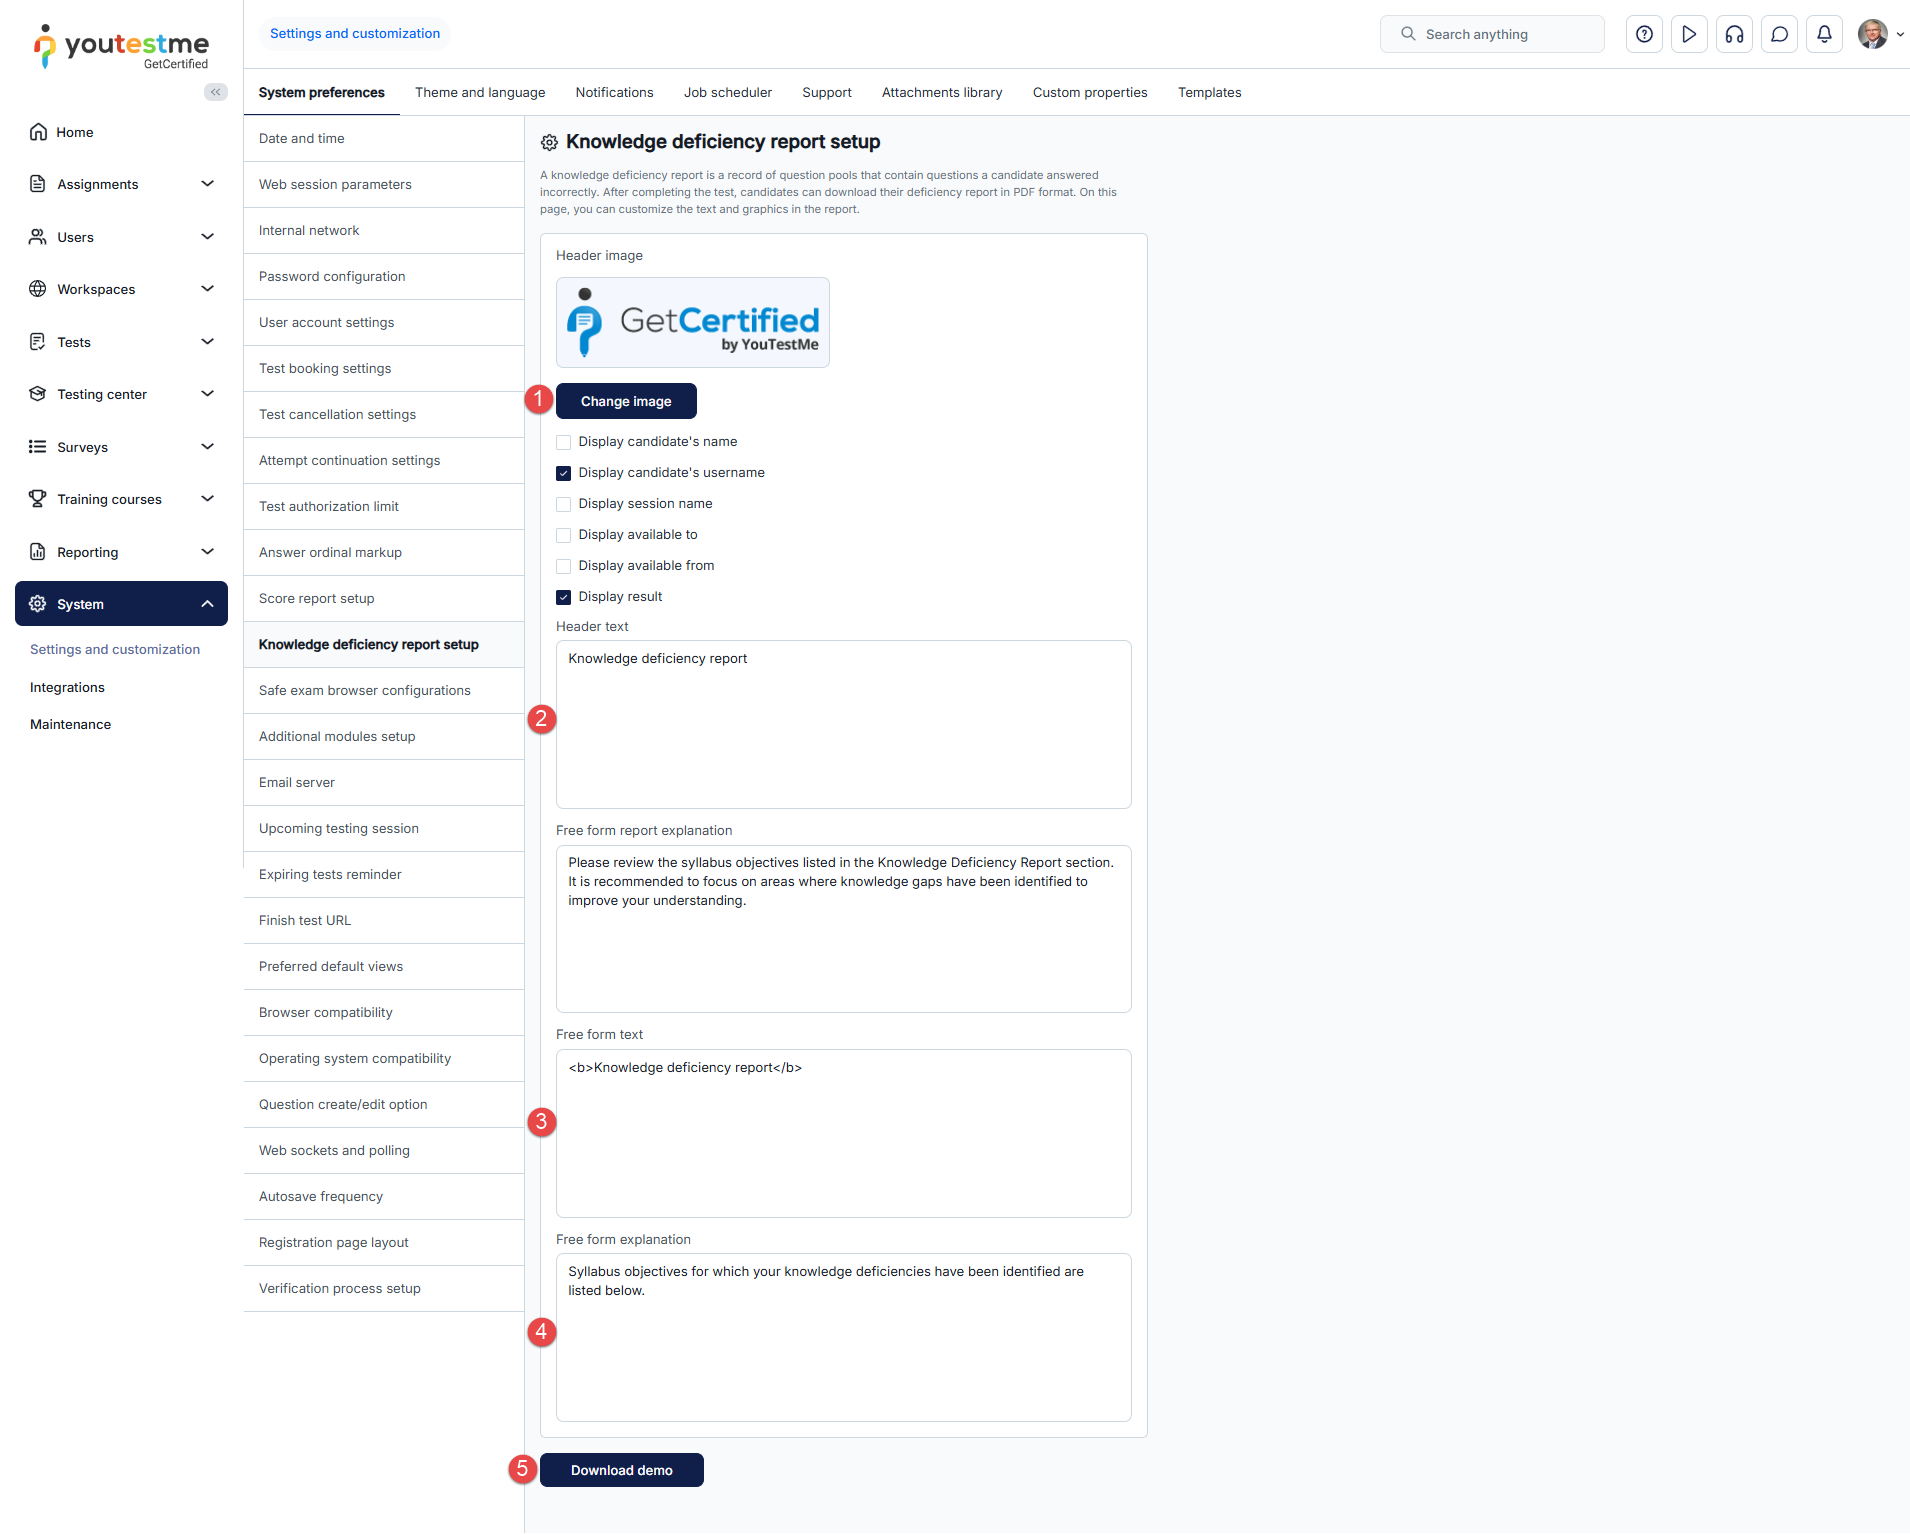
In test settings, you can allow candidates to download knowledge deficiency reports. On this tab, you can adjust the layout of the knowledge deficiency report.
Candidates can export the report by opening their personal report, selecting Export options, and choosing the Knowledge deficiency report option.
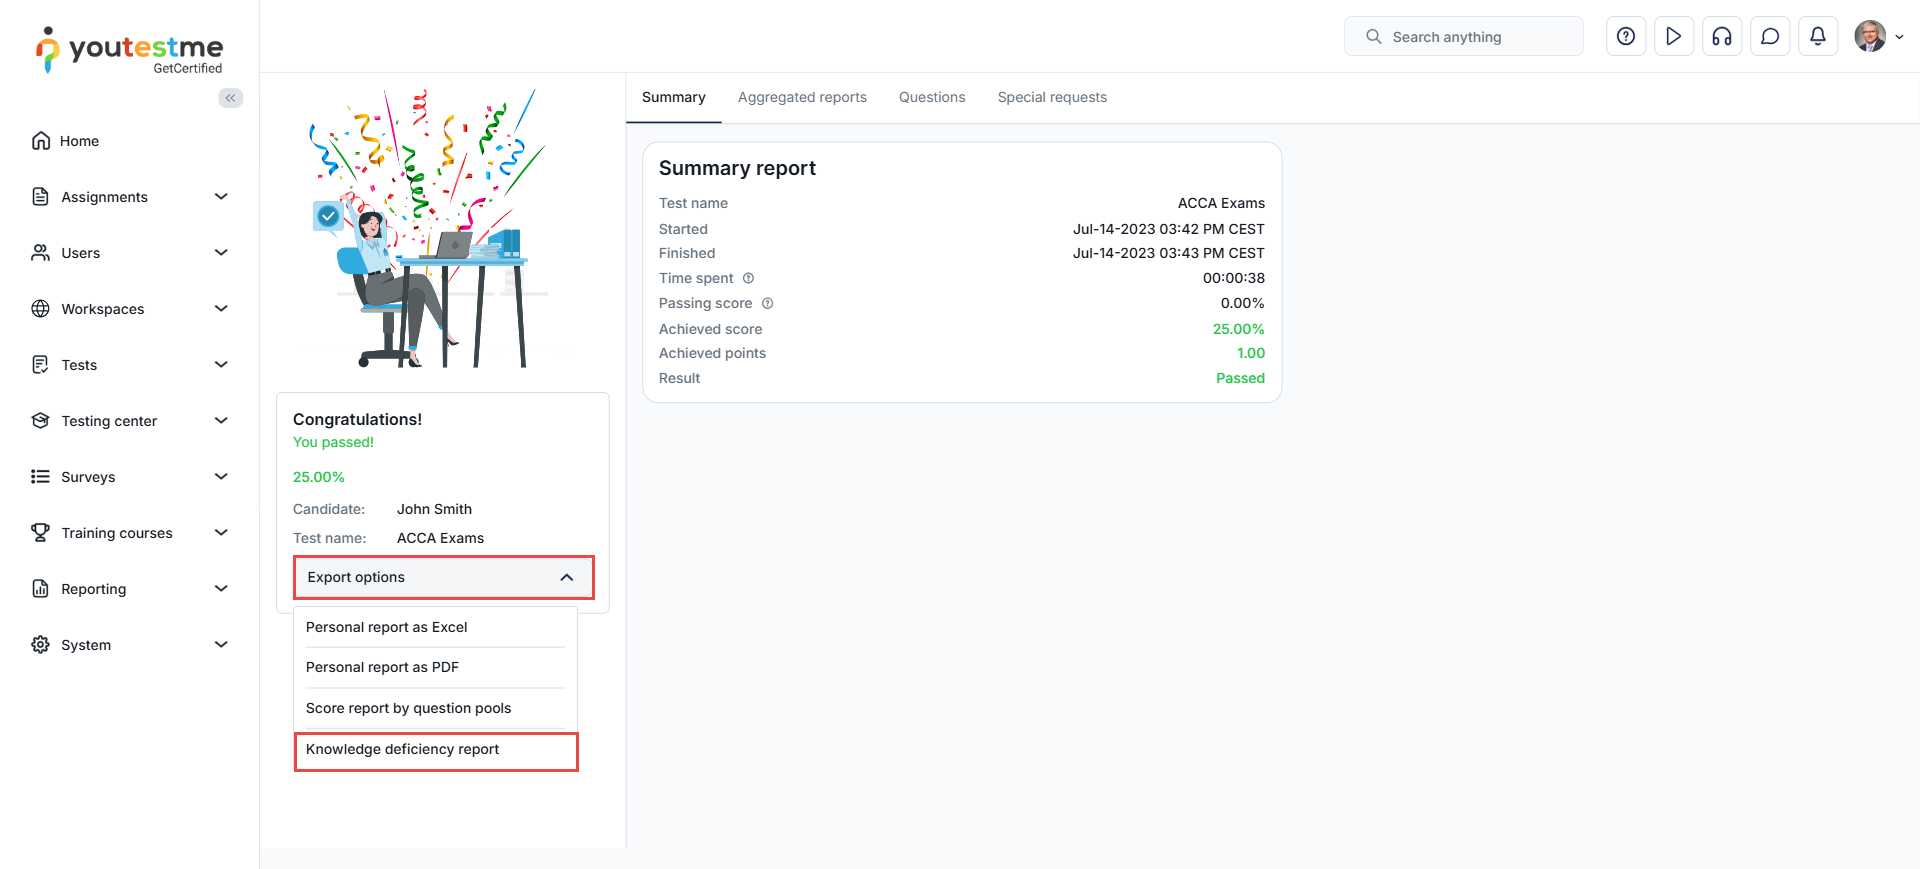
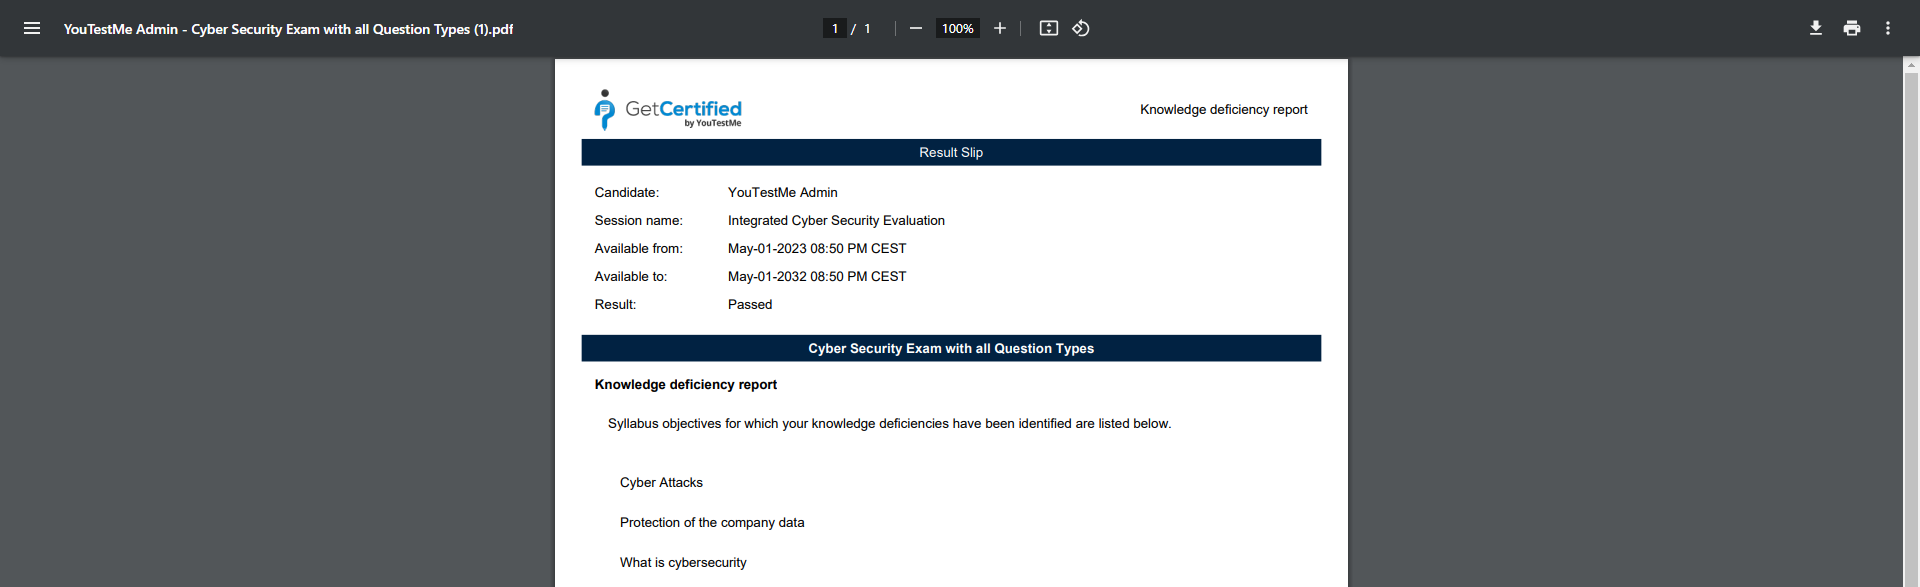
-
-
Safe Exam Browser configurations
On this tab, you can add or remove Safe Exam Browser configurations that can be used in testing sessions. When enabling the Safe Exam Browser for a testing session, all files created here will be displayed in a drop-down list.
-
Upload a new Safe Exam Browser configuration - Choose a Safe Exam Browser configuration file from your computer and upload it to the database.
-
Default configuration - This is the default Safe Exam Browser configuration that is always present and it cannot be deleted
-
Delete Safe Exam Browser configuration - Permanently delete a Safe Exam Browser configuration.
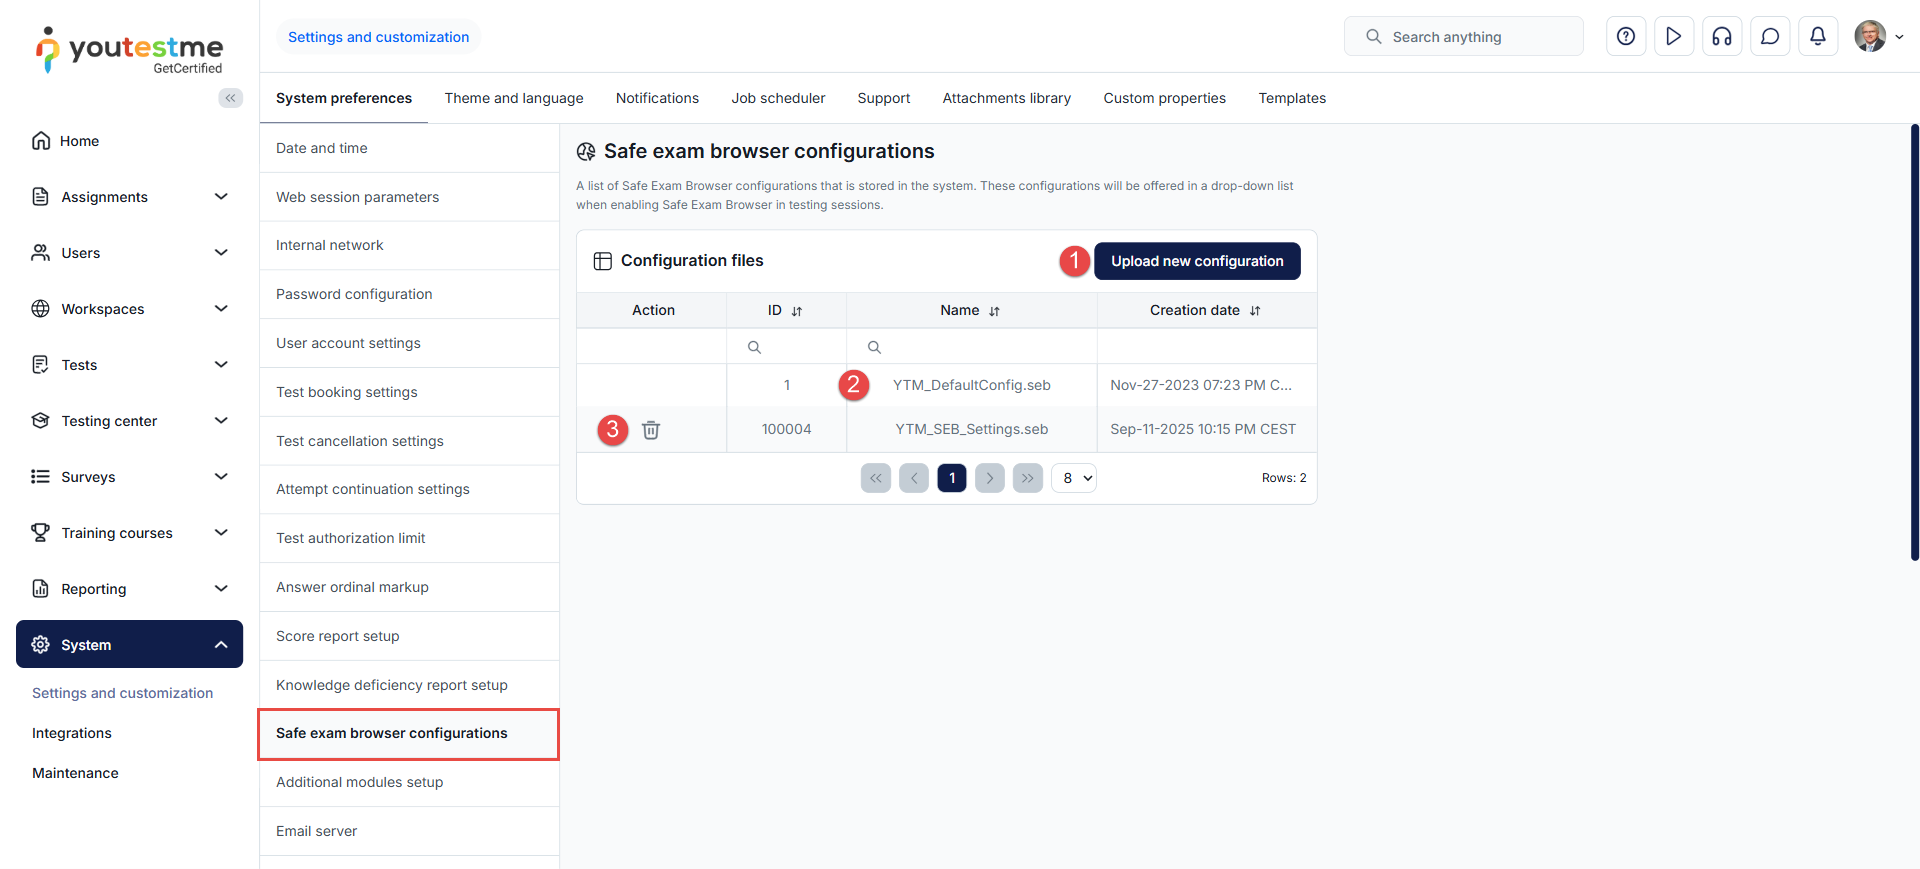
-
-
Additional modules setup
On this tab, you can enable or disable specific application modules based on your requirements. Module availability may vary depending on your edition. To find out more about each module, refer to the Modules help page.
Automatically select test language
Automatically select the question language based on the language selected on the user's profile. If a translation is not available in the selected language, the default language of the question is used. For more information on automatically selecting the test language, refer to this article.
-
Email server
On this tab, set up email servers for sending notifications from the application. There is no limit to the number of email servers that can be configured, but only one can be active at a time.
By default, one email server is configured in the application, but you can set your own instead.
To configure email server:
-
Click the Create new button to add new email server, or Update existing to reconfigure already added email server.
-
Select an email server.
-
Enter the host name of the mail server.
-
Enter the port number of the mail server.
-
Enable SMTP authentication if user authentication with the SMTP server is required.
-
Enable Start TLS if you need to use TLS encryption for secure email sending.
-
Enter the username of the mail server.
-
Enter the password for the mail server.
-
Enter the email address that will serve as the sender of the notification. If a user wants to respond to a notification, the email will be sent to this address.
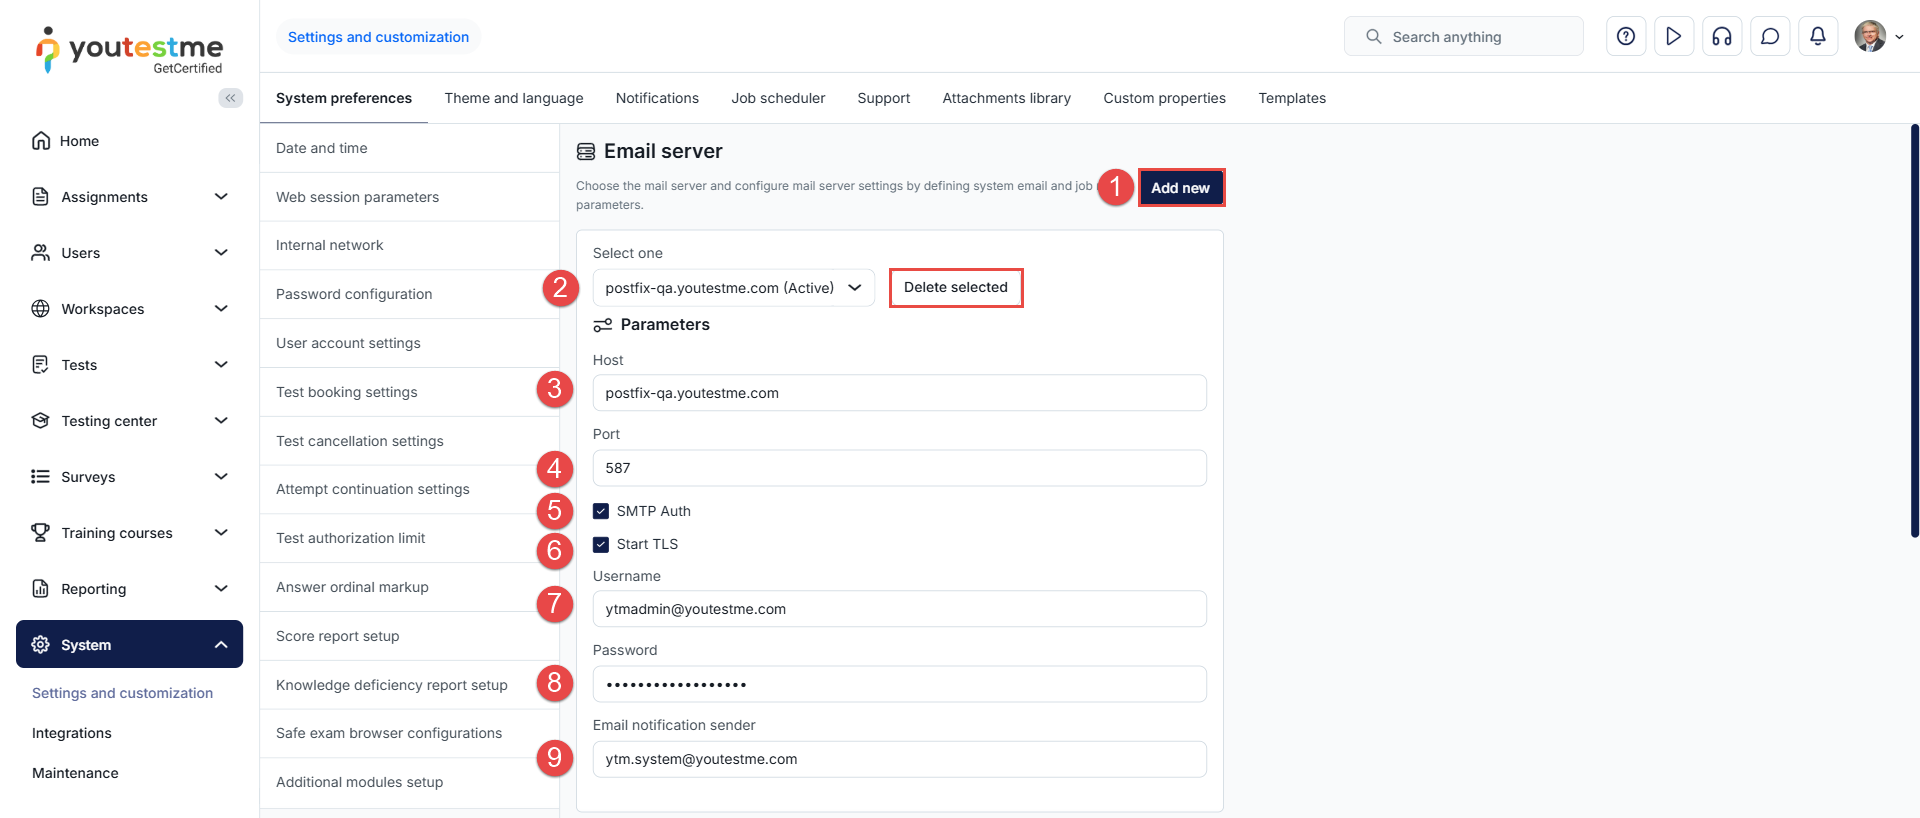
Once the email server is added, click the Activate button.
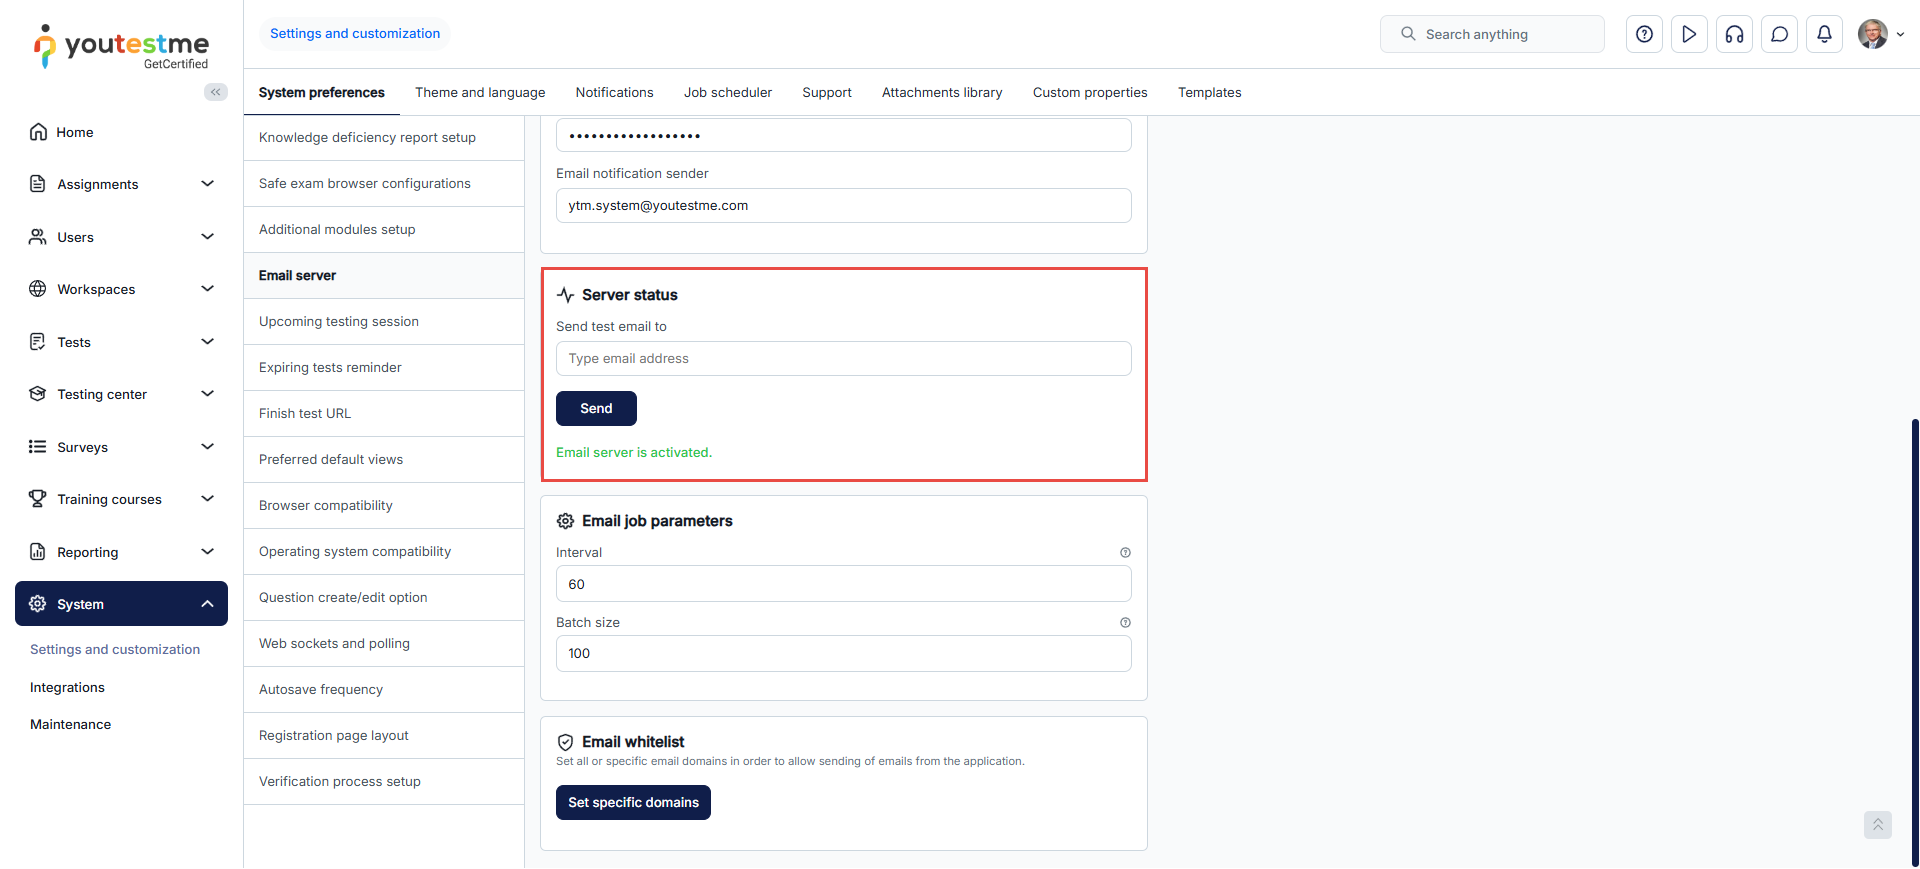
After the email server is activated, click the Send button to send a test email to the provided email address. You can check the status of the sent email under Reporting/Predefined reports/User reports/Sent emails report.
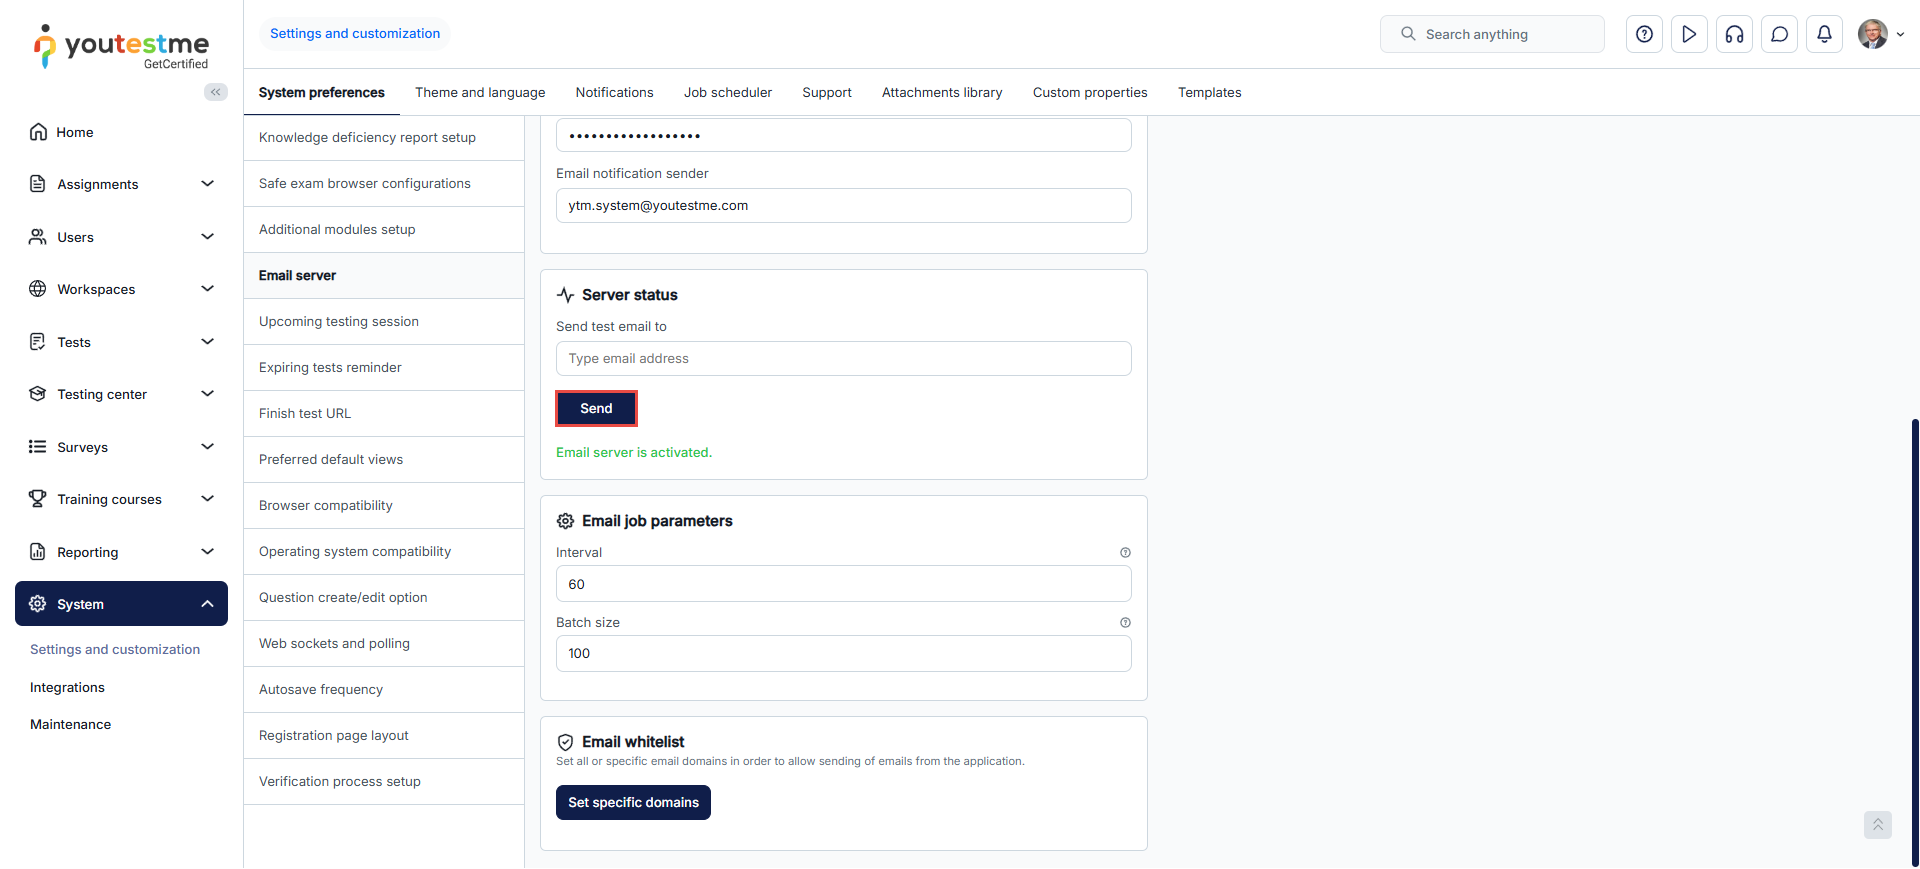
To permanently remove an email server from the system, select the desired one, then click the Delete button. Only inactive mail servers can be deleted.
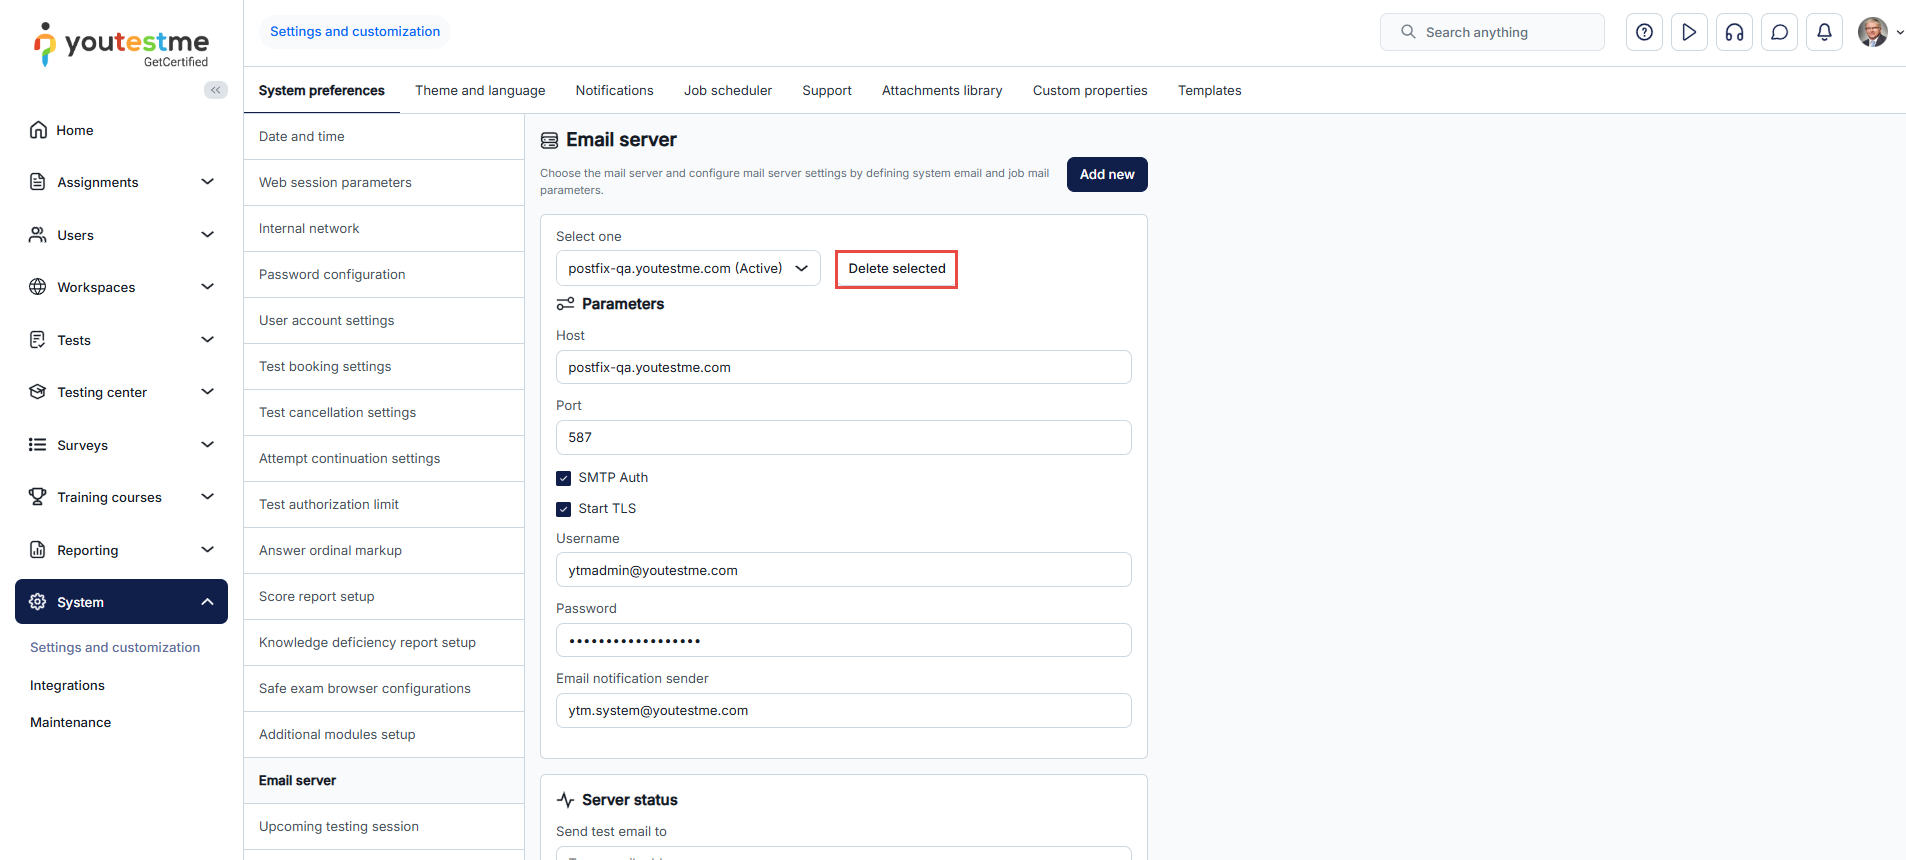
To set sending preferences:
-
Interval - Enter the number of seconds between two iterations for batch sending of emails.
-
Batch size - Enter the maximum number of emails to be sent in one iteration.
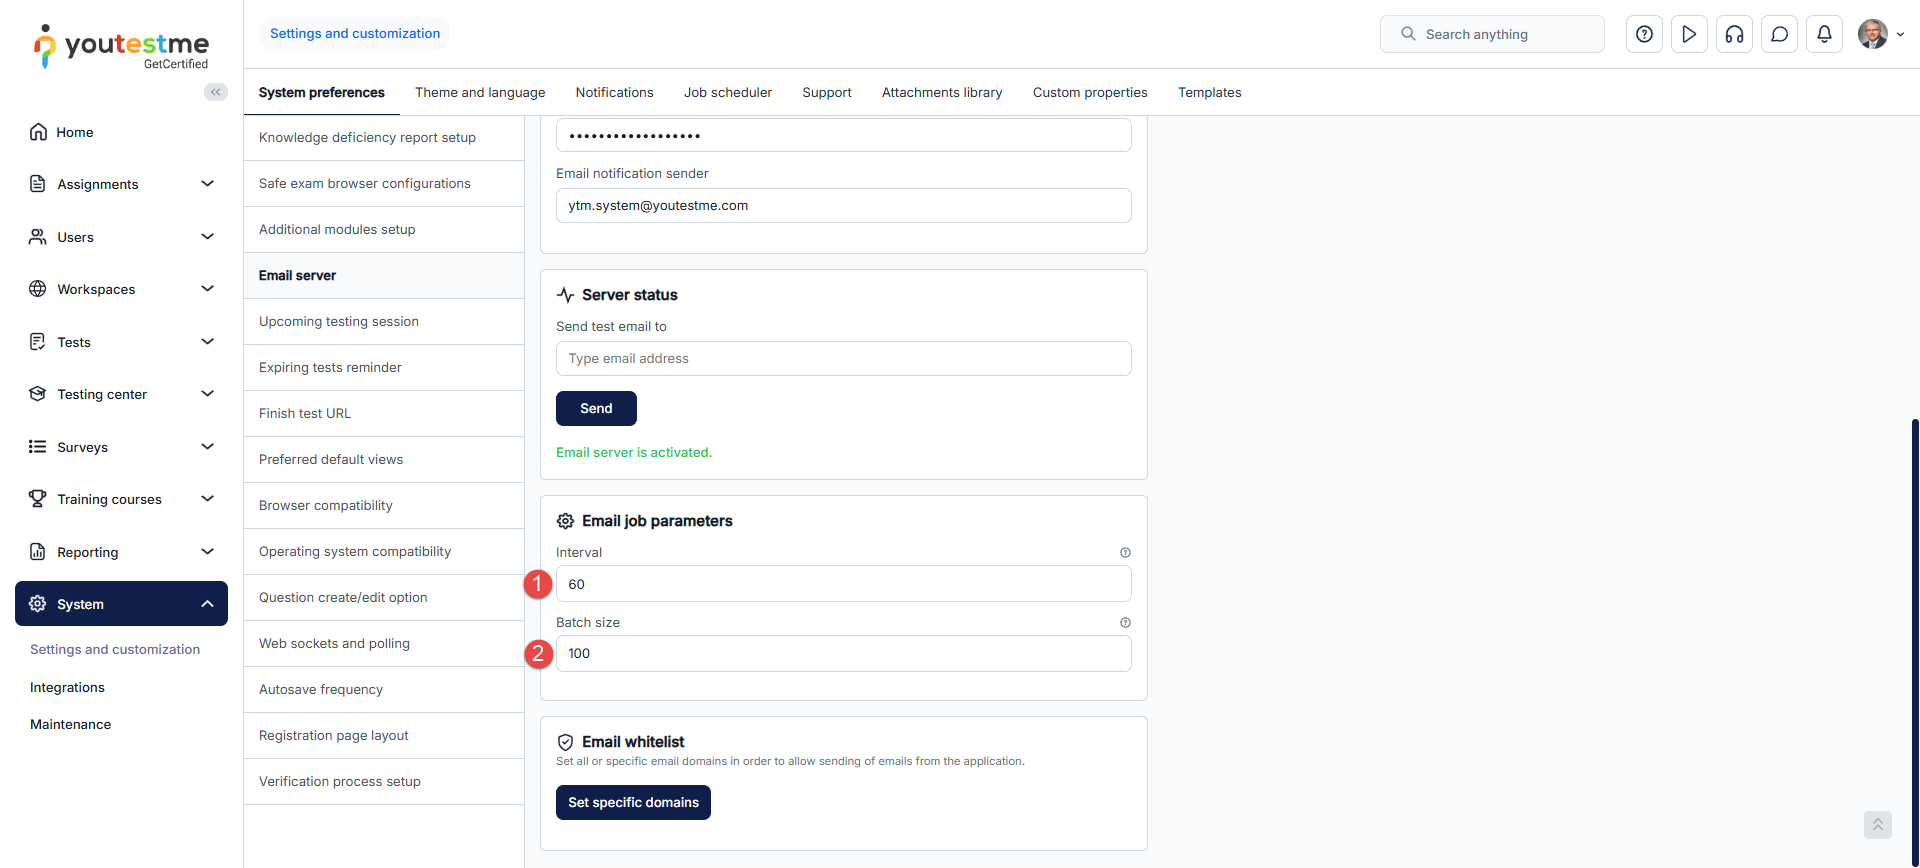
Additionally, you can define the email domains to which the application is permitted to send email notifications. Emails will not be sent to users whose email addresses do not have the specified domains.
To specify email domains:
-
Click the Set specific domains button.
-
Enter the domains to which you want to allow email addresses to be sent. Input each email domain individually, pressing the Enter key after each entry.
-
Click the Set button to save the changes.
-
To permit sending to all domains, click the Allow all domains button.
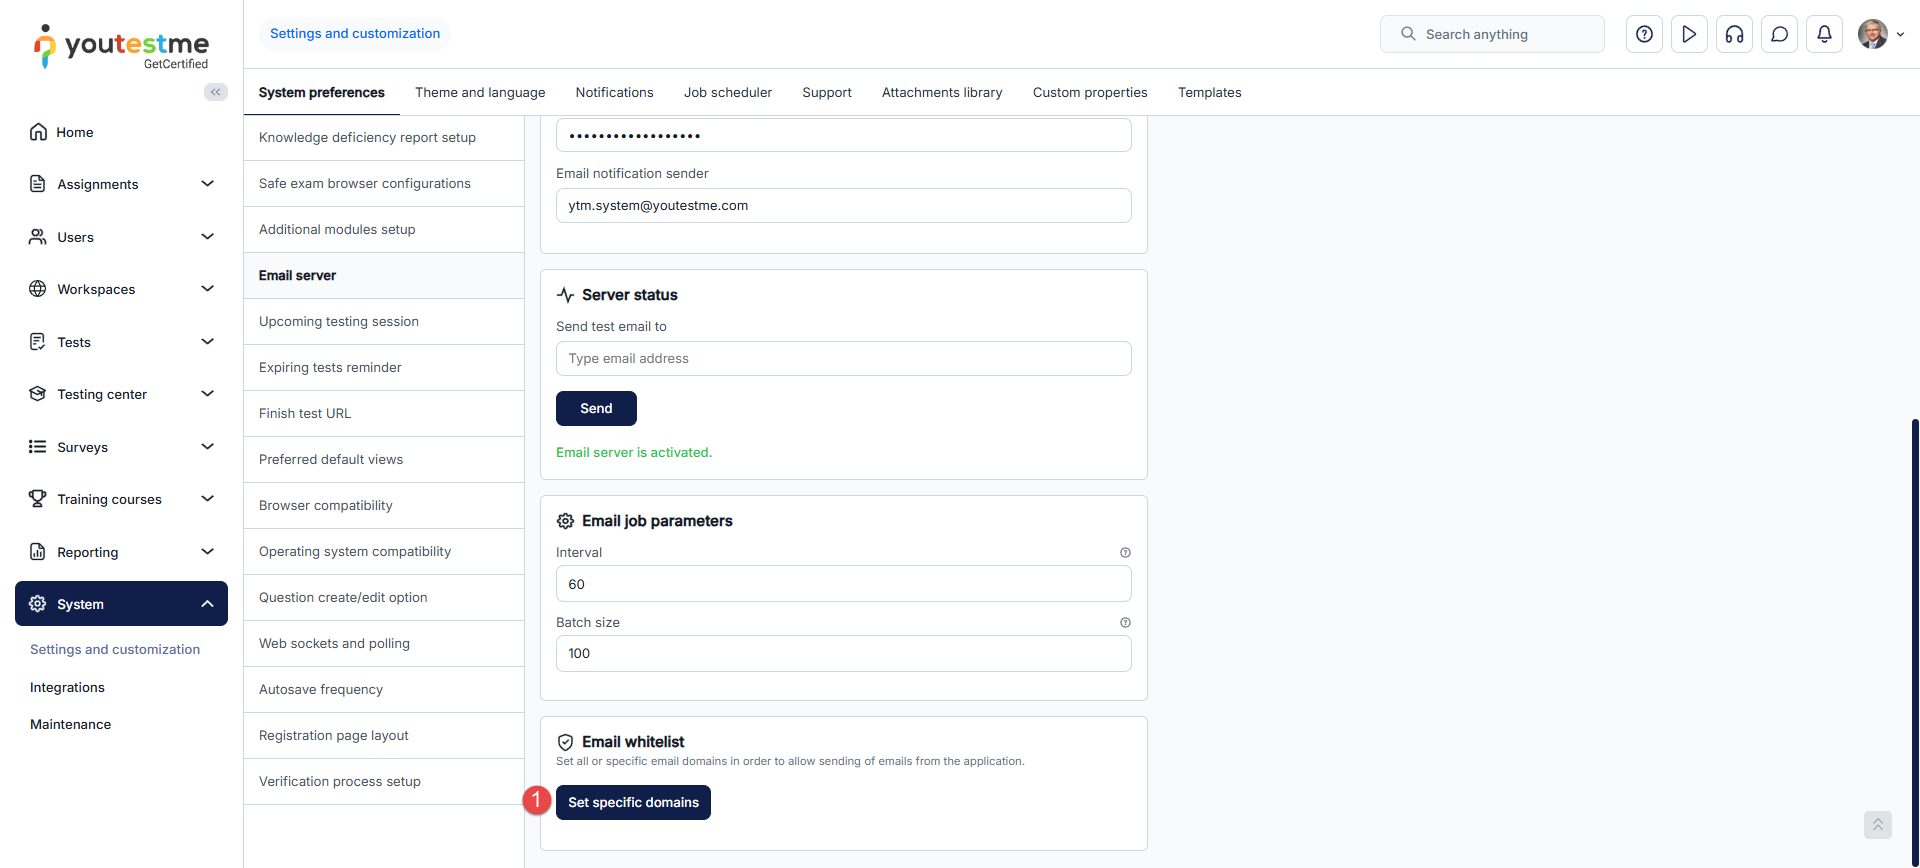
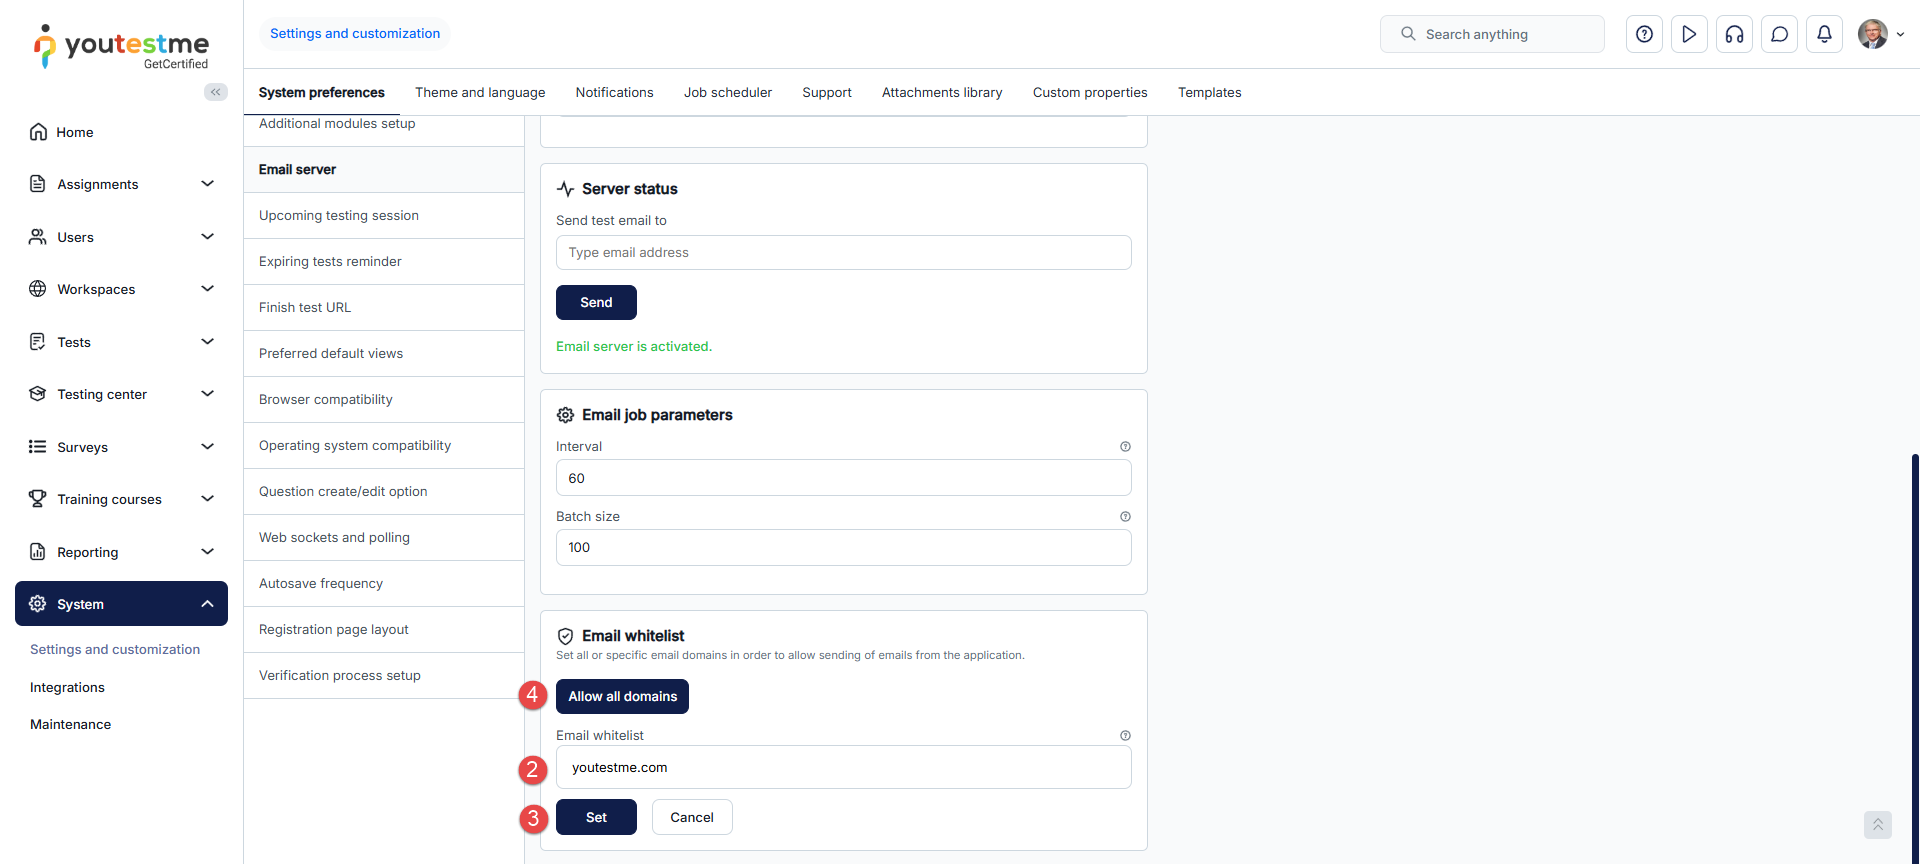
-
-
Upcoming tests reminder
On this tab, you can set reminders to be sent to candidates assigned to the testing sessions. These reminders will be sent during a defined period before testing sessions begin.
At defined intervals, the system checks testing session availabilities. Candidates receive notifications if a testing session is scheduled to start within the specified period set in the reminder settings.
Note: Reminders will be sent to all assigned candidates who have not completed the test, including those who paused the test, were disconnected due to technical issues, etc.
To configure upcoming test reminders:
-
Check the Enable "Upcoming tests reminder" option.
-
Choose the frequency of checks; this frequency aligns with how often candidates receive notifications about upcoming testing sessions.
-
Specify the starting date for checking testing session availabilities (daily or hourly) and sending reminders to candidates based on defined times.
-
Specify the days/hours before testing sessions start when reminders should be sent. For example, reminders will be sent to candidates one, five, and ten days before the test begins.
-
Click the Confirm button to save the settings.
-
Click the Cancel button to discard settings.
Customize the notification for the upcoming tests reminder under System/Settings and customization/Notifications.
For additional details and examples, refer to this article.
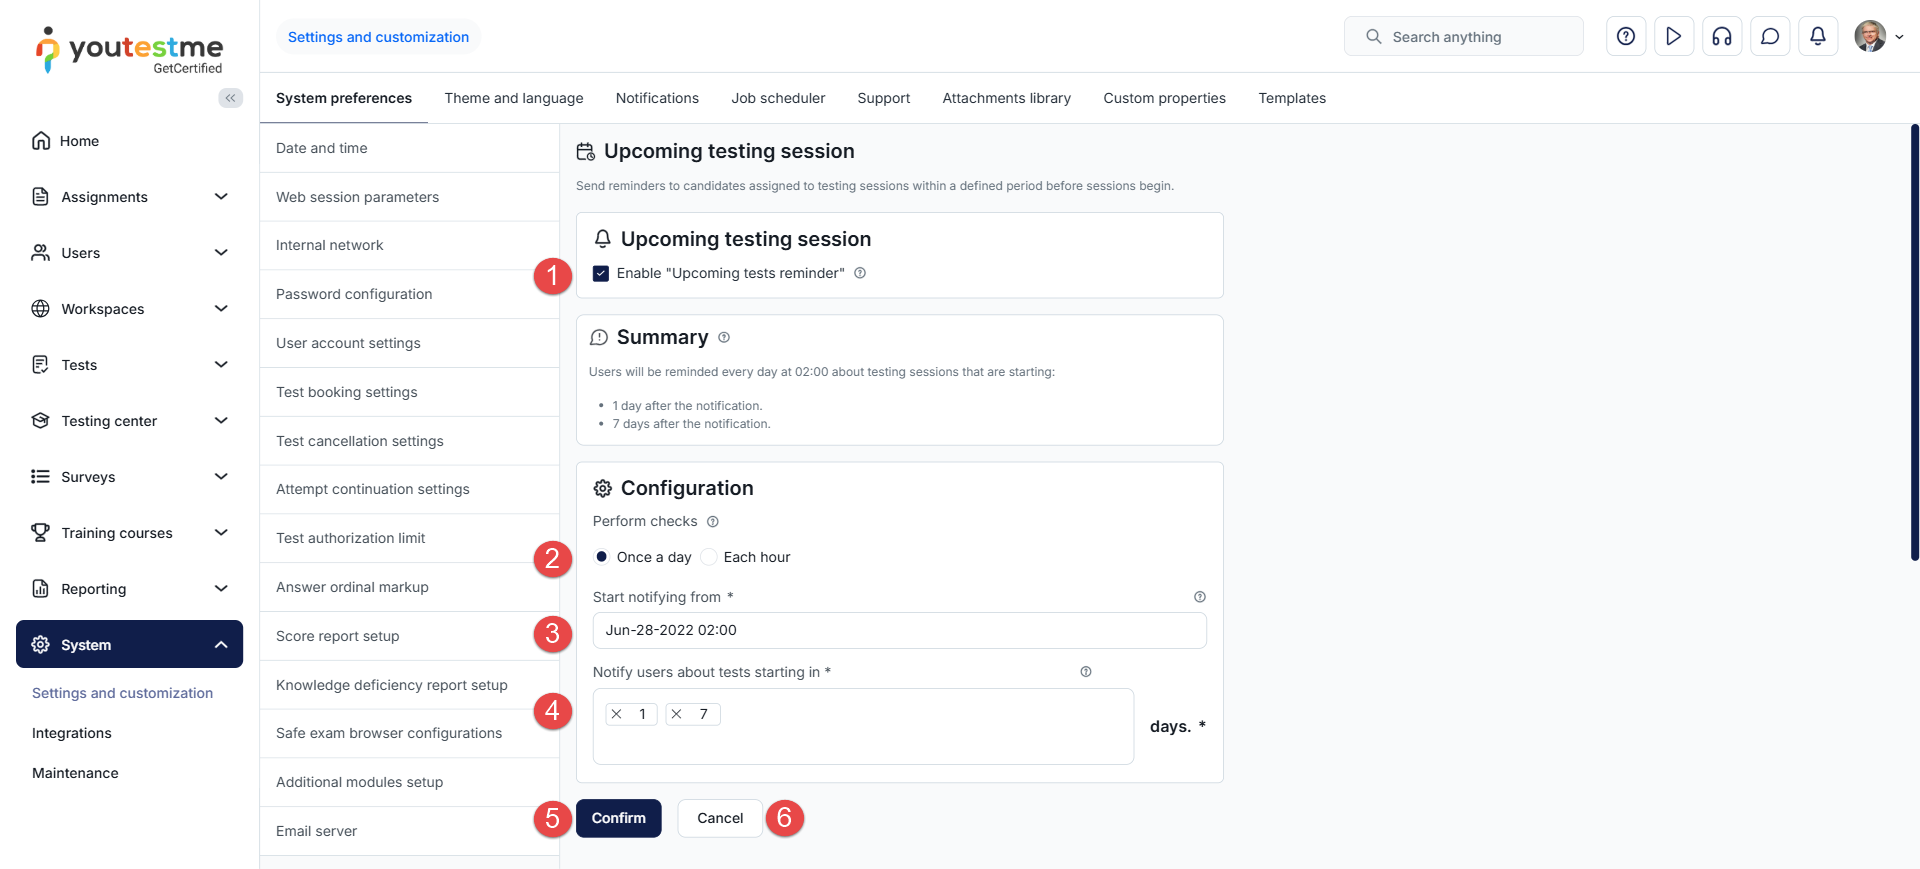
-
-
Expiring tests reminder
On this tab, you can set reminders to be sent to candidates assigned to the testing sessions. These reminders will be sent in a defined period before testing sessions finish.
At defined intervals, the system checks testing session availabilities. Candidates receive notifications if a testing session is scheduled to end within the specified period in the reminder settings.
Note: Reminders will be sent to all assigned candidates who have not completed the test, including those who paused the test, were disconnected due to technical issues, etc.
To configure expiring test reminders:
-
Check the Enable test expiration reminders option.
-
Choose the frequency of checks; this frequency aligns with how often candidates receive notifications about expiring testing sessions.
-
Specify the starting date for checking testing session availabilities (daily or hourly) and sending reminders to candidates based on defined times.
-
Specify the days/hours before testing sessions end for sending reminders. For example, reminders will be sent to candidates one, five, and ten days before the test ends.
-
Click the Confirm button to save the settings.
-
Click the Cancel button to discard settings.
Customize the notification for the expiring tests reminder under System/Settings and customization/Notifications.
For additional details and examples, refer to this article.
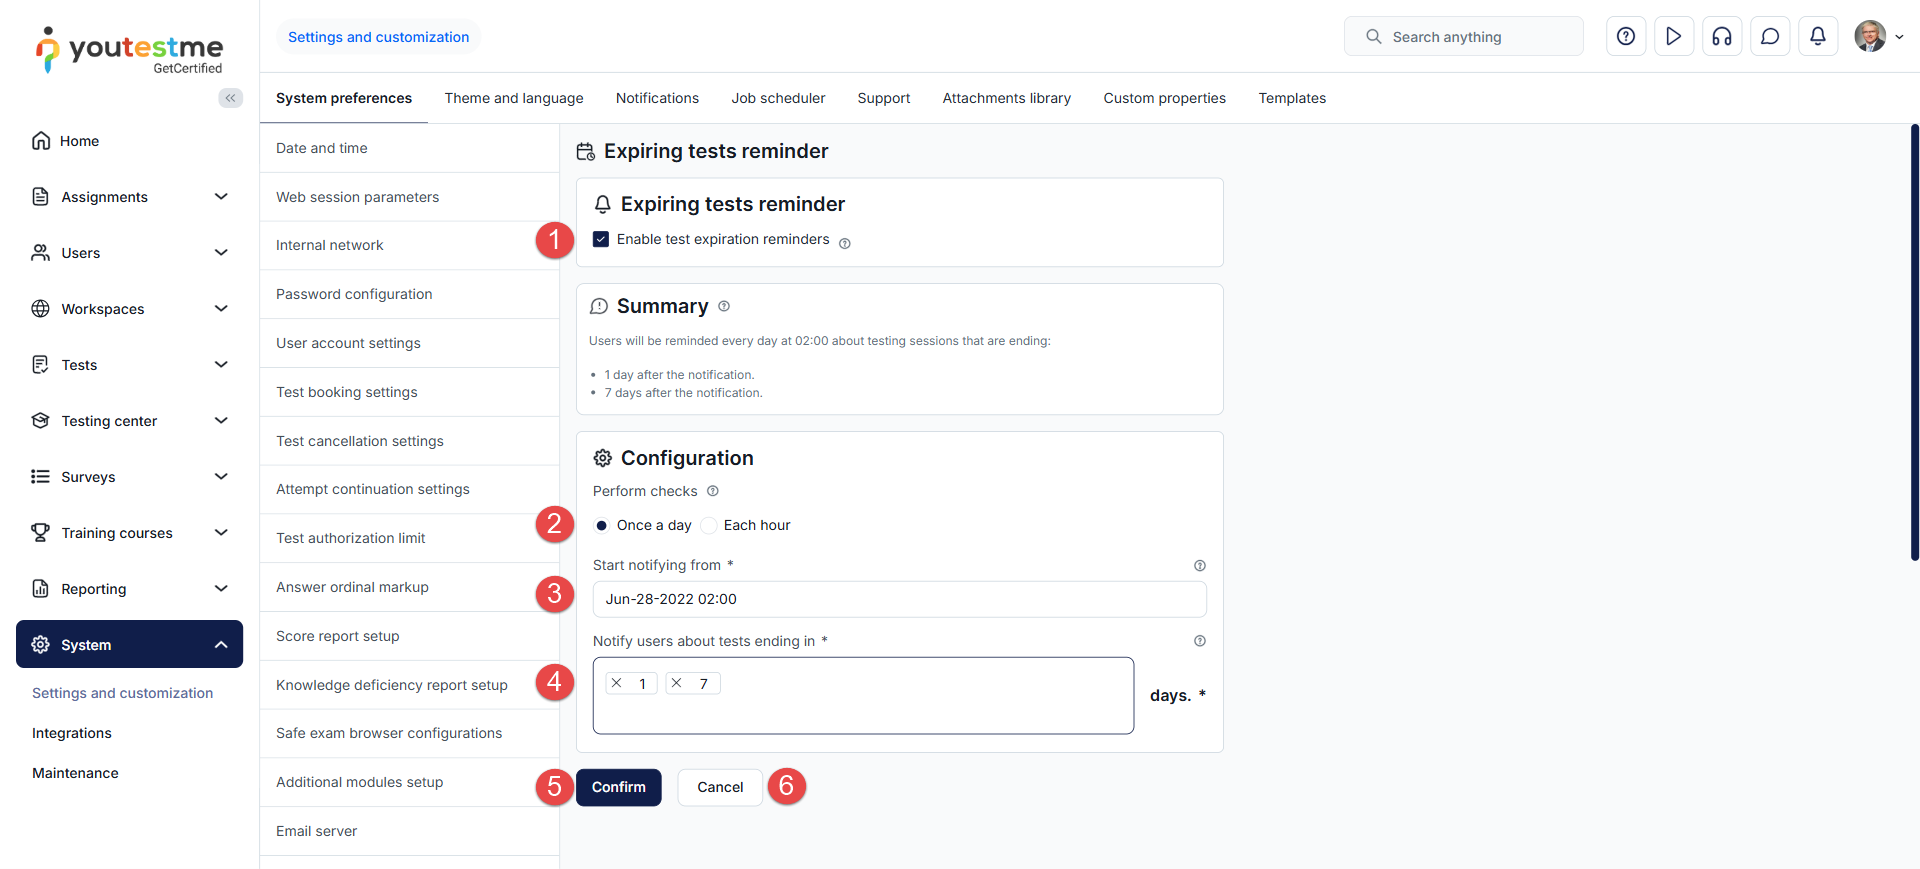
-
-
Finish test URL
On this tab, you can specify the URL where candidates will be redirected after completing the test via a direct access link (e.g., your website). If the field is blank, candidates will be redirected to the YouTestMe login page.
The URL should start with http:// or https://.
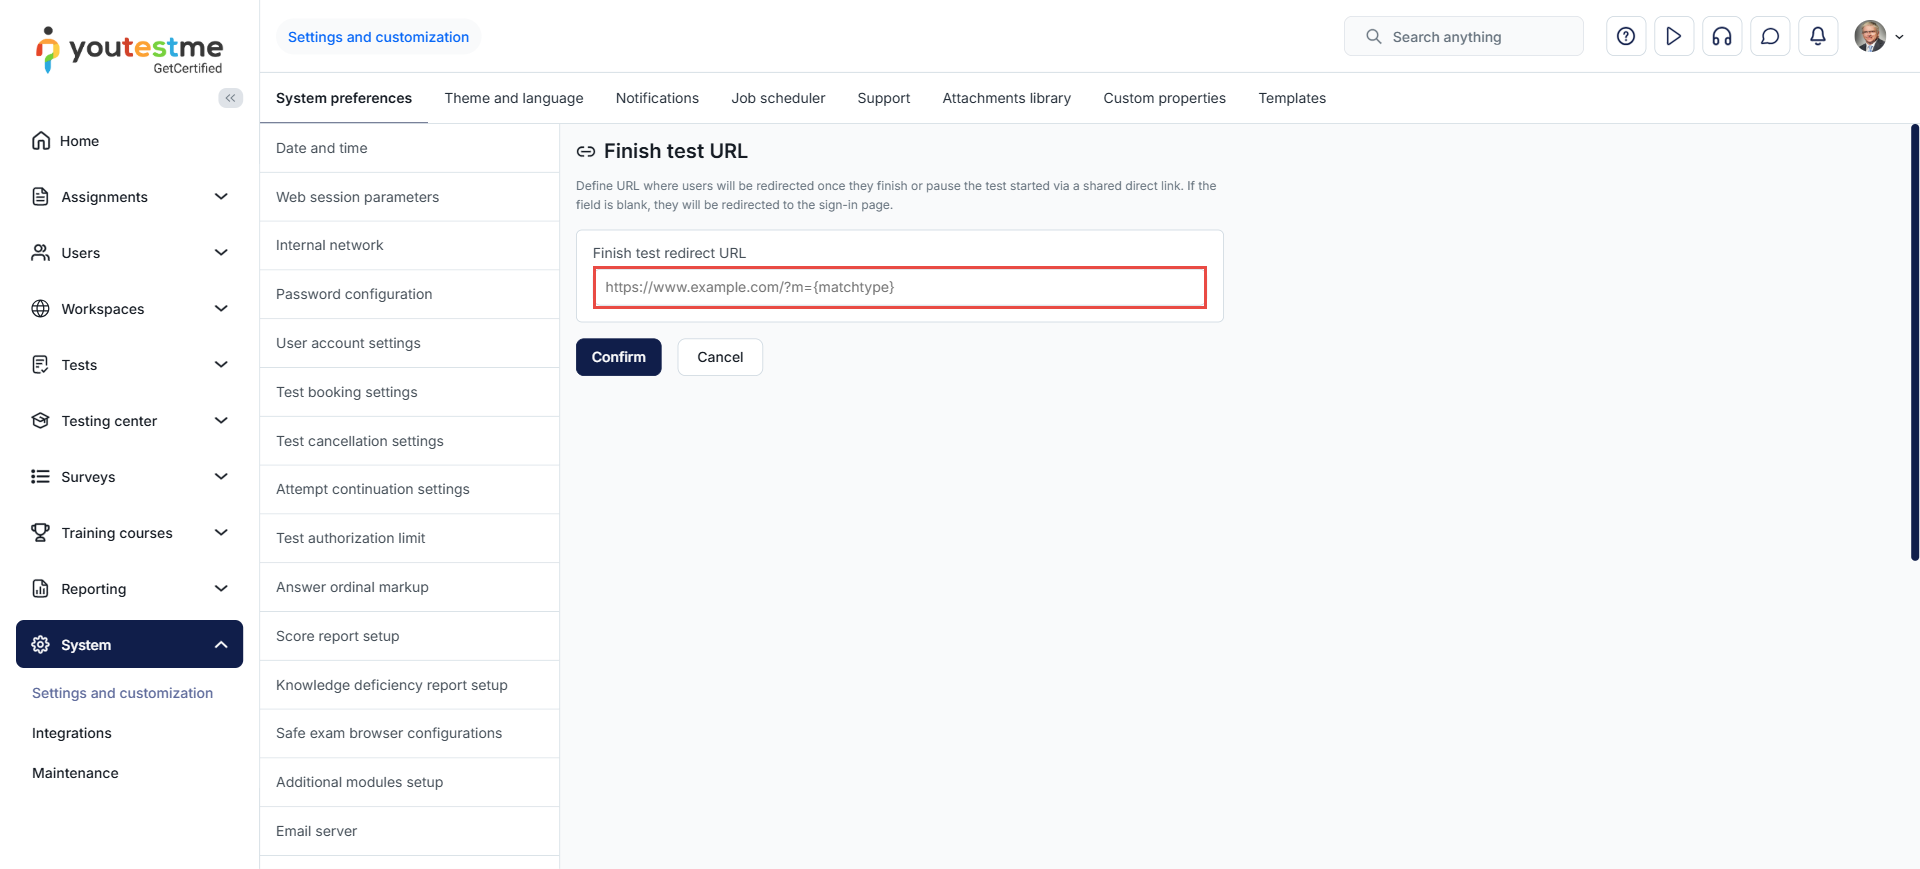
-
Preferred default views
On this tab, you can set default views for the My tests and My surveys pages in the My assignments section, displayed when candidates access those pages.
-
My tests and surveys view:
Title - Each test/survey is displayed as one tile.
List - All tests/surveys available to the candidate are displayed in a list format.
Calendar - In calendar format, candidates will see a list of tests available for each month.
-
Calendar testing session view - Select which type of testing sessions will be displayed in the "Calendar" view: single test sessions, multiple test sessions, or both.
-
Calendar session delivery preference - Choose default delivery preferences for displaying tests in calendar format.
-
Candidates' attempts view configuration - Select the default view for the Candidates' attempts page: Overview or Progress. Overview displays general information about the attempt, including start and end times, the session in which the candidate took the test, achieved results, and various actions you can perform on the attempt (allow continuation, reset attempt, etc.). Progress view provides detailed information about candidates' progress on the attempt, such as the number of answered questions, graded questions, etc., and allows access to the candidate's report.
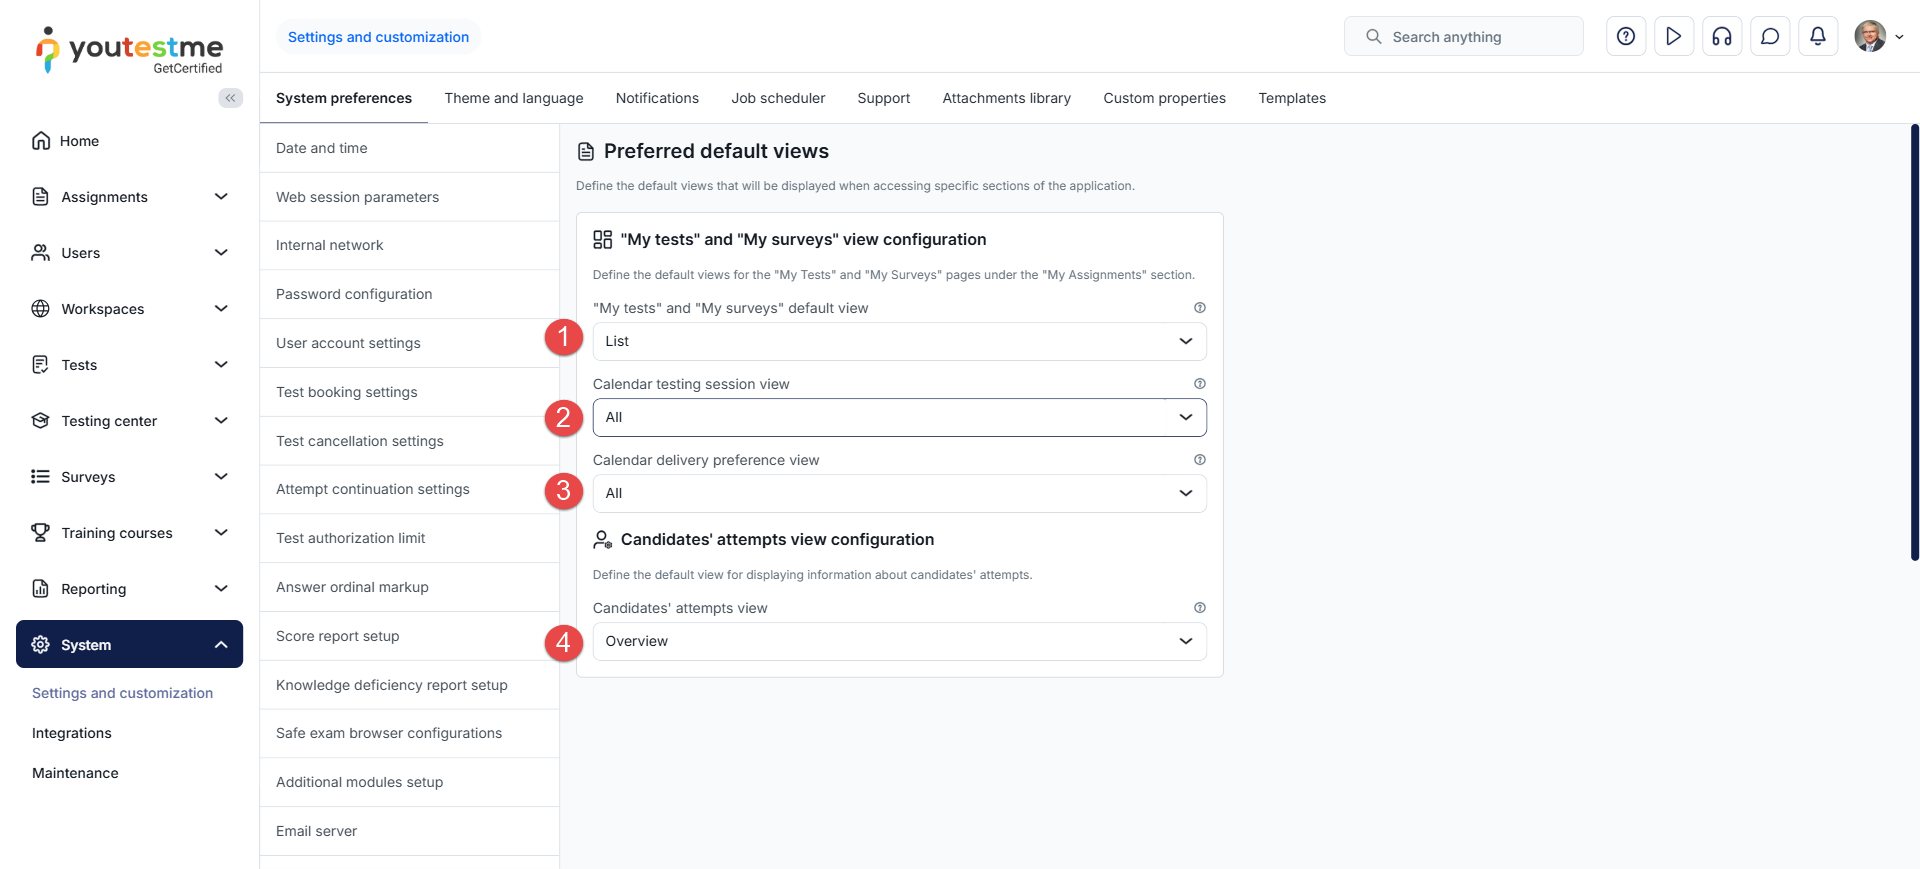
-
-
Browser compatibility
On this tab, you can define the supported web browsers for the application. By default, the application is compatible with all browsers. If multiple browsers are set as supported, users will only be able to access the application if their browser is on the list of supported browsers (Ensure the browser status is set to Enabled).
Additionally, you can configure whether you want users to be notified with a warning message when they open the application using an unsupported browser or if you want to completely restrict the usage of the application on unsupported browsers.
On this tab, you can:
-
Forbid using unsupported browsers - Enable this option to restrict the application usage to supported browsers only.
-
Edit a specific browser settings. All fields are the same as when adding a new browser.
-
Delete a browser from the list, and it will no longer be considered supported.
To add new browser:
-
Click the Create new button.
-
Enter Name of the browser, such as Chrome or Firefox.
-
Define Regex pattern. Enter BrowserName.* to allow all versions of the browser. In relation to the defined regex pattern, it is compared whether the browser is supported or not.
-
Enter Description of browser.
-
Define Status - The browser must have an Enabled status to be considered when comparing the user's browser and supported browsers. If the status is Disabled, the browser is not used for the comparison.
-
Link - Provide the website link with information about the browser or the download link.
-
Click the Save button.
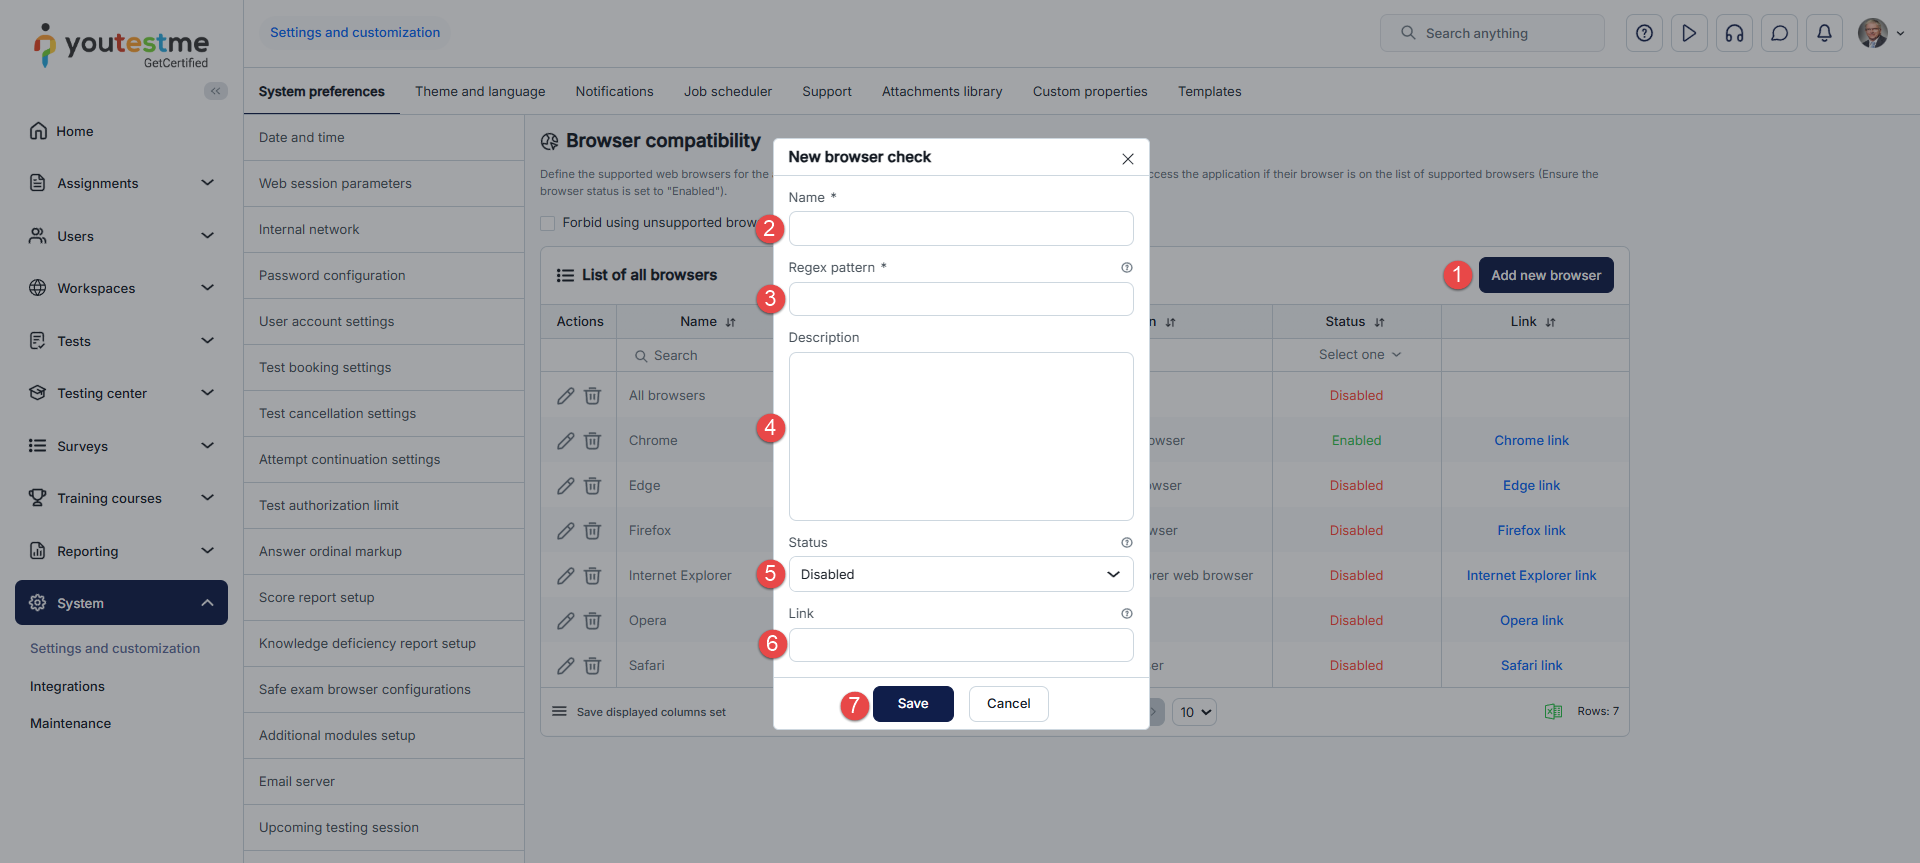
Note: Changes to supported browser settings do not affect users currently using the application; instead, they are applied on the next attempt to access the application.
Depending on the settings, below are examples of how the screen looks to the user when attempting to log in using an unsupported browser.
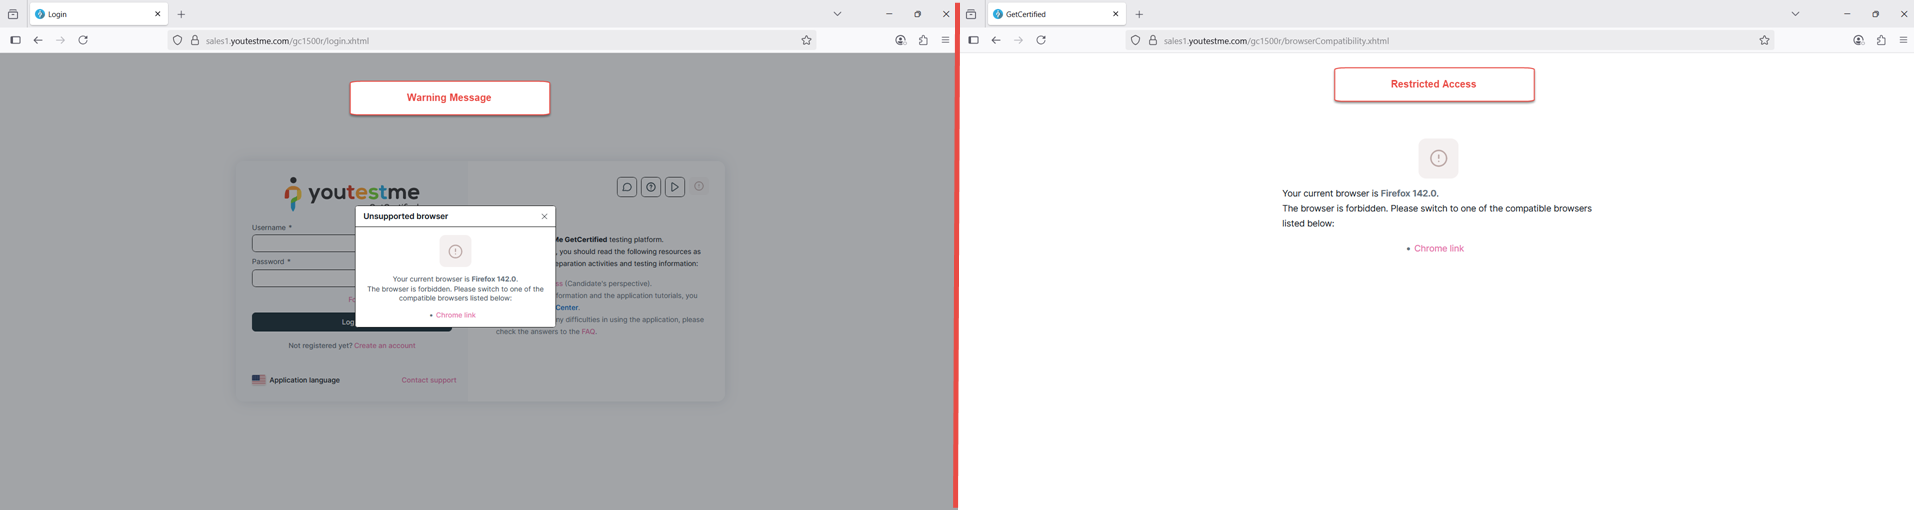
Operating system compatibility
Define the supported operating systems for the application. By default, the application is compatible with all operating systems. If multiple operating systems are set as supported, users will only be able to access the application if their operating system is on the list of supported operating systems (Ensure the operating system status is set to Enabled).
Additionally, you can configure whether you want users to be notified with a warning message when they open the application using an unsupported operating system or if you want to completely restrict the usage of the application on unsupported operating systems.
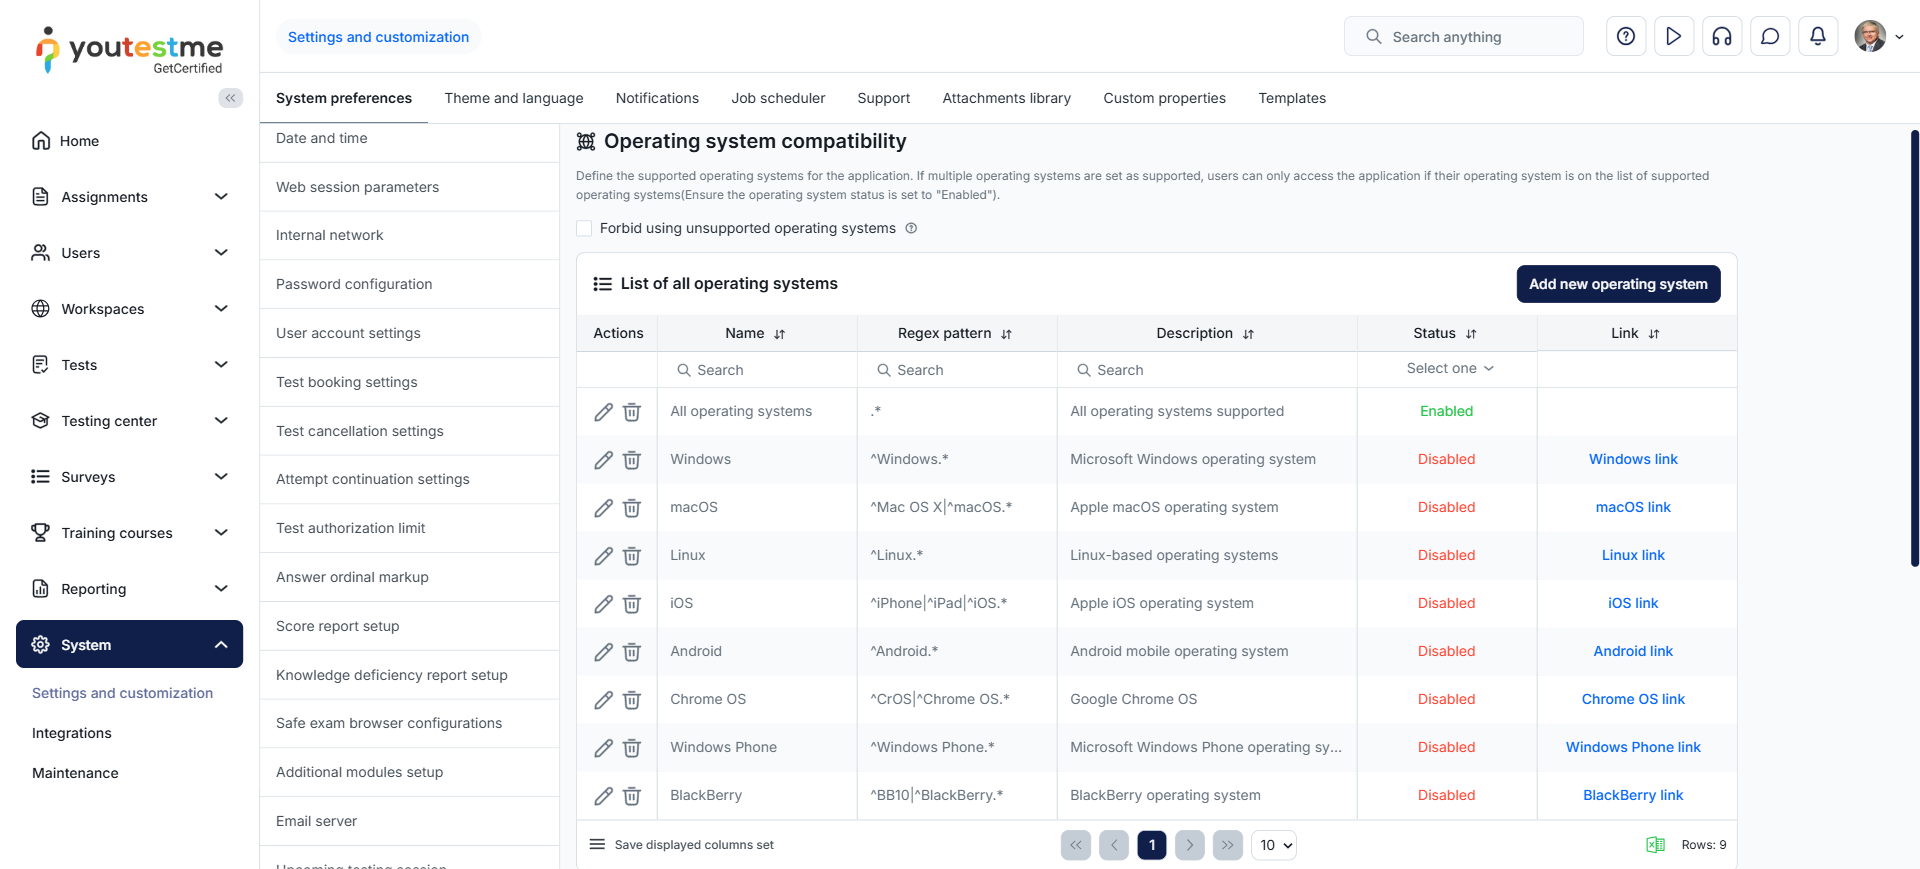
Here, available settings are:
-
Forbid using unsupported operating systems - Enable this option to restrict the application usage to supported operating systems only.
-
Edit a specific operating system settings. All fields are the same as when adding a new operating system.
-
Delete an operating system from the list, and it will no longer be considered supported.
To add a new operating system:
-
Click the Create new button.
-
Enter Name of the operating system, such as Windows or Mac OS.
-
Define Regex pattern. Enter OperatingSystemName.* to allow all versions of the operating system. In relation to the defined regex pattern, it is compared whether the operating system is supported or not.
-
Enter Description of operating system.
-
Define Status - The operating system must have an Enabled status to be considered when comparing the user's operating system and supported operating systems. If the status is Disabled, the operating system is not used for the comparison.
-
Link - Provide the website link with information about the operating system or the download link.
-
Click the Save button.
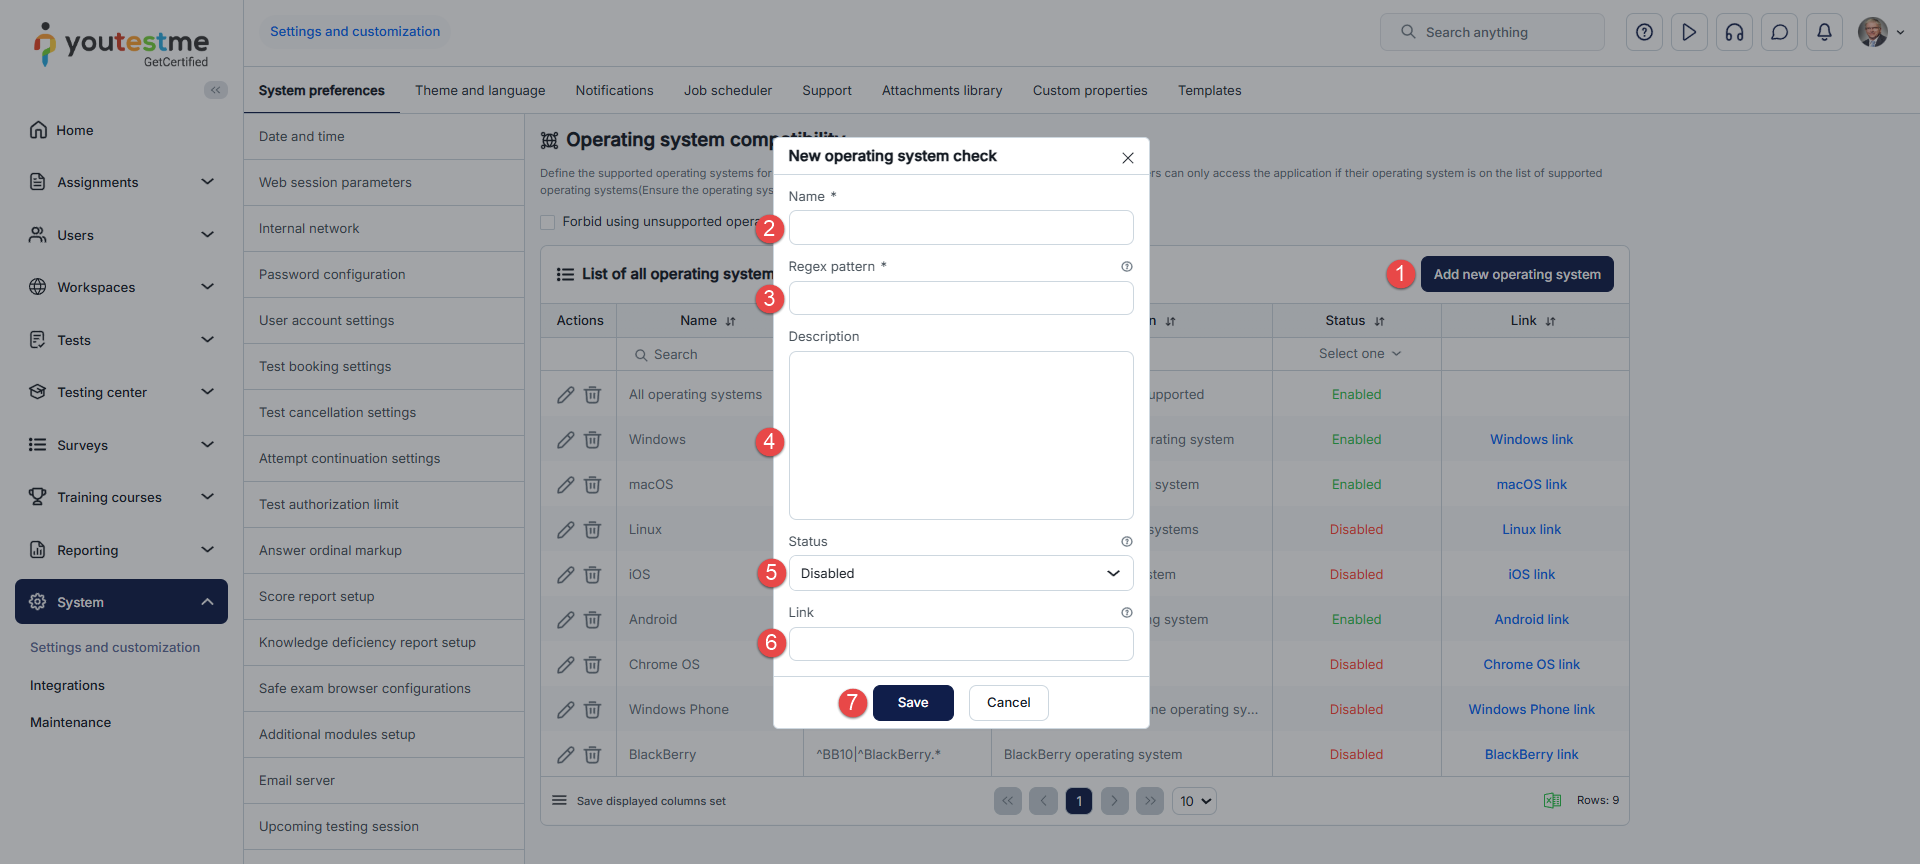
Note: Changes to supported operating system settings do not affect users currently using the application; instead, they are applied on the next attempt to access the application.
Depending on the settings, below are examples of how the screen looks to the user when attempting to log in using an unsupported operating system.
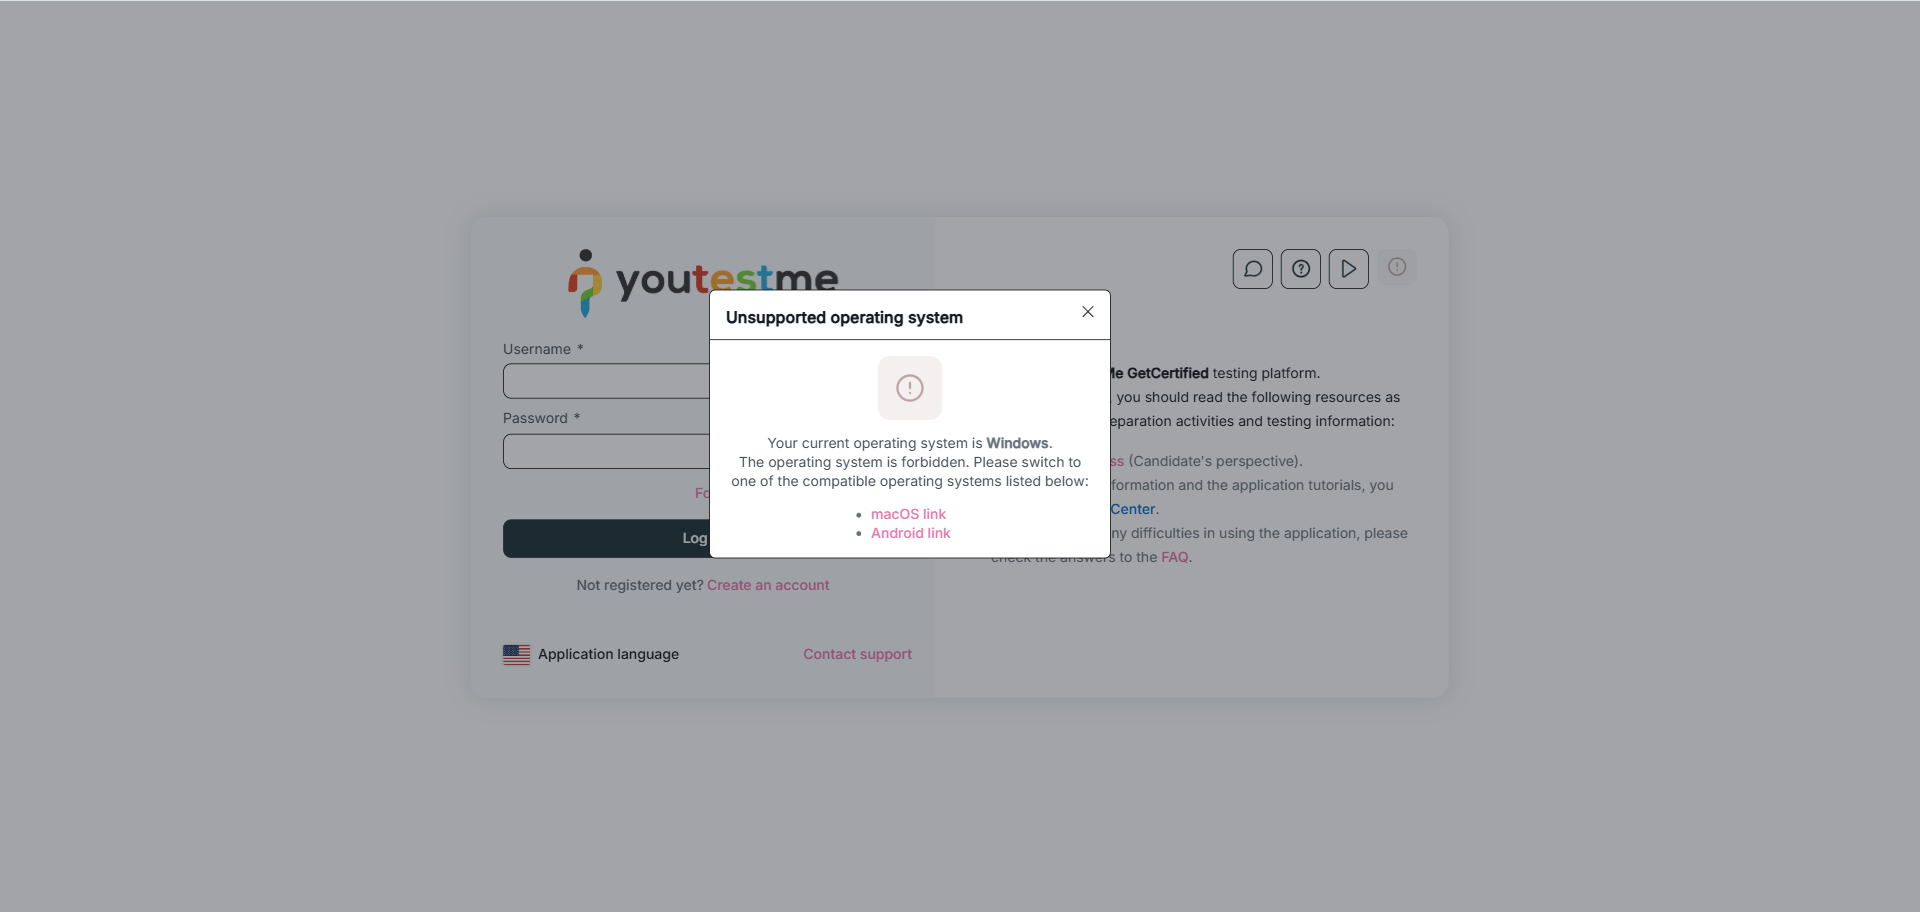
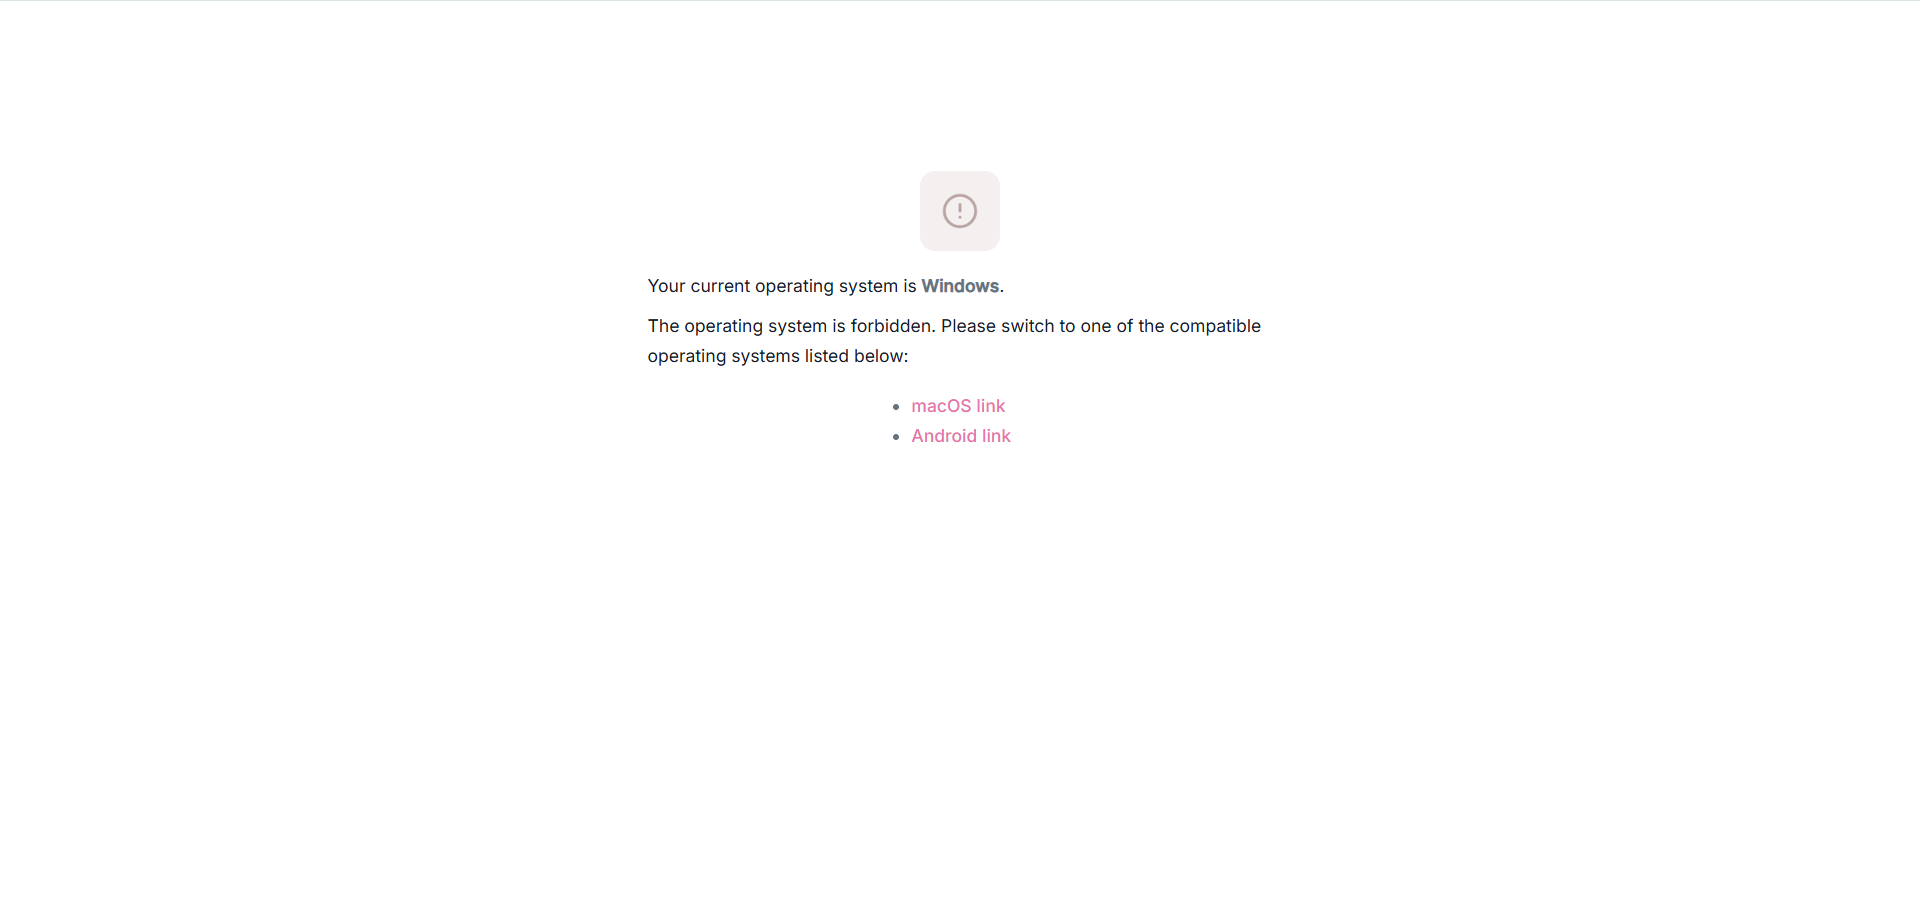
Question create/edit option
On this tab, you can enable or disable confirmation dialogs that appear when creating or editing questions.
When enabled, after saving the question, a confirmation dialog appears. You can enter a comment (e.g., noting changes in the question), add an external ID for the question version, or set an activation time. If these options are disabled, the question changes are saved upon clicking the Save button.
Below is an example of what the confirmation dialog looks like.
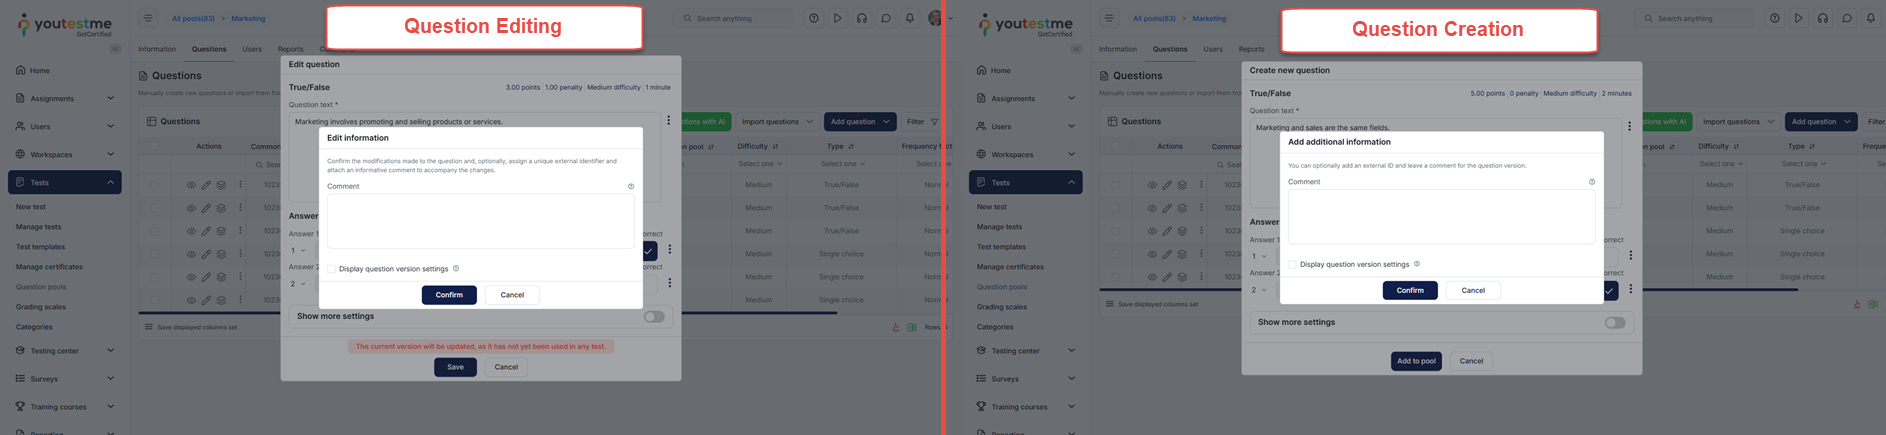
Web sockets and polling settings
The Web sockets and polling settings play a crucial role in ensuring real-time updates and data retrieval for the following monitoring dashboard features:
-
Pause/Resume test attempt
-
Add additional time for the test attempt.
There are two methods for synchronizing server events with the client side:
-
Web sockets - The server immediately pushes events to the client. However, network settings can sometimes block web sockets. It is recommended to use polling in conjunction with web sockets to overcome potential blocking issues.
-
Polling - The client checks for new server events at specified intervals. This method is useful when web sockets are blocked, ensuring the client receives events within the specified interval.
If monitoring features are in use, it is recommended to enable both web sockets and polling. Otherwise, it's advisable to disable both methods.
To configure web sockets and polling:
-
Enable web sockets if monitoring features are used. Otherwise, disable them to avoid potential impacts on system performance and capacity.
-
Enable polling if monitoring features are used; otherwise, disable them for similar reasons.
-
Specify the polling interval or how often the client will check for new events on the server. The recommended interval is greater than or equal to 30 seconds because shorter intervals can affect the performance and capacity of the system.
-
Enable or disable connection lost dialog to cover the test-taking page in case the internet connection is lost.
-
Click the Confirm button to save the settings.
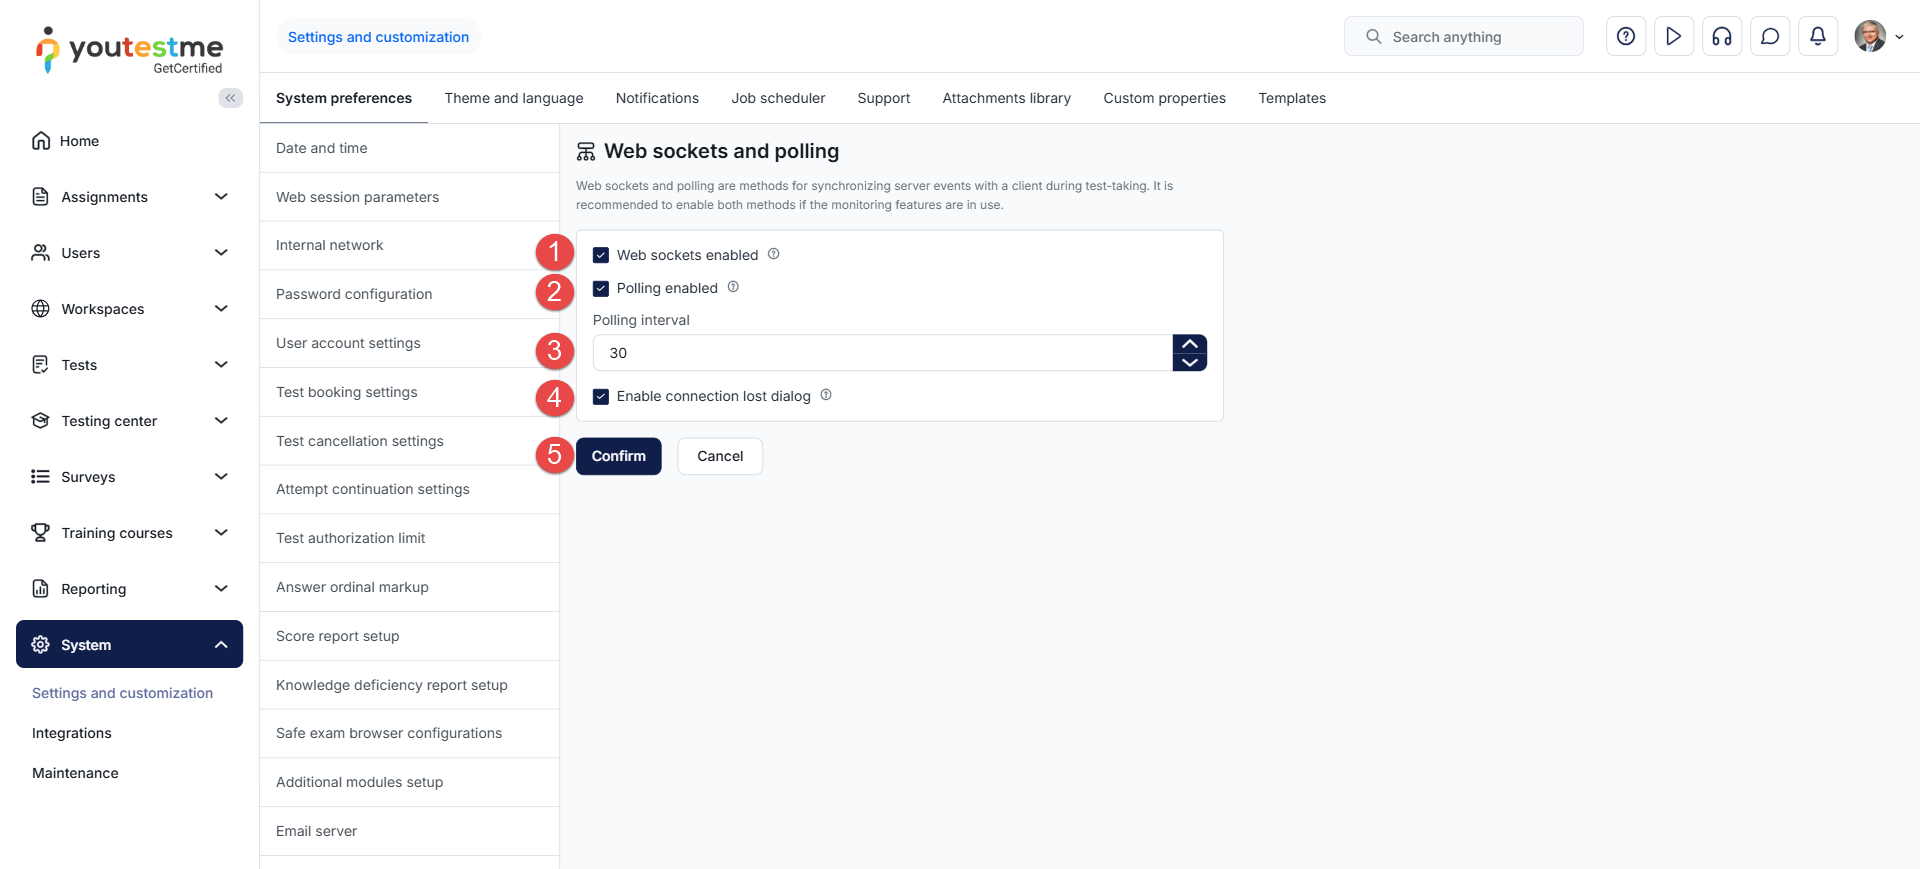
Autosave frequency
Configure the frequency at which editable PDFs will be autosaved when taking a test. The default value is 300 seconds (5 minutes). Reducing this value will make database calls more frequent and it will impact performance on tests with these types of questions.
Registration page layout
On this tab, you can customize the user registration page by selecting the fields to display or hide during the registration process. It's important to note that fields such as username, email, and role cannot be disabled.
-
First and last name
-
External ID
-
Date of birth
-
Address fields
-
CAPTCHA
-
Set the date of birth field as mandatory. This option is available only when the Enable date of birth field on the registration page option is enabled.
-
Define which address fields will appear on the registration page. You can show/hide Country, Street, City, Postal code, and State fields. This option is available only when the Enable custom properties on the registration page option is enabled.
-
Set all custom properties as required. This option is available only when the Enable custom properties on the registration page option is enabled.
You can choose to display/hide the following options:
Additionally, you can choose to:
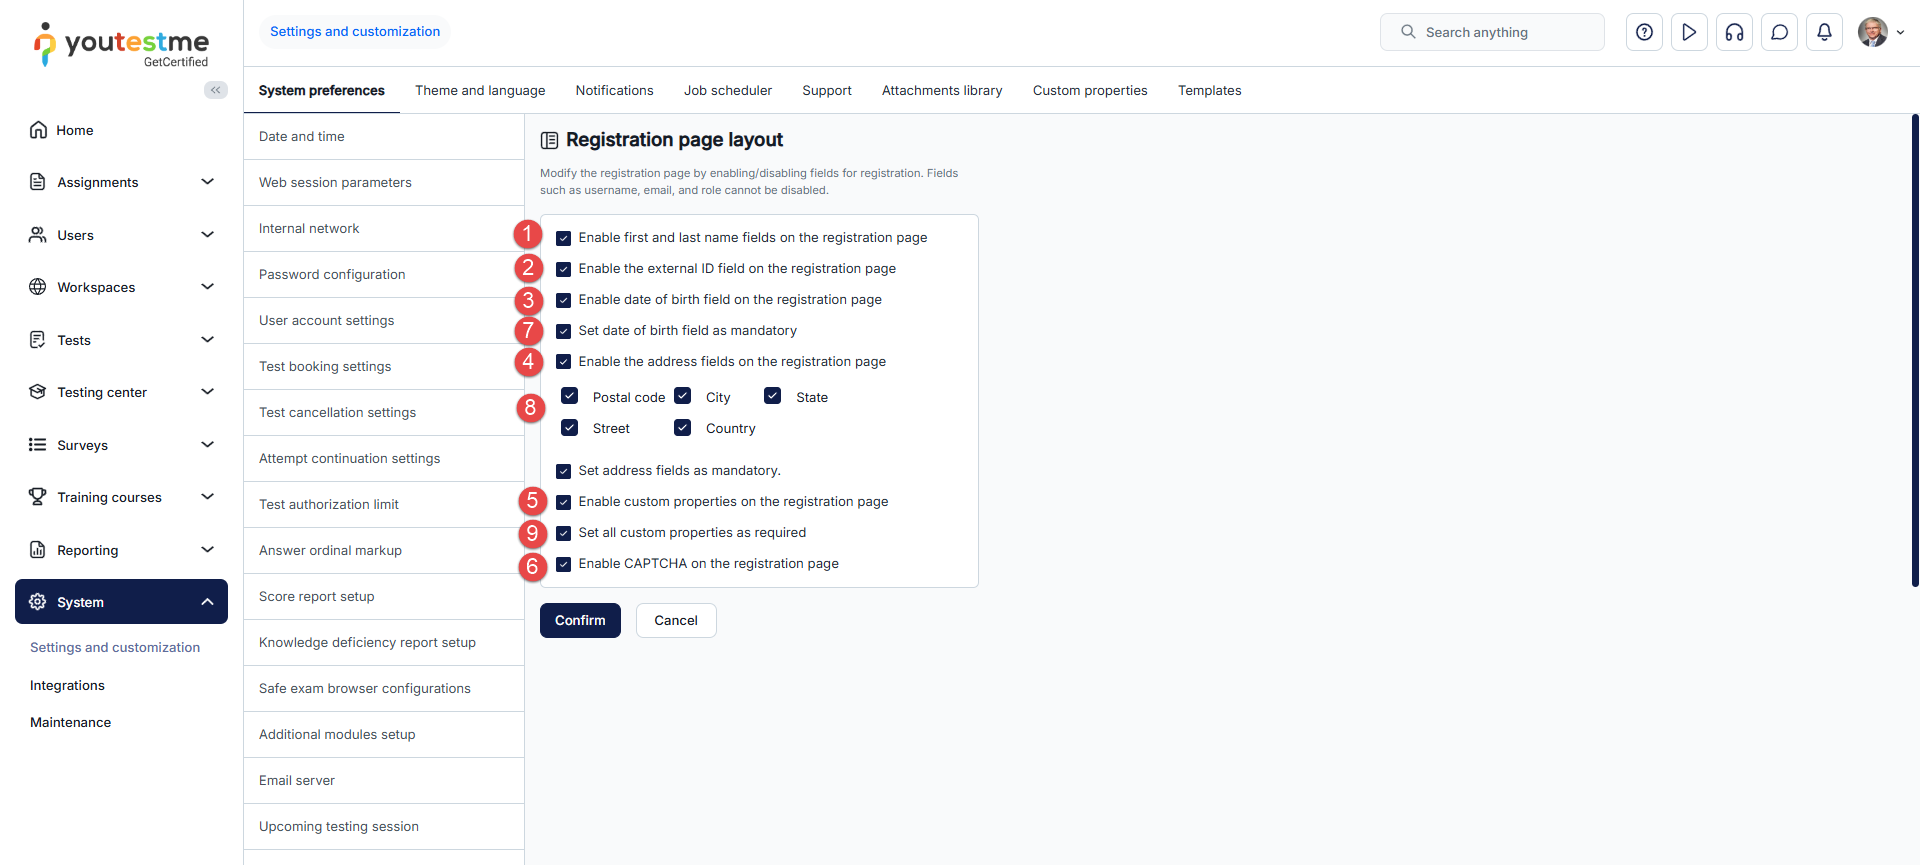
Verification process setup
Verification can be the final step in managing test results. Once a candidate's report is verified, any changes to the grading settings will not impact the candidate's score.
On the Verification process setup tab, you can define when and how to verify the test attempts.
To set up the verification process for each delivery preference, click the Setup verification process button corresponding to your desired delivery preference.
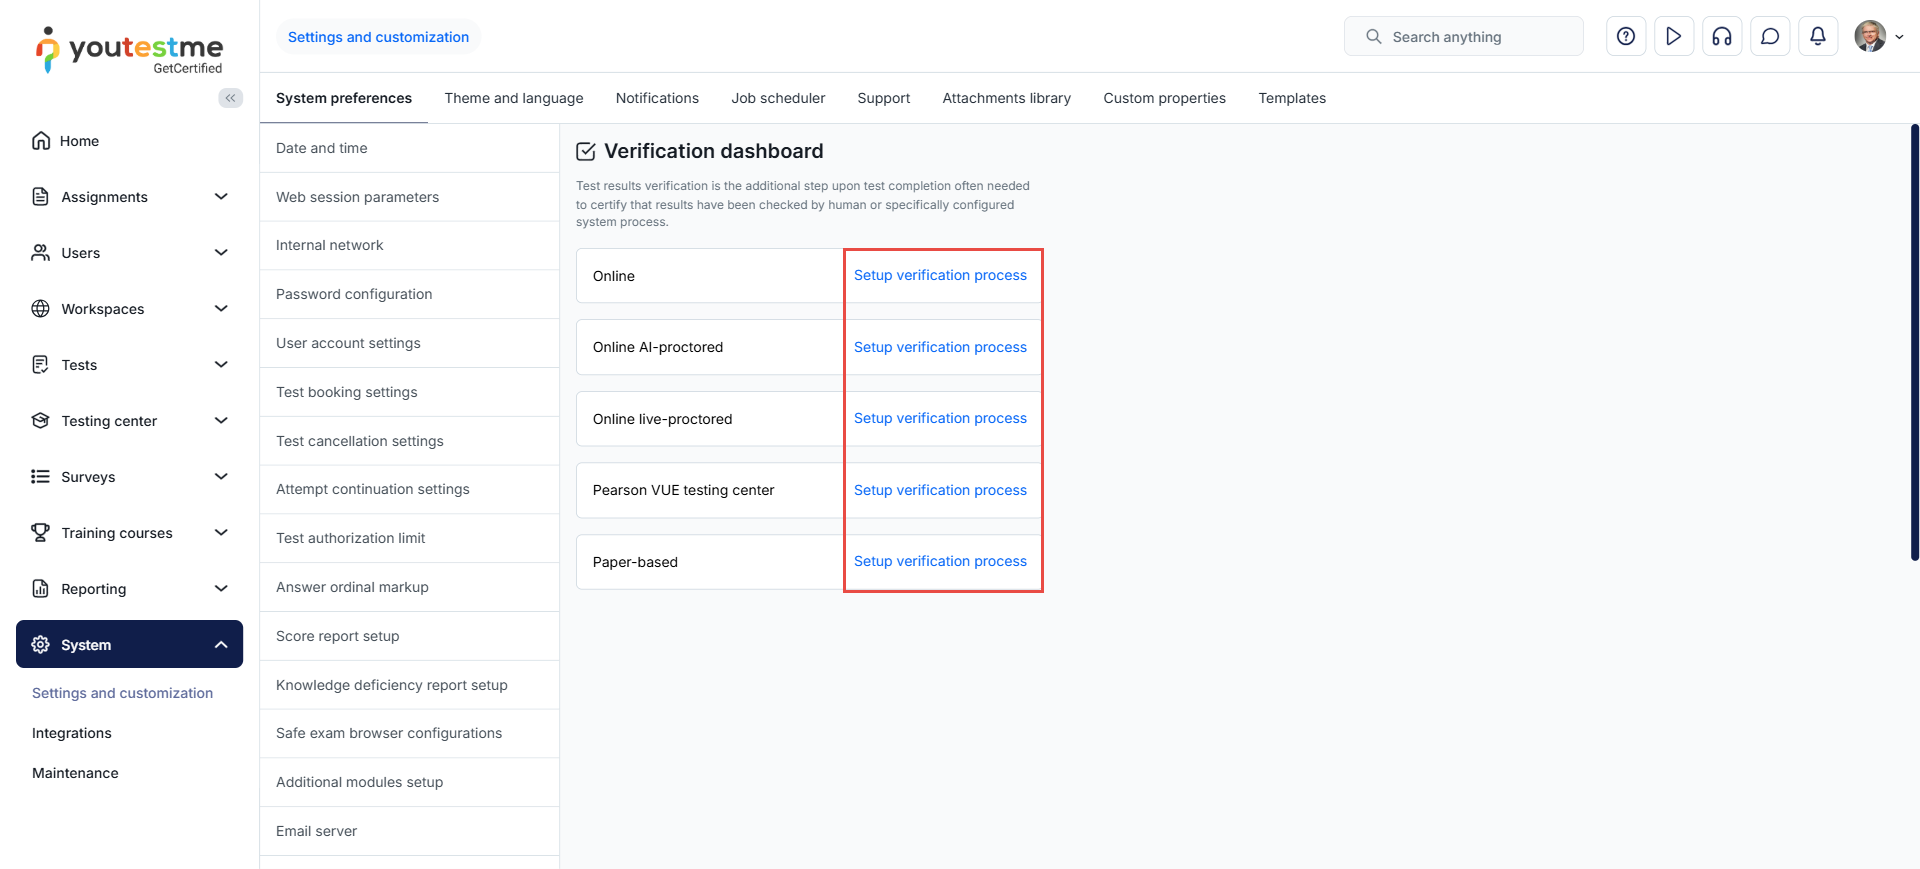
-
Immediate verification by hold criteria after the test - This option allows for automatic verification of all attempts that meet the criteria set in this section, without requiring any manual intervention.
-
On-demand verification by hold criteria - This option allows users to manually verify attempts based on specific criteria instead of automatic verification, requiring them to click a button to verify each attempt.
A new window will appear, offering the following options:
Additional criteria for verification include:
-
Percent scored below - Test attempts won't be verified if the candidate scores below the specified percentage.
-
Report needs grading - The test attempt will not be verified if there are questions left that require manual grading.
-
Not finished - Verification won't occur if the candidate doesn't finish the test.
-
Time used below - Verification won't proceed if the candidate finishes the test in less time than specified.
-
Refused NDA - Verification won't occur if the candidate refused the Non-Disclosure Agreement (test attempt status is Refused NDA).
-
Did not show up - Verification won't proceed if the candidate did not take the test within the allotted time (test attempt status is Did not show up).
For details on the test results verification process, refer to this article.
-
-
Theme and language
Tailor the visual elements of the application to meet your requirements. Adjust the application theme, login page appearance, logo, favicon, text, and language.
-
Theme
On this page, you can customize the application theme. By default, the GetCertified default theme is applied, but you can create new themes according to your needs and branding.
On this tab, you can:
-
View the list of already created themes. The Default column shows which theme is set as the default theme. The Active column displays themes marked as active. The System column identifies system themes that are always present in the application and cannot be deleted.
-
Apply one of the already created themes.
-
Edit an existing theme.
-
Delete a theme.
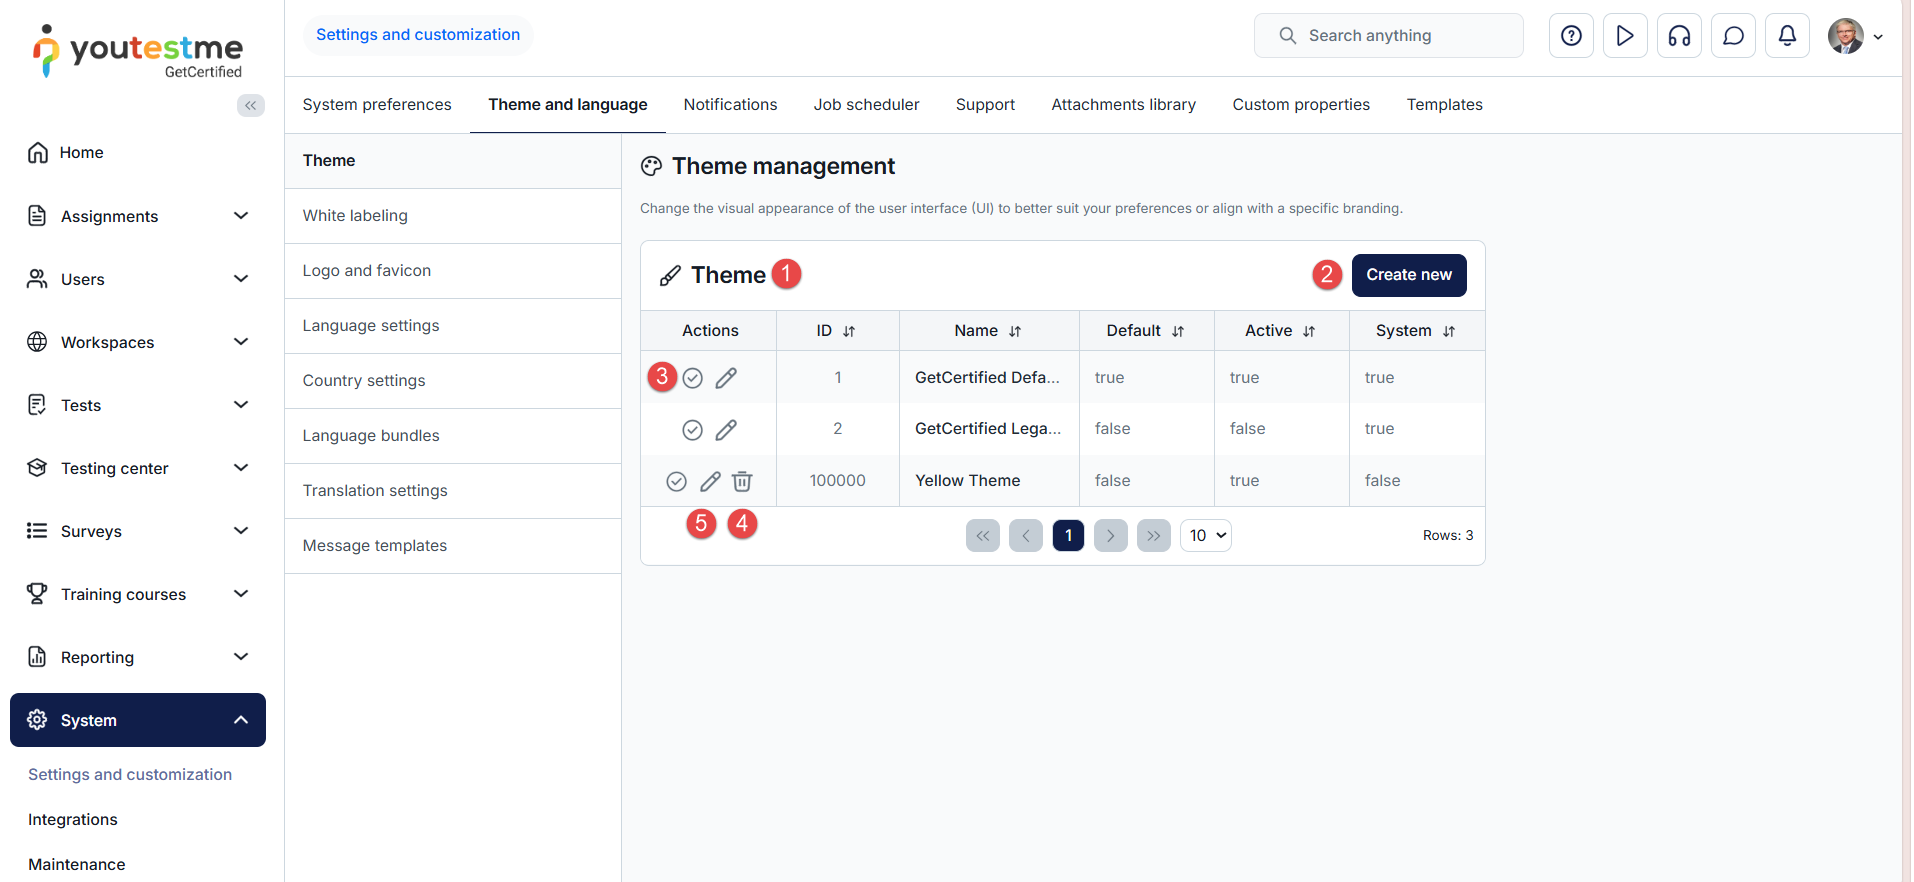
To create a new theme:
-
Enter the Name of a new theme.
-
Select the Set as default option if you want the currently selected theme to become the default theme applied when users log in to the application. Note that only one theme can be set as default at a time. If another theme was previously set as default, enabling this option on another theme will turn off the default setting on the previous theme.
To set a theme as the default, it must also be marked as Active. -
Set the theme as Active, and it will appear in the list of themes on the user's profile, allowing them to choose it for their profile. The default theme is applied if no other theme is selected in the user's profile. If the theme is not set as Active, it will not be displayed on the user's profile.
-
Adjust theme colors and fonts.
-
Adjust theme specific font sizes.
-
Choose between detailed 3D icons, or simple flat icons.
-
You can adjust the overallfont size by dragging the circle to the right if needed.
-
Click the Save button.
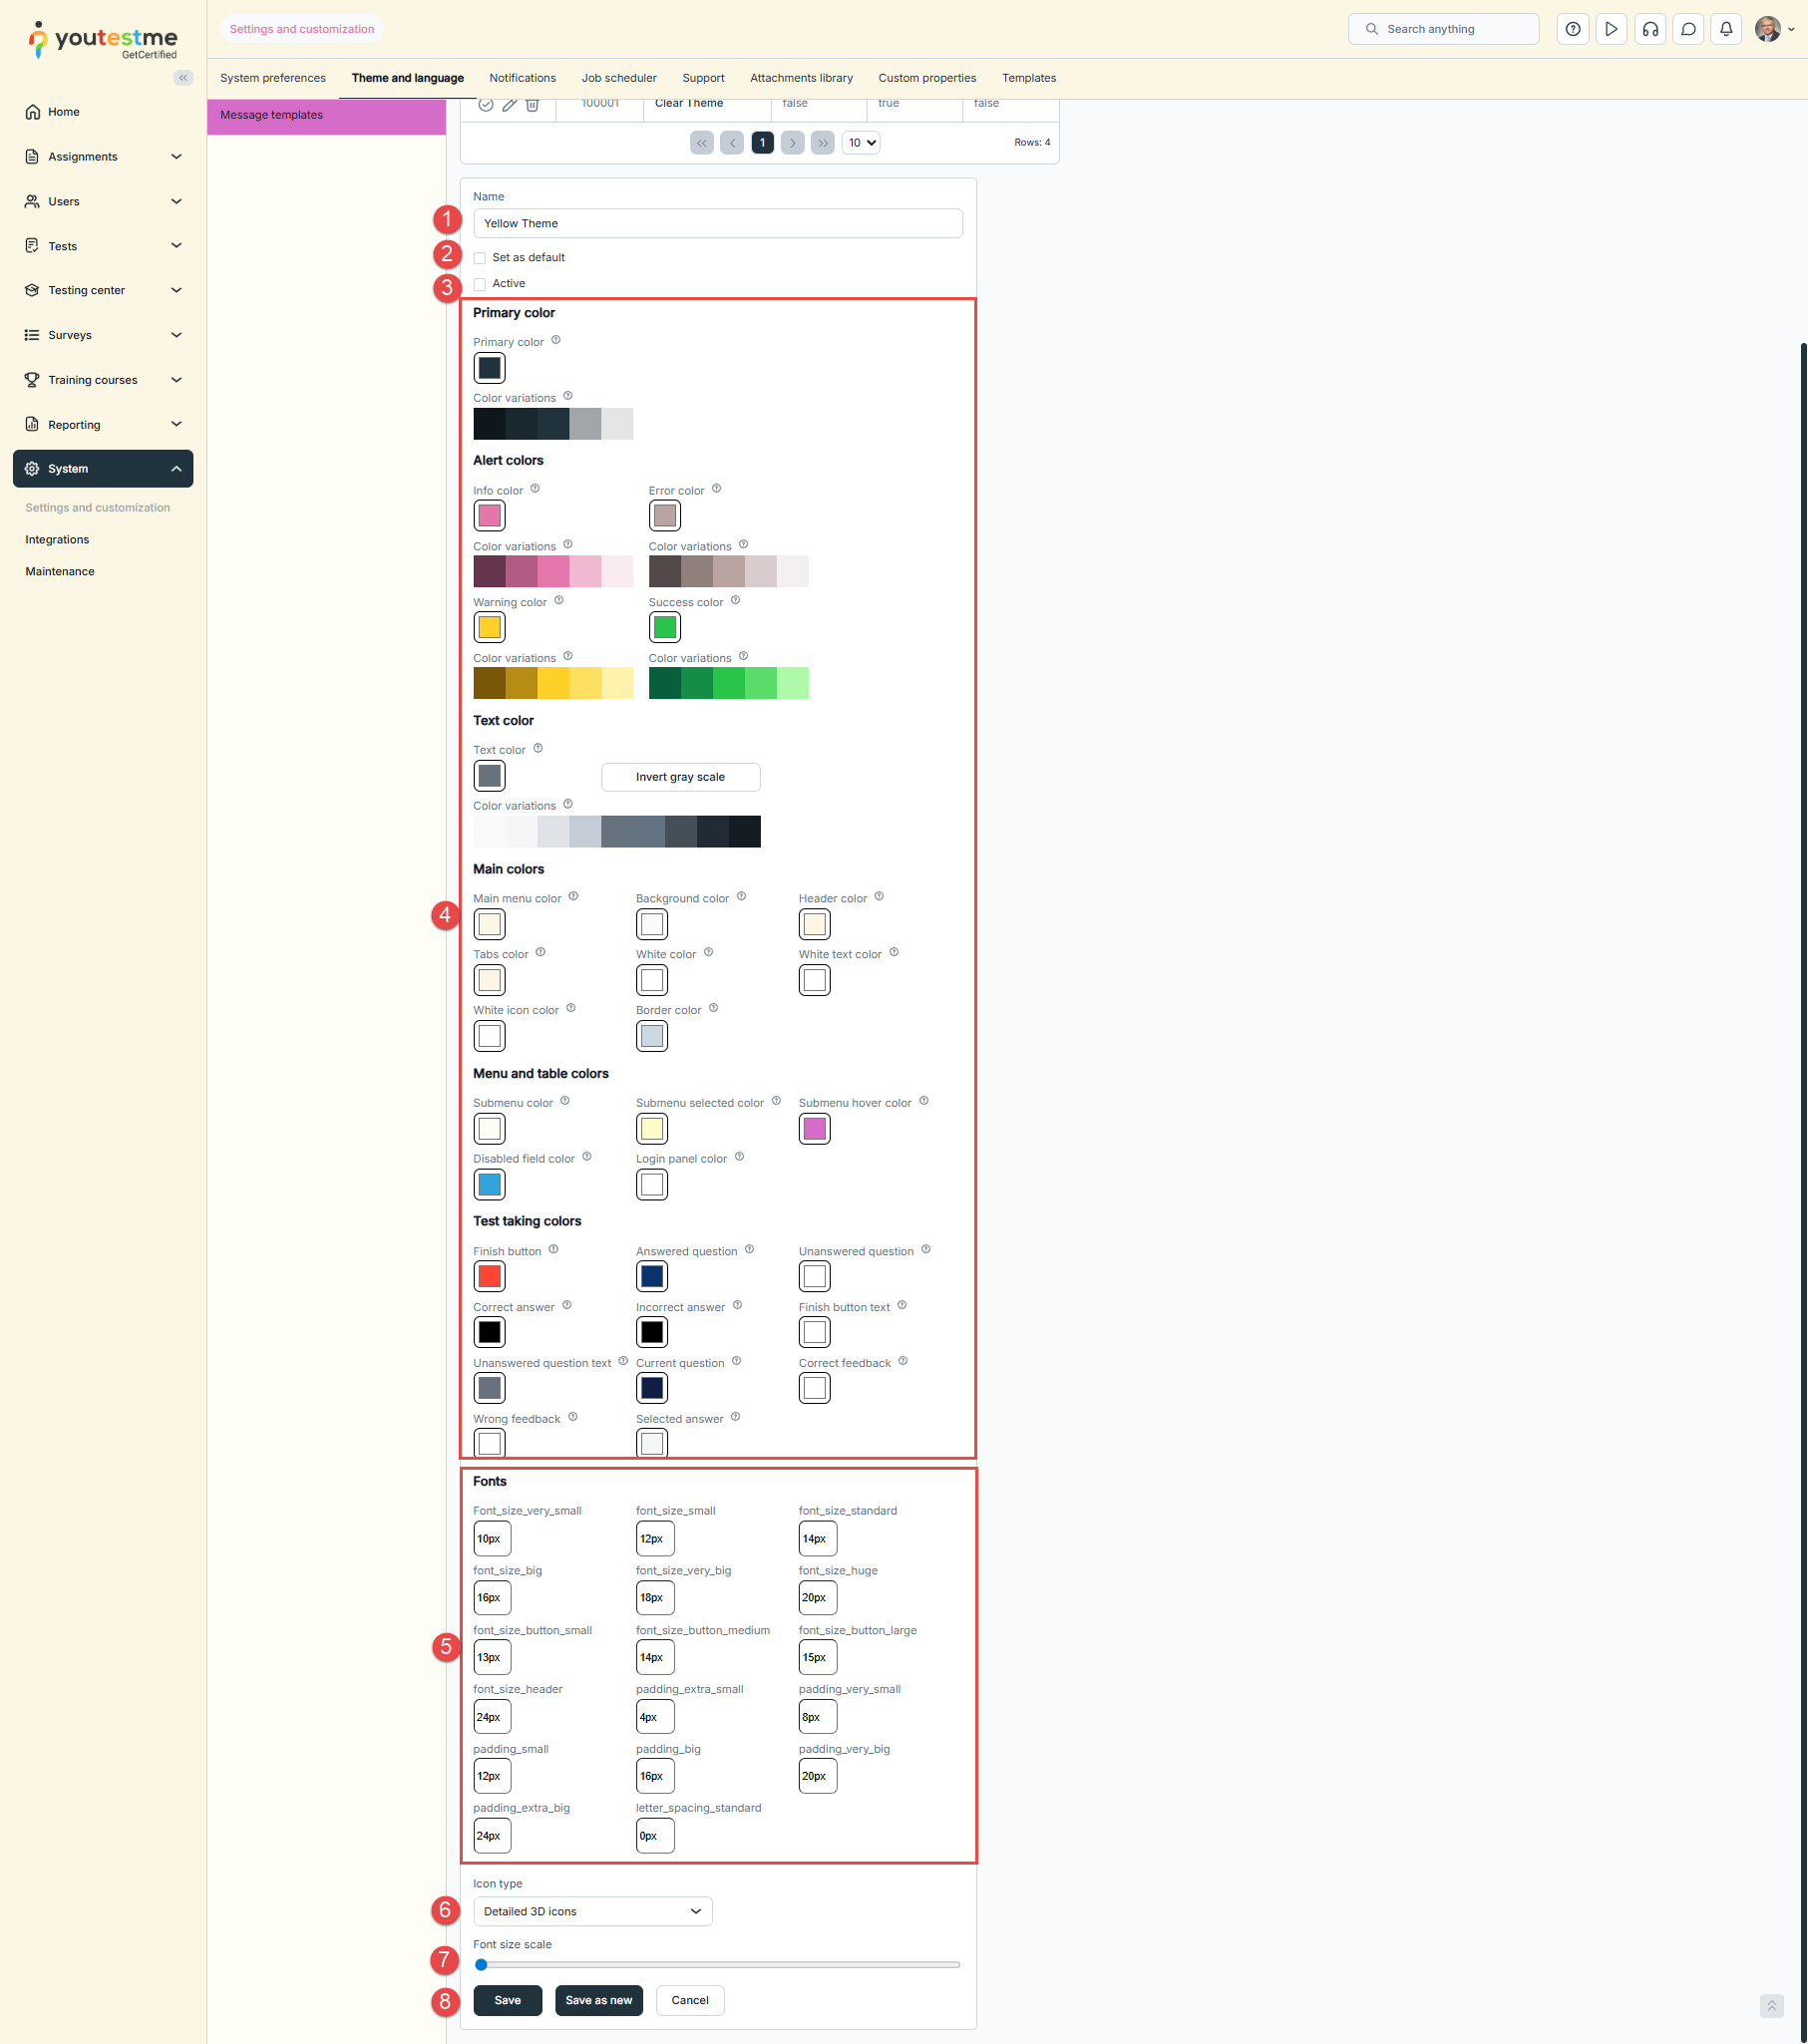
-
Theme colors
-
Change primary color - The primary color is typically the dominant color used for buttons, links, marking menu items, and other key elements.
-
Change info color - The color used for informative messages that appear in the top right corner when performing specific actions, such as confirming the saving of test settings changes.
-
Change error color - The color for error messages that appear in the top right corner.
-
Change warning color - The color for warning messages that appear in the top right corner, for example, a note indicating that you need to select a test to perform a certain action.
-
Change success color - The color used to indicate important labels (e.g., the Passed label on tests or testing sessions that are currently available) or actions (such as the Start button on the My tests page, Test preview action, etc).
-
Change text color - Customize the shades of grey used in the application; for example, all hints, tab names, and menu names will be changed according to these color shades.
Click the Invert grey scale button to change the colors by inverting the grayscale values. When you invert the grayscale, the darkest areas become the lightest, and vice versa. -
Change main menu color - The background color of the main menu.
-
Change background color - The background colors, such as the colors of the pages, tabs, and header names.
-
Change header color - The background color of the application header.
-
Change tabs color - The color of the strip with tab buttons bellow the header.
-
Change white color - The interior color of buttons, dropdown menus, tab headers, the background of odd table rows, etc.
-
Change white text color - The color of white text, for example, text when the menu title is selected.
-
Change white icon color - The color of white icons, for example, icons for menu titles.
-
Change submenu color - The color of even rows in the table and the background of introductory texts on the Question pools and Training courses pages.
-
Change submenu selected color - The color used when selecting rows in tables.
-
Change submenu hover color - The colors used when hovering over input or dropdown fields.
-
Change disabled field color - The color used for fields that cannot be changed.
-
Change login panel color - The color used for the box on the login page.
-
Change border color - The color of border lines.
Note: For colors where multiple shades are displayed below, these varying shades will be applied to different parts of the application.
Additional options are made for the color customization:
-
Change finish test button and finish section button color.
-
Change answered questions color.
-
Change unanswered questions color.
-
Change correct answer color.
-
Change incorrect answer color.
-
Change finish test text button color.
-
Change unanswered questions text color.
-
Change unanswered current questions text color.
-
Change the feedback text box for correct answers color. Please note that this color will also apply to both the answer and question feedback text boxes.
-
Change the feedback text box for incorrect answers color. Please note that this color will also apply to both the answer and question feedback text boxes.
-
Change the color of the selected answer within the test-taking process.
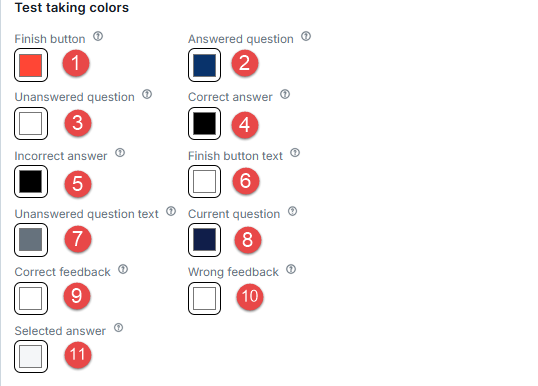
In test:
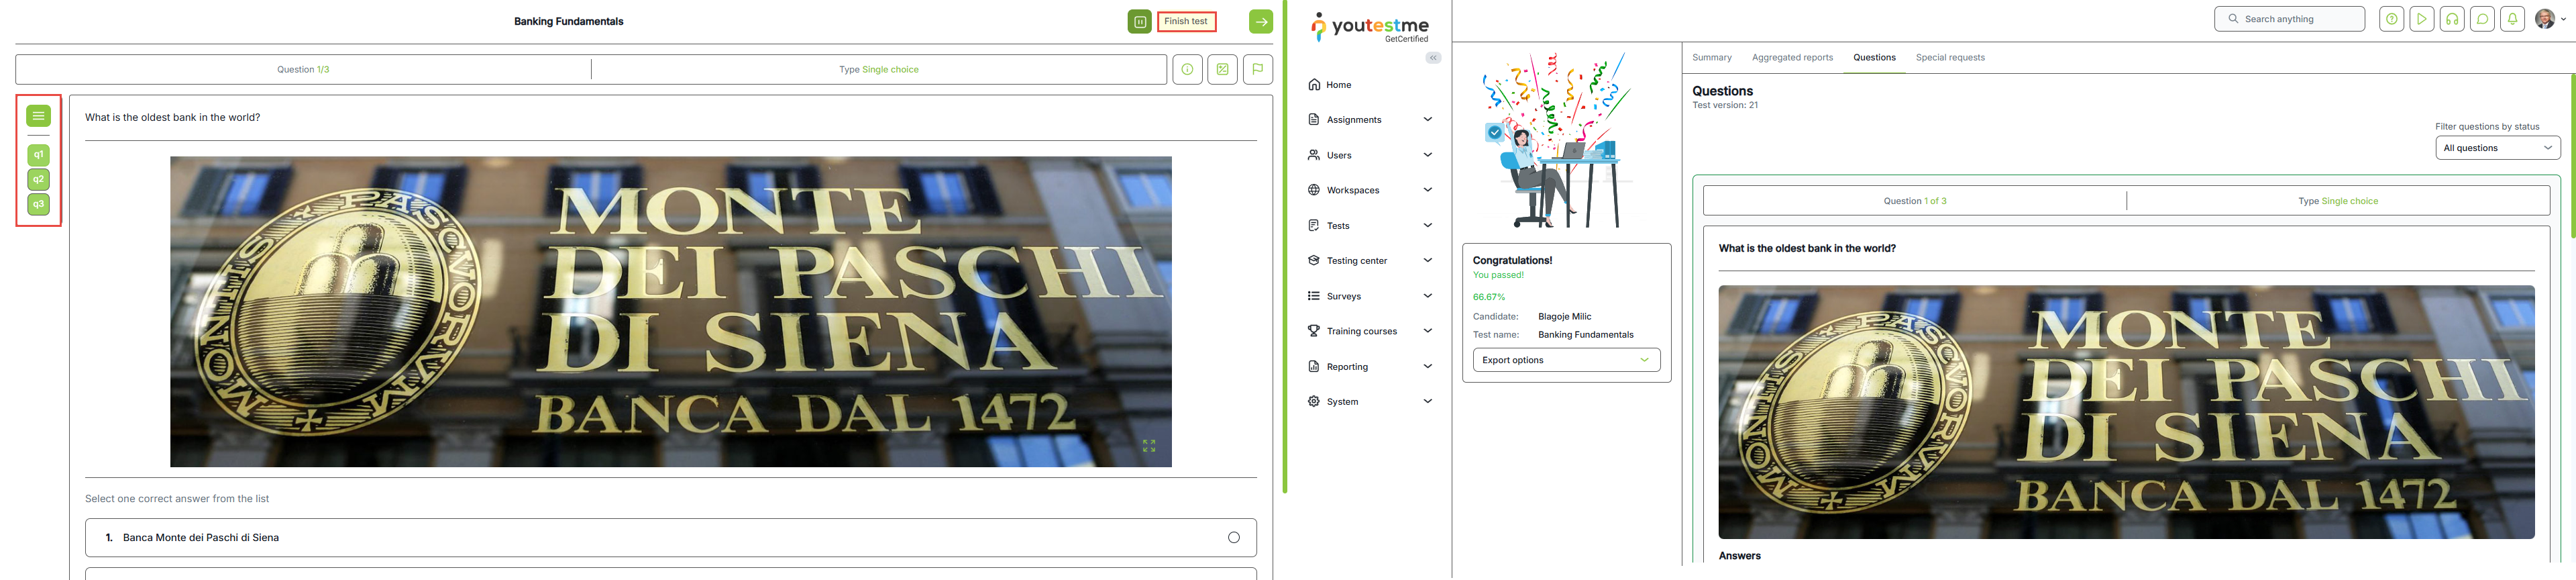
Additionally, another way to change the color is by choosing between RGB, HSL, or HEX formats and selecting their respective option names.
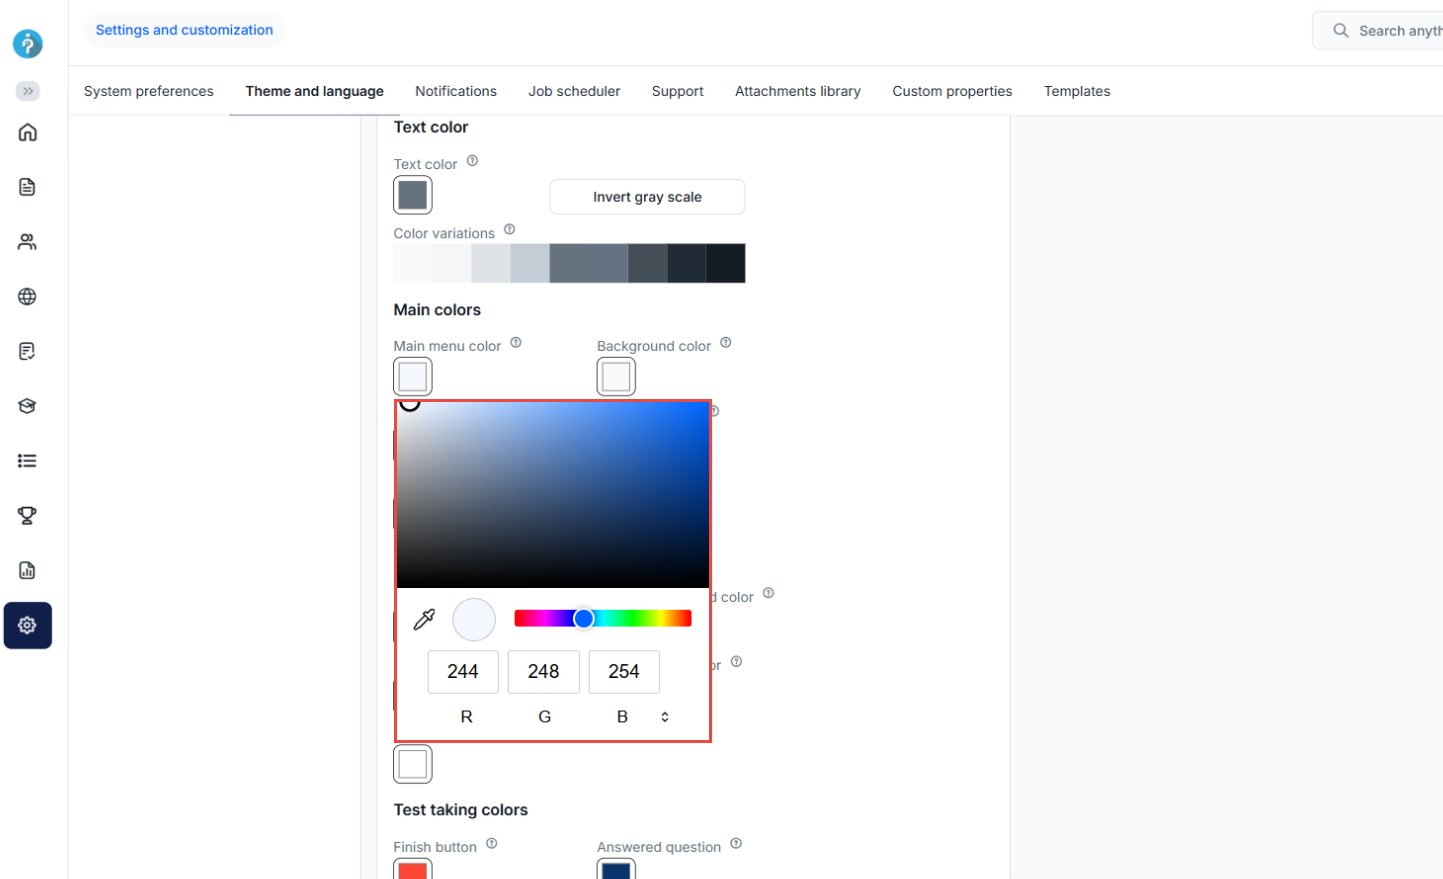
-
Glass theme
The application includes a Glass theme, which provides a transparent visual style and additional customization options. You can use the existing Glass theme or create a custom Glass theme.
To use the existing Glass theme, edit the theme, set it as Active and Default, and save the changes.
To create a custom Glass theme, click the Create new button and:
-
Enter the Name of the theme.
-
Enable the Active, Default, and Glass options as needed.
-
Select a background image and adjust its brightness.
-
Select the primary and secondary colors and adjust their transparency.
-
Adjust the font size according to your preference and save the theme.
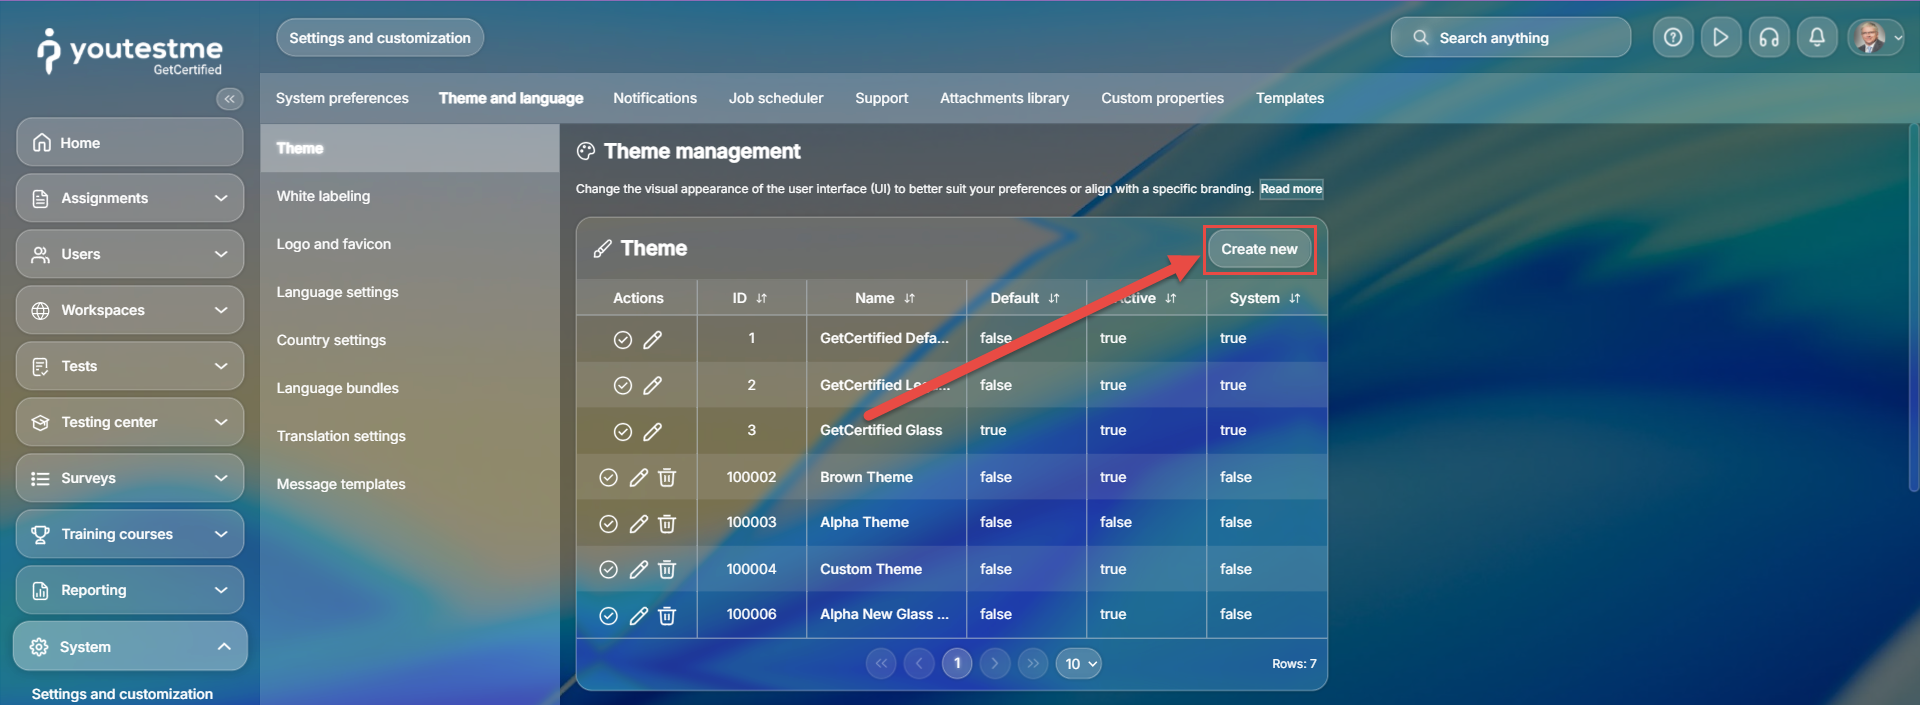
-
-
-
White labeling
-
Web browser's tab title - Modify the application name in the web browsers tab title, right beside the favicon.
-
Confirmation label - Modify the acknowledgment text presented on the instructions screen before the test begins. Additionally, this text can be customized for each test separately under the Test instructions dialog settings. To include an acknowledgment checkbox for candidates, make sure to enable the Require instructions acknowledgment option.
Note: Changing the application language will result in the translation of the default text. However, modifying the default text itself will not be translated when altering the application language.
-
Emails sent from - The name entered here will be presented as the sender's name in the email body, replacing the $from$ parameter.
-
Application link - The URL entered here will be used to generate necessary links for email notifications. The YouTestMe team will update this link if you have configured a custom application domain. This ensures that the links in the emails will be presented using the new custom domain.
-
Login instructions - Provide detailed guidelines or include useful links for users to be displayed on the login screen.
-
Display privacy policy - Enable this option and a privacy policy link will be displayed on the user registration page.
-
Privacy policy link - Enter your custom privacy policy link instead of the default one.
-
Display personal report animation - Show/Hide animation on the left side of the candidate's personal report page.
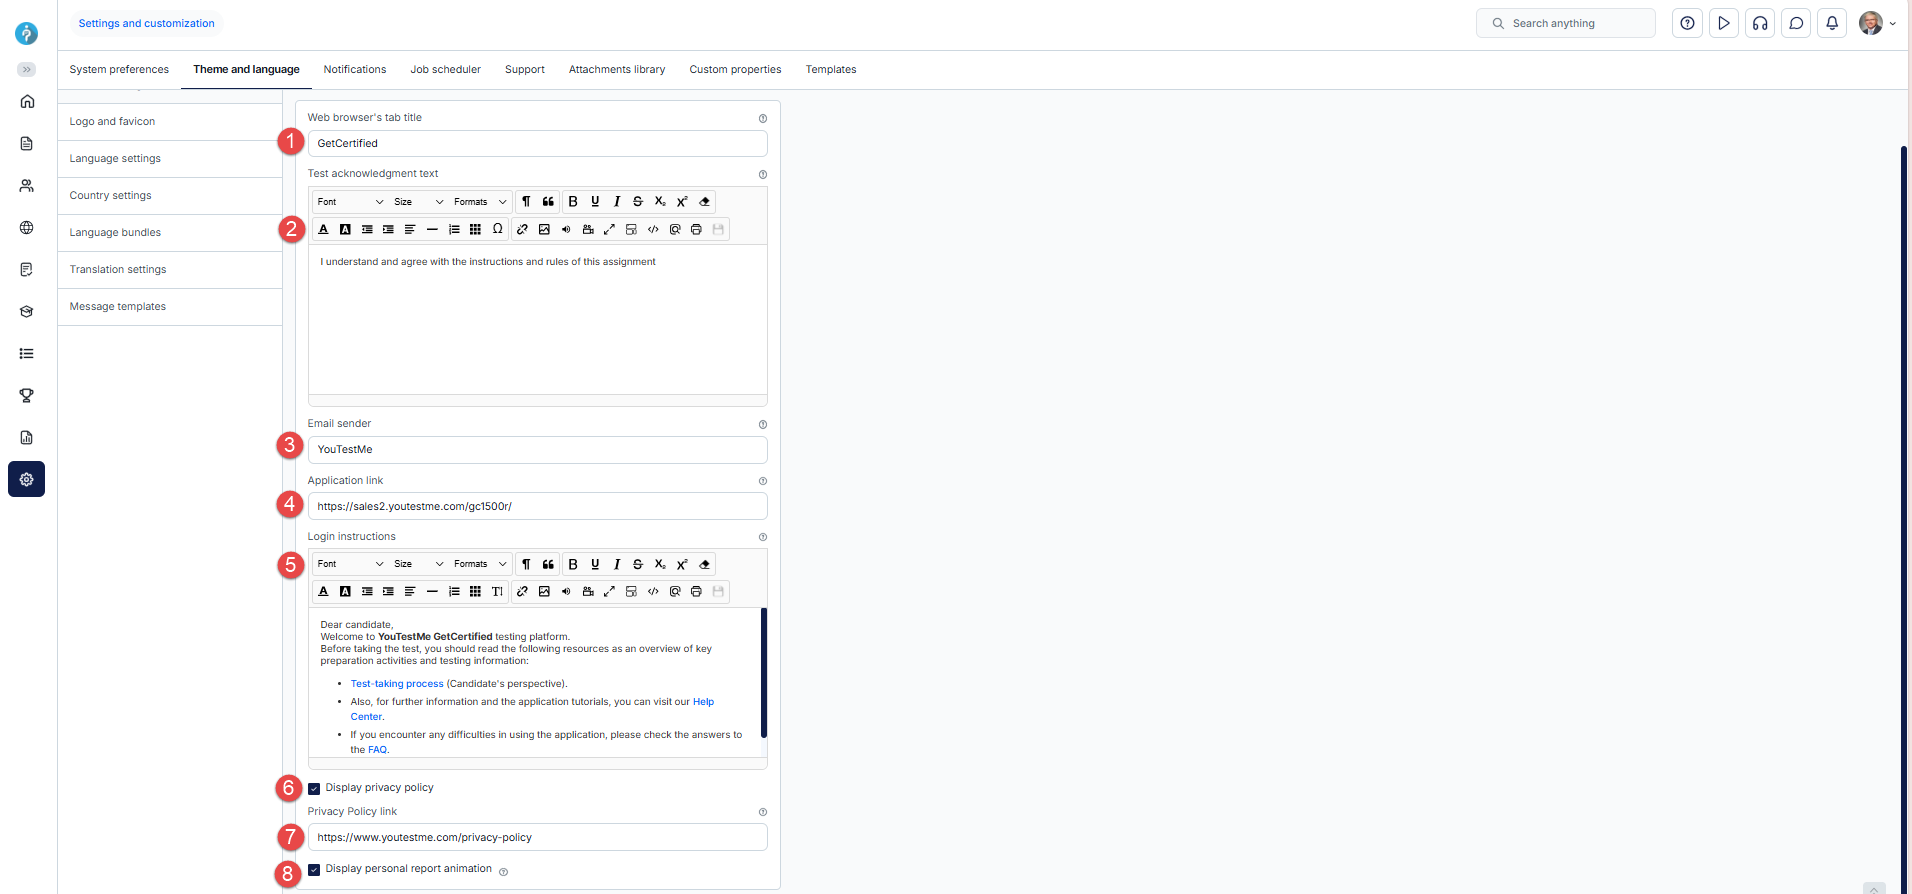
On this tab, you can customize the text of the login page, privacy policy display, links, system naming, and more.
The following options are available:
-
-
Logo and favicon
-
Click the Change logo button to upload a logo that represents your company or organization. The recommended image size is 270 x 69 pixels.
-
Click Reset to default to restore the application logo to the default one.
-
Click the Change favicon button to replace the favicon displayed in the web browser's tab title.
-
Click Reset to default to restore the favicon to its default setting.
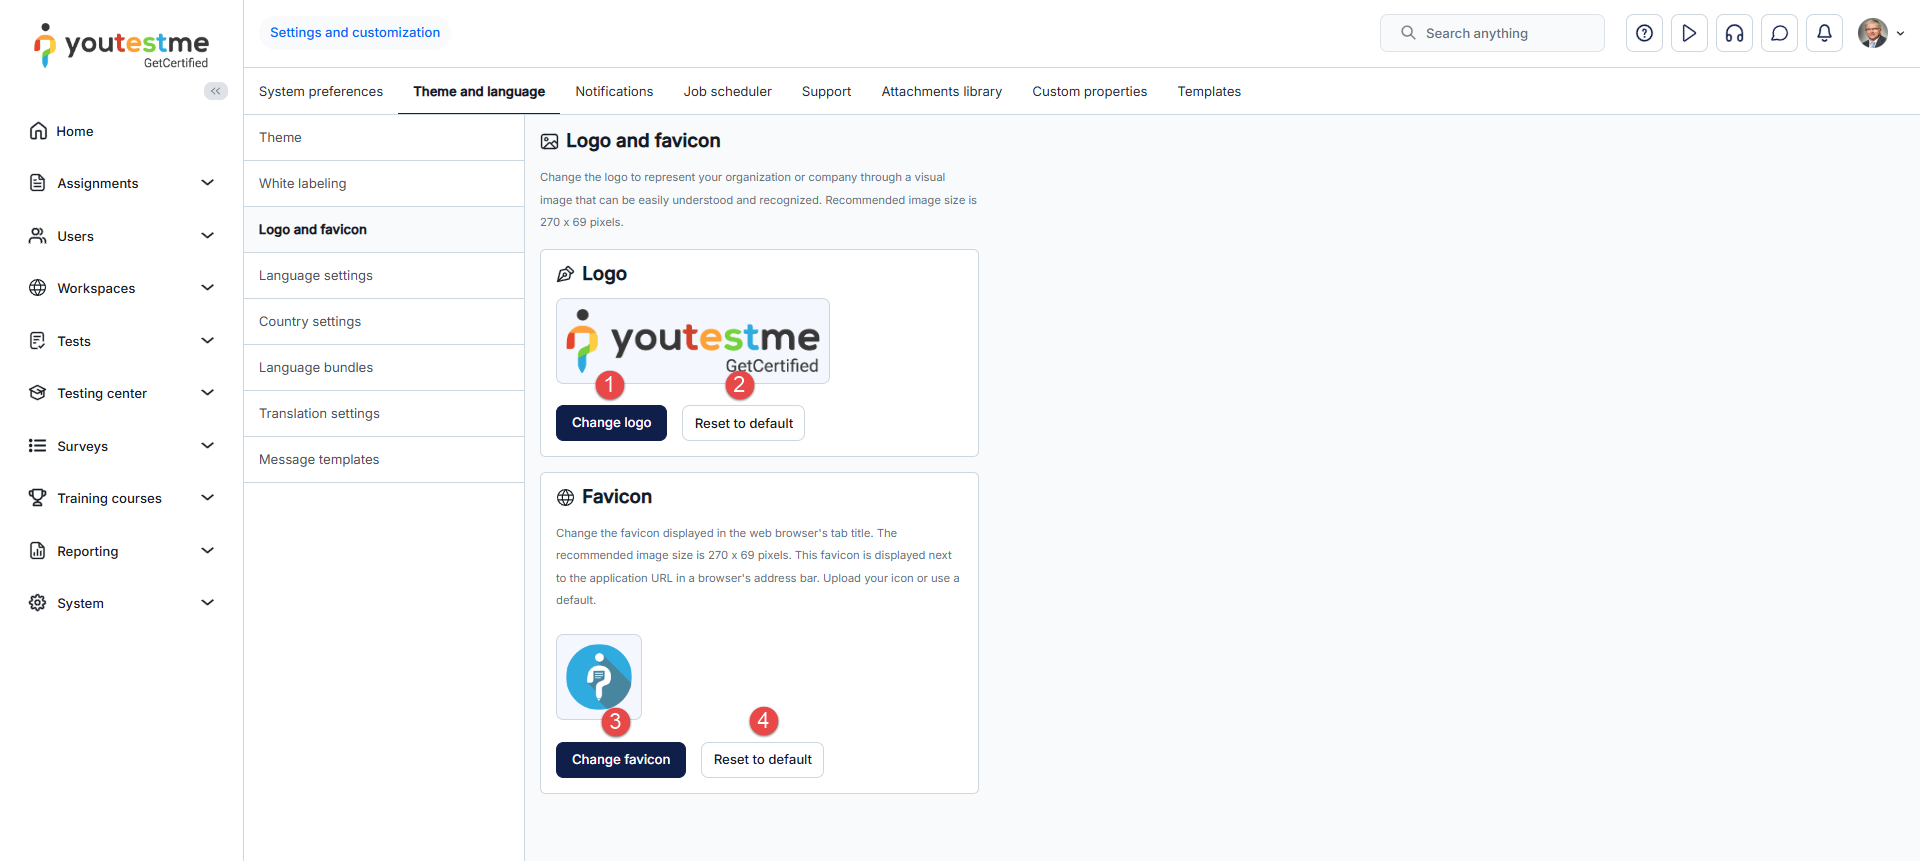
On this tab, you can change the logo and favicon of the application.
-
-
Language settings
On this tab, you can customize the available languages for selection under language settings. This includes options such as user profile language settings, test language preference settings, the login page language, and question translations.
The table provides:
-
A list of languages that can be used in the application. The availability of the language for use depends on whether the Interface language option is enabled or disabled.
-
Language codes - Use them to set user profile languages immediately during the user import process.
-
Interface language - Indicates whether a language is available in the application and can be used for interface translations. If the interface language is set to Disabled, it means that the language is not currently available and cannot be used in the application. However, it can be enabled. Users cannot enable an additional language on their own; instead, they need to contact the YouTestMe team to enable the language when necessary.
-
Test language - If enabled, the language will be displayed for selection in the language settings.
Below is an example that explains the different language settings:
Interface language Test language Language settings available for selection Disabled Enabled During question creation, it is possible to add a translation in that language. In language settings, that language will not be available for selection except for the Language in tests option (under the User profile/Account information), as test organizers handle question translations in the test. Therefore, users can display questions in that language during test-taking if a translation was created during question creation. Enabled Enabled The language will be displayed on all language settings. Enabled Disabled This language will not be displayed anywhere in the language settings.
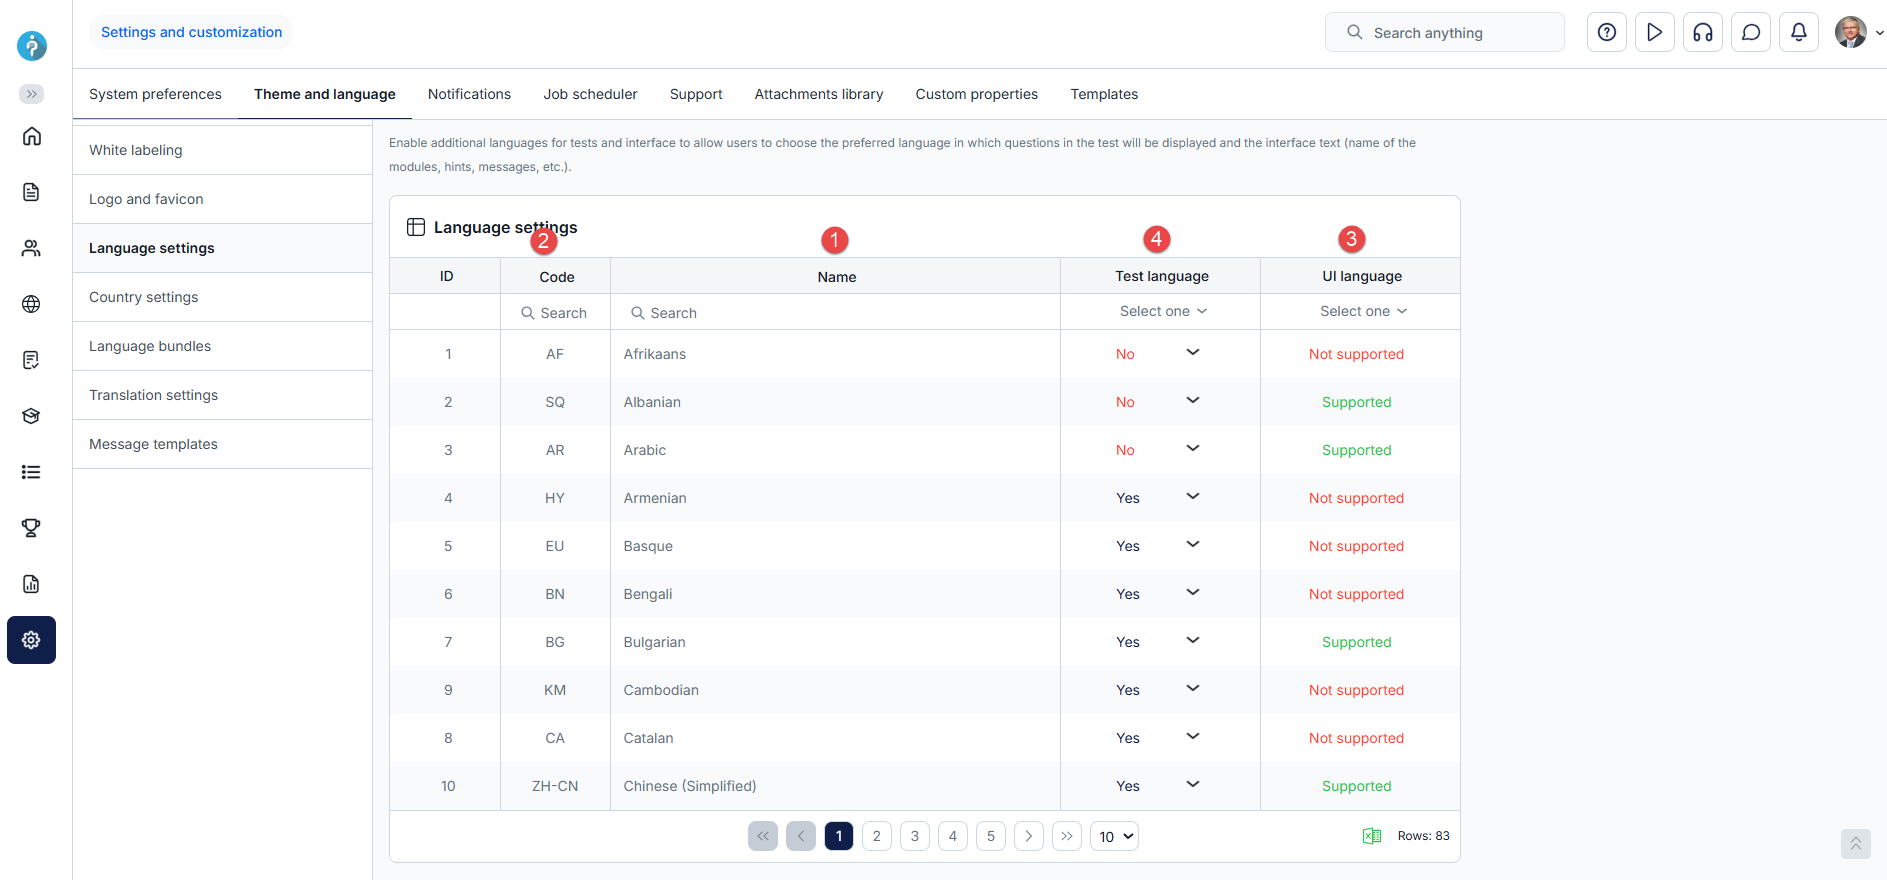
-
-
Country Settings
-
Review the Country Code column, which displays the standardized code used to identify each country.
-
Check the Country Name column to see the full name of each country.
-
Observe the Enabled status for each country. If a country is Disabled, it will not appear in the Dynamic Tax list when adding a new tax.
On this tab, you can manage the countries available in the application, including those used in the Dynamic Tax configuration.
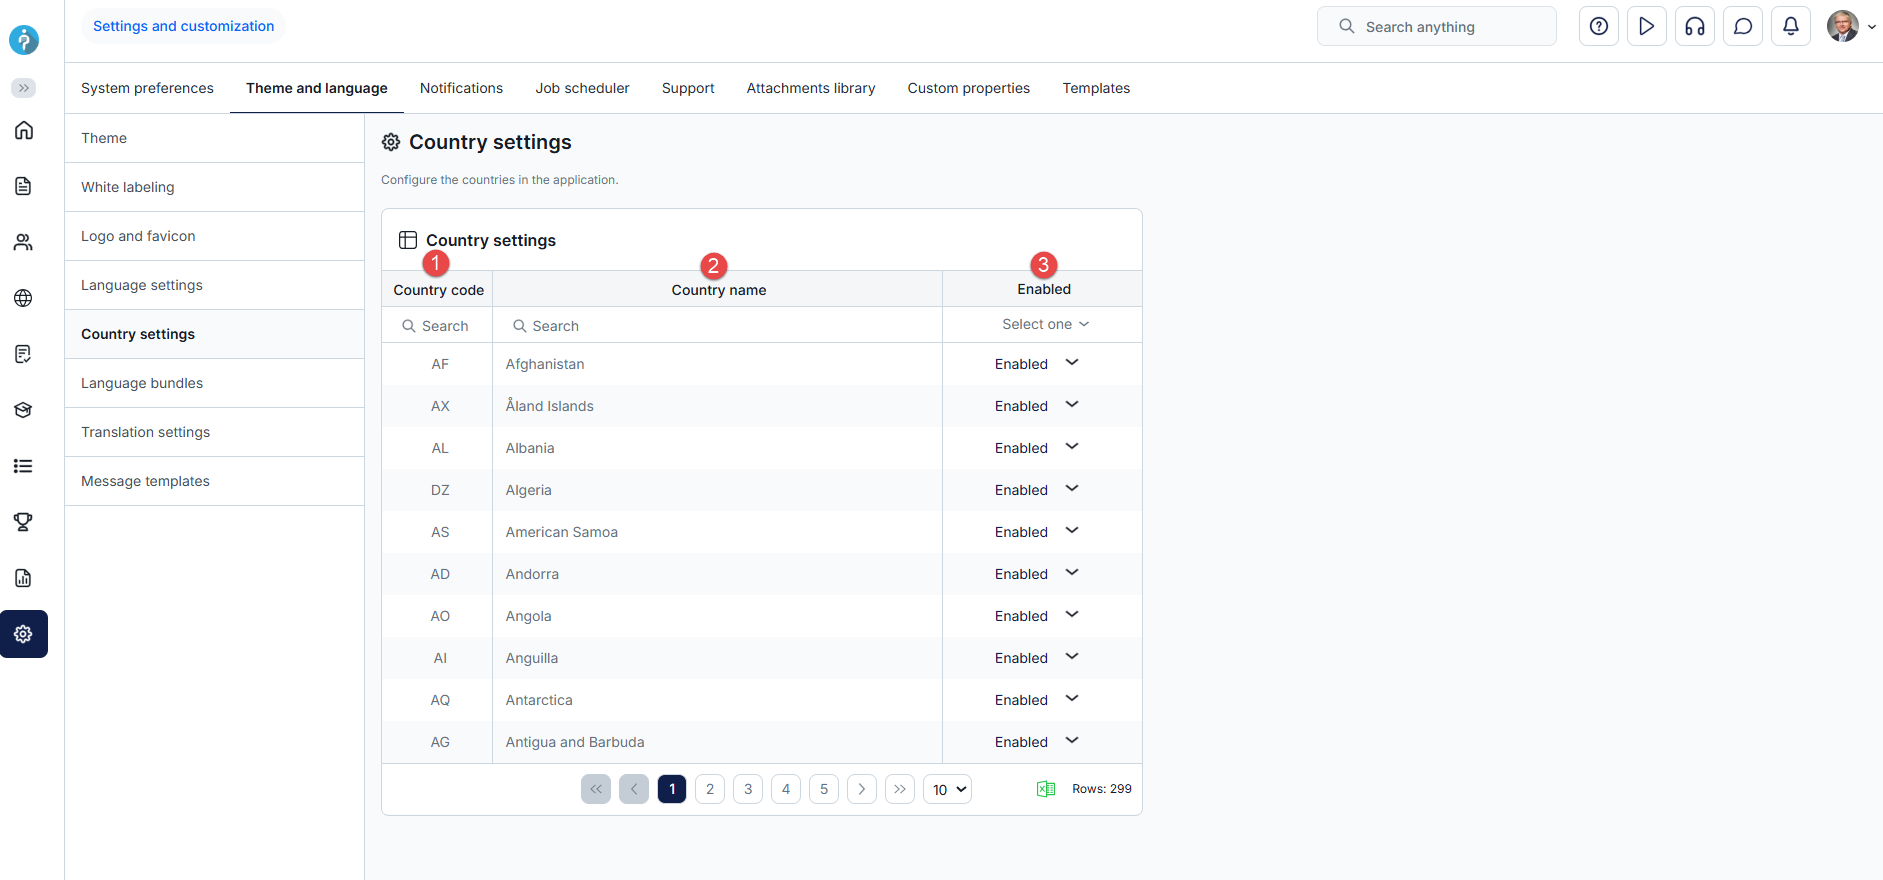
Language bundles
Customize any text in the application (labels, hints, messages, and notifications). For example, change the word Test to Exam, Candidate to Student, and Question pool to Question bank, or rephrase in-app messages.
A language bundle is a file consisting of the key/value pair properties. Each property is tied to one or more UI components based on a property key. The property value is displayed as the label of the component/components.
Below is an example of text changes.
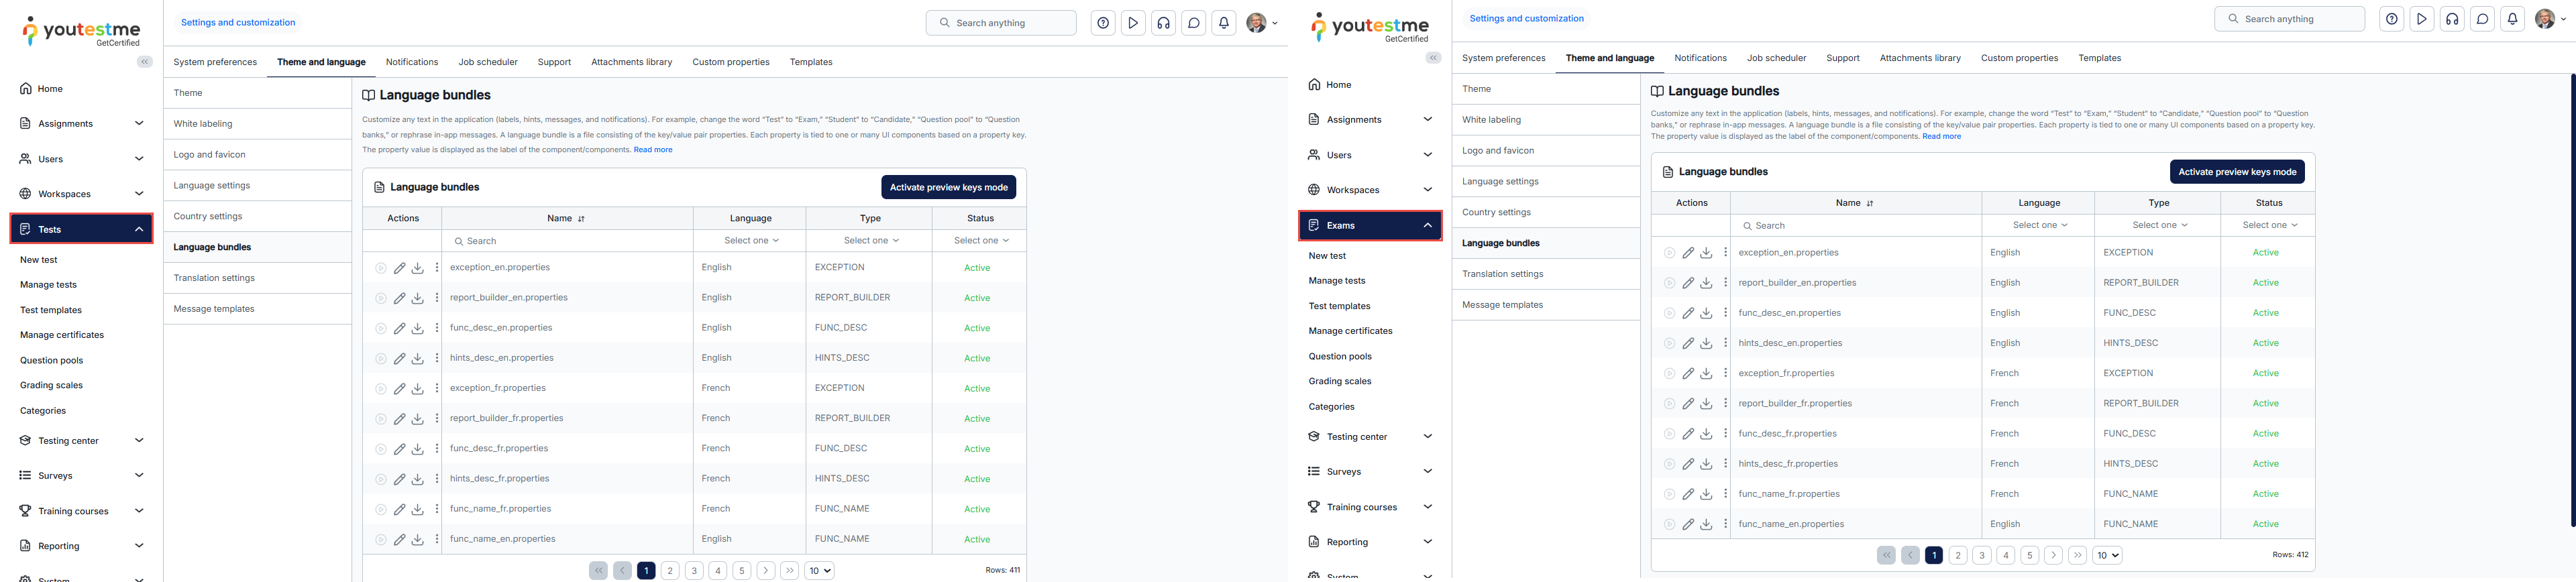
On this tab, you can:
-
Activate preview keys mode to find the key for the text you want to change.
-
Search for the desired property file by name, language, and file type.
-
Edit properties in the language bundle through the application.
-
Download the file, edit it offline using the desired text editor, and import the new language bundle.
-
Delete language bundle - Default language bundles cannot be deleted. Instead, you can edit them and save them as new custom language bundles. After deleting custom language bundle with the status Active, the default bundle will be activated automatically.
-
Activate language bundle to apply changes. When you create a new language bundle, it will have Inactive status. Only language bundles with Inactive status can be activated. Additionally, only one language bundle of each type and language can be active at any given time.
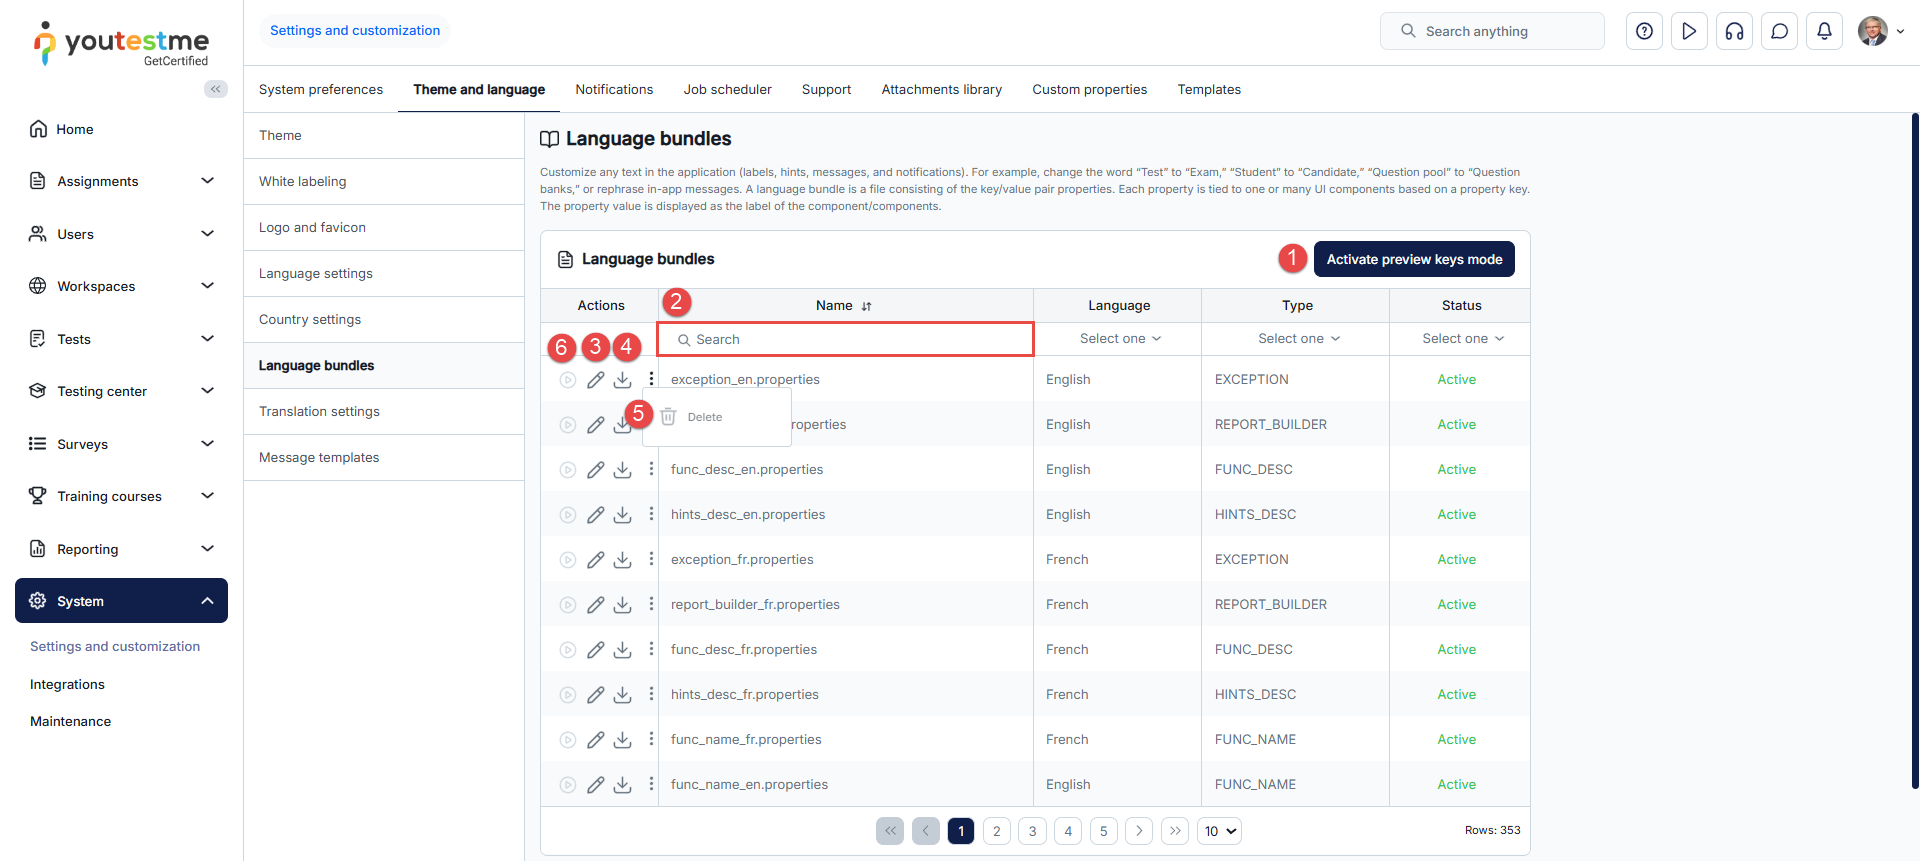
-
Preview keys mode
The Activate preview keys mode option allows you to quickly identify which property file and its key you need to modify.
-
Click the Activate preview keys mode button.
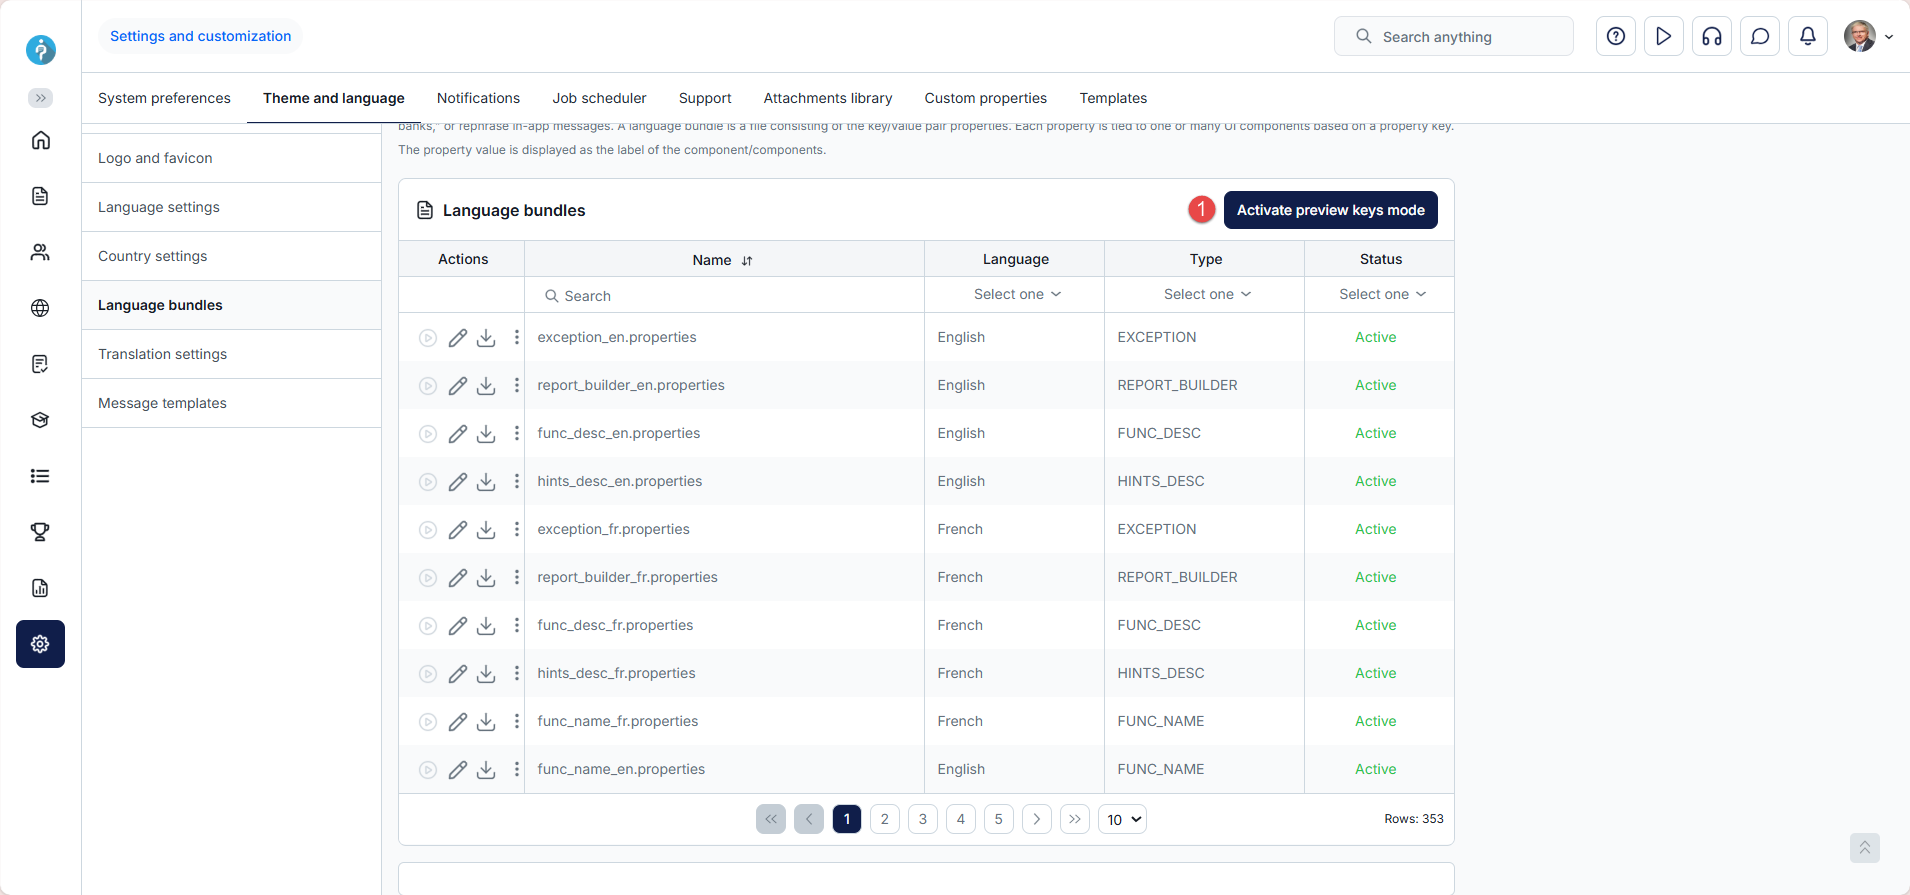
-
Navigate to the page containing the text you wish to modify and click the button that appears at the top of the page. Instead of the application text, the names of the property file and keys will be displayed across the entire page.
-
Locate the property file name and key for the text you want to change, and make a note of it or save it to replace the text in the settings. The property file name is written in uppercase, and the rest of the text presents the key.
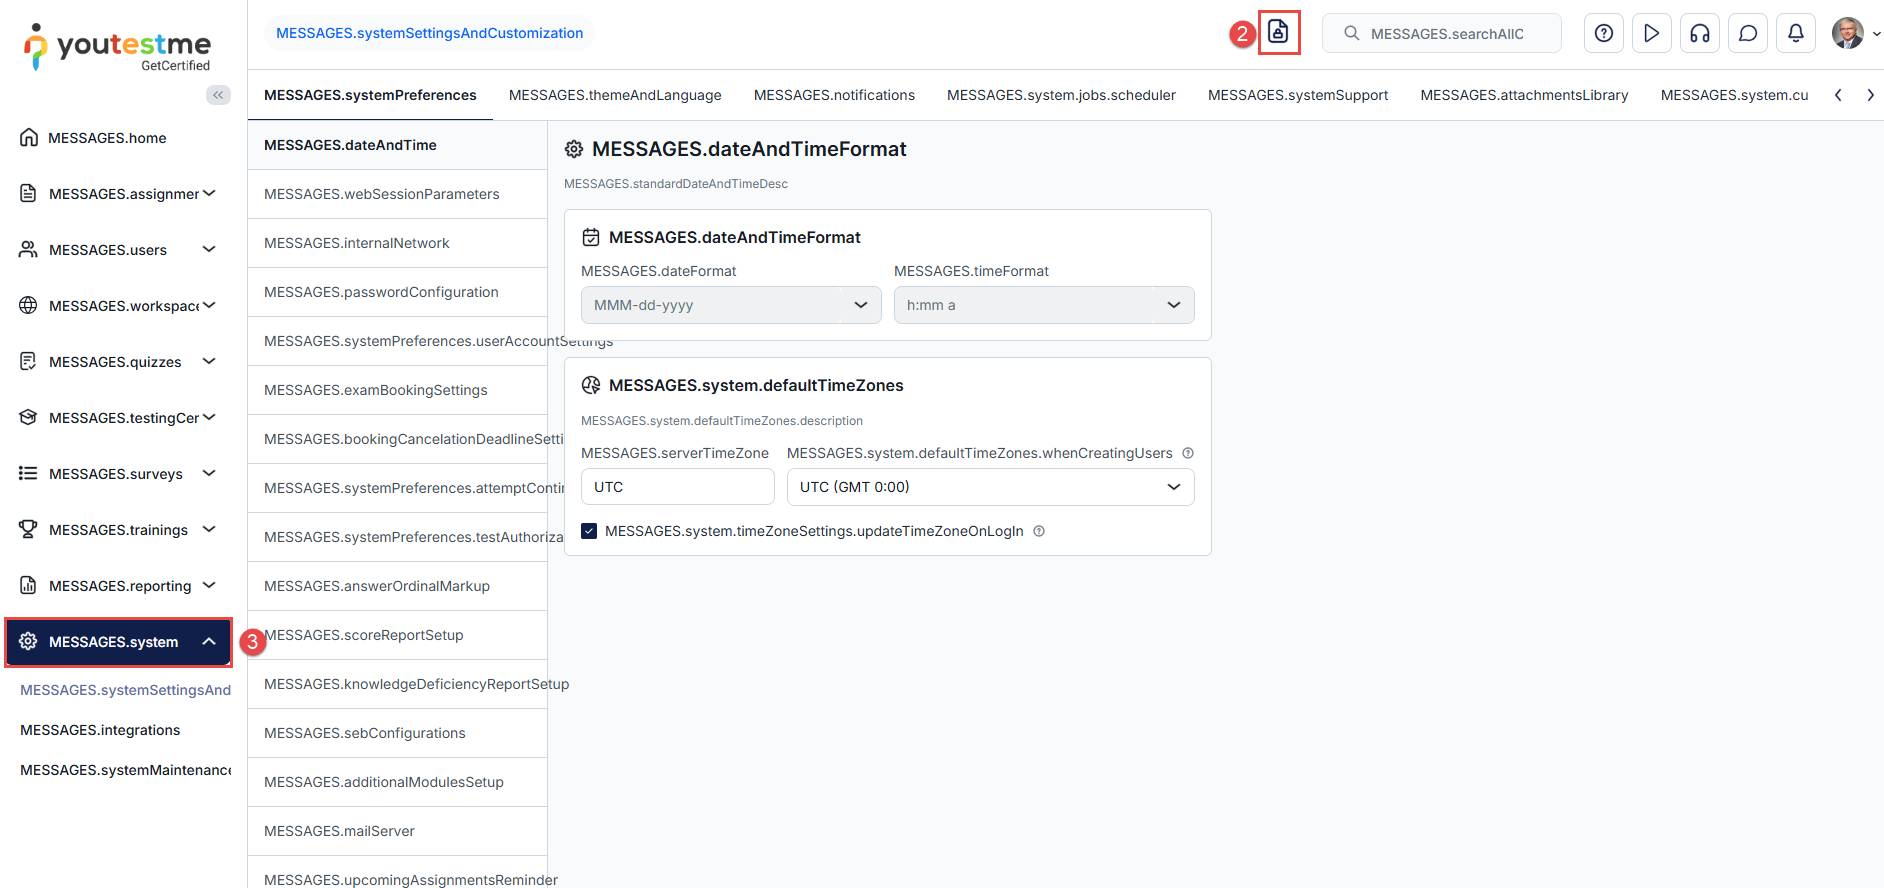
-
Click the same key icon at the top of the page to disable the option. Return to the language bundles settings page and refer to the further explanation for editing languages through the application or by importing a file.
Create a new language bundle through the application
When you click the Edit button, a list of all properties in the language bundle will open. Follow these steps:
-
Enter the key you previously found, or, for example, if you are editing a message, you can also type the text of the current message, and the key will be displayed.
-
Click the key name in the list.
-
In the Value field, enter the new text.
-
Click the Confirm button. Repeat steps 1 to 4 to change all the texts you want in the selected file.
-
Click the Save as button to create a new custom language bundle or update an already existing custom language bundle.
-
Enter the Name of the new custom language bundle.
-
Click the Save button. The new language bundle will be created, and you should activate it to apply the changes.
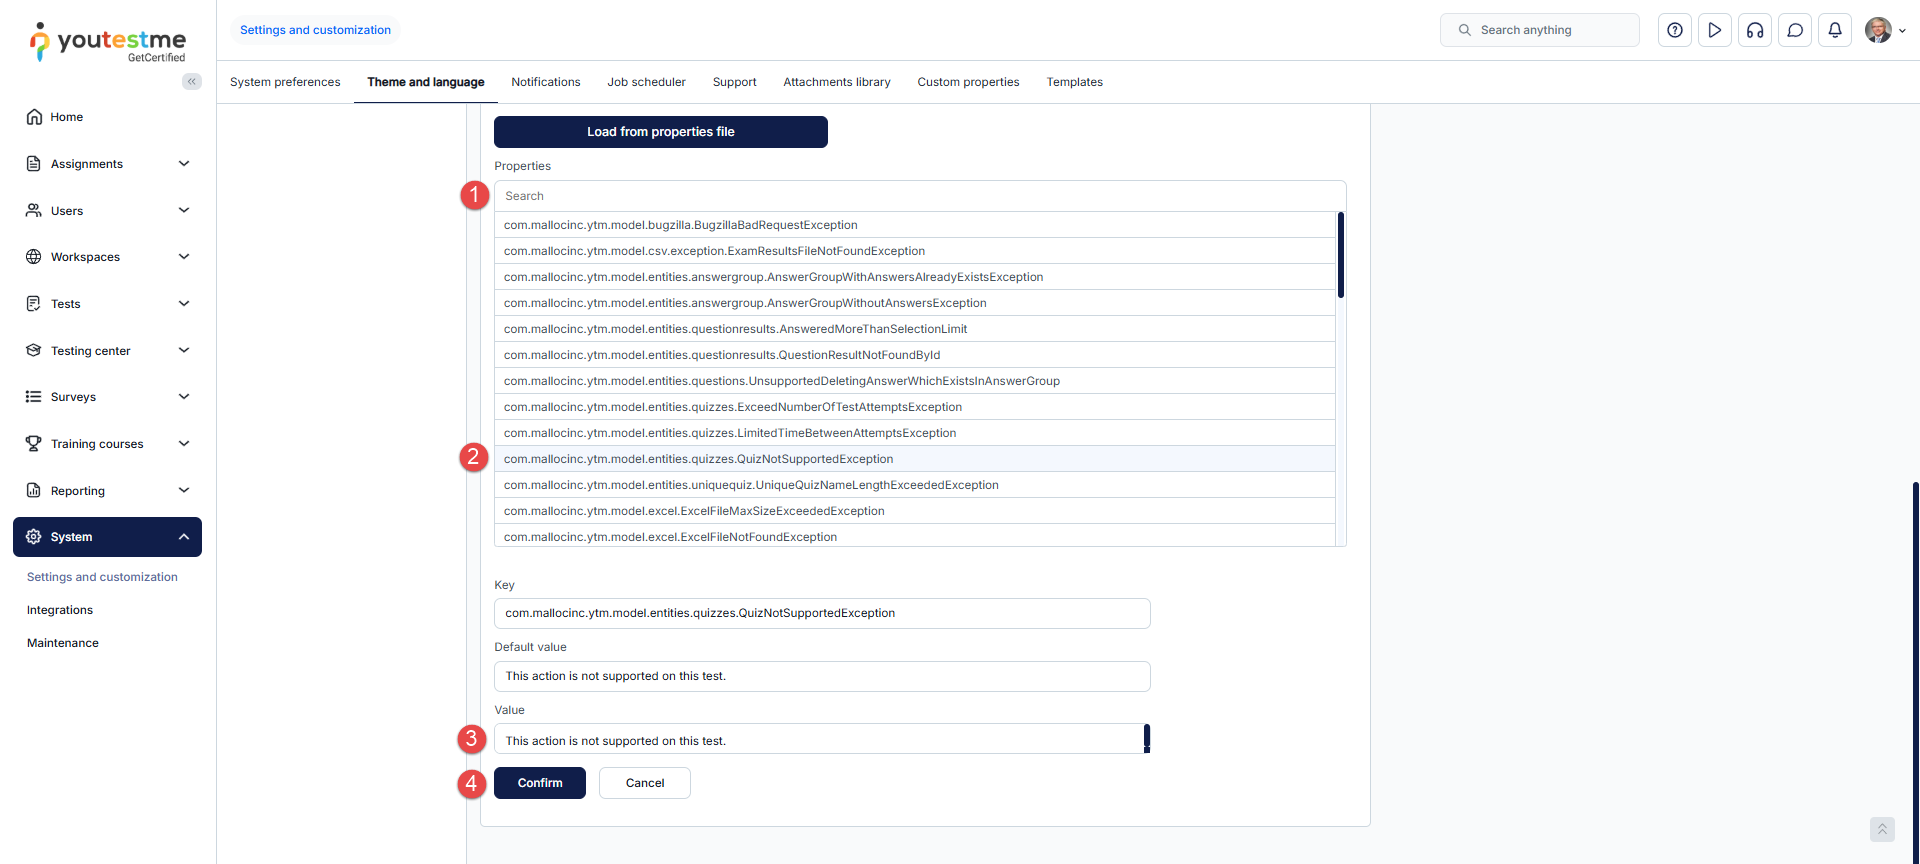
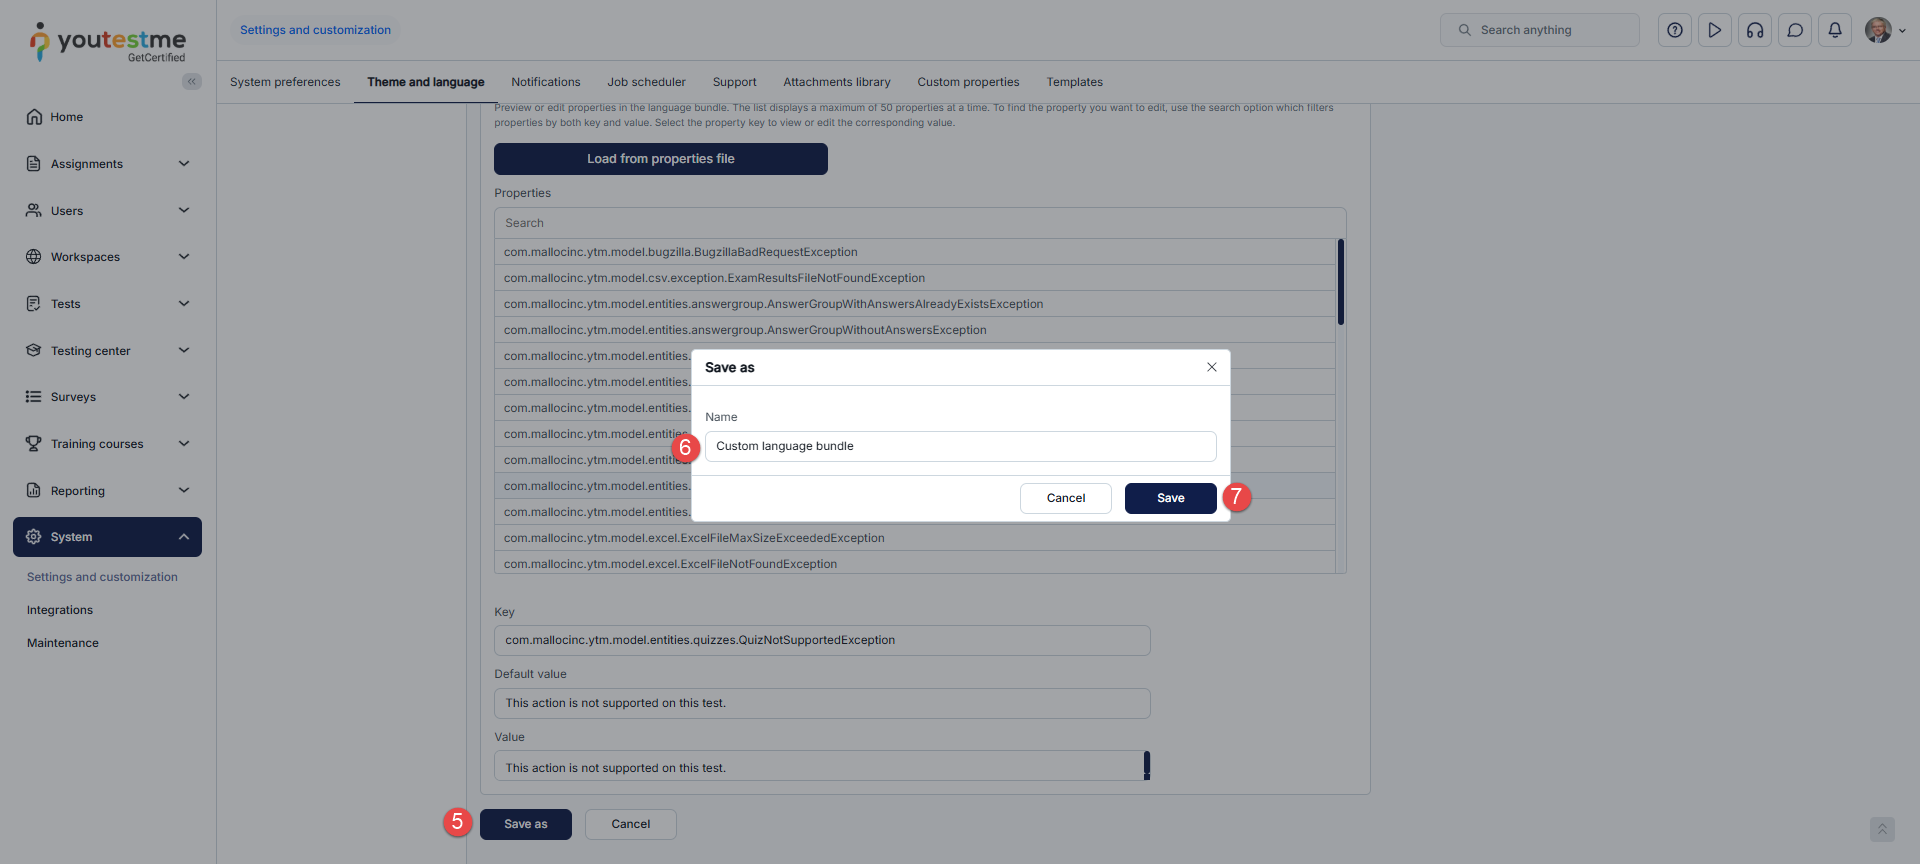
Create a new language bundle by importing a file
Click the Download button to download the property file to your device. The file will be saved in .properties format.
Follow these steps:
-
Open the file in the desired text editor, e.g., Notepad.
-
Find the key you want to change, or, for example, if you are editing a message, search for the text of the current message.
-
Enter the new text.
Note: It is important not to change the keys.
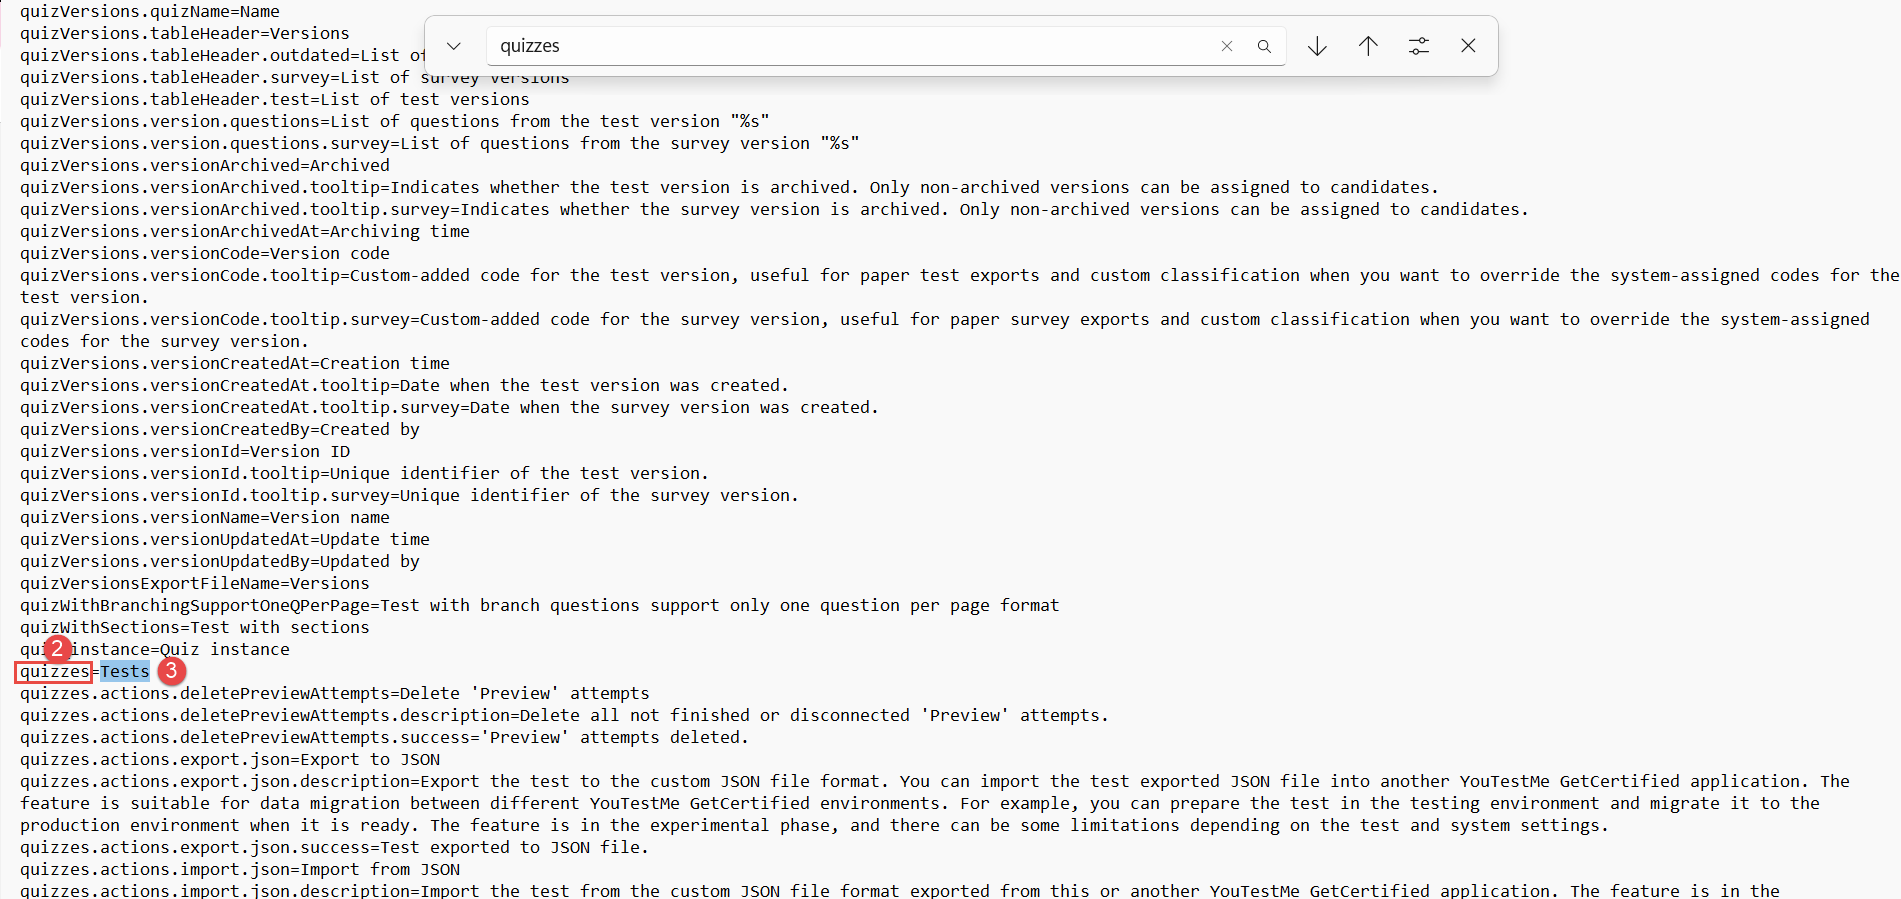
-
Repeat steps 1 to 3 to change all the texts you want in the selected file. Then, save the file.
-
In the application, click the Edit button for the desired language bundle.
-
Click the Load from properties file button and select the file you edited.
-
Click the Save as to create a new custom language bundle or update an already existing custom language bundle.
-
Enter the Name of the new custom language bundle.
-
Click the Save button. The new language bundle will be created, and you should activate it to apply changes.
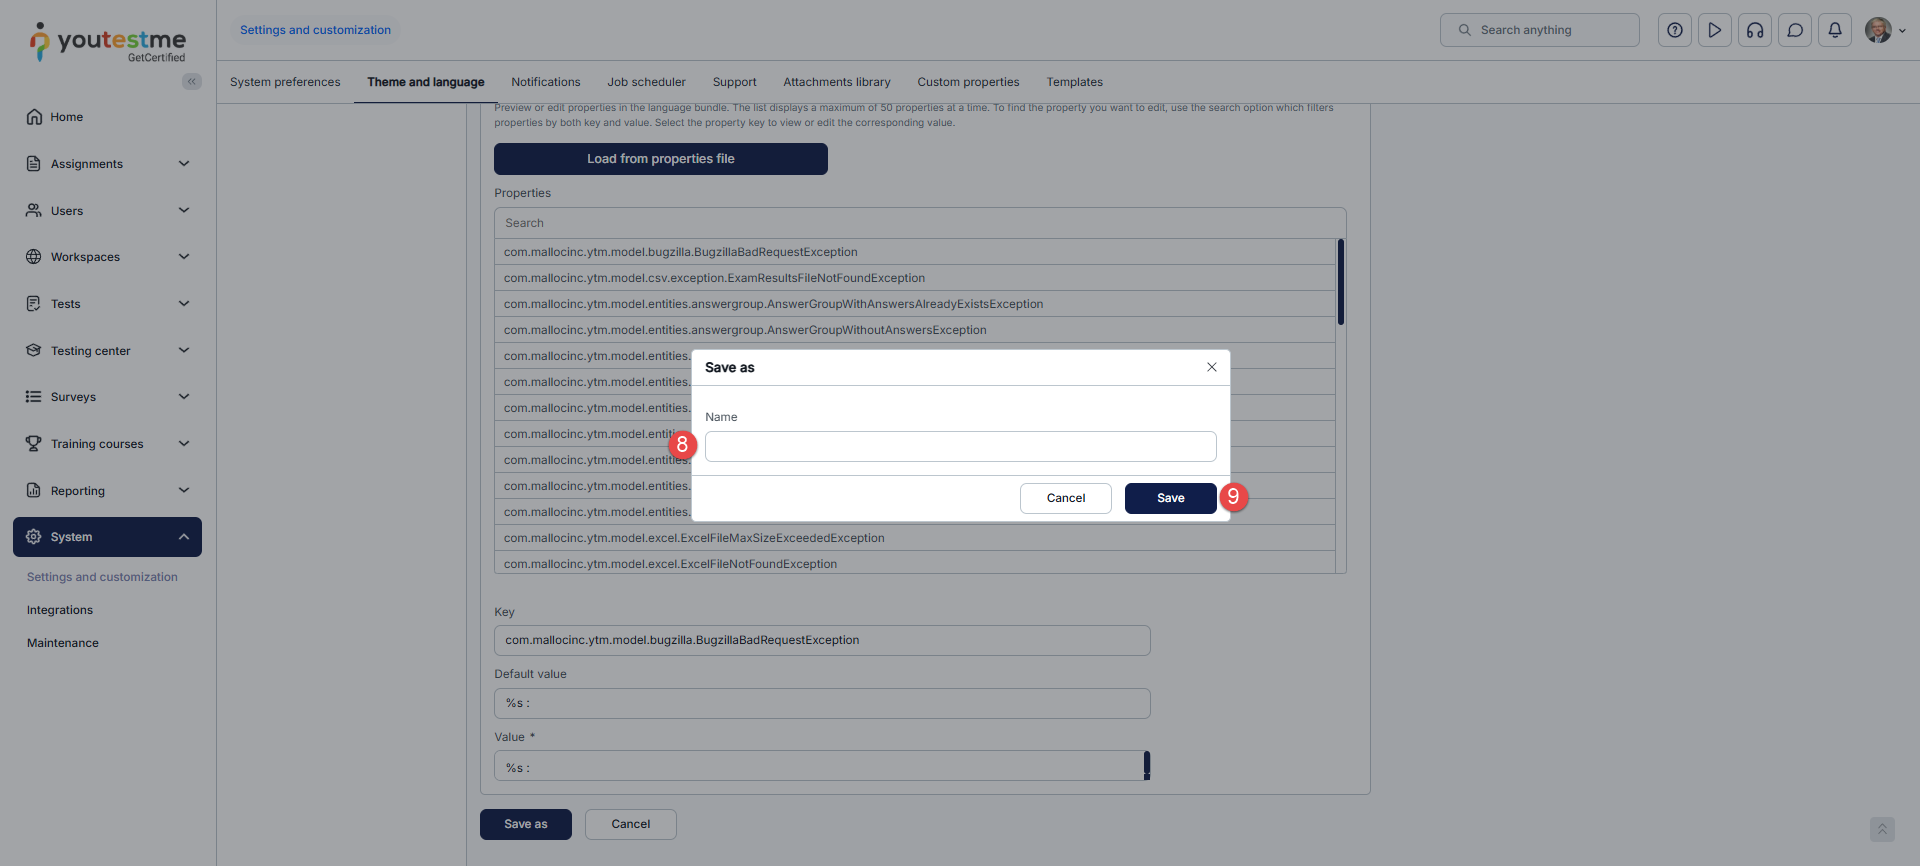
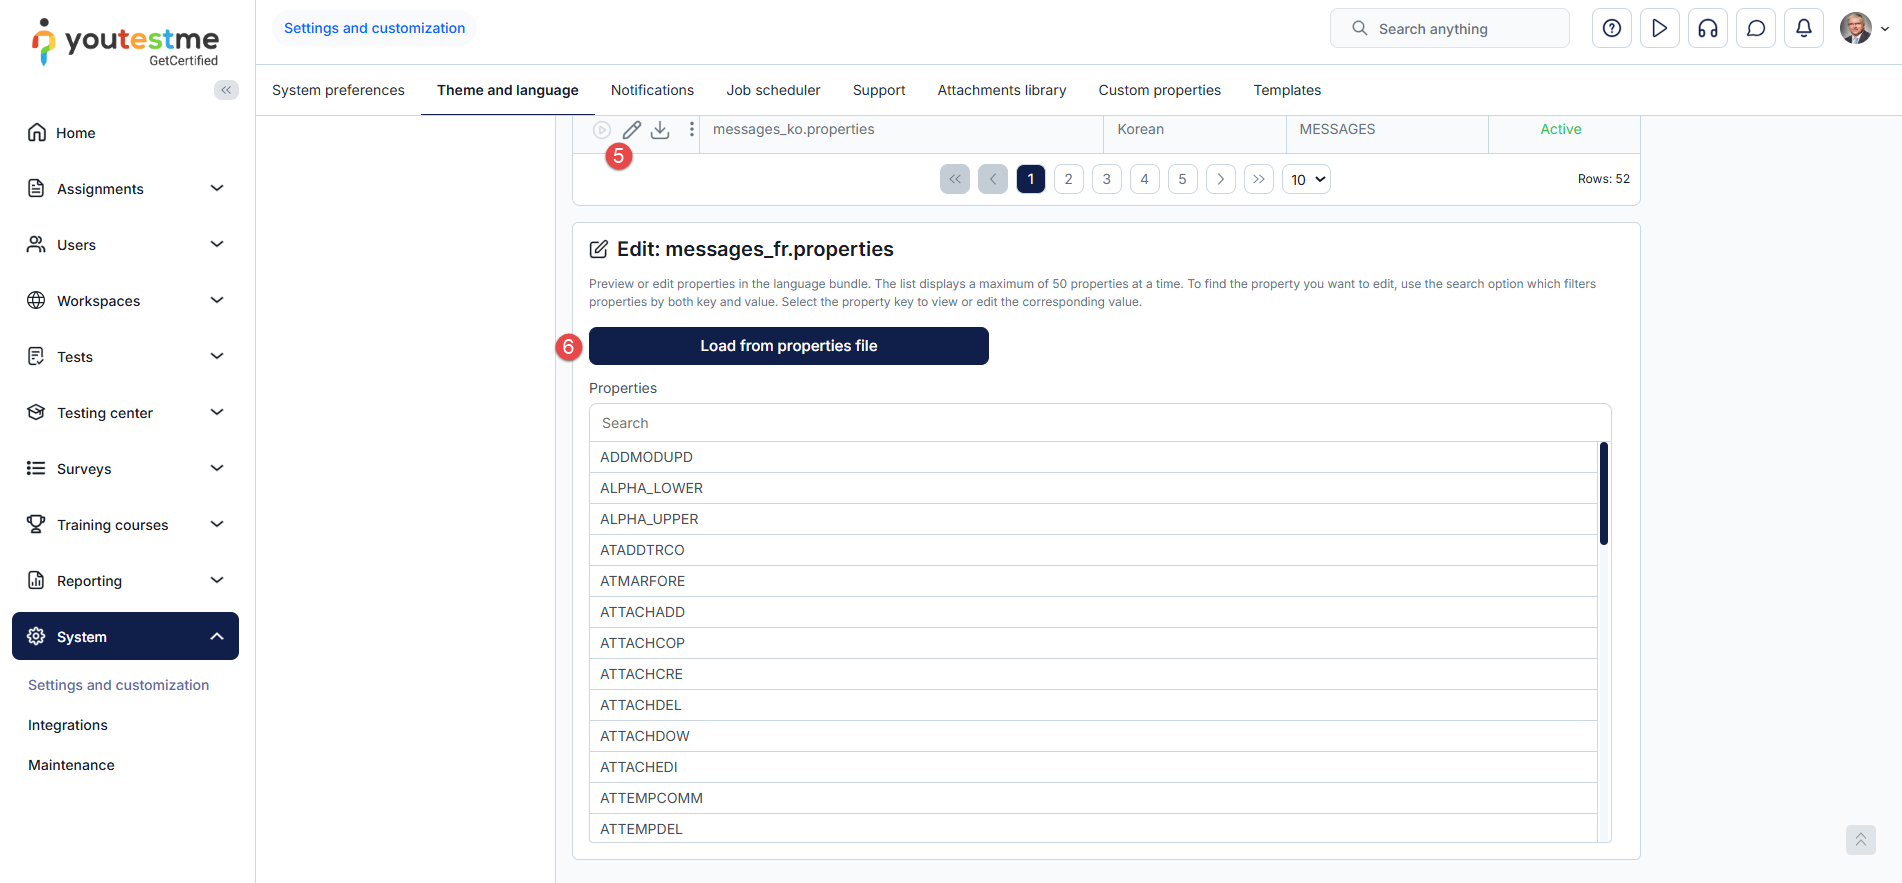
Custom instructional videos - Language bundles can also be used to replace default instructional videos with custom videos for specific languages. Use Preview keys mode and Dictionary mode to identify the corresponding video key, then edit its value in the links.properties file for the desired language. Save the changes as a new language bundle and activate it. For detailed instructions on customizing instructional videos, refer to this article.
Note: Custom instructional video changes apply only to the selected language. The video link must be provided in an embedded format supported by the video platform.
-
-
Translation settings
You can provide a Google Translate API key to enable the option to automatically translate question and answer text when adding translations to questions. Click on the Check key validity button to check if the key is working properly
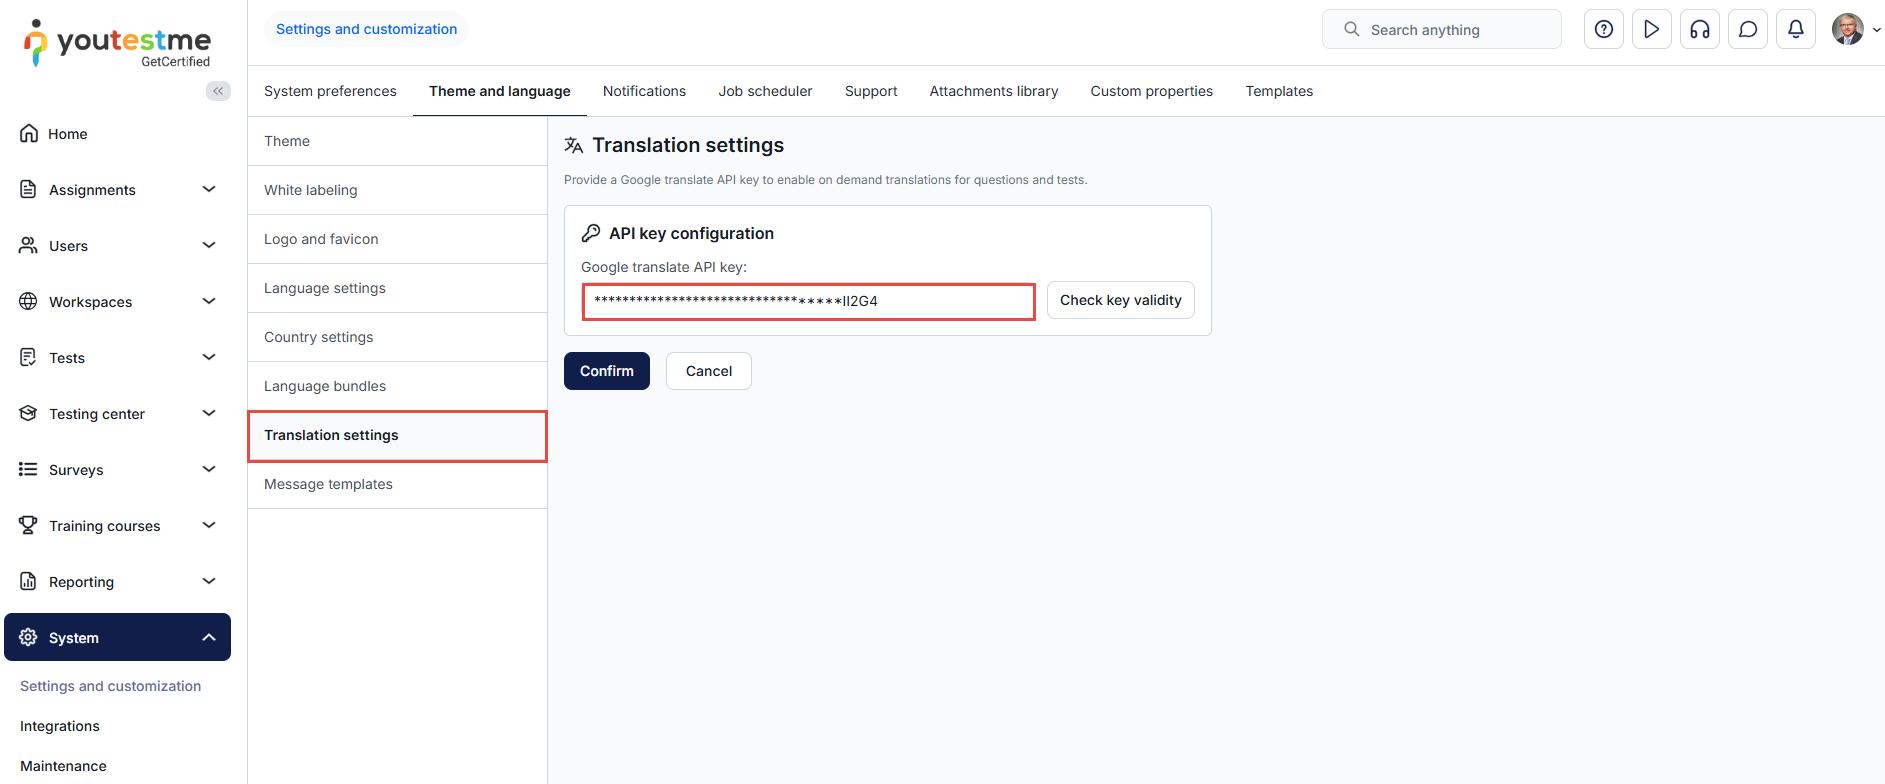
-
Message templates
The Message templates feature eliminates the need for repeatedly entering the same message when creating objects like testing sessions. Instead of typing the session instructions message each time when creating a testing session, you can create a session instructions message template in different languages. Additionally, you can set default session instructions messages for both self-enrollment sessions and sessions where you need to assign candidates manually.
On this tab, you can:
-
Create new message template. A new pop-up window will appear where you can enter the parameters of a new message template.
-
Edit an already existing message template. The fields are similar to those for creating a new message template.
-
Delete a message template. The message template cannot be deleted if it is used for testing session instructions.
-
Define Public testing session - session instructions. For self-enrollment sessions, you can select the default session instructions message from one of the previously created message templates.
-
Define Private testing session - session instructions. For sessions where you need to assign candidates manually, you can select the default session instructions message from one of the previously created message templates.
-
Export the message templates table to Excel format.
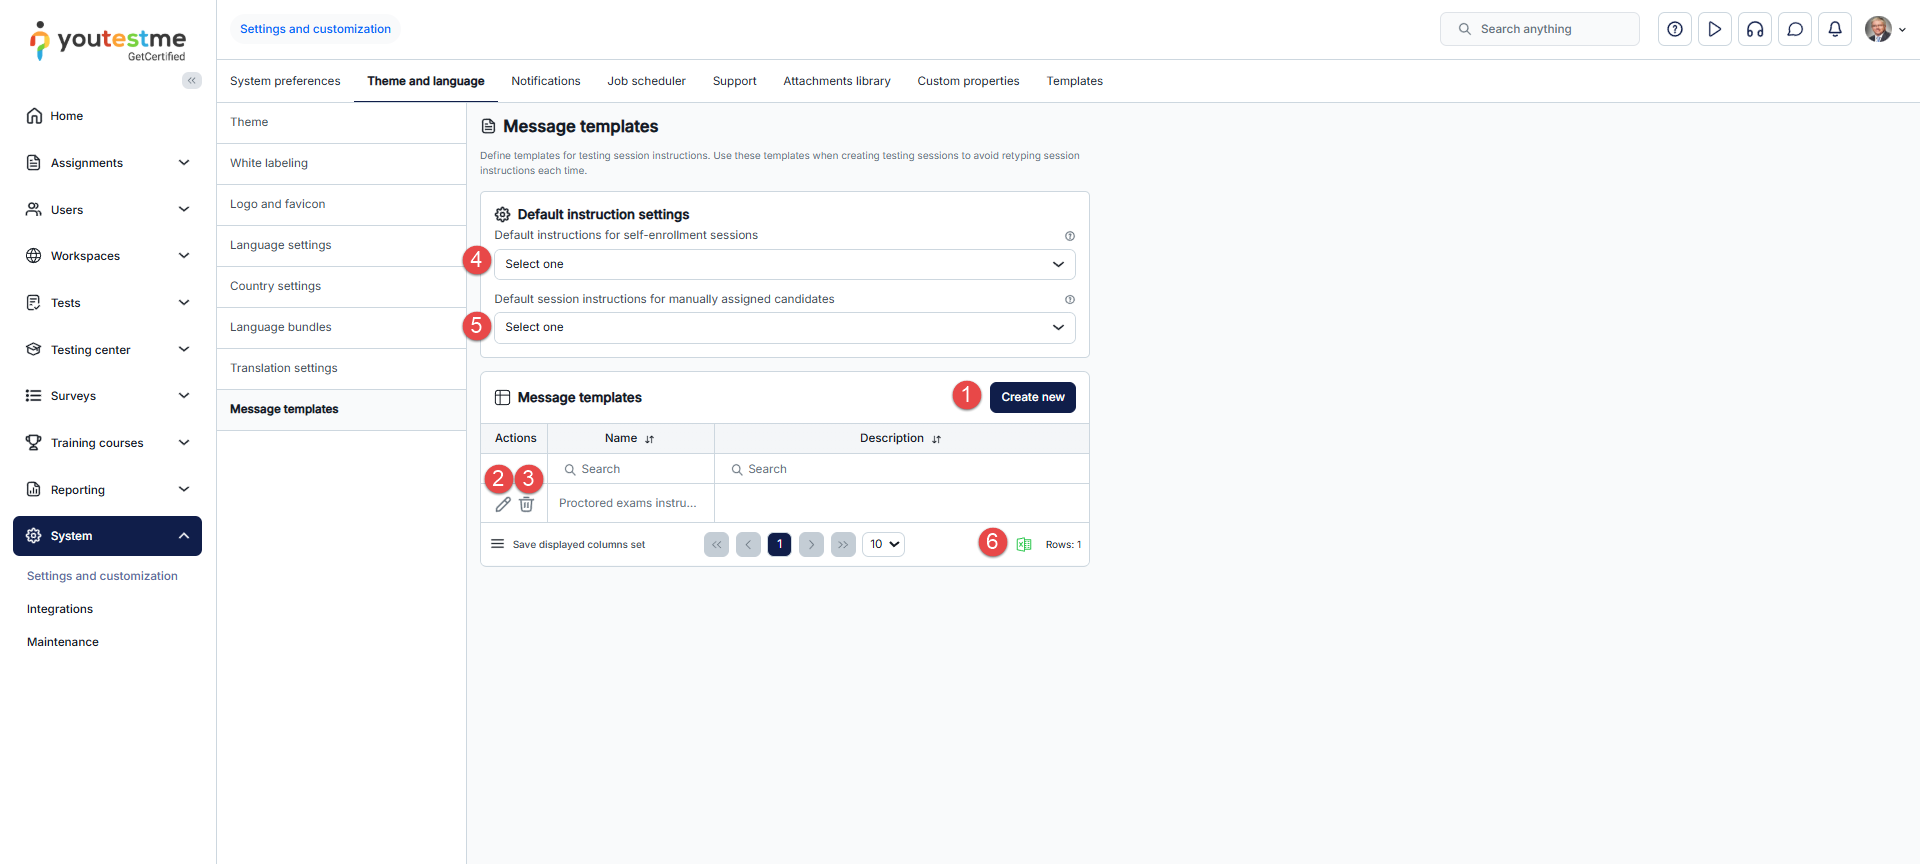
To create a message template, click the Create new button. A new dialog will appear where you should:
-
Enter the Name of the template.
-
Optionally enter the Description of the message template.
-
Choose a Language for which you want to define the message template.
-
Enter the Message text for the selected language.
-
Click the Save text button. The message will be saved for the selected language.
-
To add the same message in another language, select the language in the same window, enter the same message but in the chosen language, and save it by clicking the Save text button.
Note: You can define the same message in as many languages as you want.
-
Click the Save button to save the message template.
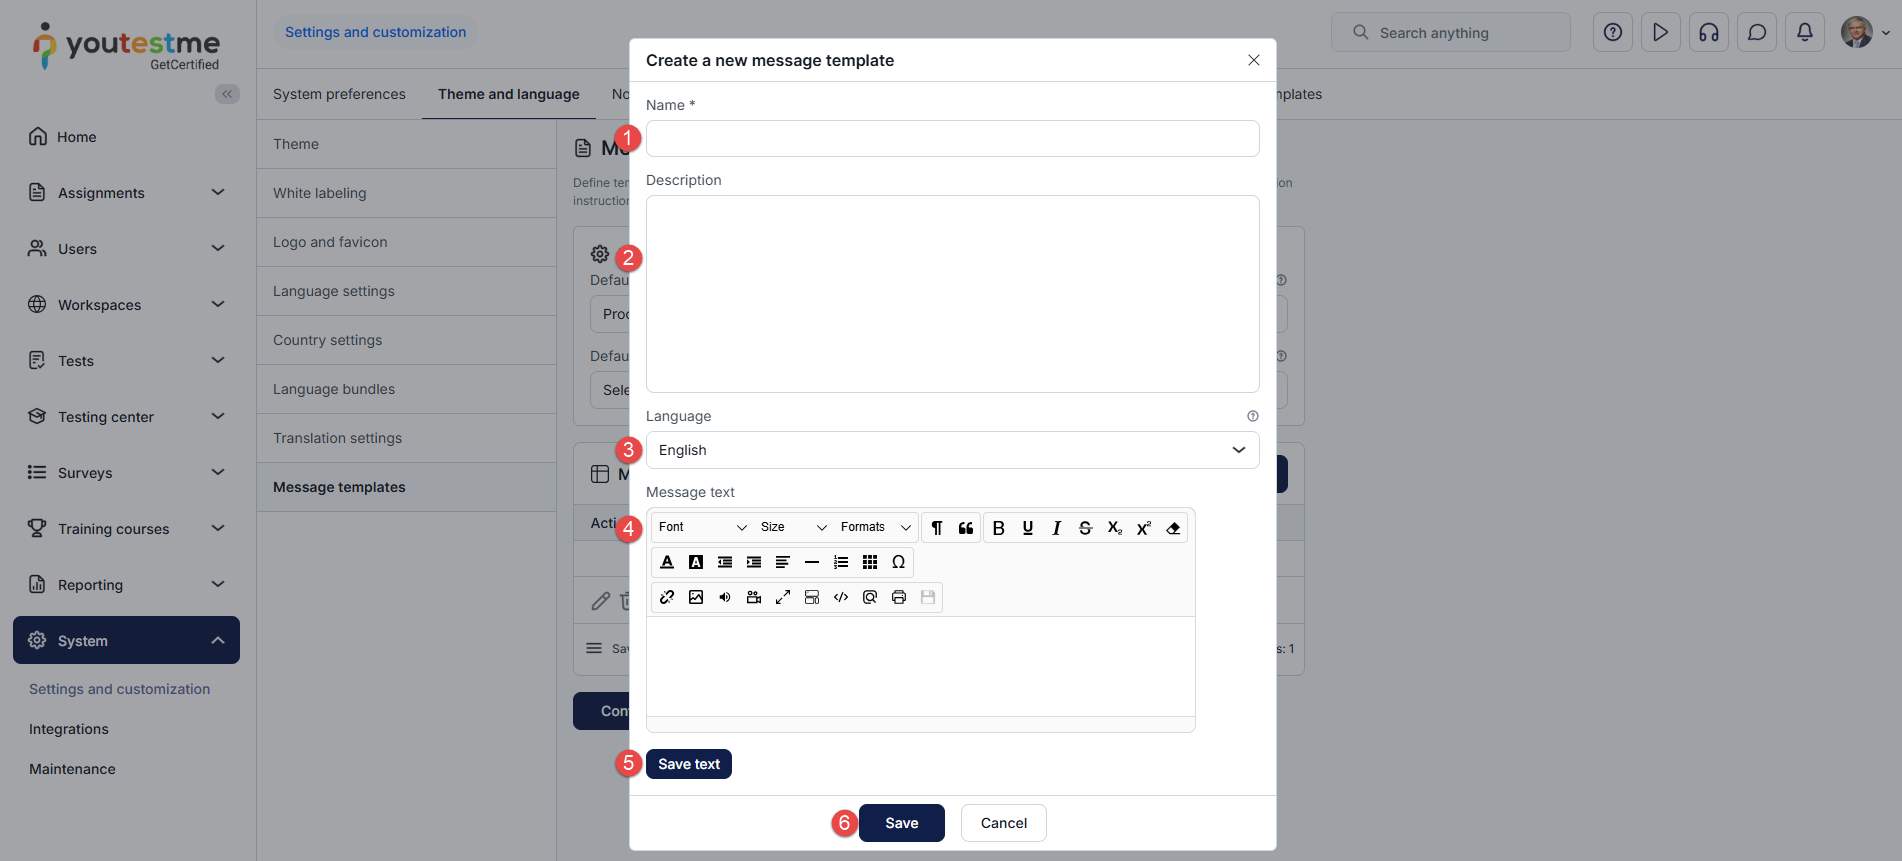
-
Notifications
On this tab, you can enable, disable, and customize notifications triggered by different events in the application. Notifications have predefined content that can be modified according to your requirements. Predefined system variables can be used to automatically include relevant information in the notification.
There are two types of notifications:
-
Application notification - Notifications displayed to users within the application, accessible via the bell icon in the upper right corner.
-
Email notification - Notifications sent to the user by email.
For more information about configuring email and application notifications and the events that trigger them, refer to this article.
On this tab, you can:
-
View all available notifications in the application.
-
Change the Status of the application notification. Notifications must be Enabled to allow sending. Otherwise, they will not be sent when specific actions occur.
-
Edit application notifications.
-
Change the Status of the email notification. Notifications must be Enabled to allow sending. Otherwise, they will not be sent when specific actions occur.
-
Edit email notifications. The fields are the same as when editing application notifications.
-
Enable the option to Send application and email notifications to users upon creation or publishing of global self-enrollment testing/survey sessions. All application users will receive notifications about the testing session.
Note: Even if this option is disabled, if you've created a self-enrollment testing session assigned to a specific user group, notifications will still be sent to all users within that group.
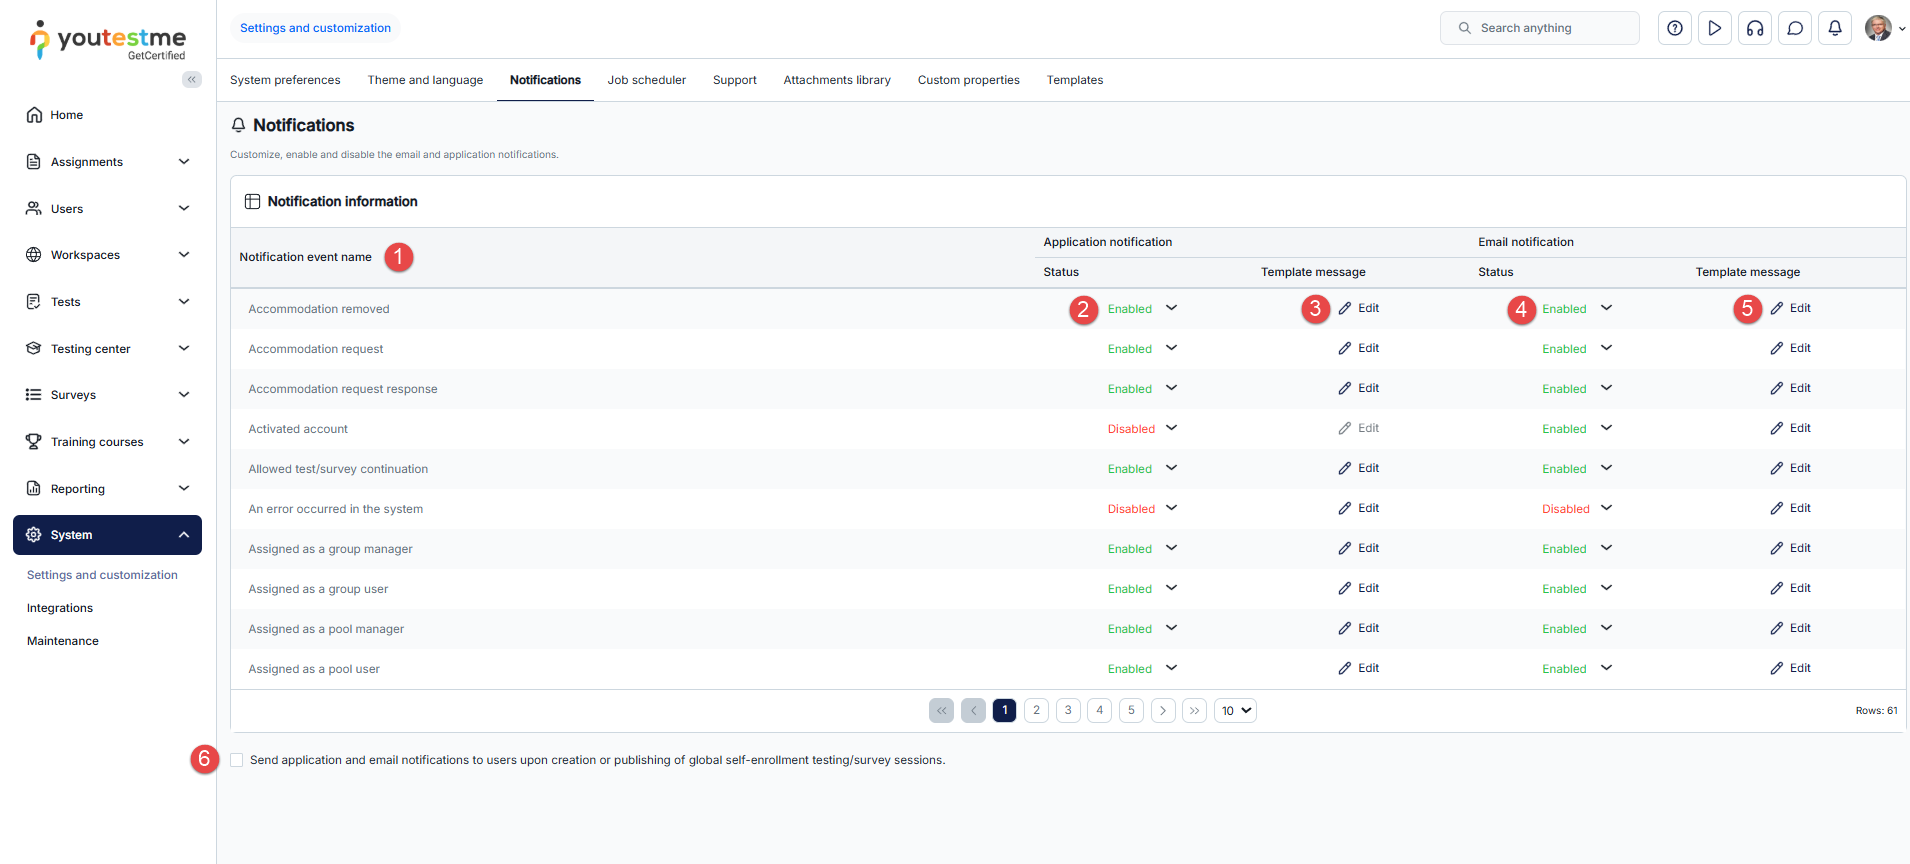
-
Choose the Template language. A notification can have multiple versions in different languages. Users receive the notification version that corresponds to their application language.
-
Set the Notification title. This text will appear as the notification title in the notification list. For email notifications, the text from the Email subject name field will serve as the email subject.
-
Click the Restore to default button, to revert to the default notification text.
-
Enter the desired Notification text. Text enclosed within $ signs represents system-defined variables that are automatically populated when the notification is sent. Do not modify the variable names or remove the $ signs, as this may prevent the system from retrieving the correct information.
-
Click the Save button to store the edited email/application notification.
To edit a notification:
Note: For email notifications that require images, advanced layouts, or additional formatting, a custom HTML email template can be used.
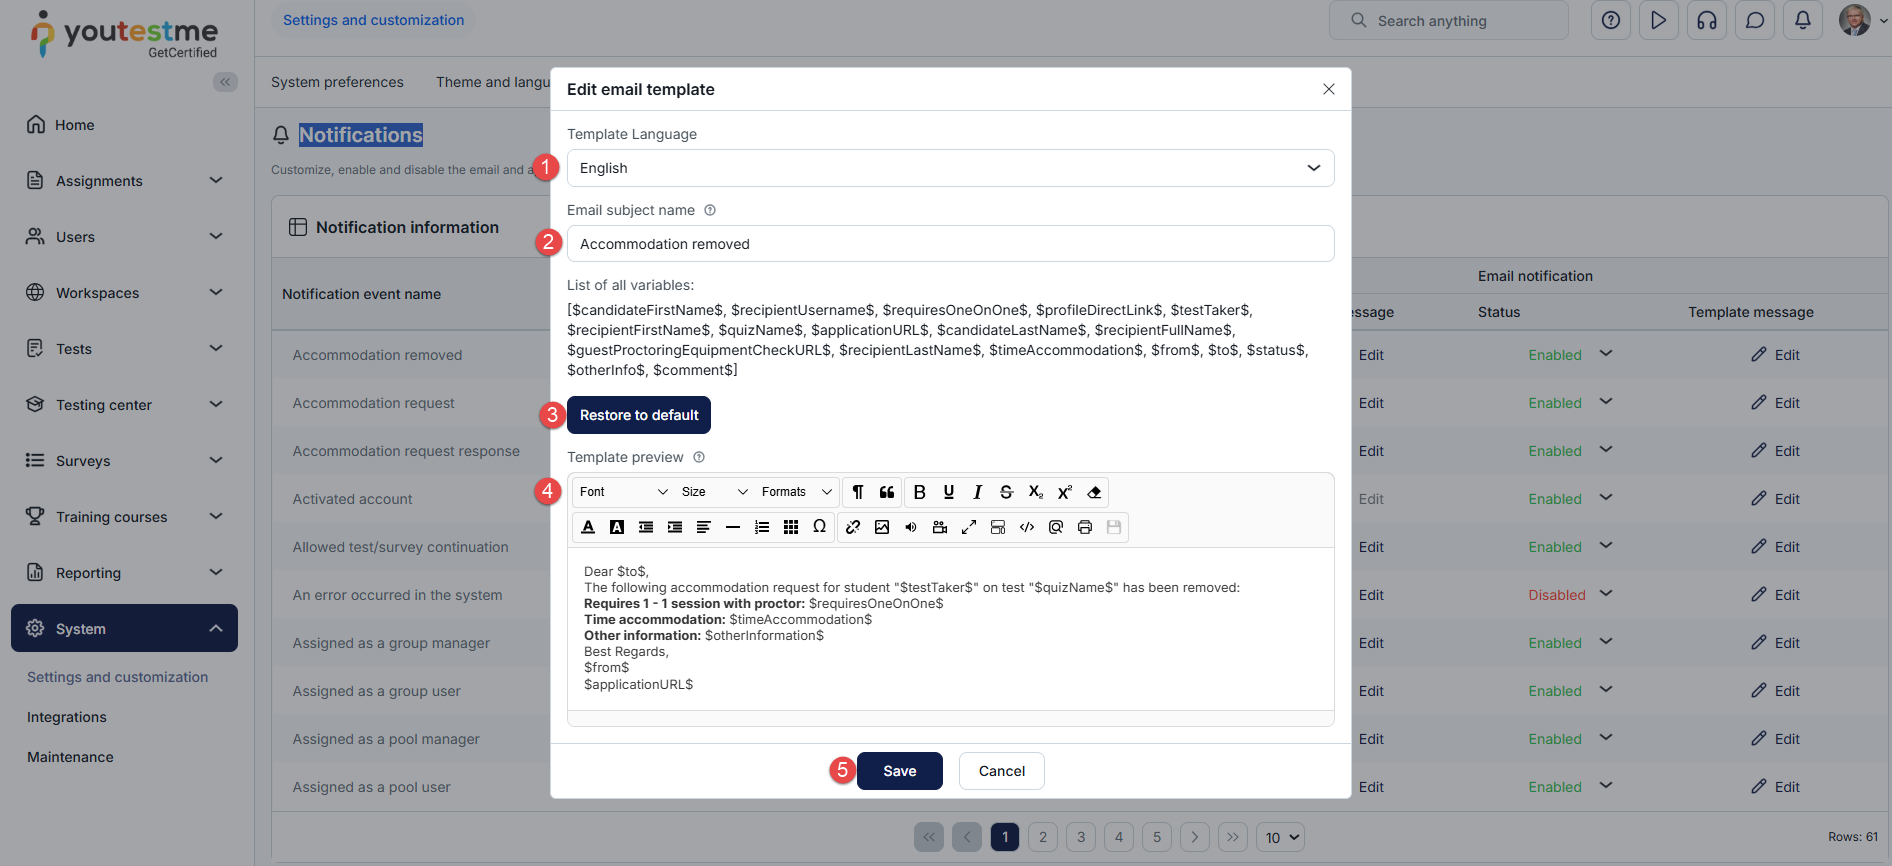
-
Calendar events
Notifications for booked and upcoming tests will also include a calendar event (.ics file). ICS files allow you to quickly add scheduled test events to your personal digital calendar.
Users will receive ICS file when attempt is booked, upcoming, expiring, rescheduled or cancelled.To add an event to a digital calendar, users need to open "Add to calendar" link in the email notification. If there is no such option in the email client, users can download the .ics file and import it manually to their calendar application.
If you previously added the event to your calendar and later receive another ICS file for the same attempt: Opening the new file will update the existing event in your calendar (time, cancellation, etc.).
Job scheduler
The Job scheduler feature automates tasks related to data management. It allows you to schedule and execute jobs for automatically importing data from external systems or exporting data from the application to external systems. This streamlines processes such as updating user information, transferring test results, and maintaining data consistency between the application and other systems.
There are two tabs:
-
Jobs - On this tab, you can create new jobs and manage existing ones.
-
Execution history and logs - Here, you can see the complete execution history and logs of all jobs in the system.
-
Jobs
On this tab, you can create new jobs and schedule their periodic execution. You can also view a list of all existing jobs and manage them.
Here, you can:
-
Preview the complete execution history and logs of already executed jobs.
-
Execute a job immediately, disregarding the current schedule. If the job has set periodic execution, it will be executed at the next scheduled time according to the execution schedule.
-
Edit a job. The fields are similar to those for creating a new job.
-
Copy a job. Use the previously created job as a template to change only a few pieces of information and save it as a new job.
-
Delete job permanently, and it will no longer be executed in the future if it was previously scheduled.
-
Create a new job
To create a new job, click the Create new button. A new dialog will appear, consisting of the following three sections:
-
Job information - This section contains general information about the job, including its type, name, and description.
-
Schedule settings - Here, you can specify parameters for the schedule, such as the start time, end time, repeat interval, and the number of repeats.
-
Job parameters - This section allows you to define specific parameters related to the particular type of job.
Below, you'll find instructions on setting each parameter of the job.
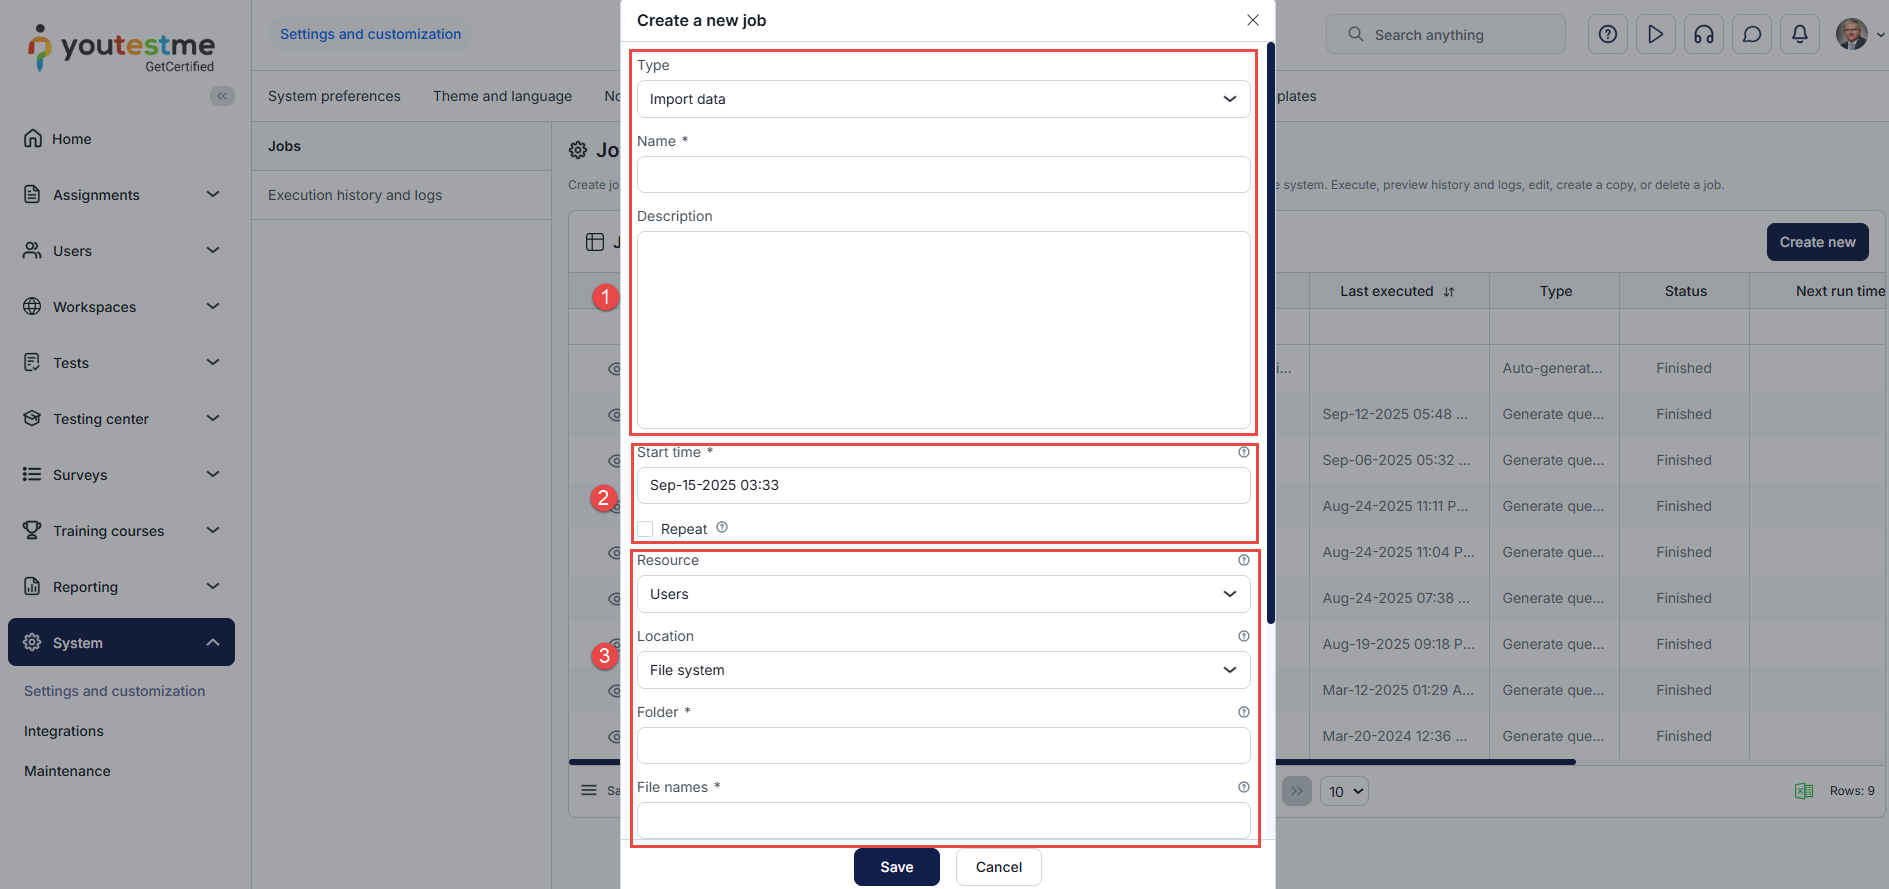
-
-
Job information
This part of the dialog remains consistent for each job type you choose.
-
Type - Select the type of job you wish to create.
The currently supported job types are:
-
Import questions from QTI package
-
Pearson VUE results import - Import Pearson VUE results into the application.
-
Store media on filesystem
-
Question version activation - Periodically checks for scheduled question versions to activate. Old question versions will become inactive upon activation.
-
Test integrity check - Periodically checks for tests with breached integrity. The job log will indicate which tests have been breached and in which question pools there are insufficient questions.
-
Remark results import
-
Export data
-
Import Swiss users
-
Import data
-
Remove notifications
-
Assign authorizations automatically - The job processes all tests with configured authorization conditions and automatically manages user authorizations. It grants authorizations to users who meet the defined conditions and deactivates authorizations for those who no longer satisfy them.
-
Export test results with pool breakdown
-
Suspend expired test attempts - The job processes all test attempts with the duration type 'Deadline to answer all questions' and suspends those that are not already suspended.
-
-
Name - Provide a name for the job.
-
Description - Optionally, enter a job description.
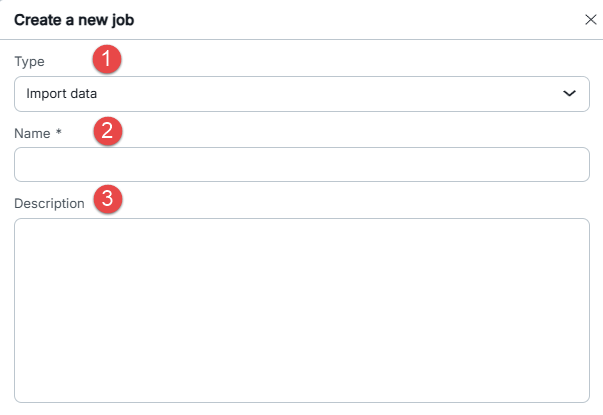
-
-
Schedule settings
This part of the dialog is the same for each job, regardless of the type you choose.
-
Start time - Specify the initial execution time by selecting a start time. If the chosen start time is in the past, the first execution will occur at the next scheduled time (considering the Repeat interval if the job repeats) or will only occur if the job repeats.
-
Repeat - Check this option to schedule the job to repeat periodically in equal time intervals after the Start time. If unchecked, the job will execute only once at the Start time.
-
Repeat forever - Check this option to schedule the job to repeat indefinitely or until the End time if specified.
-
Number of repeats - If Repeat forever is unchecked, choose the number of repeats after the first job execution at the start time. For example, if you choose three times, the job will be repeated in equal intervals after the start time and executed four times in total.
-
End time - Optionally, choose the End time. After the specified time, the job will no longer be executed, even if there are remaining repeats.
-
Repeat interval - Specify the Repeat interval, which is the time between two consecutive job executions. It should be at least 1 minute.
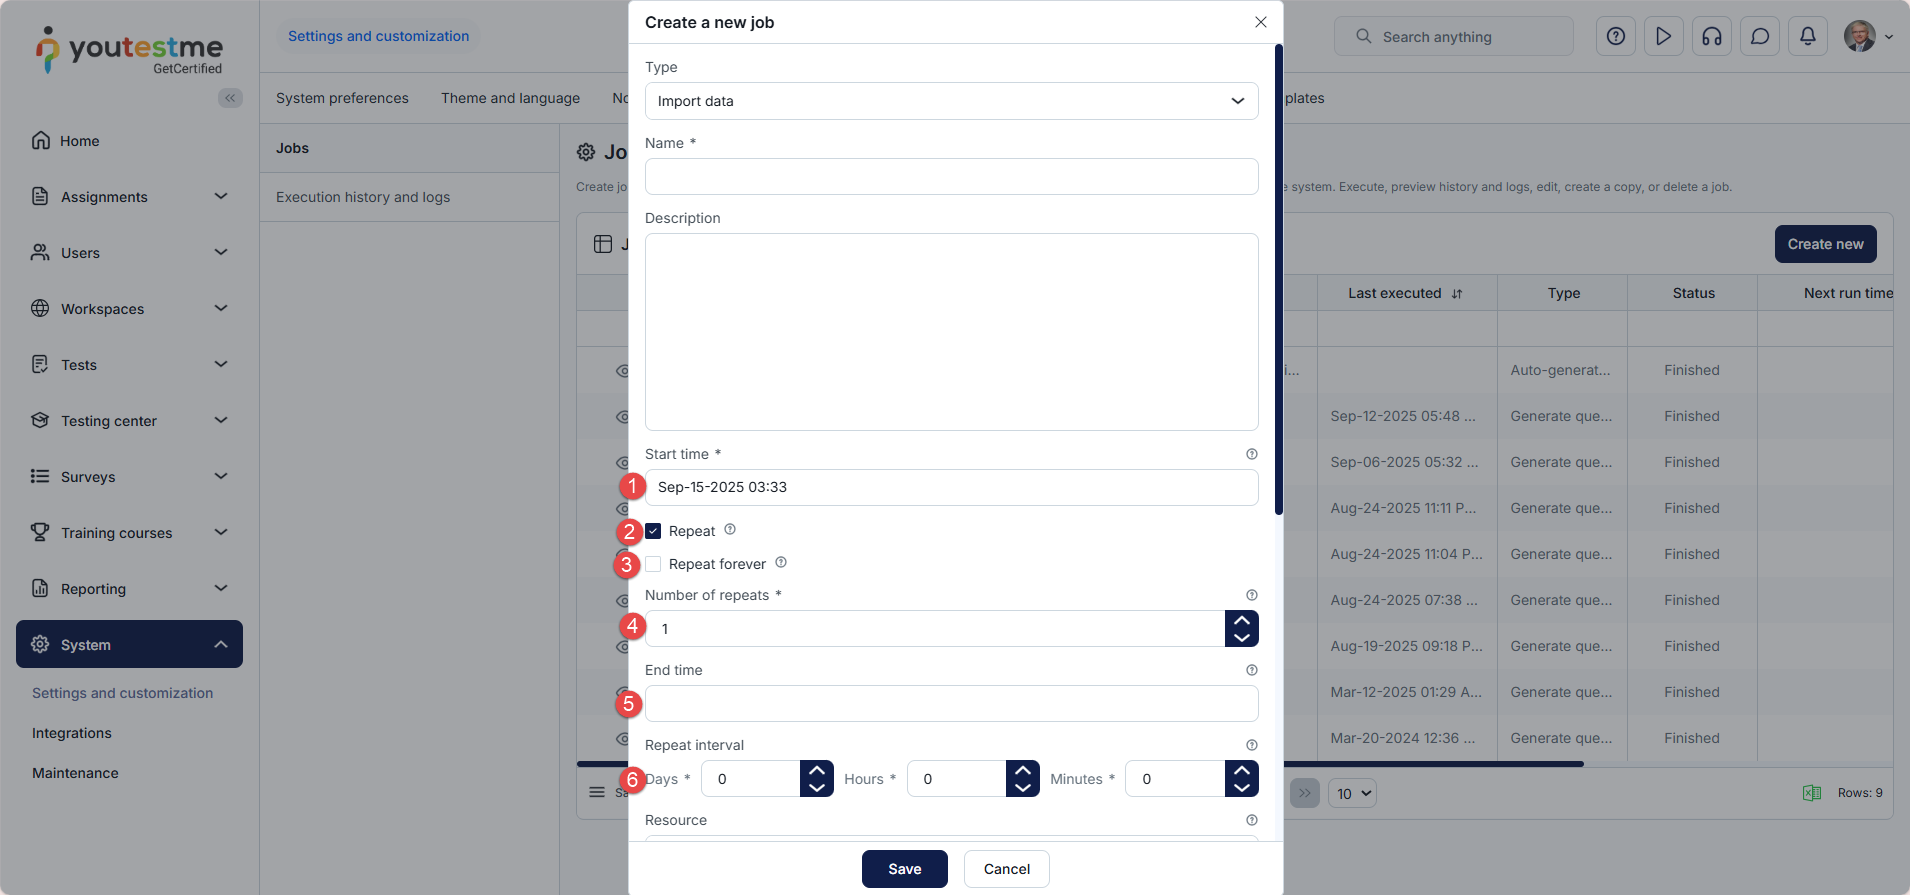
-
-
Job parameters
-
Importing data job parameters
To create a new Import data job, follow these steps:
-
Resource - Choose the type of data to import. Integrate external data into the application using CSV files or the SFTP server. This functionality imports various data, including:
-
Users
-
Tests
-
Testing sessions
-
Session candidates
-
-
Location - Select the location from which the files with data will be imported:
-
Choose File system to import data from the server's file system folder.
-
Choose an SFTP server to import data from files in the SFTP server folder. For the SFTP server, additional parameters have to be specified.
-
-
Folder - Enter the absolute path to the folder in the selected location from which you wish to import files.
-
File names - Specify the regex expression to match the names of the files to import from the folder. For example, the regex expression Users_.*\.csv will match all the files whose name starts with Users_ with the .csv extension.
-
File type - Supports only CSV format.
-
Modified only - Check this option to import only files created or modified after the previous job execution, or leave it unchecked to import all files from the folder satisfying the File names regex expression.
-
Delimiter - Enter the character to separate entries in the CSV file. For instance, the delimiter could be | or , or ;.
-
Skip lines - Enter the number of lines in the CSV file to skip before reading. Usually, it is set to one to skip the first line, which represents the header.
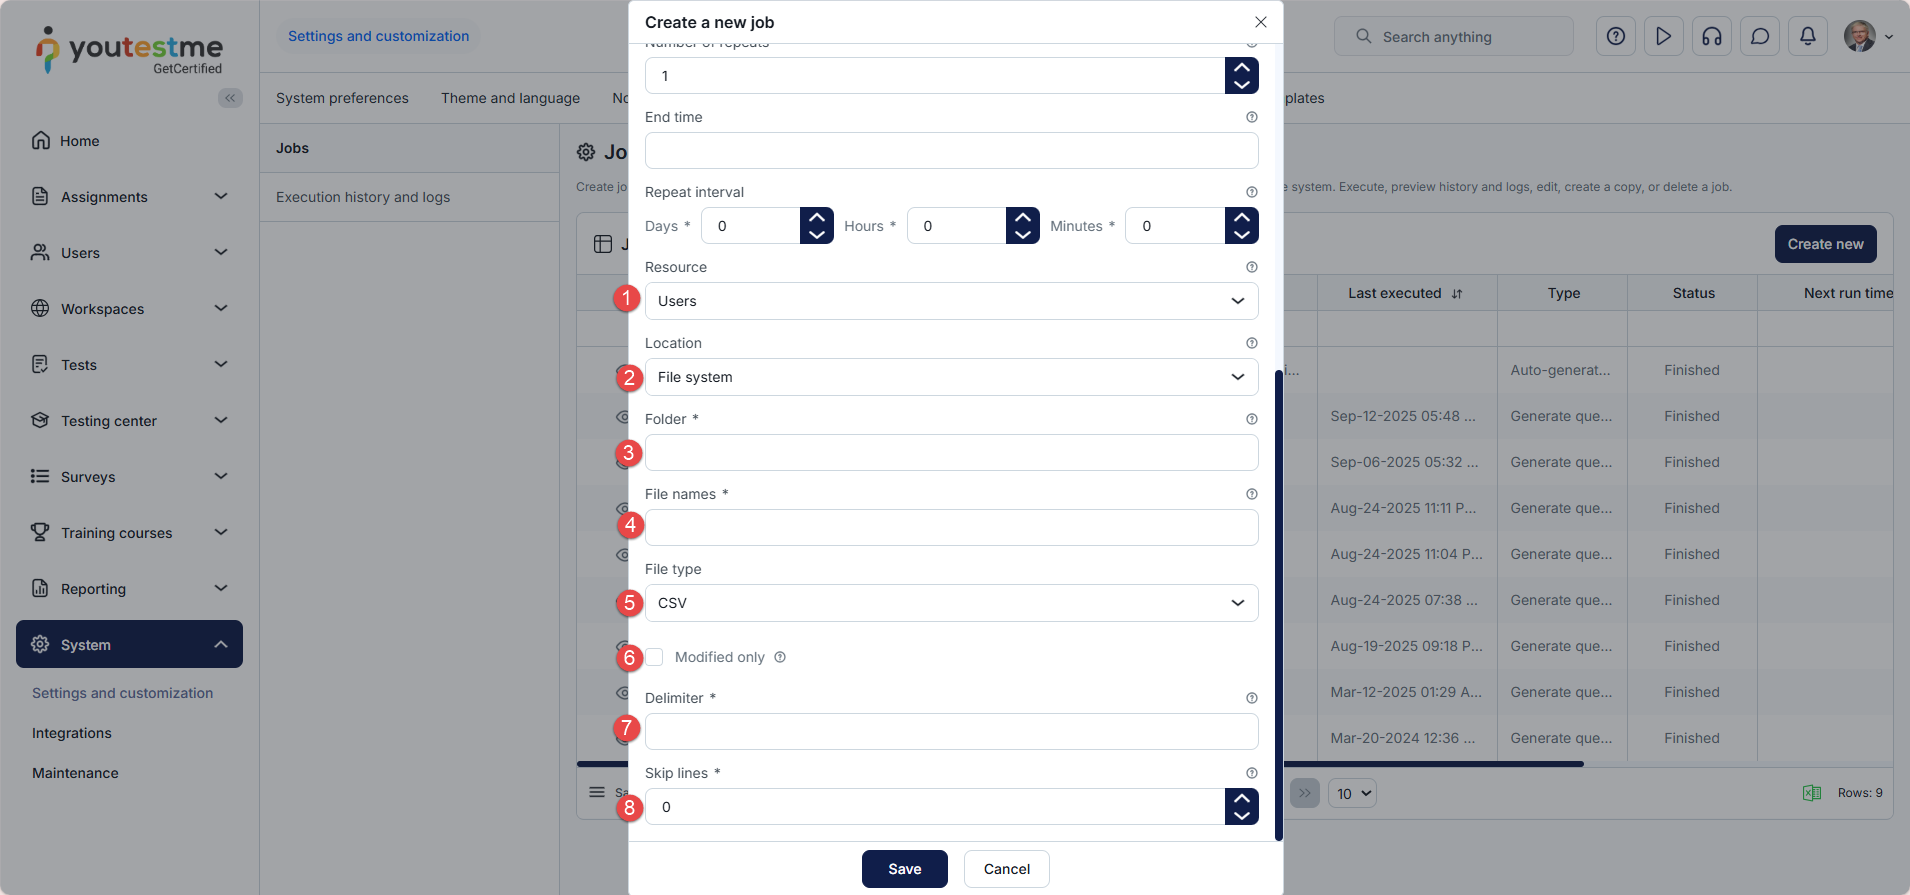
-
-
Export data job parameters
-
Resource - Choose the data type to export. Currently, only the Test results option is available.
-
Location - Choose the location from which the files with data will be imported:
-
Choose the File system to export the file to the folder located on the server's file system.
-
Choose the SFTP server to export the file to the SFTP server folder. For the SFTP server, additional parameters have to be specified.
-
-
Folder - Enter the absolute path to the folder in the chosen location to export data to.
-
File Name - Input the prefix for the export file's name. The exported file will follow this format: #{file_name}_#{timestamp}.#{file_type_extension}.
Note: The format includes placeholders like #{file_name}, #{timestamp}, and #{file_type_extension}.
-
File type - Supports only CSV format.
-
Modified only - Check this option to export only records created or modified after the previous job execution. Otherwise, all records will be exported.
-
Delimiter - Enter the character to use for separating entries in the CSV file. For instance, the delimiter could be | or , or ;.
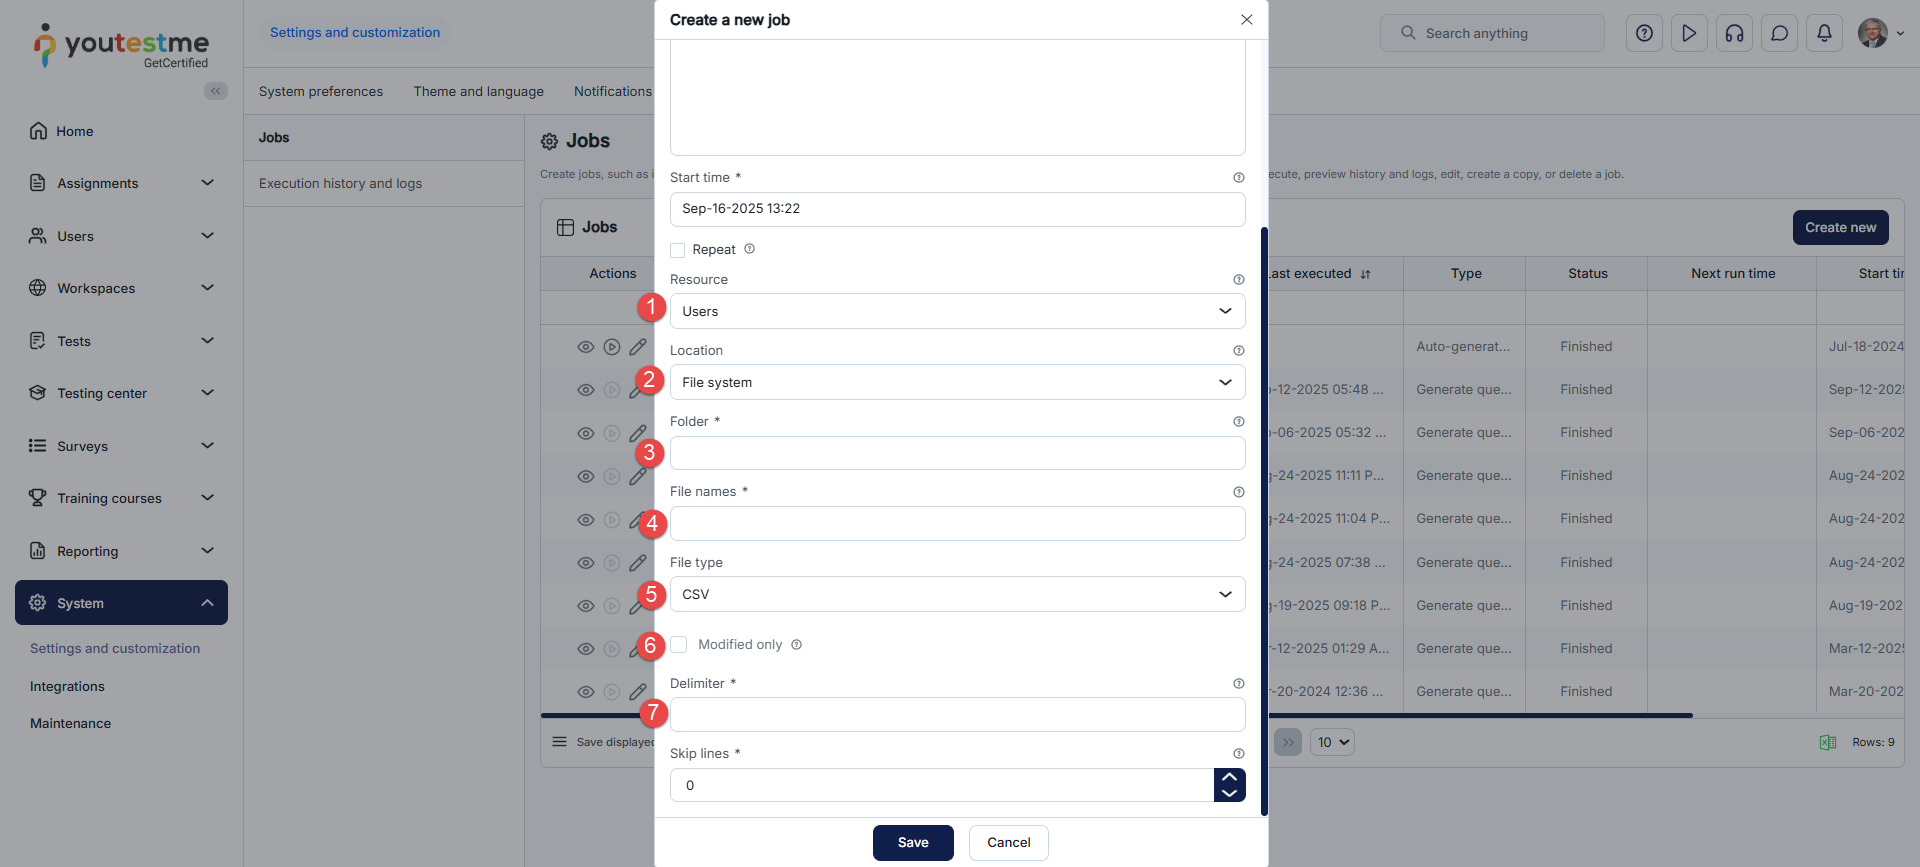
-
-
Export test results with pool breakdown
This job exports authorized and verified test results into a ZIP file. The ZIP file comprises two CSV files: one containing general information about the test results, such as test name, passing score, and actual candidate score; the other providing pool breakdown information, including pool name, number of correct answers, and number of incorrect answers.
To create a new Export test results with pool breakdown job, provide the following data:
-
Location - Choose the location from which the files with data will be imported:
-
Choose the File system to export the file to the folder located on the server's file system.
-
Choose the SFTP server to export the file to the SFTP server folder. For the SFTP server, additional parameters must be specified.
-
-
Folder - Enter the absolute path to the folder in the chosen location where the data will be exported.
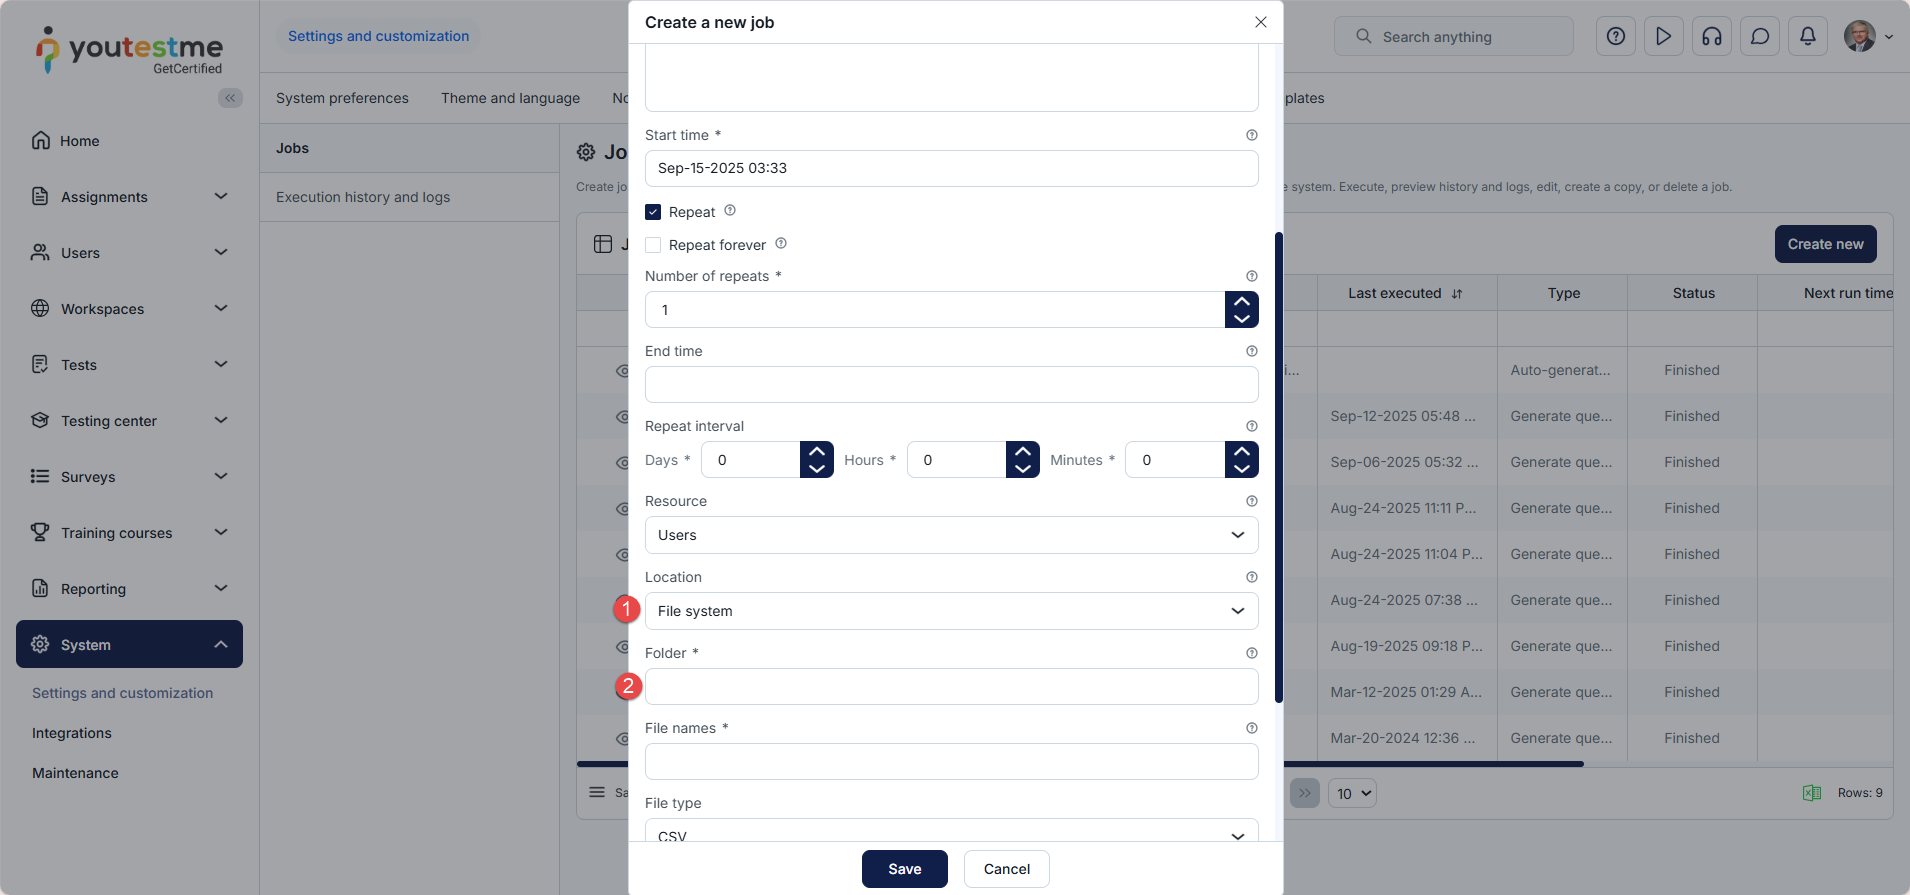
-
-
Removing notifications job parameters
This job enables you to remove old notifications from the system by specifying their age.
When you select the Remove notifications type, you'll be prompted to specify the age of notifications to be removed, ranging from 1 to 6 months.
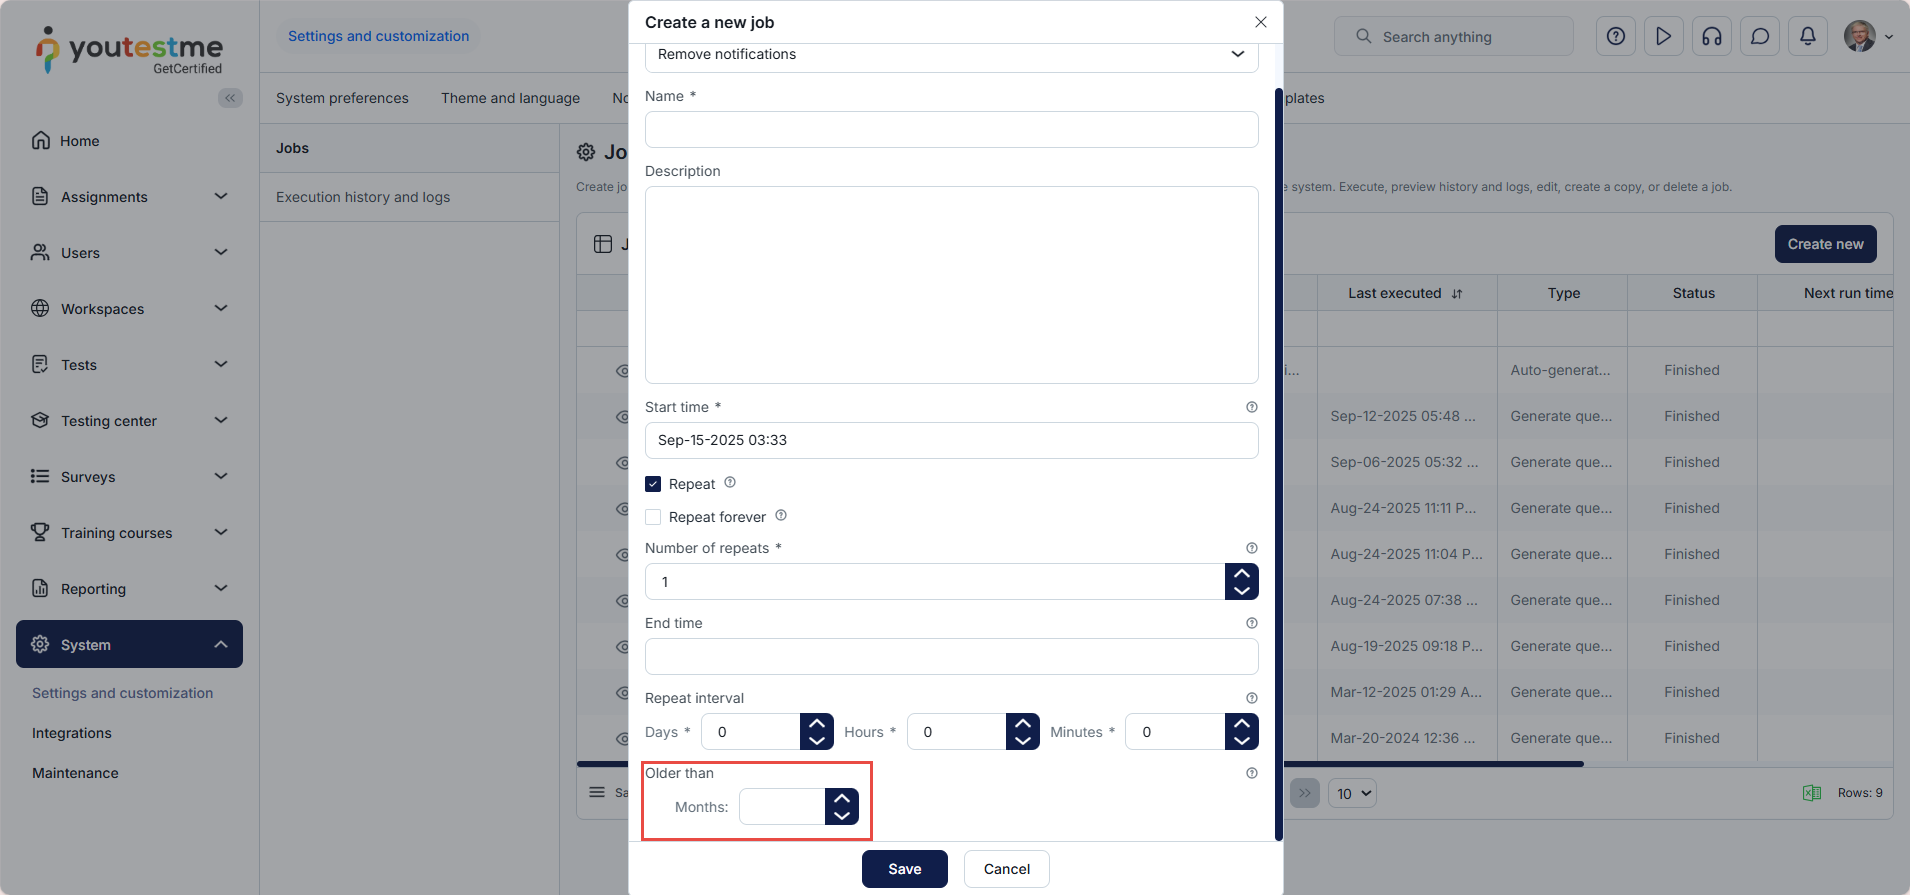
SFTP server parameters
-
Location - Select SFTP server.
-
Host - Enter SFTP server hostname.
-
Port - Enter SFTP server port.
-
Username - Enter the username of the SFTP server user.
-
Password - Enter the password of the SFTP server user.
-
Test connection - Verify the entered parameters by performing a connection test.
The remaining options are consistent across all job types.
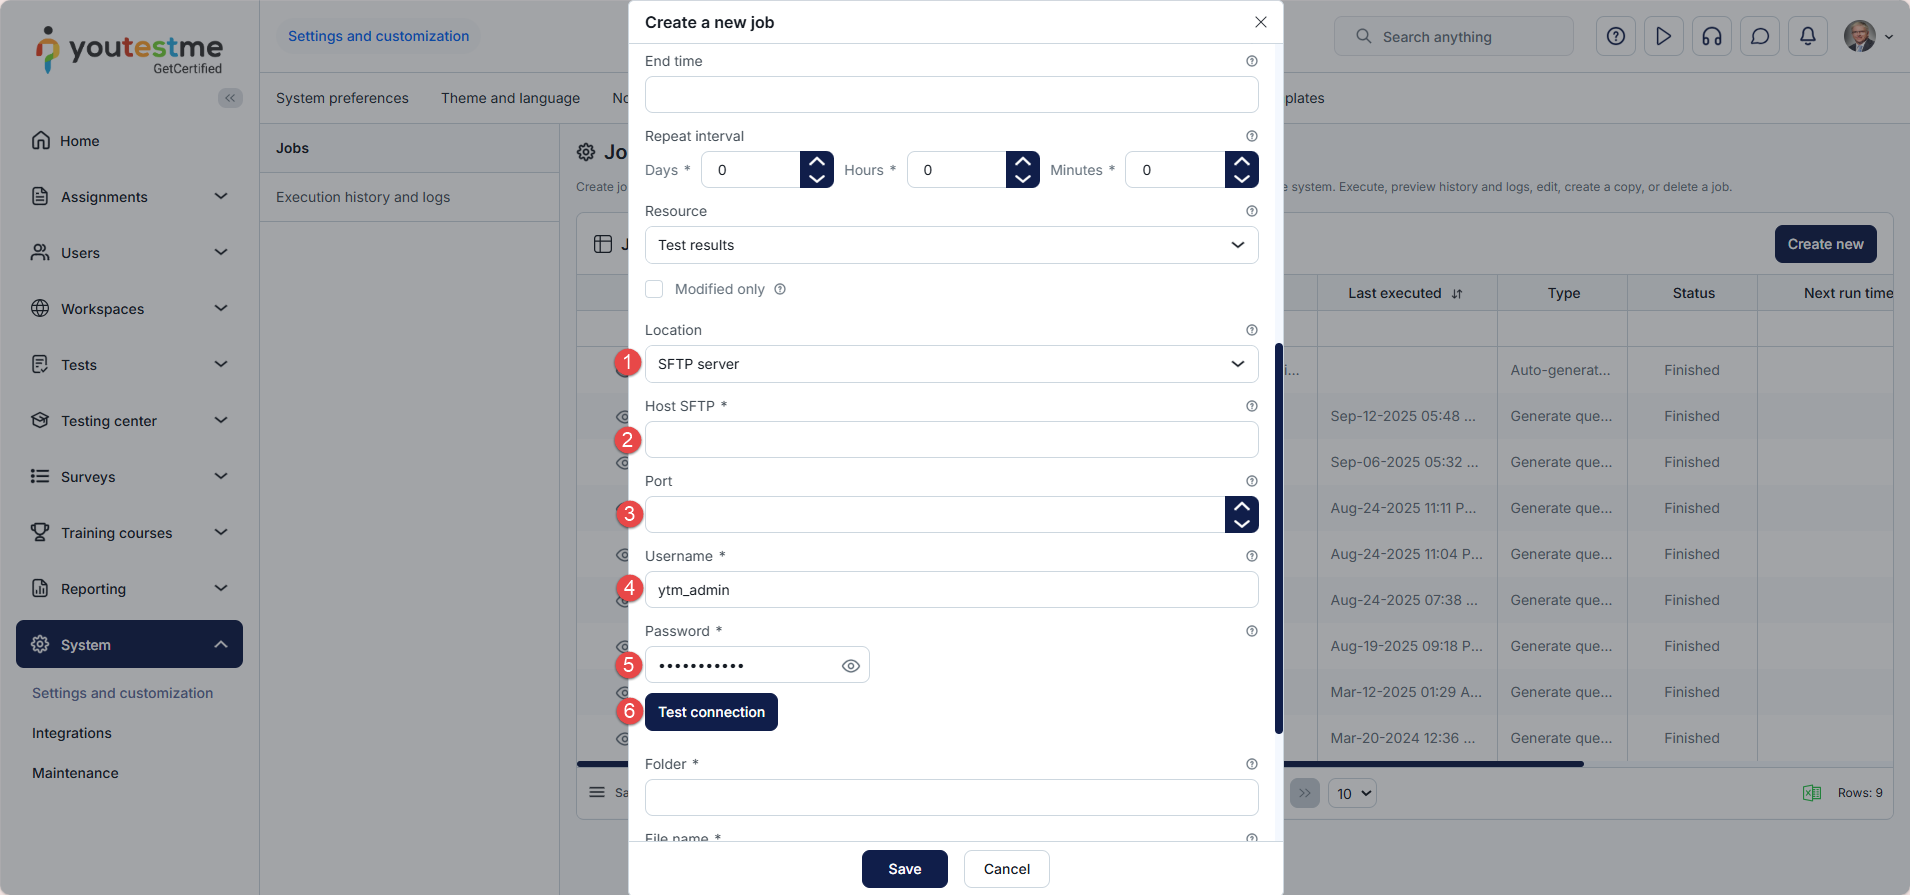
Execution history and logs
On this tab, you can see the complete execution history and logs of all jobs in the system.
Click the View option to check job details. You can view job execution information, including any errors encountered during execution.
The table also displays the job ID, name, and type, along with the start and finish times, and the number of errors, if any.
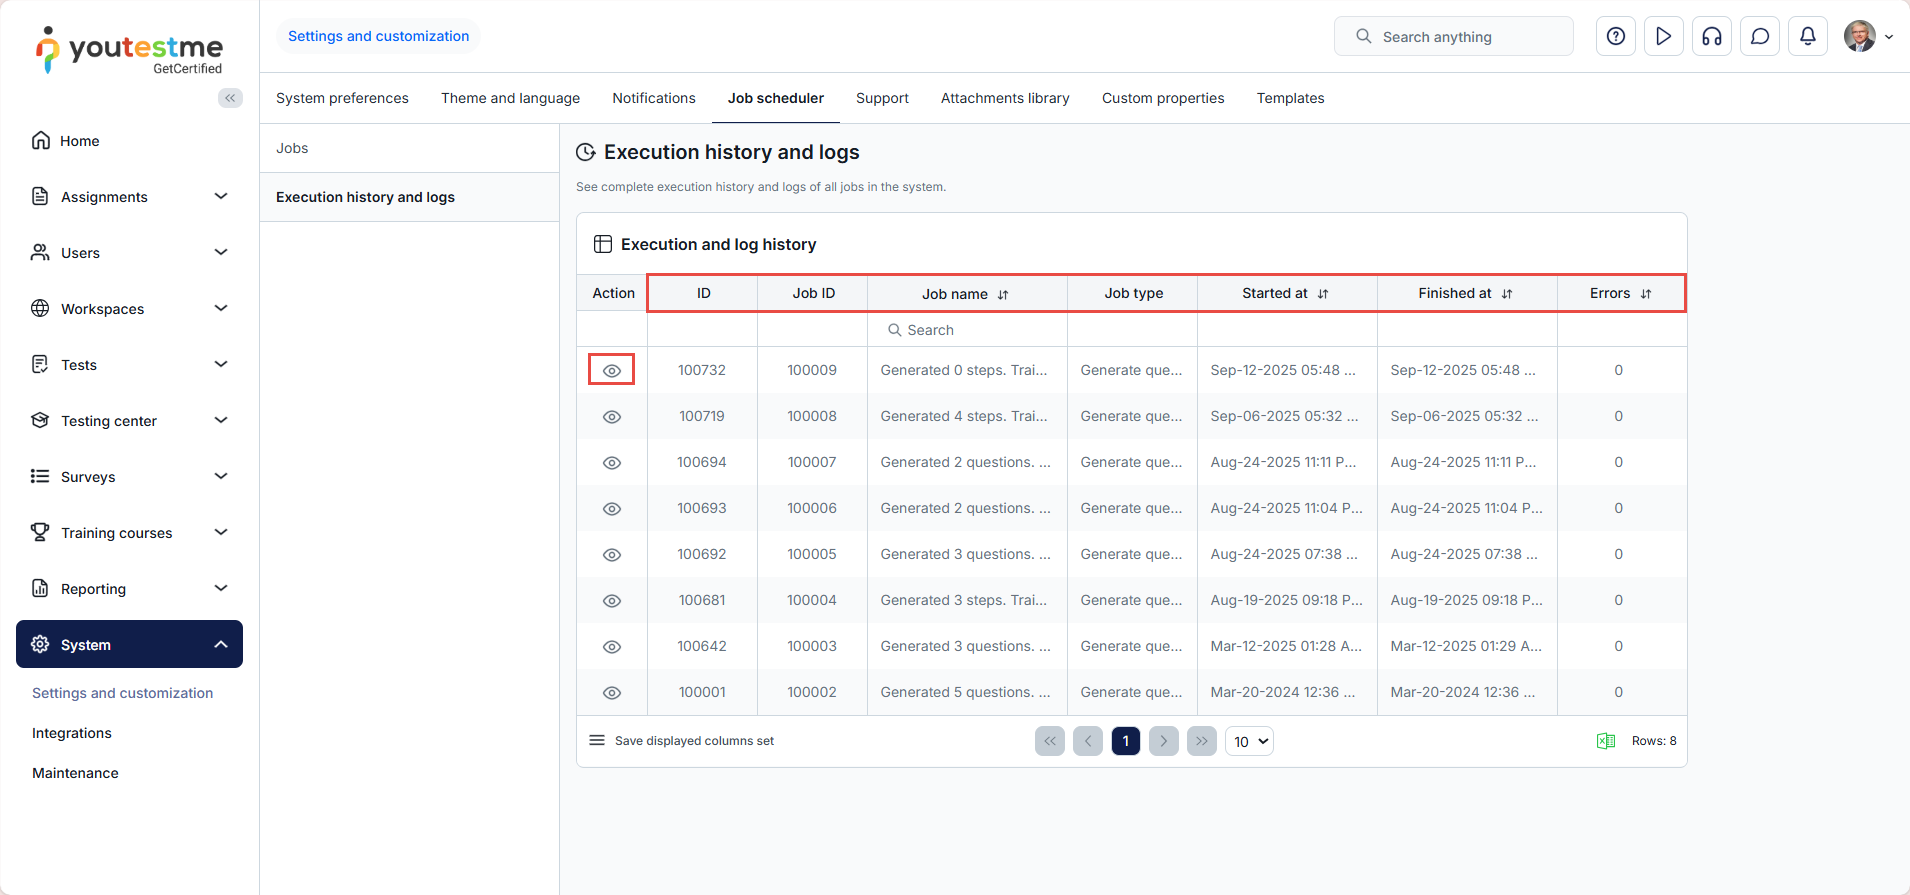
After each job execution, system administrators will receive a notification. You can find instructions on how to customize notifications under the Notifications help page.
-
-
Support
Define support contacts that all application users can reach. Once defined, users can initiate contact with support by clicking the dedicated support icon, which is displayed in the top-right corner of the login page and remains accessible from all application pages, excluding the test-taking screen.
To set a support contact:
-
Describe the purpose of the email, such as technical questions or inquiries about the test organization. Users will be able to choose different contacts from the dropdown, depending on their questions.
-
Provide the support Email where messages will be sent when this contact is selected.
-
Provide the Phone number that users can call.
-
Repeat the steps above for all contacts you want to add. You can add up to three contacts.
-
In the Additional info text field, you can provide useful details, such as the expected email response time or the business hours when support is available.
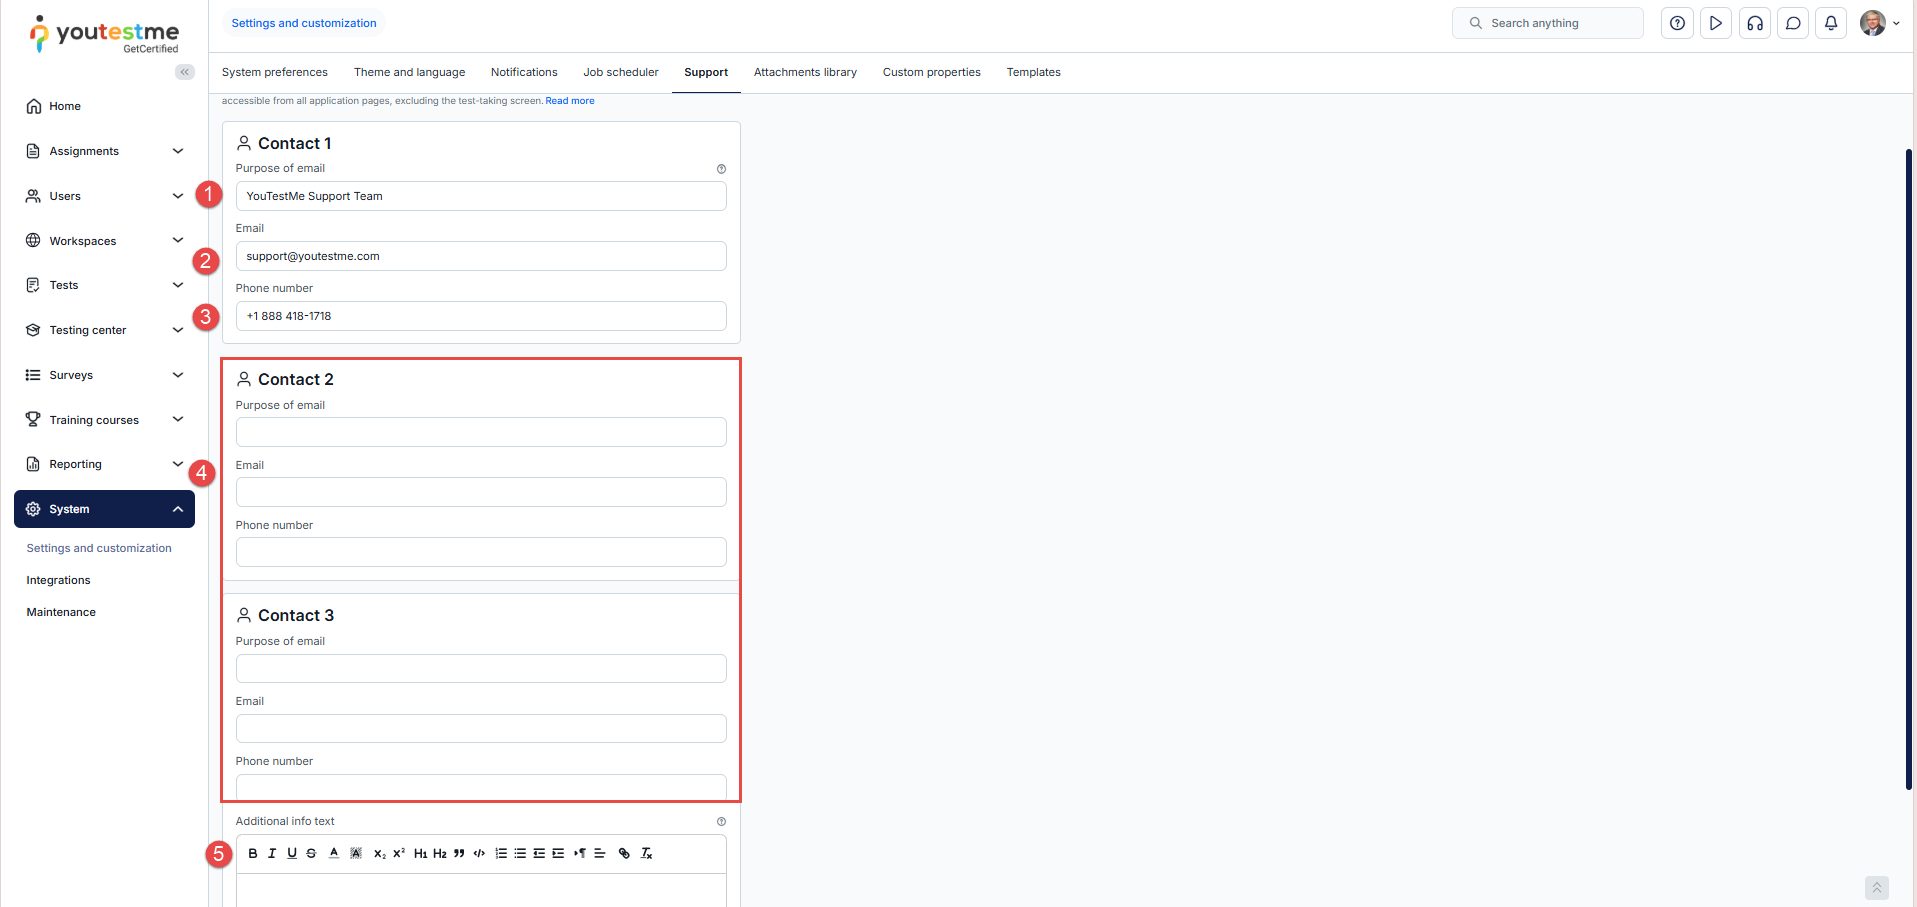
Below, you can see how candidates can contact support:
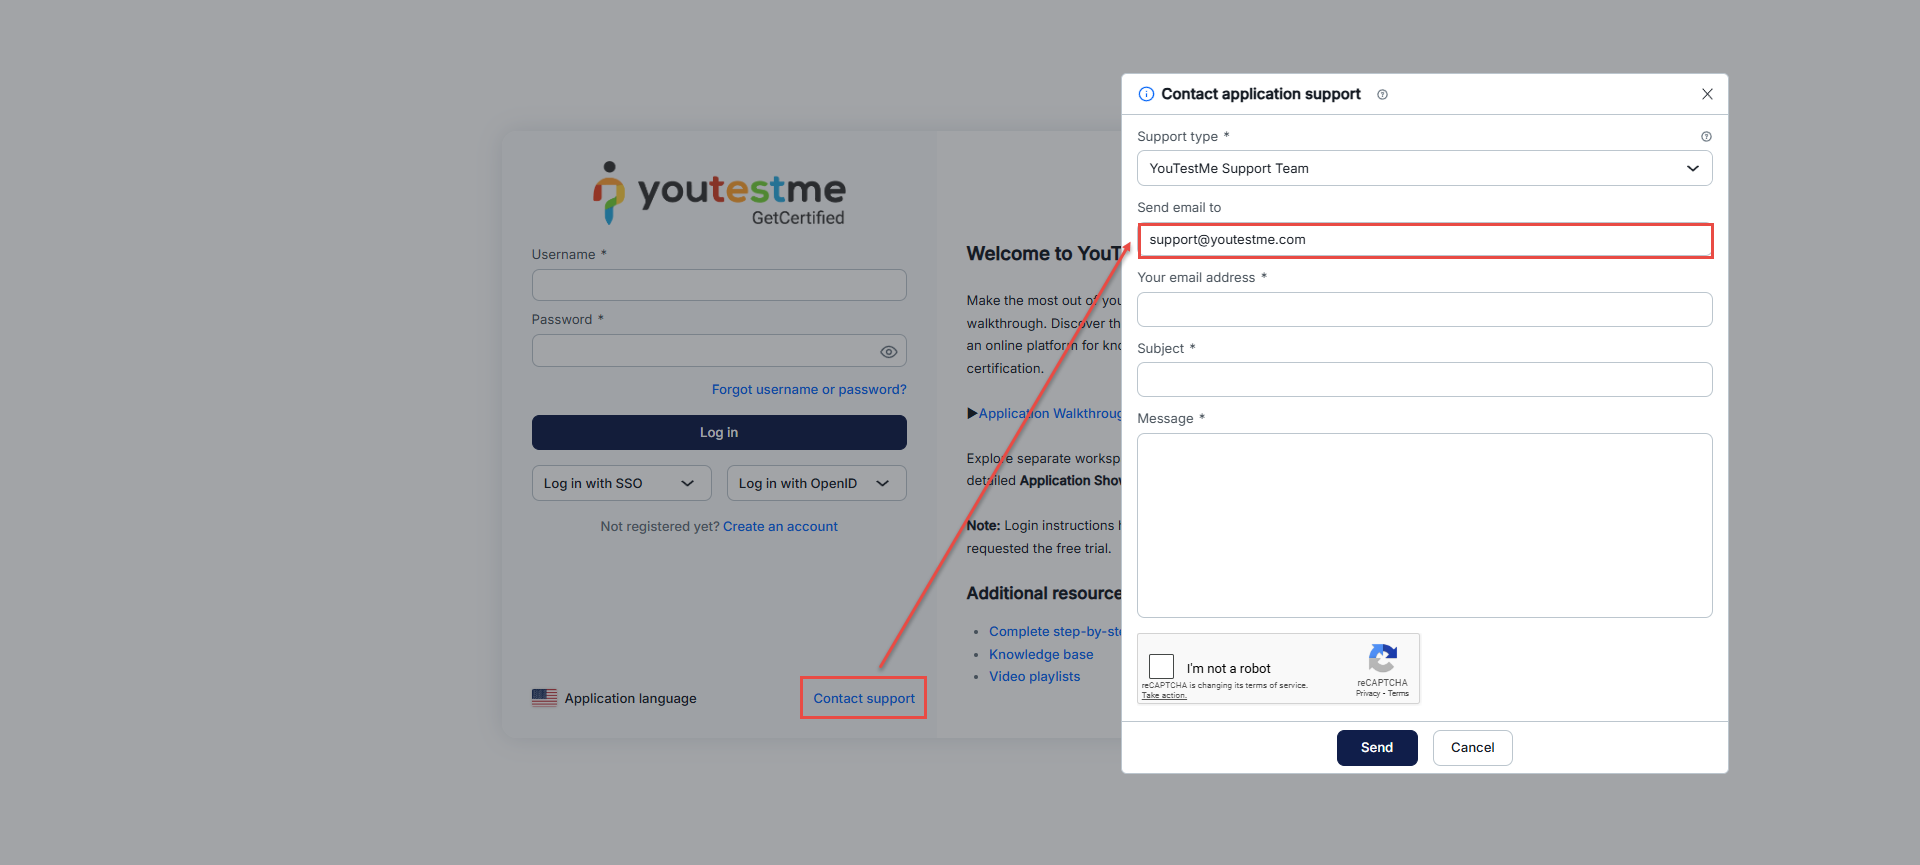
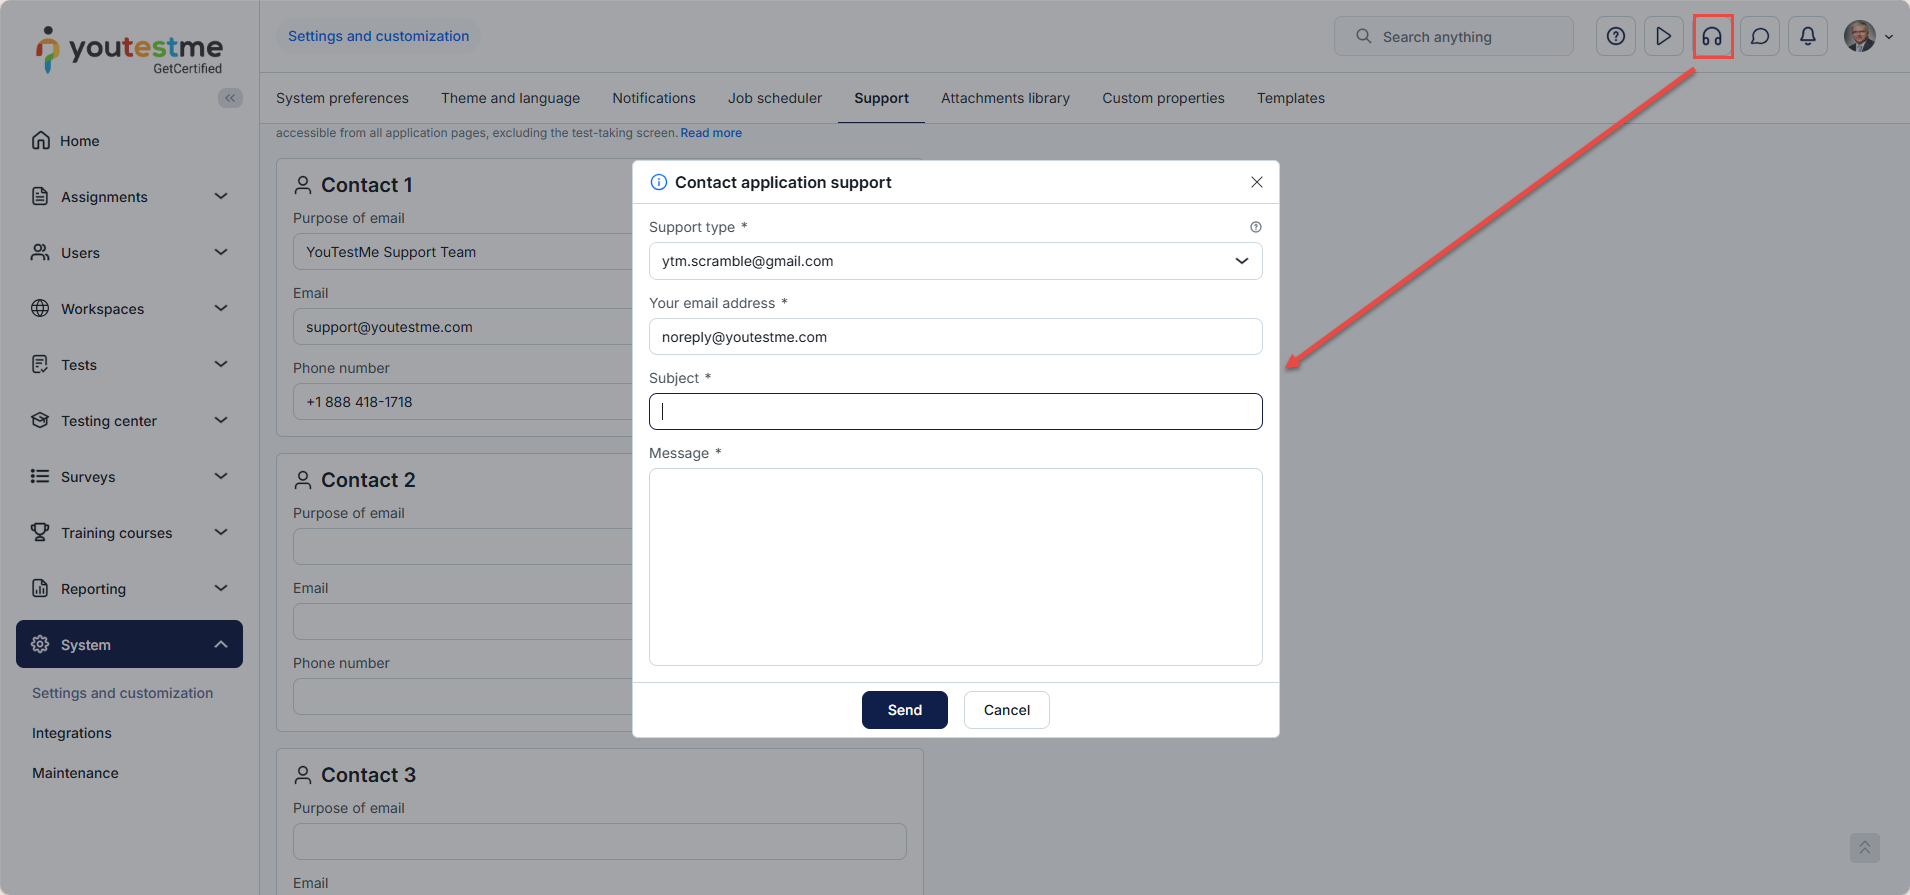
-
-
Attachments library
The attachments library serves as a storage repository for all your attachments, including public attachments from other creators. Private attachments are visible only to you, while public attachments are accessible to all test creators. Attachments can be added to tests/surveys, training courses, questions, and user profiles. Additionally, attachments added to those pages will be displayed in this library.
It's important to note that users with roles that have the Manage any attachment permission can access and edit all attachments in the system, regardless of attachment privacy. If you lack this permission, only public attachments and those you've created will be available to you.
Supported attachment types include: picture, video (MP4), audio (MP3), text, PDF, archive (.zip), Google Docs, YouTube video, Vimeo video, and link. The attachment size limit is 1 GB.
On this tab, you can:
-
View a list of all available attachments.
-
Include in the list all attachments from the system. This option can only be seen by users who have the Manage any attachment permission. It allows all attachments in the system to be displayed in a list, including private attachments from other users. By default, only public attachments and attachments created by you are displayed.
-
View an attachment from list.
-
Download an attachment.
-
Copy the attachment URL to embed attachments in application fields with a text editor, such as a training course description. For more information on how to embed them, refer to this article.
-
Edit attachment name, description, and availability for other users.
-
Click Copy to make an identical copy of the attachment. You can change the name, description, and set the Attachment is available for any test creator option per your preference.
-
Remove attachment from the system. This action is only possible for attachments that are not referenced anywhere.
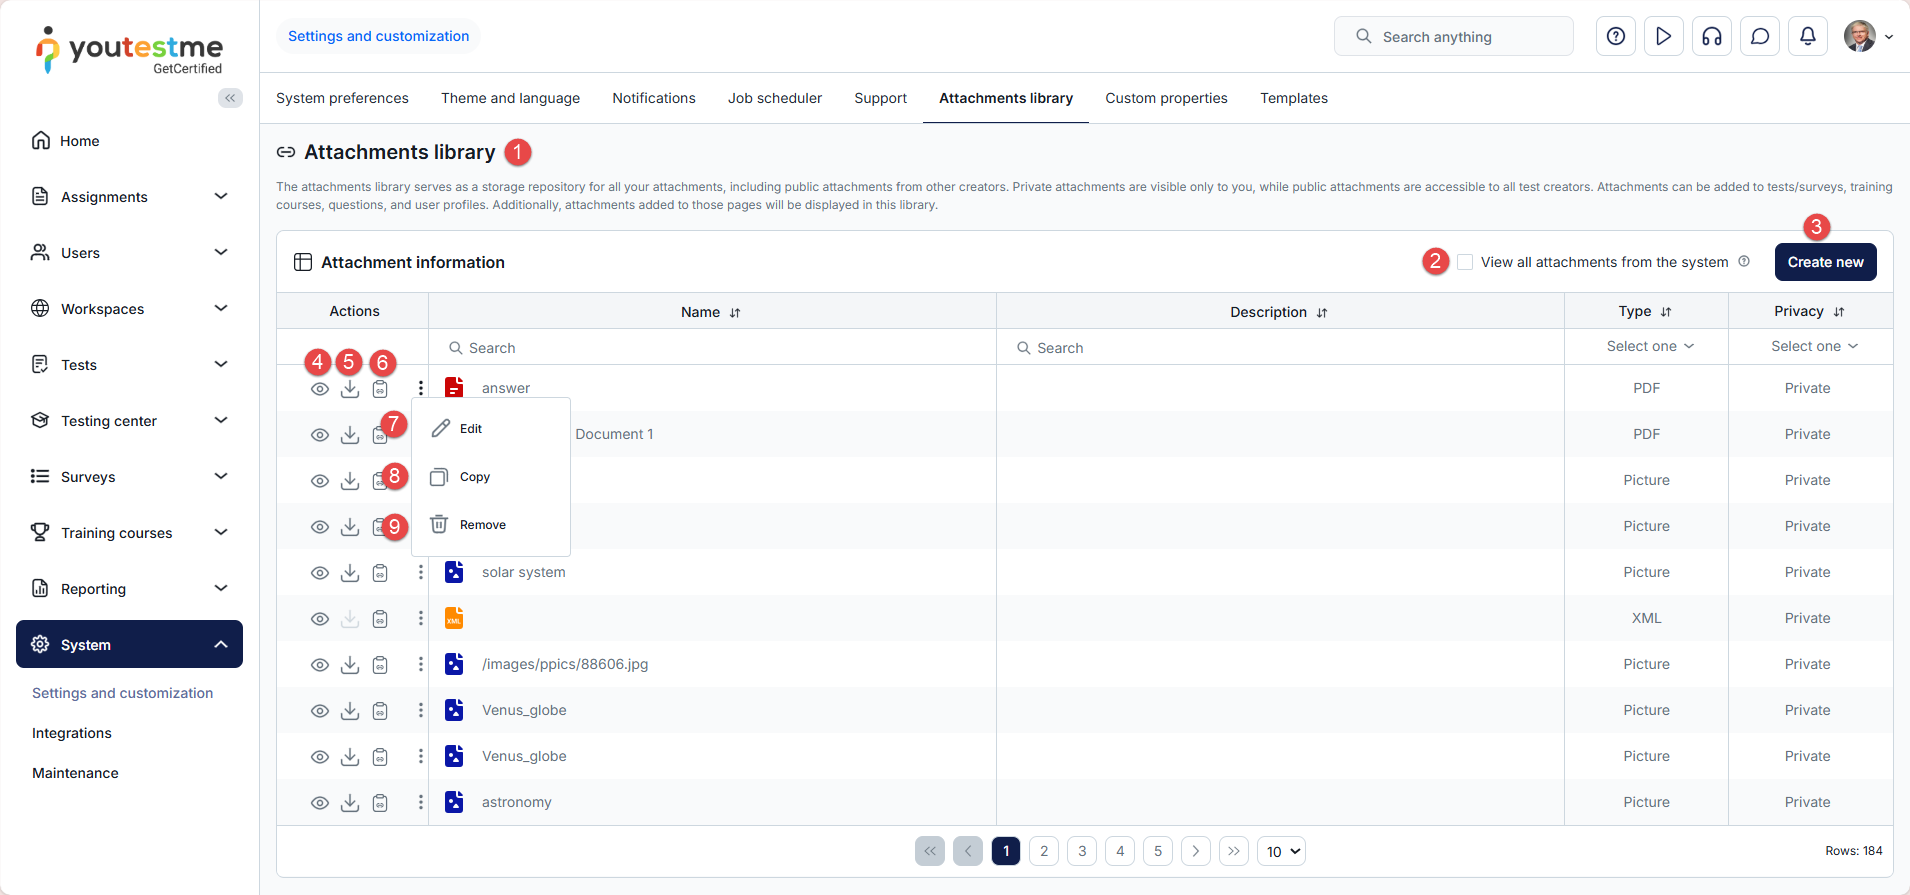
To create a new attachment:
-
Click the Create new button.
-
Enter the attachment Name.
-
Provide an attachment Description.
-
Specify whether the attachment will be private (accessible only by you) or publicly available to any test creator (other users can view but not edit or delete it). To make it publicly available, check the Attachment is available for any test creator option.
-
Choose the attachment type and either upload the file or provide a link.
-
Click Save button to store the attachment in library.
Note: Users with roles that have the Manage any attachment permission can access and edit all attachments in the system, regardless of attachment privacy.
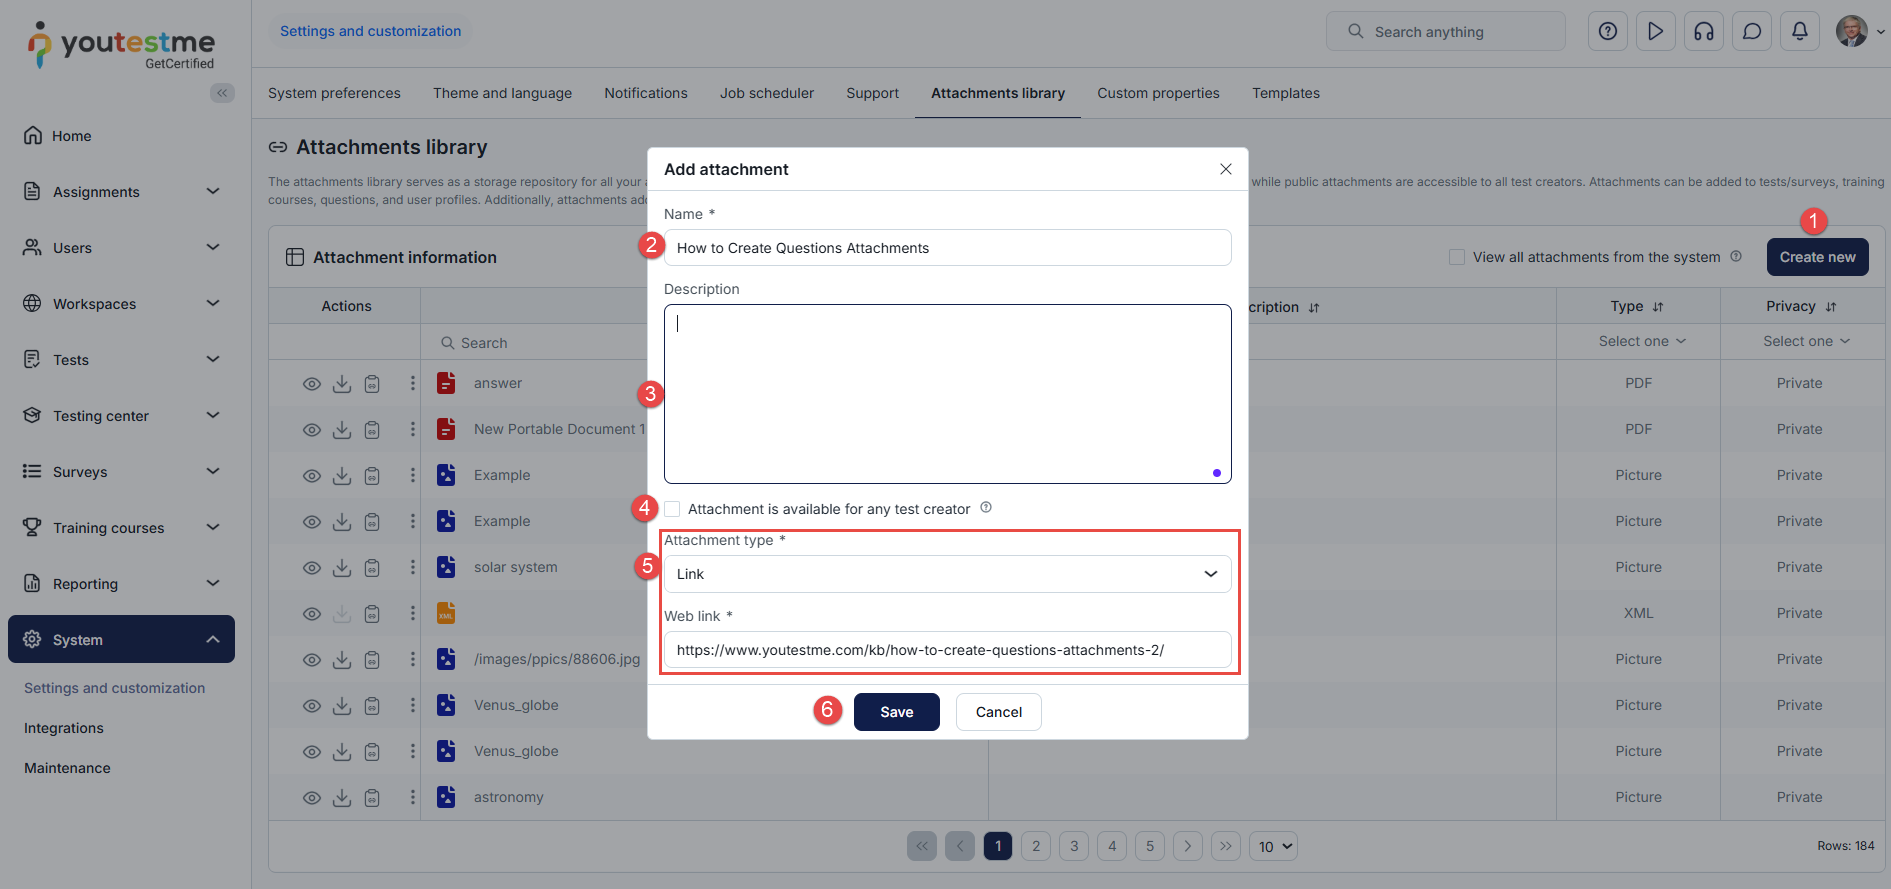
-
-
Custom properties
On the Custom properties tab, you can create custom fields to easily categorize and filter data, including fields for managing users, questions, and tests.
-
Custom data types
When creating custom user/question properties, you can specify dropdown properties. This tab enables you to define custom data types, i.e., values for the Dropdown type of properties.
On this tab, you can view already existing custom data types, but also create new ones.
-
View list of already existing custom data types.
-
Edit an existing custom data type. The fields are similar to those for creating new custom data types.
-
Delete an existing custom data type. A custom data type can be deleted if no custom properties use it and its values.
-
Define values of an existing custom data type.
-
Create new custom data type.
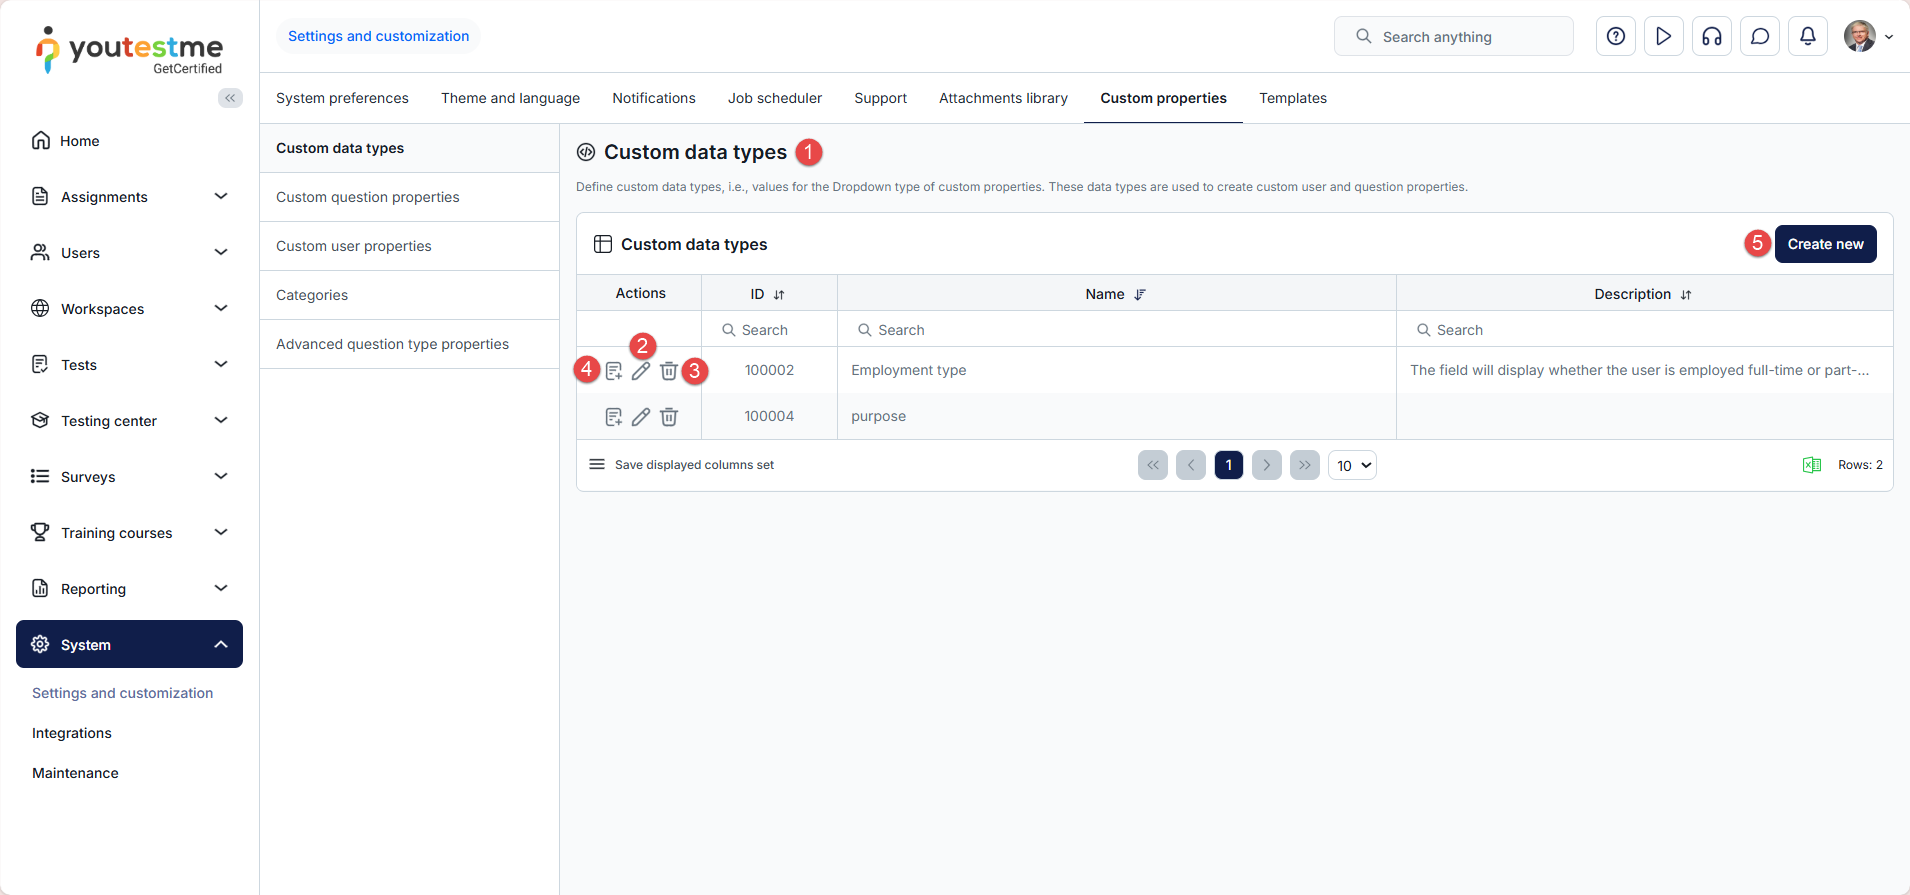
To create a new custom data type:
-
Click the Create new button.
-
Enter the Name of the custom type. The name must be unique.
-
Optionally, provide a Description for the custom data type.
-
Click the Save button.
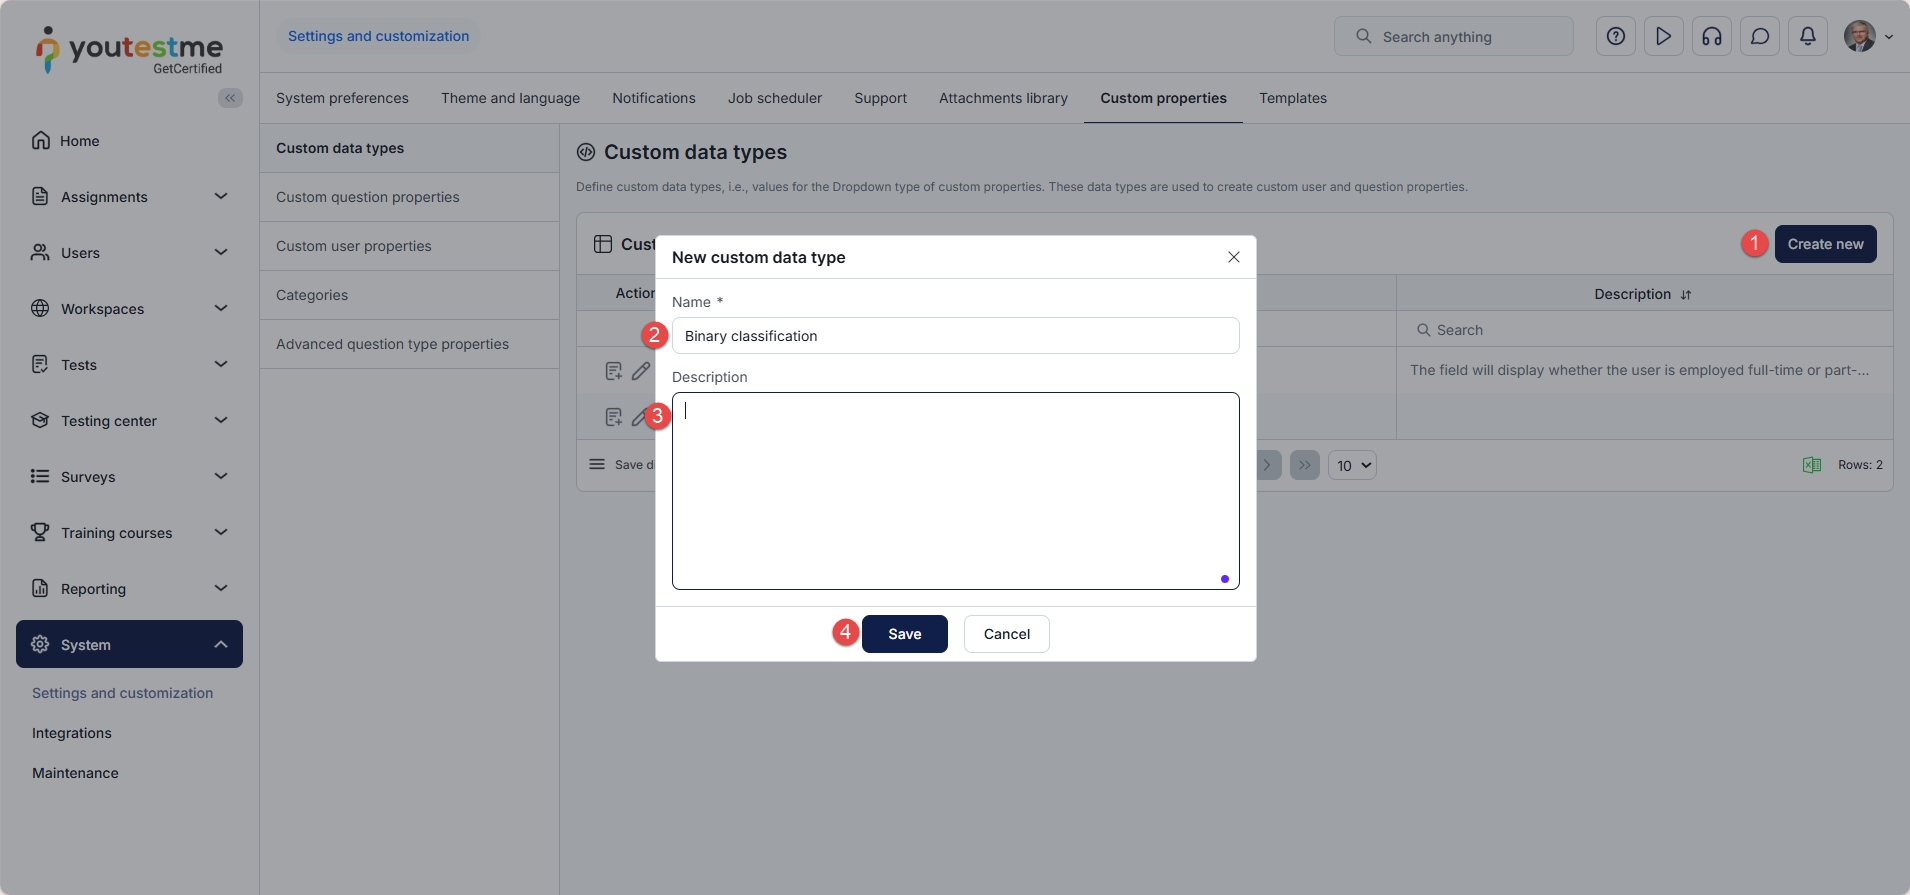
After creating a custom type, you can define values that will be displayed in the dropdown list.
-
Click the Define values button.
-
Click the Add new value button.
-
Enter the Name of the dropdown value. Values must be unique.
-
Optionally, provide a Description for the value.
-
Click the Save button. Repeat steps from 2 to 5 to add as many values as you want.
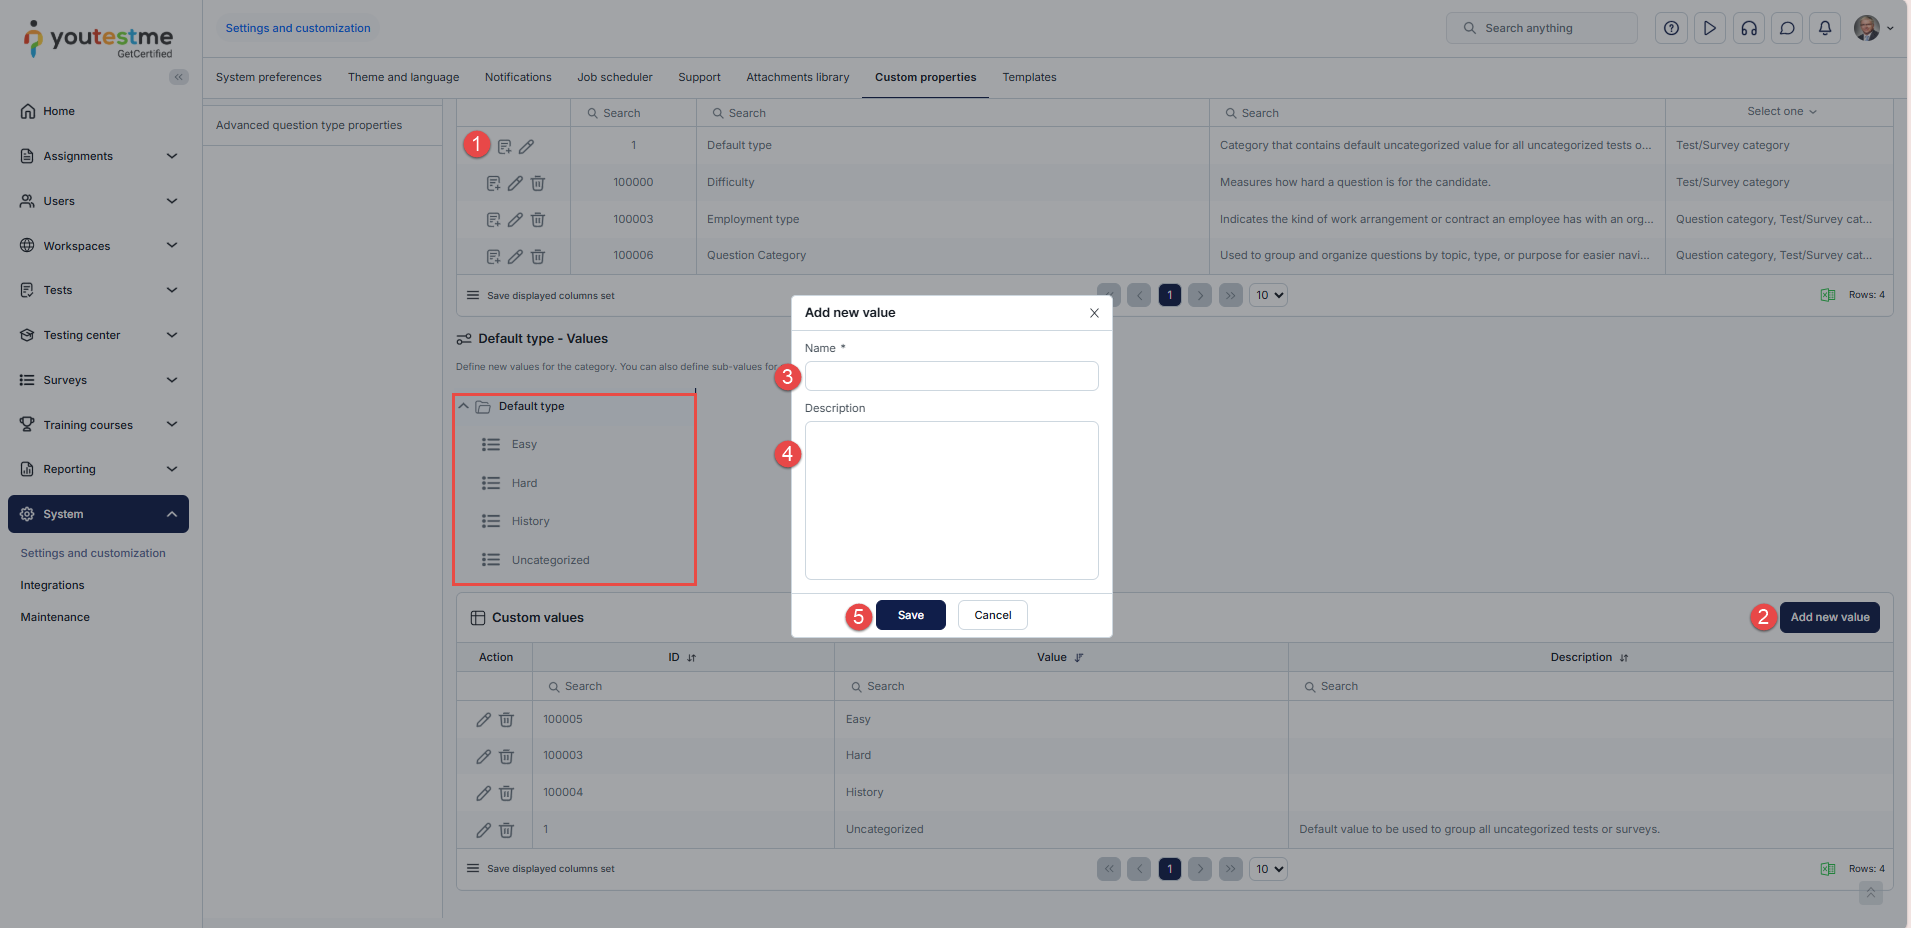
Additionally, you can Edit or Delete values as needed. A value can be deleted if there are no custom properties using this custom data type.
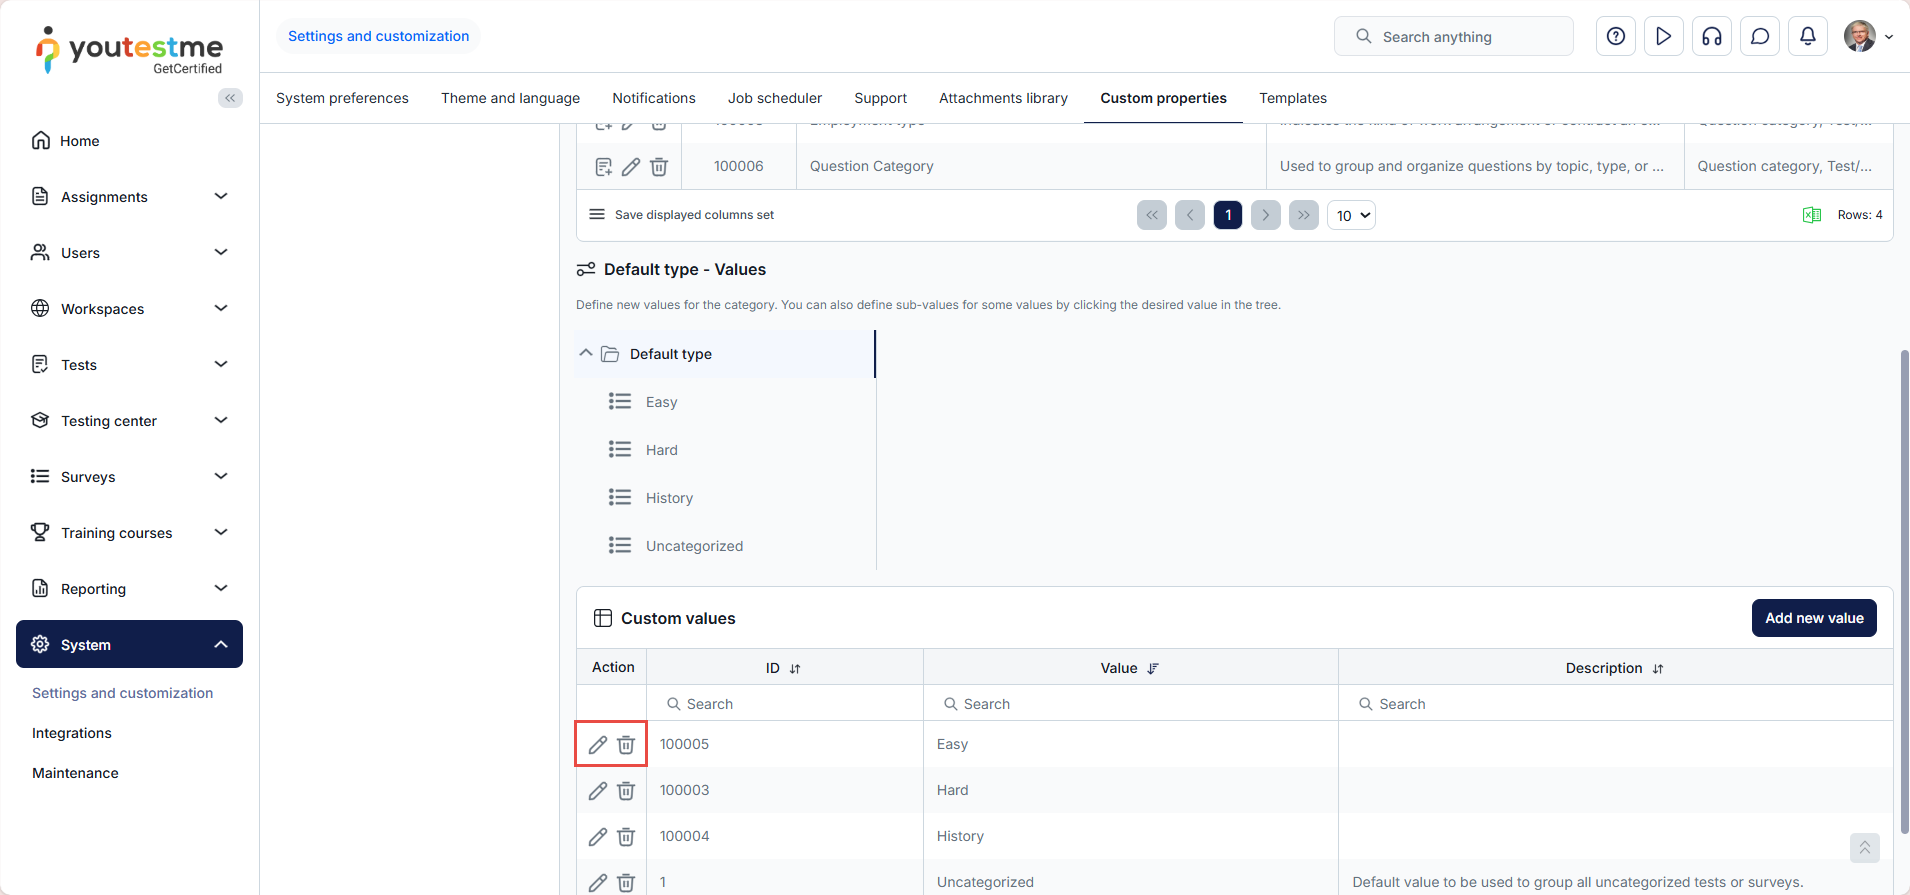
-
-
Custom user/question properties
Custom user properties are additional fields added to a user's profile when specific information needs to be stored, but there is no default field for it. These properties will be displayed under the Personal information tab on user profiles. Additionally, these fields can be displayed during user self-registration.
Custom question properties refer to additional fields that serve as attributes for questions and are not created in the application by default. They help categorize questions, provide extra data for easier search and management, and can be used to set criteria for passing the test.
You can add up to 15 custom user properties and up to 10 custom question properties in the following types:
-
Yes/No
-
Text
-
Date
-
Timestamp
-
Number
-
Checkbox - simple tick box (checked = true, unchecked = false).
-
Dropdown - to create this type of custom property, you must first create a custom data type.
The process of creating and managing user and question properties is the same. However, depending on whether you want to create a user or question property, you should navigate to the desired tab:
-
For custom question properties, go to the Custom question properties tab
-
For custom user properties, go to the Custom user properties tab.
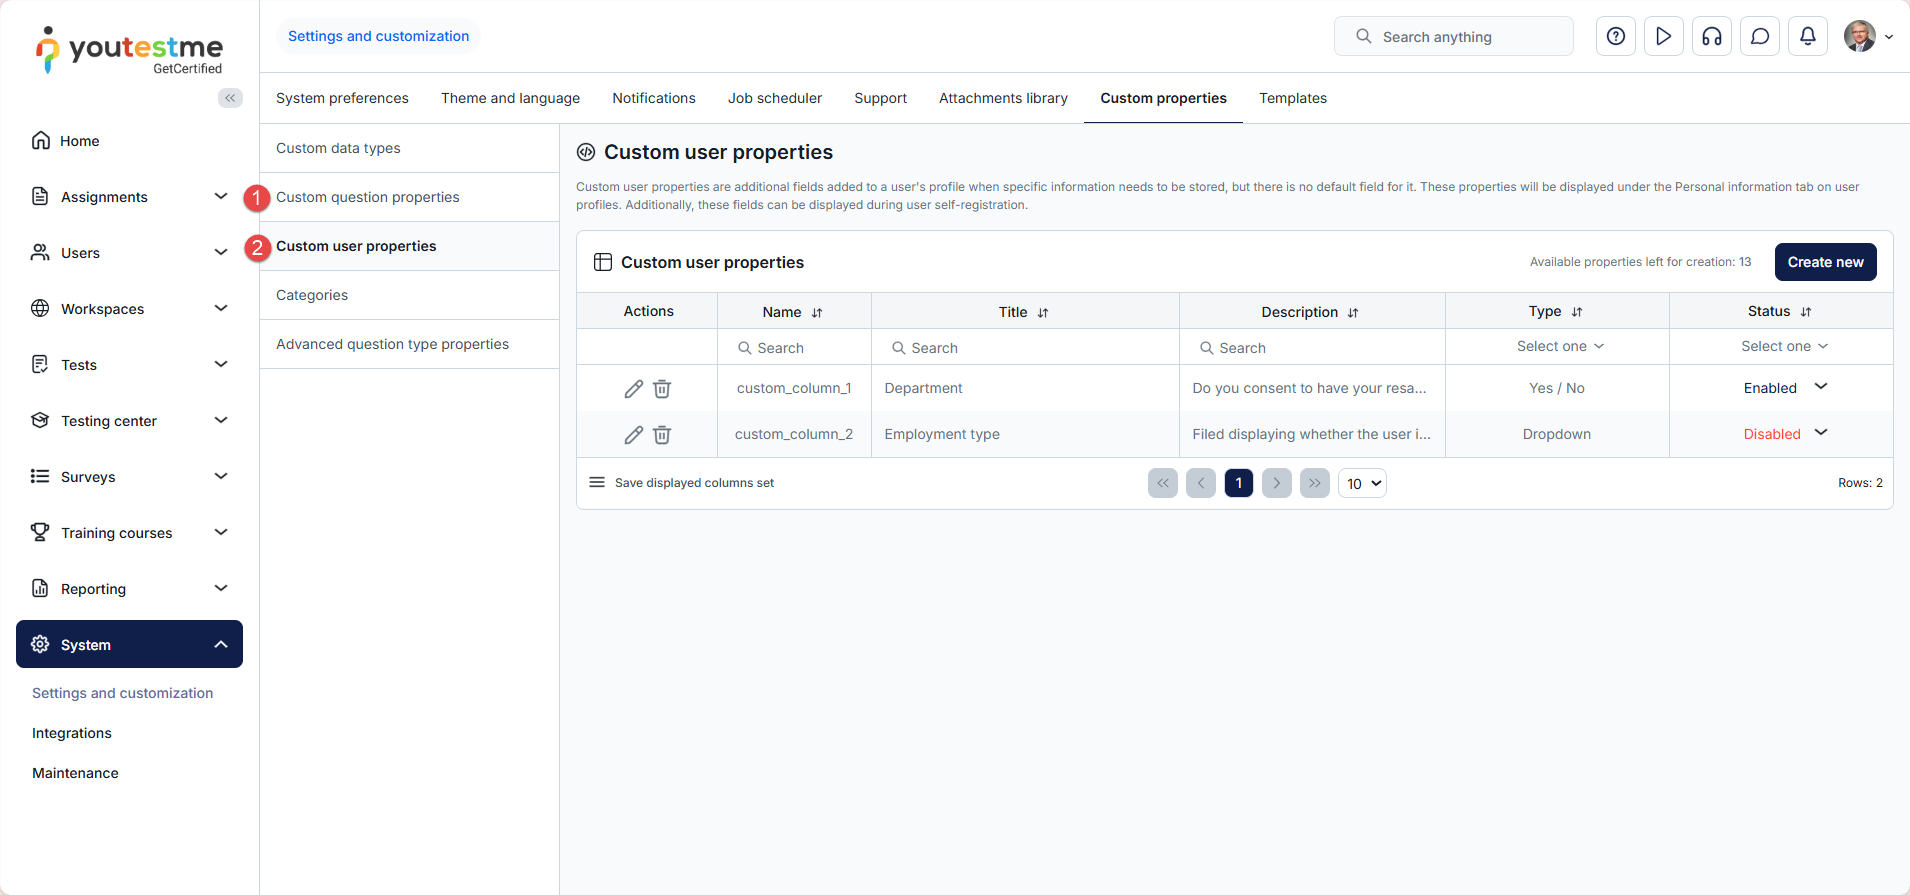
The tab layout and all processes will be explained using the example of custom user properties.
On this tab, you can:
-
View a list of already existing custom properties.
-
Remove already existing custom properties.
-
Edit already existing custom properties. The fields are similar to those for creating new custom properties.
-
Enable/disable custom properties. Enabling or disabling a custom property allows you to control the field's visibility. If a custom column is disabled, all stored values in the property are saved but not displayed.
-
Create new custom properties.
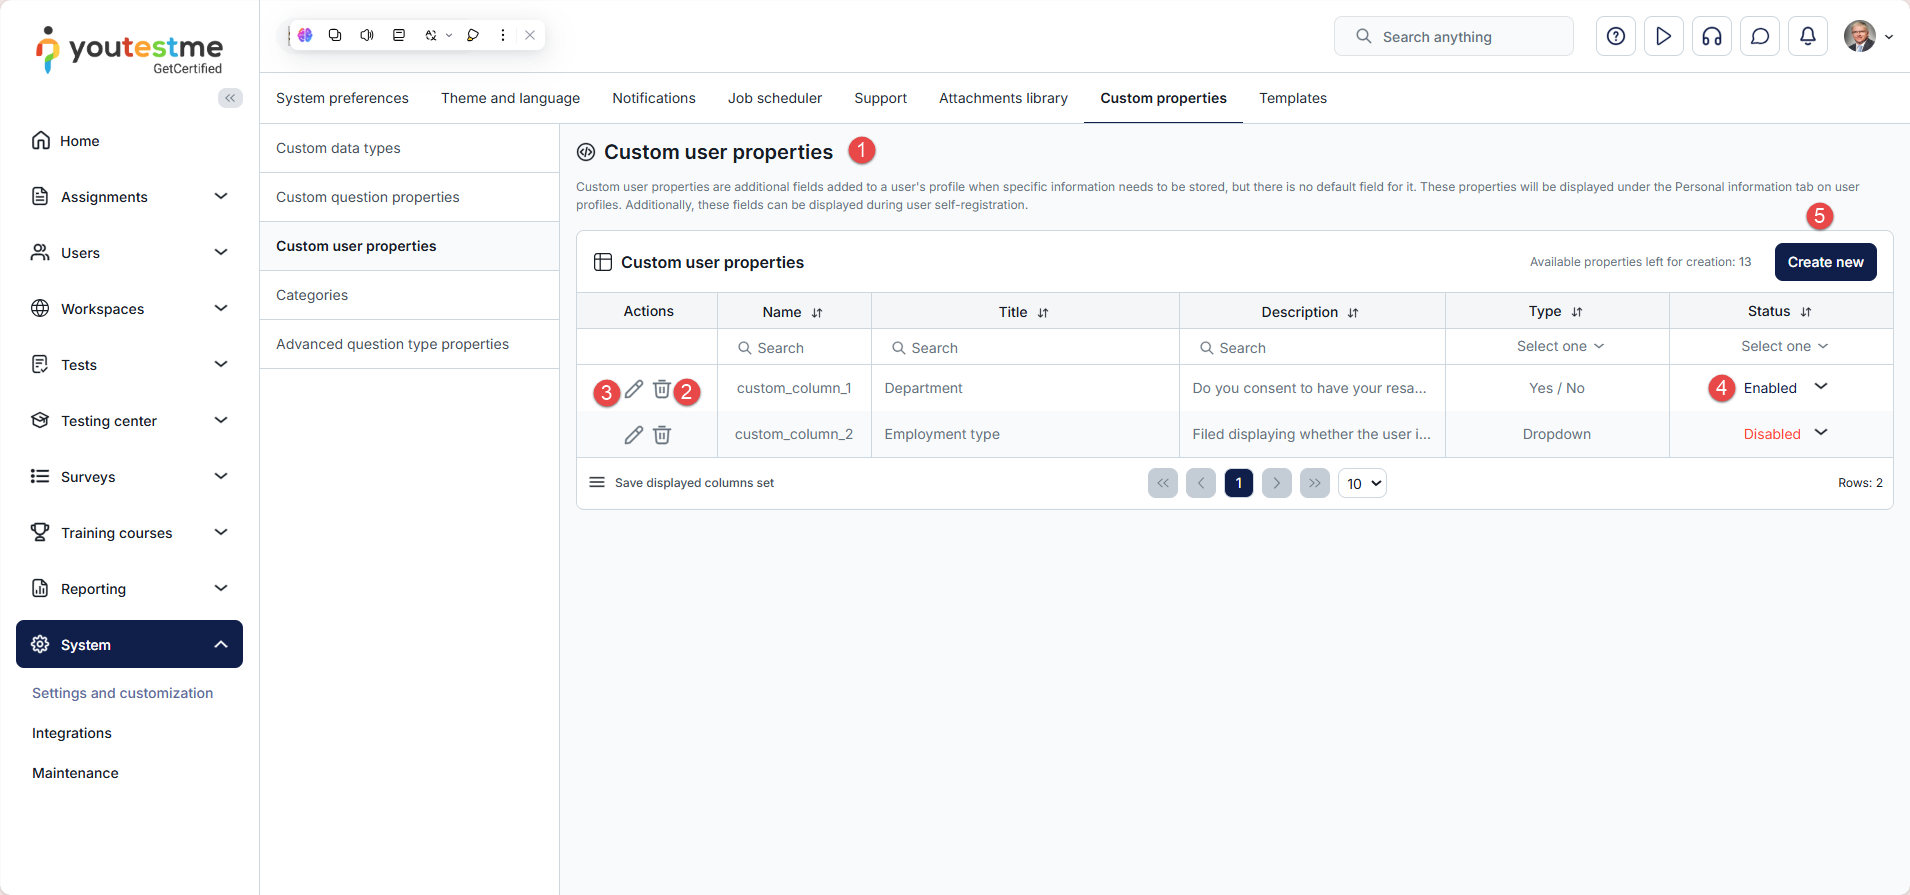
To create new custom user property:
-
Click the Create new button.
-
Enter the Name of the new custom property.
-
Enter a Description of the new custom property to explain its purpose.
-
Choose the Type of custom property. To create a Dropdown type of custom property, you must first create a custom data type, then select appropriate data type in the Custom data type field. If you select Checkbox, an Additional text editor will appear. Use it to add formatted text (bold, italics, lists) or clickable links next to the box.
-
Click the Save button.
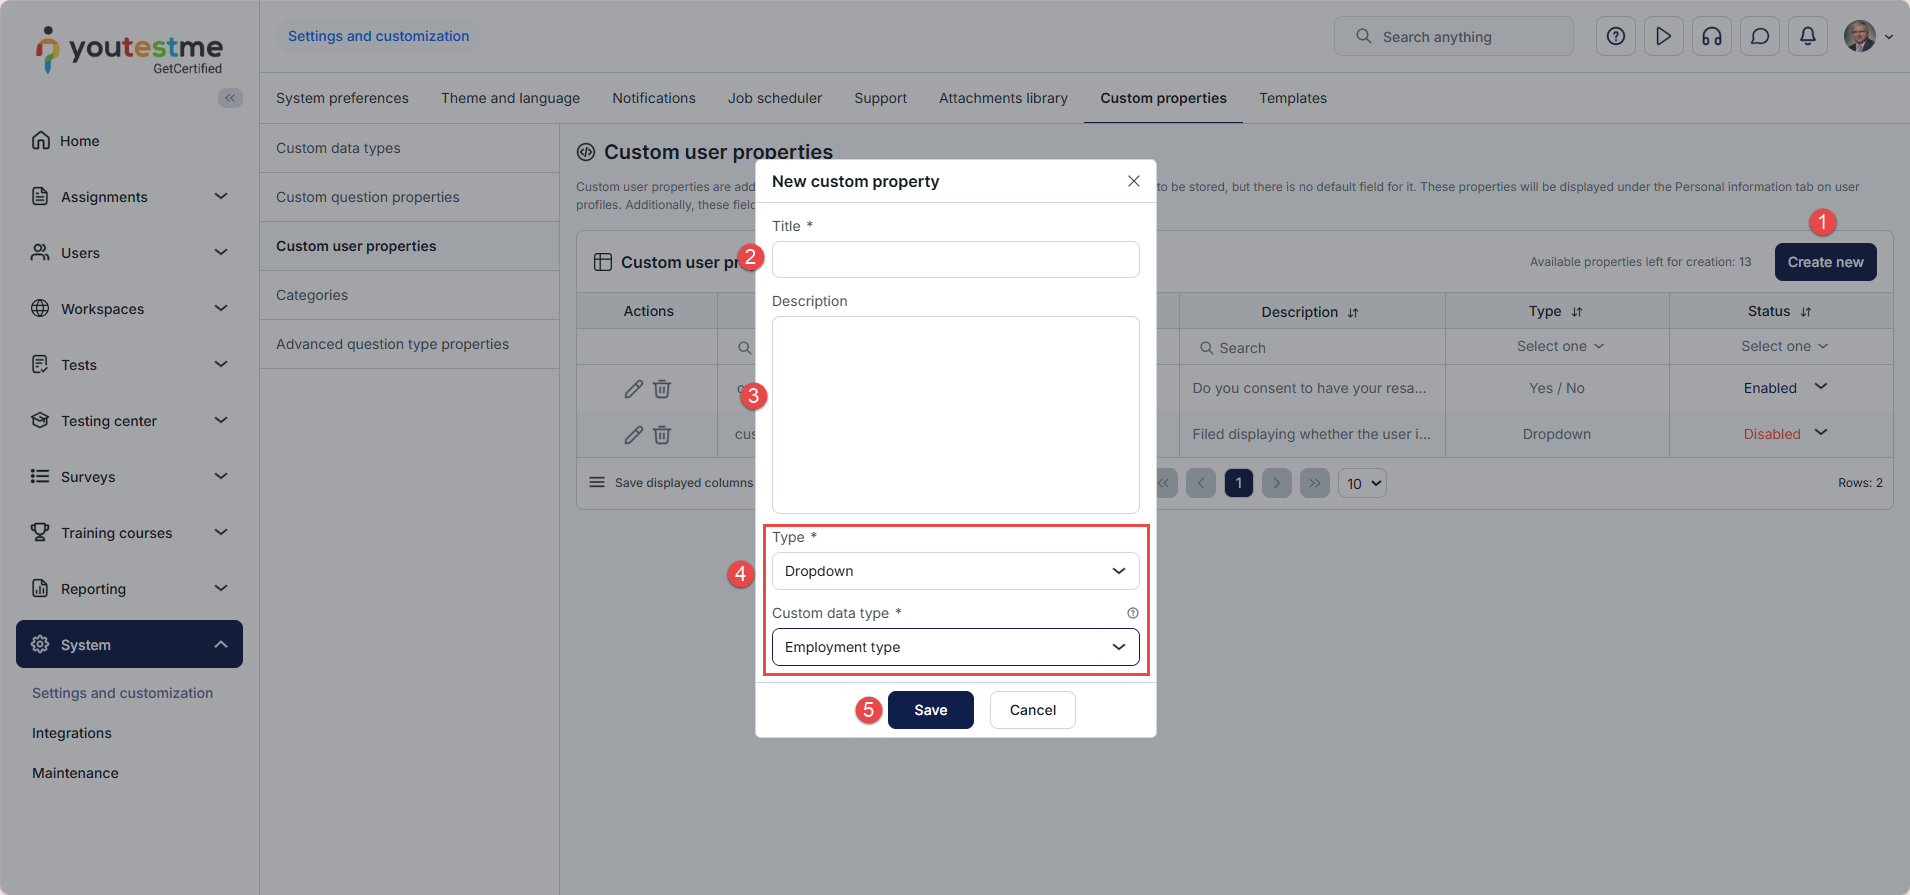
Categories
Custom question categories refer to additional fields that serve as attributes for questions, tests, or surveys and are not created in the application by default. They help categorize and provide extra data for easier search and management. Unlike custom question properties, custom question categories can be used for test generation.
On this tab, you can:
-
View a list of already existing custom categories.
-
Edit already existing custom categories. The fields are similar to those for creating new custom categories.
-
Delete already existing custom categories. Custom categories can be deleted if there are no tests generated based on that category.
-
Define values of existing custom category.
-
Create new custom categories.
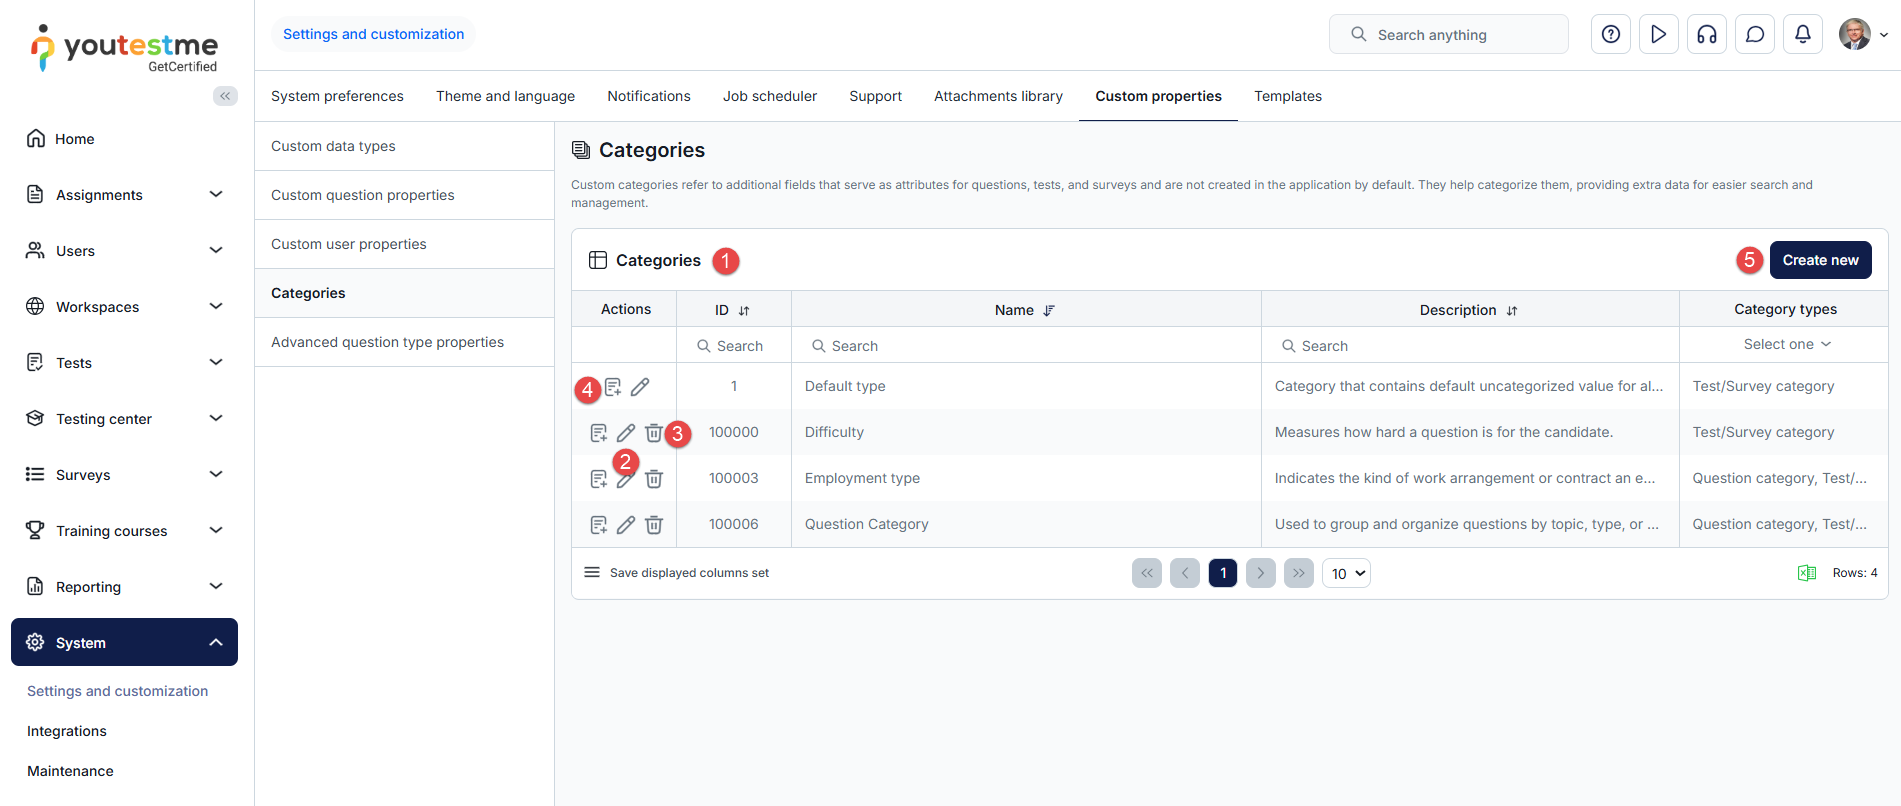
To create a new custom category:
-
Click the Create new button.
-
Enter the Name of the new category. The name must be unique. But if you are using the Workspaces module, you can create three categories with the same name but add them to a different workspace.
-
Enter the Description of the new category to explain its purpose.
-
Choose the type of the category. This aims to help reuse same category in both questions or tests/surveys.
Available types are:
-
Question type - Question Custom question categories can be deleted if there are no tests generated based on that custom question category.
-
Test/Survey type - You can add these categories to test/surveys under the Test categories tab. To remove a category remove its values from test/surveys first.
Note: When editing, type can be removed from the category only if it's not being used.
-
-
Optionally, assign the category to a workspace. When added, the category will be exclusively available in that workspace, accessible to all members. If the category is not added to a workspace (option "Visible to all workspaces" selected), it will be visible to all users. However, only its creator and users with a system role possessing the Manage any category permission can manage it, including changing the name, description, and adding/removing it from a workspace.
The displayed data may vary depending on the following conditions:
-
Whether the user has the system role Manage any category permission, which allows them to preview all categories in the system.
-
Whether the user has the workspace role Manage any category permission, which allows them to preview all categories added to their workspace.
-
Whether the user has the Create a category permission which allows the user to create and manage said categories.
-
-
Click the Save button.
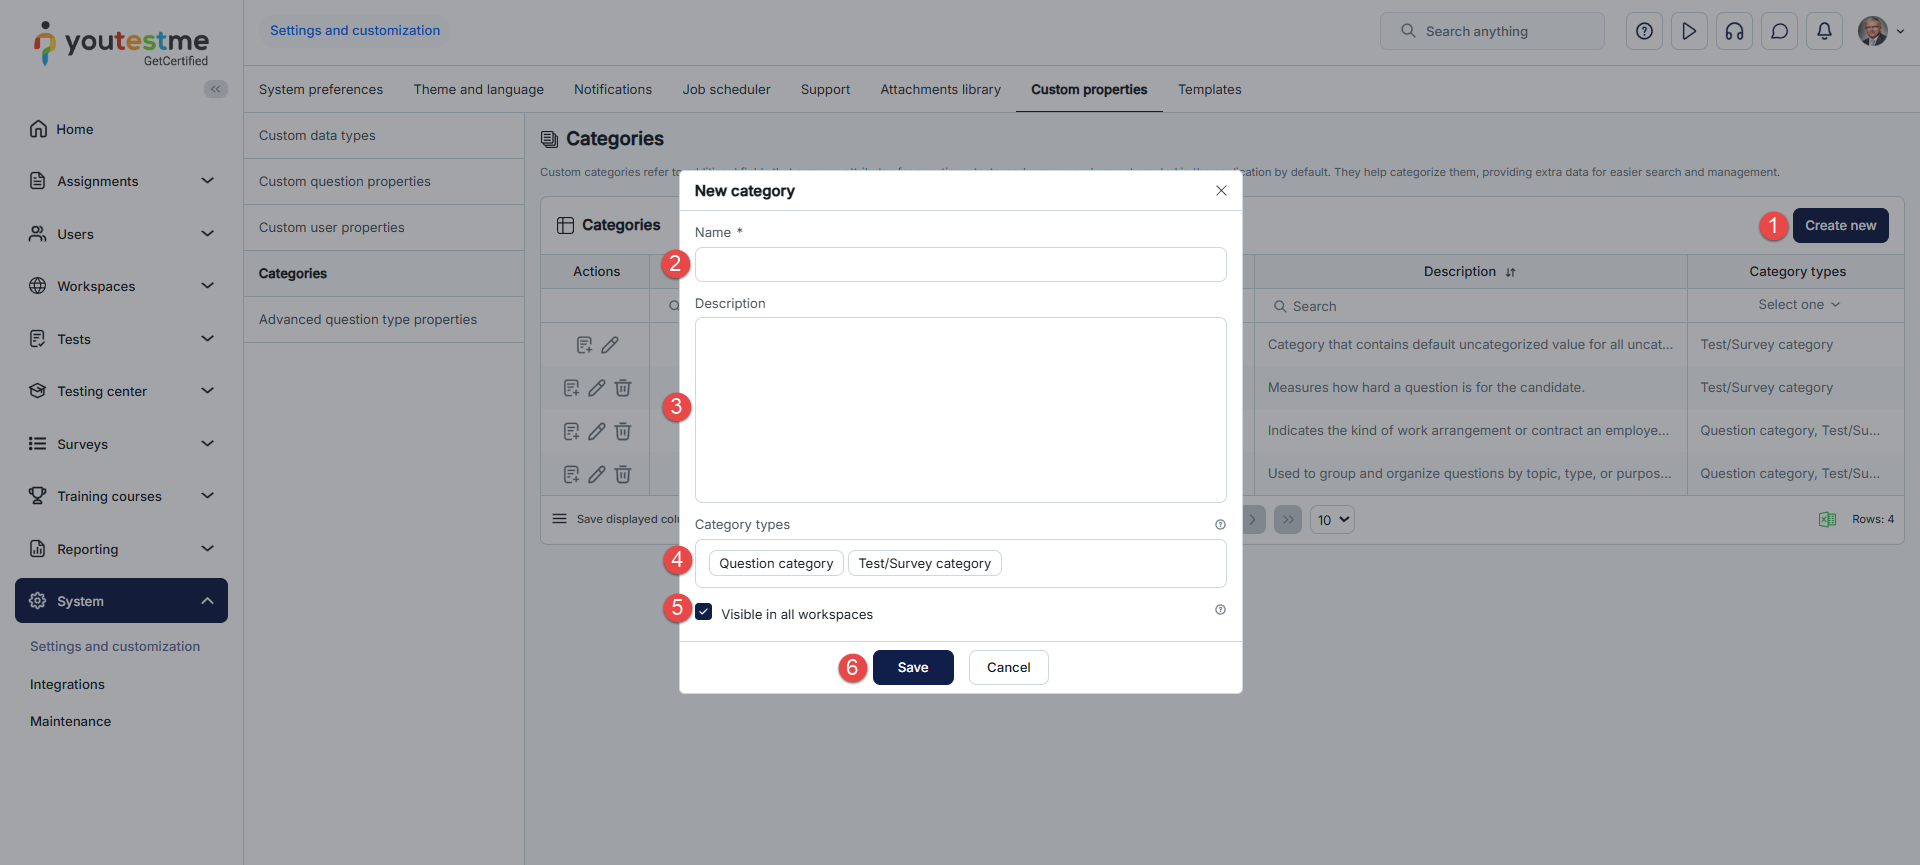
After creating a custom category, you can define its values.
-
Click the Define values button.
-
Click the Add new value button.
-
Enter the Name of the custom category value. Values must be unique.
-
Optionally, provide a Description for the value.
-
Click the Save button. Repeat steps 2 to 5 to add as many values as you want.
Additionally, you can define sub-values for some values by clicking the desired value in the tree and then repeating the steps above.
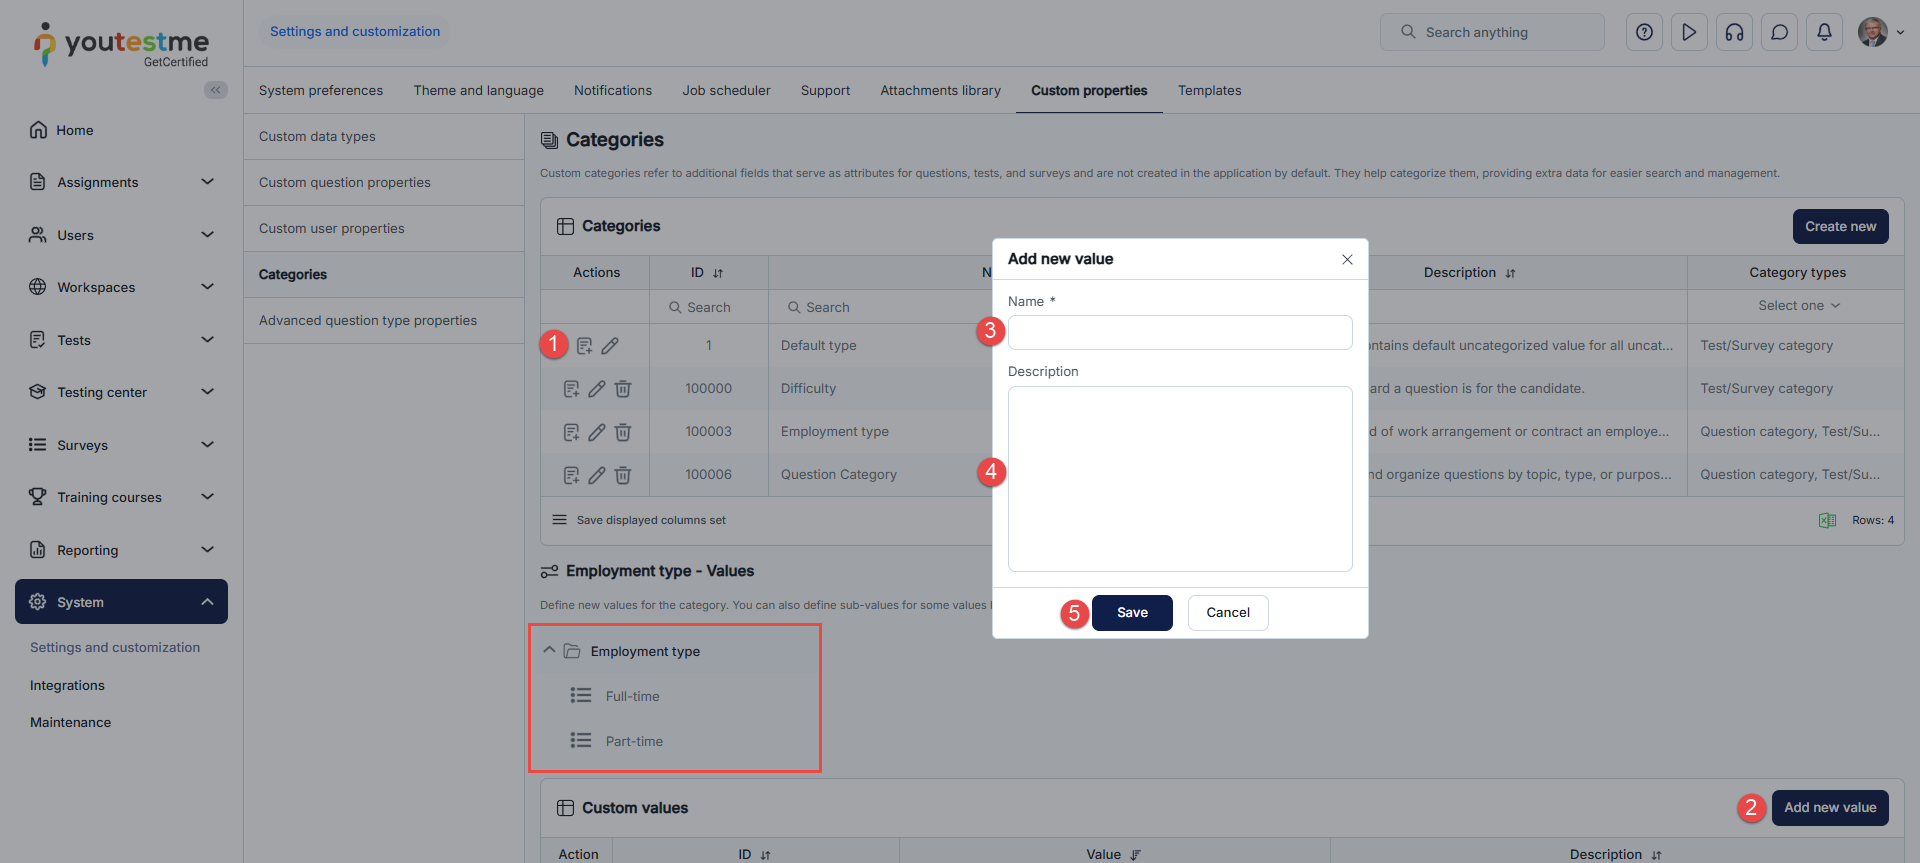
Additionally, you can Edit or Delete values as needed. A value can be deleted if it is not used for generating any tests.
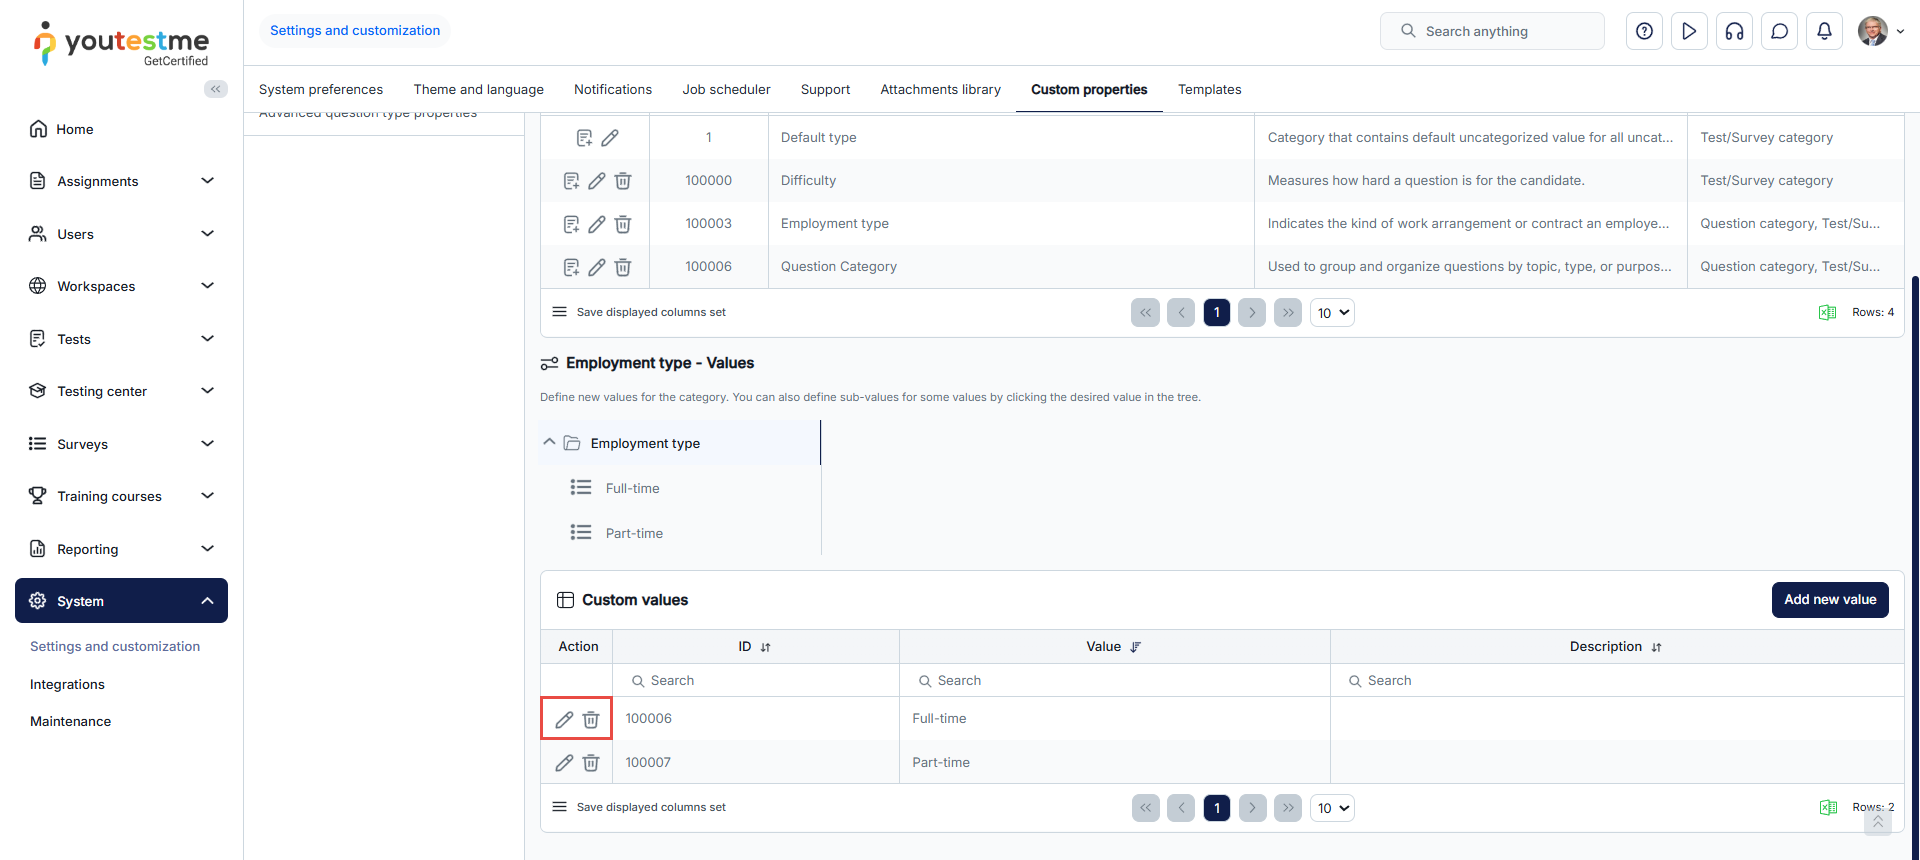
Advanced question type properties
These properties are used specificaly for acconting questions. More information on accounting questions can be found here.
Templates
On this page, you can create and manage custom templates for displaying and exporting data from the application.
You can create templates for:
-
Certificate - You can use them to create custom branded certificates.
-
Chart export - Used to create charts within the test Personal report settings.
-
Attempts export - Used to export lists of user test attempts on the My tests page.
On this tab, you can:
-
View a list of already created templates. In the Default column, you can see whether the template is preset (if the value is Yes) in the application or custom-created (if the value is No).
-
Create a new template.
-
Edit an already existing template. The fields are similar to those for creating new templates.
-
Delete an existing template.
Note: It is not possible to delete or edit default templates and custom templates that have already been used in a test.
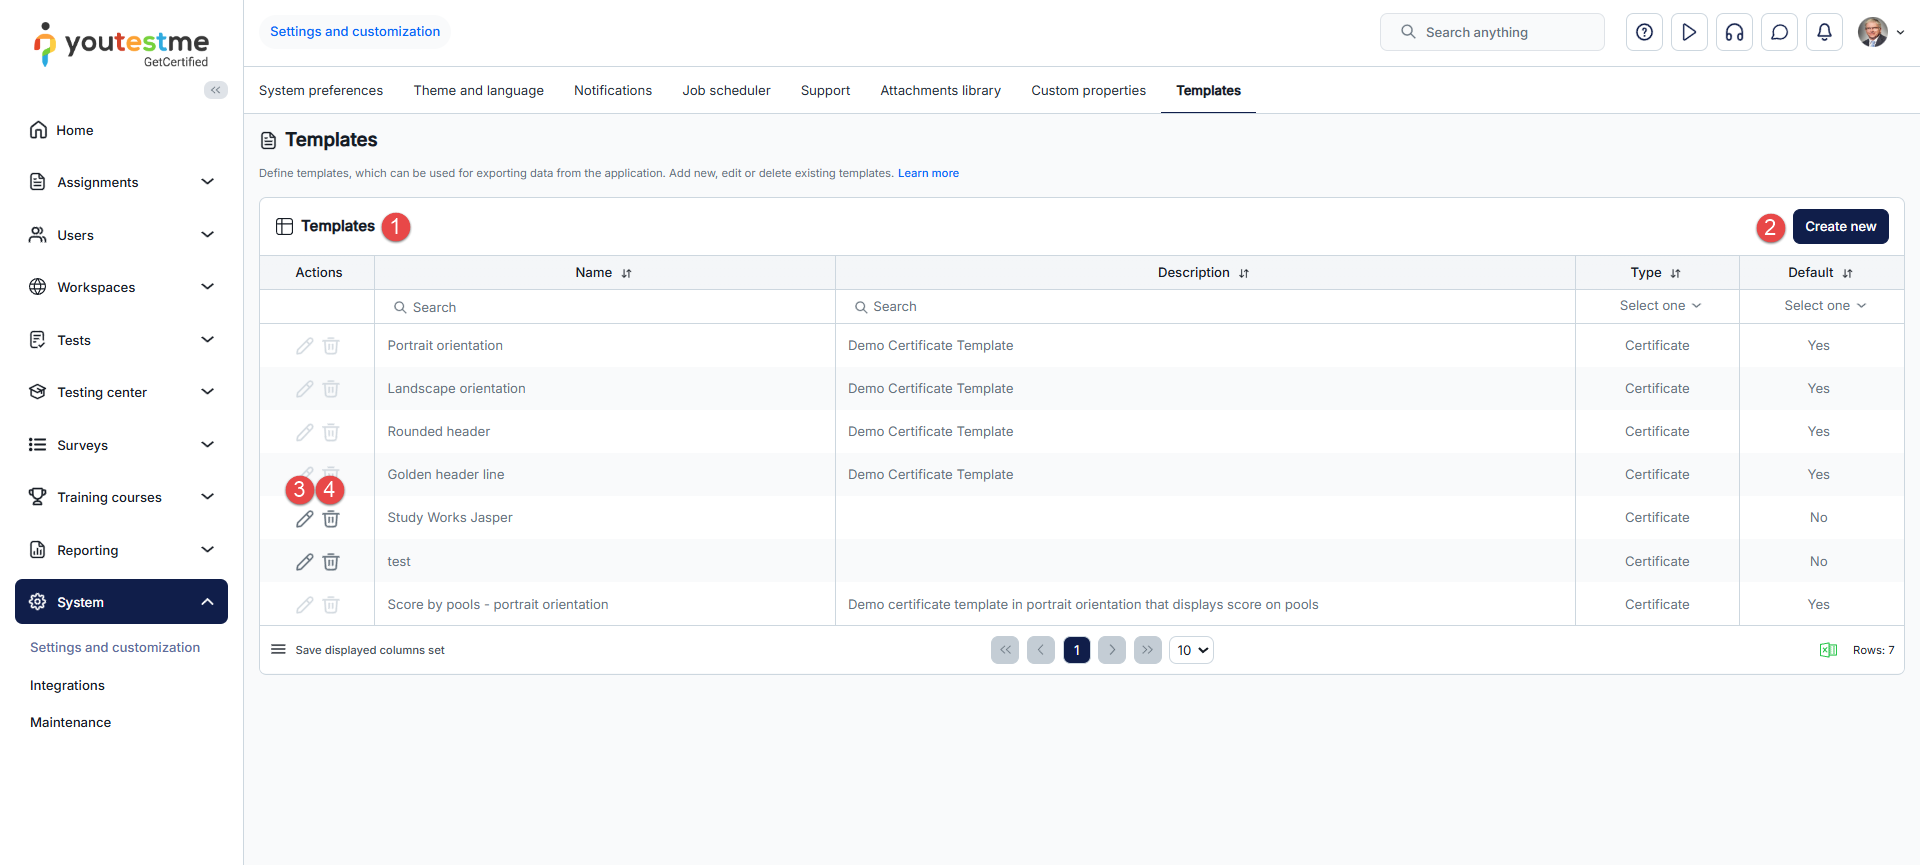
To create a new template:
-
Enter the Name of the template.
-
Optionally enter a Description of the template to explain its purpose.
-
Choose the template type.
-
Upload the template file, which must be in .jasper format. For instructions on creating certificate templates in .jasper format and uploading them to the application, please refer to the following article.
-
Click the Save button.
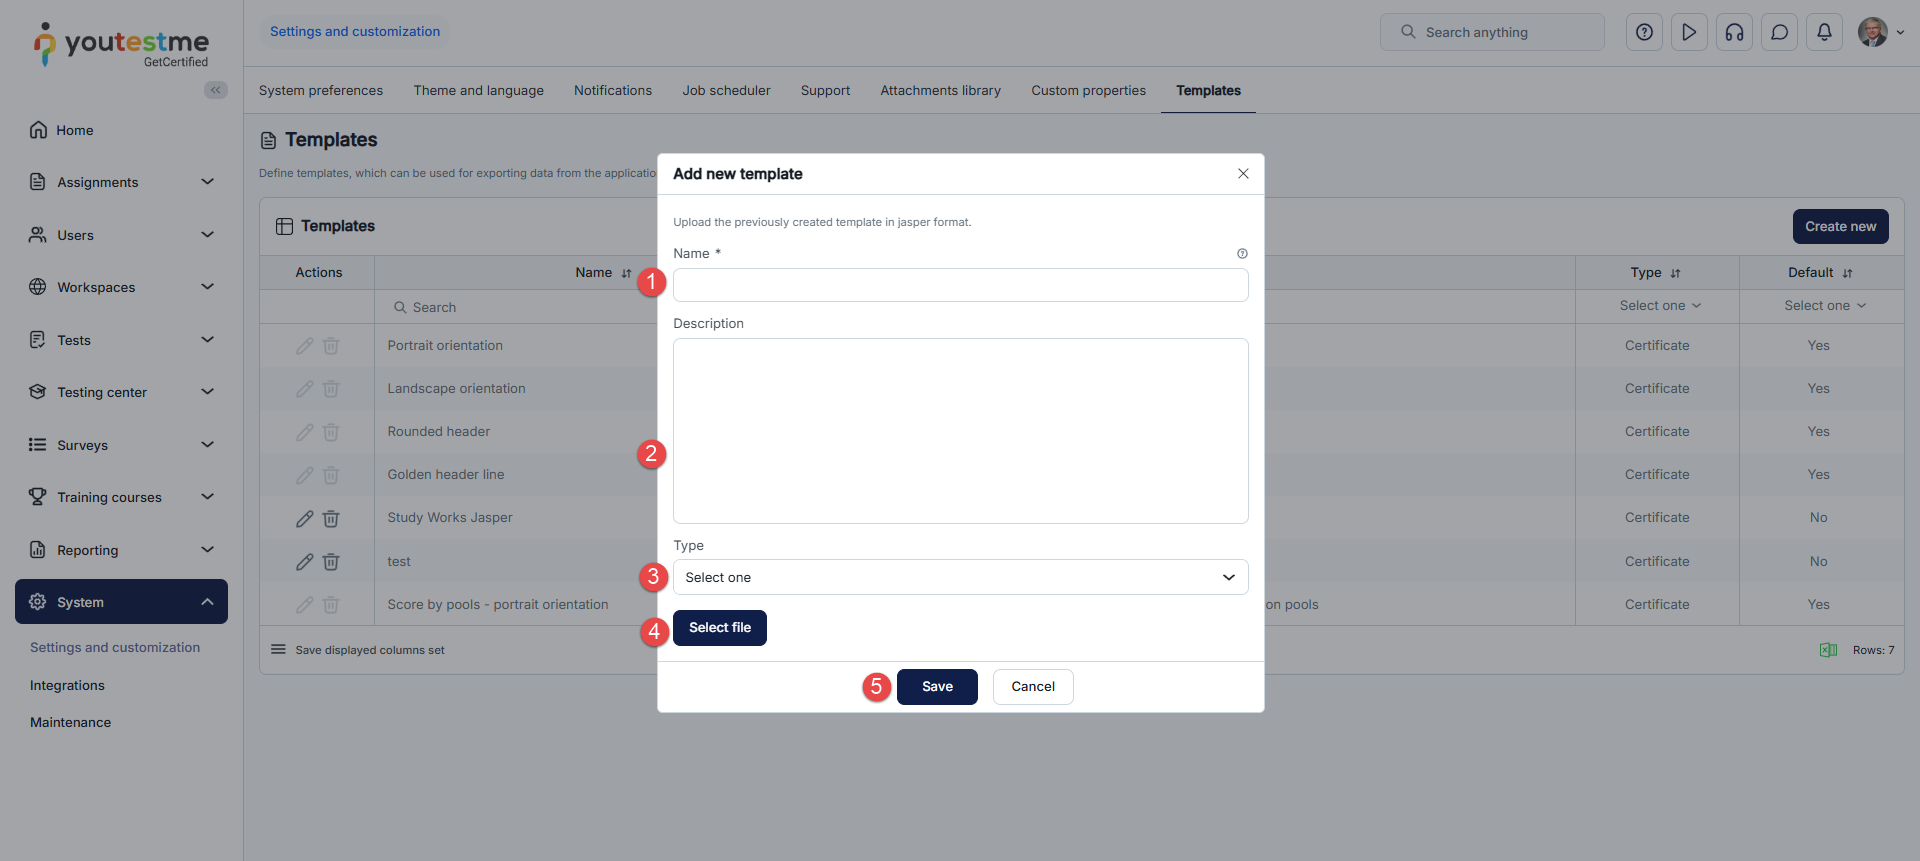
Consents
On this page, you can create and manage the consent texts that users must accept in order to use the application.
On this tab, you can:
-
View a list of all configured consents. In the Active column, you can see whether a consent is currently required from users (value Yes) or not (value No).
-
Create a new consent.
-
Edit an existing consent. You can change whether it is active. The fields are similar to those for creating new consents.
-
Delete a consent that is no longer needed.
Note: If you no longer want to require a consent but need to keep it in user history, deactivate it instead of deleting it. Deactivated consents are no longer shown to users for acceptance but remain visible on the Accepted consents section of the user profile.
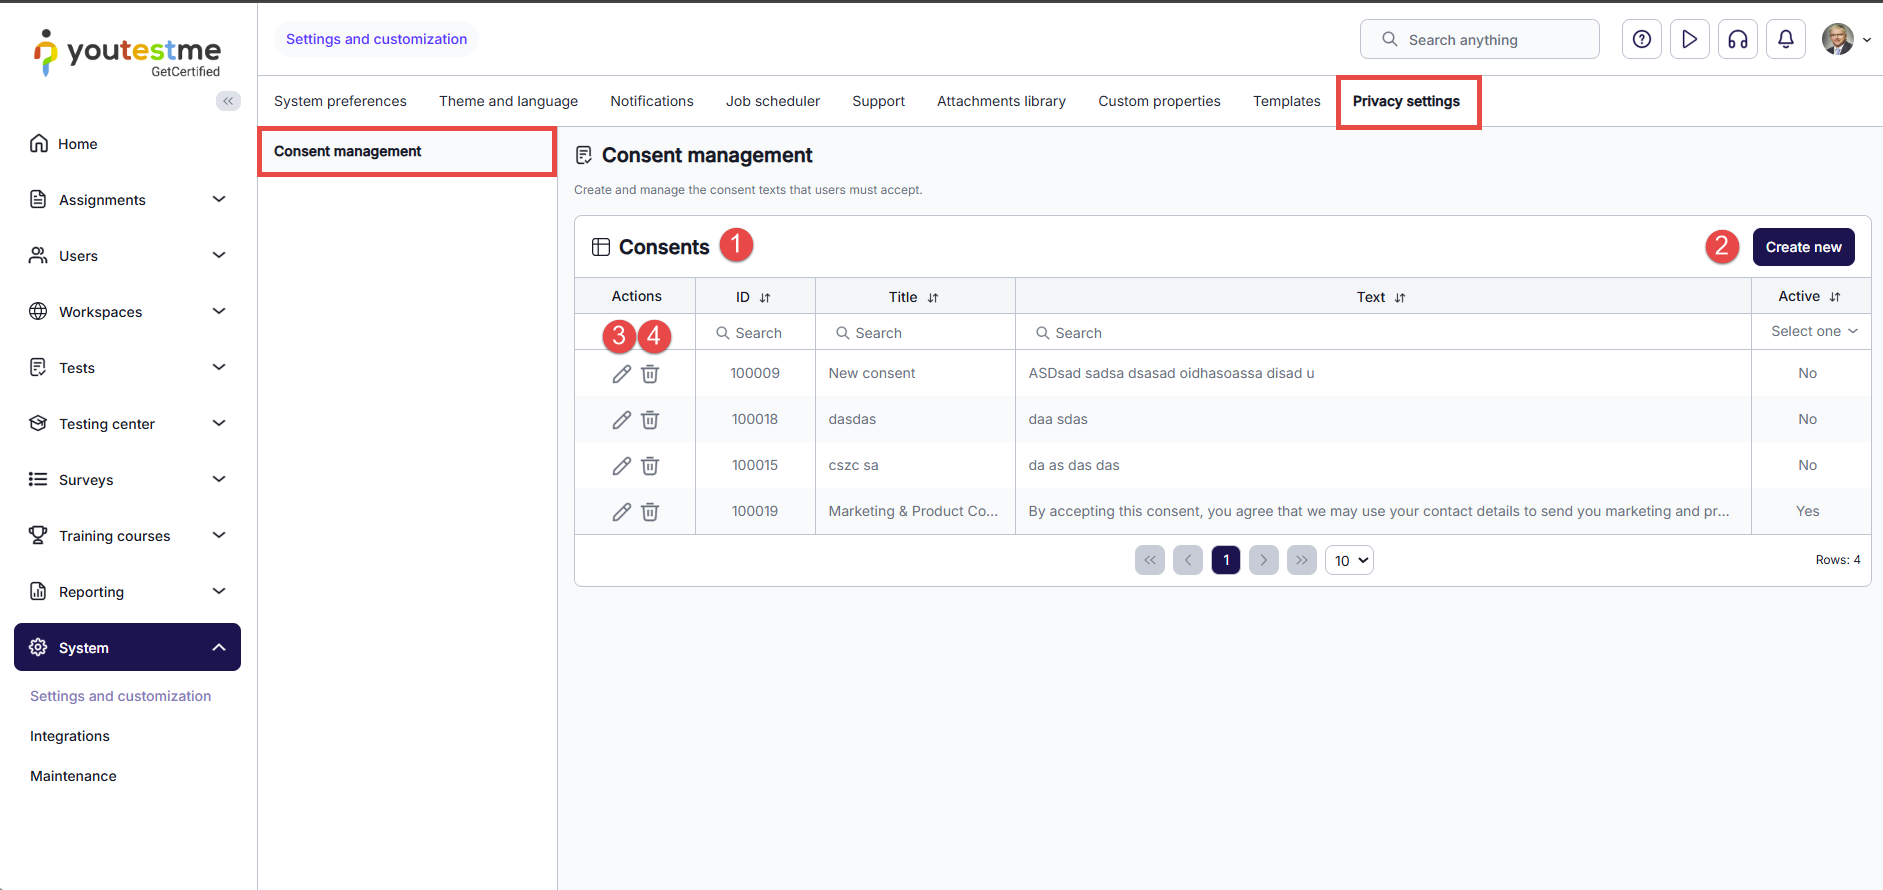
To create a new consent:
-
Enter the Name of the consent.
-
Enter the Text of the consent. This text will be shown to users on the consent acceptance screen and can contain basic HTML formatting.
-
Specify whether the consent should be Active. Only active consents are required from users.
-
Click the Save button.
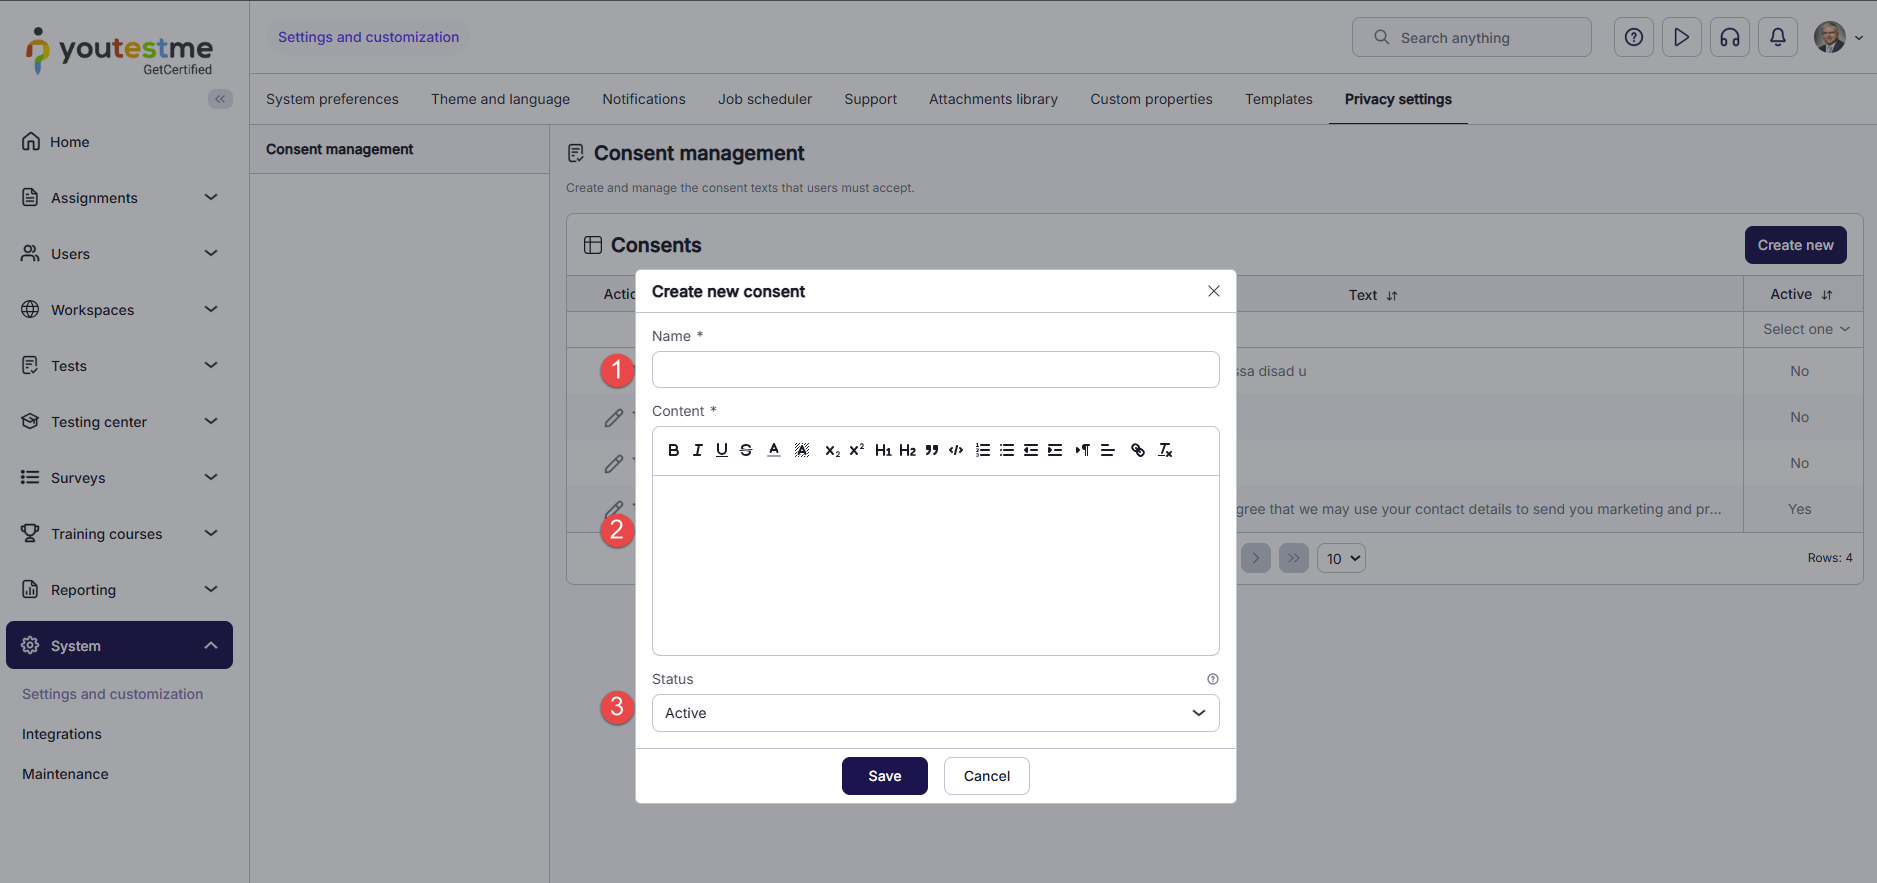
From the user's perspective:
-
After logging in, if the user has not accepted all active consents, they are redirected to a consent acceptance screen. For each active consent, the system displays the consent title, detailed text, a checkbox (for example, I agree to this consent), and a button such as Confirm and continue.
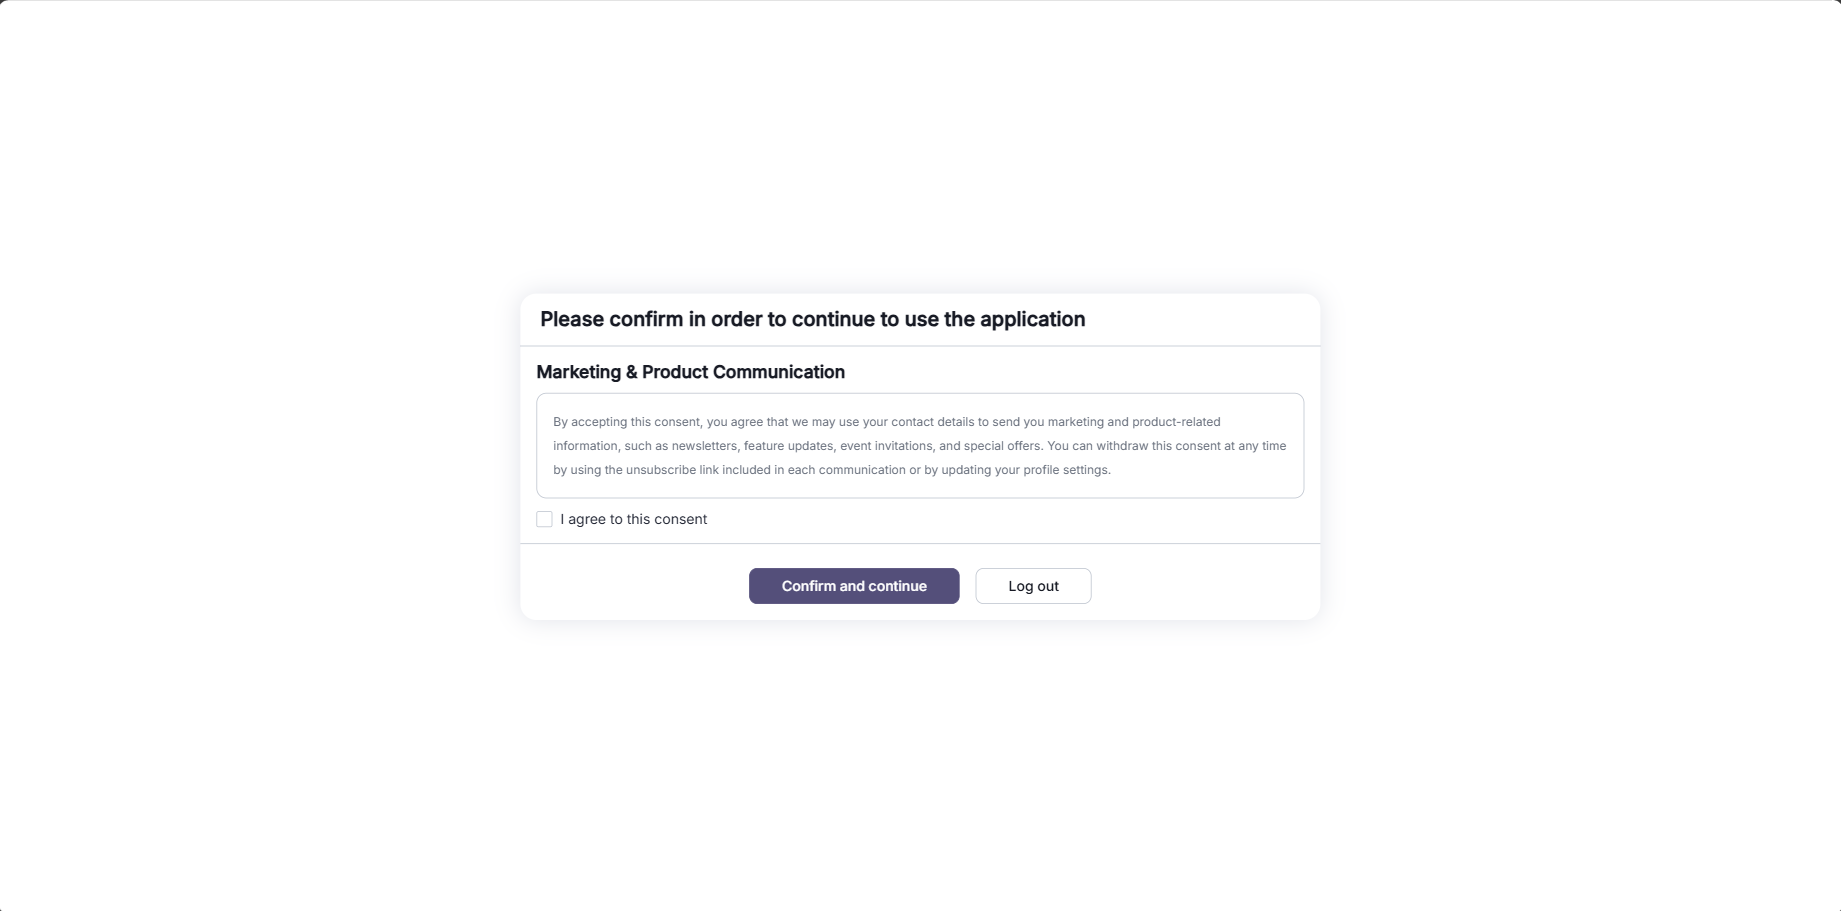
-
Once the user accepts all required consents, they can continue to use the application. At any time, users (and administrators with appropriate permissions) can open the Accepted consents section on the user profile to see which consents were accepted, whether each consent is currently active, and the exact Accepted on date and time.
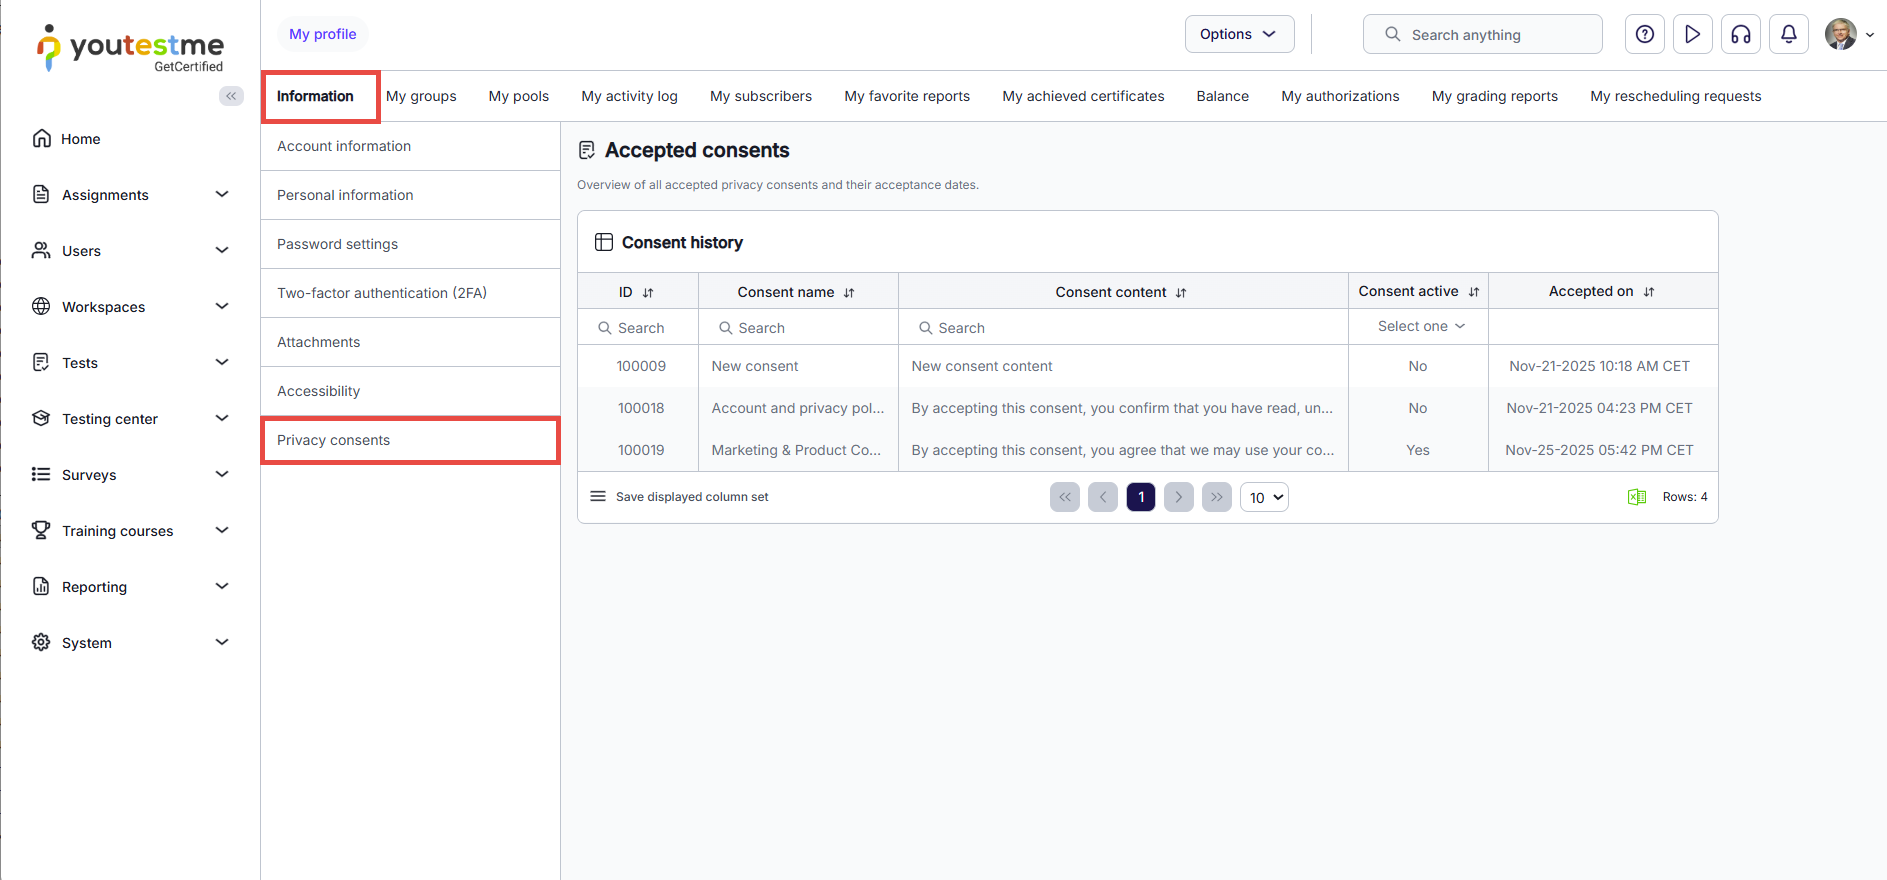
-
-
-
-
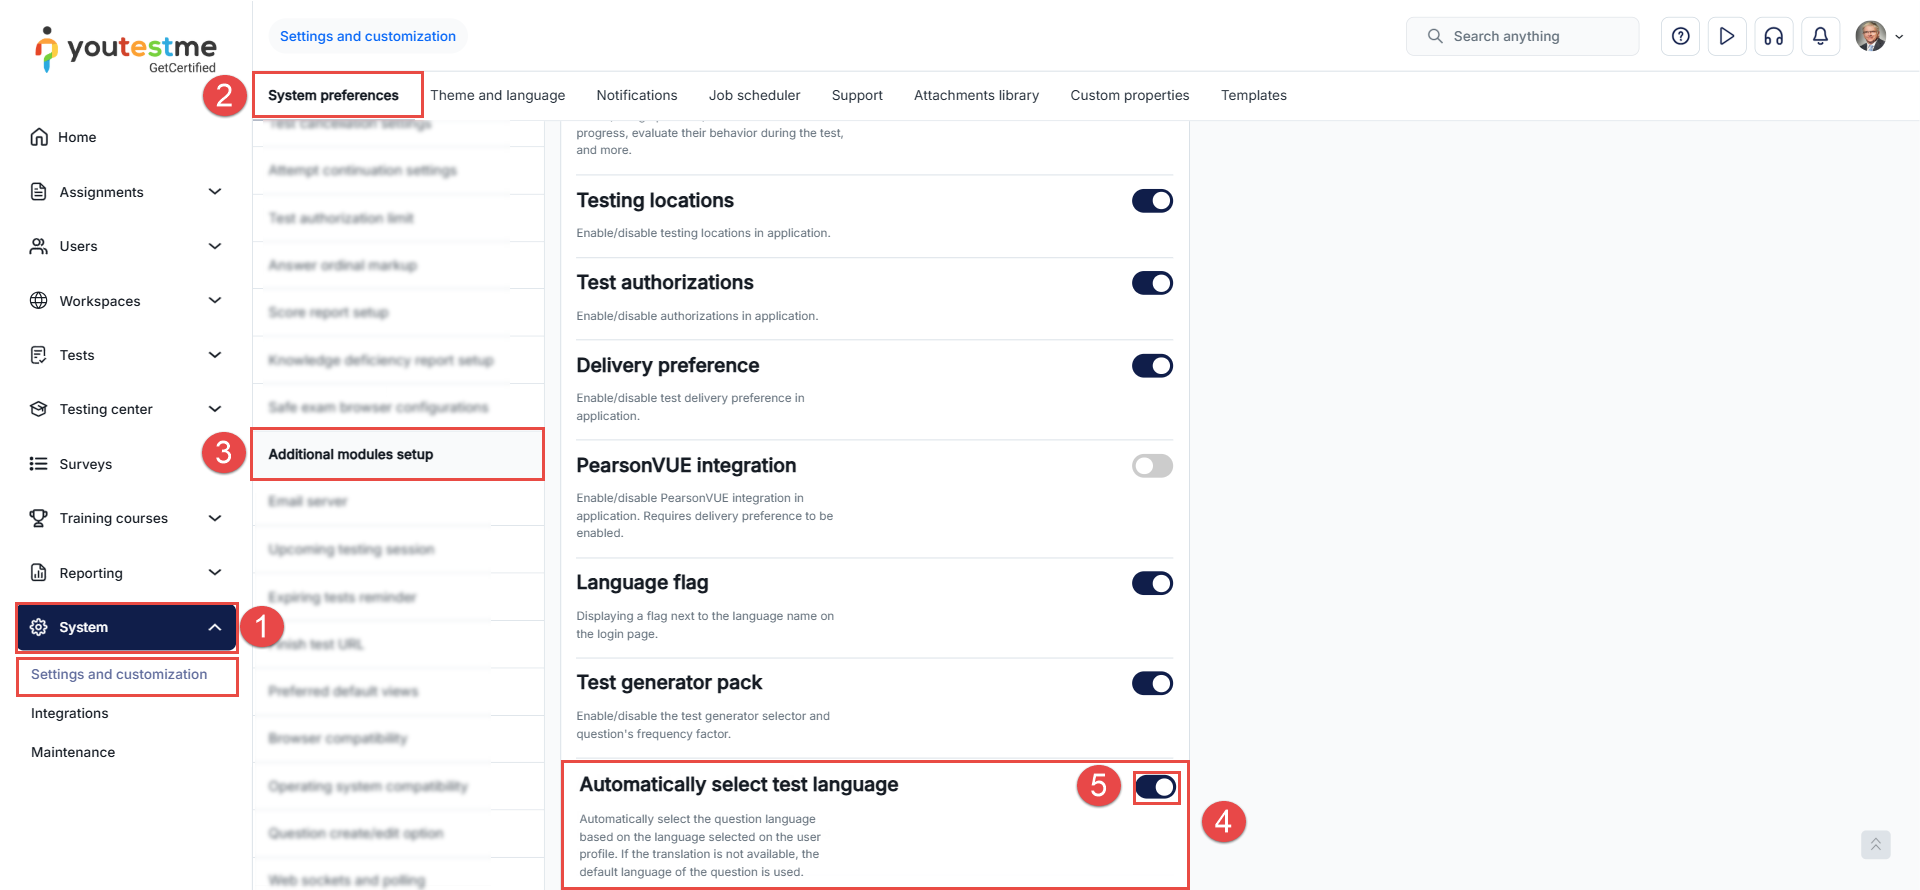
-
Customization
"Language Bundles" , "Theme", "White labeling" and "Custom types" are located in the "Customization" page.
-
Accessing the page
To access the "Customization" page, you should click on the "System" menu and select "Customization."
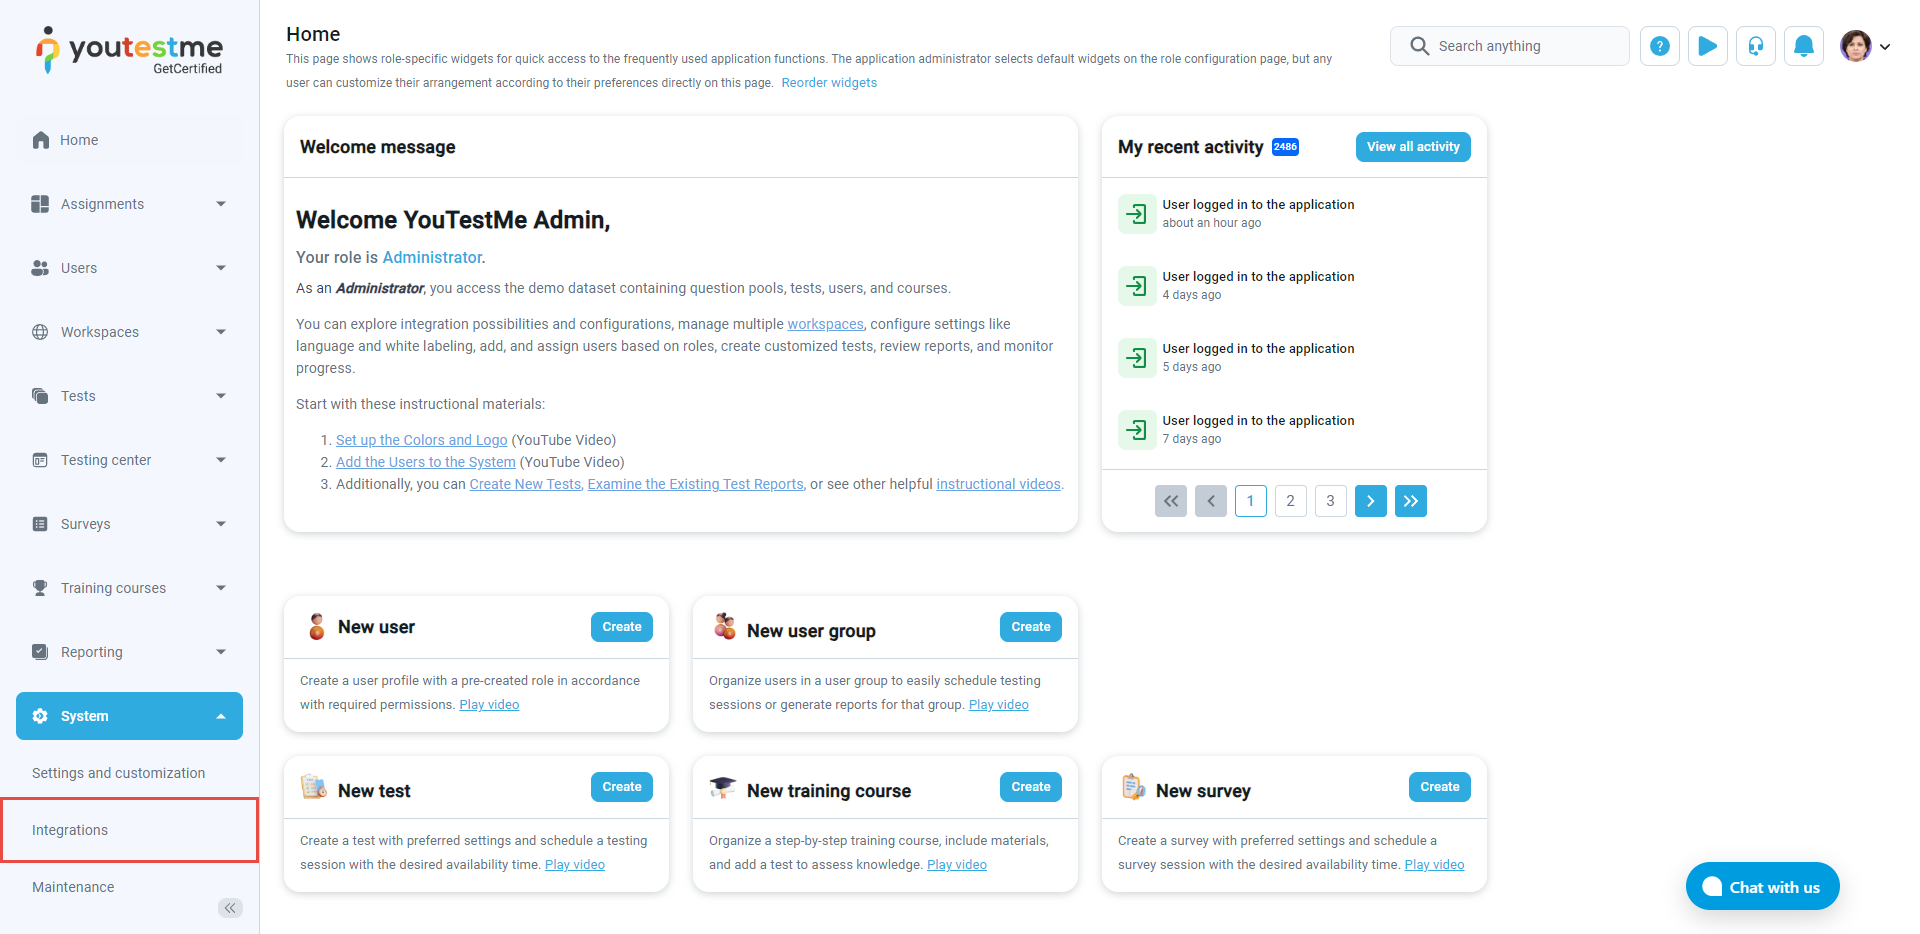
-
Page layout
On the "Integrations" page you will find these tabs: "Language Bundles" , "Theme", "White labeling" and "Custom types" .
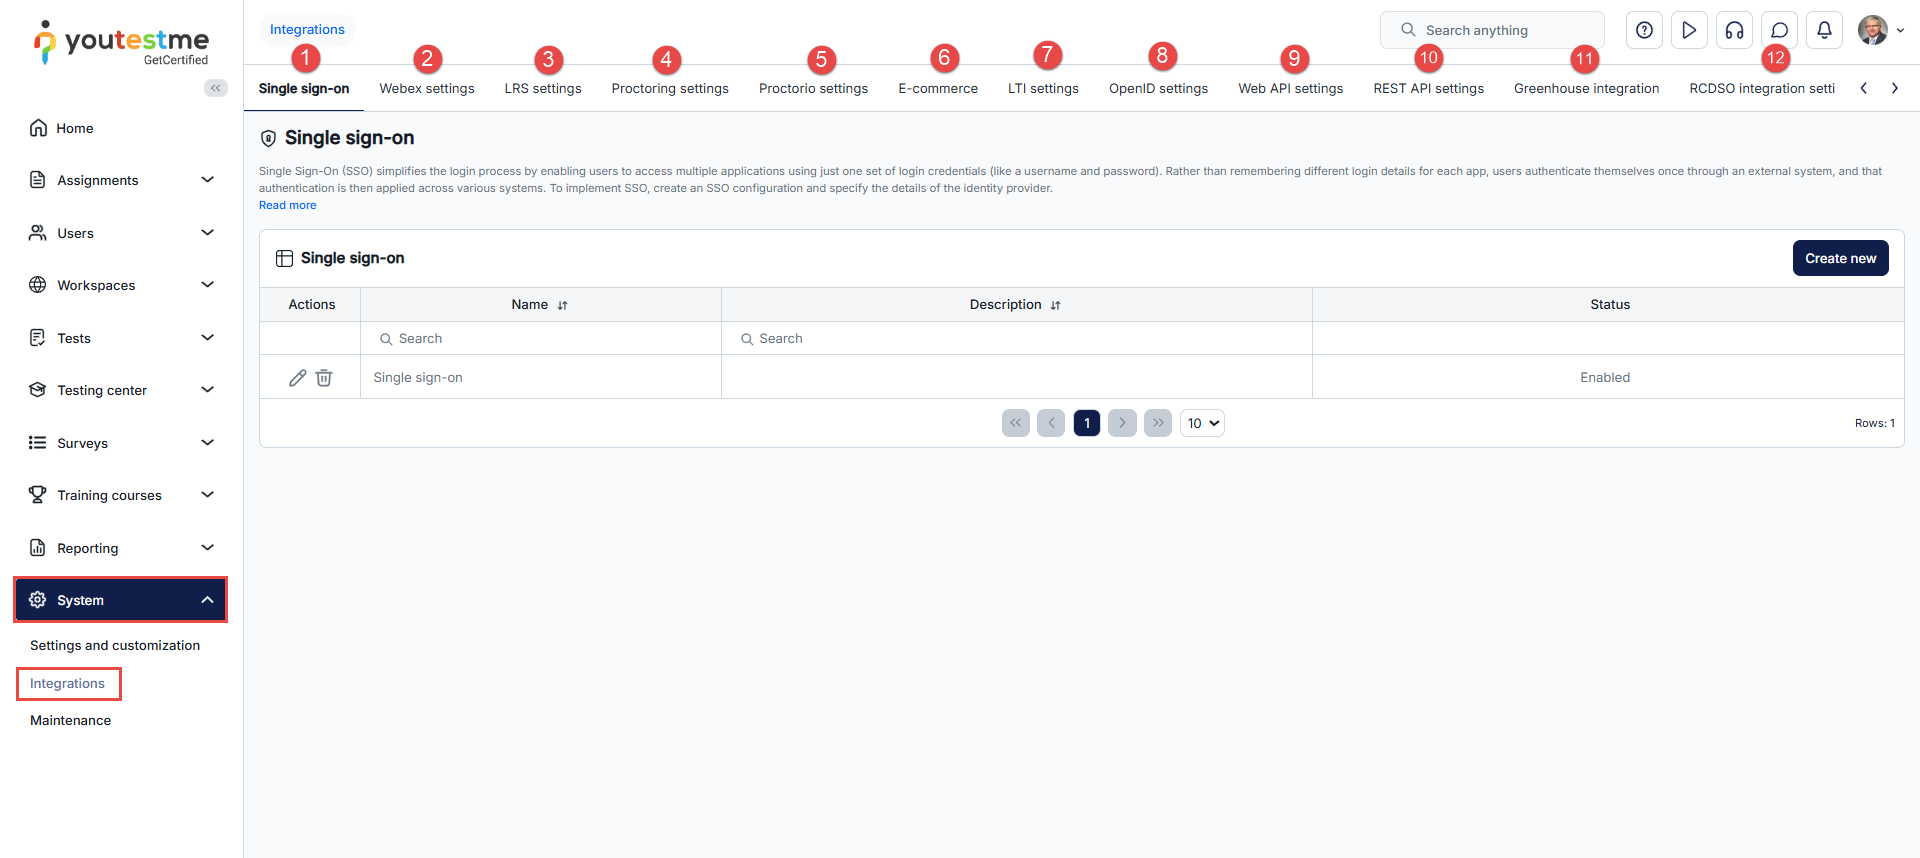
-
Language Bundles
In the "Language bundles" tab, users can customize the application interface text according to their needs - change labels' names, create new hints, modify notifications' content.
There are 5 default language bundles in the system. A language bundle is a file consisting of the key/value pair properties. Each property is connected to one or multiple UI components based on a property key.
Note: It is not possible to delete default language bundles, but you can create new ones based on them. Also, it is not possible to have two active bundles of the same type simultaneously.
-
There are two ways to create a custom language bundle:
-
Changing the language bundle by editing one-by-one property value.
-
Downloading the language bundle, editing the file offline using the desired text editor, and importing it into the application.
Note: The keys must not be changed. Otherwise, the changes will not be visible.
-
-
To create a new language bundle by editing one-by-one property value:
-
Click the "Pencil" icon for the language bundle based on which you want to create a new one.
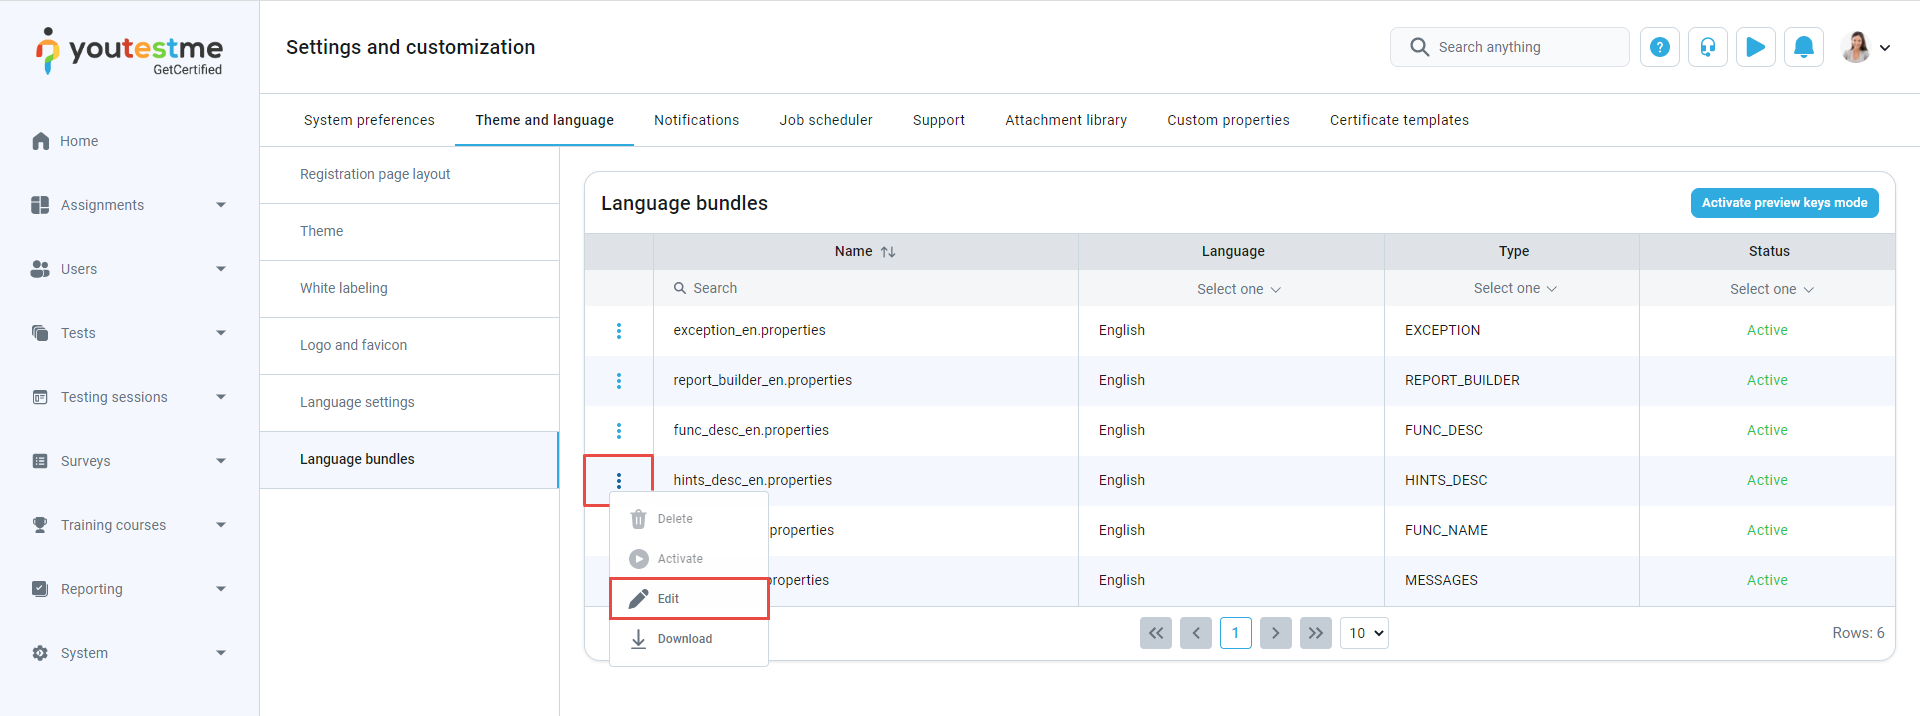
-
Search the property value or key you want to change.
-
Choose the desired key from the list. If you cannot find the key for the desired property value, you can use preview key mode to easily find it. For more information on how to use it, please visit the Preview keys mode.
-
Edit the text.
-
Confirm or discard the changes you made in the property value field.
Note: In one language bundle, you can edit as many property values as you want. All of them will be displayed when you activate the language bundle.
-
Click the "Save as" button to save a new language bundle.
-
-
To create a new language bundle by uploading a file:
-
Download the language bundle and edit the file by changing the property values.
Note: The downloaded file will be saved in .properties format.
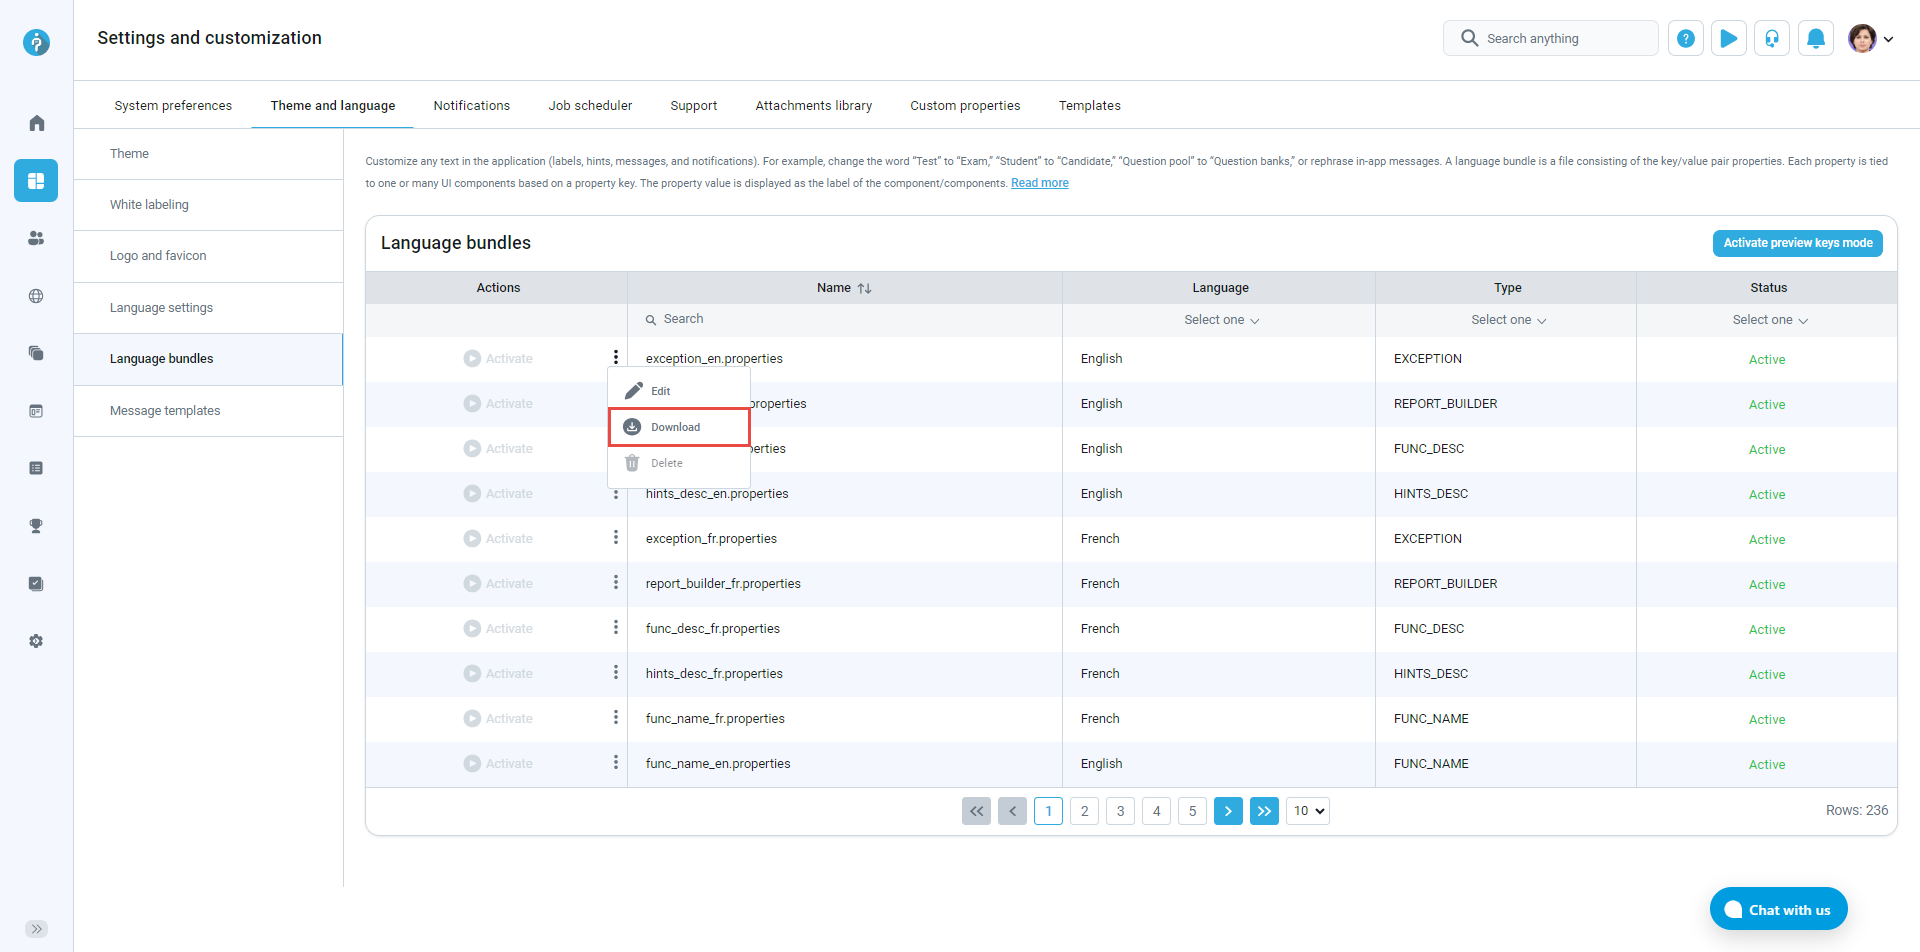
-
Load the file by clicking the "Load from properties file" button. The "Choose file" dialog will appear. Choose a modified .properties file and confirm your choice.
-
Click the "Save as" button to create a new language bundle or the "Confirm" button to update the existing one.
Once you create a new language bundle, it will have an inactive status.
-
-
To activate a new language bundle:
-
Click the "Activate language" button.
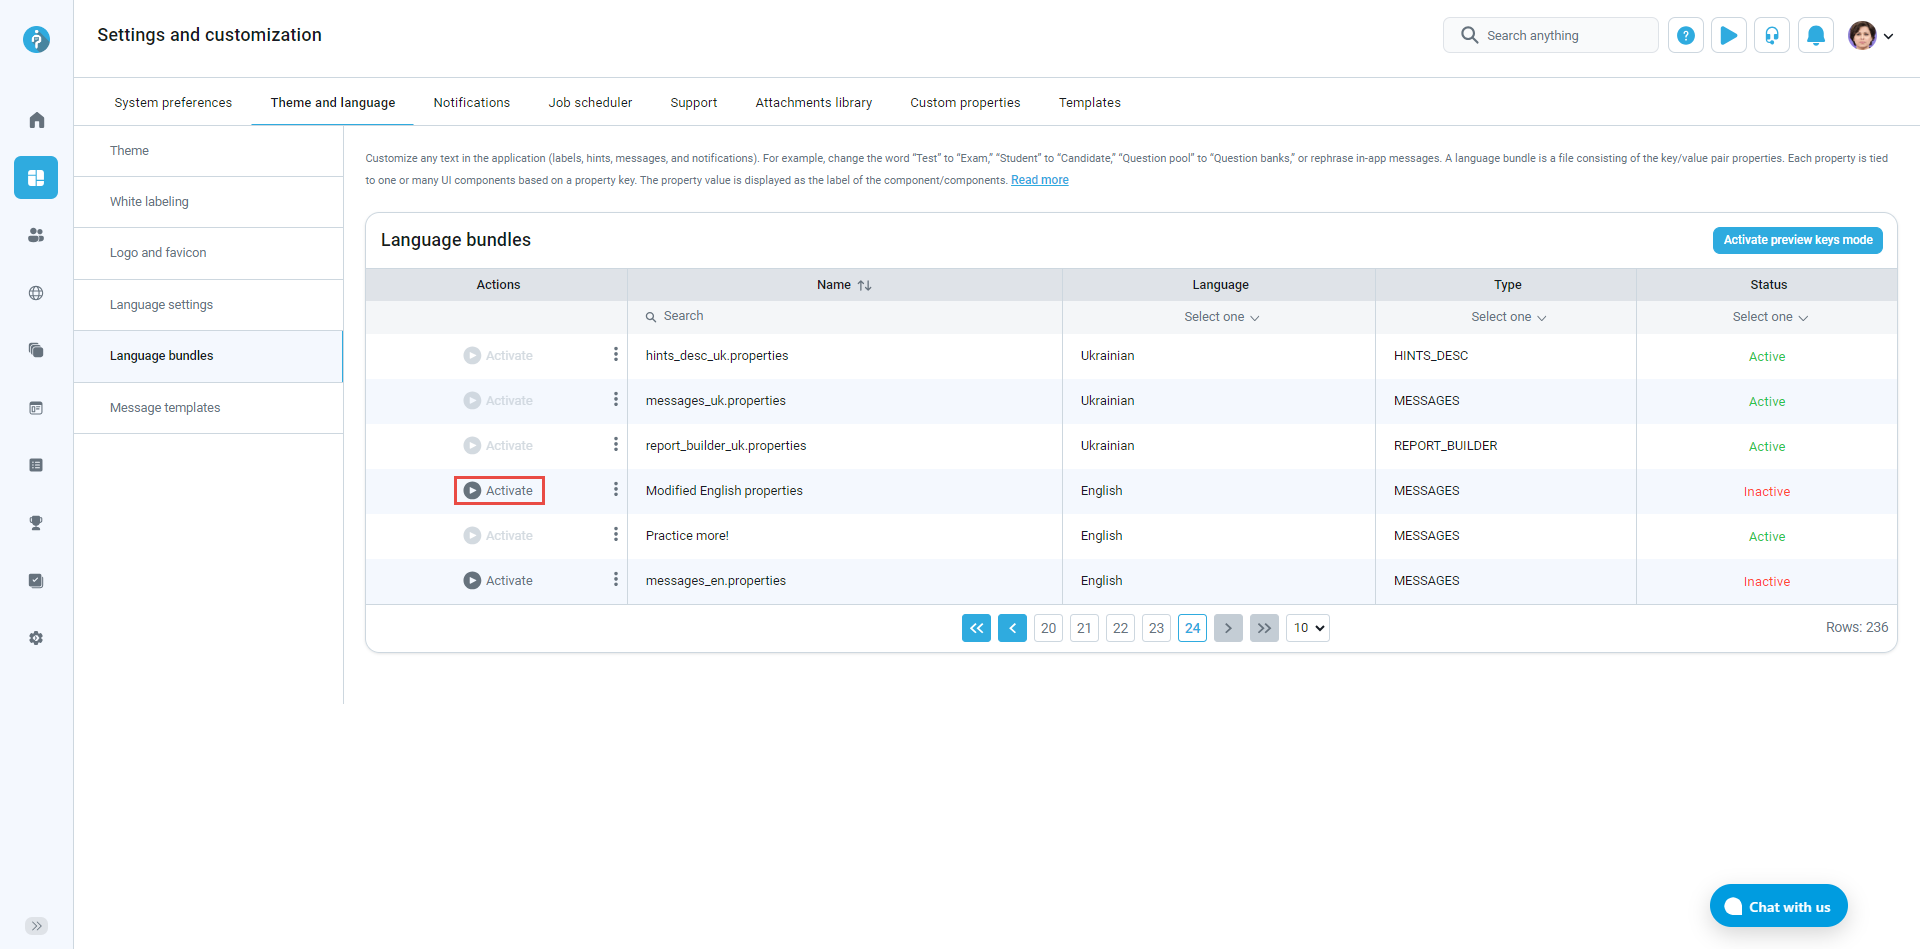
-
Click the "Yes" button in the pop-up window.
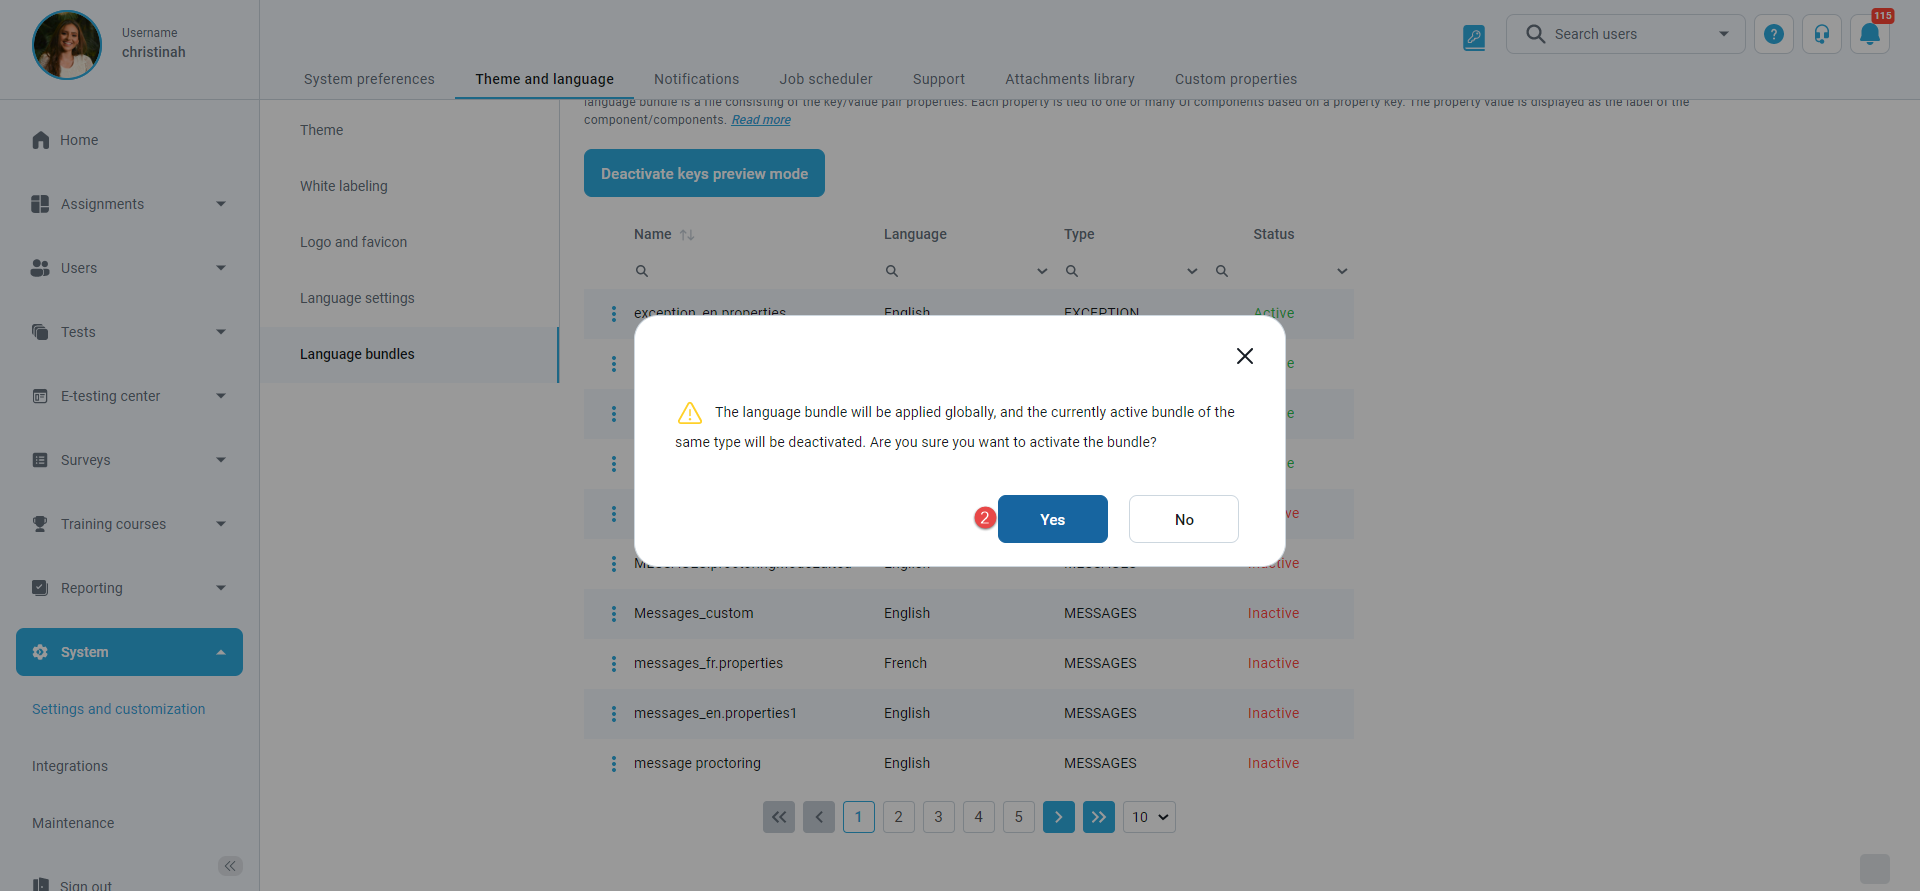
Note: Once you activate the language bundle, it will be applied globally, and the currently active bundle of the same type will be deactivated.
Example of how the message looks before and after changes.
Before
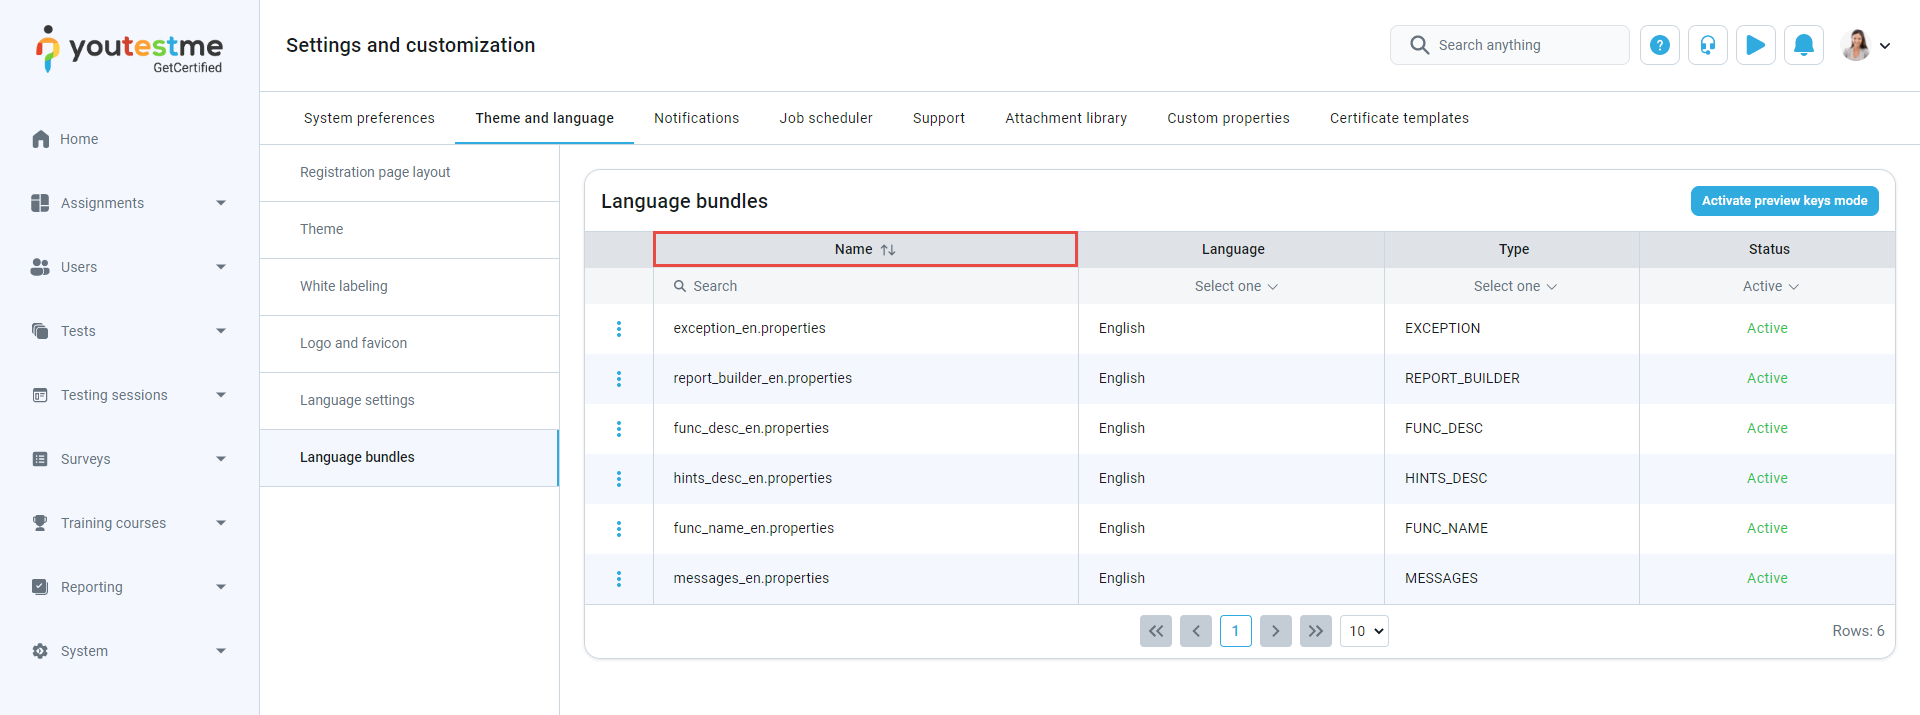
After
-
-
You can reactivate the default language bundle at any time. If you want to delete a custom language bundle:
-
Click the "Trash can" icon.
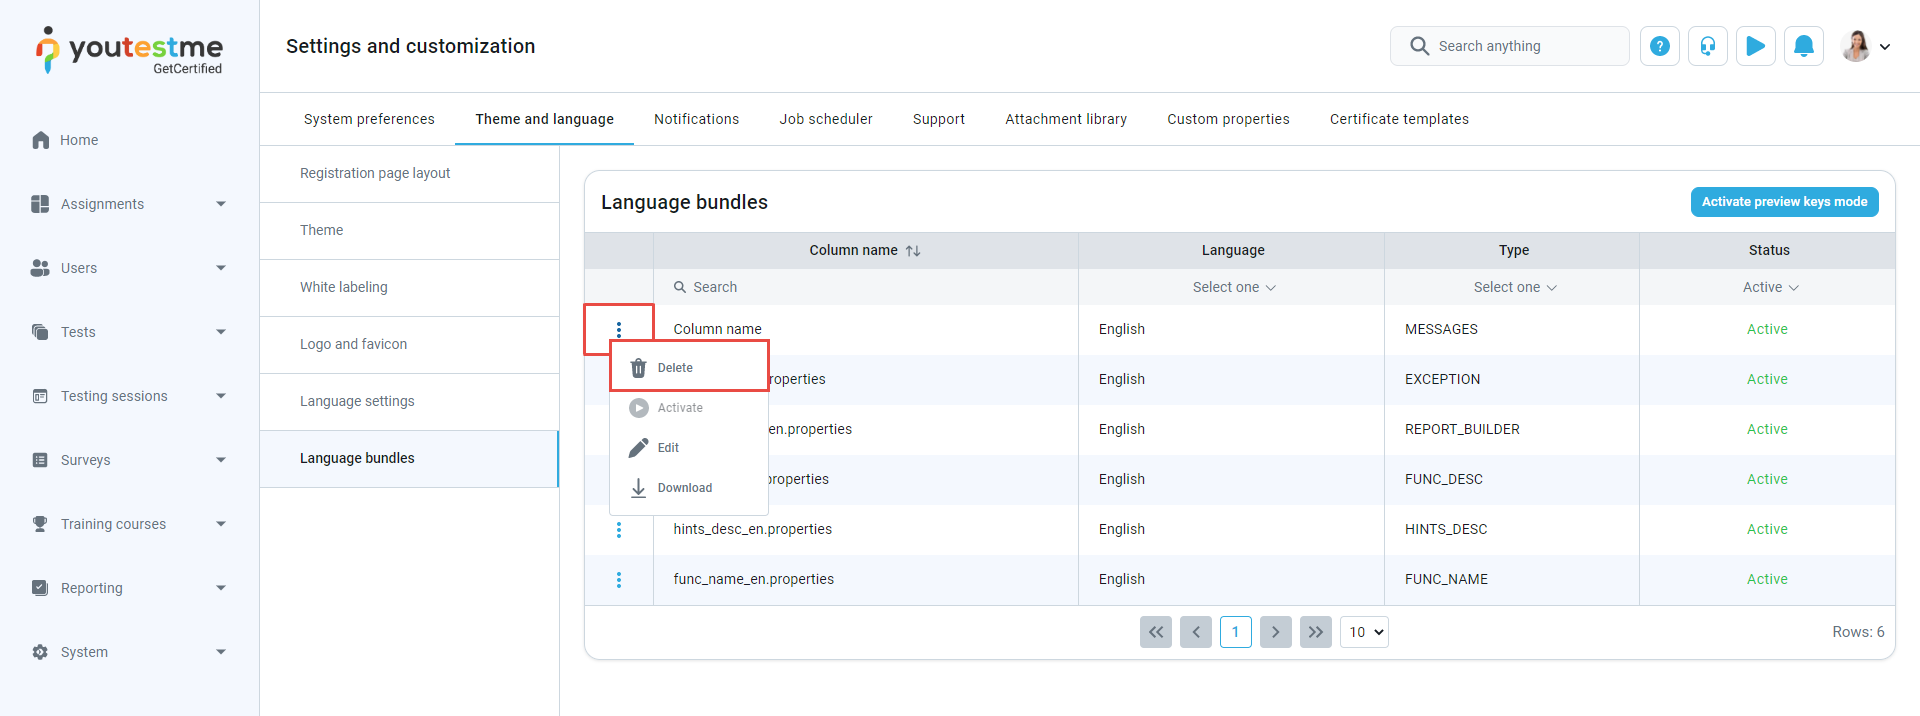
-
Click the "Yes" button in the pop-up window.
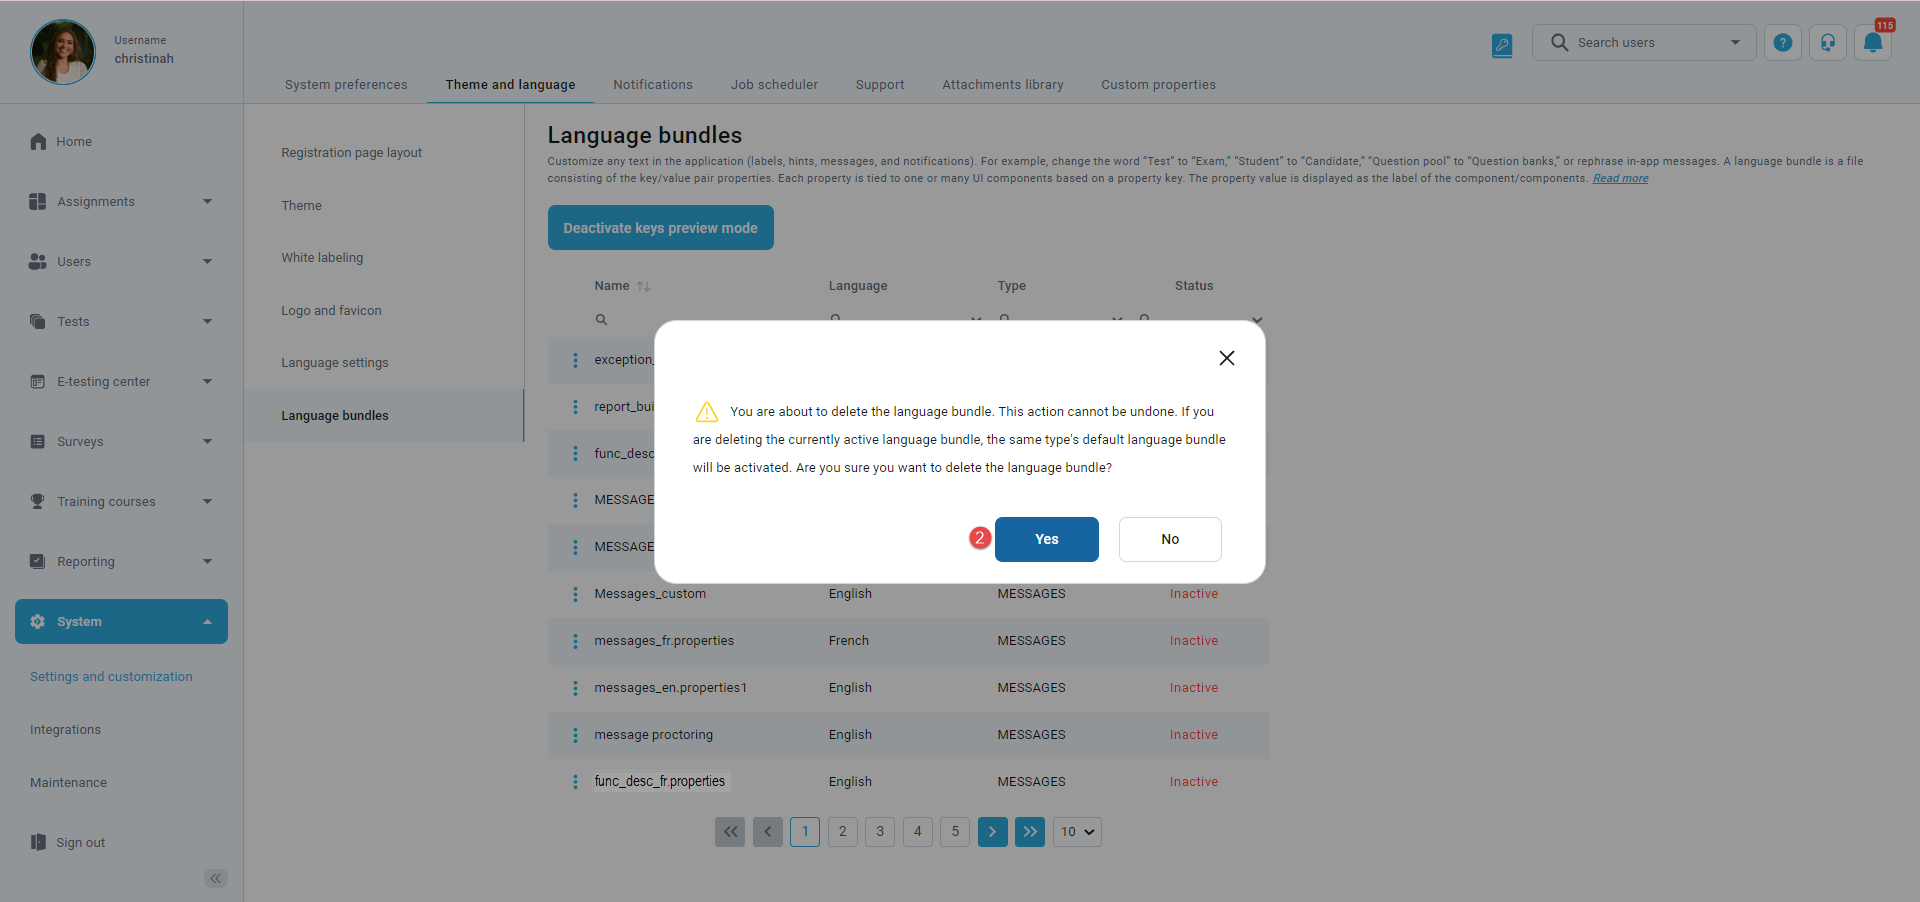
After deleting a custom language bundle that was active, the default bundle will be activated automatically.
Preview keys mode
-
-
To easier modify the language bundles, you can use the option to display property keys.
-
Click the "Activate preview keys mode" button.
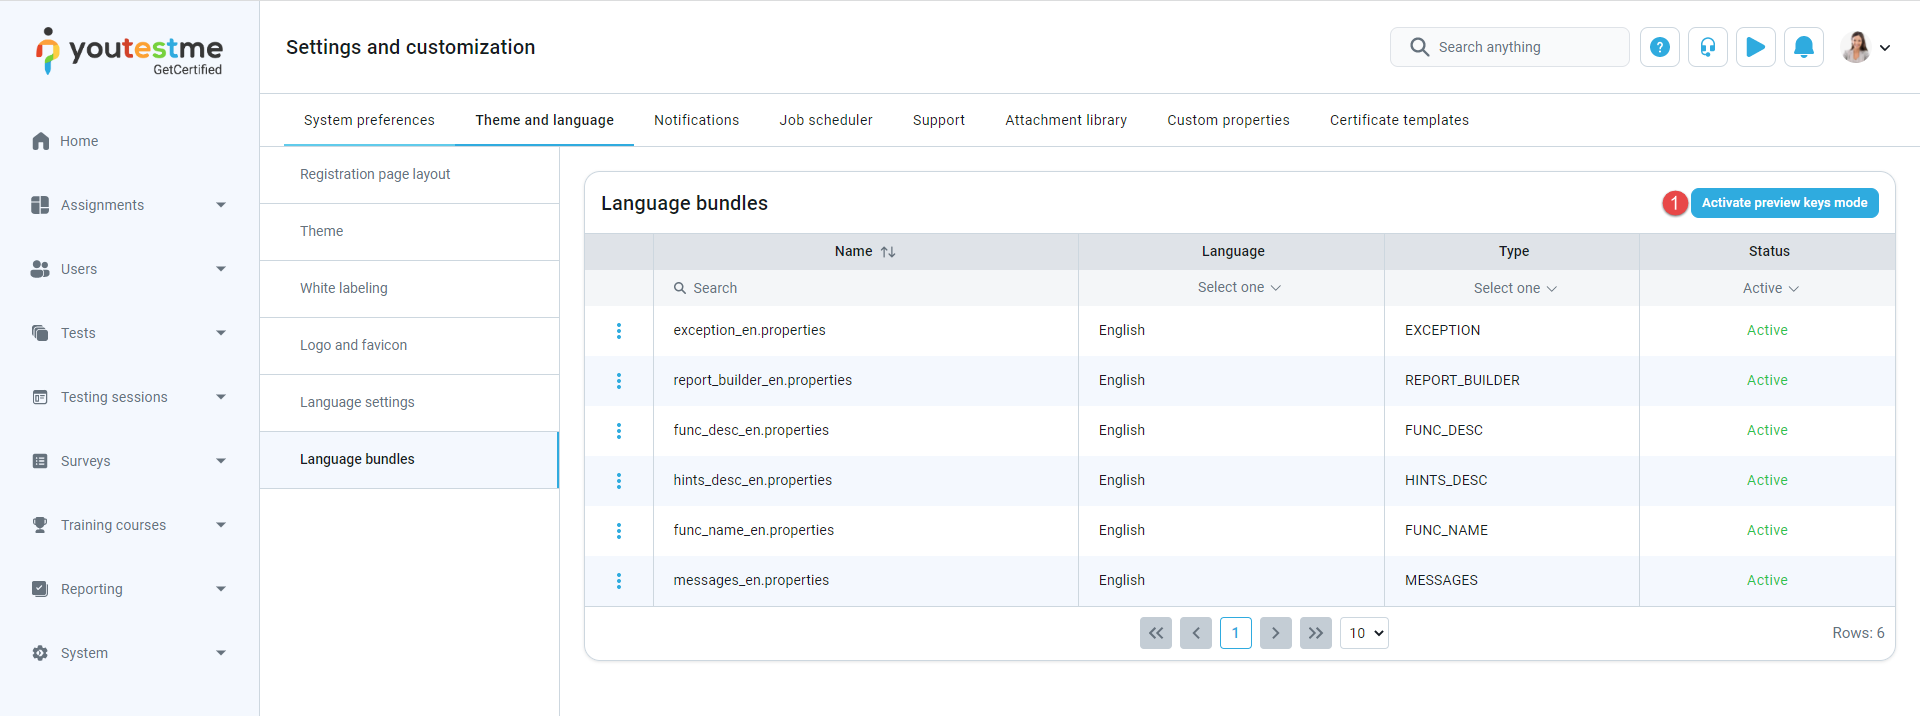
-
Open the page that contains the value you want to change. Then click the button to preview language bundle keys.
The example is displayed in the following picture.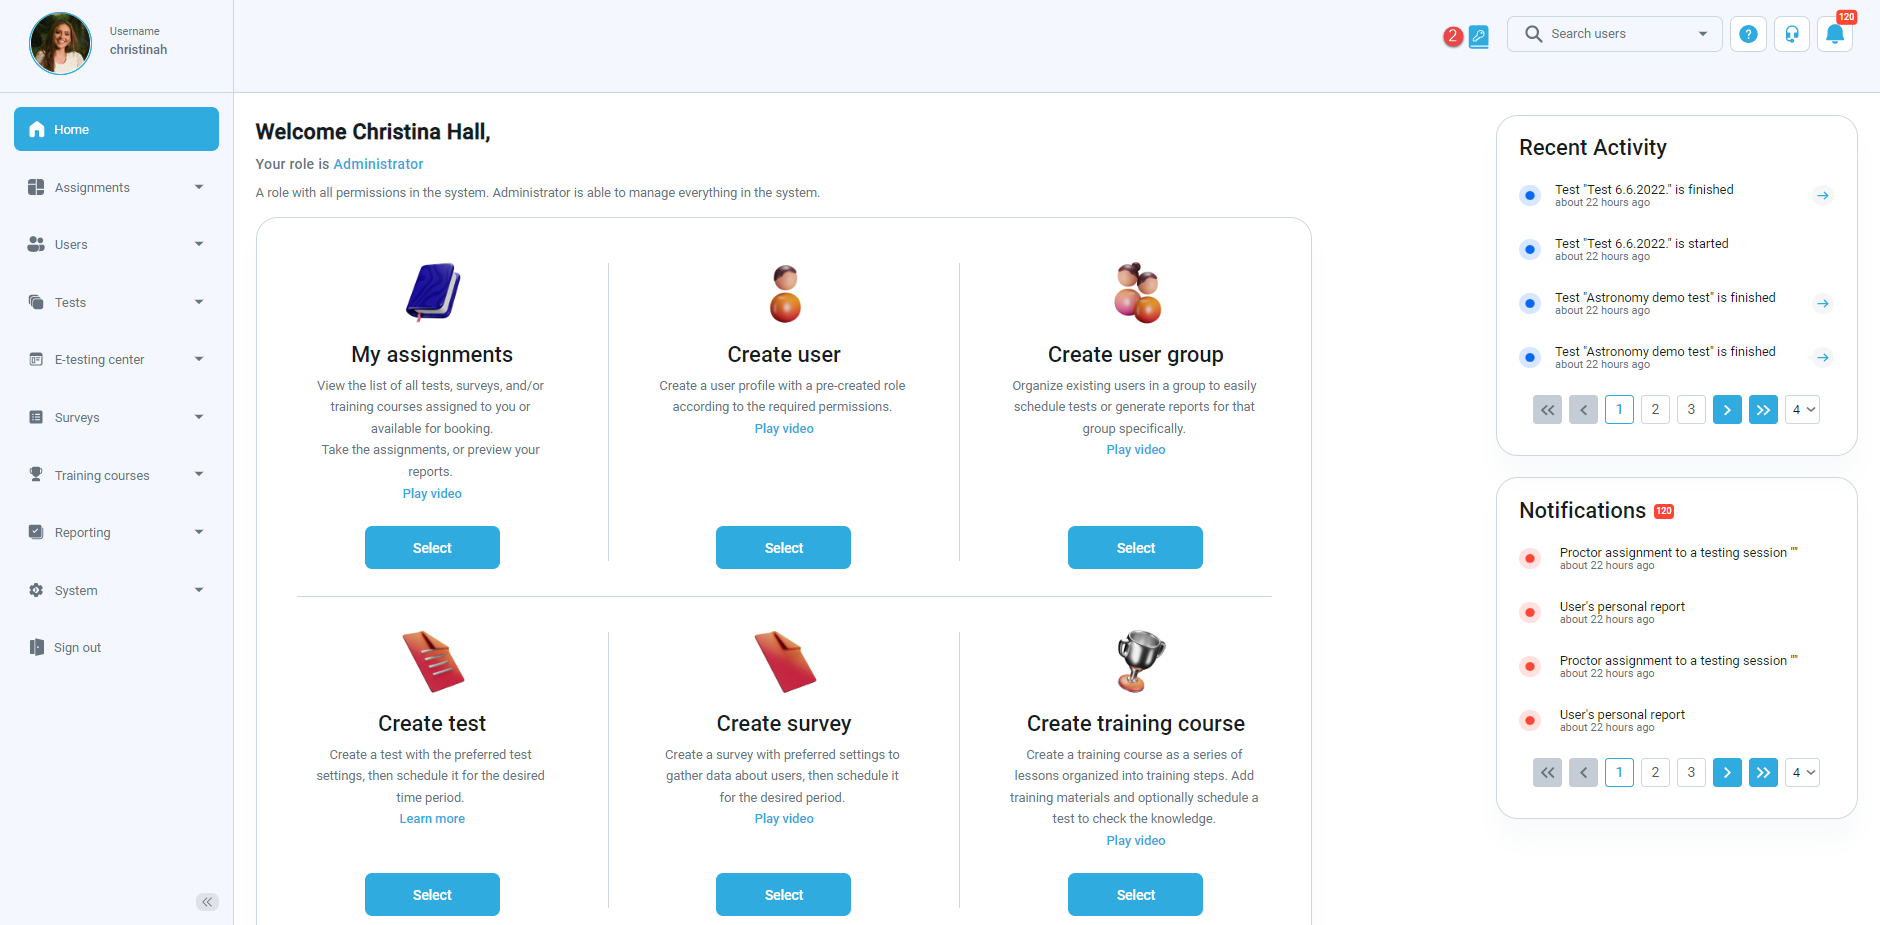
-
Find the value you want to change, language bundle type, and the property key. Then continue following the steps for creating custom language bundles.
The example is marked in the following picture.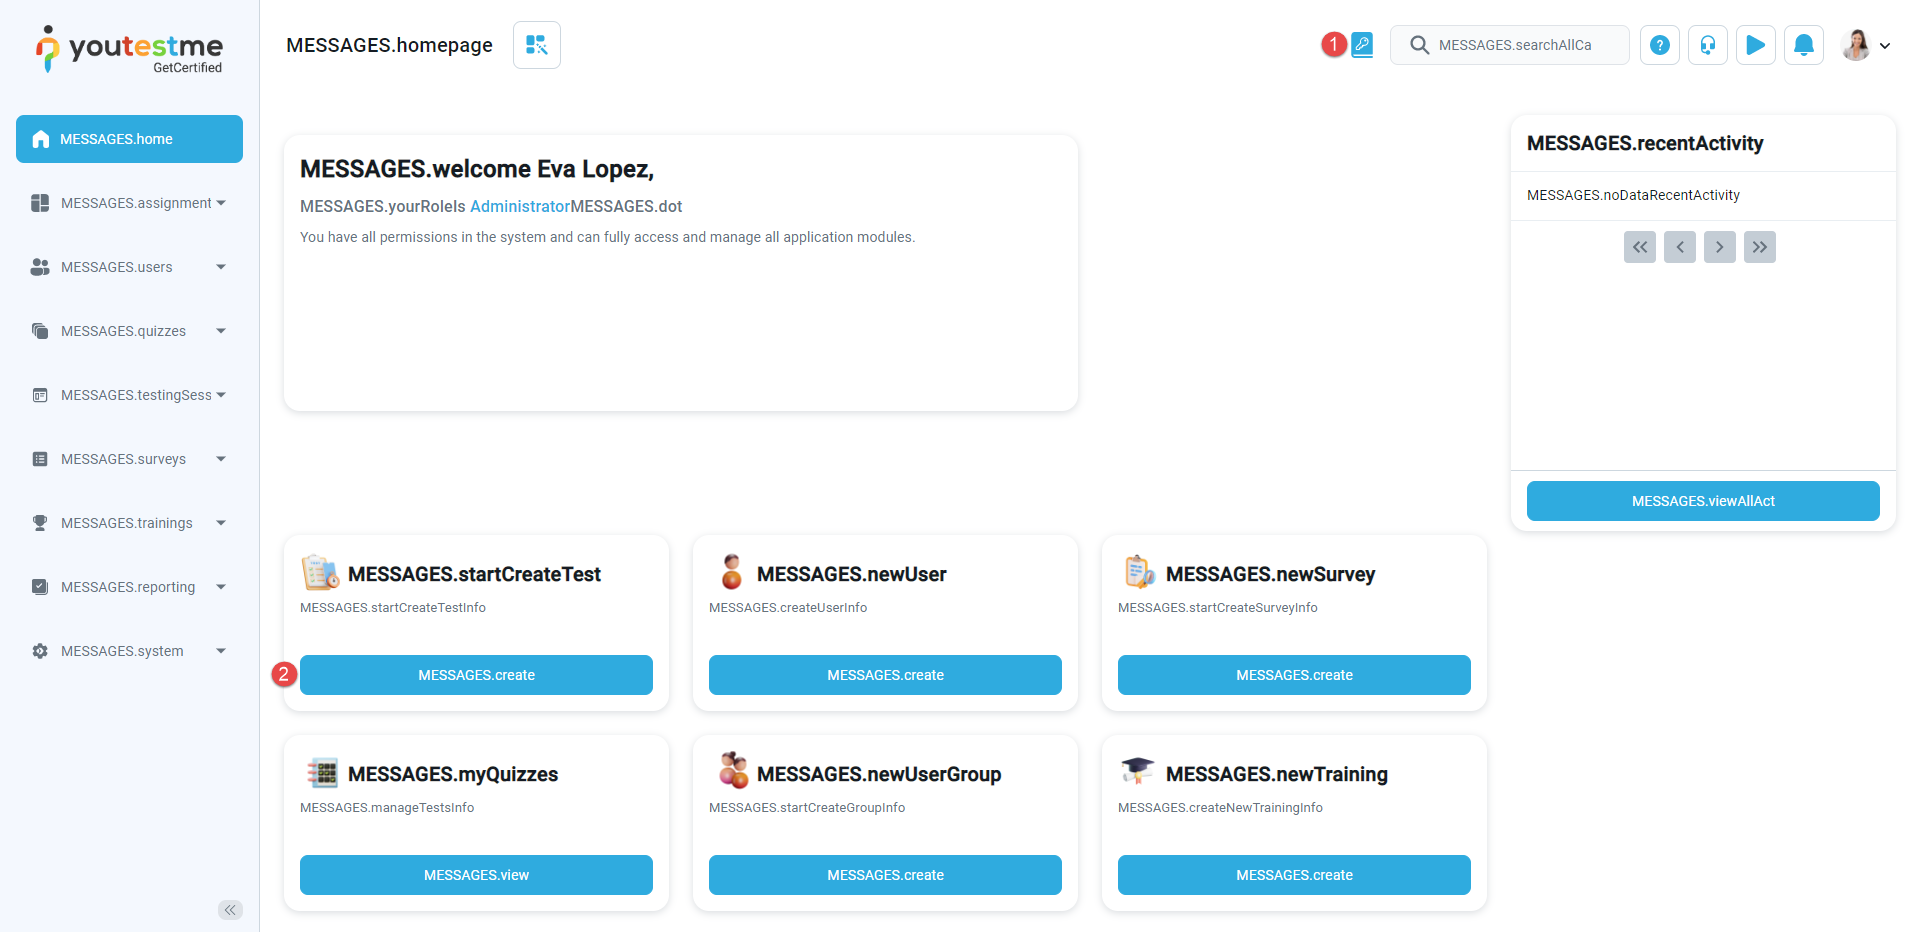
-
Once you want to turn off the keys preview mode, click the "Deactivate keys preview mode" button in the "Language bundles" tab.
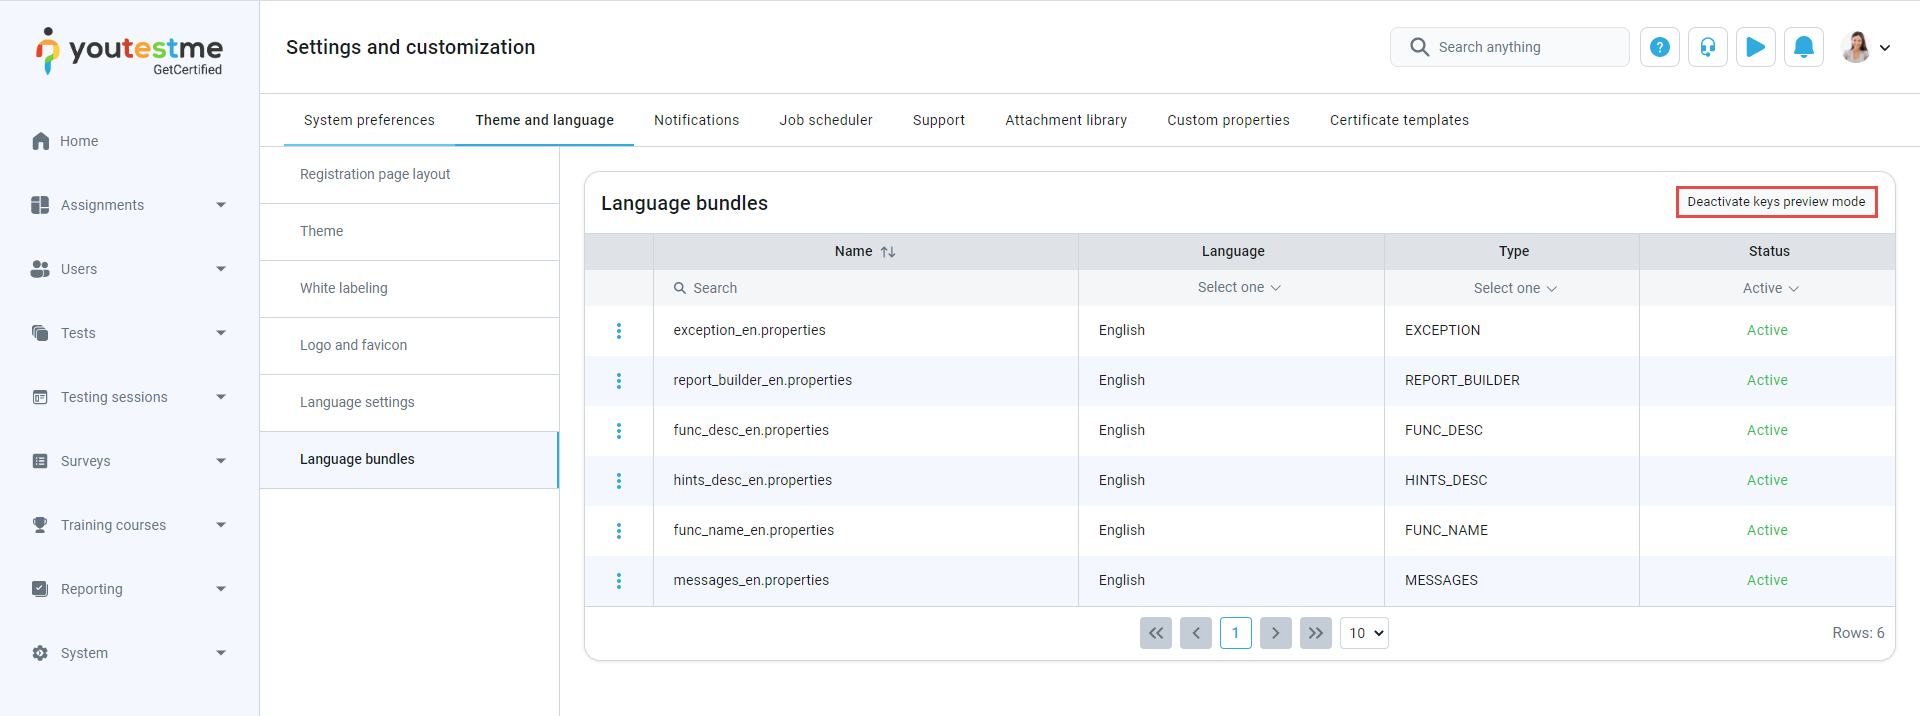
-
-
Theme
On the "Theme" tab, you can:
-
Set as a default theme.
-
Set as active theme.
-
Invert gray scale.
-
After making the desired changes click the "Confirm" button.
-
If you want to discard your changes, click the "Cancel" button.
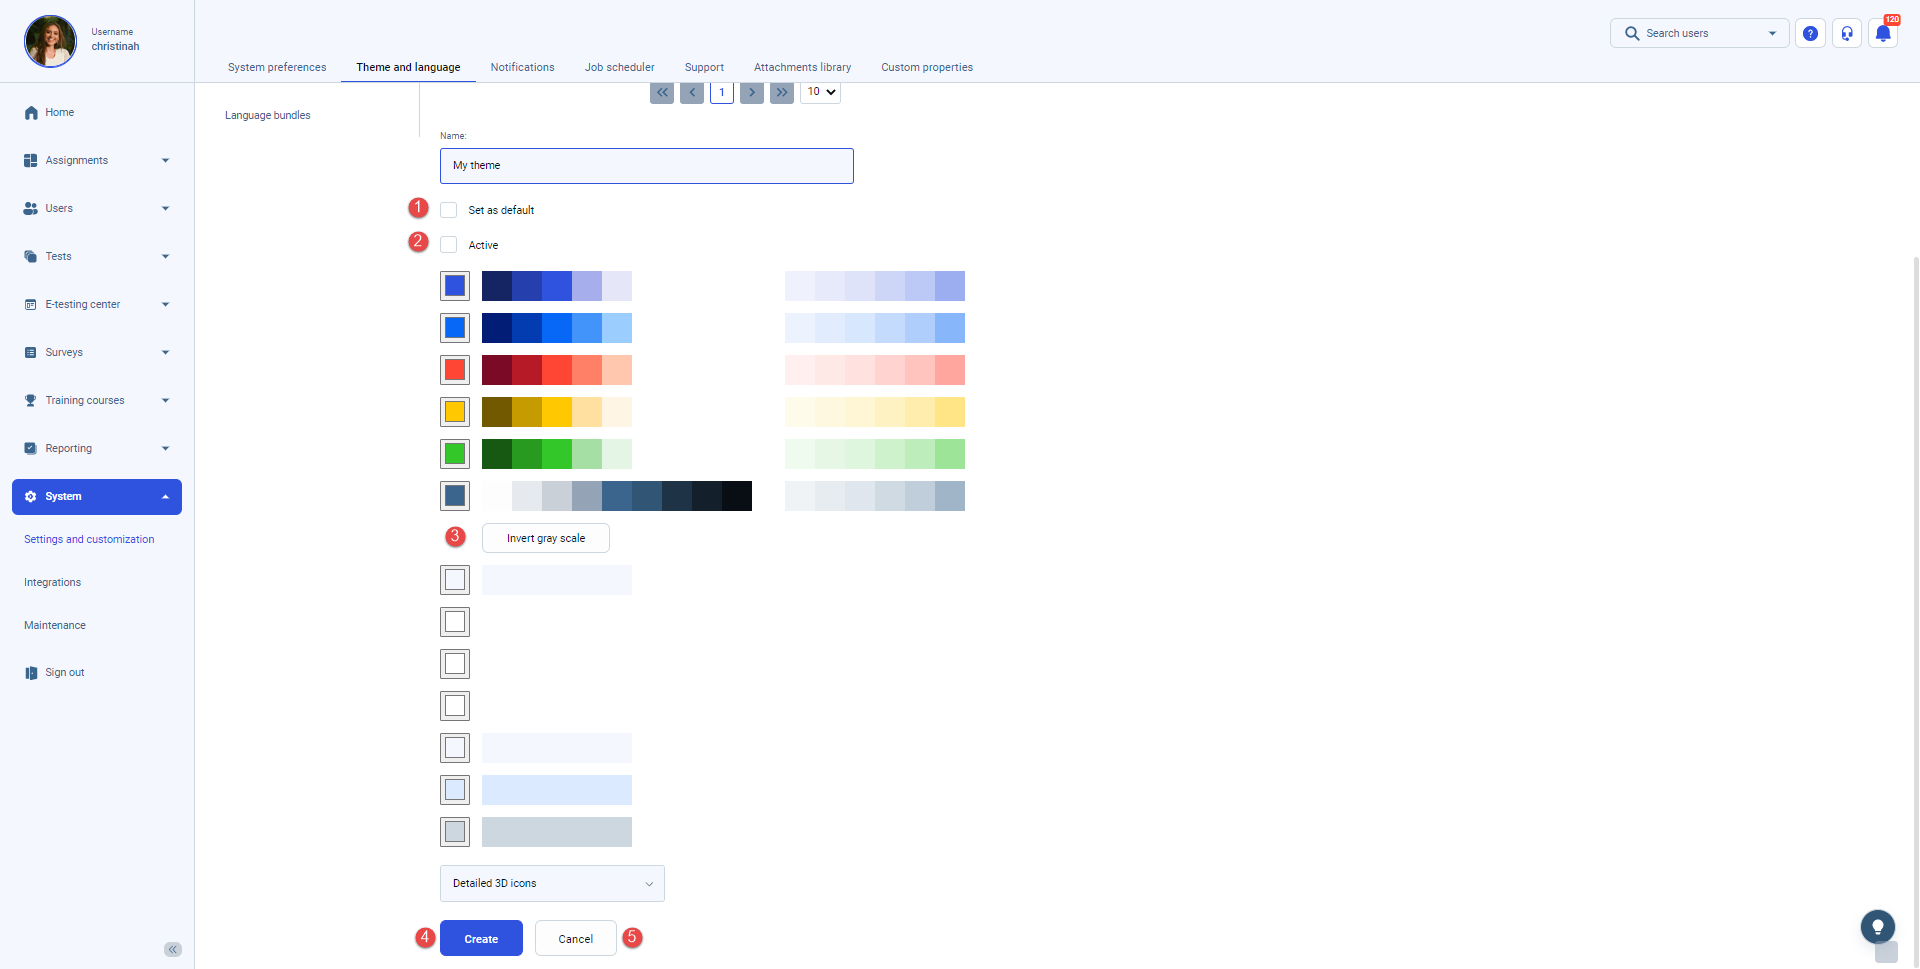
-
-
-
Language settings
In the "Language settings" tab, users can change the application-enabled languages.
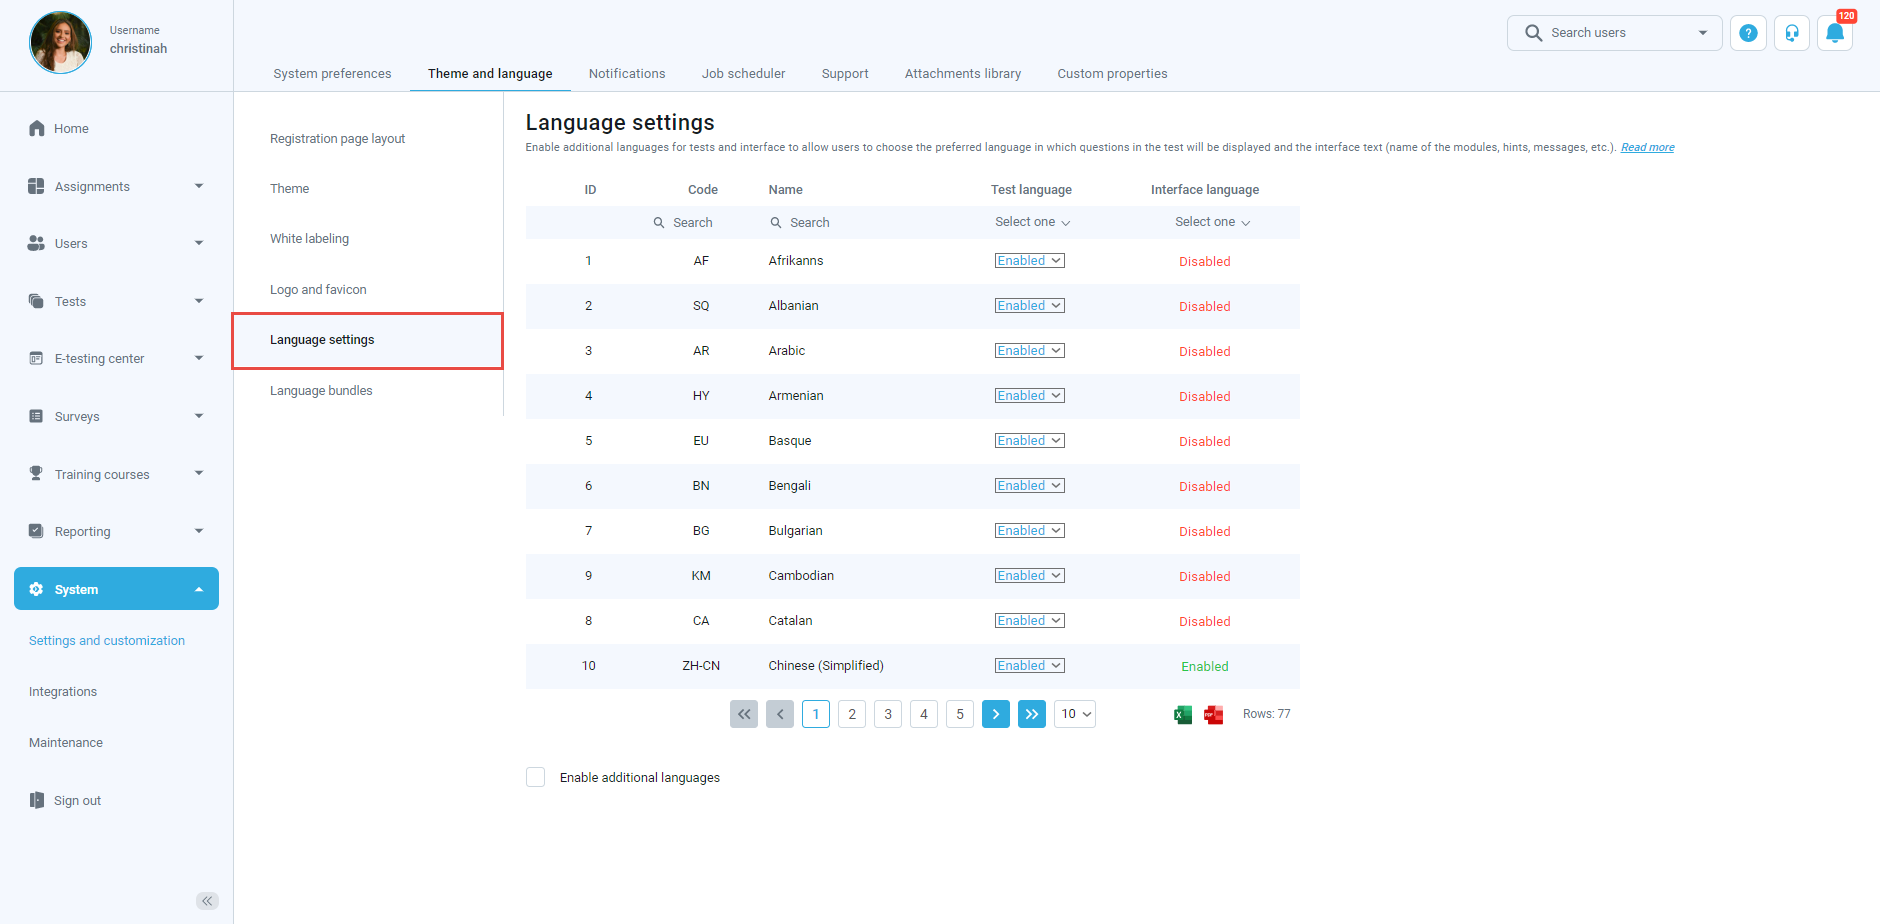
-
You can search by:
-
Language ID.
-
Language code.
-
Language code.
-
Language status (Status can be "Enabled" or "Disabled").
-
Interface available ("Enabled" or "Disabled").
-
-
If you want to change the status for a language:
-
Choose a language
-
Change status for that language
-
-
You can export the language table with all information in these formats:
-
Excel file
-
PDF
-
CSV
-
XML
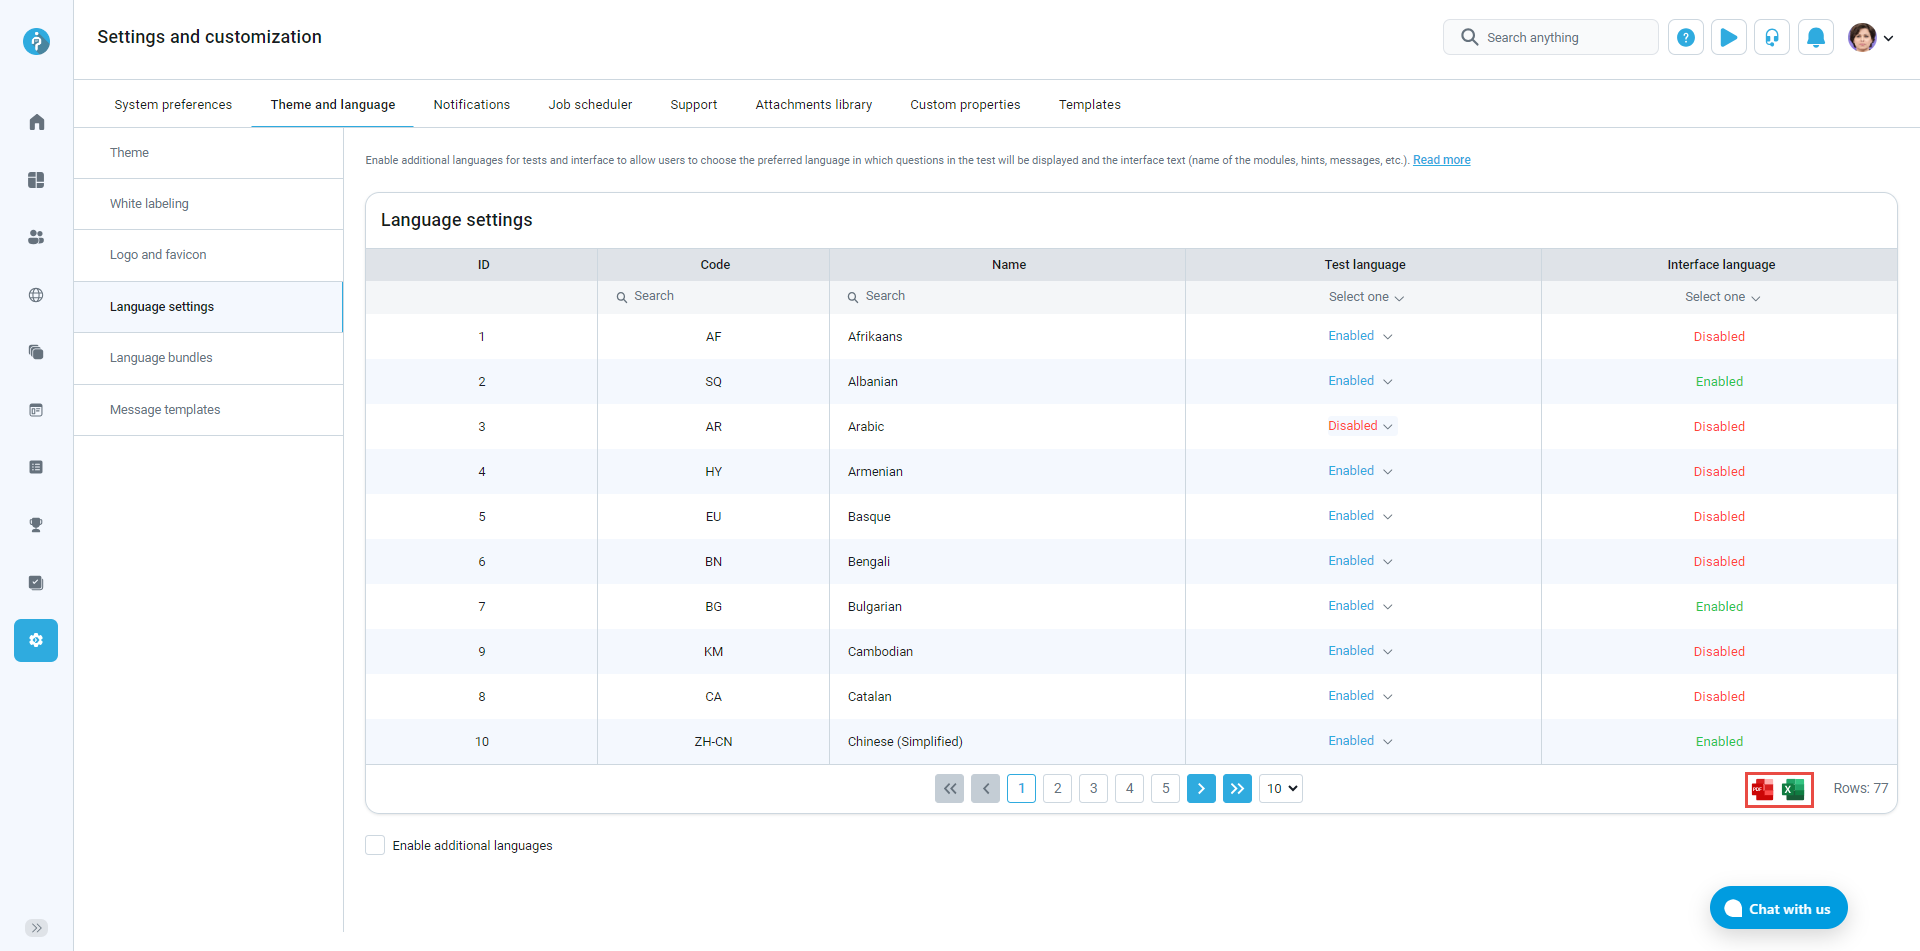
-
-
White labeling
On the "White labeling" tab, you can customize certain elements of the application.
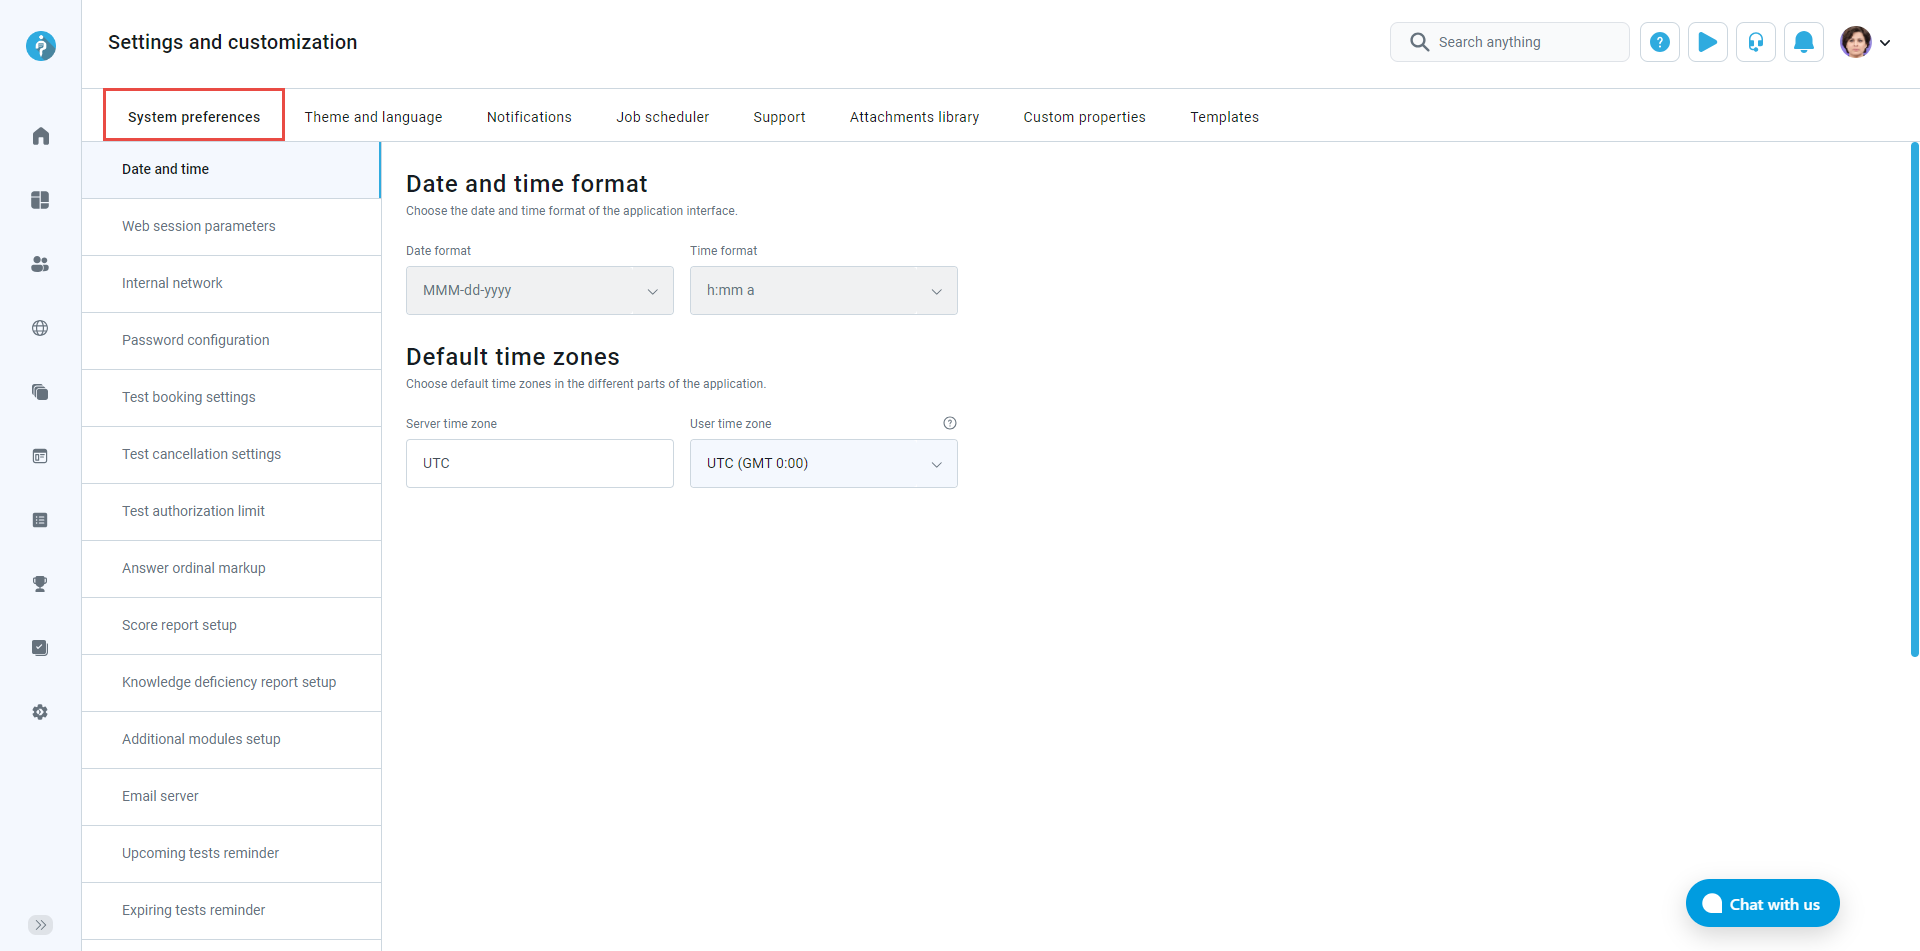
-
White labeling options
-
You can modify the web browser tab title text.
-
You can modify the text next to "Copyright" on the login page.
-
You can modify the confirmation text on the instruction screen dialog of "All assignments."
-
You can modify the $from$ parameter in the system emails for all emails sent from the application.
-
You can modify the URL of the application in the emails sent from the system.
-
Login instructions - you can write detailed guidelines or put useful links so the users will know what to do when login.
-
You can choose to display the YouTestMe privacy policy.
-
If you click the "Change logo," you can change the logo on the login page.
-
If you click the "Default logo," you can change the login page's logo to the default "YouTestMe" logo.
-
Favicon
If you click "Change favicon," you will change the icon next to the web browser title text.
-
If you click "Cancel," you will cancel the change of the favicon.
-
-
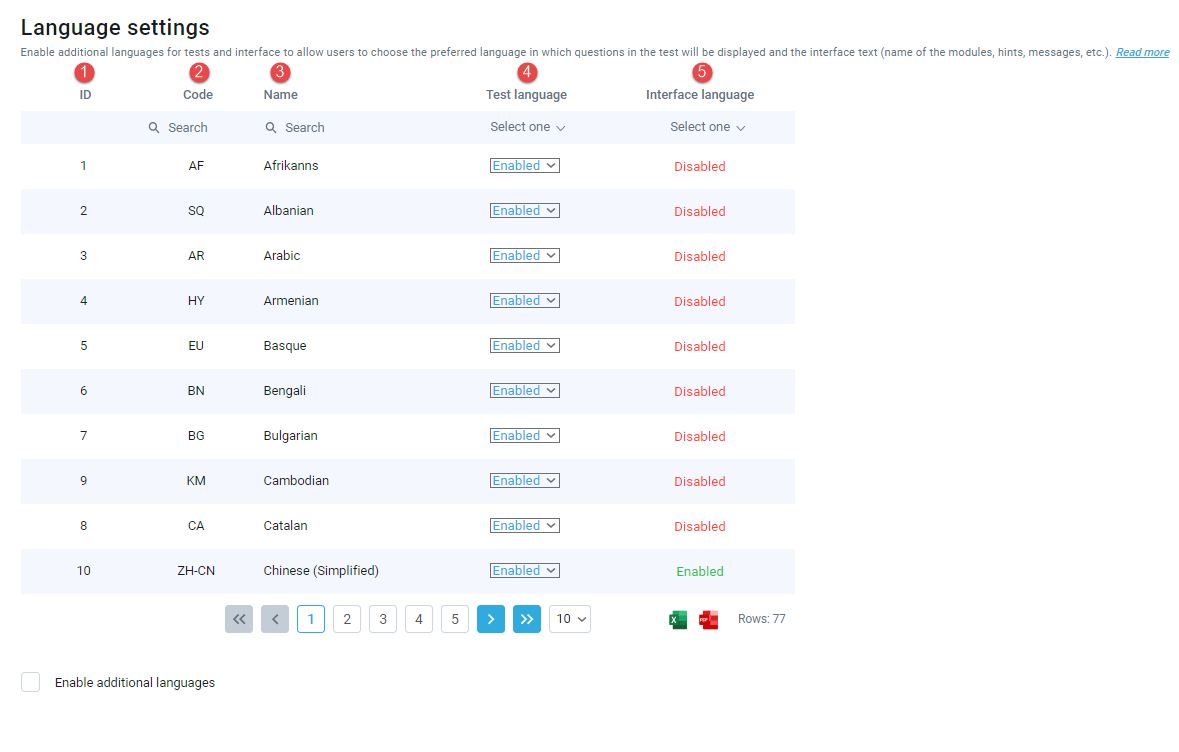
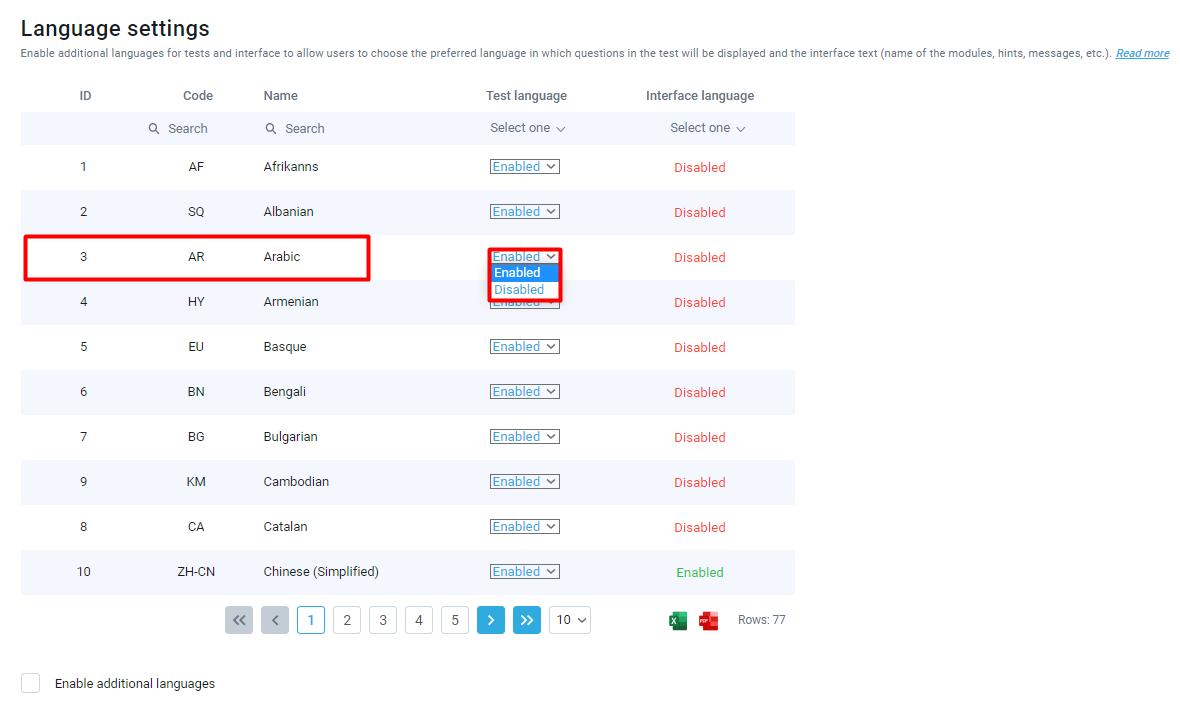
To see these changes, navigate to "Users" in the main menu, then "Account", and then "Account Information".
Before-When the language status was enabled
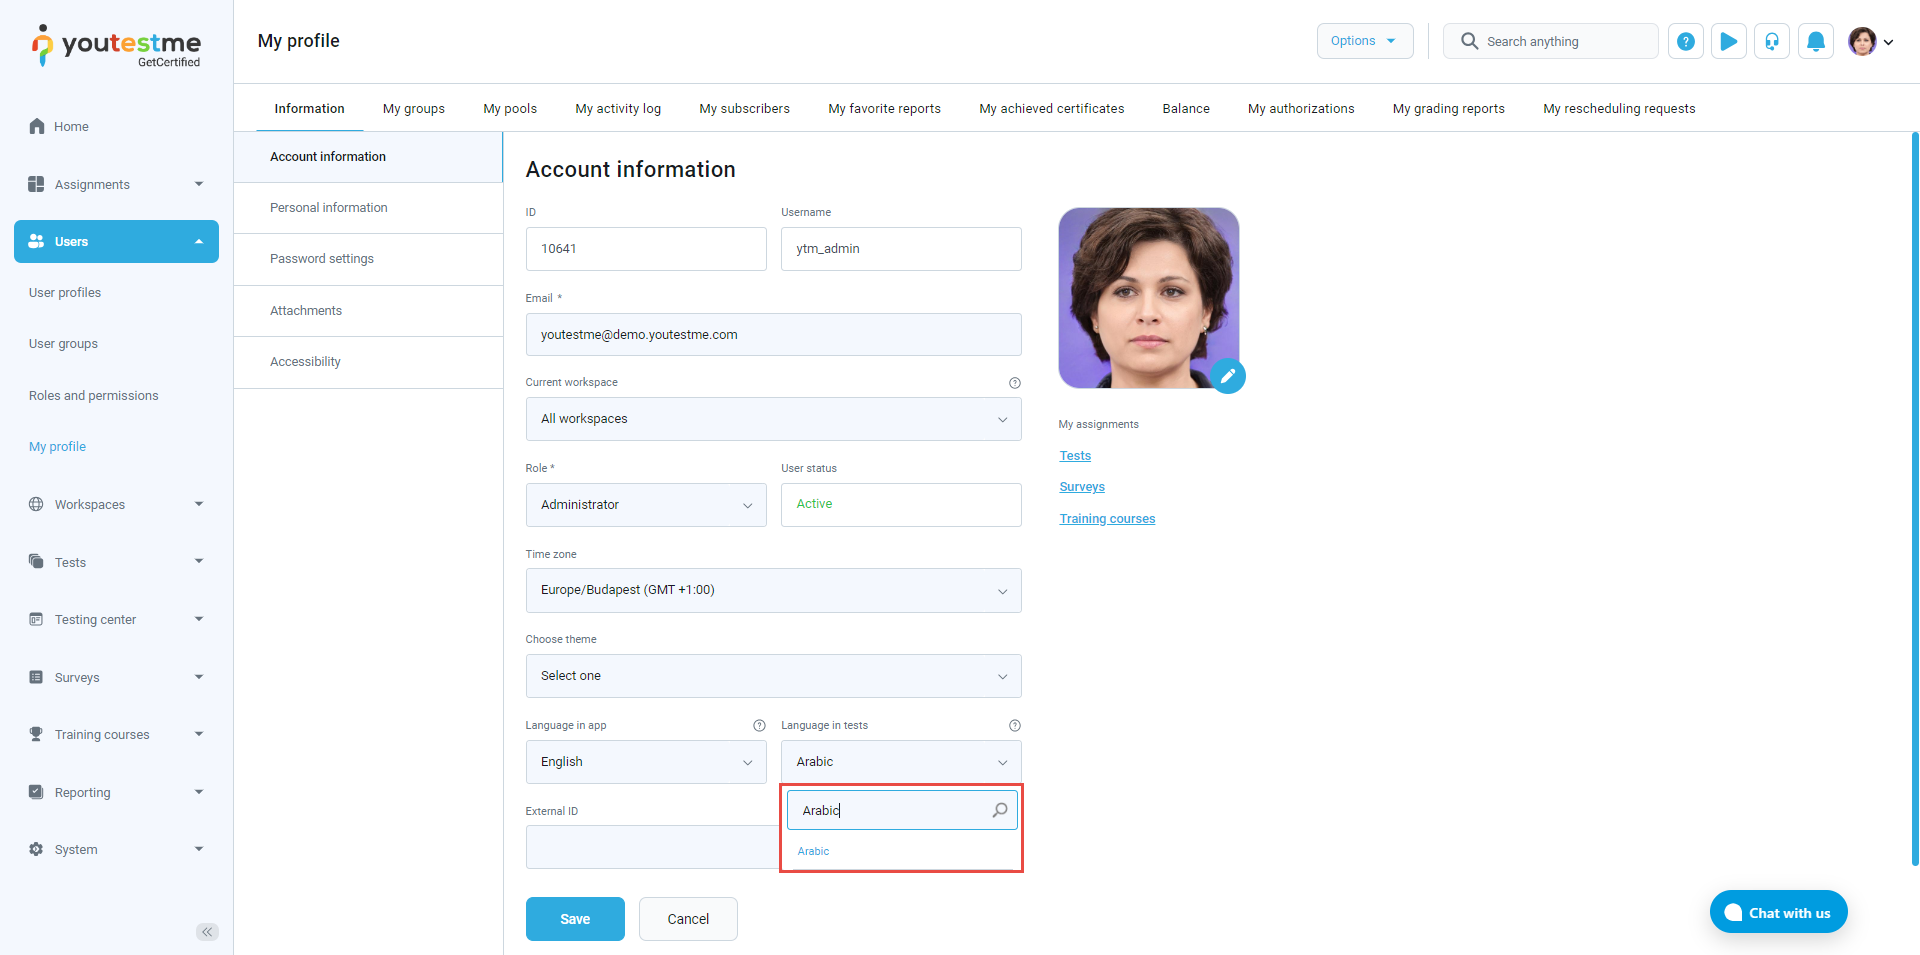
After-When the language status is disabled
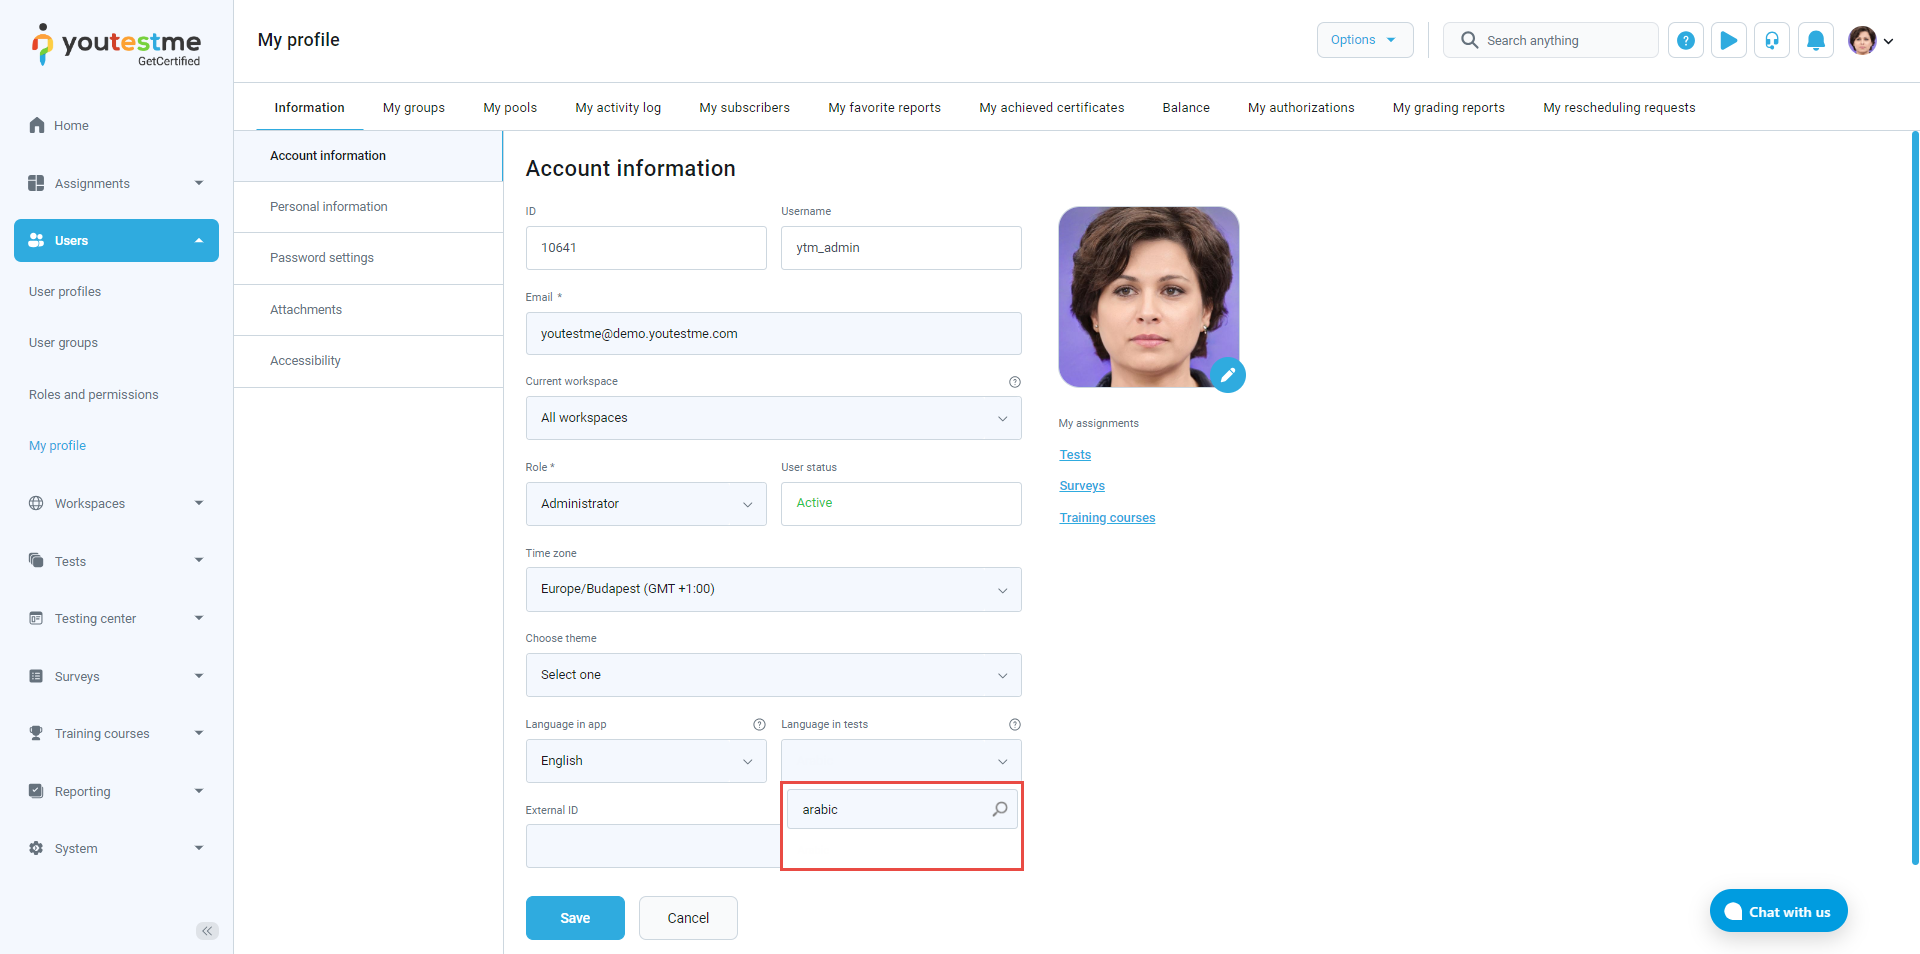
-
-
Custom types
-
Creating a custom type
In the "Custom types" tab, users can create custom type and define value for the "Dropdown" type of custom user properties.
-
Click on the "Custom types" tab.
-
Click the "New custom type" button to create the "Dropdown" type of custom user properties.
The new pop-up window will show up, where you should:
-
Enter the name of the custom type. The name must be unique.
-
Enter the description (optional).
-
Click save to create a custom type.
-
At any moment, you can cancel the creation of a new custom type by clicking the cancel button.
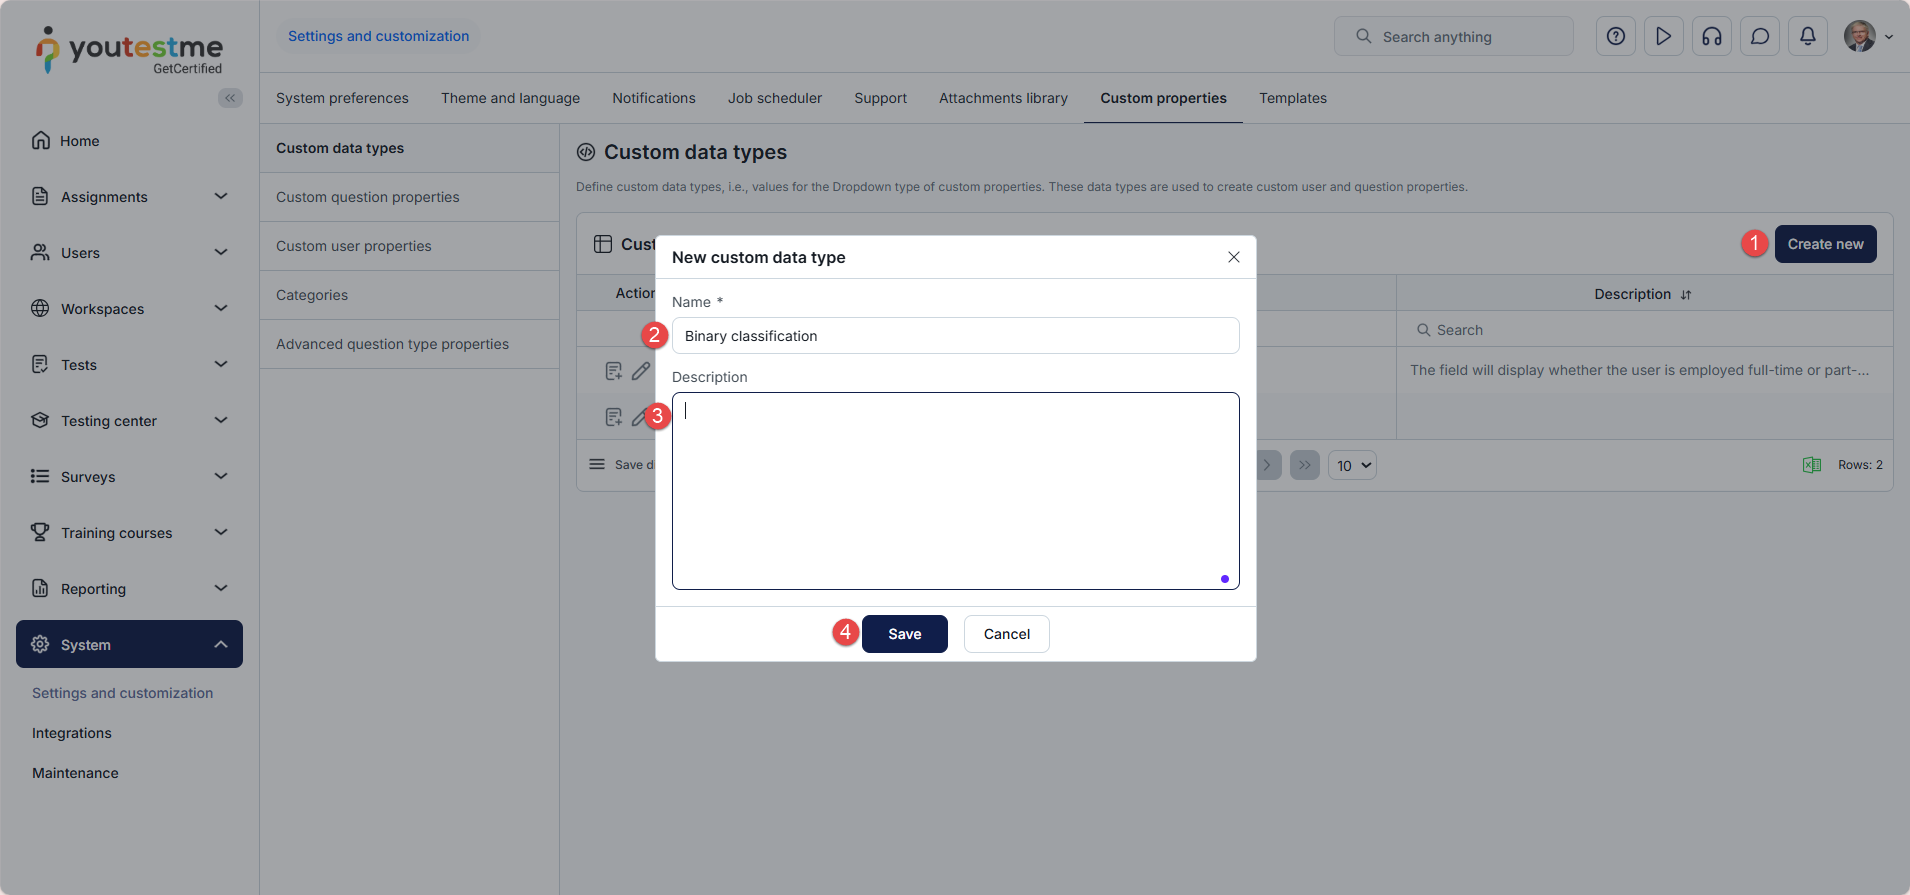
-
-
Creating a value of the custom type
Once you create a custom type, you should add new values. To do so:
-
Click the show values icon (eye) to display a table of values for the wanted custom type.
-
Click the "Add new value" button.
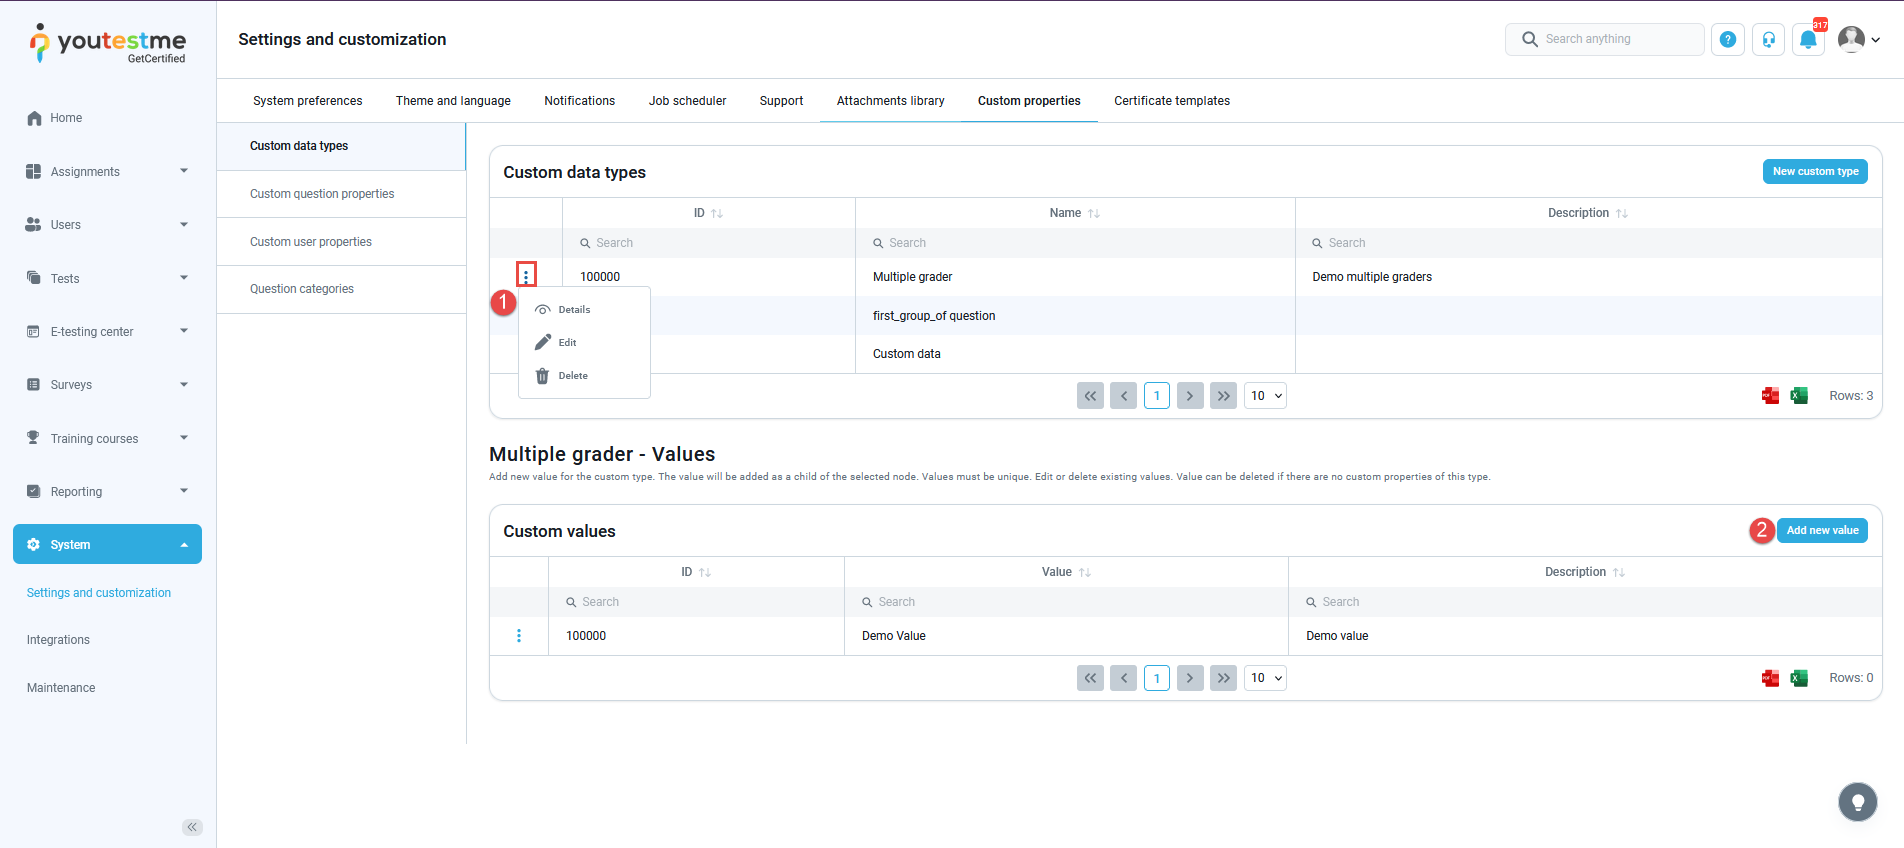
The new pop-up will show up, where you should:
-
Enter the name of the value. The name must be unique.
-
Enter the description (optional).
-
Click save to add a new value to a custom type.
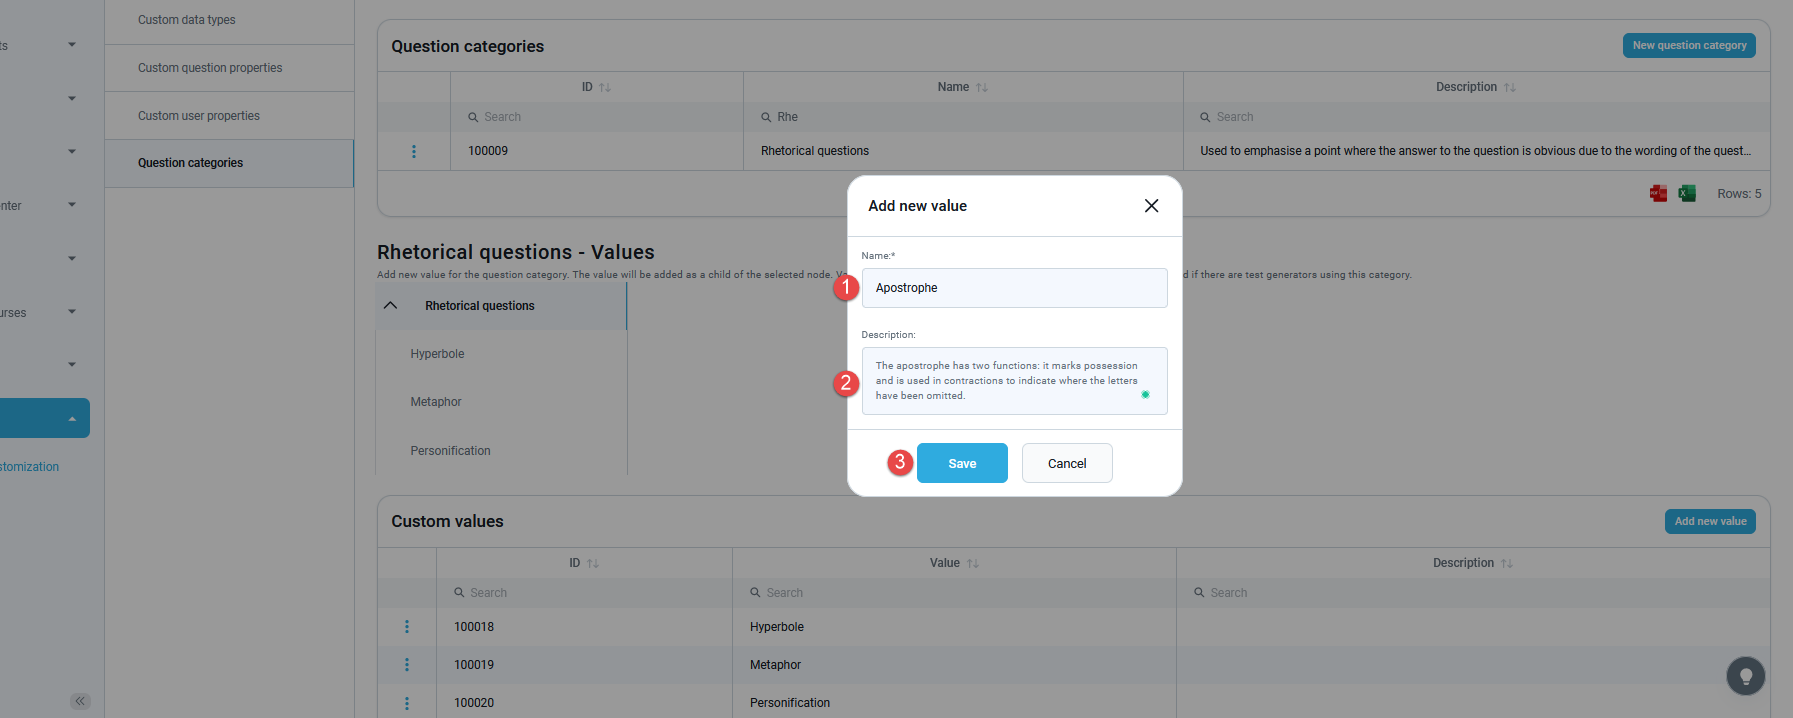
-
-
Editing and deleting custom types and their values
-
At any moment, you can edit the existing custom type by clicking on the "pen" icon.
-
You can delete the existing type only if there are no custom user properties of this type. In case you want to delete the type, first you will need to delete the custom user property of this type.
-
You can export the list of custom types as PDF and Excel files.
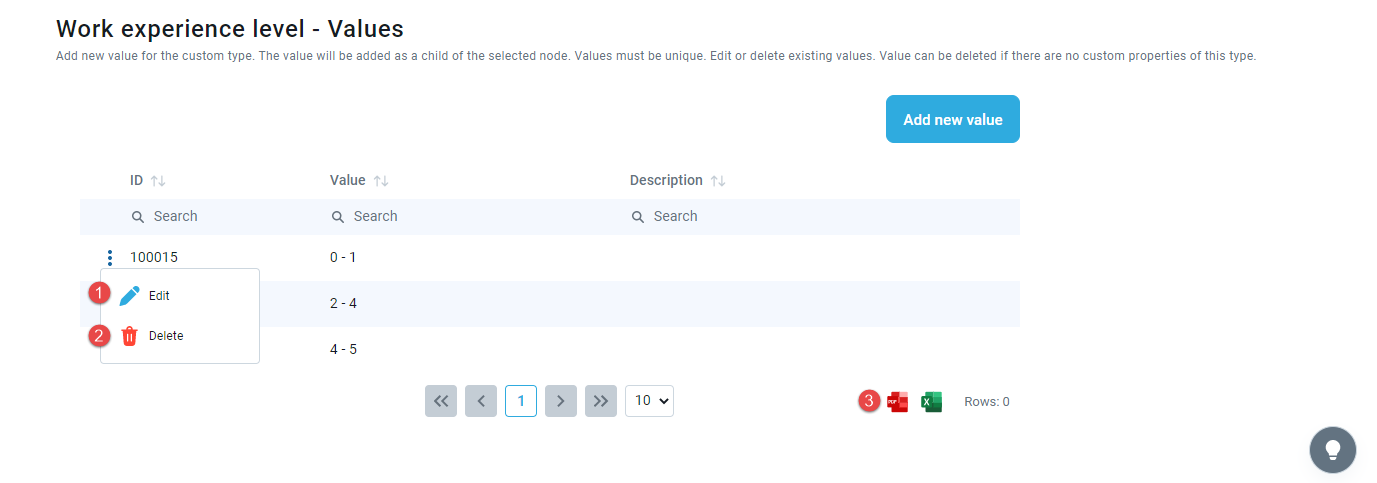
-
At any moment, you can edit the existing value by clicking on the "pen" icon.
-
You can delete the existing value only if there are no custom user properties of this type. In case you want to delete the value, first you will need to delete the custom user property of this type.
-
You can export the list of values as PDF and Excel files.
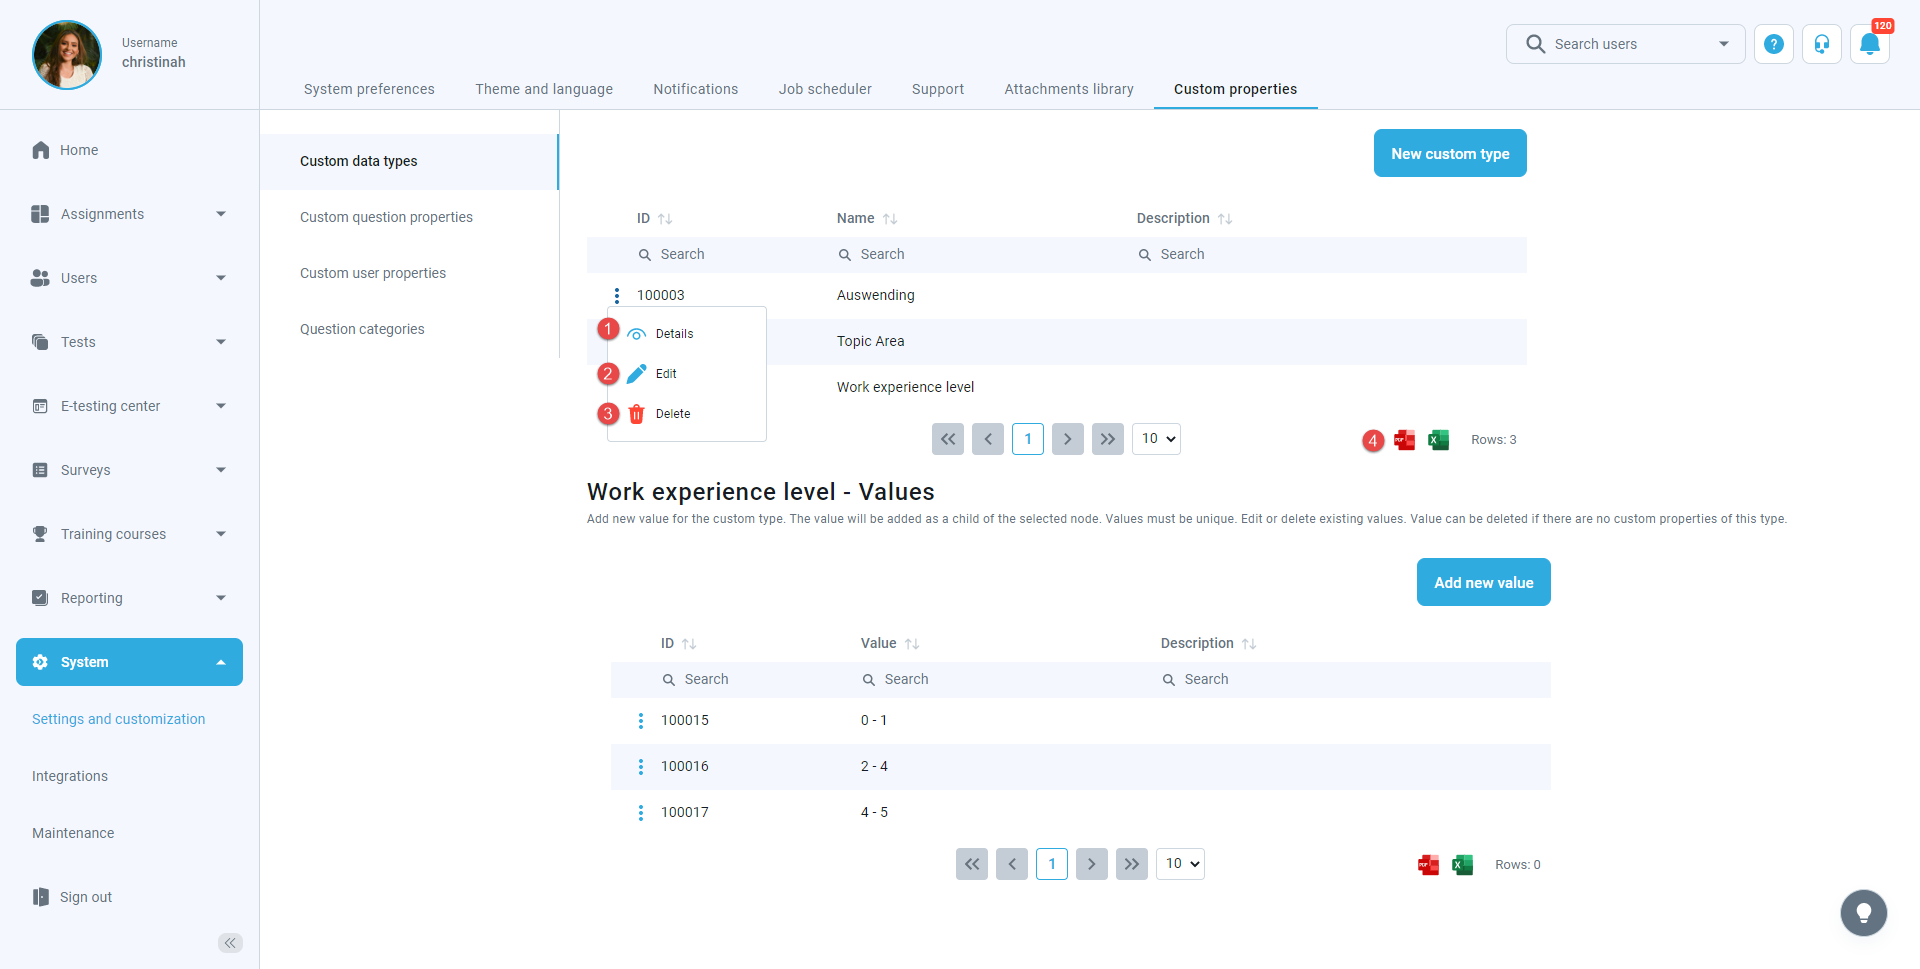
-
-
-
Question categories for generators
Question categories provide better question organization and easier search. They can also be used as a filters for test generators.
-
Creating a question category
In the "Question categories" tab, users can create question category and its values. That category can then be related with the questions in the "Question pools" dashboard.
-
Click on the "Custom properties" tab.
-
Click on the "Question categories for generators" tab at the left menu.
-
Click the "New question category" button to create the new question category.

The new pop-up window will show up, where you should:
-
Enter the name of the question category. The name must be unique.
-
Enter the description (optional).
-
Click save to create a question category.
-
At any moment, you can cancel the creation of a new question category by clicking the cancel button.

-
-
Creating a value of the question category
Once you create a question category, you should add new values. To do so:
-
Click the show "details" to display a table of values for the wanted question category.
-
Click the "Add new value" button.

The new pop-up will show up, where you should:
-
Enter the name of the value. The name must be unique.
-
Enter the description (optional).
-
Click save to add a new value to a question category.
Once you created a couple of values, they should be seen in the tree at the left side. Question categories support the hierarchical structure, so the category values can have their child values. Child values are dependent on their parent values in filtering. This means that, when the parent value is selected as a search filter, child values are implicitly selected.
To create a child value:
-
Select the parent in the values tree.
-
Click on the "Add new value" button. Rest of the steps are the same as in the "Create new value" scenario.

-
-
Editing and deleting question categories and their values
-
At any moment, you can edit the existing question category by clicking on the "pen" icon.
-
You can delete the existing category only if there are no test generators using this category as a filter condition.
-
You can export the list of question categories as XLS, PDF, CSV, and XML files.
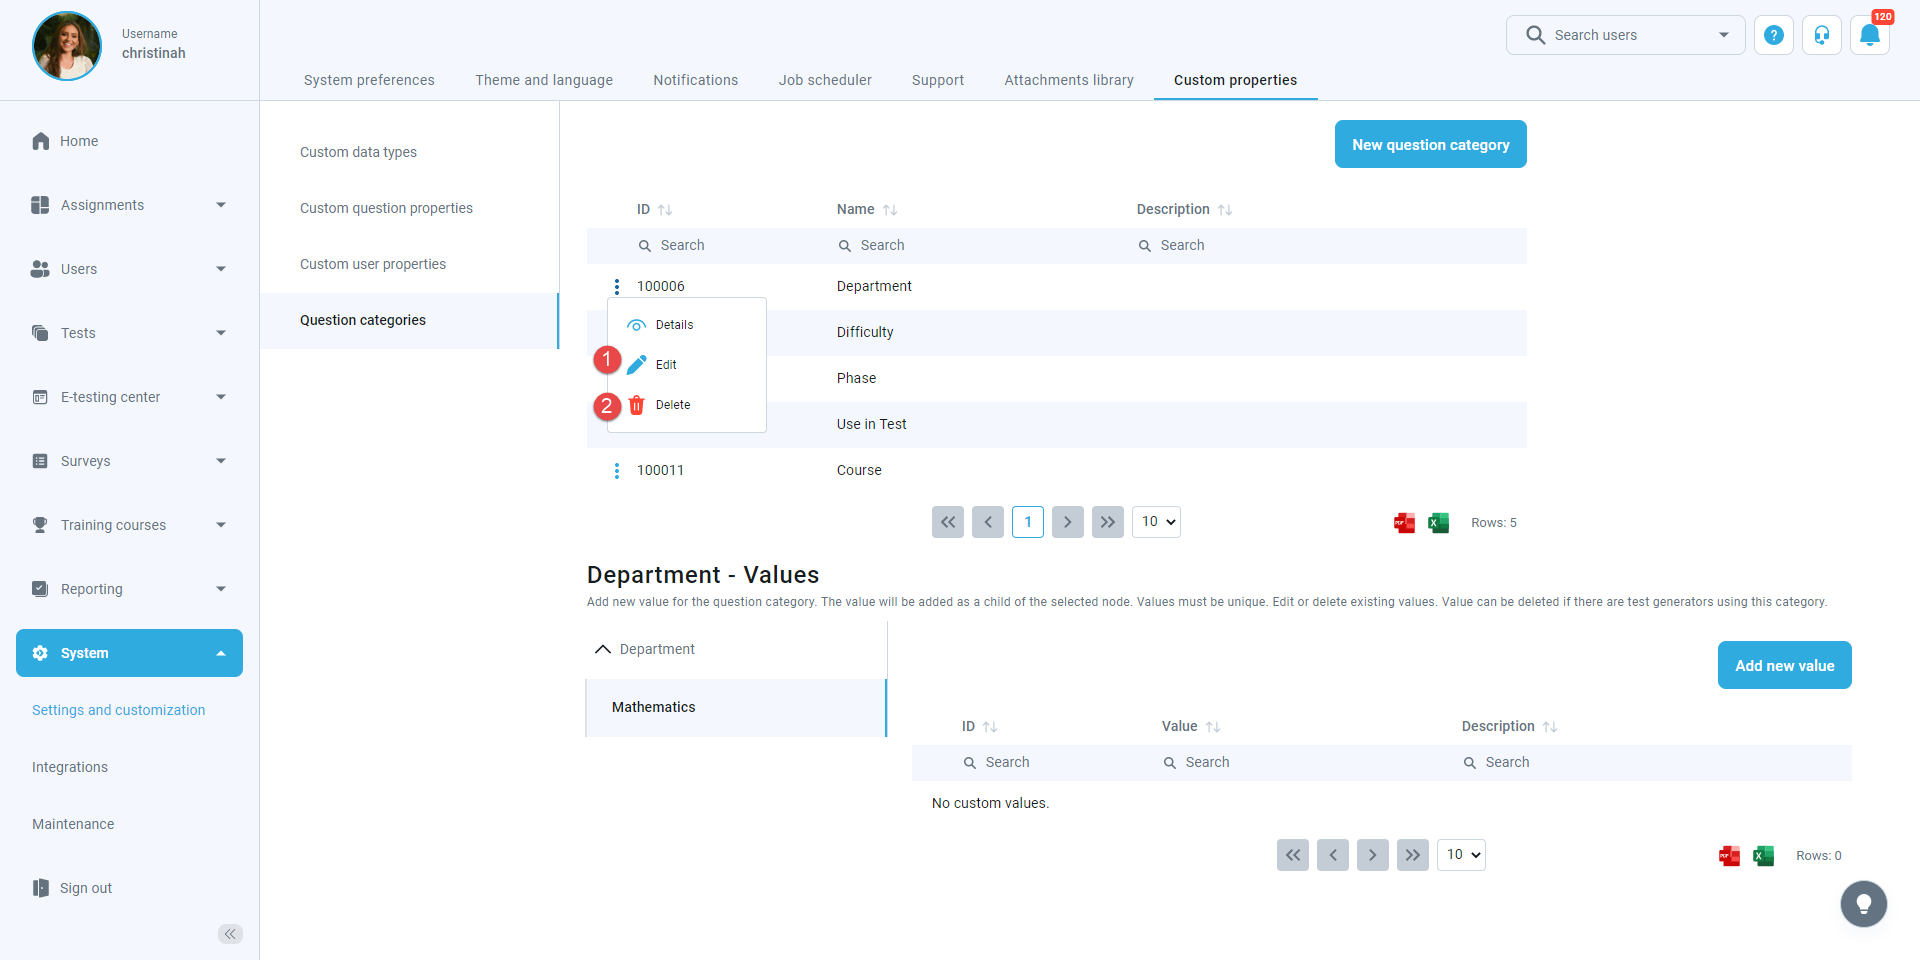
-
To edit or delete the desired value, select the parent from the left tree.
-
At any moment, you can edit the existing value by clicking on the "pen" icon.
-
You can delete the existing value only if there are no test generators using this category as a filter condition.
-
You can export the list of values as PDF and Excel files.
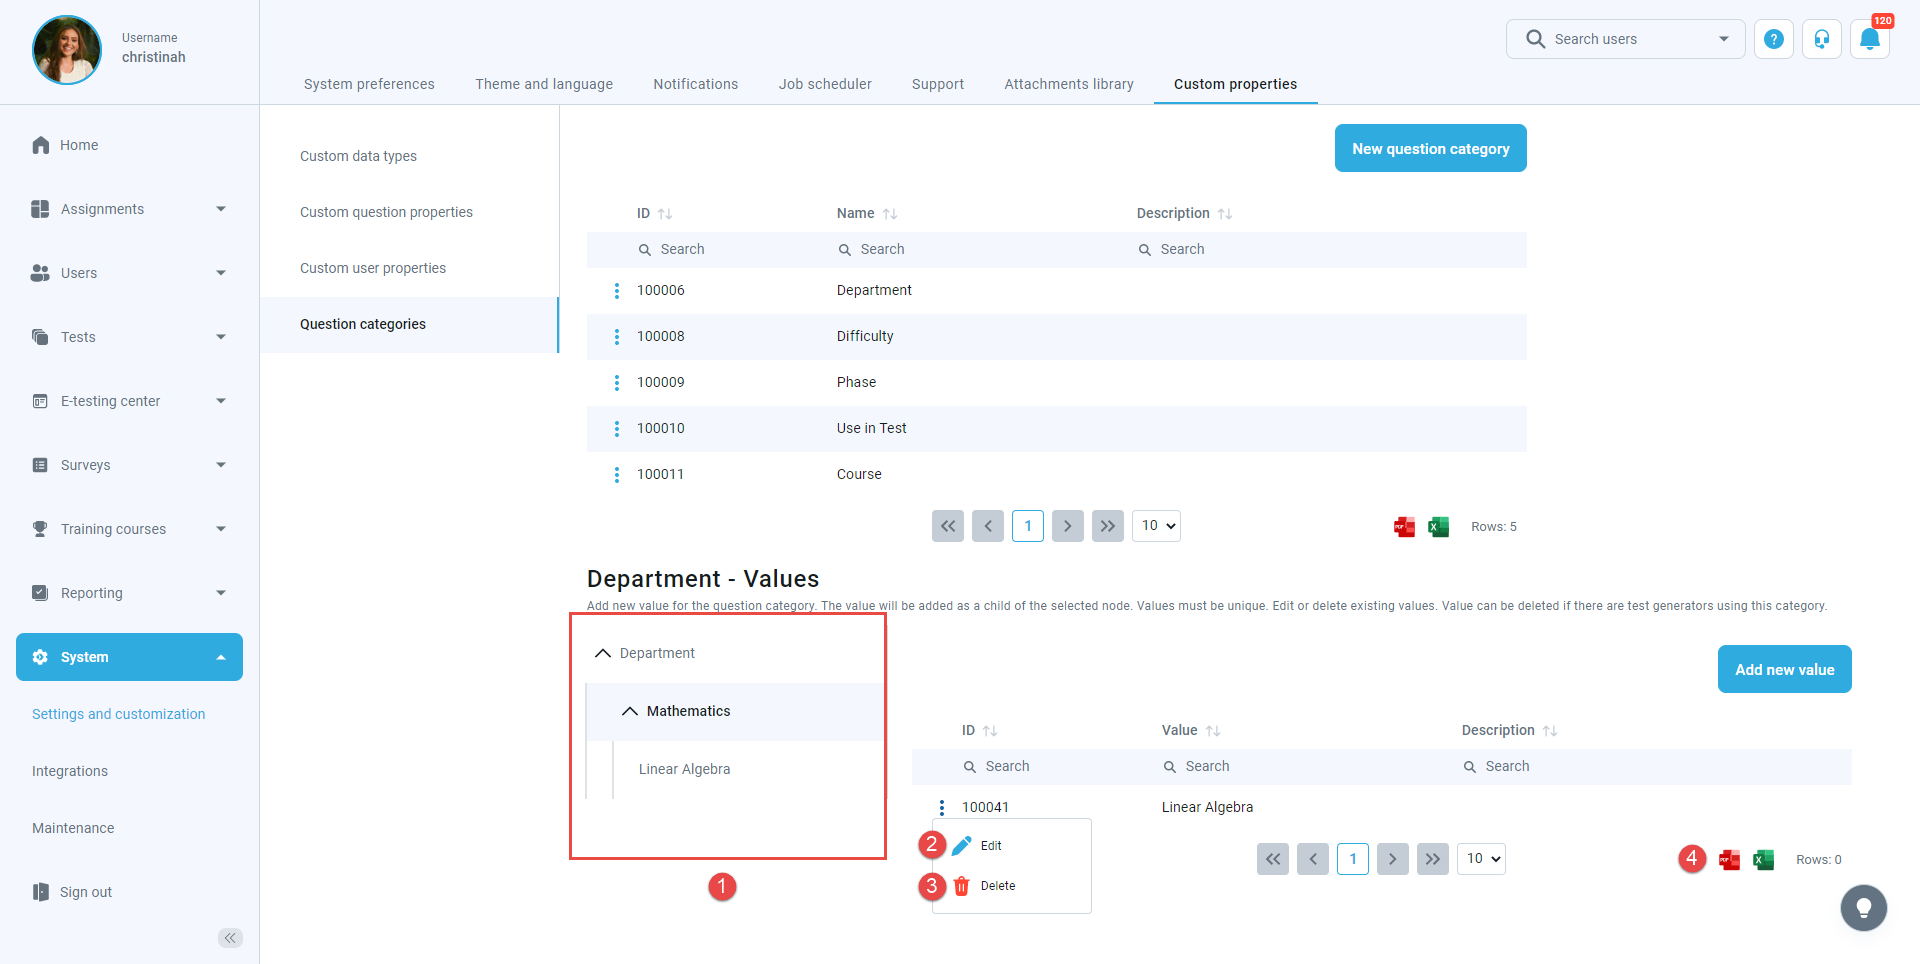
-
-
Integrations
-
Introduction
The Integrations page is used for managing various integrations. From this page, you can view and manage available integrations, configure them, and access their features. The page can be accessed from the System panel in the left-side menu.
On the Integrations page you will find these tabs:
-
Single sign-on - Set up an authentication scheme allowing users to log in with an external system's ID.
-
Webex settings - Configure the Webex integration and authenticate the Webex hosting account.
-
LRS settings - Set up automated sending of test results to your Learning Record Store (LRS) and enable efficient progress tracking.
-
Proctoring settings - Configure parameters of the proctoring service.
-
Proctorio settings - Configure parameters of Proctorio proctoring service.
-
E-commerce - Connect the system with a Stripe account.
-
LTI settings - Set up LTI integrations with external applications.
-
OpenID settings - Set up an authentication and authorization scheme allowing users to log in with an external system's ID.
-
Web API settings - Used to programmatically access data from the YouTestMe application and store it in an external database or display it in another system.
-
REST API settings - See the REST API module details.
-
Greenhouse integration - Enable and setup the integration with Greenhouse.
-
OpenAI API - Configure parameters of OpenAI API.
-
-
Integrations
-
Single sign-on
GetCertified can function as a Service Provider using the SAML 2.0 protocol, facilitating the exchange of authorization data with an Identity Provider. GetCertified is compatible with a range of Identity Providers, such as OneLogin, Okta, SSO Circle, and numerous others. With SAML 2.0-based Single Sign-on (SSO), you can configure multiple identity providers concurrently. Setting up SSO involves creating an SSO configuration and specifying the parameters of the identity provider. Each SSO configuration you establish includes an assertion consumer service endpoint responsible for handling the SAML response.
On this tab, you can view all existing Single Sign-on configurations displayed in the table, including their names, descriptions, statuses, and available actions. Additionally, you can perform the following actions:
-
Create a new SSO configuration.
-
Edit an existing SSO configuration.
-
Delete an SSO configuration.
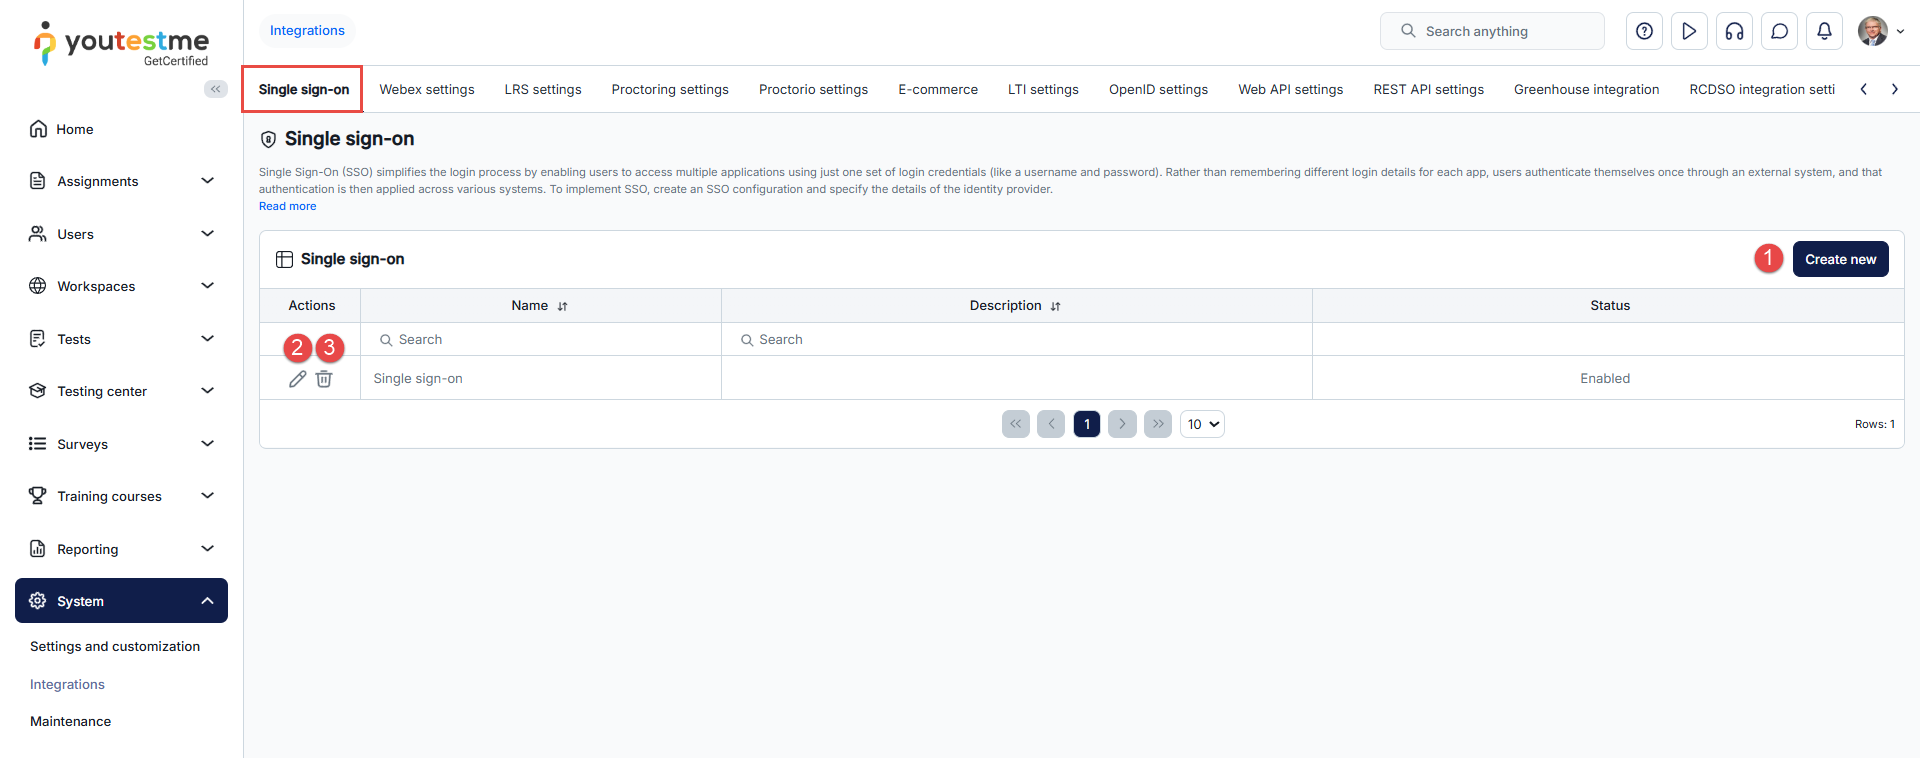
-
Click the Create new button, and a pop-up window will appear where you can enter the parameters of the new SSO configuration.
-
Enter the Name of the SSO configuration. The name must be unique for each SSO configuration since it identifies the SSO configuration.
-
Optionally enter the Description of the SSO configuration.
-
Choose the Status of the SSO configuration. If the status is Enabled, users will be able to log in with the identity provider specified in the configuration. Otherwise, they will not be able to do so.
-
Go to the Okta app and log in. Then, navigate to the Applications tab and choose the Applications option from the drop-down menu.
-
Click the Create App Integration button.
-
Choose the SAML 2.0 option.
-
Click the Next button.
-
When the creation window appears, add App name - application URL.
-
Click the Next button.
-
Service provider Entity ID - The value represents the service provider's identifier. To easily copy the provided Service provider Entity ID URL from the GetCertified application for configuration with Okta, click the Copy to clipboard icon.
-
Paste it to the Audience URI (SP Entity ID) field in Okta.
-
Assertion consumer service URL - The field's value represents the end-point URL, where the SAML response from the identity provider will be returned. To easily copy the provided Assertion consumer service URL from the GetCertified application for configuration with Okta, click the Copy to clipboard icon.
-
Paste it to the Single sign-on URL field in Okta.
-
Add the Attribute statements from the example picture below to Okta.
-
Use Attribute statements in the GetCertified application. (For an example, see the picture below).
-
When you add Attribute statements in the GetCertified application, click the Next button in Okta.
-
The next step in Okta is the last one. Choose the second option: I’m a software vendor. I’d like to integrate my app with Okta.
-
Click the Finish button.
-
After finishing, navigate to the SAML Certificates below the page.
-
Click the Actions, and choose View IdP metadata for additional data, which has a status of Active.
-
The XML file should open in a new tab, and you should copy the following marked information one by one from the file in the GetCertified application.
-
EntityID.
-
X509Certificate.
-
Location.
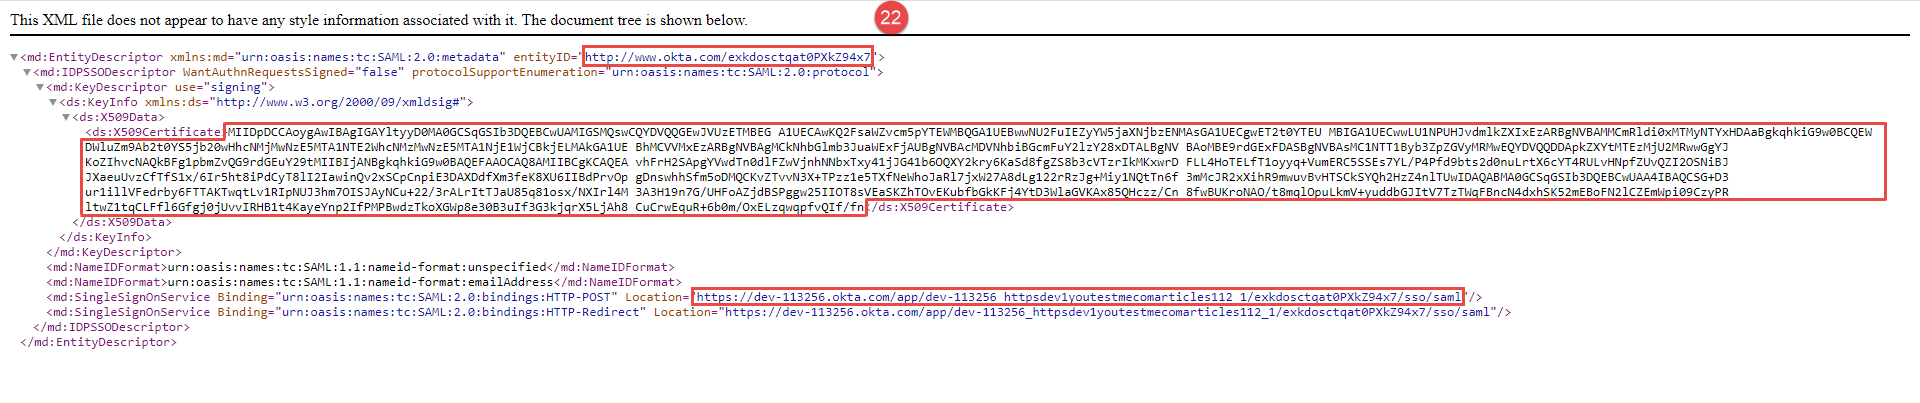
-
-
Paste the copied information to the following:
-
Enter the Identity provider Entity ID, the identifier of the provider entity.
-
Enter the Single sign-on service URL.
-
Enter the Certificate, the public x509 certificate of the identity provider.
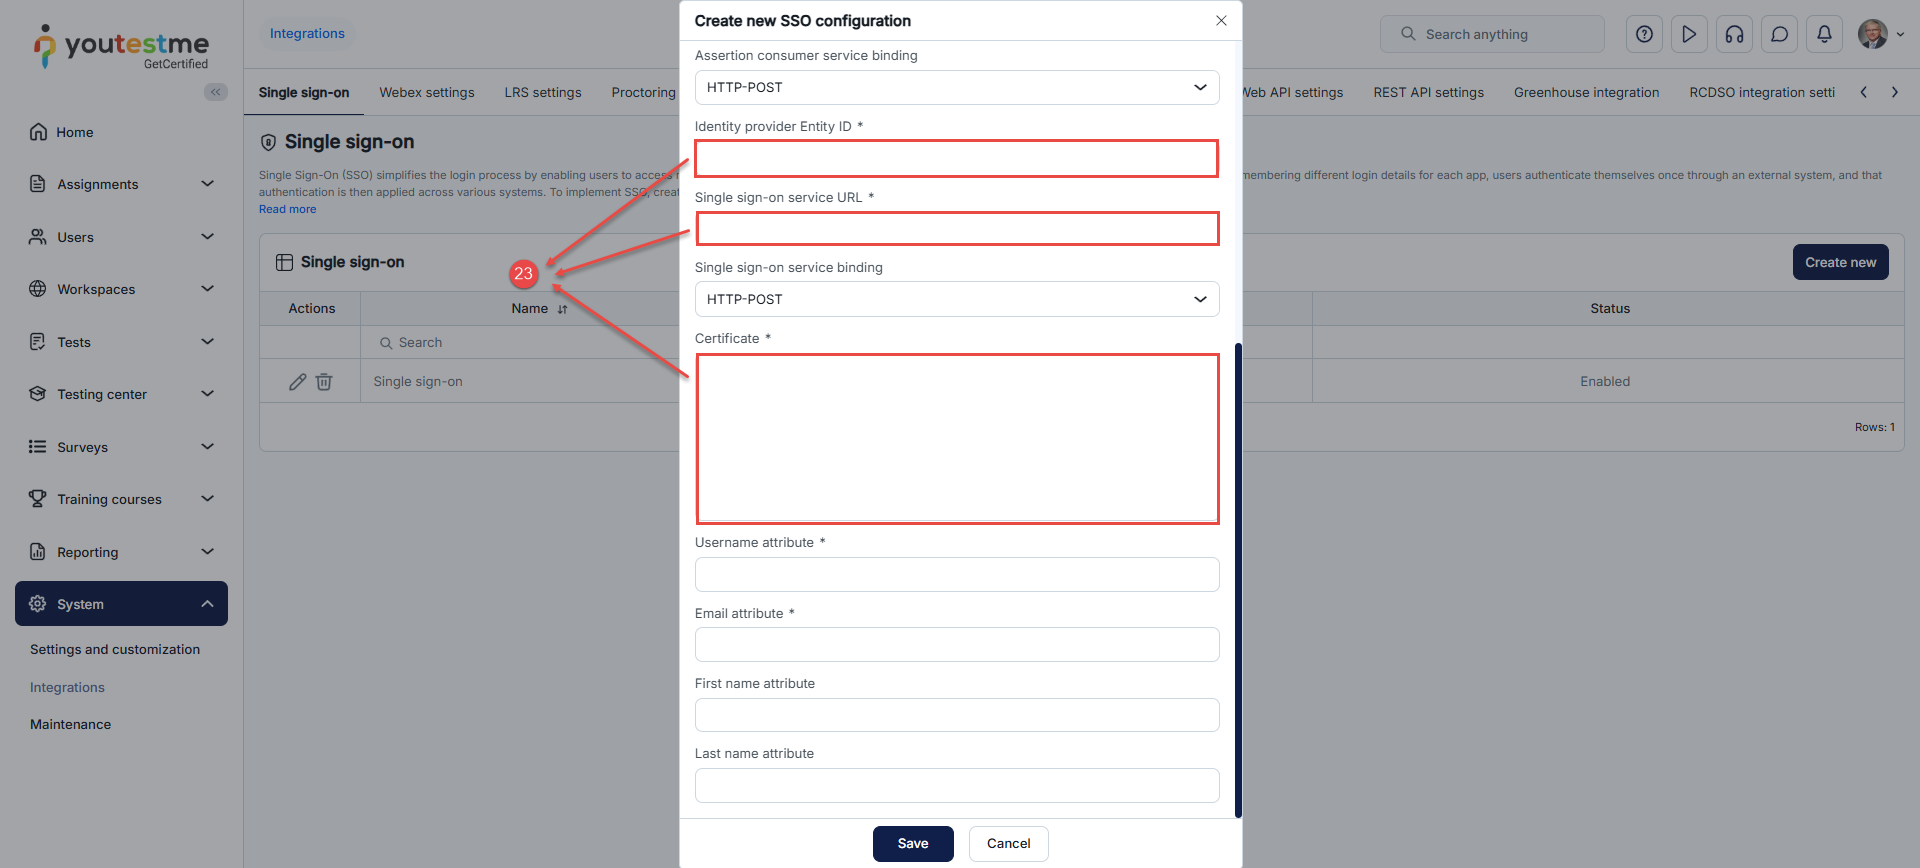
-
-
Ensure that the Assertion consumer service binding is set on the HTTP-POST.
-
Ensure that the Single sign-on service binding is set on the HTTP-POST.
-
Click the Save button.
In this example, we will demonstrate the configuration using Okta as the Identity Provider. Before proceeding with this configuration, make sure that you have shared credentials for Okta and can log in.
When creating a new SSO configuration or updating an existing one, you must enter the parameters to configure the service provider's side. GetCertified provides the parameters you need to configure the identity provider's side.
To create a Single Sign-On (SSO) configuration:
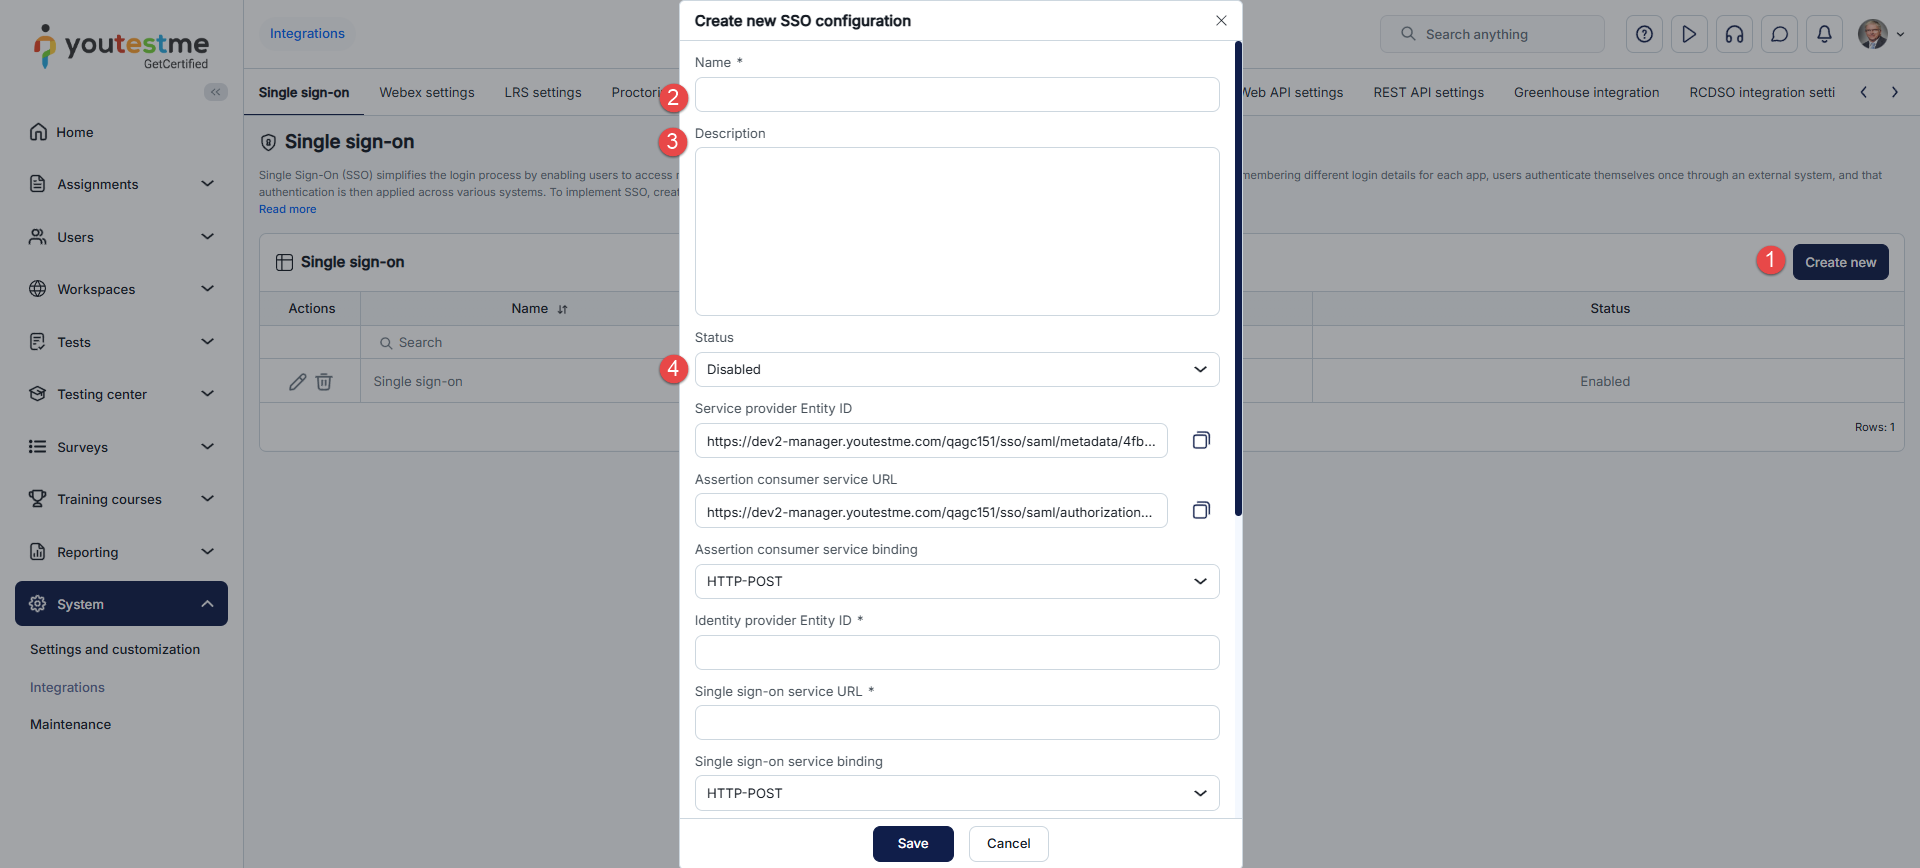
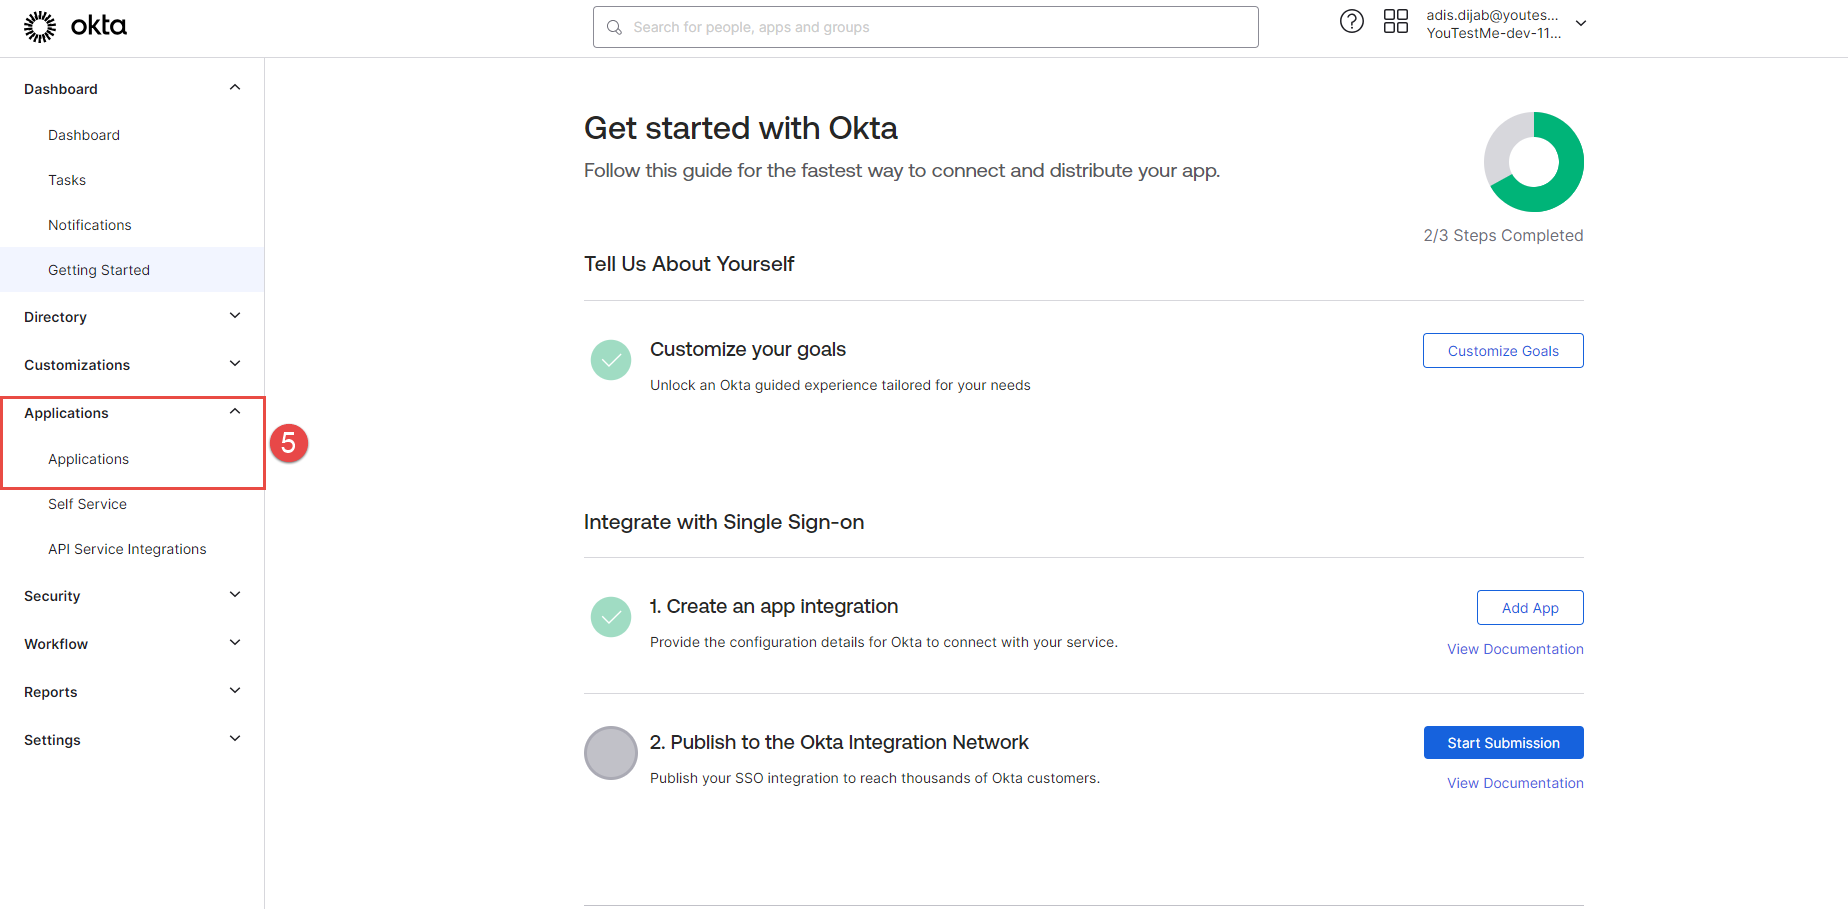
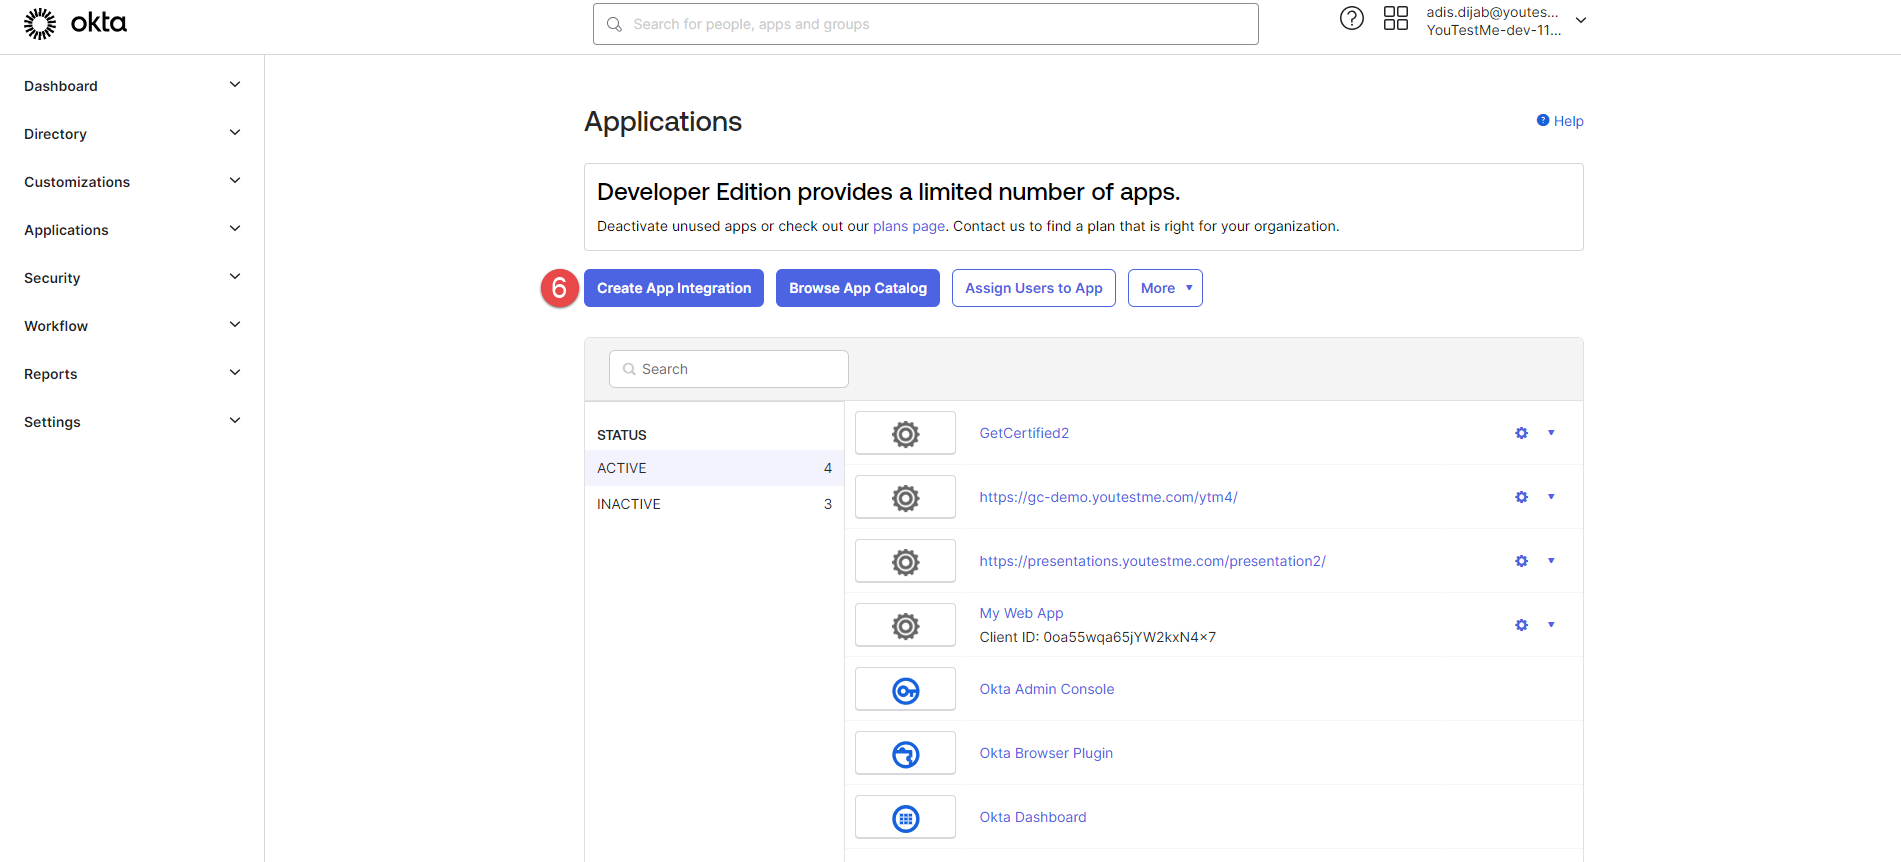
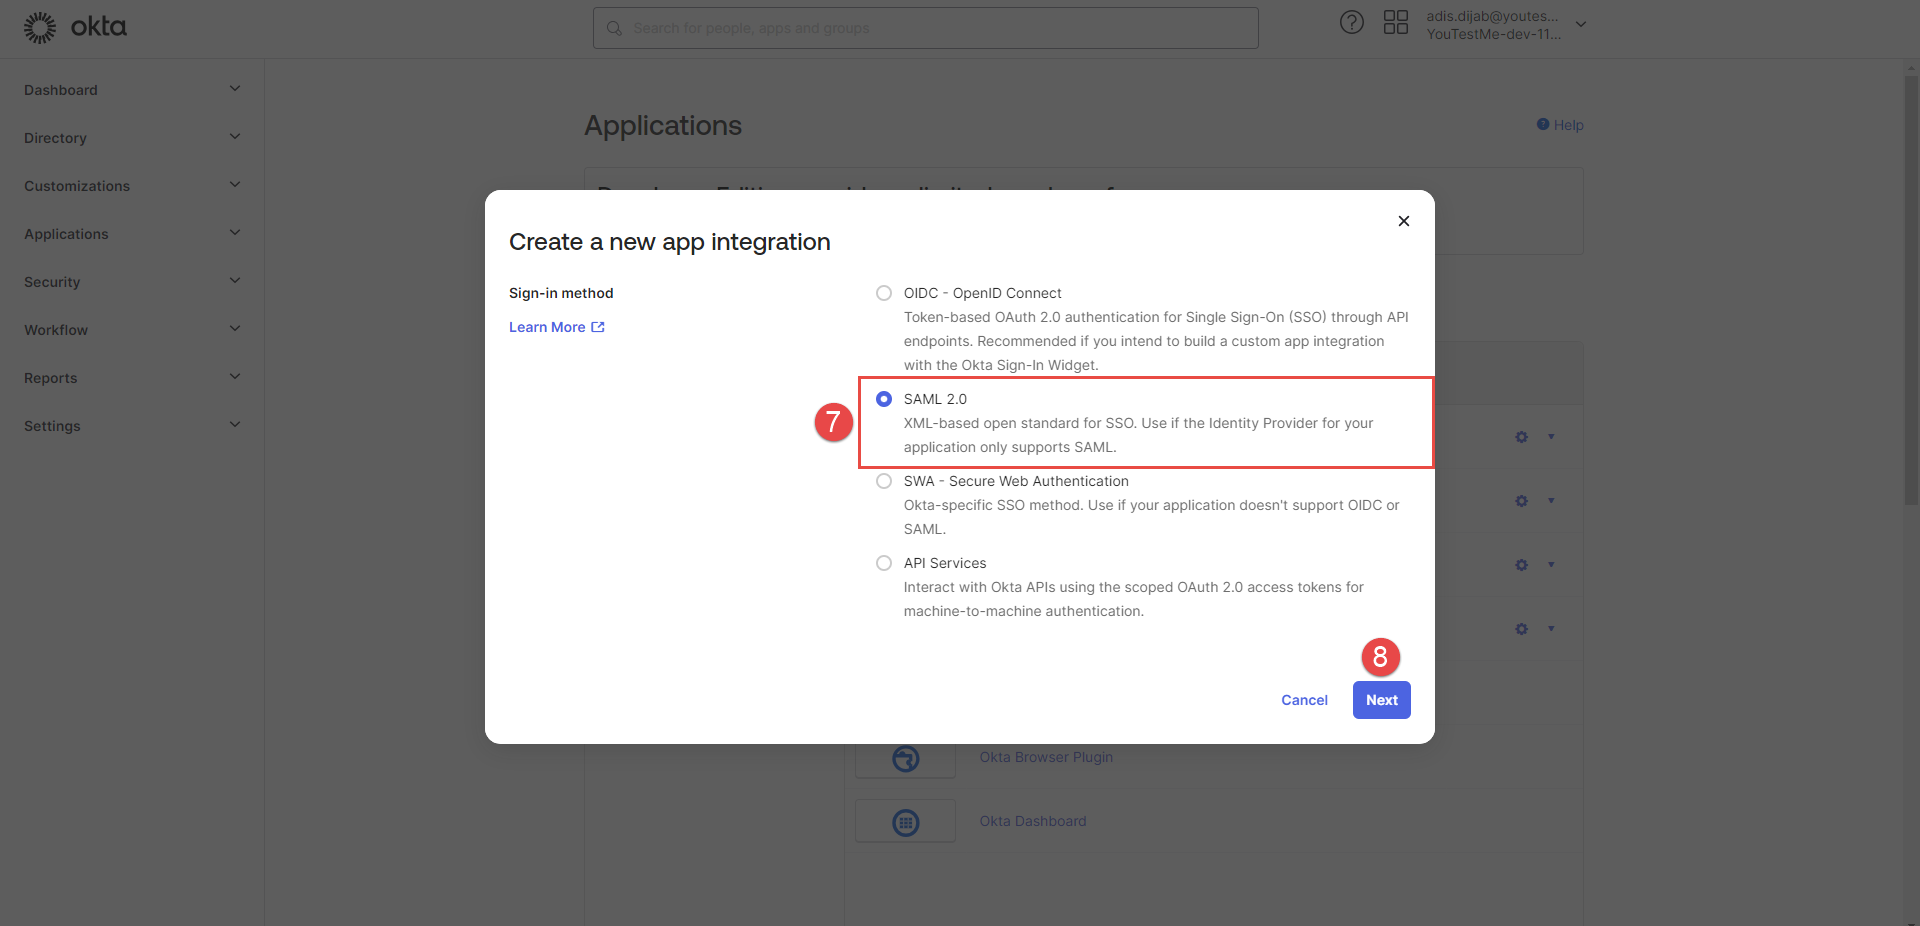
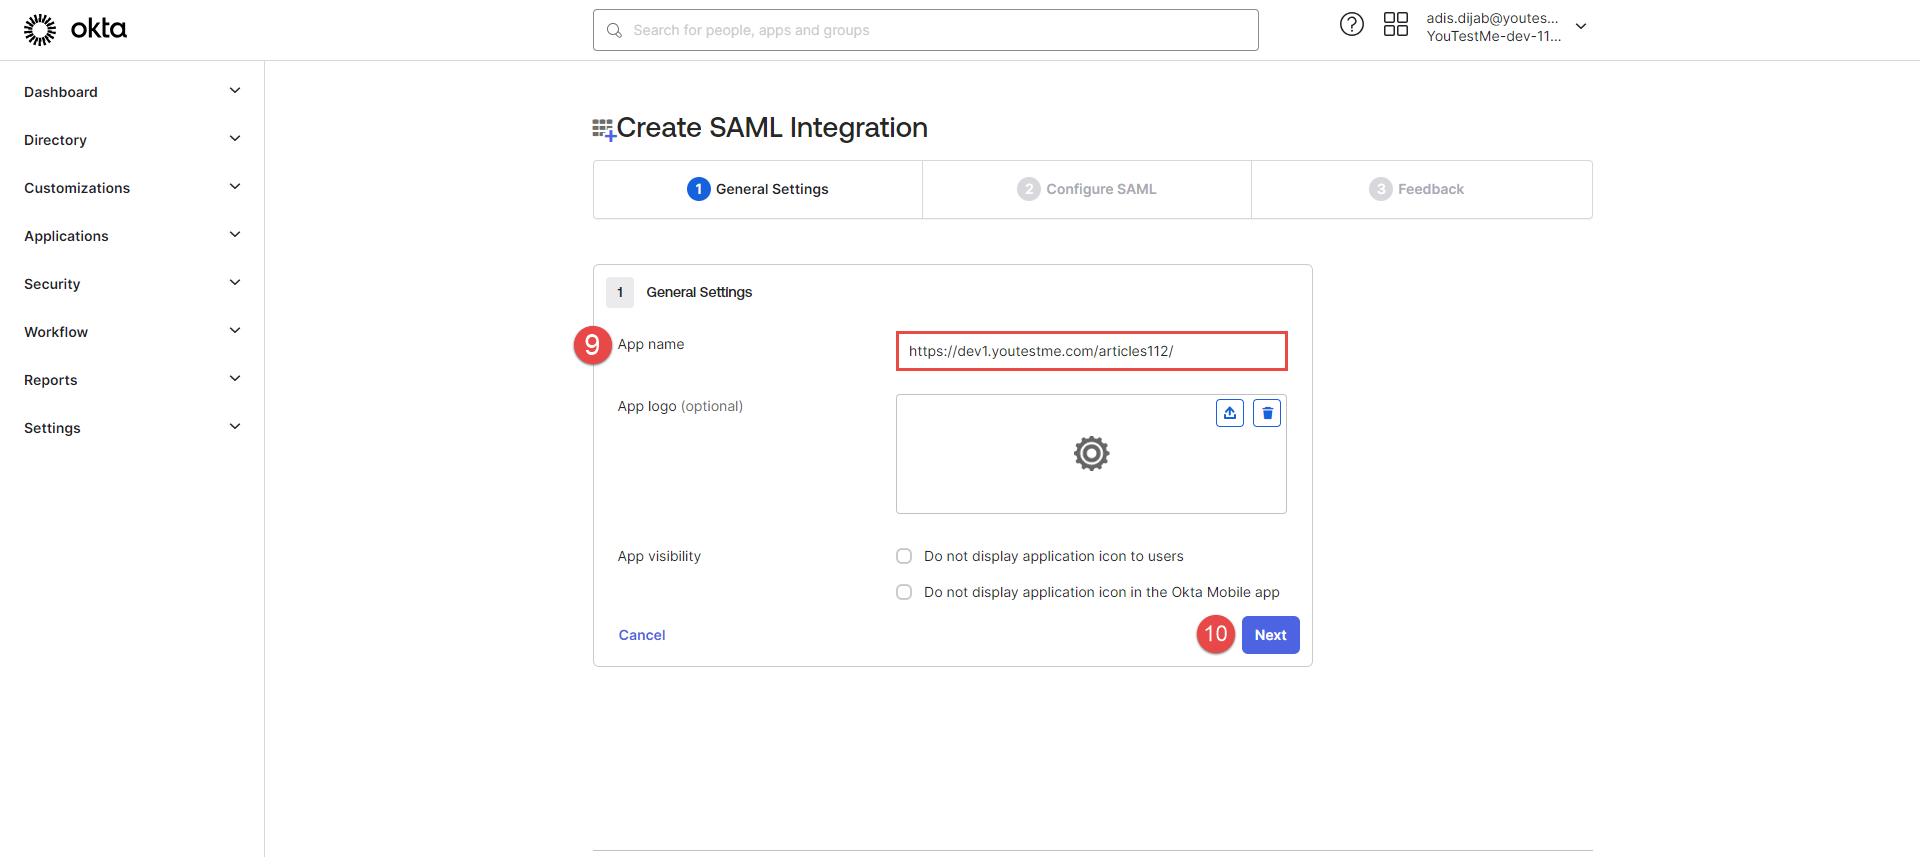
In the next step, you will use data from the GetCertified application to integrate with Okta.
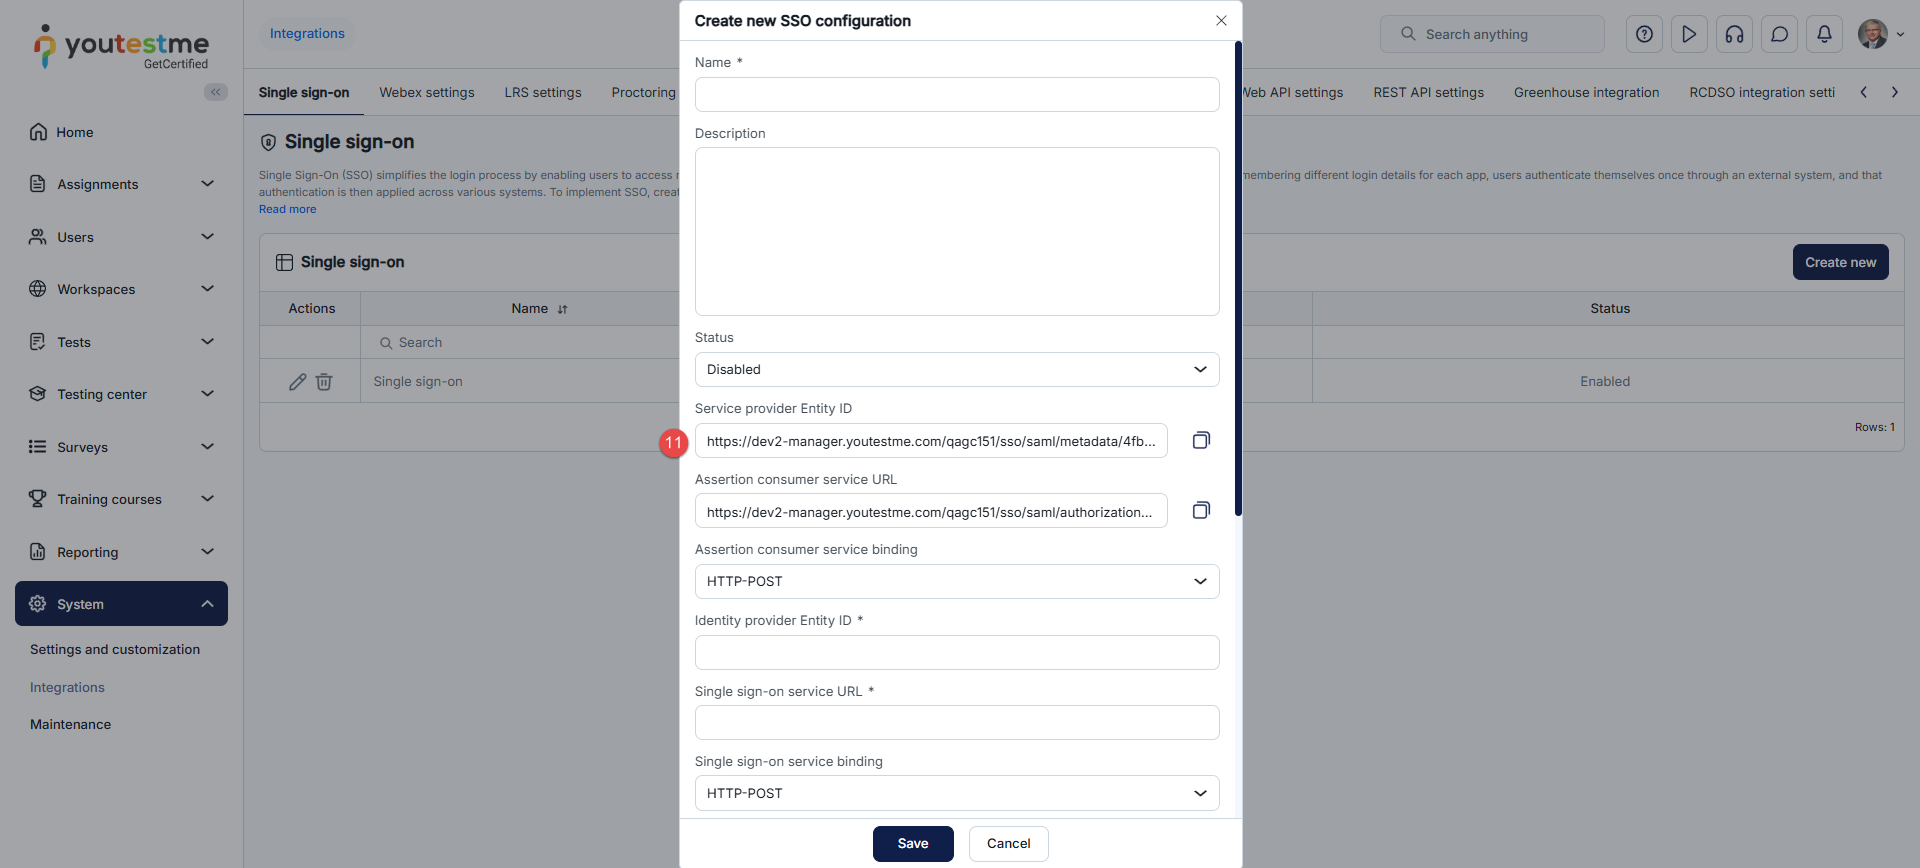
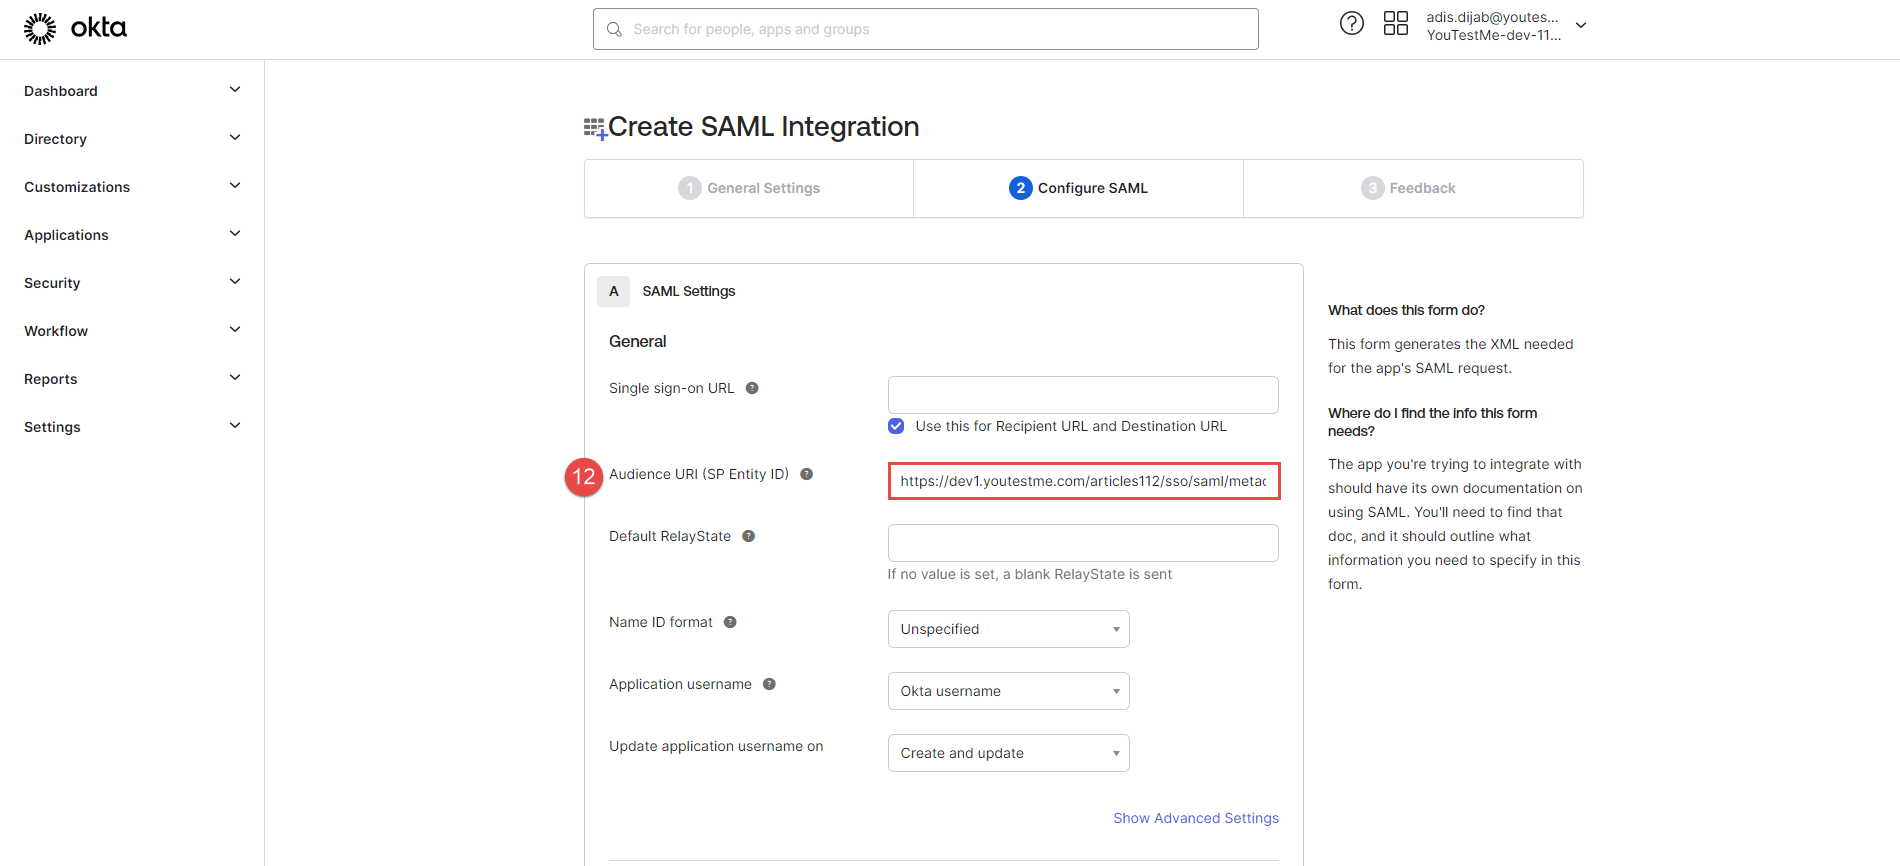
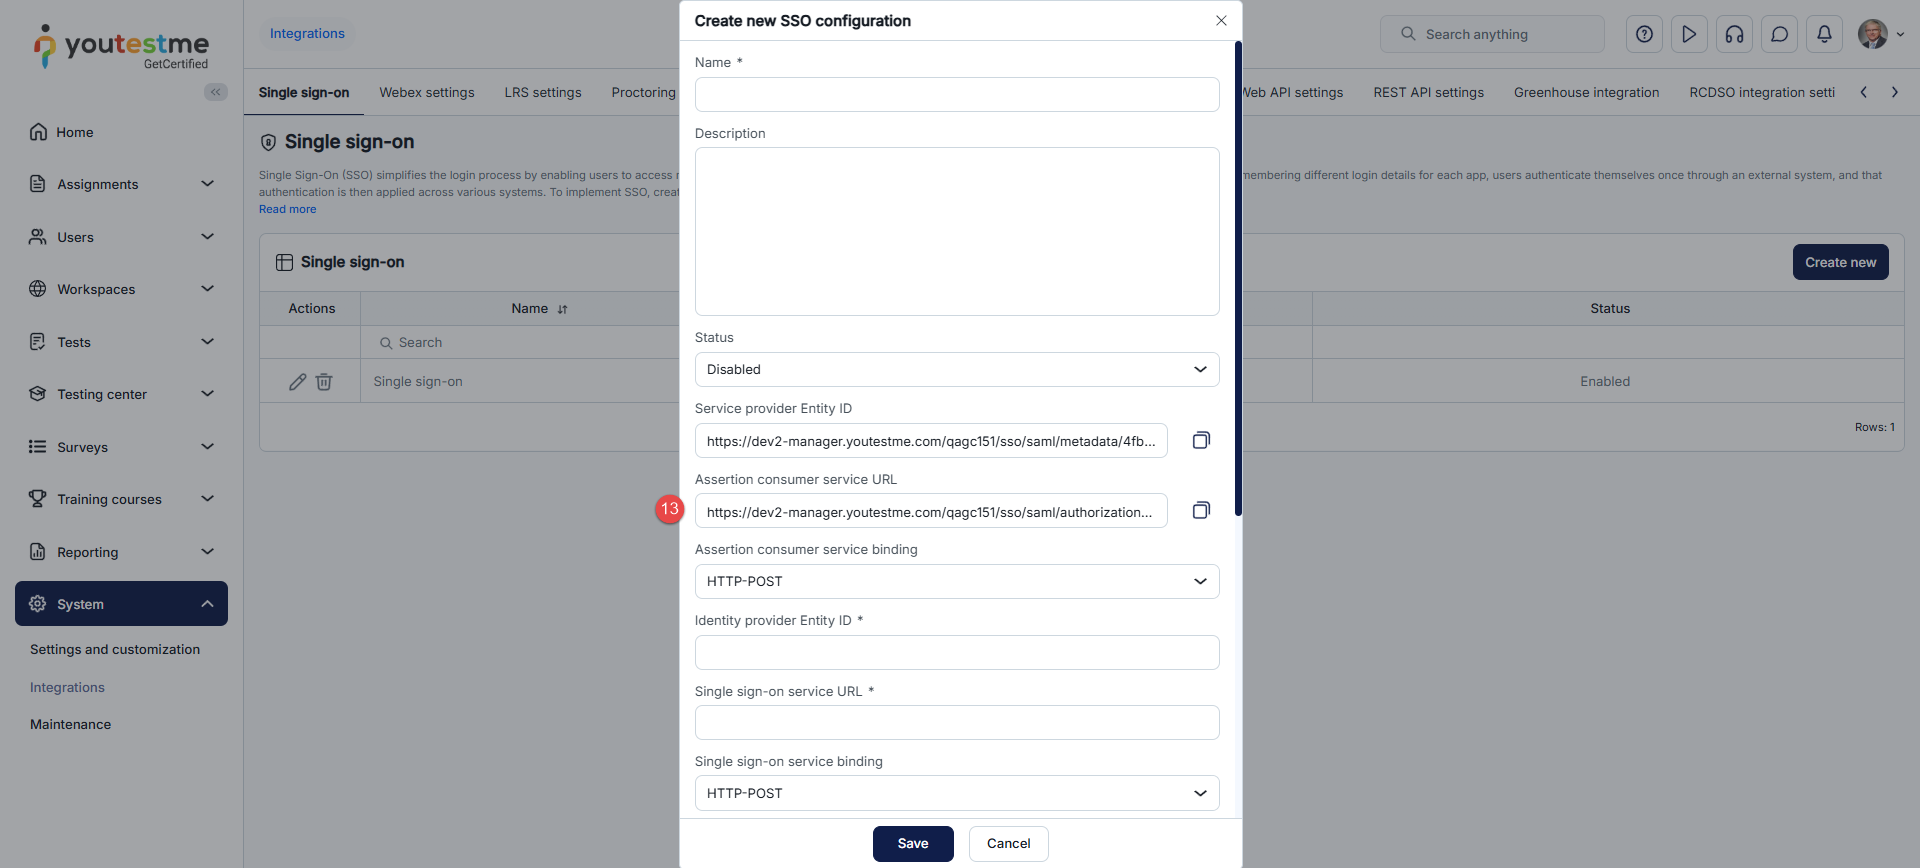
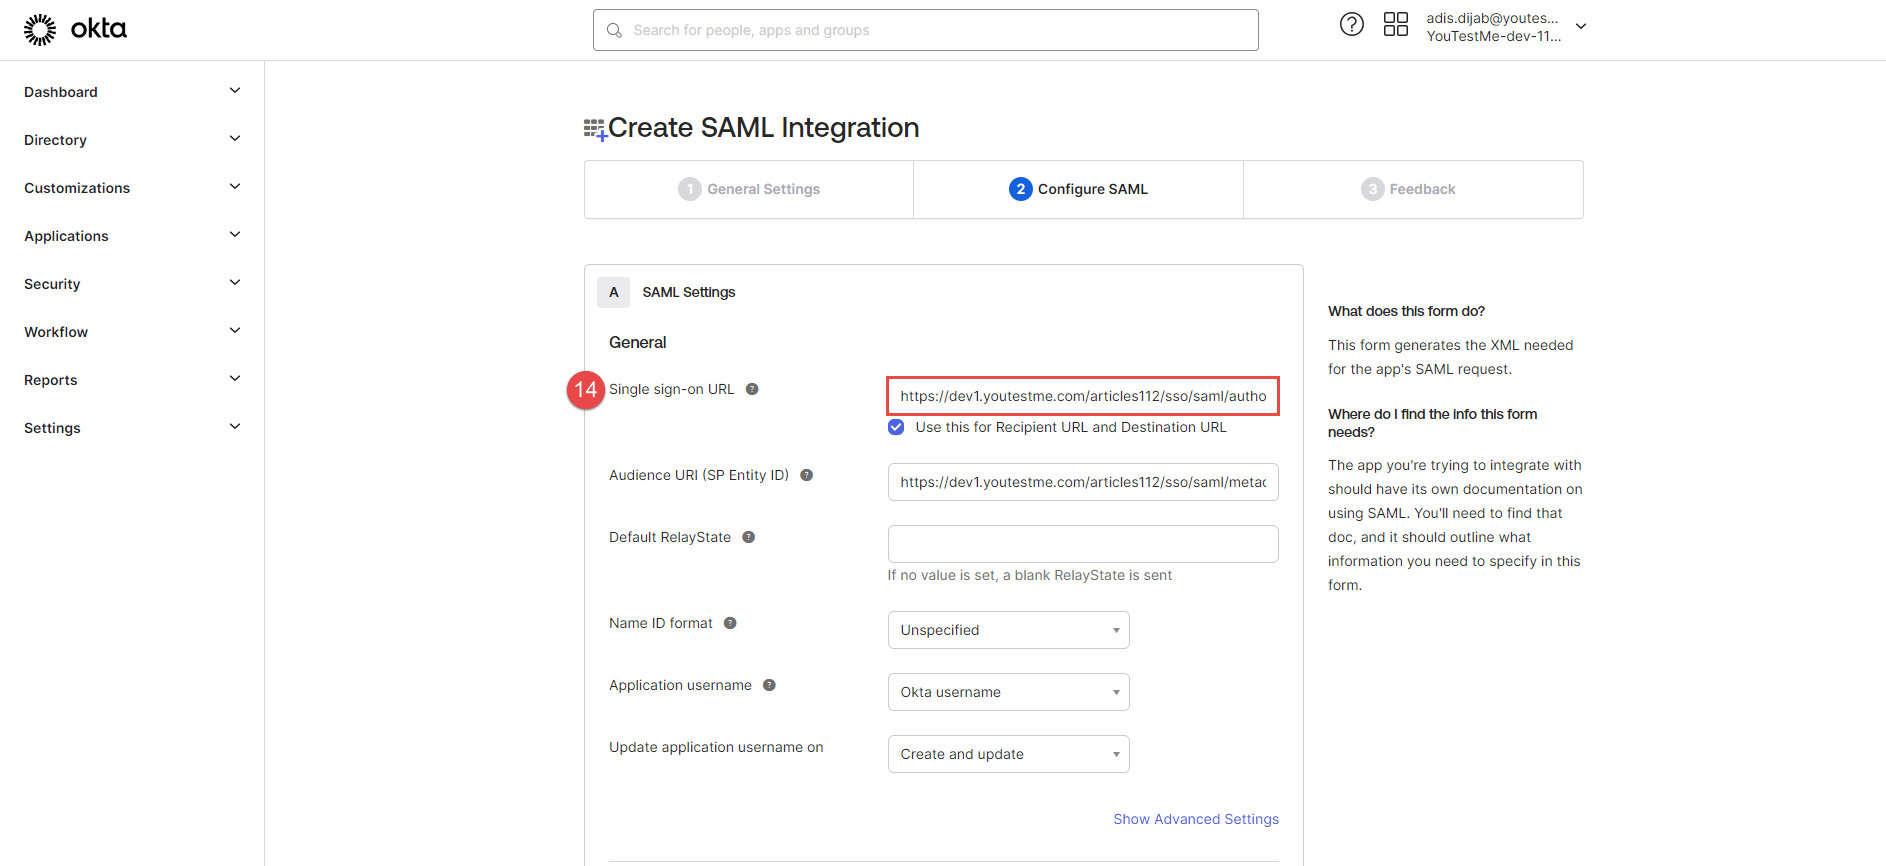
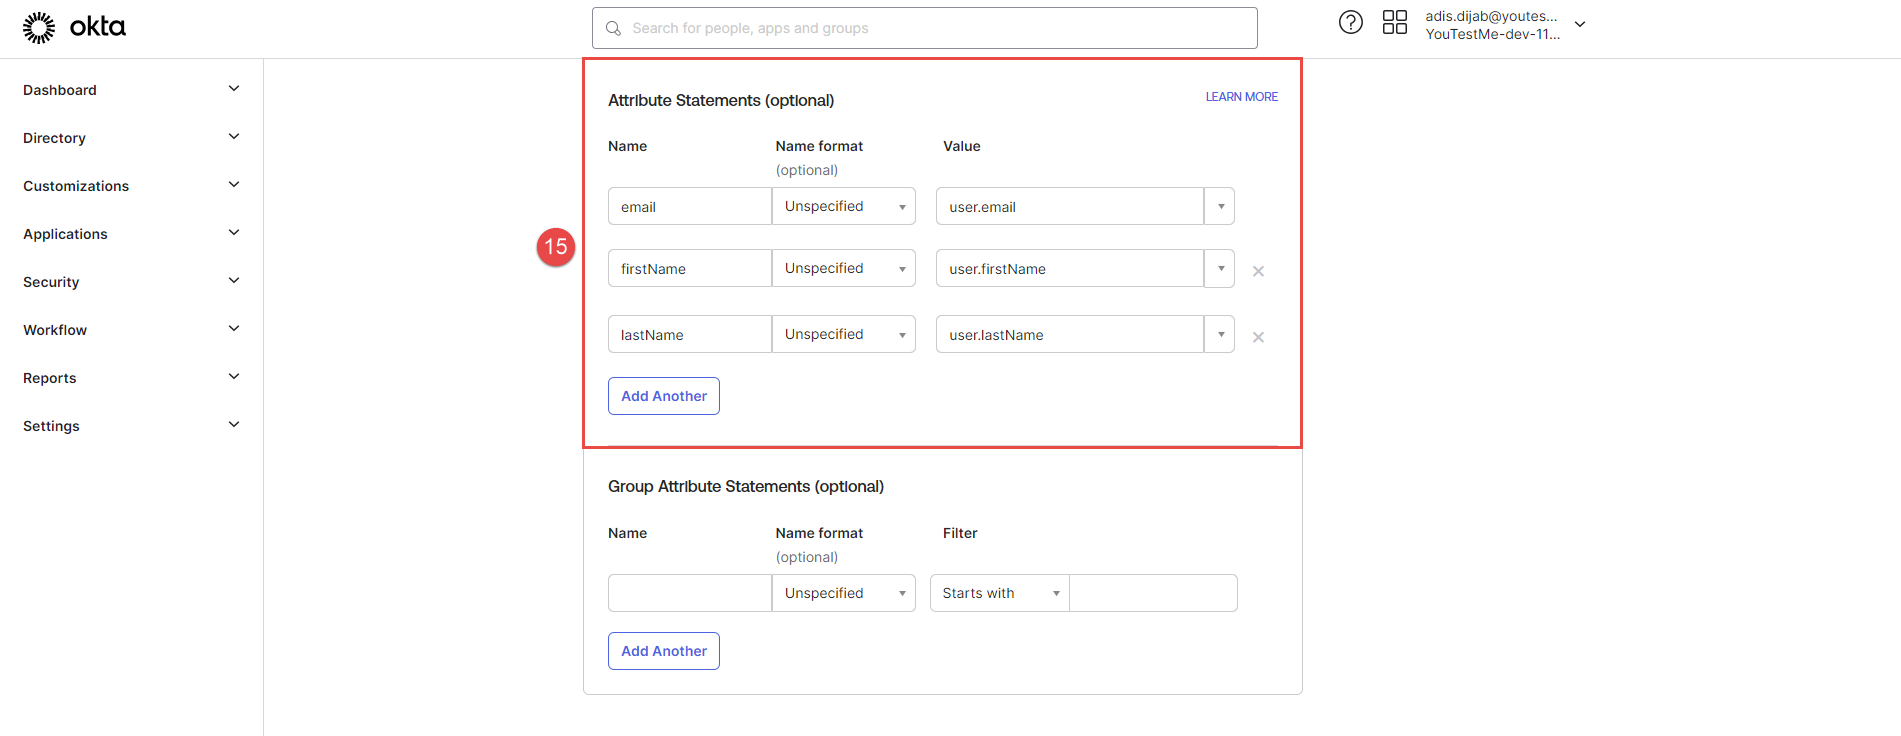
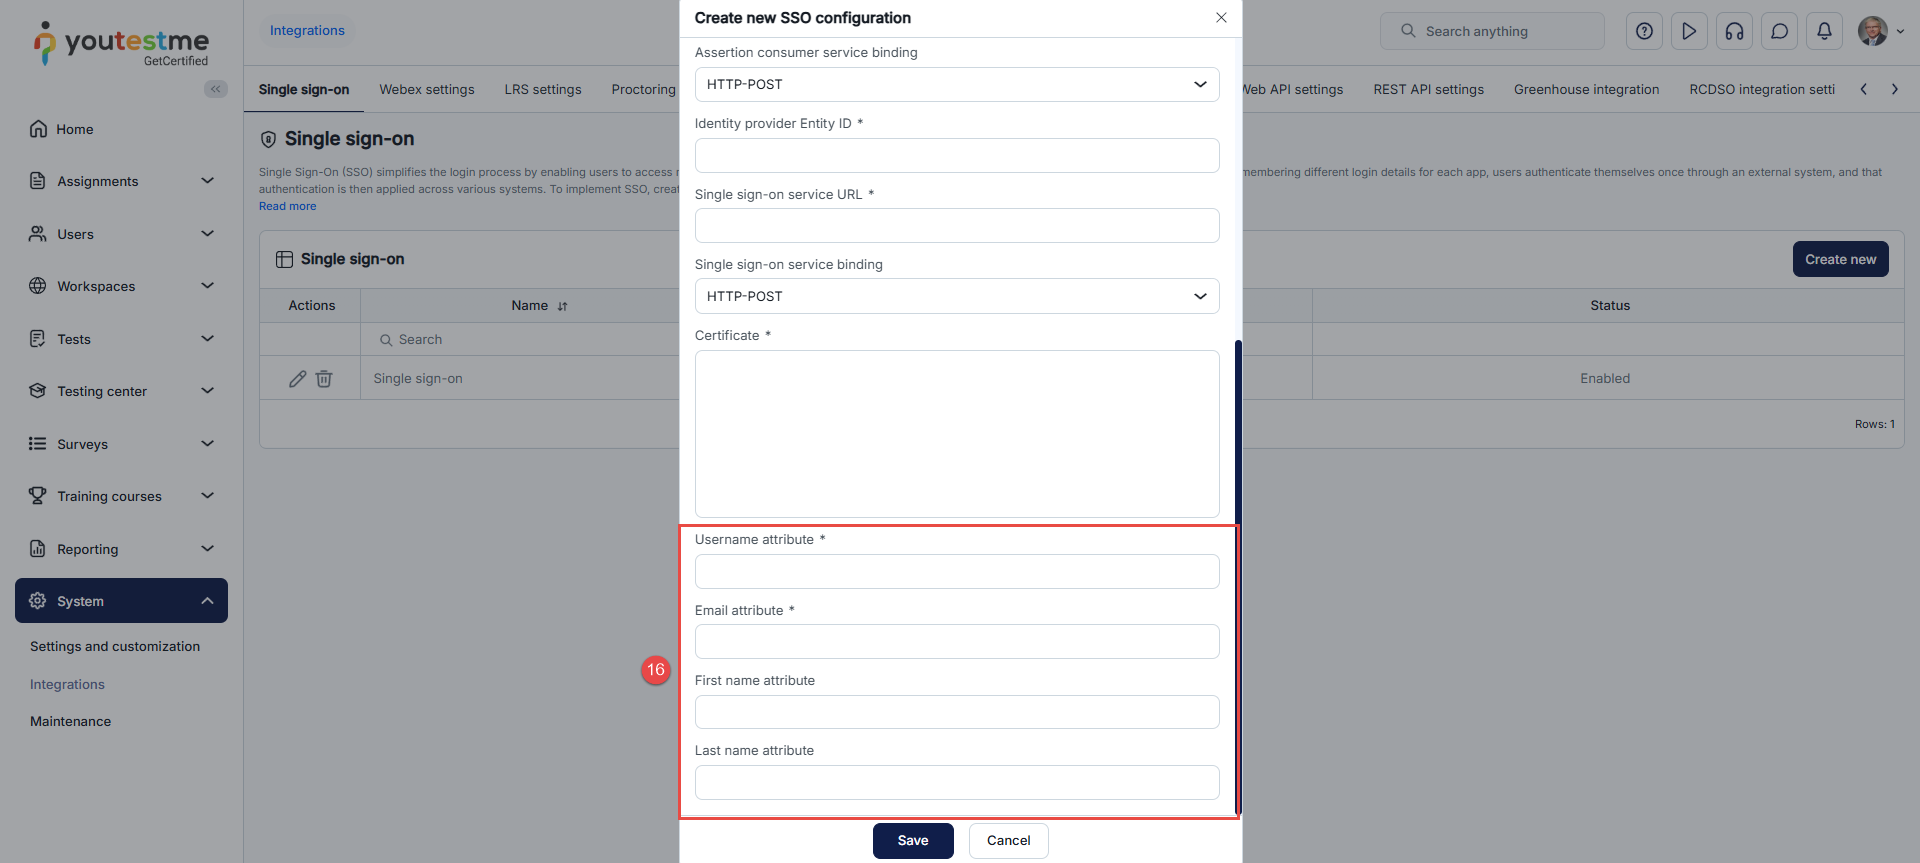
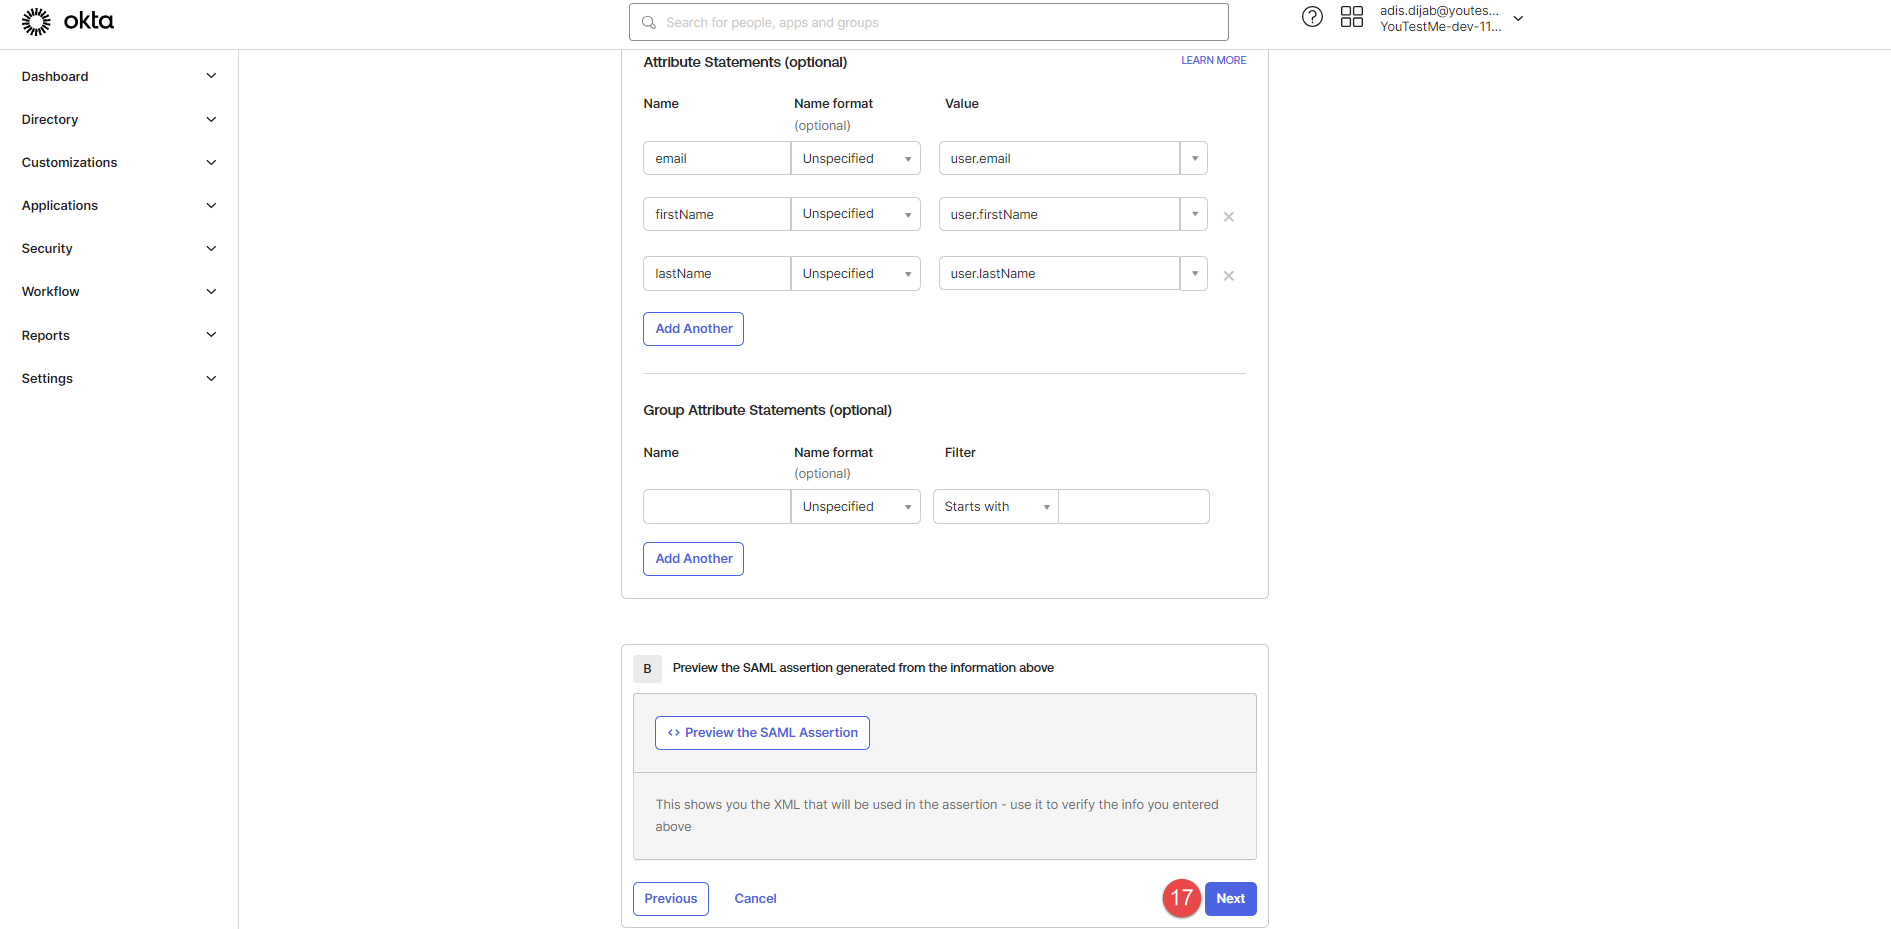
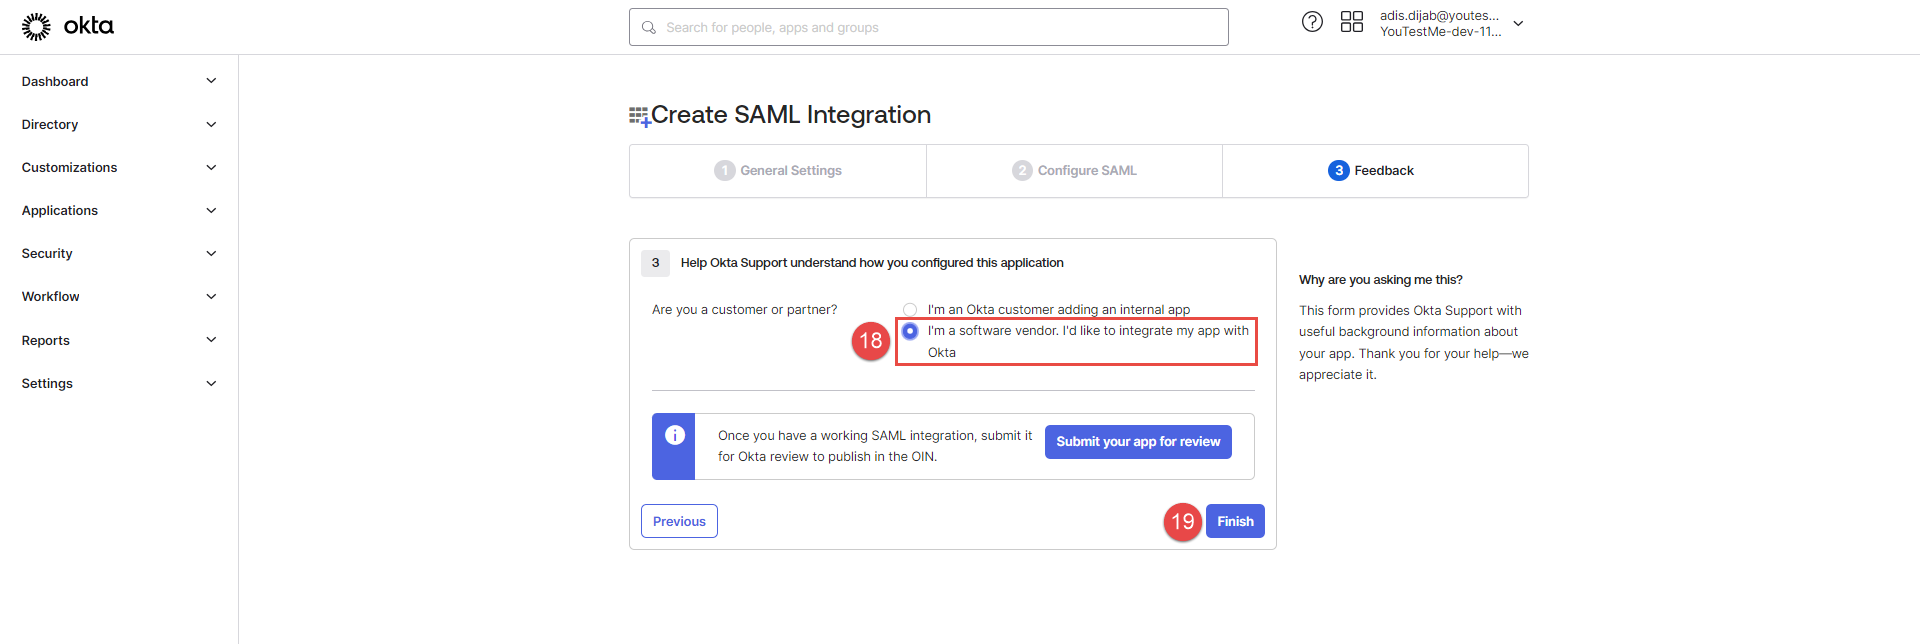
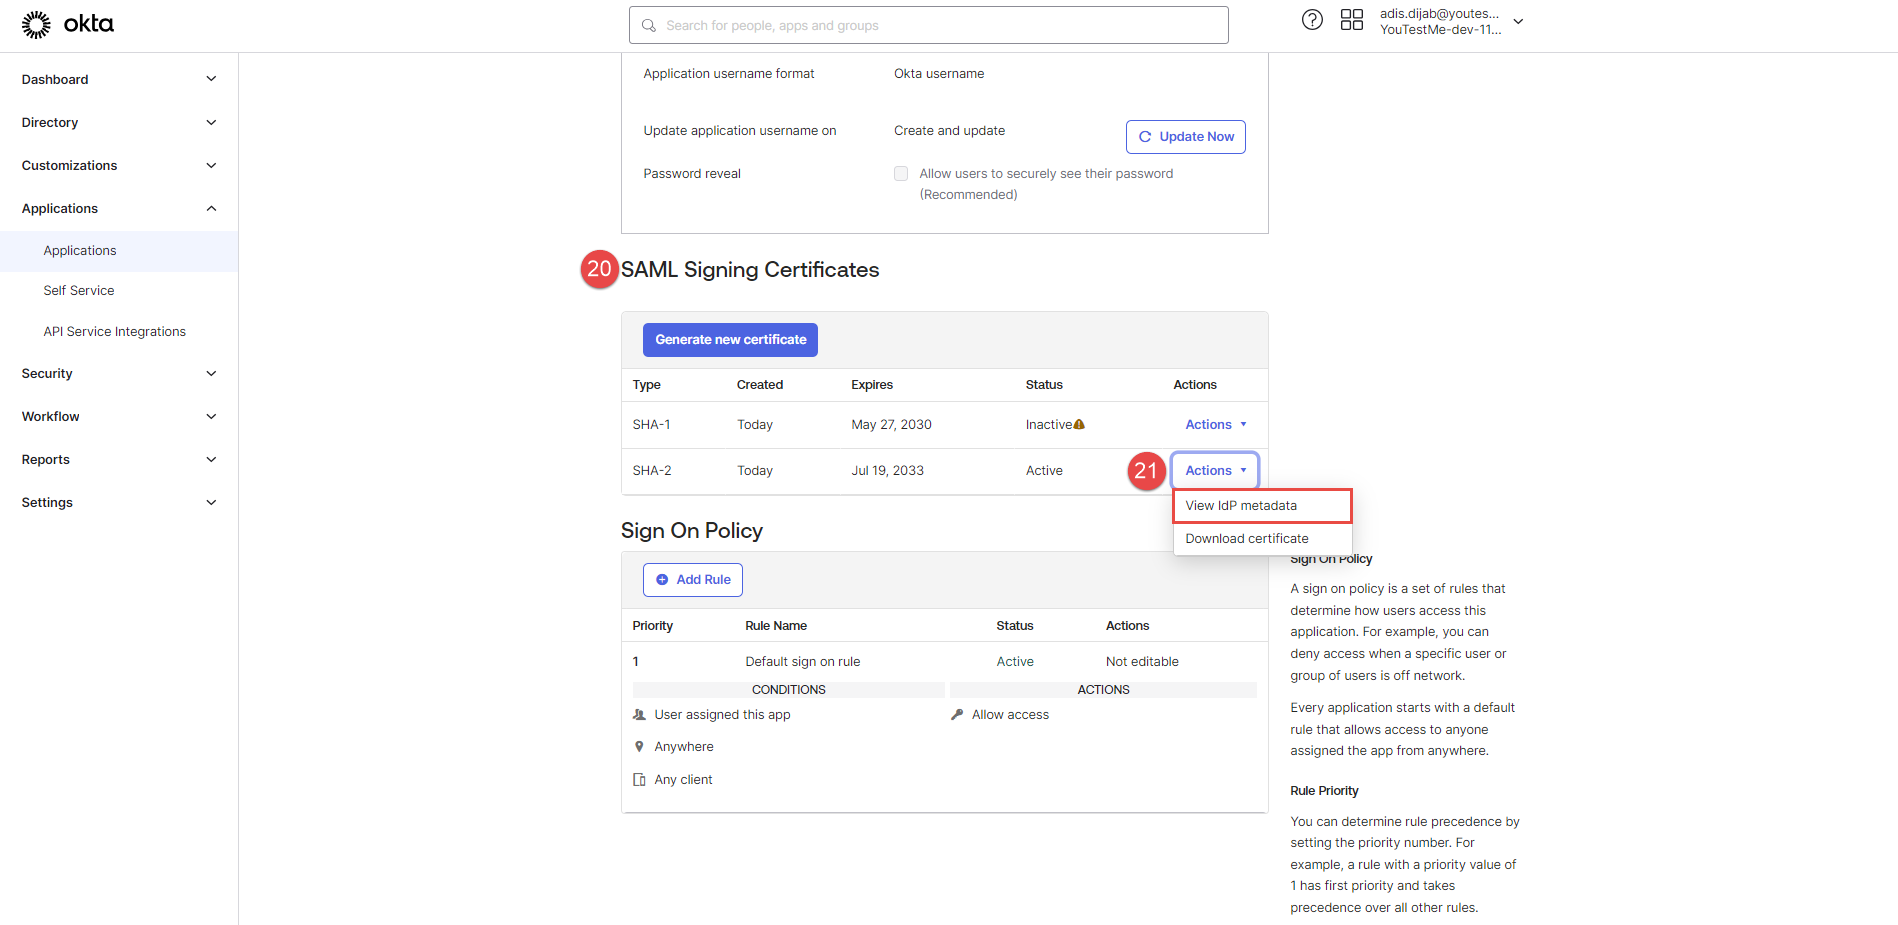
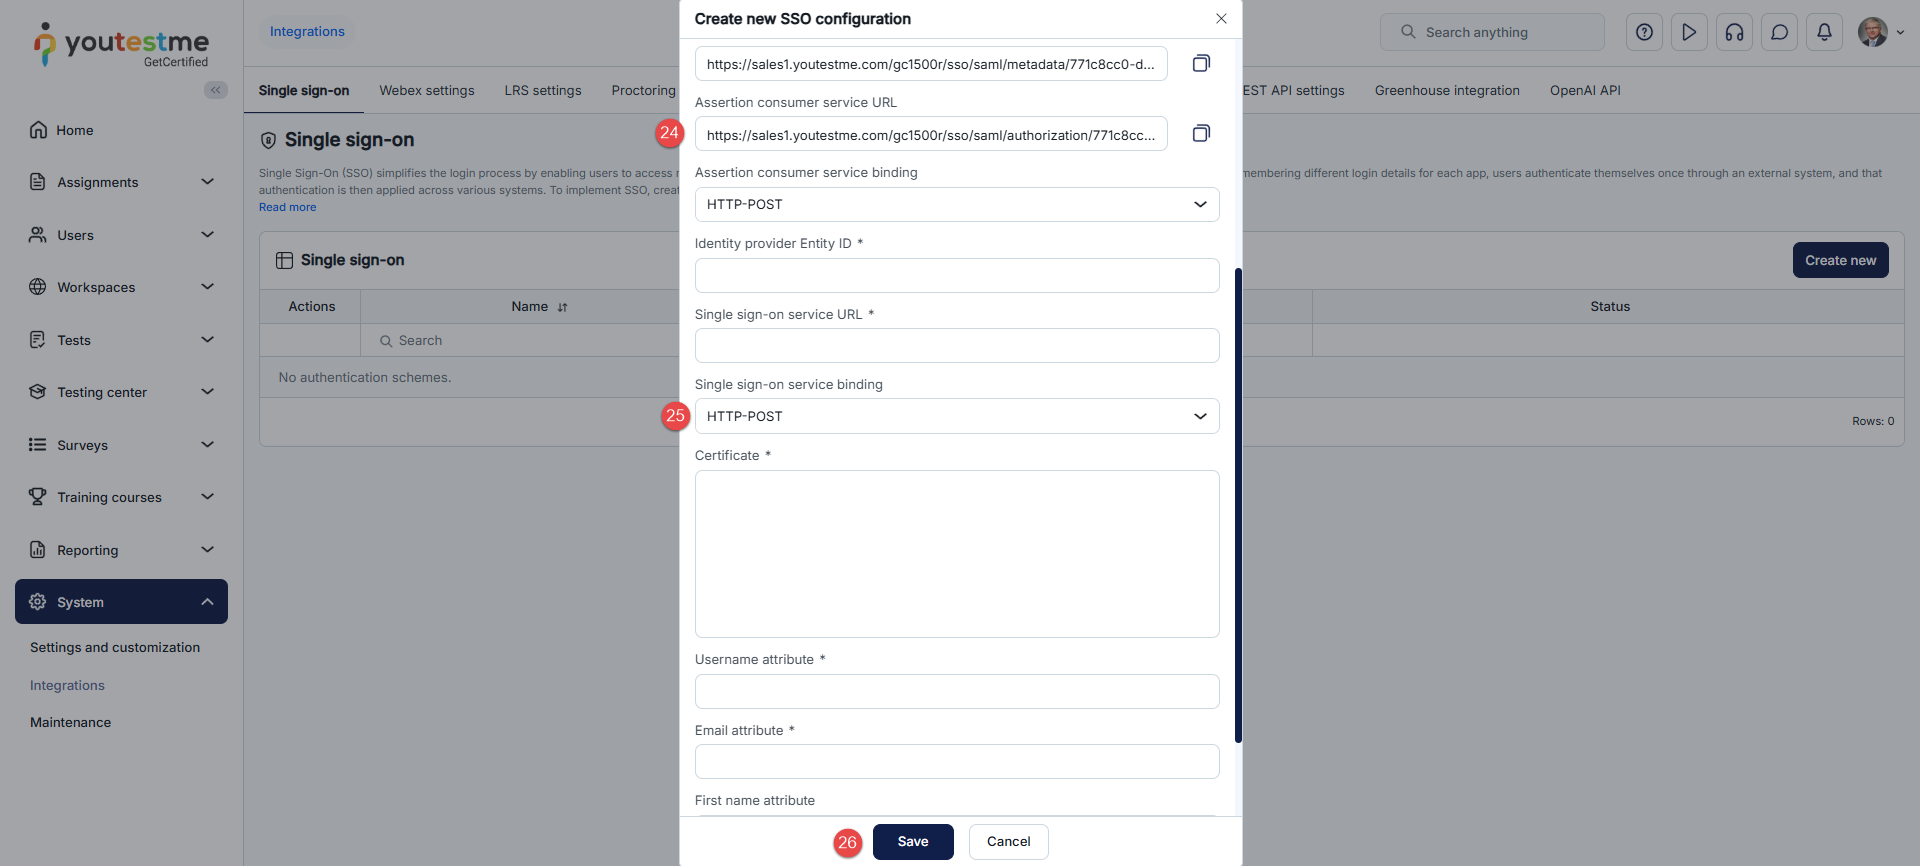
The new SSO configuration should be created and displayed as Enabled.
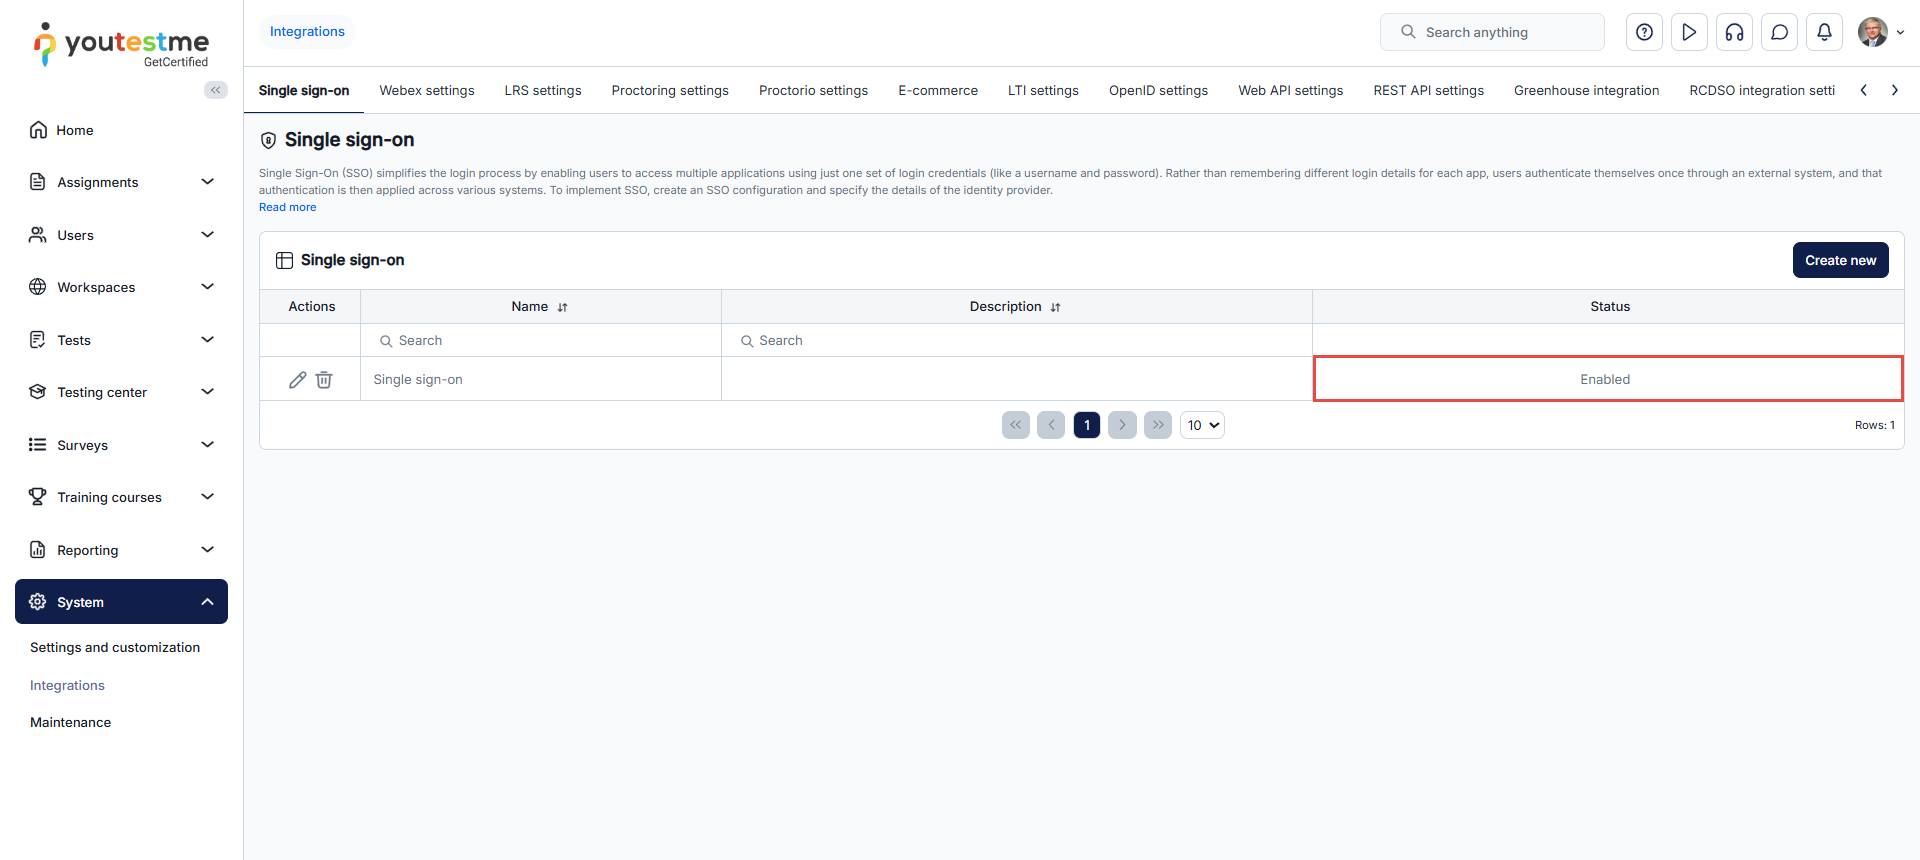
To access the application, the user needs first to be assigned to Okta. Navigate to the Assignments tab and Assign the user.
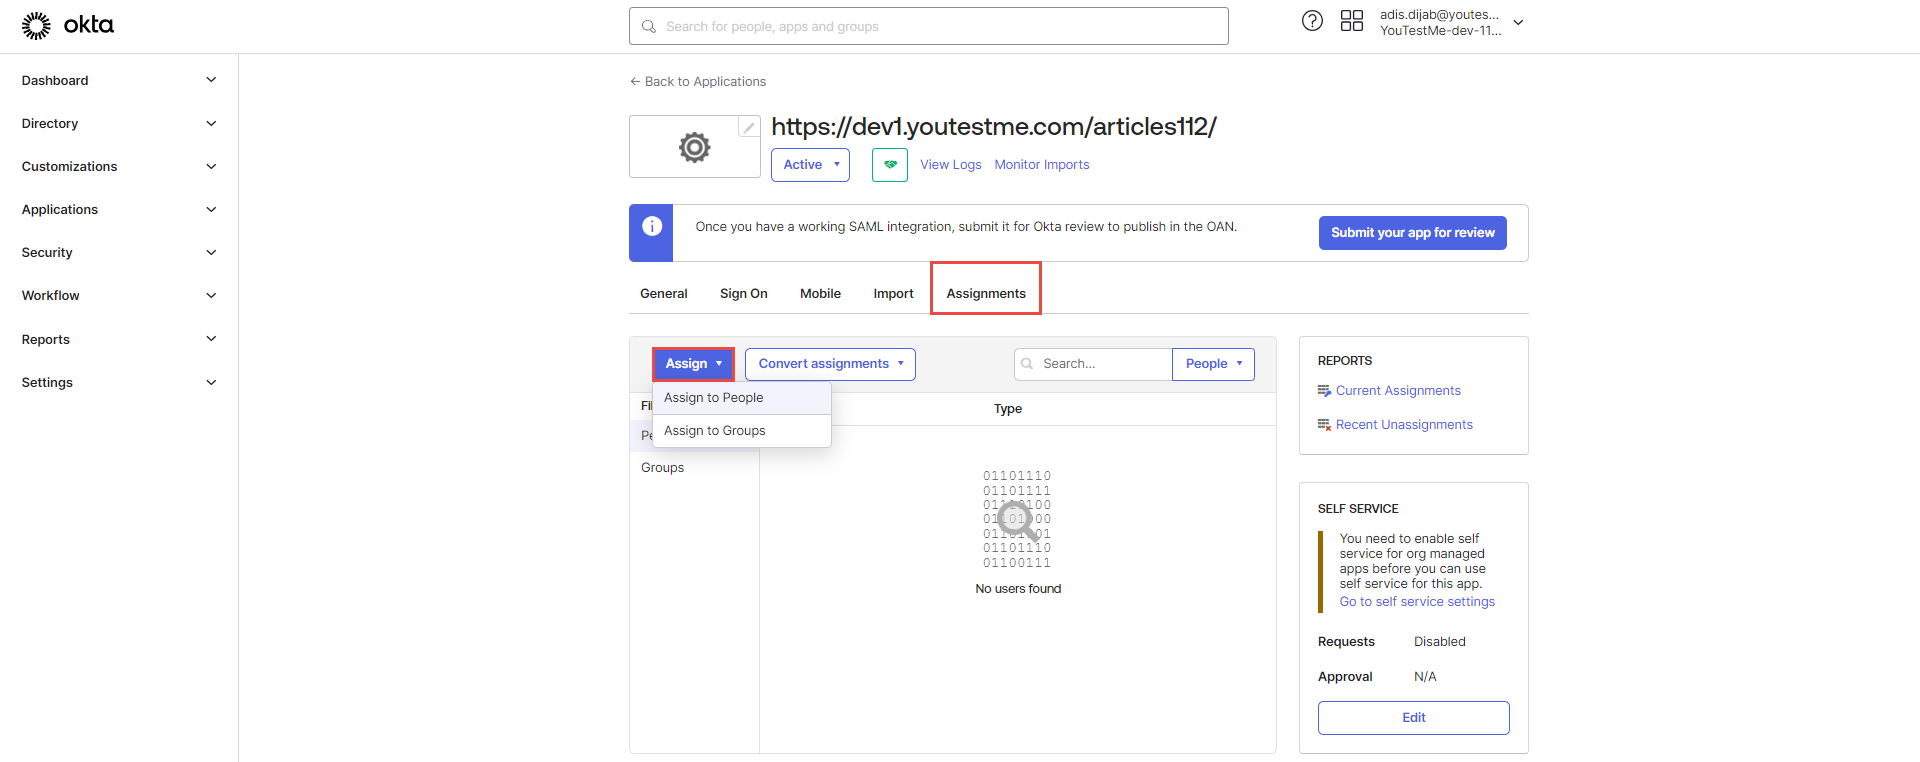
If you configured everything appropriately, the option to log in with SSO should be visible on the login page. Users can choose to log in with the newly created SSO integration.
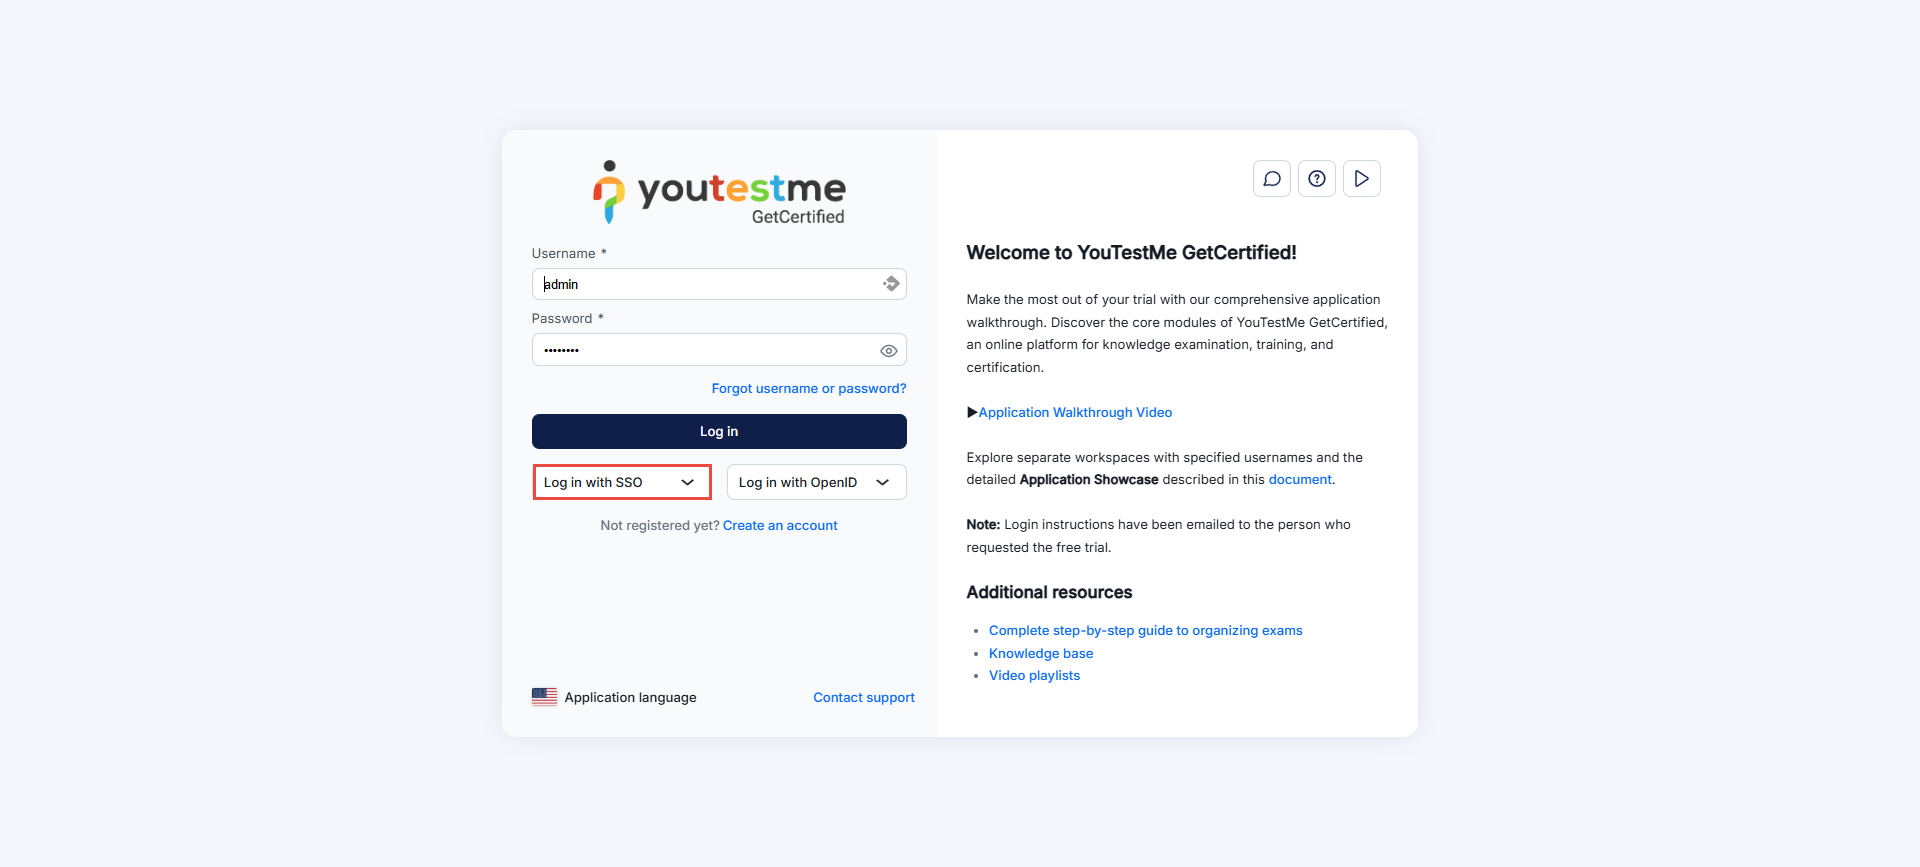
These are the first-time login steps.
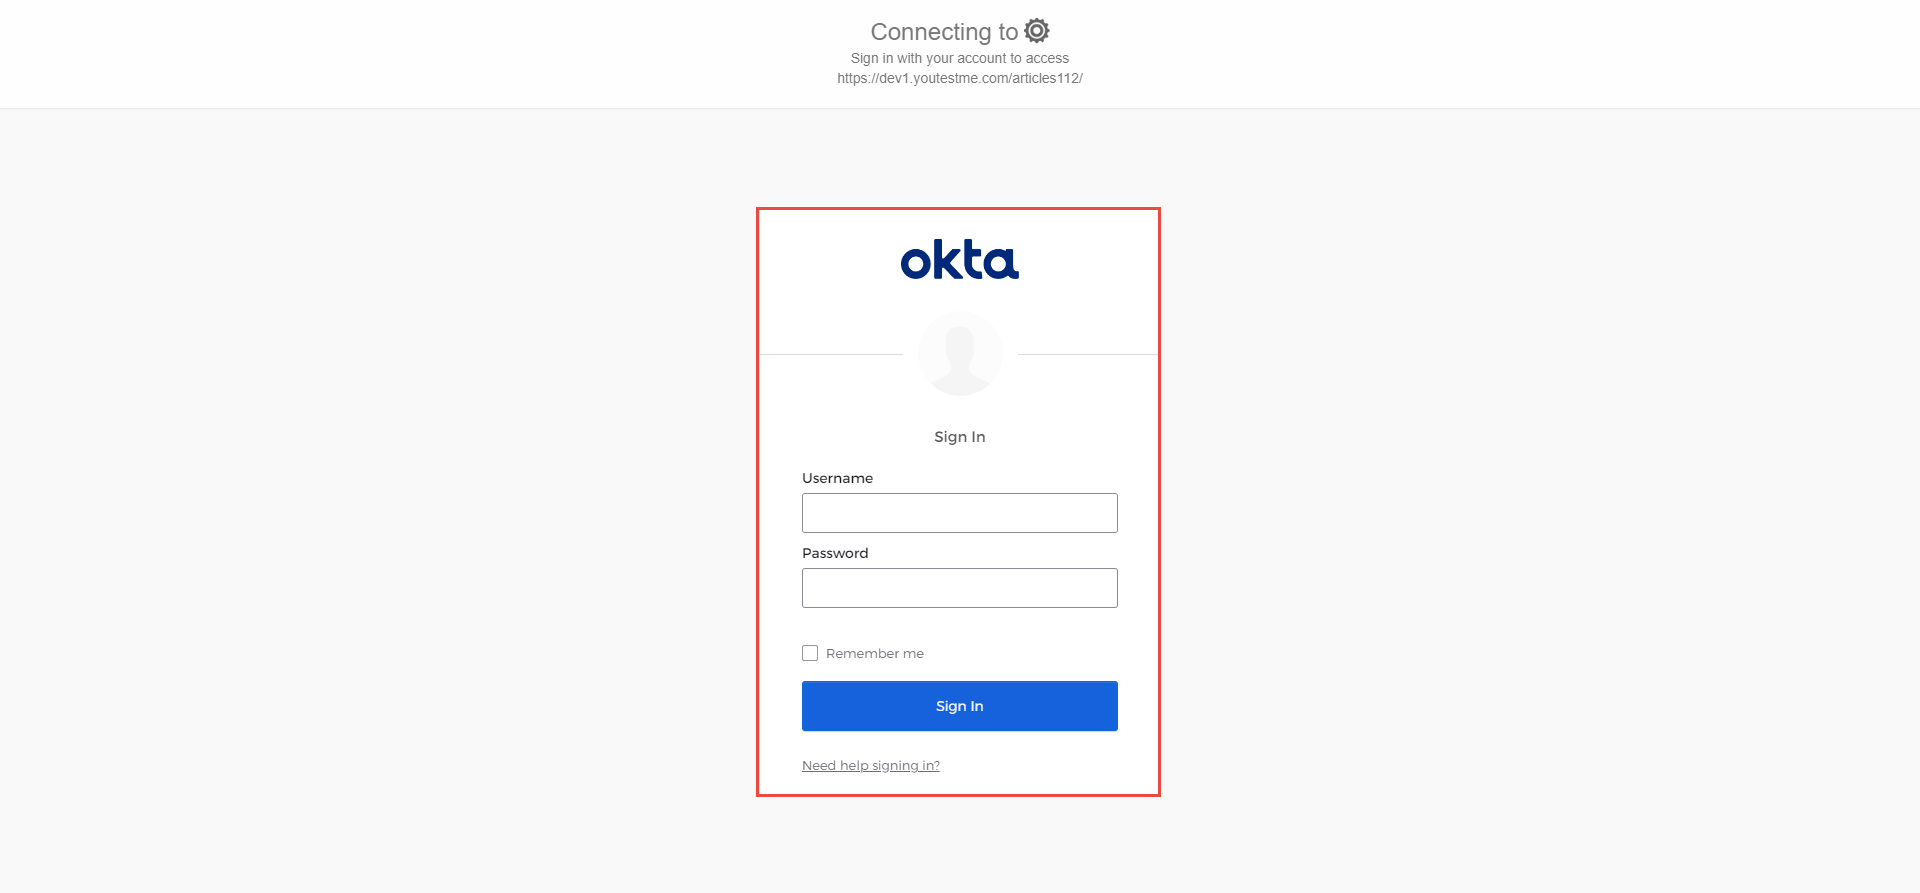 Once the student has passed the validation
steps, he will be directed to the GetCertified
application.
Once the student has passed the validation
steps, he will be directed to the GetCertified
application. Note: Contact our support team at support@youtestme.com if you have trouble configuring your SSO configuration.
Check the link below for more information on how to configure Single Sign-on integration.

Configuring SSO (SAML 2.0)
-
-
Webex settings
Webex settings enable seamless integration and efficient proctoring for instructors and candidates, which involves authenticating the Webex hosting account.
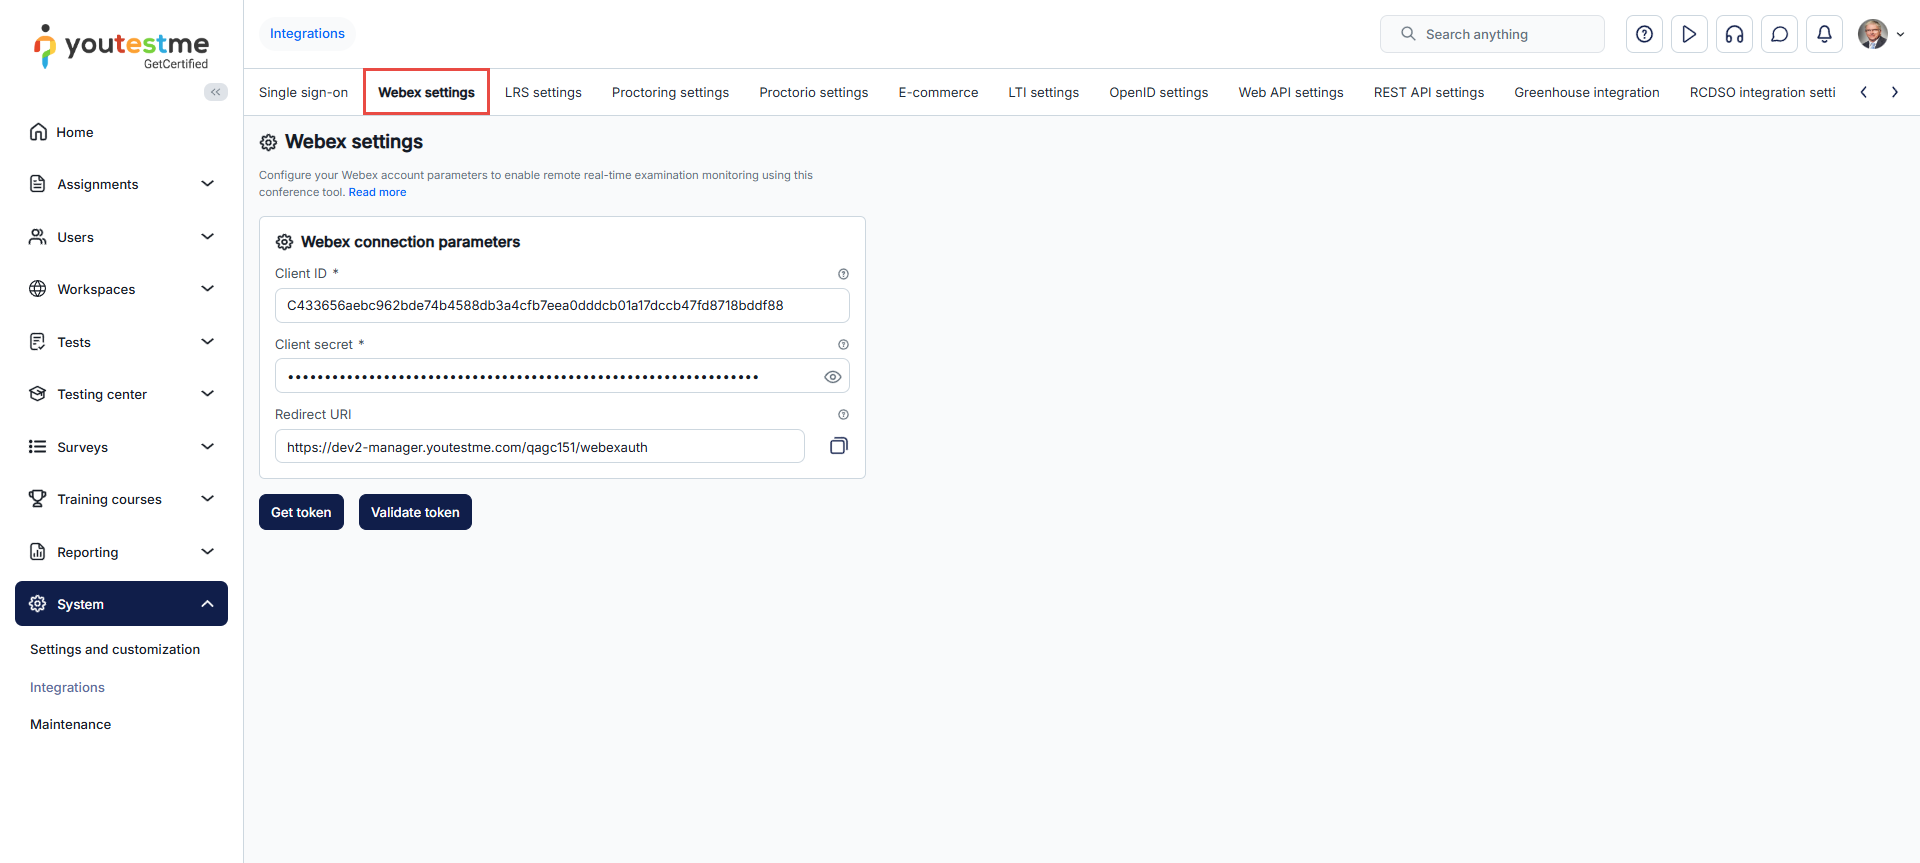
To set up the Webex integration, the first step is to register if you don't have an account or log in if you already have an account on the Webex for Developers application.
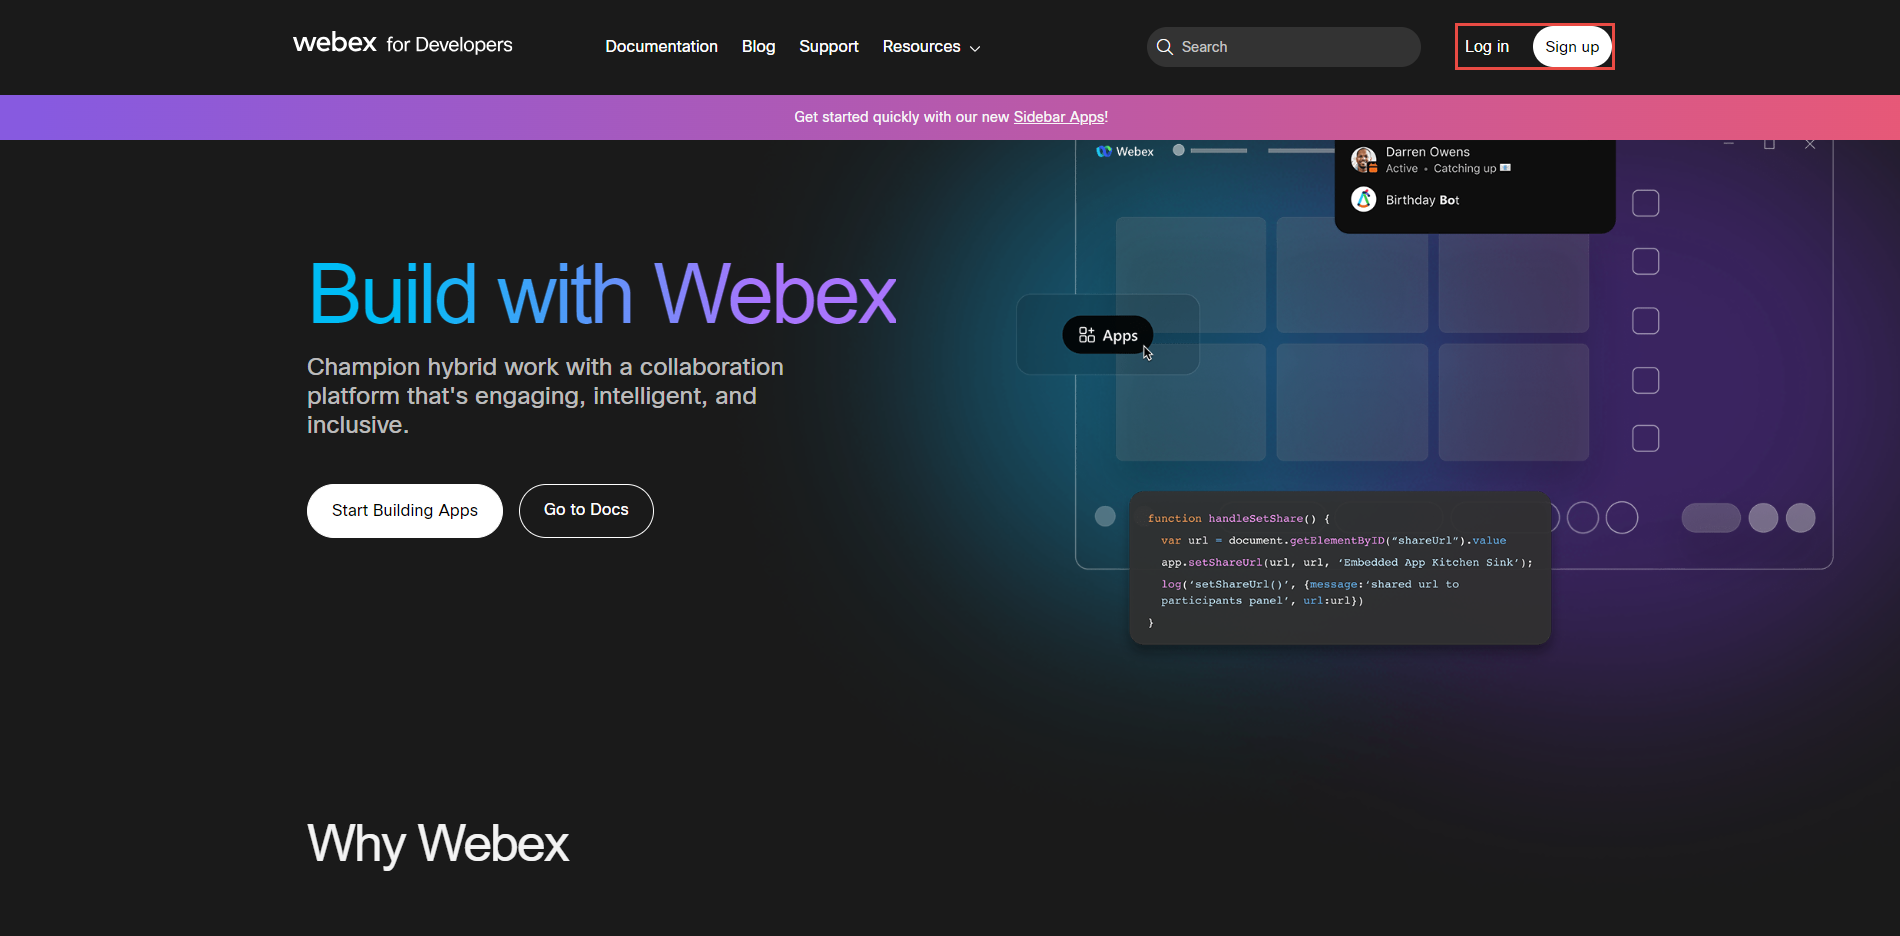
Once logged into the app, click on your profile icon and select My Webex Apps.
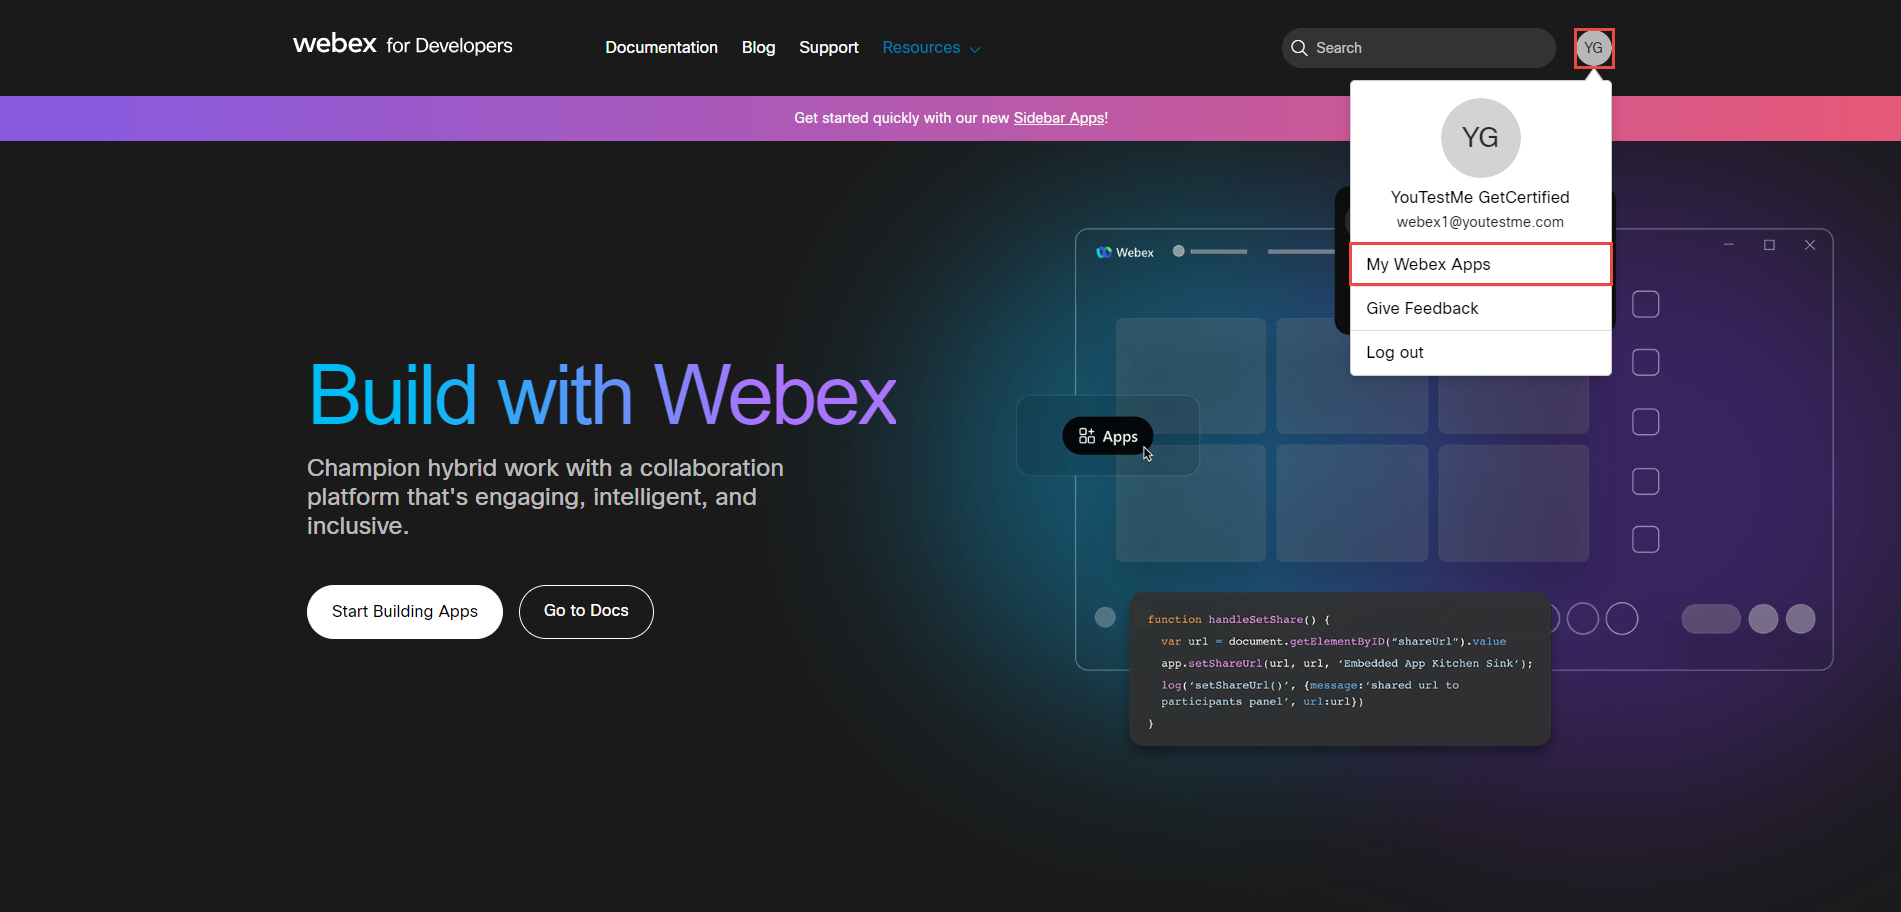
Click the Create a New App button.
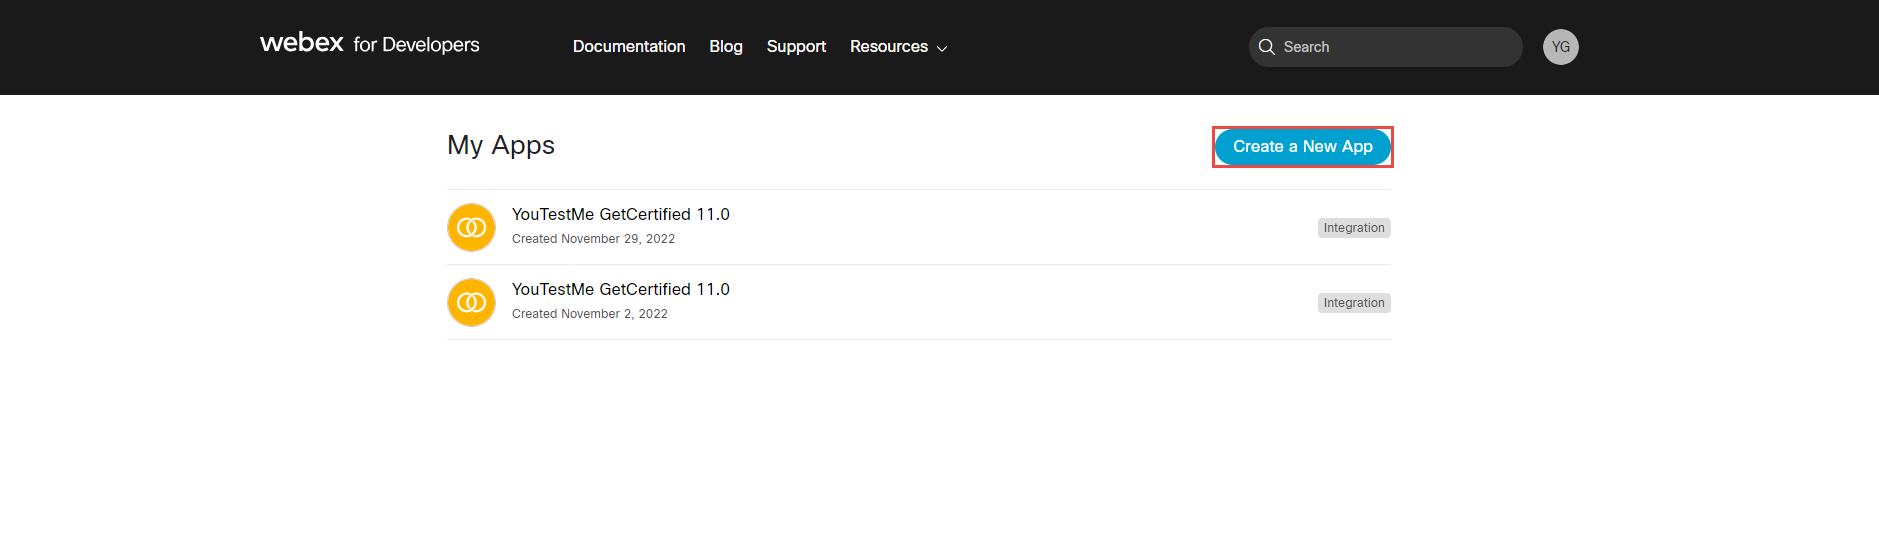
Click the Create an Integration button.
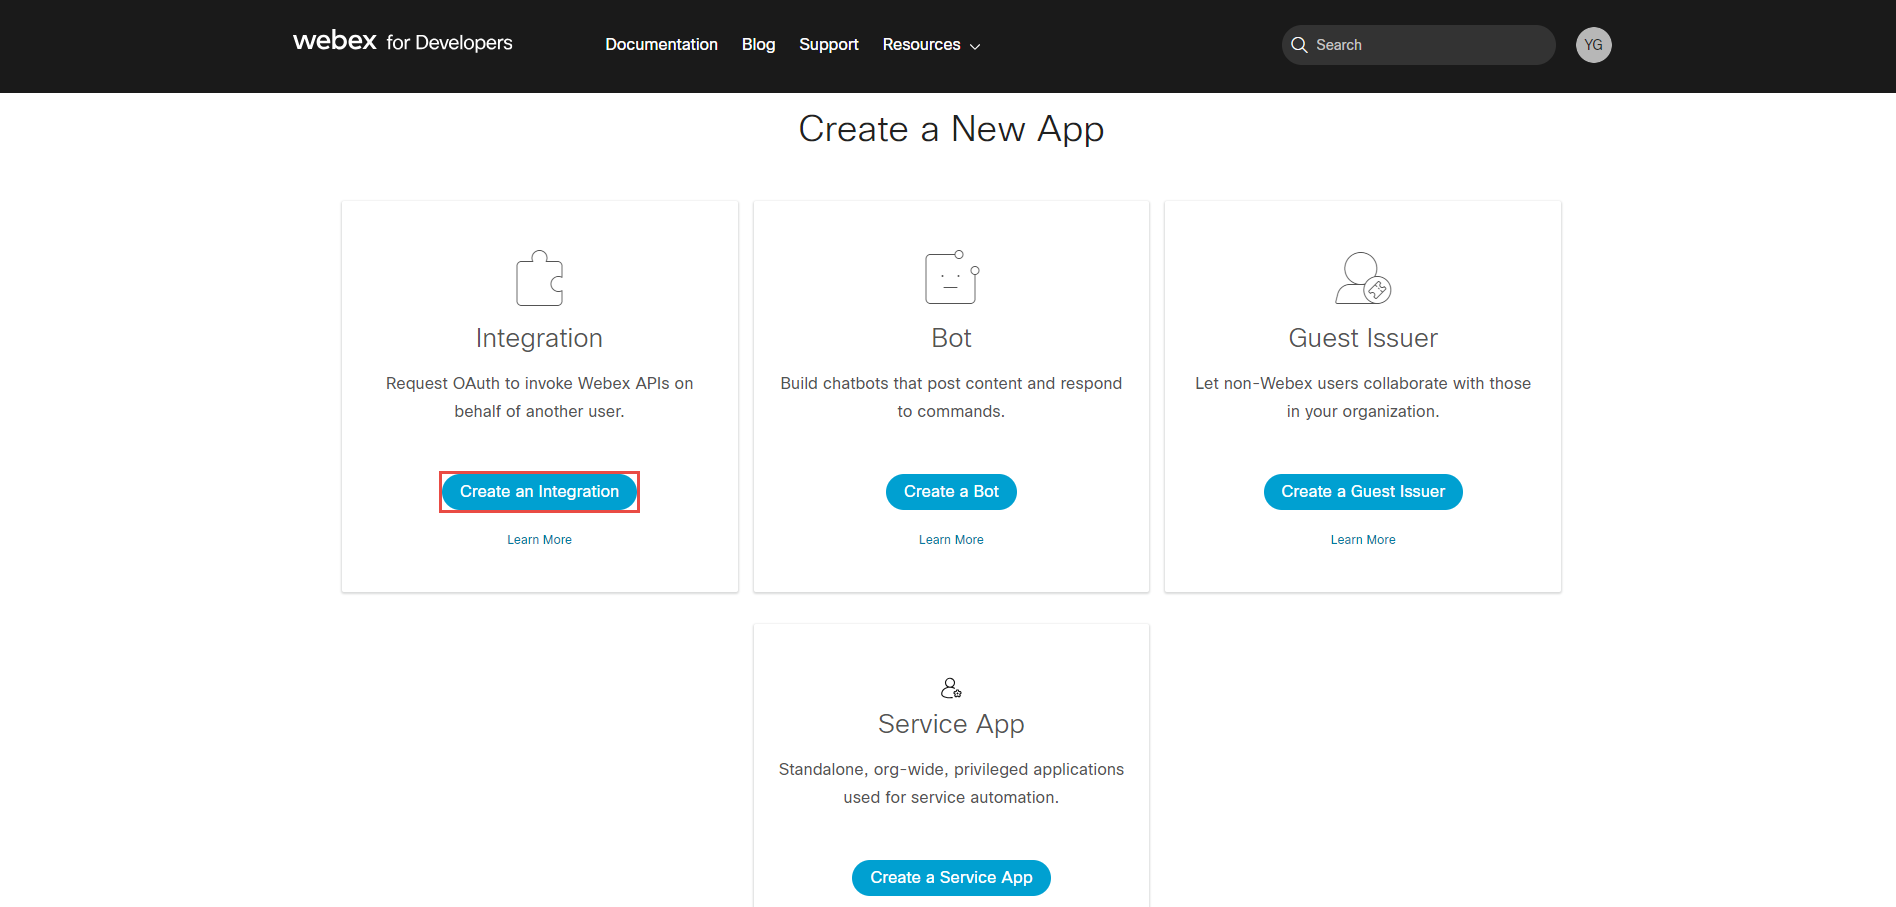
-
Enter Integration name.
-
Choose Icon.
-
Enter App Hub Description.
-
Enter Redirect URl(s). Copy the Redirect URI parameter from the Webex settings tab within the GetCertified Application and paste it here.
-
Select all meeting Scopes.
-
Click the Add integration button.
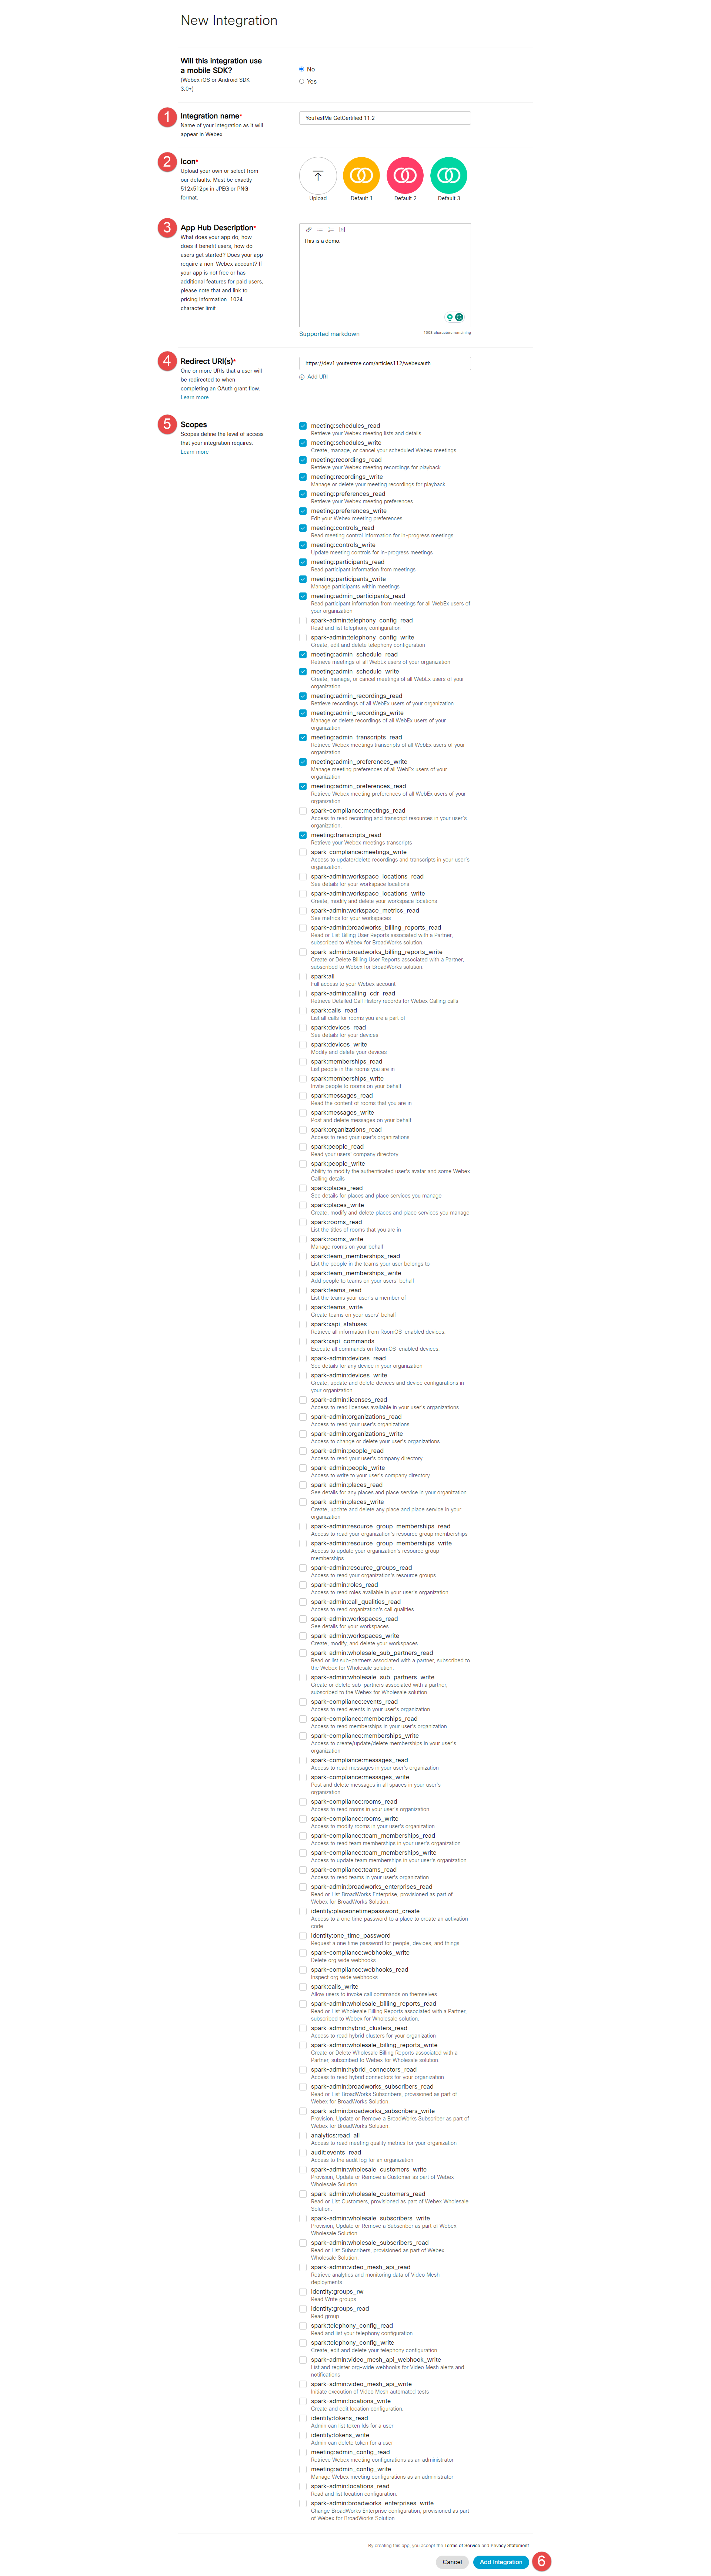
Once you create an integration, you will get the Client ID and Client Secret.
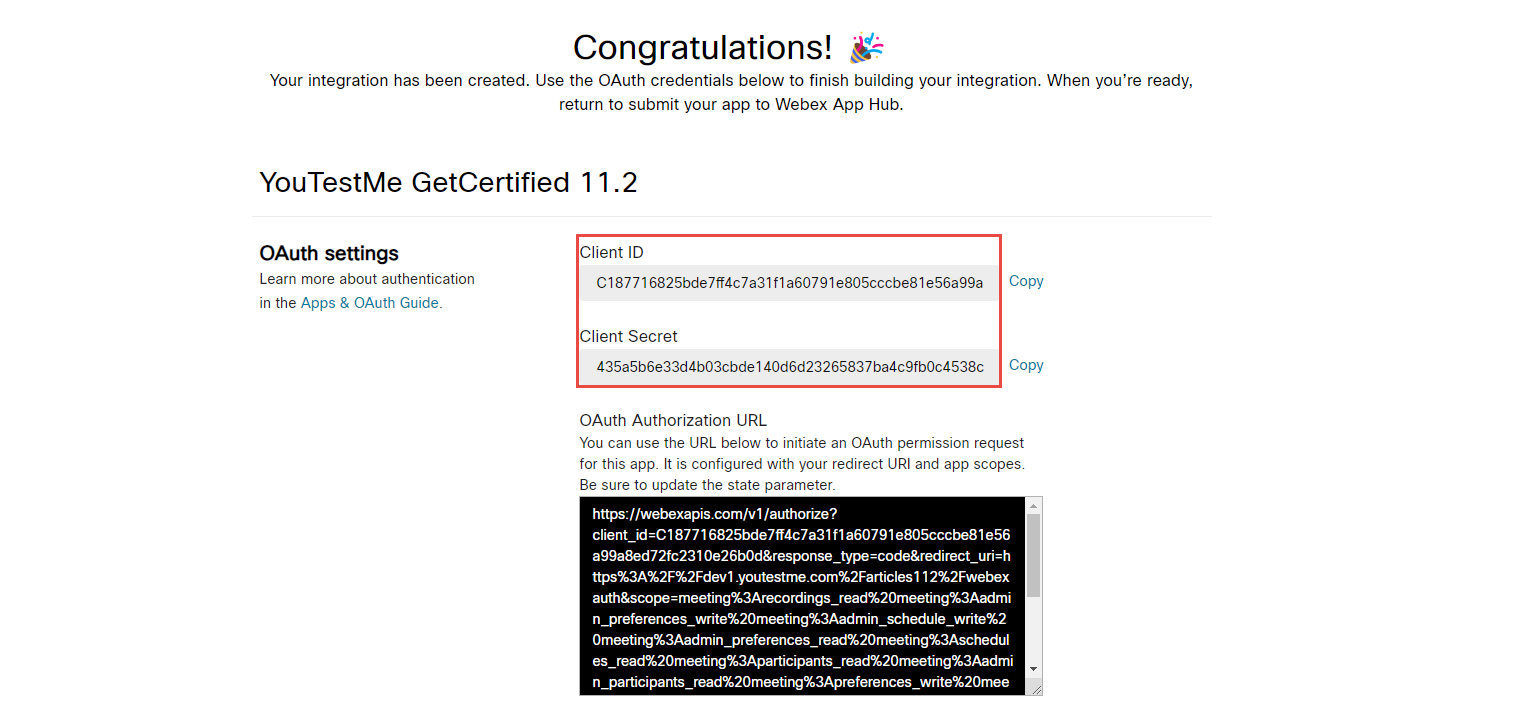
-
Copy the Client ID from the Webex for Developers application and paste it into the Webex settings tab within the GetCertified Application.
-
Copy the Client Secret from the Webex for Developers application and paste it into the Webex settings tab within the GetCertified Application.
-
Redirect URI - Used to copy this parameter and paste it on the Webex for Developers application.
-
Click the Save button.
-
Click on the Get token button, and you will be redirected to the Webex page, where you should log in again with the hosting Webex account.
-
Once you are logged in, click the Accept button.
To configure Webex settings, do the following:
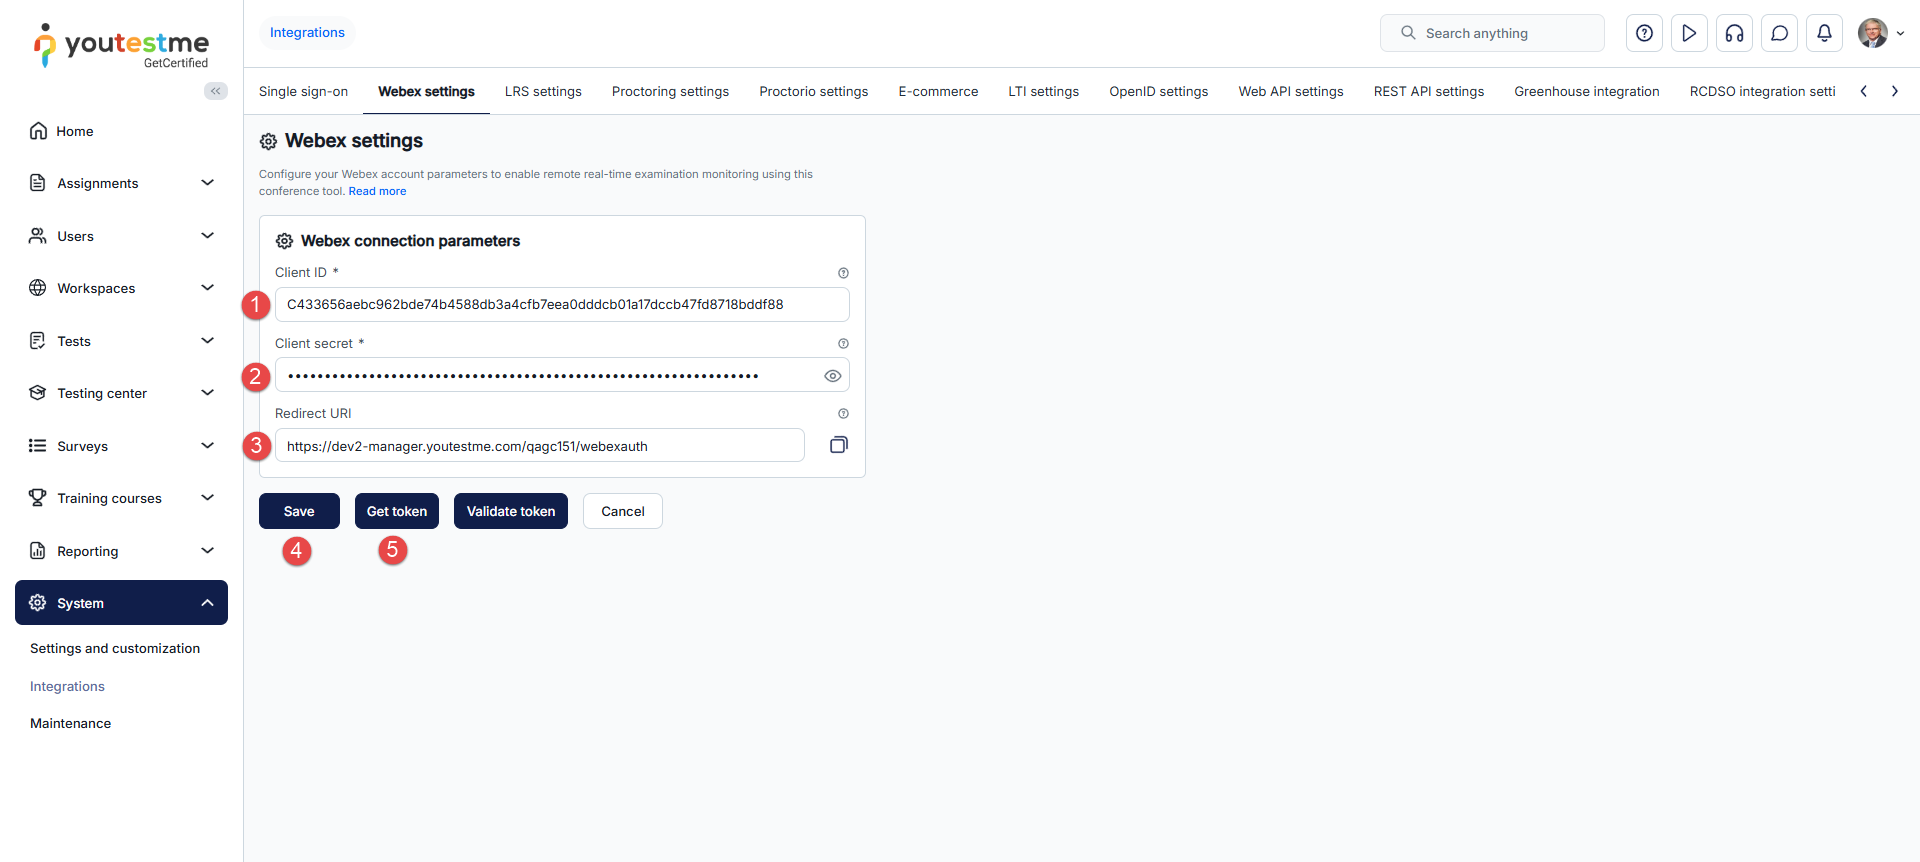
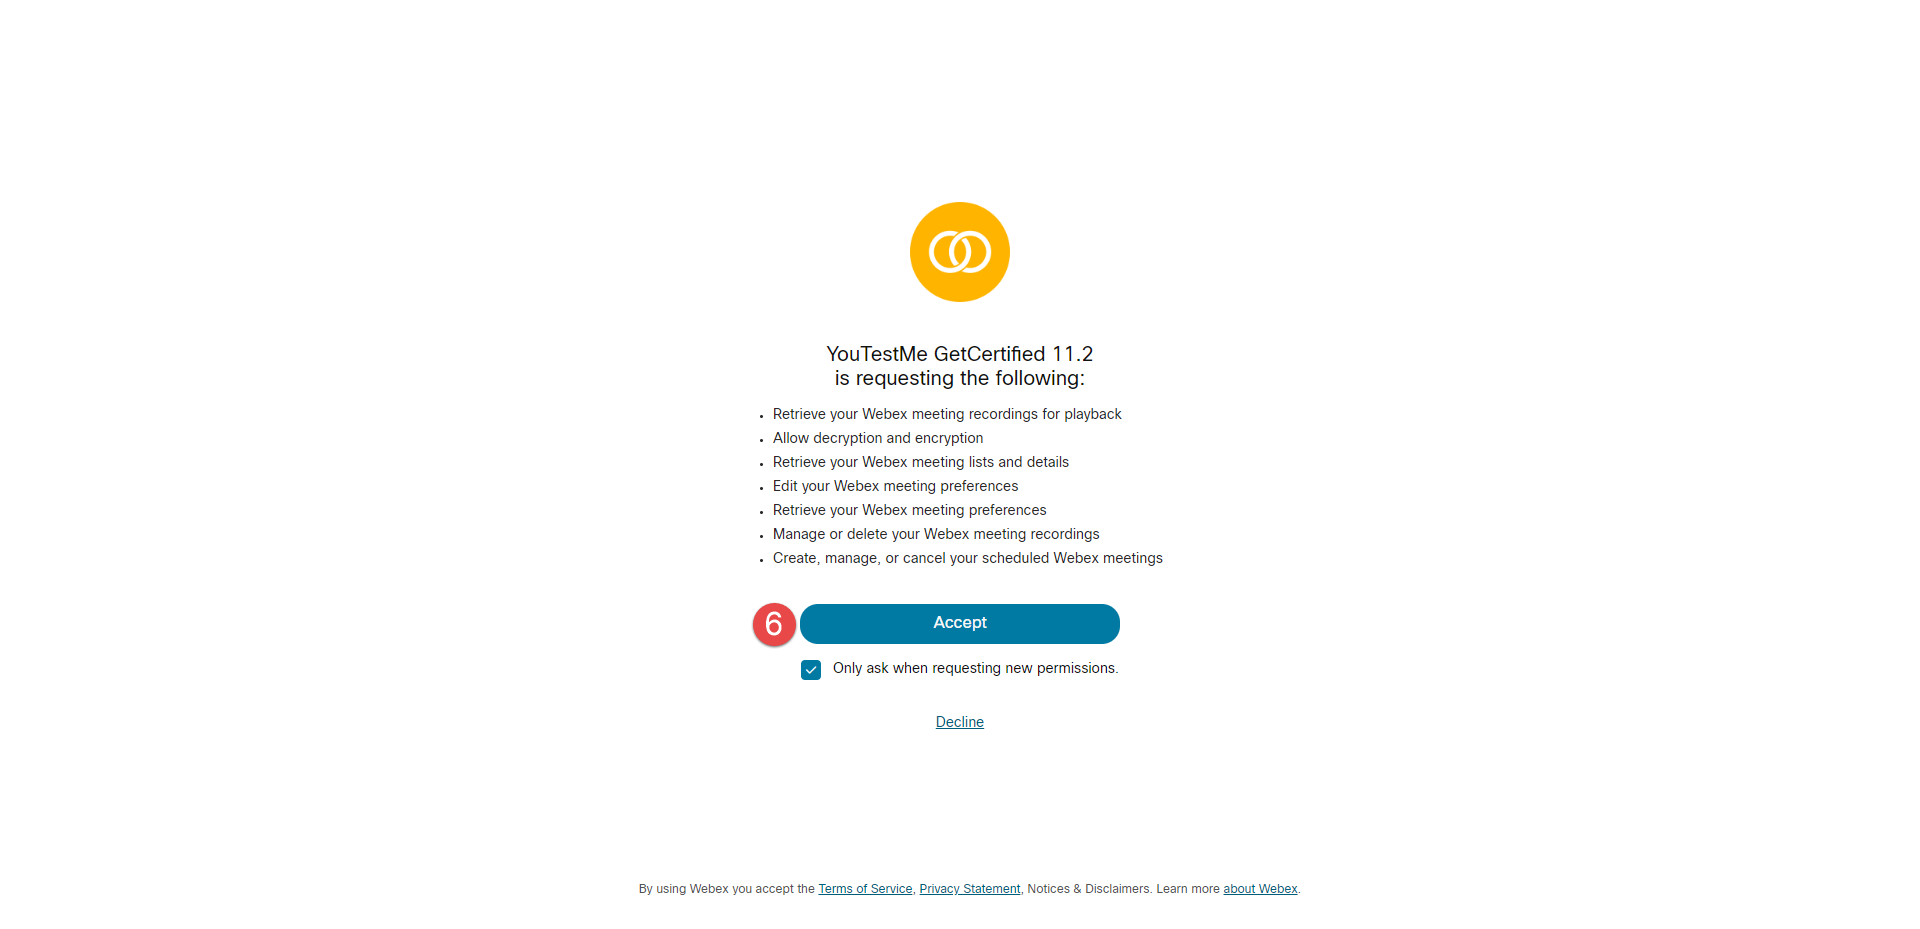
Once you accept, the Validate token button will appear in the GetCertified application, which is an indication that you have access to this token.
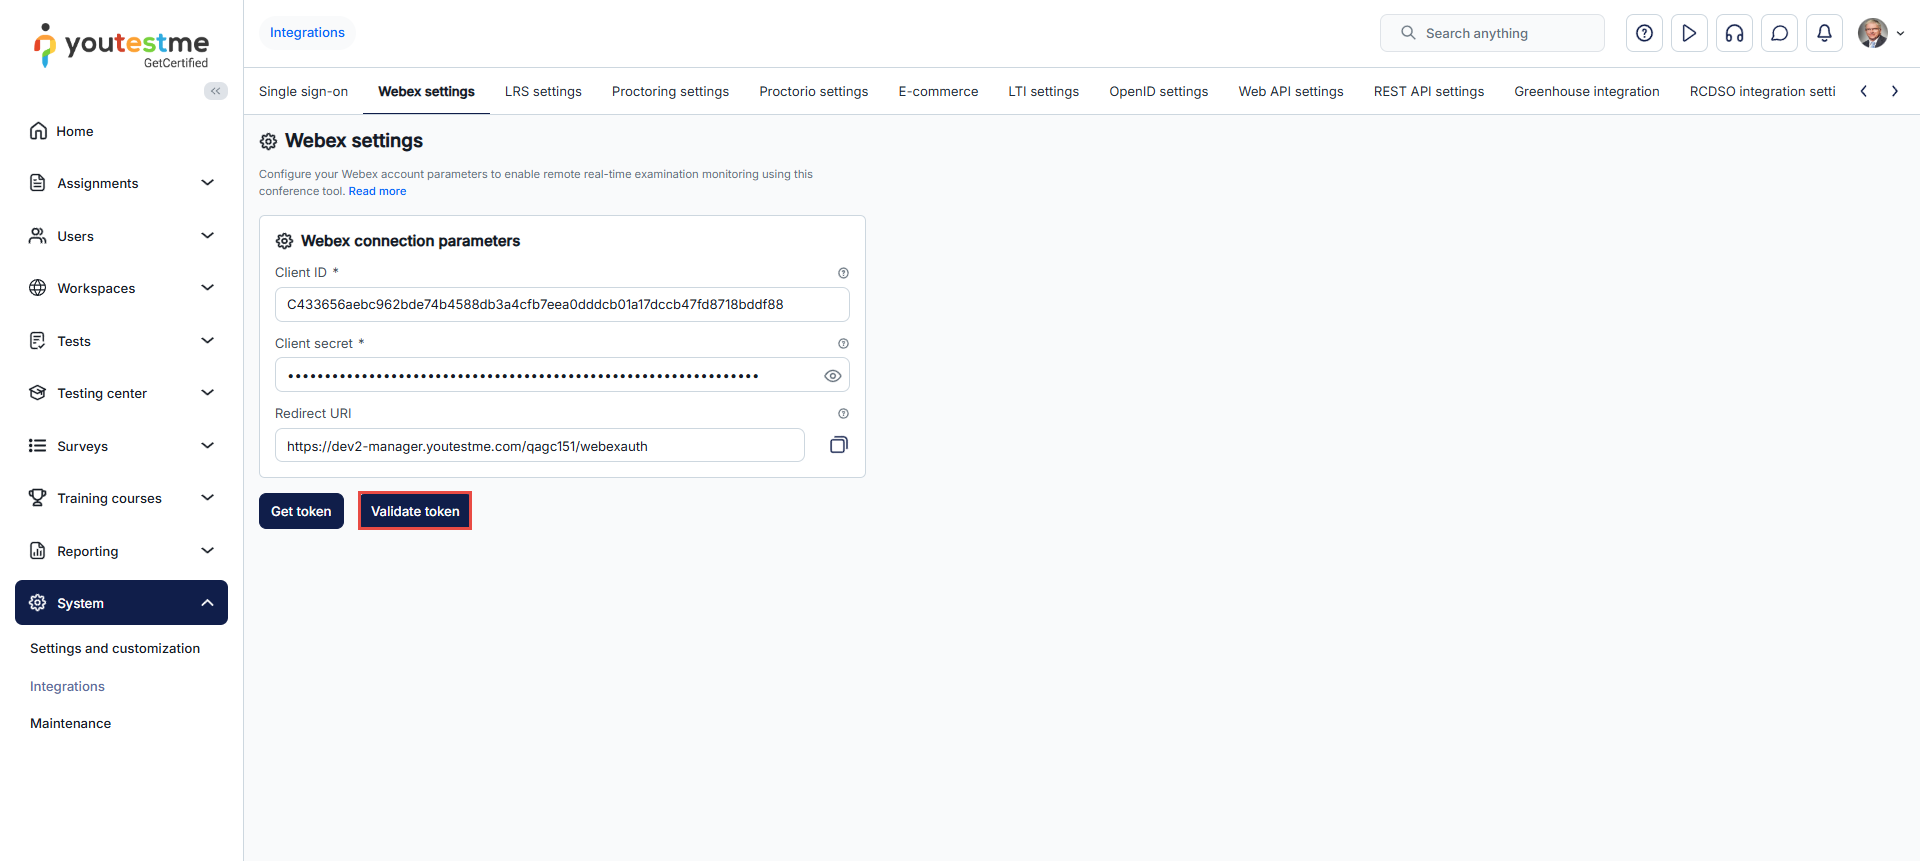
Proctoring by meeting tools is configured while creating a Testing session. After you have completed the Test Creation Wizard, you should navigate to the Testing session tab to schedule a test. For more instructions on how to organize tests with a Webex meeting, visit this Using Meeting Tools to Proctor Online Tests article.
Check the links below for more information on how proctoring using Webex works.
Live Proctoring with Conference Tools: Webex, Zoom, Skype, Google Meet
Webex Proctoring (Candidate's Perspective)
Webex Proctoring
-
-
LRS settings
LRS integration with GetCertified ensures that the test results sending process goes successfully.
-
Uploading all the results candidates made on the test.
-
Making the test results available as the statements recorded by LRS.
Sending the test results to LRS ensures:
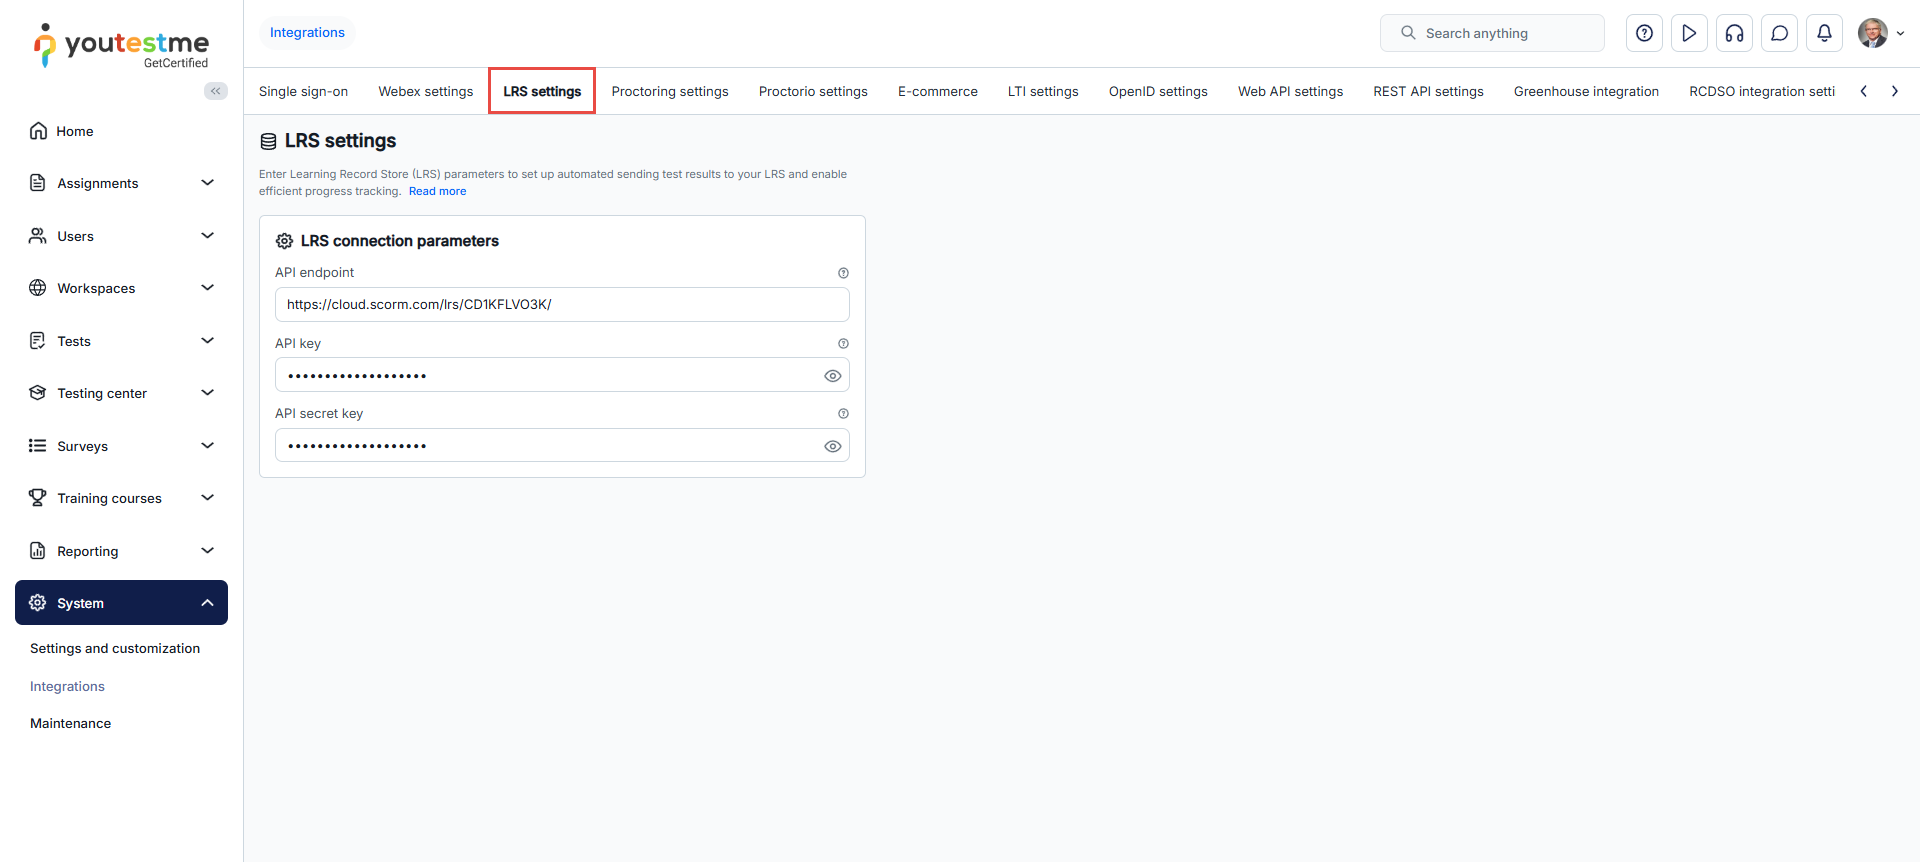
The LRS settings assure the manager of a test to send each candidate's test results into the LRS system and track each candidate's success. The explanation is just an example of the SCORM Cloud integration with GetCertified. You can use any other Learning Record Store that supports Tin Can API (xAPI).
Before you start configuring LRS parameters in the Integrations, you need to log in to the LRS system.
To set up your LRS parameters, visit the SCORM Cloud link and create an account if you don't already have one.
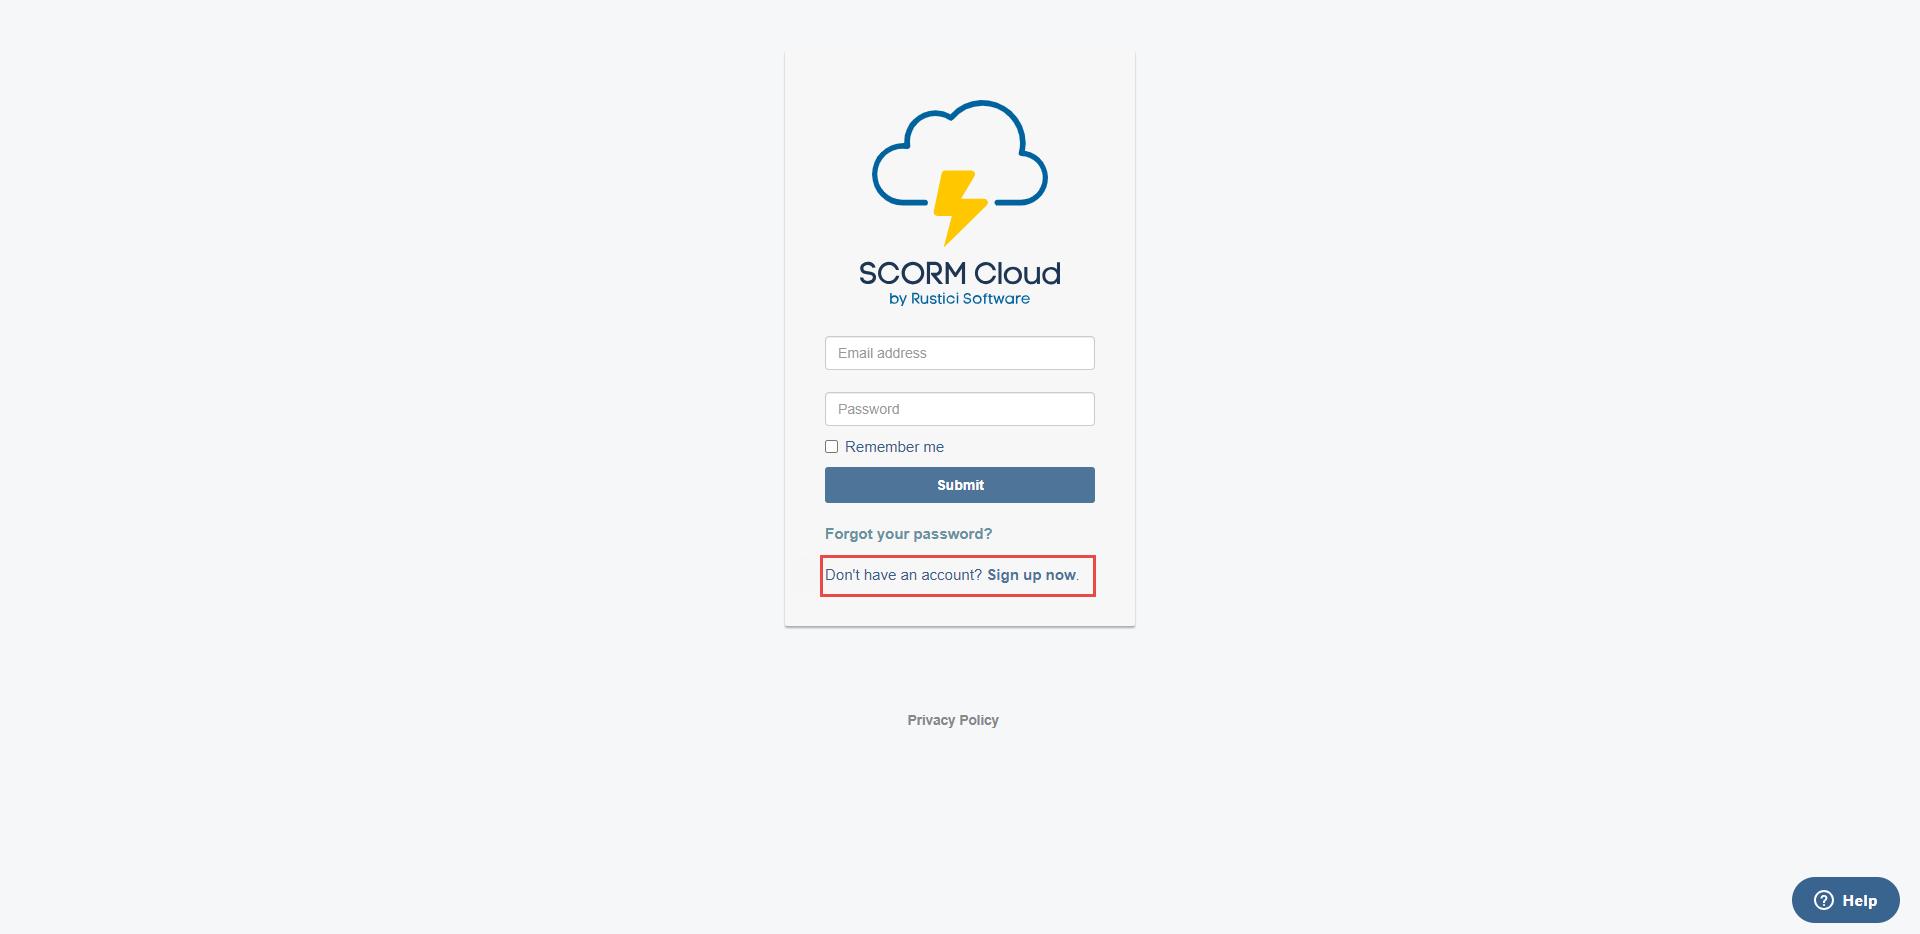
-
Enter your email.
-
Enter password.
-
Click the Submit button.
After successfully signing up, you can log in to the SCORM Cloud.
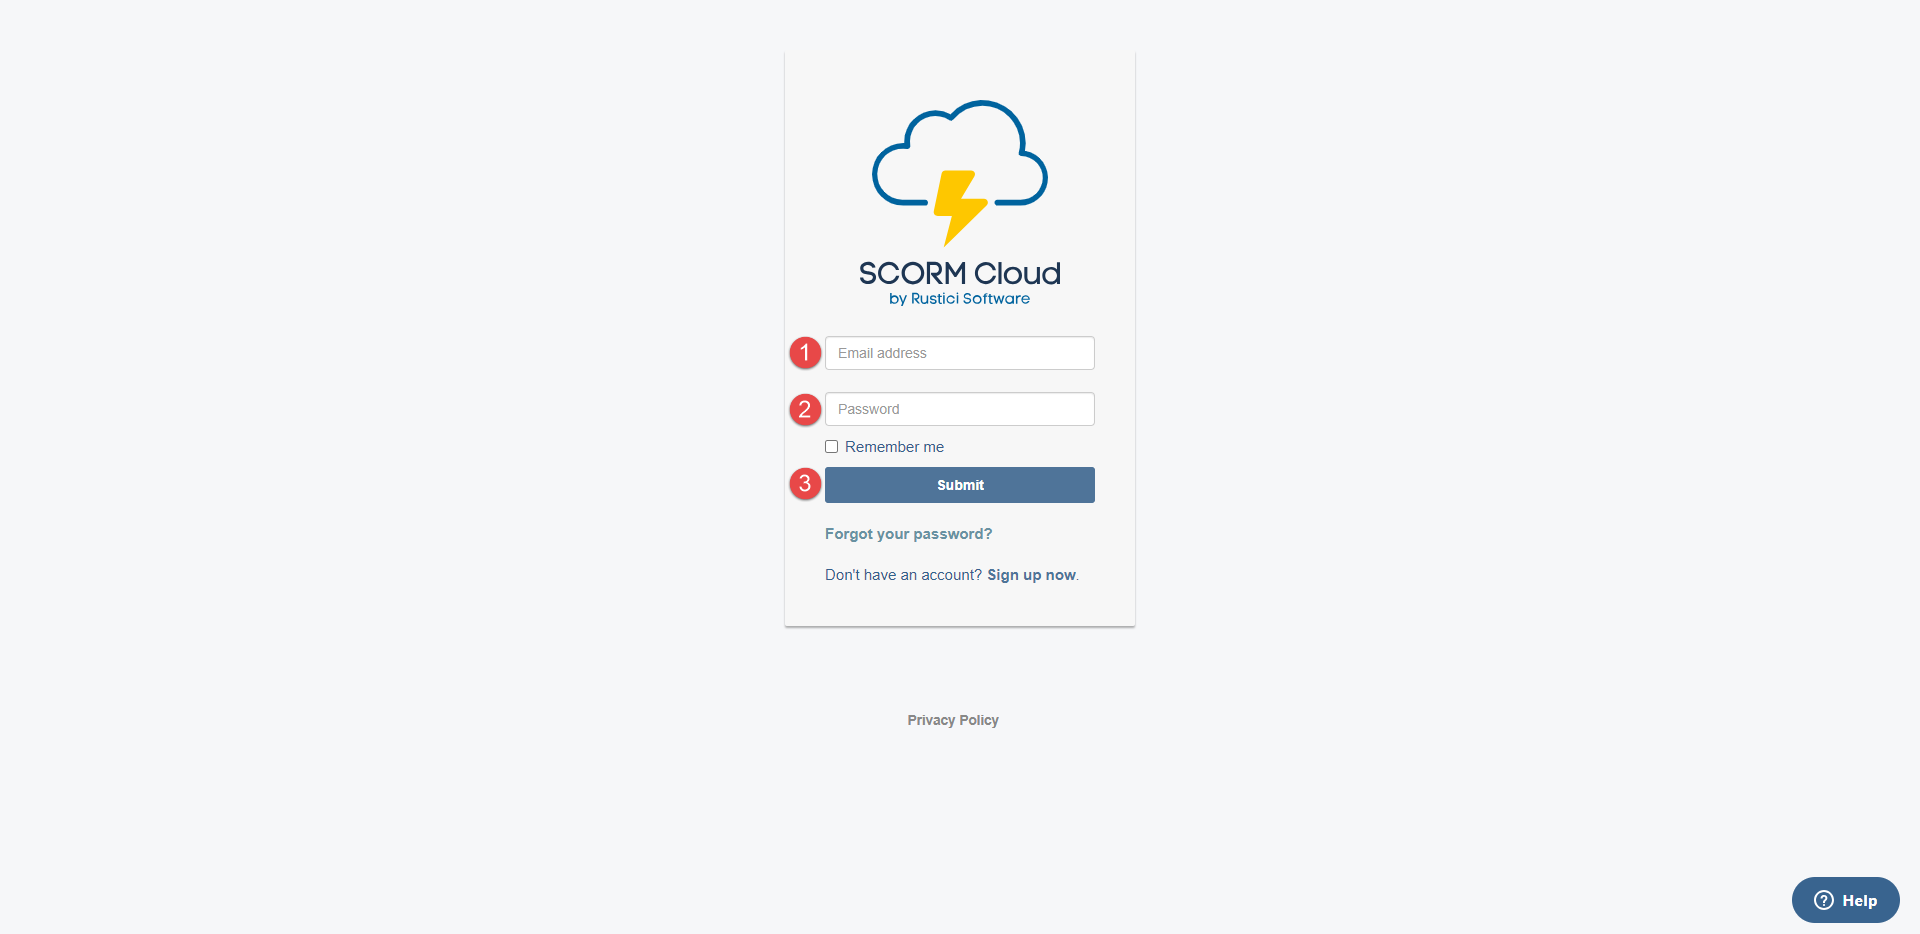
-
When you log in to the SCORM Cloud, open the xAPI LRS tab.
-
Click the LRS Endpoints tab.
-
Copy the Initial Application Realm URL.
-
Paste it to the GetCertified application into the API endpoint field.
To configure API endpoint, do the following:
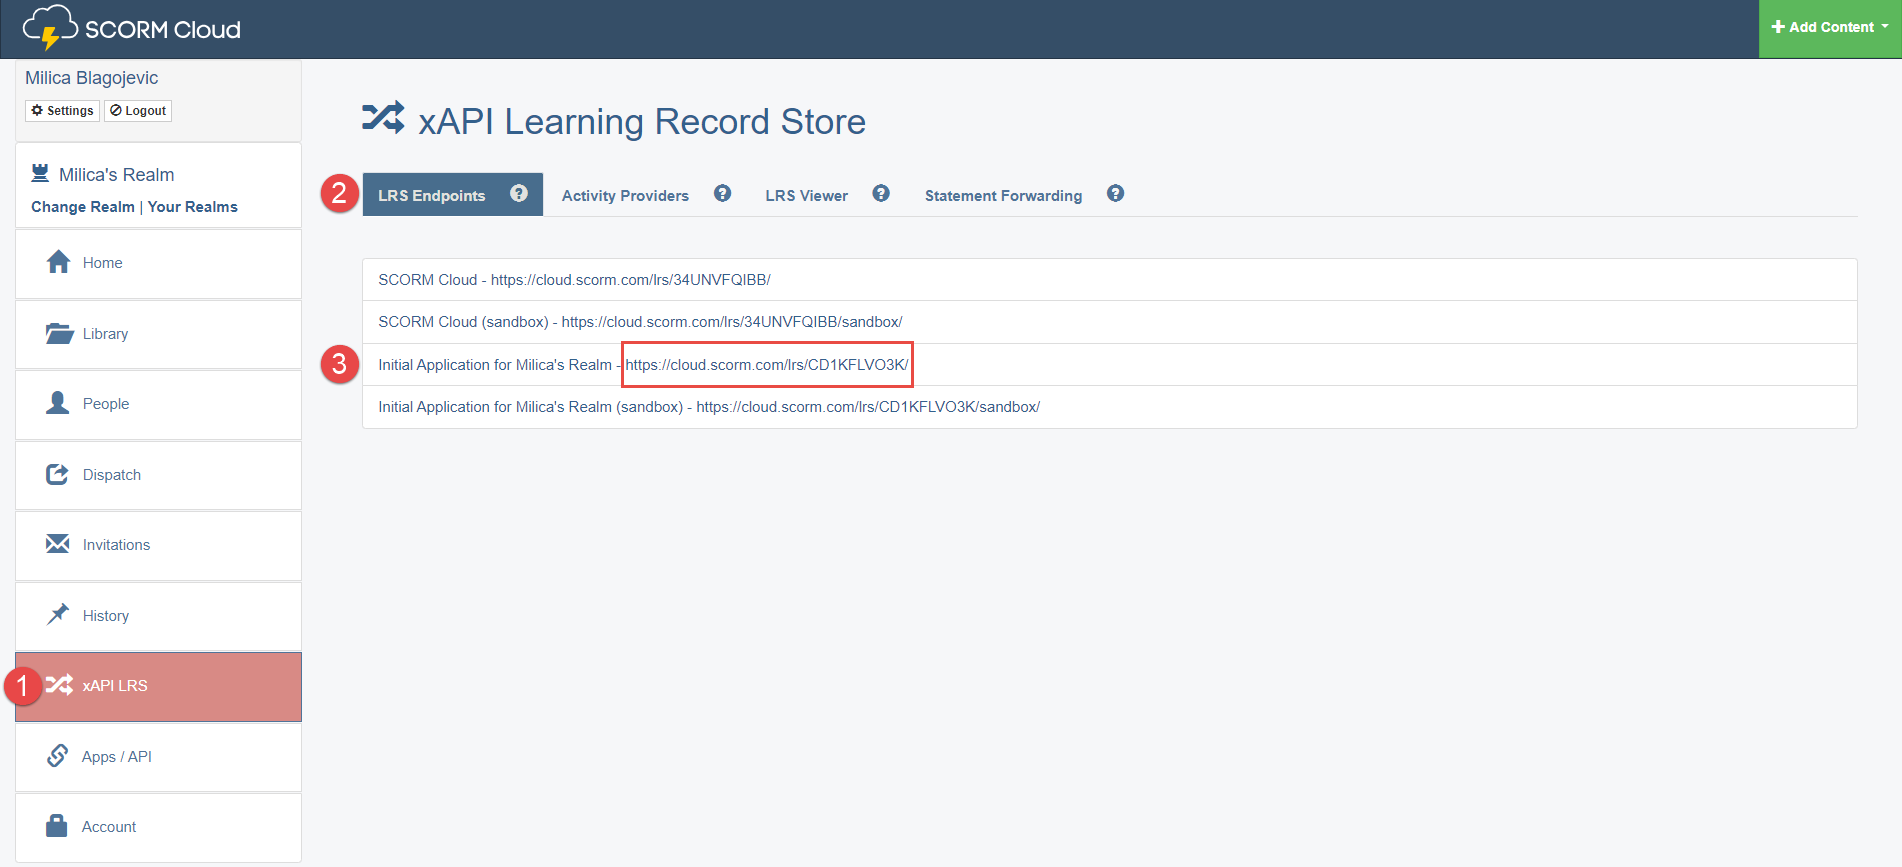
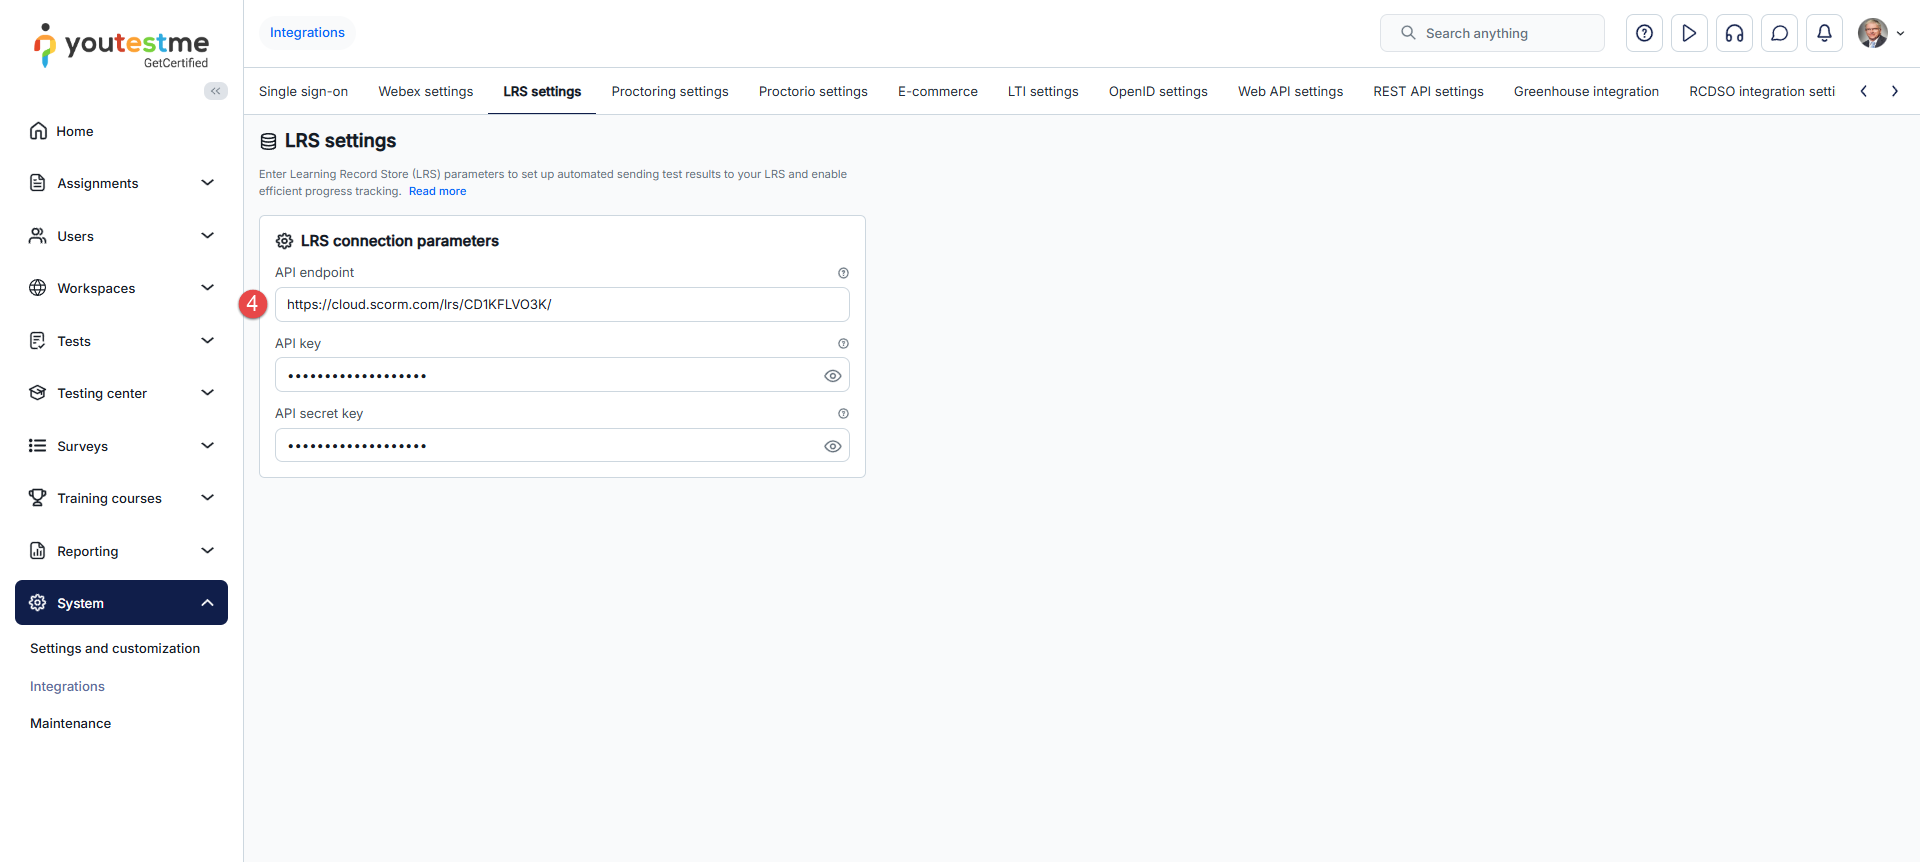
-
When you set the API endpoint, click the Activity Provider tab.
-
Copy the created key.
-
Copy the created secret key.
-
Paste it to the GetCertified application into the API key and API secret key fields.
-
When entering all configuration data, save the changes by clicking the Confirm button.
To configure API key and API secret key, do the following:
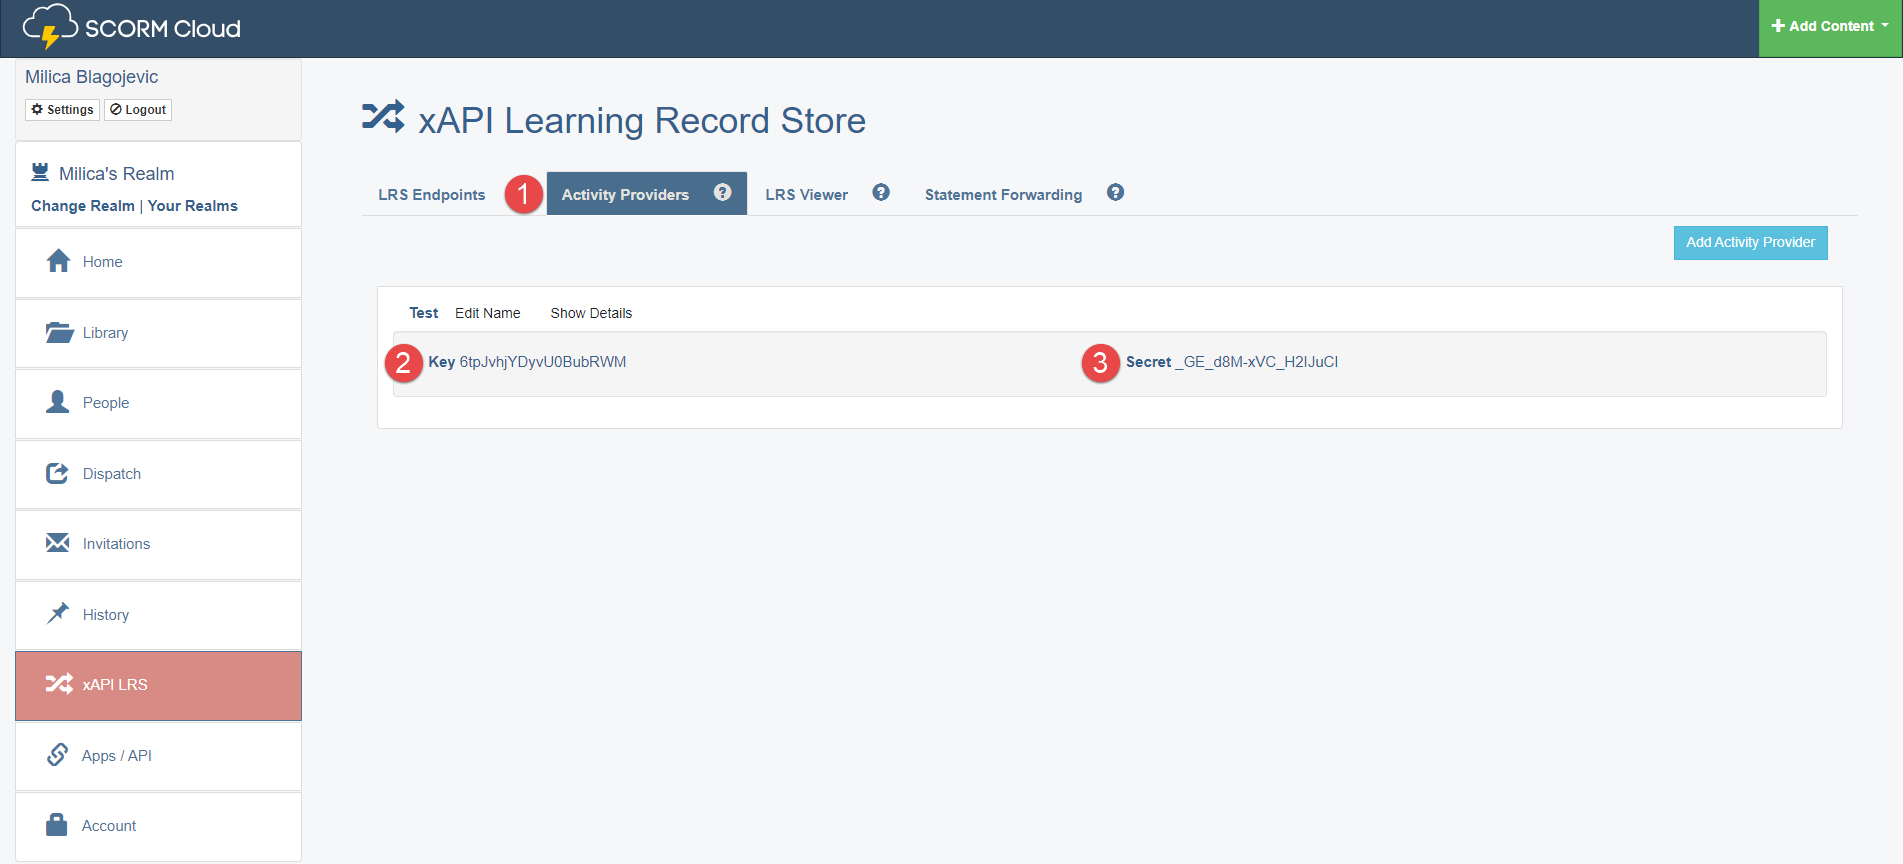
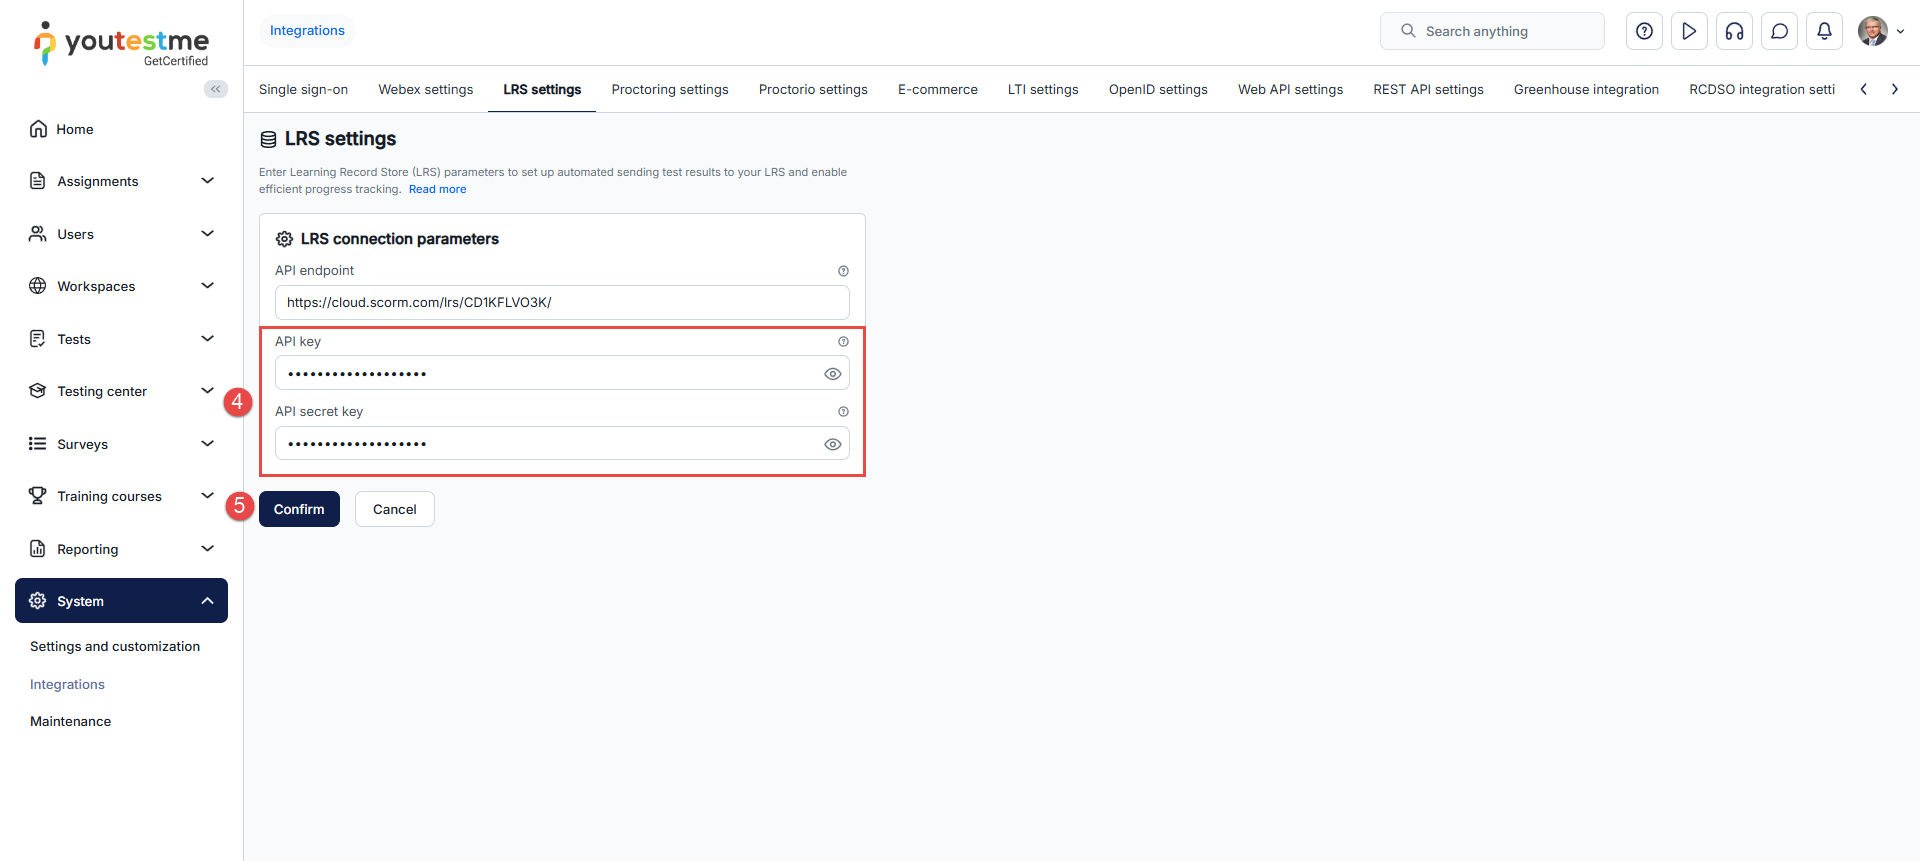
-
Select the Testing center/Candidates/Test attempts tab.
-
Select the desired test and session.
-
Select on the Data transfer option and choose Send test results to LRS.
To send test results, follow these steps:
Note: It is important that candidates already took the test, so the results already exist in the application.
-
Click the xAPI LRS tab in the main menu.
-
Open the LRS Viewer tab.
-
Choose the correct endpoint from the drop-down menu (the one we used for integration).
-
Click the Refresh button.
-
The list of information about which questions the candidate has answered and that the candidate has completed the test should appear.
Once you send the results, go to the SCORM Cloud.
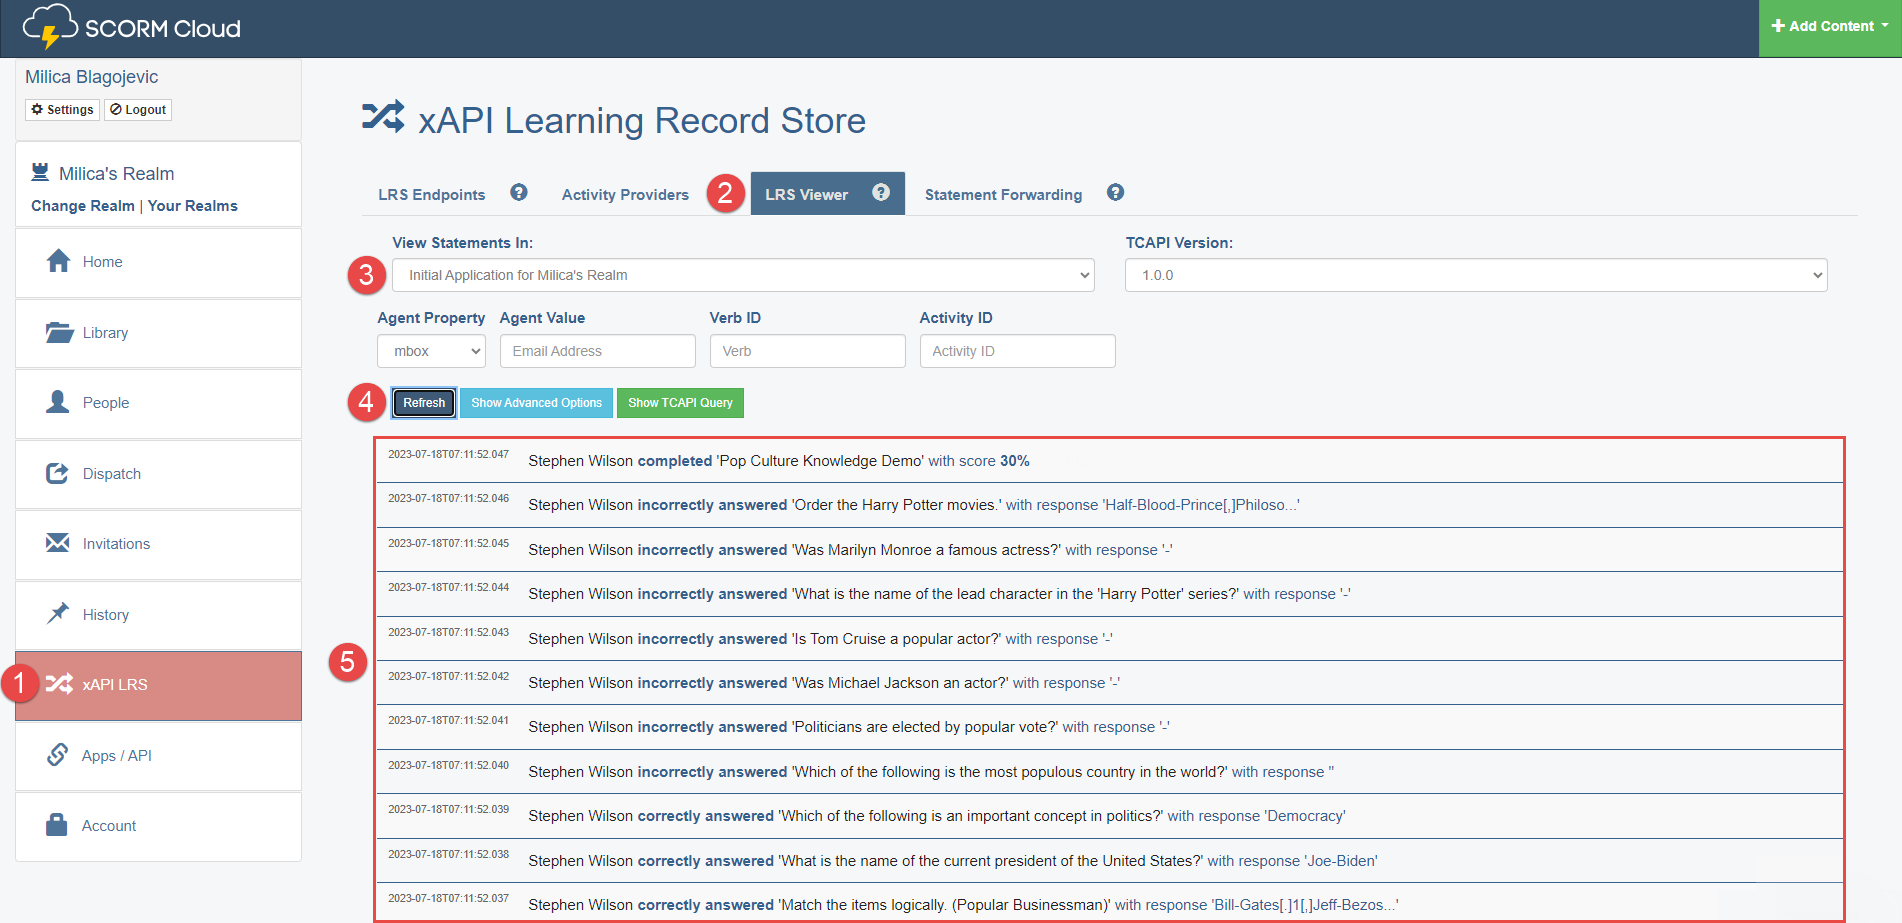
-
-
Proctoring settings
The GetCertified AI proctoring solution provides a completely secure and transparent exam delivery and test-taking process. Upon activation, you will be provided with all the parameters for configuring the Proctoring service. If you request the Proctoring service before the application delivery, all settings will already be configured.
Note: The proctoring service can be enabled upon request. For more information, contact the YouTestMe team at sales@youtestme.com.
-
Configure Server settings.
-
Preview the existing proctoring configurations.
On Proctoring settings tab, you can perform the following actions:
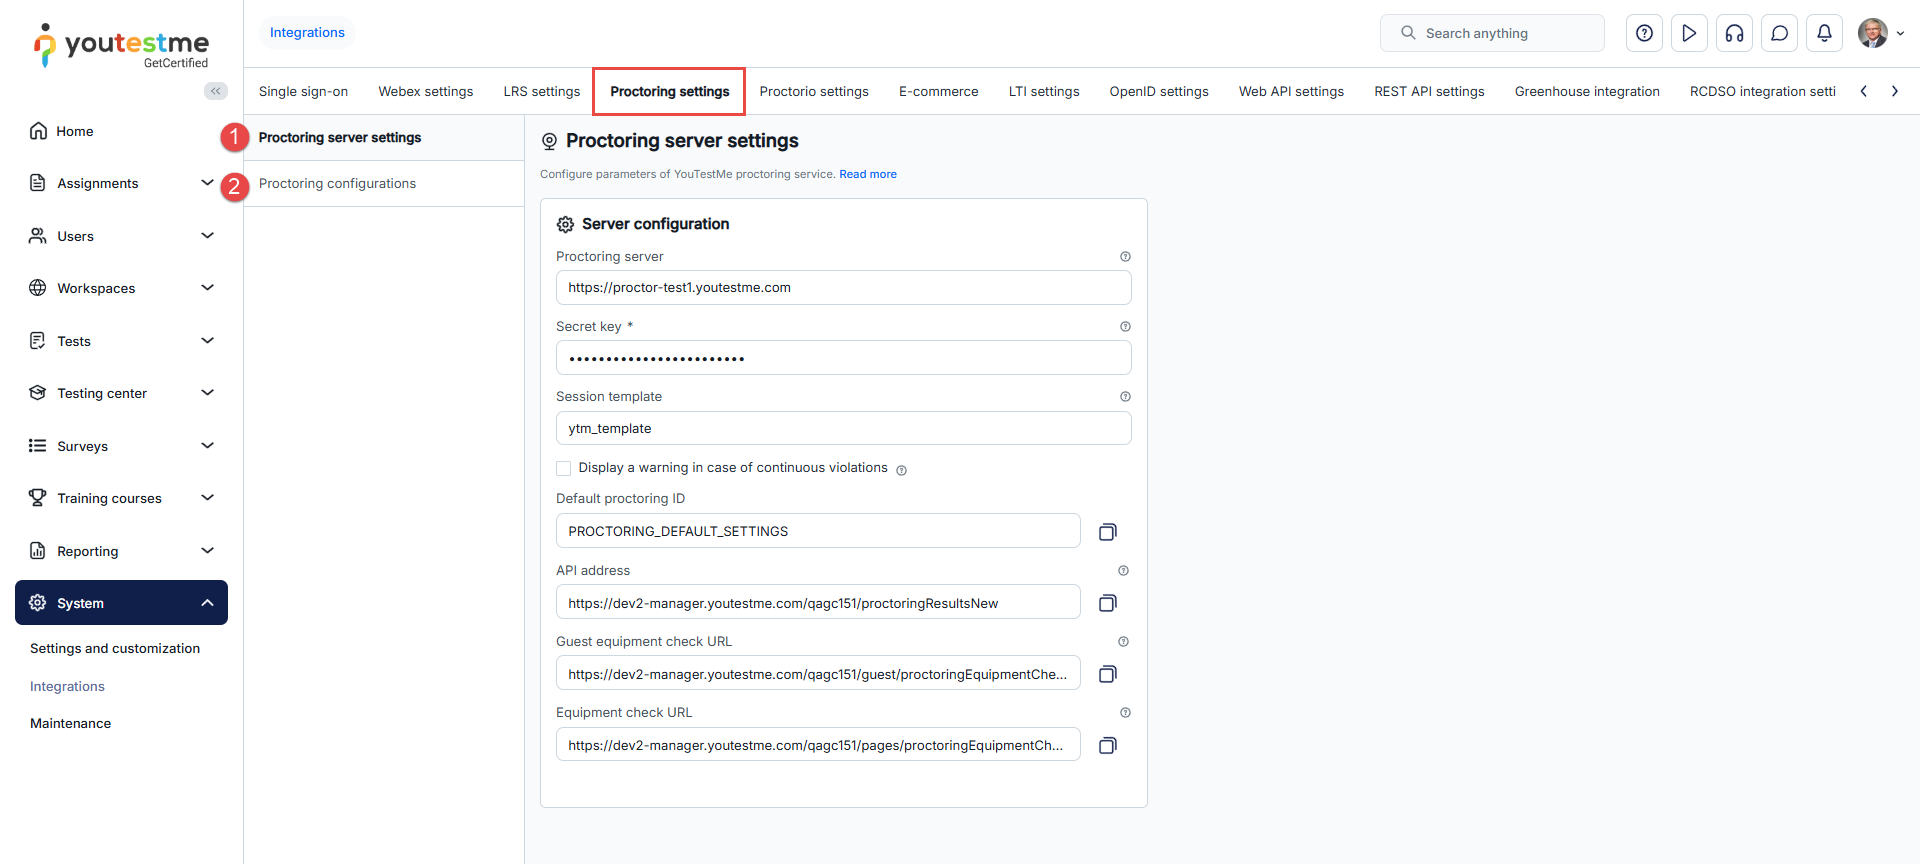
-
Enter the Proctoring server URL. This parameter represents the web address of the Proctoring server and will be provided by YouTestMe (e.g., https://demo.proctoring.com).
-
Enter the Secret key provided by YouTestMe. Secret key is used for authenticating JWT and will be sent to the Proctoring server.
-
Enter the Session template name. This parameter represents the name of the Proctoring session template created in the Proctoring application. The session template specifies the settings and metrics for the Proctoring session. Enter the default for the default session template.
-
Use the API address of your server to receive proctoring results for each completed test. This API address is provided by YouTestMe and usually consists of a combination of the URL address of the GetCertified application and one of the endpoints (/proctoringResultsNew, /proctoringResults) of the Proctoring service. This address represents the server where the proctoring results will be sent. To easily copy the API address to the clipboard, click the Copy to clipboard icon.
-
Use the Guest equipment check URL provided by YouTestMe. At this link, the user can check the equipment for a proctored test without signing in to the system. The link is a parameter of the email notifications and can be sent or shared with users to check their equipment without signing in to the system.
-
Use the Equipment check URL provided by YouTestMe. At this link, the user can check the equipment for a proctored test but must be signed in to the system. The link is available on the Assignments page.
-
Click the Confirm button if you want to save the Proctoring configuration.
To configure proctoring server settings, do the following:
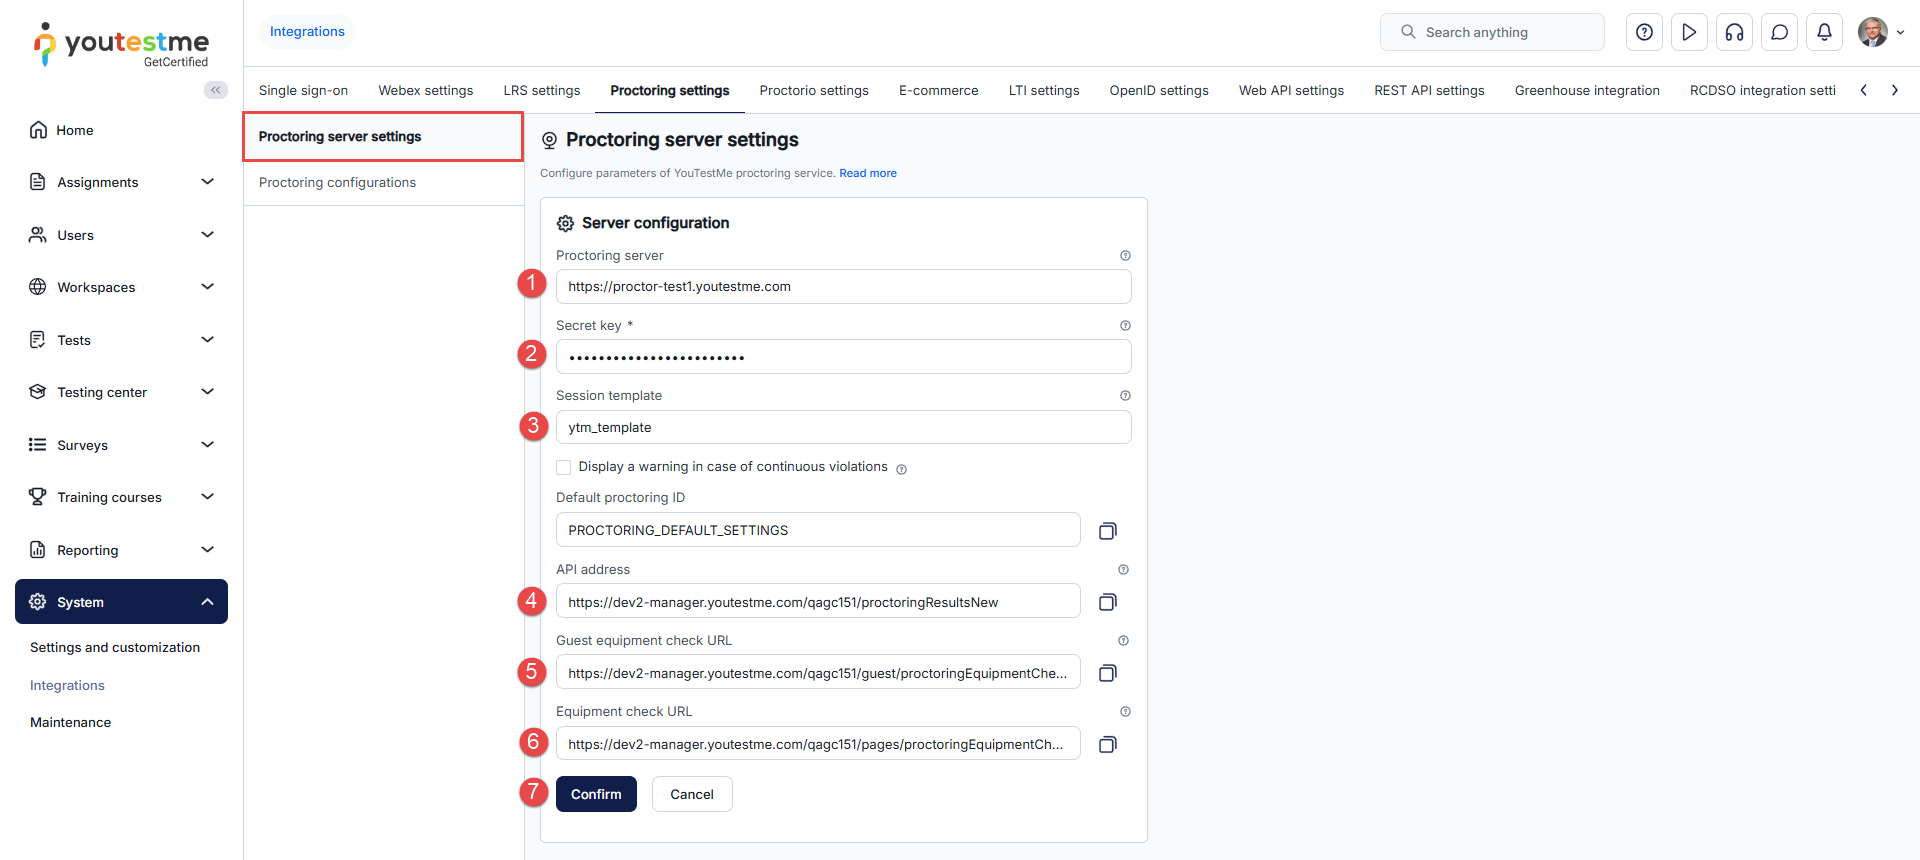
-
Add new configurations. Click the Create new button to initiate the creation of a new Proctoring configuration. A new pop-up window will appear, allowing you to enter the necessary parameters for the configuration.
-
Preview or edit the existing configurations. Click the Edit button to preview or edit an existing Proctoring configuration. A new pop-up window will open, displaying the configuration parameters you can preview or edit as needed.
-
Delete existing configurations. Click the Delete button if you wish to remove a Proctoring configuration. Confirm the deletion when prompted to delete the configuration permanently.
On the Configurations tab, you will find a table displaying all proctoring configurations. The table includes information such as configuration names, descriptions, statuses, and available actions. Here are the actions you can perform related to proctoring configurations:
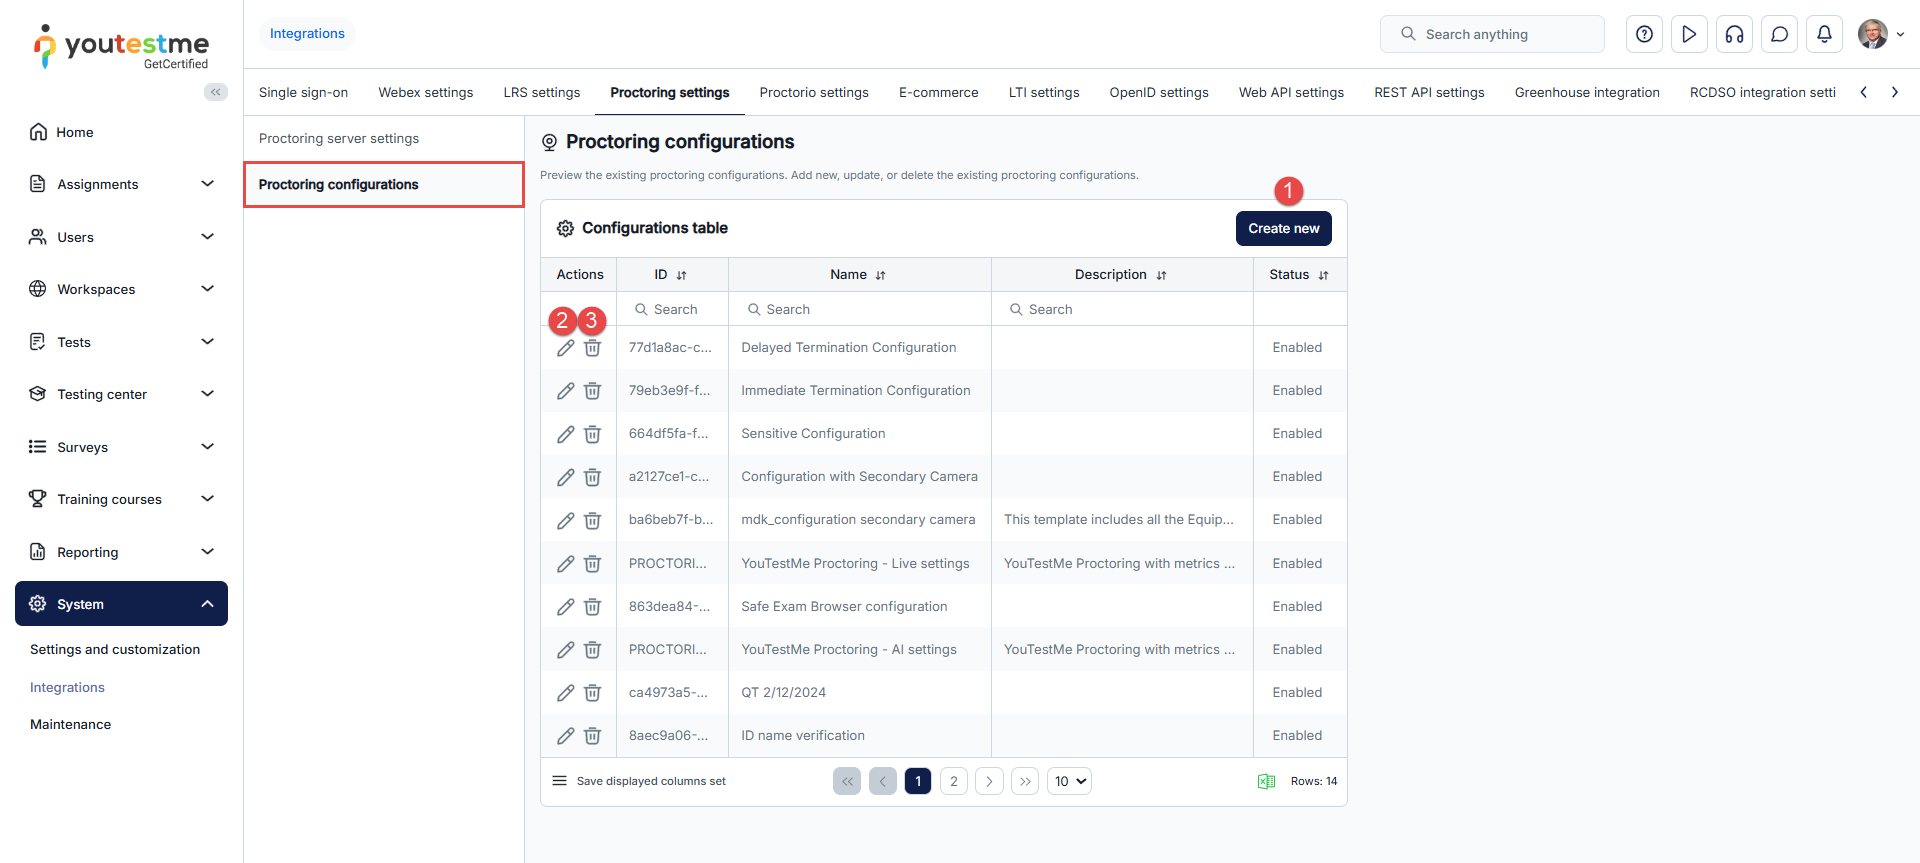
-
Enter the Name of the Proctoring configuration.
-
Optionally enter the Description of the Proctoring configuration.
-
Choose the Status of the Proctoring configuration. If the status is Enabled, the configuration can be used, otherwise not.
-
Enter the Session template name. This parameter represents the name of the Proctoring session template created in the Proctoring application. The session template specifies the settings and metrics for the Proctoring session. When creating a new configuration, the default value is equal to the Session template in Server settings.
-
Use the API address of your server to receive proctoring results for each completed test. This API address is provided by YouTestMe and usually consists of a combination of the URL address of the GetCertified application and one of the endpoints (/proctoringResultsNew, /proctoringResults) of the Proctoring service. This address represents the server where the proctoring results will be sent. To easily copy the API address to the clipboard, click the Copy to clipboard icon.
-
Use the Guest equipment check URL provided by YouTestMe. At this link, the user can check the equipment for a proctored test without signing in to the system. The link is a parameter of the email notifications and can be sent or shared with users to check their equipment without signing in to the system.
-
Use the Equipment check URL provided by YouTestMe. At this link, the user can check the equipment for a proctored test but must be signed in to the system. The link is available on the Assignments page.
-
Click the Save button to save the Proctoring configuration.
The steps to create a new, or update an existing Proctoring configuration are listed below and marked on the image below:
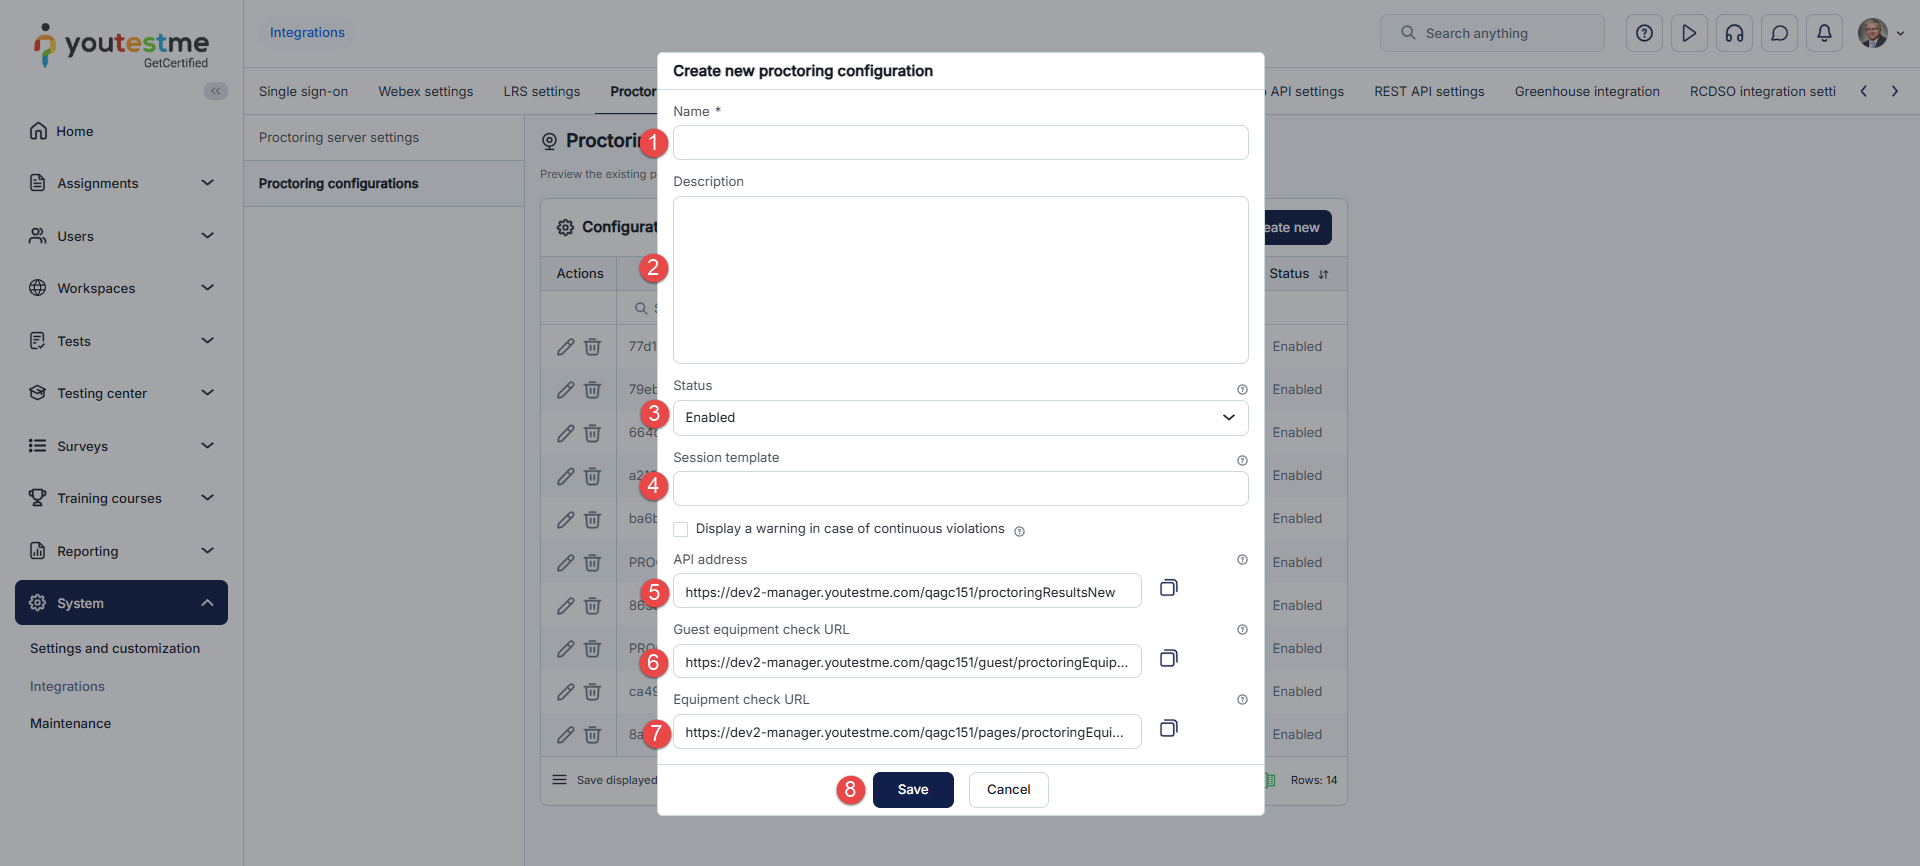
Check the links below for more information on how proctoring works.
Test from the proctor’s perspective
Test from a candidate’s perspective
Create Proctored Test & Assign Proctors
-
-
Proctorio settings
Proctorio is an automated proctoring tool integrated with the GetCertified application. This integration ensures the total learning integrity of every assessment using state-of-the-art technology. It eliminates human error, bias, and much of the expense associated with remote proctoring and identity verification. The system automatically monitors the test attempt using behavioral trackers and records the entire process, marking the moments of suspicious behaviors. Once the exam is finished, the system stores the footage for subsequent human review and validation. Upon the activation, you will be provided with the necessary parameters to configure the integration with Proctorio.
Note: Proctorio service can be enabled upon request. For more information, contact the YouTestMe team at sales@youtestme.com.
-
Configure Server settings.
-
Preview the existing proctorio configurations.
On Proctorio settings tab, you can perform the following actions:
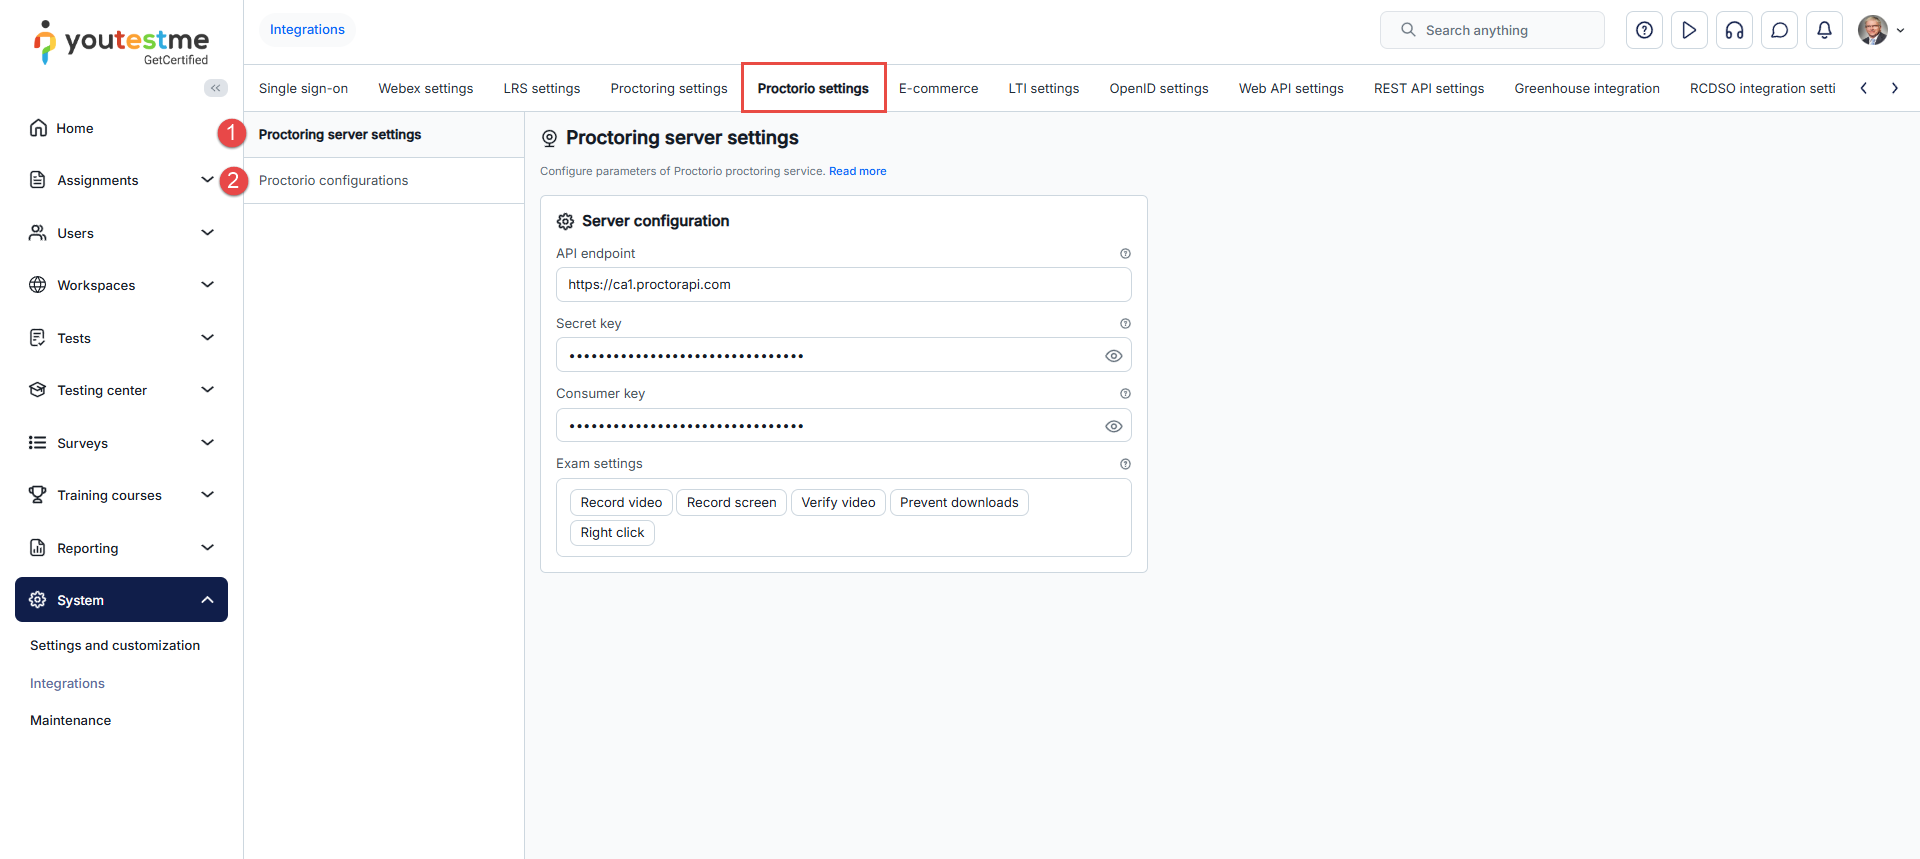
-
Enter the API endpoint. This parameter represents the URL of the Proctorio API endpoint to create exam URLs.
-
Enter the Secret key provided by GetCertified or Proctorio.
-
Enter the Consumer key provided by GetCertified or Proctorio.
-
Choose the Exam settings from the dropdown menu. Exam settings enable you to choose the Proctorio features you want to add and control during the proctoring session.
-
Click the Confirm button if you want to save the Proctorio integration settings.
To configure Proctorio server settings, do the following:
Note: Contact your Proctorio representative to get these parameters.
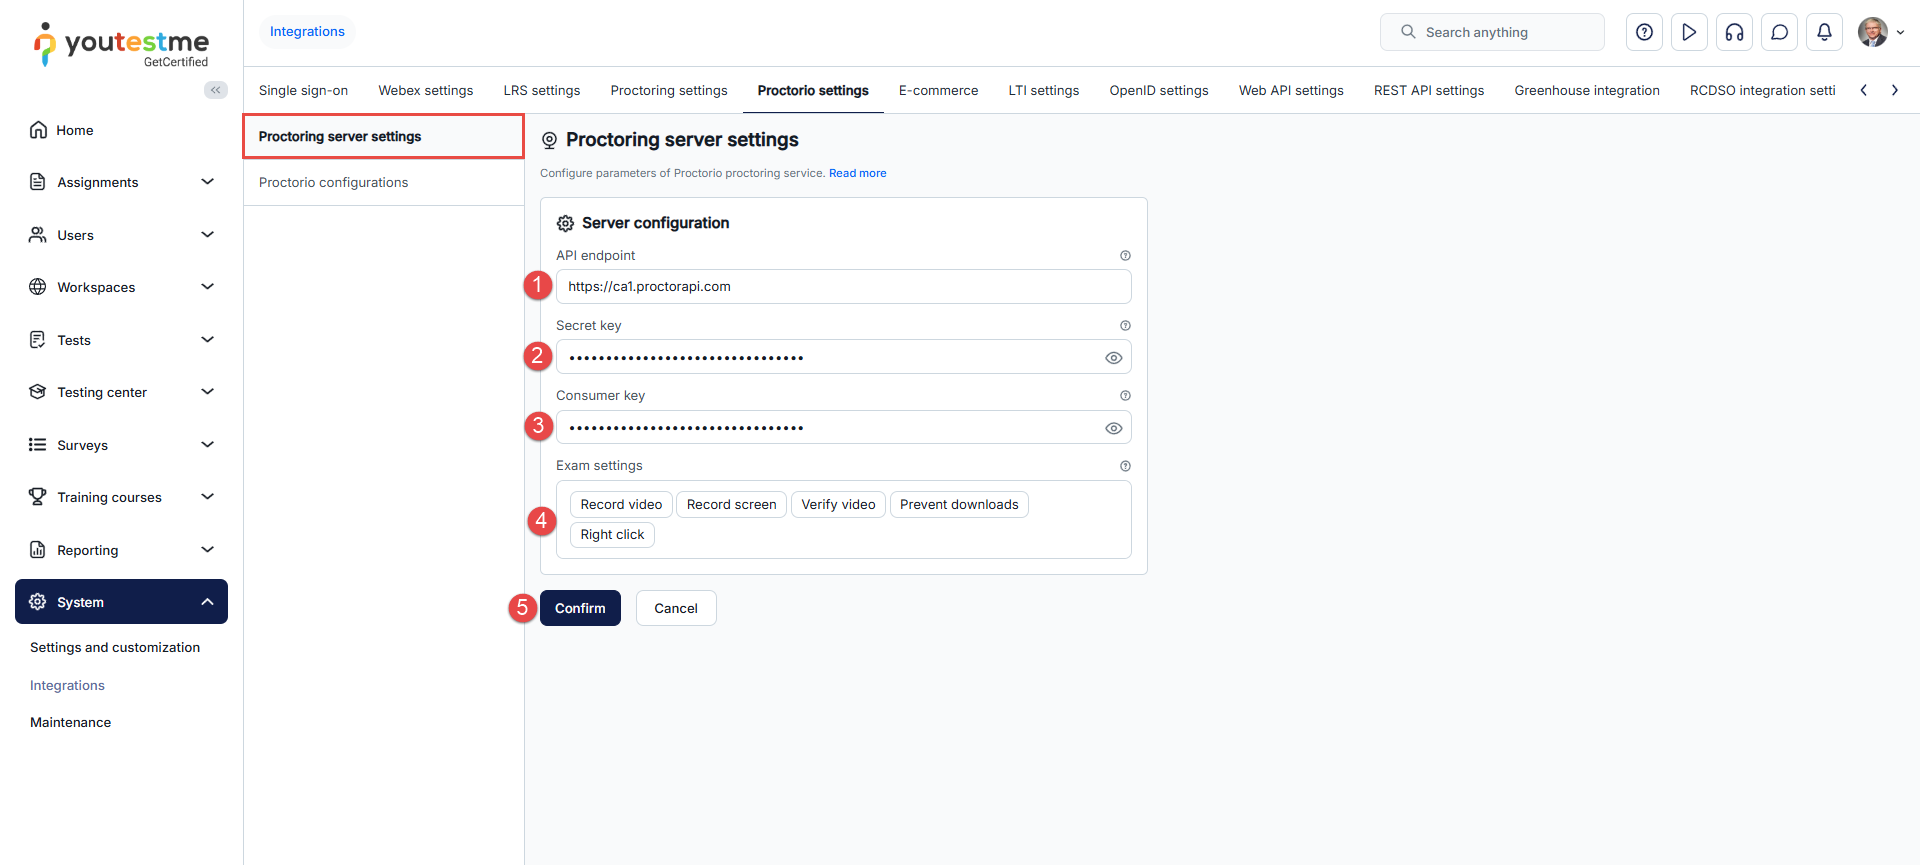
-
Add new configurations. Click the Create new button to initiate the creation of a new Proctorio configuration. A new pop-up window will appear, allowing you to enter the necessary parameters for the configuration.
-
Preview or edit the existing configurations. Click the Edit button to preview or edit an existing Proctorio configuration. A new pop-up window will open, displaying the configuration parameters you can preview or edit as needed.
-
Delete existing configurations. Click the Delete button if you wish to remove a Proctorio configuration. Confirm the deletion when prompted to delete the configuration permanently.
On the Configurations tab, you will find a table displaying all Proctorio configurations. The table includes information such as configuration names, descriptions, statuses, and available actions. Here are the actions you can perform related to Proctorio configurations:
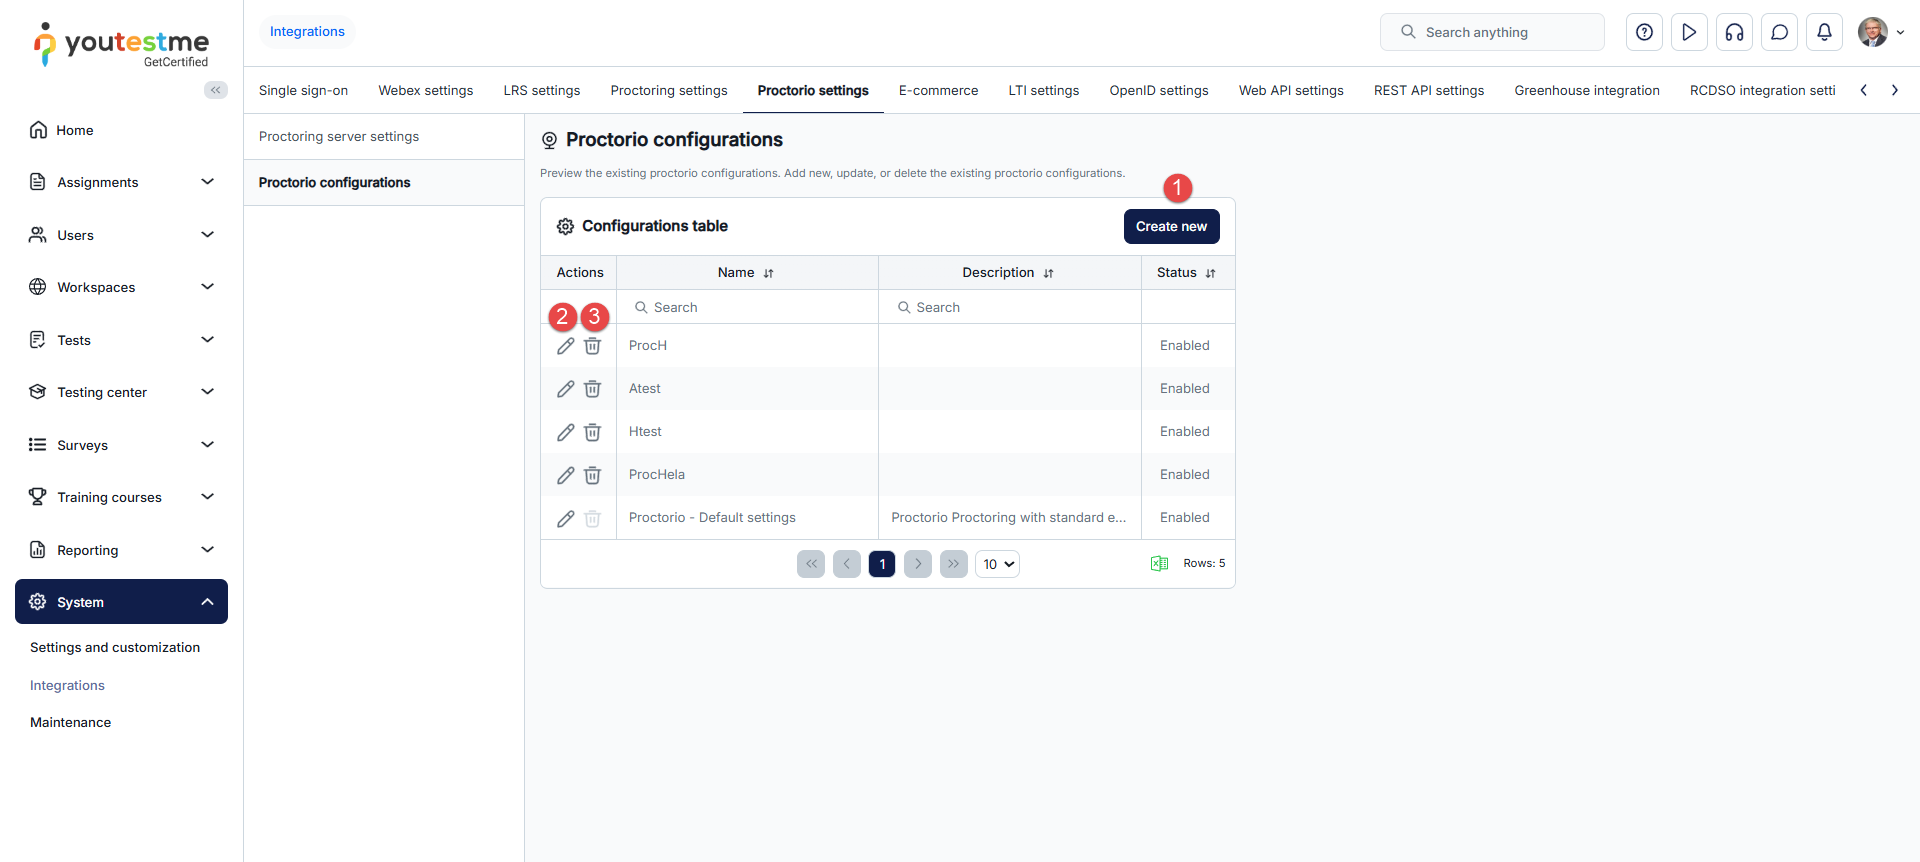
-
Enter the Name of the Proctorio configuration.
-
Optionally enter the Description of the Proctorio configuration.
-
Choose the Status of the Proctorio configuration. If the status is Enabled, the configuration can be used, otherwise not.
-
Choose the Exam settings from the dropdown menu. Exam settings enable you to choose the Proctorio features you want to add and control during the proctoring session. When creating a new configuration, the default value is equal to the Exam settings in Server settings.
-
Click the Save button to save the Proctorio configuration.
The steps to create a new, or update an existing Proctorio configuration are listed below and marked on the image below:
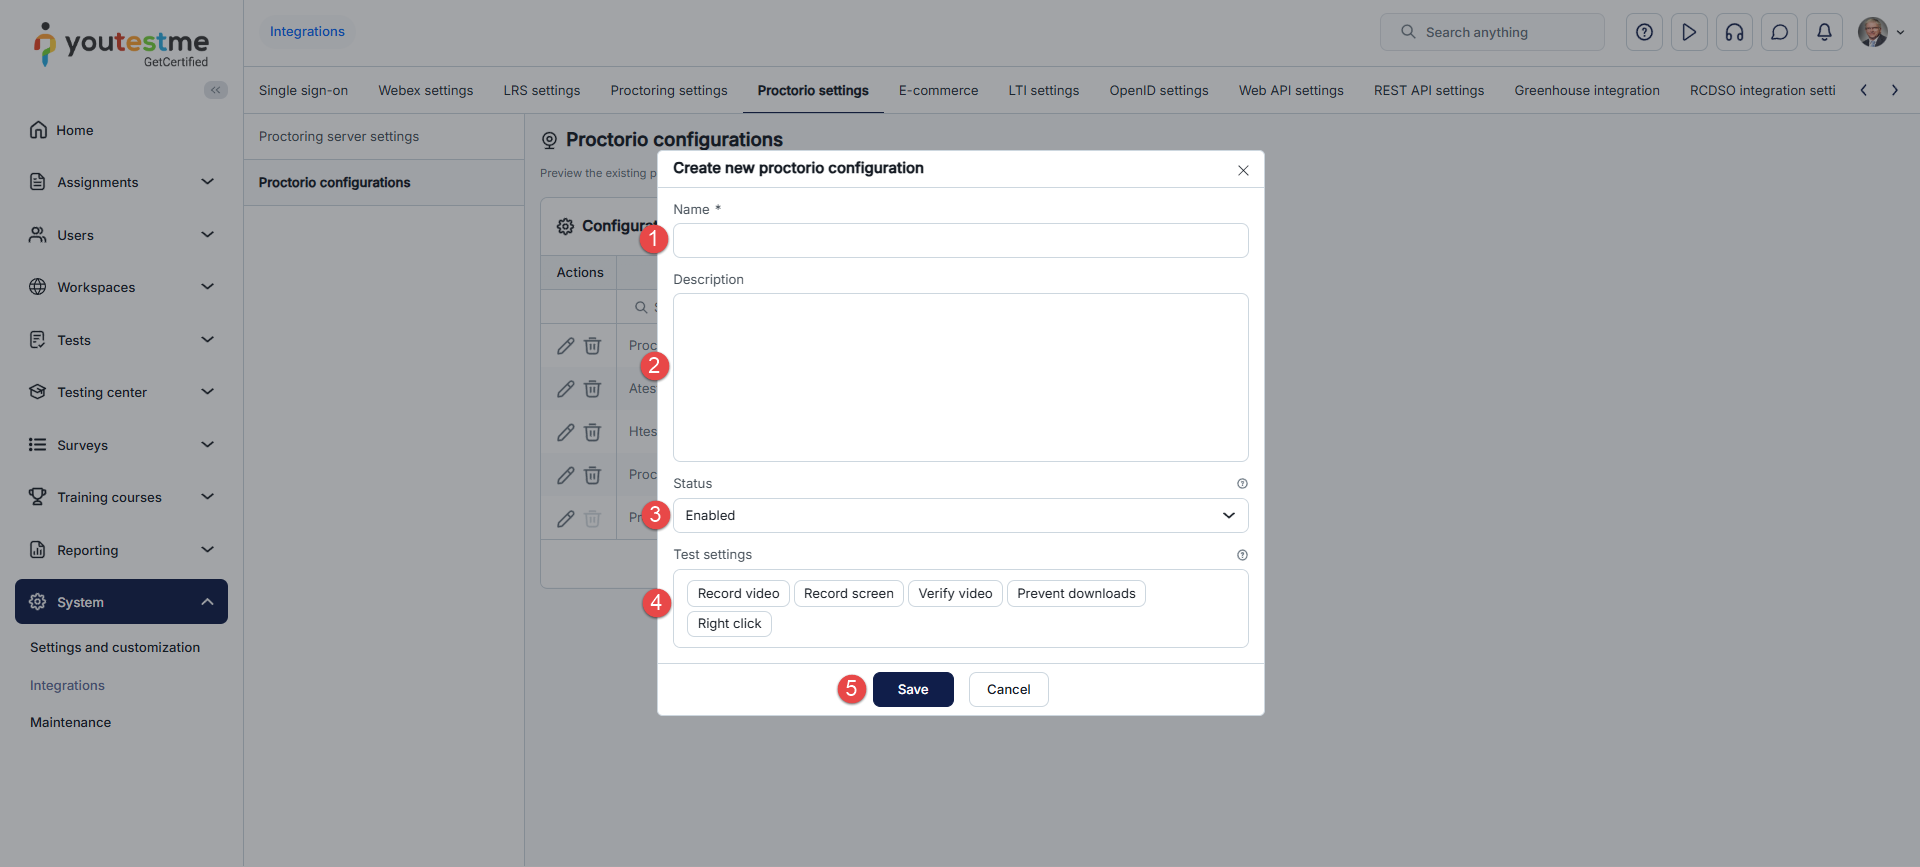
Check the links below for more information on how proctorio works.
-
-
E-commerce
The E-commerce functionality on GetCertified, allows you to handle payments for registration fees and course and session enrollments using Stripe as the payment gateway.
Note: E-commerce feature can be enabled upon request. For more information, contact the YouTestMe team at sales@youtestme.com.
On the E-commerce tab, you can set the prices for exam booking and training courses.
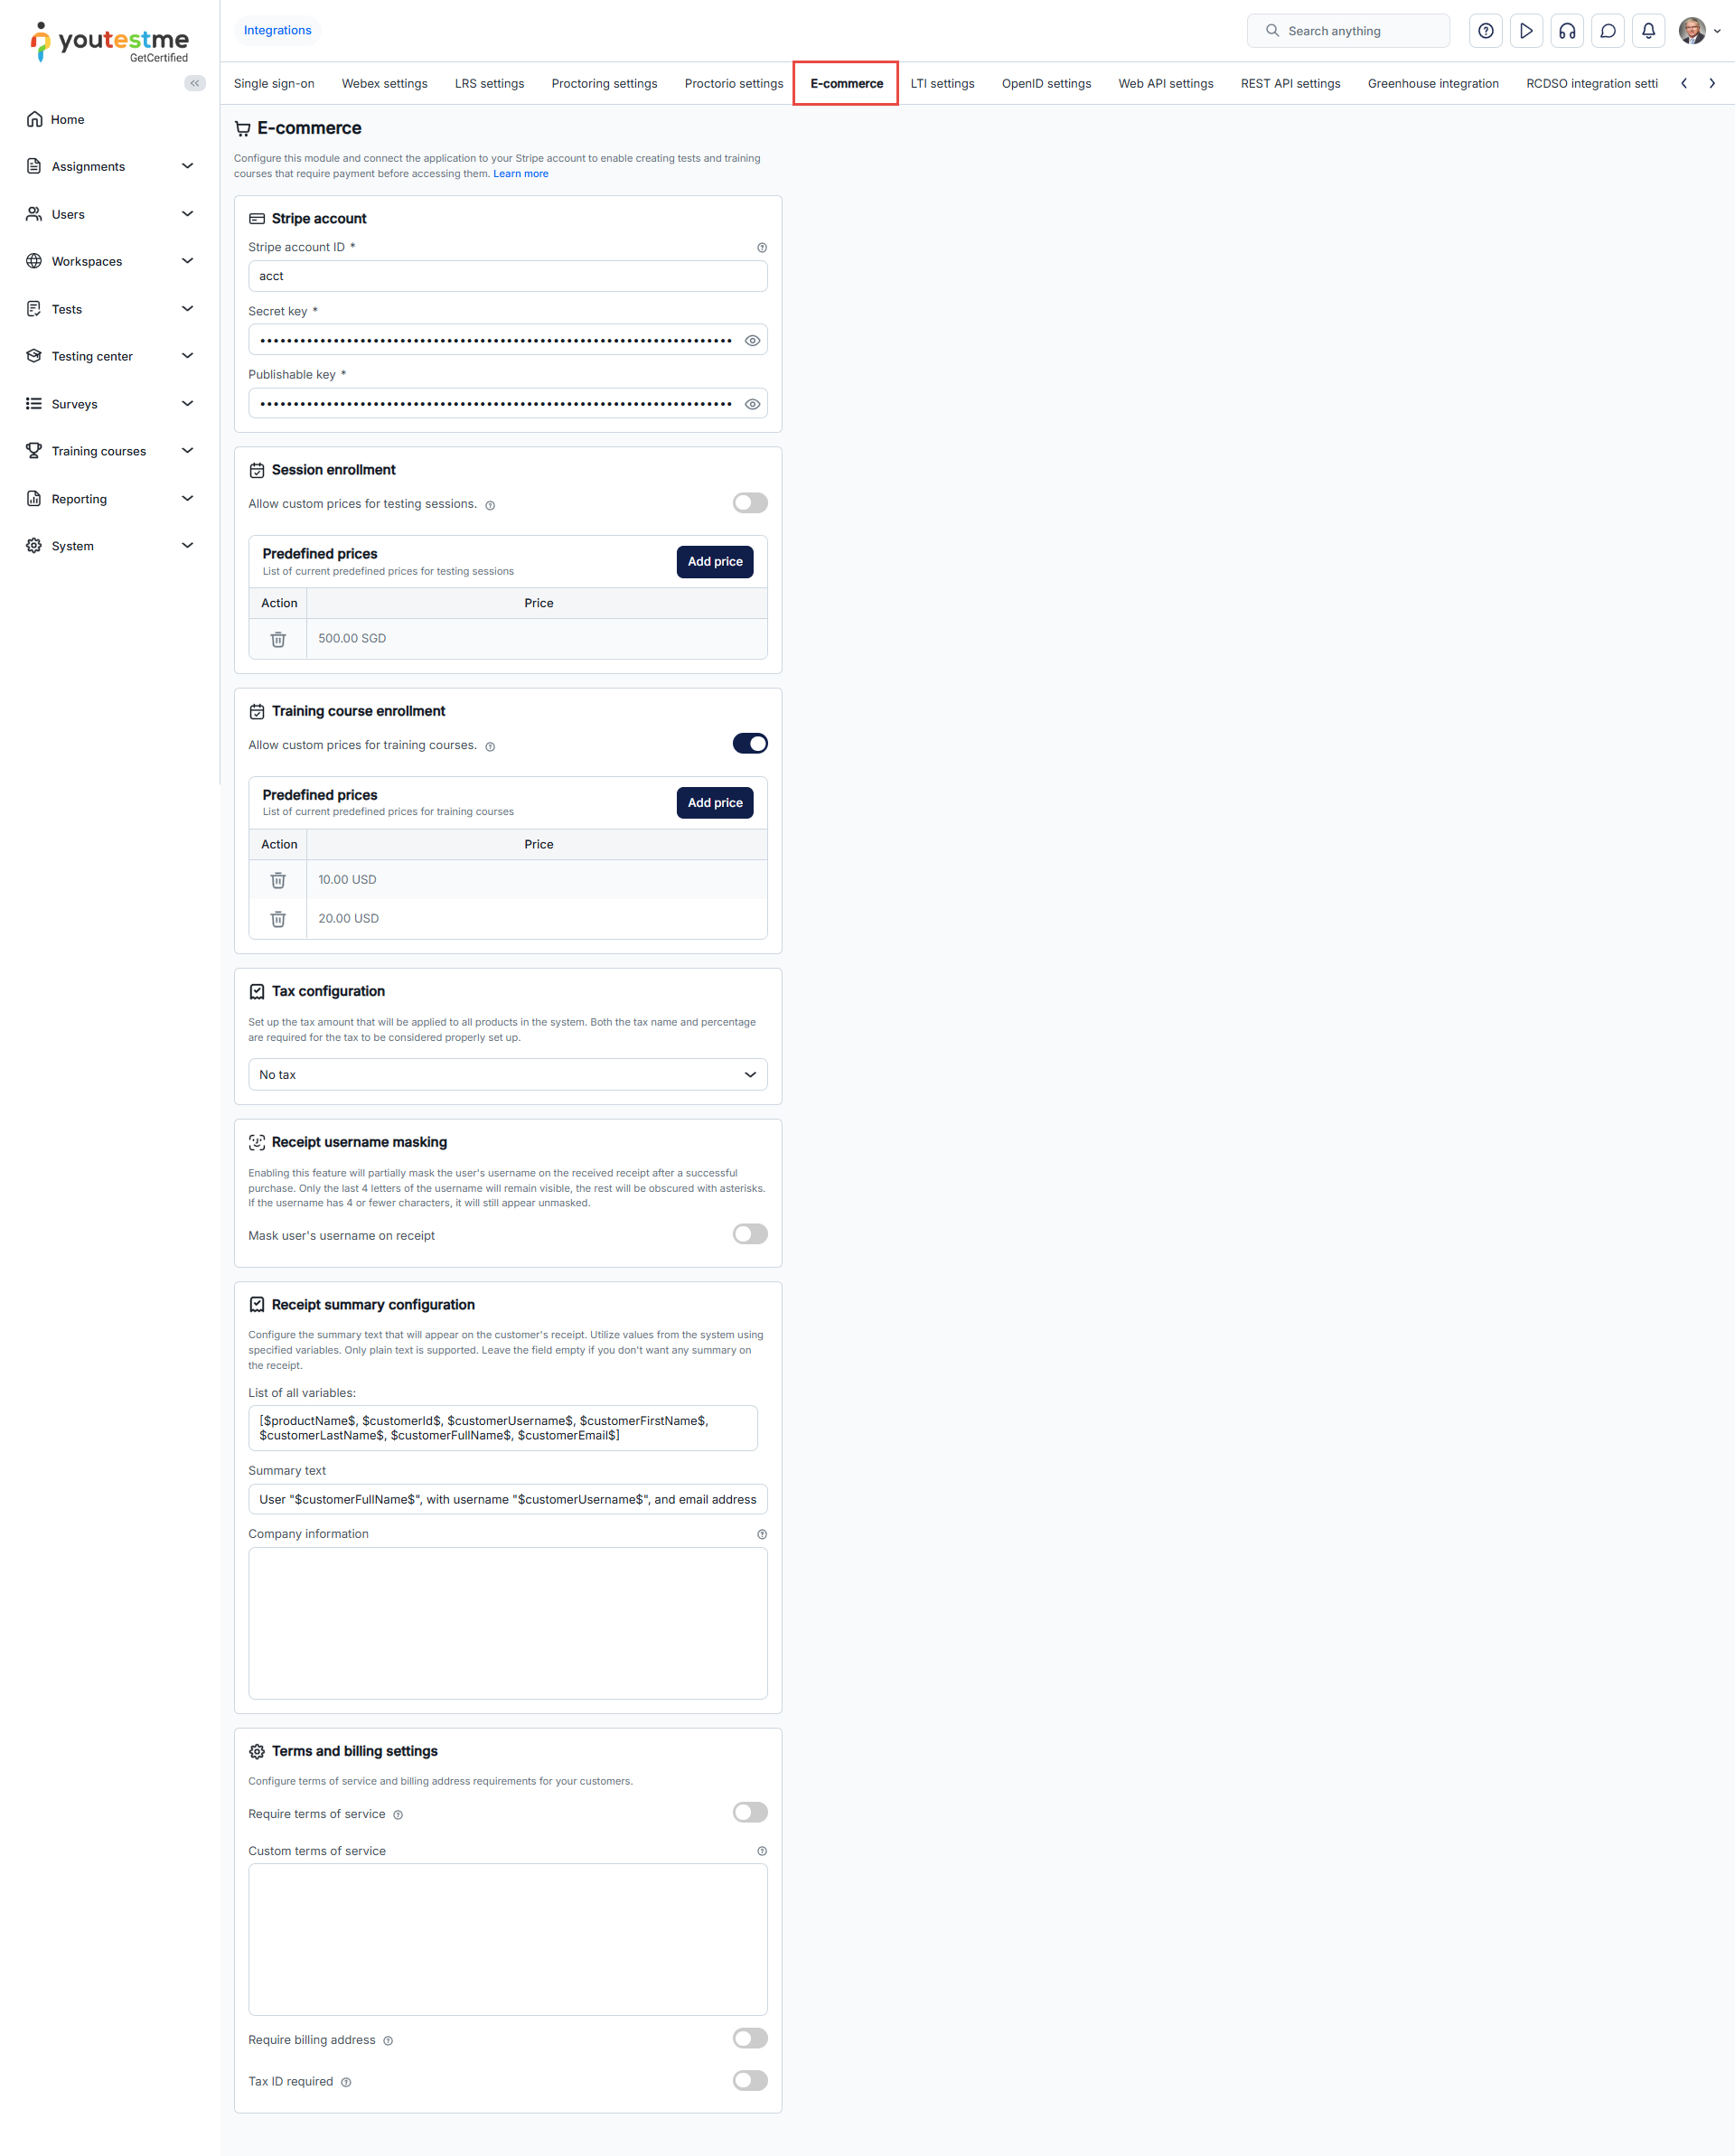
To set up a E-commerce, you must have a Stripe account and connect it with GetCertified.
-
Log in to the existing Stripe account.
-
Or, create a new account by clicking the Sign up option. For instructions on creating a new Stripe account, visit Creating a Stripe account chapter from the article.
-
Once you log in to the Stripe, click the Developers tab.
-
Open API Keys tab.
-
On that tab, you will see Publishable key and Secret key. Those keys will be used to connect your Stripe account with the GetCertified application.
-
To display the Secret key, click the Reveal test key button.
-
Enter the Stripe account ID from the Stripe application.
-
Enter the Publishable key from the Stripe application.
-
Enter the Secret key from the Stripe application.
Navigate to the Stripe application, and do the following:
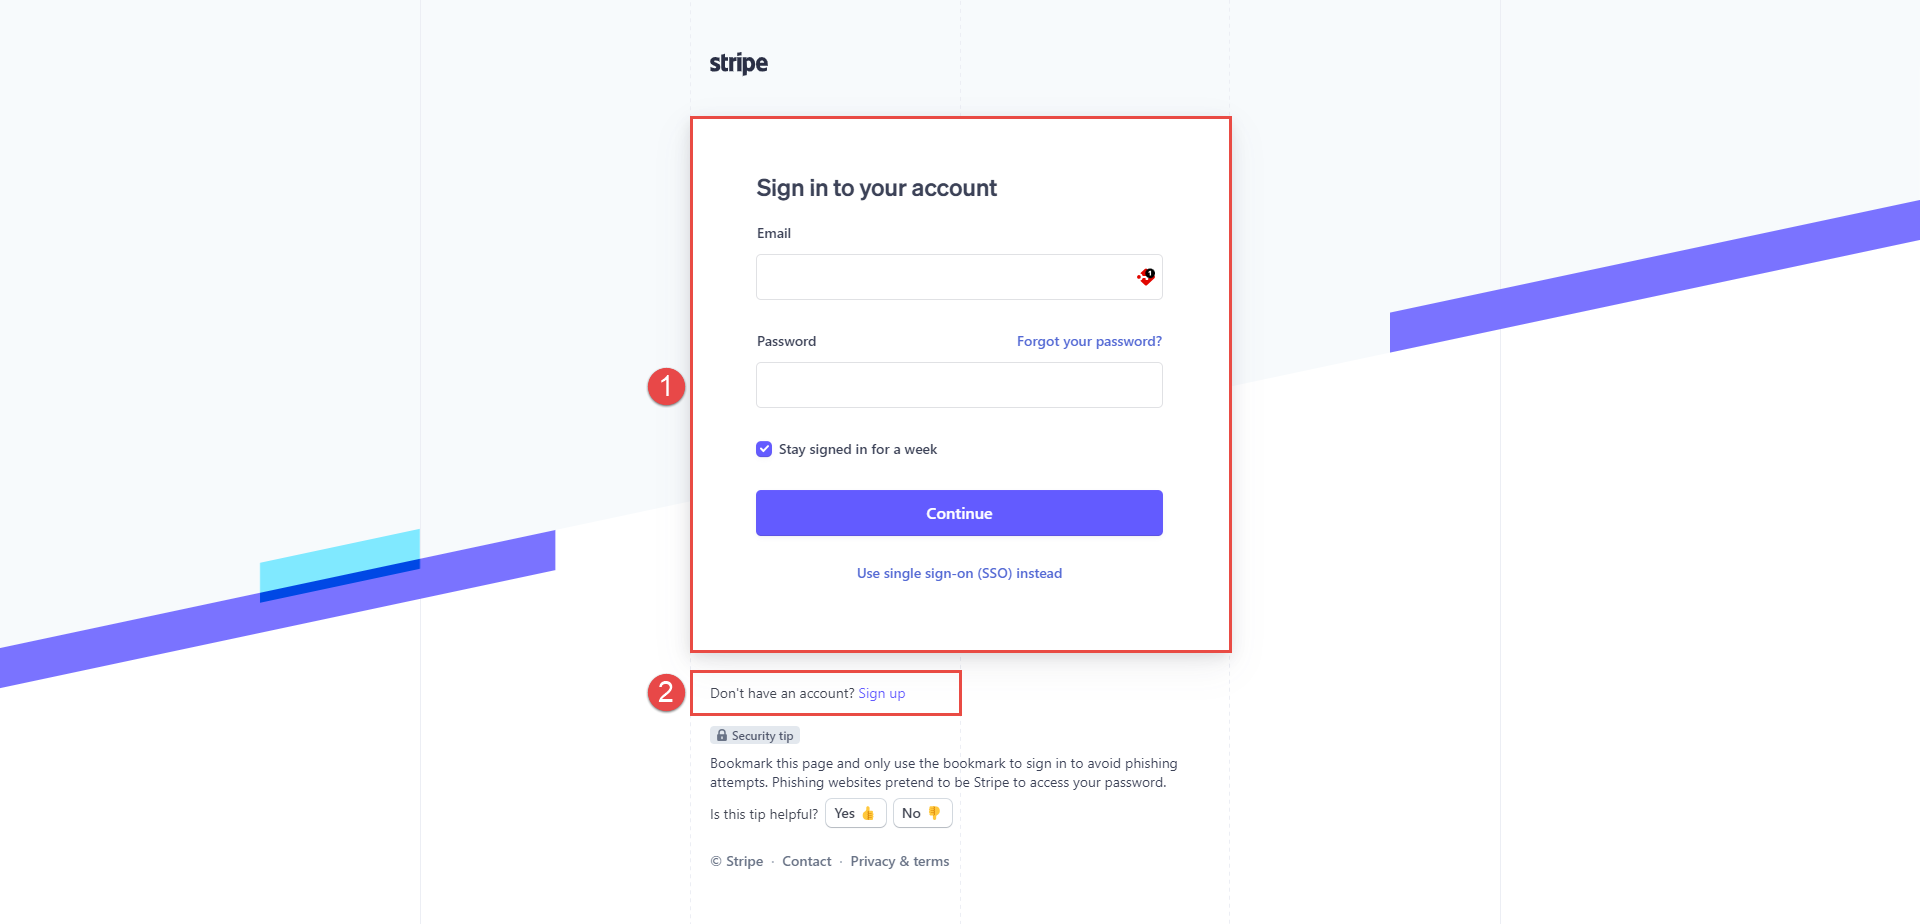
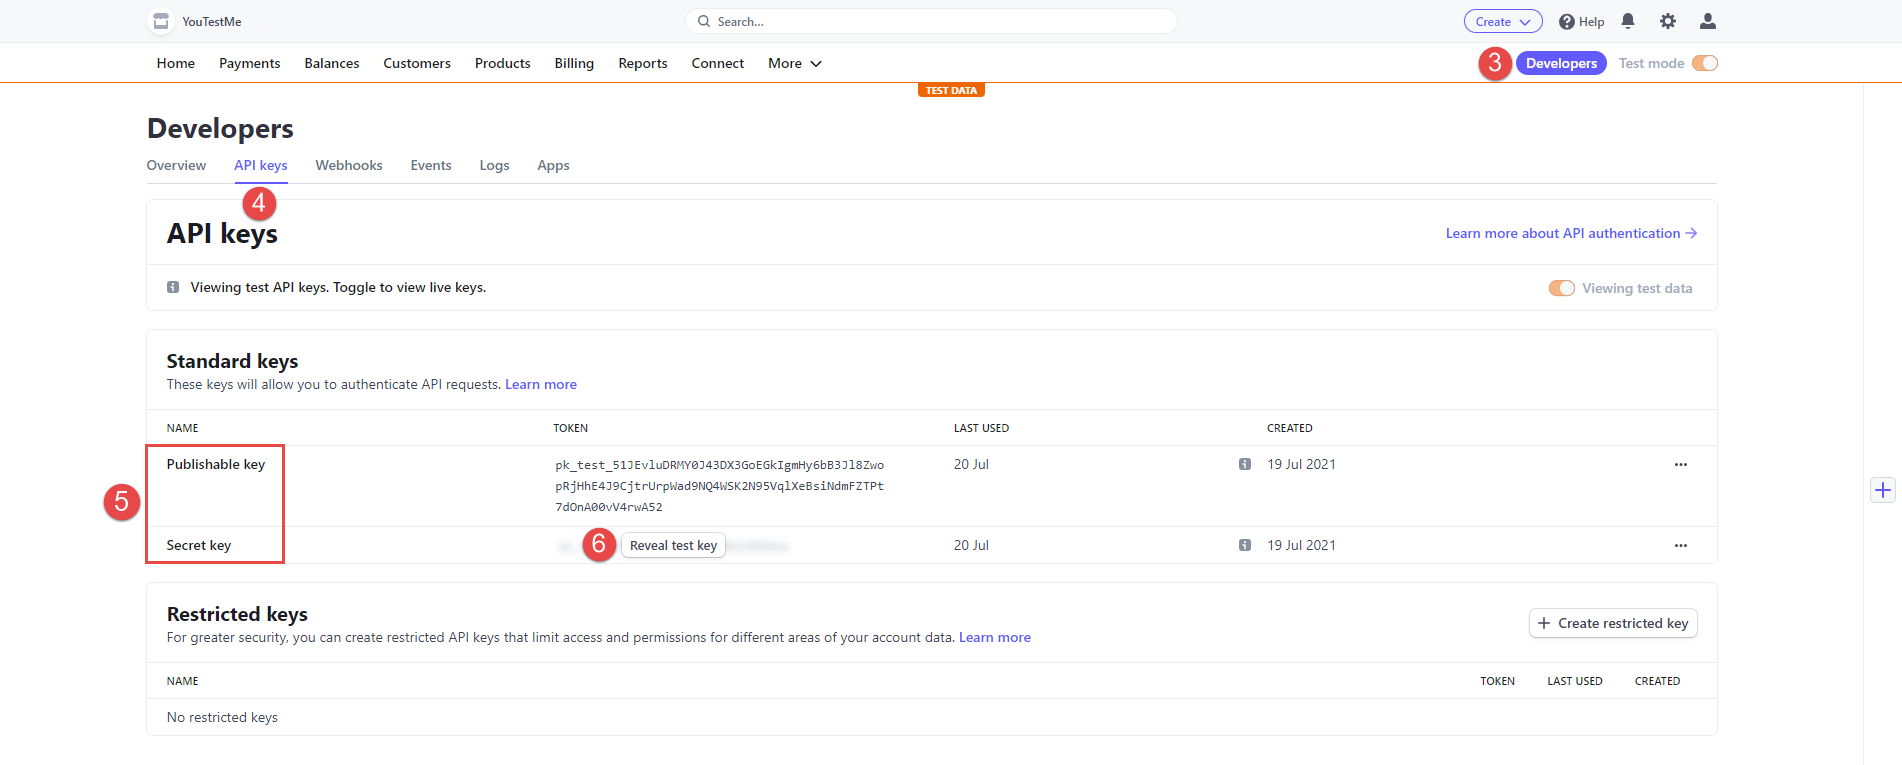
To set up Stripe account, navigate to the E-commerce tab, in the GetCertified application.
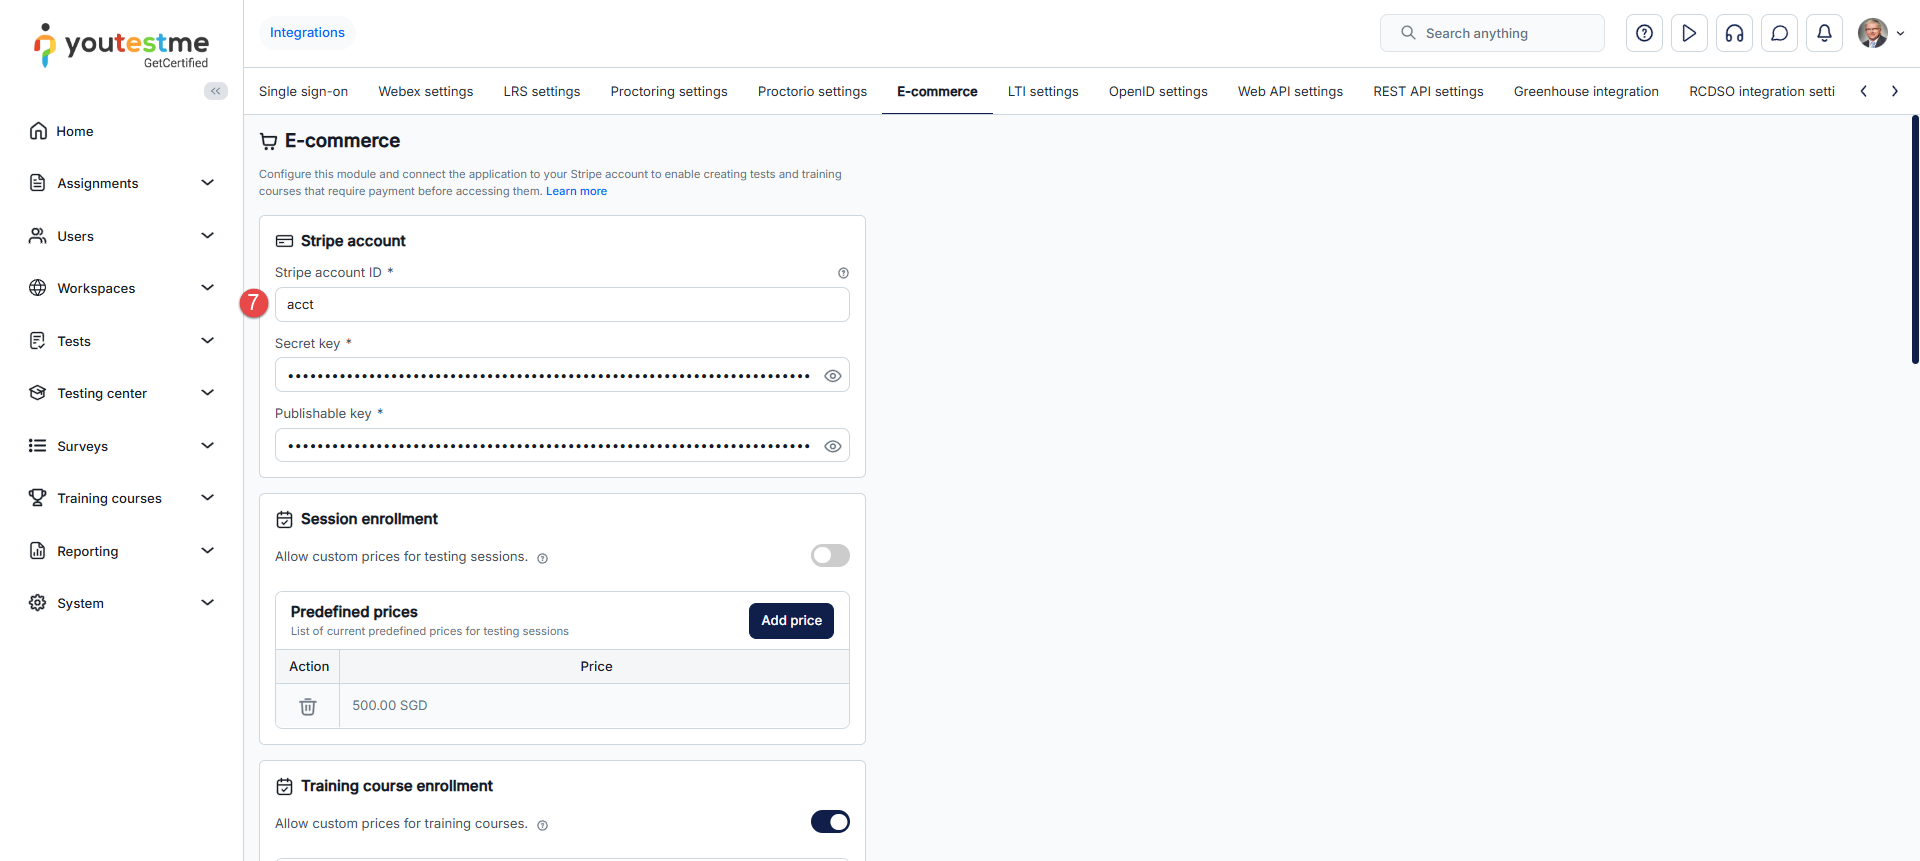
Note: You can find the Stripe account ID on the Stripe Application's Profile page.
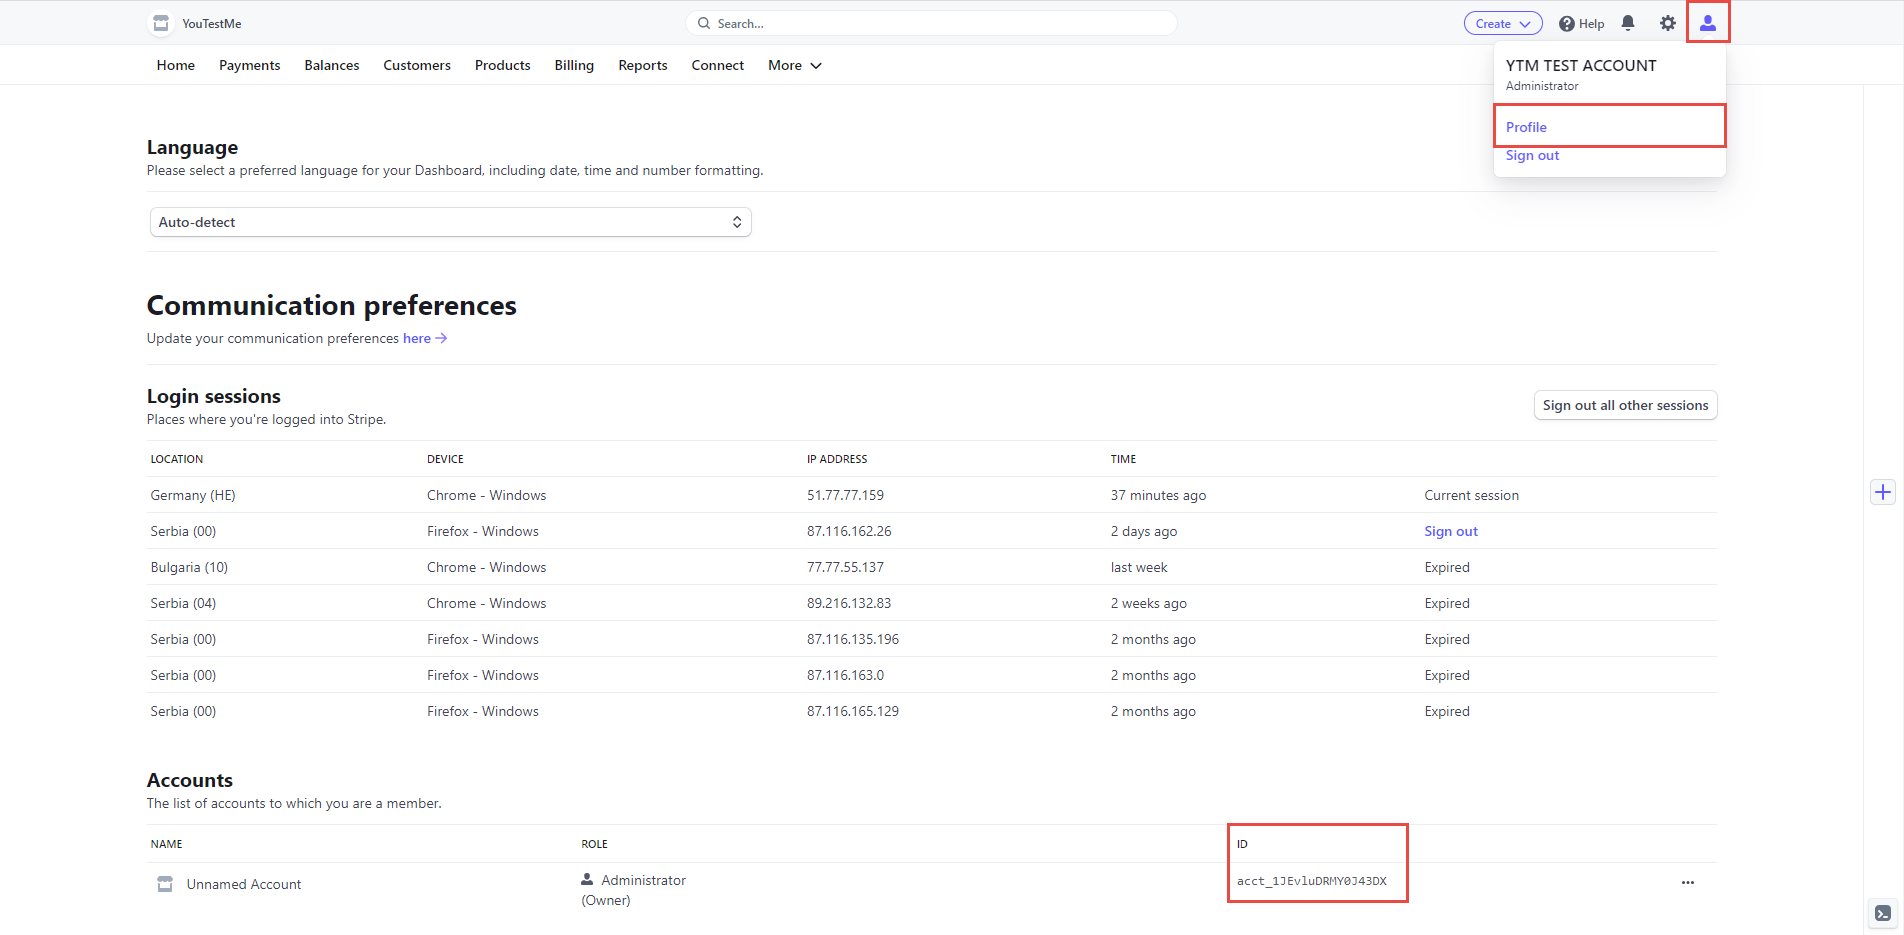
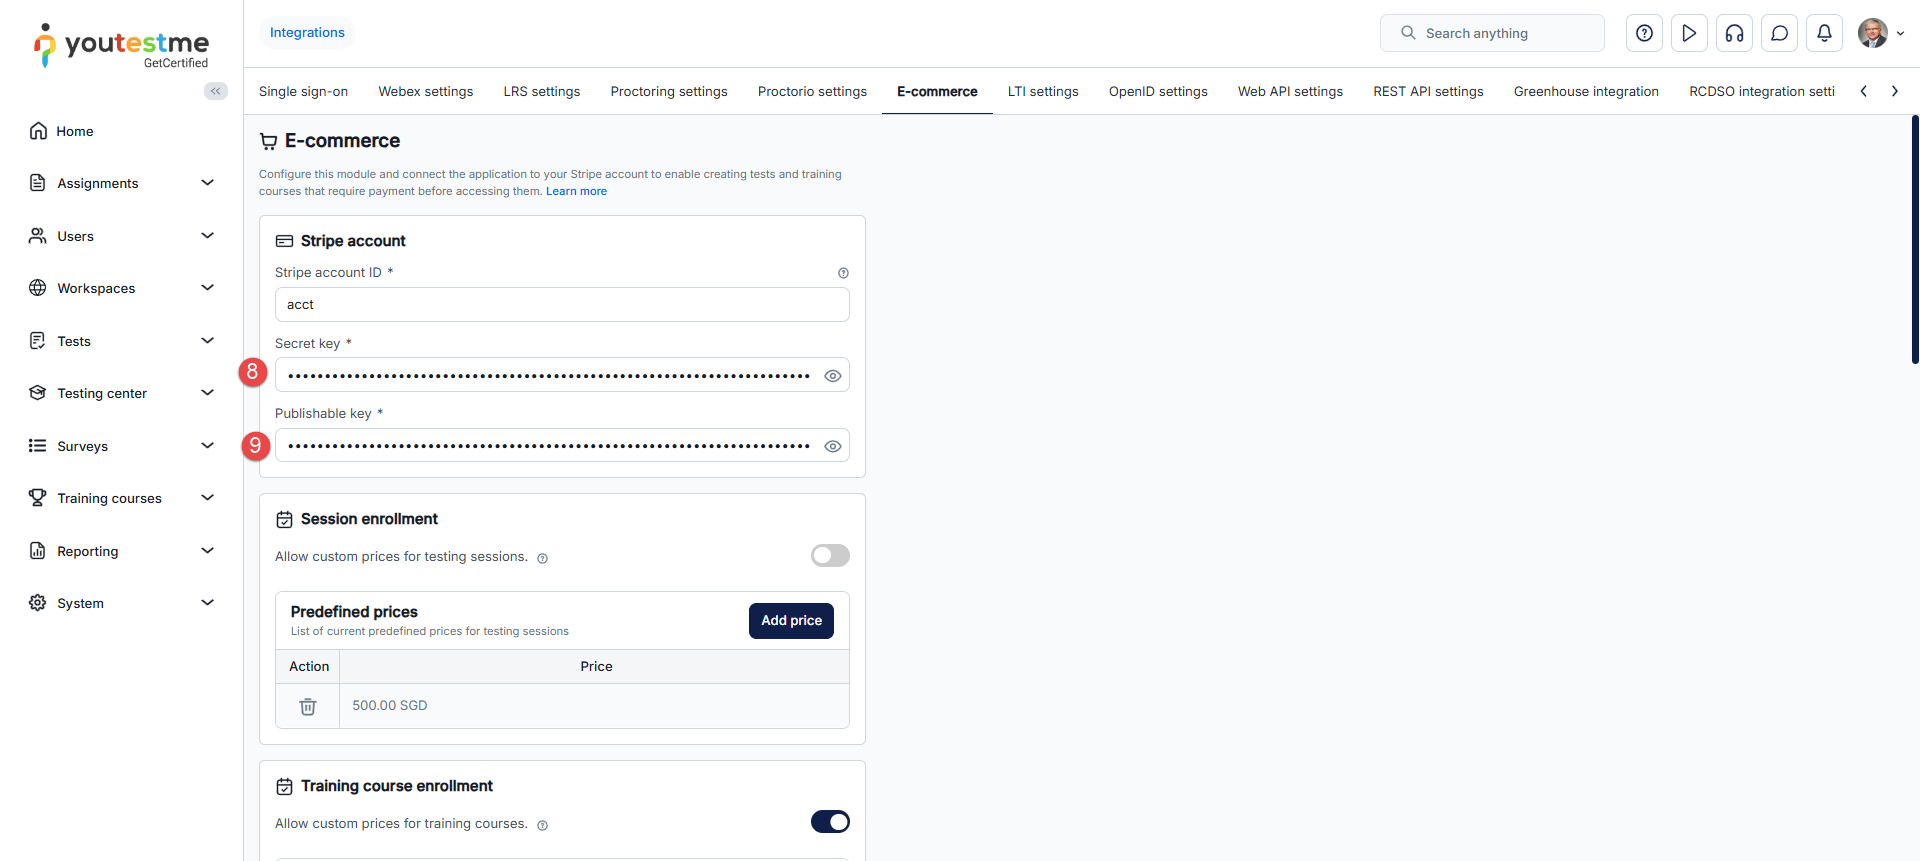
-
Enable setting custom price of testing session enrollment – Indicates if test managers can specify a custom price for session enrollment.
-
Click the Add price option.
-
Enter the Price and choose the price Currency.
-
Remove the price by clicking on the Delete option.
To set up session enrollment and prices, follow the next steps:
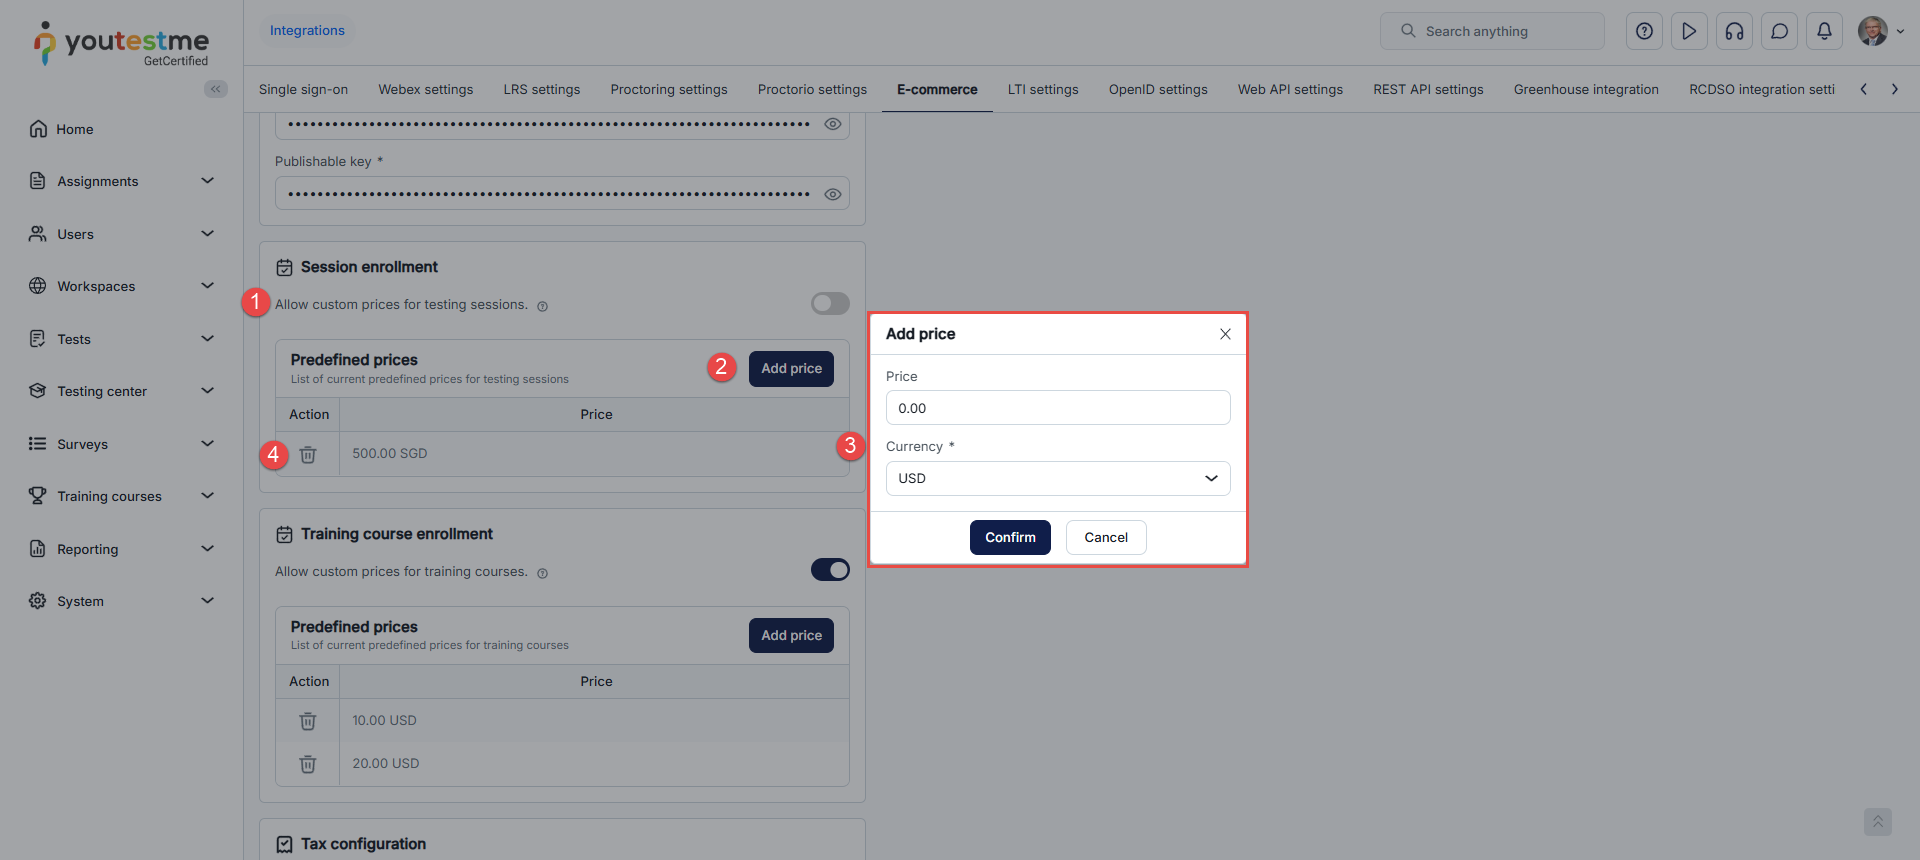
-
Tax Configuration: Choose how taxes are applied: No Tax (no tax is added), Static Tax (a single rate for all purchases), or Dynamic Tax per Country (different rates per supported country).
-
Tax Dropdown: Use this dropdown to select your preferred tax option. Depending on your choice, additional fields may appear for setting a specific tax rate or configuring per-country tax rules.
-
Receipt Summary Configuration: This section may show you how your placeholders and text will appear on the final receipt.
-
Company Information: Enter your full company details in the multiline text box. This information (e.g., company name, address, phone number, VAT number) will appear below YTM logo on the receipt.
To configure Stripe tax settings and company information, refer to the numbered sections in the screenshot below and follow these steps:
After configuring your tax and company information, scroll down to the bottom of the page and click Confirm to save your changes. Once saved, your new tax settings and full company details will be applied to all future receipts.
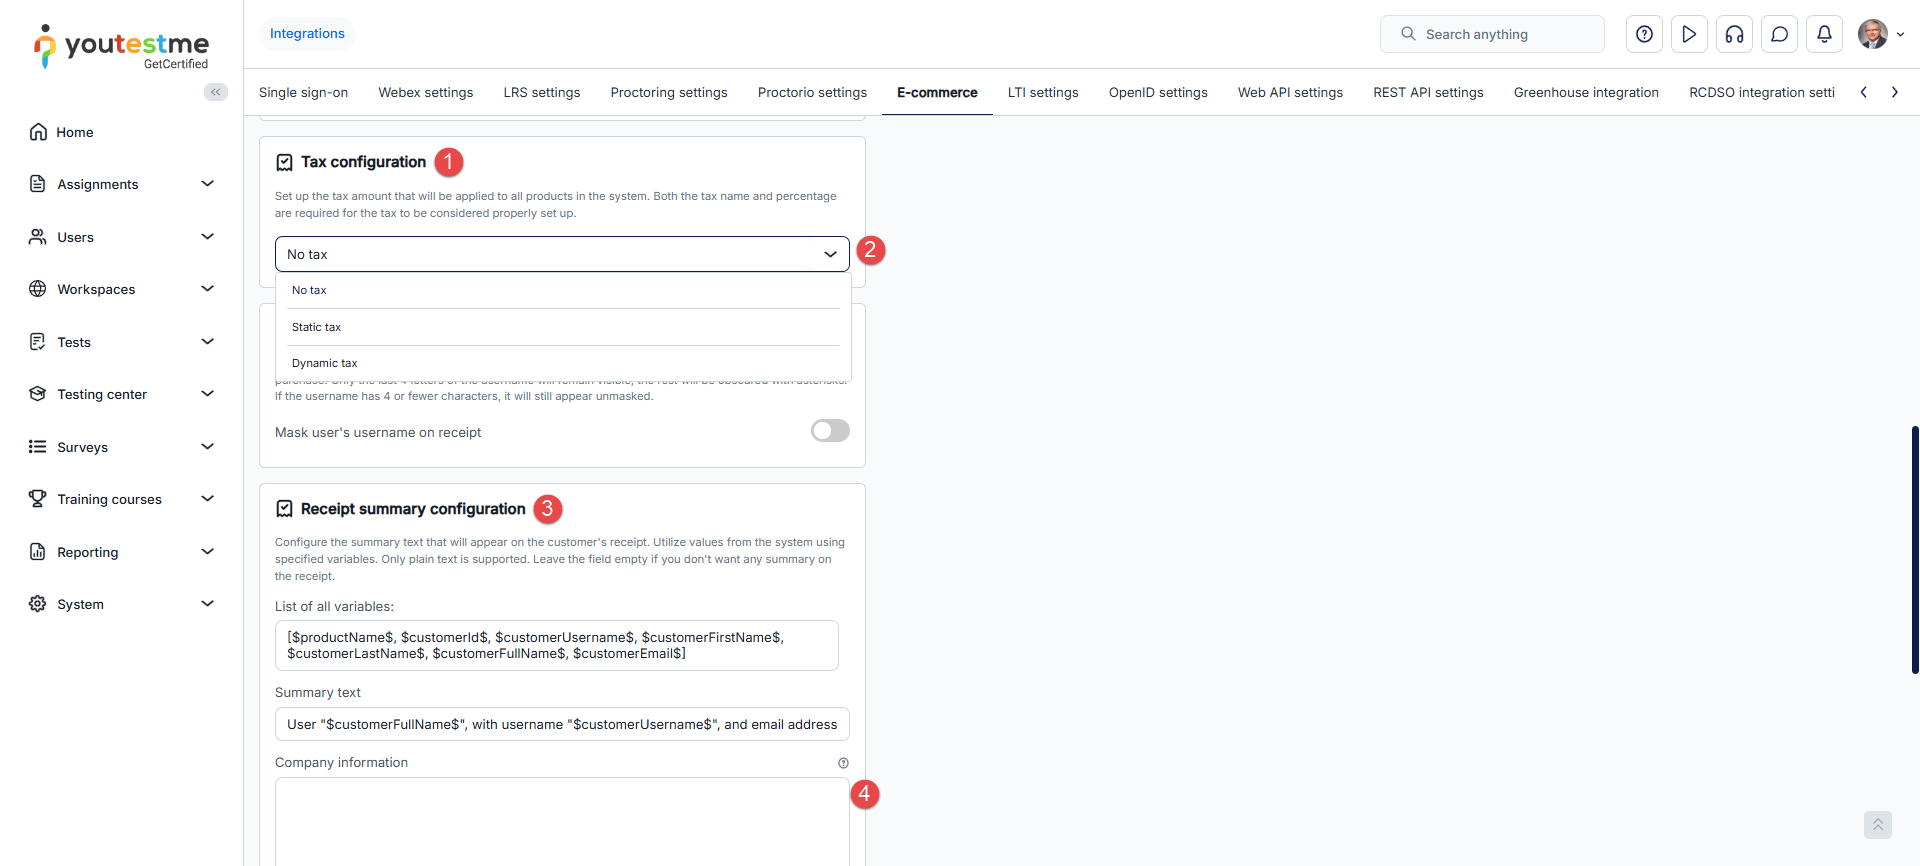
-
Select Dynamic Tax: From the tax dropdown, choose Dynamic Tax. Once this option is selected, the dynamic tax table will be displayed.
-
Dynamic Taxes Table: This table lists all configured dynamic taxes. Each row displays the tax's name, description, applicable country, tax rate percentage, and whether the tax is set as inclusive or exclusive.
-
Add Tax: Click the Add tax button to open a form where you can define a new dynamic tax. Enter the tax name, description, country, and rate percentage to ensure the correct tax is applied during checkout. Note that Dynamic taxes are only available for Stripe-supported official countries. For more details, refer to the official list here: Supported Tax Rate Countries.
-
Active/Inactive Tax: Each dynamic tax can be marked as active or inactive. Update button is provided to change the tax status. If a tax is marked as inactive, it will not be applied during the checkout process.
To configure dynamic taxes, follow these steps:
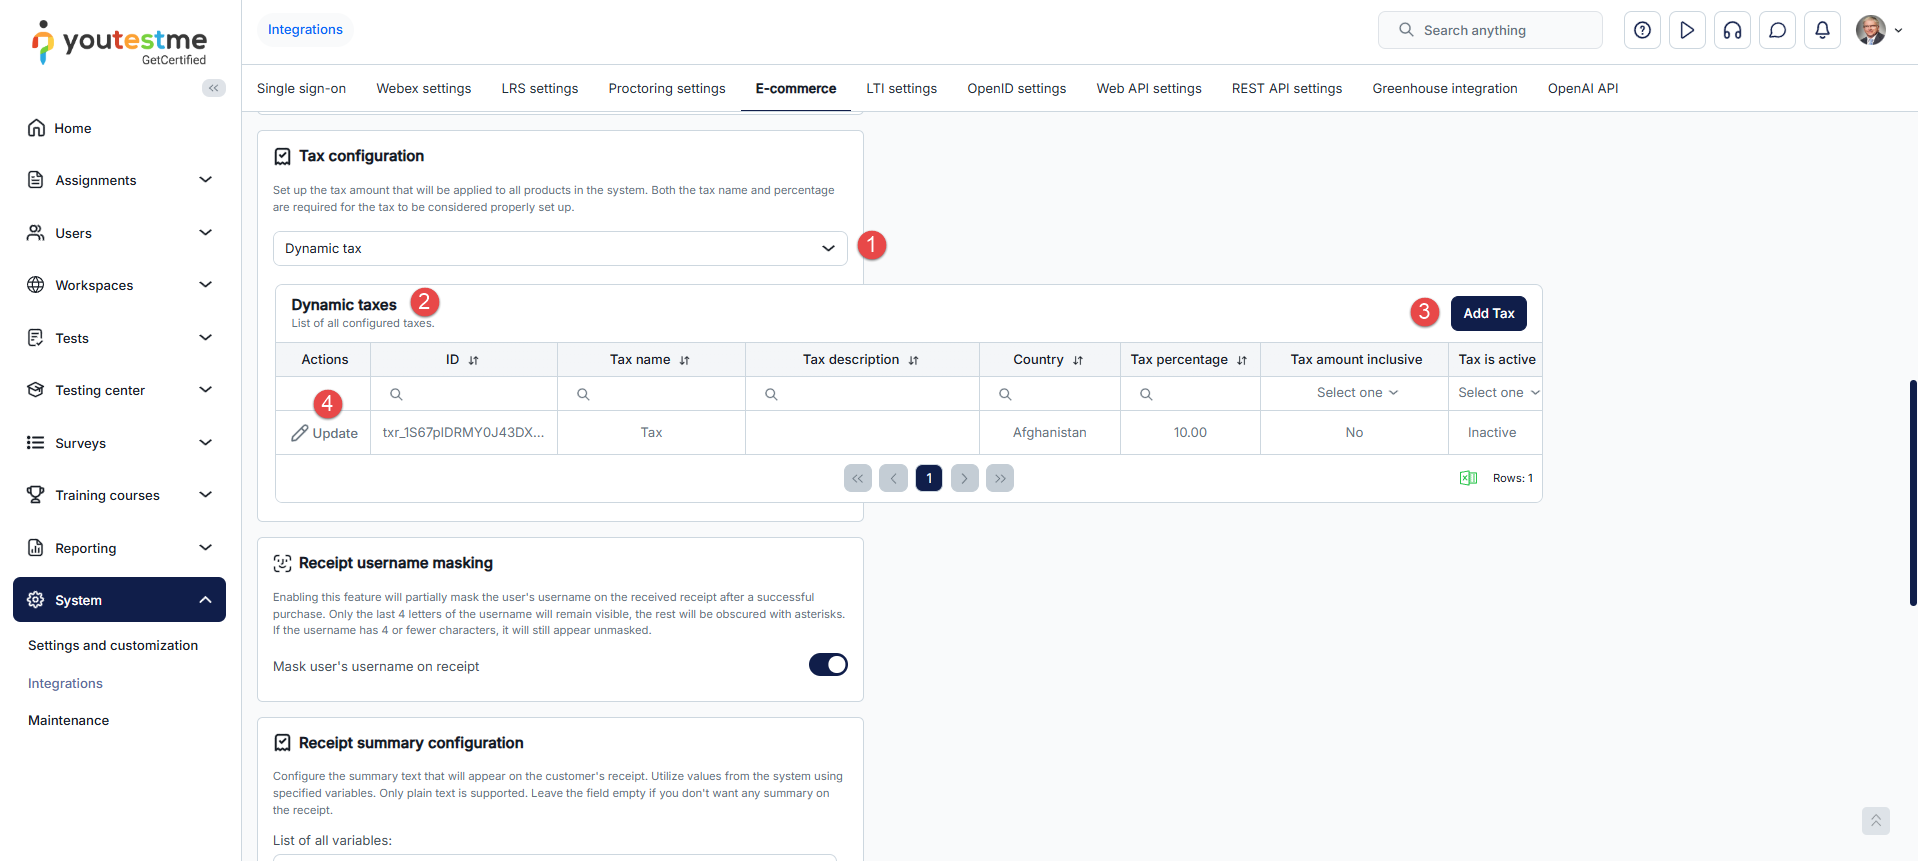
-
Require Terms of Service: Enable this option to require customers to accept your Terms and Service before proceeding the checkout.
-
Require Terms of Service: Enter your Terms of Service text in the multiline text box. You can use markdown format for linking (e.g.,
[Terms and
									Service](https://your-terms-service-link)
) your custom text. -
Require Billing Address: When enabled, customers will be prompted to enter their billing address during checkout.
-
Require Tax ID: When enabled, customers will be prompted to provide their Tax ID. Note that Tax ID collection is only available for Stripe-supported official countries. For more details, refer to the official list here: Supported Tax ID Countries .
To configure billing address, Tax ID, and service terms, follow these steps:
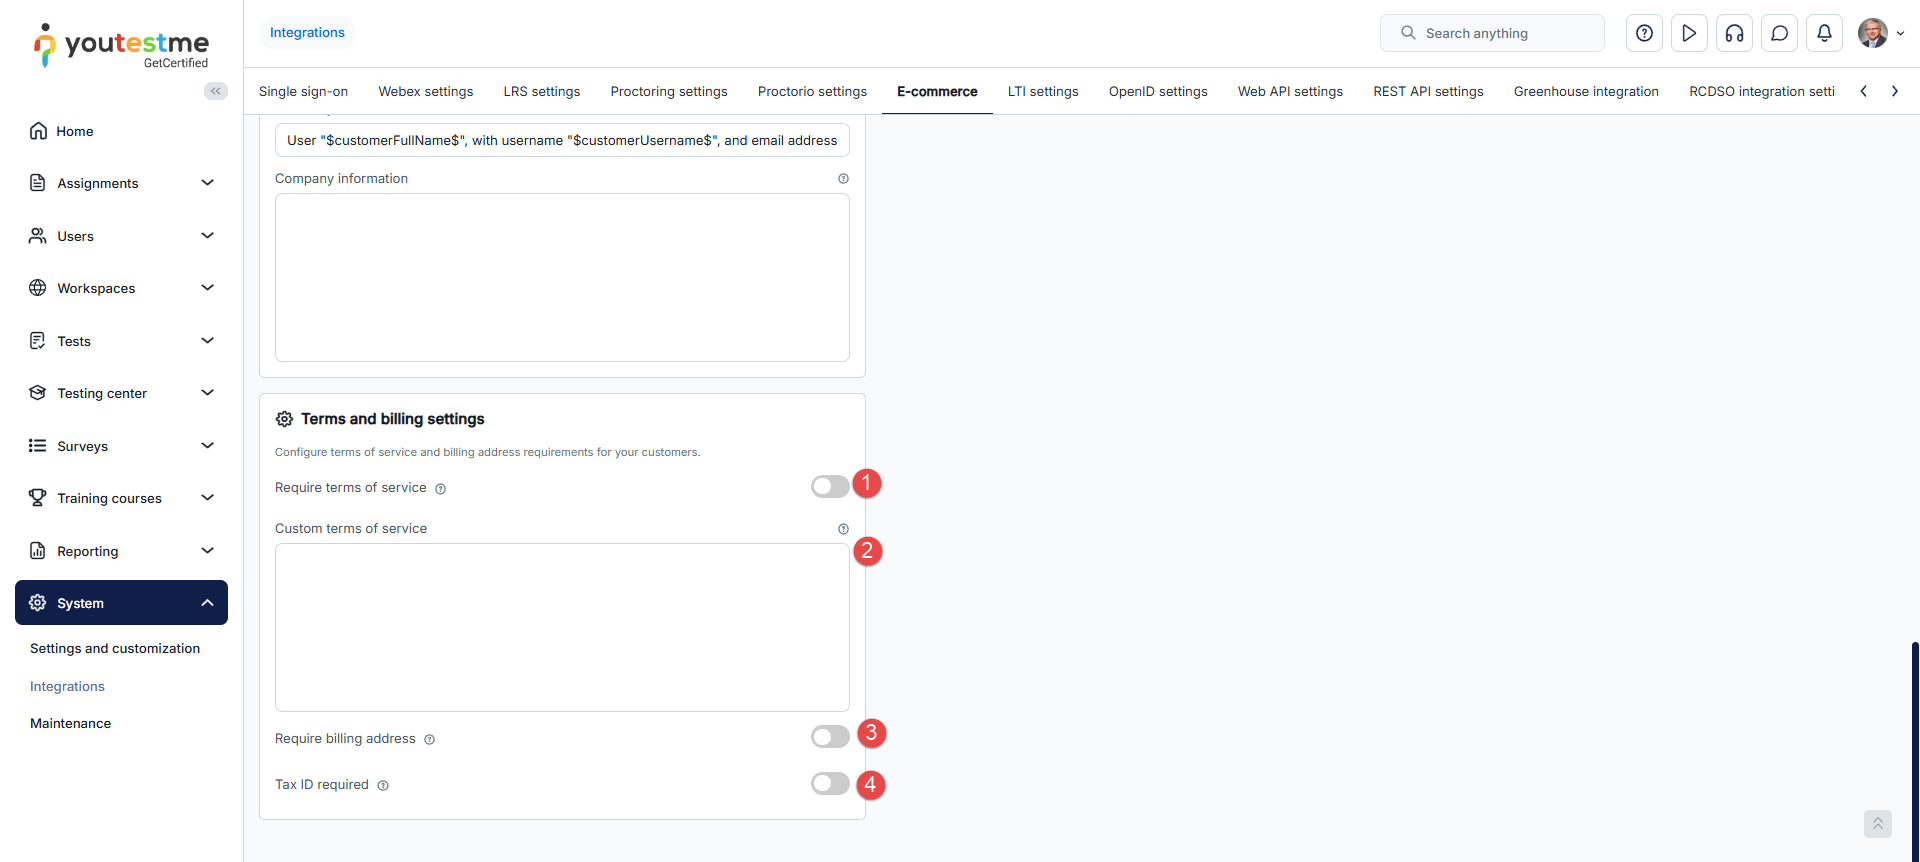
-
Enable setting custom price of training course enrollment – Indicates if training course managers can specify a custom price for training course enrollment.
-
Click the Add price option.
-
Enter the Price and choose the price Currency.
-
Remove the price by clicking on the Delete option.
-
Dummy credit card number for testing purposes
To set up training course enrollment and prices, follow the next steps:
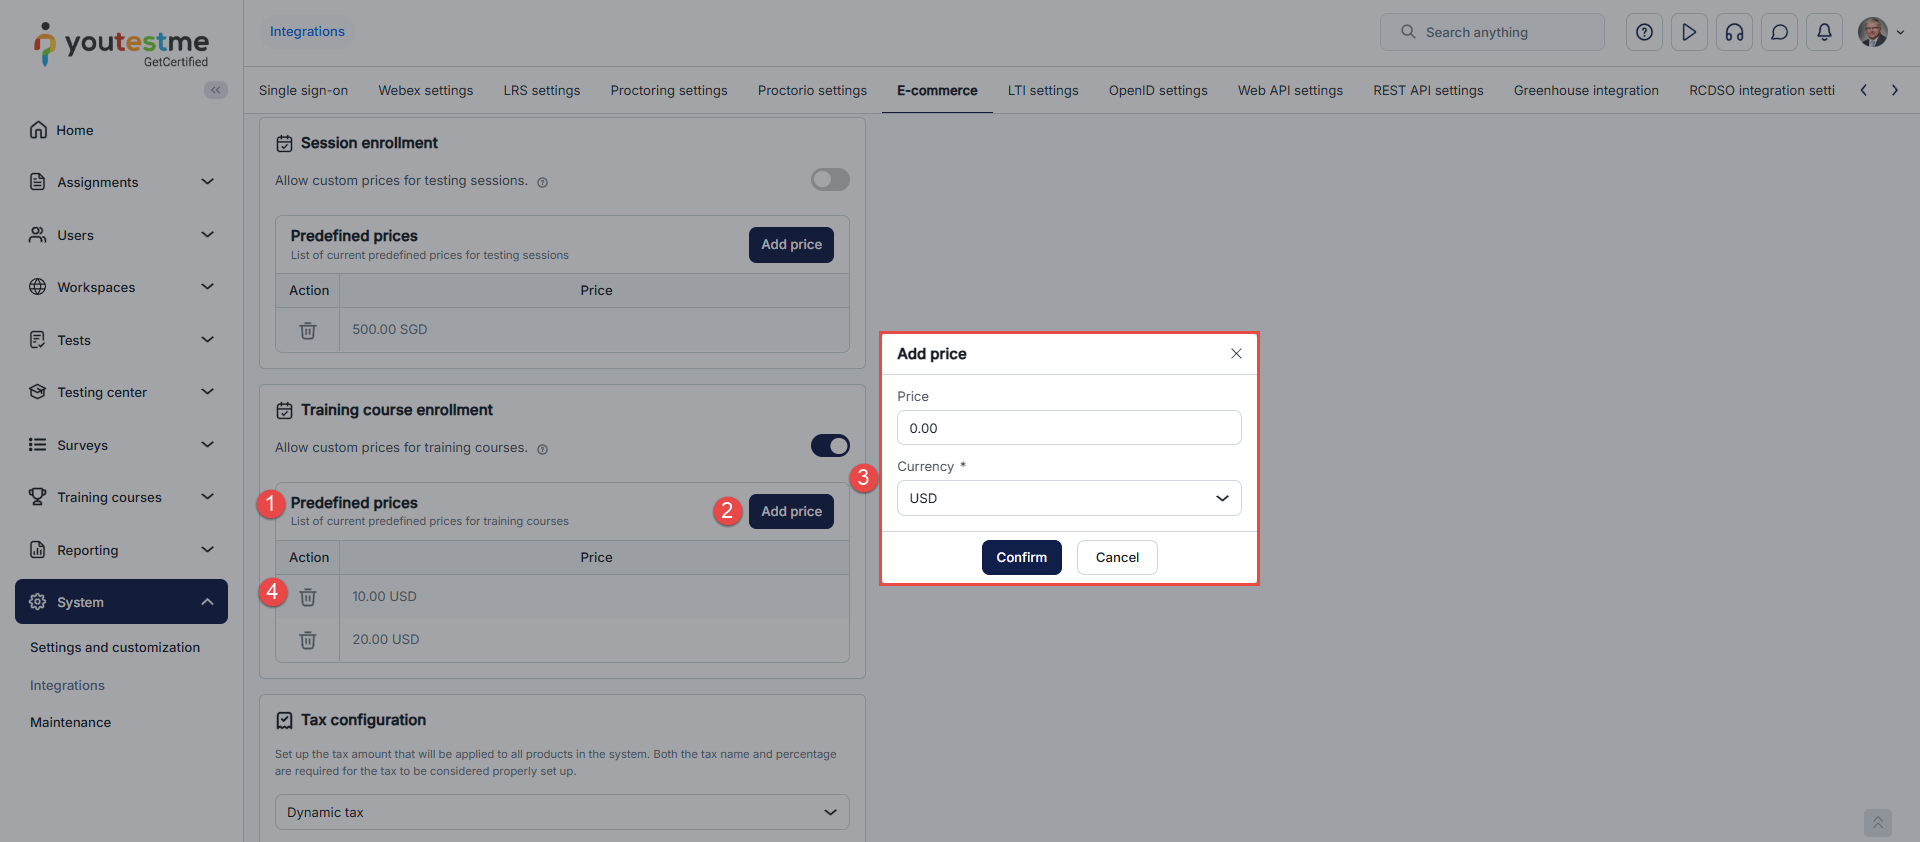
Once e-commerce is set up, the administrator can check the candidate’s balance.

For more instructions on how the candidates pay a registration fee, check How to Pay the registration fee article.
Note: For testing purposes, use a dummy credit card number – 4242 4242 4242. Enter a random future date in the MM/YY field and three random numbers in the CVC field.
Example:
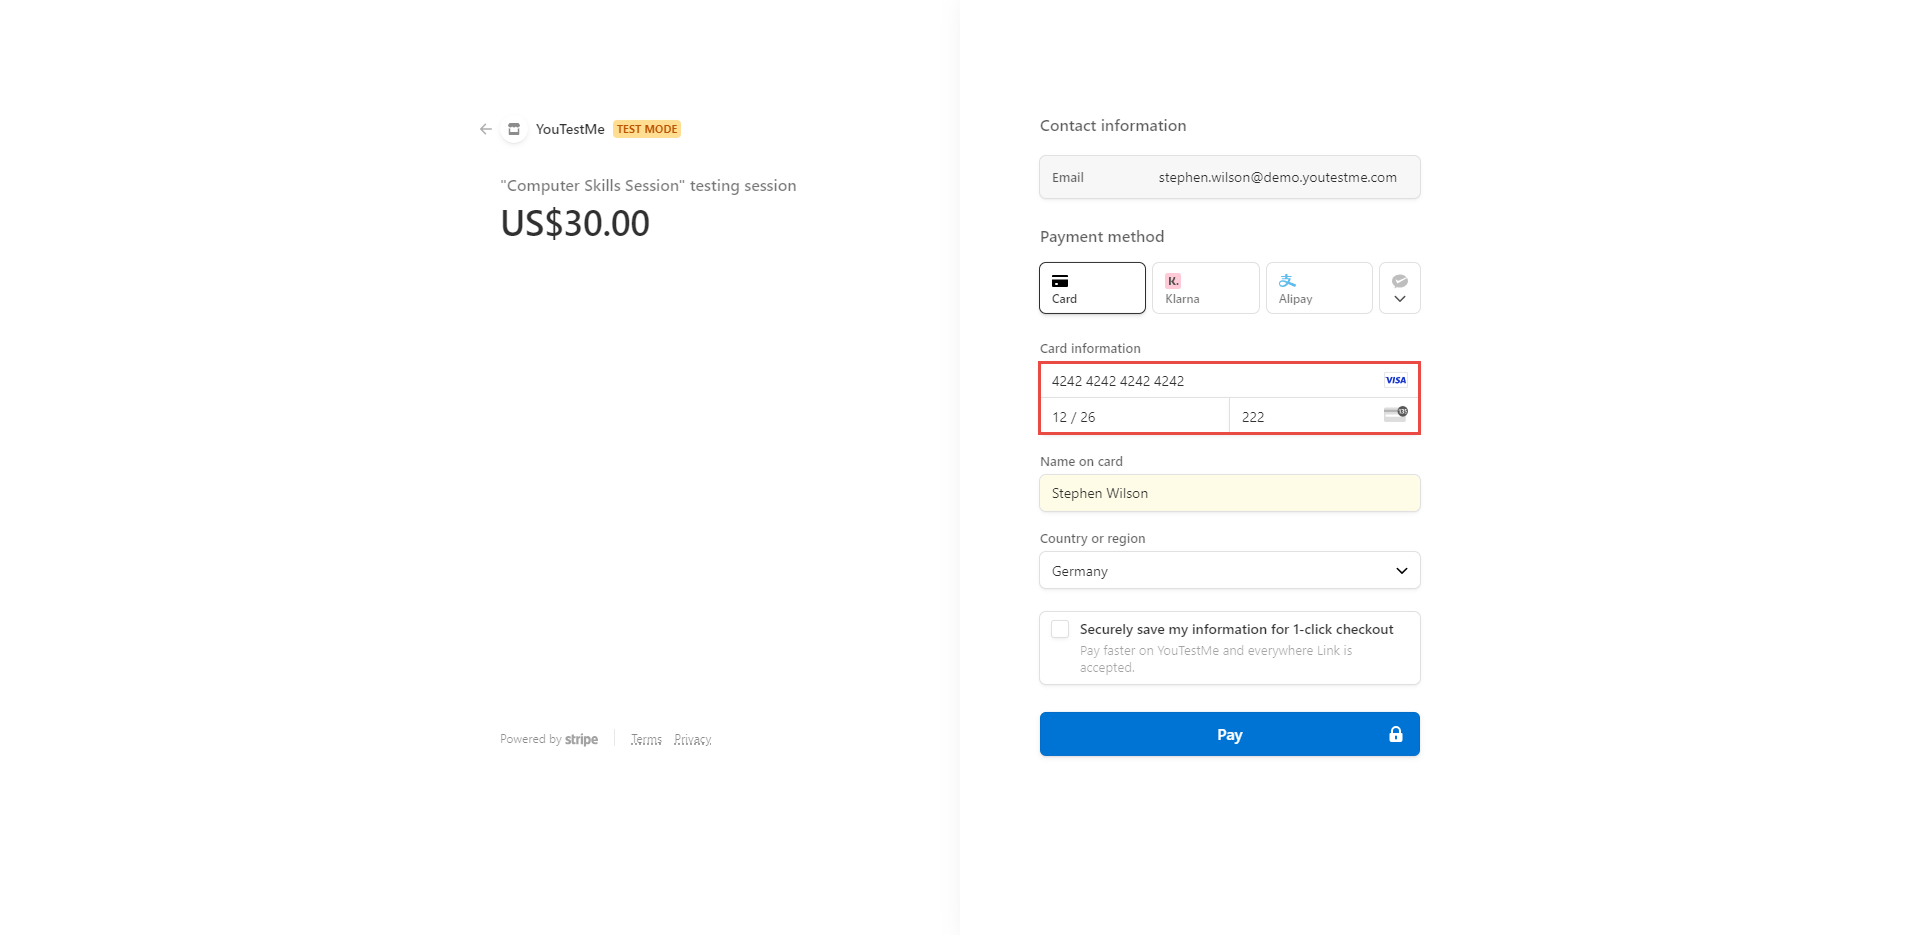
Check the links below for more information about e-commerce.
-
-
LTI settings
To connect an external application (LTI tool consumer) with GetCertified, you can configure GetCertified as an LTI Tool provider by creating an LTI configuration. LTI is the standard for linking learning tools with platforms like learning management systems. Through this setup, users from the external application can seamlessly access GetCertified tests and receive the results back within the LTI tool consumer interface. The entire process begins within the GetCertified application, ensuring smooth integration and data exchange between both systems.
-
You can add a new configuration by clicking the Create new button, which initiates the creation of a new LTI configuration. This action opens a pop-up dialog.
-
Click the Edit button to preview or edit existing configurations. This action opens a new pop-up dialog where you can review and modify the configuration parameters according to your requirements.
-
To delete existing configurations, click the Delete button associated with the configuration you wish to remove. Upon clicking, you will be prompted to confirm the deletion, ensuring you intend to delete the configuration permanently.
You'll find a table on the LTI settings tab showcasing all current LTI configurations, providing details such as their names, descriptions, statuses, and available actions. From this interface, users can take several actions, including:
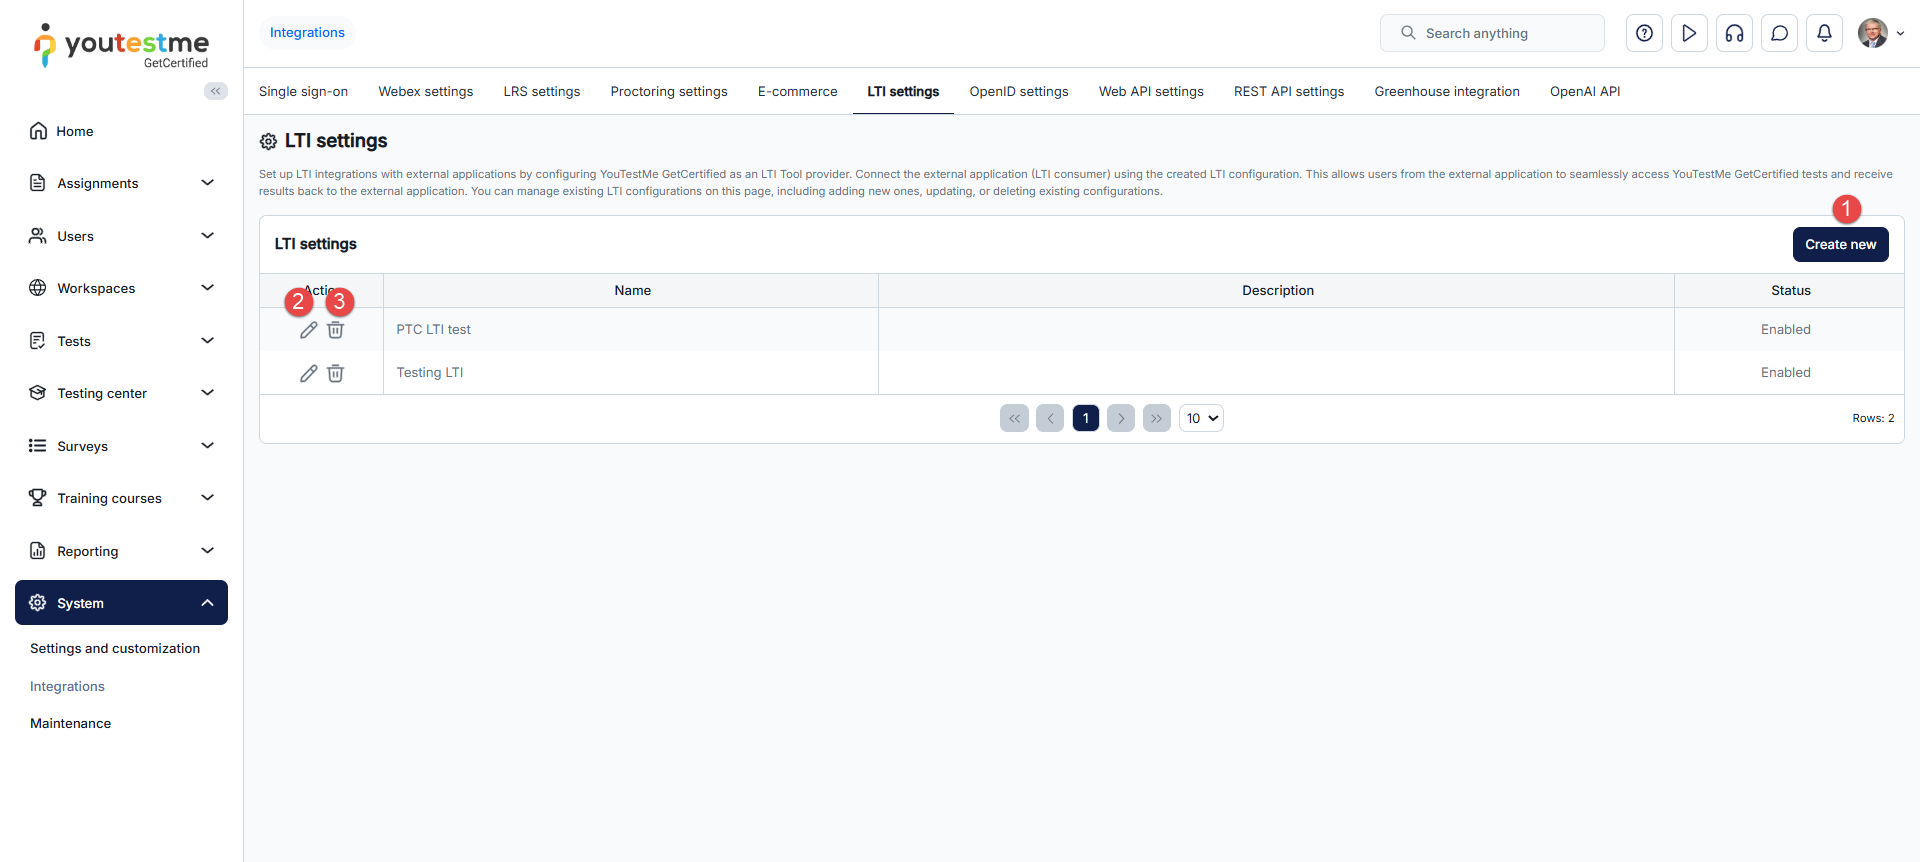
-
Enter the Name of the LTI configuration. The name must be unique for each LTI configuration.
-
Optionally enter the Description of the LTI configuration.
-
Choose the Status of the LTI configuration. If the status is Enabled,the configuration can be used for LTI Launch from the LTI Tool consumer. Otherwise, not.
-
The Role code attribute is used to specify the role code corresponding to the role that will be assigned to users accessing the application via LTI. You can use the role code from the relevant role in the Roles and Permissions tab.
Note: If this field is left blank, user role assignment follows these rules: If a role code is not set here, the system will use the role defined in the external system attempting to access our application via LTI. If no role is defined there either, the default role Student will be assigned.
-
Click the Save button to save the LTI configuration. The Edit dialog will appear where you can see and update the parameters of the LTI configuration.
The steps to create a new LTI configuration are listed below and marked in the image below:
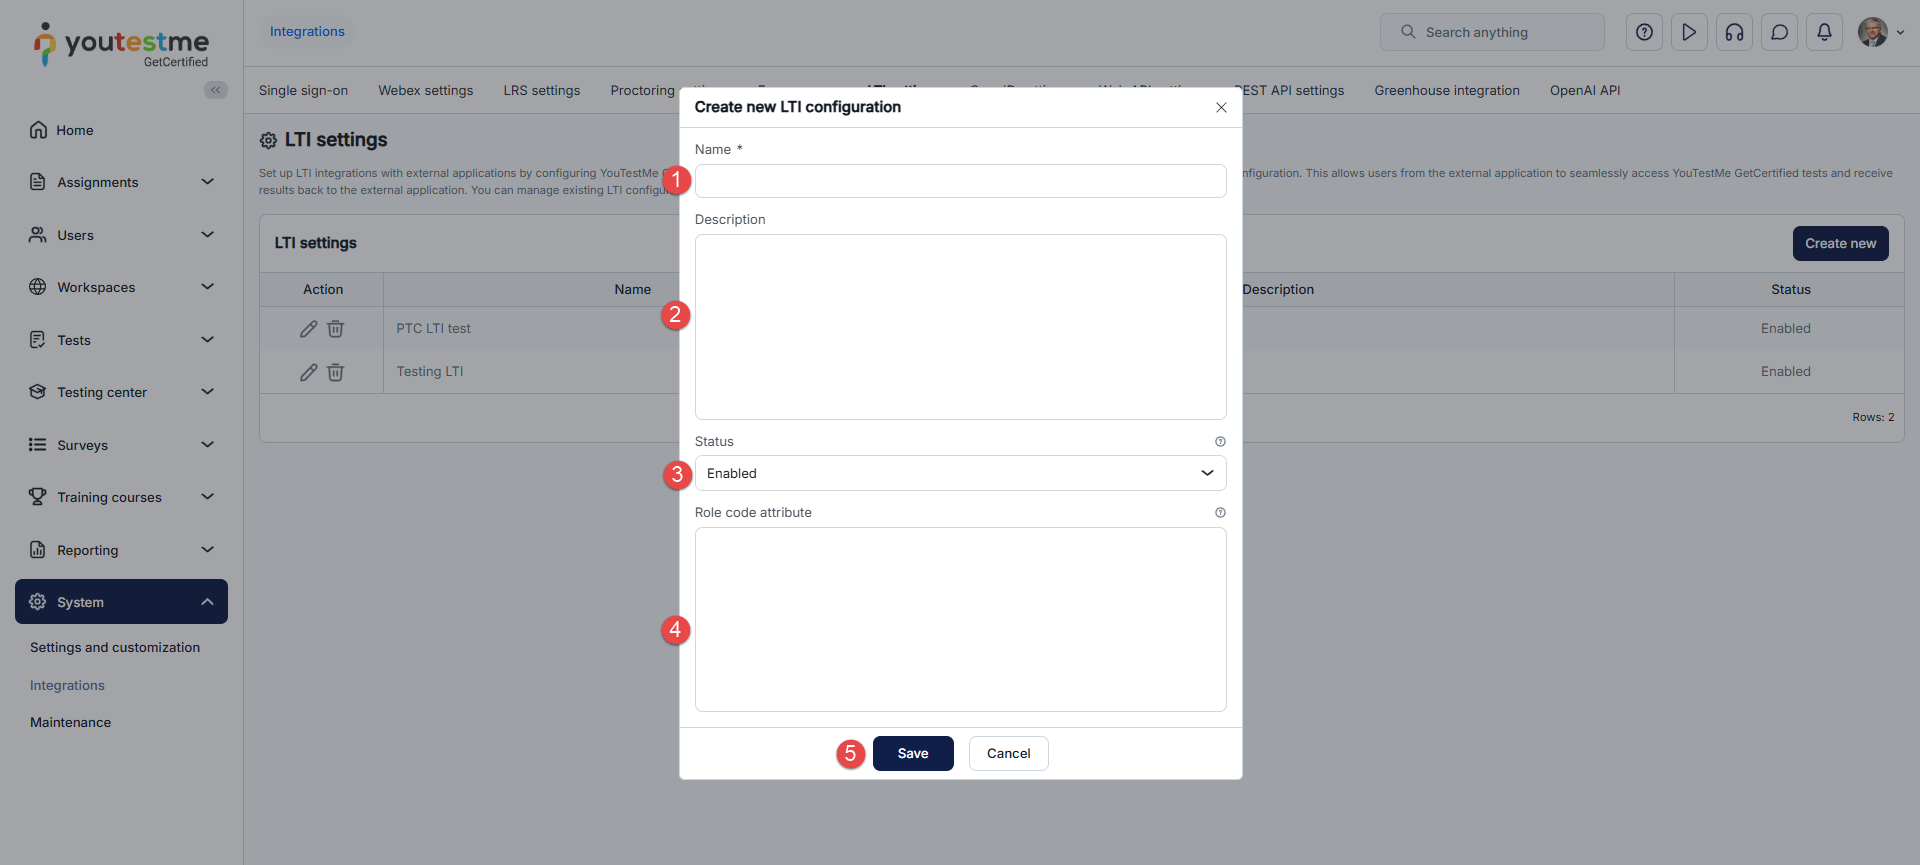
-
Enter the Name of the LTI configuration. The name must be unique for each LTI configuration.
-
Optionally enter the Description of the LTI configuration.
-
Choose the Status of the LTI configuration. If the status is Enabled, the configuration can be used for LTI Launch from the LTI Tool consumer. Otherwise not.
-
The Role code attribute is used to specify the role code corresponding to the role that will be assigned to users accessing the application via LTI. You can use the role code from the relevant role in the Roles and Permissions tab.
Note: If this field is left blank, user role assignment follows these rules: If a role code is not set here, the system will use the role defined in the external system attempting to access our application via LTI. If no role is defined there either, the default role Student will be assigned.
-
Use the provided Consumer key to configure the LTI Tool consumer. It represents the unique ID of the LTI configuration and, together with the provided Secret key, is used to verify the LTI Launch request. The LTI Launch request must contain provided Consumer key value in the oauth_consumer_key parameter. Click the Copy to clipboard icon to copy the Consumer key to the clipboard.
-
Use the provided Secret key to configure the LTI Tool consumer. It represents the secret key an LTI Tool consumer uses to sign the LTI Launch request and the LTI tool provider GetCertified to verify the signature. Click the Copy to clipboard icon to copy the Secret key to the clipboard.
-
Use the provided Signature method to configure the LTI Tool consumer. It represents the signature algorithm an LTI Tool consumer must use to sign the LTI Launch request. The LTI Launch request must contain provided Signature method value in the oauth_signature_method parameter. The only supported signature method is HMAC-SHA1.
-
Use the provided Message URL to configure the LTI Tool consumer. It represents the LTI endpoint where should LTI Tool consumer send the LTI Launch request.
-
Use the provided LTI version to configure the LTI Tool consumer. It represents the LTI version that an LTI Tool consumer must use to send the LTI Launch request. The only supported version is LTI-1p0. Click the Copy to clipboard icon to copy the Message URL to the clipboard.
-
Click on the Save button to save the LTI configuration.
The steps to edit or use the LTI configuration to configure the LTI Tool consumer are listed below and marked in the image below:
Note: For all of these parameters, you need to copy them to the appropriate field explained below.
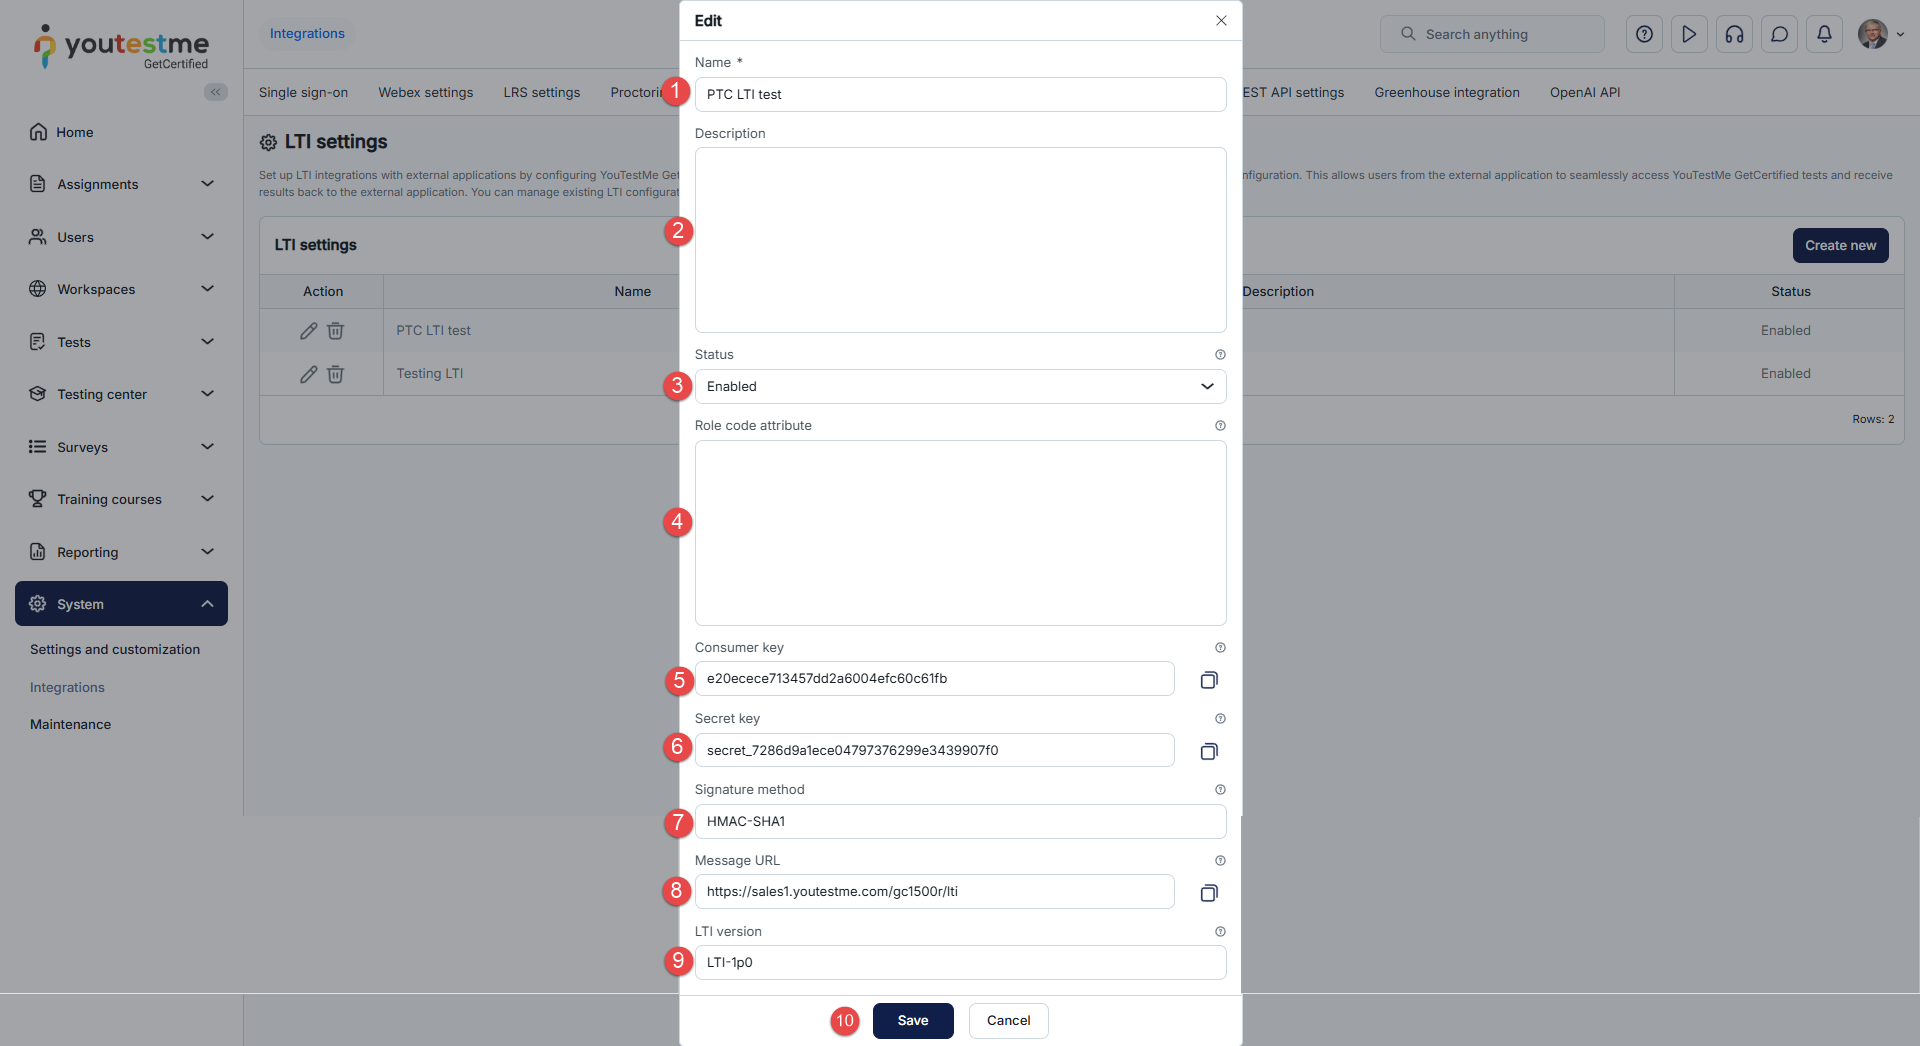
The next important step is to create a test. You can check the following link for help with the test creation.
Note: It is important to create active self-enrollment sessions and publish the test to allow test-taking through LMS.
Important information is the Test ID and a Testing session ID since you can set the integration to assign the candidates to the testing session directly or give them access to the test where they can choose in which testing session they want to start the test.
-
Select Tests/Manage tests tab and open desired test.
-
Navigate to the Settings/Basic information tab.
-
The test ID will be displayed in the Test ID field.
To view the Test ID, follow these steps:
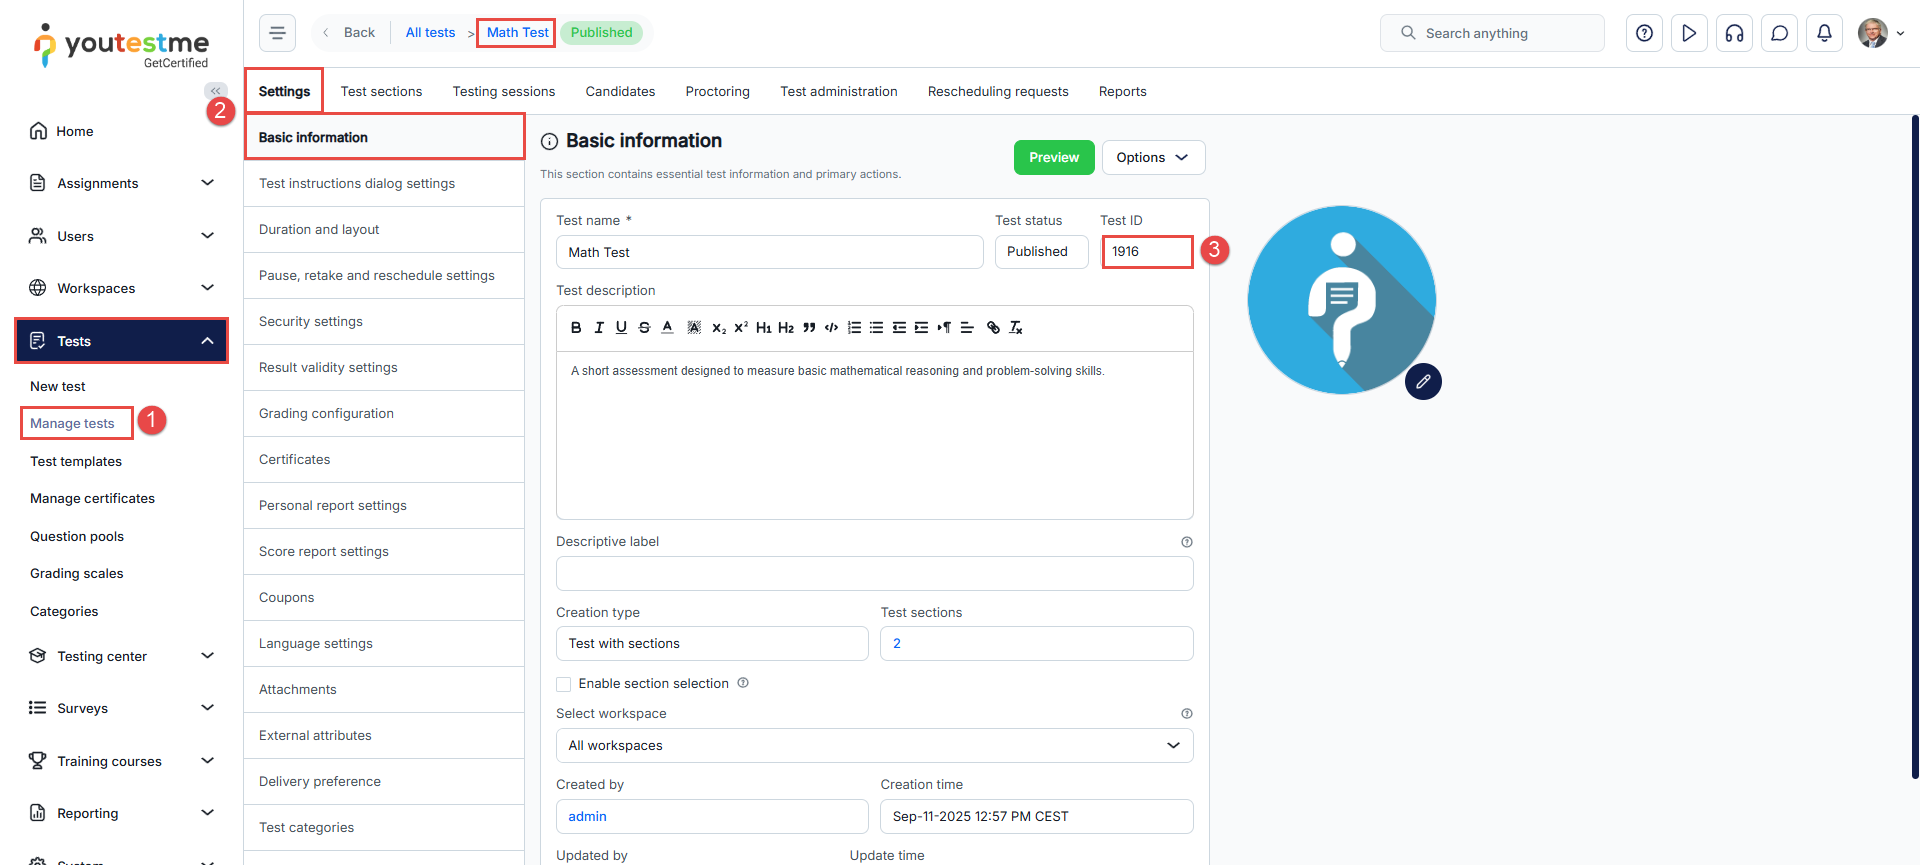
-
In the Testing sessions tab, you'll find a list of all scheduled testing sessions for the selected test.
-
Locate the Session ID column within the table to find the respective Testing Session ID.
To view the testing session ID, follow these steps:
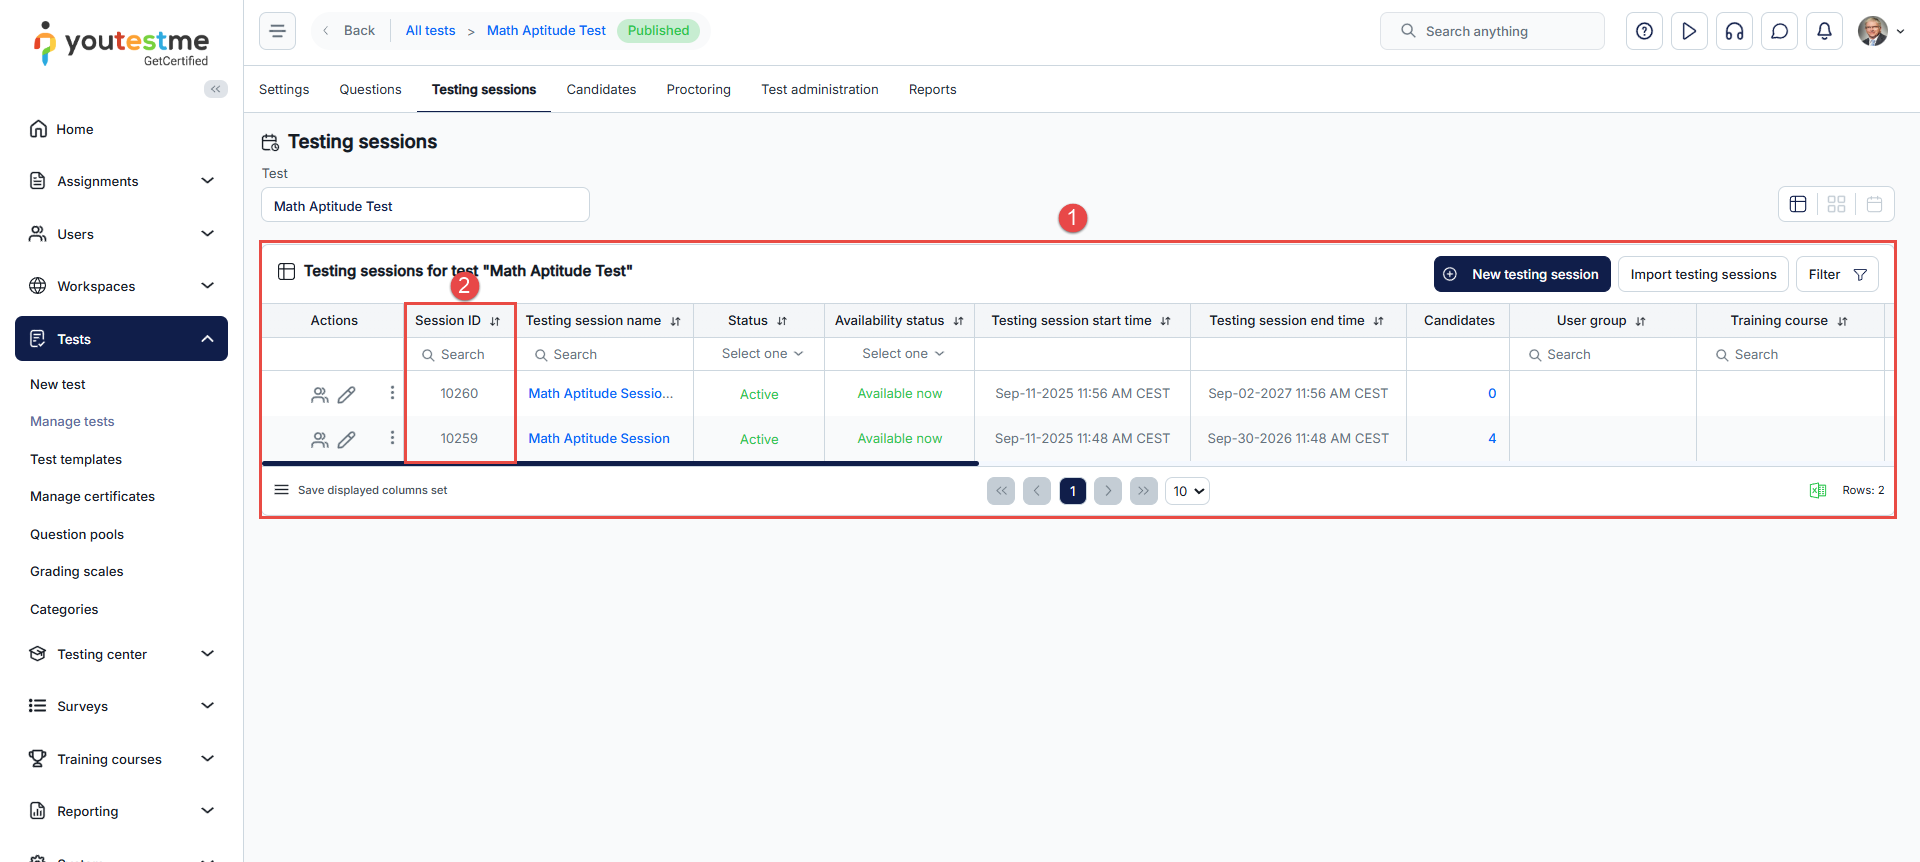
-
Access the Platform Emulator.
-
Navigate to the Security Model tab.
-
In the Message URL field, enter the Message URL text from the GetCertified application.
-
In the Consumer key field, enter the Consumer key text from the GetCertified application.
-
In the Shared secret field, enter the Secret key text from the GetCertified application.
-
Click the Save button on the top left corner.
More information on how to set both integration settings will be explained below. For the demonstration, LMS Emulator will be used.
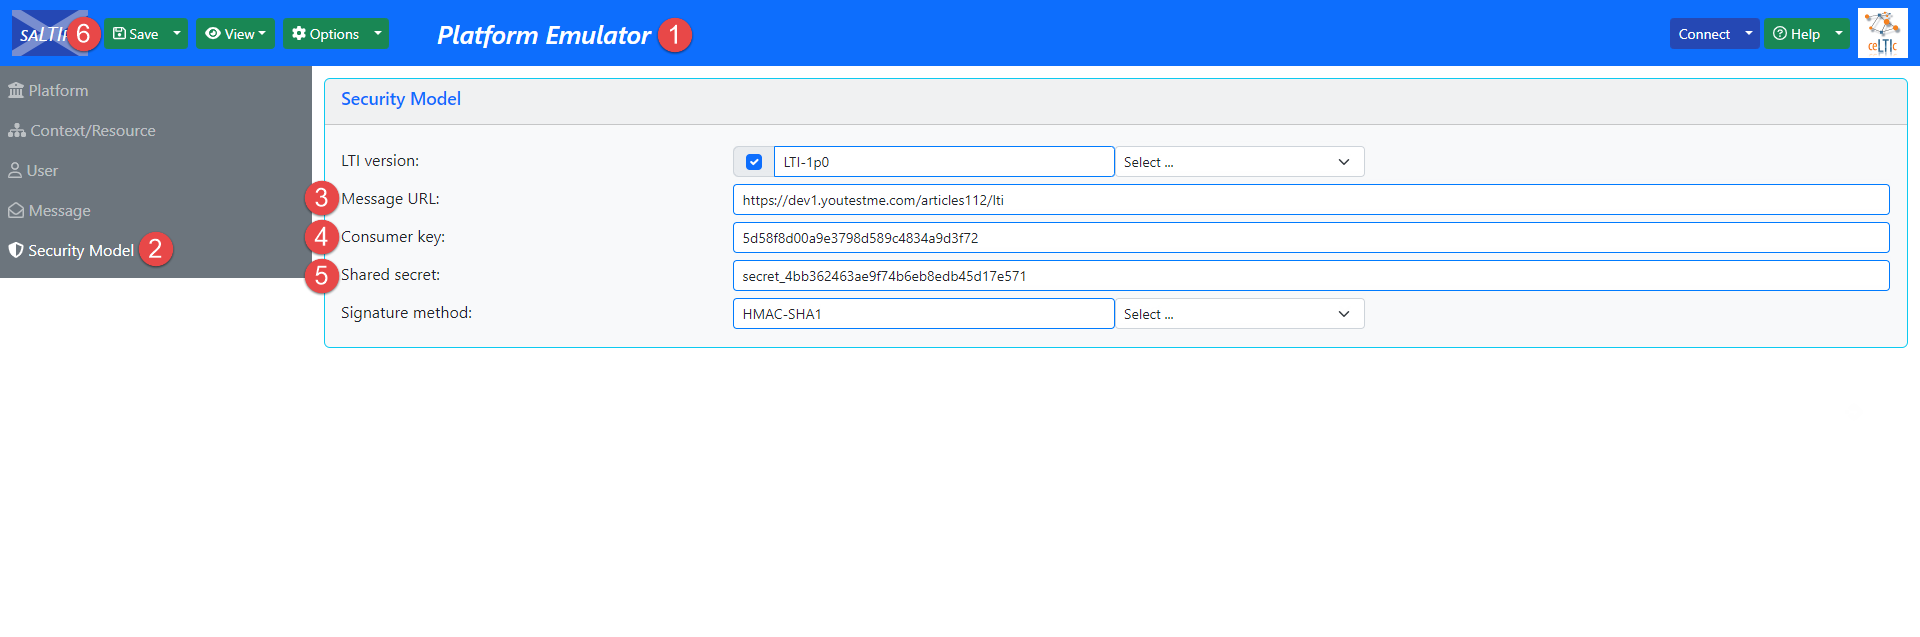
-
Navigate to the Message tab.
-
In the Custom parameters field, enter the test_id=desired_test_id.
-
Click the Save button.
To give candidates access to the test where they can choose in which testing session they want to start the test, you should do the following:
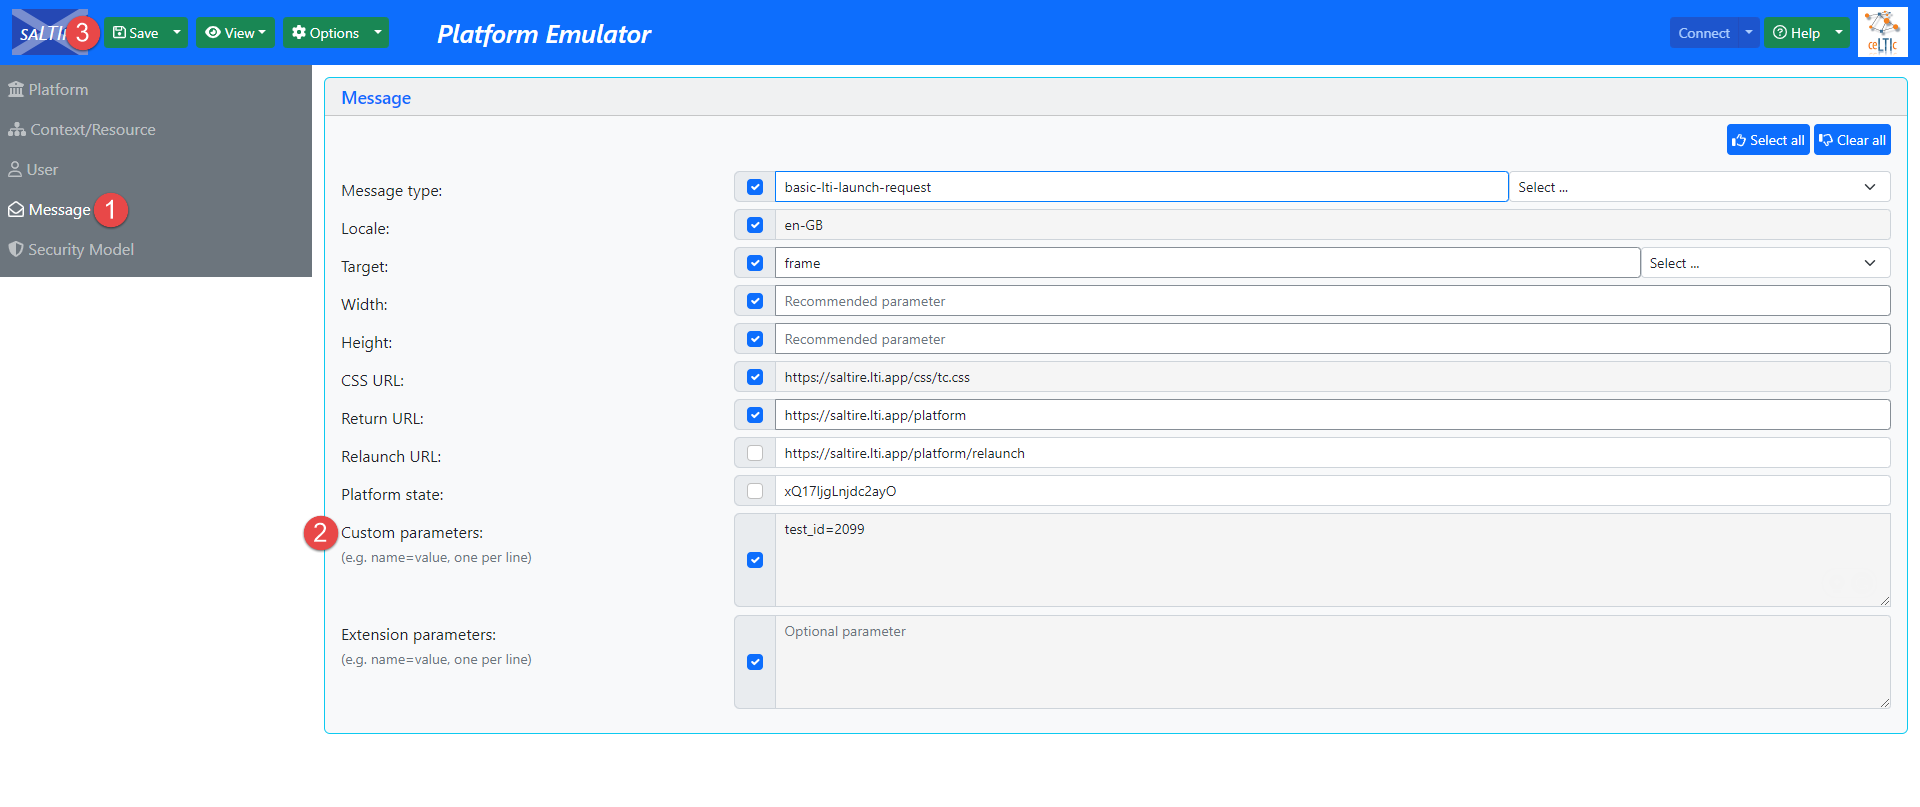
Once the integration is set, a candidate can start the test. To start the test, click the Connect button in the top right corner.
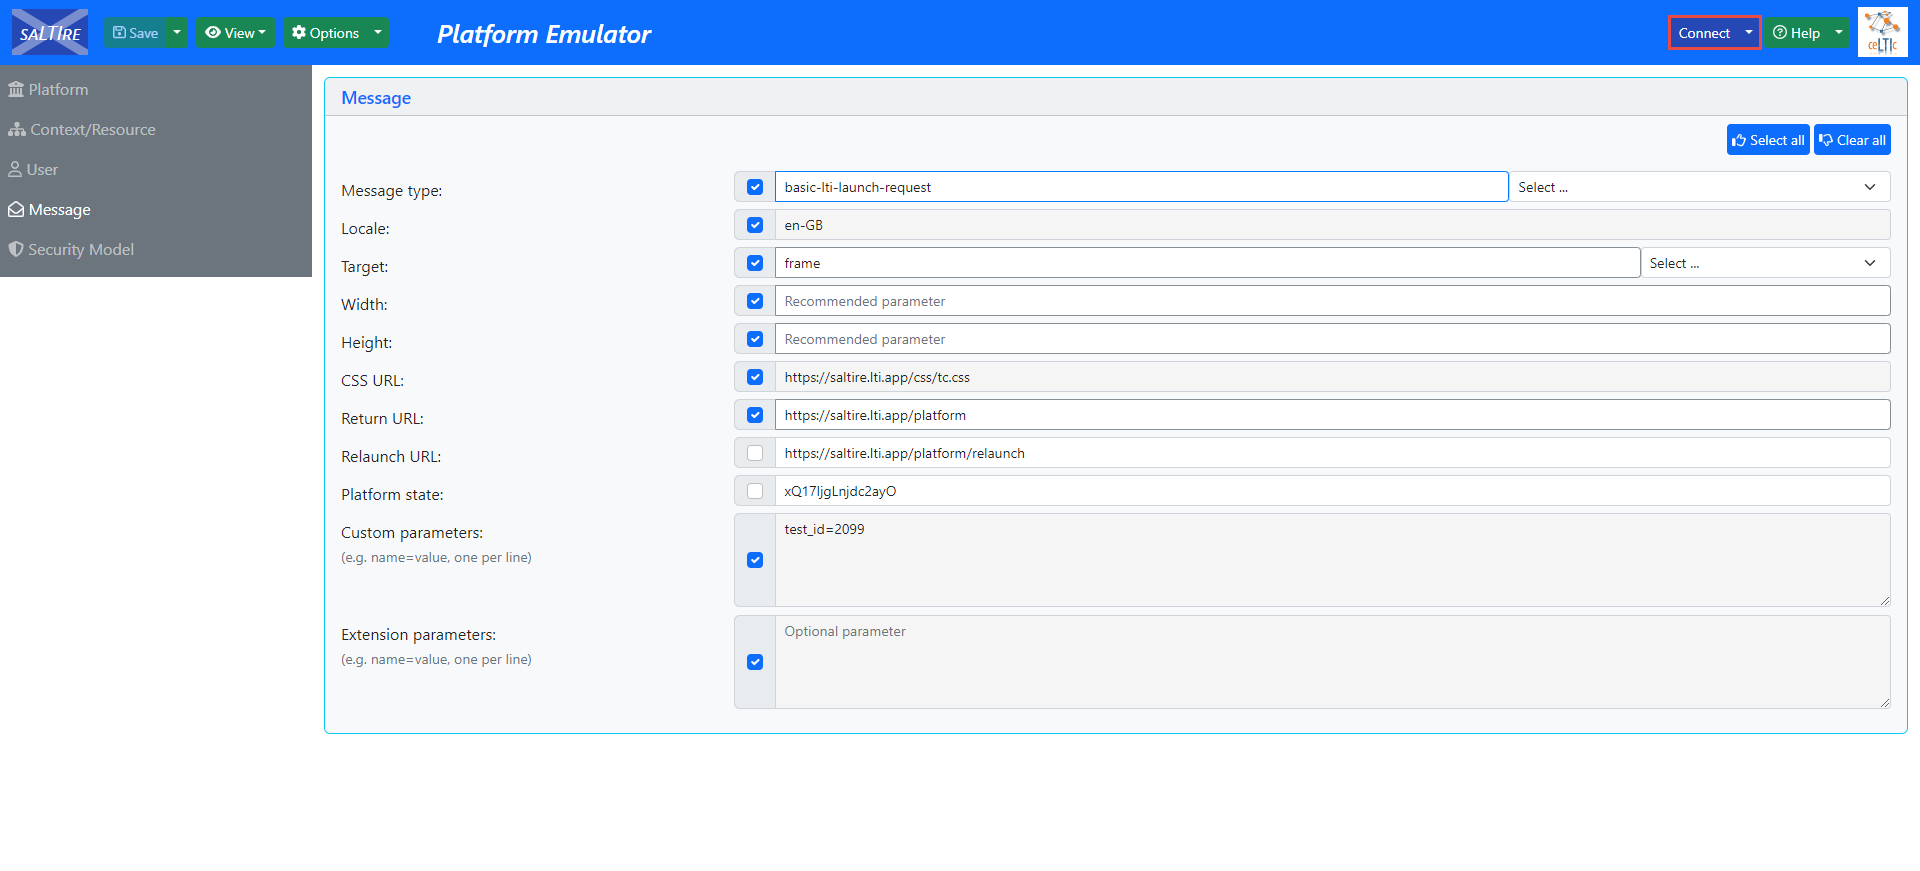
The candidate will be redirected to the GetCertified application, where they can start the test. If there are few testing sessions, the candidate should click the Choose the session button to choose the desired one to start the test. Otherwise, the candidate should only click the Book button to book the available session.
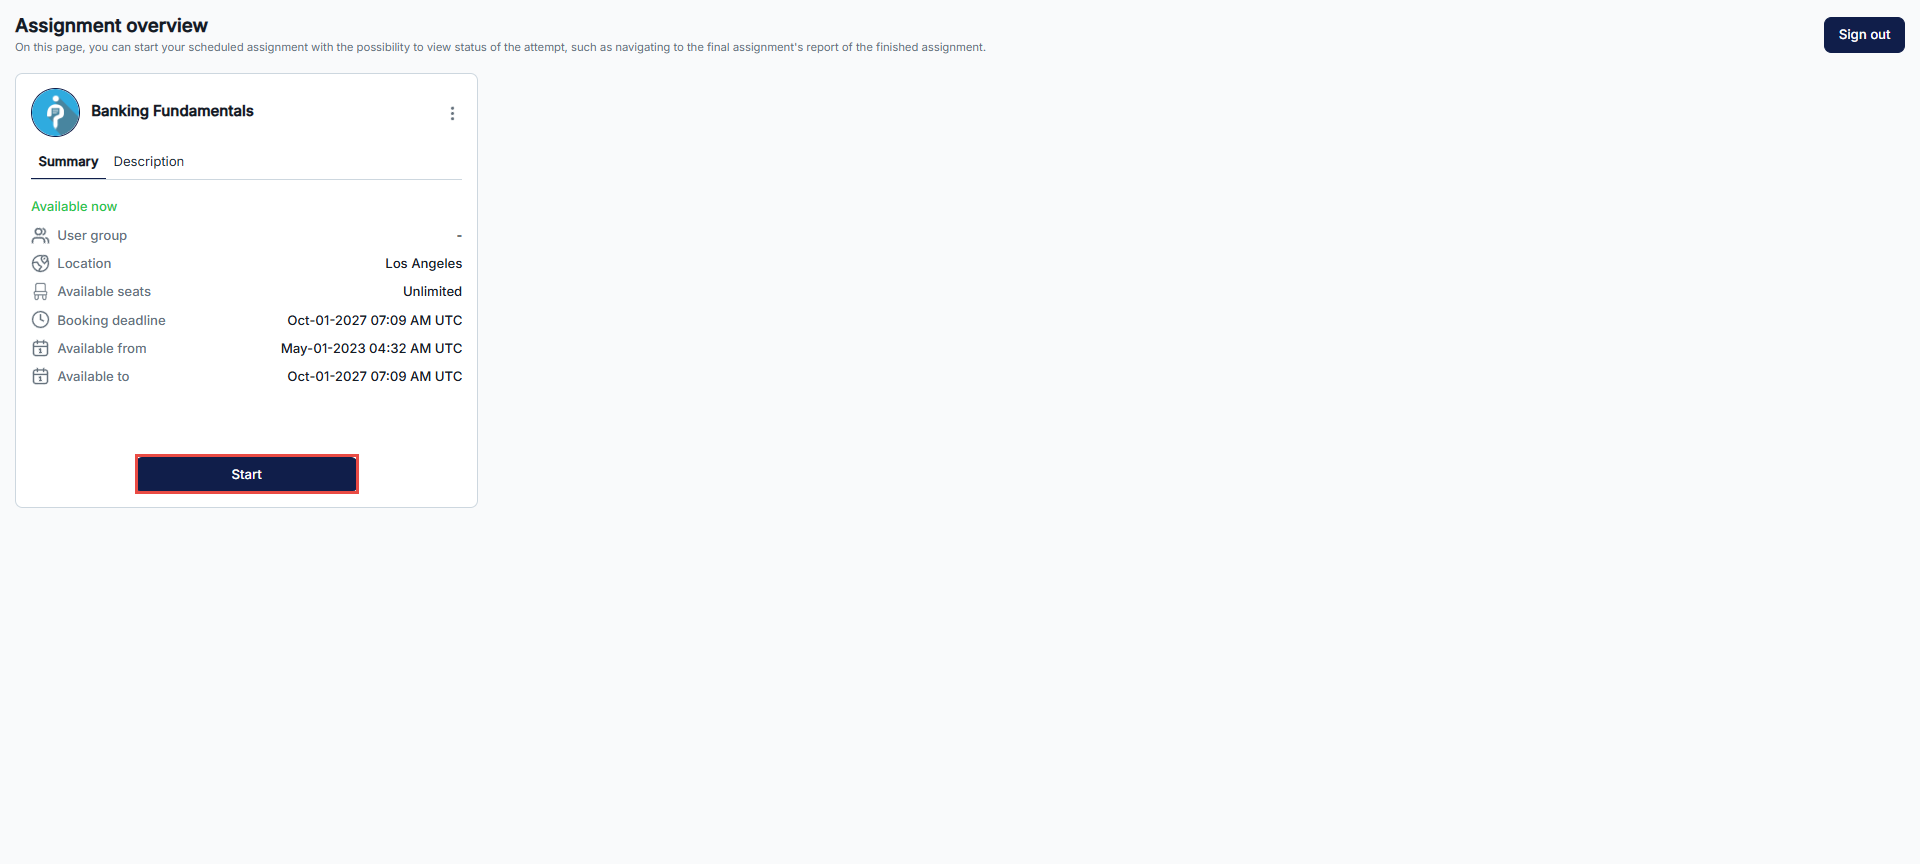
Once the test is completed, the candidate may be redirected to the personal report (depending on the test settings), and once checked, the candidate can Sign out by clicking the button in the top right corner.
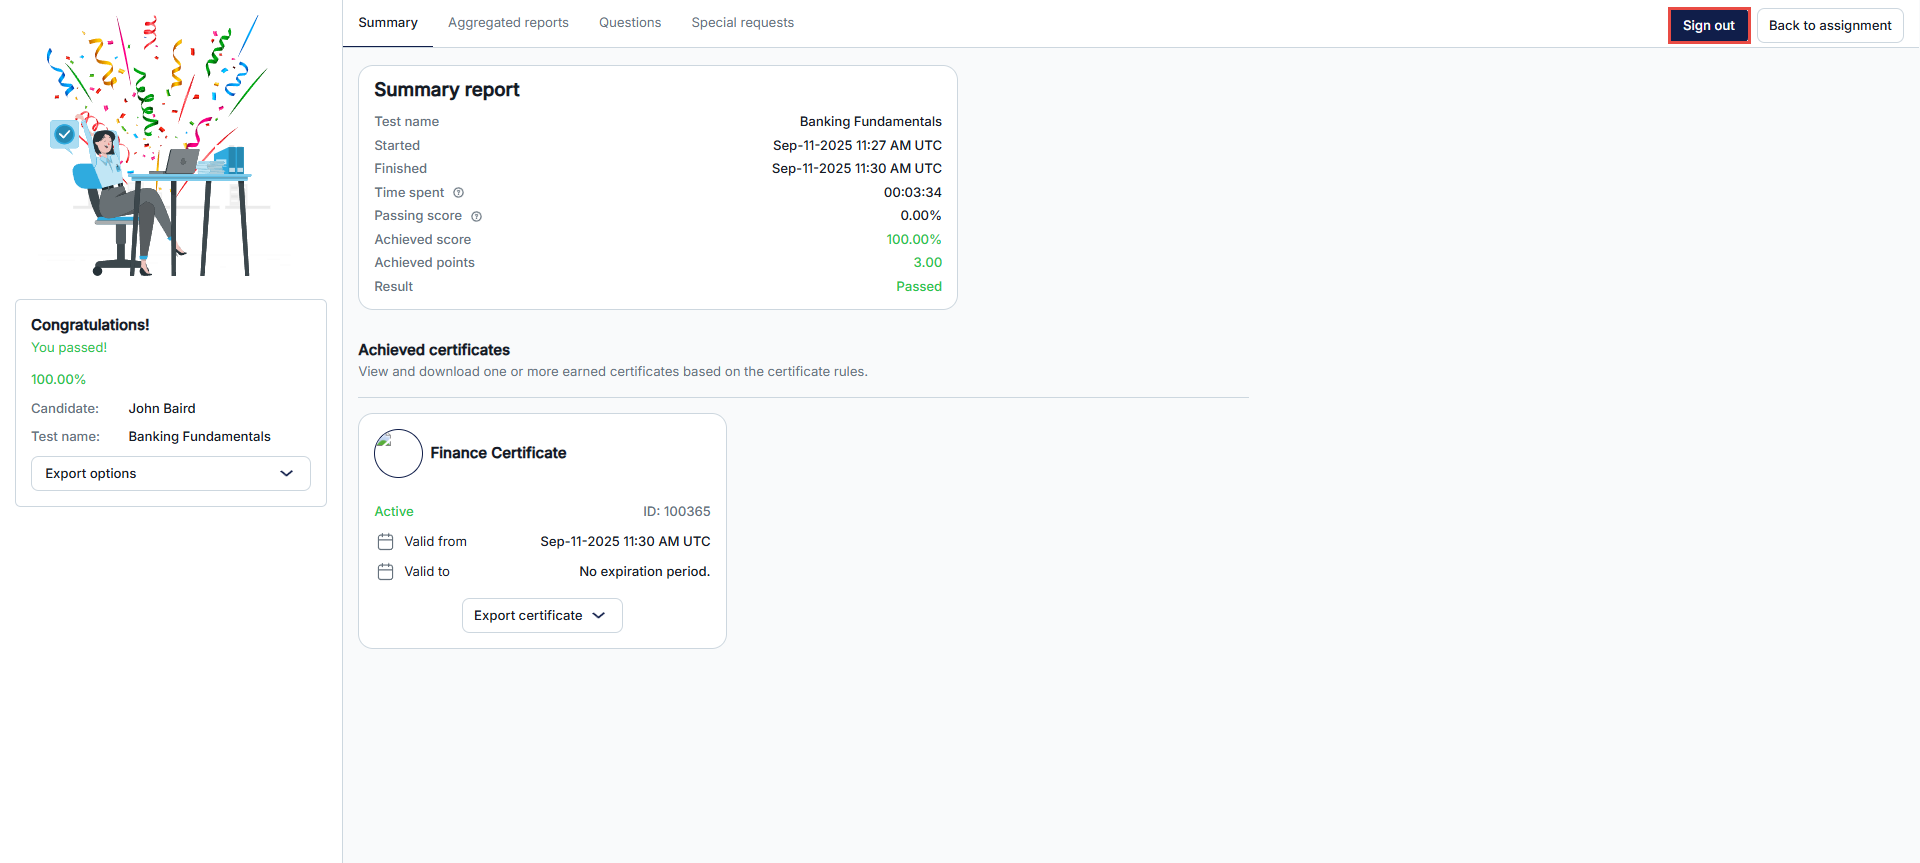
Once signed out, the candidate will be redirected to the LMS page. The candidate can access their report by clicking the View button, then Gradebook.
-
Navigate to the Message tab.
-
In the Custom parameters field, enter the testing_session_id=desired_testing_session_id.
-
Click the Save button.
To give candidates access to the testing session directly, you should do the following:
Once the integration is set, a candidate can start the test. To start the test, click the Connect button in the top right corner.
The candidate will be redirected to the GetCertified application, where they can start the test. Since the candidate has already been assigned to the testing session, they will have the Start button. The rest of the process is the same as for the first scenario.
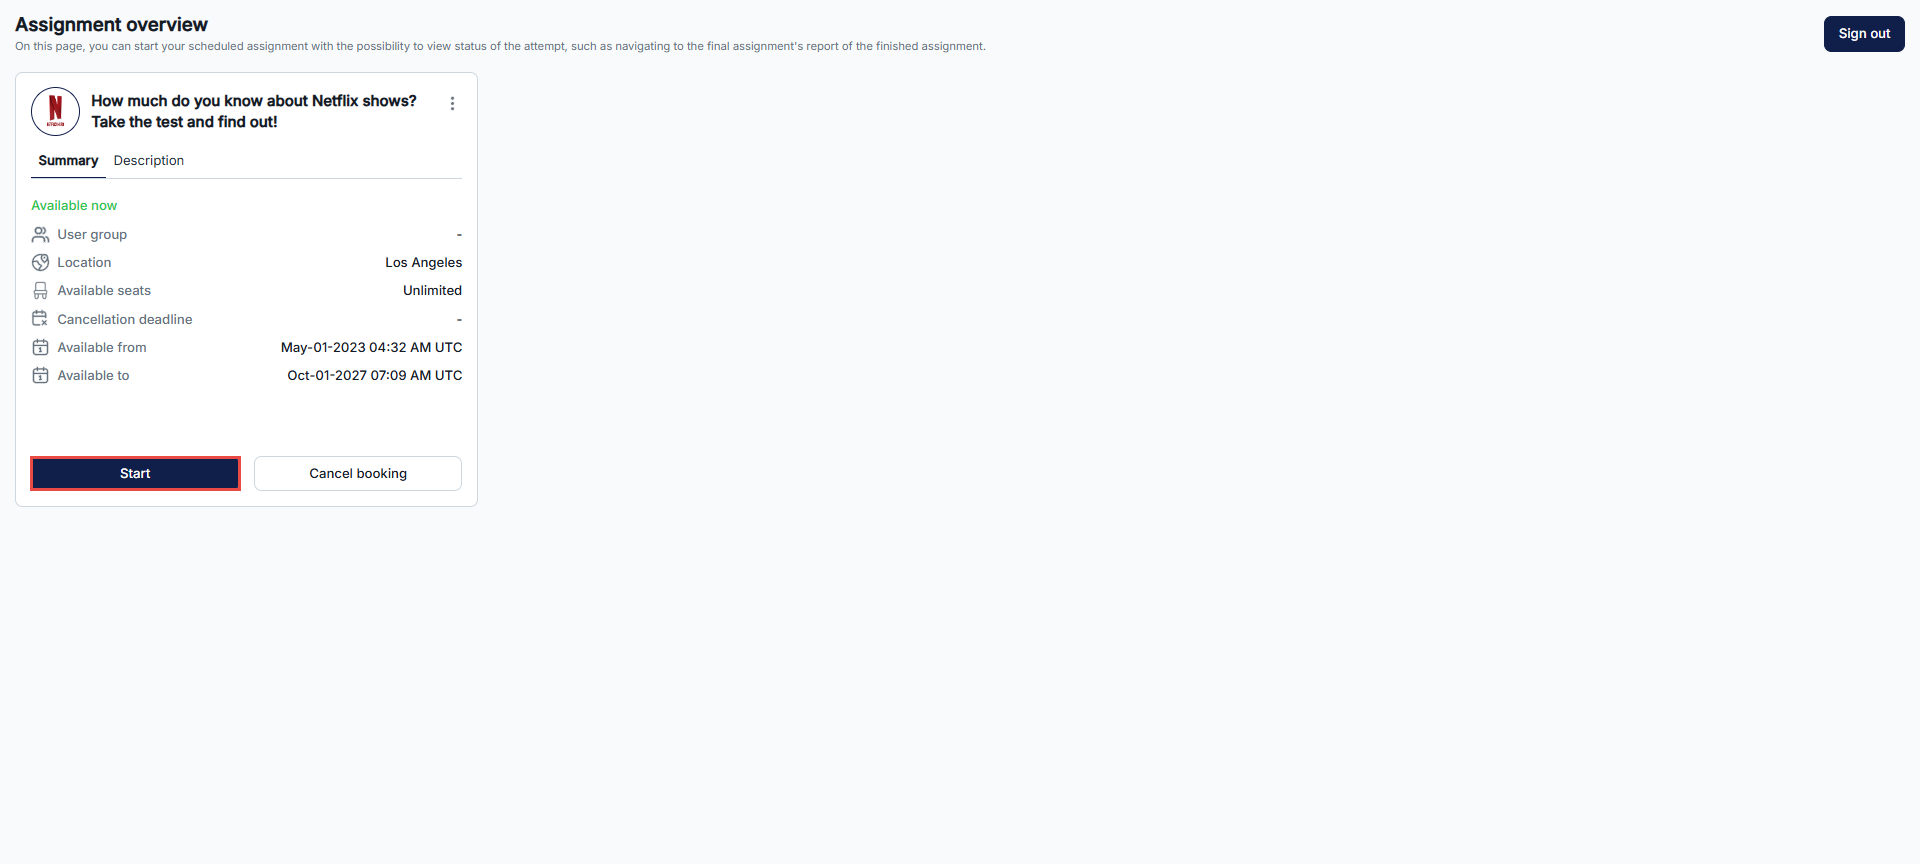
Check the links below for more information about LTI integration.
Taking a Test in YouTestMe GetCertified Using the LTI Workflow
Sending the student back to the LMS (Test-taking via LTI)
-
-
OpenID Settings
GetCertified application can act as a Client in the OpenID Connect Single Sign-on (SSO) protocol, which allows user authentication and authorization by an Identity Provider, for example, Azure AD, Okta, etc. OpenID Connect-based SSO can be configured for multiple Identity Providers simultaneously. You need to create an OpenID configuration and define the parameters of the Identity Provider and the Client (GetCertified application).
Note: As an example, we will use Microsoft Azure as the OpenID Connect Identity Provider. Some basic information regarding the OpenID Connect integration can be found on the following link.
On this tab, you can access a comprehensive table displaying all existing Open ID configurations featuring details such as their names, descriptions, statuses, and available actions. Additionally, you can perform various actions, including:
-
Click the Create new button to create a new OpenID configuration. A pop-up window will appear, allowing you to input the required parameters.
-
Click the Edit button to preview or modify an existing OpenID configuration. A pop-up window with the same fields as the one for adding a new configuration will appear, enabling you to change the parameters of the selected OpenID configuration.
-
Delete existing configurations. Click the Delete button if you wish to remove an Open ID configuration. Confirm the deletion when prompted to delete the configuration permanently.
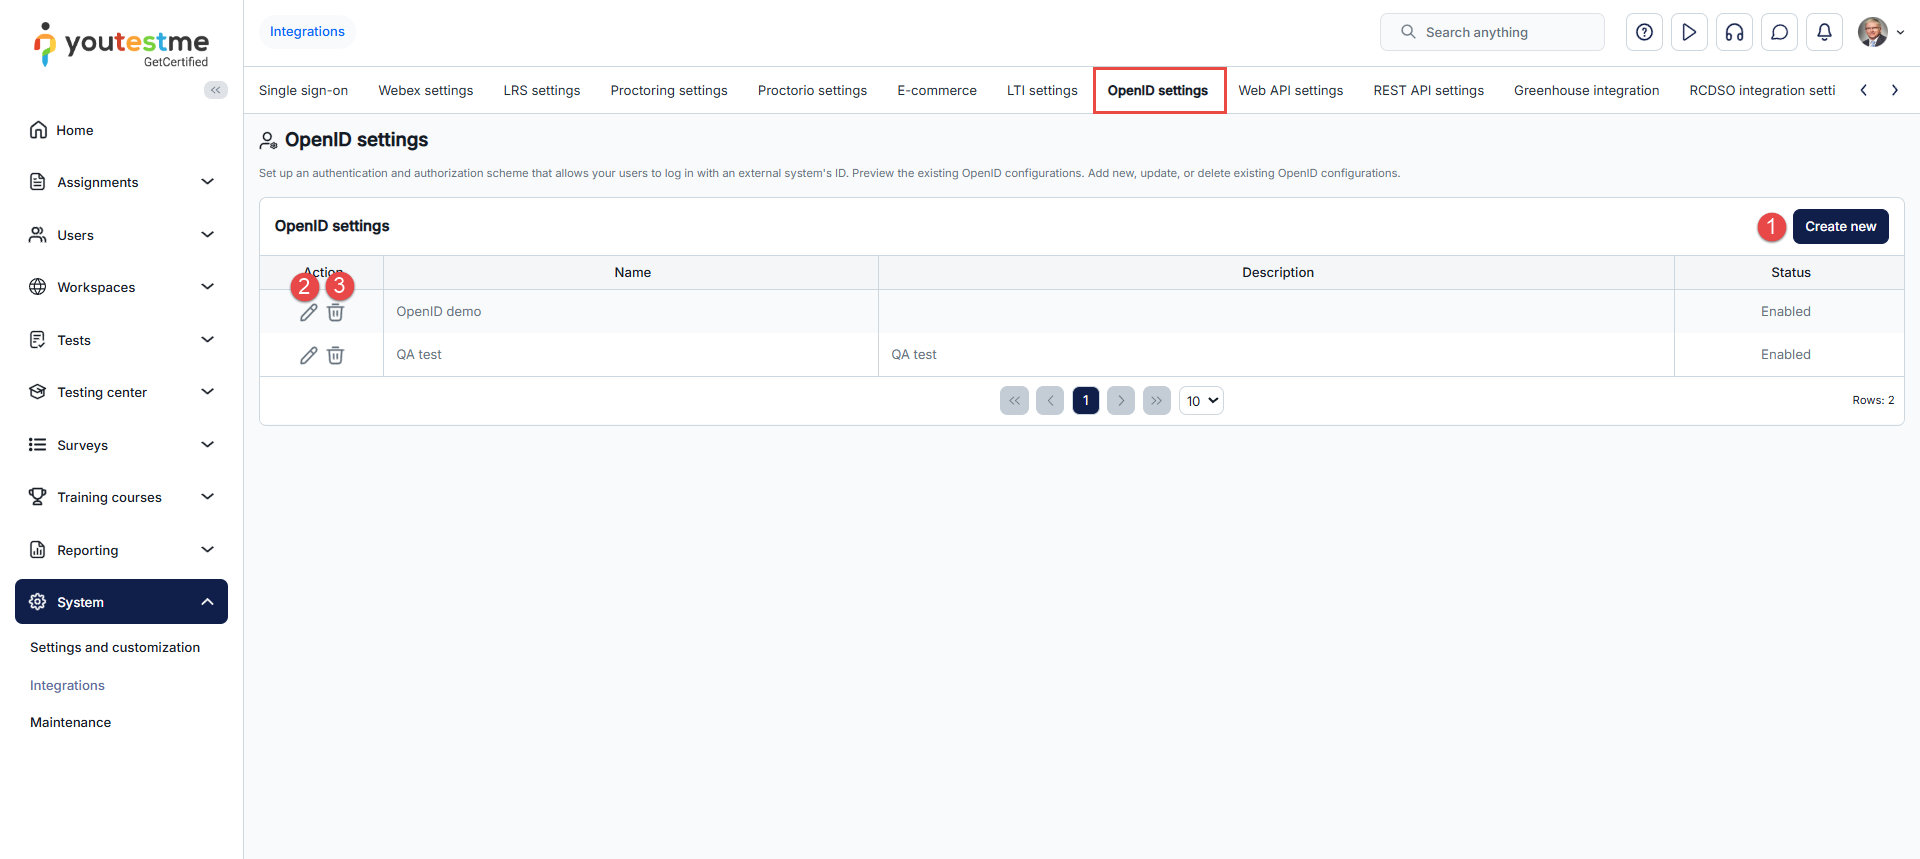
-
The Name of the OpenID configuration.
-
The Description of the OpenID configuration.
-
The Status of the OpenID configuration. If the status is Enabled, users will be able to log in with the IP specified in the configuration. Otherwise, they will not be able to do so.
-
The Configuration URL - URL where the configuration of the OpenID IP can be found, for example authorization endpoint URL, token endpoint URL, supported scopes etc. The OpenID IP provides this parameter.
-
The Client ID - Public identifier for the client (GetCertified application). The OpenID IP provides it when registering the application.
-
The Client secret - Value the client uses to exchange an authorization code for a token. The OpenID IP provides it when registering the application.
-
The Scope - Specify what access privileges are requested as part of the authorization.
-
GetCertified automatically generates the Initiate Login URL parameter in the configuration. This is the URL of the GetCertified endpoint that initiates the sign-in flow upon receiving a request. When the OpenID IP redirects to this endpoint, the client is triggered to send an authorization request. This parameter is optional, and if used, it is copied from the configuration window and pasted to the appropriate field in the app settings on the IP side.
-
The Callback URL parameter is automatically generated in the configuration by GetCertified. This is the URL of the callback endpoint where the OpenID IP redirects the user's browser and sends security tokens after authentication. On the IP side, this parameter might be referred to as "redirect URI" as well, and you have to copy it from the configuration window and paste it there.
-
The OpenID provider can send a request to this URL to initiate the logout on the client side when the user logs out. Sending a request to this URL will clear user session data in YouTestMe, and the user will have to log in again to access the application.
-
Mapping of the Authorization server (IP) claims to the GetCertified user profile attributes. Claims are name/value pairs that contain information about a user. The claims can be sent using the access token, the ID token, or the UserInfo endpoint data. An access token is an authorization in the form of a string given to an application to access a user's protected data. An ID token is a string that contains information about a user and proves that the user has been authenticated. The UserInfo endpoint returns claims about an authenticated user. The mapping from the claims can be specified for each GetCertified user account attribute. When a pop-up window for a new OpenID configuration opens, the default values are set for the most important attributes (username, email, first name, last name, role). These values are only suggestions, and they can be changed. Every value represents a JavaScript expression based on which the corresponding attribute is evaluated
-
The expression id_token.preferred_username can obtain the Username attribute value (assuming that the preferred_username claim is included in the ID token on the IP side). This means the result of evaluating id_token.preferred_username will be mapped to the Username attribute. A username is a unique identifier for the user, based on which it is determined whether the received claims are used to update an existing one or to create a new user.
-
user_info.email can be mapped to the Email attribute (assuming that the data sent by the UserInfo endpoint includes the email claim).
-
As a special case of a JavaScript expression, a constant represented by a string value (surrounded by single or double quotes) can be mapped to an attribute.
Note: Role code attribute is a predefined code – ‘ATT’ which shouldn’t be changed. With that setting, all users that log in using Open ID will get a Student role. If you wish to modify the role mapping, you can utilize the role code from the relevant role in the Roles and Permissions tab to create a new OpenID configuration or update the existing one.
Under Microsoft Azure, you can add claims to be sent in access token/ID token or add a new group of users. For example, we created several groups corresponding to the user roles in our application and assigned users to these groups. We determine the user role based on the group they belong to. The image below shows the groups we created.
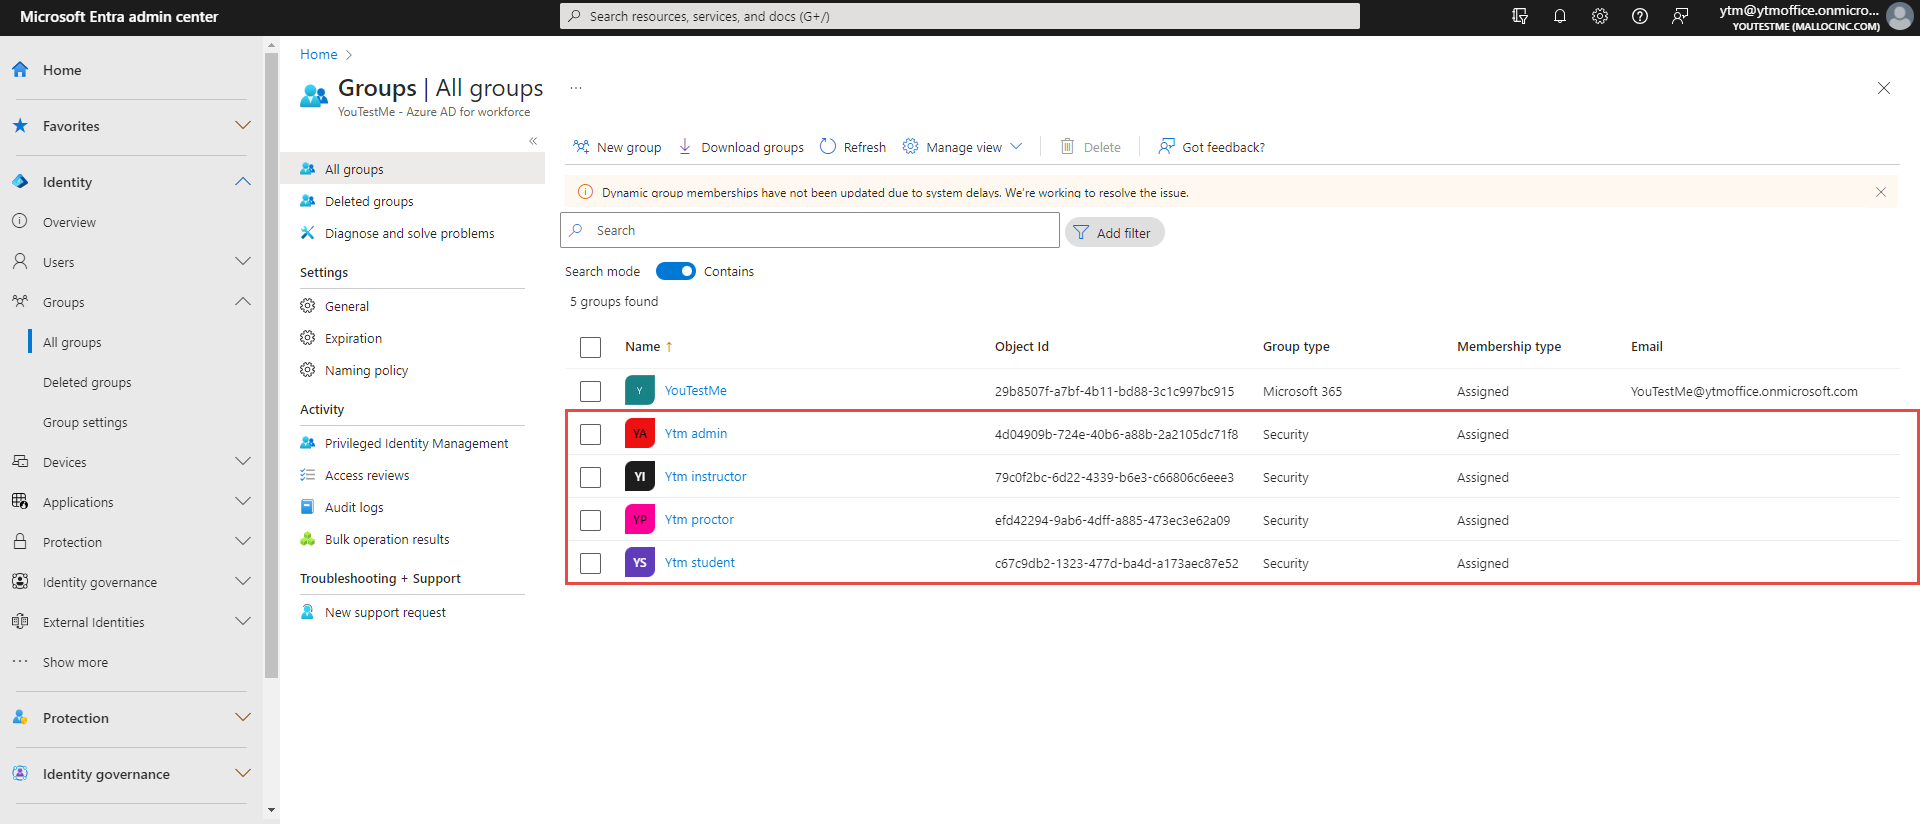 Every group is identified by its Object Id,
which we use in the JavaScript expression for
the Role code attribute.
Every group is identified by its Object Id,
which we use in the JavaScript expression for
the Role code attribute.
(id_token.groups.indexOf('4d04909b-724e-40b6-a88b-2a2105dc71f8') !== -1) ? 'ADM'
(id_token.groups.indexOf('79c0f2bc-6d22-4339-b6e3-c66806c6eee3') !== -1) ? 'INS'
(id_token.groups.indexOf('efd42294-9ab6-4dff-a885-473ec3e62a09') !== -1) ? 'PRC'
(id_token.groups.indexOf('c67c9db2-1323-477d-ba4d-a173aec87e52') !== -1) ? 'ATT'
From the example above, a user who belongs to the Ytm admin group (in IP side) will have an administrator role in GetCertified app, a user who belongs to the GetCertified instructors group, an instructor role, etc.
-
-
A new pop-up window opens when clicking the Test attribute mappings button, which tests the mappings between the IP's claims and GetCertified user profile attributes. This allows you to manually define strings in JSON format that simulate data received by the IP and examine the values of user profile attributes for that particular case.
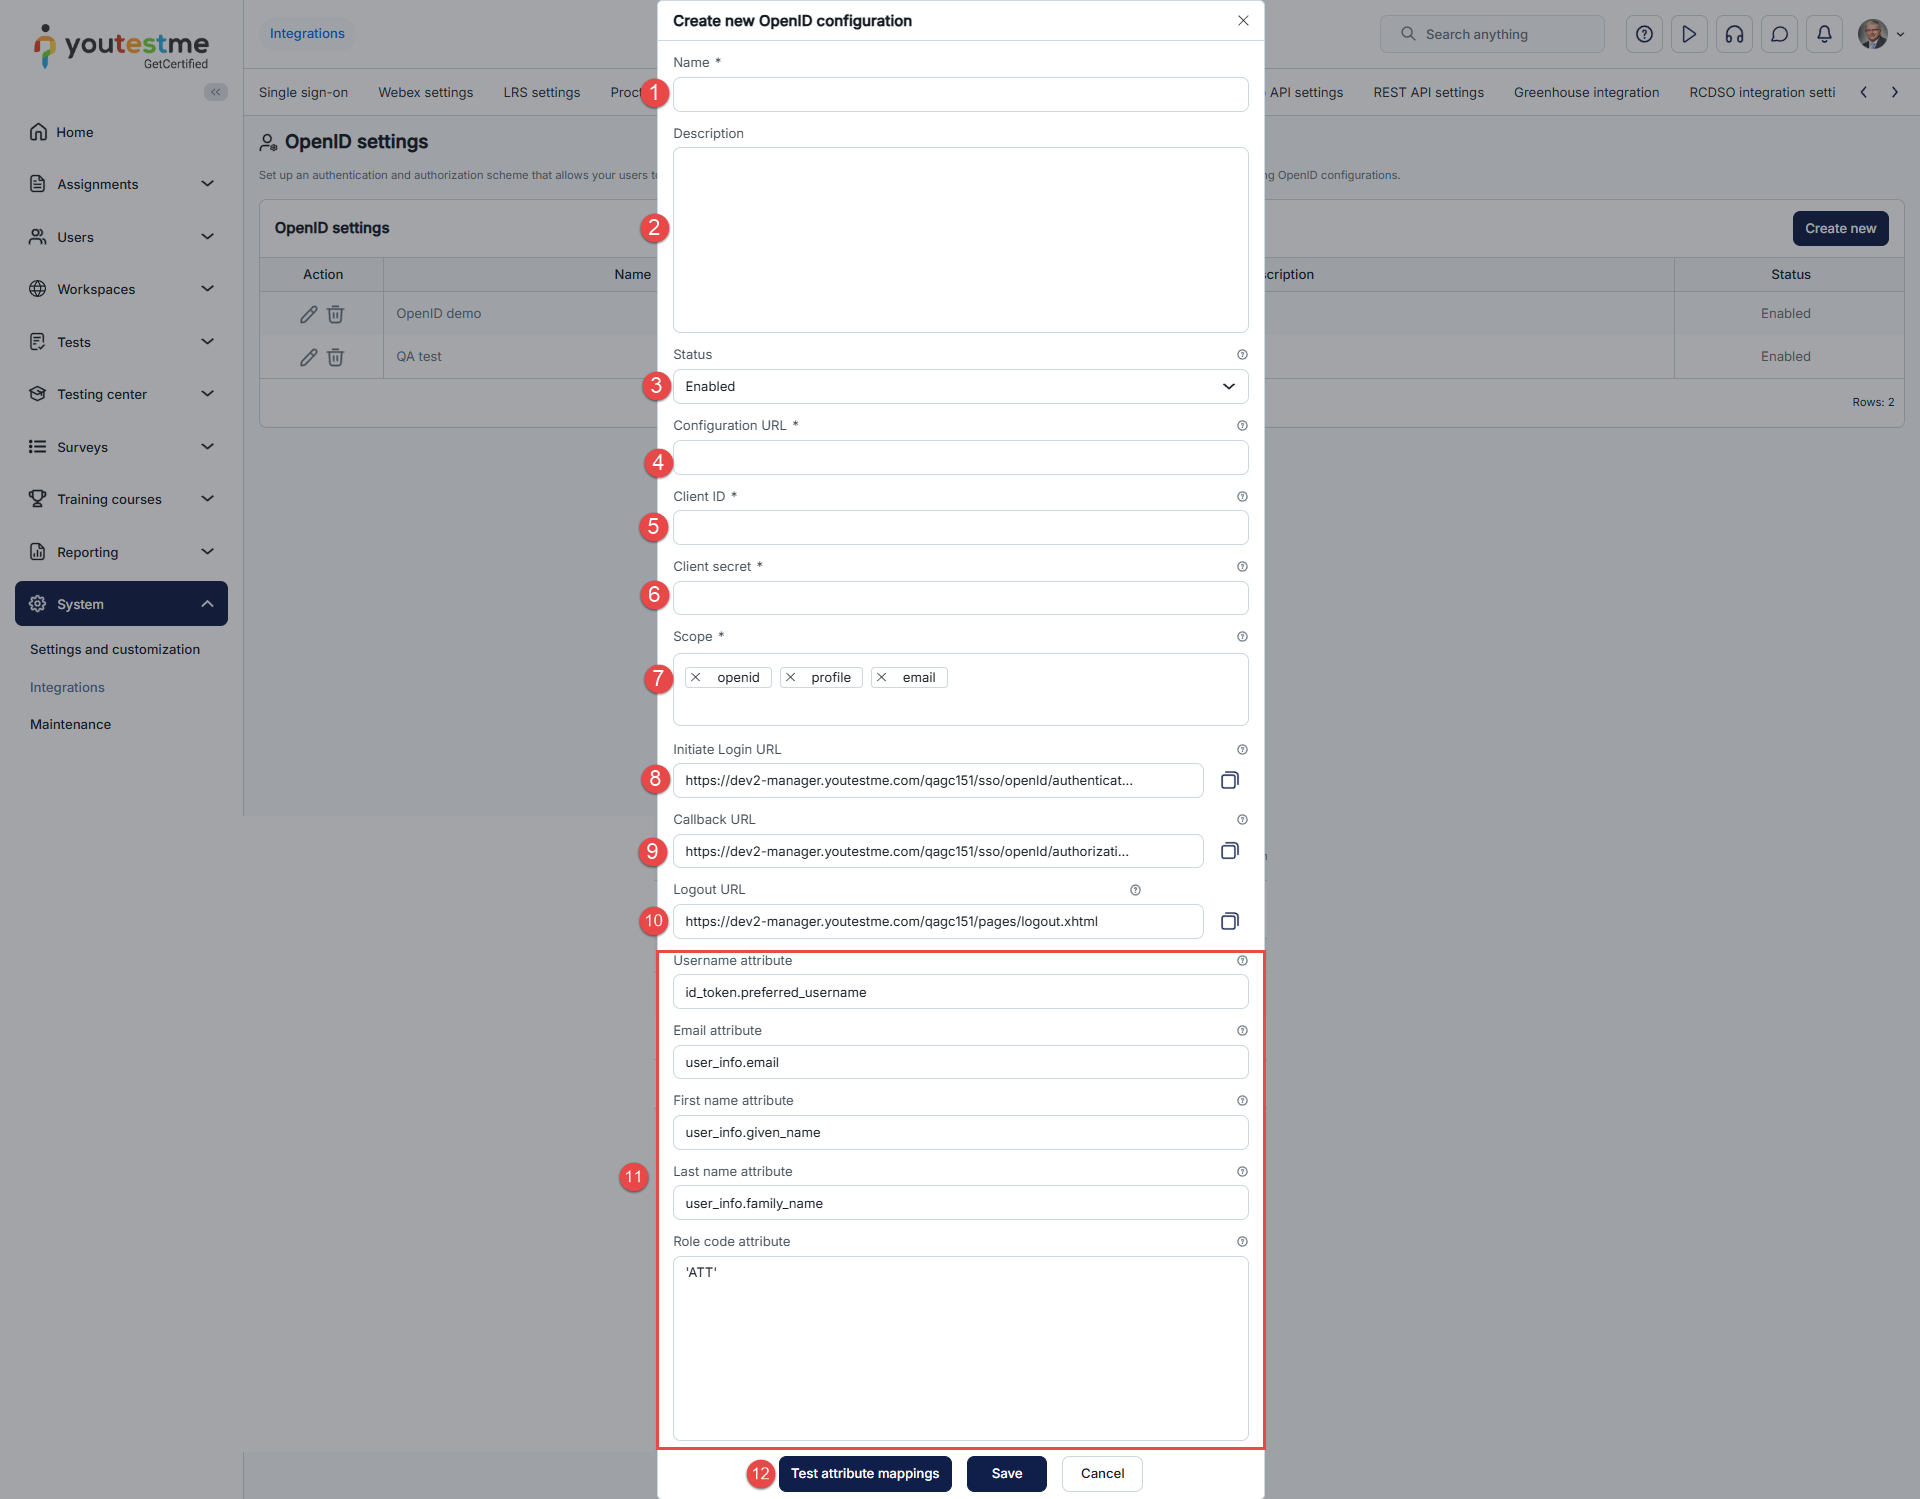
-
Enter a JSON string that simulates the payload of an id_token received by the IP.
-
Enter a JSON string that simulates the data received as the response to a request to the user_info endpoint of the IP.
-
The User profile attribute values corresponding to the above IP data are displayed by clicking the Test button.
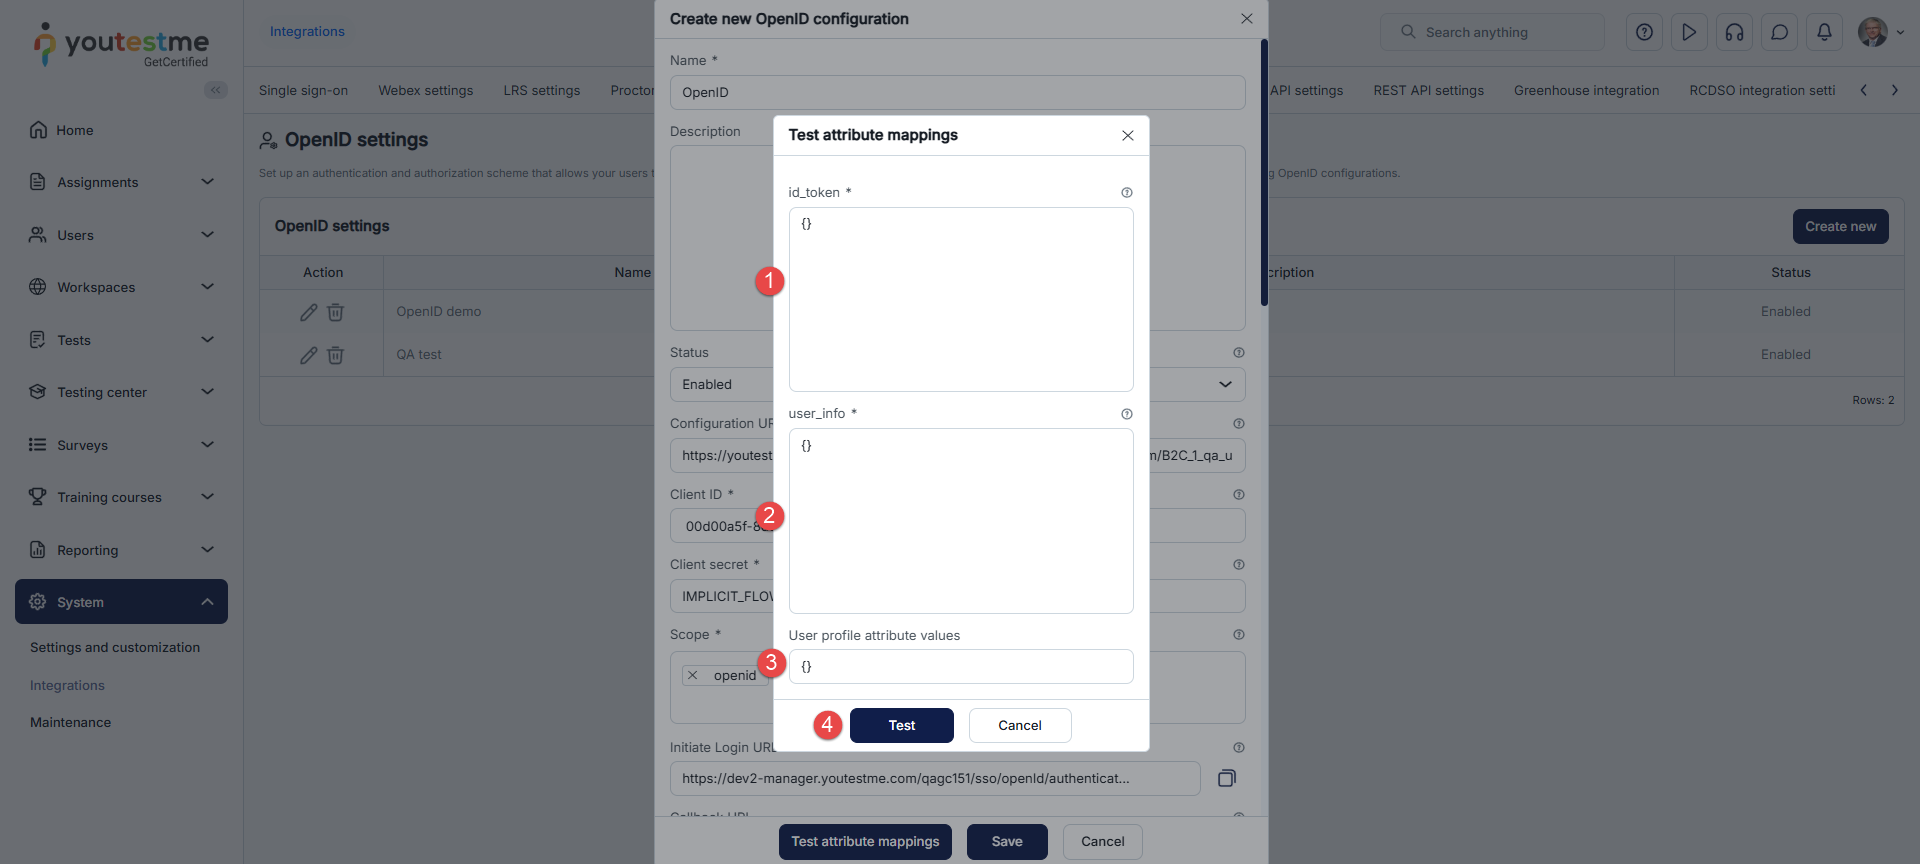
When the pop-up window opens:
-
Here, we will provide an explanation of all available options during creation or update. Subsequently, we will guide you through the process of configuring the OpenID configuration using the Microsoft Azure application.
-
Enter the Name of the OpenID configuration.
-
Optionally enter the Description of the OpenID configuration.
-
Select the Enabled status of the OpenID configuration.
-
Go to the Overview tab.
-
Click the Add button and then click the App registration button.
-
Enter the name of the new registration.
-
Click the Register button.
-
When the registration is created, navigate to the Endpoints.
-
Copy the OpenID Connect metadata document.
-
Paste the URL into the Configuration URL field in the GetCertified application.
-
Copy the data from the Application (client) ID field.
-
Paste it to the Client ID field in the GetCertified application.
-
Go to the Certificates & secrets tab.
-
Open the Client secrets tab.
-
Click the New client secret button.
-
Enter the Description for this client's secret.
-
Click the Add button.
-
Once the Client secret is created, copy the Value.
-
Paste it to the Client secret field in the GetCertified application.
-
Go to the API permissions tab.
-
Click the Add a permission button.
-
Choose the Microsoft Graph.
-
Choose the Delegated permission.
-
Select the OpenId permissions as in the picture below.
-
Click the Add permissions button.
-
After you add permissions, it should be displayed as below.
-
Go to the Token Configuration tab.
-
Click the Add optional claim button.
-
Choose the ID option.
-
Select the Claims as in the picture below.
-
Click the Add button.
-
Click the Add groups claim button.
-
Select group types to include in Access, ID, and SAML tokens, as in the picture below.
-
Open the ID dropdown, and choose the Group ID option.
-
Click the Add button.
-
Username attribute - Copy and paste this value: id_token.preferred_username.
-
Email attribute - Copy and paste this value: user_info.email.
-
Enter the Role code attribute. Copy and paste this value: ‘ATT’.
-
Go to the Authentication tab.
-
Click the Add a platform button.
-
Choose the Web option.
-
Copy and paste the Callback URL from the GetCertified application into Redirects URl.
-
Click the Configure button.
-
After adding all the mandatory fields, click the Save button to save the configuration.
Before proceeding with the configuration, please ensure that you have shared credentials for Microsoft Azure and can log in.
Note: If you don't have an account for your application on the Identity Provider (IP) side, you must register first. This process involves creating an application entry within the Identity Provider's environment. You can find detailed application registration instructions at the following link.
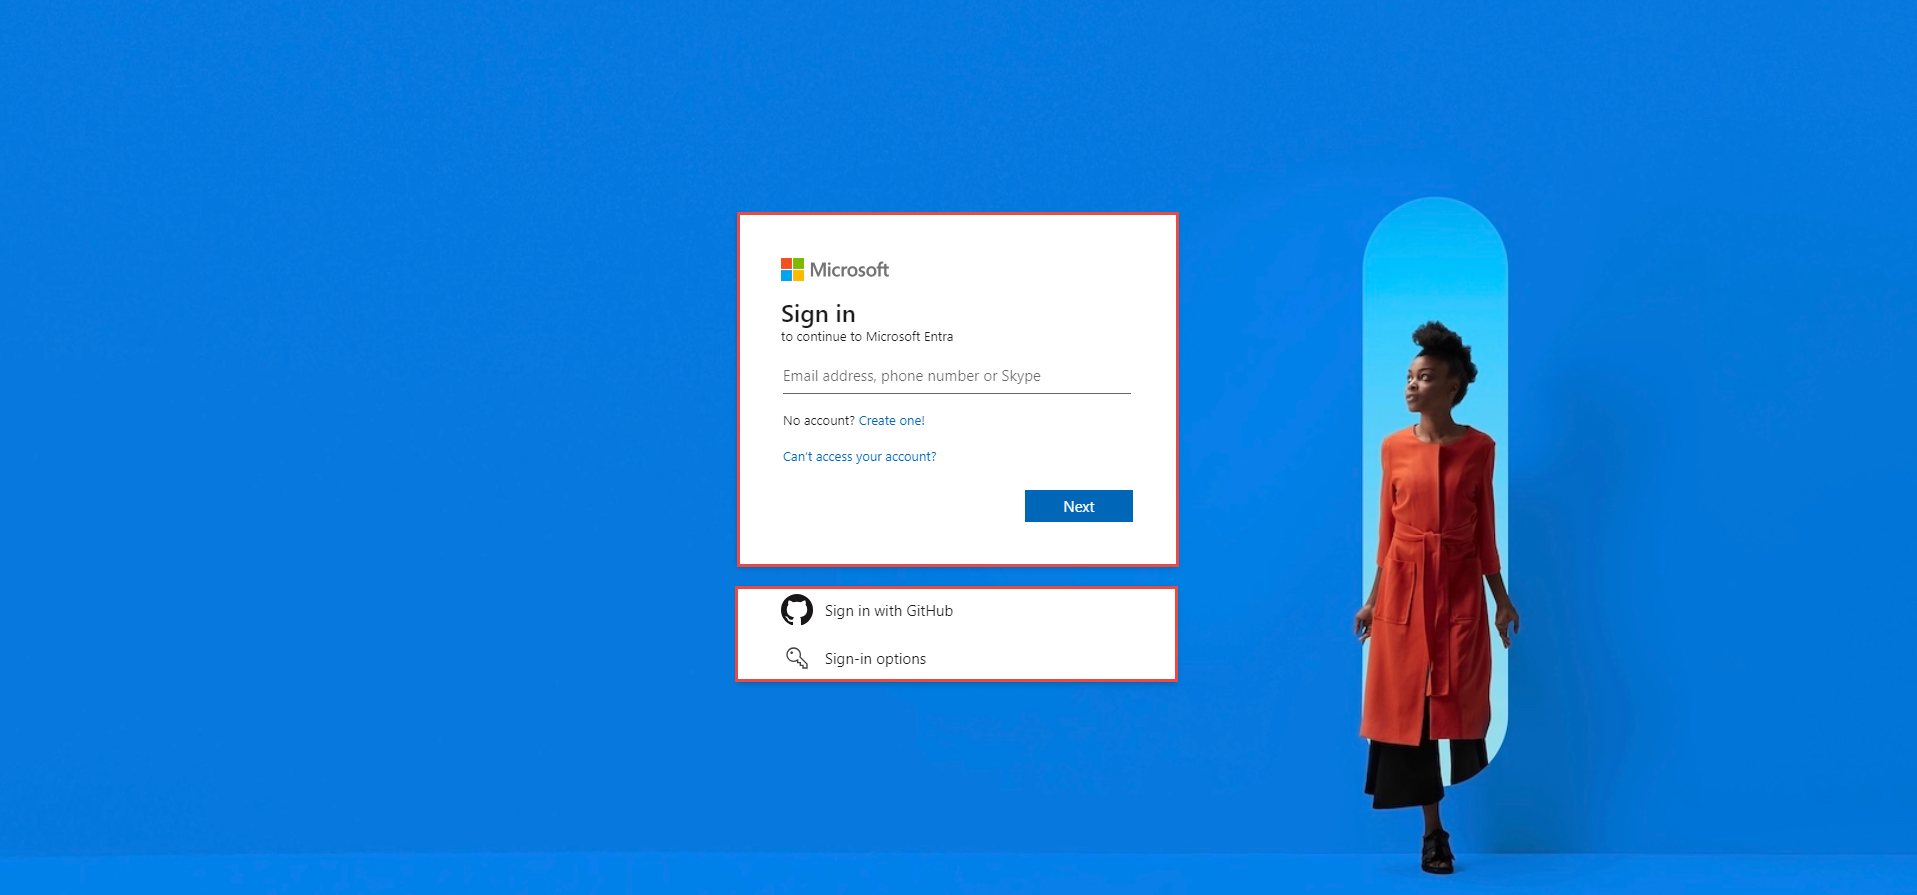
When creating a new or updating an existing OpenID configuration, you need to enter the parameters for configuring the client (GetCertified) and an Identity Provider (IP). For configuring the IP side, the Global administrator role is required. For configuring the YTM side, the Administrator role is required.
The steps to create a new OpenID configuration are listed below and marked in the image below:
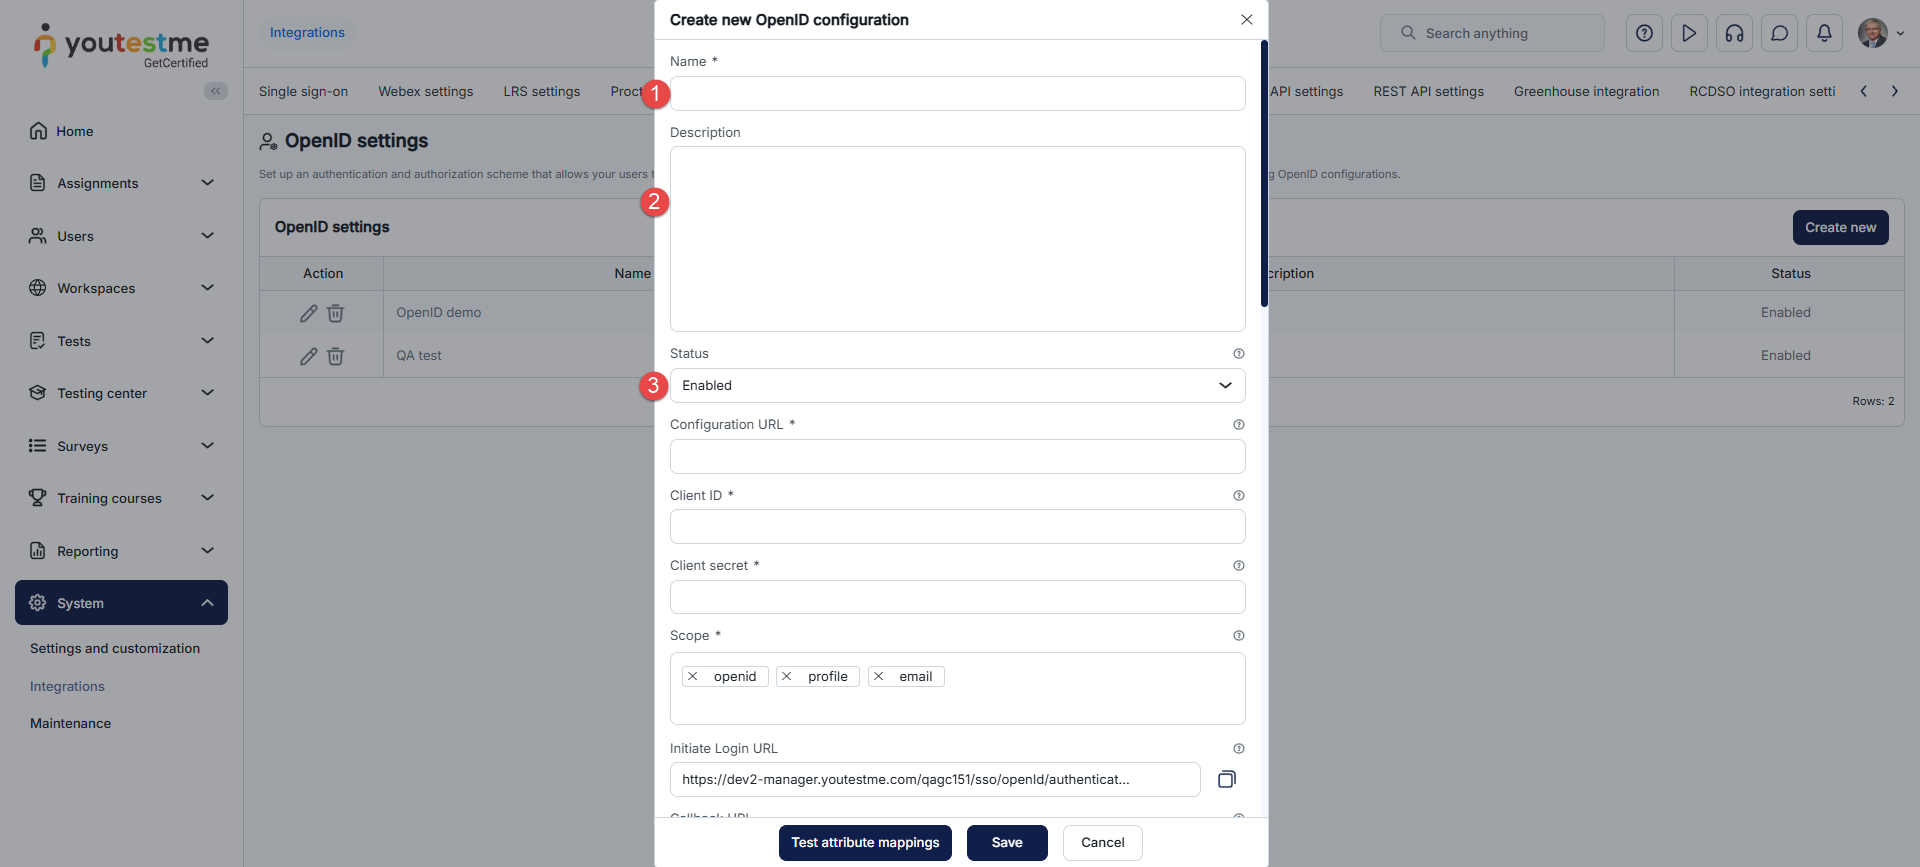
Go to the Microsoft Azure application, log in, and create the new registration.
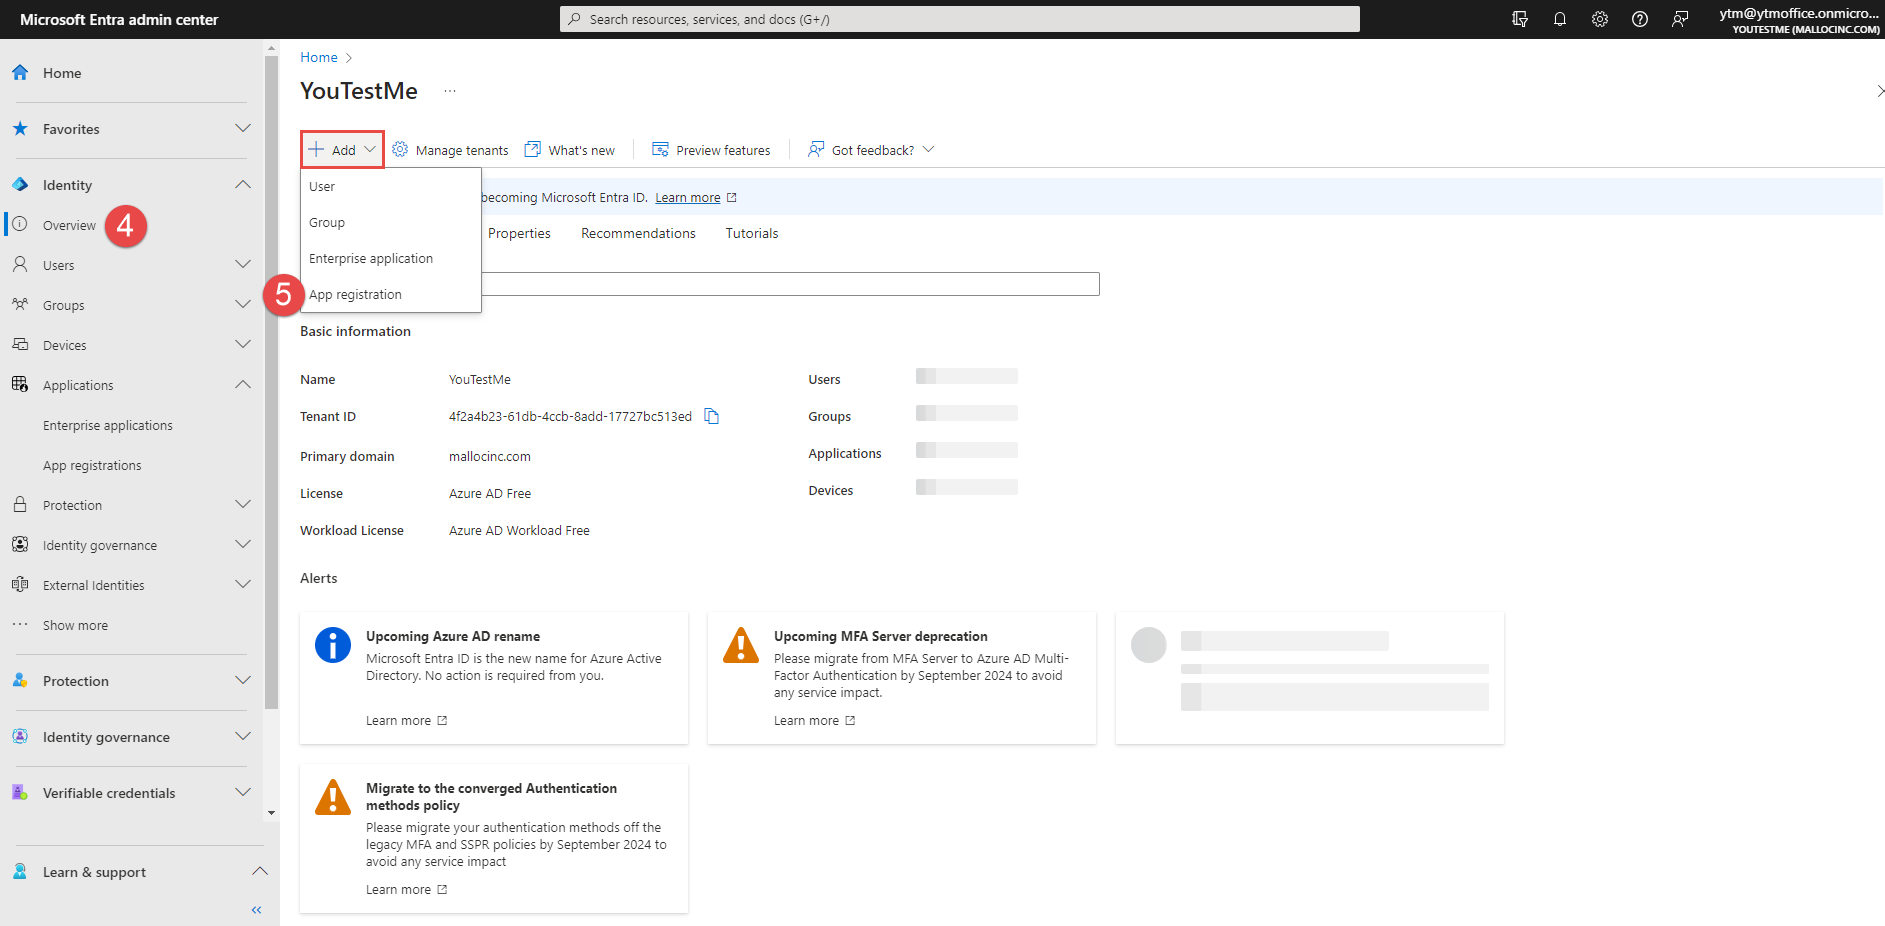
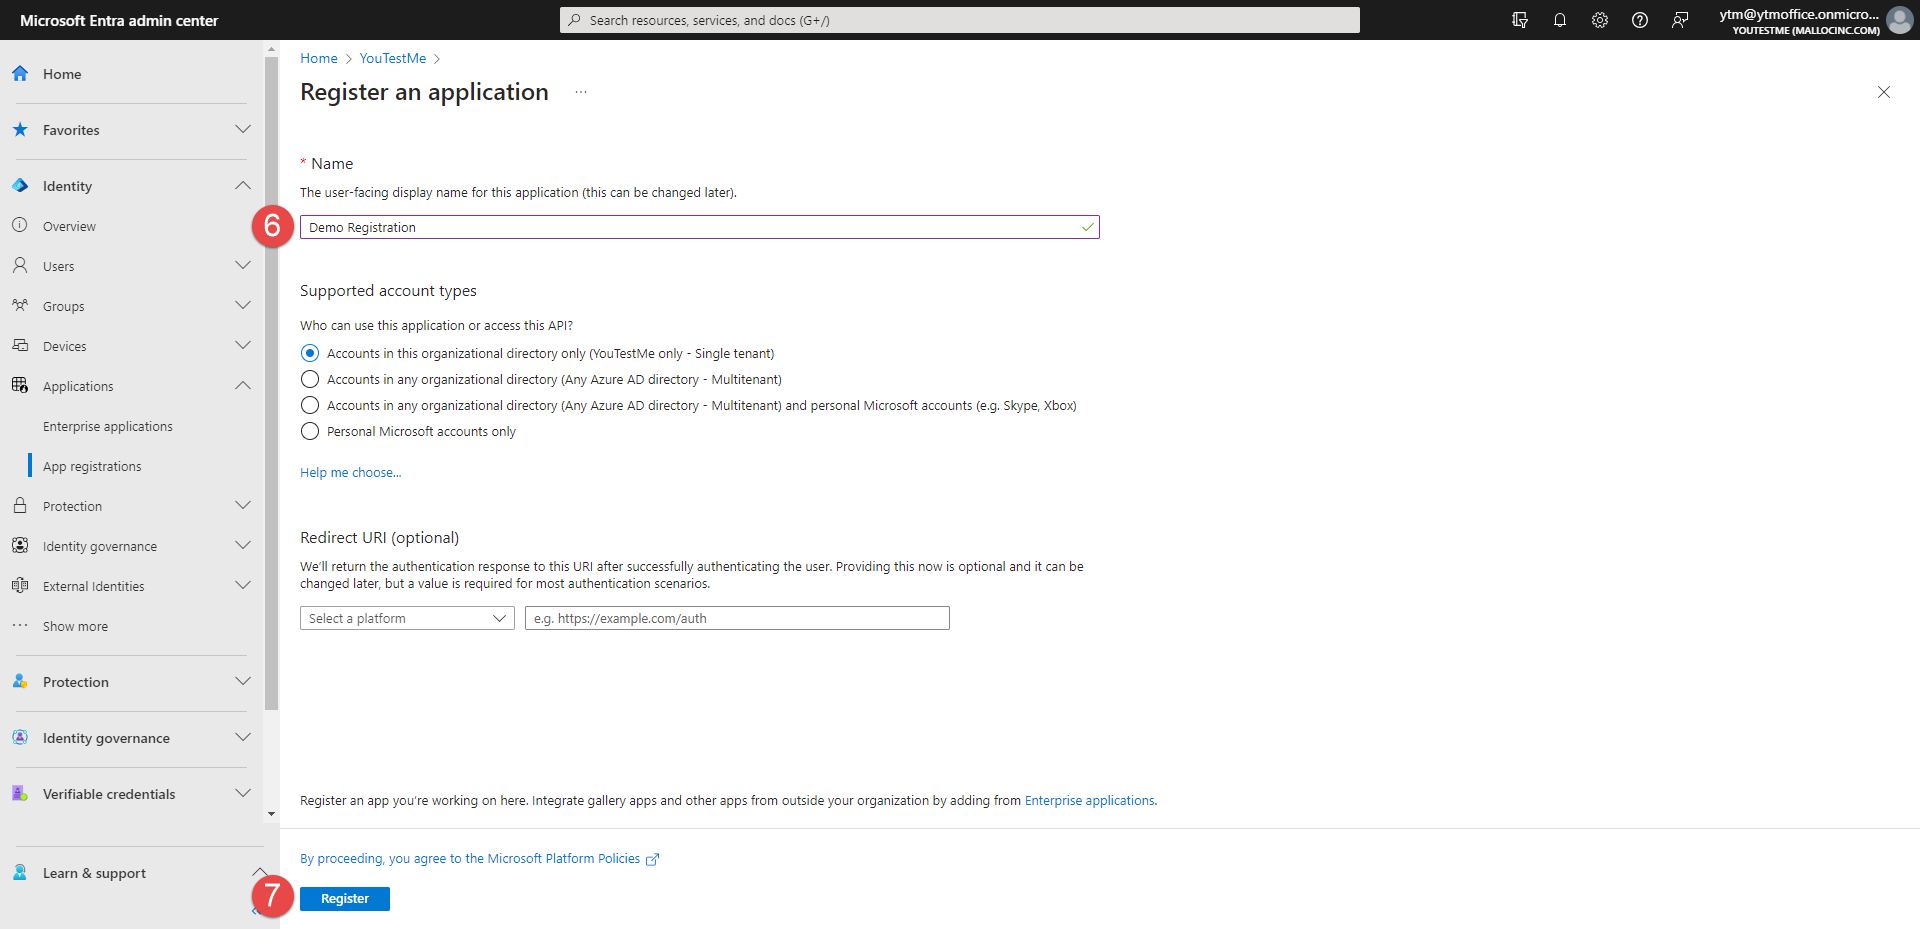
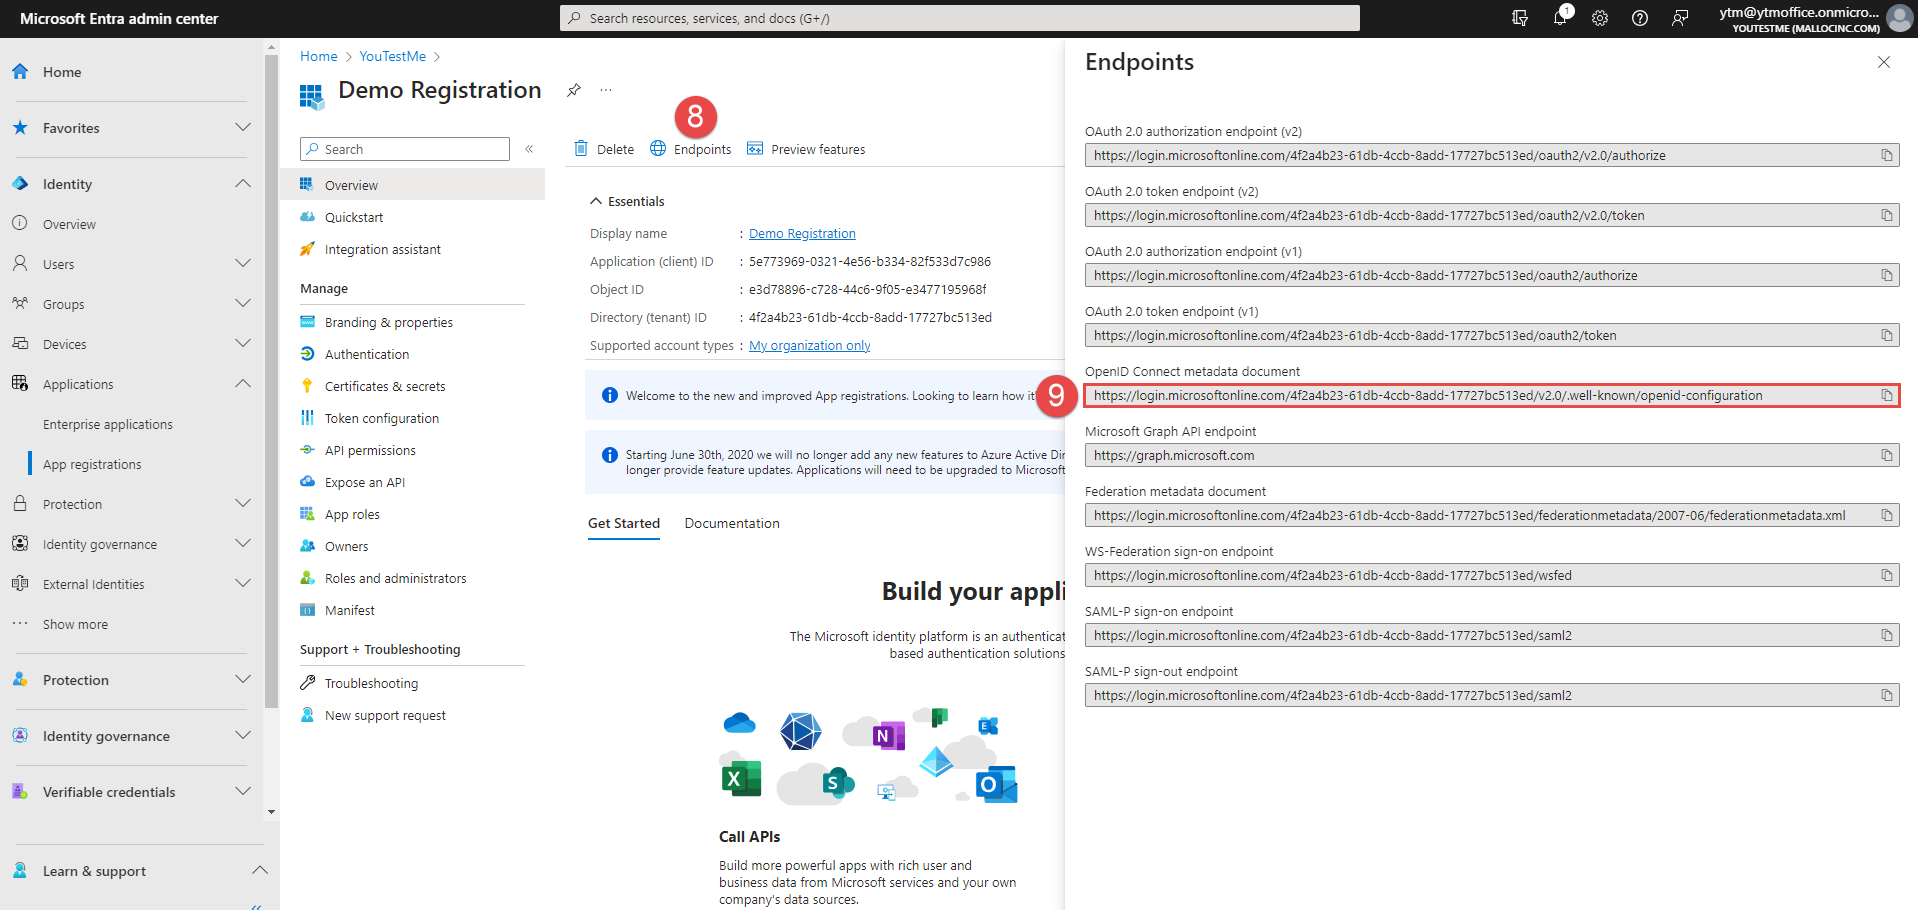
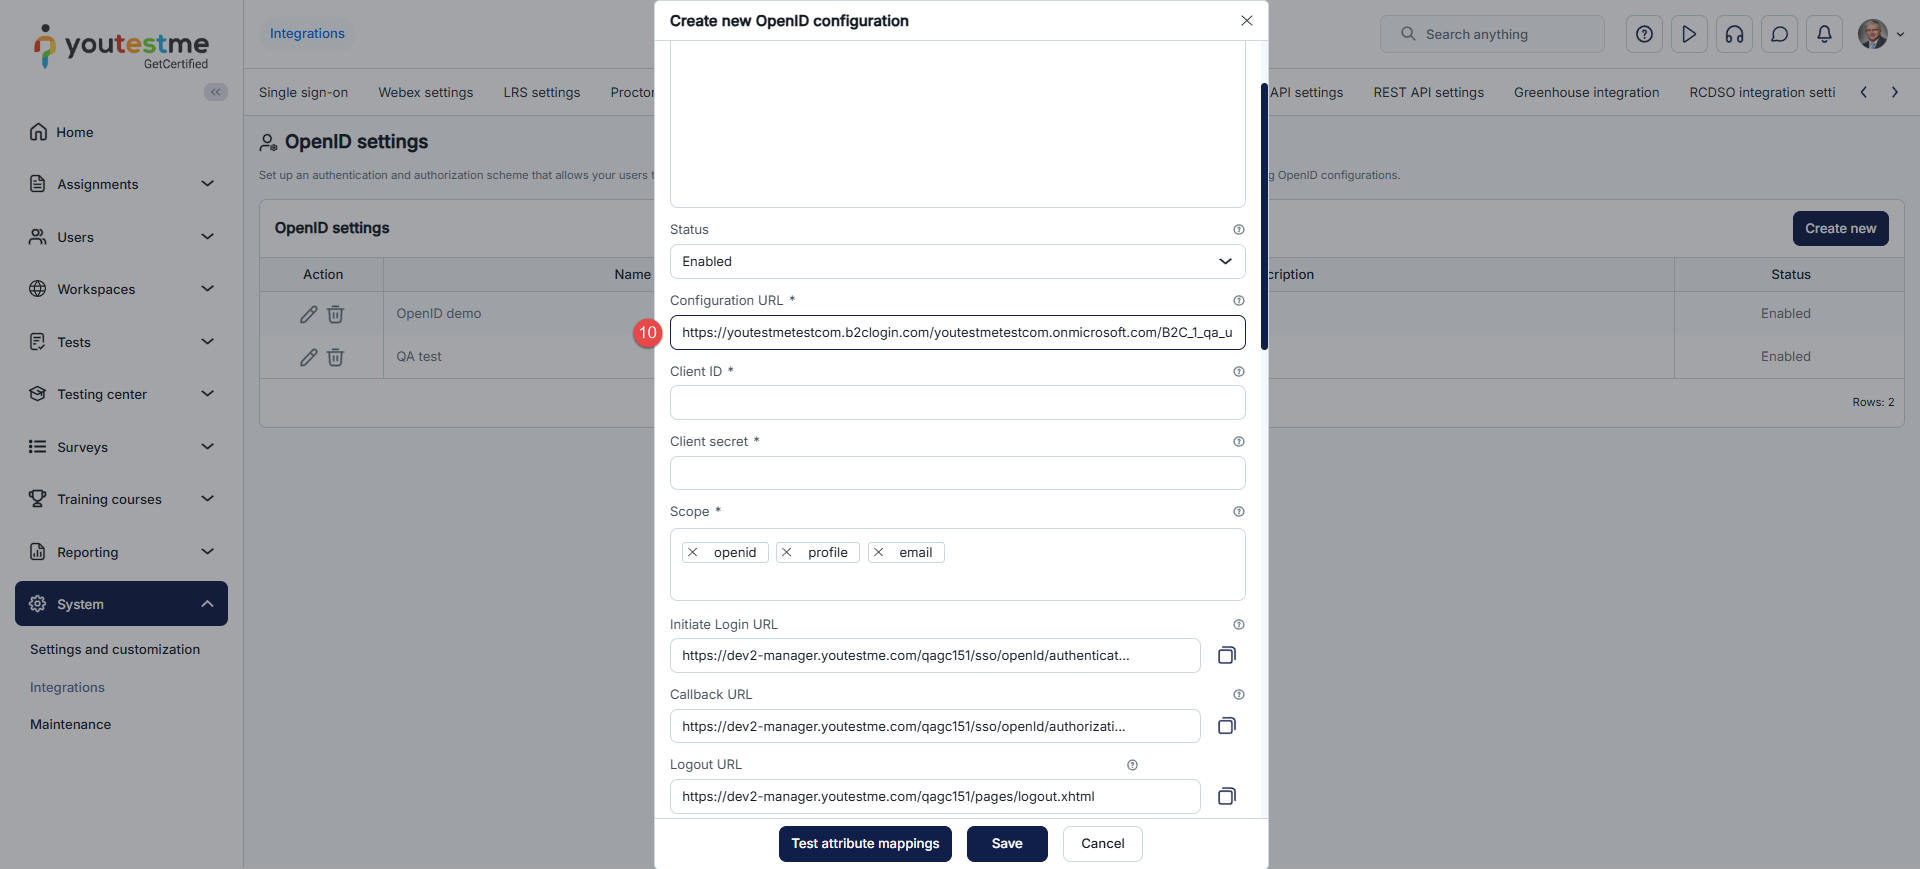
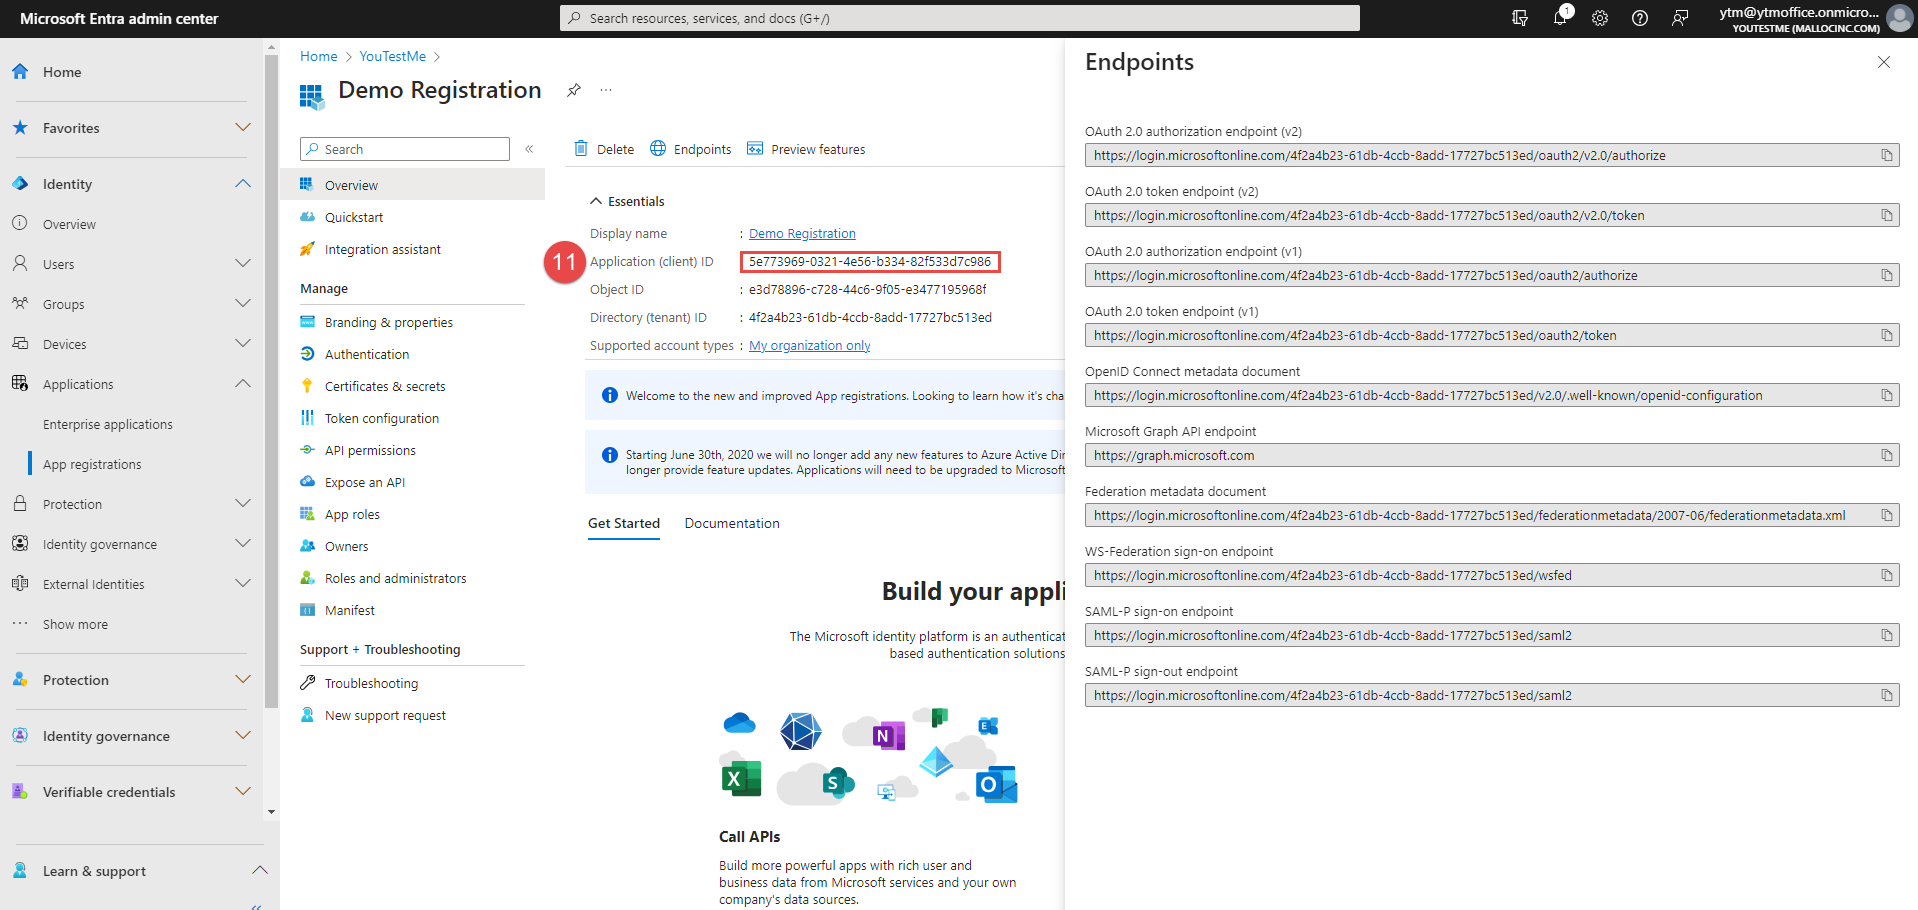
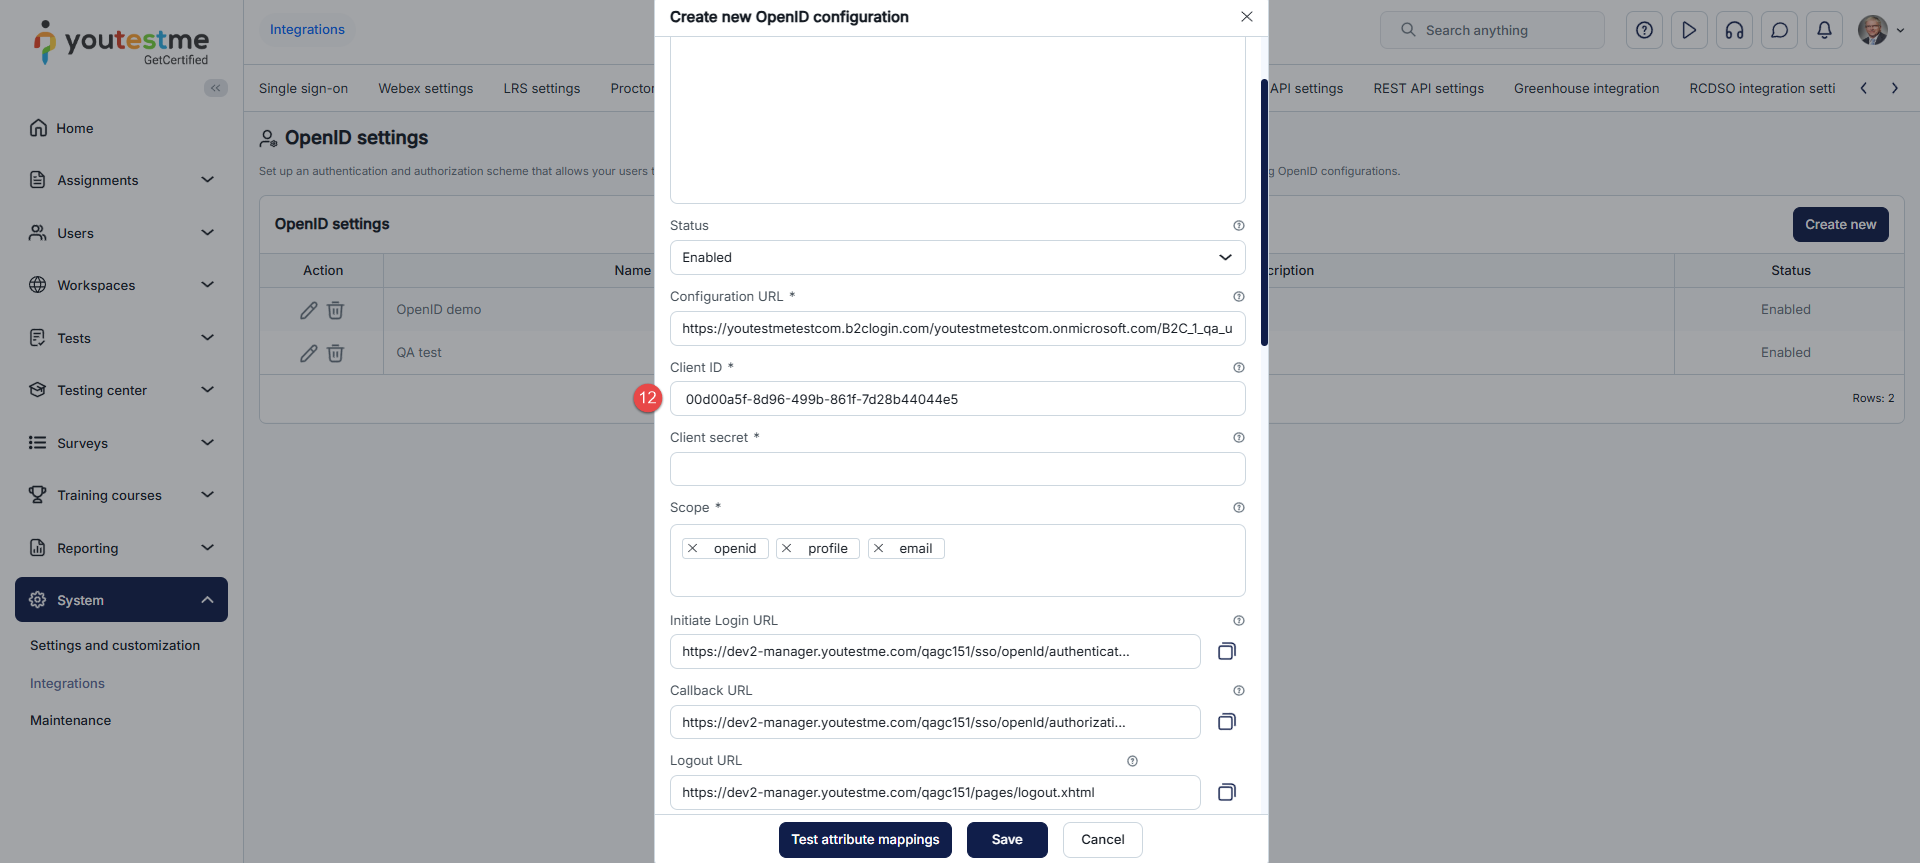
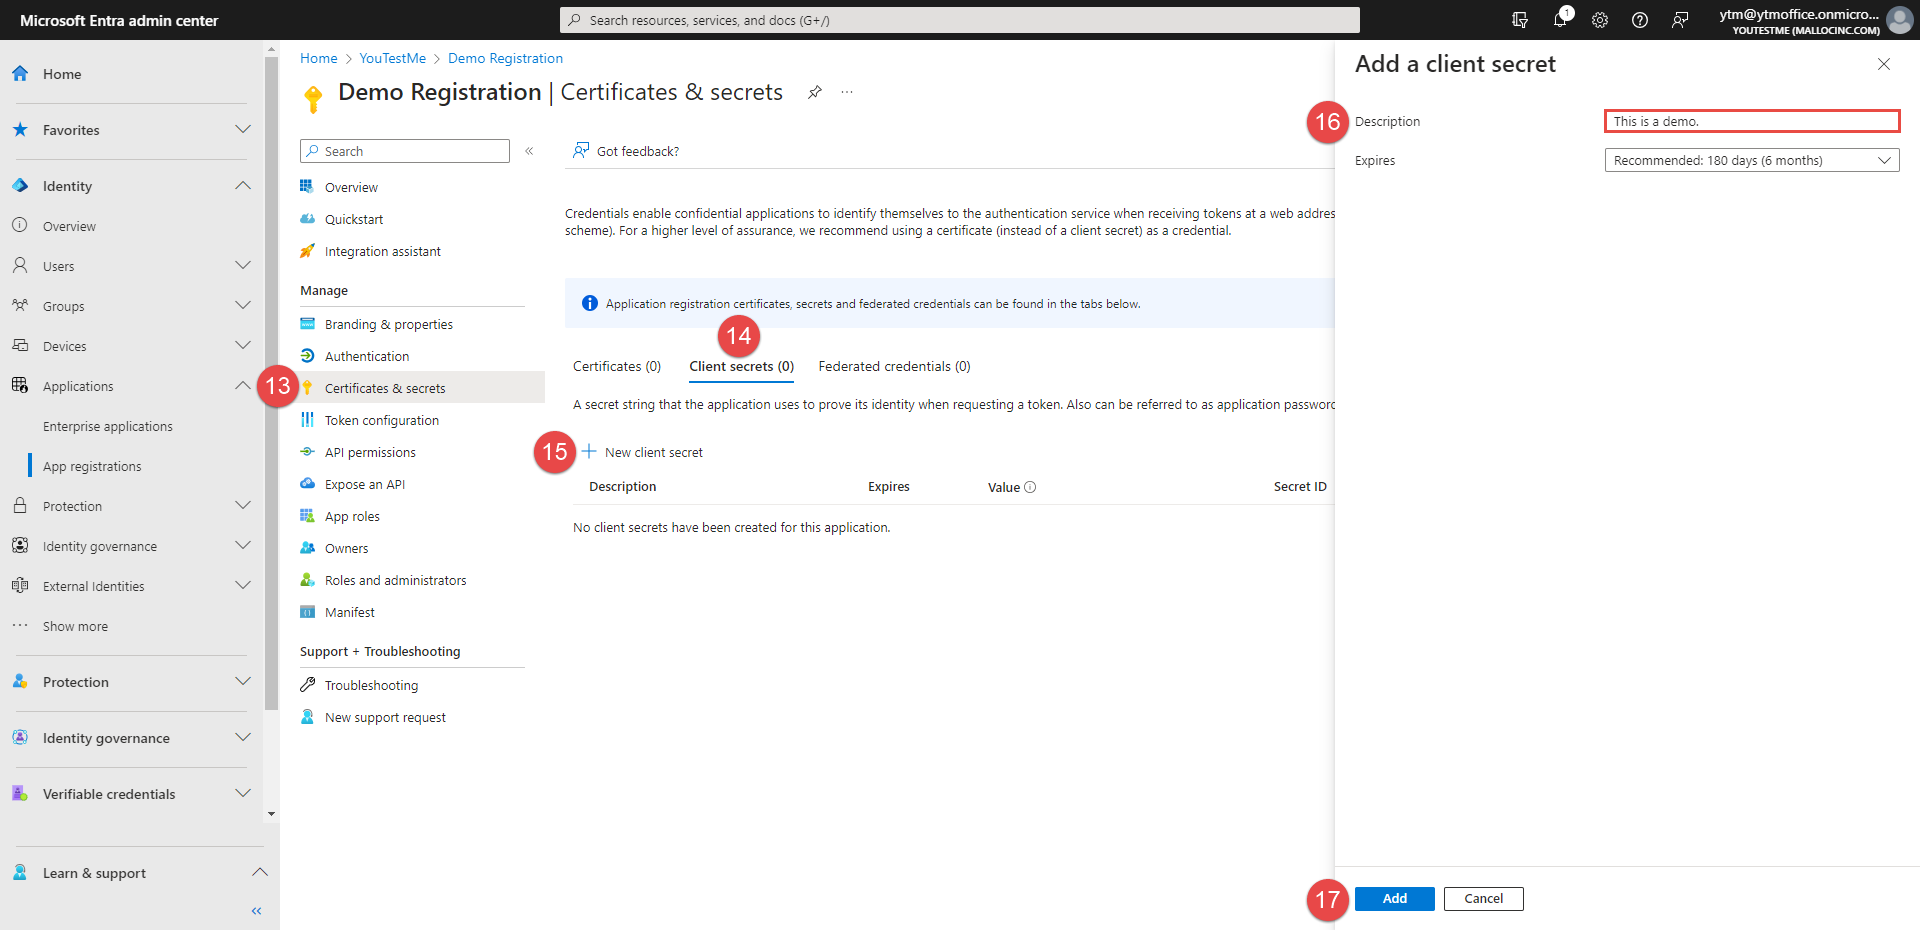
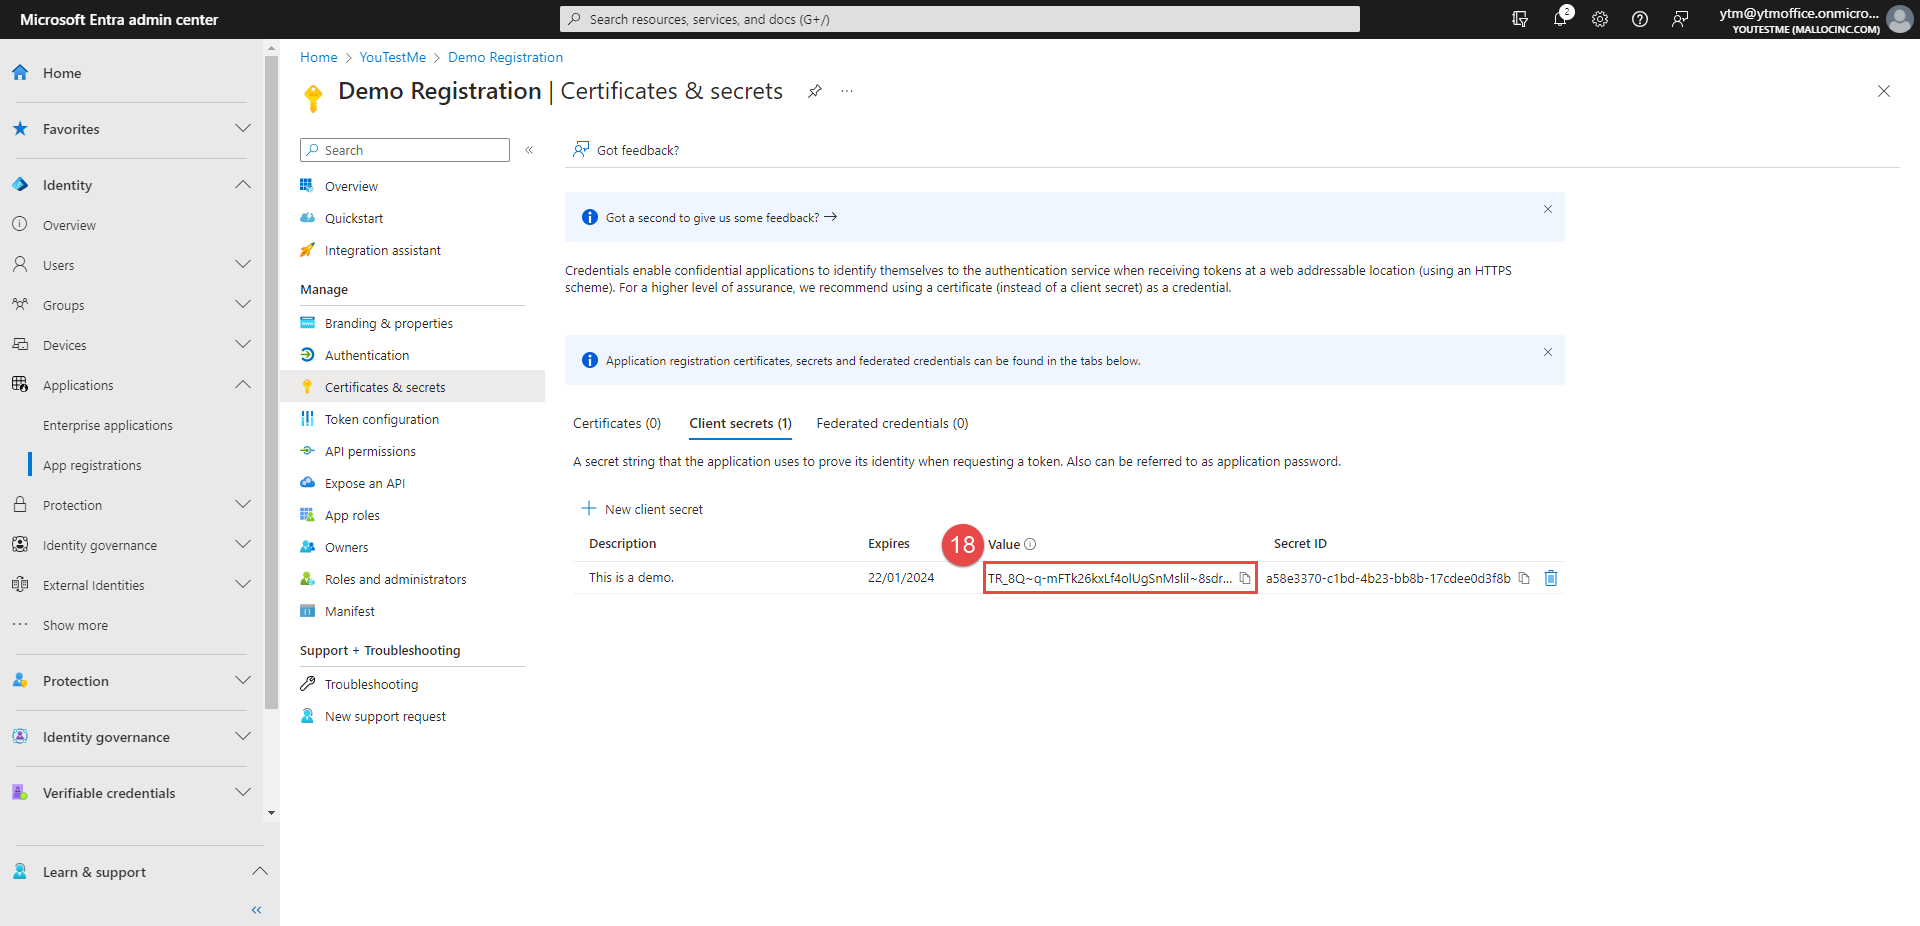
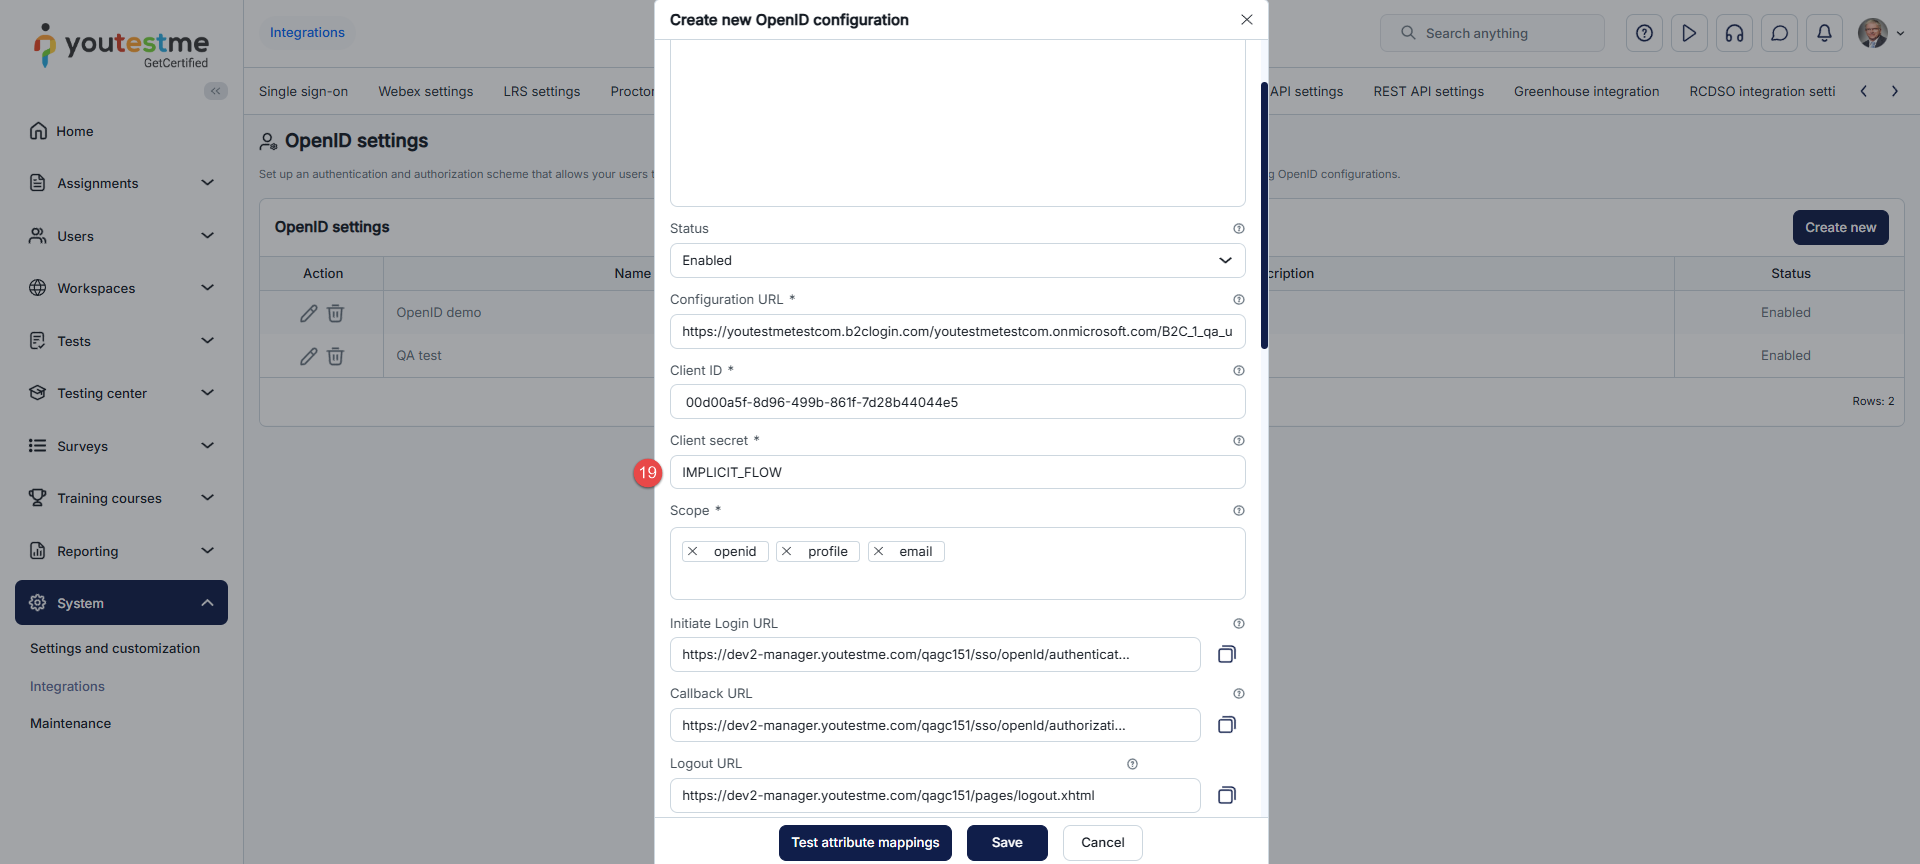
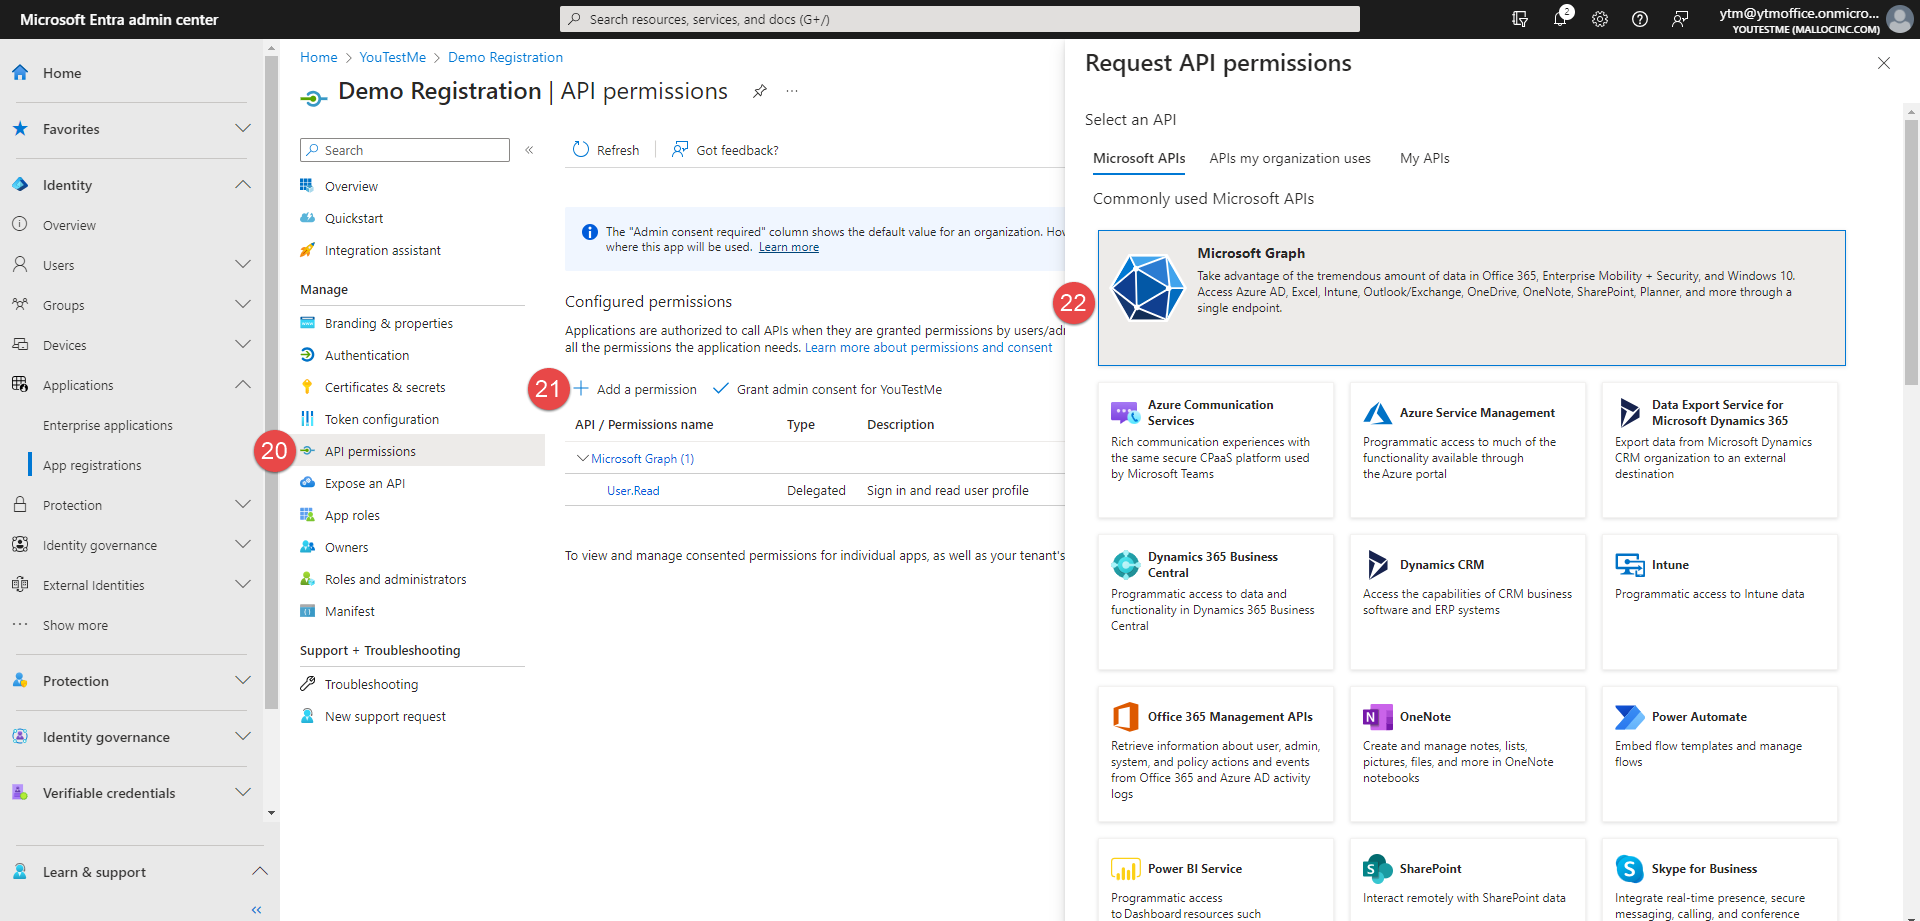
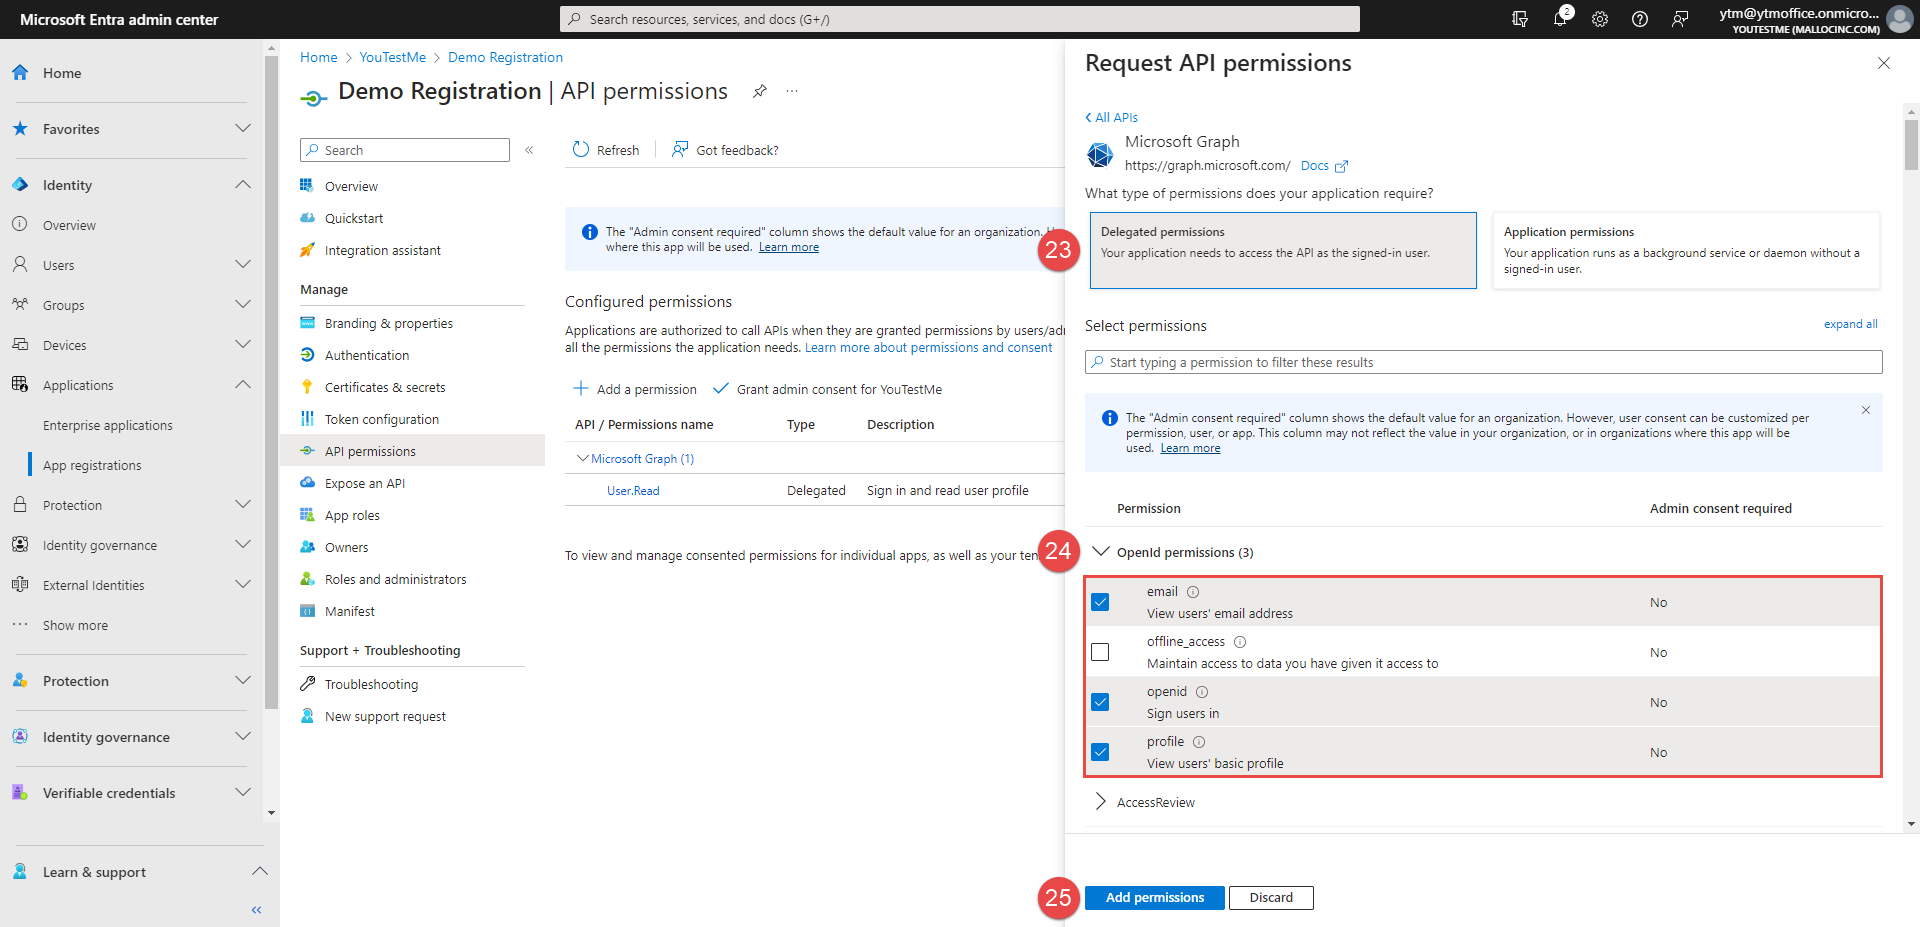
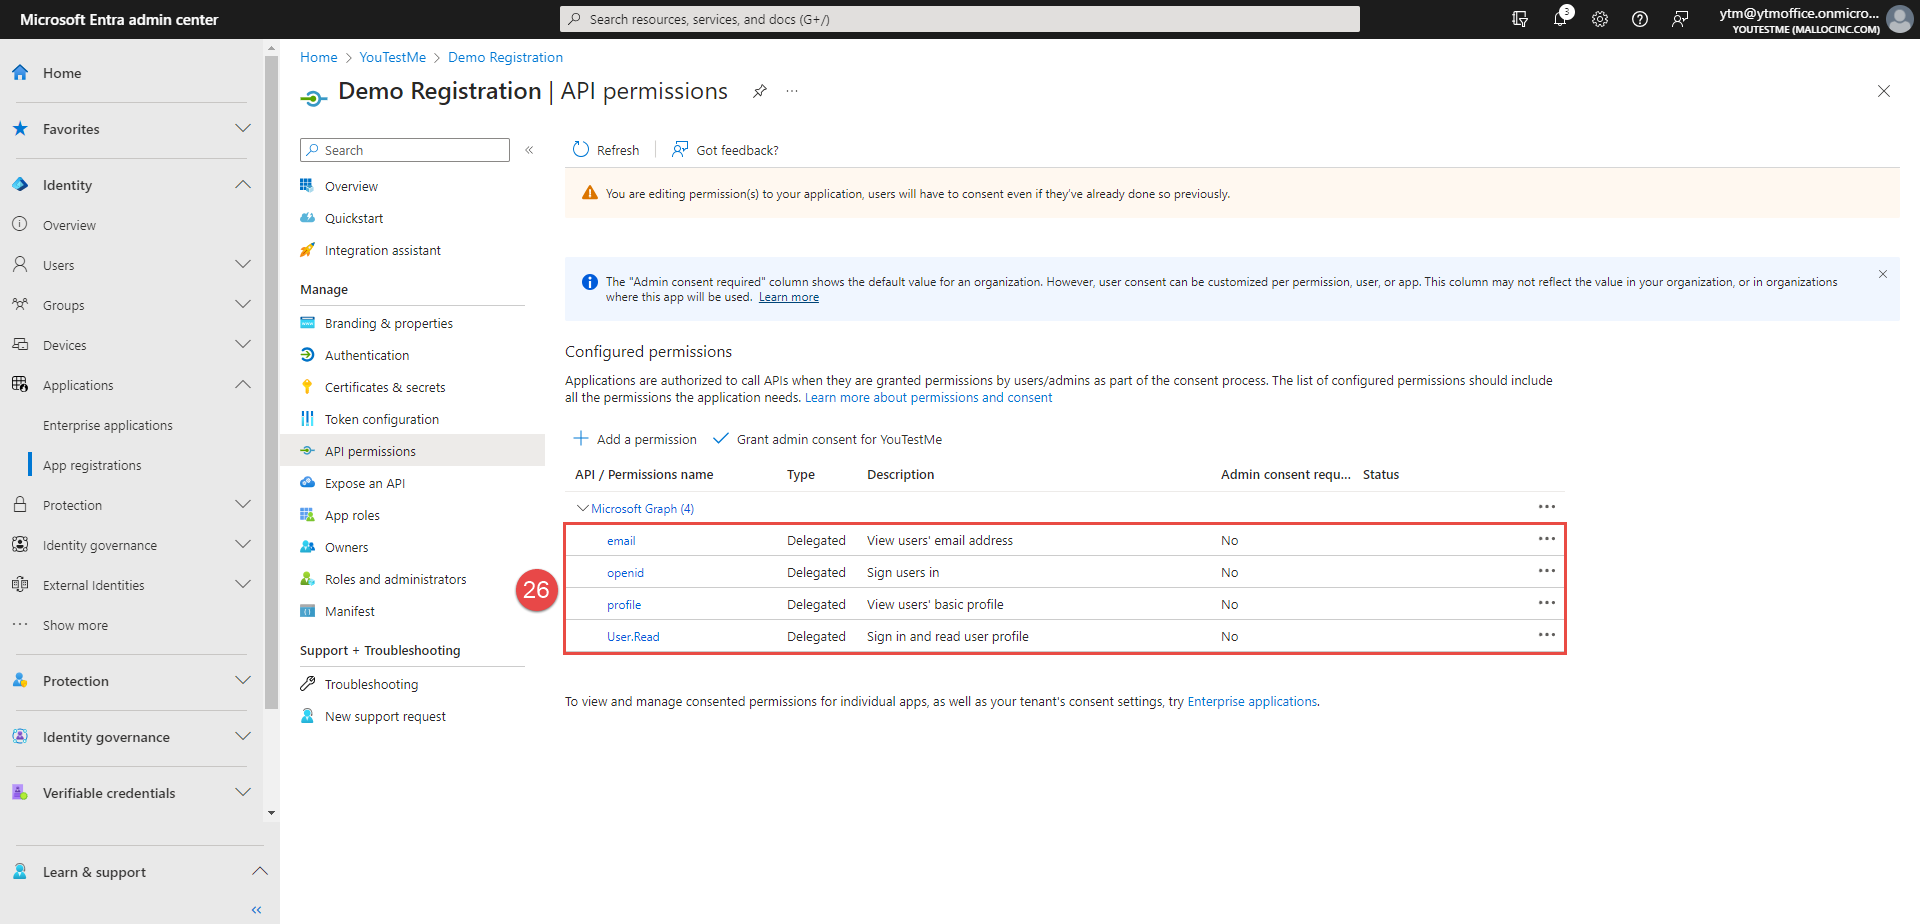
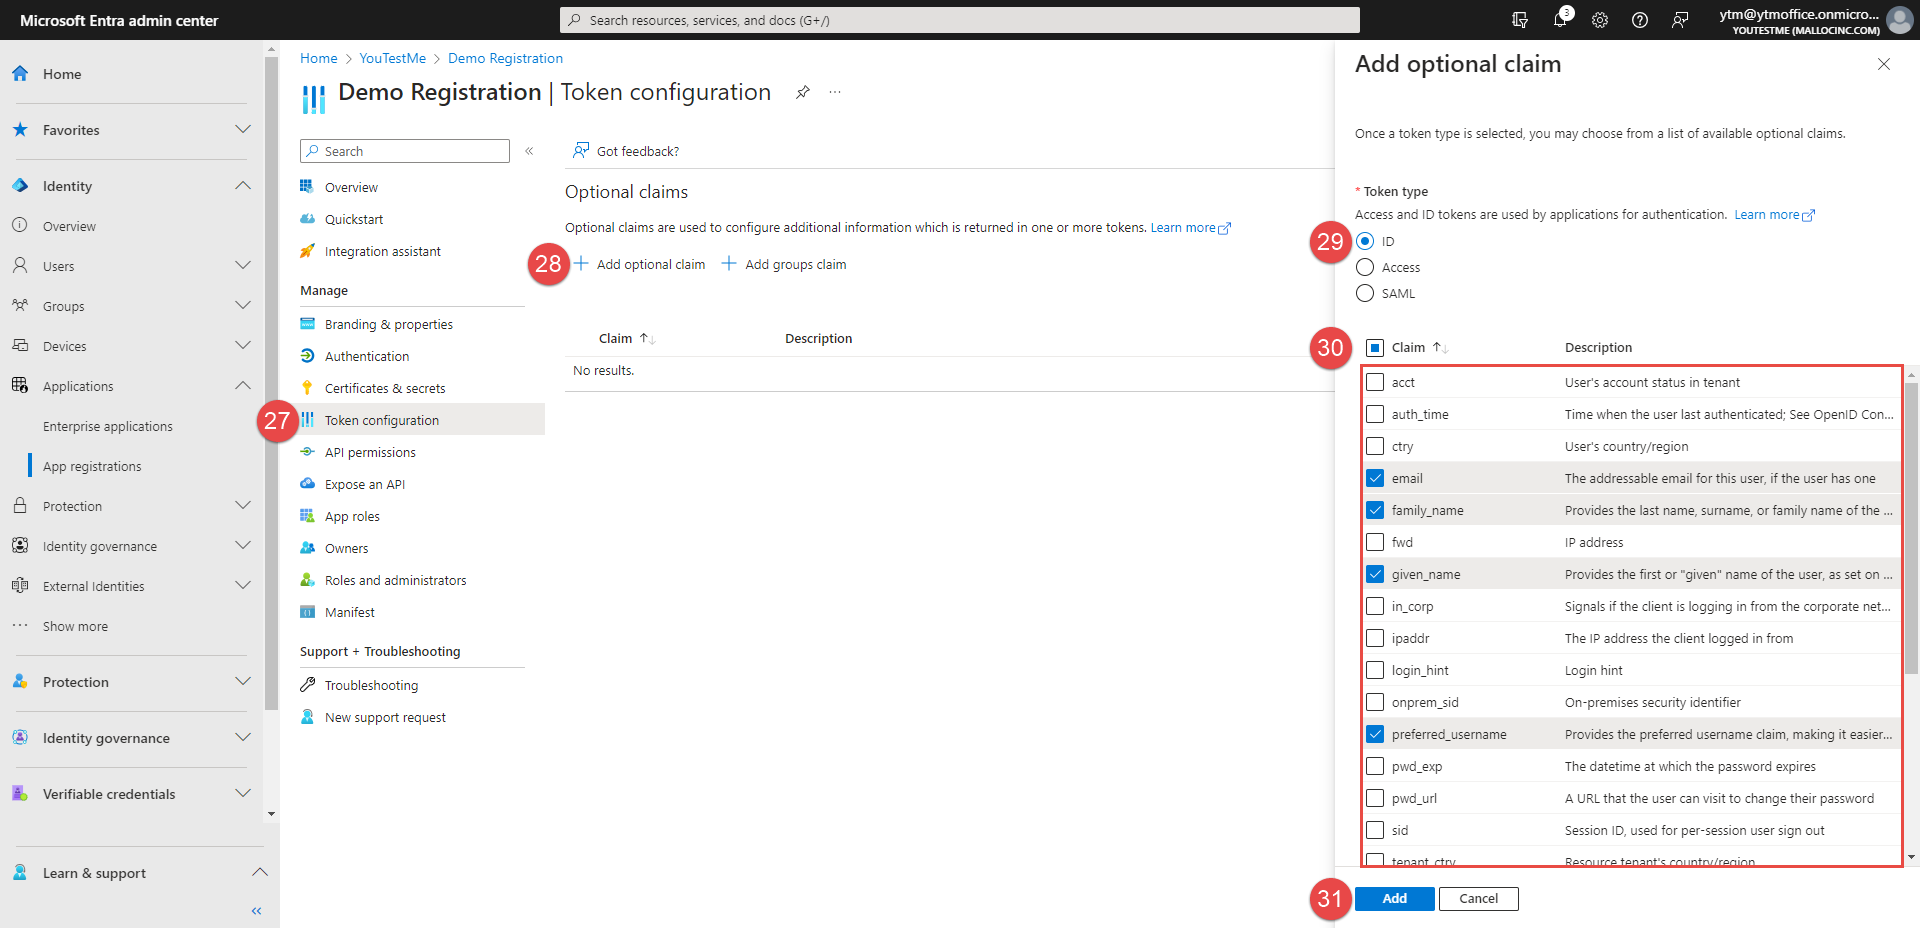
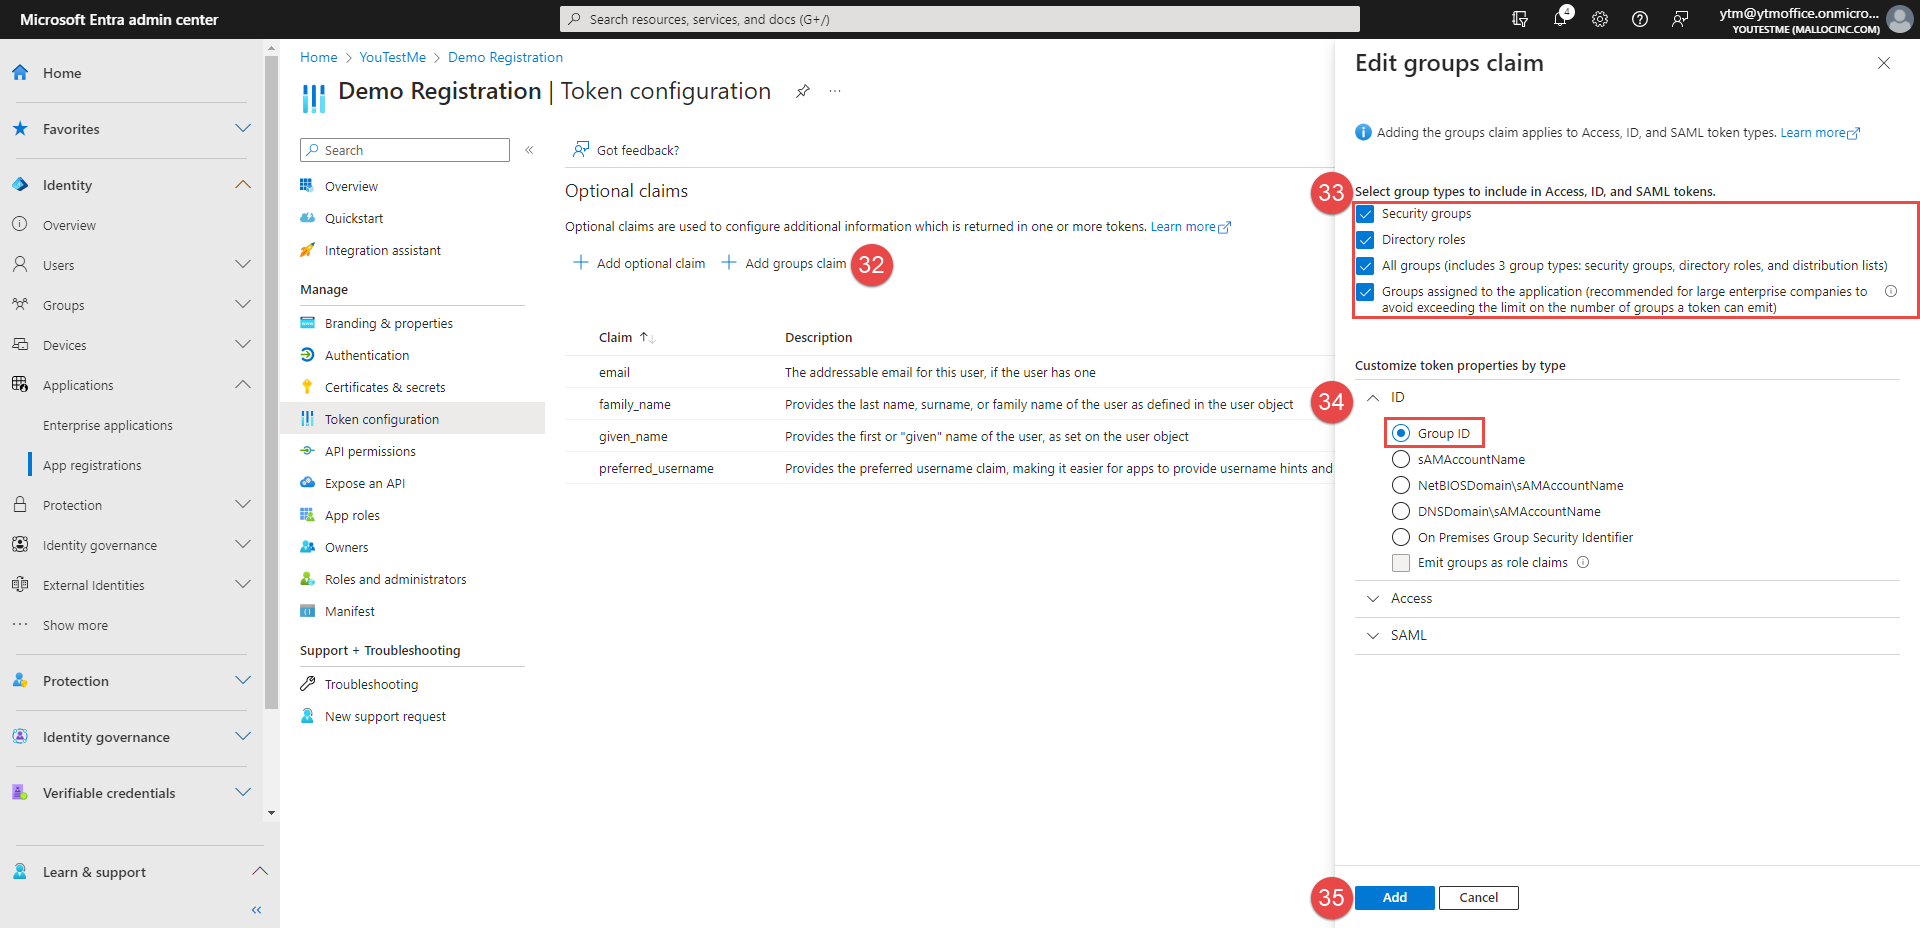
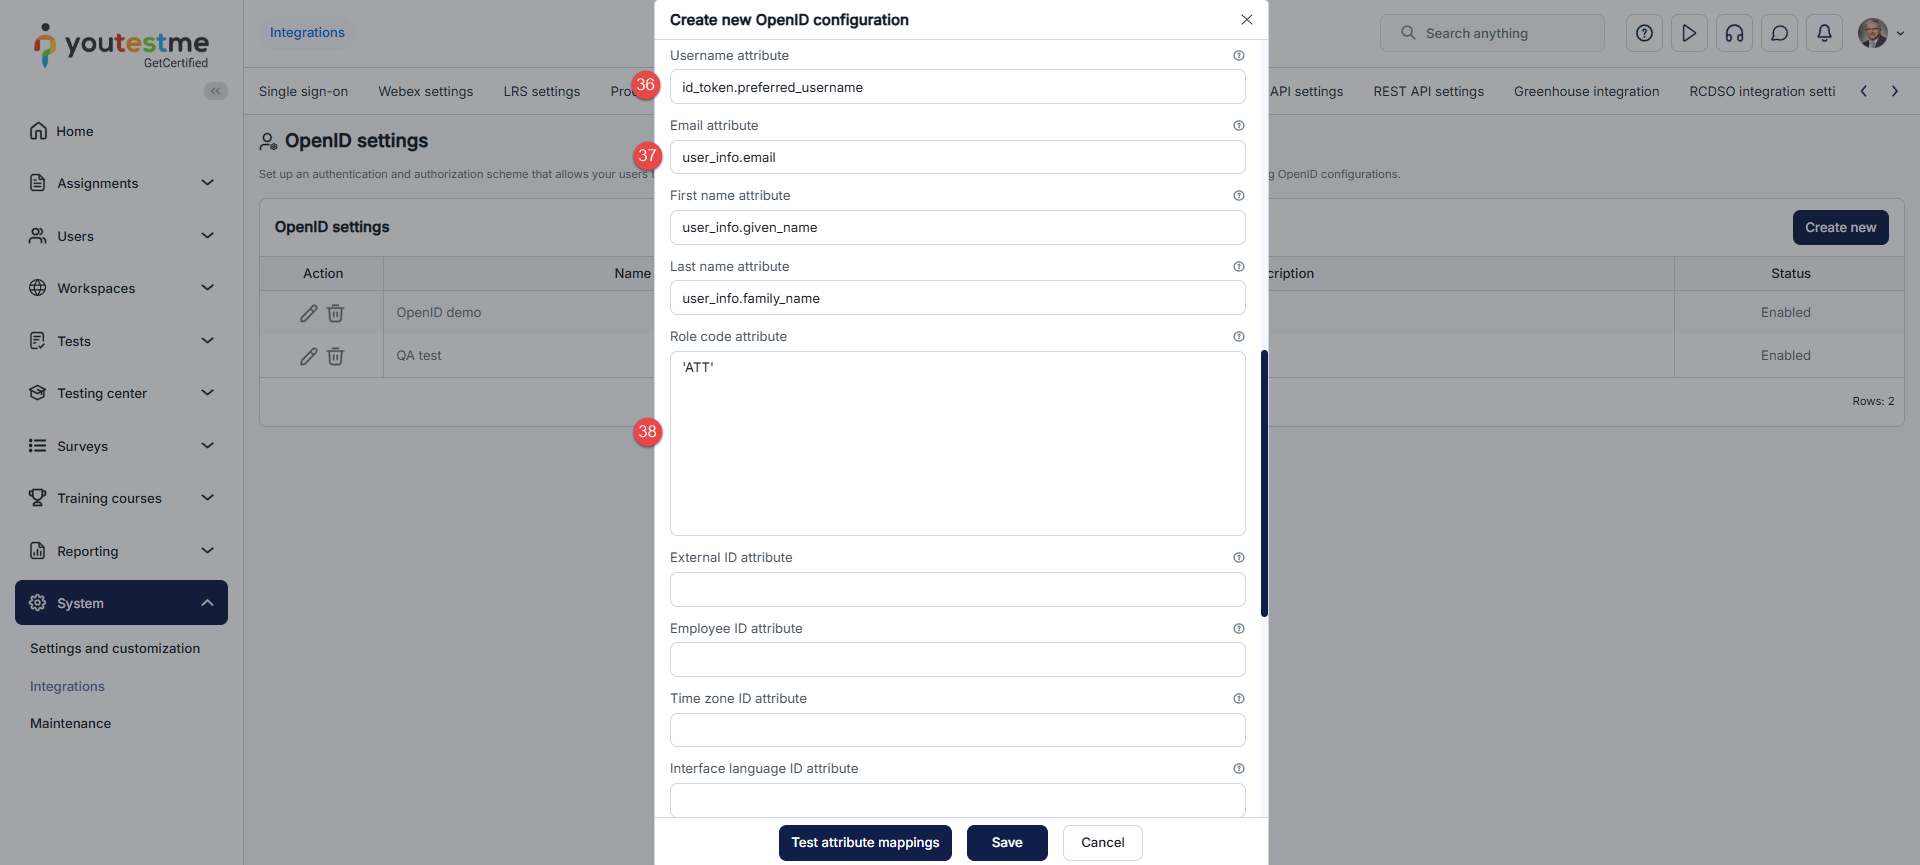
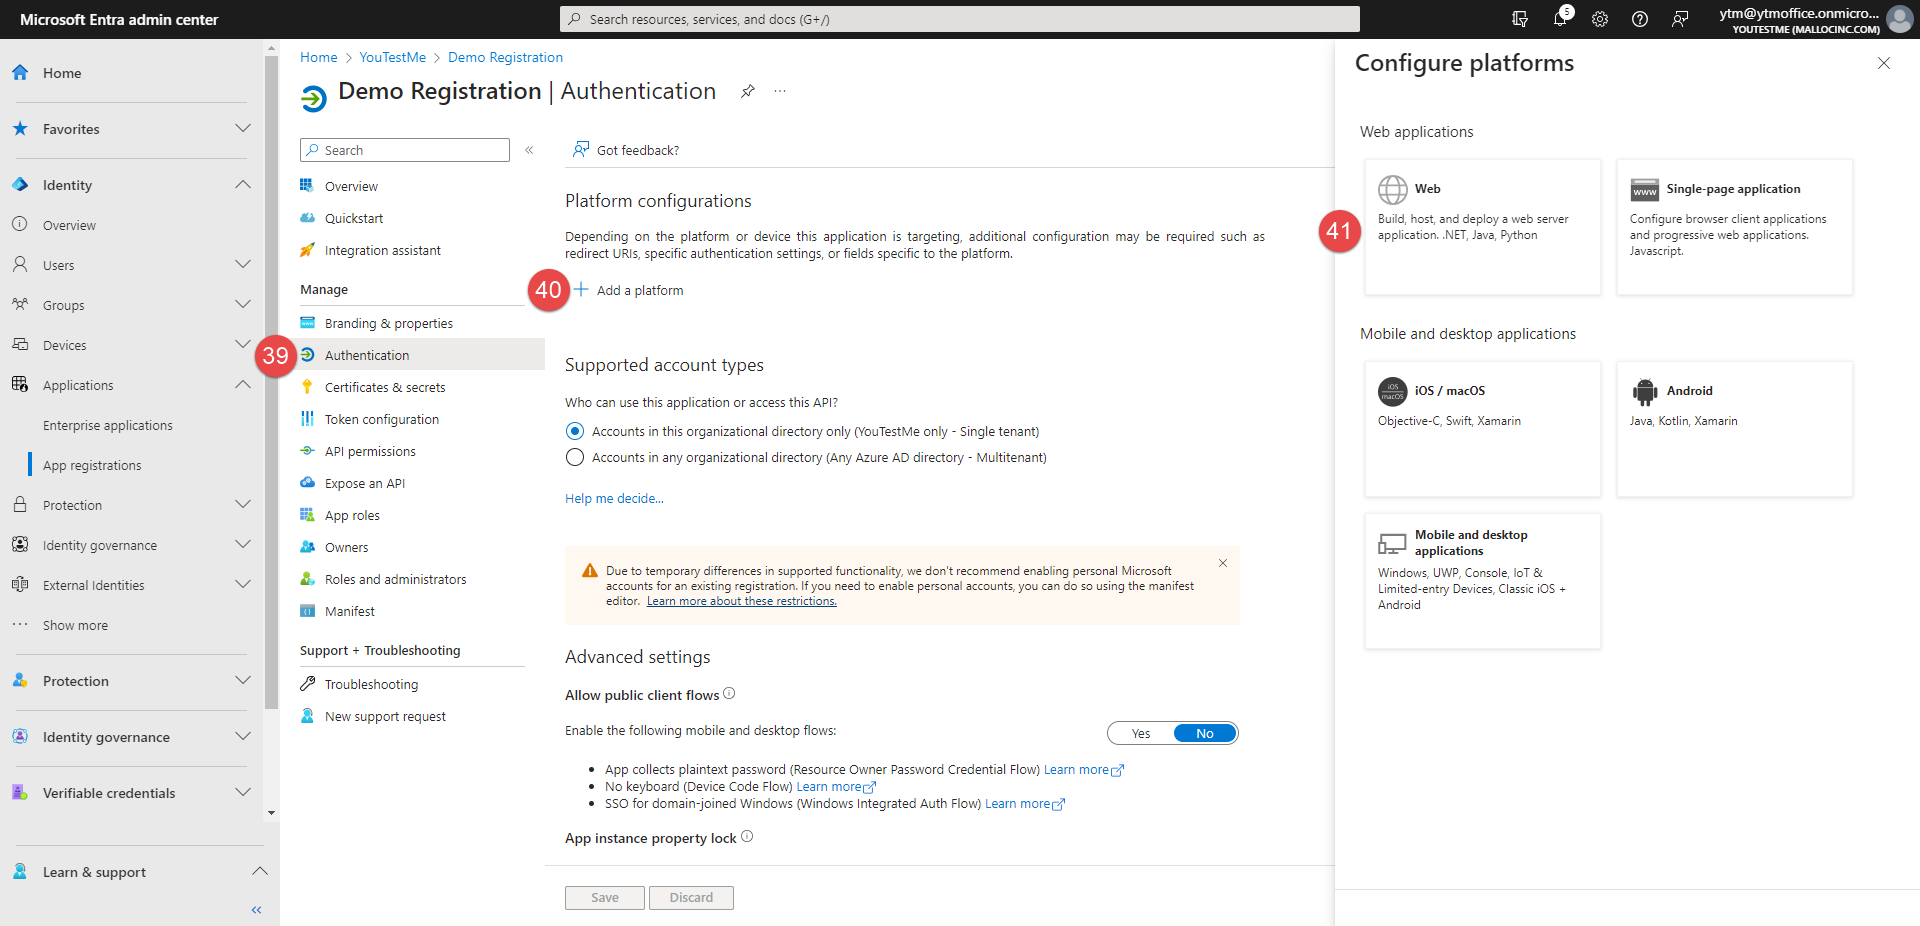
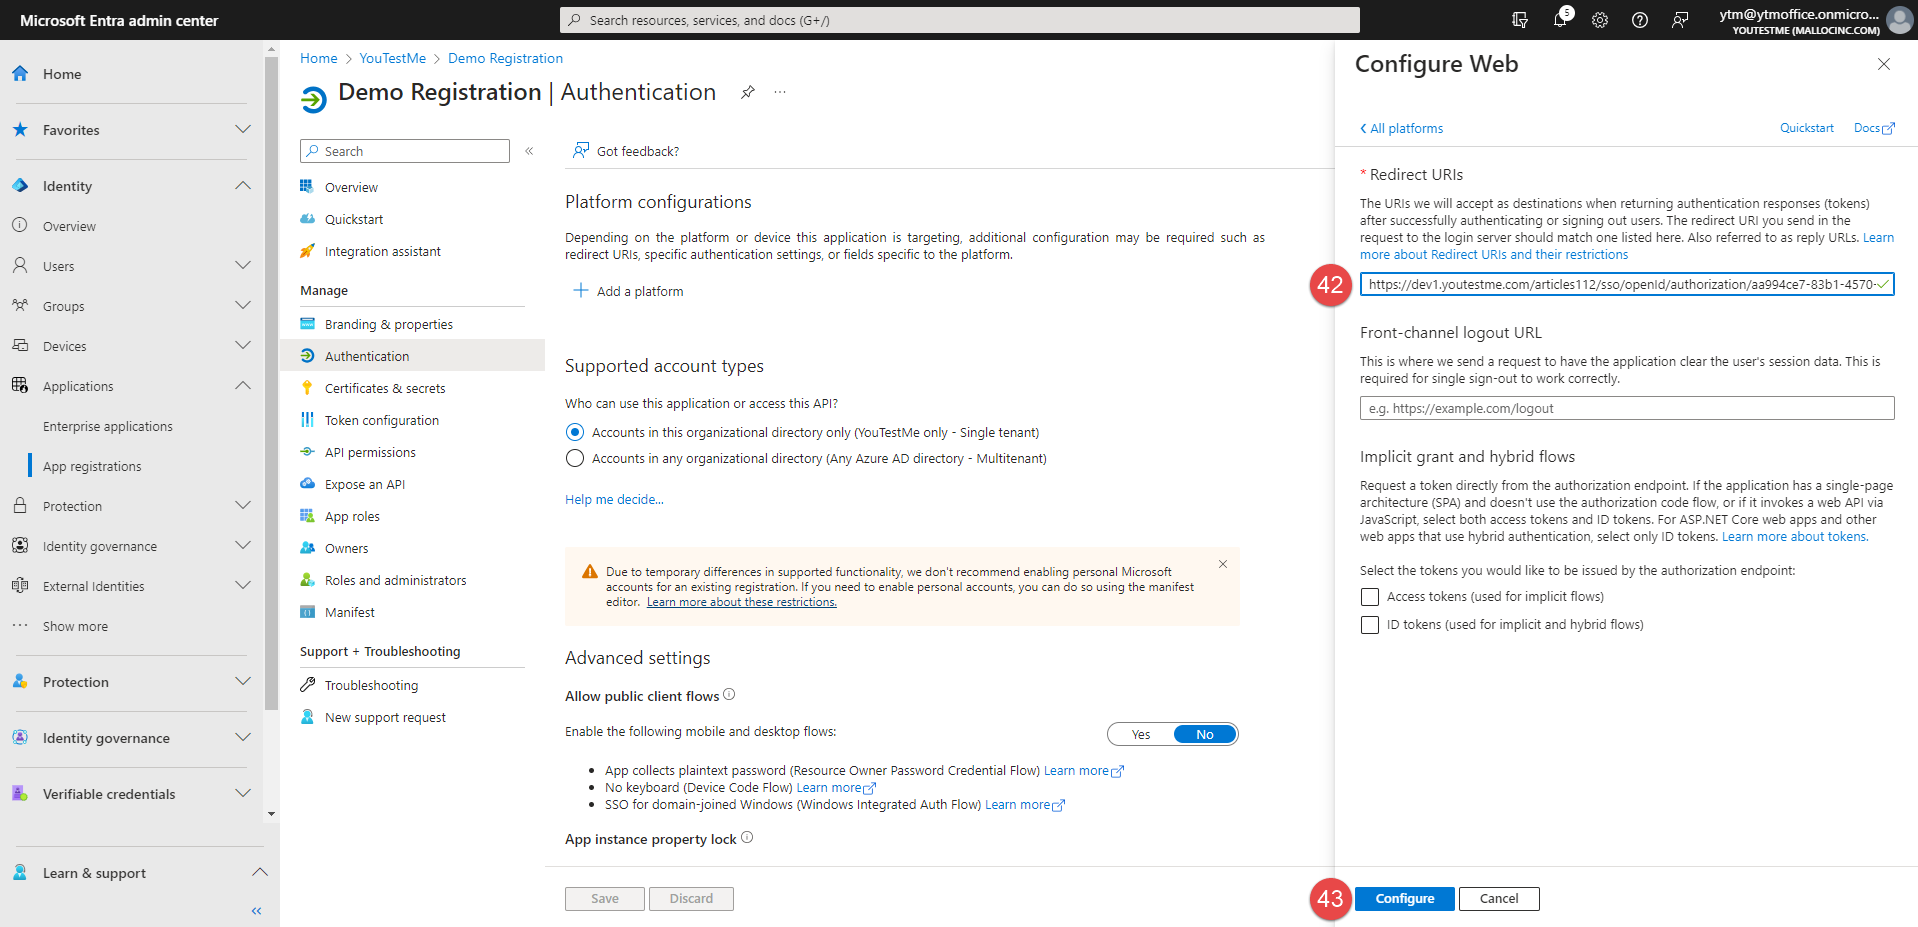
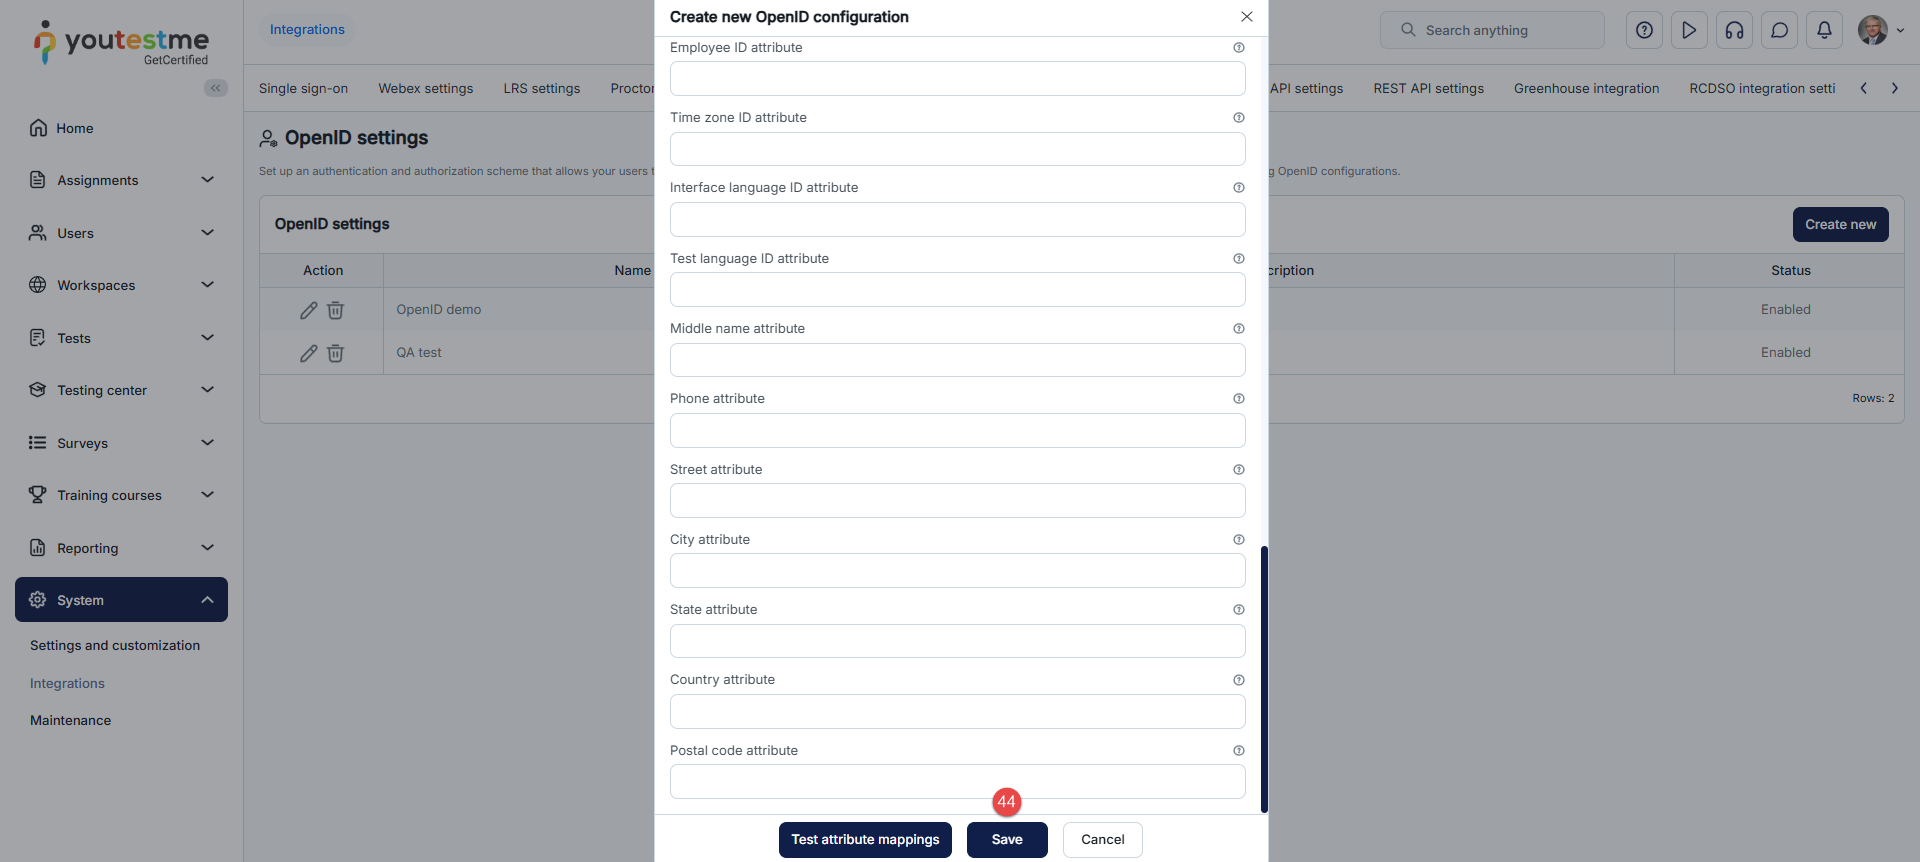
Click the Log in with OpenID button to display the available OpenID configurations. The user initiates the OpenID authentication and authorization flow by clicking one of them. The flow can also be initiated externally to the GetCertified application by redirecting to the location specified by the Initiate Login URL parameter.
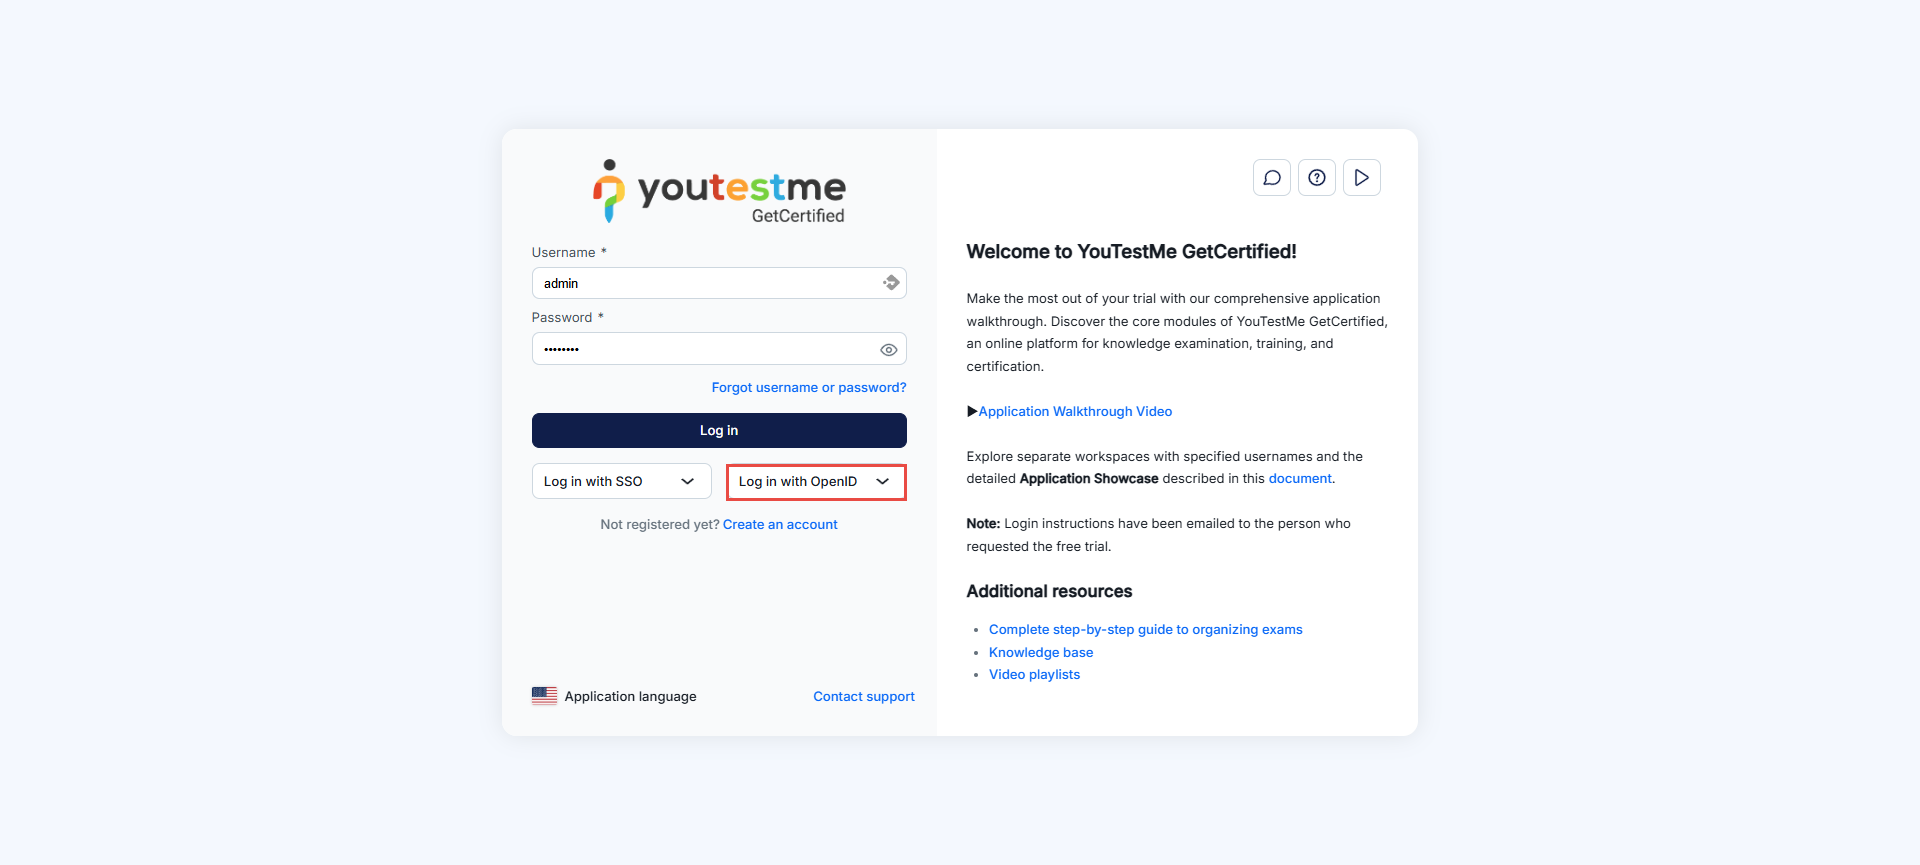
Note: When signing in to the application for the first time, the user account will be created, and all mapped attributes will be transferred to GetCertified. Each new login into the application (through OpenID) with the same username will update the user profile.
These are the first-time login steps.
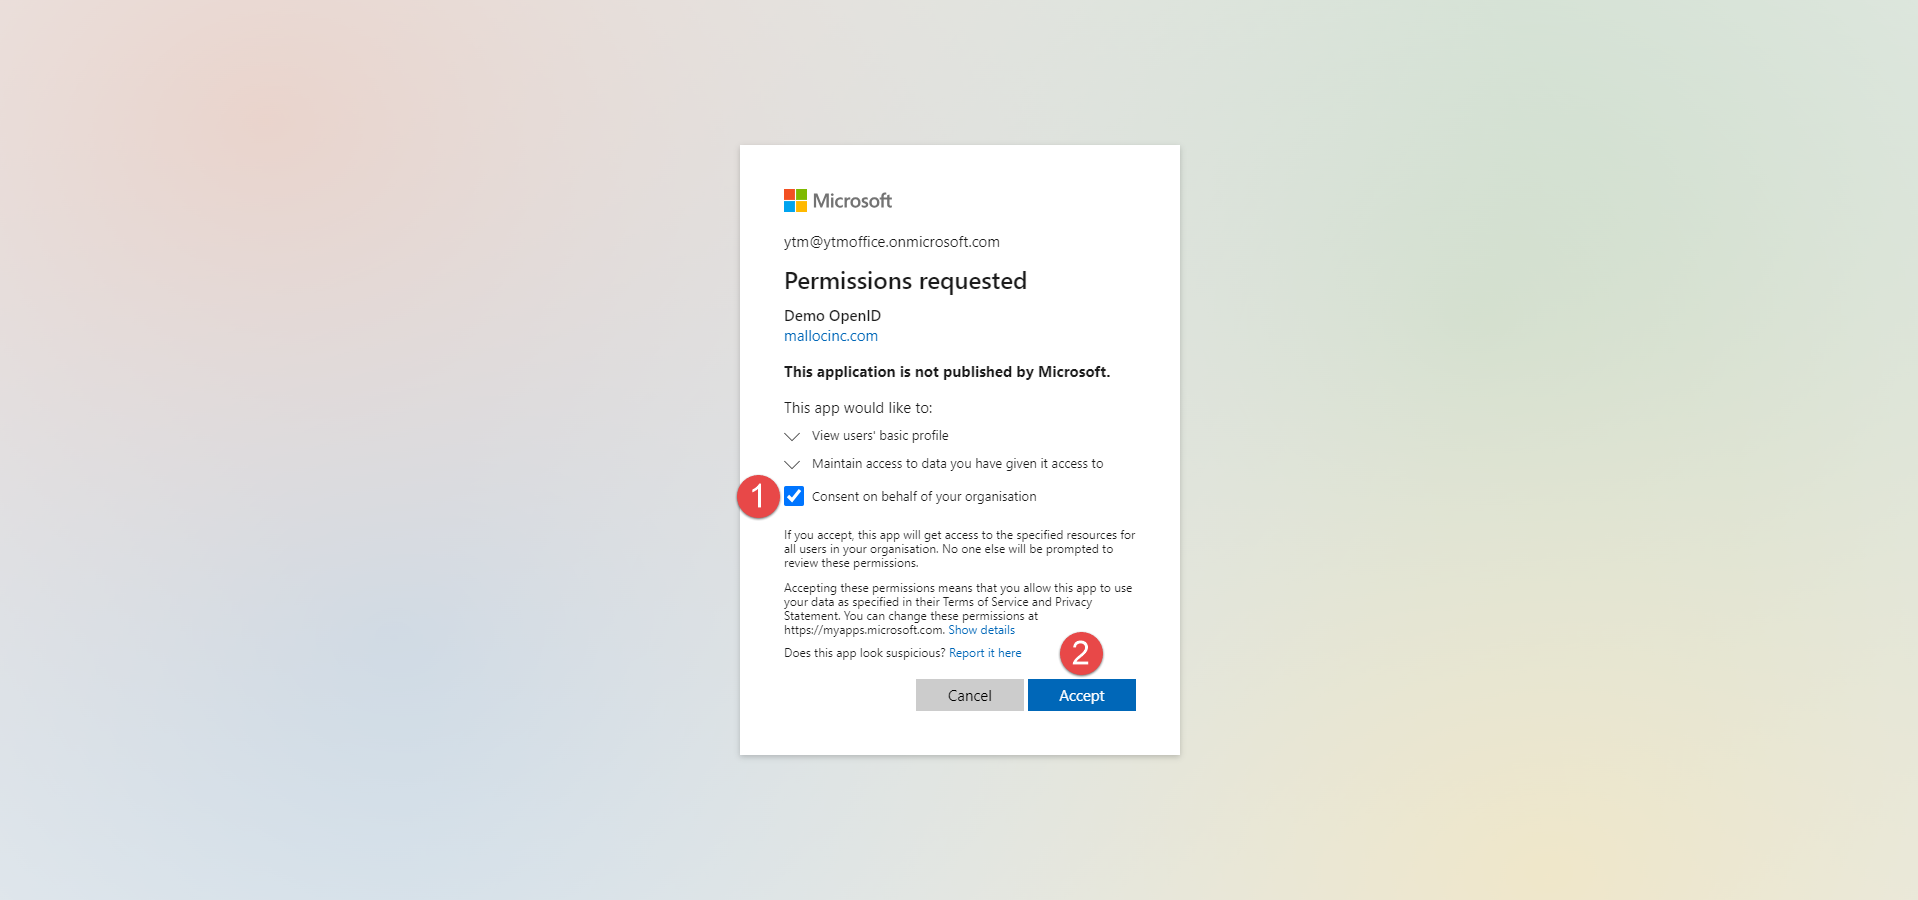
-
-
Web API settings
Web API is used to programmatically access data from the GetCertified application, store it in an external database, or display it in another system.
The Web API tab offers several options for configuring the Web API. These options include enabling the Web API, managing API keys, and retrieving personal reports.
-
To demonstrate how to configure the Web API and effectively
use the API key, which should be sent as the header of each
request, follow these steps:
-
Click the toggle button to Enable Web API.
-
Enter your Web API key (e.g., "WEBAPIKEY"). This key will serve as your authorization token for making API requests.
-
Enter the Personal report endpoint button.
-
Click the Confirm button.
-
Download the simple-modify-headers extension for Google Chrome from the Chrome Web Store.
-
After downloading the extension, click on the extension icon in your browser's toolbar to open the extension and click on Configure button within the extension.
-
Click the New line button.
-
URl Patterns - Place the link to your application here or add *, as shown in the image.
-
Header Field Name - It must be set as X-Api-Key.
-
Header Field Value - Add the value you set on GetCertified as the API key. In this example, it should be "WEBAPIKEY".
-
Optionally, you can add a Comment to provide additional context or notes related to the API request.
-
Click the Save button.
-
Copy the URL of the Personal report endpoint.
-
Paste the copied URL of the Personal report endpoint into a new tab in your web browser.
-
In the new tab, navigate to the Tests/Manage tests tab in your GetCertified application and open the test for which you want to retrieve the personal report.
-
Select the Candidates button.
-
Copy the Attempt ID. Locate the Attempt ID of the candidate for which you wish to download the personal report.
-
Replace #{attemptId} in the URL. Go back to the new tab where you pasted the URL of the Personal report endpoint. Replace #{attemptId} in the URL with the copied Attempt ID from the Candidates tab.
-
Press Enter on the keyboard, and the personal report will be downloaded automatically.
Note: This configuration process requires using the Google Chrome browser.
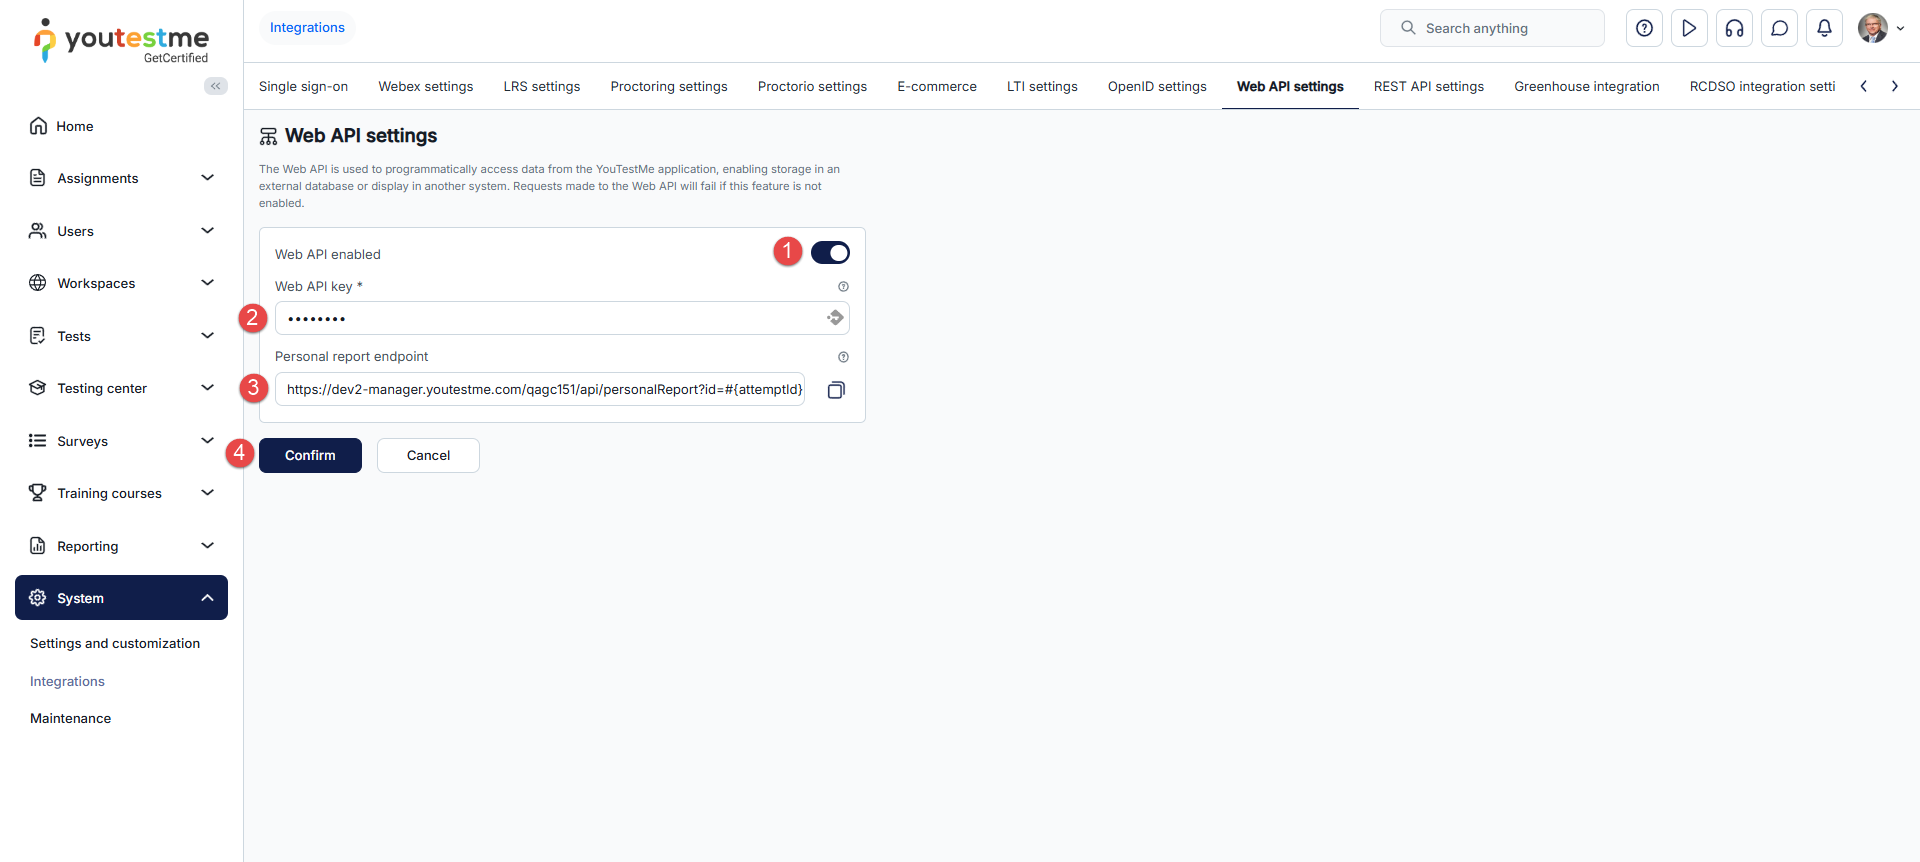
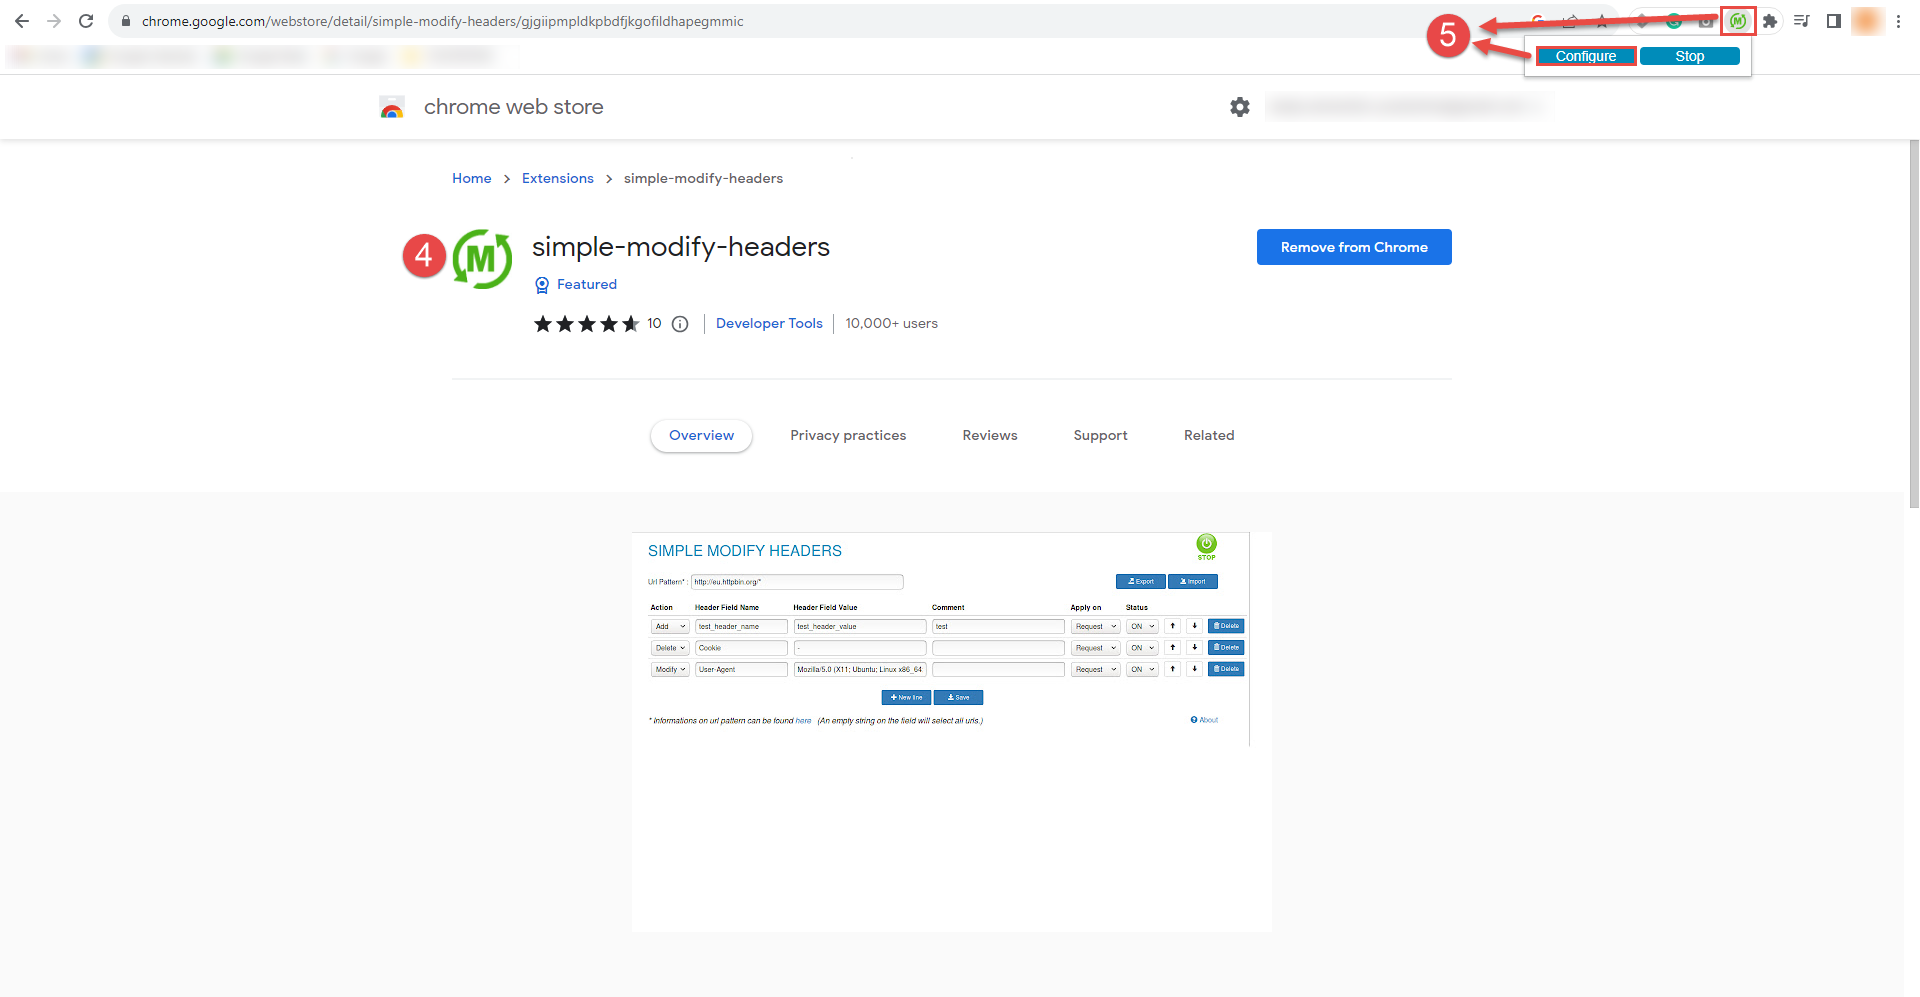
To configure Web API Key using a simple-modify-headers follow these steps:
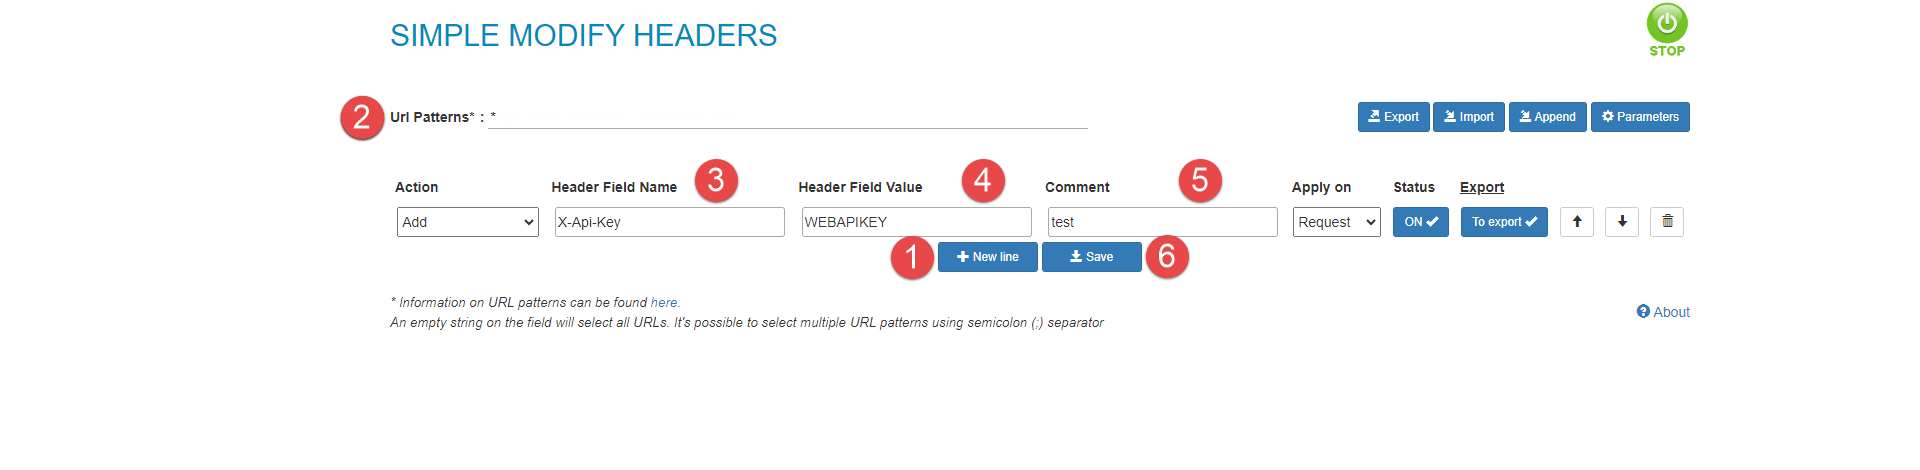
To download a Personal report using the API key, follow these steps:
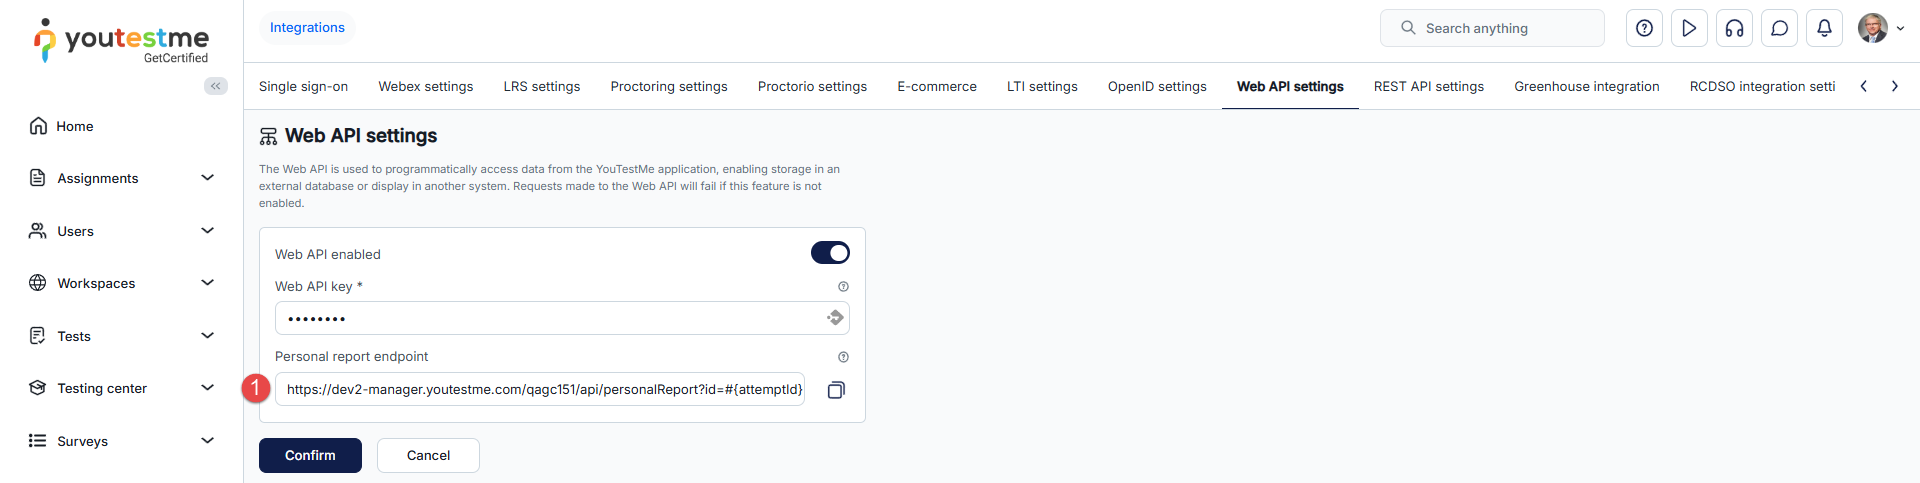
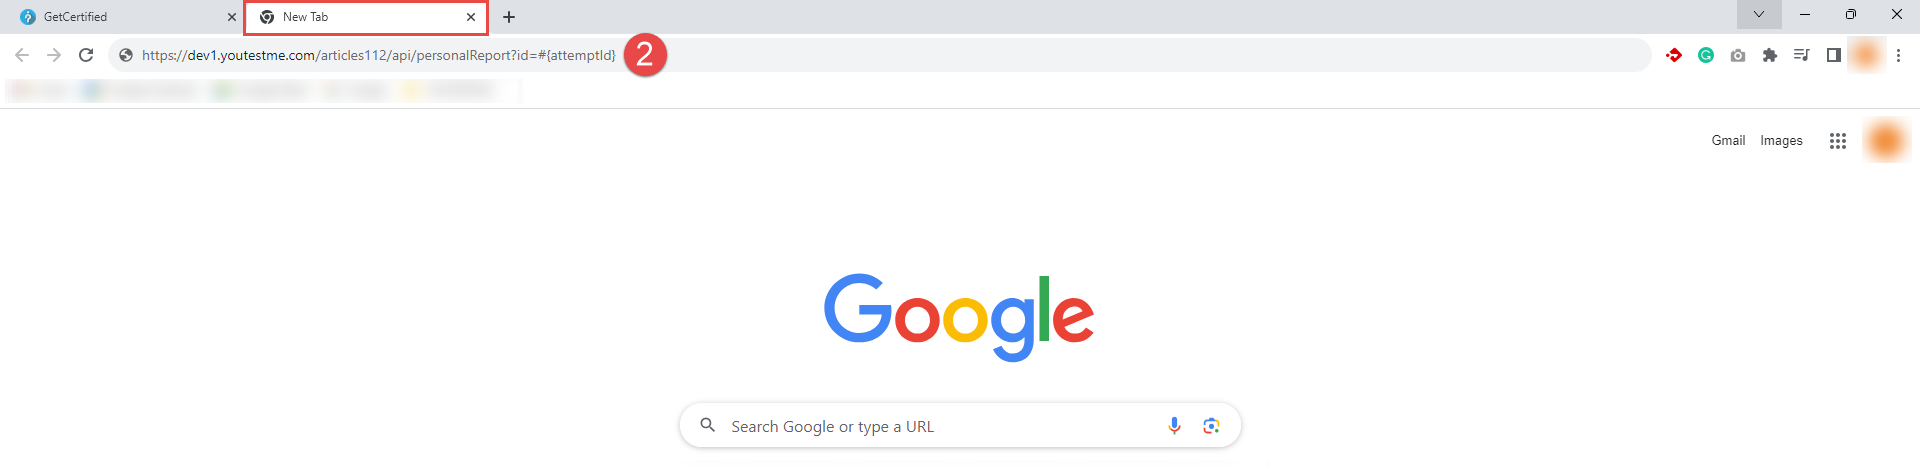
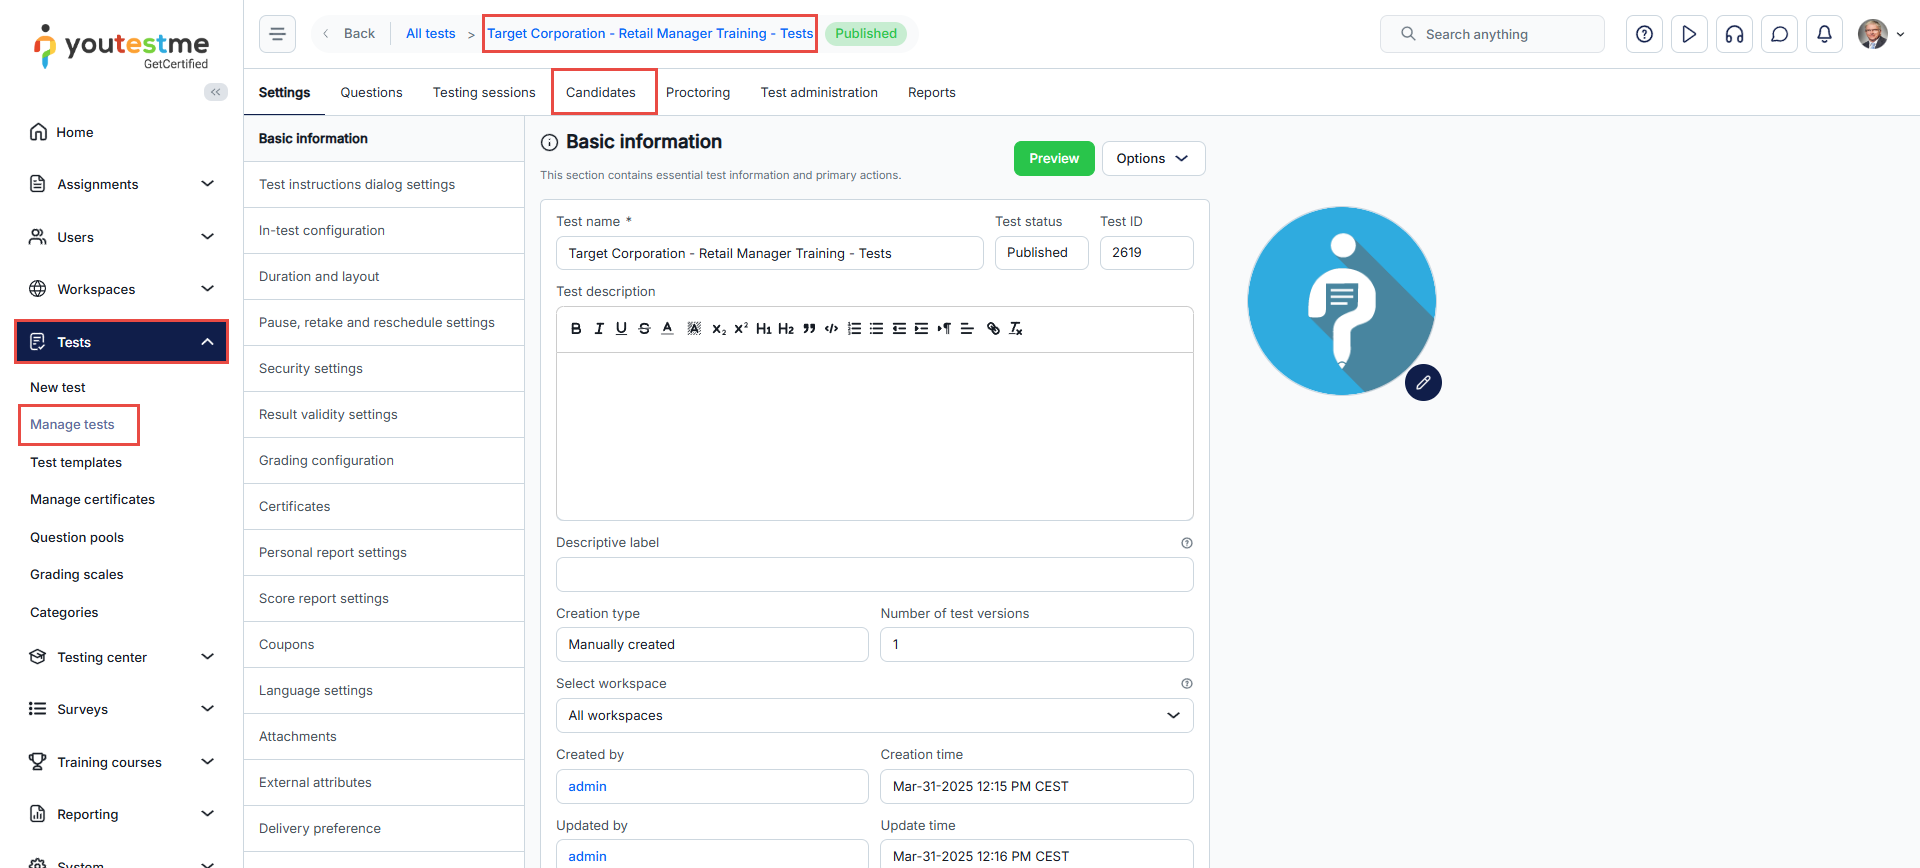
Note: The status of attempt must be Report complete.
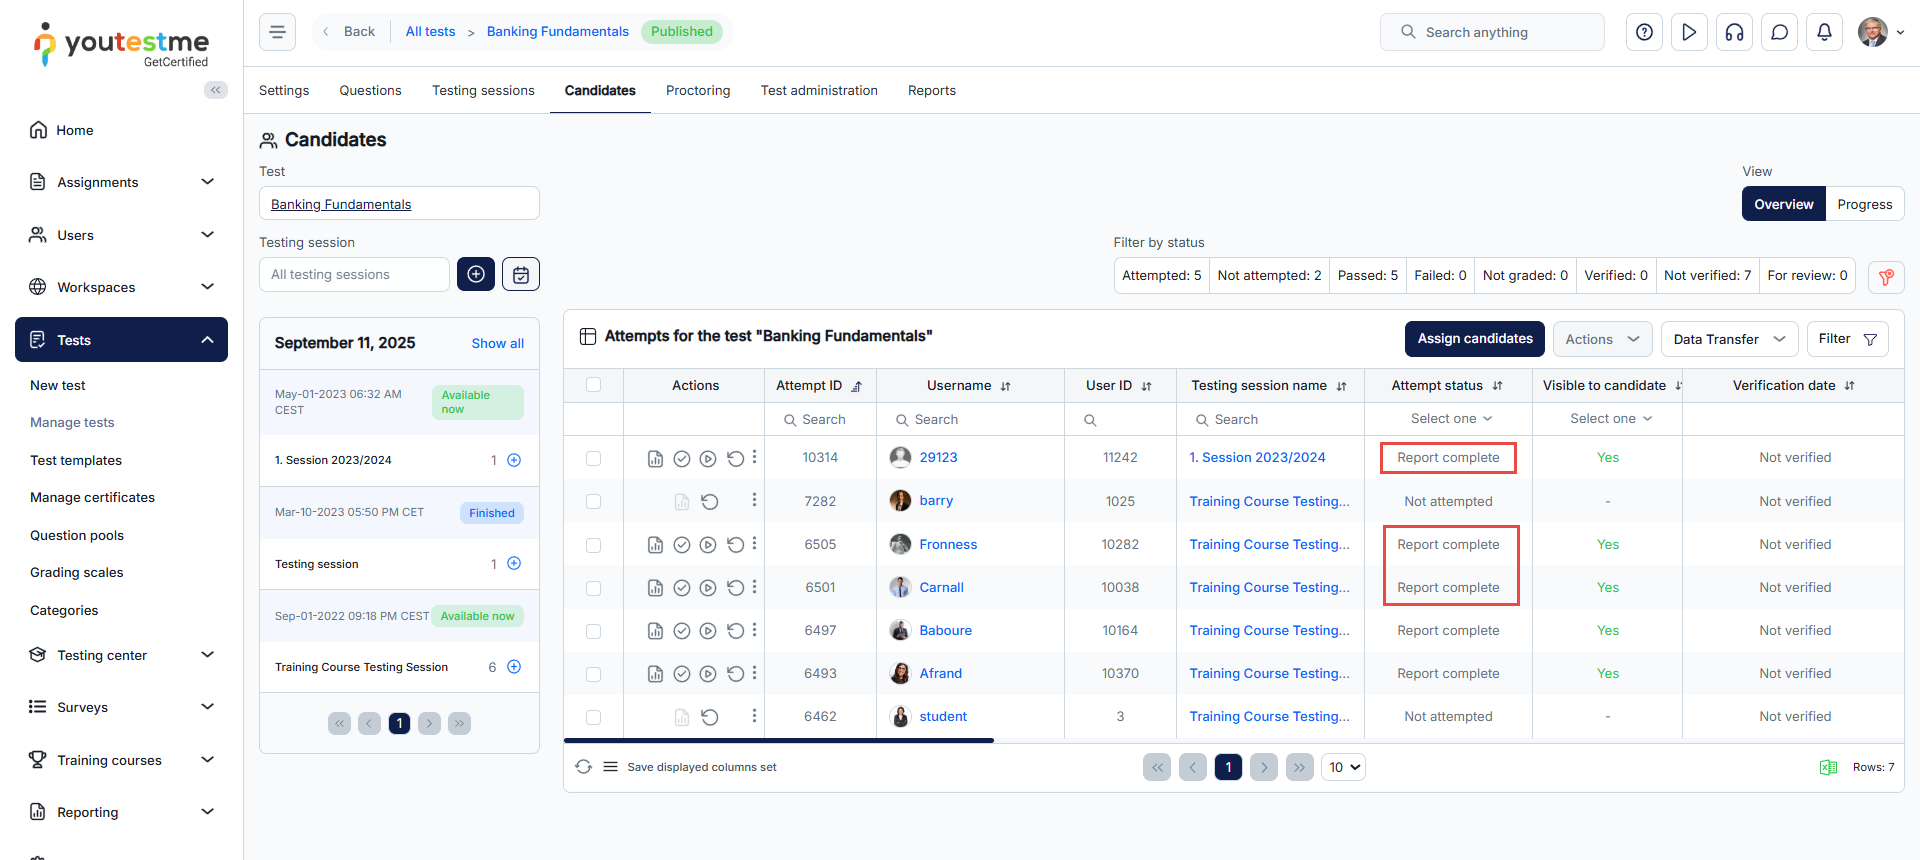
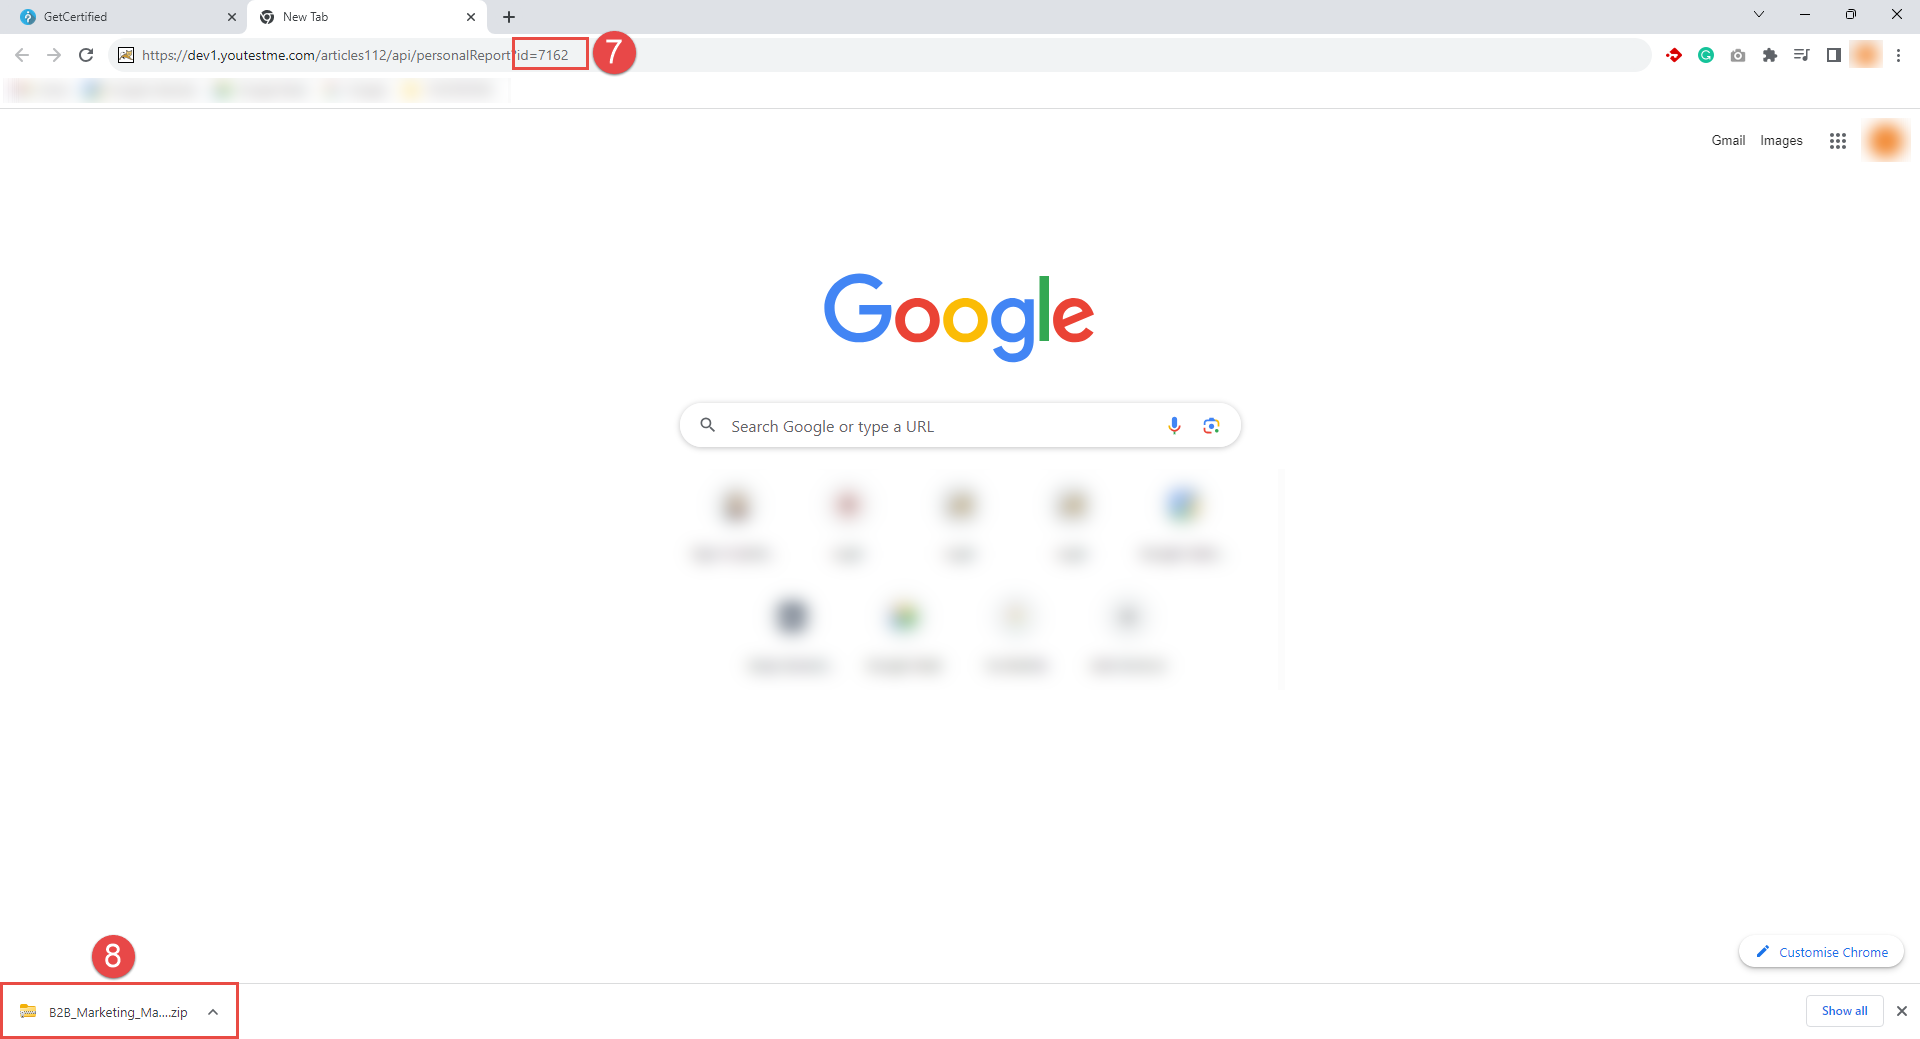
-
-
REST API settings
With the YouTestMe REST API and Webhooks you can build integrations with other applications using Zapier or Make, or you can develop custom integrations. The REST API settings tab displays the basic API information if the REST API is enabled:
-
Base API URL - The base URL of the YouTestMe REST API endpoints. For Zapier and Make integration you need this link for the authorization.
-
REST API documentation - The link to the REST API and Webhooks documentation.
-
Enabled resources - To forbid/permit the access to the API resources, deselect/select the resources from the dropdown list. API calls to the paths of disabled resources will result with 403 (Forbidden) status response with the proepr error message.
-
Press Confirm button to save the configuration.
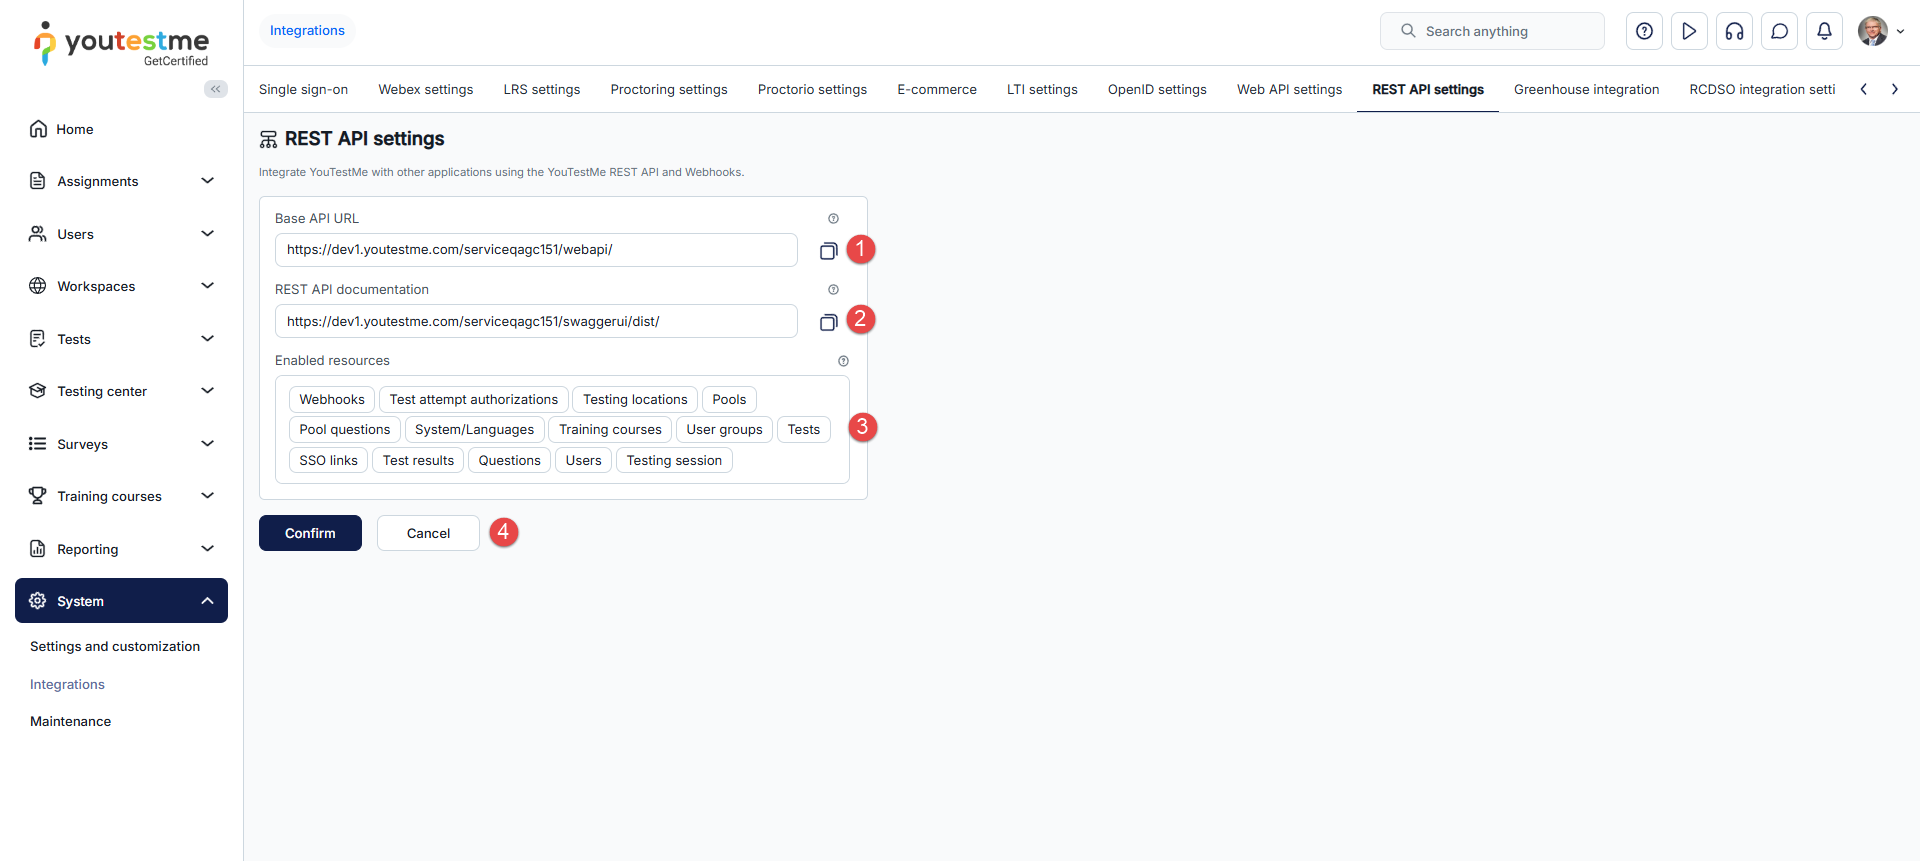
Before integrating the YouTestMe using the REST API and Webhooks, please review the following useful links:
-
Exploring YouTestMe REST API documentation – This video demonstrates how to use YouTestMe REST API documentation to explore the API capabilities and try available endpoints. Also, it explains how to log in to REST API with the Basic and JWT Token authorization.
-
How to Use YouTestMe Webhooks - This video demonstrates how to register to the YouTestMe Webhooks to receive updates about specific events in the YouTestMe application.
-
YouTestMe integration scenarios and approaches - On this page, you can see the different approaches and scenarios for integrating YouTestMe with other applications, that can help you build your integrations with YouTestMe.
-
YouTestMe Zapier integration - Explains how to integrate YouTestMe with the applications available on Zapier.
Note: The REST API is a module from YouTestMe EE edition. To get the REST API module, contact the YouTestMe team at sales@youtestme.com.
If the YouTestMe REST API module is not enabled you will see the warning message in red:

-
-
Greenhouse integration
YouTestMe has implemented the Greenhouse Assessment Partner API which allows you to seamlessly integrate YouTestMe assessments into your Greenhouse interview workflow. To set up the Greenhouse integration, please follow these steps:
-
Enable the Greenhouse integration to use it. Request to Greenhouse integration endpoints will fail if the integration is not enabled.
-
When you enable the Greenhouse integration an API key is generated and displayed. Provide this key to the Greenhouse team to set up the YouTestMe integration. For more information about setting up the integration on the Greenhouse side, visit the following link.
-
You may allow only the tests with a specific delivery preference to be offered in Greenhouse by selecting the Greenhouse test delivery preference. If you select Any, all tests will be offered. You can label the tests with one of the delivery preferences in the Test wizard or under the Test settings.
-
Set the time period during which the grading attempt link will be valid. When the grading attempt link is generated, the set time will be calculated from the current time. After the time has passed, the link will be invalid. If the 'Unlimited' option is selected, the generated link will always be valid.
-
Press the Confirm button to save the configuration.
Note: You may decide to notify the administrators via email or app notification whenever the integration error is reported. You can do that by enabling "Greenhouse integration error reported" email and/or app notification under Notification settings.
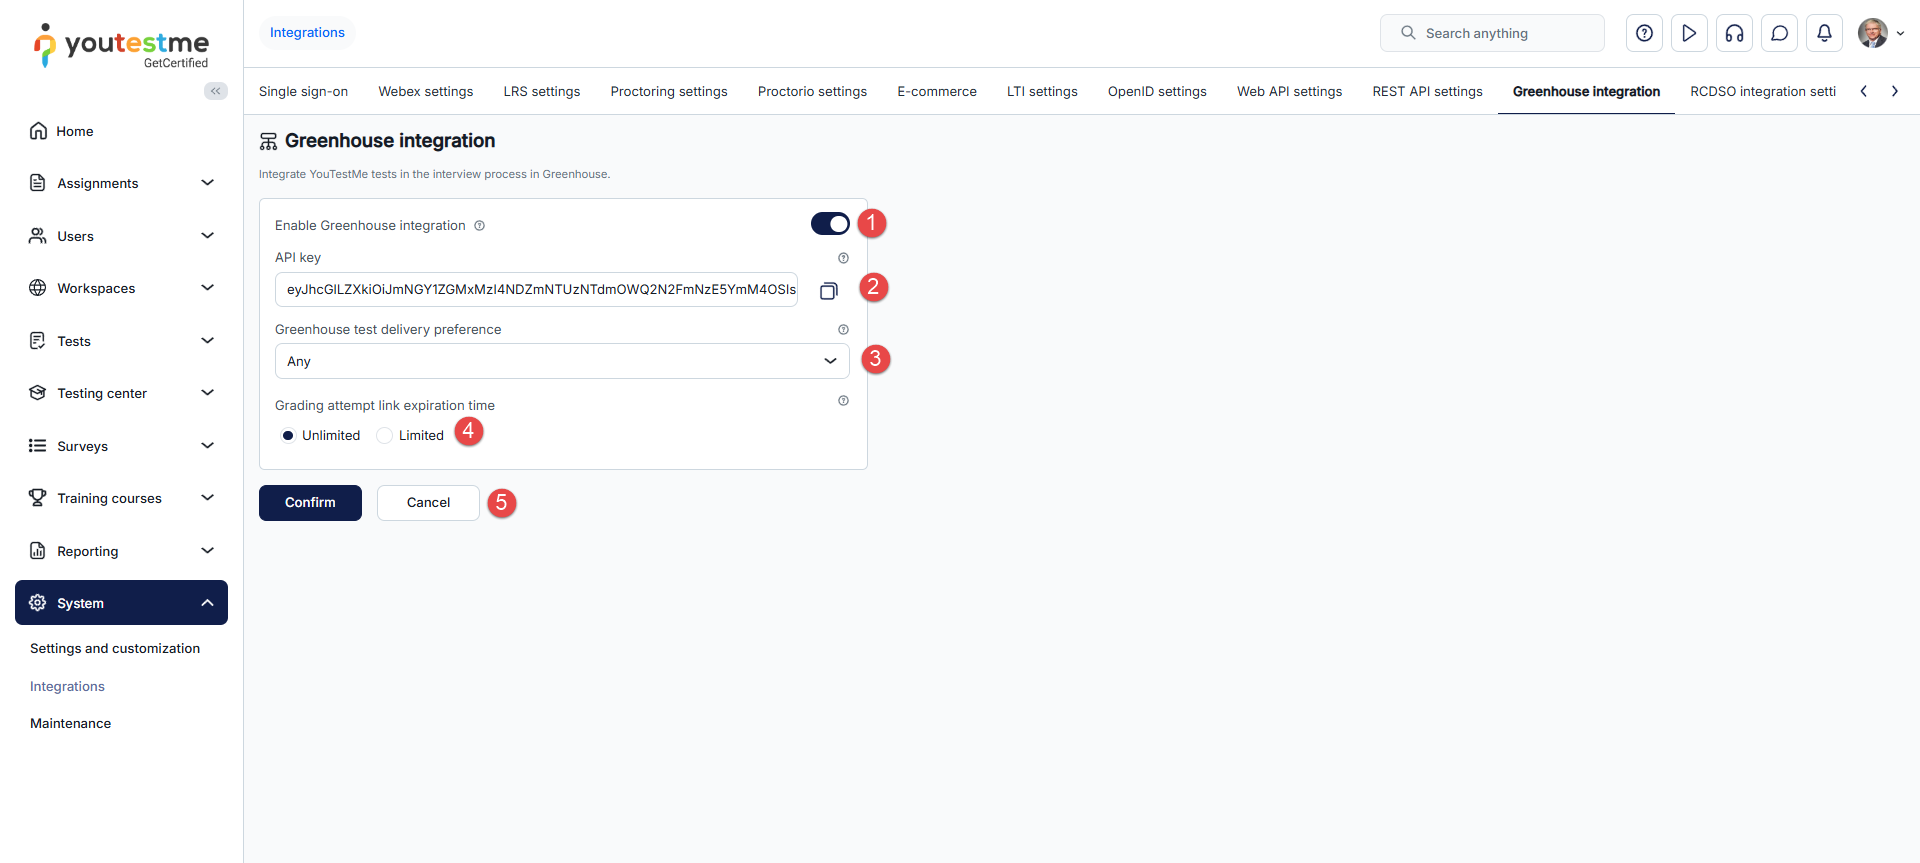
Note: For the Greenhouse integration, the REST API module must be enabled. To request REST API access, please contact the YouTestMe team at sales@youtestme.com.
If the YouTestMe REST API module is not enabled, you will see the warning message in red:

-
-
OpenAI API
-
OpenAI API secret key is a unique and private key that allows our application to authenticate with the OpenAPI service. It acts like a password, granting access to the API. Never expose it in public, as it can be used to make requests on your behalf.
-
OpenAI API URL is the endpoint where your chosen AI model is hosted and can be accessed. It typically follows a structured format, such as https://api.example.com/v1/models/{model_name}, where {model_name} represents the specific model you're using. You will send requests to this URL to interact with the model and receive responses.
-
OpenAI API model refers to the specific AI model you are utilizing within the API. Different models have different capabilities, response speeds, and accuracy levels. Examples include gpt-4, text-davinci-003, or a custom fine-tuned model. The model you choose will determine the quality and nature of the responses you receive.
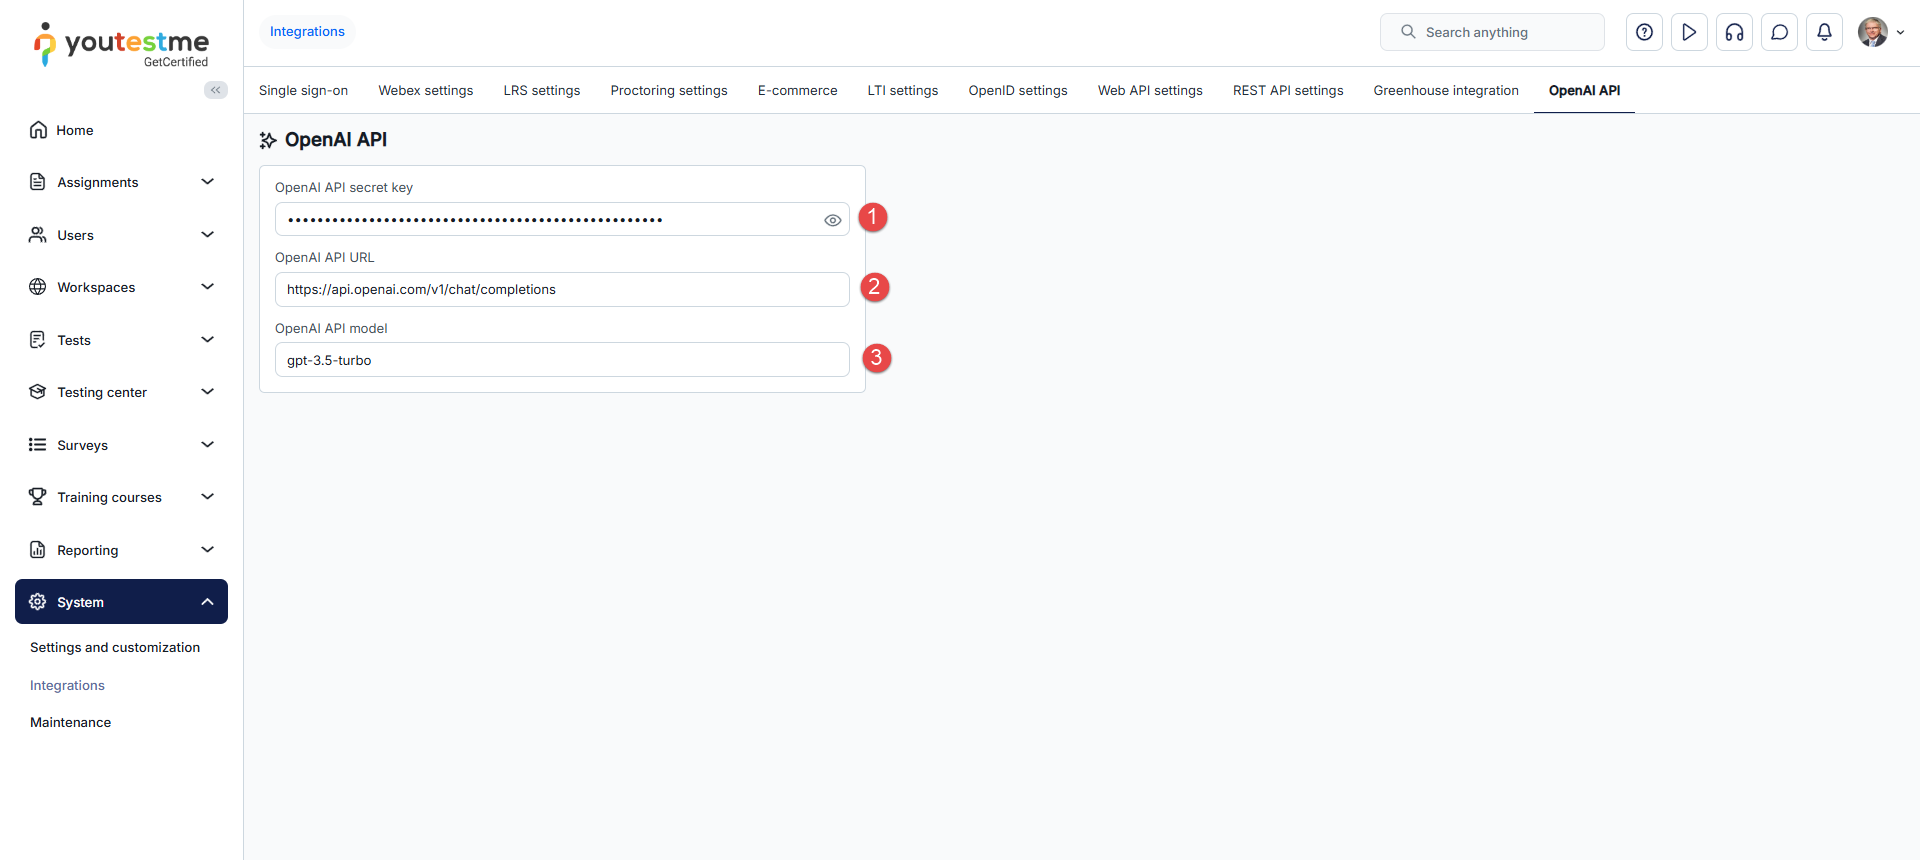
-
-
System Reports
The "System reports" page offers insight into the system performance.
-
Accessing the page
To access the "System reports" page, you should hover the mouse over the "System" tab and select "Reports."
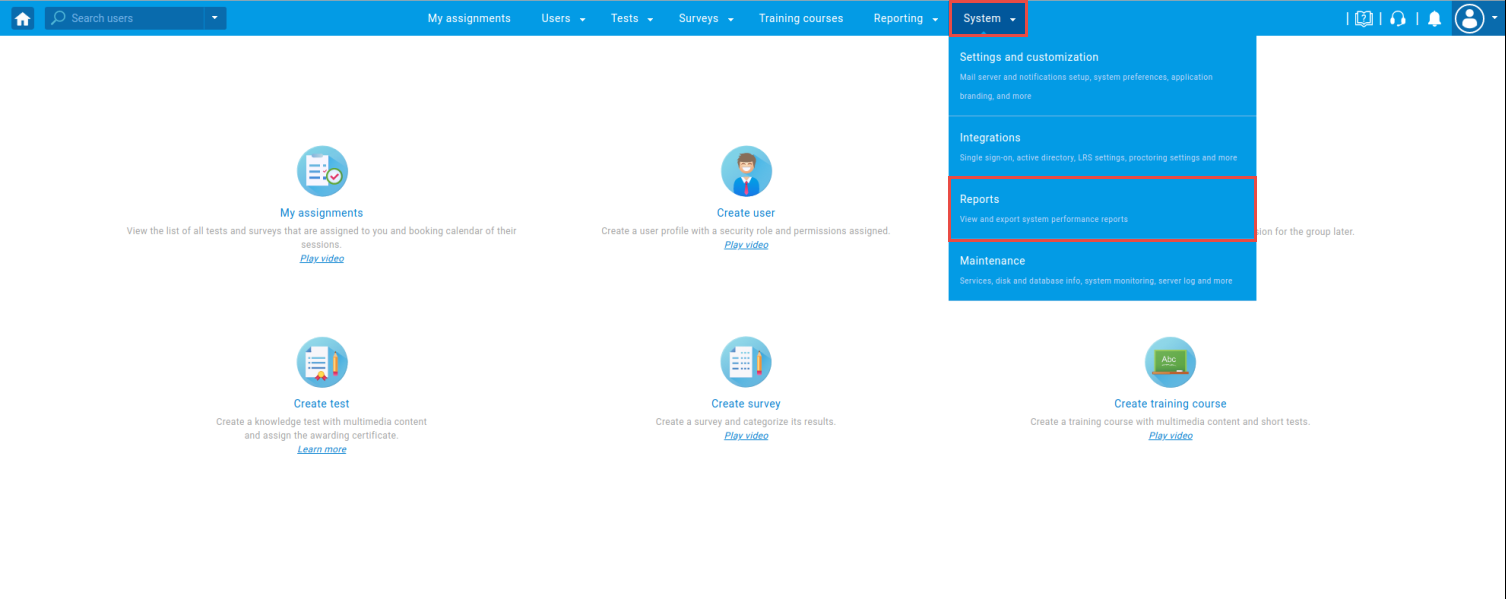
-
Page layout
By completing these two simple steps, you will be able to see system reports:
-
Choose report
The first step is to choose the report and click on it. You will be taken to the second step.
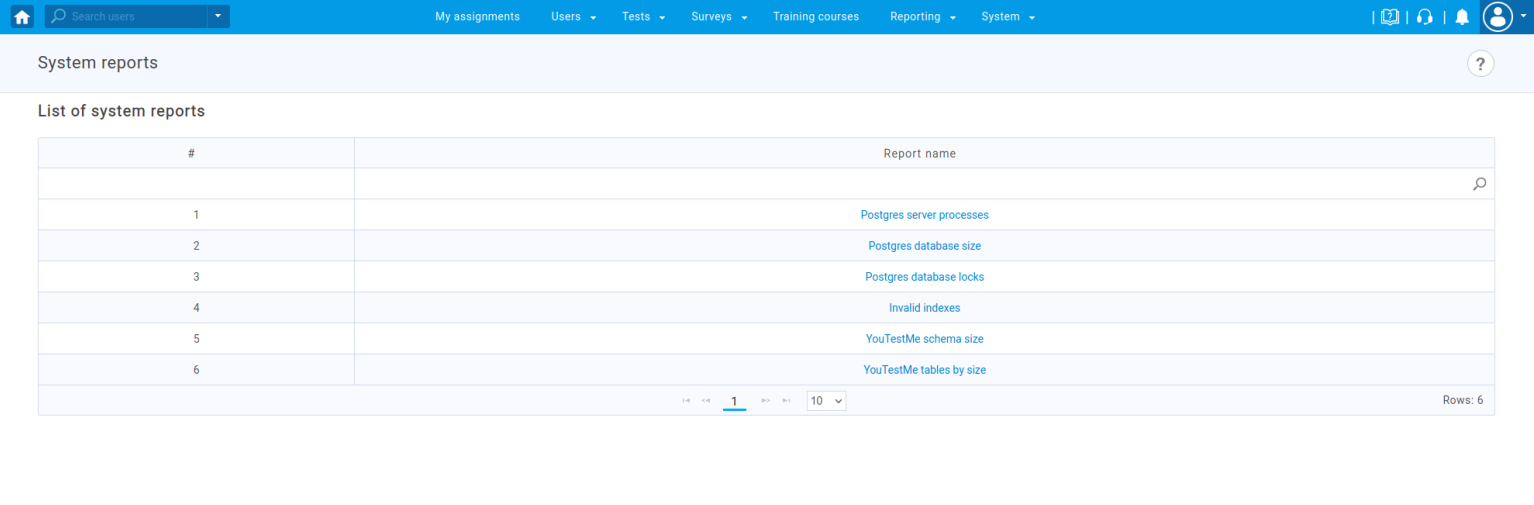
-
Report outcome
The second part of the process is to review your report. You will receive all the records from the database for the chosen report. You can export the report as an Excel or PDF file by clicking the "Export as Excel" or "Export as PDF" buttons, respectively. If you have chosen a wrong report, you can go back to the first step by clicking the "Back to report list" button.
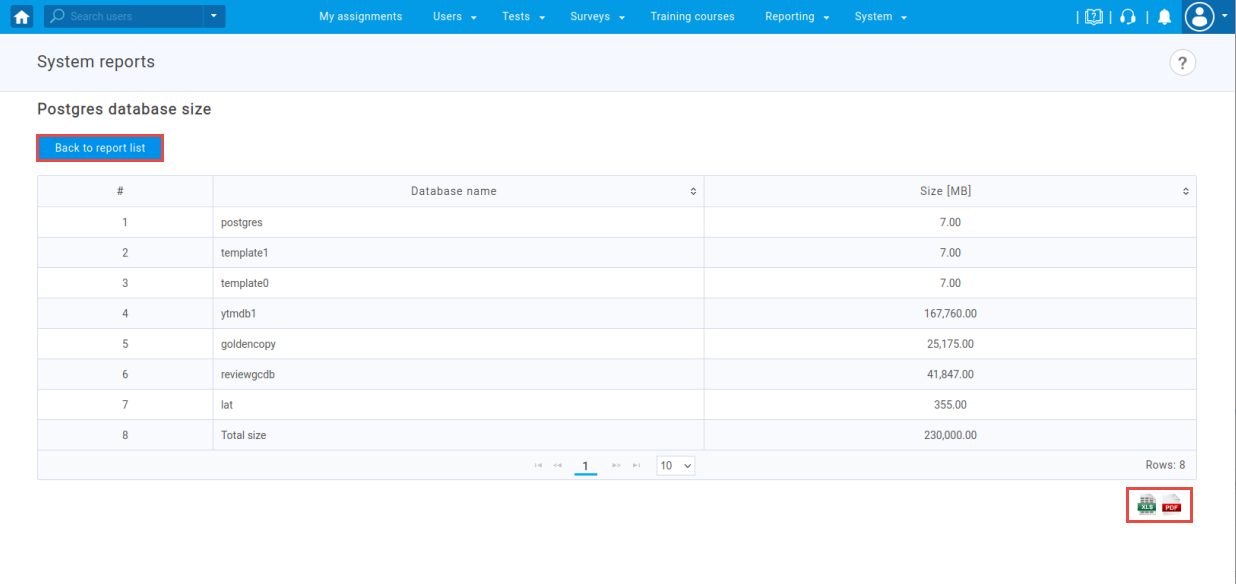
-
Zapier integration
Zaps are services that facilitate connections with various applications integrated with Zapier. Setting up Zapier integration with your chosen application is necessary to create workflows and new Zaps. You can choose from various integration options to create Zaps using the GetCertified application.
You can create a Zap to perform actions such as creating, updating, or deleting users, adding users to training, and creating attempts by selecting integration options available in the YouTestMe application. The most effective way to connect with the application is by using triggers.
The Zap workflow will execute each time a user is created, updated, or deleted, and the administrator will receive a notification regarding the event.
-
Sign up for Zapier integration
In this step, we will explain how to create an account on Zapier.
Note: If you already have an account, proceed to the Log in page and enter the required login information.
To get started, navigate to the YouTestMe Zapier integration. You can sign up for Zapier using the following methods:
-
Google account.
-
Facebook account.
-
Microsoft account.
-
Work email.
-
Create an account using the Google account option
In this example, we will demonstrate how to create a new Zapier account using the Google account option.
-
Click the Sign up with Google.
-
Select an account to continue with Zapier integration or use the Use another account option.
-
Set up the additional information.
-
Click the Continue button.
-
In this step, you can search for and choose personalized workflow recommendation applications.
-
If you choose a personalized application, click the Finish setup button afterward. Alternatively, you may skip this step by clicking the Skip button.
To create a new Zapier account, follow these steps:
Note: Upon clicking the Finish setup or Skip button, you will be automatically redirected to the Zapier dashboard.
-
-
-
Create a Zap
-
Select the Zaps option on the left-side menu.
-
Click the Create button.
-
Click the New Zap button.
To create Zaps, follow these steps:
-
Set up a trigger
-
In the Search bar, locate the YouTestMe application.
-
Select the YouTestMe application.
-
Choose the New user from the dropdown for the trigger Event type.
-
Click the Continue button.
-
To connect with the YouTestMe application, click the Log in button.
-
Username.
-
Password.
Note: Enter the username and password you use for your YouTestMe application.
-
API URL of your YouTestMe instance.
Note: If you don't have an API URL, please contact YouTestMe Support at support@youtestme.com to enable the API and obtain the URL.
-
Click the Yes, Continue to YouTestMe button.
-
Click the Continue button.
-
Click the Test trigger button.
-
Click the Continue with selected record button to configure the action.
In this step, you will need to set up a Trigger, which is an event that starts your zap. To do that, use the Search bar to find your application.
A pop-up window will appear where you need to enter the following information:
After logging in to the YouTestMe application:
Note: You will receive information about the last created user on the server.
-
-
Set up an action
-
Choose the app you want to use for the event. For example, select the Slack application.
-
Choose Send Direct Message from the dropdown for the trigger Event type.
-
Click the Continue button, and choose the account.
-
Click the Log in to Connect Slack.
-
Upon clicking Log in, a pop-up window will appear. Enter your workspace’s Slack URL in the provided field.
-
Click the Continue button.
-
Zapier is requesting permission to access the YouTestMe Slack workspace. To proceed, click the Allow button.
-
When you set up Zapier to access your Slack workspace, click the Continue button.
In this step, we will set up an Action, which is an event that a Zap performs after it starts.
-
-
Configuring the Action: Sending Direct Message to Slack
-
Send Multi Message - Choose Yes if you want to send multiple messages to multiple users, or No if not needed.
-
To username - Specify the user who will receive the direct message.
-
Message Text - Enter the text of the message you wish to send. You can enter the text and data.
-
Send As A Bot? - Choose Yes or No. Choose No if you want the message to appear as if it's coming from you.
Note: Bots always send direct messages.
-
Bot Name - You can optionally specify the bot's name, which will appear as a bold username above the message in Slack. By default, the bot's name is Zapier.
-
There are other useful settings available to enhance your messaging experience: Bot Icon, Include a link to this Zap, Attach Image by URL, Auto-Expand Links, Link Usernames and Channel Names, and Schedule At.
To set up the action for sending a direct message to Slack, follow these steps:
-
-
Set up a message text
-
Select a Slack Username - Choose a Slack username from the dropdown list of users you want to send the message to.
-
Message Text - The message will contain the text and selected user data.
Note: You can customize the message text and data as you see fit.
-
Click the Continue button.
-
Before proceeding, preview the message data to ensure it appears as intended.
-
Click the Test action button to test sending the direct message, or click the Skip test button to skip the test.
-
Click the Continue button.
-
If you want to retest the action, click the Retest action button.
When you click the Continue button, you will receive a confirmation that the message has been sent to Slack.
-
-
-
Create a new user via spreadsheets
With Zapier, you can effortlessly create a new user using Google Sheets. The Zap you create will read the spreadsheet data and generate a new user in GetCertified.
-
Navigate and log in to the YouTestMe Zapier integration.
Note: If you don't have an account, you can follow the instructions on how to sign up in the chapter Sign up for Zapier integration.
-
Select the Zaps option on the left-side menu.
-
Click the Create button.
-
Click the New Zap button.
-
In the Search bar, locate the Google Sheets.
-
Select the Google Sheets.
-
Choose New or Updated Spreadsheet Row from the dropdown for the trigger Event type.
Note: A new user will be created when you add a new row to the bottom of a spreadsheet.
-
Click the Continue button.
-
To connect with the Google Sheets you use for spreadsheet creation, click the Log in button.
-
Select an account to continue with Zapier integration.
-
Alternatively, you can use the Use another account option.
-
After connecting to Google Sheets, click the Continue button.
To begin, follow these steps to create New Zap:
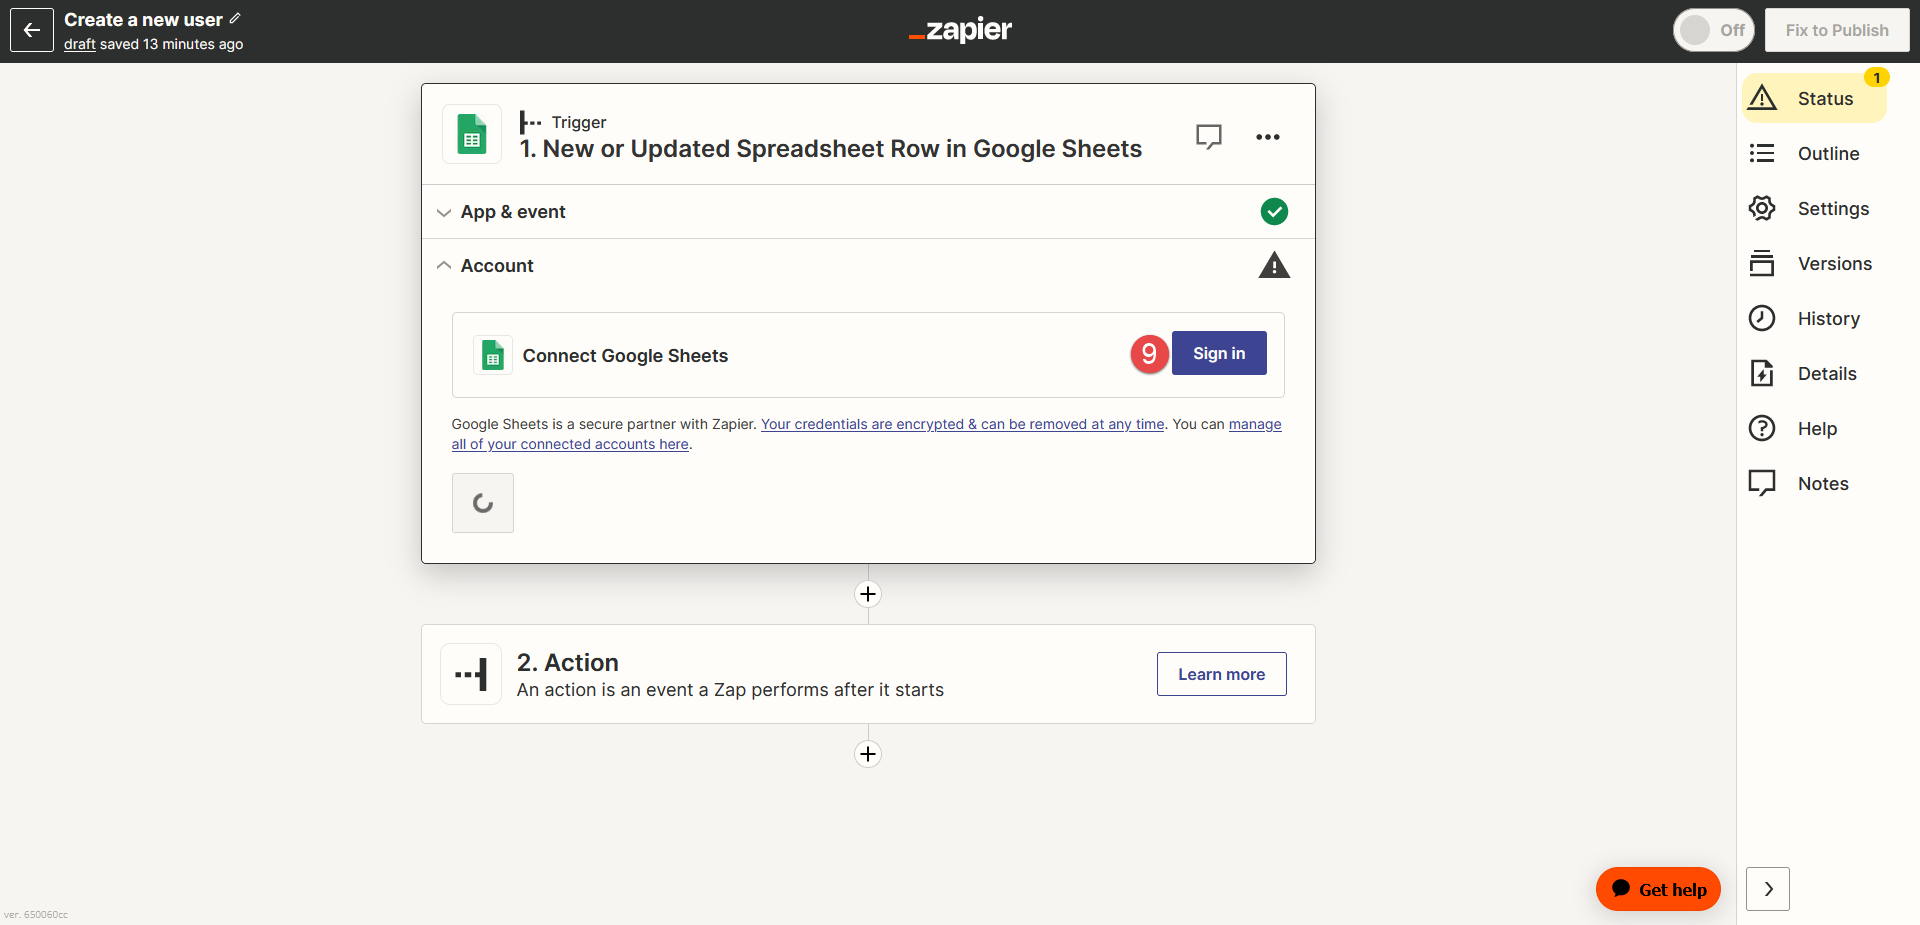
A pop-up window will appear, and follow these steps:
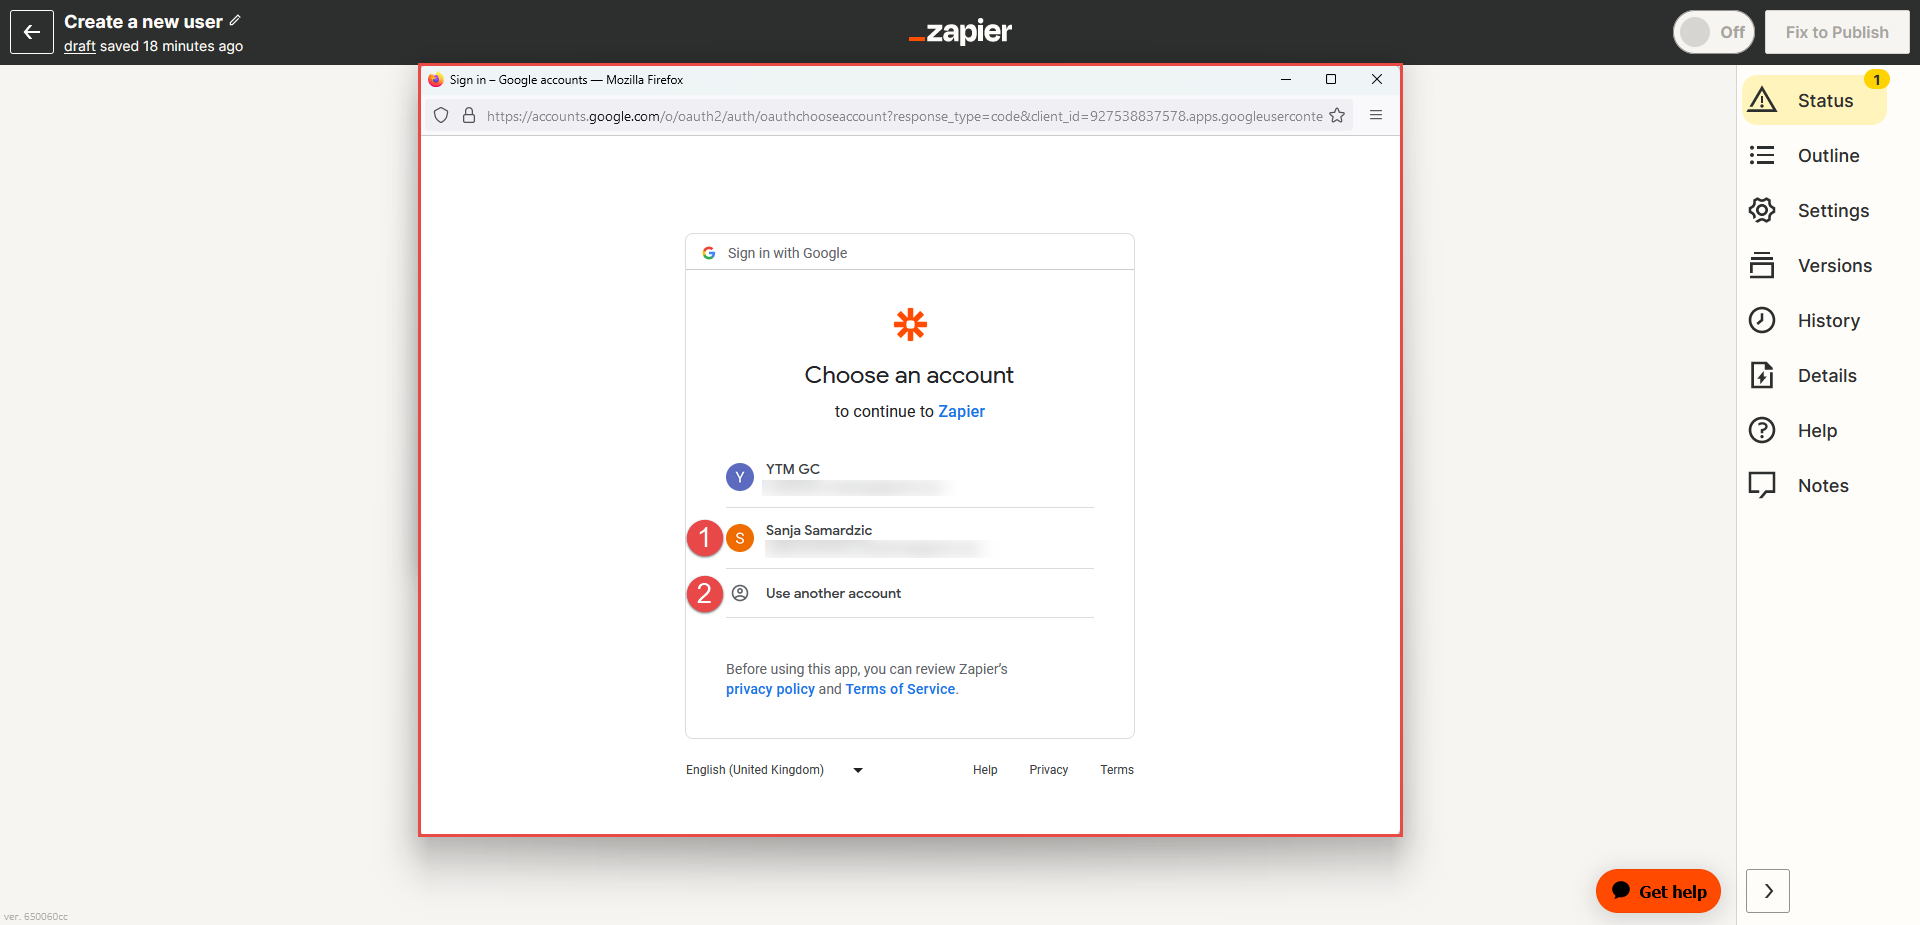
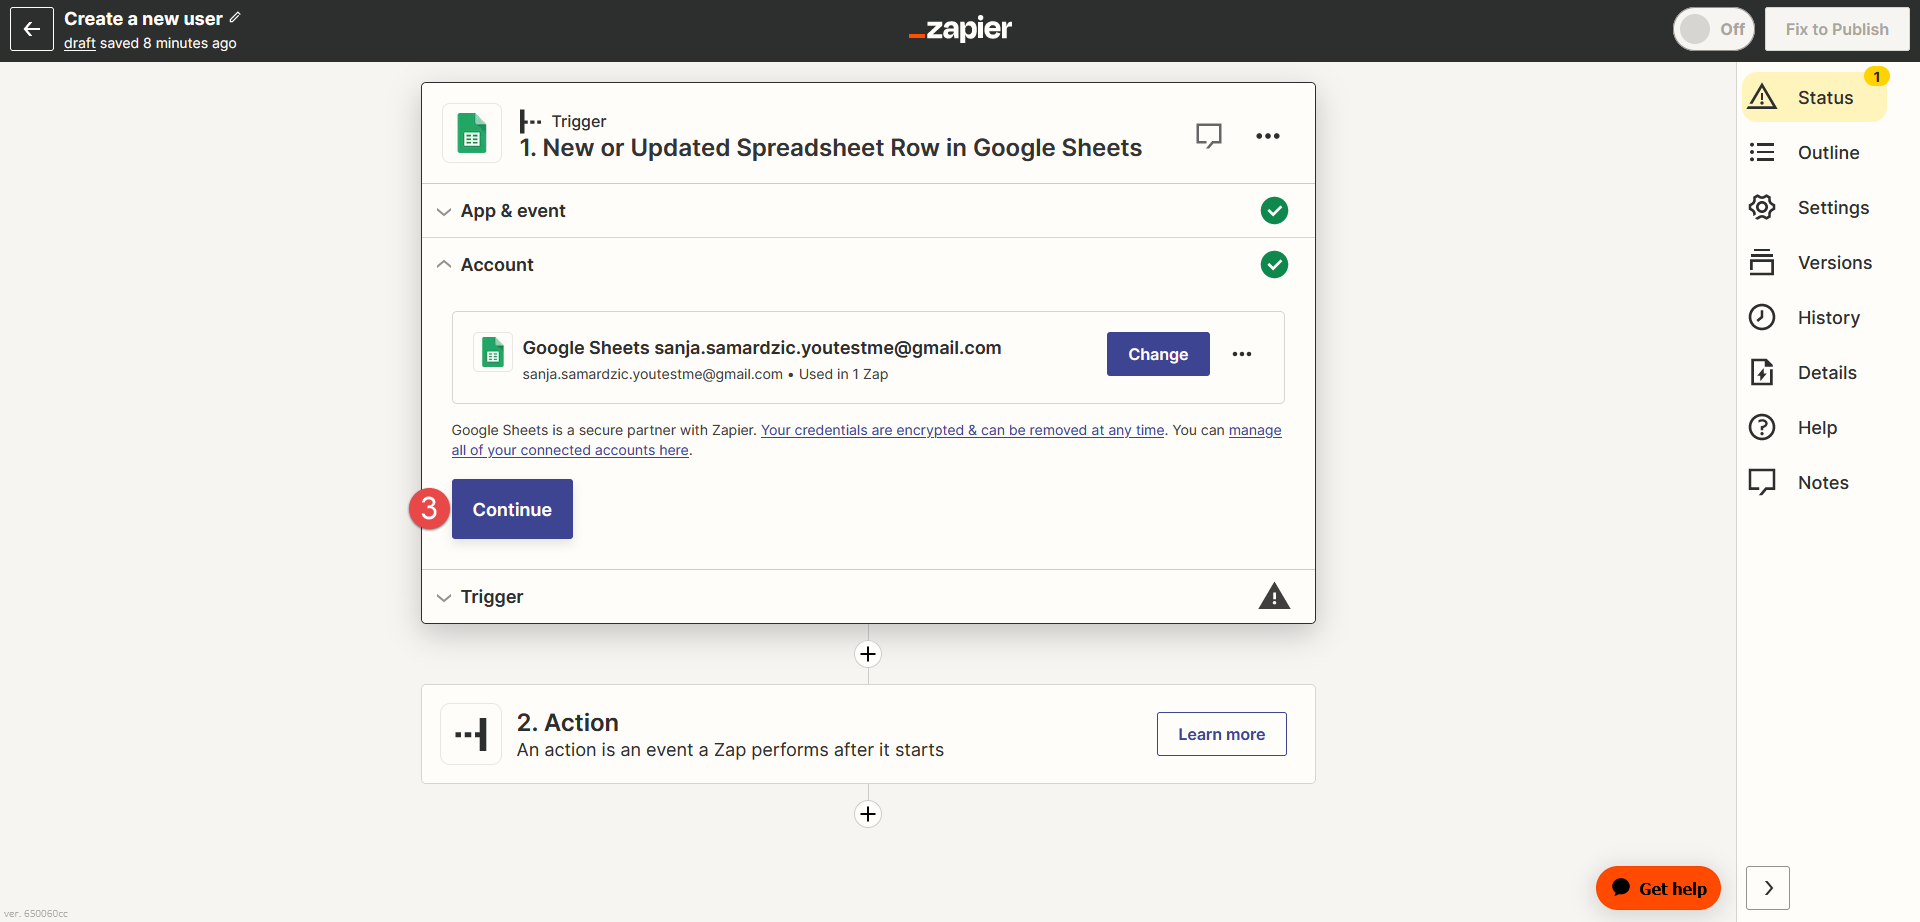
-
Fill in the Spreadsheet with the user data
-
USERNAME - Enter the username of the candidate.
-
EMAIL - Enter the email of the candidate.
-
FNAME - Enter the first name of the candidate.
-
LNAME - Enter the last name of the candidate.
-
PHONE - Enter the phone number of the candidate.
-
STATUS - Enter ACT for Active or INV Inactive.
To create a new spreadsheet, use the columns as shown in the picture and fill them in with the following user data:
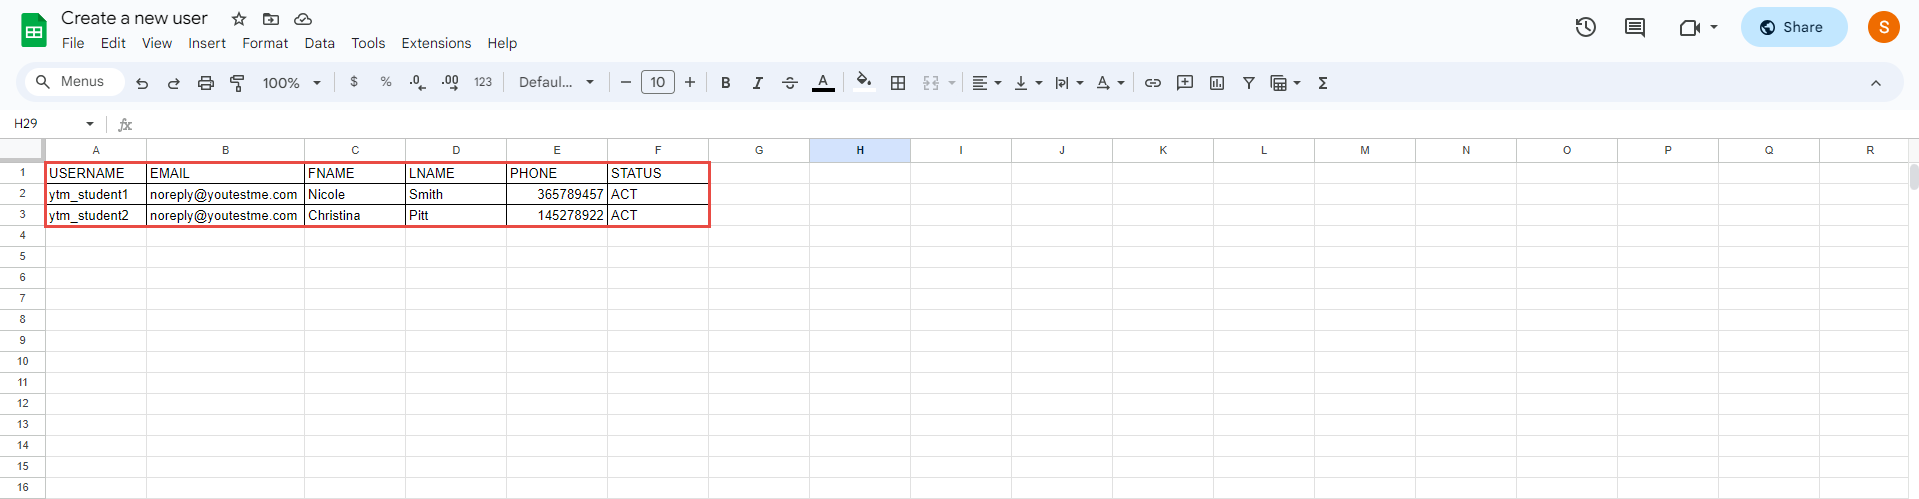
-
-
Set up a trigger
-
Select the Spreadsheet you will use to enter the data about users.
-
Select the Worksheet for the chosen sheet where you will enter the data about users.
-
Choose the trigger column. For example, USERNAME or select the Any column option. Depending on the option you select, the trigger will start only on the changes in one of the columns or All the Spreadsheet columns.
-
Click the Continue button.
-
Click the Test trigger button.
Note: Before proceeding, it is necessary to test the trigger. This will ensure that Zapier can find a recent spreadsheet row containing user data.
-
Select the Spreadsheet row to continue with the record.
-
Click the Continue with selected record button.
The next step is to set up a trigger. To do that, follow these steps:
If the trigger test is successful, the user data will be read from a spreadsheet row and displayed.
-
-
Set up an Action
The next step is to set up an Action. An action is an event a Zap performs when triggered.
-
Choose the YouTestMe app to use for the event.
-
Choose the Create user from the dropdown for the trigger Event type.
-
Click the Continue button.
-
Choose the YouTestMe account to log in and connect with the application. For more instructions on how to log in to YouTestMe, read further in the section Connect to YouTestMe.
-
Click the Continue button.
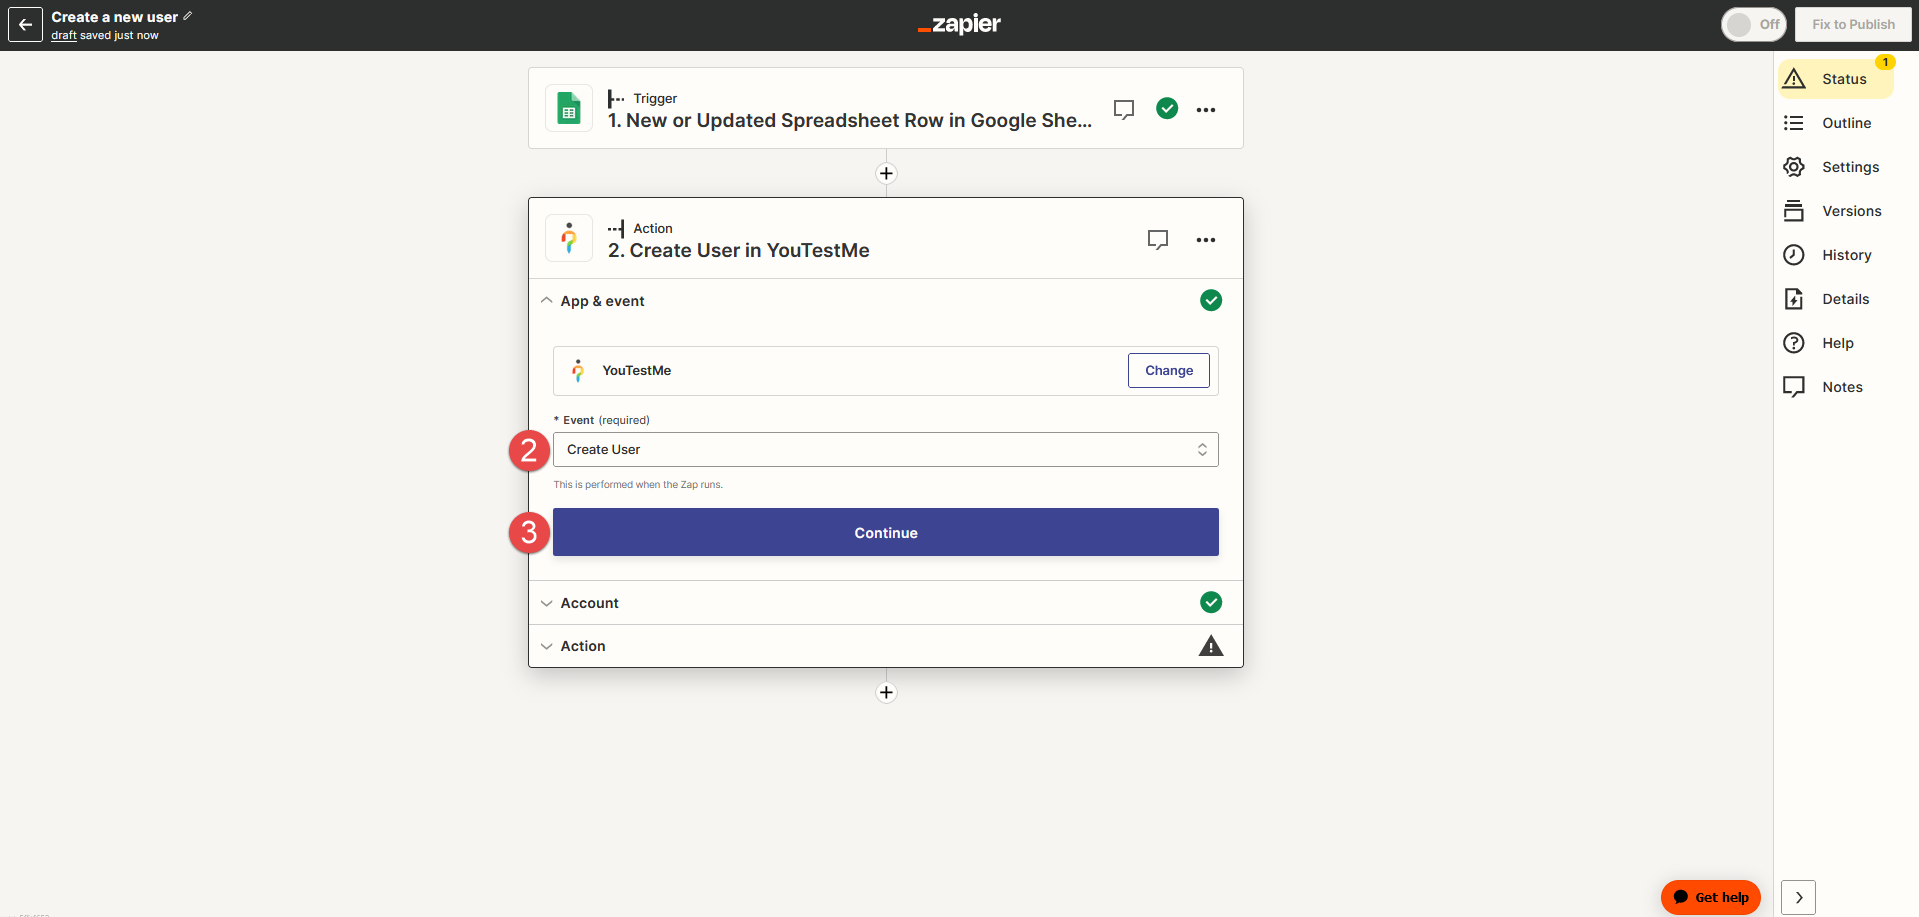
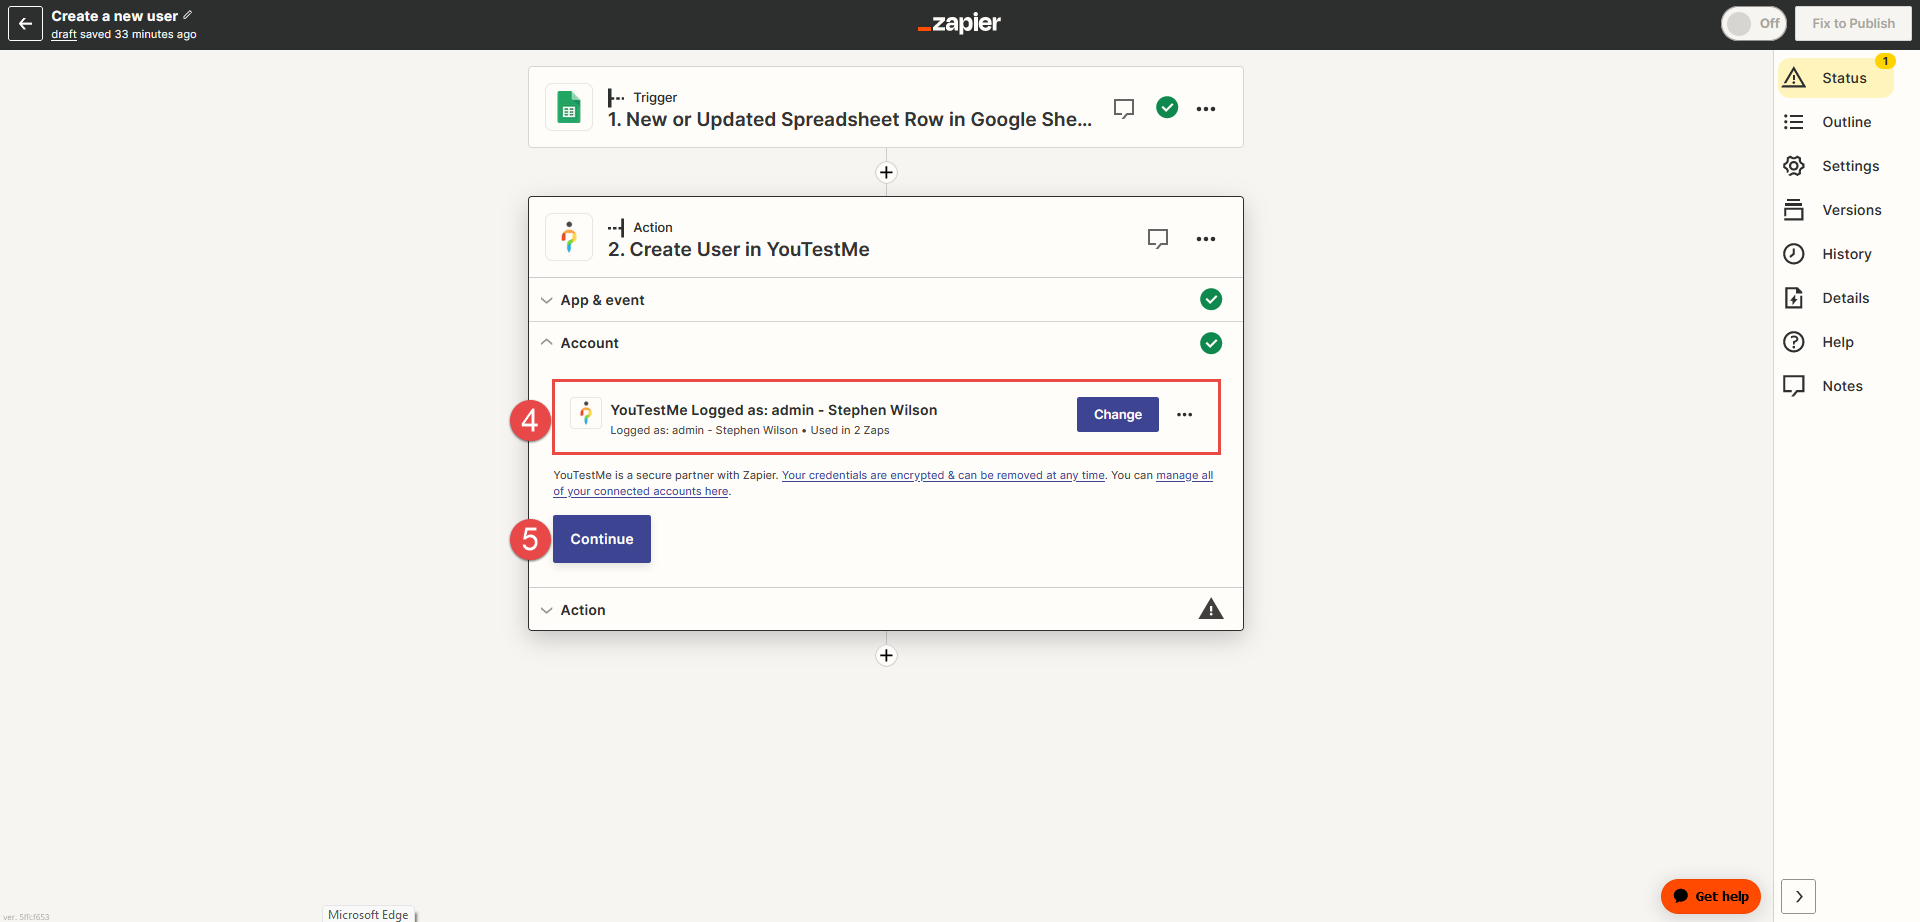
-
Username of the new user - Choose from the dropdown list the desired column from a spreadsheet (USERNAME).
Note: The username must be unique in the application and will be used to log in.
-
Status of the new user - Choose from the dropdown list the user's status (Active, Inactive, Suspended, Locked, or Pending)
-
Role of the new user - Define if the user is an Administrator, an Instructor, a Proctor, or a Student.
-
Email of the new user - Choose the desired column (EMAIL) from the dropdown list. It allows the user to verify their profile, reset their password, and receive other notifications from the application.
-
Password of the new user - Enter the desired password.
Note: If the password is not defined, the user can later set it by choosing the Forgot your password option.
-
First name of the new user - Choose from the dropdown list the desired column (FNAME).
-
Last name of the new user - Choose from the dropdown list the desired column (LNAME).
-
Gender of the new user (optional).
-
Date of birth of the new user (optional).
-
Phone number of the new user (optional).
-
Click the Continue button.
-
After setting up the Zap, you can test the user creation action. To do so, click the Test action button. You will receive a message confirming the user has been sent to YouTestMe GetCertified and successfully created. Click the Skip test button to avoid creating a user with test data.
-
Click the Publish button. When you publish a Zap, it will be turned On, and each time you insert a new row into the spreadsheet, a new user will automatically be created. The Action will trigger when adding a new row containing the user data.
-
Click the Transfer existing data button.
-
When you click Transfer existing data, your data will be transferred to the Zap.
To set up Action, insert the following:
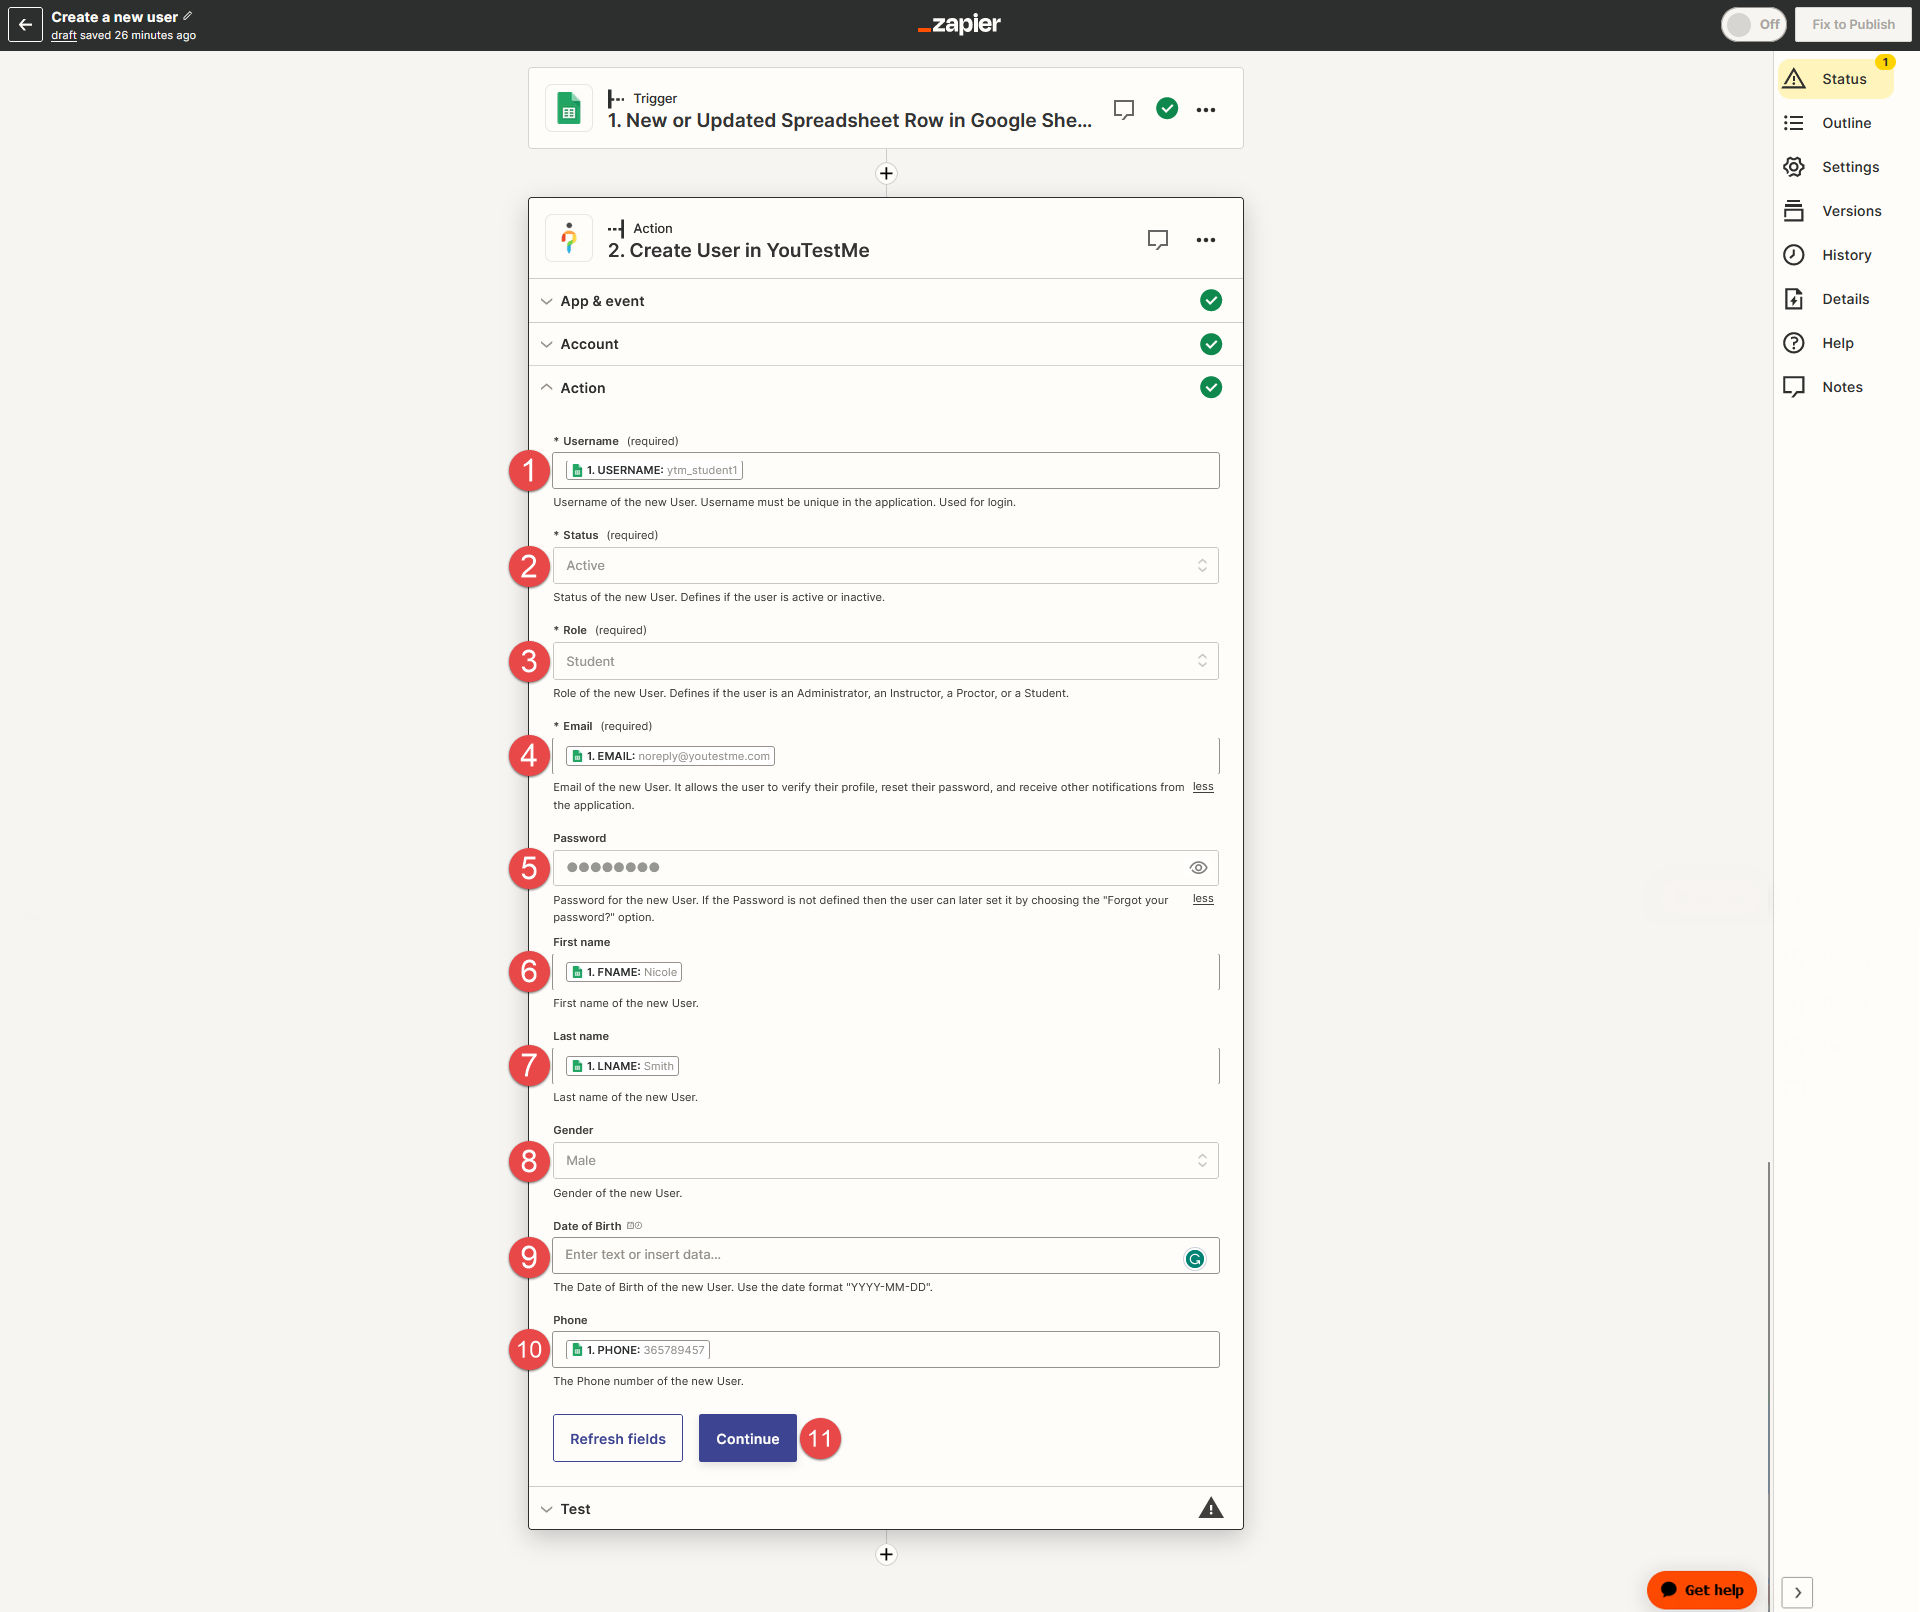
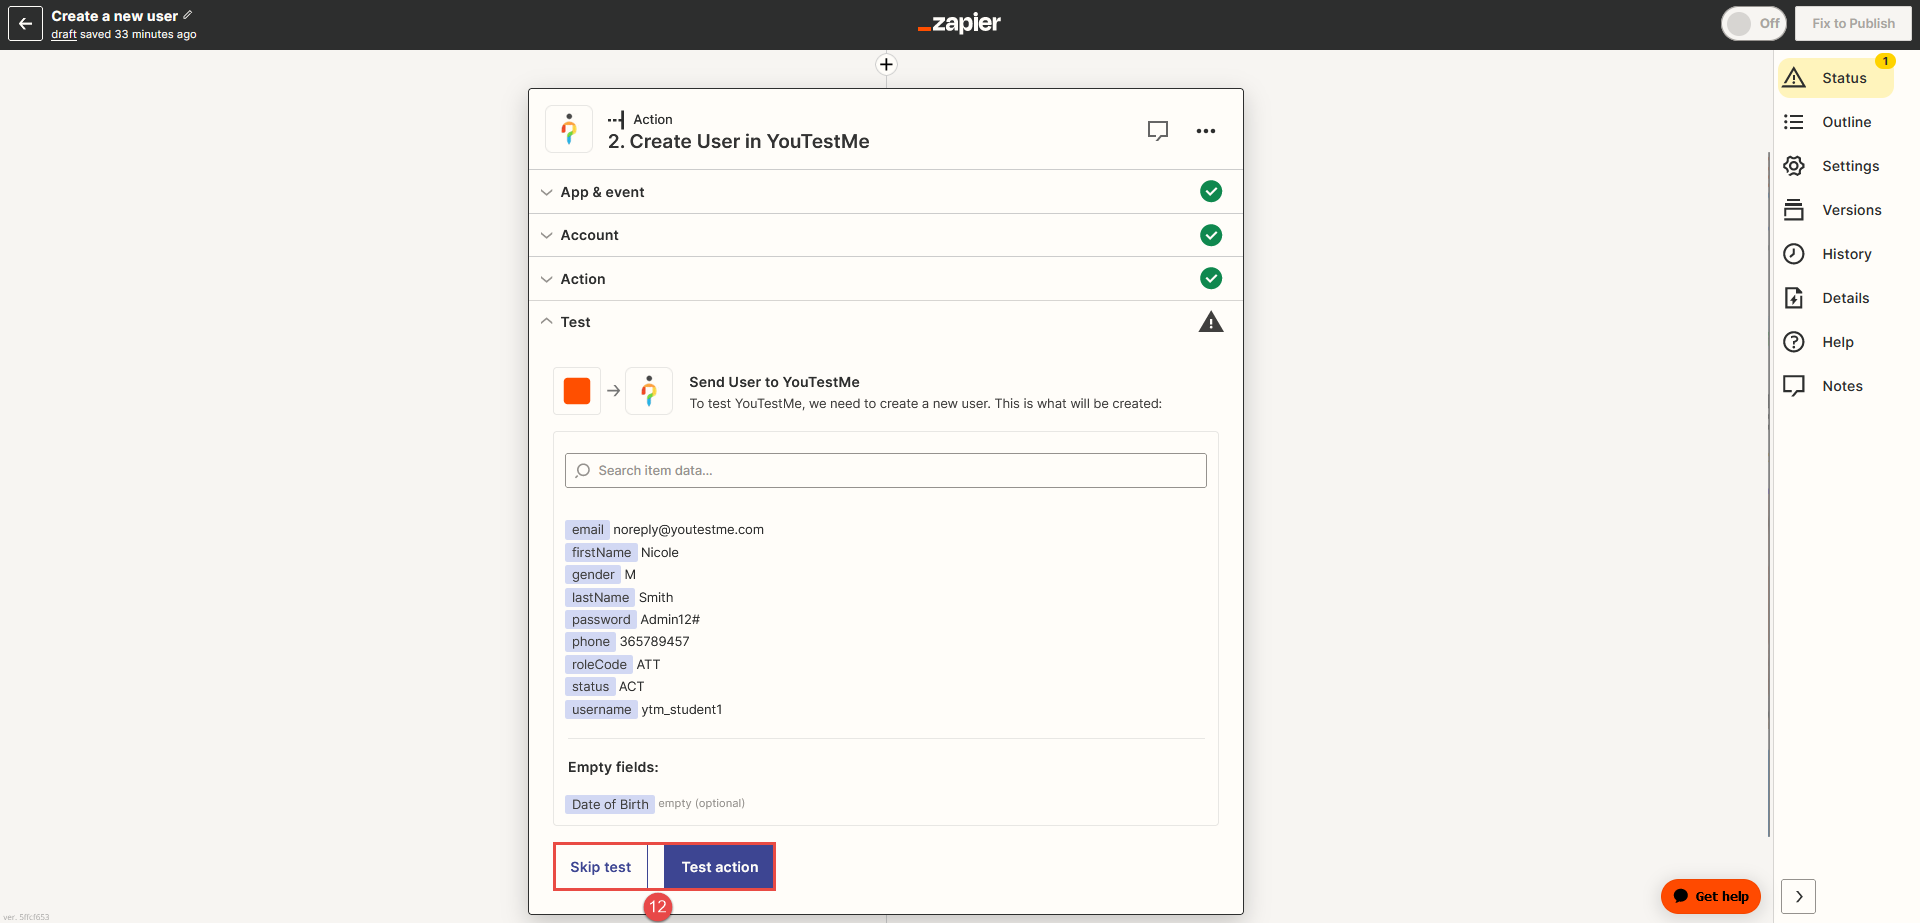
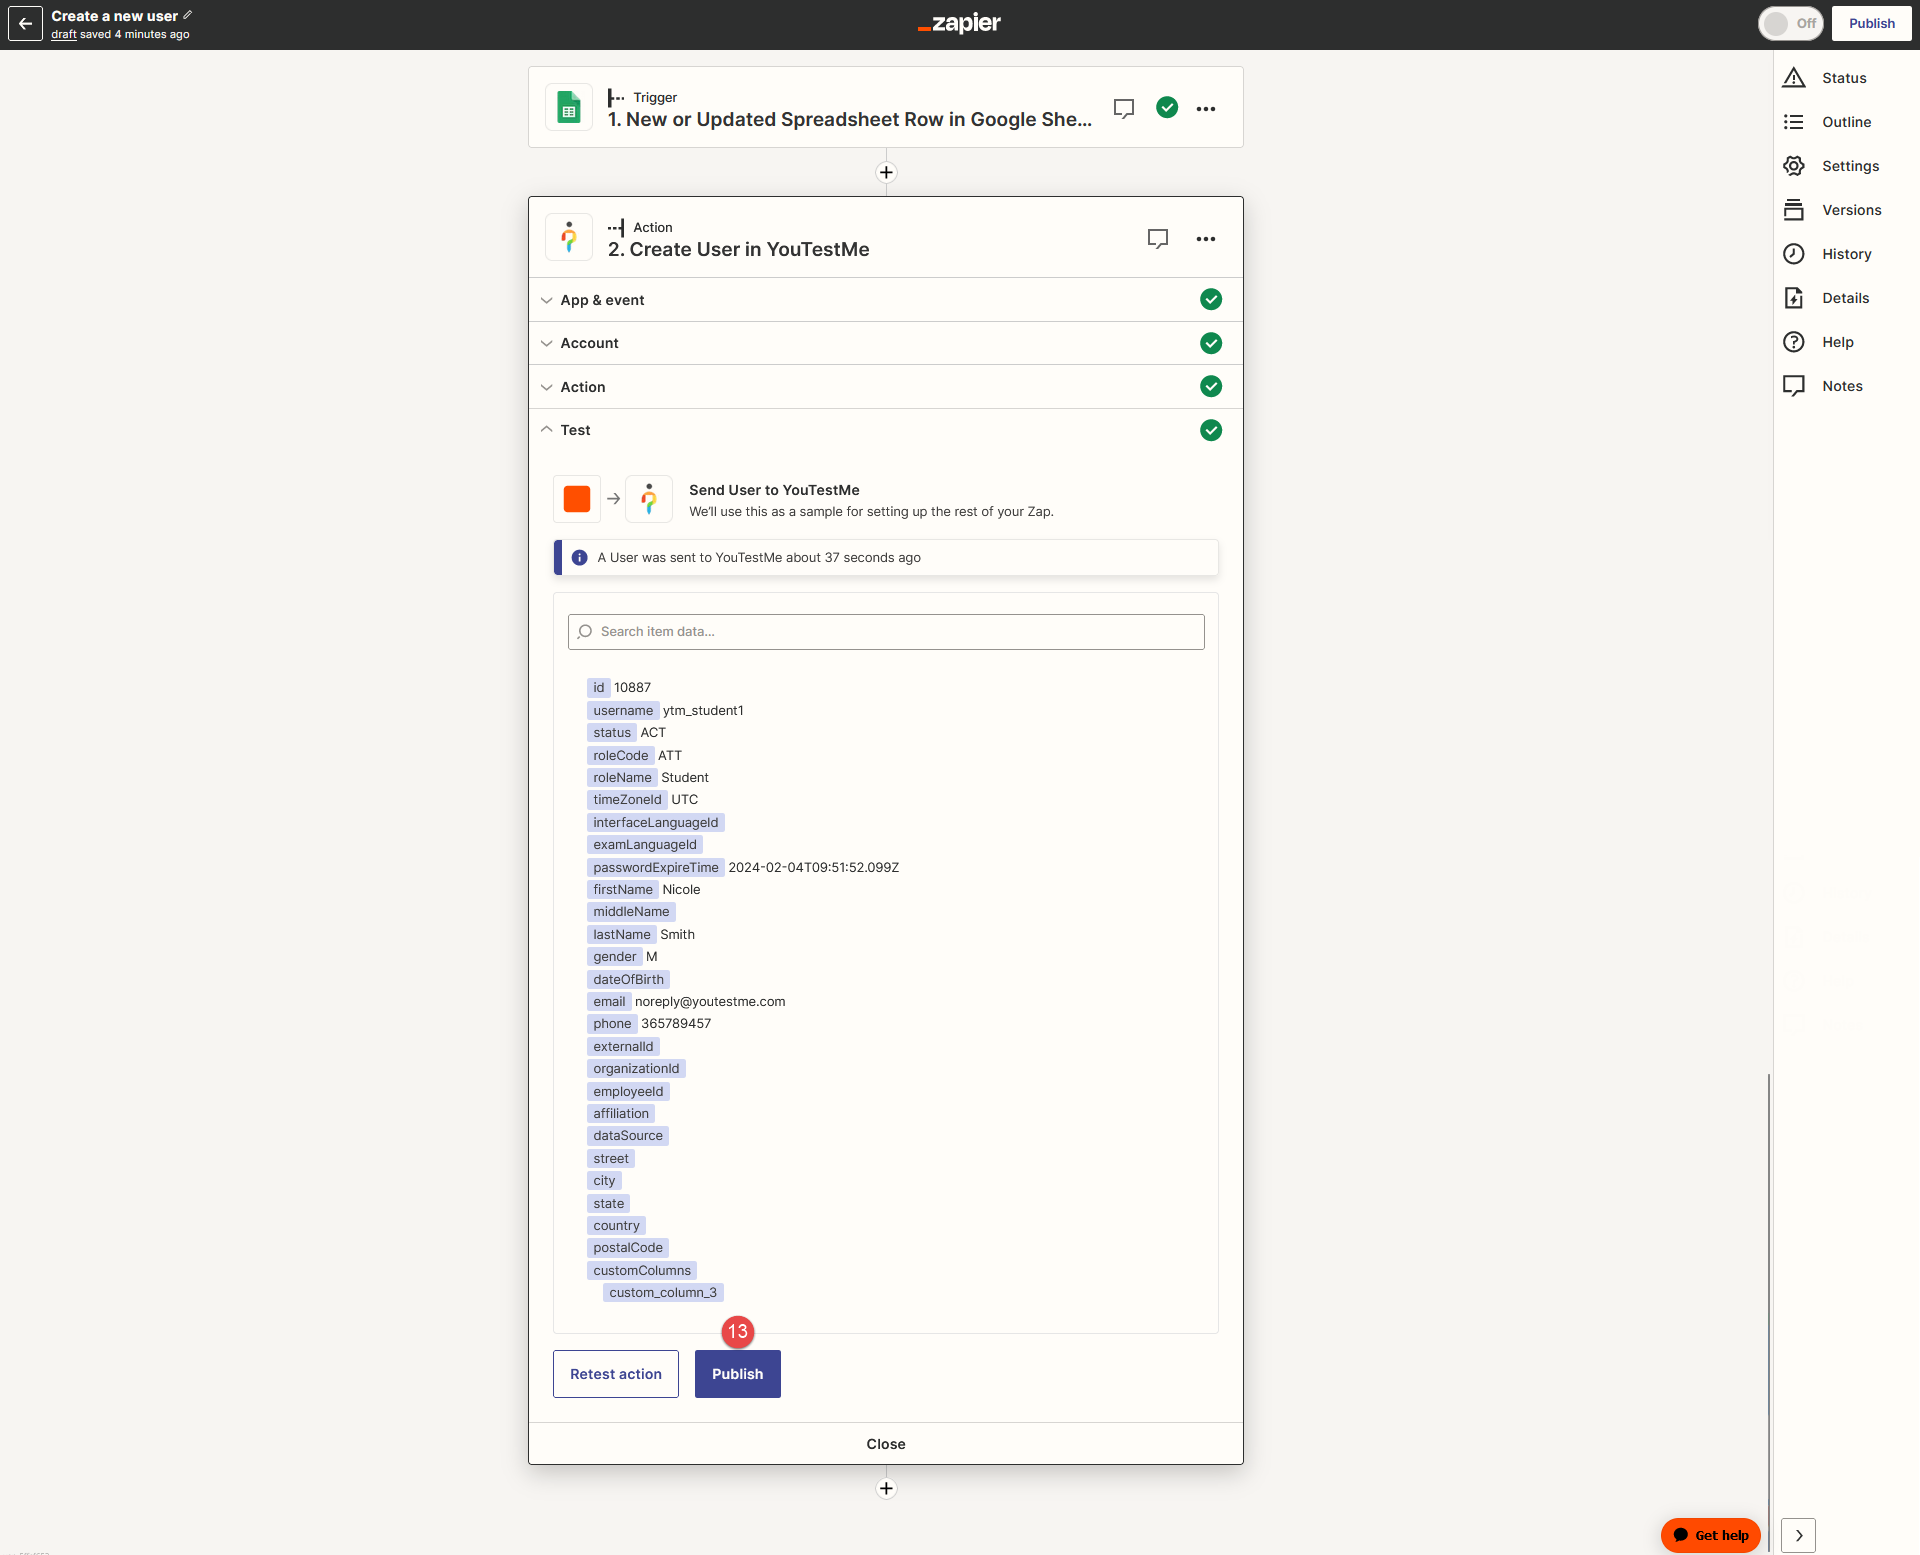
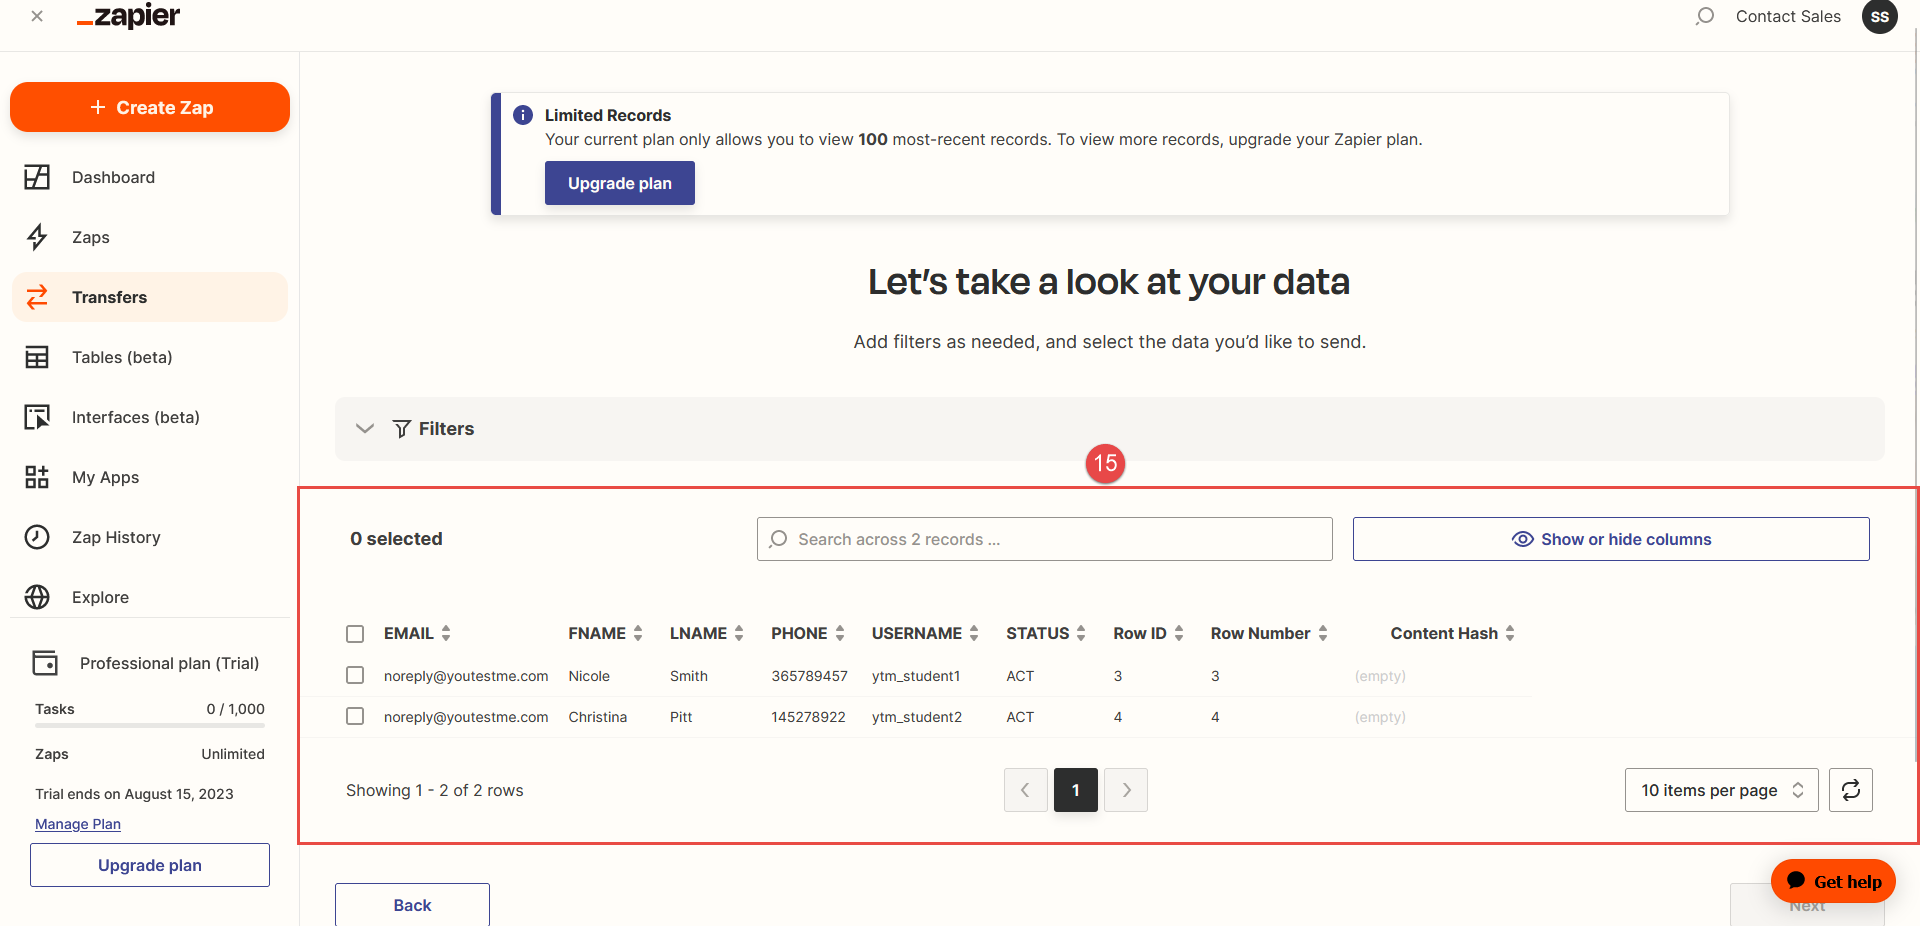
-
-
Check the Created Users on the YouTestMe App
To check the created user via Zap Integration and Google Sheets, follow these steps:
-
Navigate to the YouTestMe application, and log in.
-
Go to Users, and select the User profiles section.
-
In the Username column, use the Search bar to search for the username of the user which you integrated.
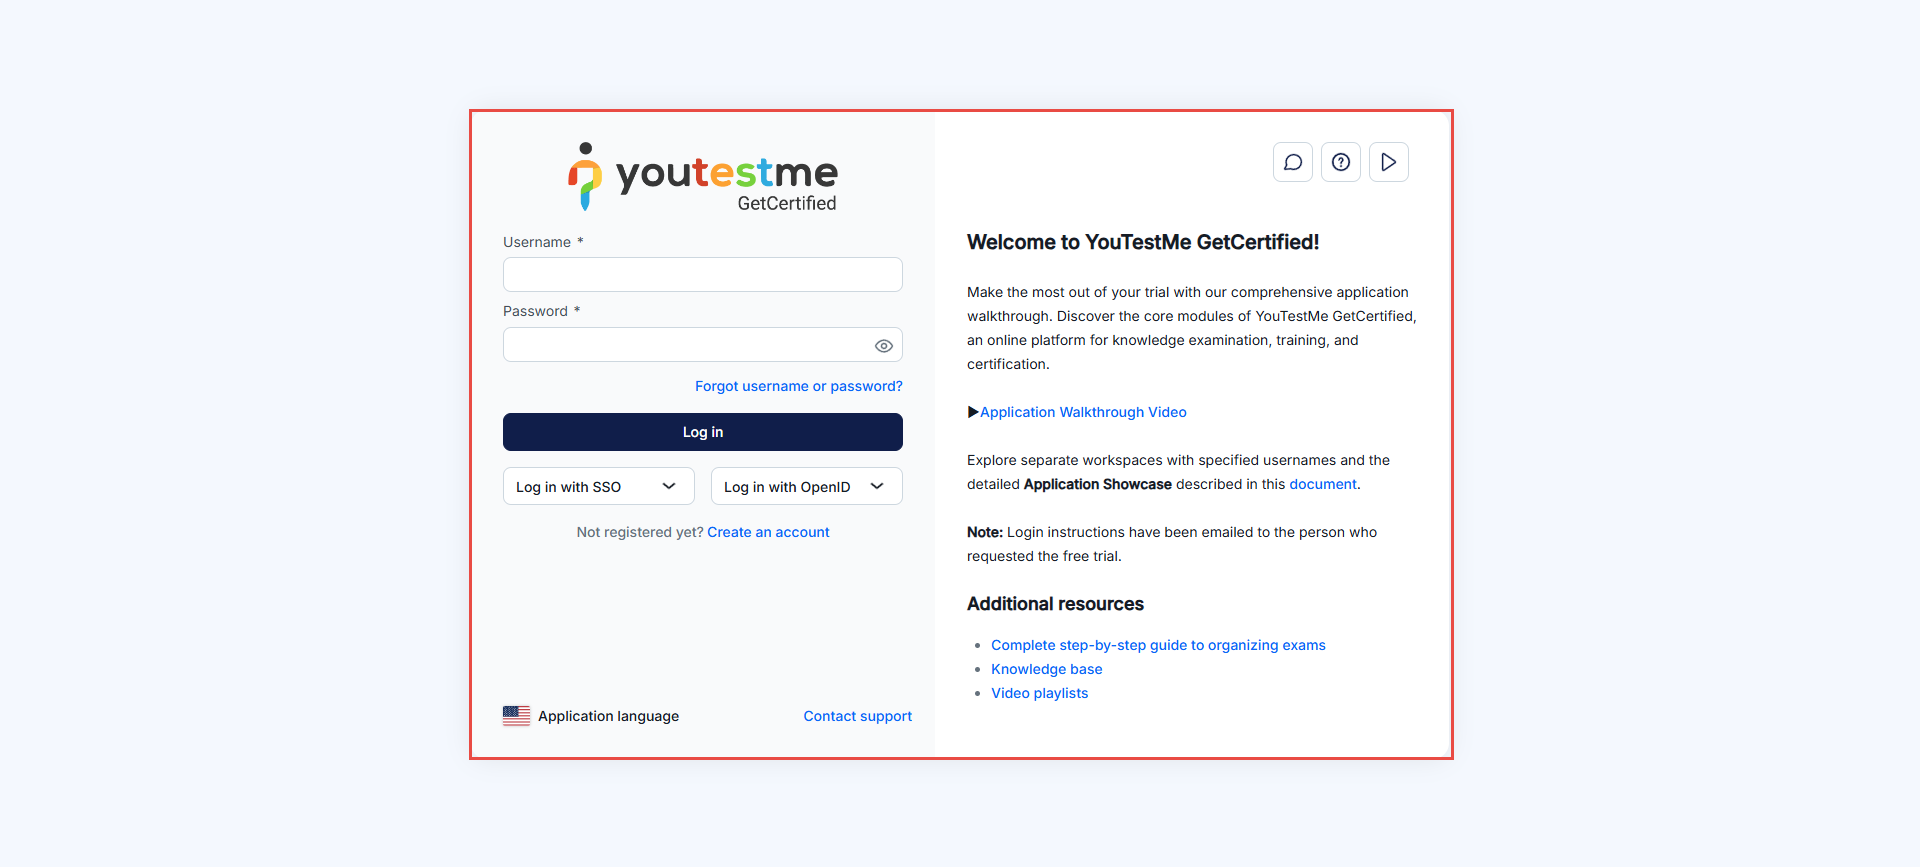
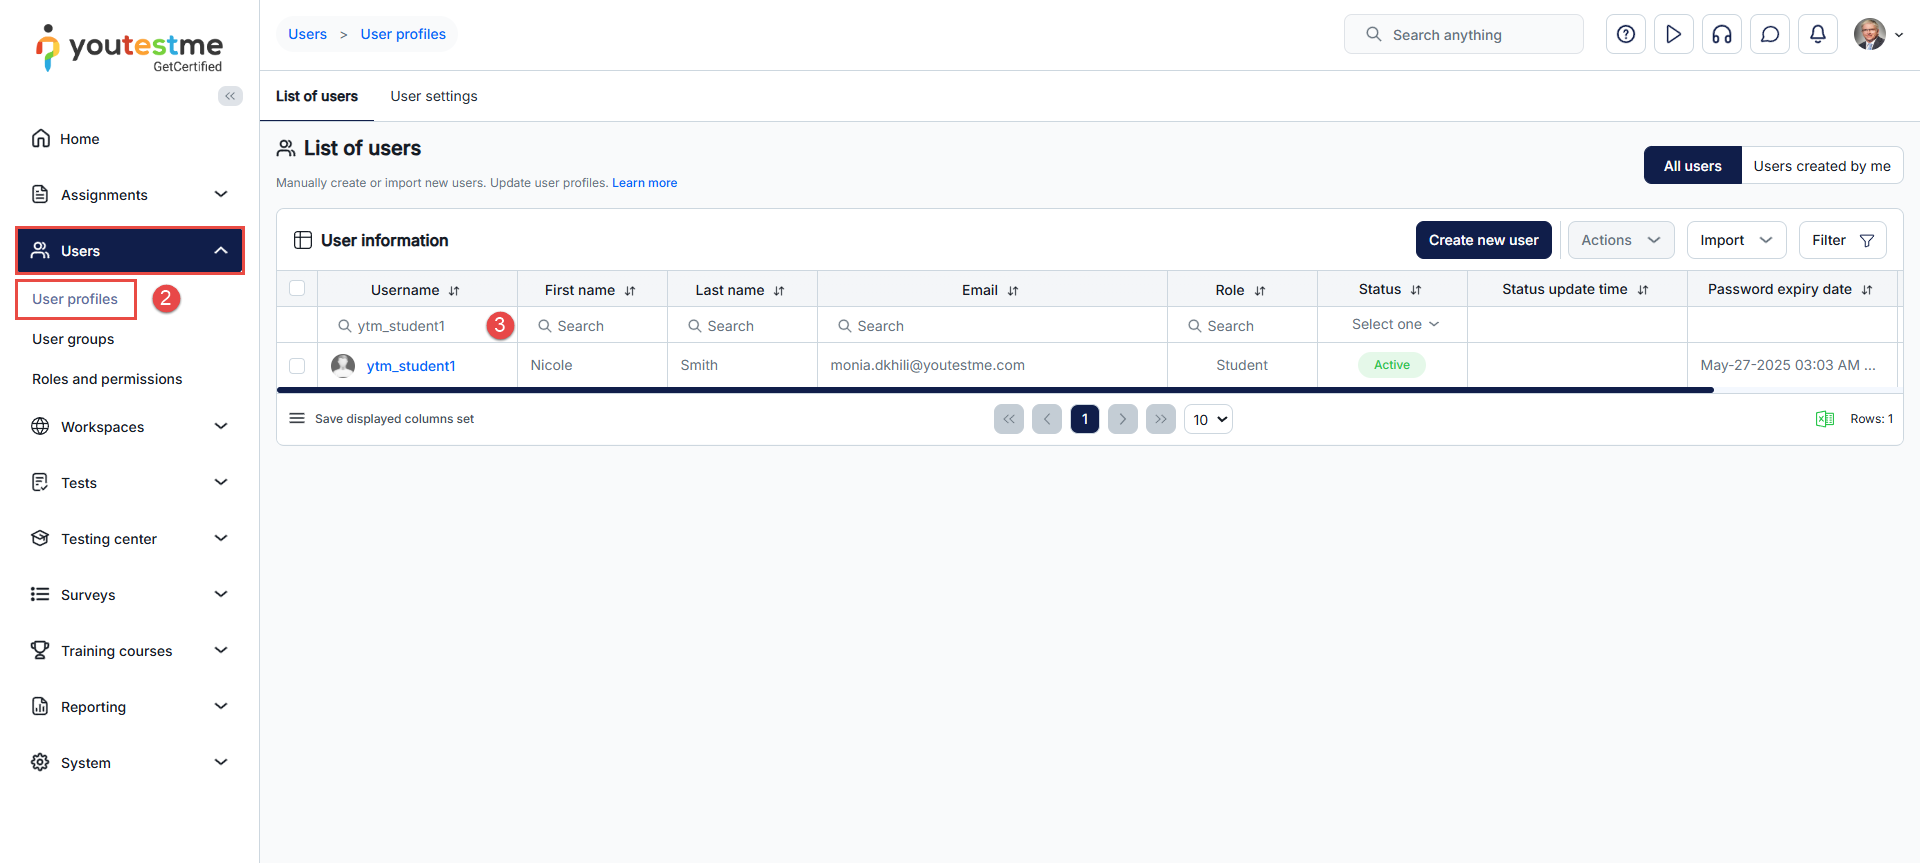
For more instructions on assigning users to a training course using Google Spreadsheets and Zapier Integration, refer to this article.
-
-
System maintenance
-
Introduction
The System Maintenance page enables users to access system information, including application version, release details, disk space allocation, database information, and more. Additionally, it allows system monitoring and Tomcat log tracking.
To access the System maintenance page, navigate to the System section in the main menu, then select Maintenance.
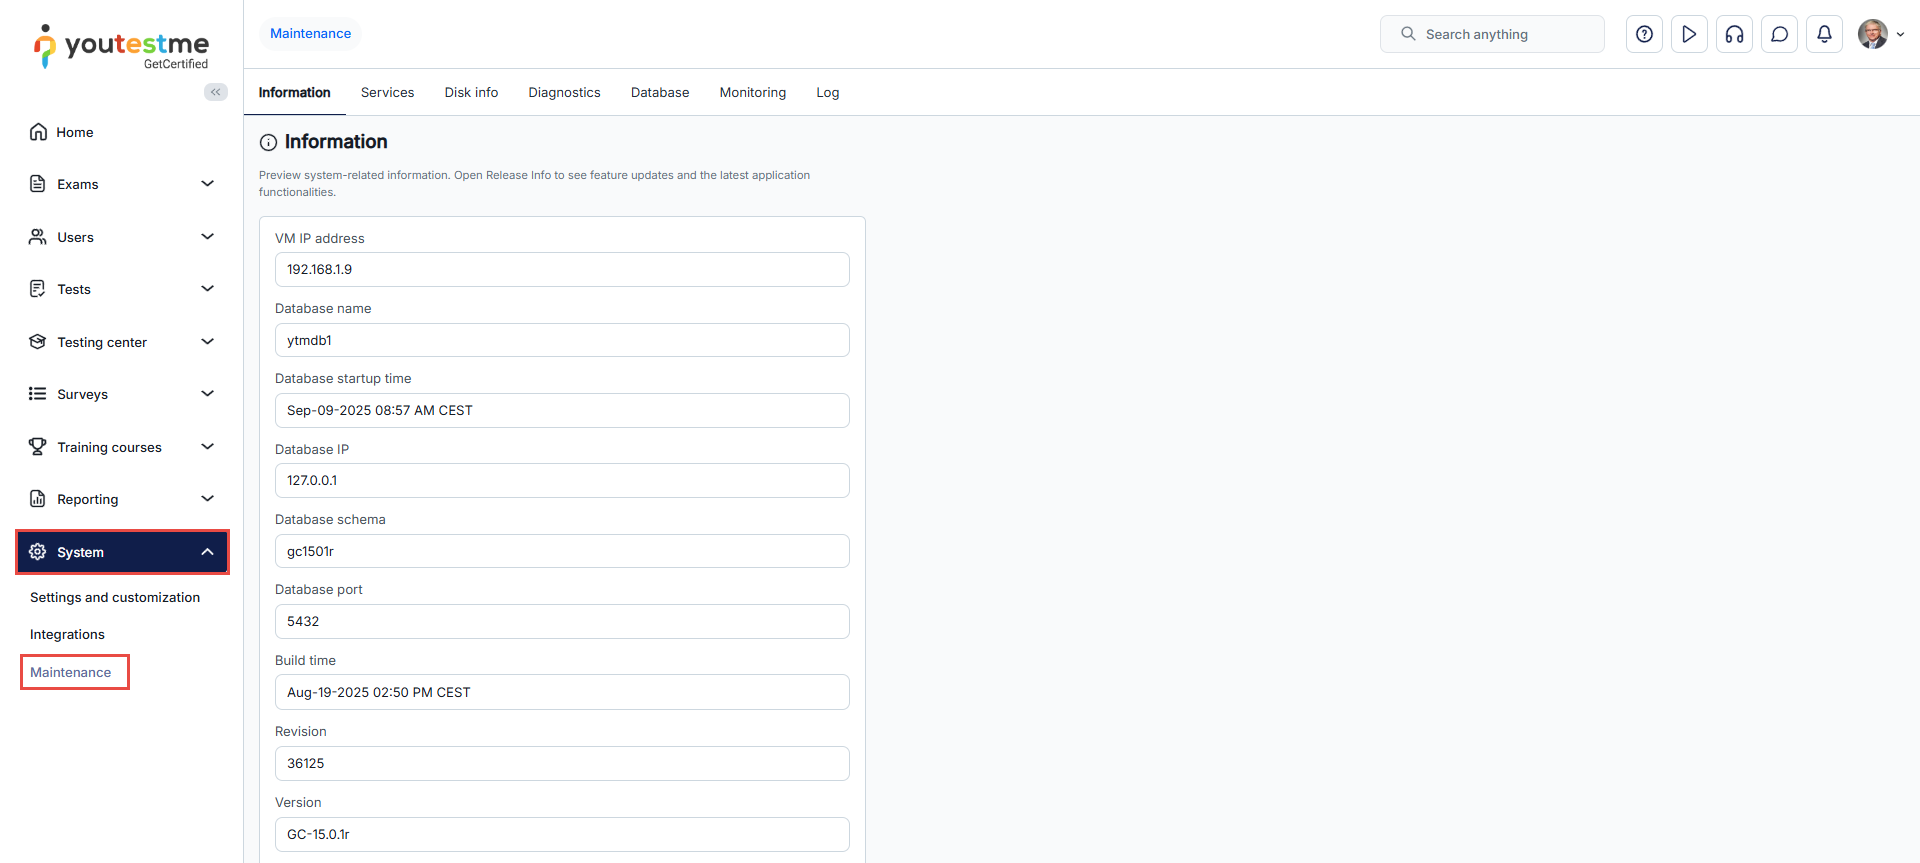
-
Information
On the Information tab, you can find important system-related details. Check the release info for feature updates and the latest application functionalities.
This tab includes:
-
VM IP address - The unique address assigned to your virtual machine.
-
Database name - The name of the database associated with your application.
-
Database startup time - The timestamp indicating when the database was last started.
-
Database IP - The IP address of the database server.
-
Database schema - The name of the database schema which stores all the data related to your application.
-
Database port - The specific network port used for database communication.
-
Build time - The timestamp indicating when the application was last built.
-
Revision - The revision number indicating the version of the application.
-
Version - The version number of your application.
-
System edition - The specific edition or version of the system you are using.
-
Release info - Information about your application's latest feature updates and enhancements. Click the Open release info button to open it in a new tab.
-
Server time - The current timestamp on the server where your application is hosted.
-
Reload system parameters - Refresh and apply any changes to the system settings, ensuring they take effect immediately.
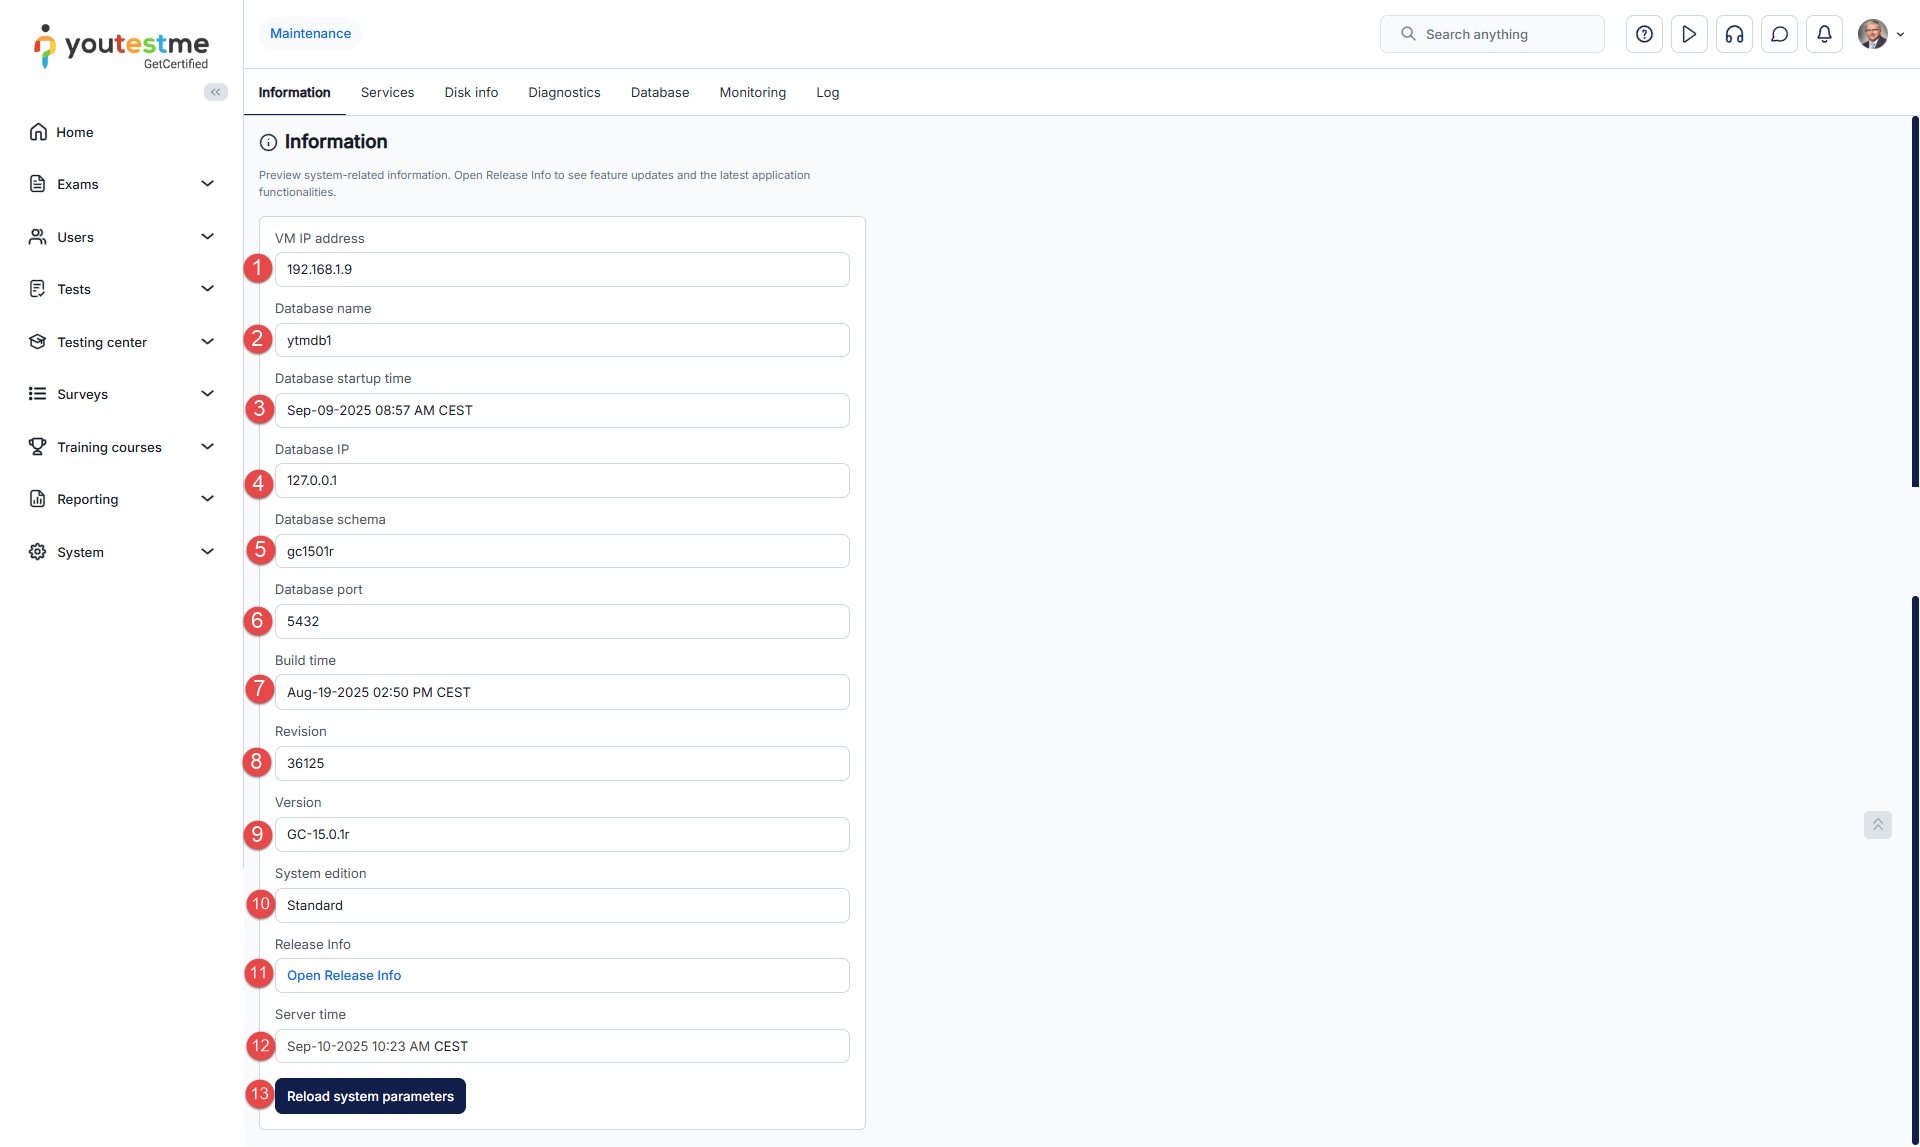
-
-
Services
View a list of all applications and services connected to your system. You can export the list of services in XLS, PDF, CSV, or XML format.
On the Services tab, you can:
-
Start a system-wide job.
In the system, three types of jobs should only be handled by a single service: Batch mail jobs, Scheduled report jobs, and Jobs scheduled in the Jobs Dashboard. Multiple services should not execute these jobs to ensure smooth system operation.
-
Stop system-wide job.
-
Ping service to check its reachability from the application.
-
If the service is unreachable, you will receive the message "Service failed to respond", and the service's status will change to unavailable.
-
If the service is reachable, you will receive the message "Service responded", and the service's status will change to available.
-
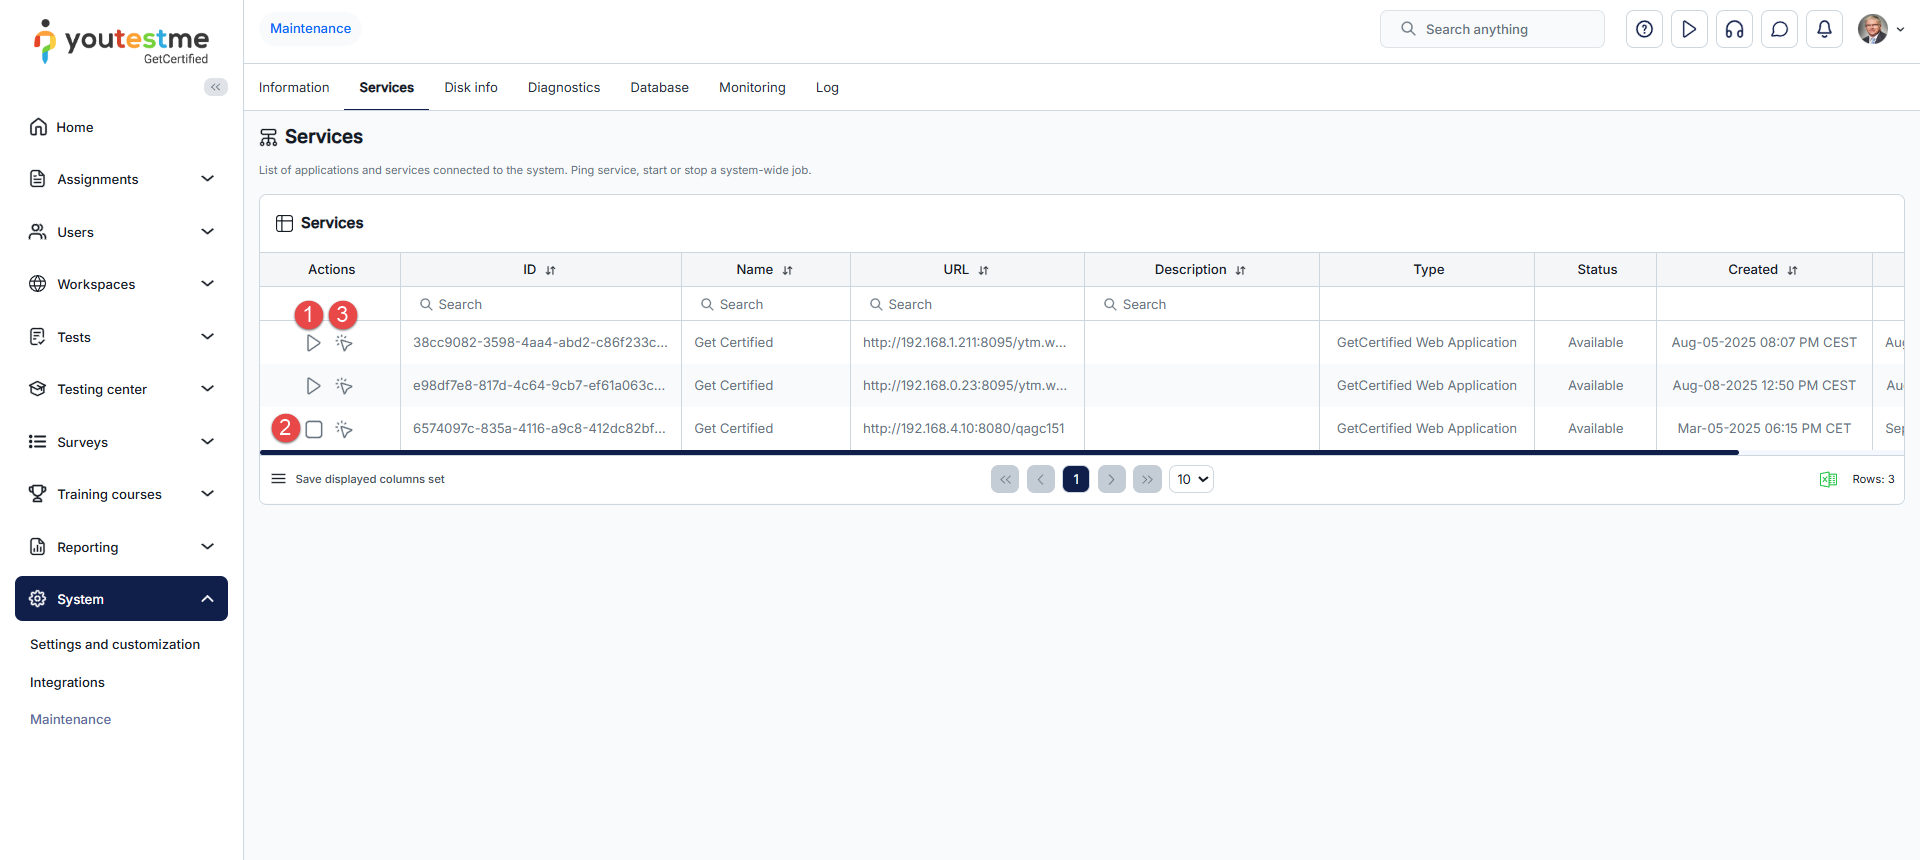
-
-
Disk info
On the Disk info tab, you can view details such as the total storage capacity, used space, and available free space.
Regularly checking this tab allows you to proactively manage disk space, identify potential storage issues, and take action to prevent problems. This ensures your Linux virtual machine operates efficiently without interruptions.
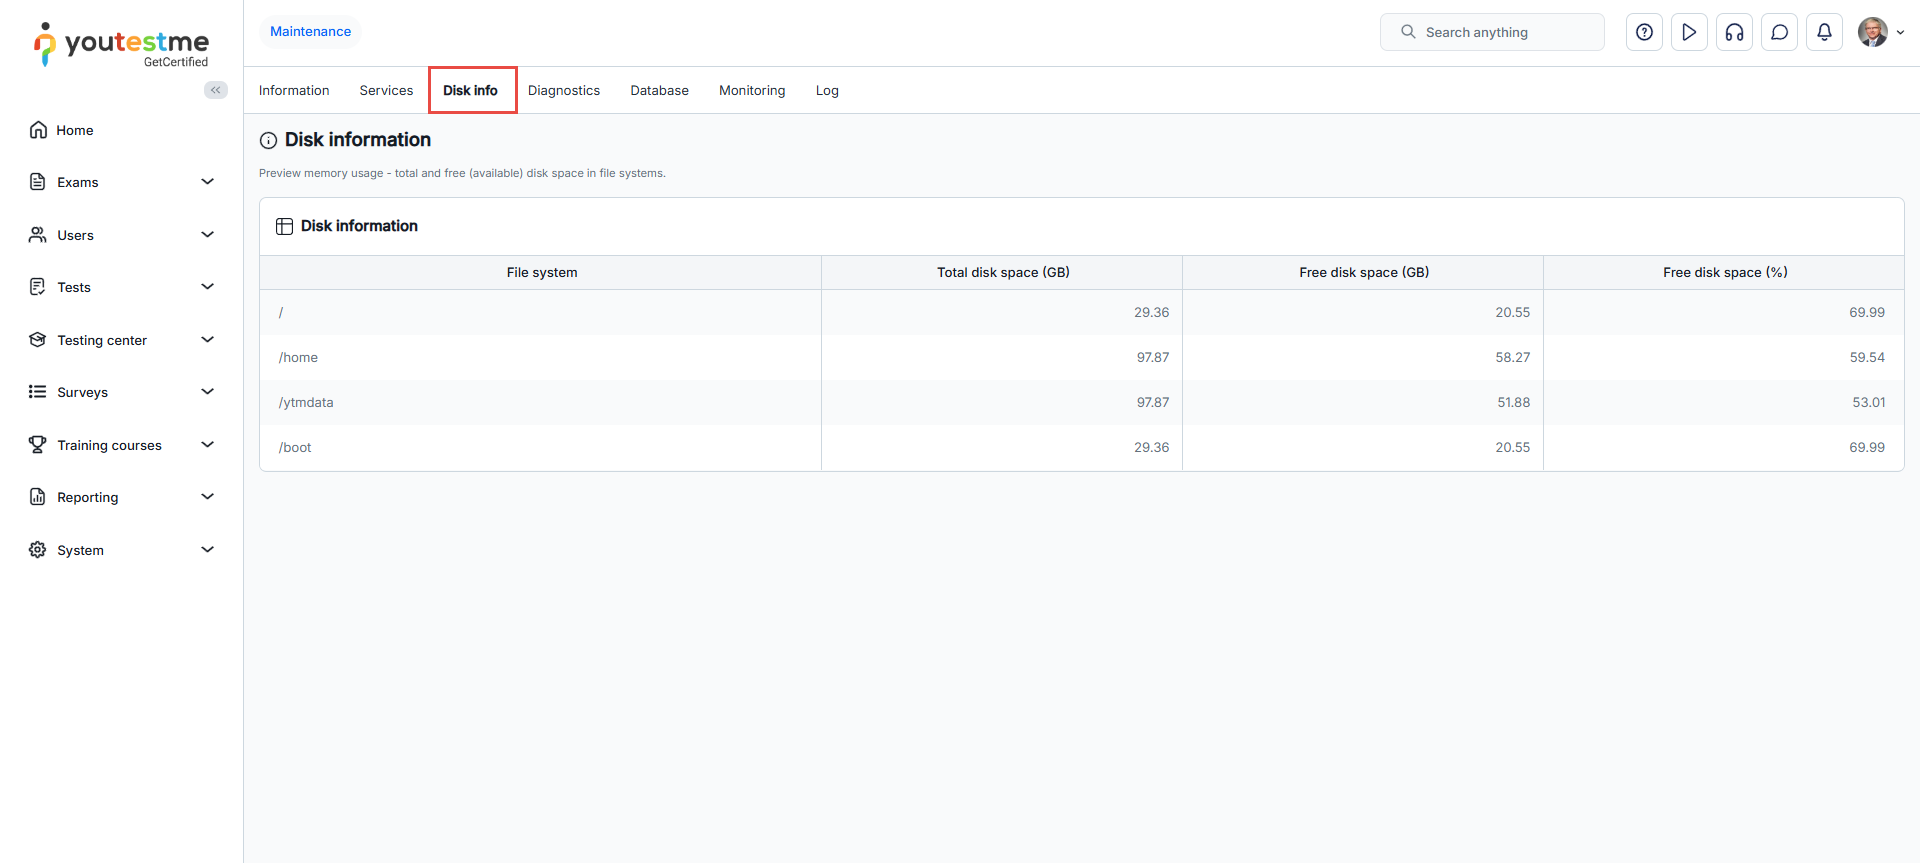
-
Diagnostics
Click the Run system diagnostic button to execute a system script aimed at gathering system information. This process may take a few minutes. Once completed, a link will appear below the button.
For a comprehensive analysis, download the script log file and forward it to YouTestMe. Please do not close this browser tab while the script is running. If you close it, the script will not complete its download. You can continue your work in the application by opening a new tab.
This feature is exclusive to On-premise hosting.
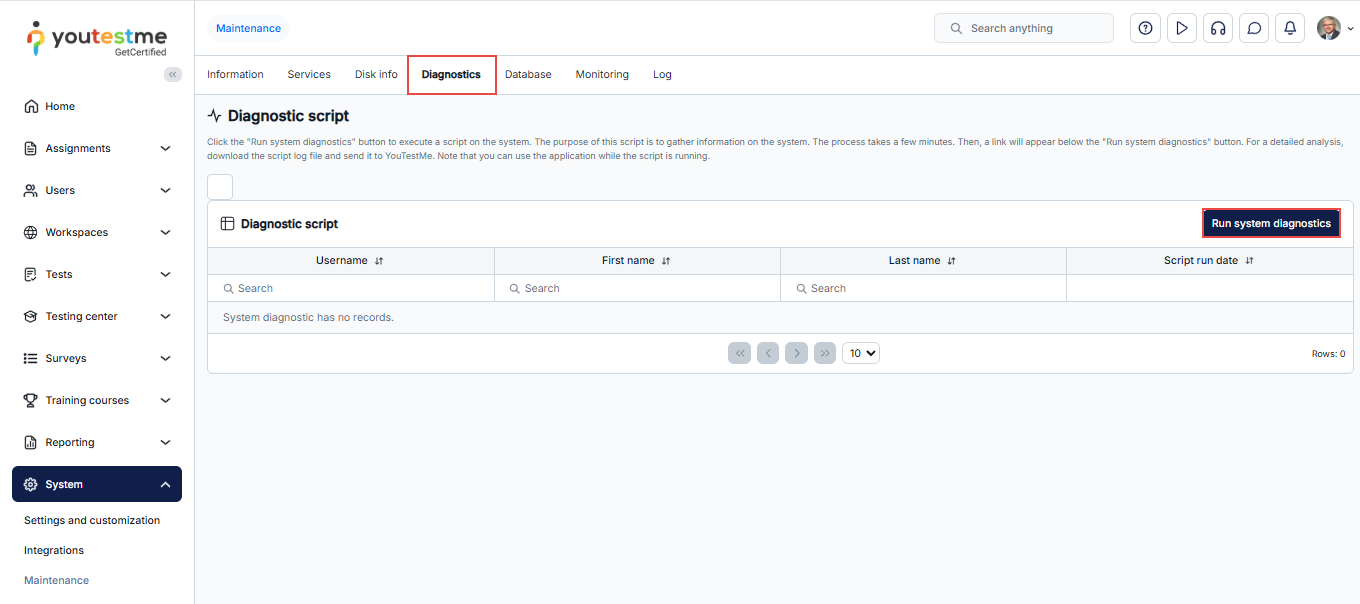
-
Database
Use the Database tab to manage your application's database. This feature is exclusive to On-premise hosting.
-
When you click the Export database button, the database will be exported to a file. Once the export is completed, you can download the file using the link provided below the button. You can continue using the application while the database is being exported.
-
Click the Import database button to choose an exported database file (*.dmp) and import it into the application. Importing a database will replace all existing data in the application with the data from the imported database. We strongly recommend exporting your current database before proceeding with the import.
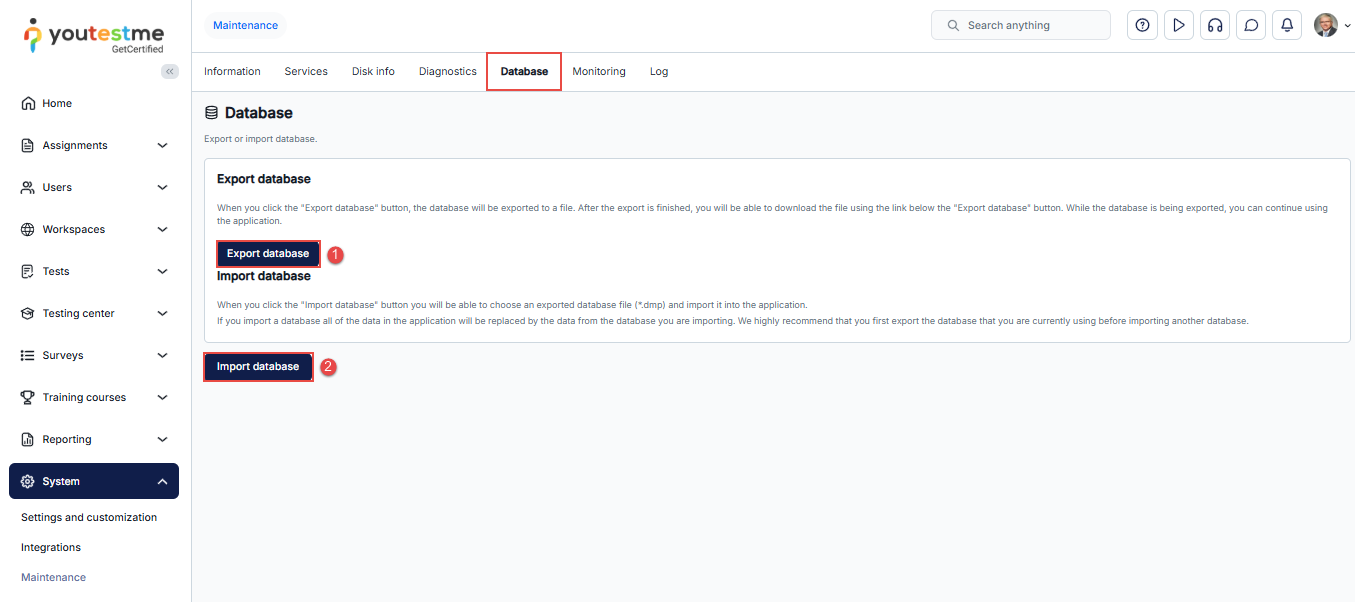
-
-
Monitoring
Clicking the Performance monitoring button will open a new tab with a monitoring tool. This tool measures and calculates statistics on the application's operation based on user activity, focusing on request statistics and evolution charts.
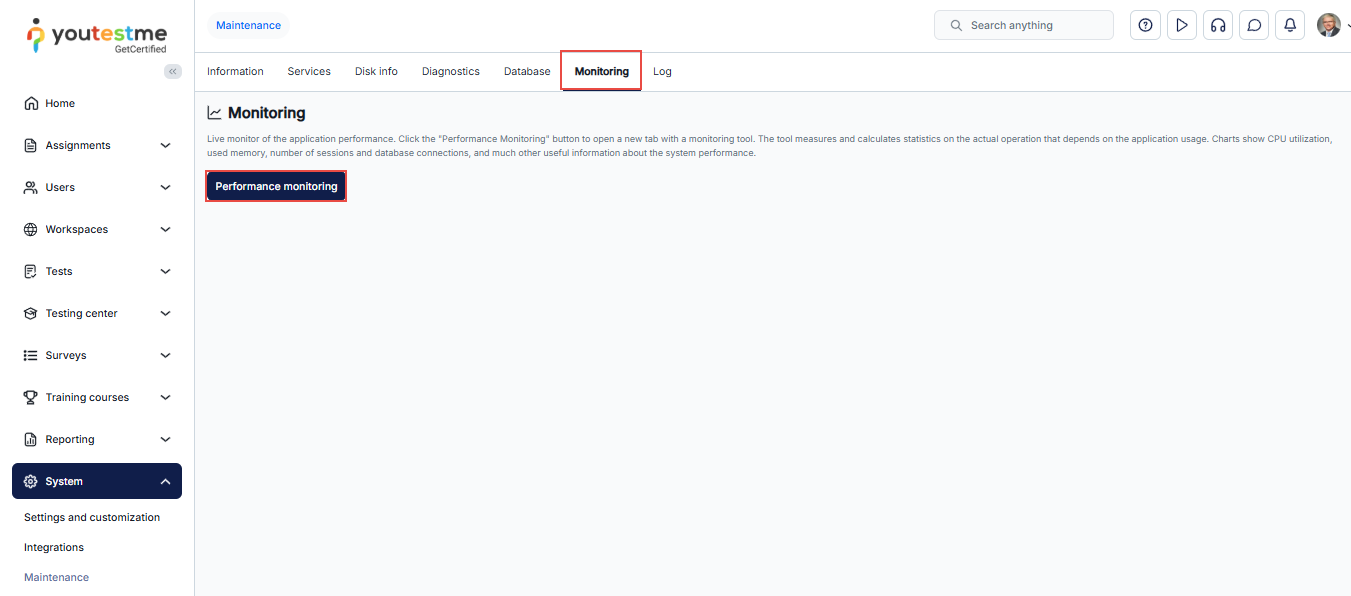
The image below displays monitoring statistics captured at a specific date and time, categorized accordingly.
One crucial statistic you can measure is the number of active HTTP sessions during a predefined period. You can preview the statistics report, which includes the number of concurrent users.
You can access the statistics report containing the number of concurrent users in two ways:
-
Click on HTTP sessions - 1 day to preview reports on connected users during the selected time period (in this case, throughout the day).
-
Under System information on the same page, click the link labeled View HTTP sessions.
-
HTTP sessions - 1 day
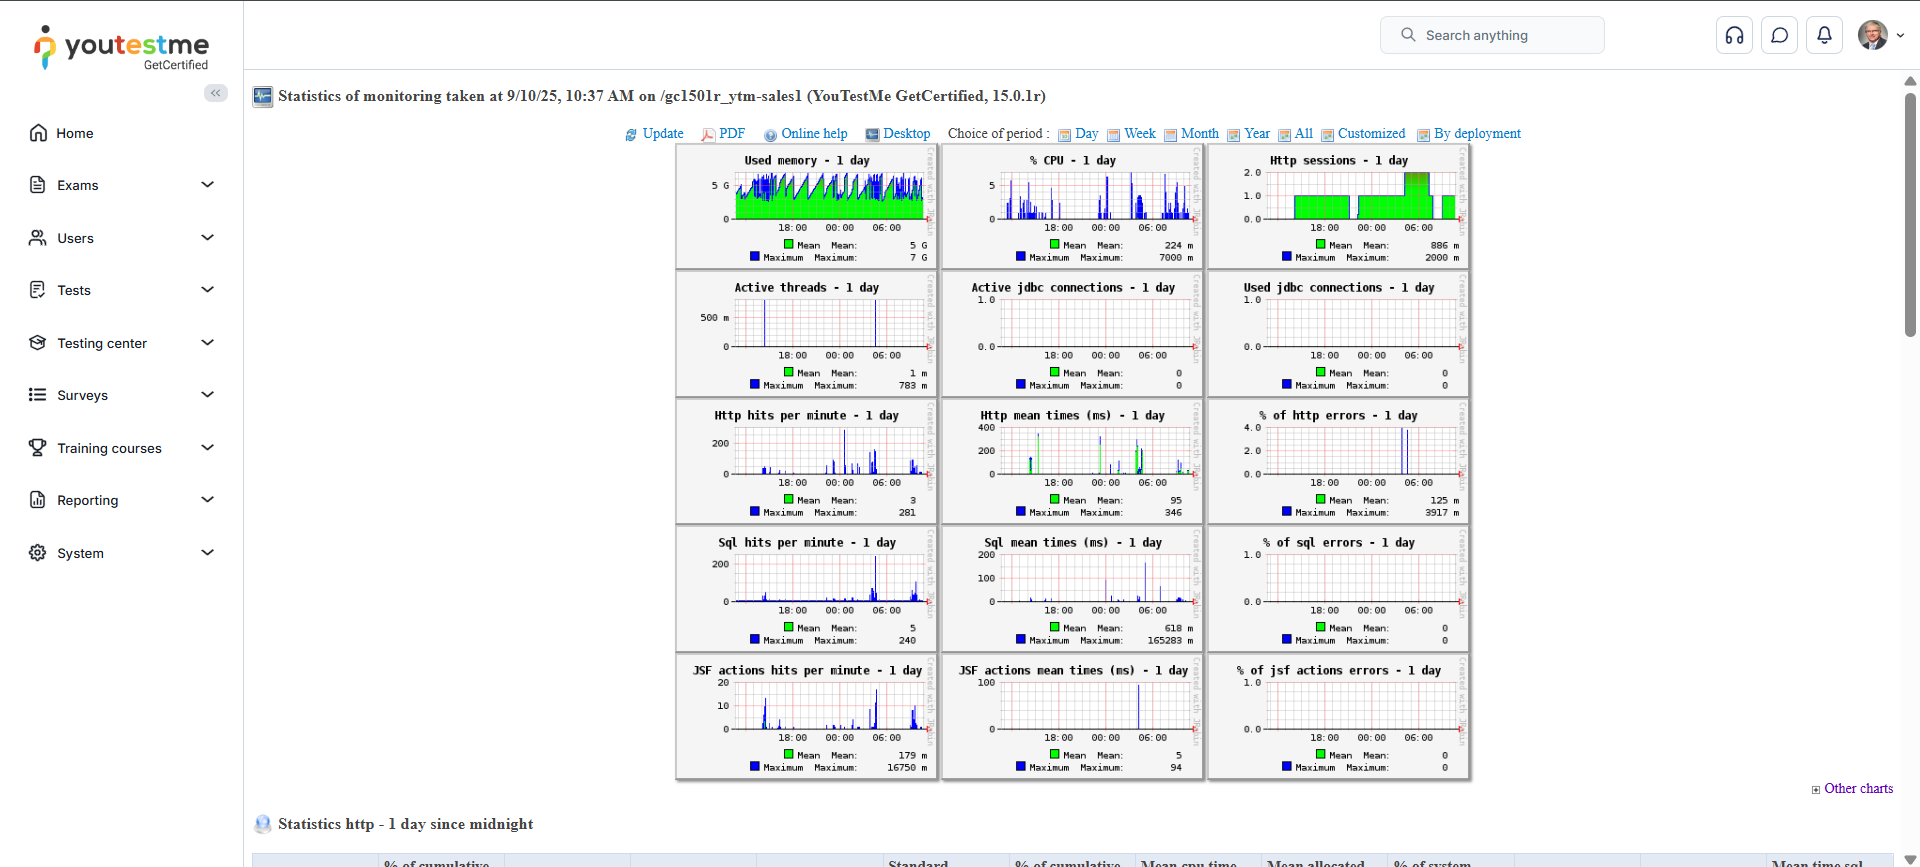
After selecting the HTTP sessions - 1 day option, you'll see a report displaying the number of HTTP sessions per day. The report also indicates the duration of each session by user. The chart depicts the number of users logged into the application within the specified time period. The monitoring tool tracks user sign-ins per session over time. Refer to the chart report below to preview the number of HTTP sessions throughout the day.
Note: One HTTP session is equivalent to the one signed-in user.
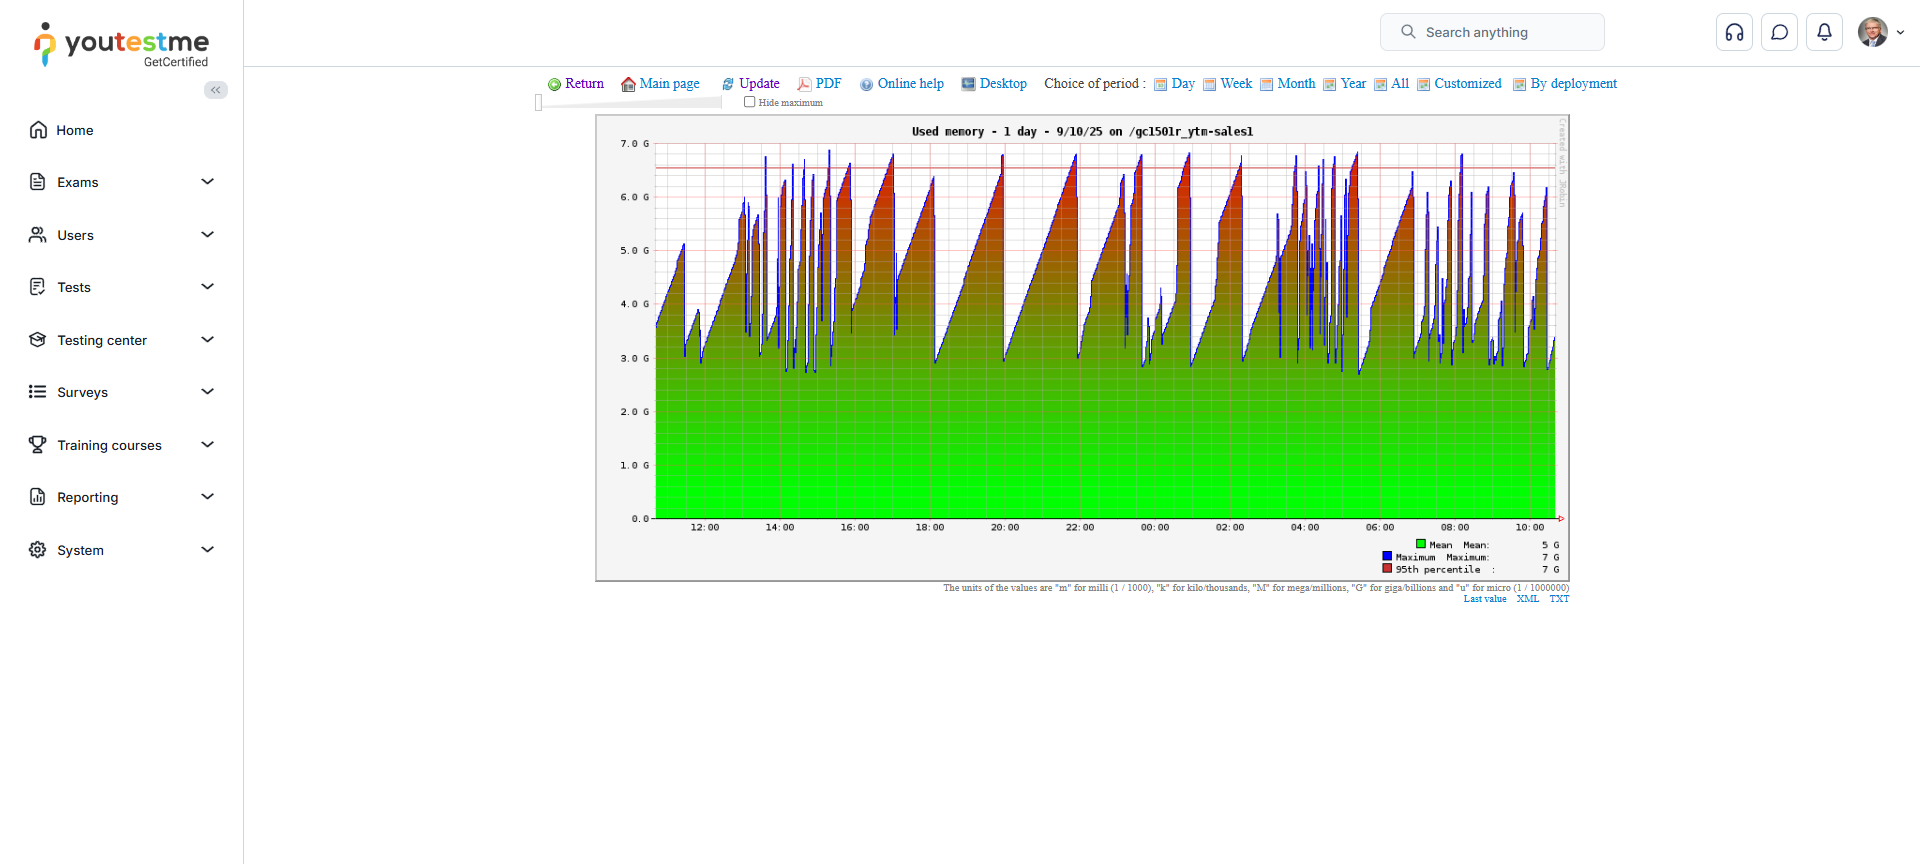
Actions available with the HTTP sessions report include:
-
Return to the monitoring home page.
-
Main page - Returns you to the monitoring home page.
-
Update the chart.
-
Display reports in PDF format.
-
Online help - Opens the monitoring tool's help page in a new tab.
-
Desktop - Download the monitoring tool on your computer.
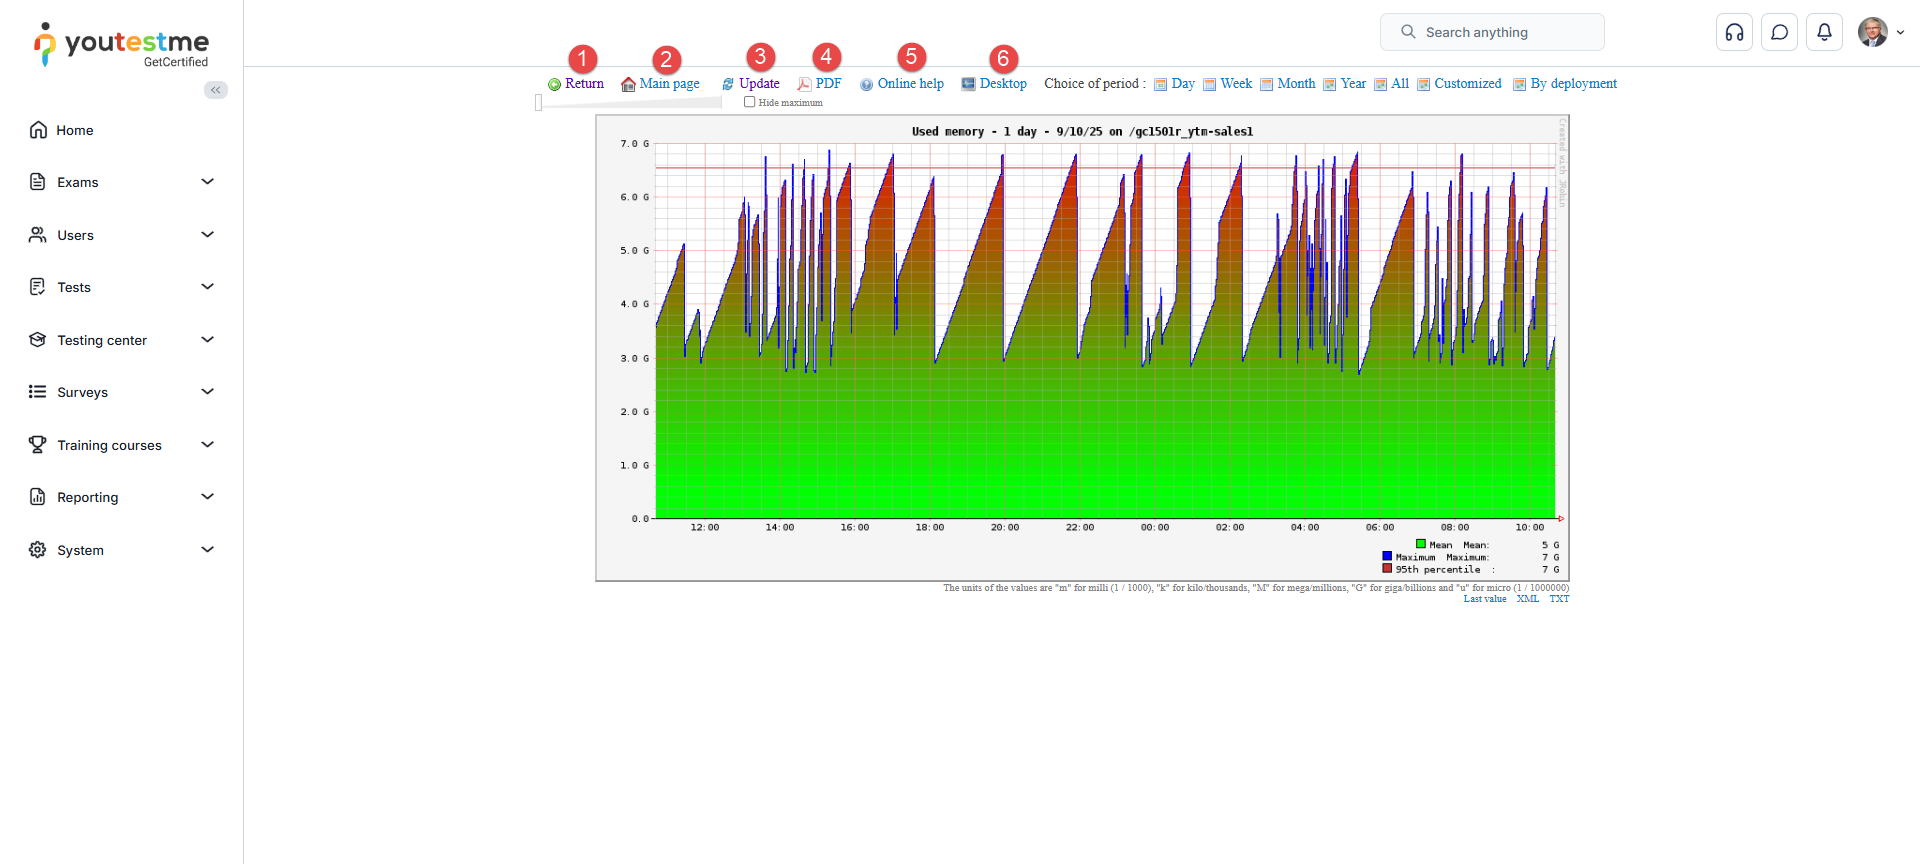
Additionally, you have the option to customize the period for viewing the report. You can choose:
-
Day – Preview daily statistics report.
-
Week – Preview weekly statistics report.
-
Month – Preview monthly statistics report.
-
Year – Preview yearly statistics report.
-
All – View the report for all periods.
-
Customized – Select a specific period by choosing start and end dates.
-
By deployment – Choose a system version to preview the report.
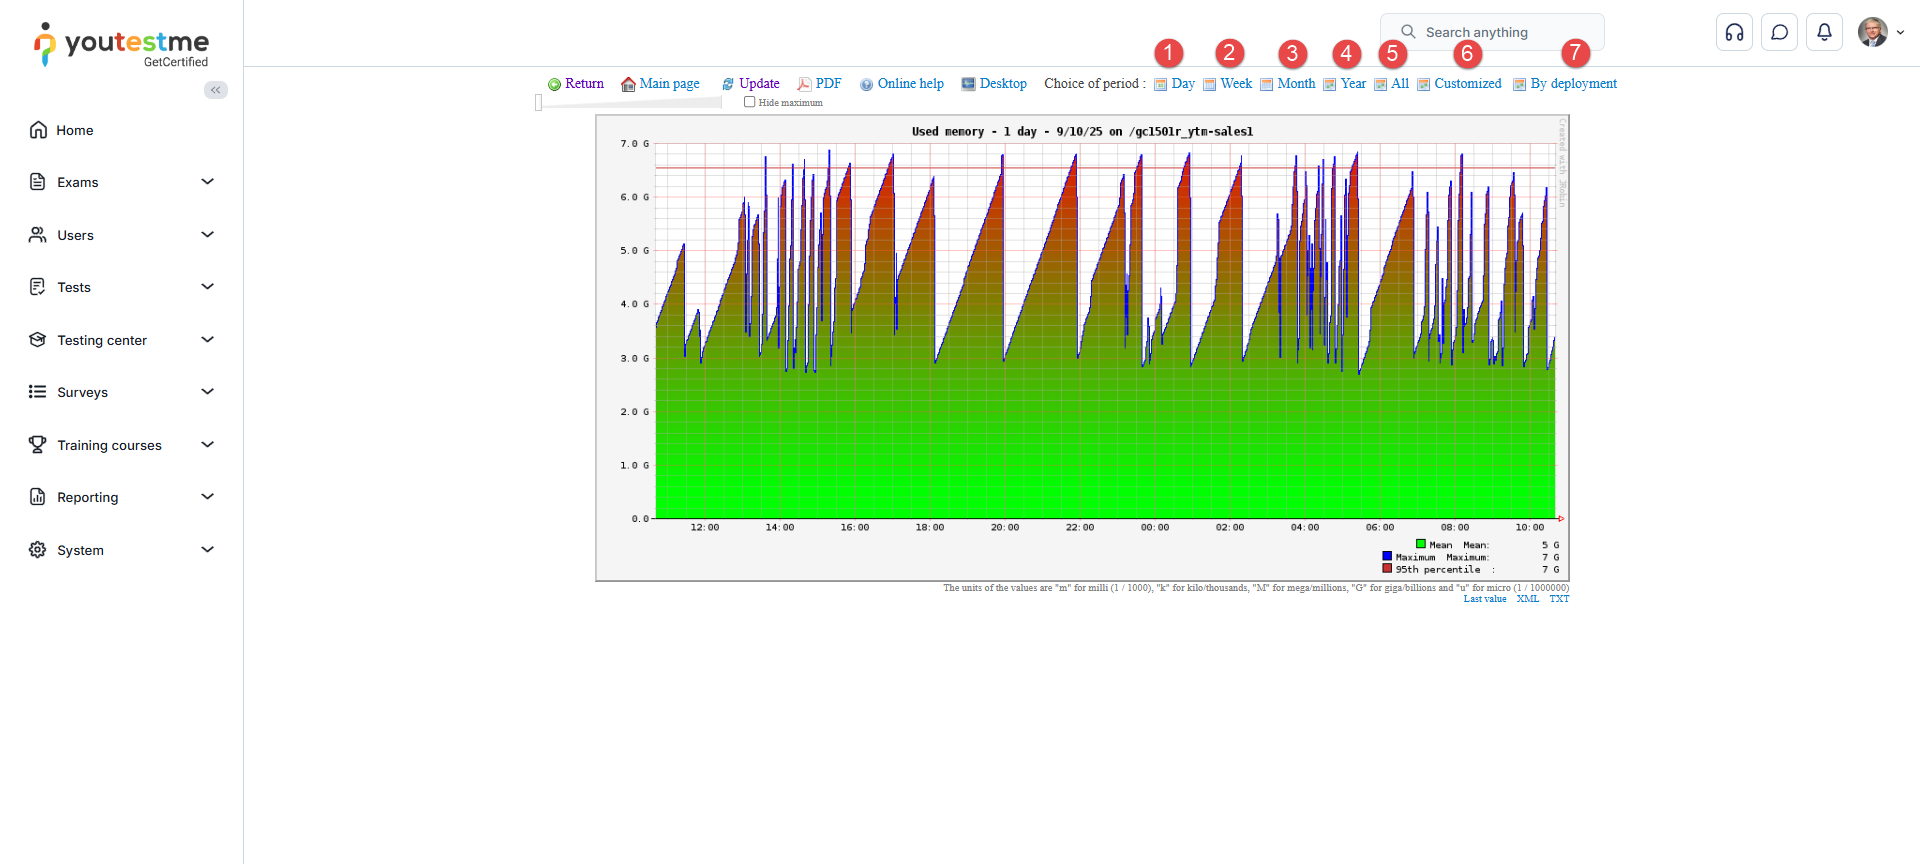
-
-
View HTTP sessions
To preview a report click the View HTTP session link.
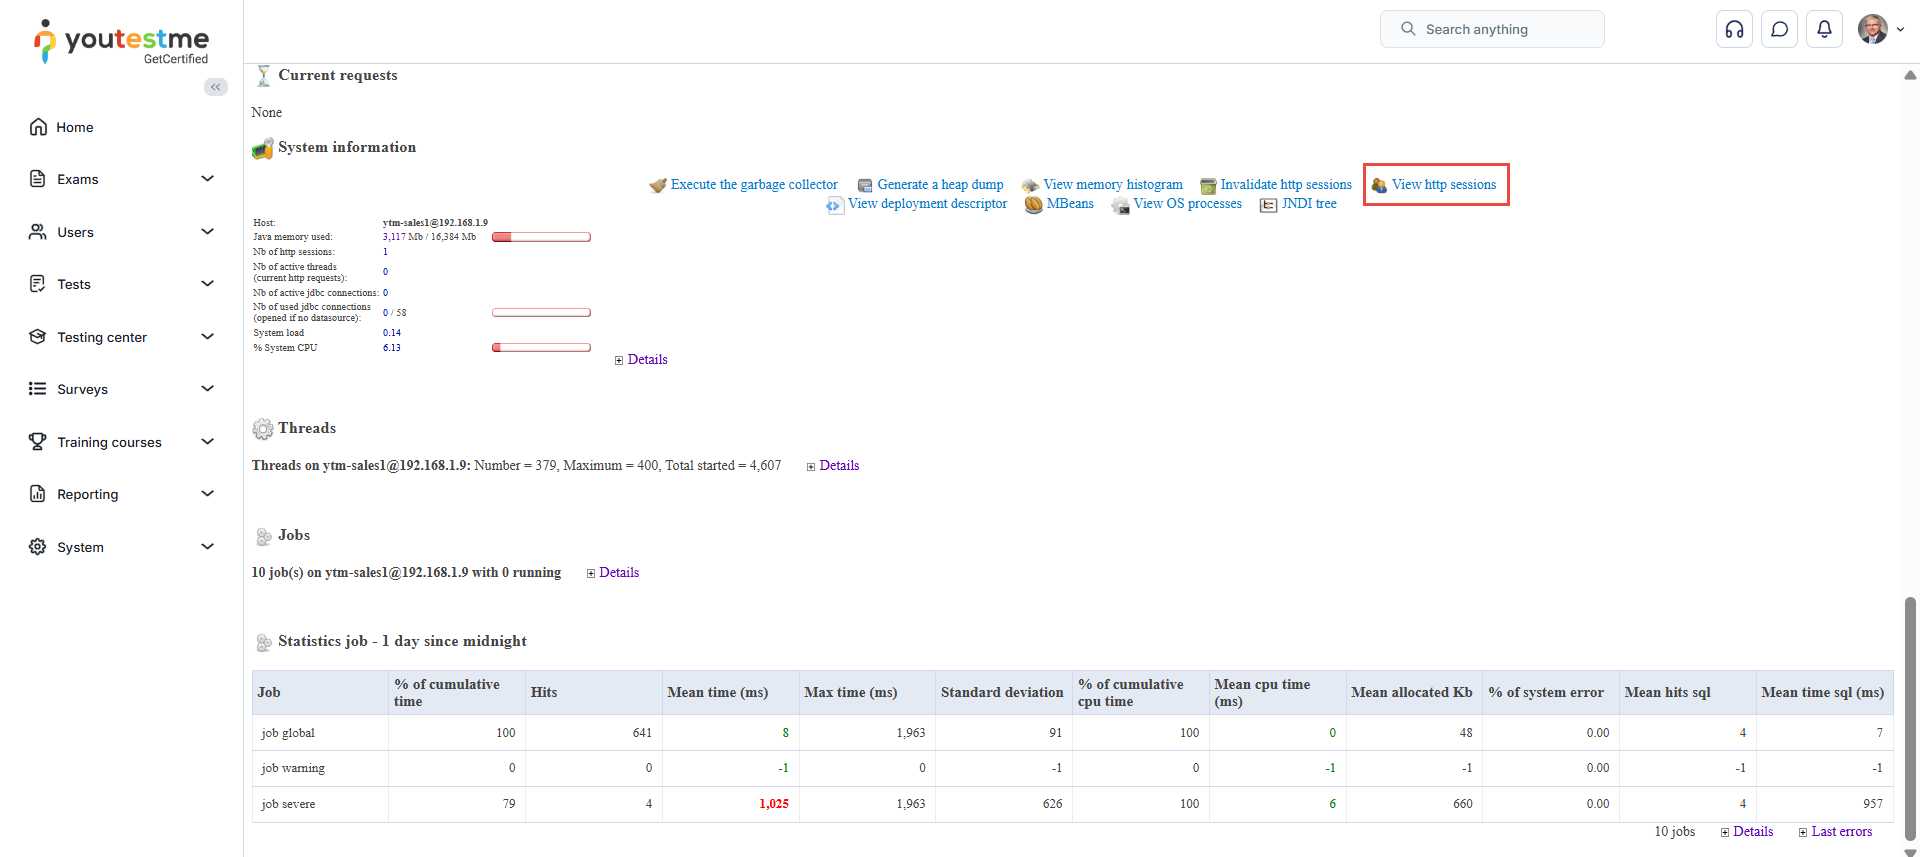
The report includes the following columns:
-
Session ID – The identification number of a session.
-
Last access – The timestamp when the user accessed the session.
-
Age – The duration of the session.
-
Expiration – The exact time when the session expires.
-
IP address – The user's IP address.
-
Country – The location of the user signed into the HTTP session.
-
Browser – The browser used to start the session.
-
OS – The operating system of the user's computer.
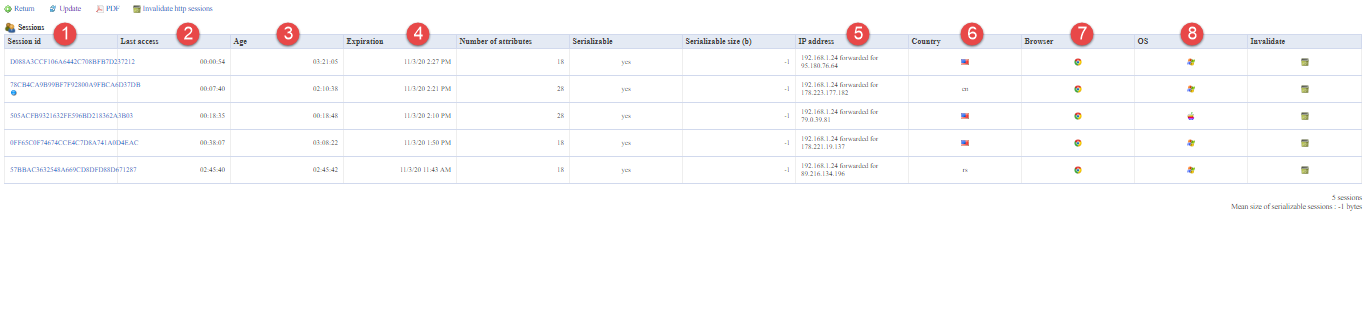
Note: These columns are essential for administrators and statistical analysis. Number of attributes, Serializable, and Serializable size are additional attributes in the table.
You can also perform the following actions:
-
Return back.
-
Update the table.
-
Display the report in PDF format.
-
Invalidate the HTTP sessions.
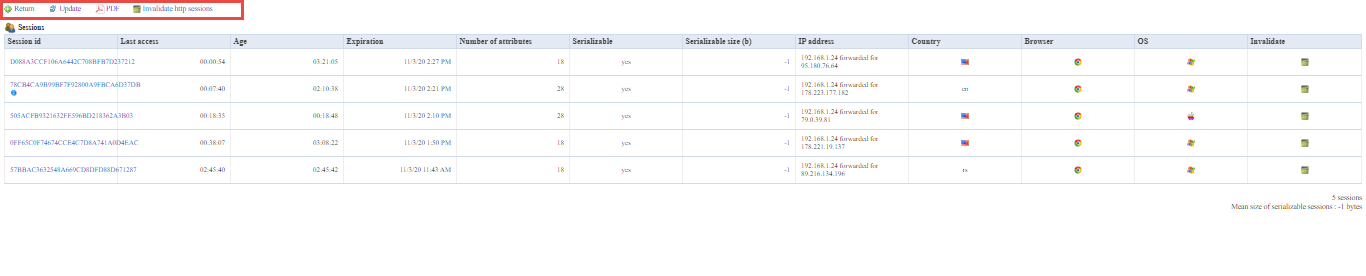
-
-
-
Log
View a list of Tomcat logs organized by date. Download the log file to conduct a more detailed analysis.
The application's log file is saved in two formats. The .log file contains the complete log from deployment onward, while .log.gz files store daily logs. Each .log.gz file has a maximum size of 50 MB; if the daily log exceeds this size, multiple .log.gz files will be created.
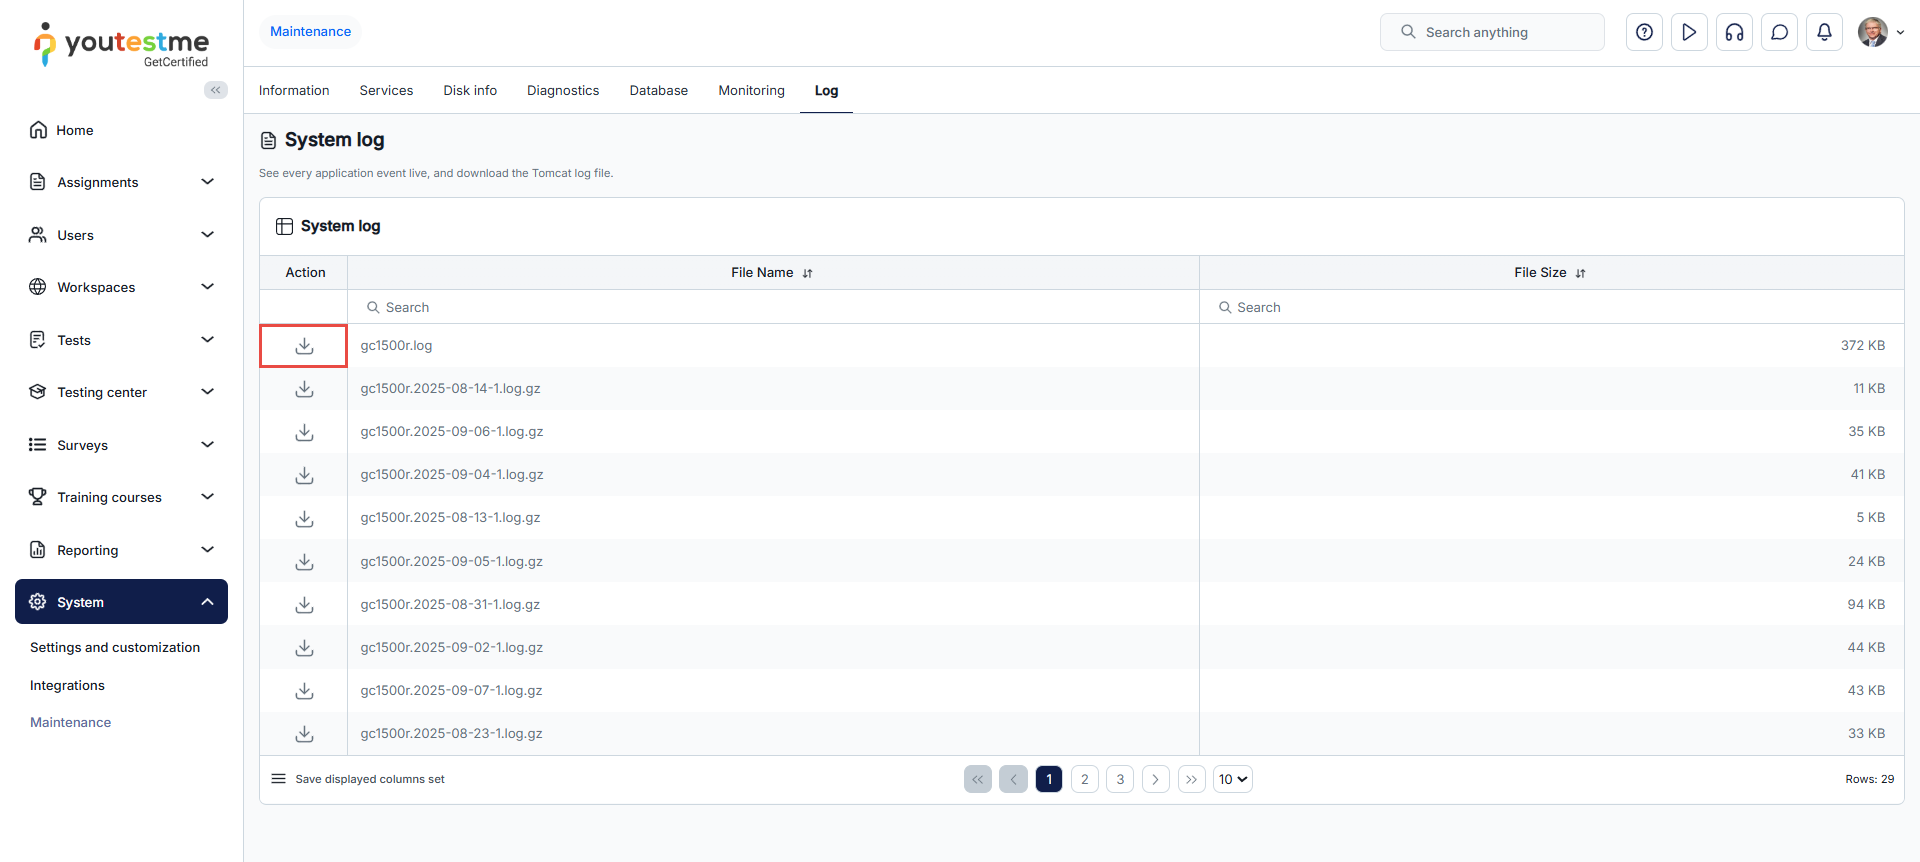
Billing
The Billing section in YTM GetCertified gives you insight into how your organization uses credits and how these credits are charged. Credits are purchased in advance and then automatically consumed when you use different features of the application (for example, test attempts, survey attempts, training courses, or proctored sessions). On the billing pages you can review the configured pricing, monitor credit usage in each billing cycle, and track your payments.
-
Pricing
The Pricing tab shows how credits are charged for different activities in YTM GetCertified and which pricing model is currently applied to your account. You can use this page to understand how many credits are deducted when candidates take tests, use training courses, or when monthly license fees are charged.
The page contains the following elements:
-
Pricing tab – The selected tab inside the Billing section. From here you review the current pricing model and the number of credits charged for each activity type.
-
Pricing name – The name of the pricing model assigned to your organization, for example “Standard Pricing”. It helps you identify which pricing agreement is currently in use. This value is predefined and cannot be edited from this page.
-
Credit value – The price of a single credit in your billing currency (for example, $12.00 per credit). This helps you translate credit usage into monetary value when planning your budget or reconciling invoices.
-
Credits section – A list of all activities that can consume credits in your account together with the number of credits charged for each of them.
-
Test attempt – The number of credits deducted each time a candidate starts a test in GetCertified under this pricing model.
-
Survey attempt – The number of credits consumed every time a candidate starts a survey.
-
Training course attempt – The number of credits charged each time a candidate accesses a training course.
-
Proctoring hour – The number of credits deducted for every hour of proctored testing, according to your agreement.
-
Active user – The number of credits associated with each active user in the system during a billing period.
-
Proctored user – The number of credits charged for each user who takes exams under proctoring conditions.
-
Monthly license fee – The number of credits deducted on a recurring basis (for example, monthly) for using the platform itself.
-
Pricing history panel – The panel on the right side of the page that lists all pricing revisions associated with your account. For each revision you can see the Pricing ID, Pricing name, Available until (if applicable), and Status (Active or Inactive).
-
Pricing name link – The pricing name in the history table is displayed as a link. When you click it, the details of that pricing revision are loaded on the left side of the page, so you can review how credits and values were configured for that specific period.
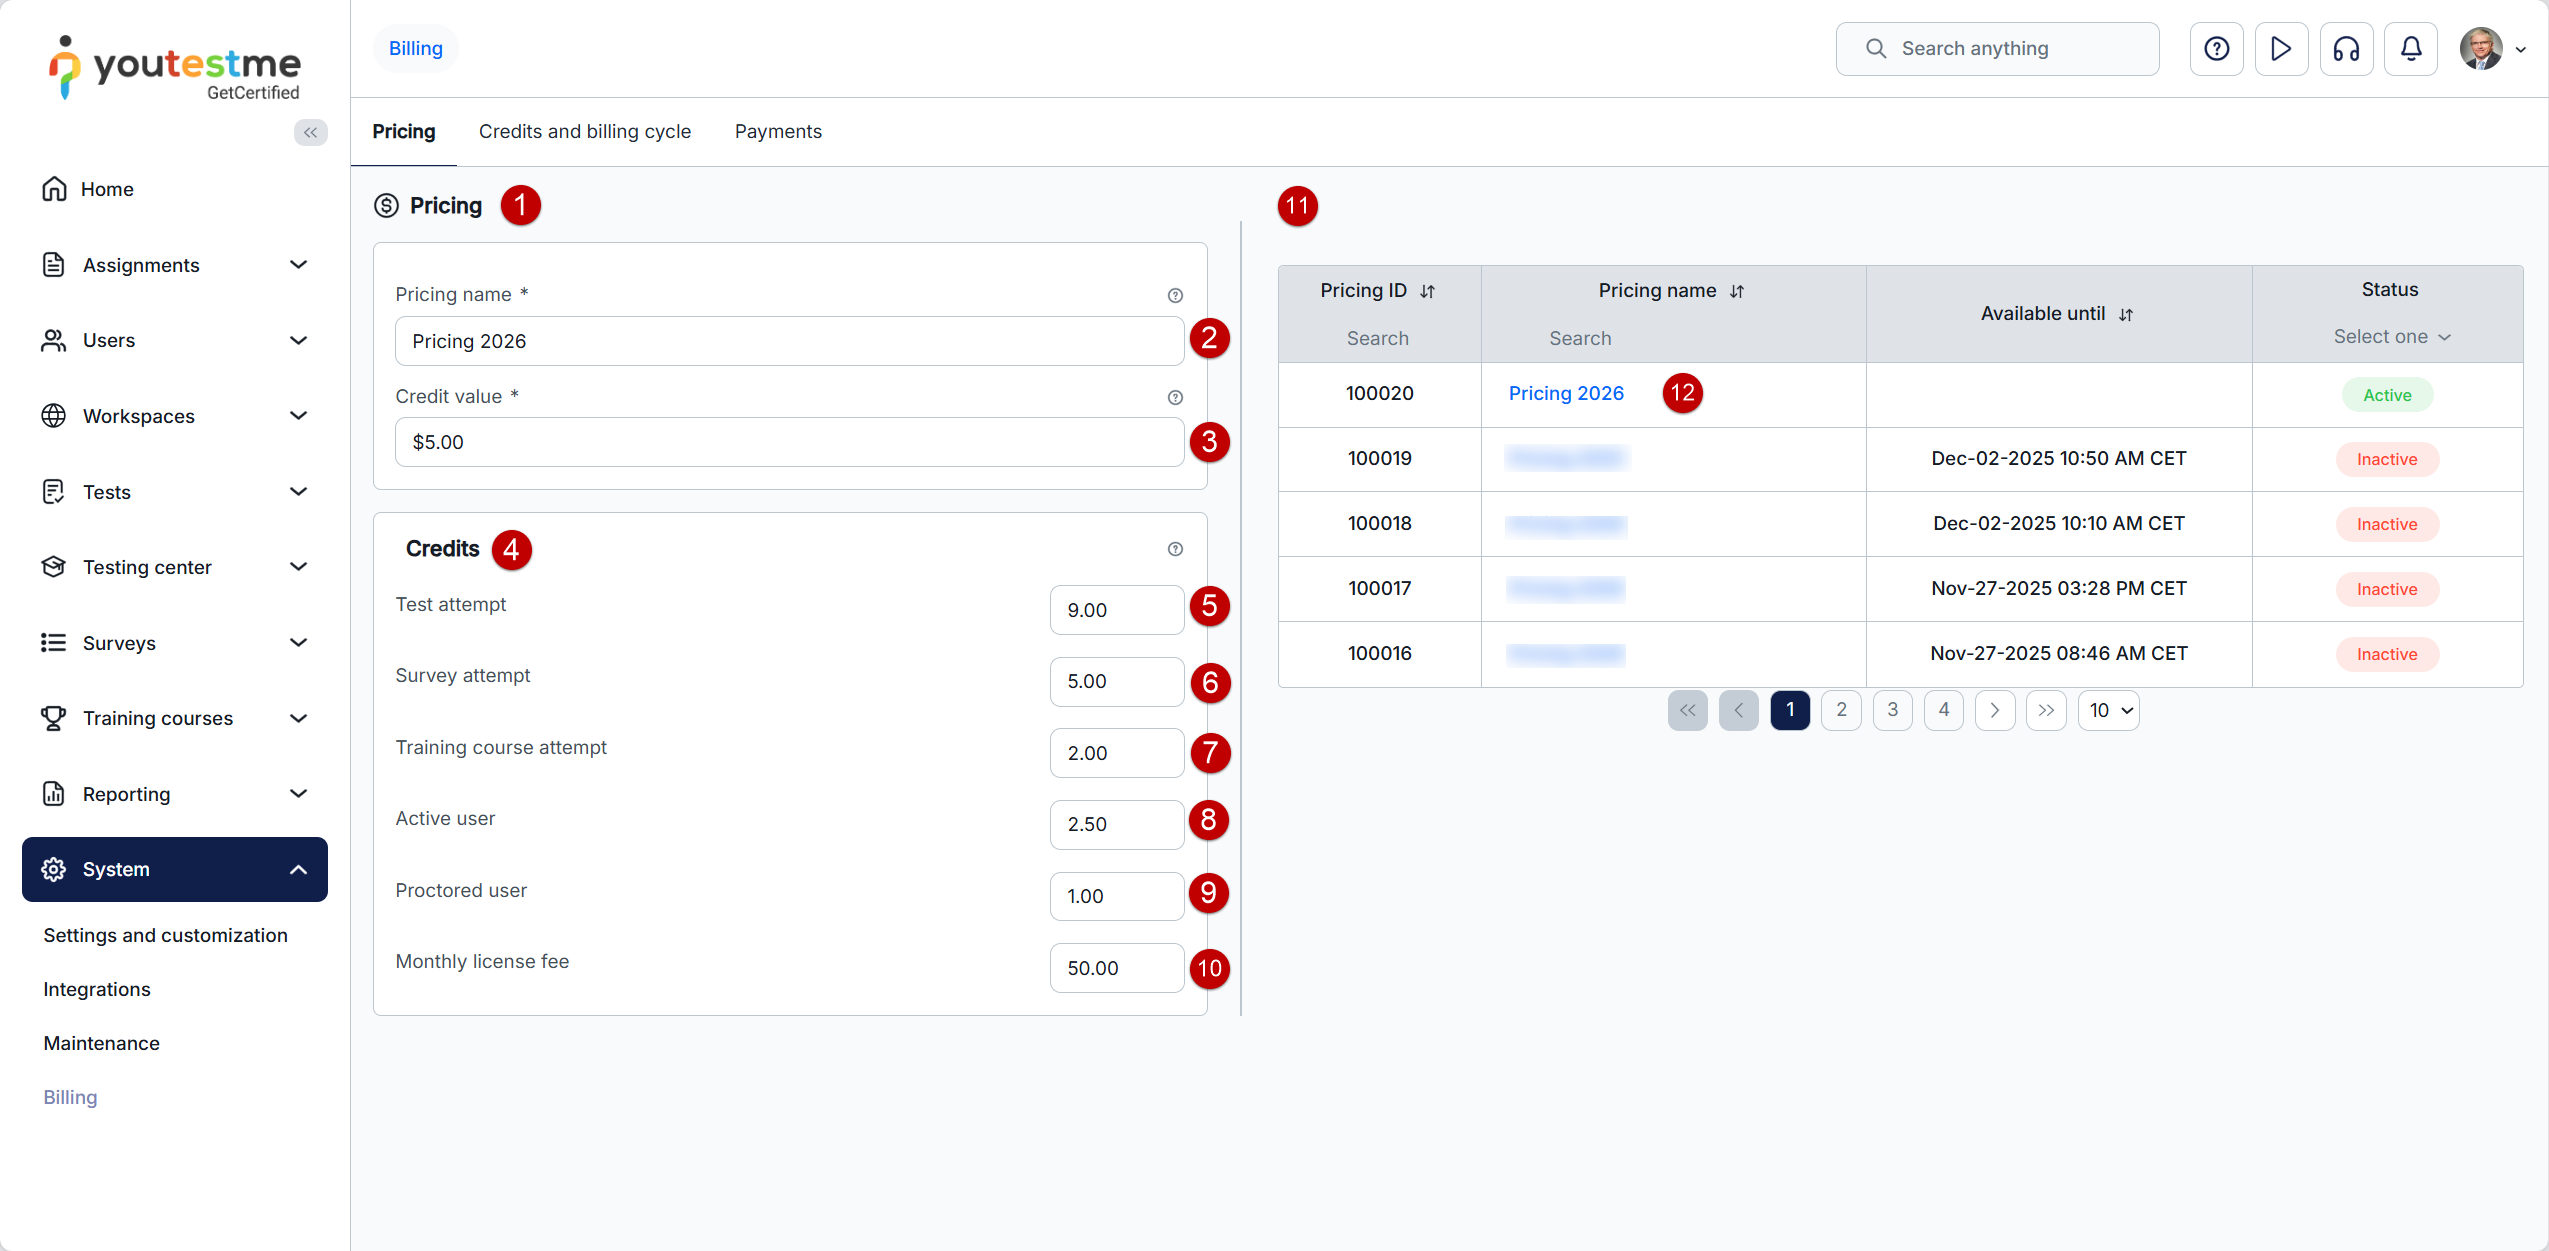
-
-
Credits and billing cycle
The Credits and billing cycle tab shows how many credits are available in the current billing cycle, which top-ups have been added, and how credits are being spent over time. On this page you can review the active billing cycle, see all purchased credits, and check the detailed credit spent log.
-
Credits and billing cycle section – The main section of the page. It groups information into three blocks: Billing cycles, Credits, and Credit spent log. All data displayed here relates to the currently selected billing cycle.
-
Billing cycles – A table that lists the billing cycles configured for your account. For each cycle you can see its Status (for example, Active), ID, Name, Period start, Period end, Total credit, Remaining credit, and Billing interval unit (for example, Month). Selecting a billing cycle row loads the related credits and credit spent log in the sections below.
-
Credits – A table that shows all credit top-ups added to the selected billing cycle. For each row you can see the credit ID, Date of the top-up, monetary Amount paid, Credit amount (number of credits issued), Billing cycle ID, and Description. You can use the search fields in the header to find specific entries or narrow down the list.
-
Create new – A button used to add new credits to the selected billing cycle. When you click it, a dialog opens where you choose how many credits you want to purchase and follow the on-screen instructions to complete the top-up.
-
Credit spent log – A table that lists all events where credits were consumed in the selected billing cycle. Each row represents one charging event and shows the ID, Date, Amount of credits before charging, Type of consumption (for example, Active user or Test attempt), Credits charged, and reference information such as Reference ID, Pricing ID, and Billing cycle ID. This log helps you understand exactly when and why credits were deducted.
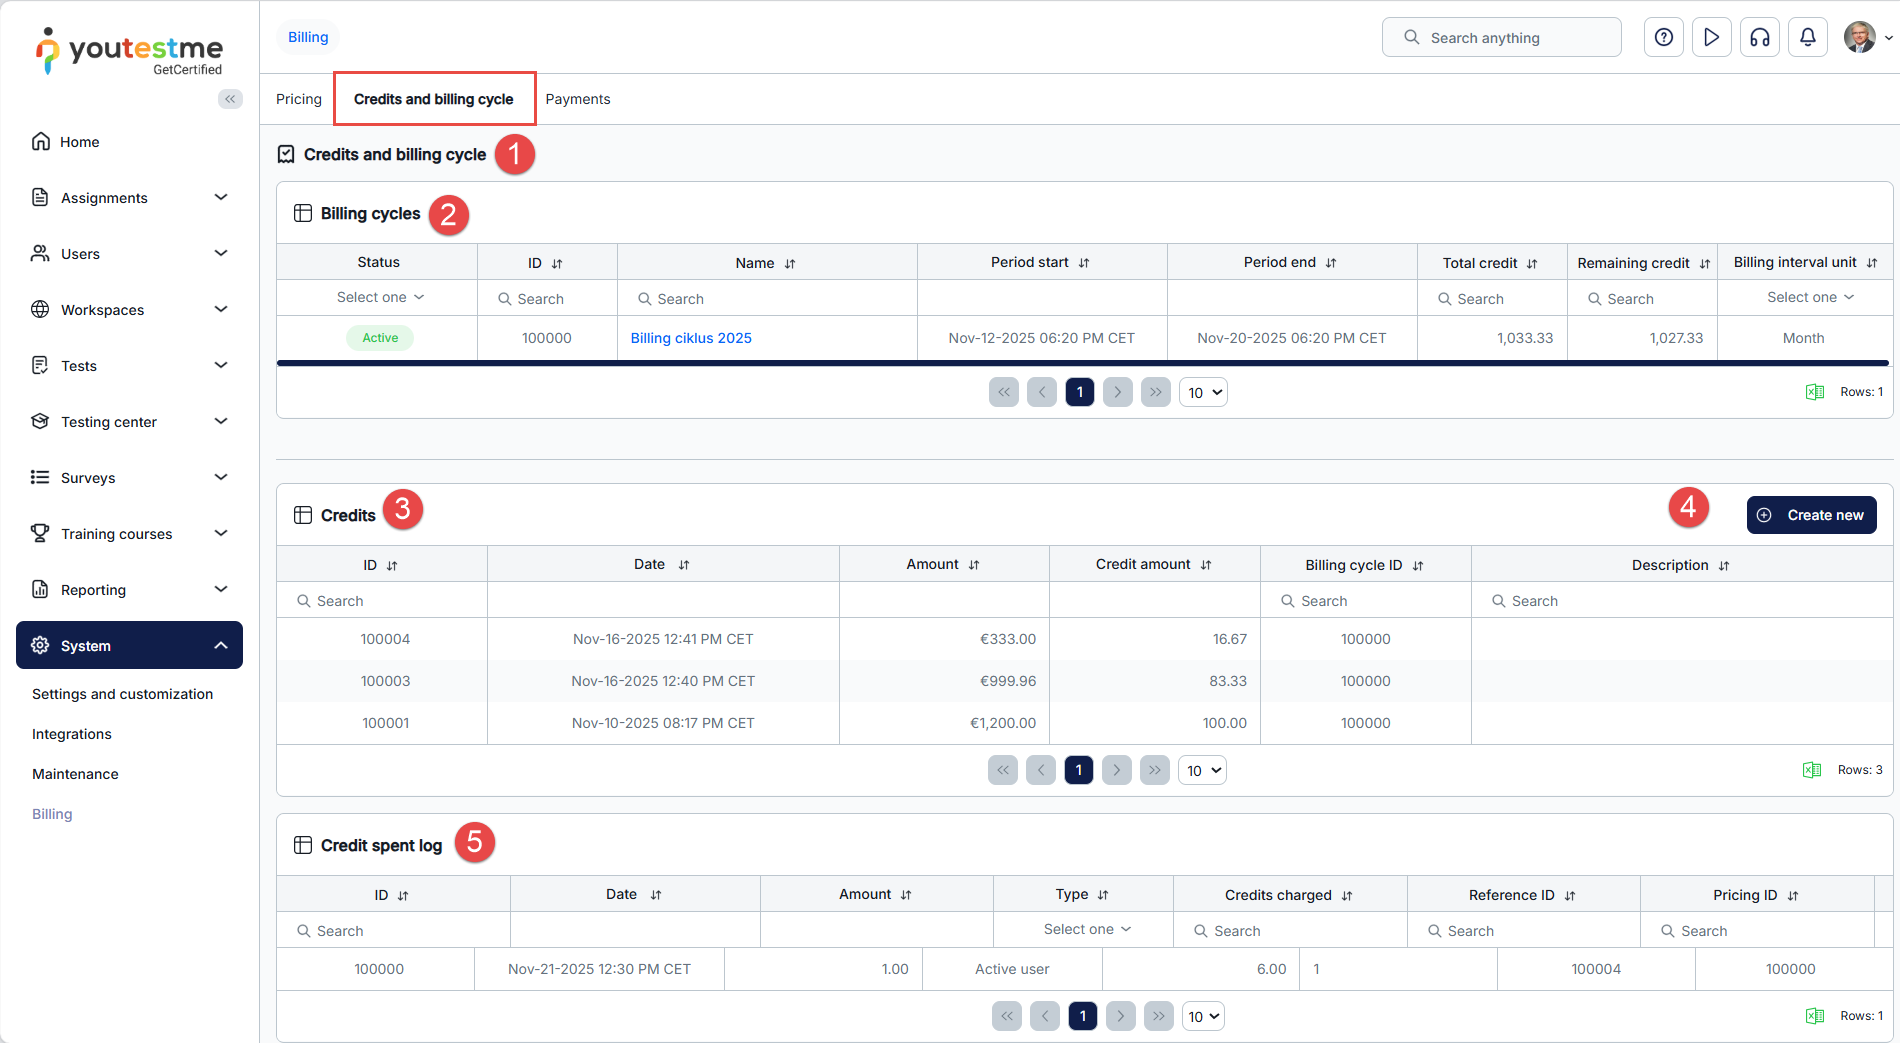
Credit top-up
When you click Create new in the Credits section, the Credit top-up dialog opens. Here you can check the current Credit value and define how many credits you want to purchase.
-
Credits to buy – Enter the number of credits you want to purchase for the selected billing cycle. After you click Confirm, you are first redirected to the standard order page, and then to the Stripe payment page to complete the payment. Once the payment is successful, the purchased credits are added to the selected billing cycle and appear in the Credits table.
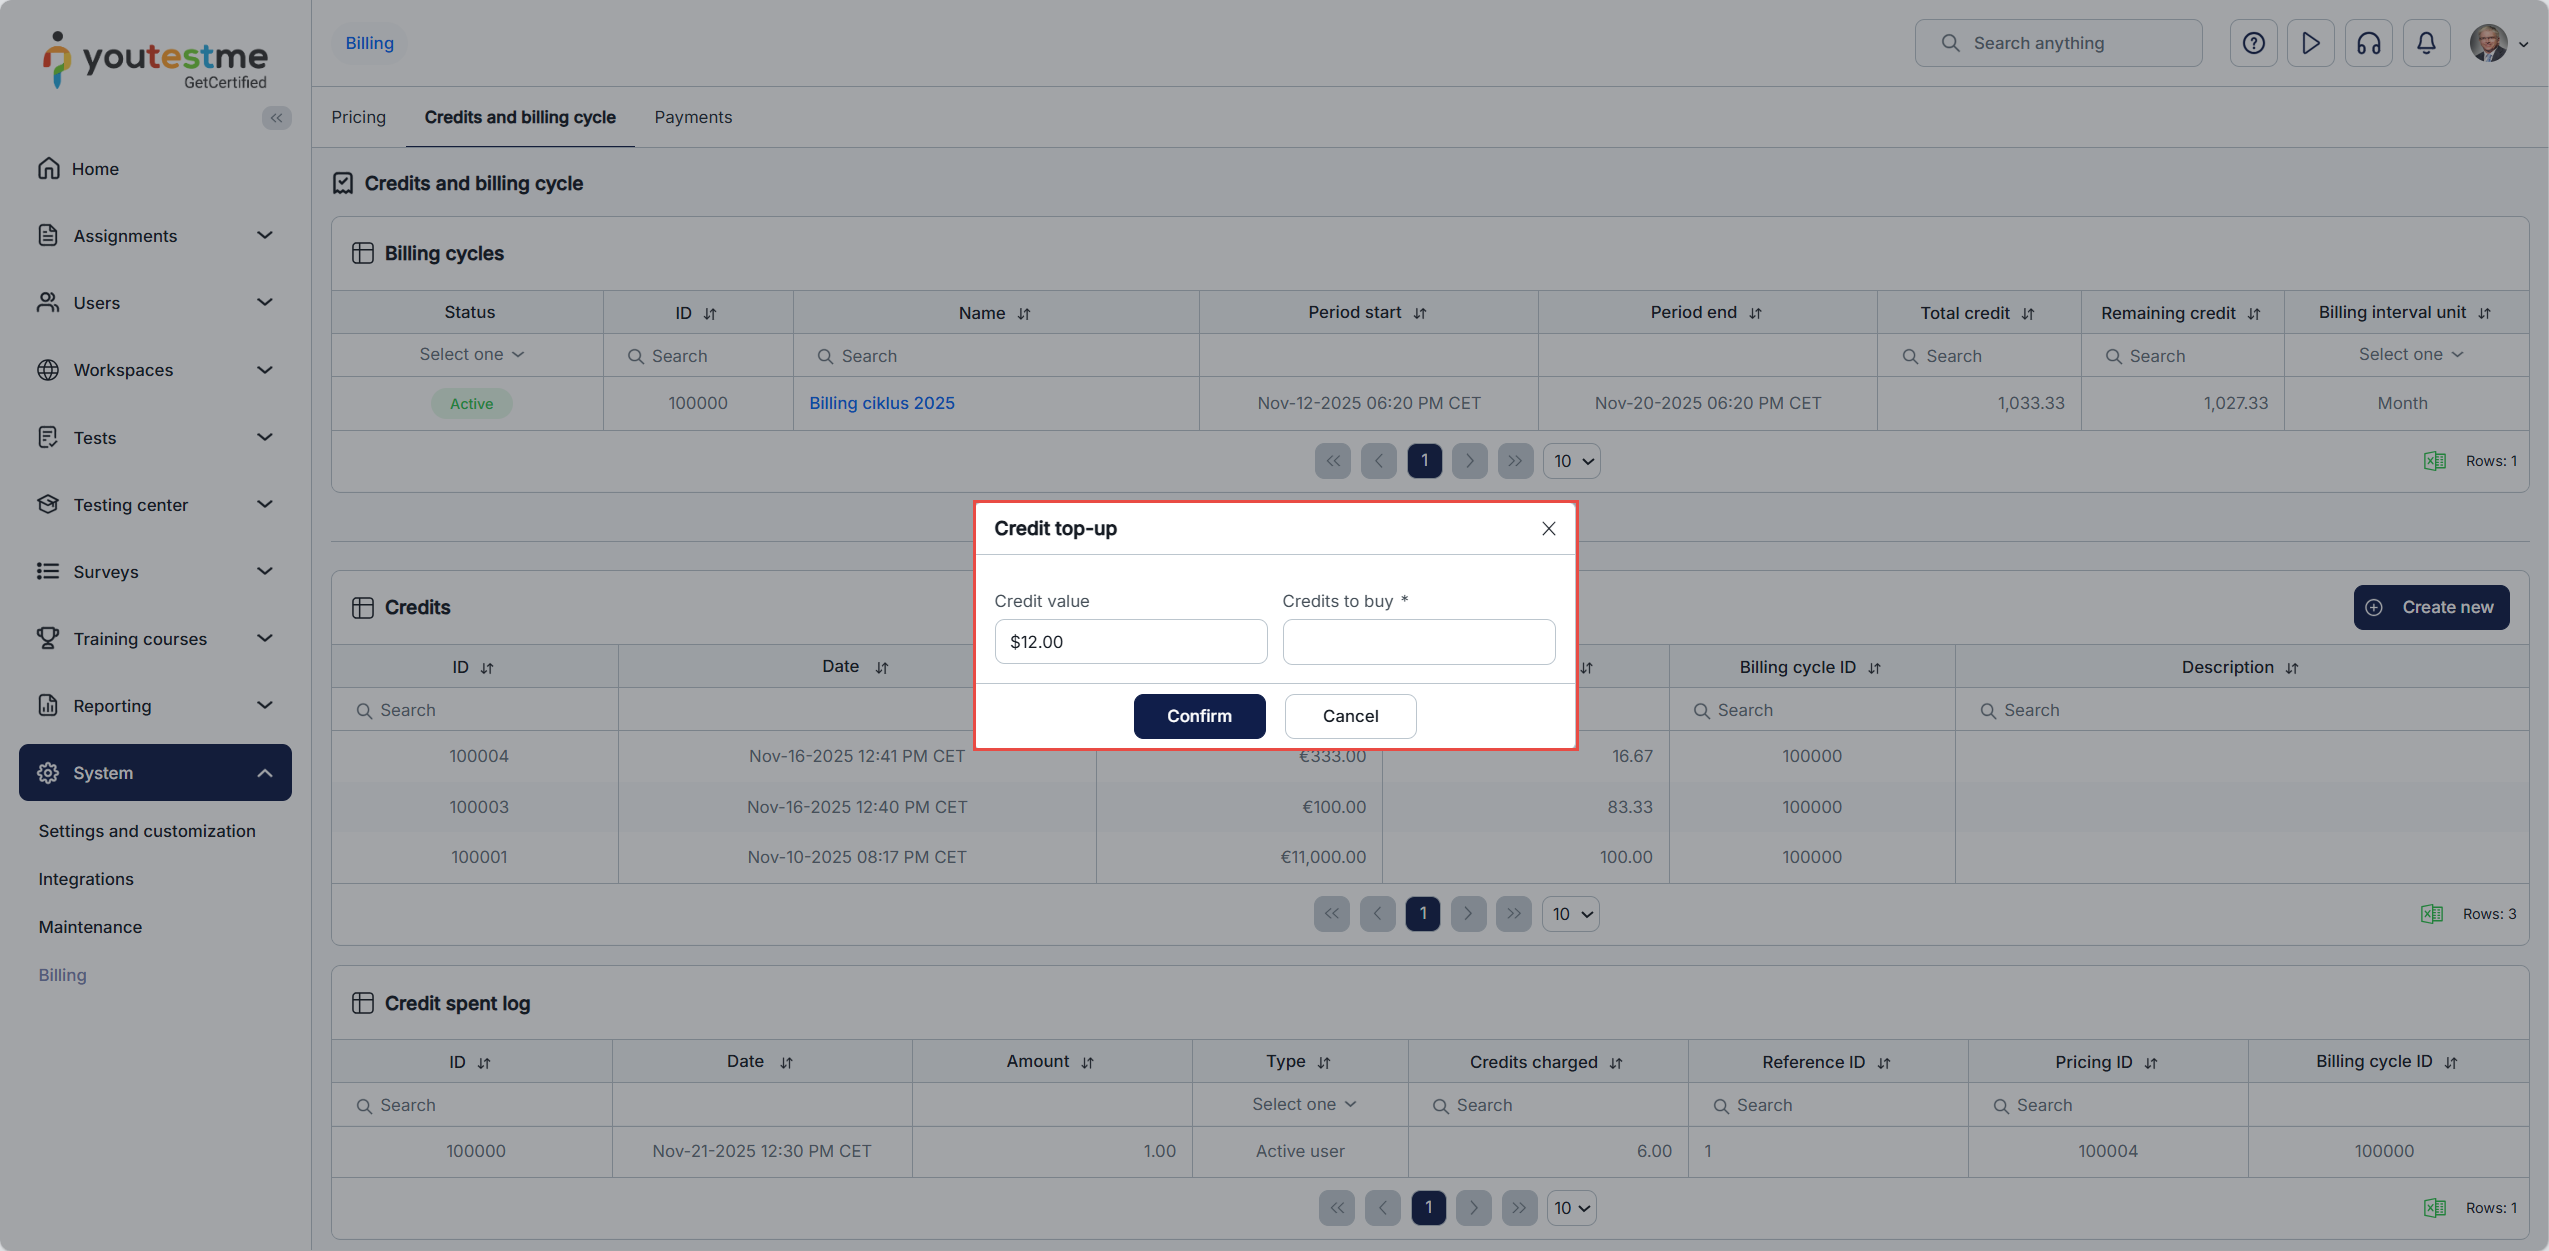
-
-
Payments
The Payments tab shows a history of all payments related to your credit top-ups. Each row represents one order created after you confirmed a credit top-up and were redirected to the Stripe payment page. From this tab you can review when the payment was made, the total amount, and its current status.
-
Payment log – The table that lists all payments for your account. For each payment you can see the Date of creation and the Total amount charged. In the Action column you can click the download icon to open or save the invoice for that payment.
-
Status column – Shows the current status of each payment, for example Completed or Pending. The column can be filtered so you can quickly display only payments with a specific status, which helps you track successful and still processing payments.
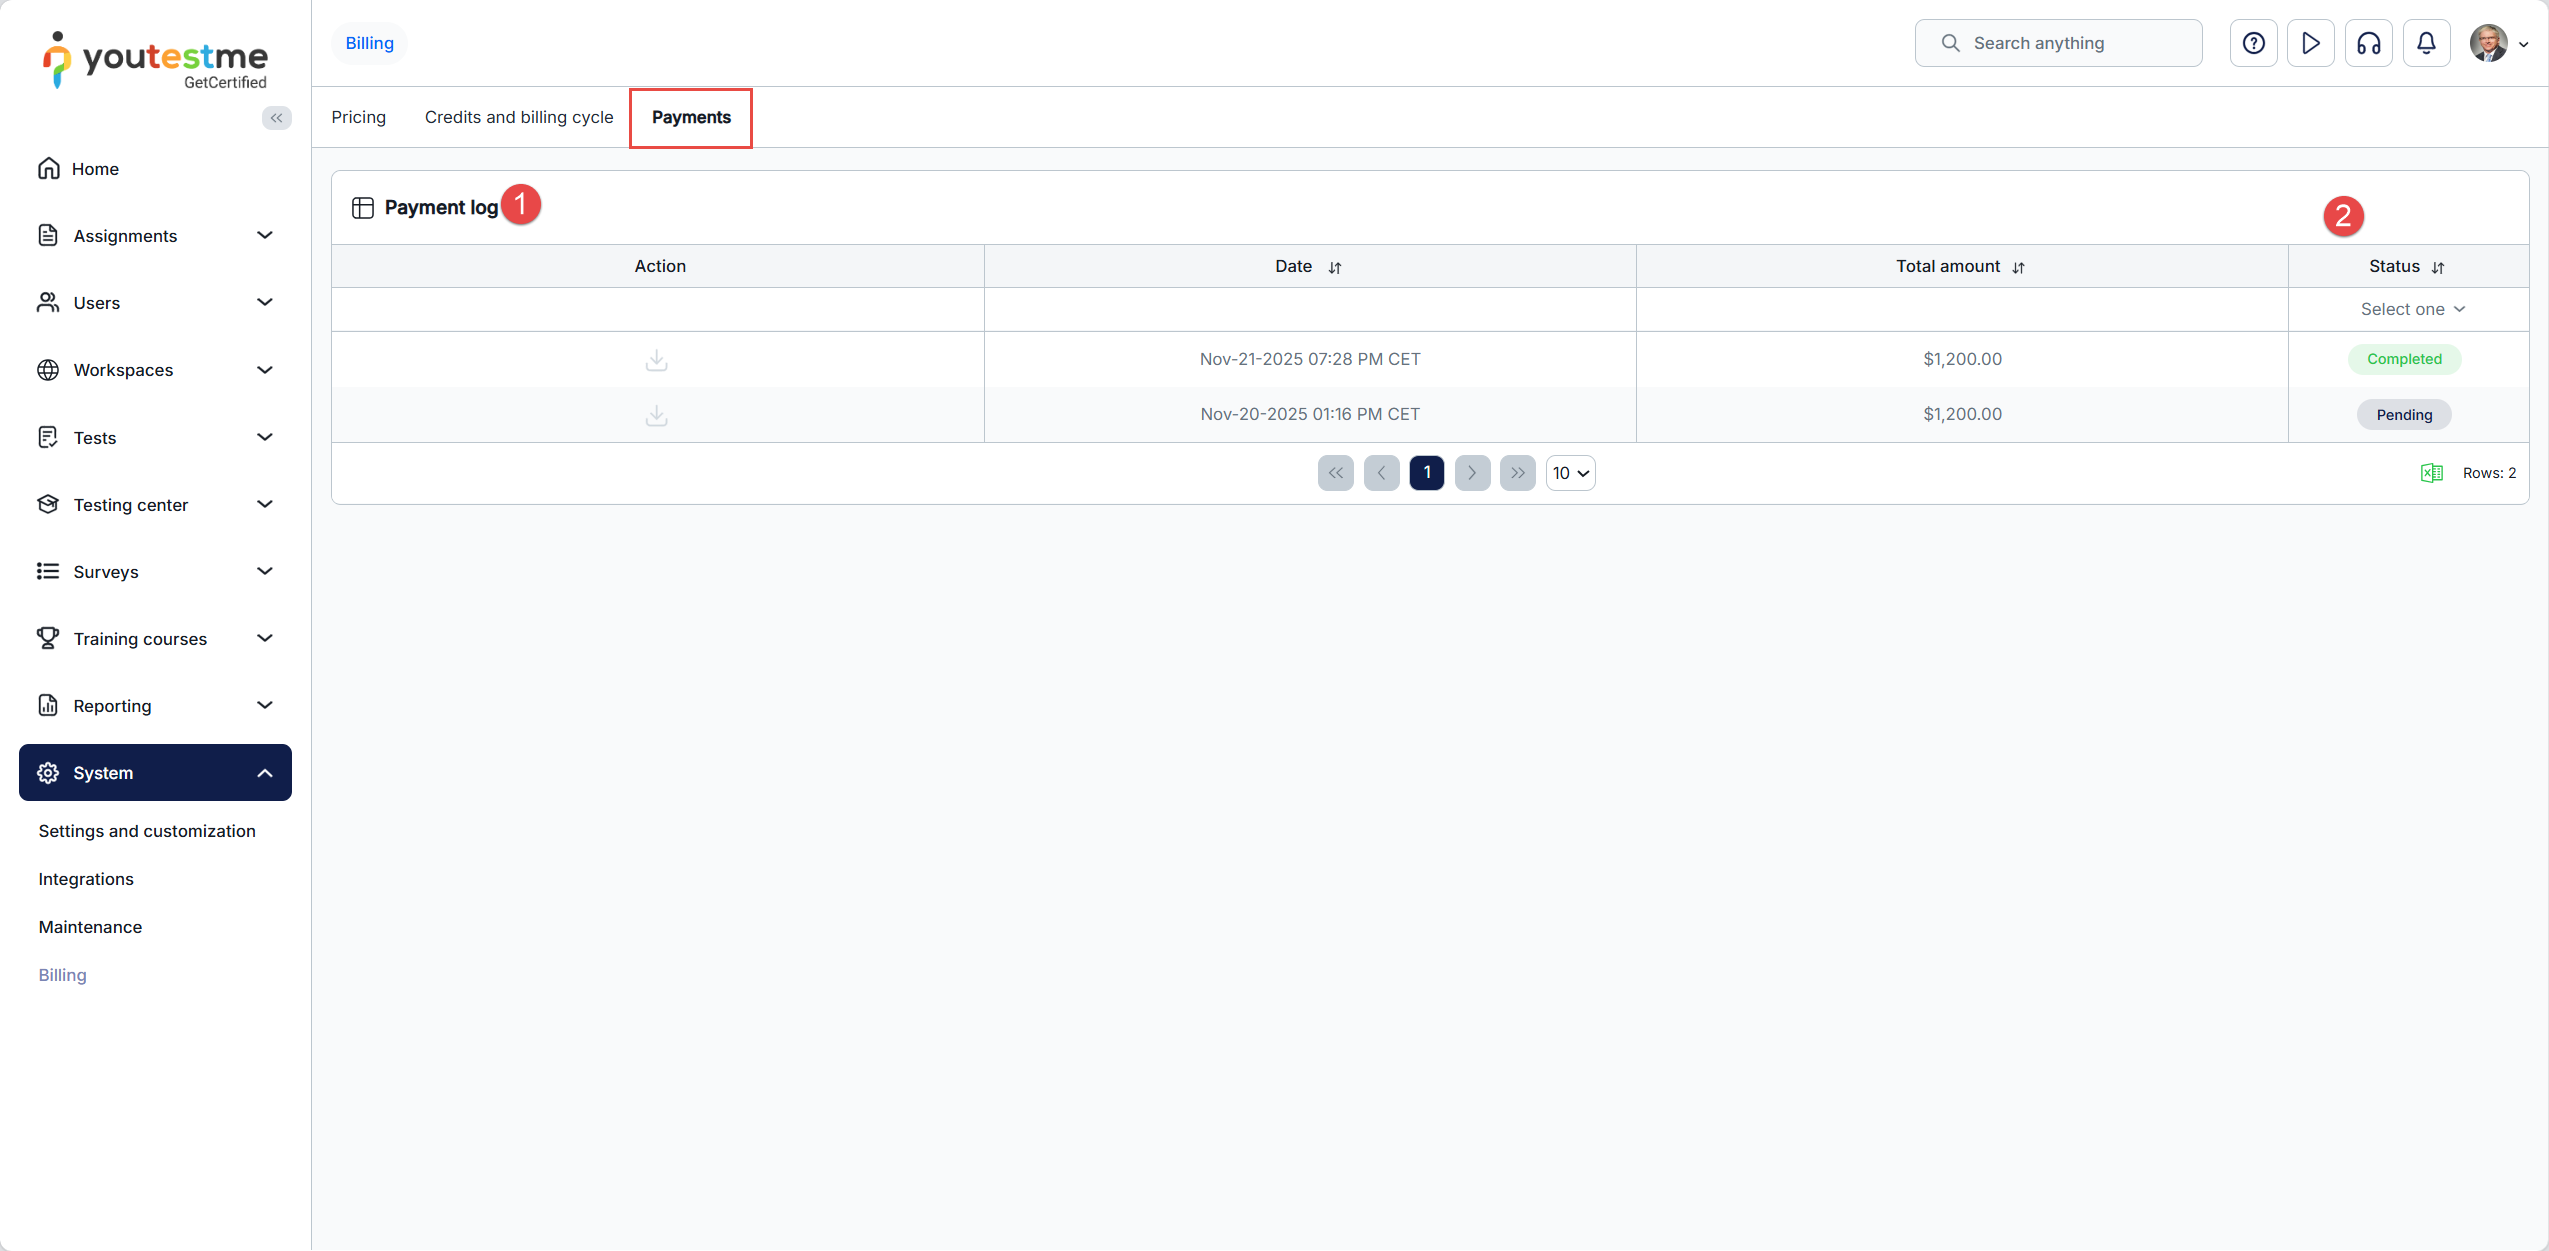
-
Modules
The Additional modules tab allows you to customize and manage various options and pages based on specific modules. Modules are individual components or features that enhance the system's functionality. By enabling or disabling modules, you can better tailor the system to suit your specific needs and preferences.
Select the System/System and customization/System and customization/System and customization/Additional modules setup tab to access the page.
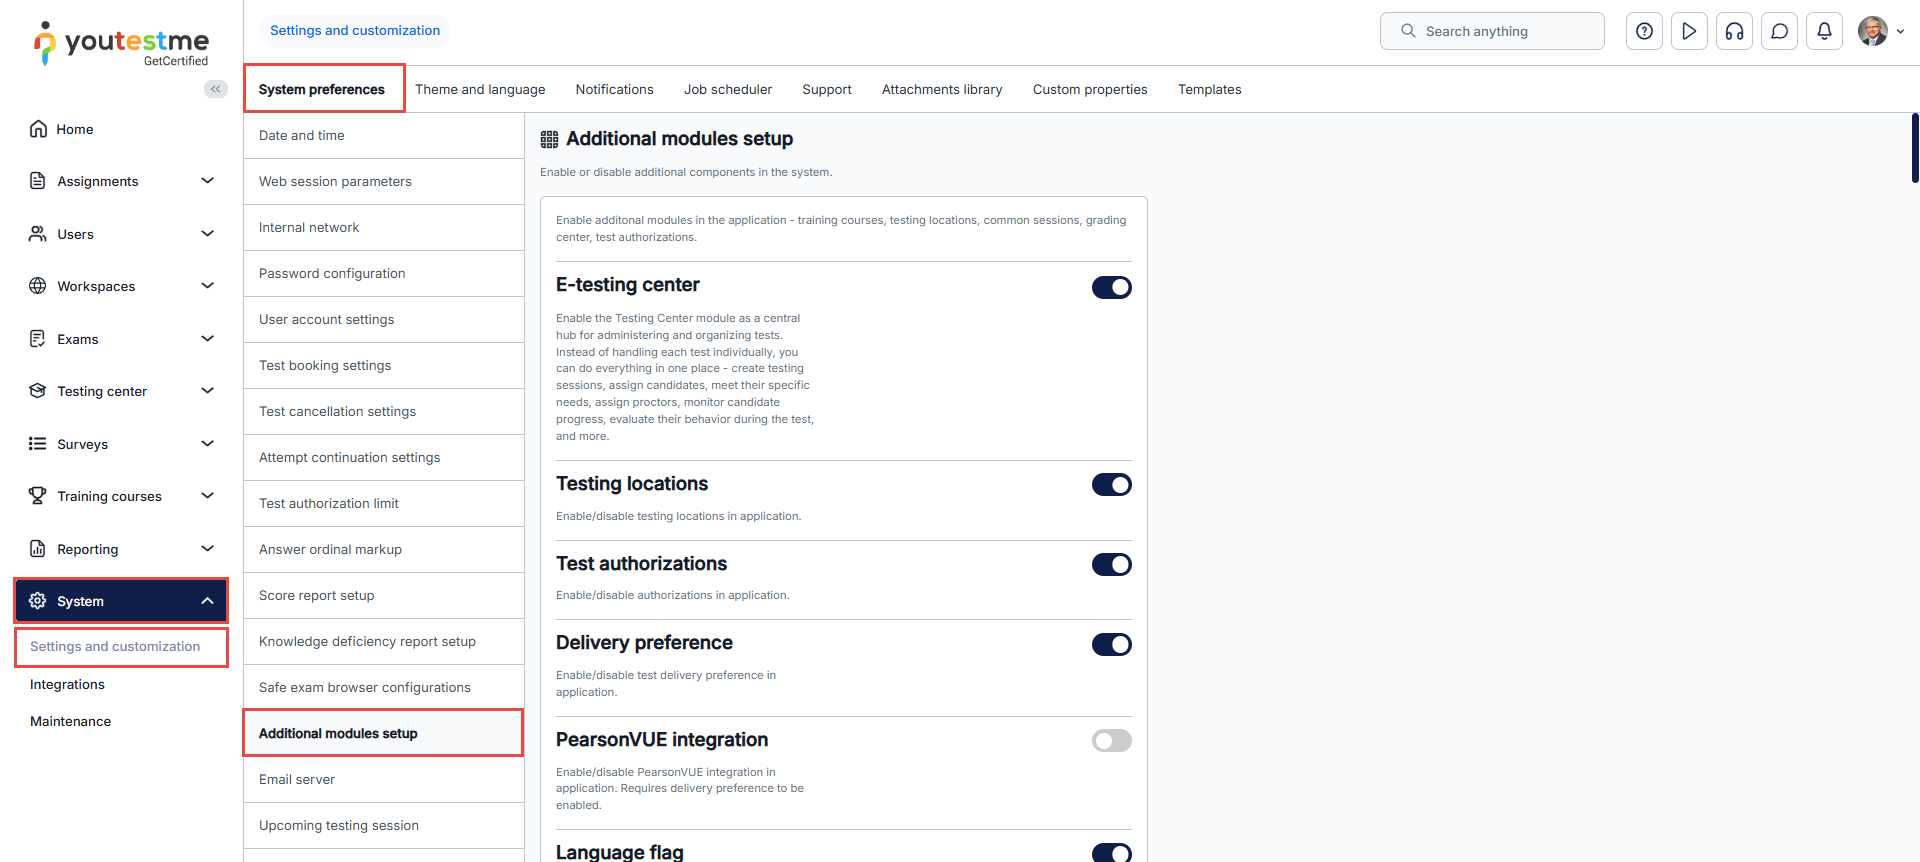
-
E-testing center
Show the Testing center module and pages in the main menu. The Testing center module is a central hub for administering and organizing tests. Instead of handling each test individually, the Testing center allows you to manage everything in one place. You can create testing sessions, assign candidates, meet their specific needs, assign proctors, monitor candidate progress, evaluate their behavior during the test, and more. If this module is not enabled, you can still use and manage Testing center features through each test separately.
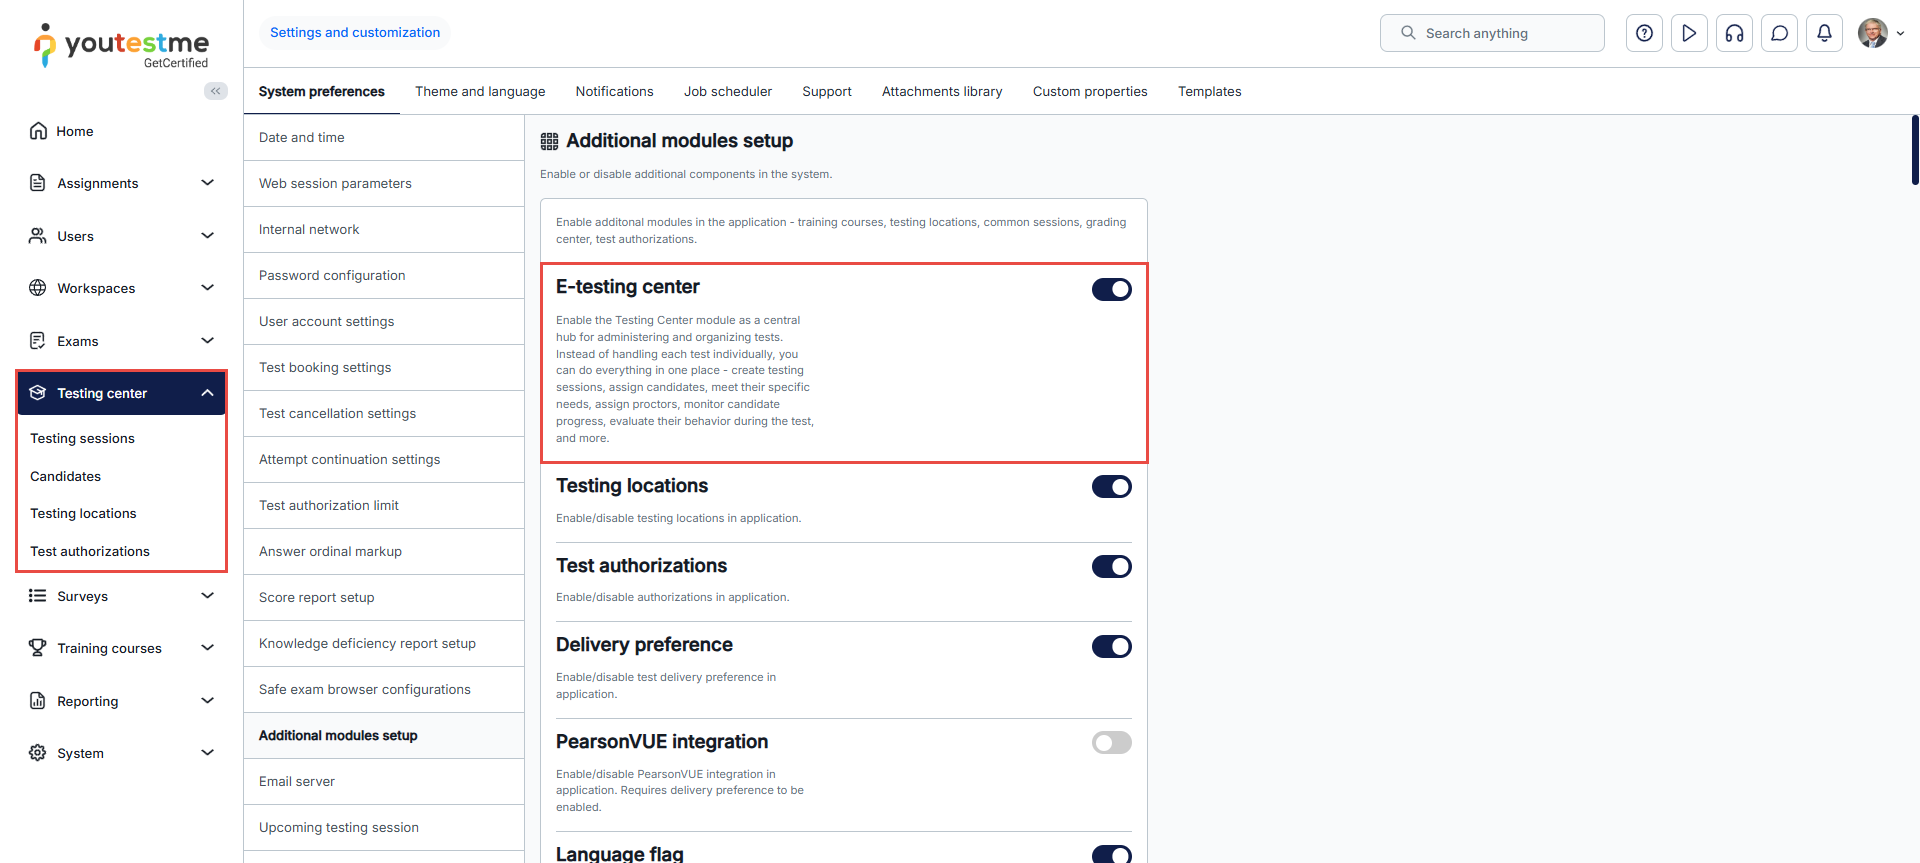
-
Testing locations
Enable or disable testing locations in the application. If this module is disabled, you cannot access the Testing Center/Testing locations page or define testing locations when creating or editing sessions.
To enable this module, the Testing center module must be enabled.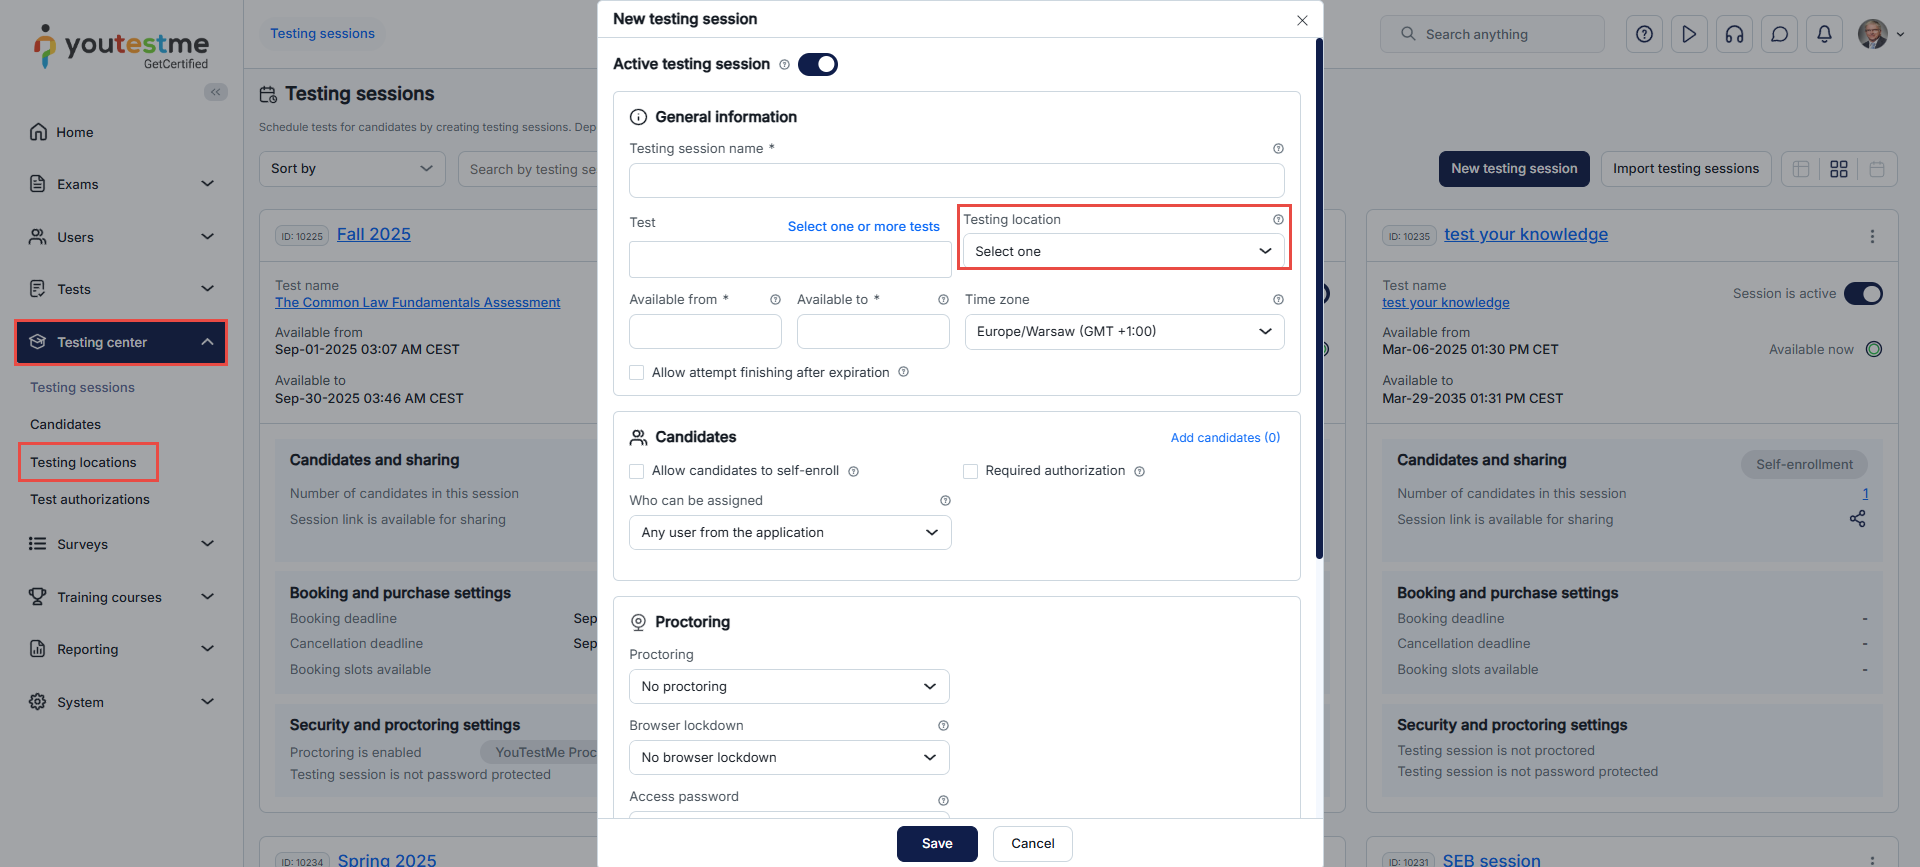
-
Test authorizations
Enable or disable test authorizations in the application. If this module is disabled, you cannot access the Authorizations page (through either the Testing center or Manage tests page) or create and manage authorizations for tests.
To enable this module, the Testing center module must be enabled.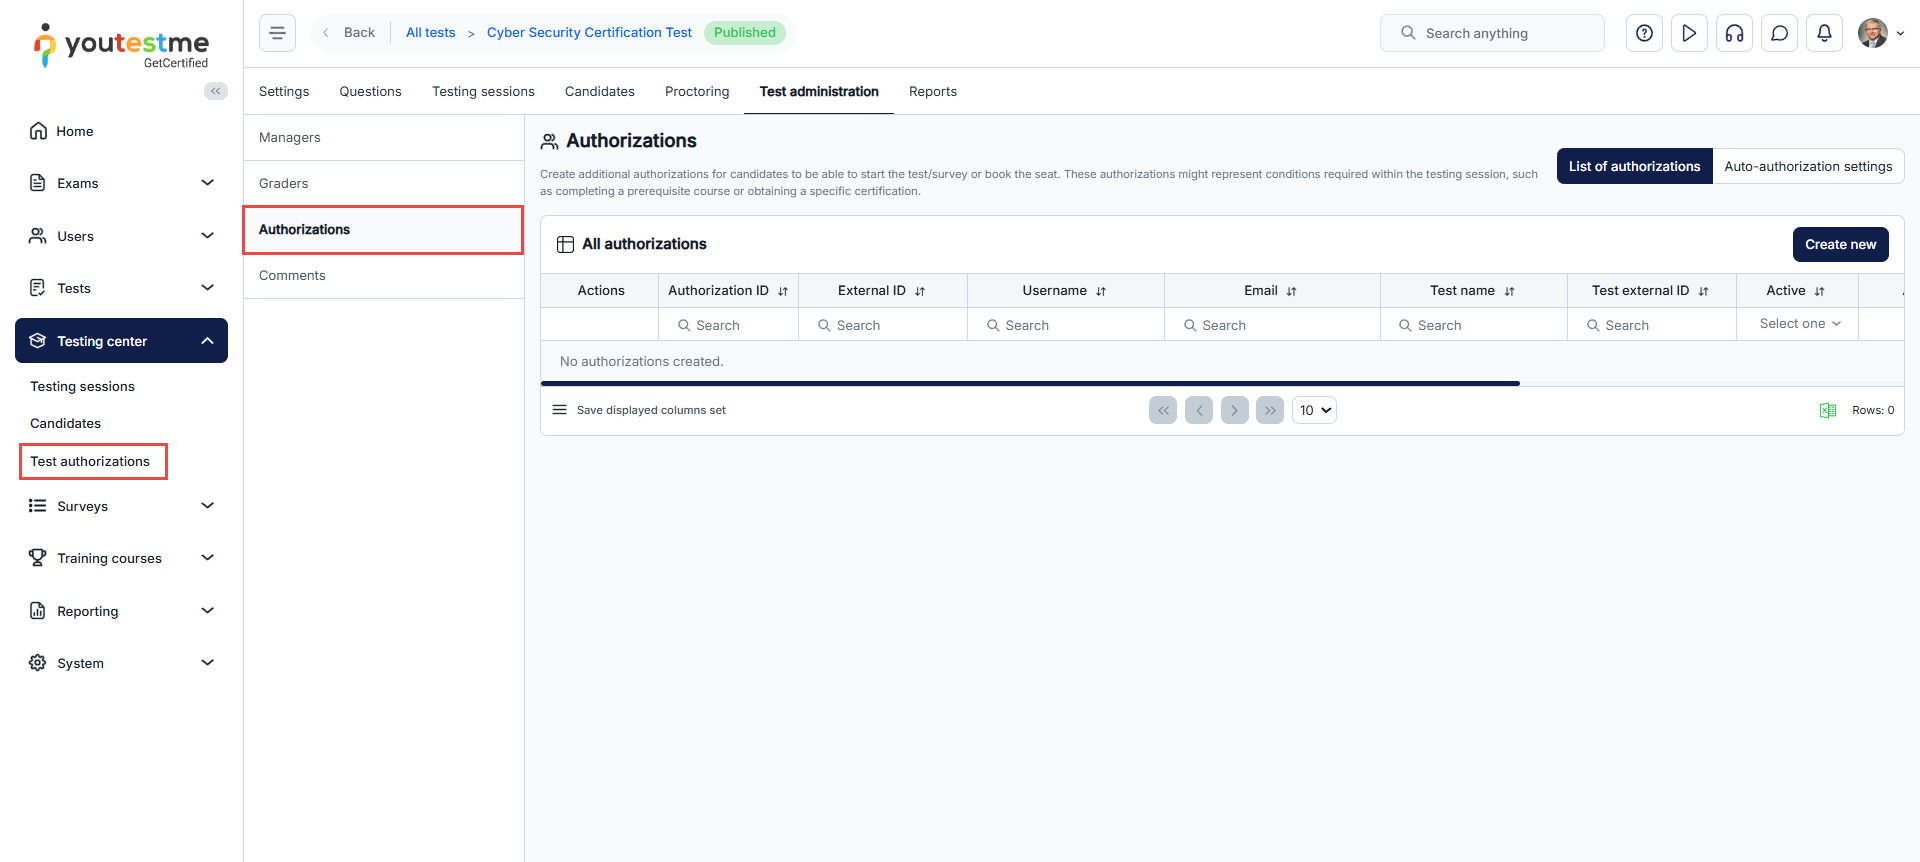
-
Delivery preference
Enable or disable filtering by delivery preference. If this module is disabled, you cannot define delivery preferences when creating a test or manage them through the Manage tests page.
-
PearsonVUE integration
Enable or disable PearsonVUE integration in application. Requires delivery preference to be enabled.
-
Language flag
Displaying a flag next to the language name on the login page.
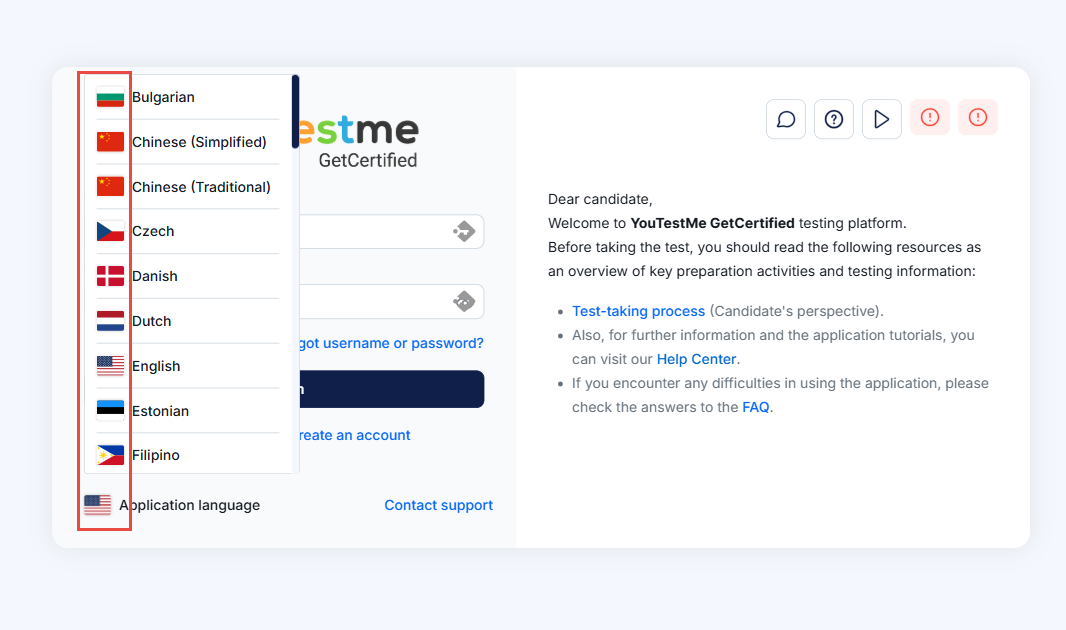
-
Test generator pack
-
Let the generator select questions - If you choose the Test generator based on question difficulties creation method, the test generator will create versions based on generation rules. One rule defines how similar questions will be generated in one test version. If you choose the Test generator based on rules with question categories creation method, the test generator will create versions based on generation rules. One rule defines how similar questions will be generated in one test version.
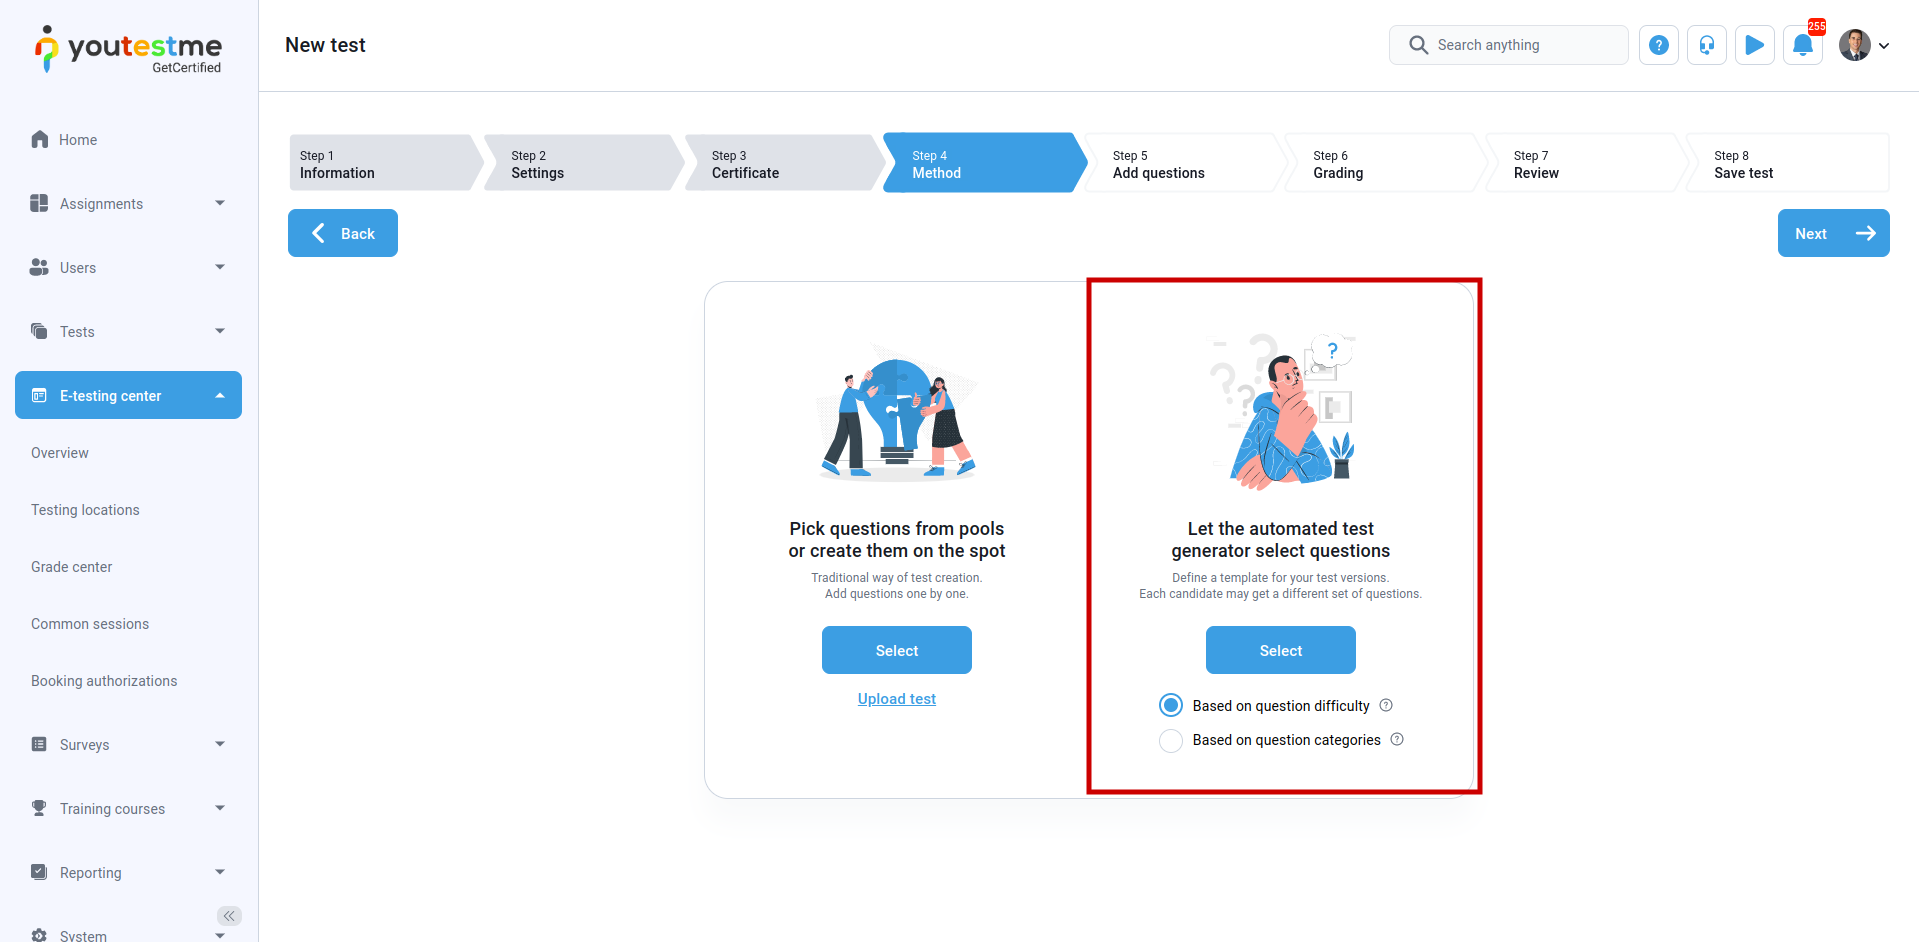
-
Frequency factor - The option for each question's frequency factor will be considered in the test-generating process.
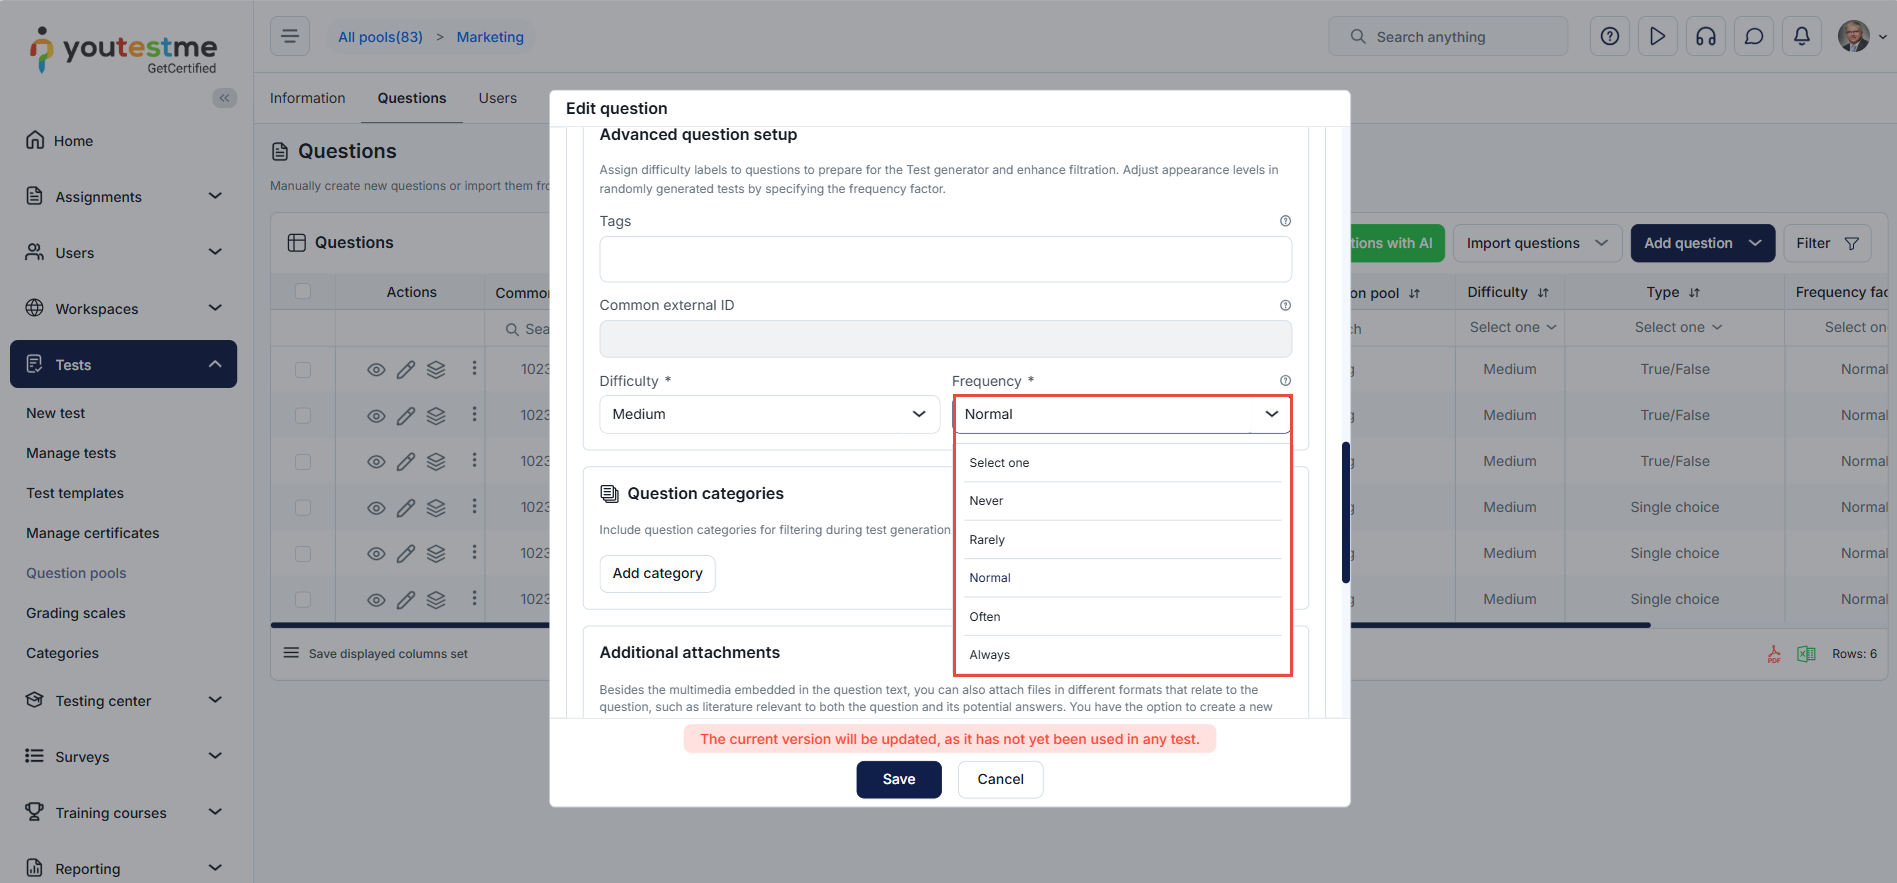
-
-
Advanced reporting set
-
My favorite reports tab displays a list of reports the user has marked as favorites. Accessing the desired reports is easier since there is no need to browse through standard report categories. You can only access them through a custom list of favorite reports.
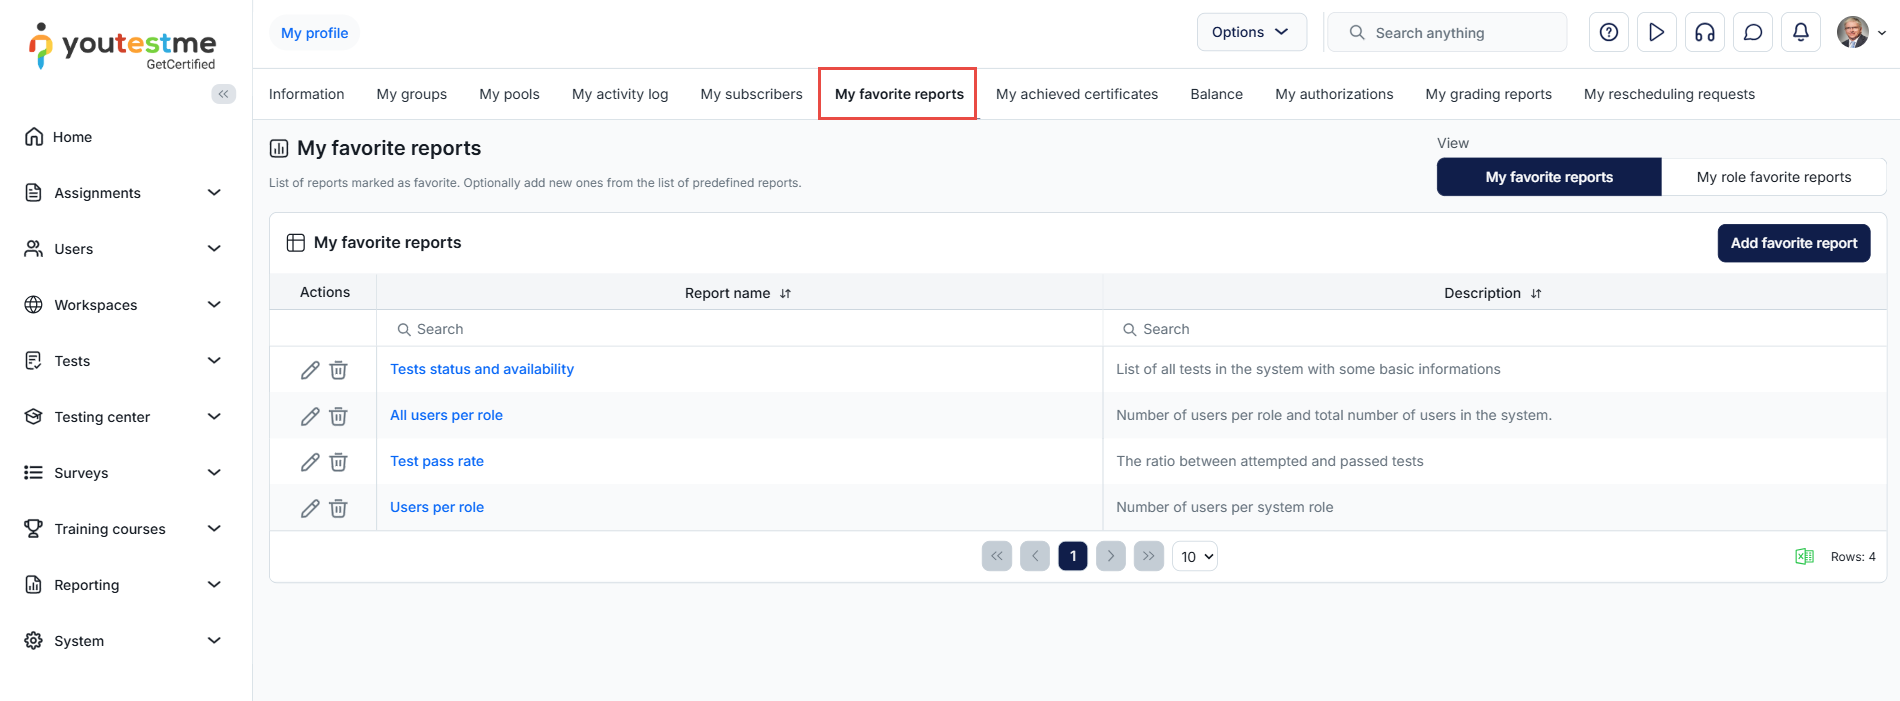
For more information, please visit the Favorite reports page.
-
My subscribers tab displays a list of subscribers who will receive an email notification once a user's test and survey results become available.
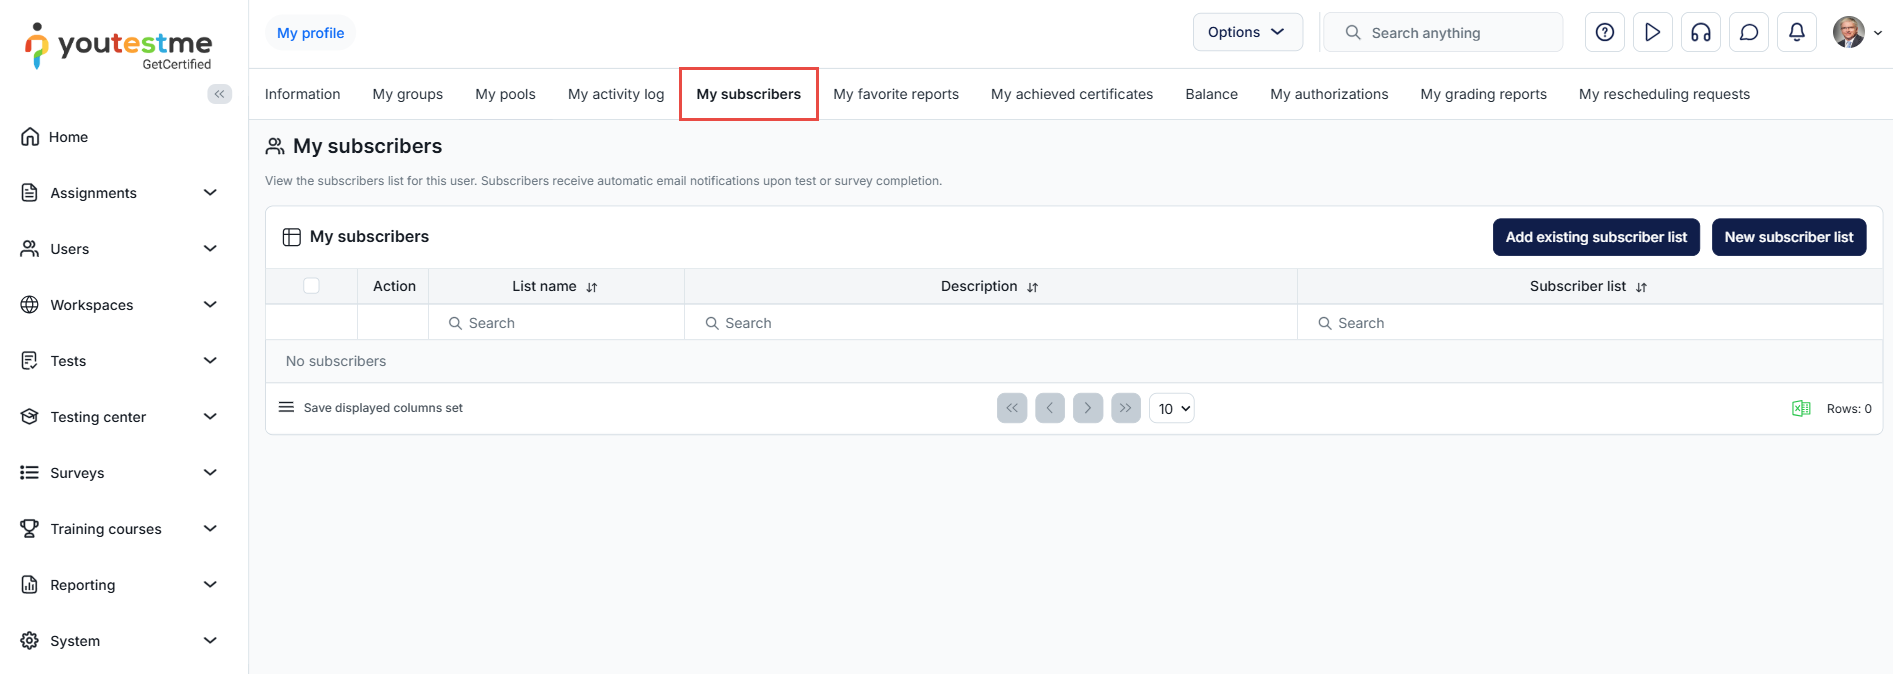
For more information, please visit the Subscribers page.
-
Reporting options: Report builder, My favorite reports, Scheduled reports, Subscribers.
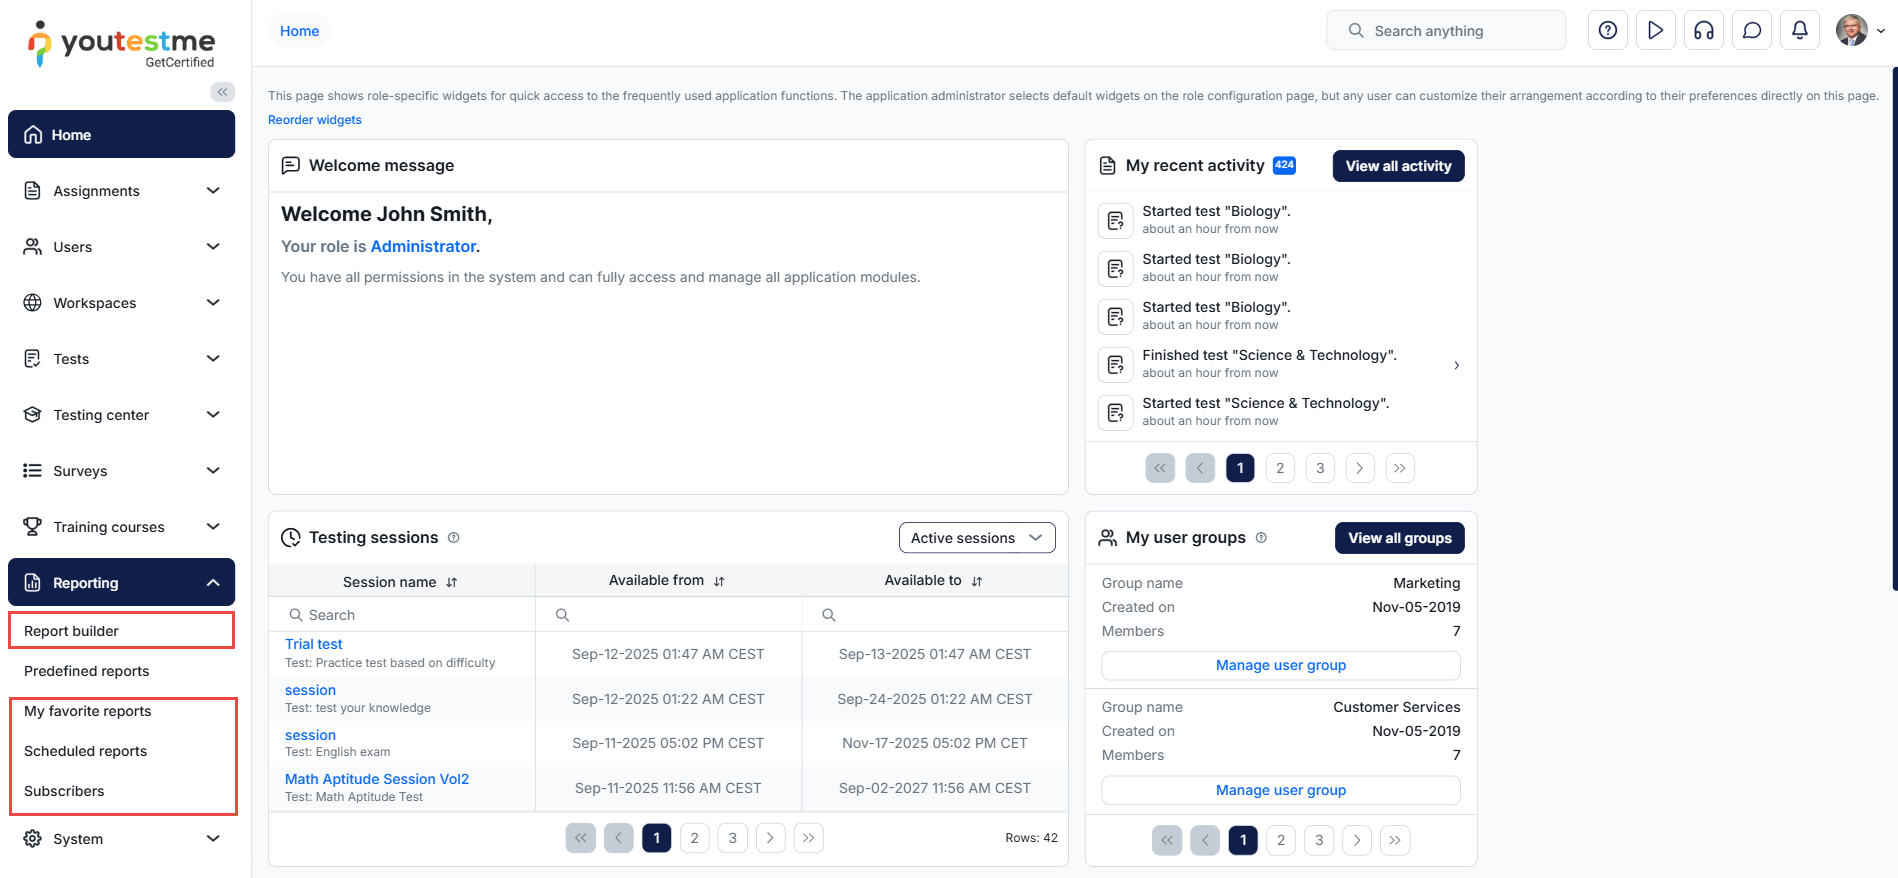
For more information, please visit the Report builder, Predefined reports, Favorite reports, Scheduled reports, and the Subscribers pages.
-
Report builder page allows users to create flexible and unique reports by applying advanced search filters. This enables users to gain detailed insight into test and survey statistics, efficiently compare tests and surveys, and analyze individual test and survey items.
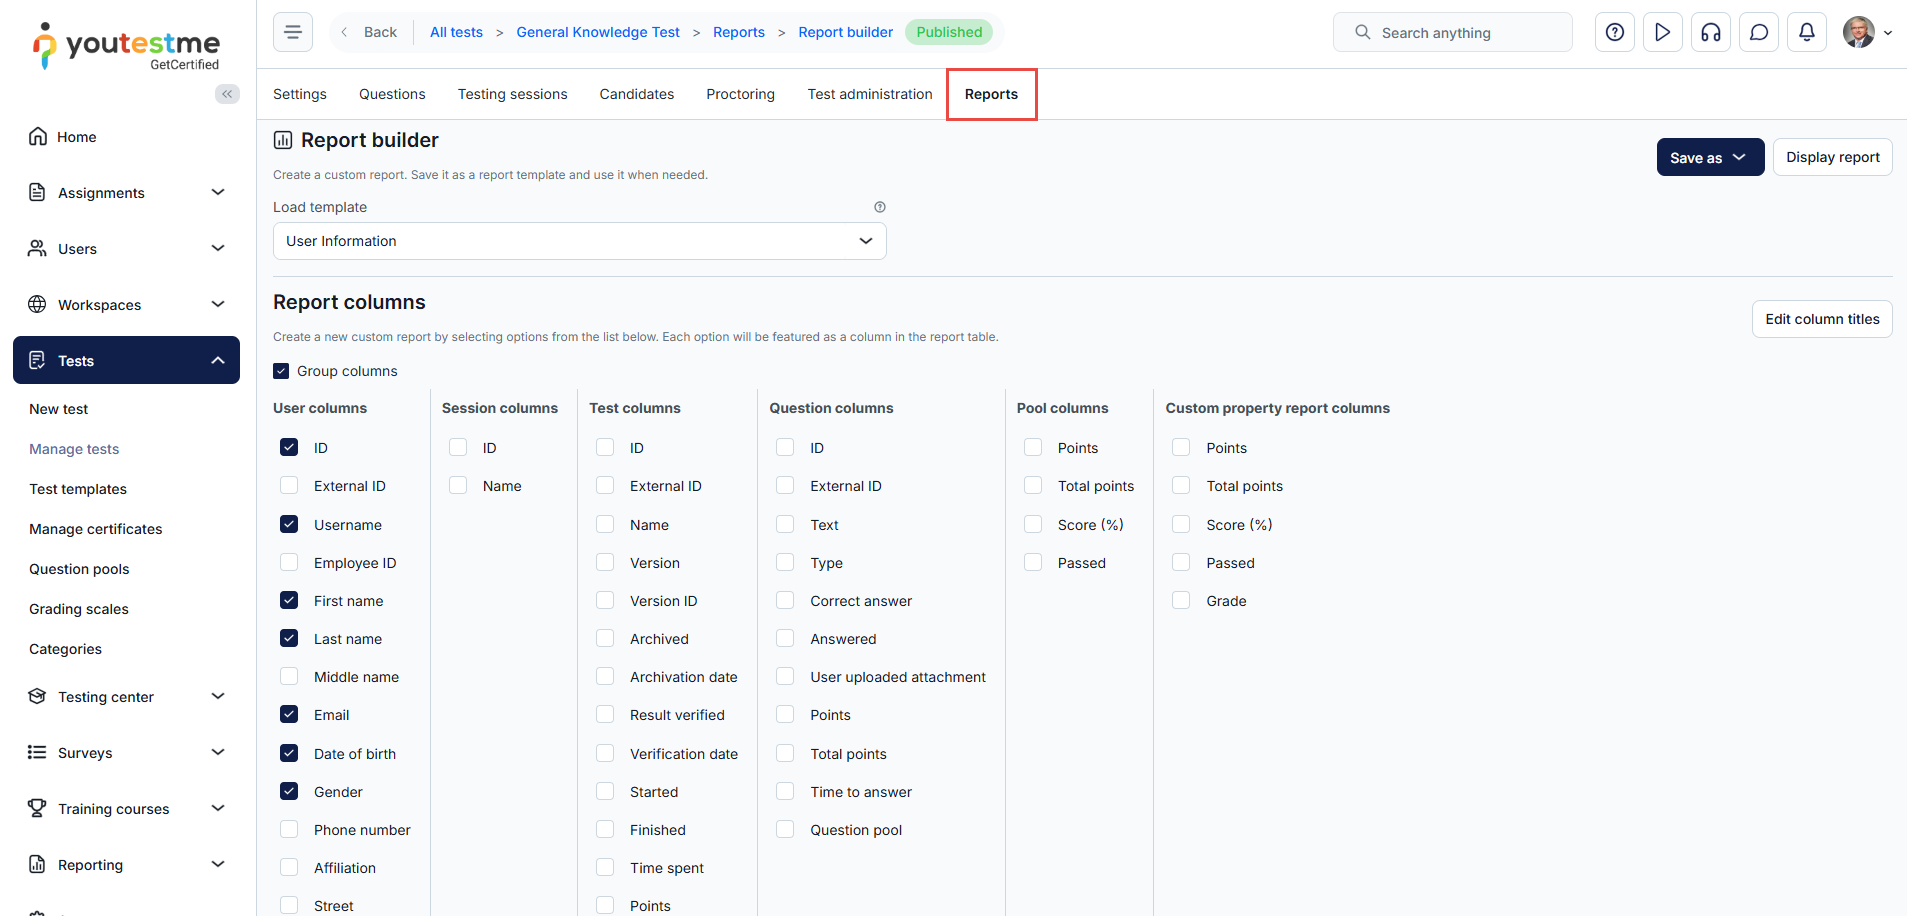
For more information, please visit the Report builder page.
-
-
Advanced grading set
-
Advanced grading options are available in the Advanced settings section of the grading configuration step of the new test wizard.
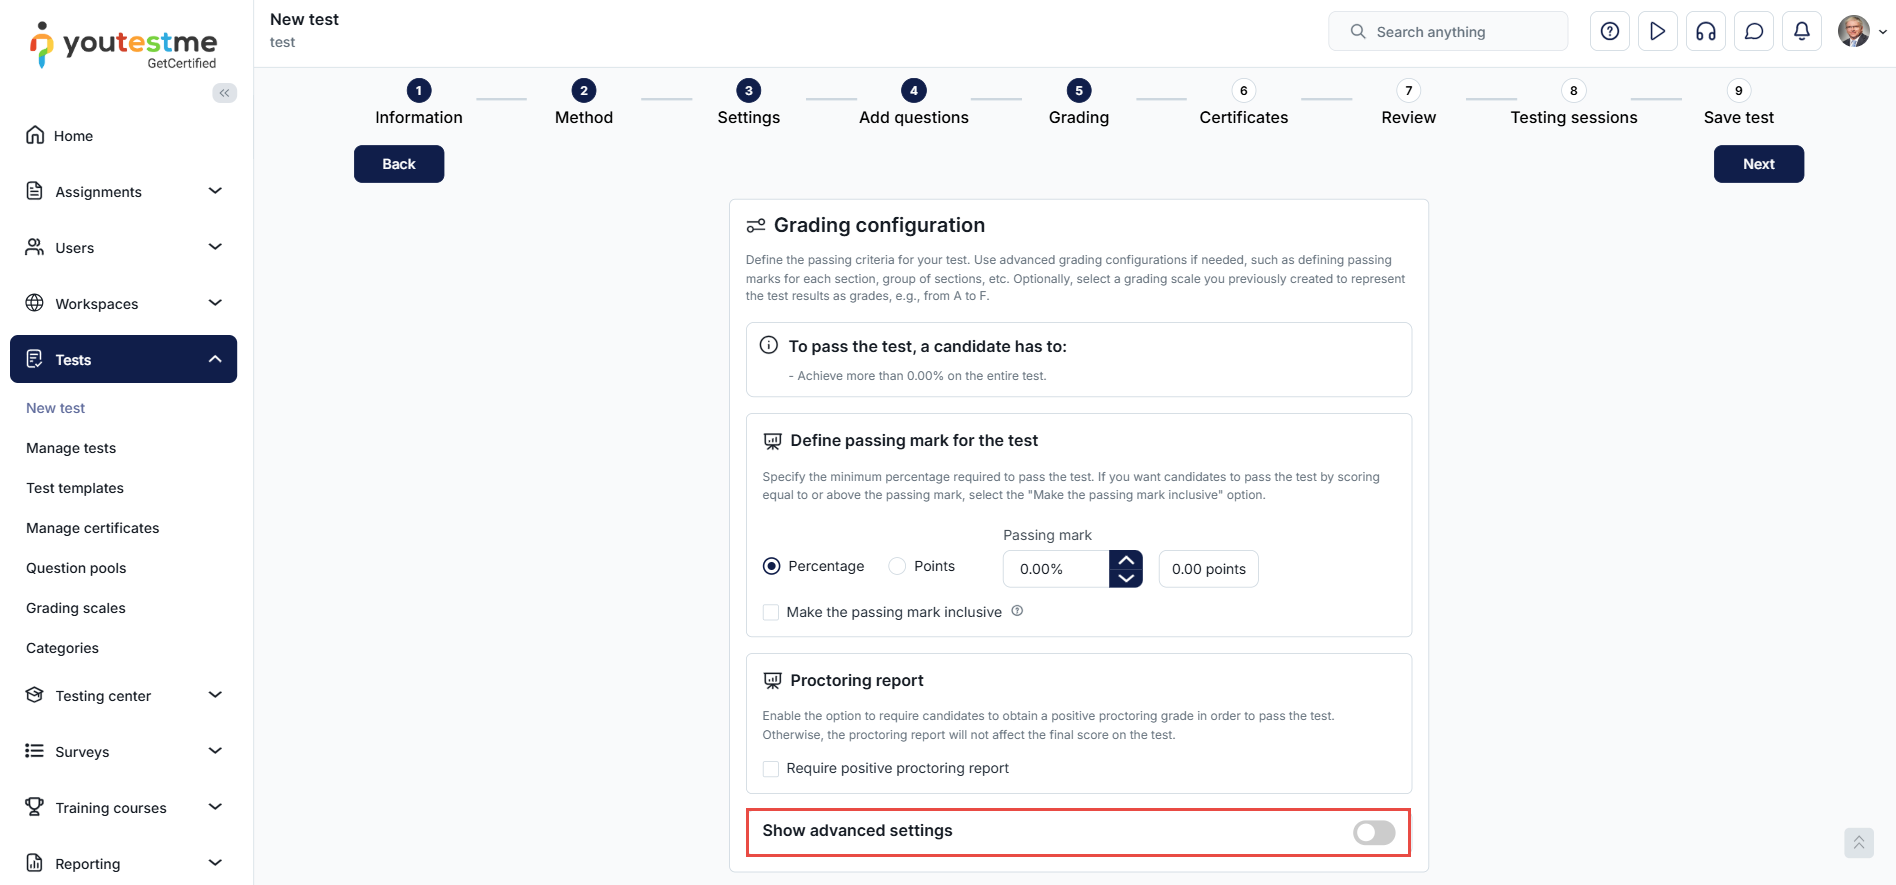
-
They are also available in the Advanced settings section of the grading configuration tab in Manage tests.
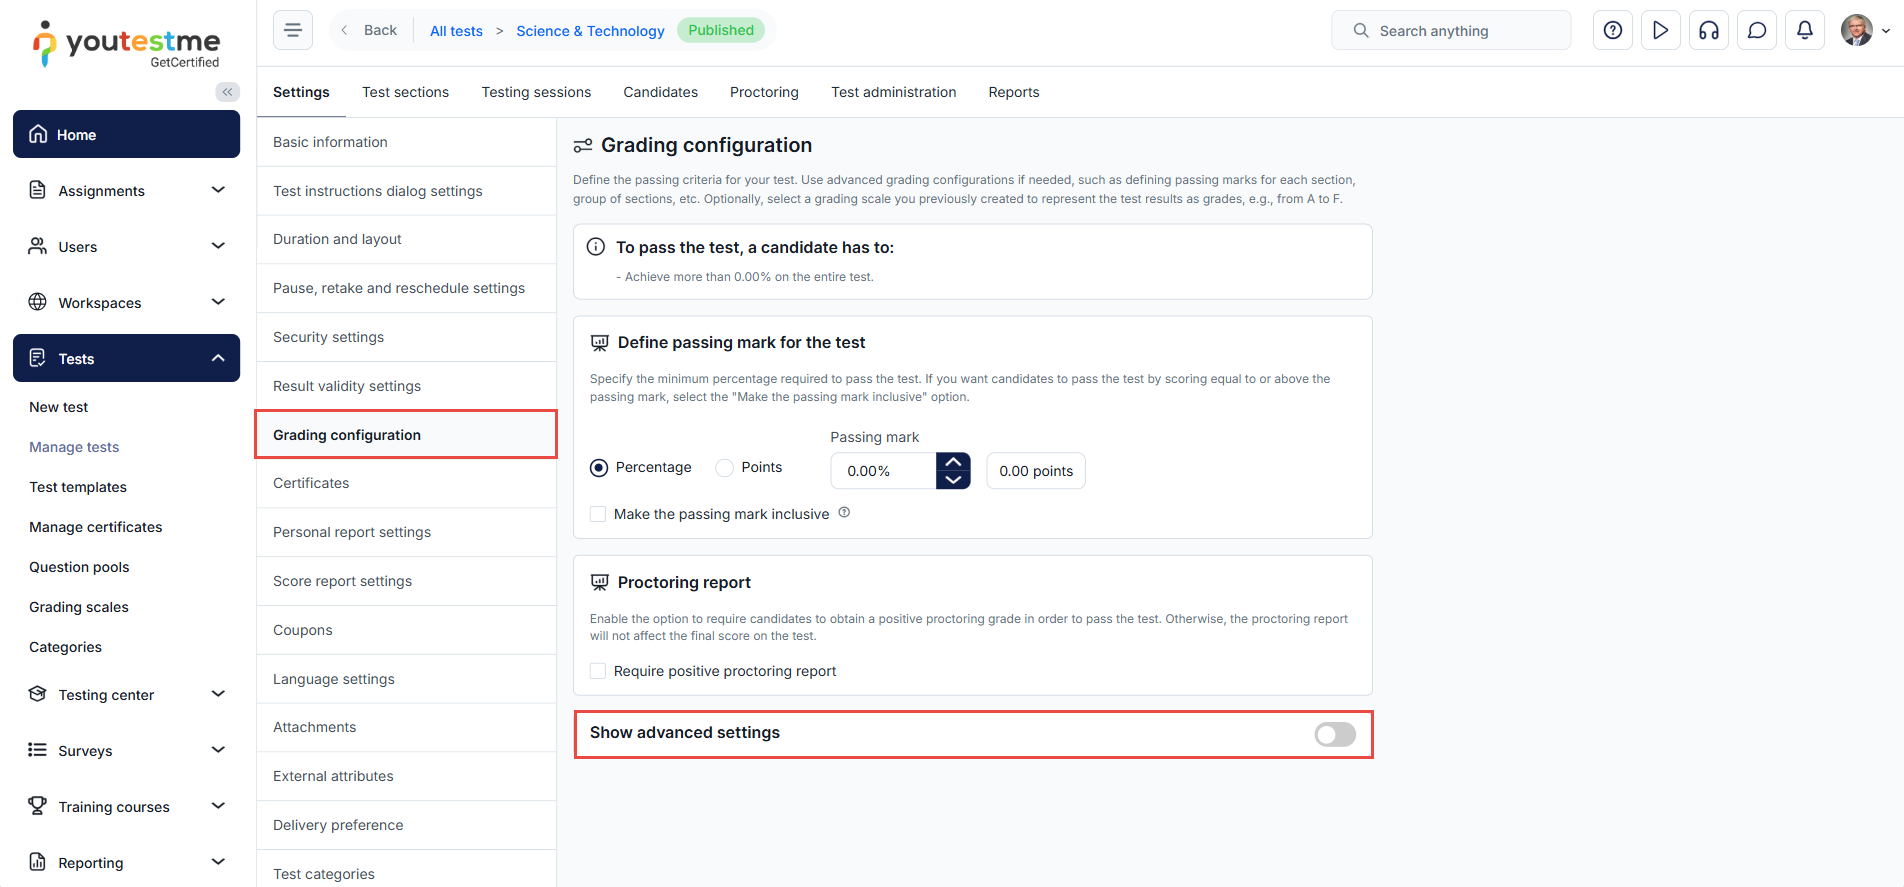
-
Verify - The option to verify the test report. Once the candidate's report is verified, changing the grading settings will not affect the candidate's score. The verification date will be shown when the test manager verifies the test attempt.
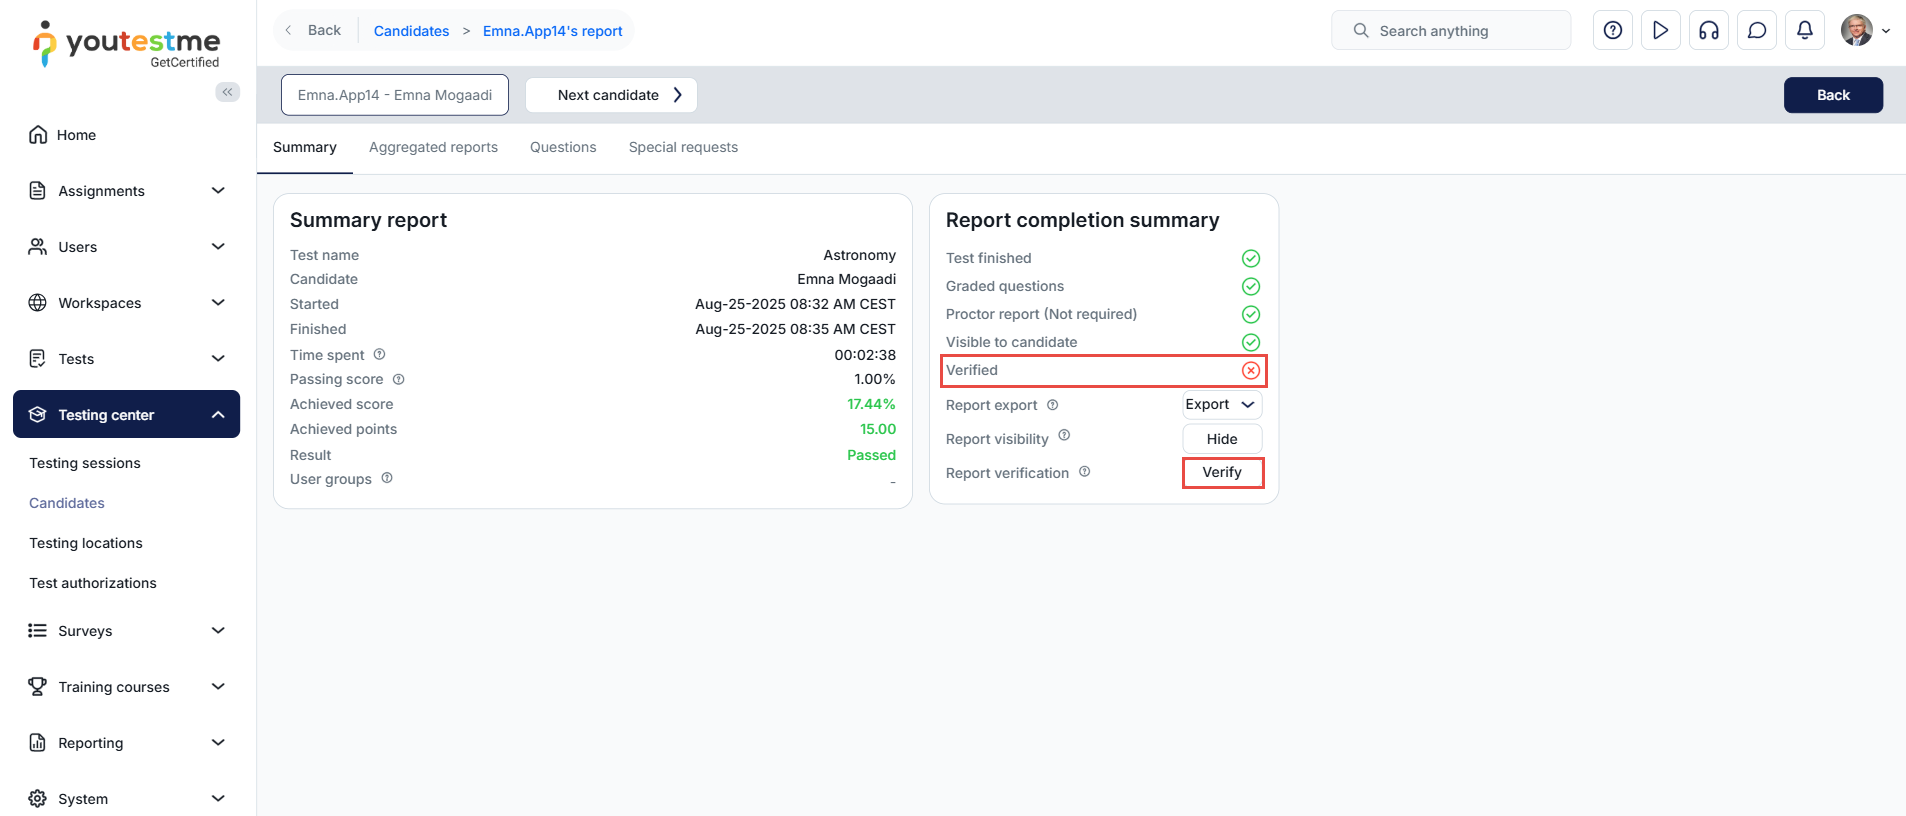
-
To verify the candidates' reports, you should first select the candidates whose reports you want to verify.
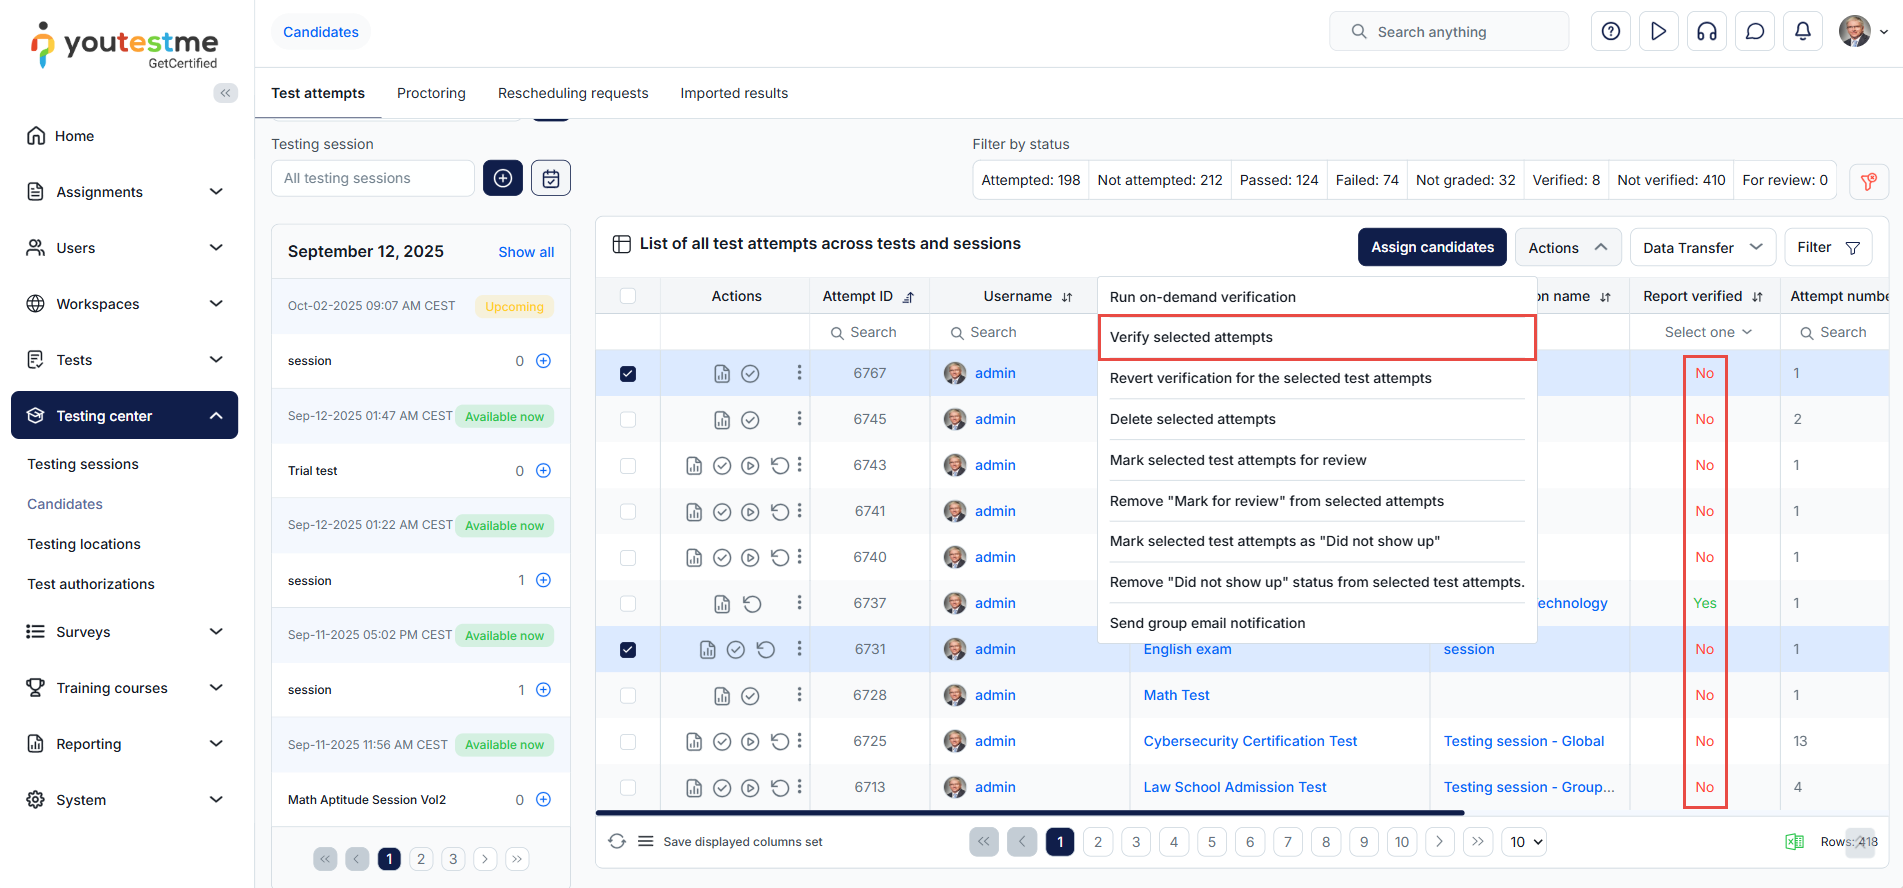
-
Immediately after result verification - Users will receive the report immediately after the test manager verifies their result by clicking on the Verify button.
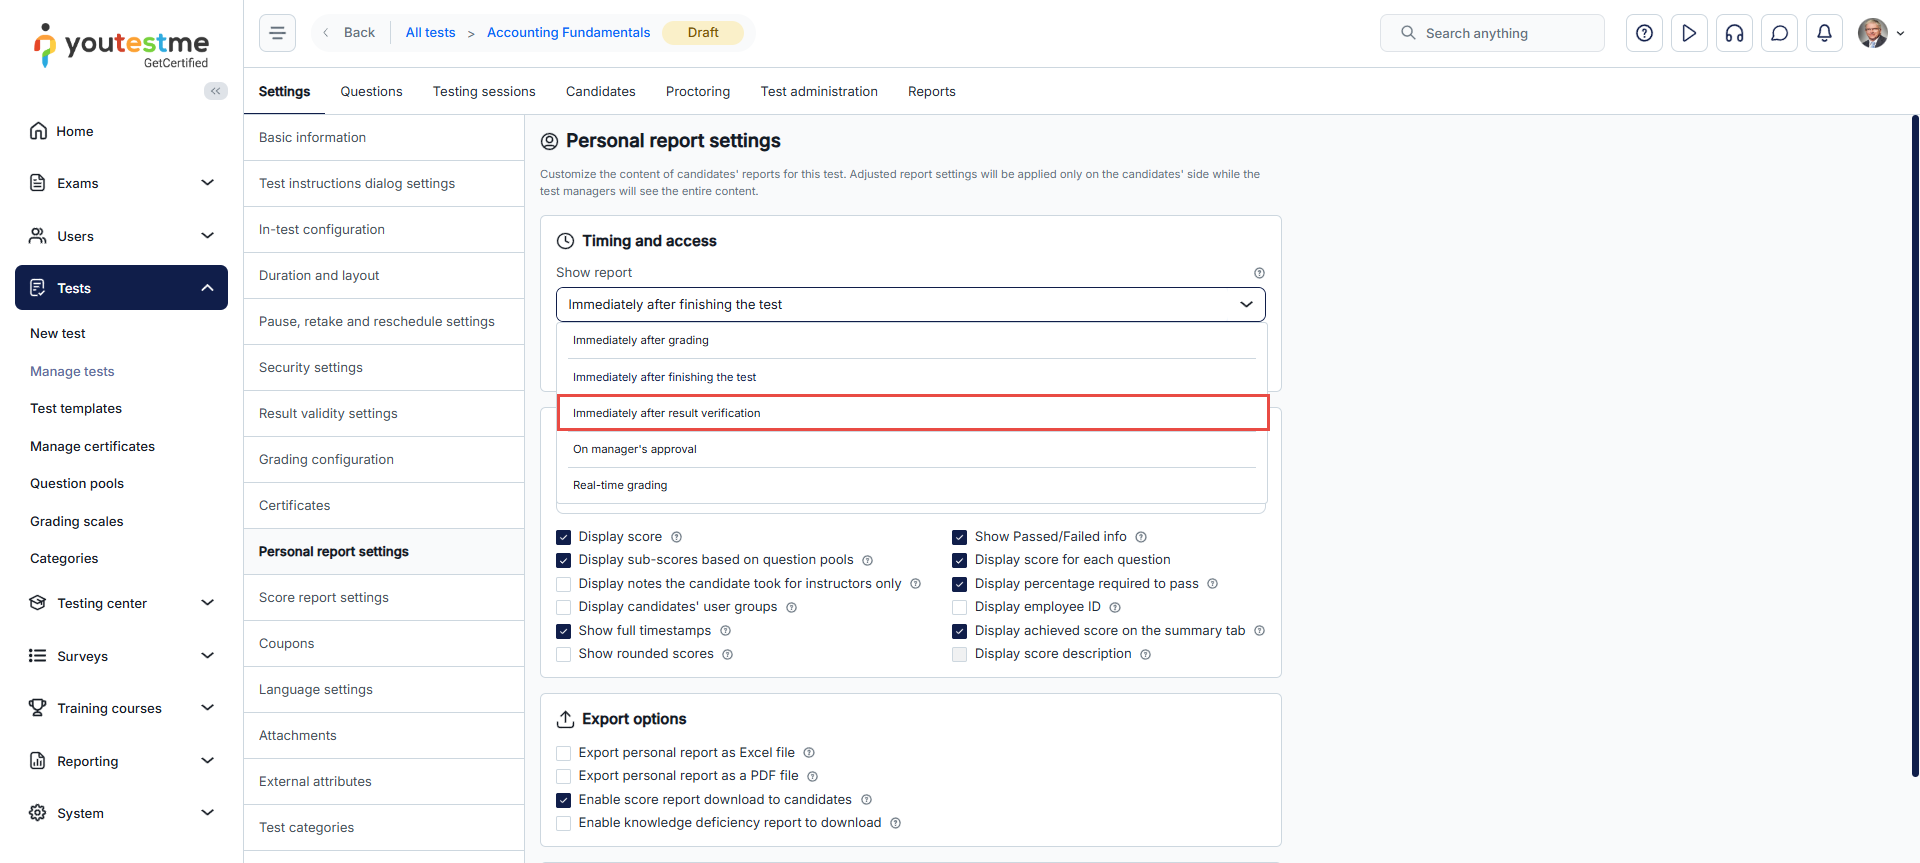
-
The table presents the question pools, if available, used to generate the questions. It also shows descriptive passing marks and the expected level of knowledge for a particular subject area aimed at instructors.
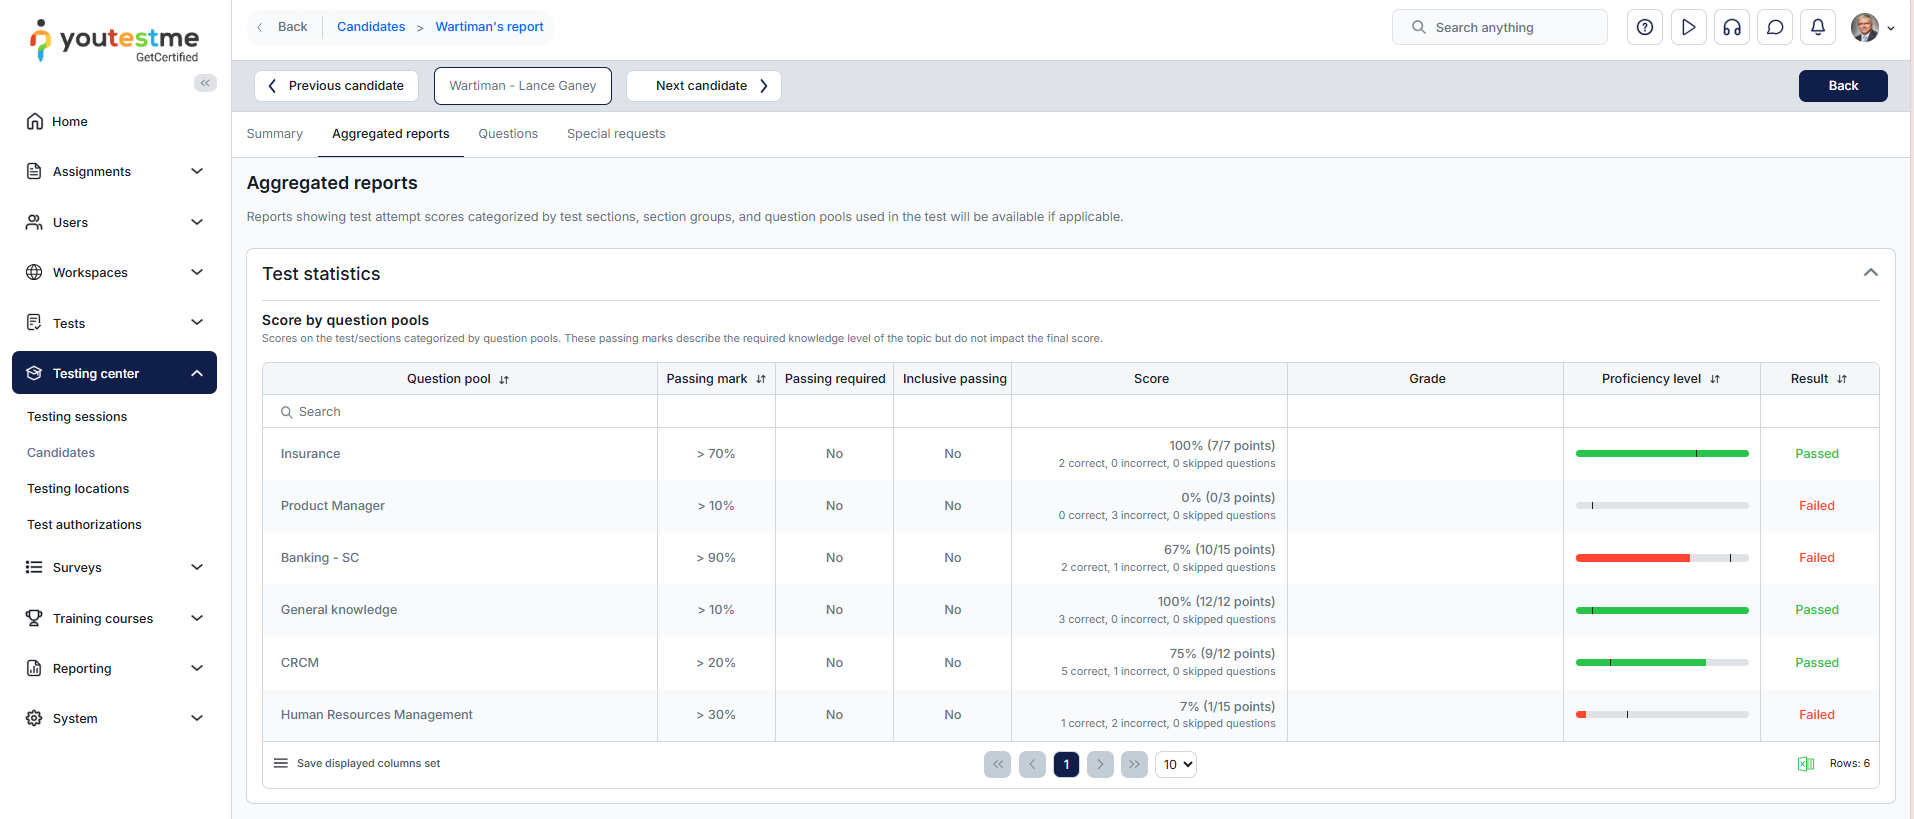
-
Choose the delivery preference for the type of tests you want to verify and click the Setup verification process option in the table. Additionally, ensure that the E-testing center module is enabled.
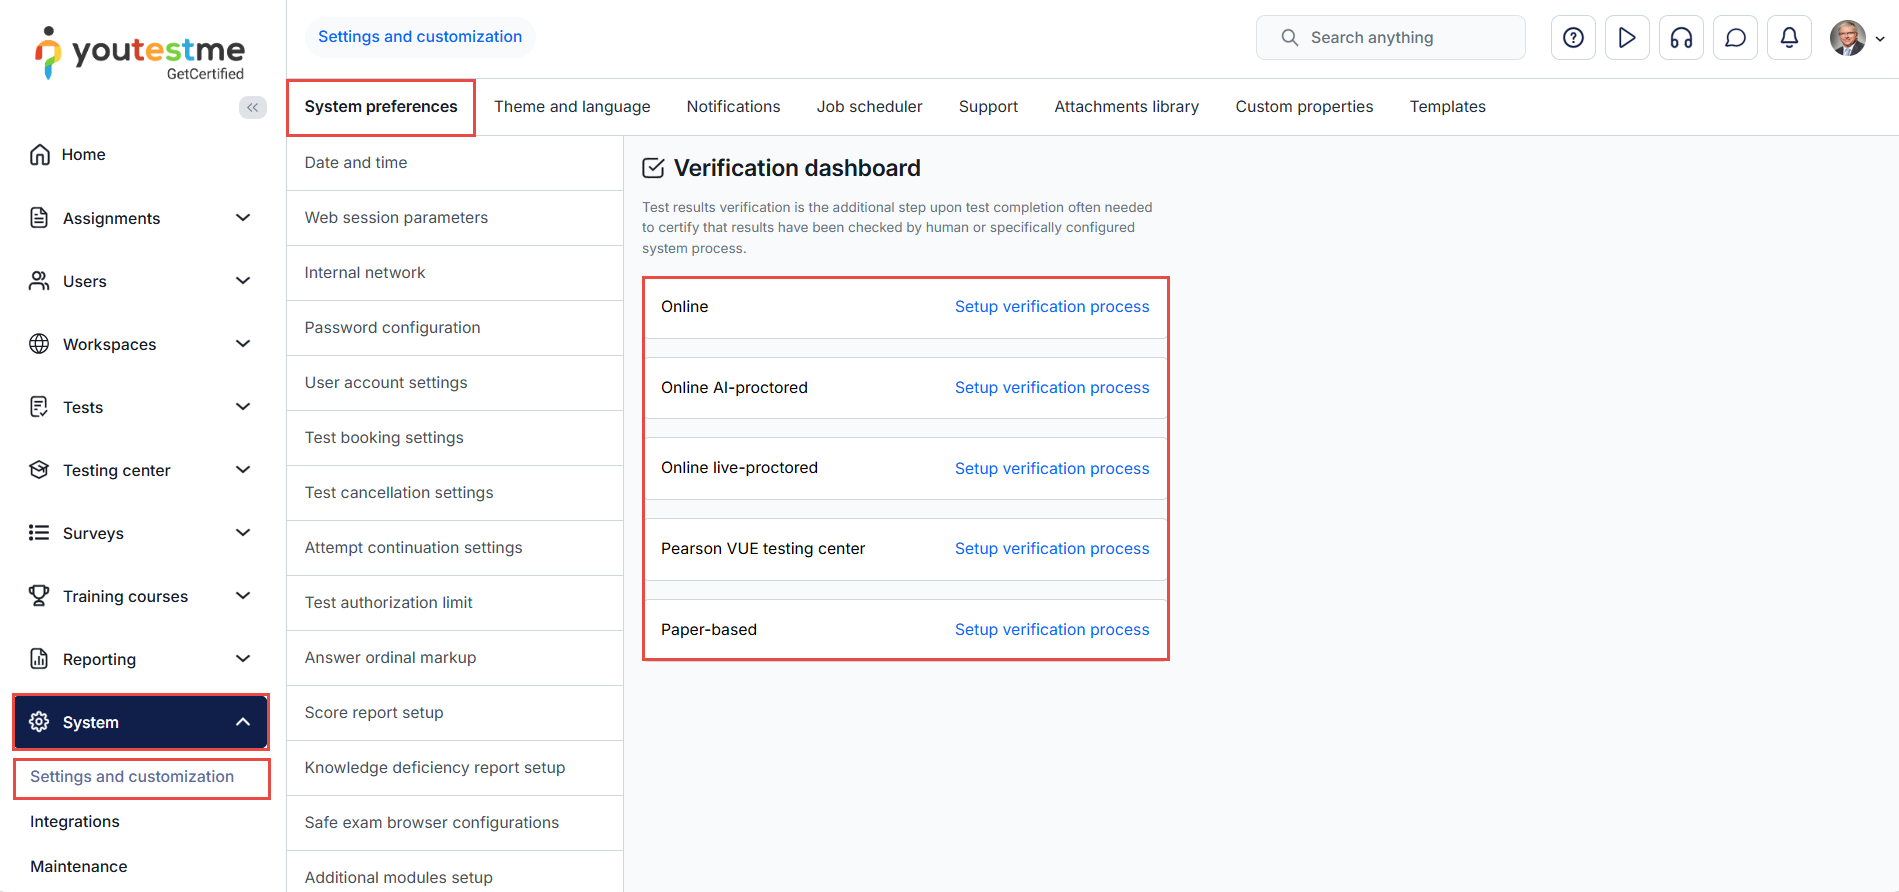
-
On-demand verification - Perform on-demand verification by applying the set criteria to all non-verified attempts on the chosen test. When you select the test, the candidates' table will automatically filter to display the attempts made on that specific test. To view them, click on the Yes option in the Report verified column from the dropdown menu. By clicking the check-mark icon in the Actions column, you can verify candidates attempts. Make sure the E-testing center module is enabled.
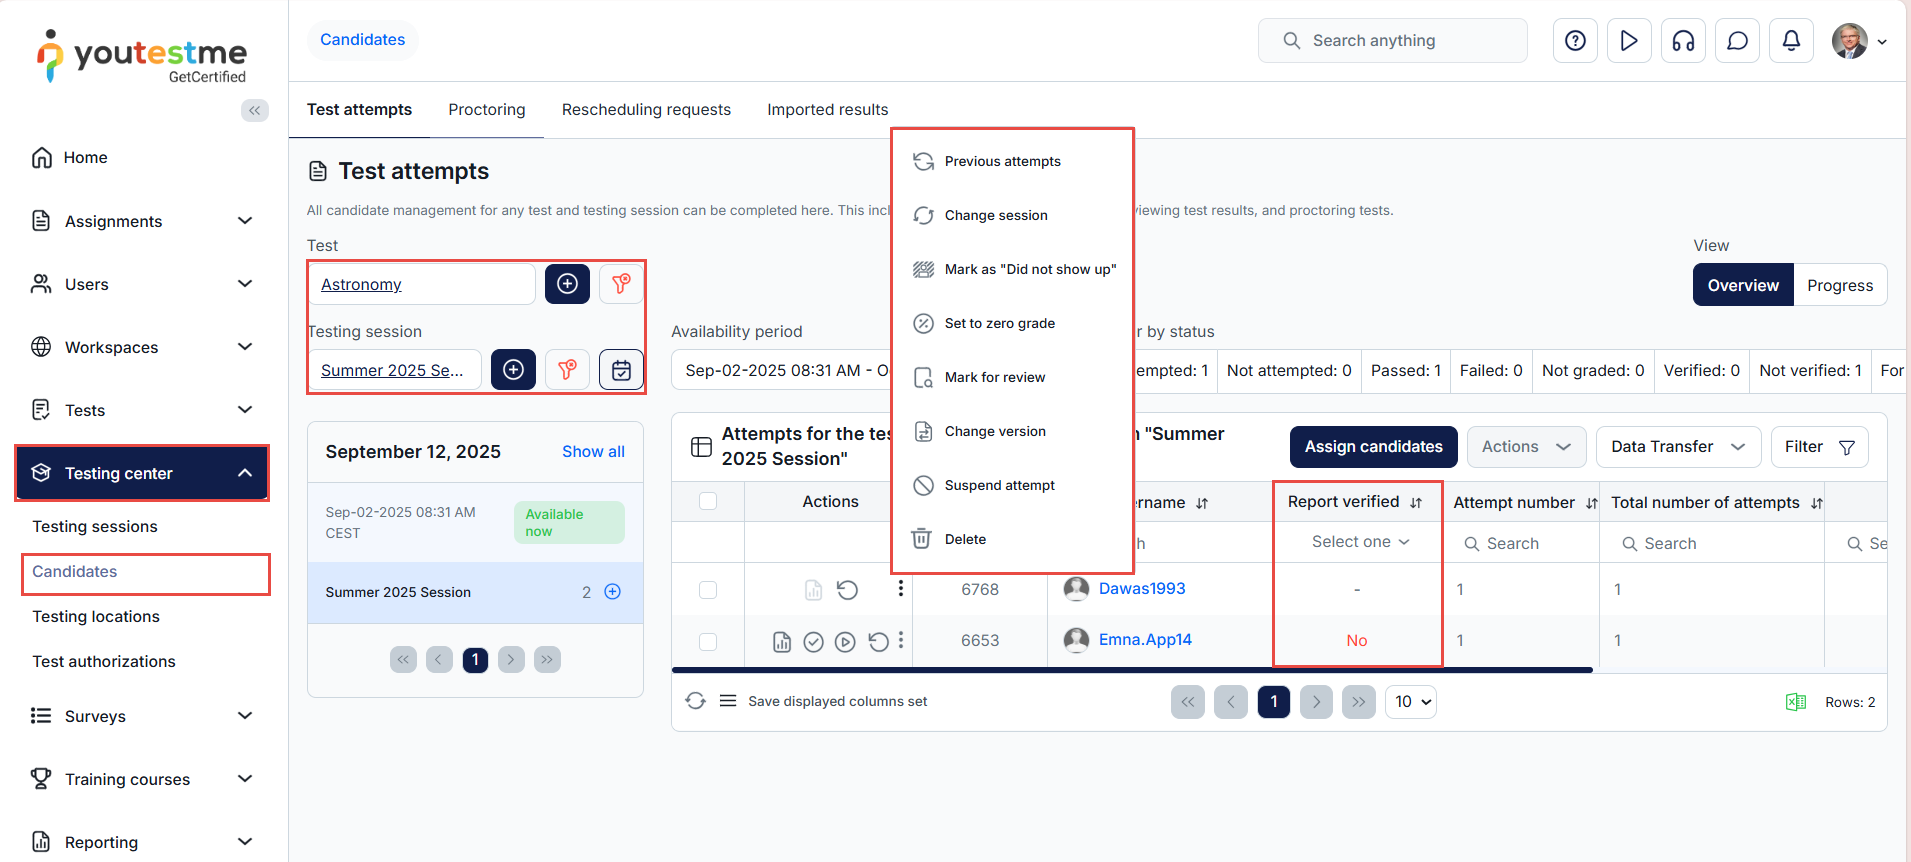
-
My grading reports tab displays a list of reports assigned to the user for grading, when the Multiple graders option is enabled in a test.
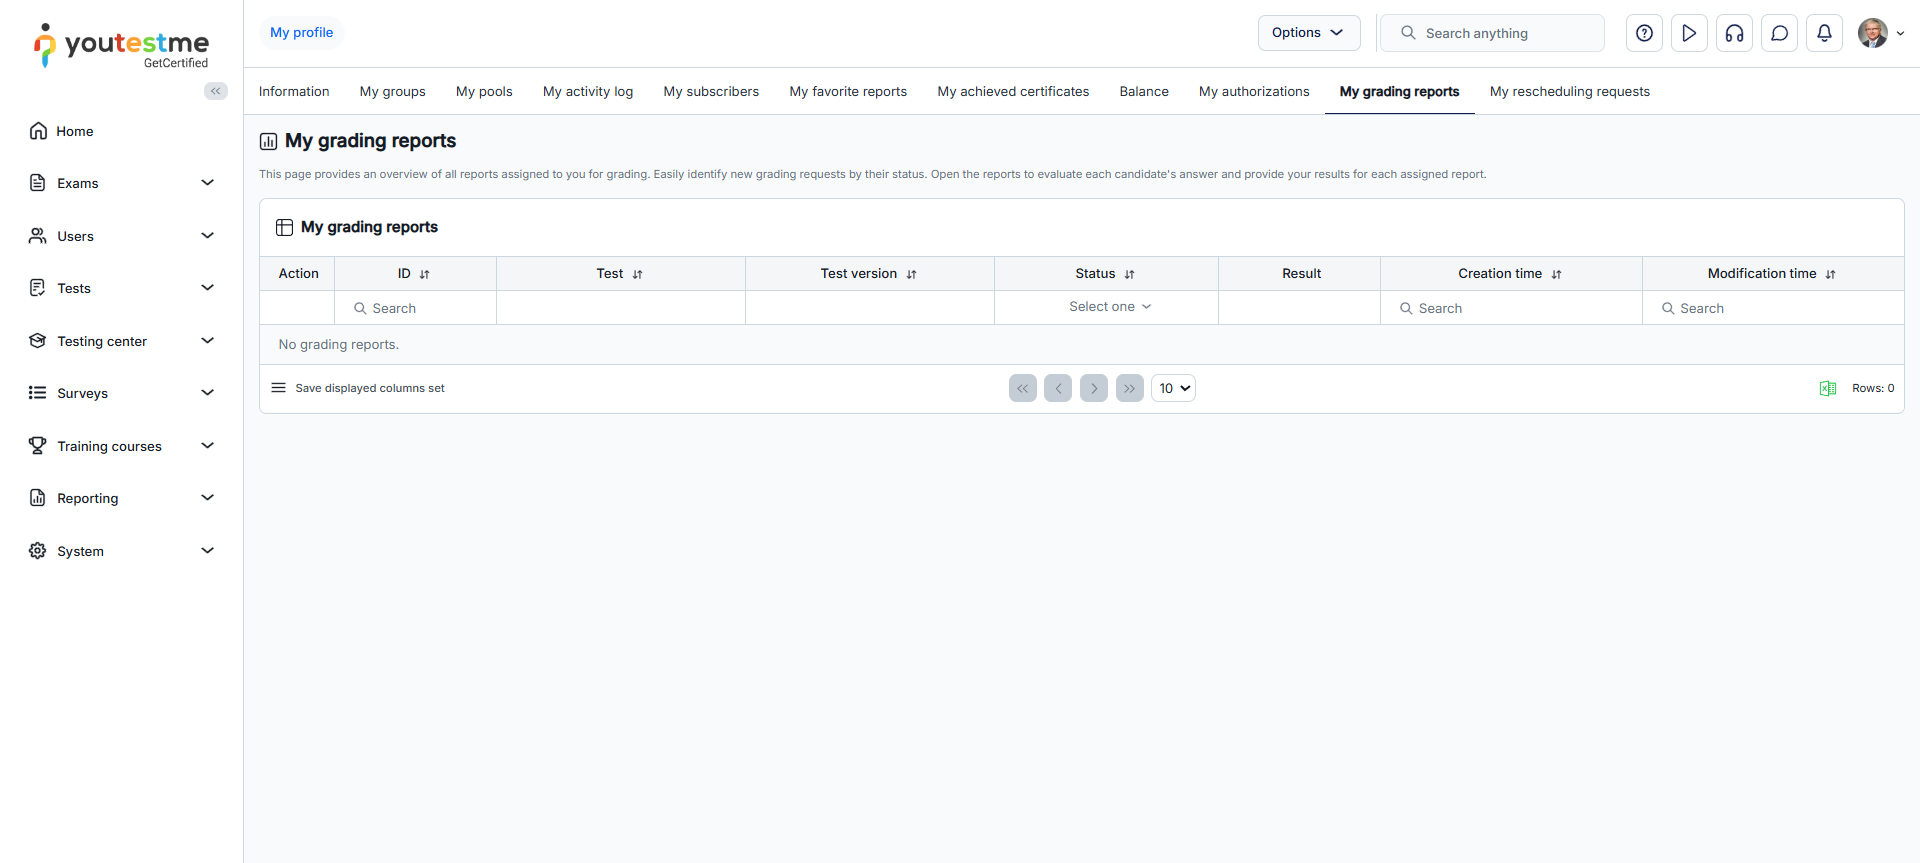
-
The Grader role is granted permission to evaluate test attempts on the designated test version when the Multiple graders option is enabled in the grading configuration. This section allows you to form a group of graders, who can be automatically assigned to specific attempts or manually added to grade reports for individual users, based on the settings in the grading configuration. When you choose the Auto assign graders option, users with the Grader role will be notified to assess a test attempt once it is completed and assigned to them. The candidate will receive their test results only after all assigned graders have completed their evaluations, with the number of required graders determined by your chosen setting.
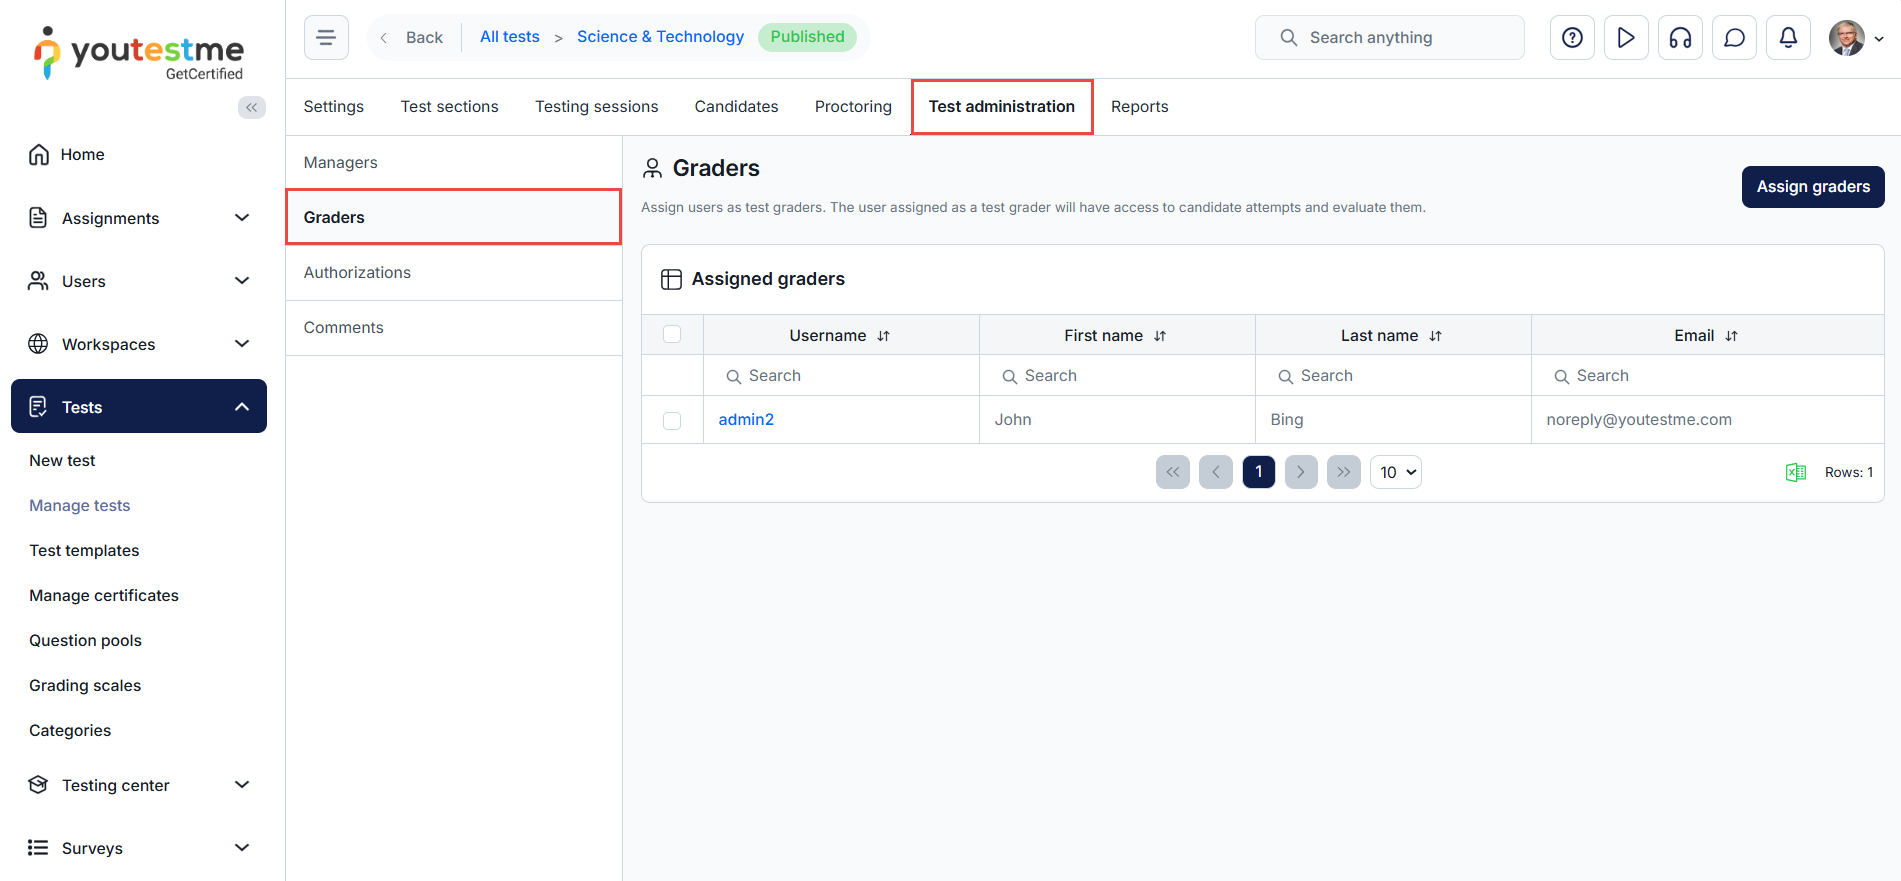
For more information, please visit the Grading configuration and the Verification process setup pages.
-
-
Multi-lingual examination
-
Test language can be set in user profile, under Account information. In the Language in tests dropdown field, set the preferred language.
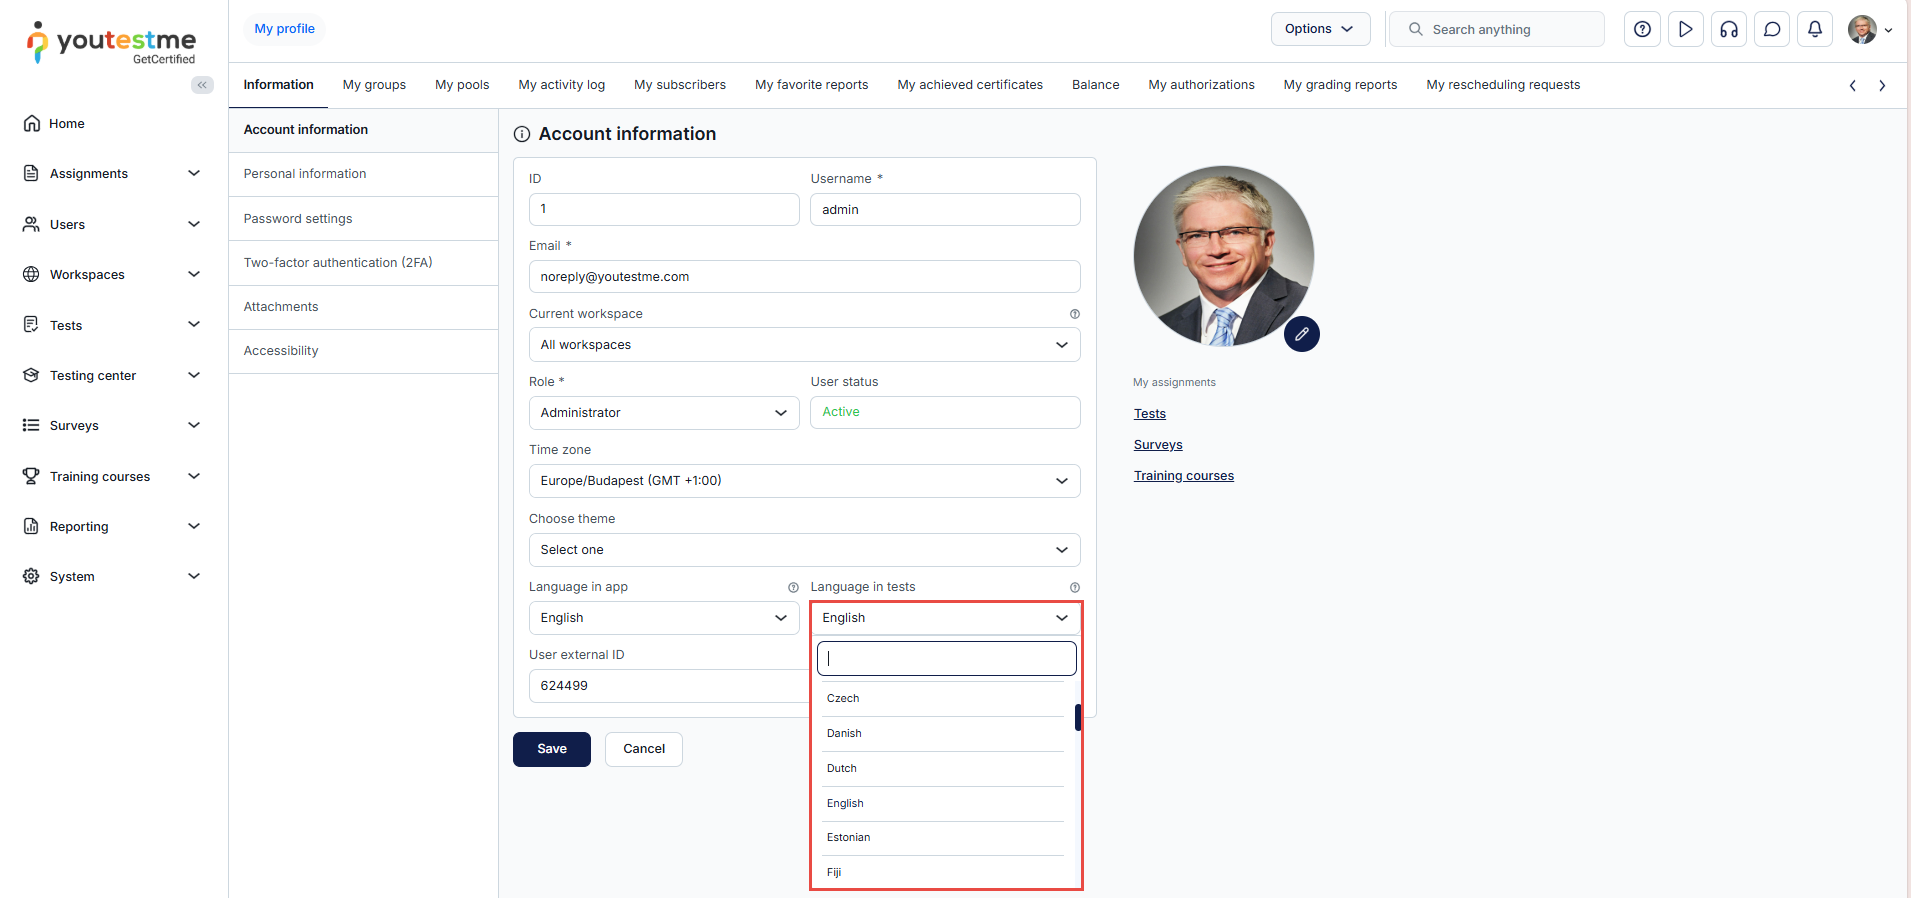
-
When creating a new user, you can set the desired language in the Language in tests field.
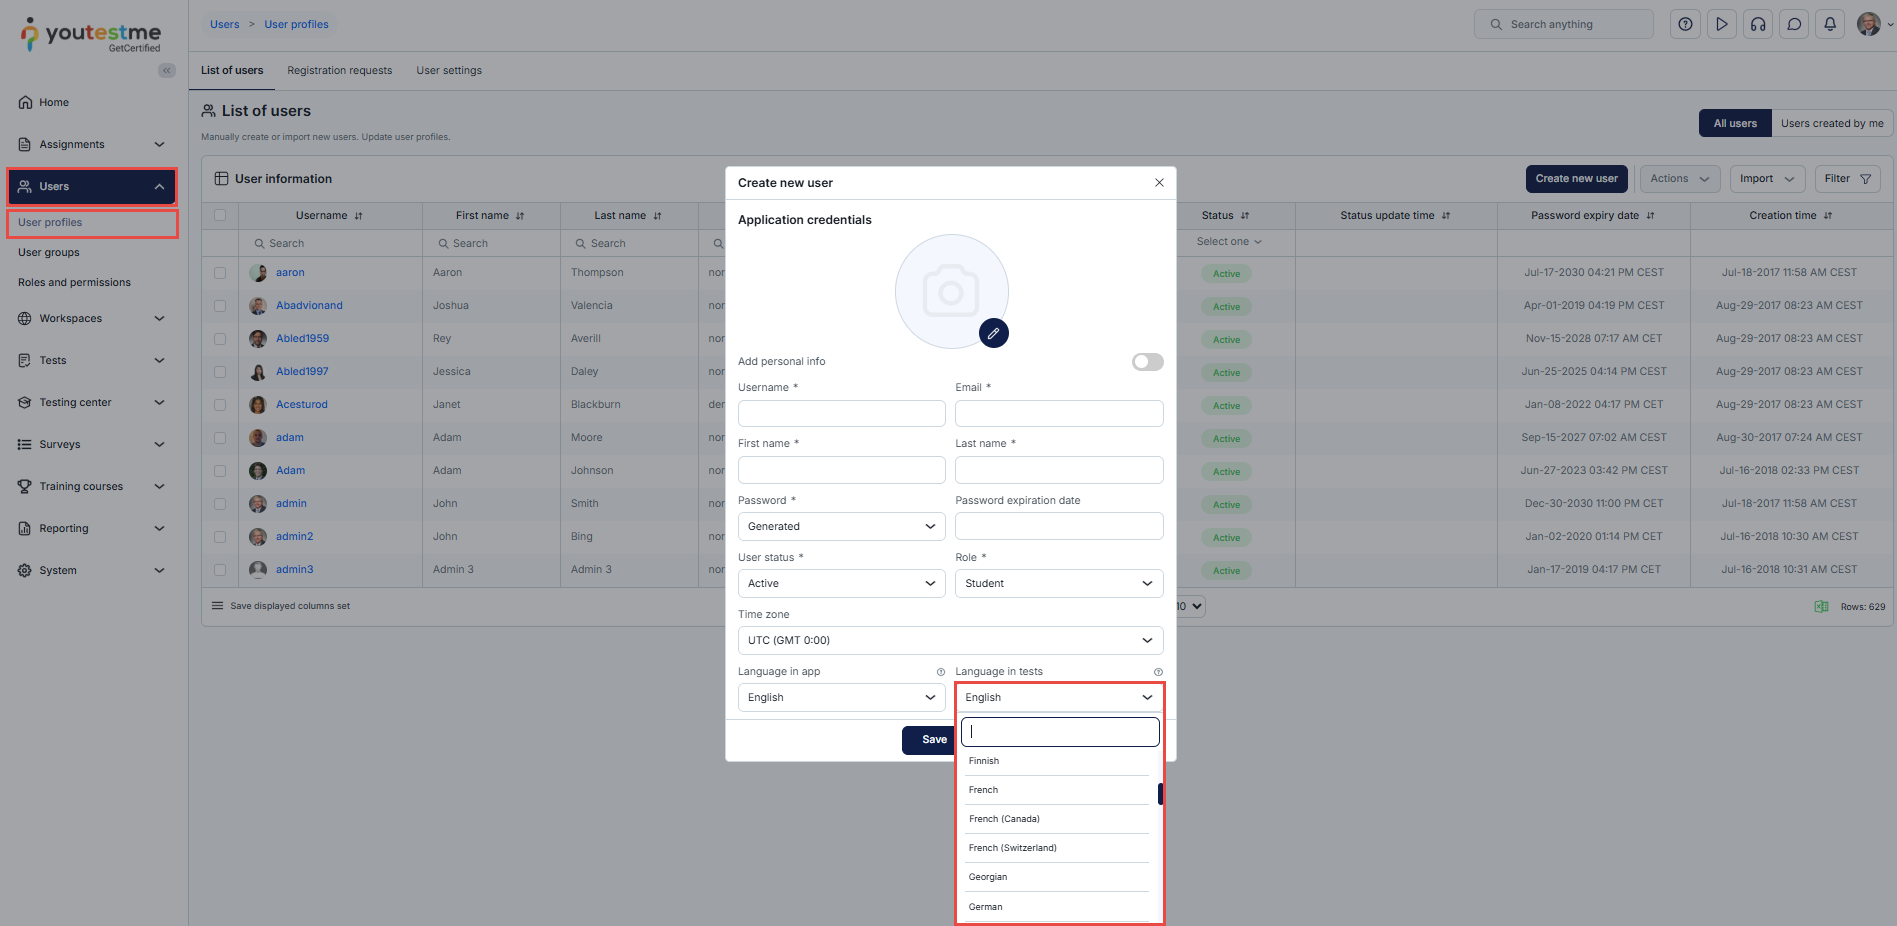
-
Translations - Create versions of a question in different languages. Choose a language from the drop-down list, and type the question and answers in the selected language.
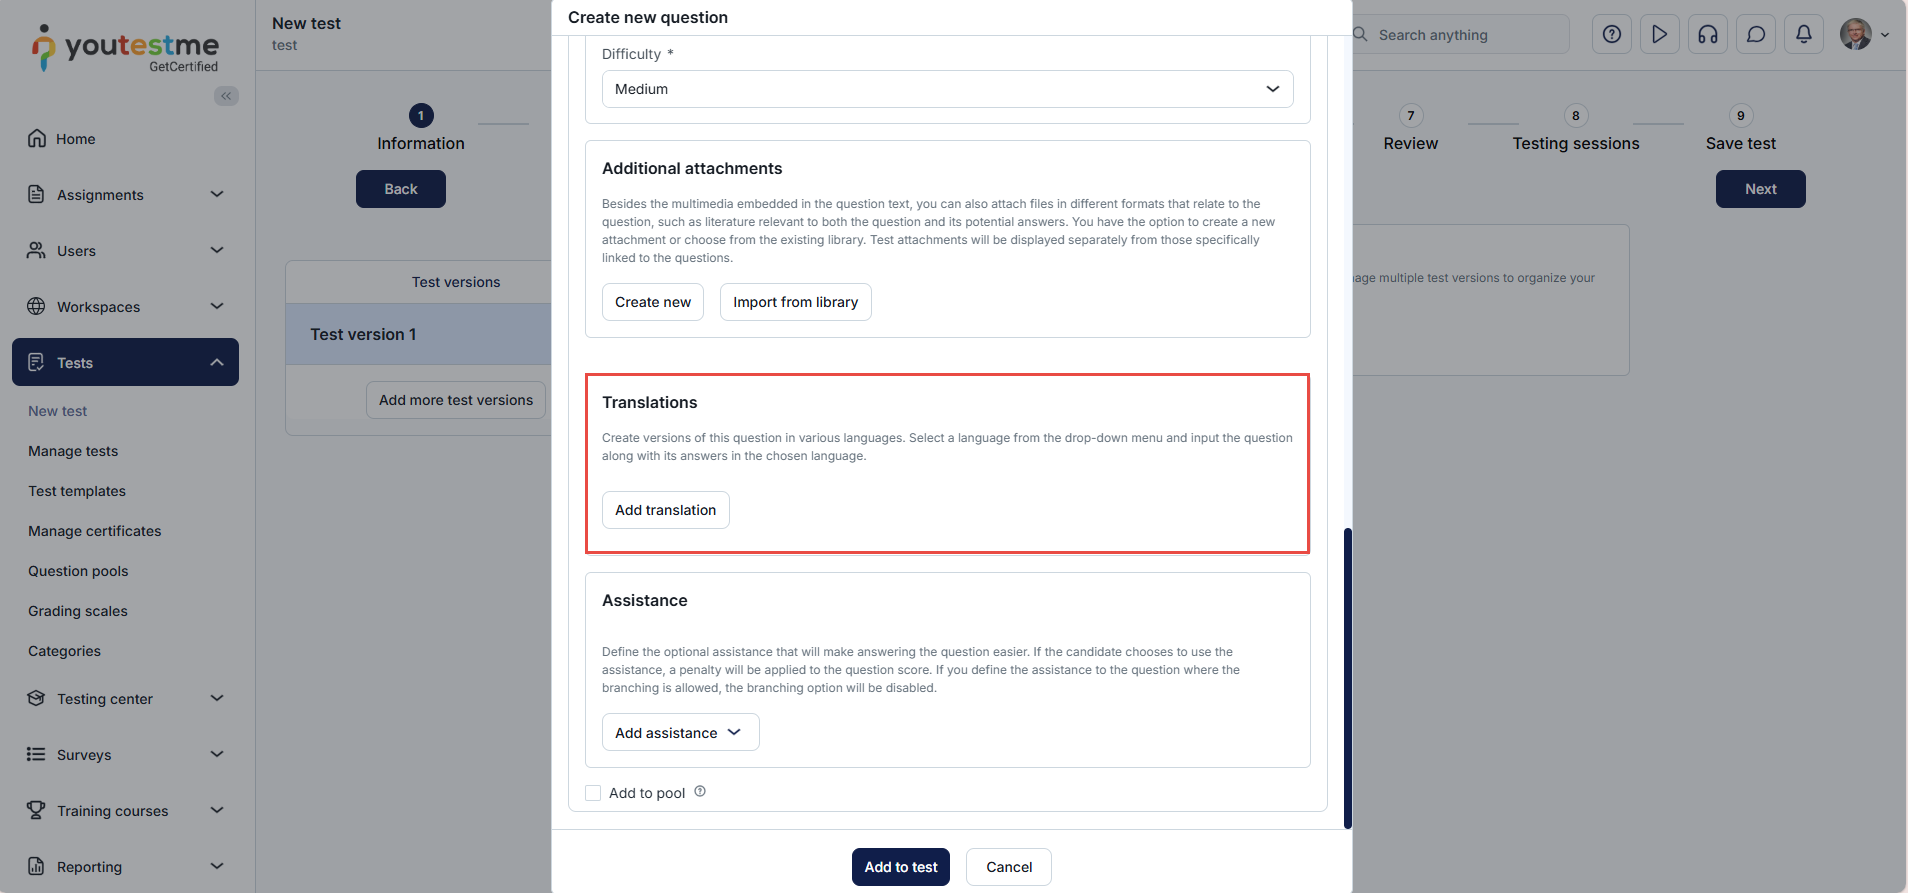
-
In the Language preferences tab, choose a language from the dropdown list.
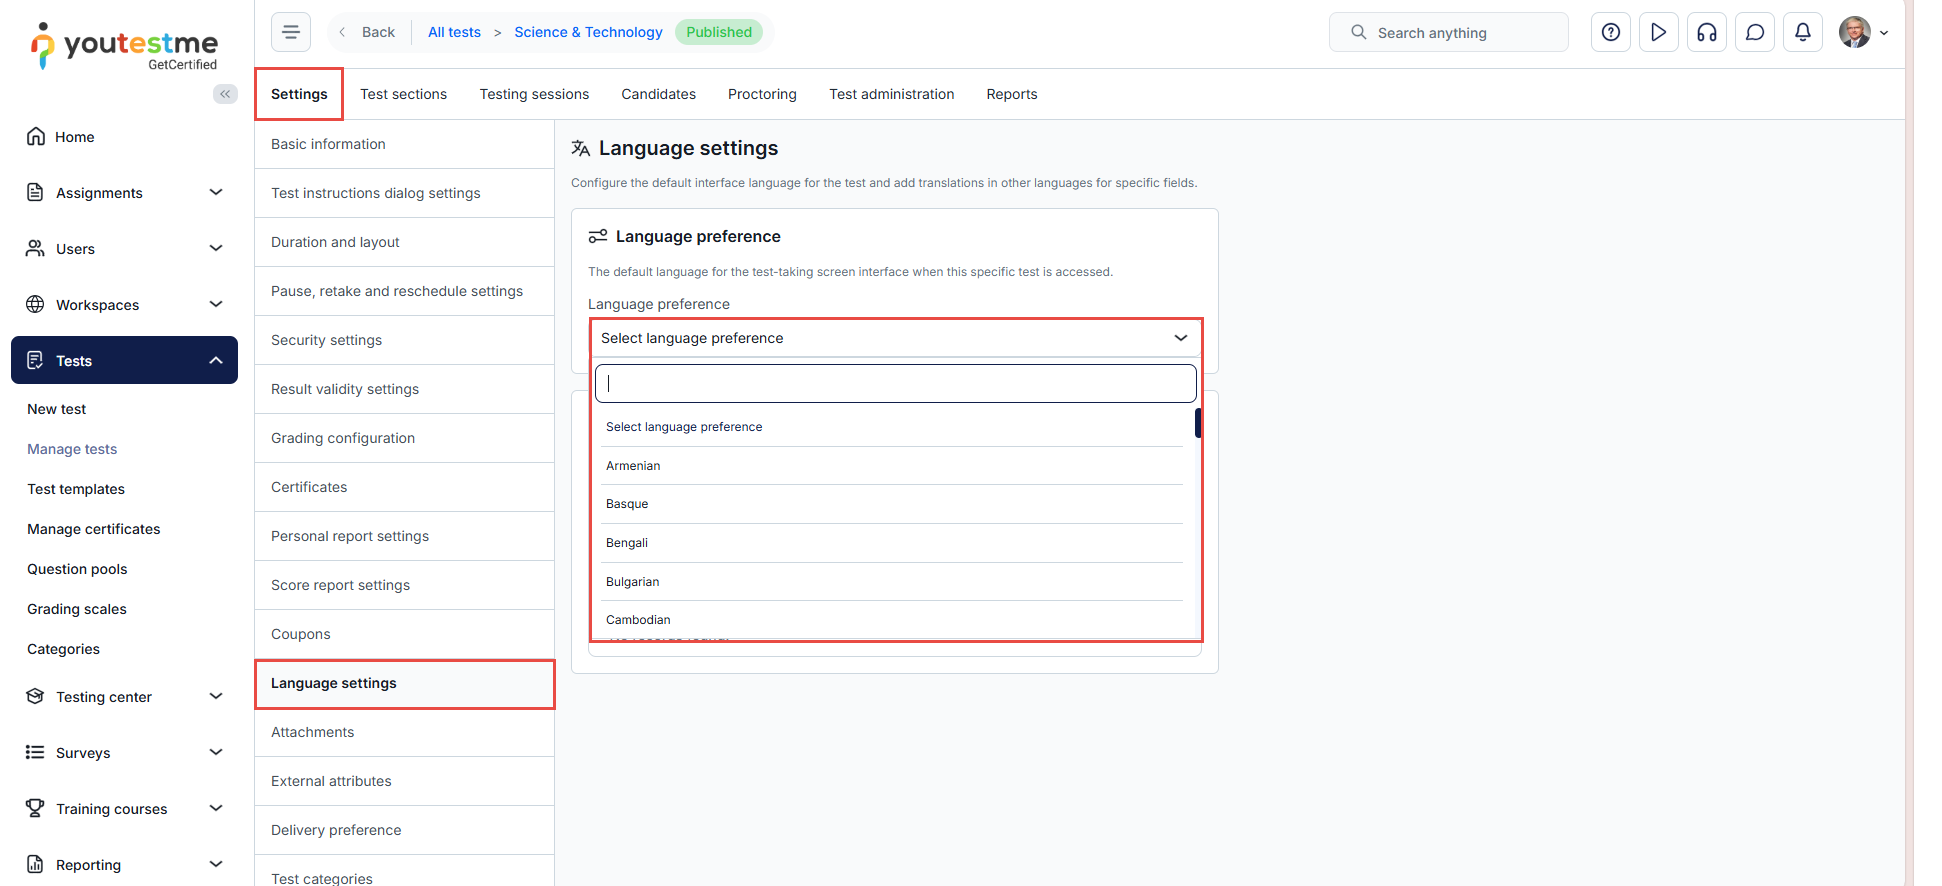
-
In the Theme and language tab, navigate to Language settings. In the Test language column, set the Enabled or Disabled value depending on whether you want to allow using the selected language in tests or not. Make sure the White labeling module is enabled.
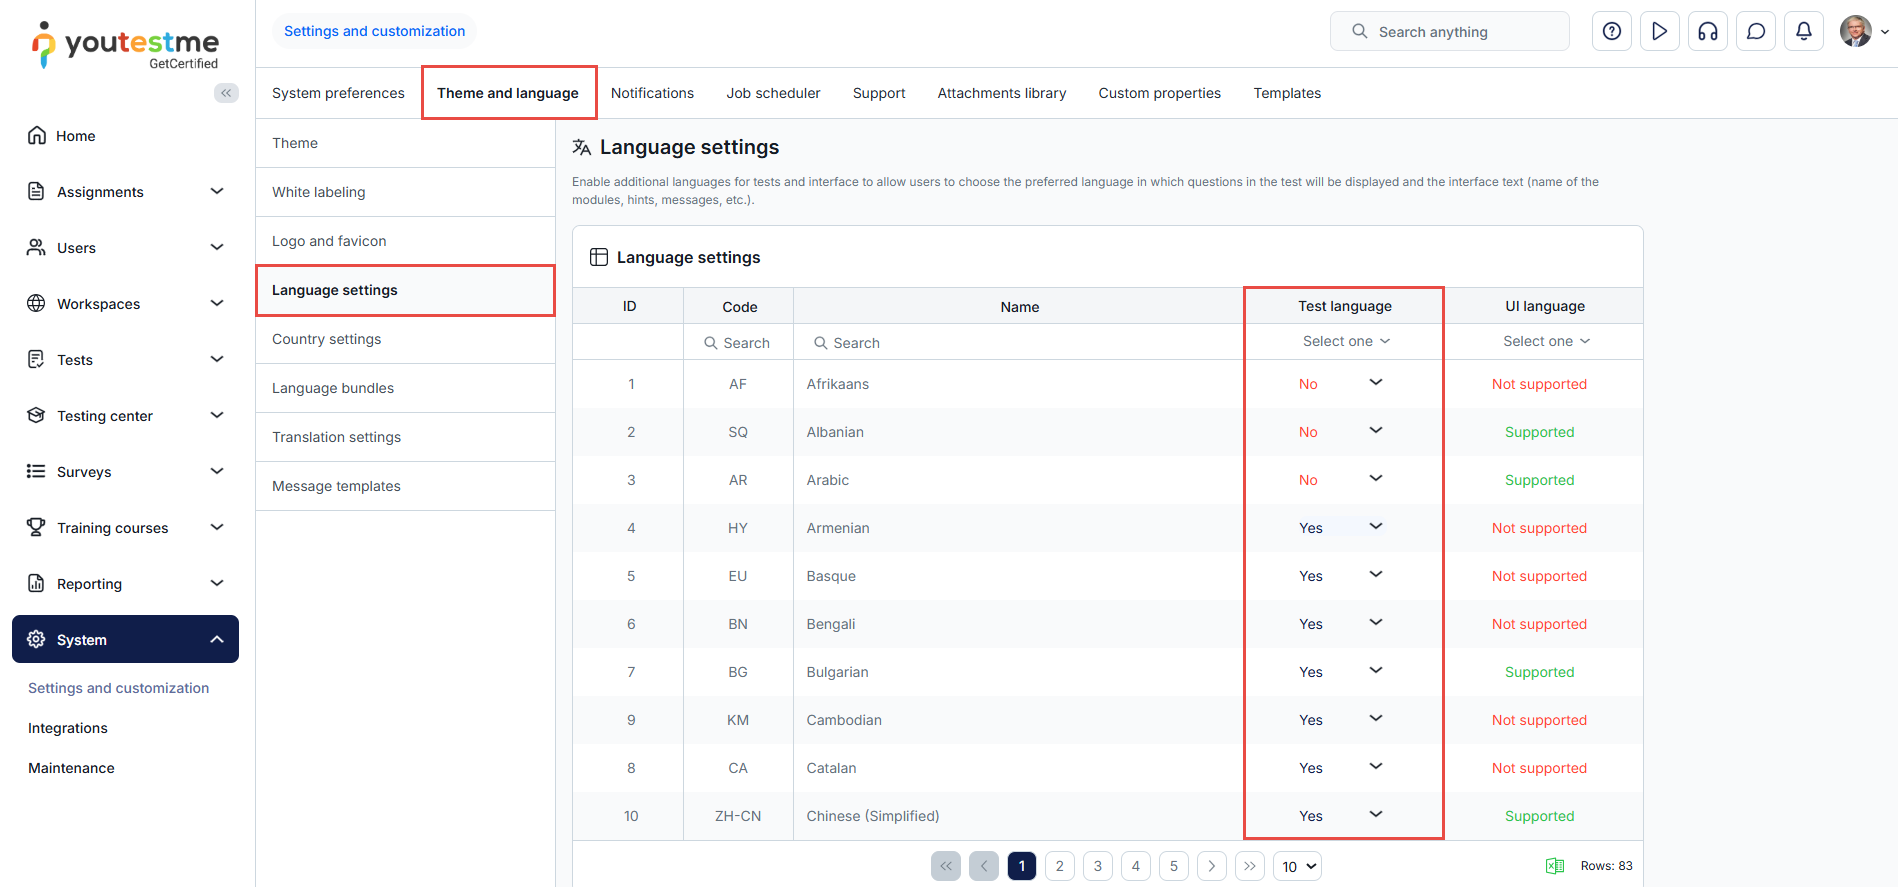
For more information, please visit the Language settings and Language preferences pages.
-
-
Custom user roles and permissions
-
In the Roles and permissions tab, select the Create new button to create a new role.
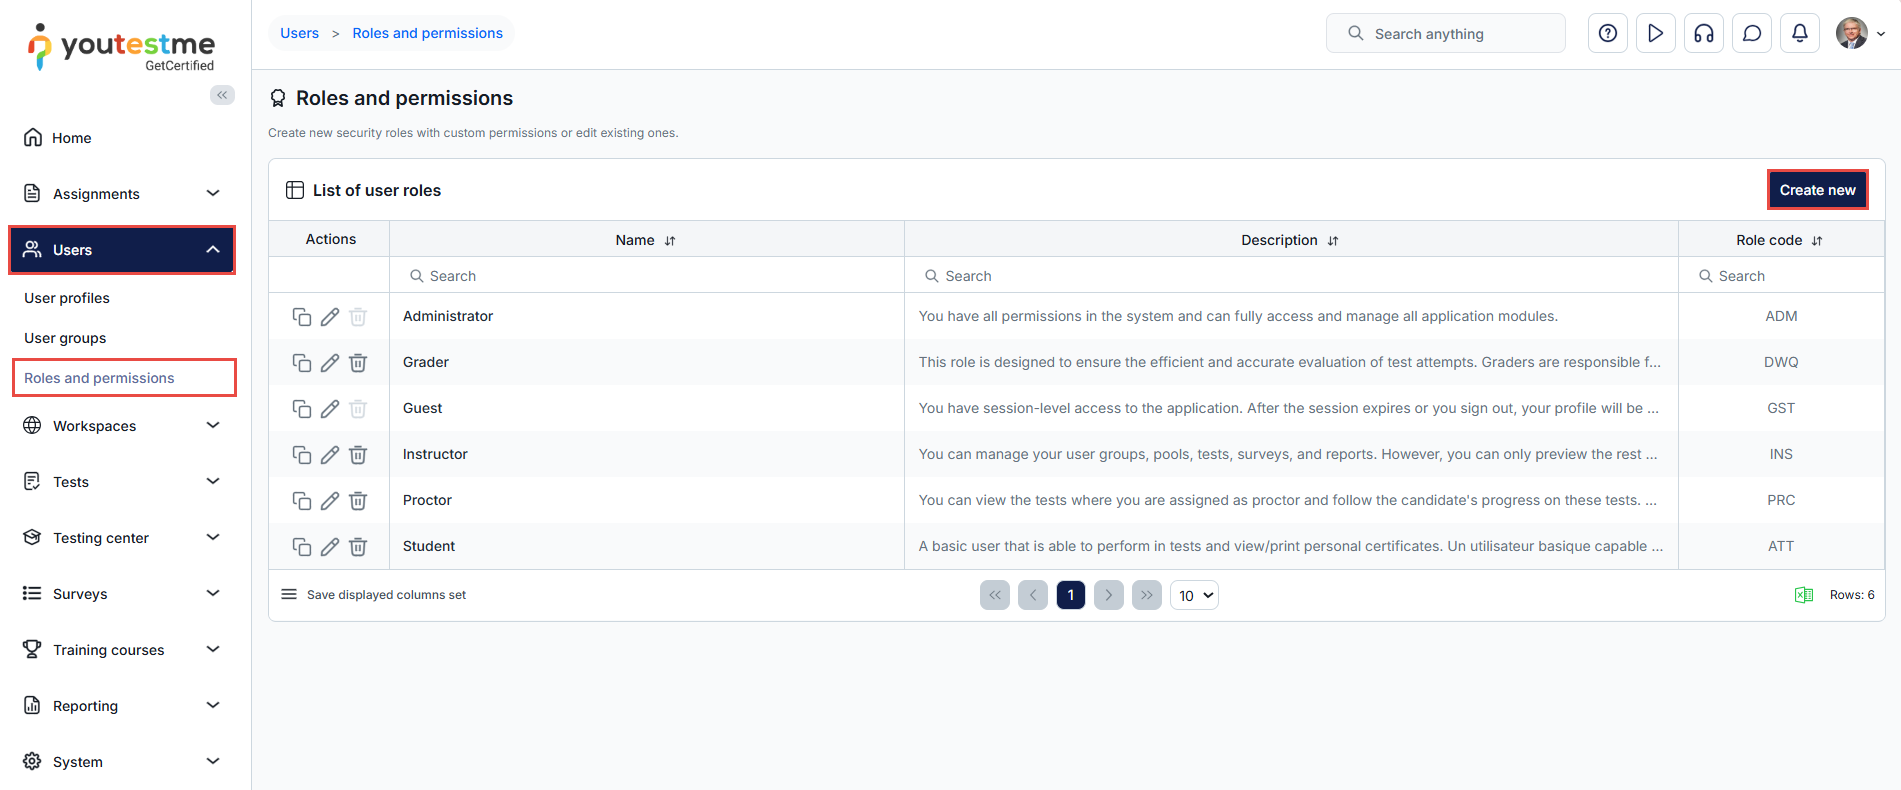
For more information, please visit the Roles and permissions page.
-
-
Surveys
-
Surveys - In this section, you can create, edit and view the Surveys, Grading scales, Question pools and Survey locations.
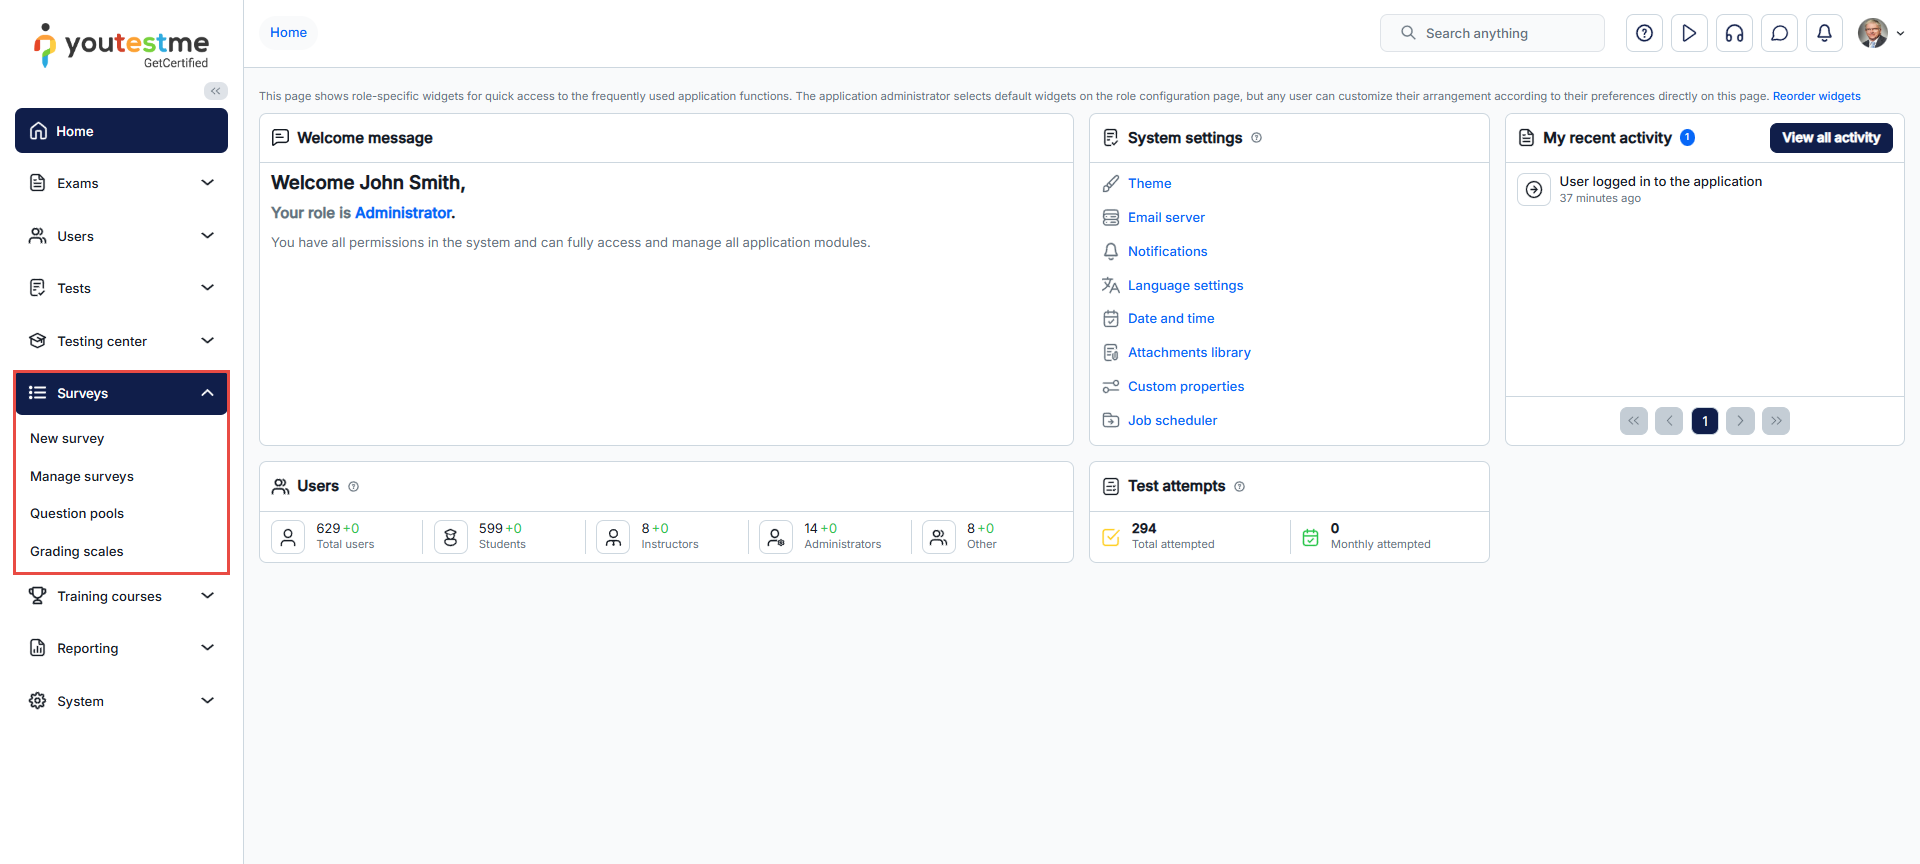
-
My surveys - Choose between several different view options and styles to display all your assignments.
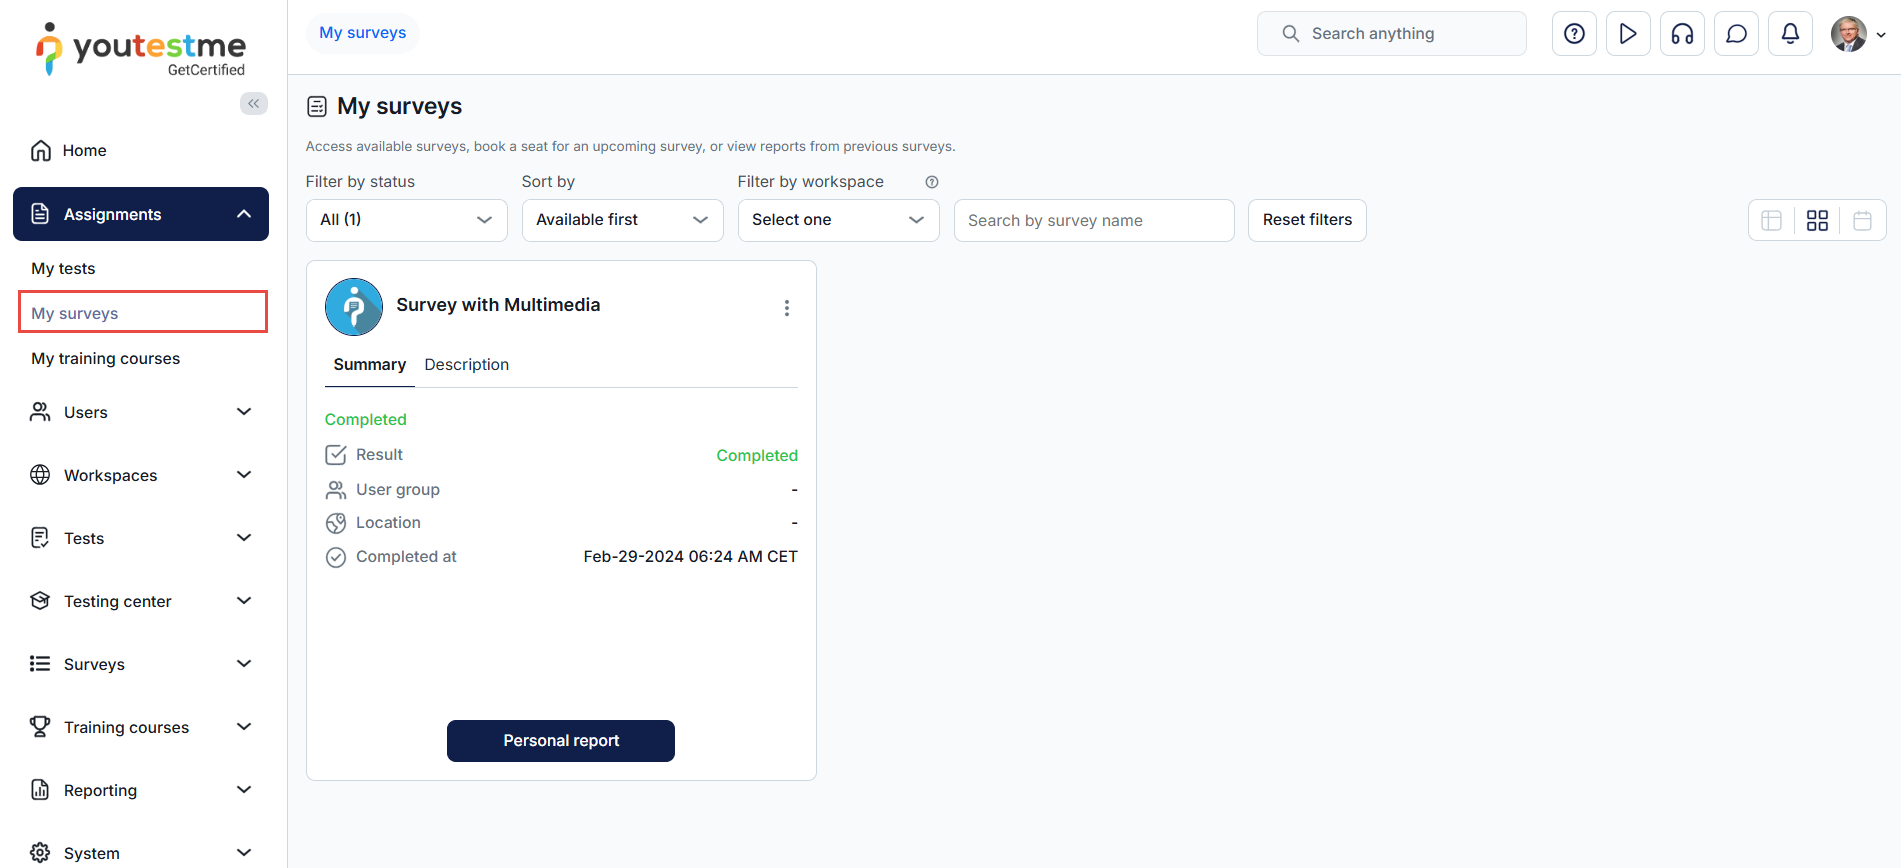
-
Survey reports provide detailed information about surveys, including basic information, grading scale labels and their frequencies.
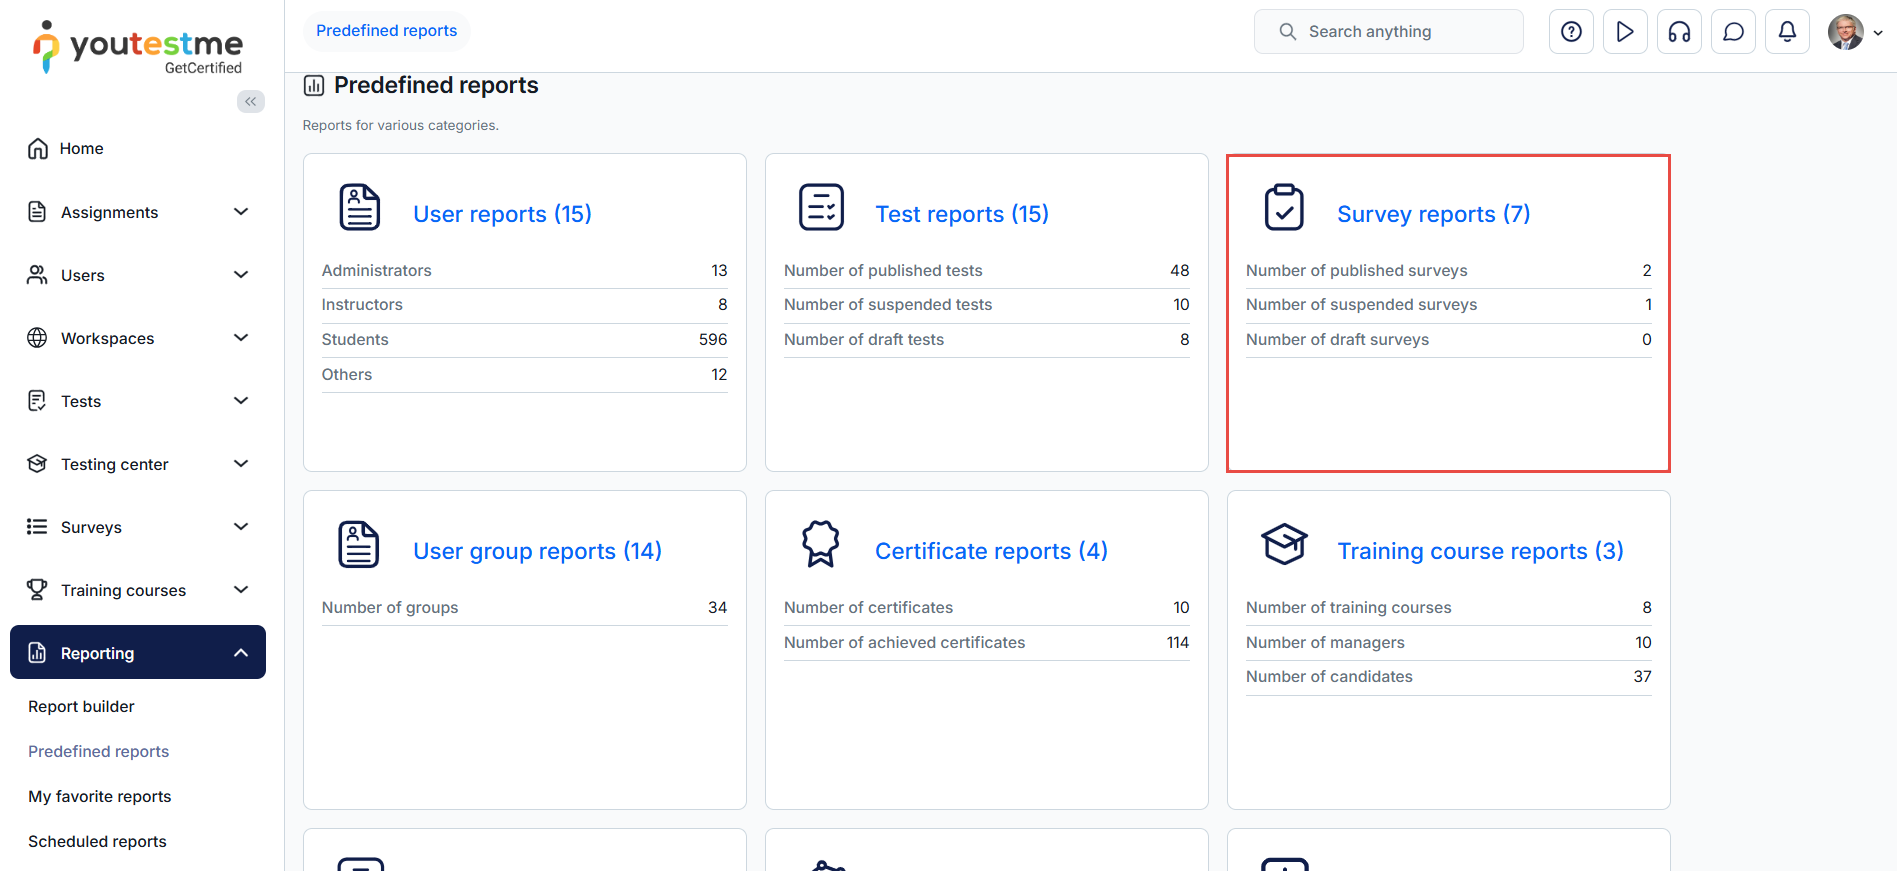
-
Under the Account information, the Surveys link redirects to the page My surveys.
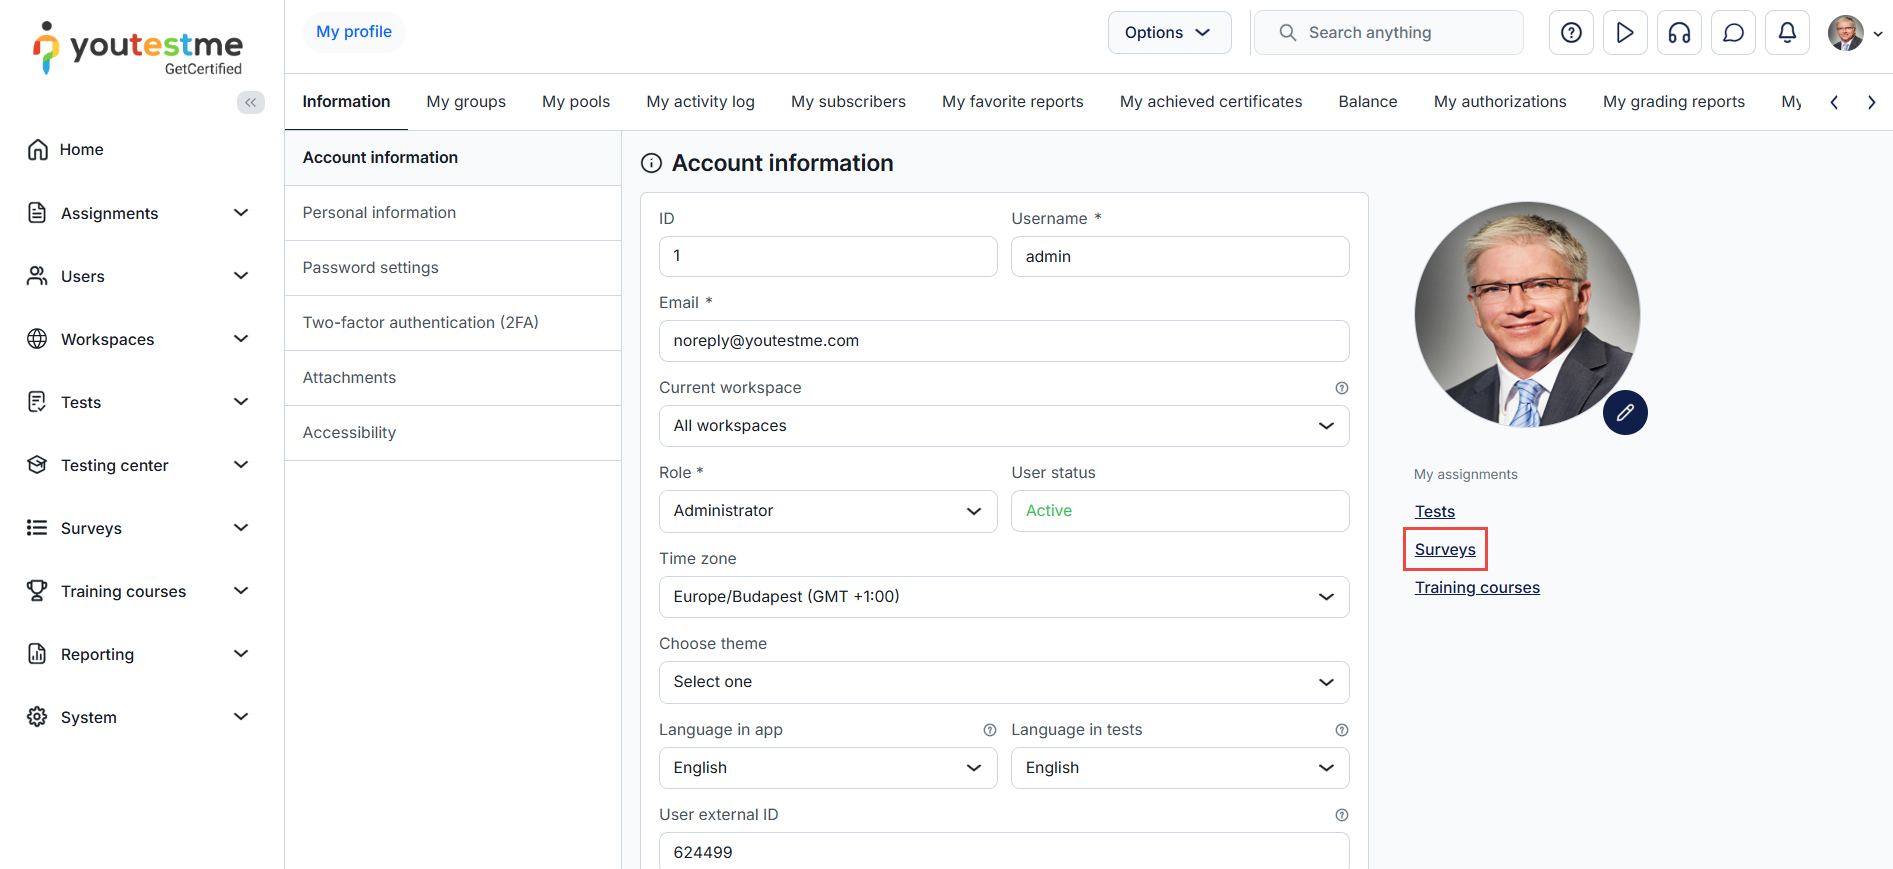
For more information, please visit the New survey and Manage surveys pages.
-
-
Training courses
-
Training courses consist of a series of lessons organized into steps. Each step may include a test, attachments, and training course materials. The training course manager, typically the user who created the training course by default, can modify the course materials. However, managers can delegate managing privileges to other users.
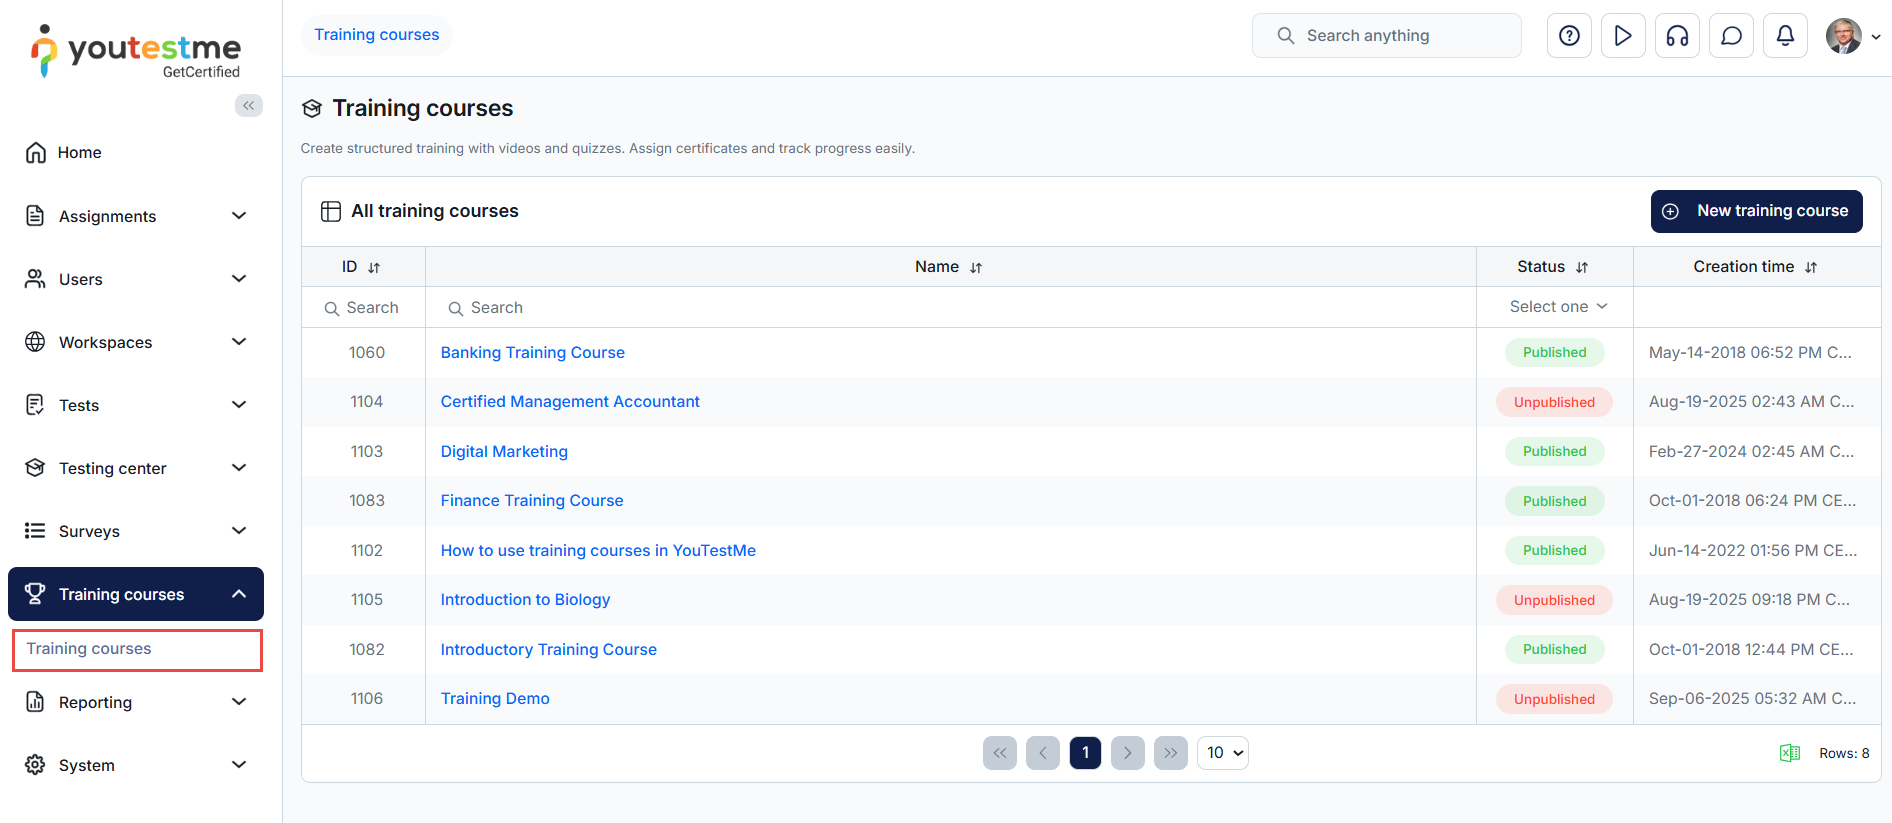
-
Under My training courses tab, users can sort and access training courses assigned to them or available for self-enrollment.
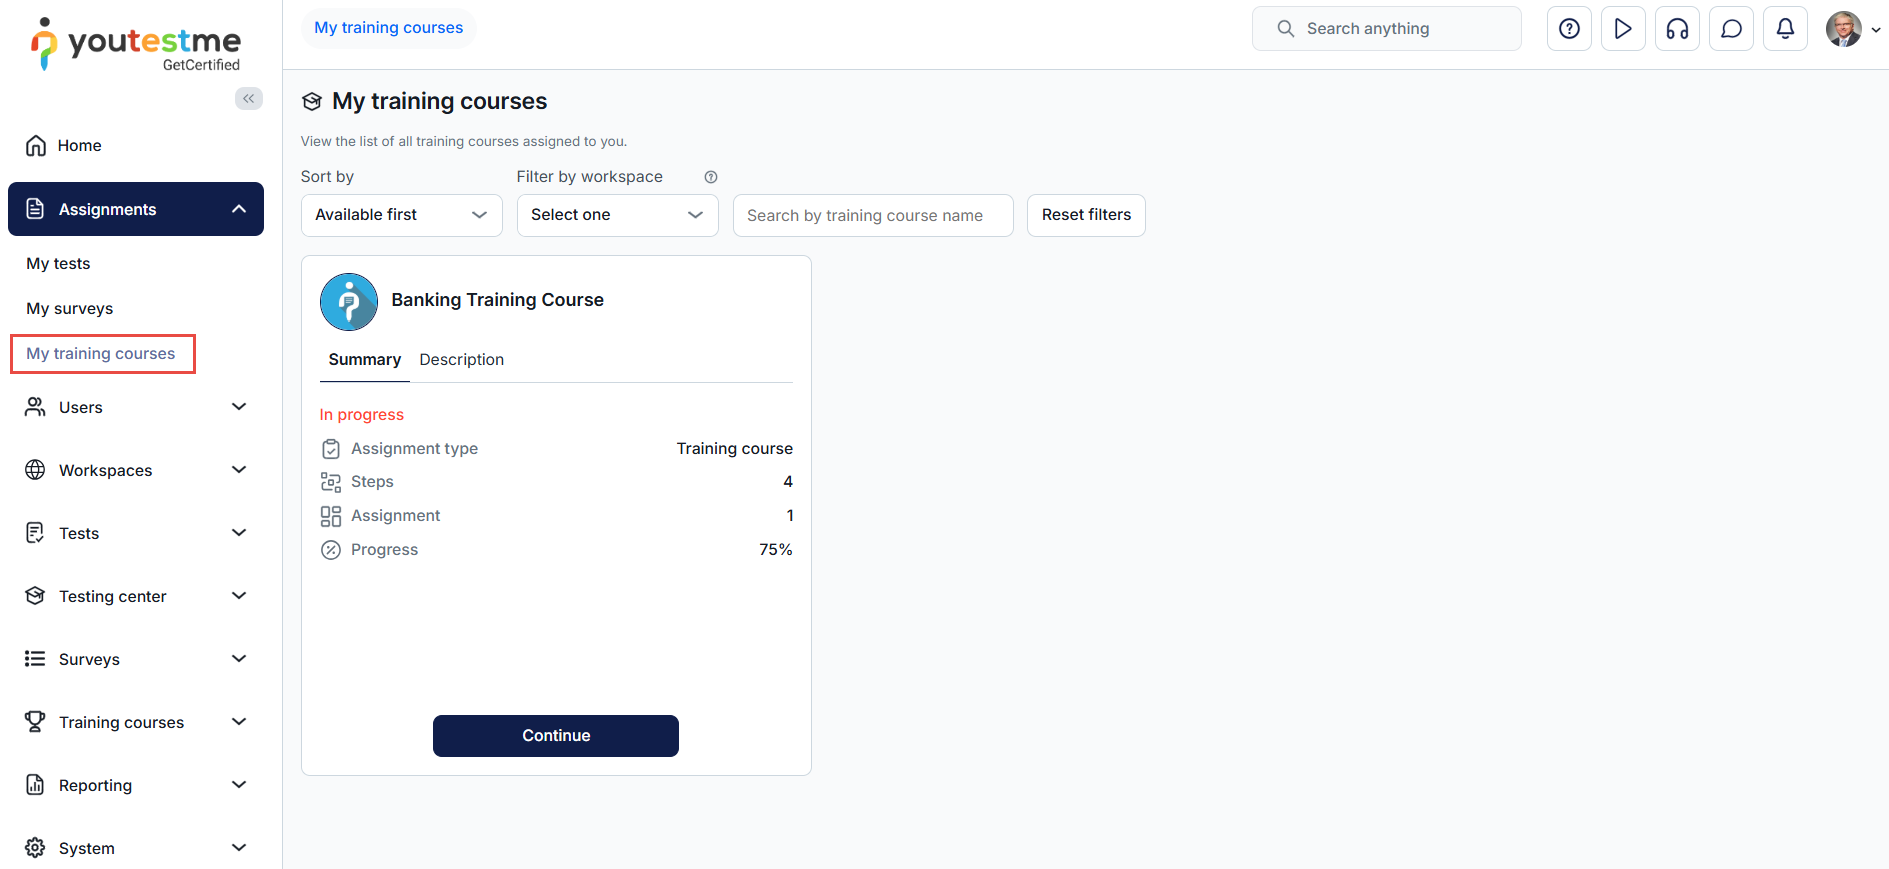
-
Training course reports provide detailed information about the training courses in the system, including basic information, participants, and training course progress, and expiration indicators in Camstar format.
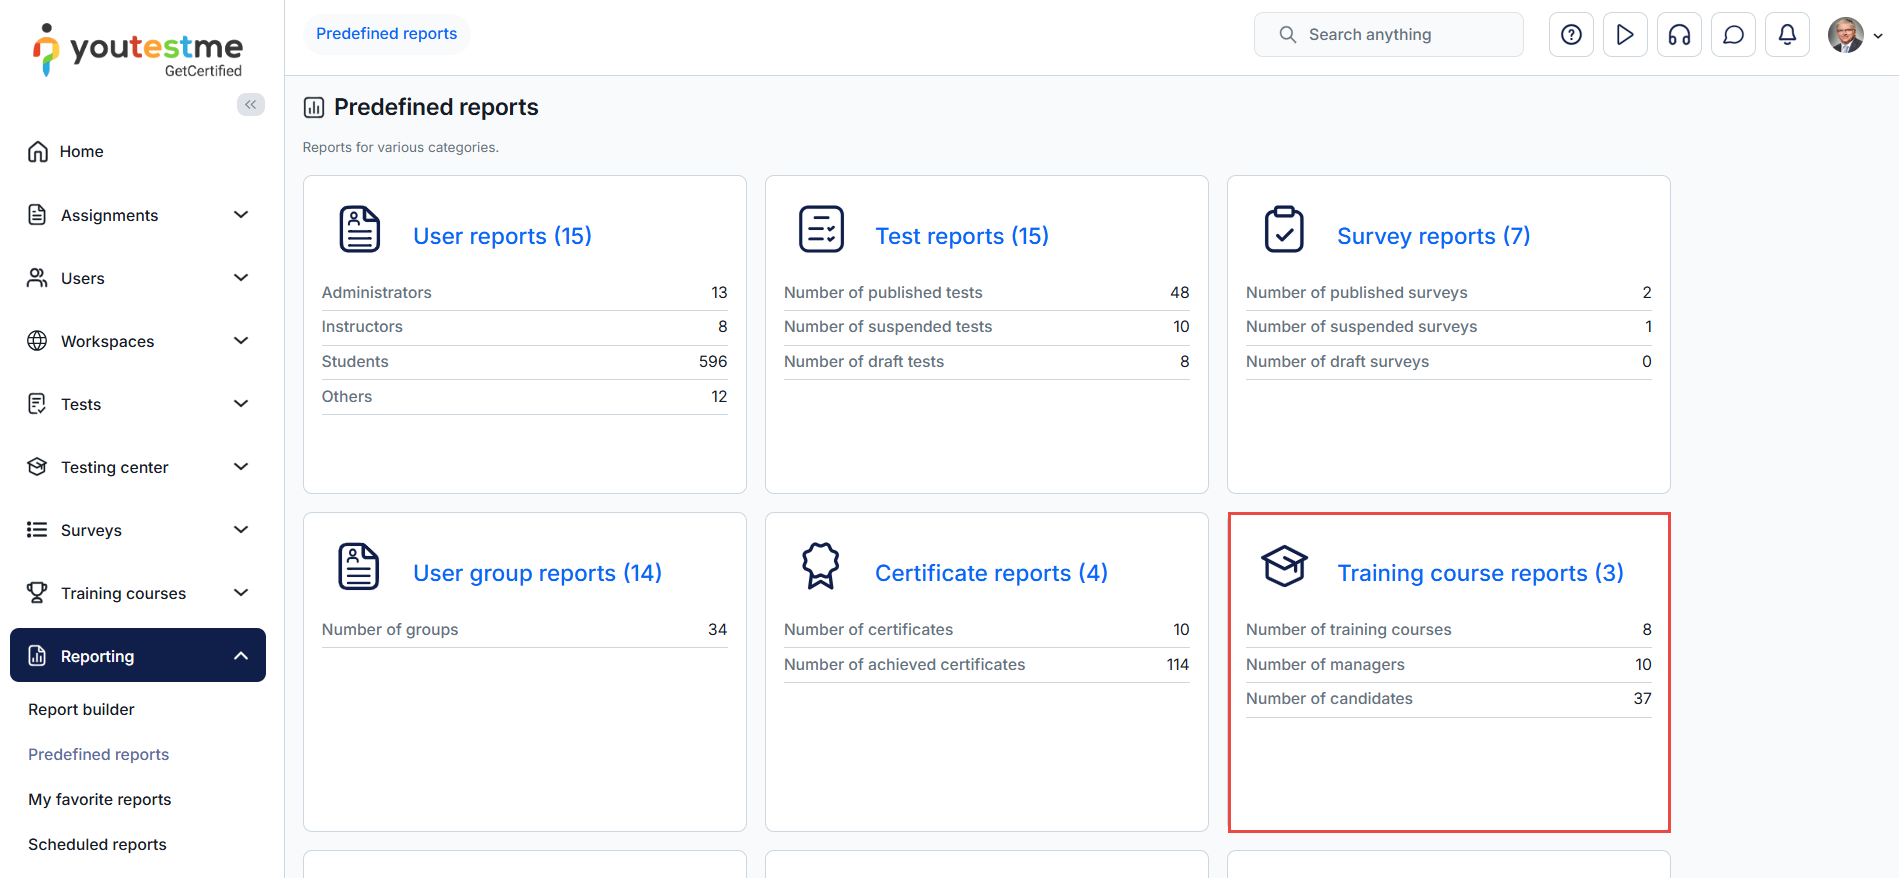
-
Training courses link redirects to page My training courses.
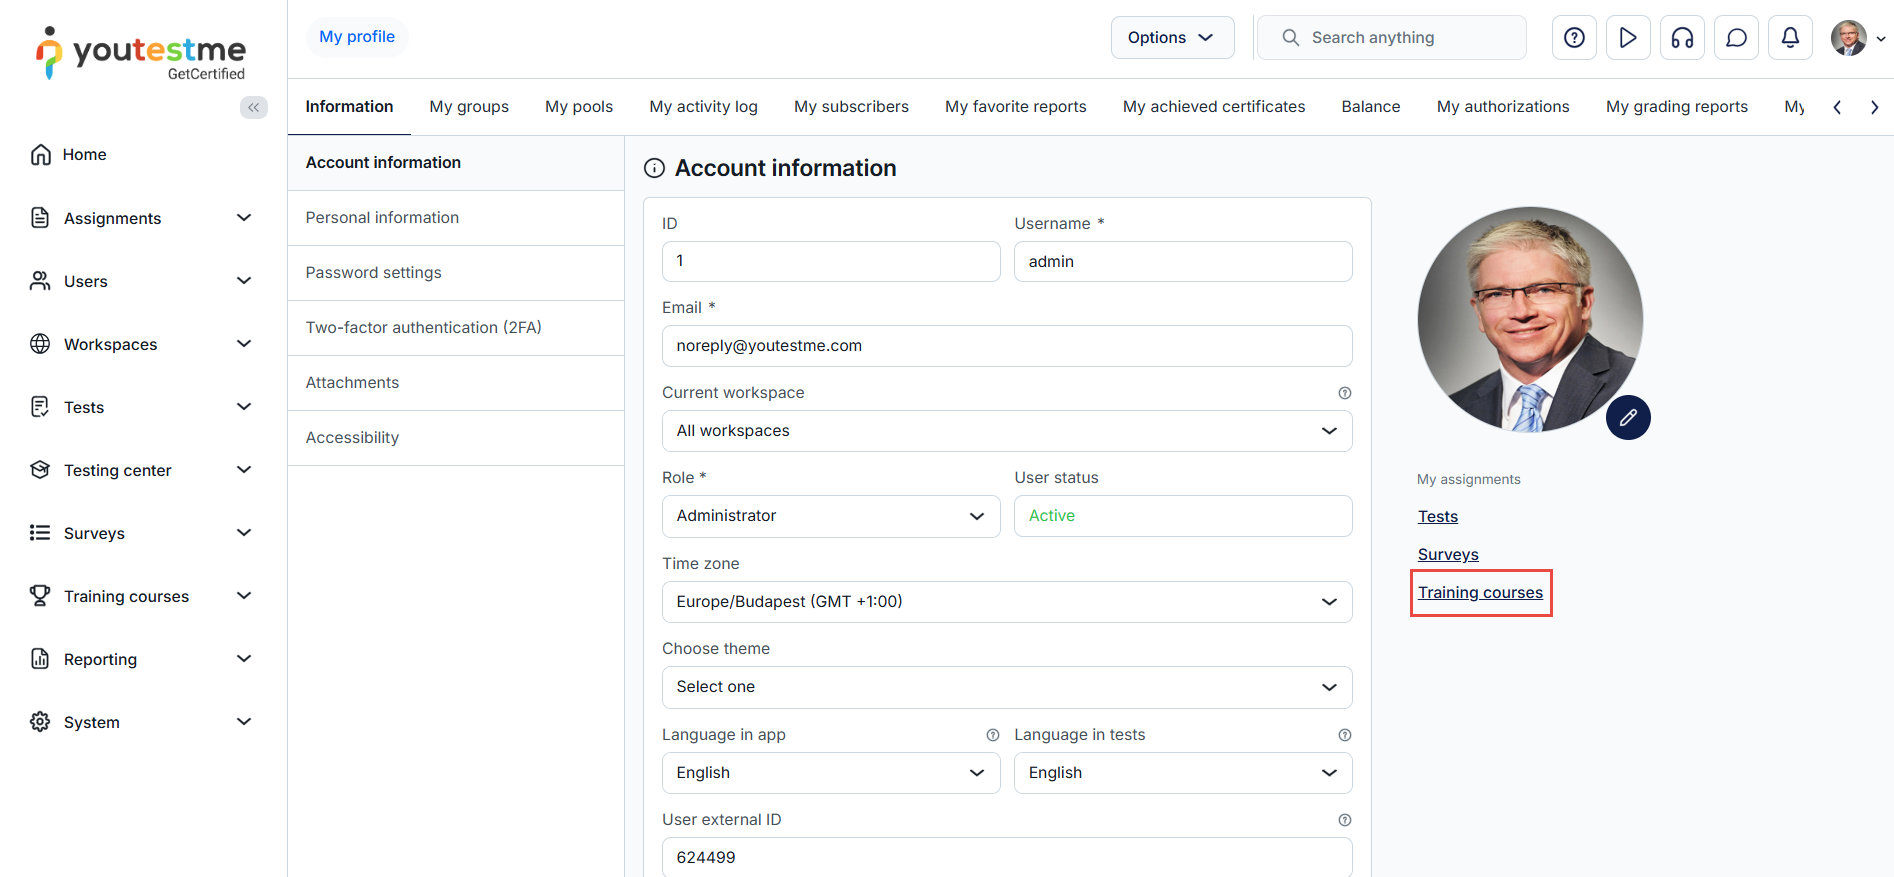
For more information, please visit the Training courses page.
-
-
E-commerce pack
-
In the E-commerce tab you can set the prices for exam booking. Make sure that the Integrations module is enabled.
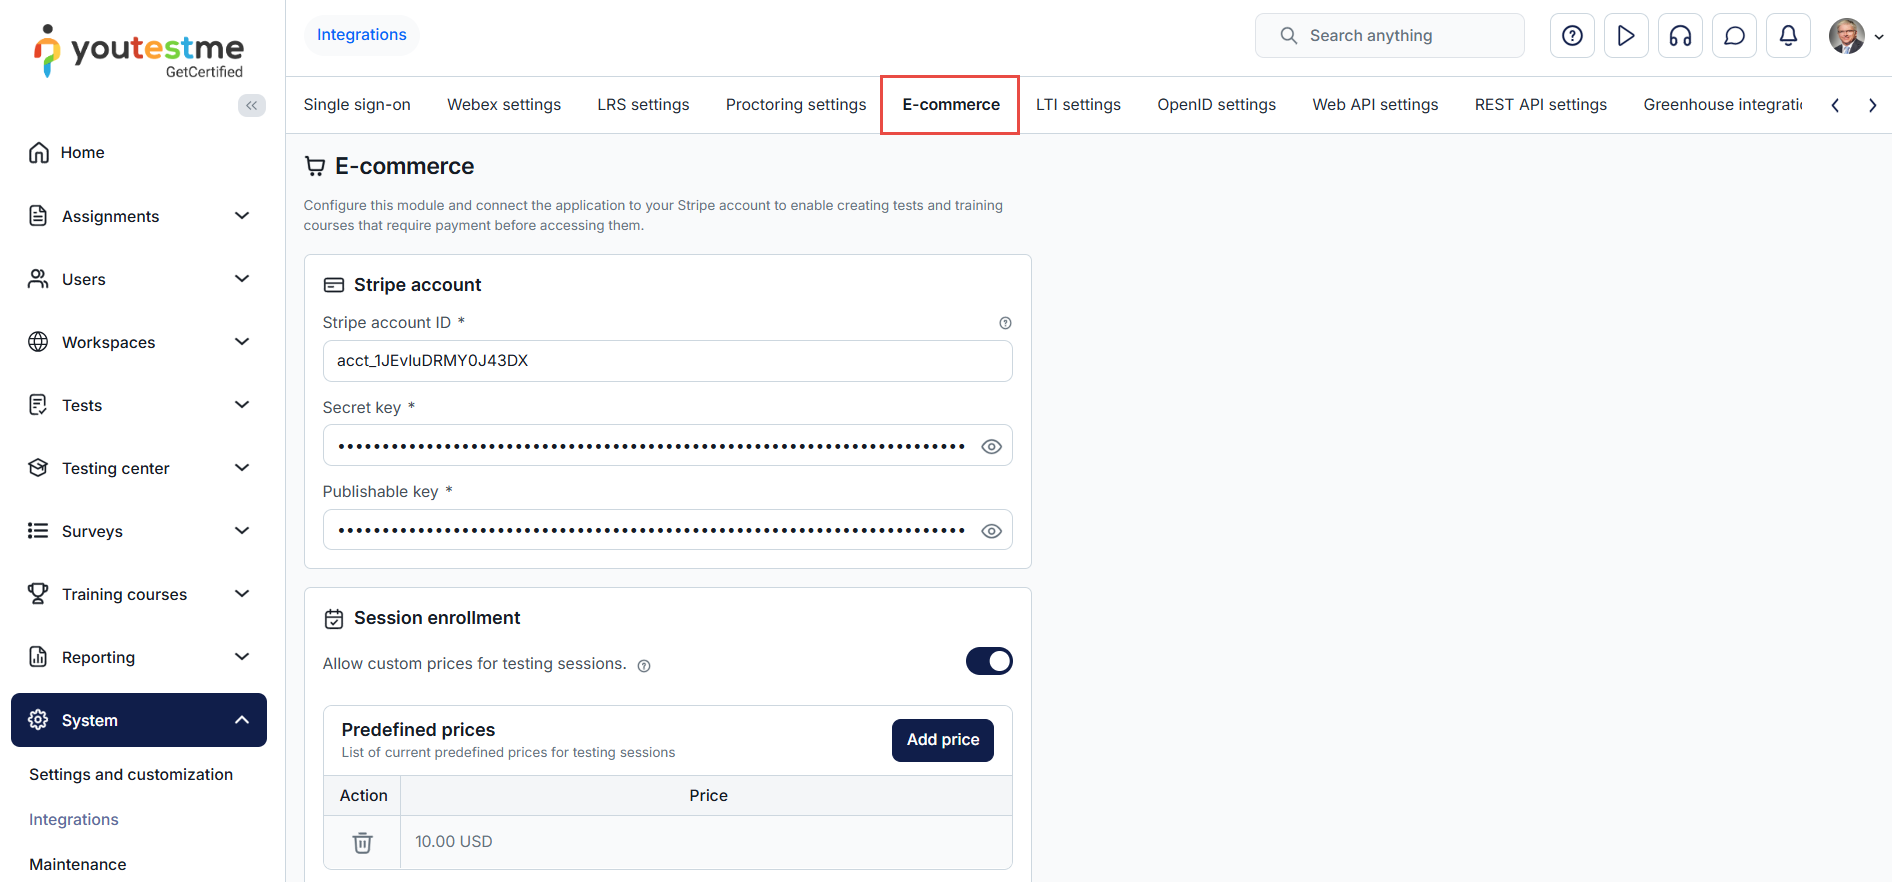
-
The Balance tab displays a list of tests and training courses the user has purchased in the application. It also includes detailed information about payouts, such as the payout ID, date, amount, fees, and trace ID, providing users with a clear and organized view of their financial transactions. The report includes columns for transaction gross amount, which is the total charged to the customer, fee amount representing Stripe processing fees, and net amount, which is the final amount received.
Payouts are used in Stripe to transfer funds from the platform's balance to a bank account or financial institution.
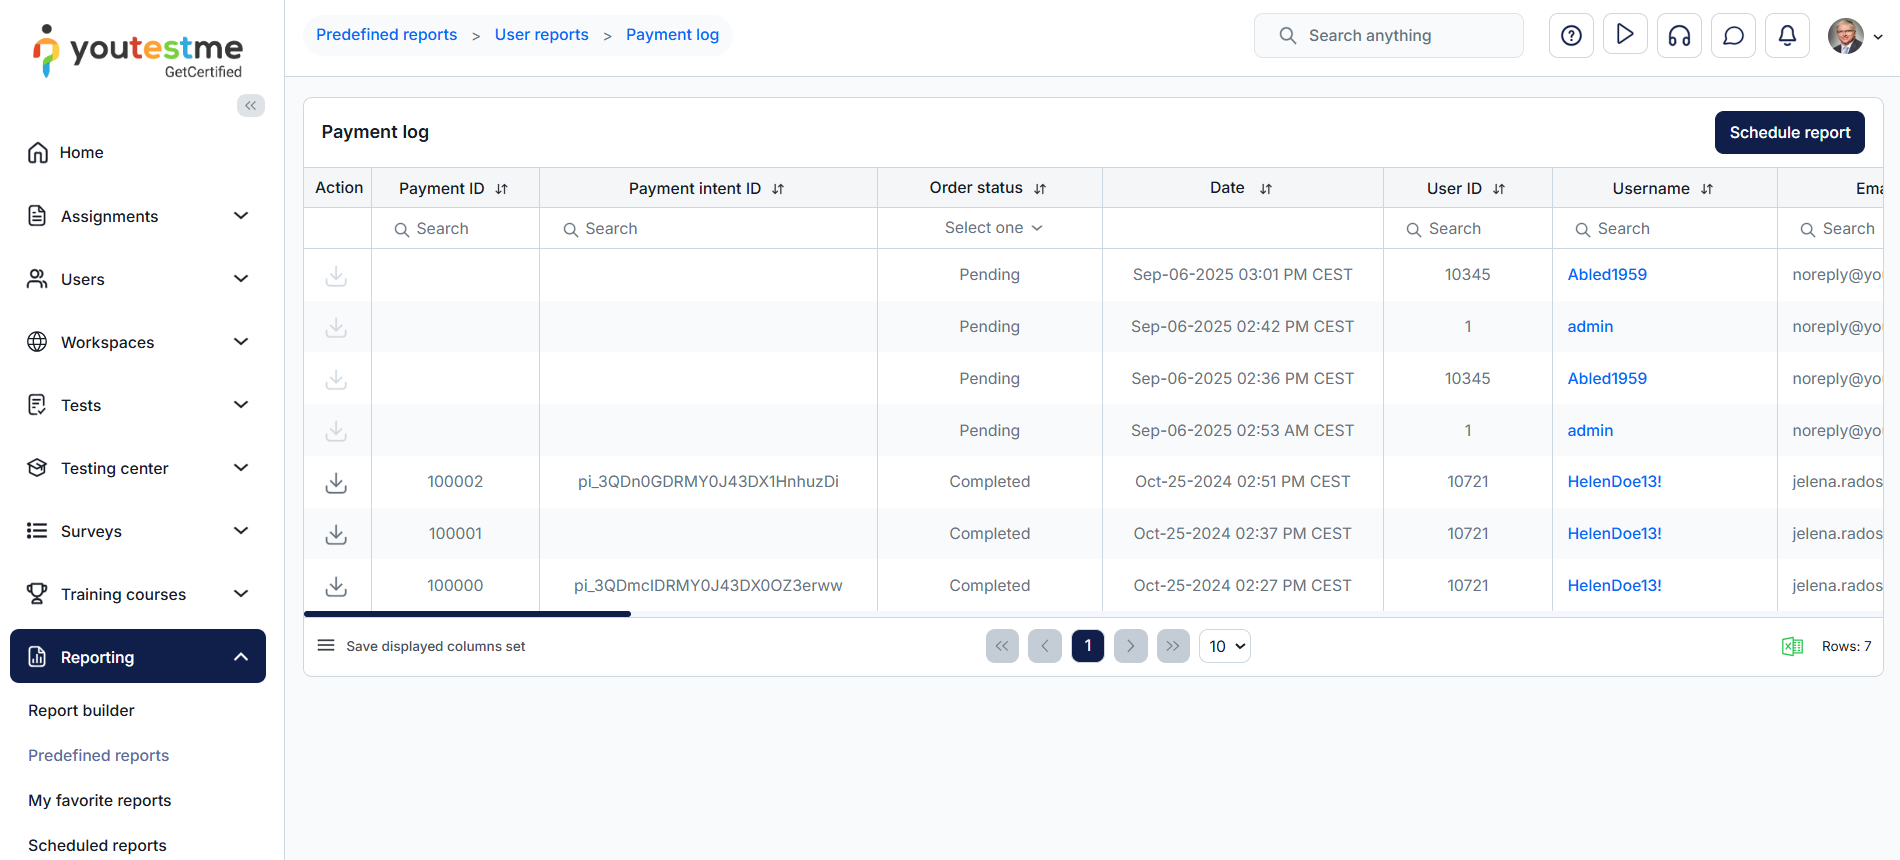
-
The price will be displayed here if it is set. The booking price can be set for self-enrollment sessions and if the e-commerce option is included. Set the booking price for the self-enrollment session by clicking on the Price configuration option. Retake price can be set for all sessions
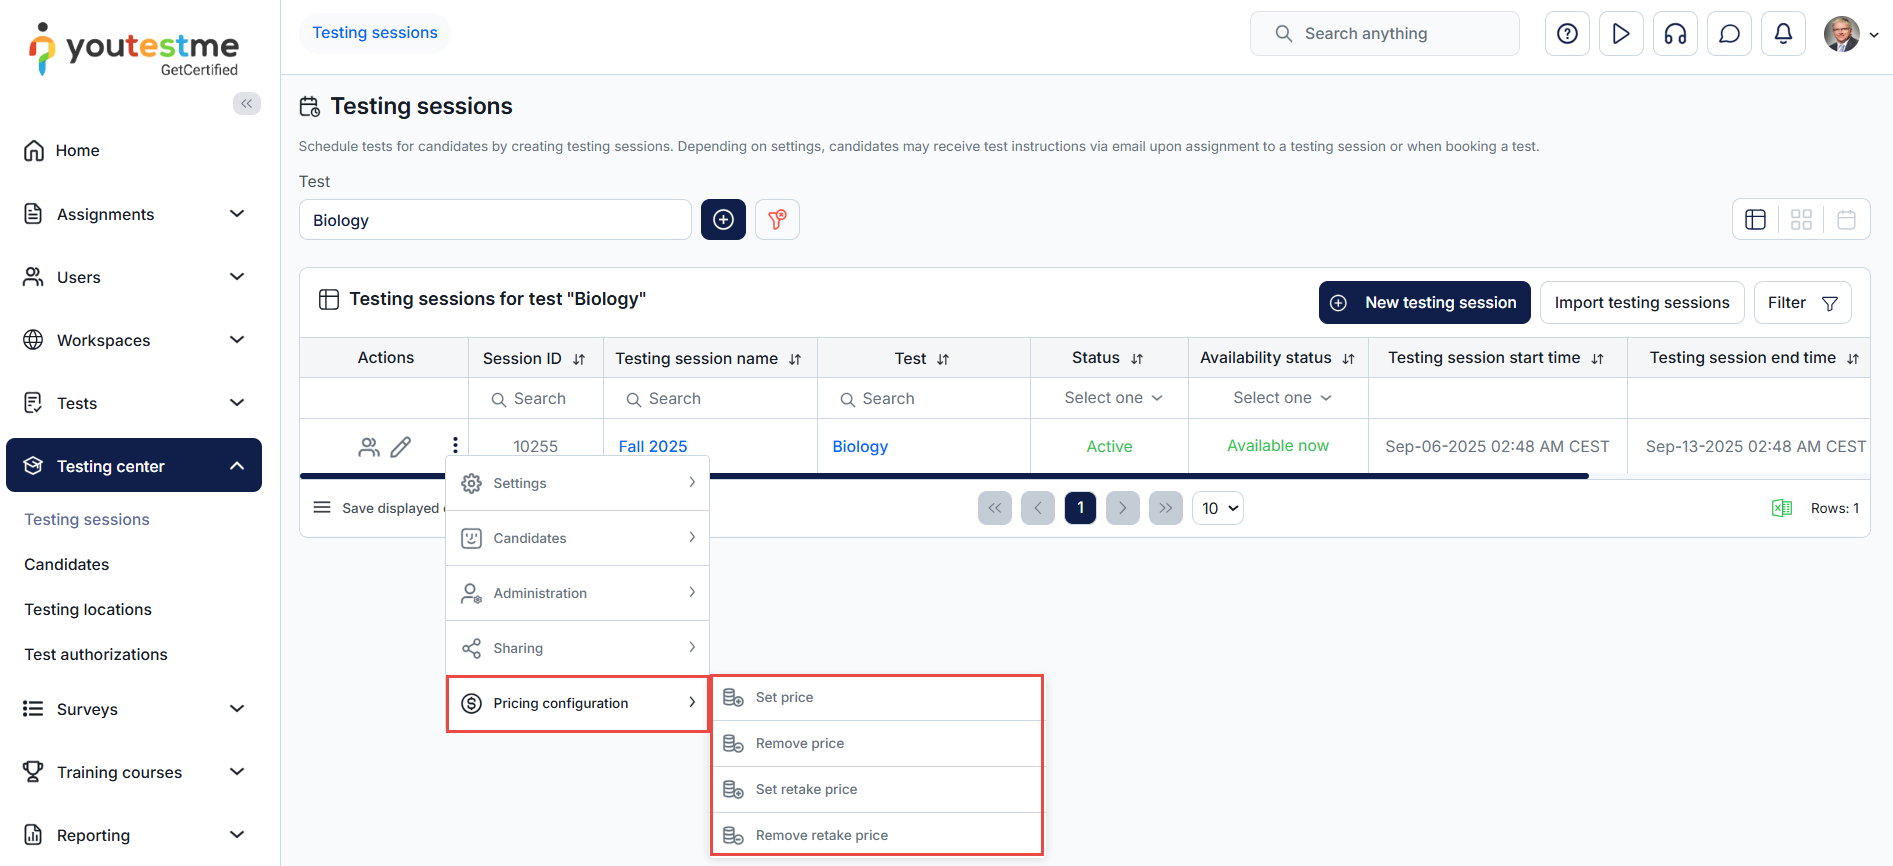
-
Training course price - You can set the required prices for the candidate to pay before he can start the training course. Training courses module must also be enabled.
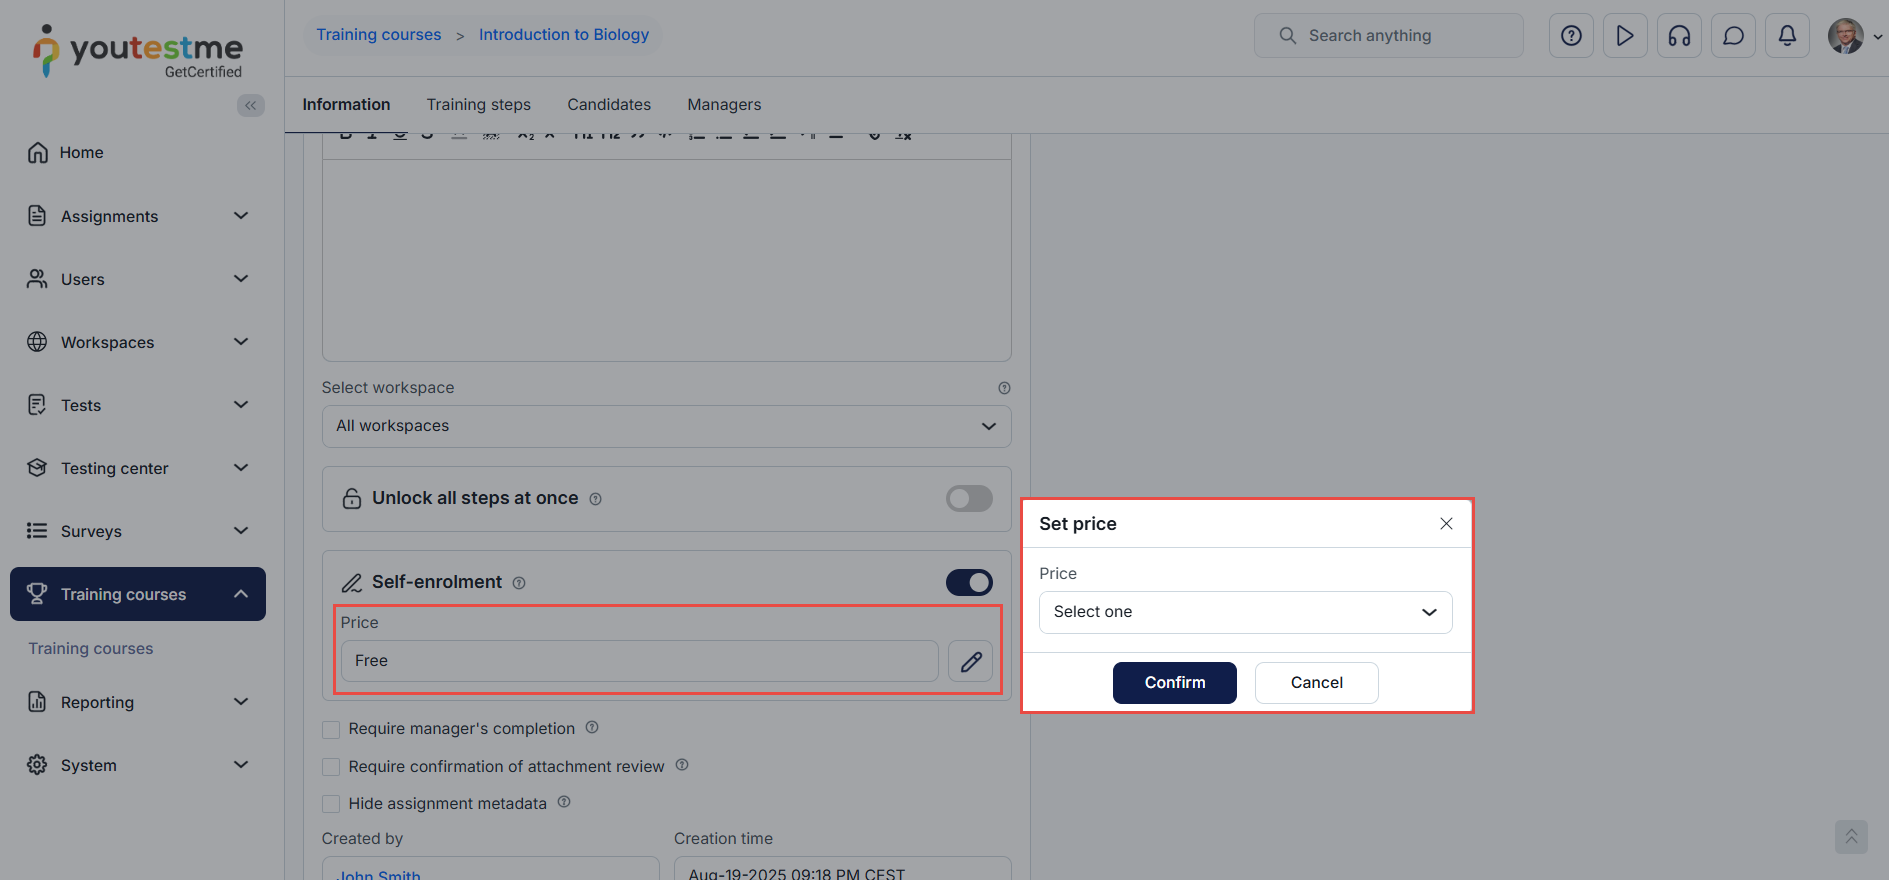
-
Purchase - This button will appear only for tests and training courses that require payment. Once you purchase the exam, you will be able to take it.
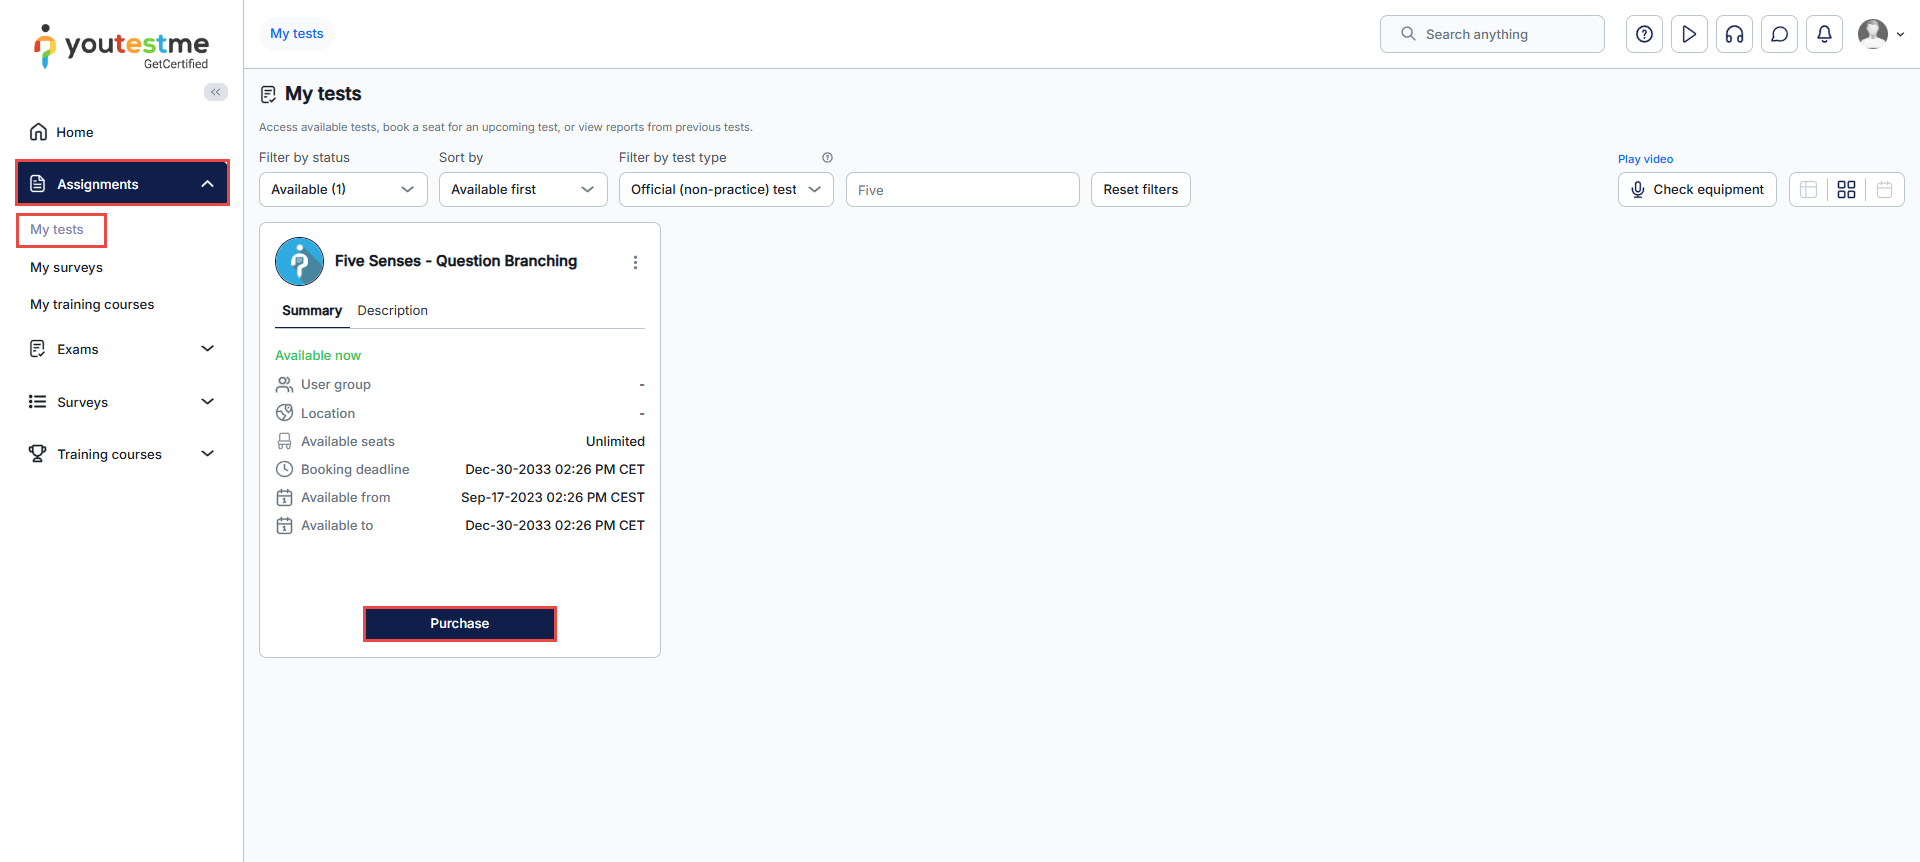
-
Generate free coupons to provide users with access to testing sessions without paying. Coupons are valid for all testing sessions within the test and can only be used once for sessions where the purchase price is set.
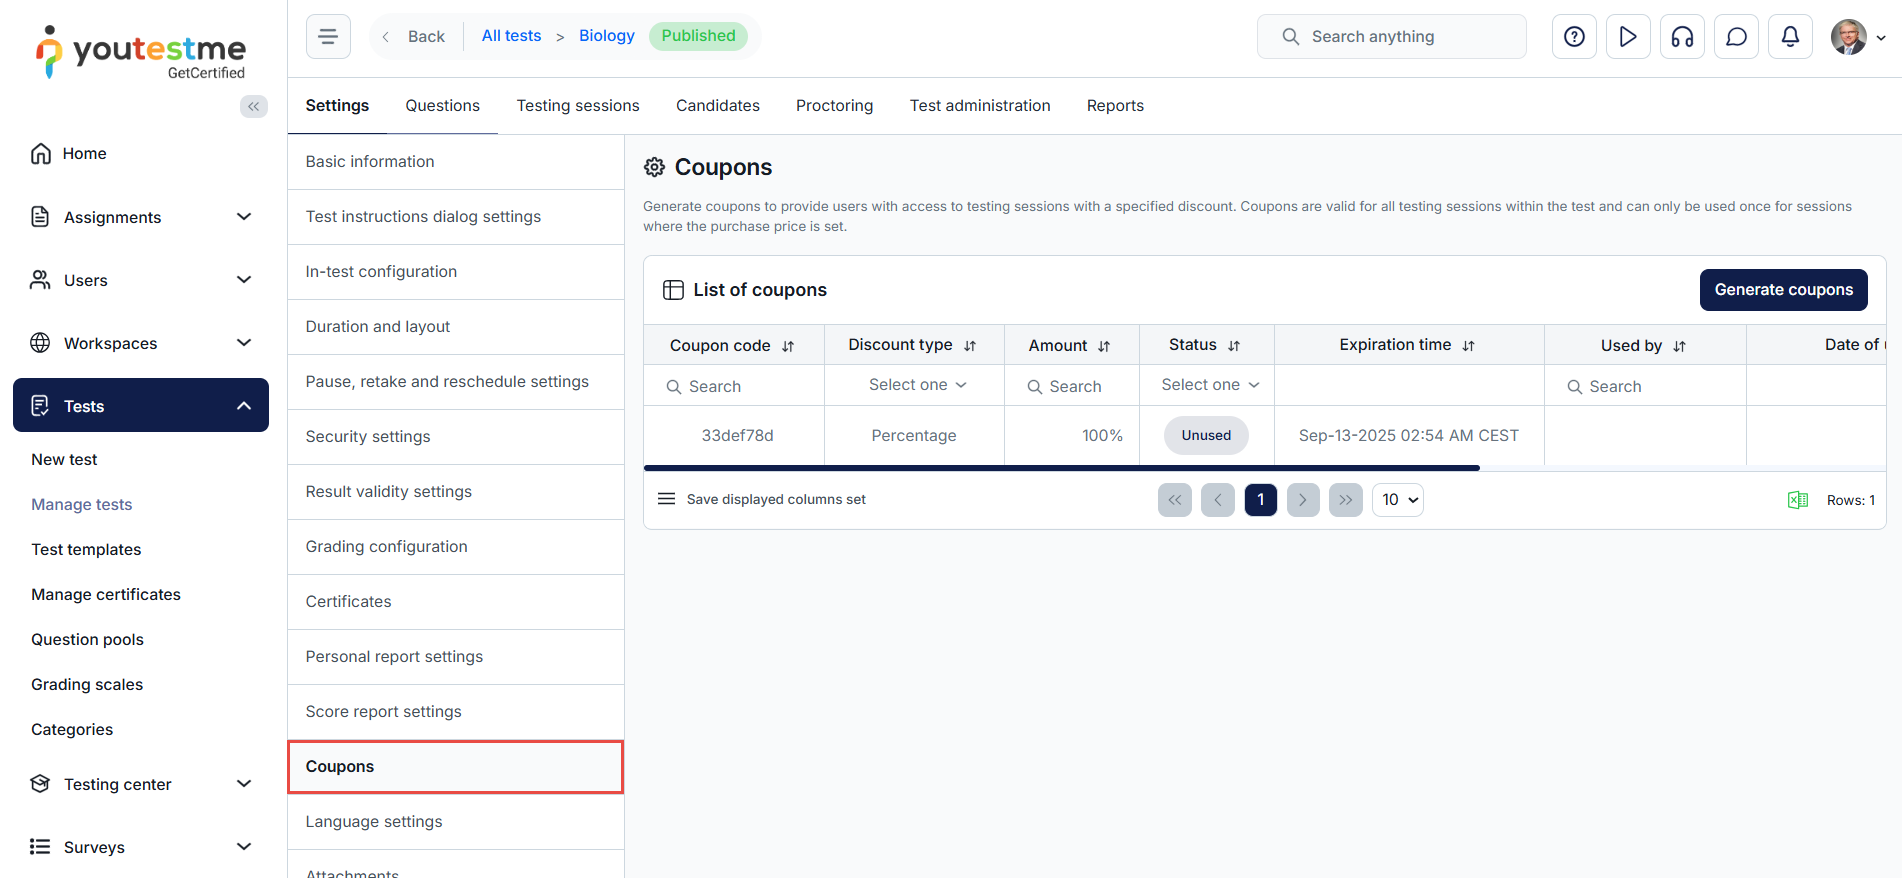
-
-
Support for people with disabilities
-
Accessibility - To navigate the application using only a keyboard, consult the instructions below. For instructions on enabling the accessibility mode, visit the Accessibility mode chapter on the My profile page.
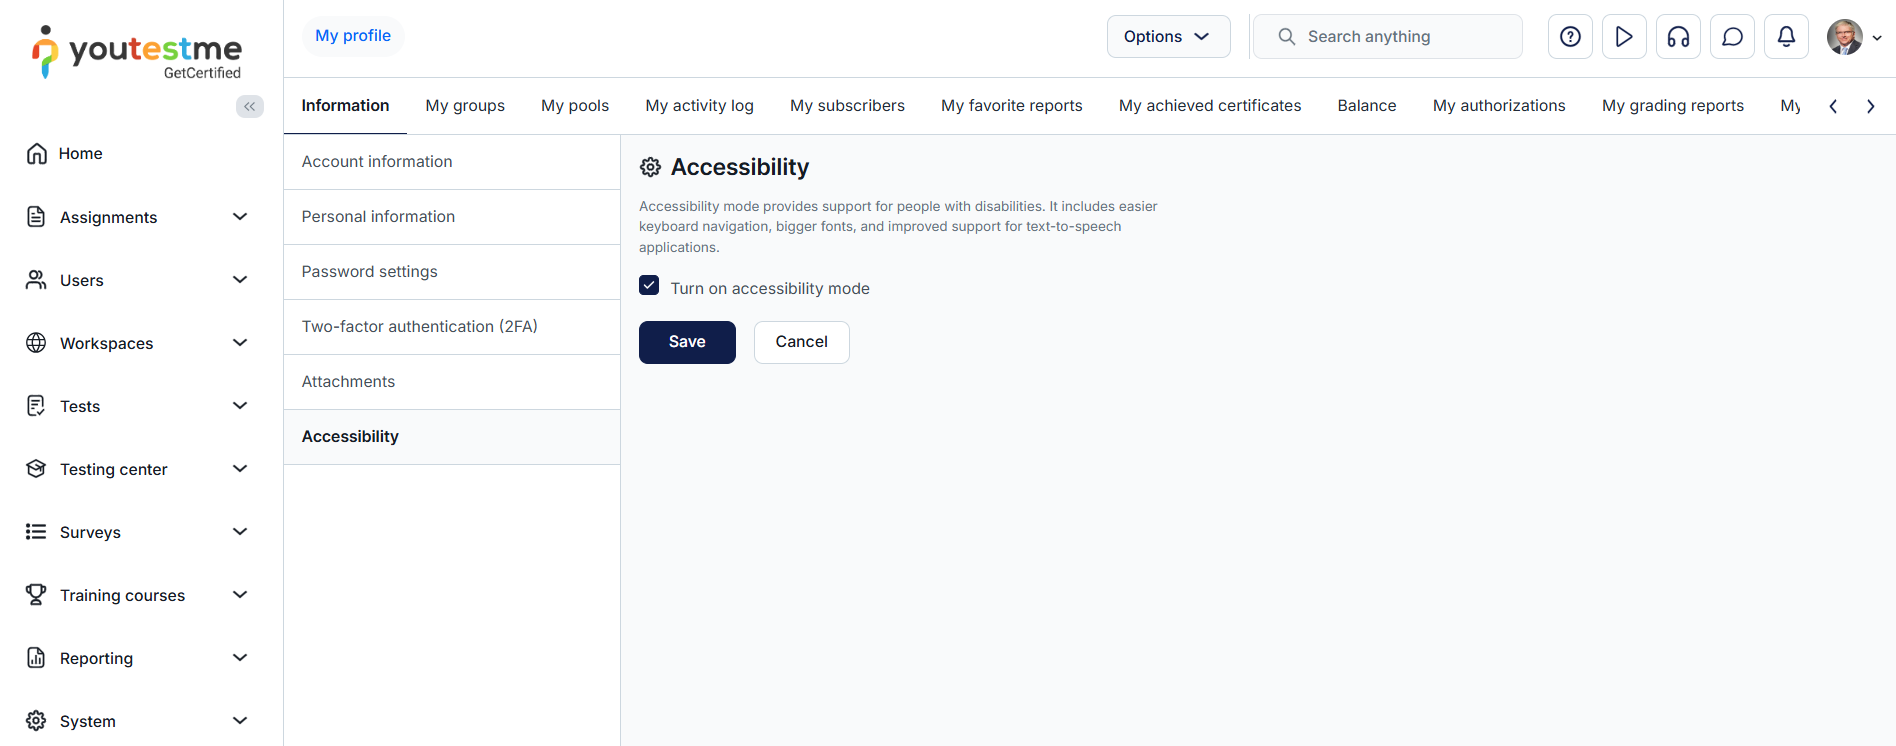
For more information, please visit the E-commerce tab and Accessibility mode pages.
-
-
Certificates
-
The Manage certificates page allows you to create custom branded certificates that can be assigned to a test and awarded to the users who complete it successfully. The users can download a certificate in PDF format and print it.
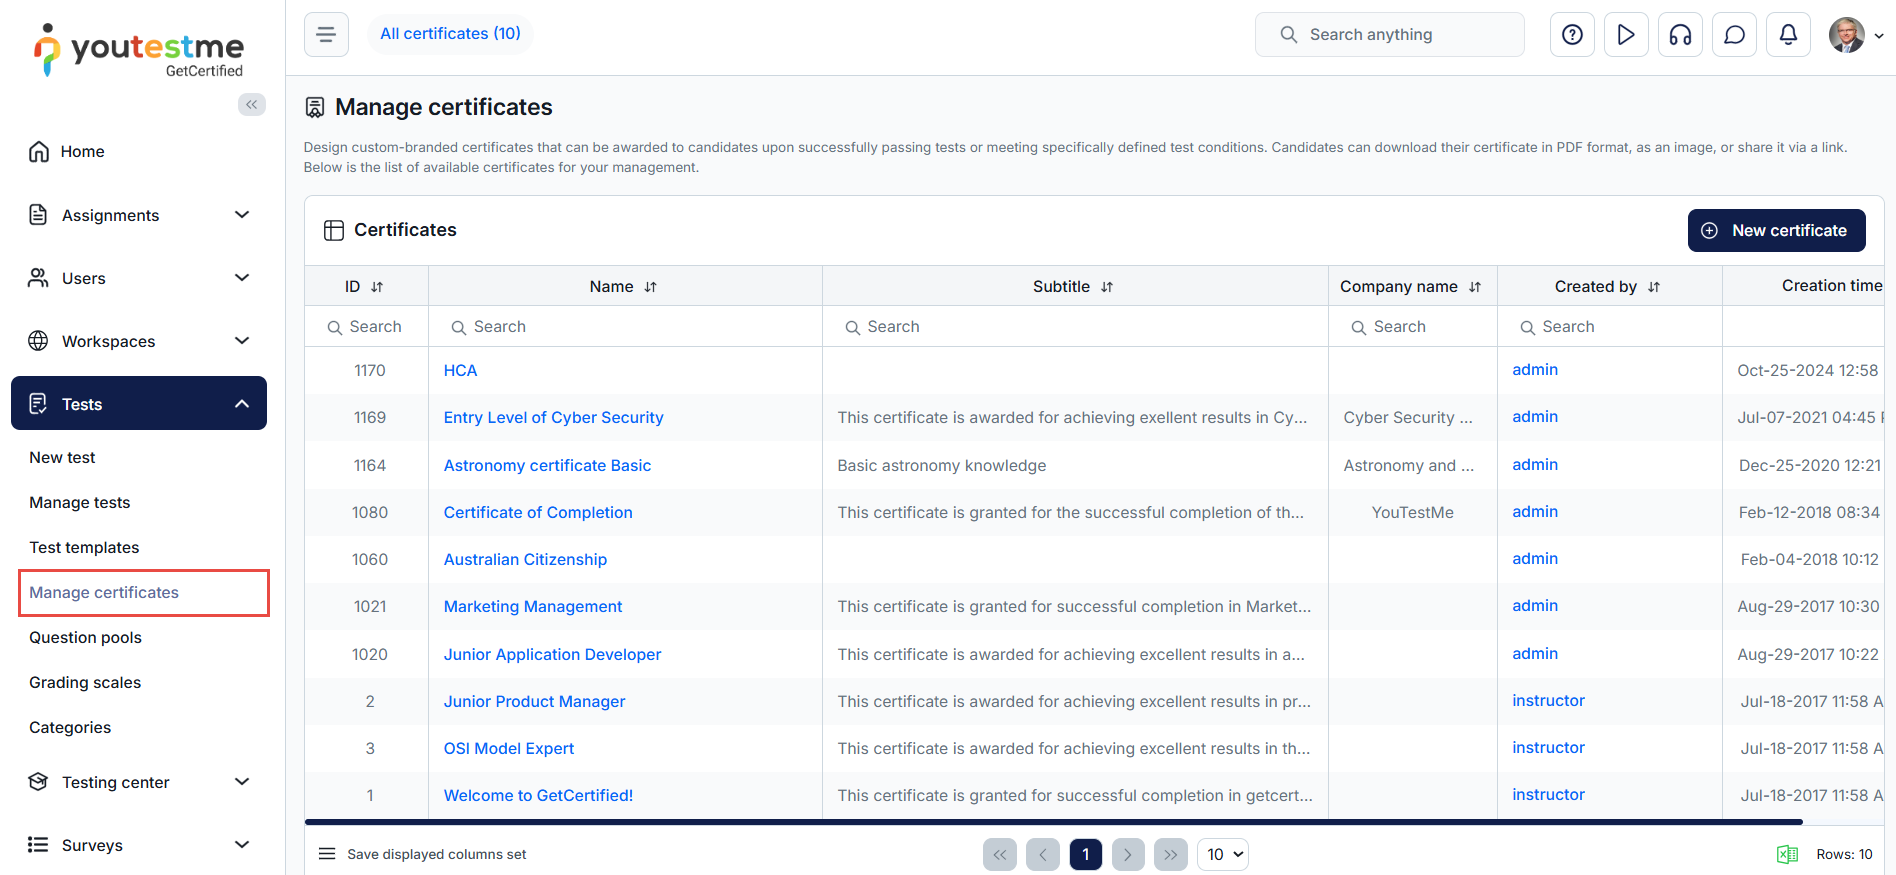
-
My achieved certificates tab displays a list of all certificates the user has obtained. When a user completes an assignment that grants a certificate, it will appear on this page.
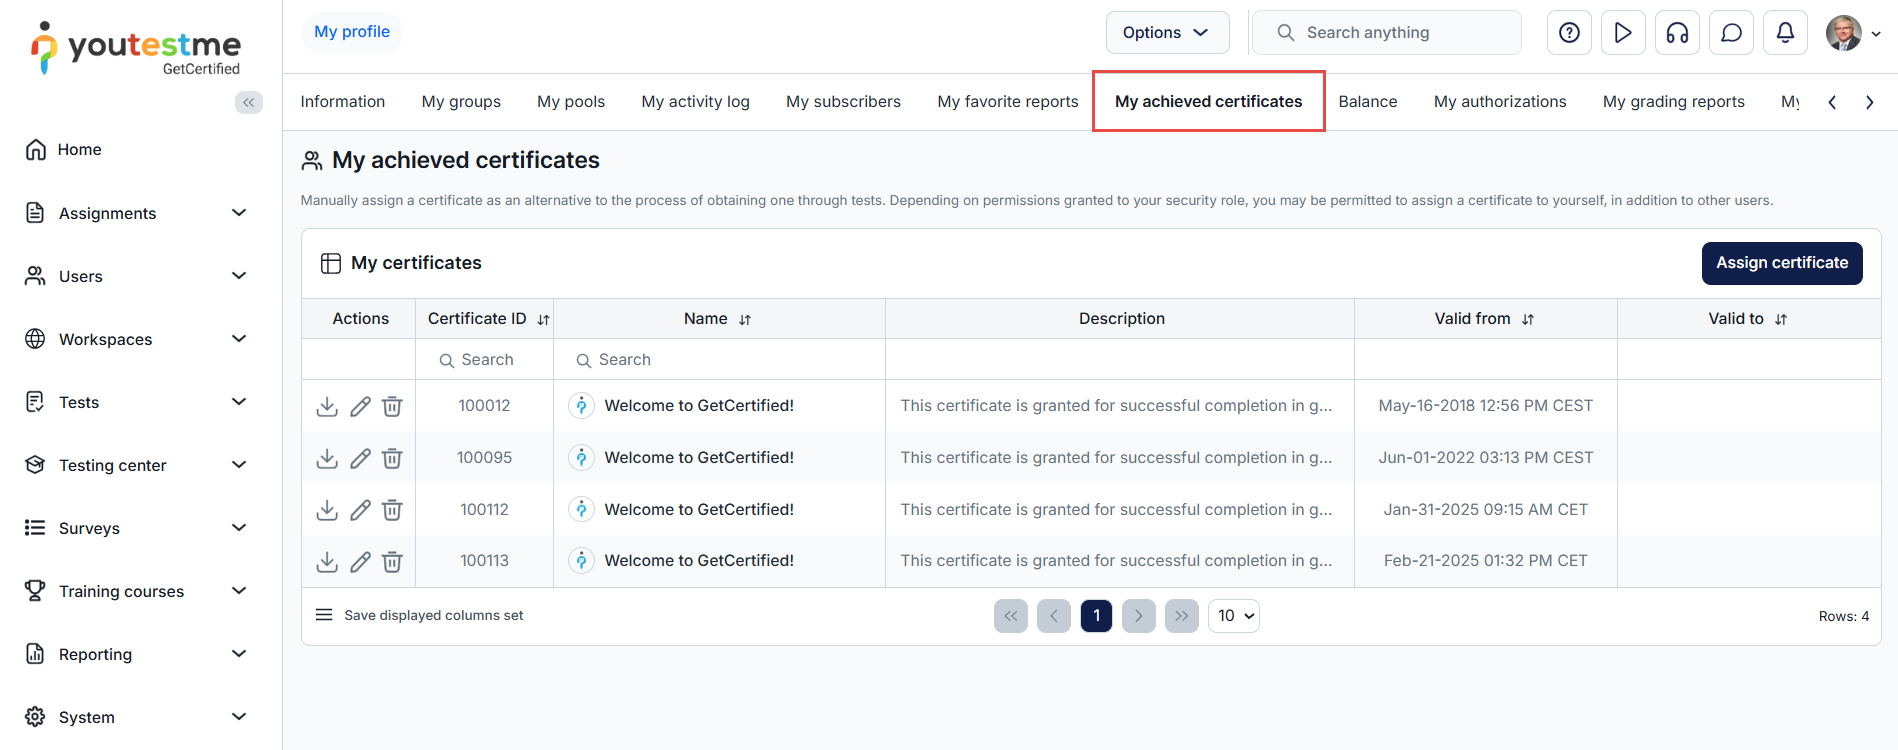
-
Load user certificates - To assign a large number of certificates to users through an Excel file.
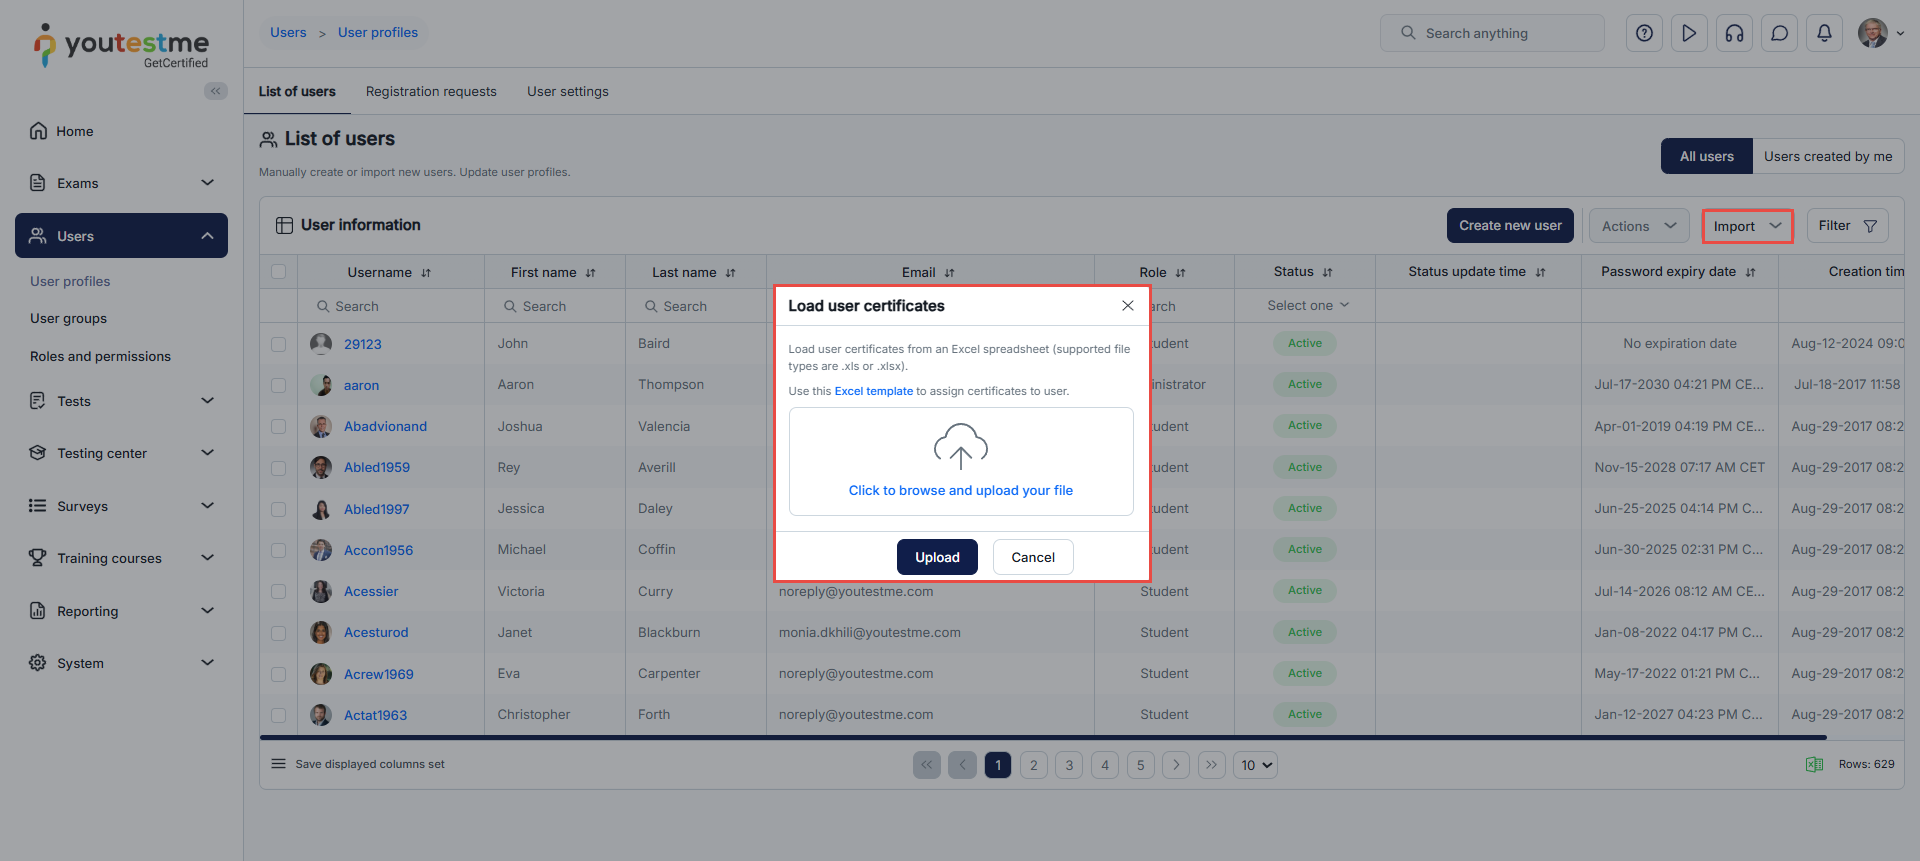
-
On this page, you can manage certificate and chart templates. There are four default certificate templates and you can create a library of new ones that can later be additionally styled under "Manage certificates" and used in tests. Chart templates can be selected in the test's Personal report settings.
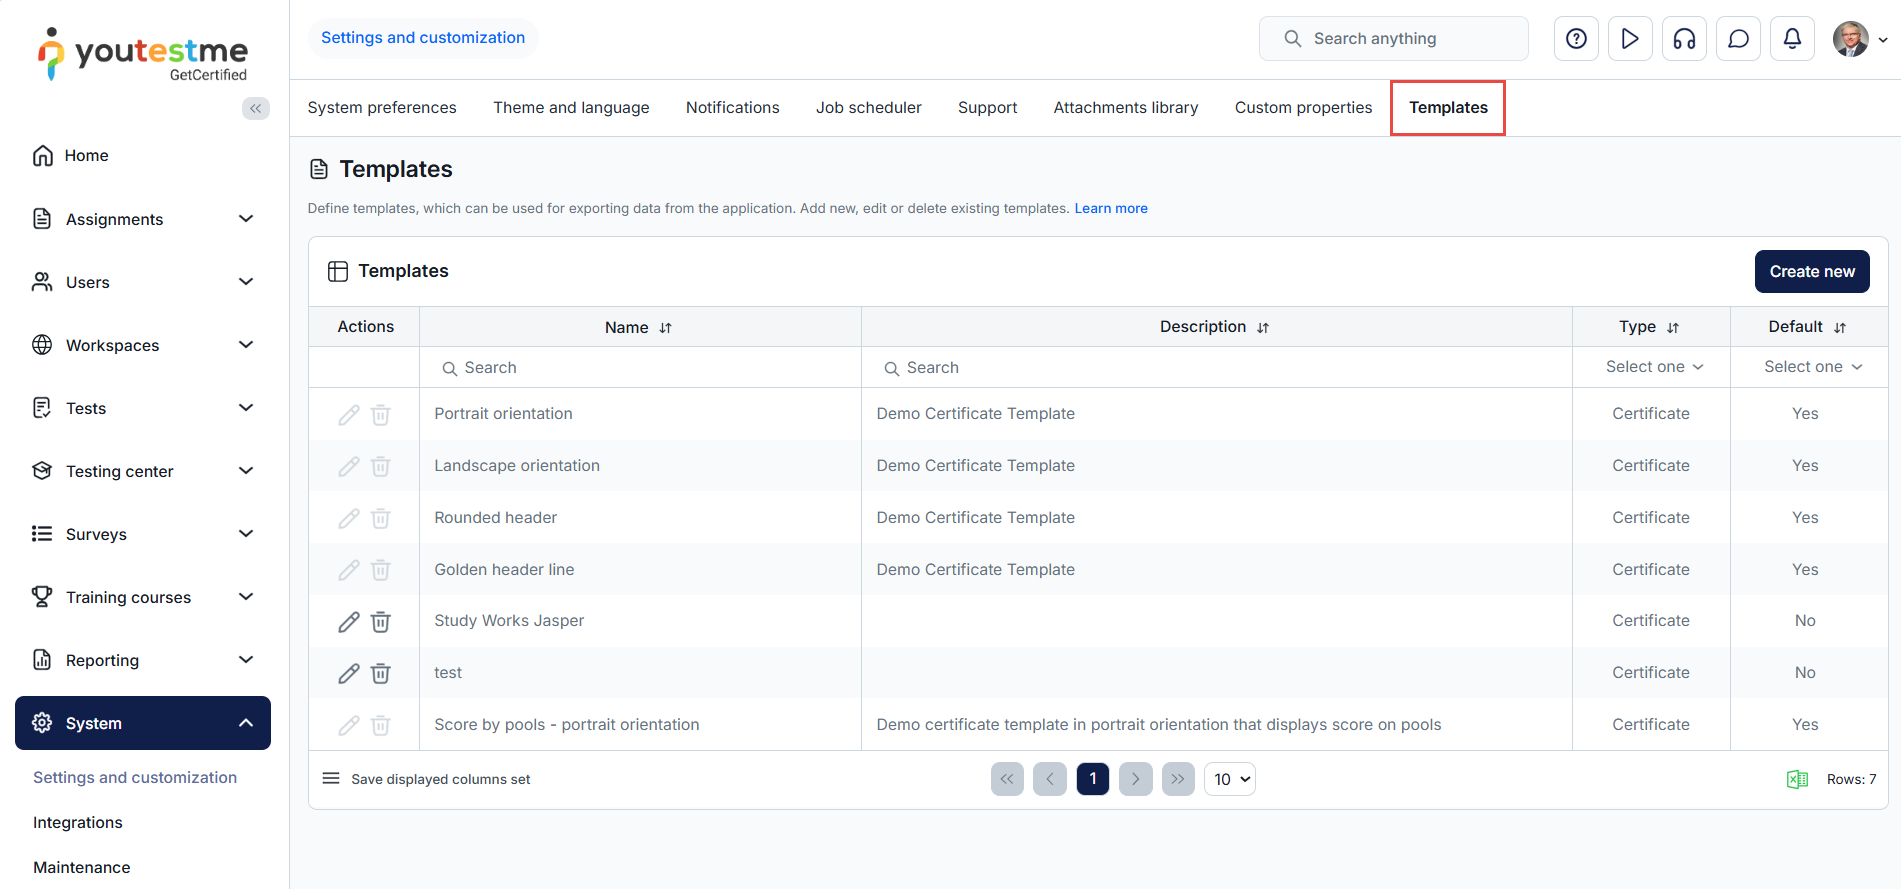
-
A test can have its own certificate granted to users who successfully complete it.
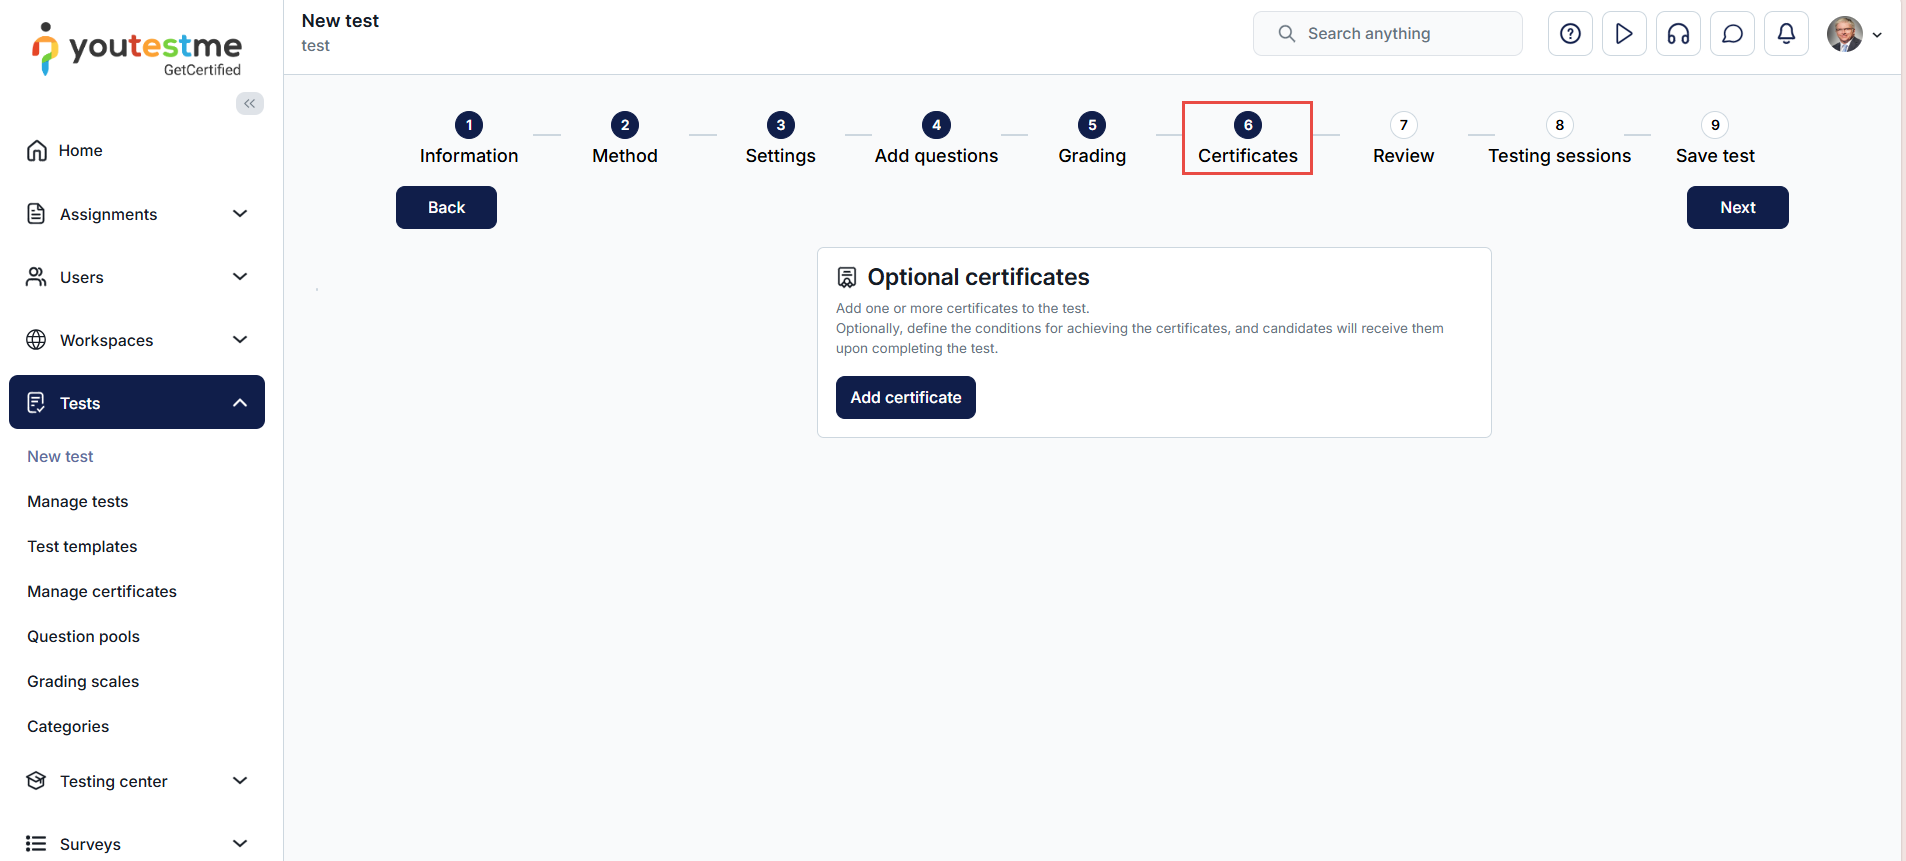
-
View a list of all certificates. Choose the one that will be awarded to users who pass the test. All users who pass the test will be able to download a certificate in PDF format.
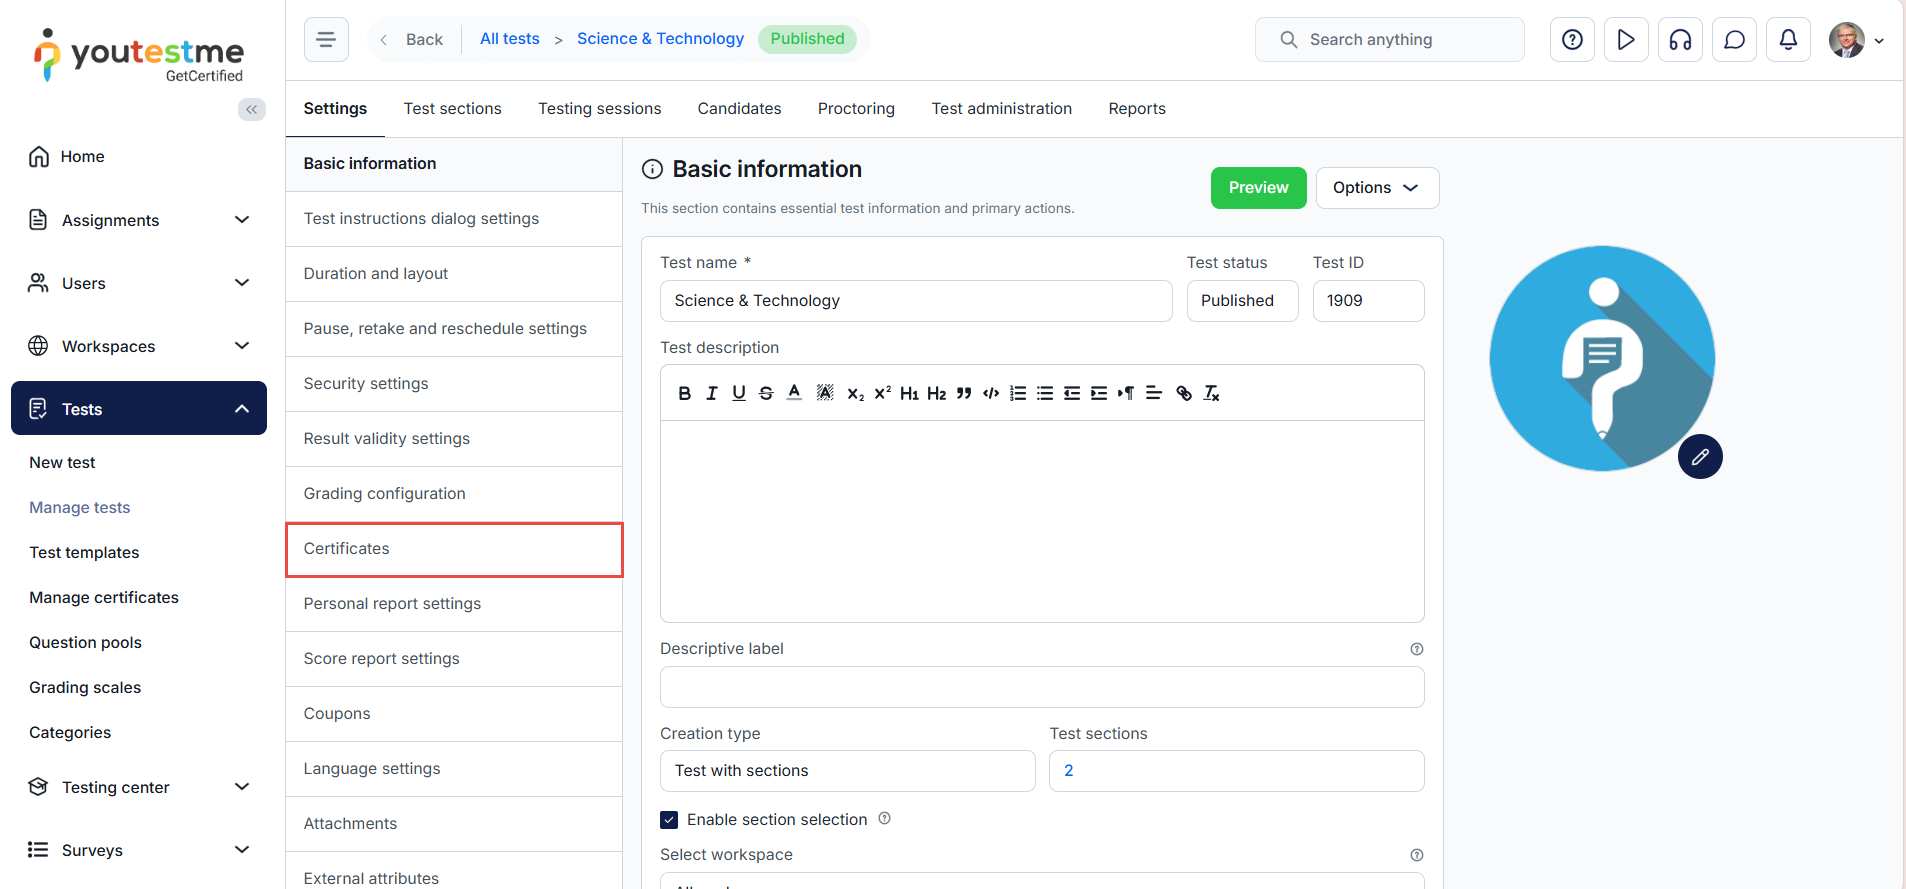
-
With certificates first - First displays passed assignments with achieved certificates (A → Z), and then other assignments.
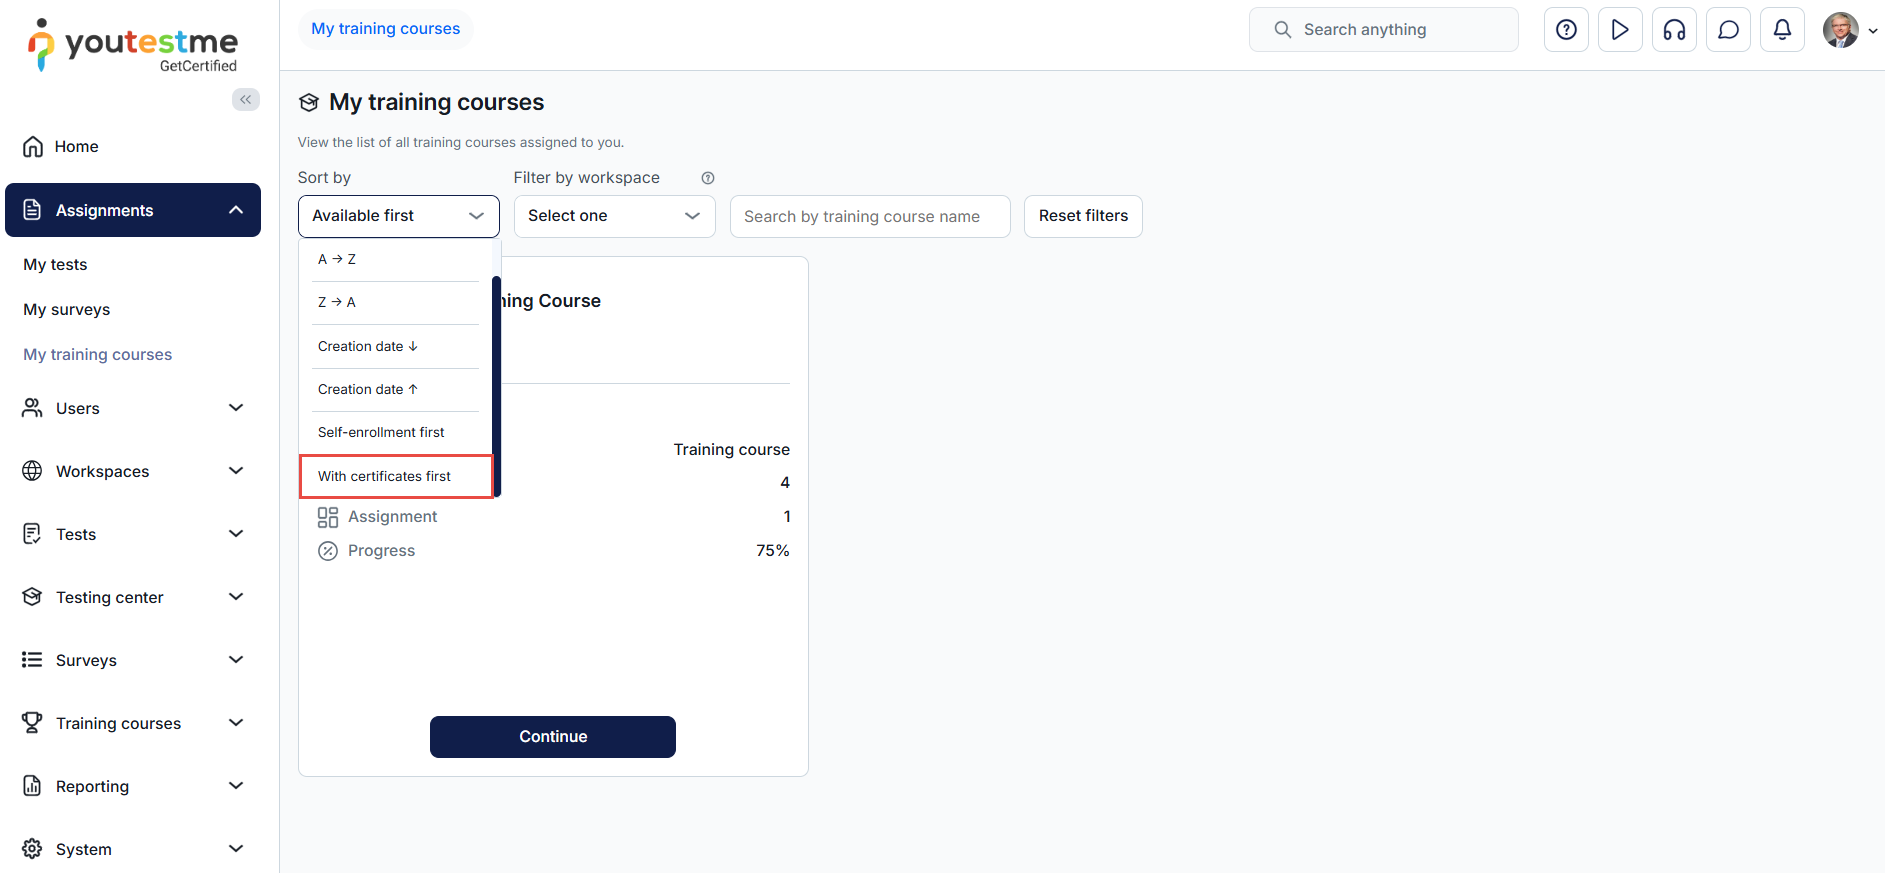
-
A certificate the user achieves upon completion. It can be downloaded by clicking the Export certificate button.
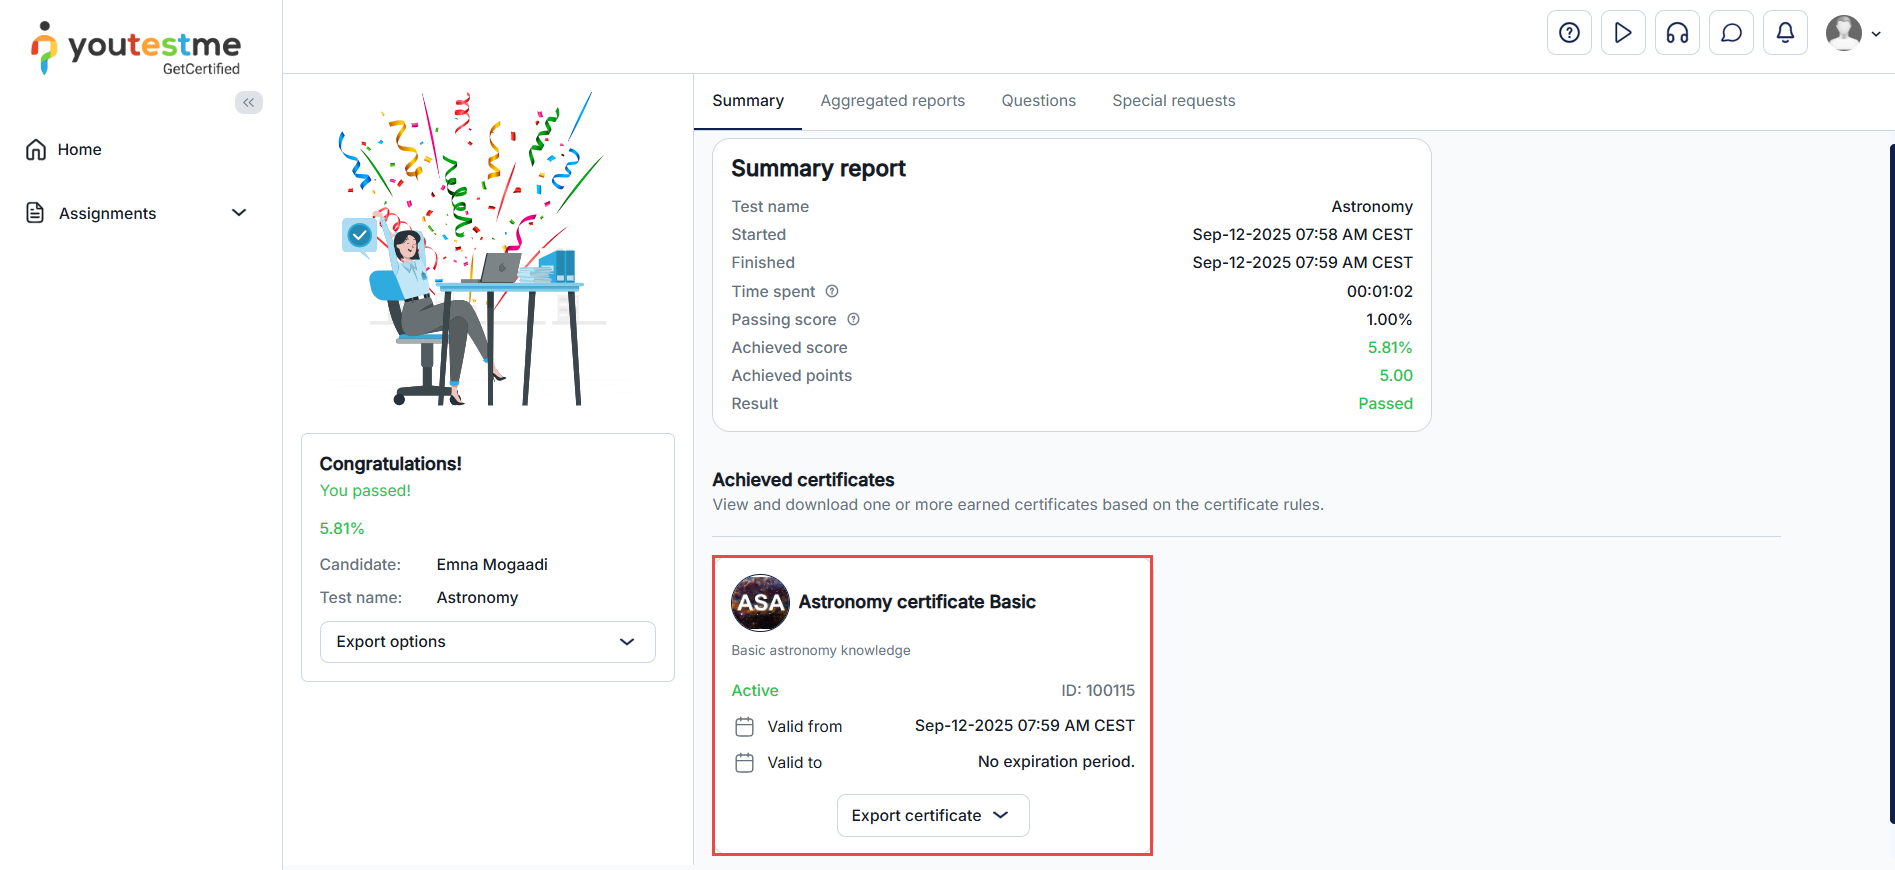
For more information, please visit the Certificates page for creating certificates in the Test wizard. Click here to view how to add certificates to a test. Click here for more information on creating a certificate.
-
-
Advanced test configuration
-
In-test configuration - The following options are used for managing users' permissions during test-taking or requiring them to perform specific actions.
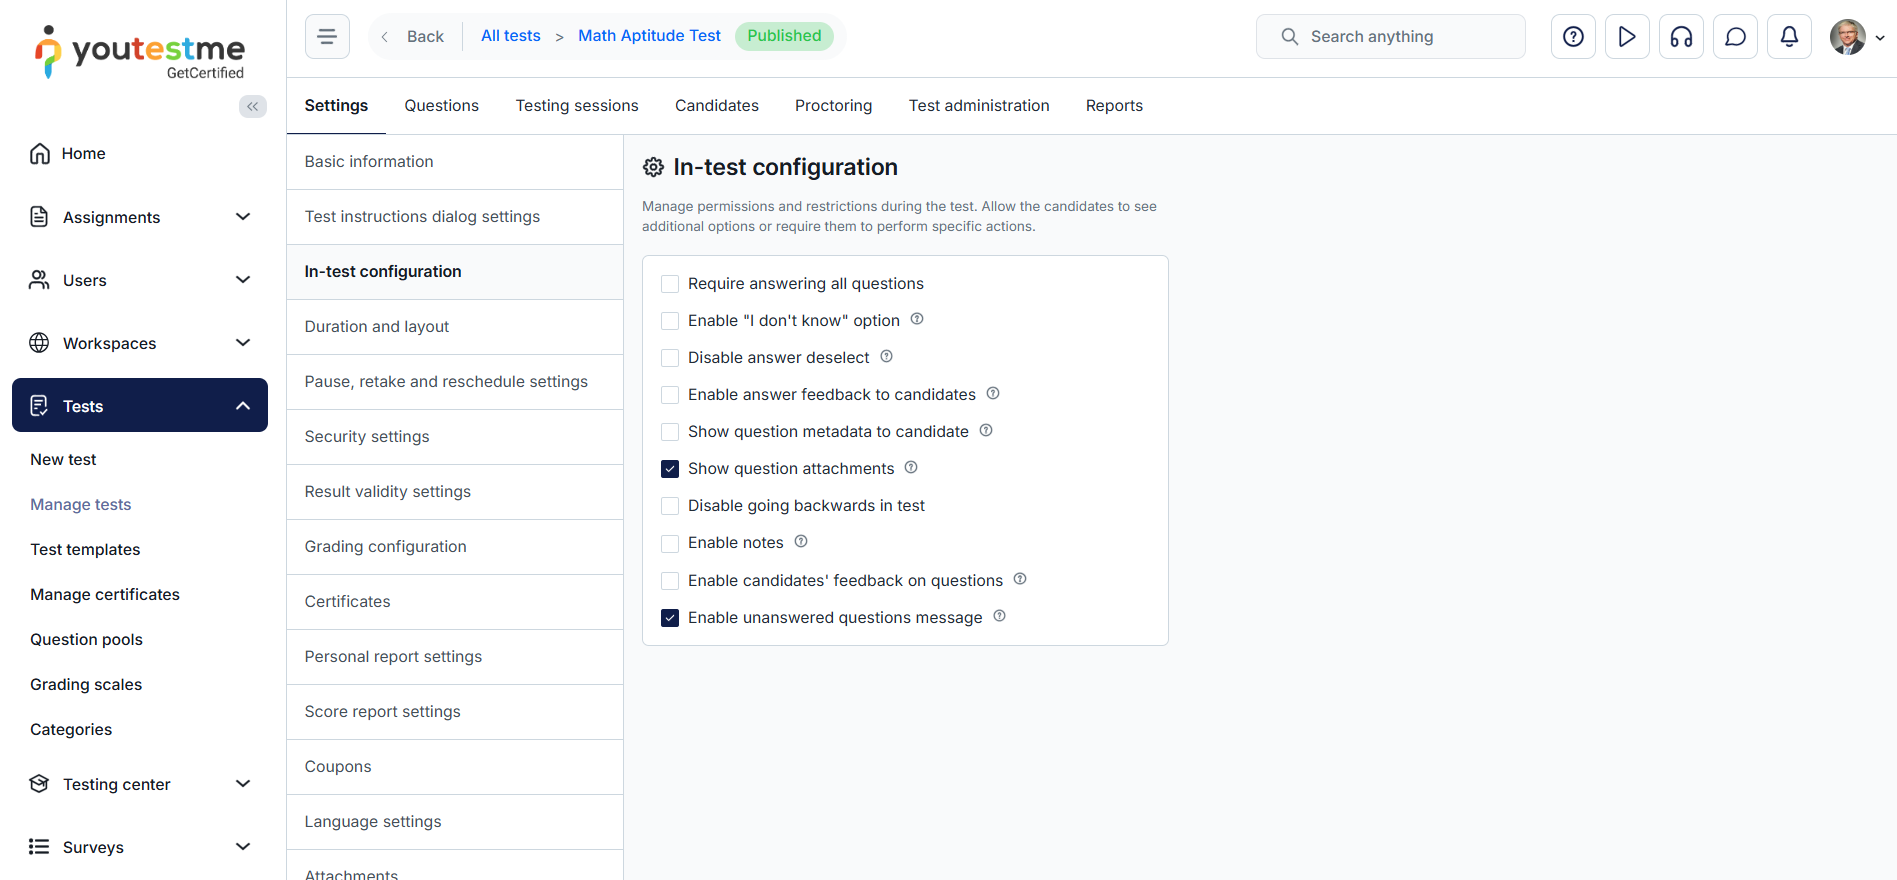
-
Enable notes – By enabling this option, notes that candidates took while test-taking won't be visible for them in the personal report after test-taking. Only the instructor will be able to preview them in candidates' personal report.
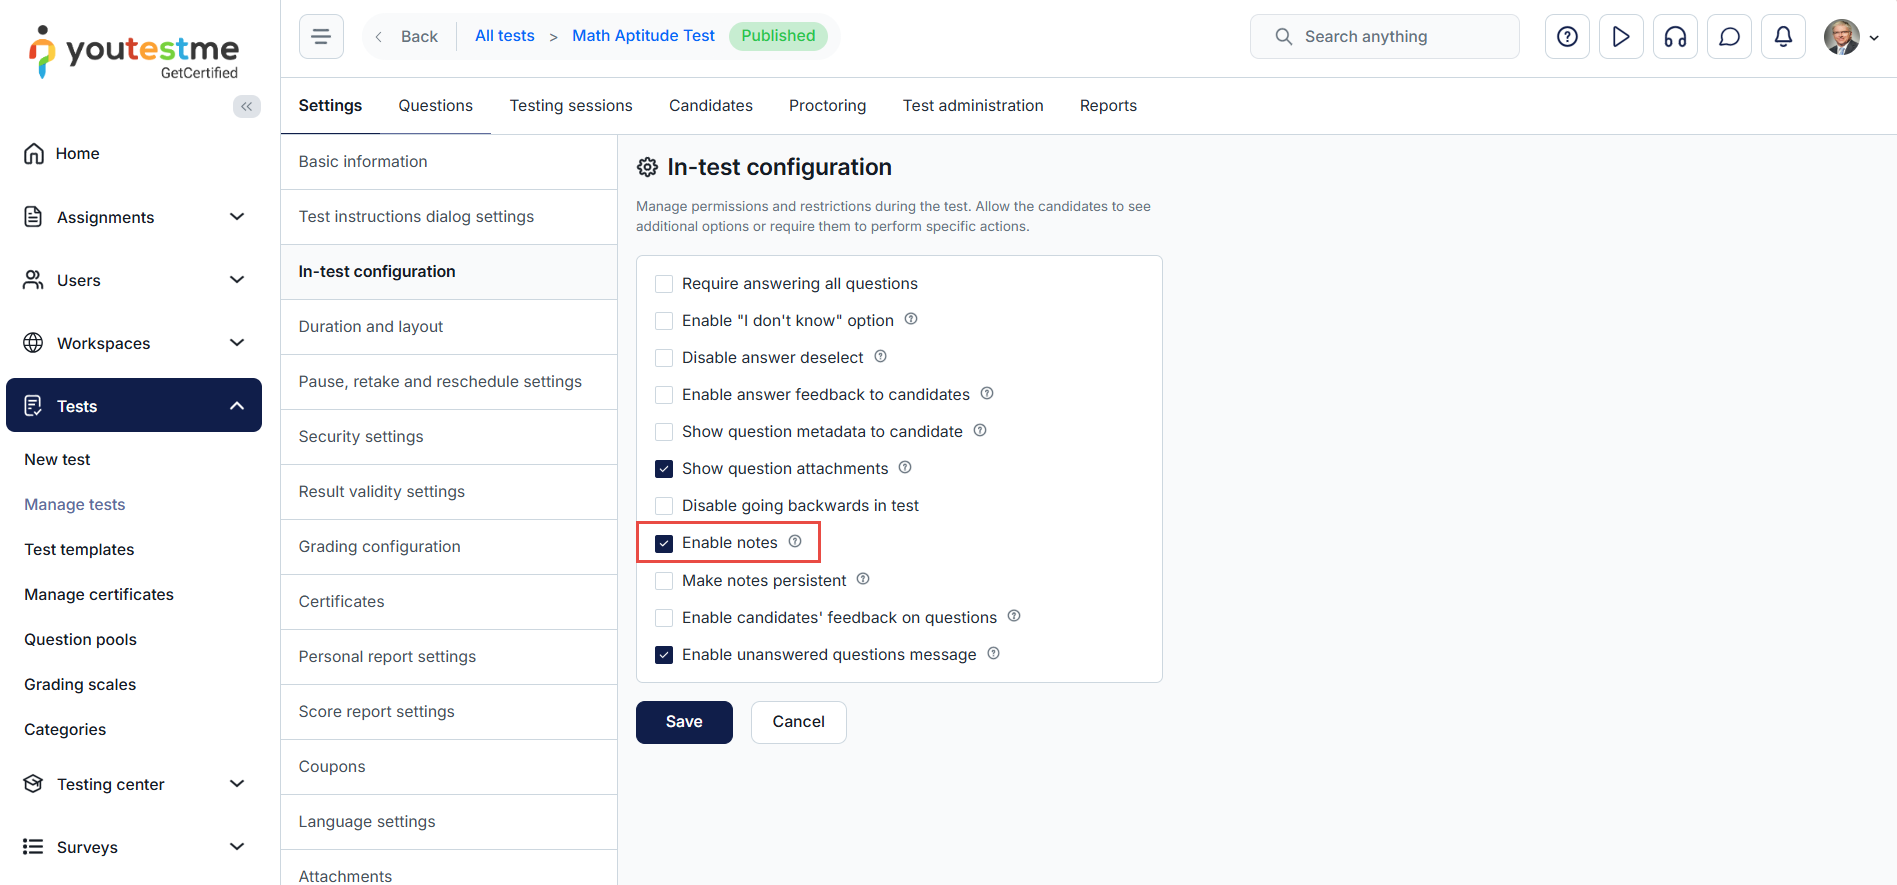
-
Pause and repeat settings - Allow candidates to pause and continue the assessment or to repeat it a certain number of times. Testing workflow module must also be enabled.
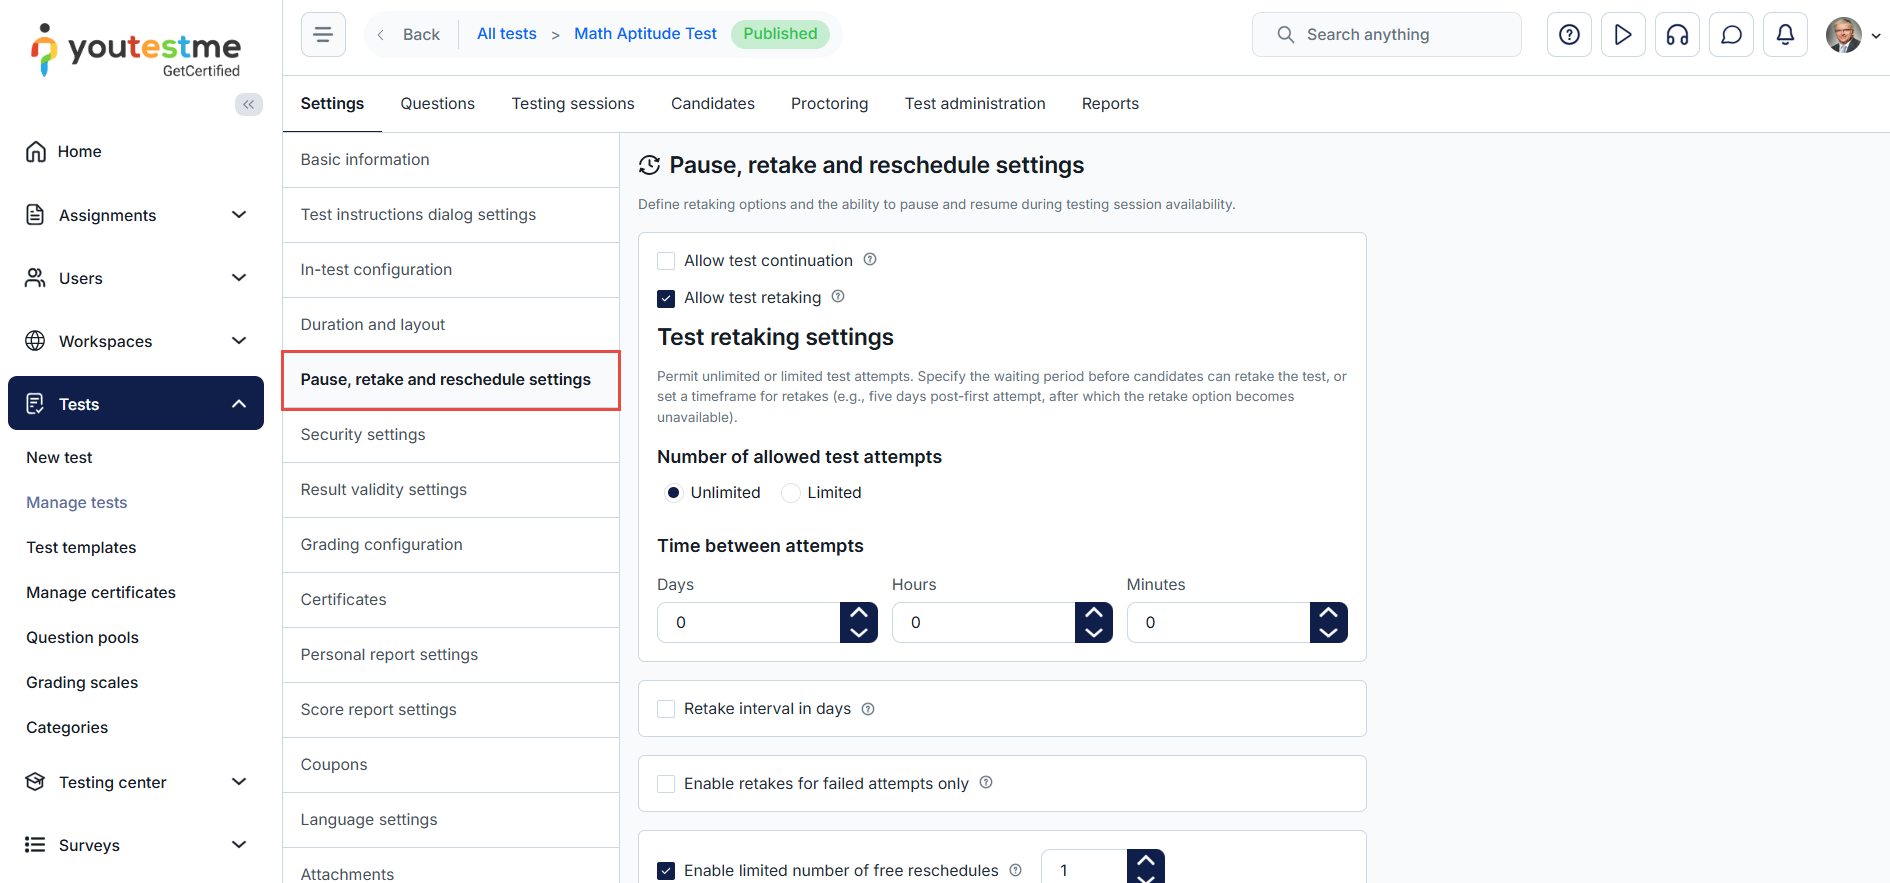
-
Pause and repeat settings (Testing workflow module must also be enabled), Additional possibilities for candidates and Test taking limitations".
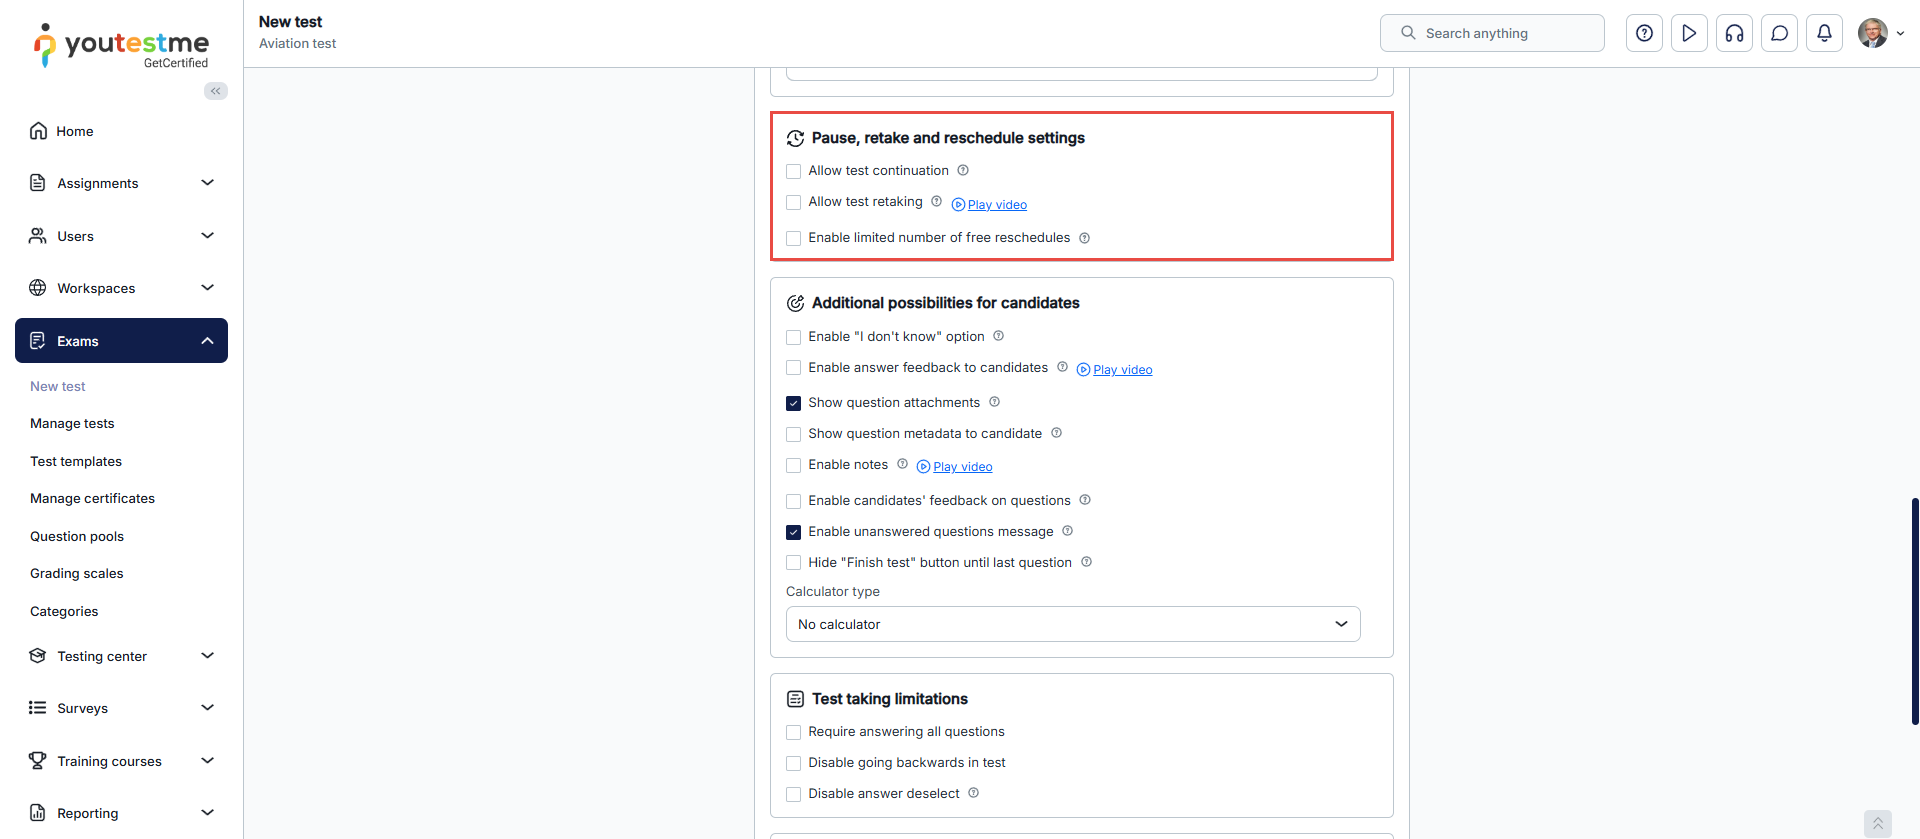
Click here for more information on configuring the Pause and repeat option in the Manage tests tab. Click here for more information on configuring the Pause and repeat option in the Test wizard.
-
-
Testing workflow
-
You can define the test results' validity period in days, after which they will become invalid. All previous test attempts will be suspended, and users will need to retake the test. Completed sessions will be displayed as Finished, and new sessions will be created automatically.
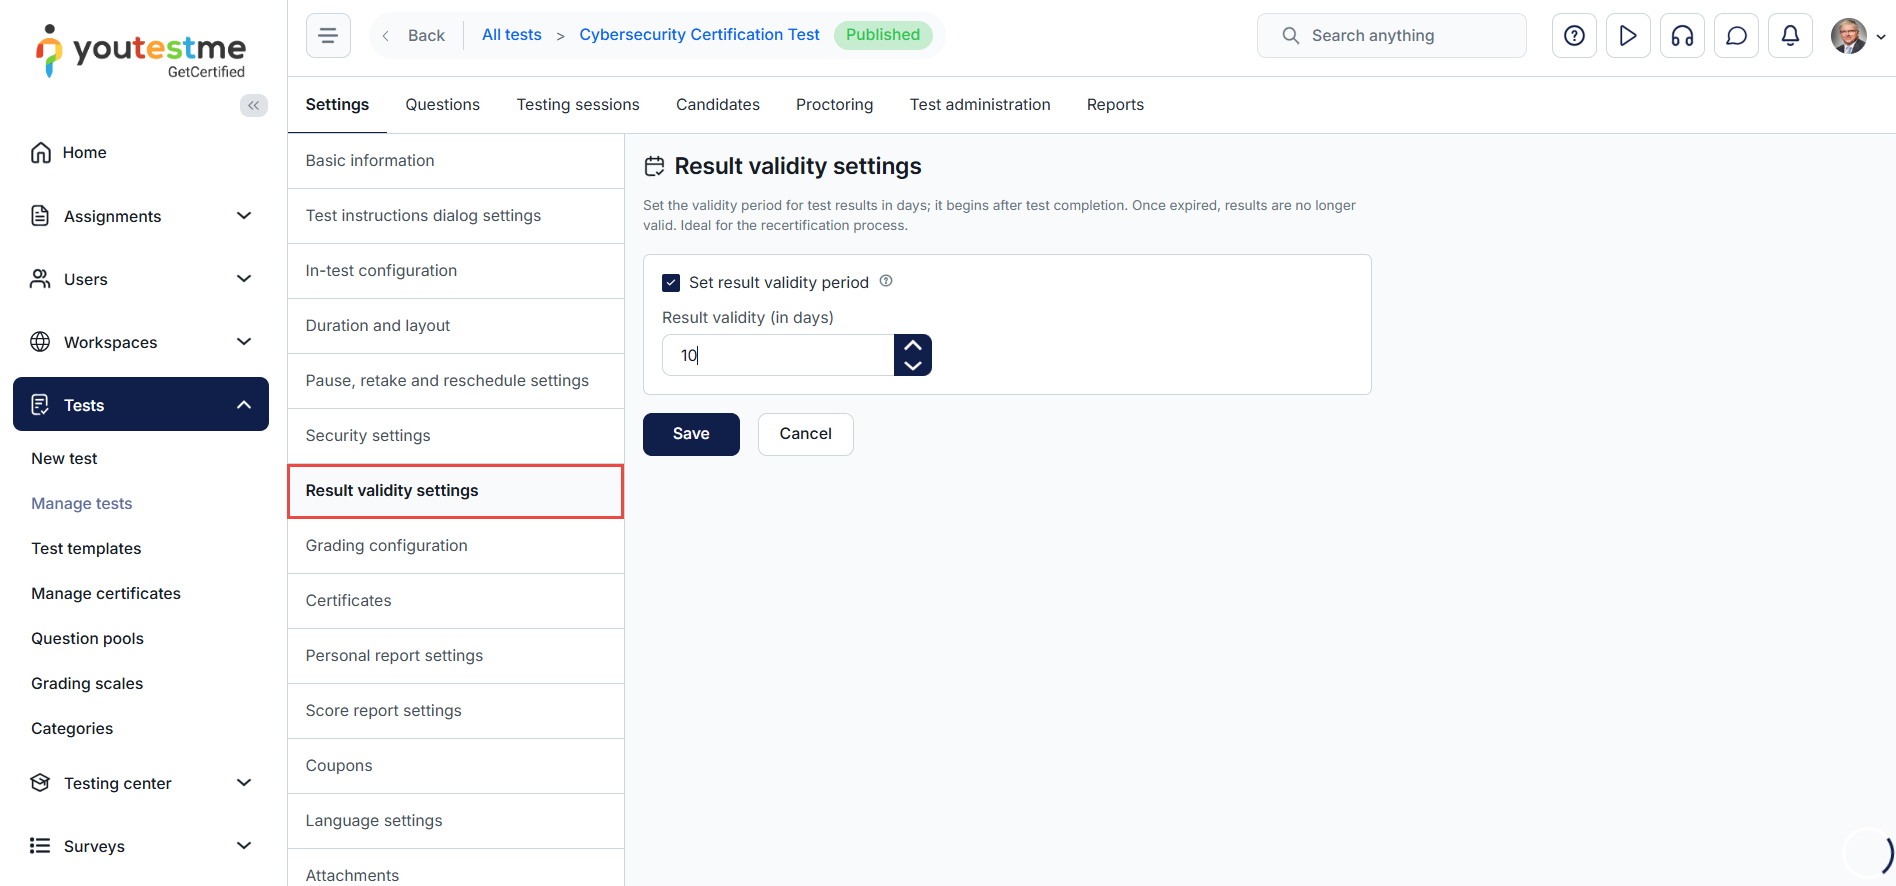
-
Pause and repeat settings - Allow candidates to pause and continue the assessment or to repeat it a certain number of times. Advanced test configuration module must also be enabled.
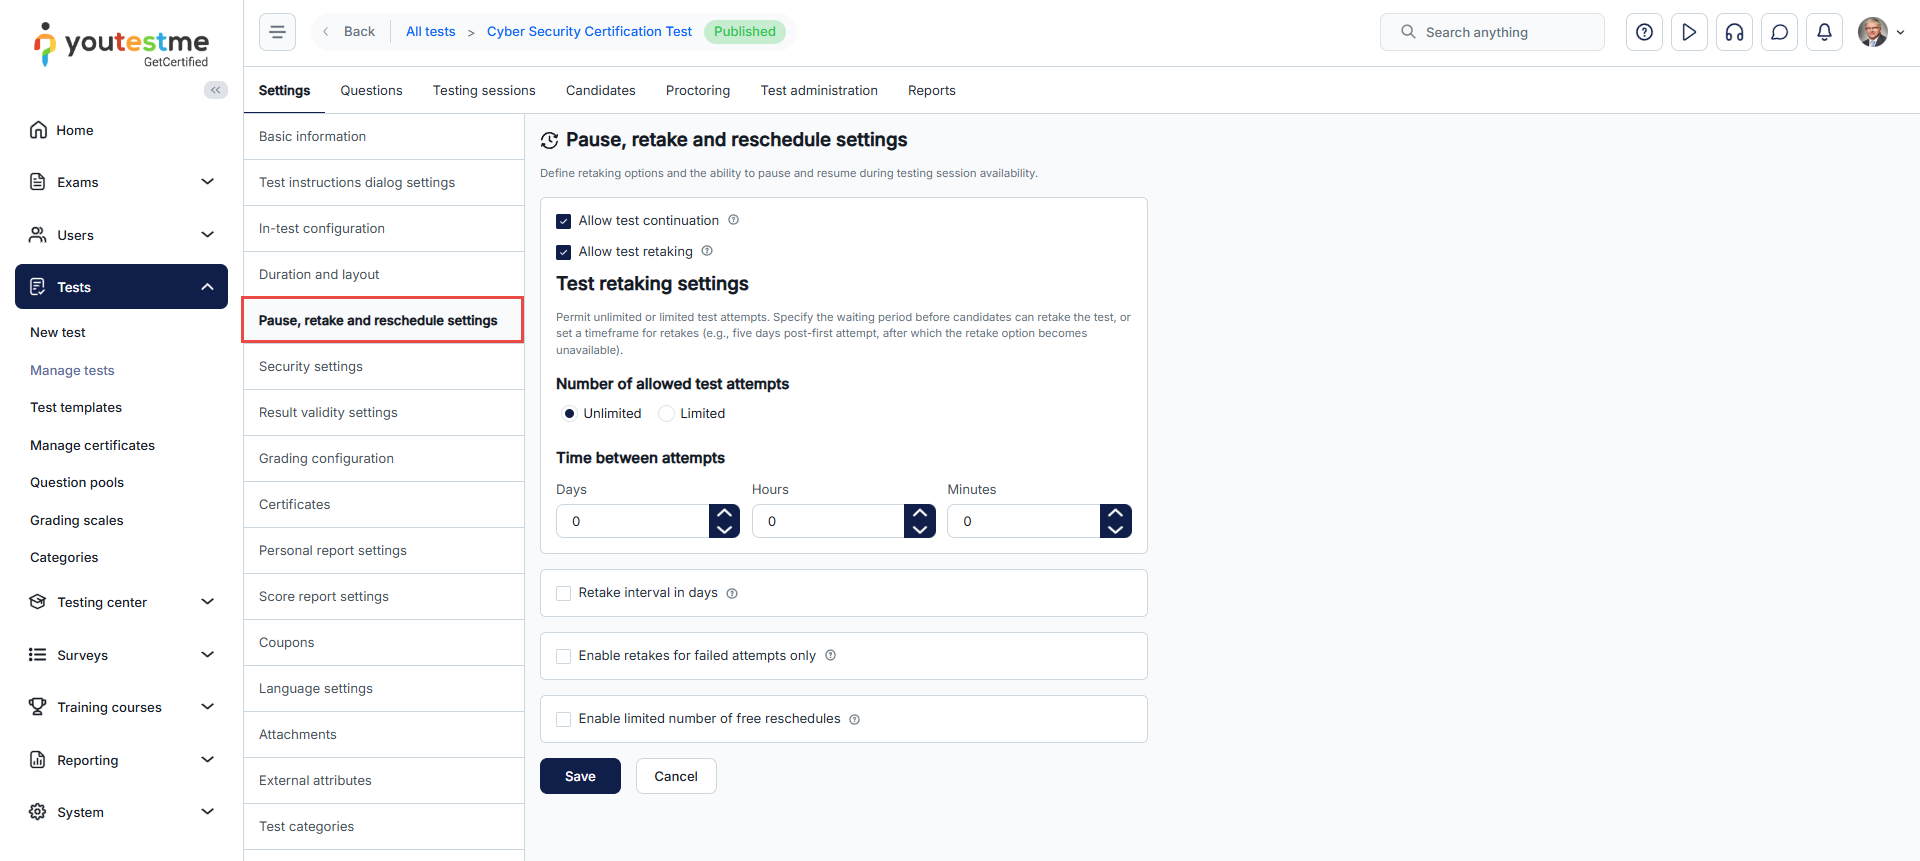
-
Pause and repeat settings. Advanced test configuration module must also be enabled.
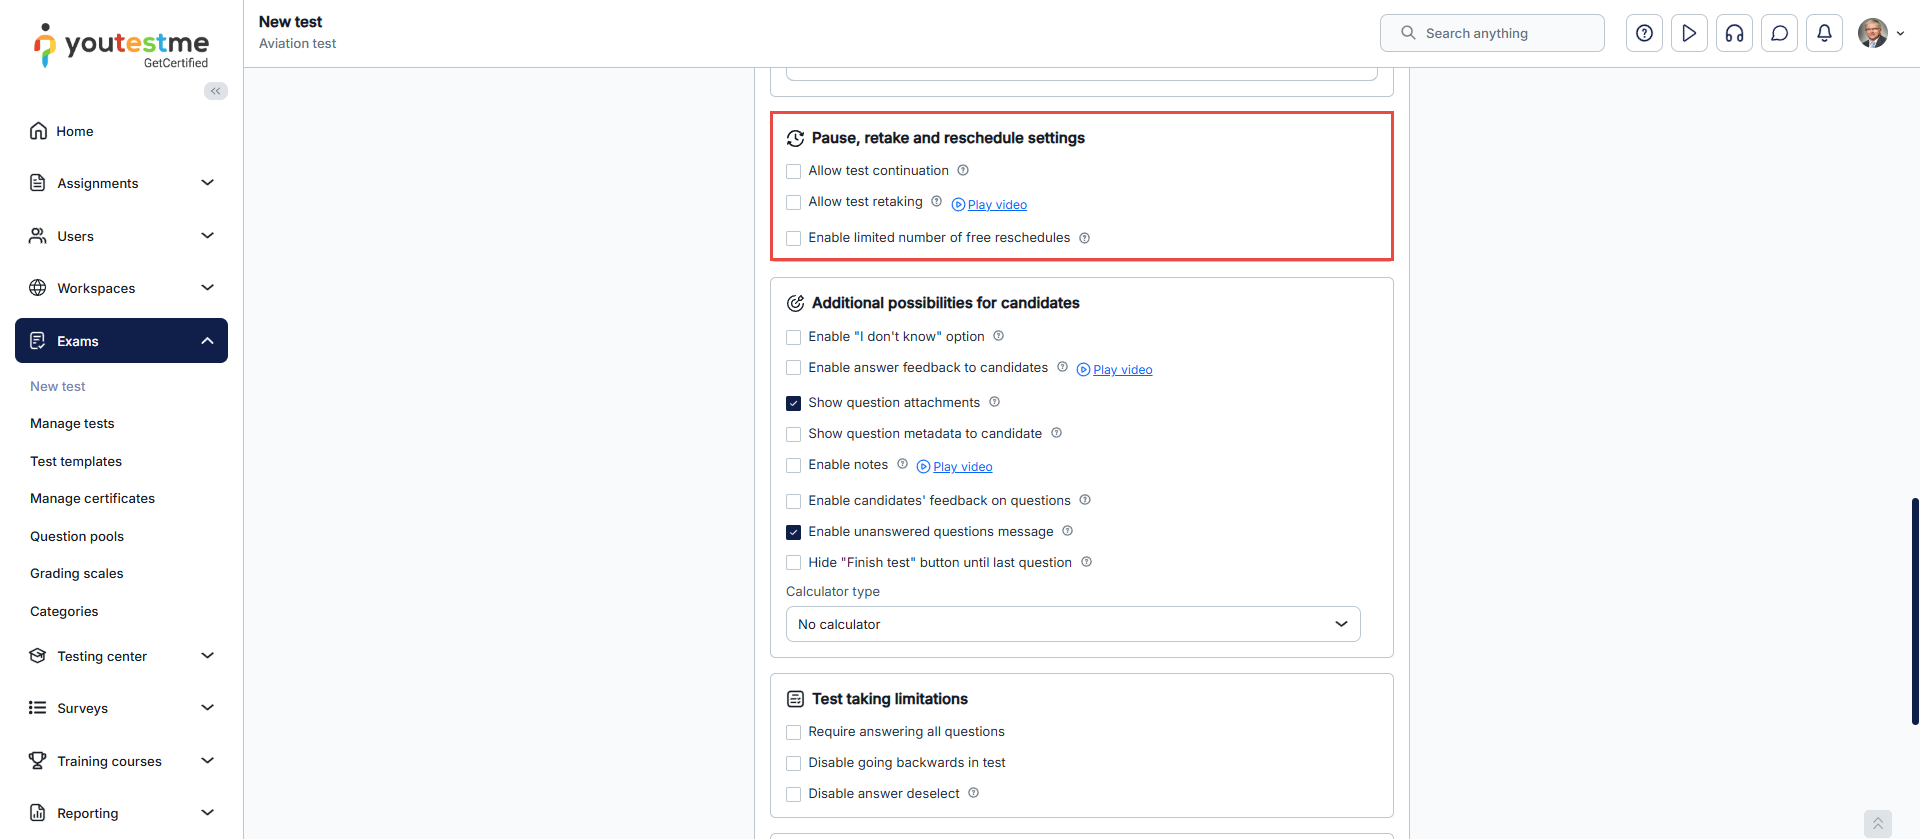
For more information, please visit the Pause and repeat settings page.
-
-
Basic randomizers
-
Randomize the order of questions - Each user will get questions in a different order. The report always has the same order of questions - the same as when creating the test. Randomize the answers for each question - Each user will get a different answer order for the same question.
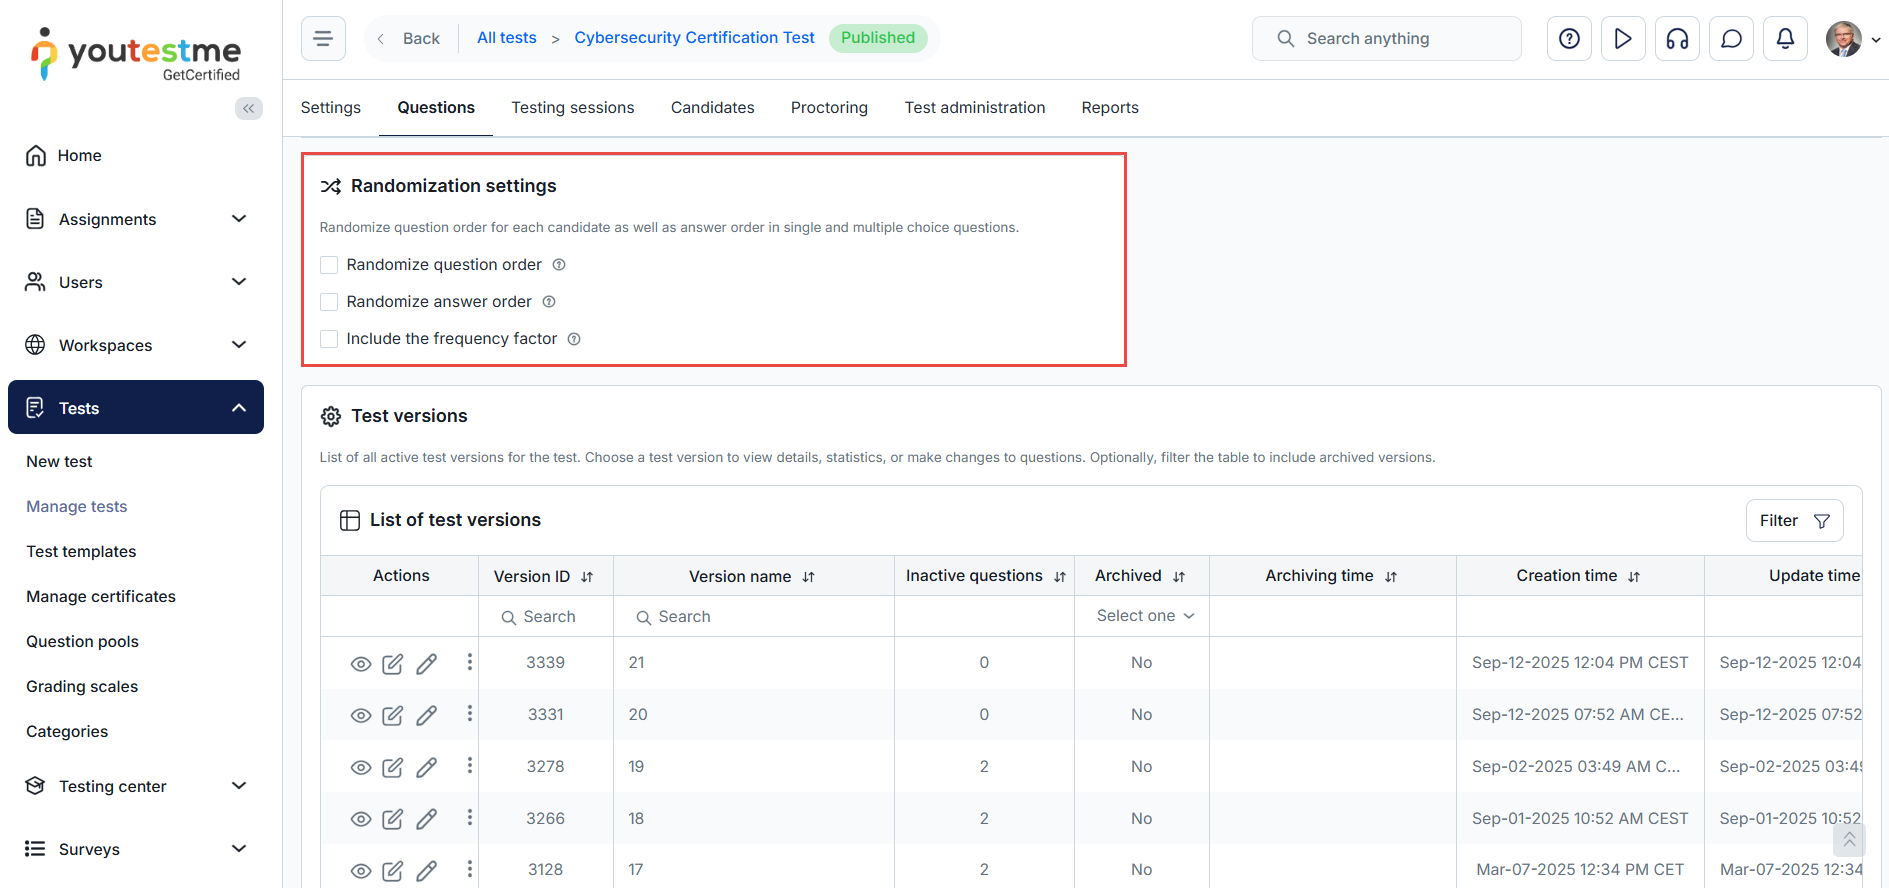
-
Answer generator - Define the number of correct and incorrect answers that will be randomly selected and displayed to each candidate.
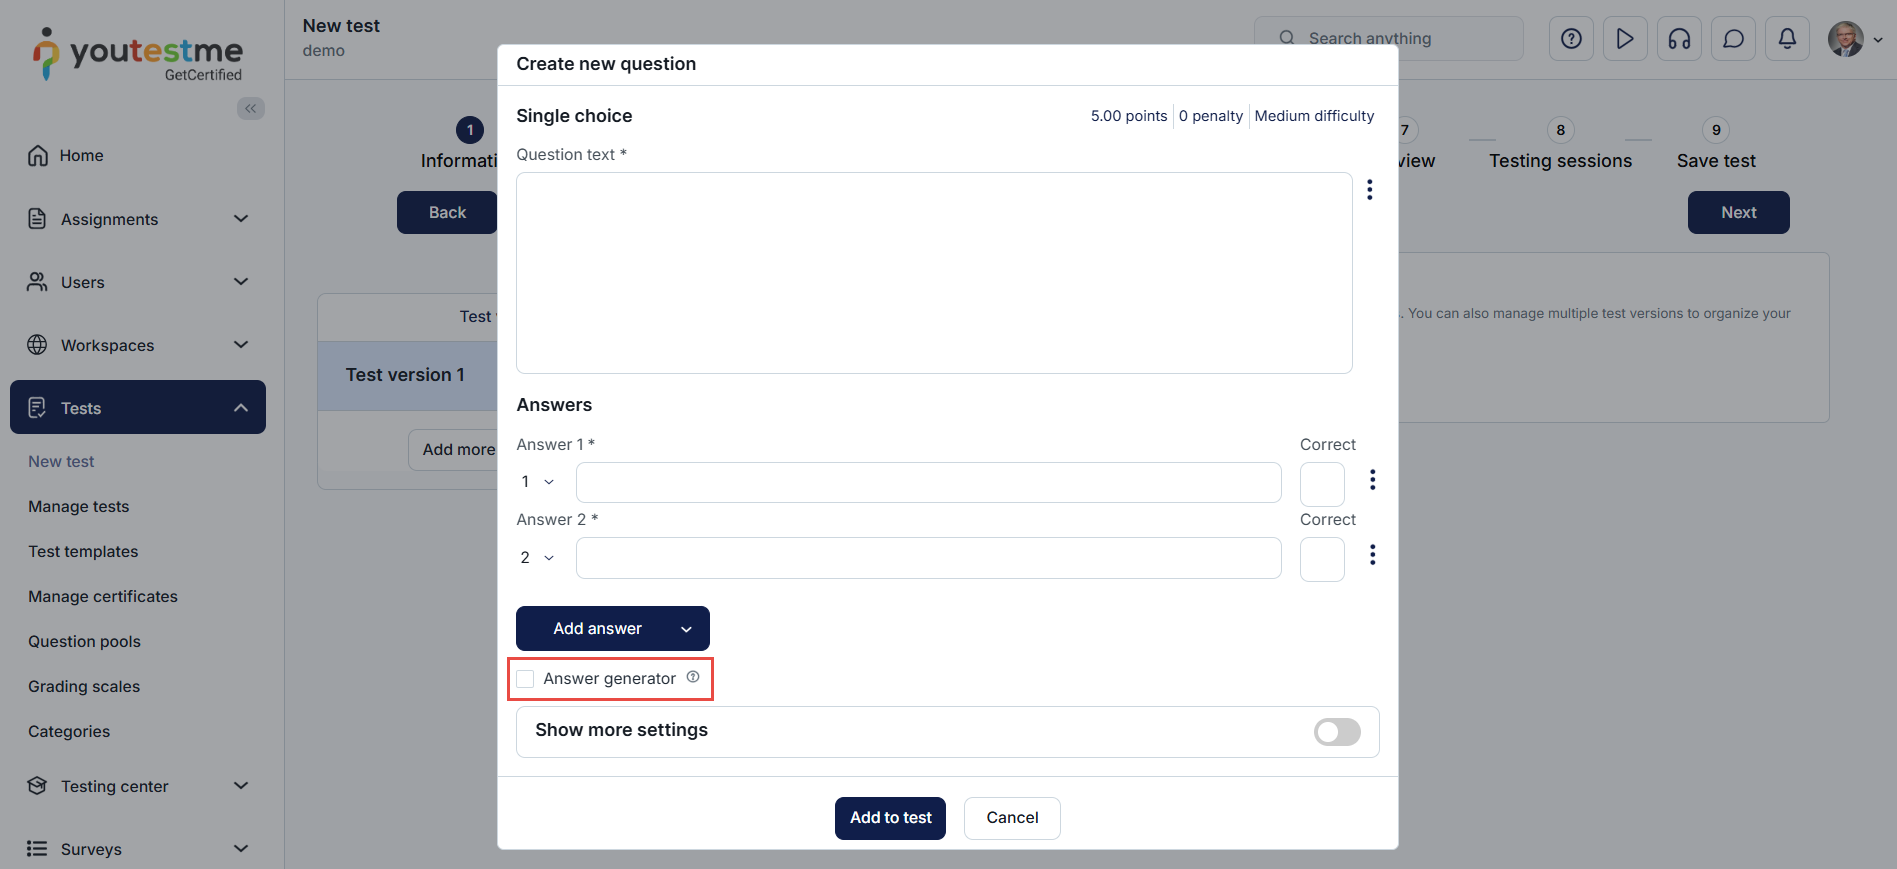
-
Randomize the order of questions - Each user will get questions in a different order. The report always has the same order of questions - the same as when creating the test. Randomize the answers for each question - Each user will get a different answer order for the same question.
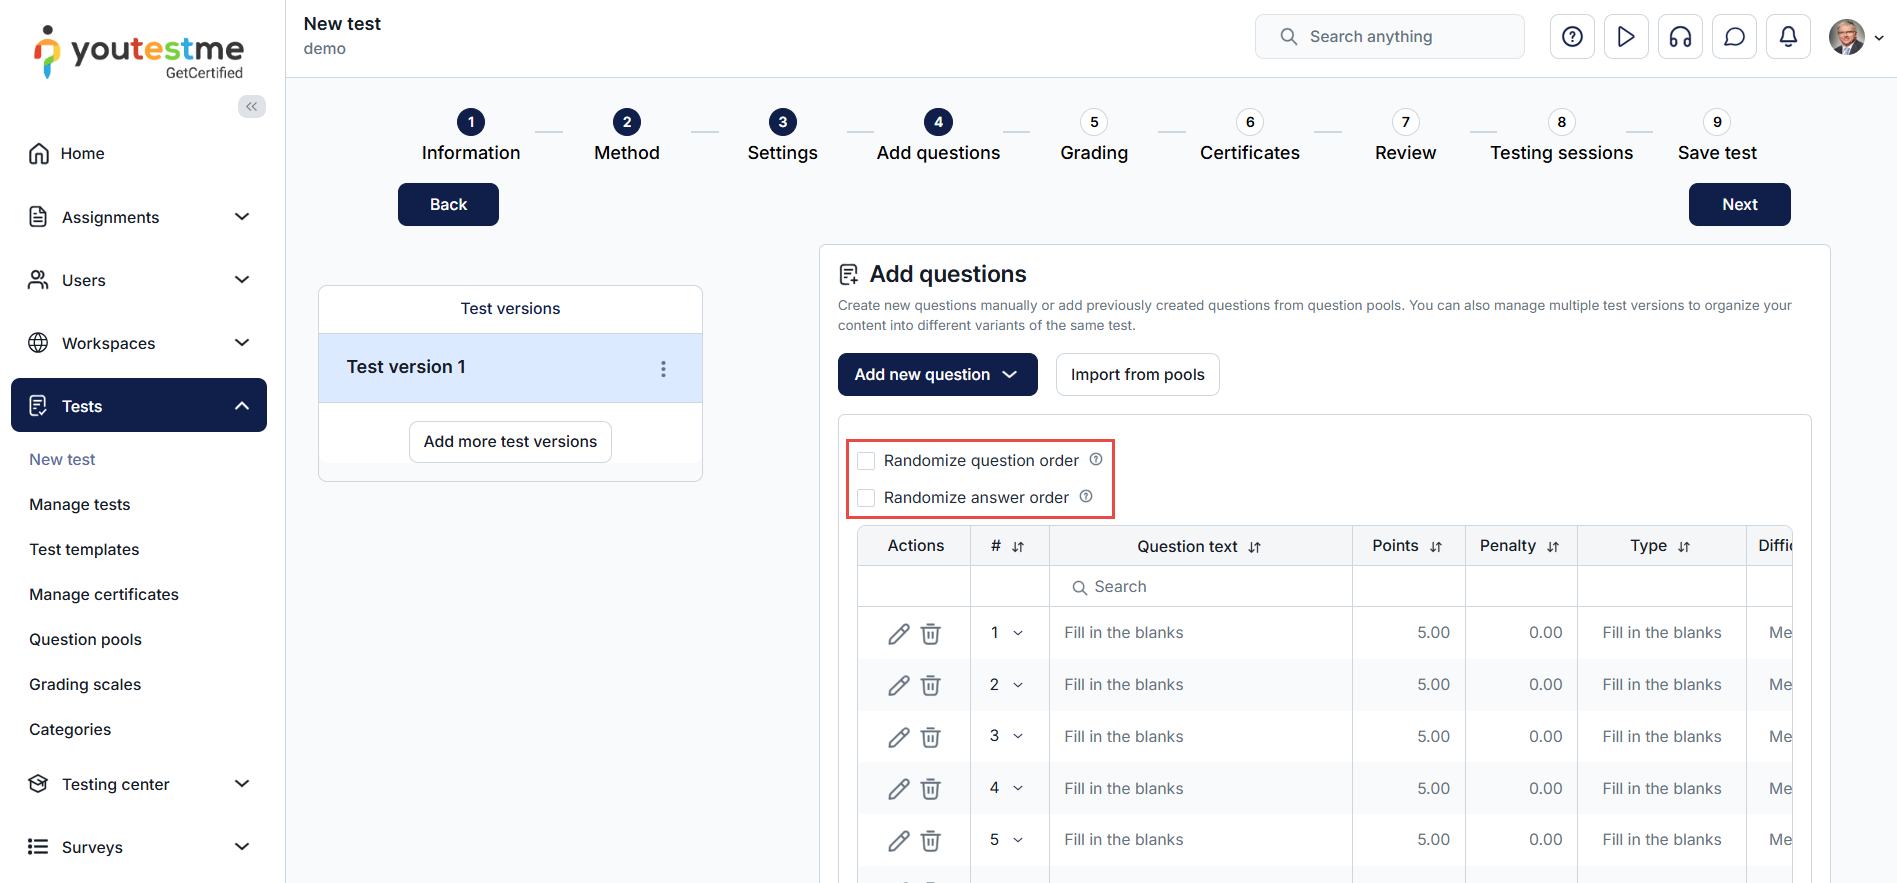
For more information, please visit the Questions page.
-
-
White labeling
-
On the Theme and language tab, you can customize application colors, logos, favicon, language settings, etc. Each tab will be explained in more detail.
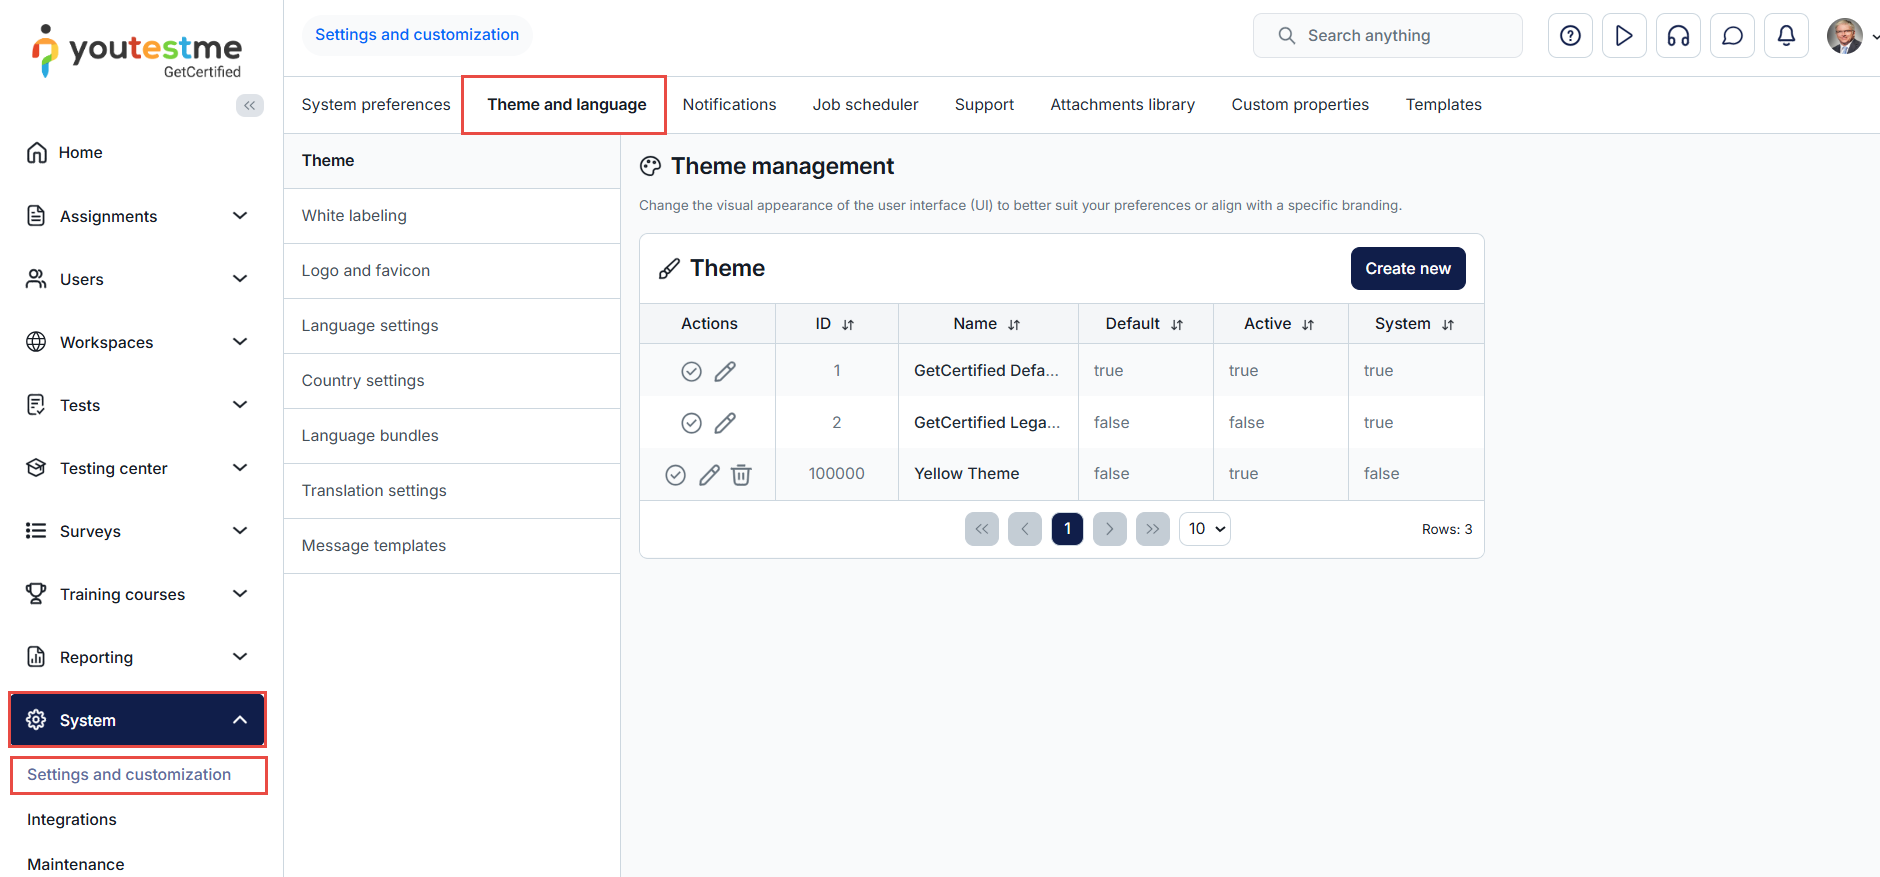
-
Edit notification message - The Edit option allows you to edit a certain notification.
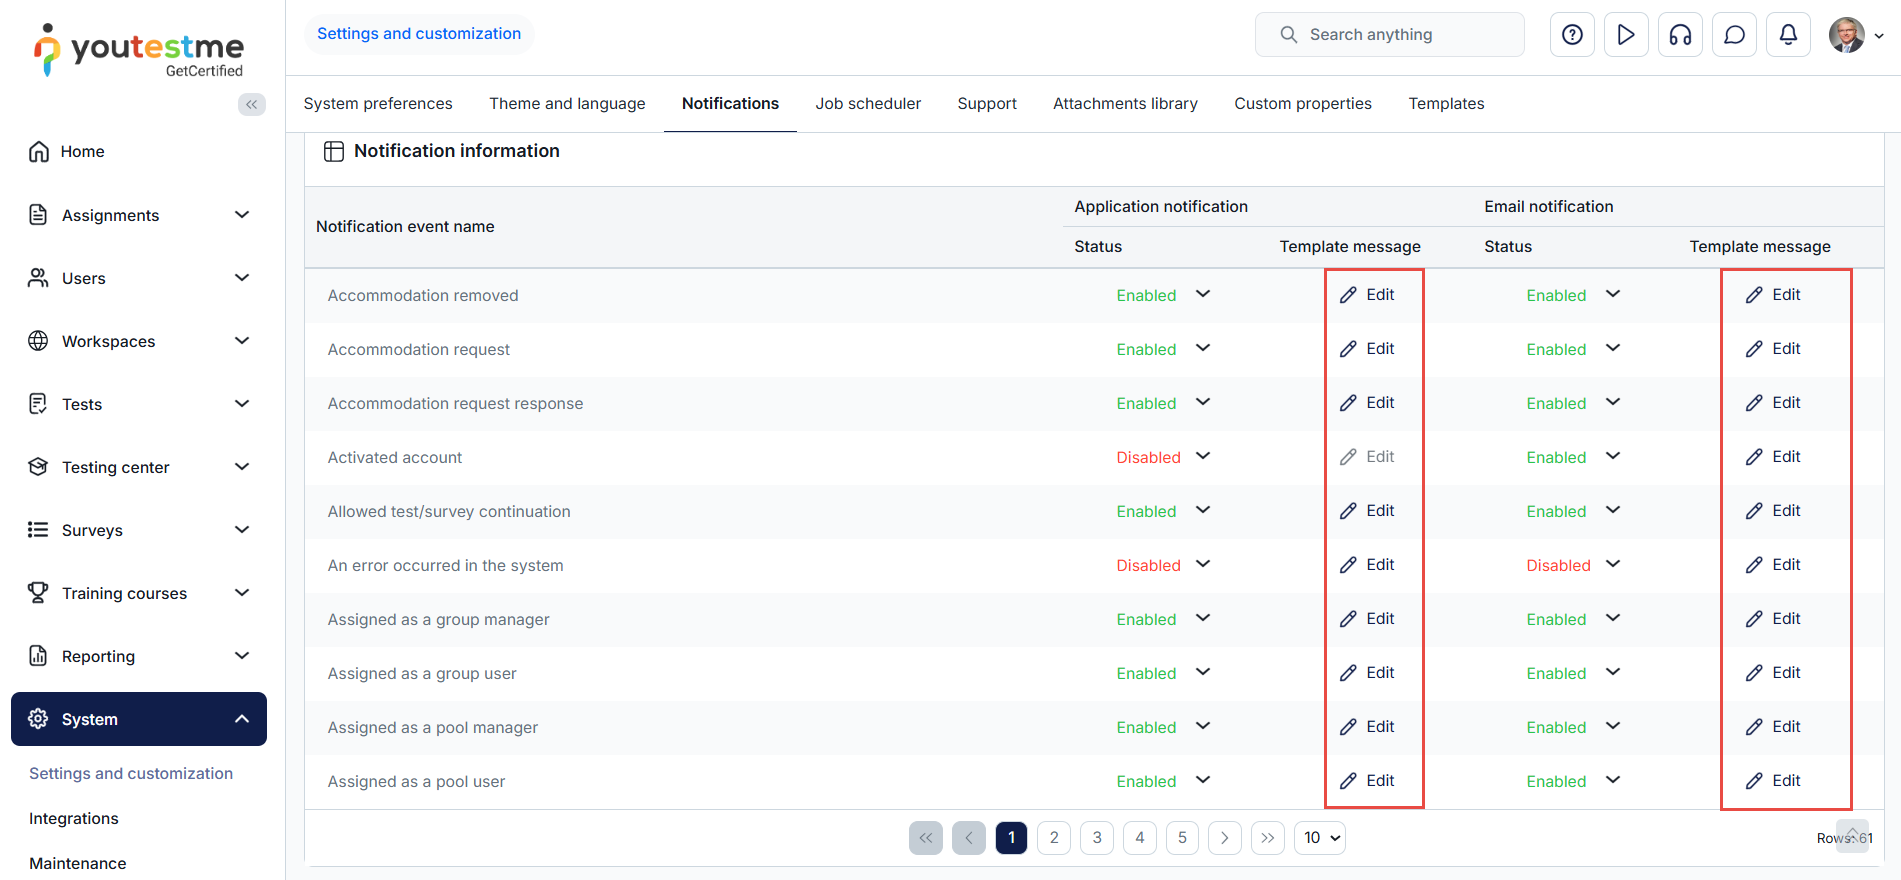
-
Choose theme - Preview or change the interface theme.
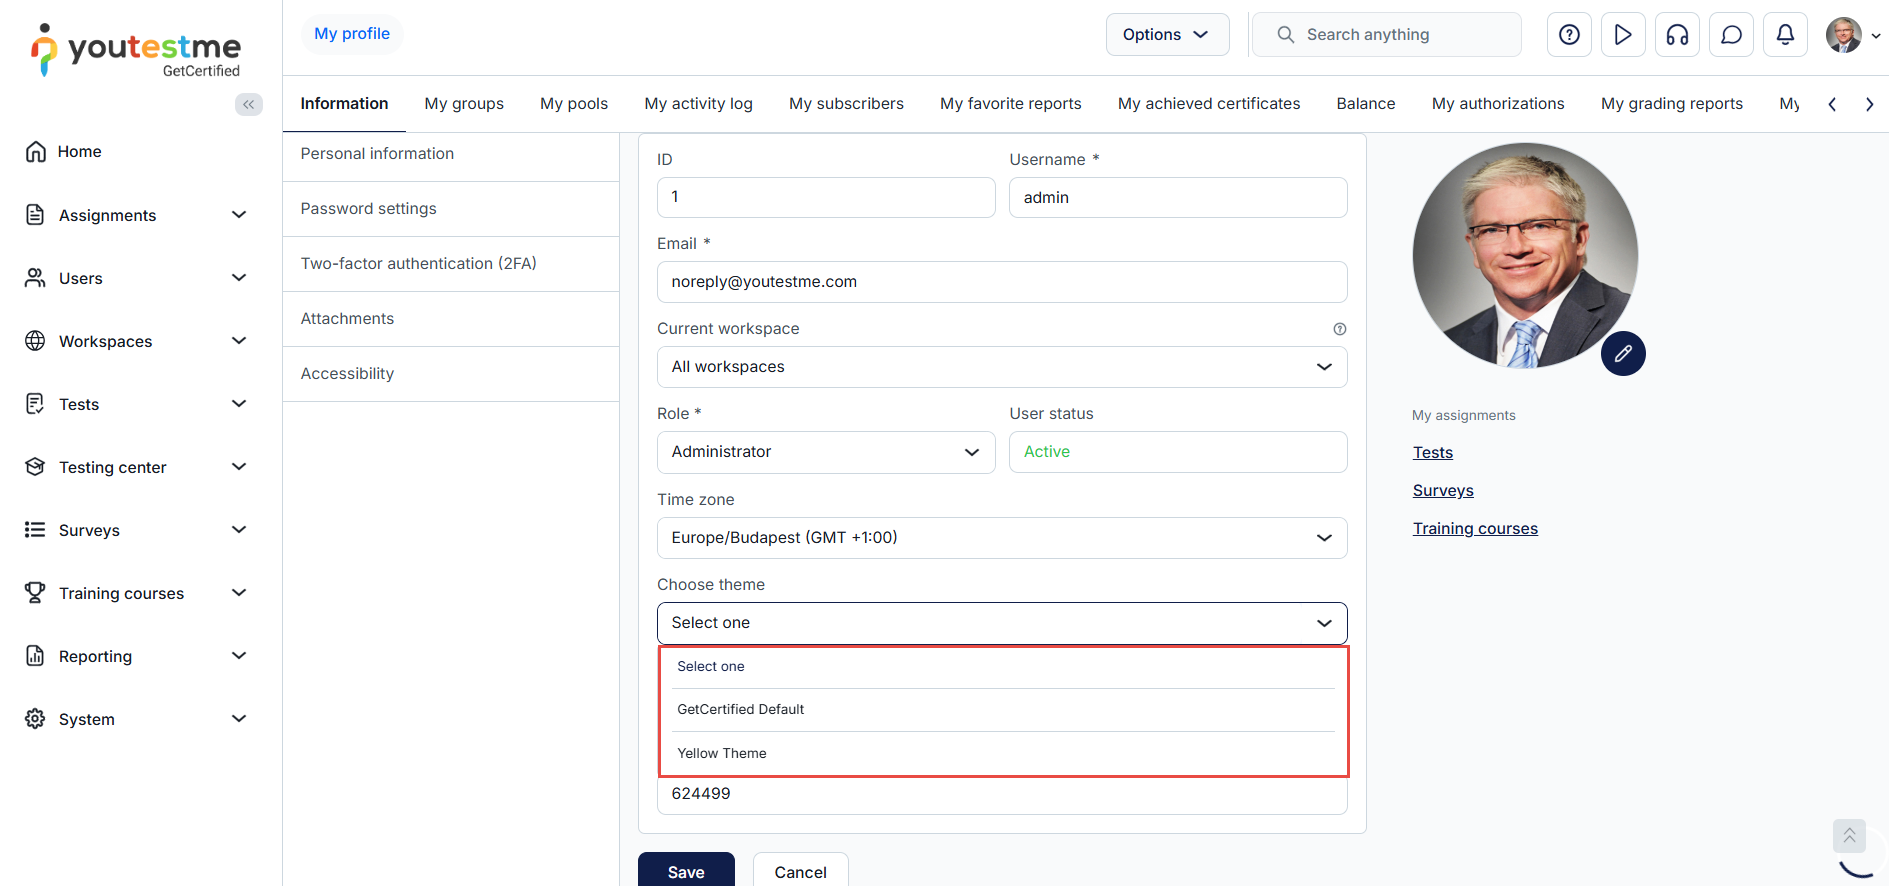
For more information, please visit the Theme and laguages and Notifications pages.
-
-
Integrations
-
Single sign-on, Webex settings, LRS settings, Active directory, Proctoring settings, Proctorio settings, E-commerce, LTI settings, OpenID settings, Web API settings, REST API settings, and Greenhouse integration are located in the Integrations page.
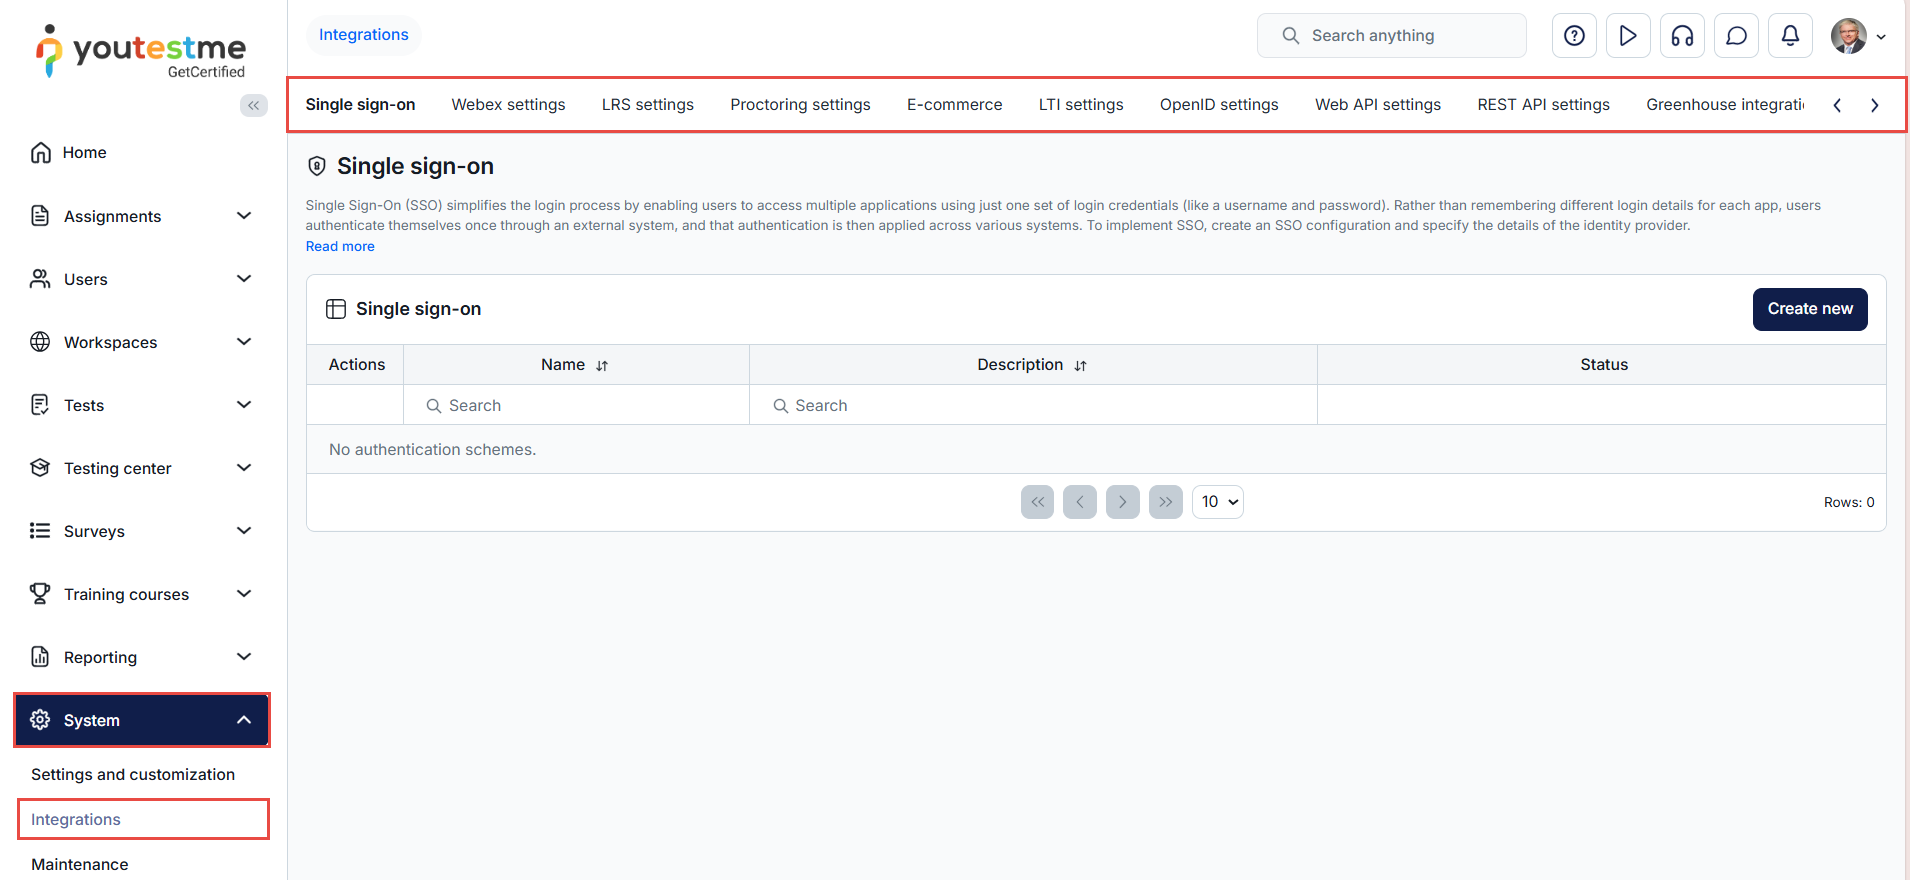
-
Fill in the following fields if the test is referenced in any other software (external system). Also integrations module enable this fields in all system.
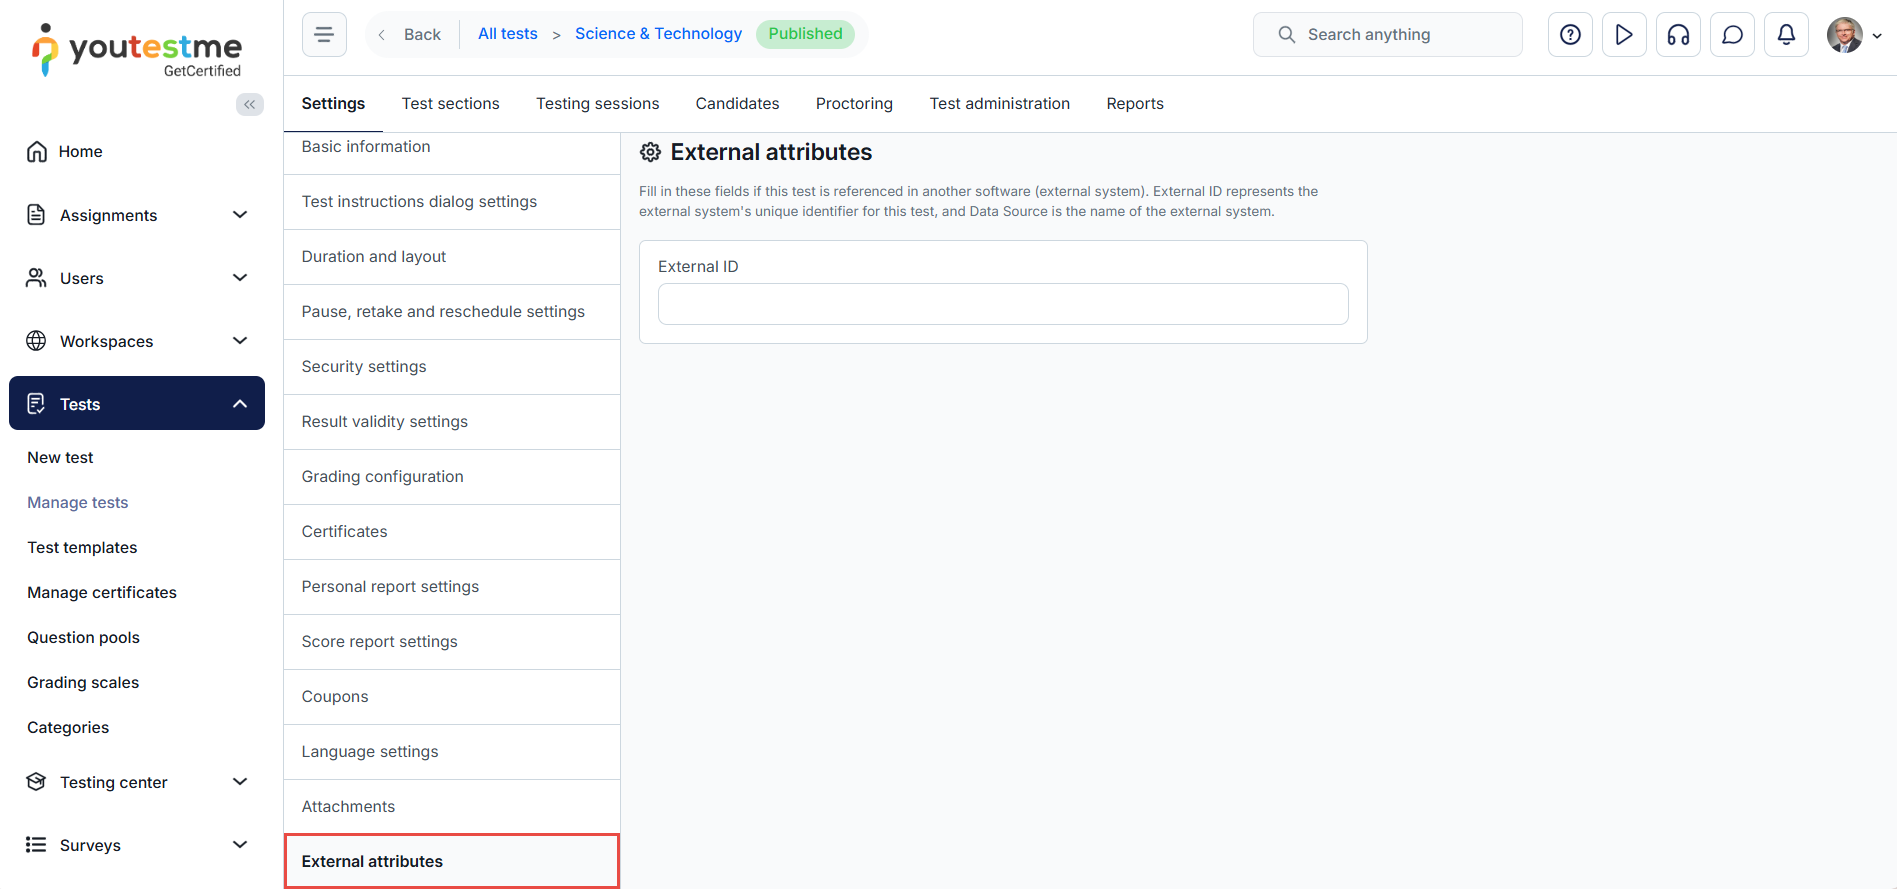
For more information, please visit the Integrations page.
-
-
Advanced test structures
-
Sections could represent different areas of knowledge or topics the test covers. They can be used to represent different areas of knowledge or topics the test covers (e.g. Math, Physics etc.). Each section can have different settings.
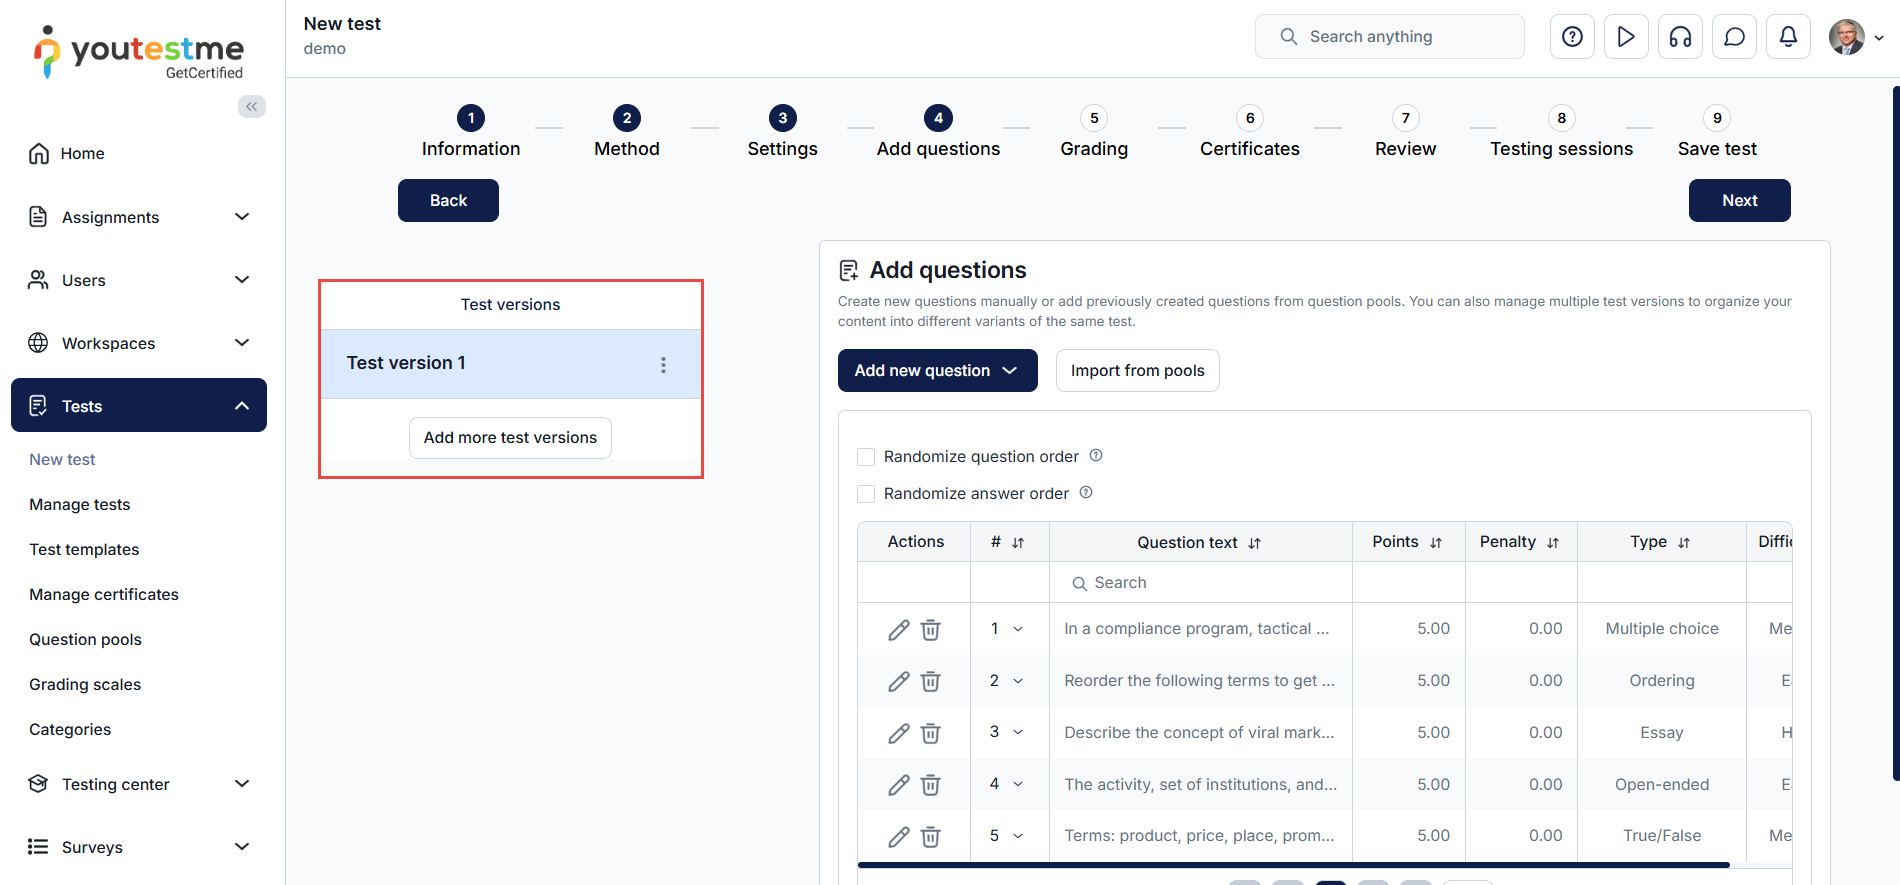
-
Branching is an optional feature that allows you to add an unlimited number of follow-up questions to each answer in the original question. This feature is useful for creating a logical question path. Advanced options are not available when creating questions manually in the test-wizard, but can be set while creating questions within question pools.
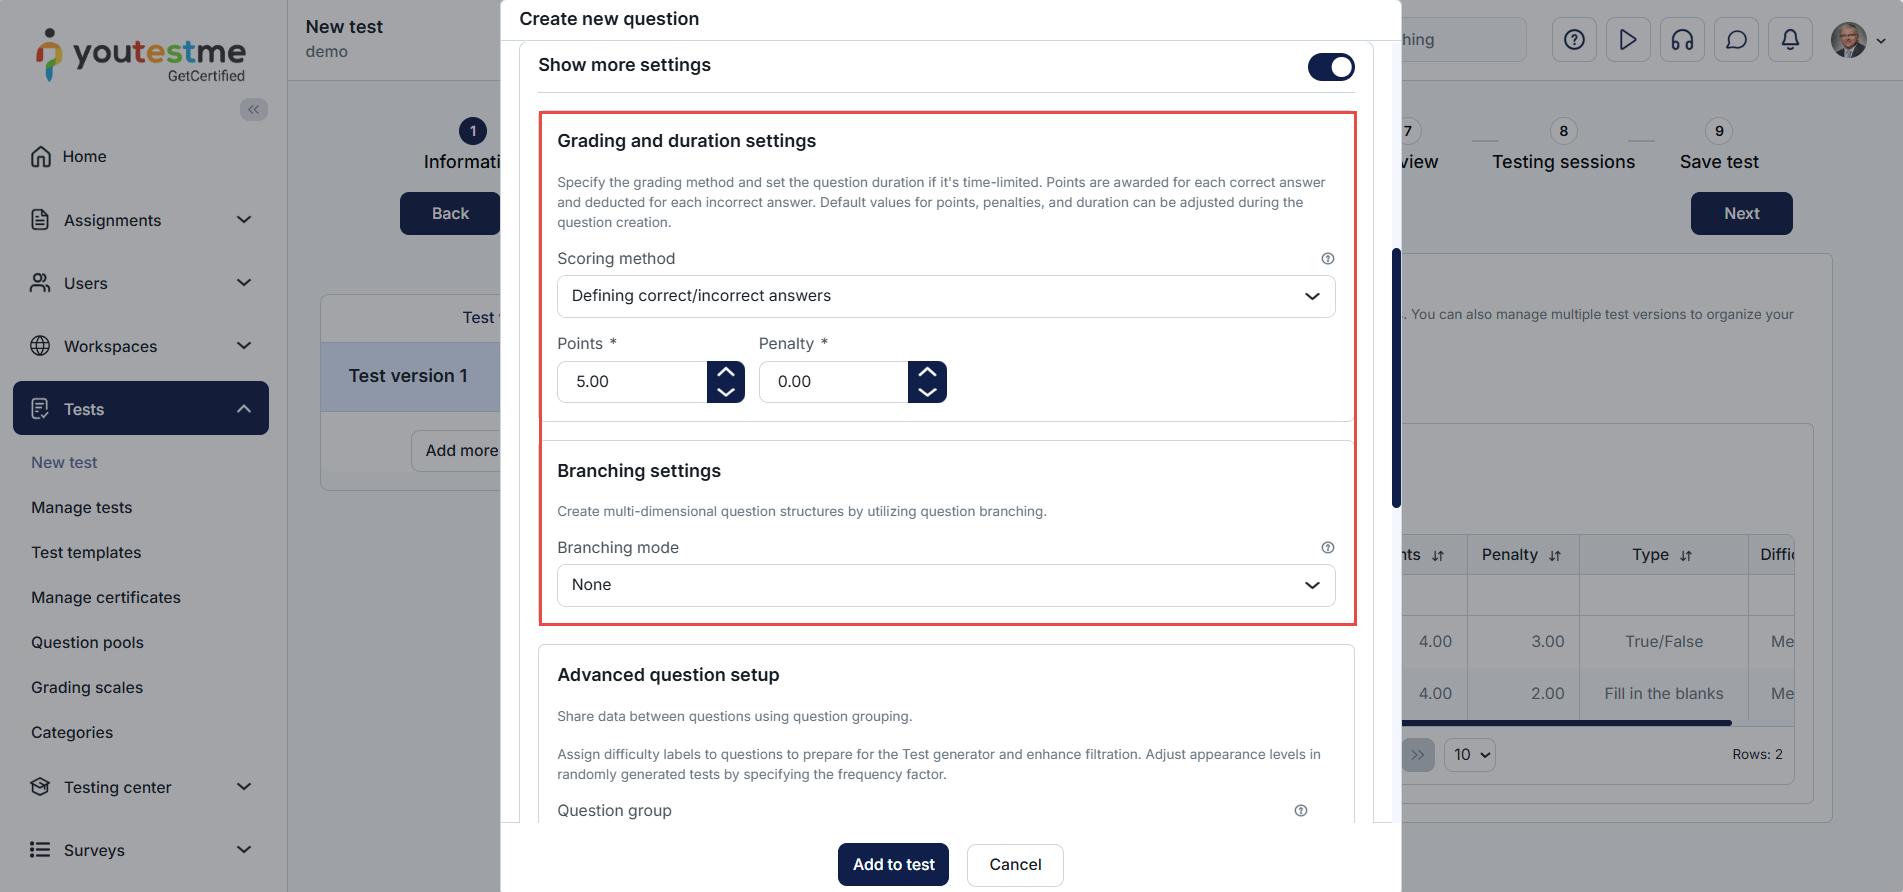
-
In the Test sections tab you can see the information regarding the test sections you created.
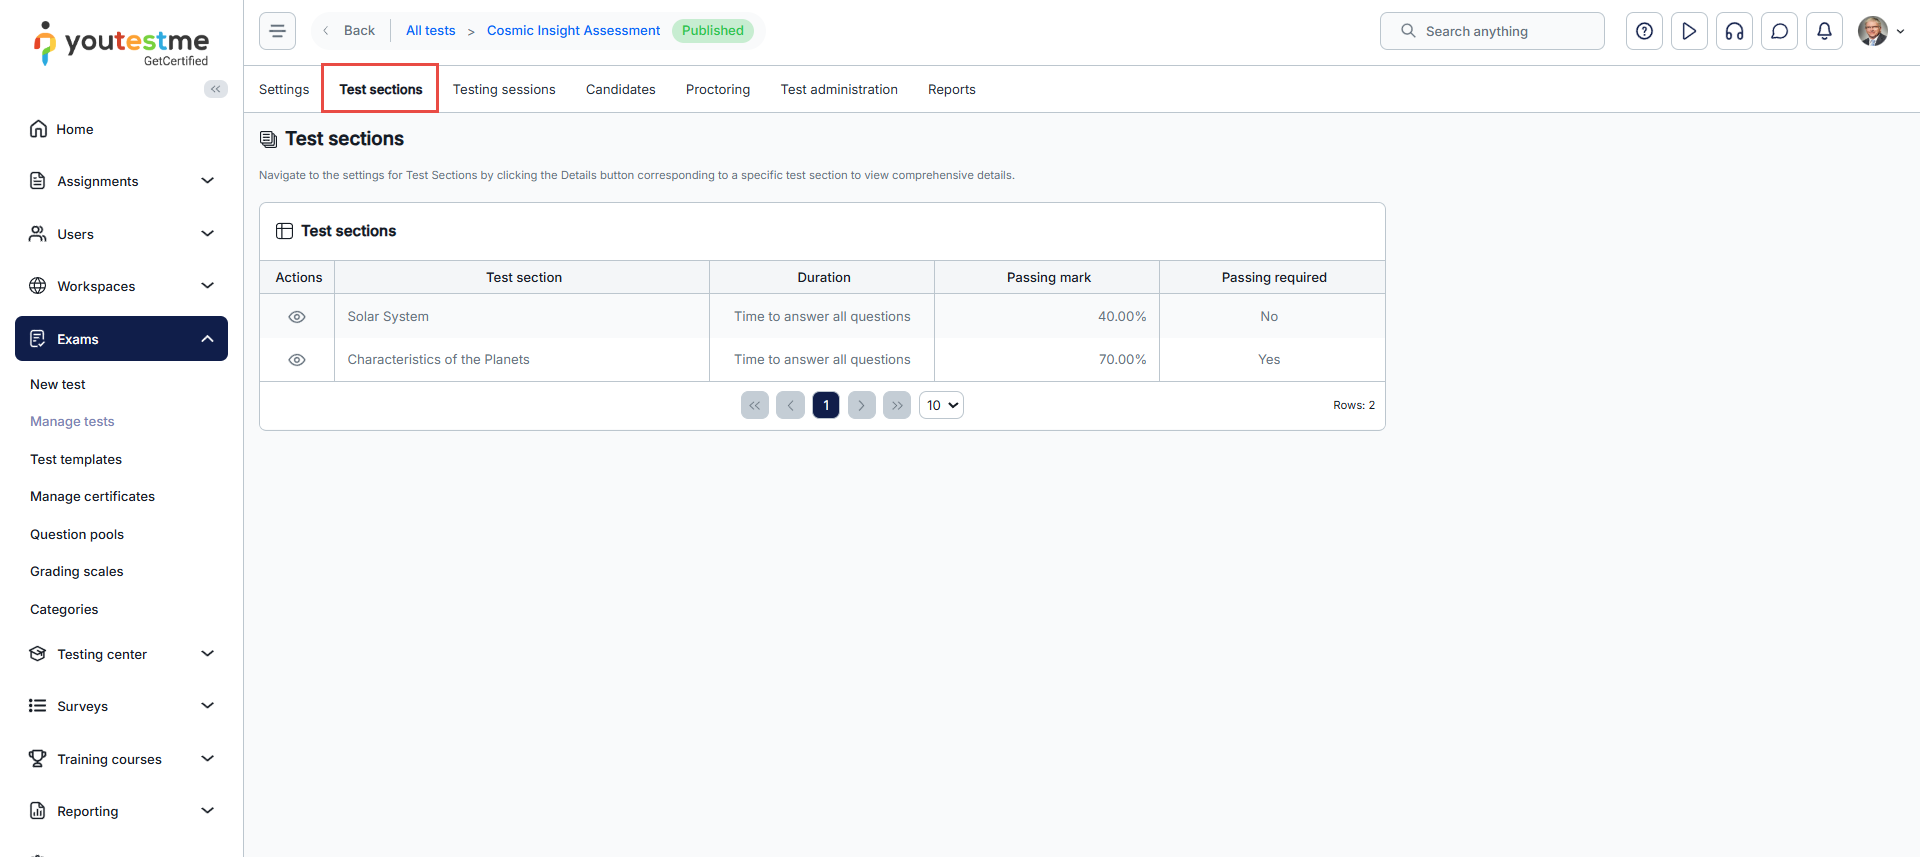
-
Select a test version - To see details, statistics, or to make changes to questions. Although you have published a test, you can edit questions at any time.
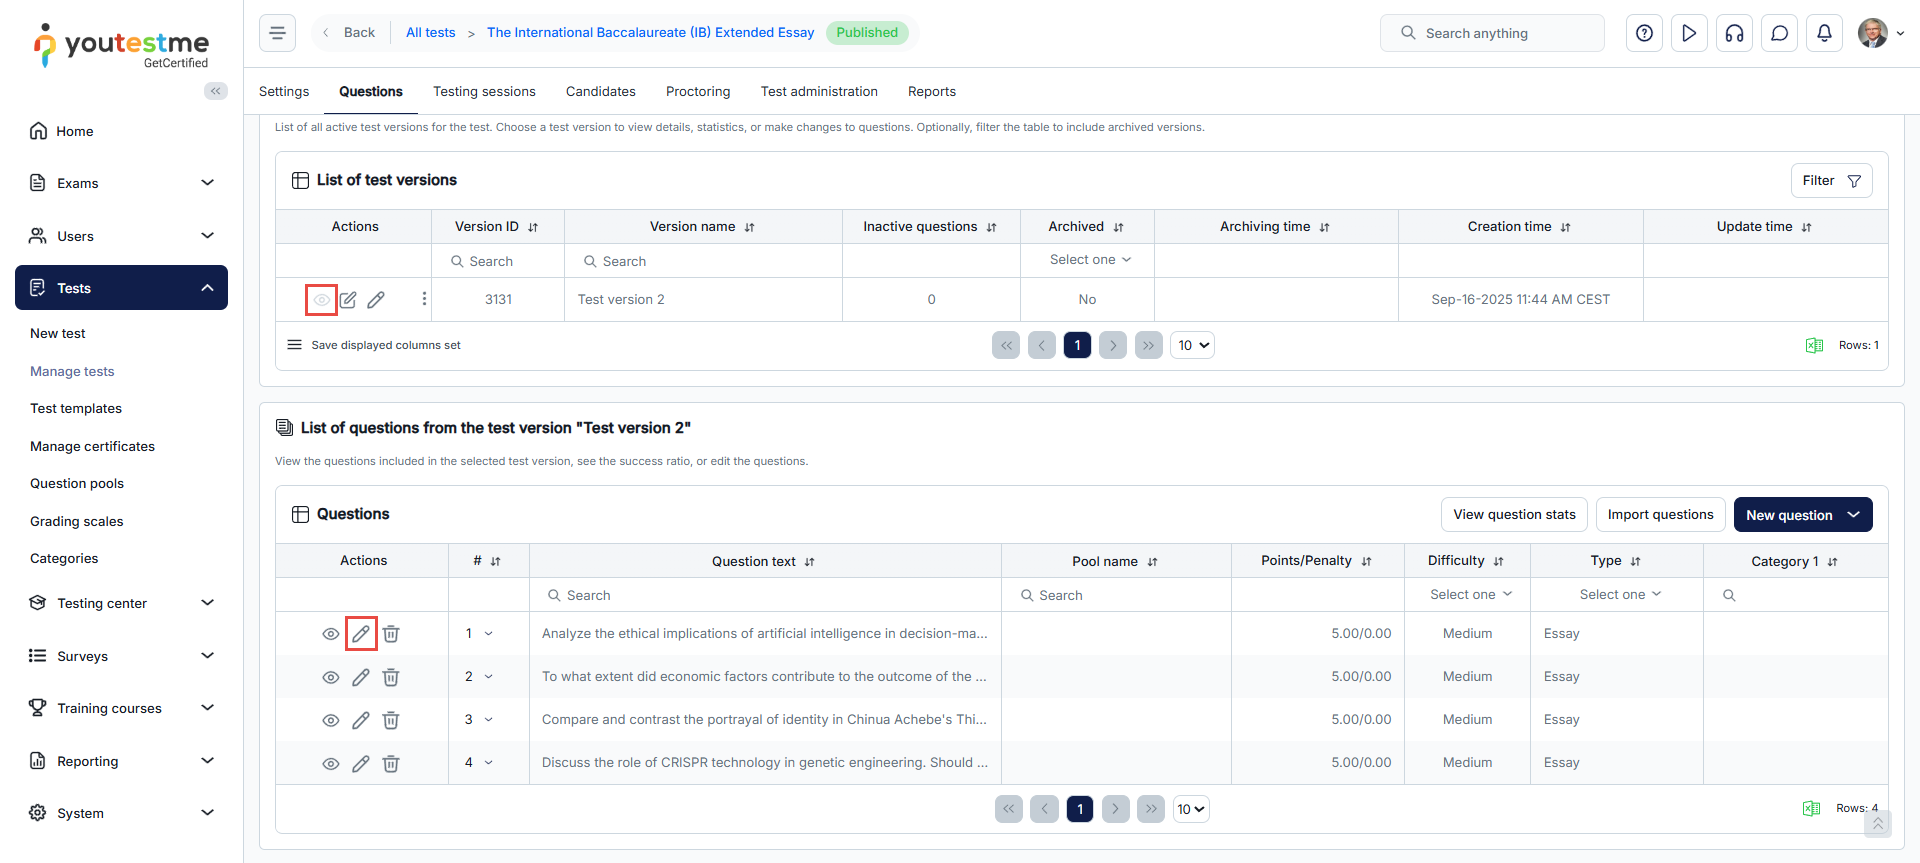
-
Add more test versions - To add more test versions to the existing one.
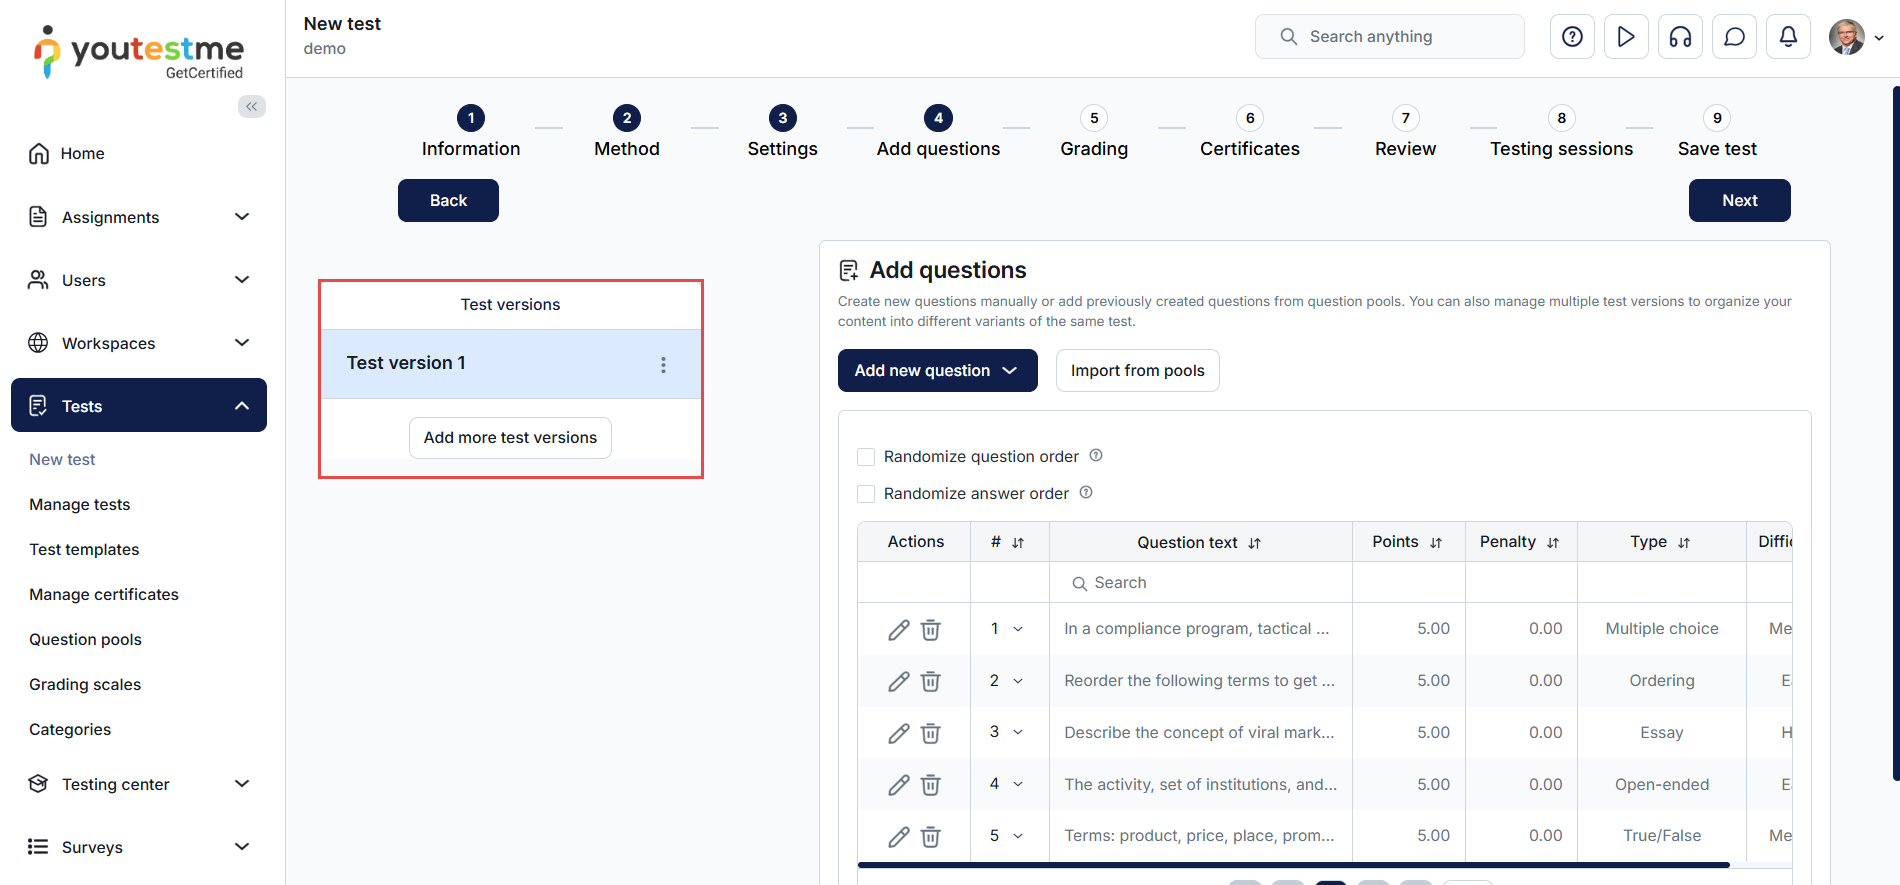
-
-
Customizable test attempt report
-
This setting allows you to customize the content of the score report for a particular test. These settings will override the global configuration for score reports.
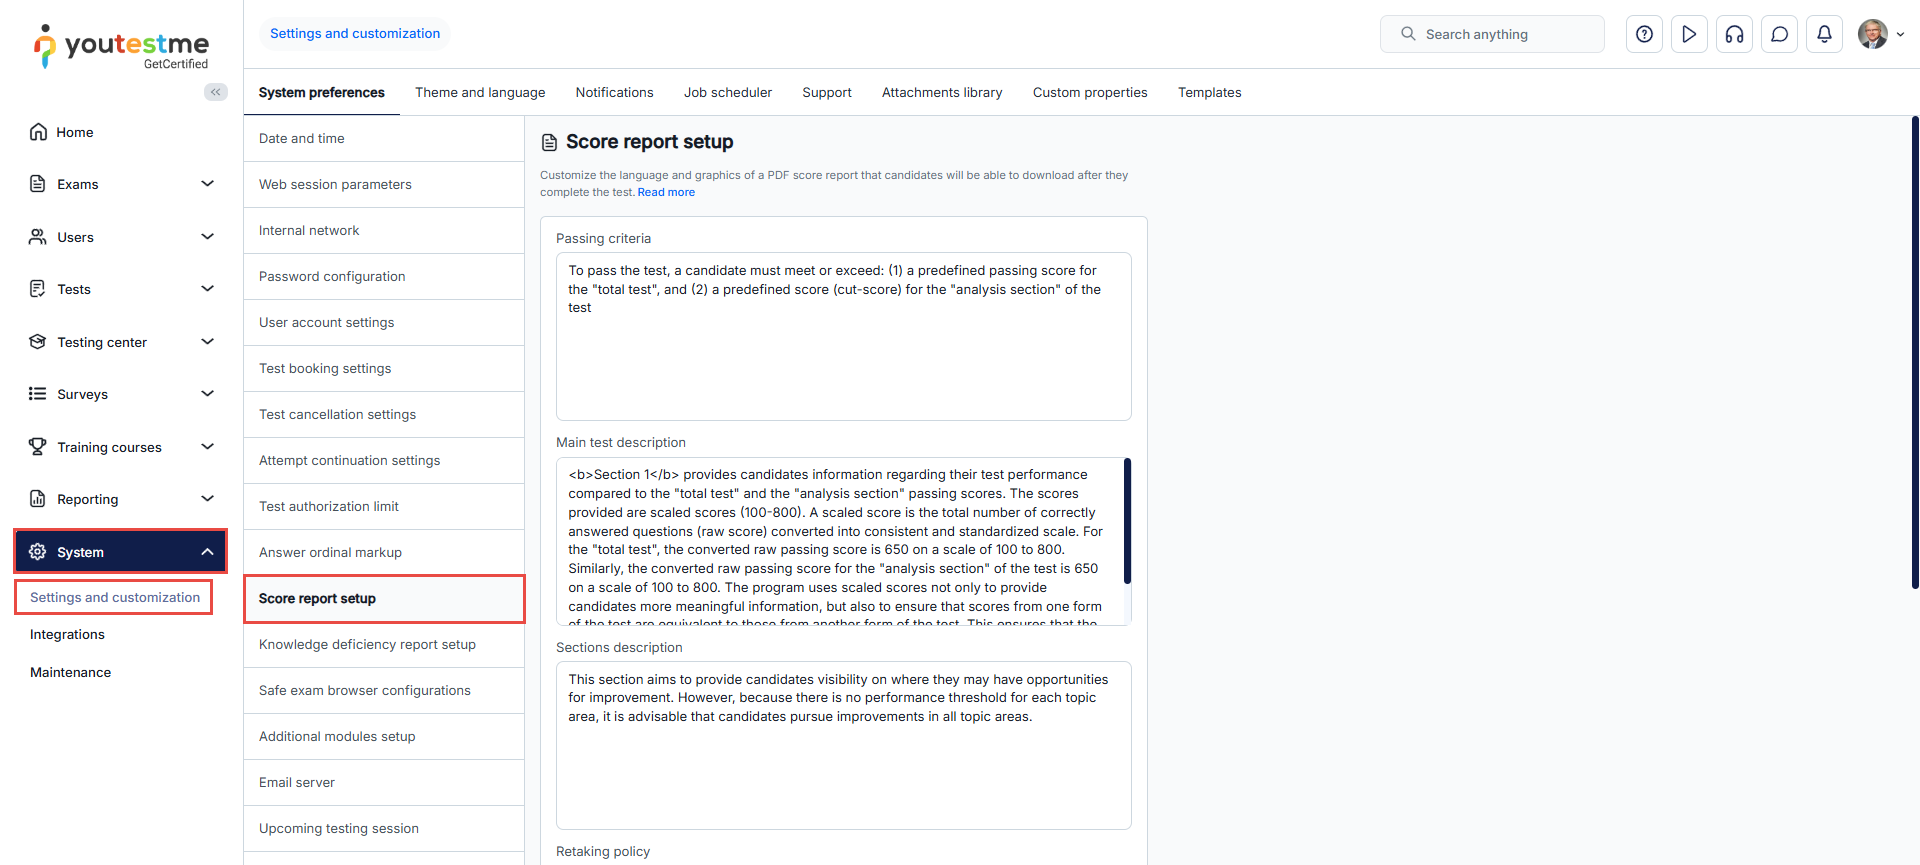
-
A knowledge deficiency report is a record of question pools that contain questions a candidate answered incorrectly. The question pools will be displayed in alphabetical order and will not be divided via sections (if there are any). After completing the test, each candidate can download their deficiency report in PDF format.
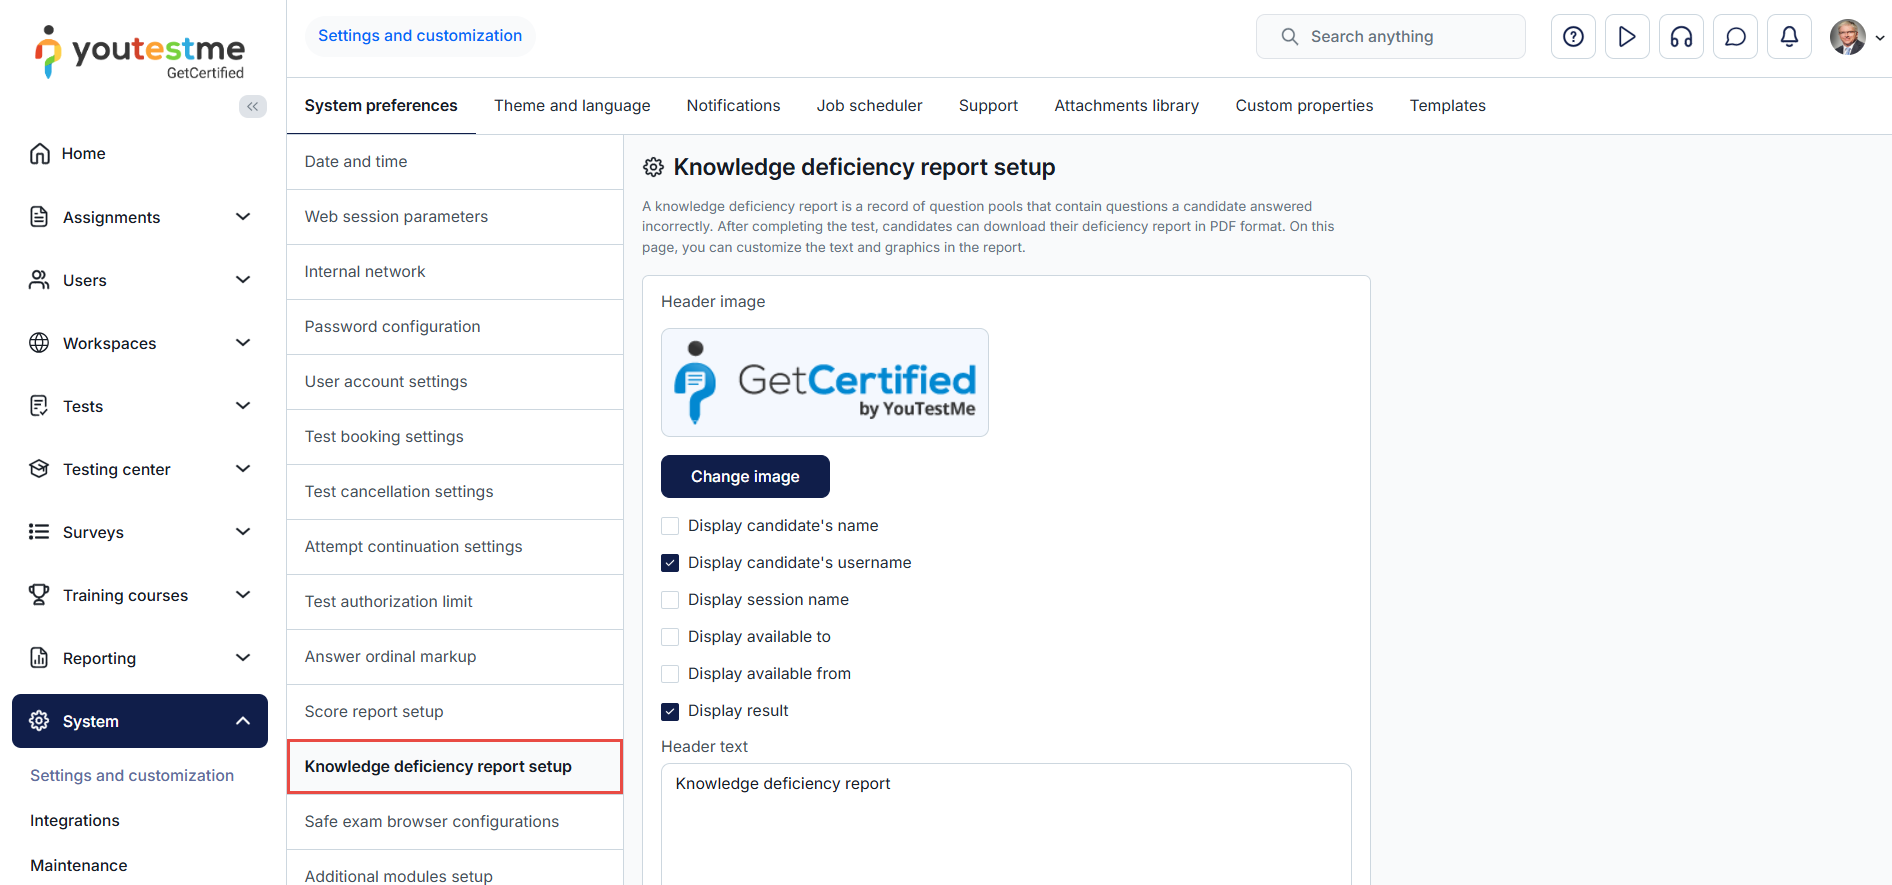
-
In this tab, you can set the global configuration for score reports.
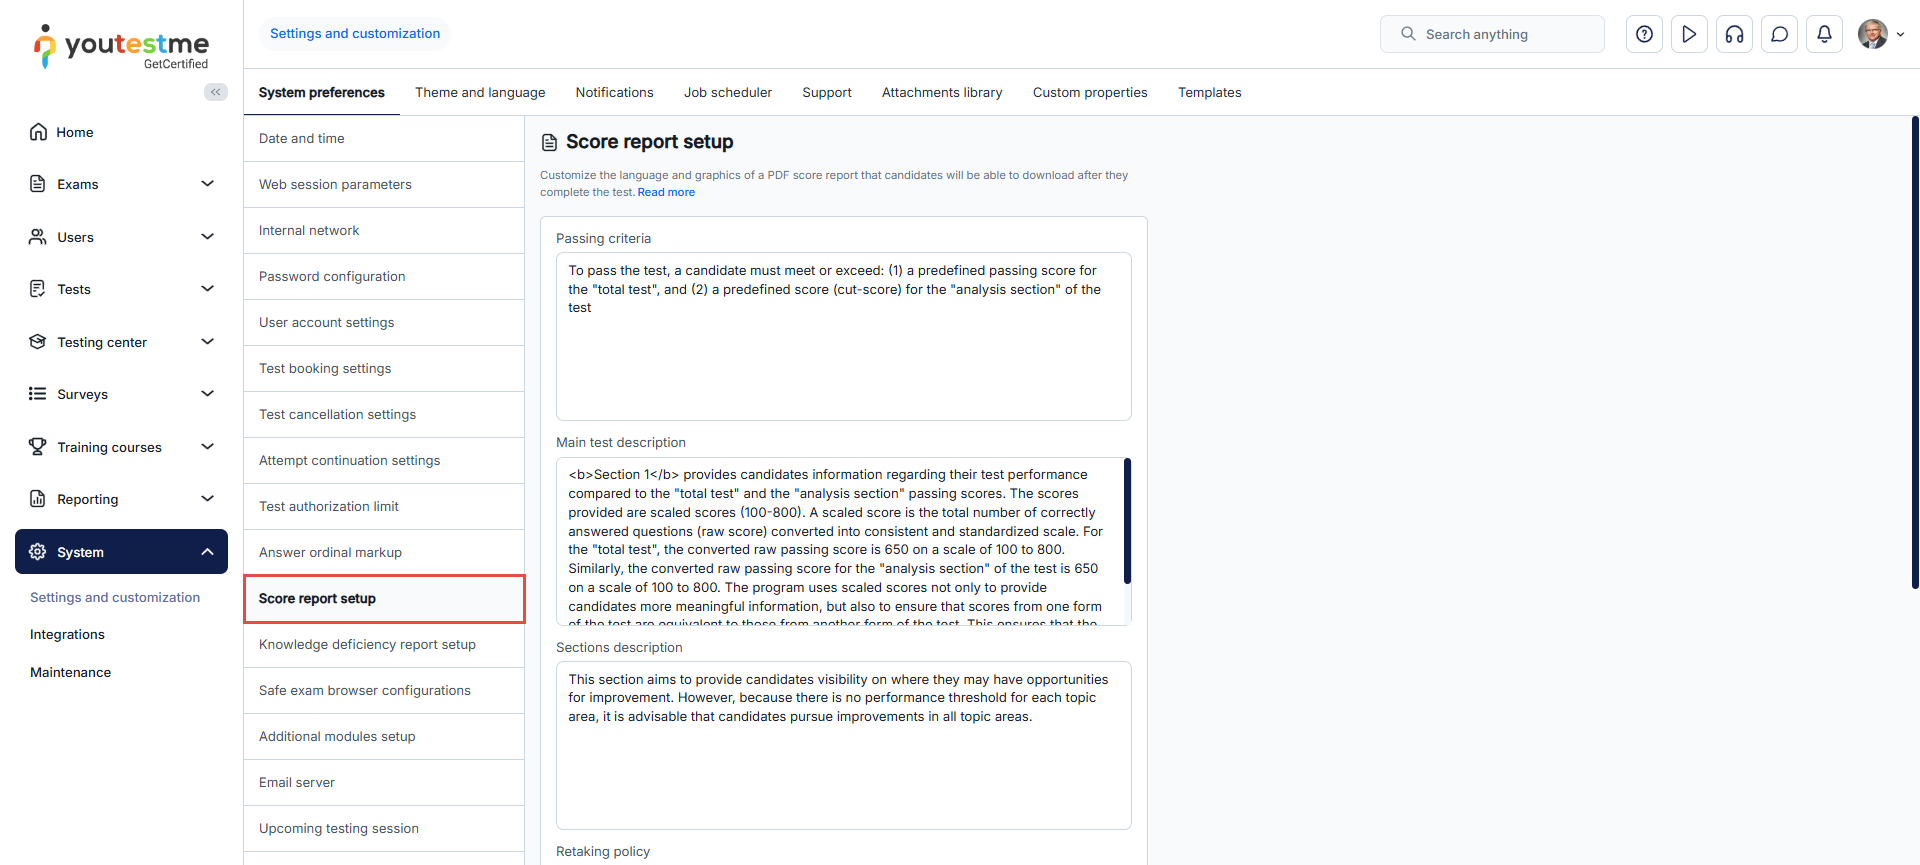
-
Display question scores and Excel download – display question details (metadata, offered, selected, and corrected answers) of all questions in the test and allow candidates to download the personal report as an Excel file. Enable score report download - By enabling this option, candidates will be able to download a PDF report that contains the score achieved on the test.
Enable knowledge deficiency report download - by enabling this option, candidates will be able to download a PDF report containing the list of pools in which knowledge deficiencies have been identified on the test. The lowest level of the question pools (sub-pools) will be displayed in the report.
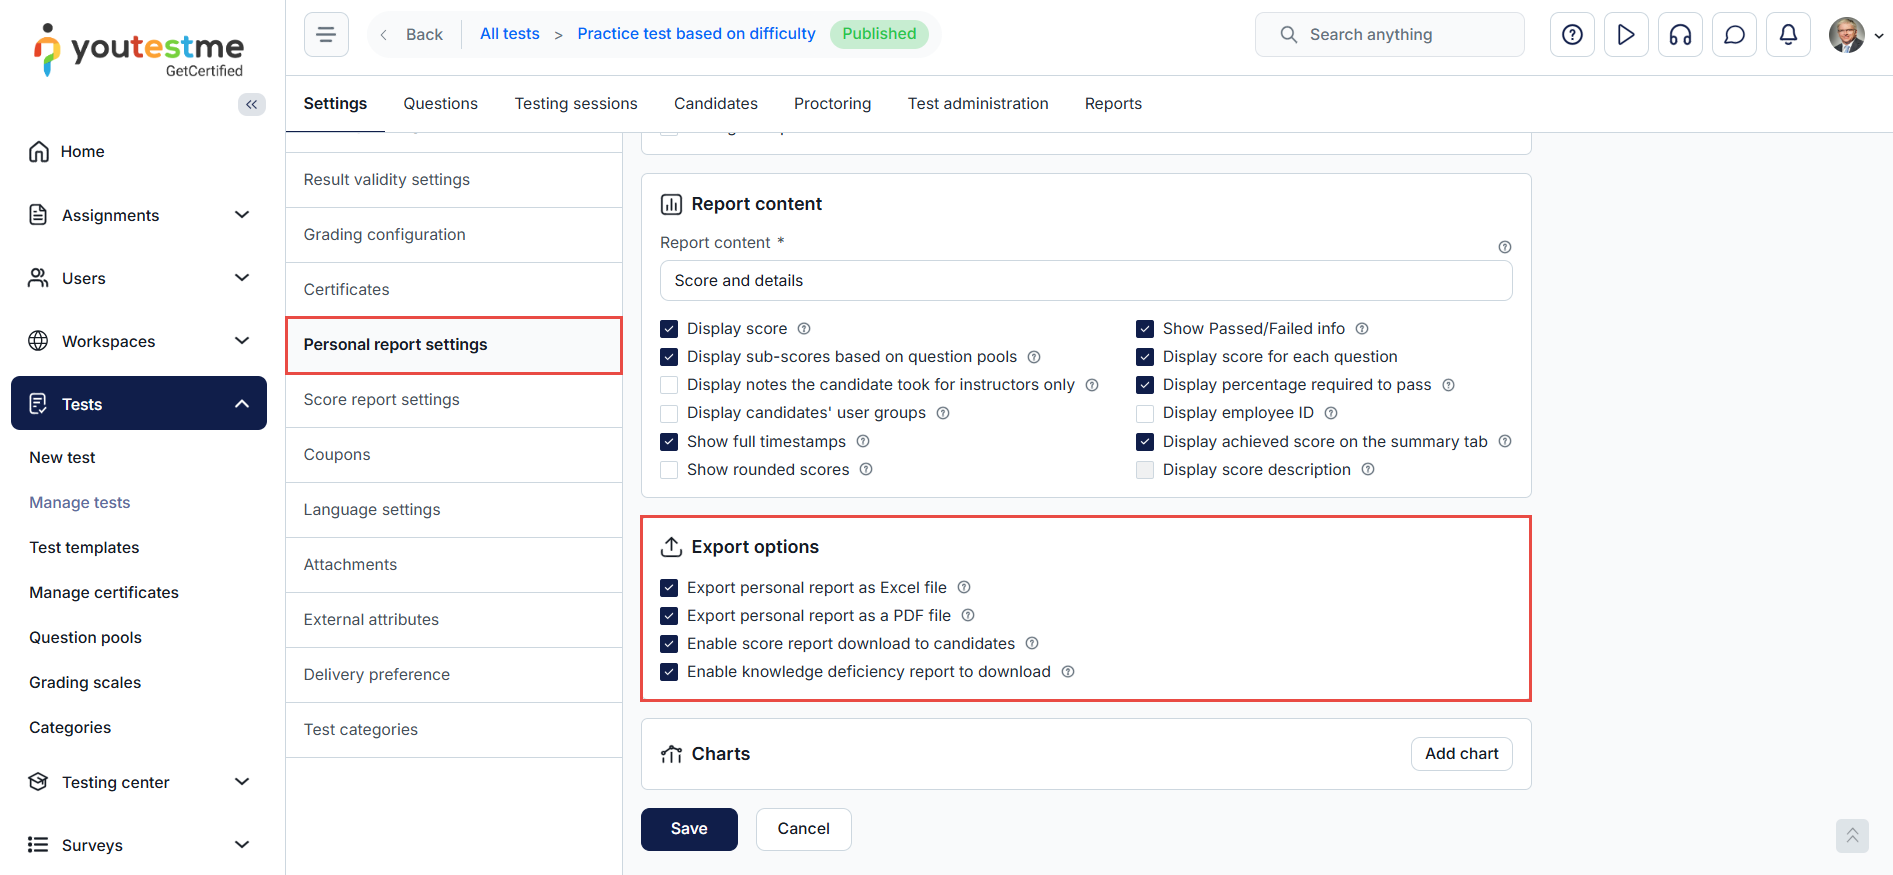
-
Export - The option to export different variants of the personal report.
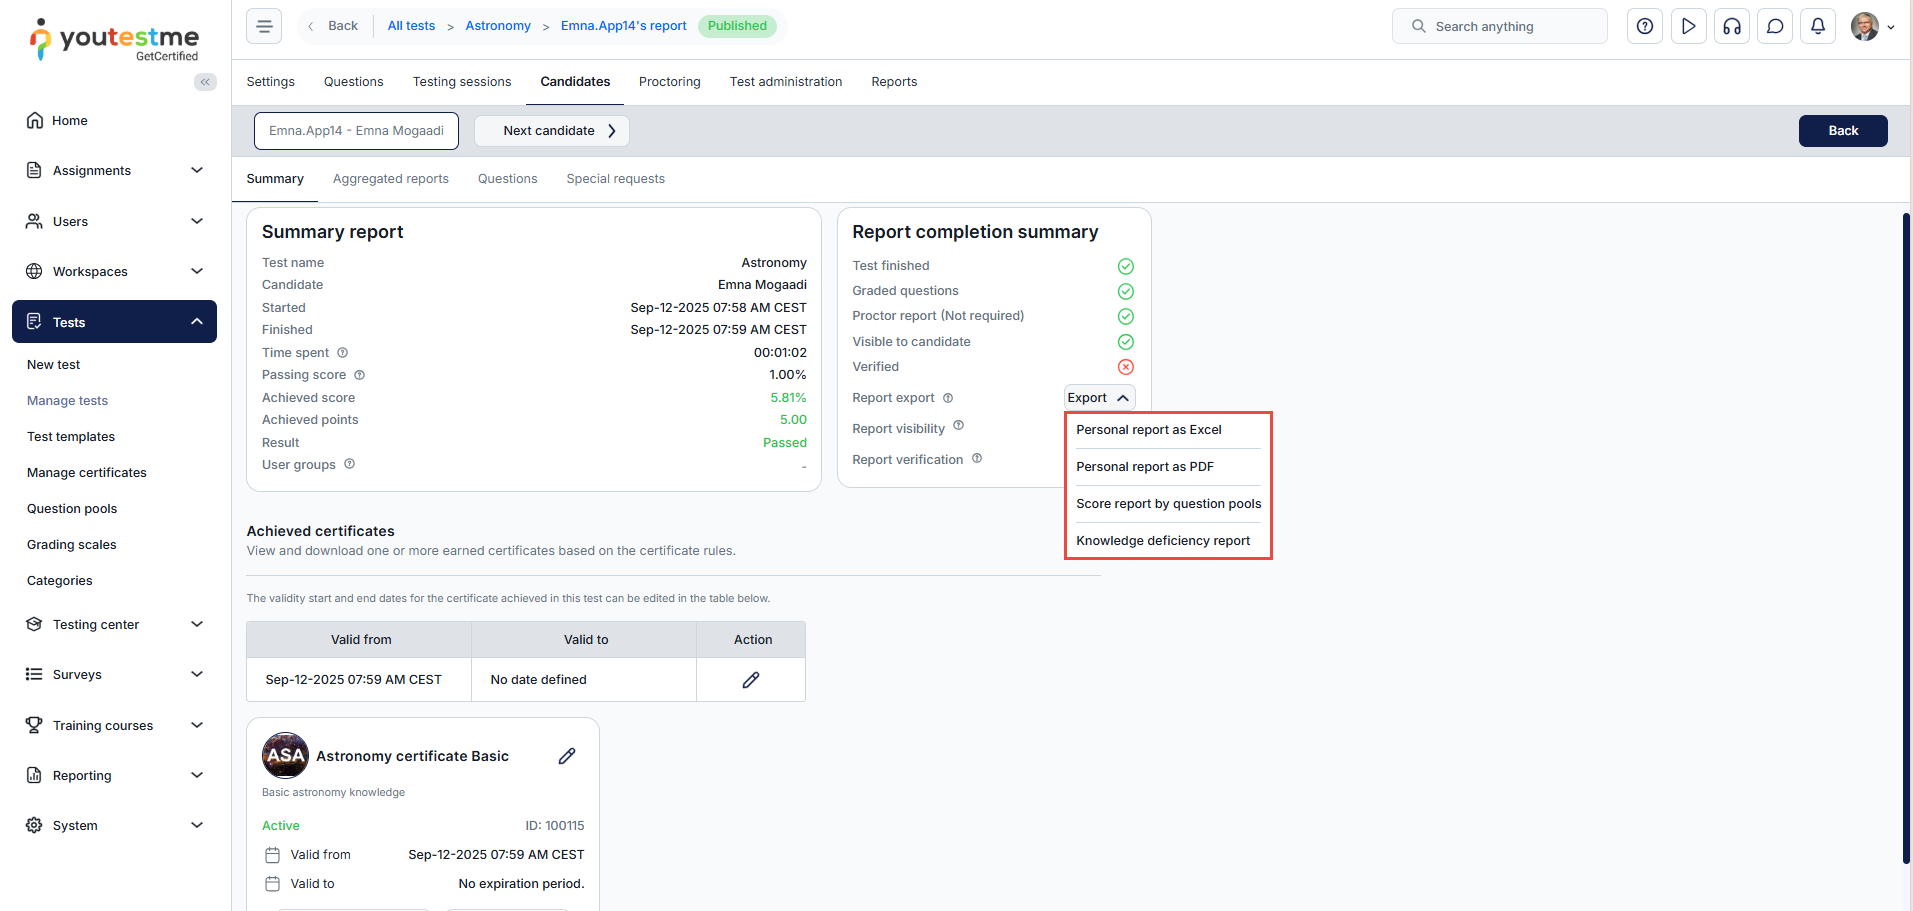
-
Export - the option to export different variants of the personal report.
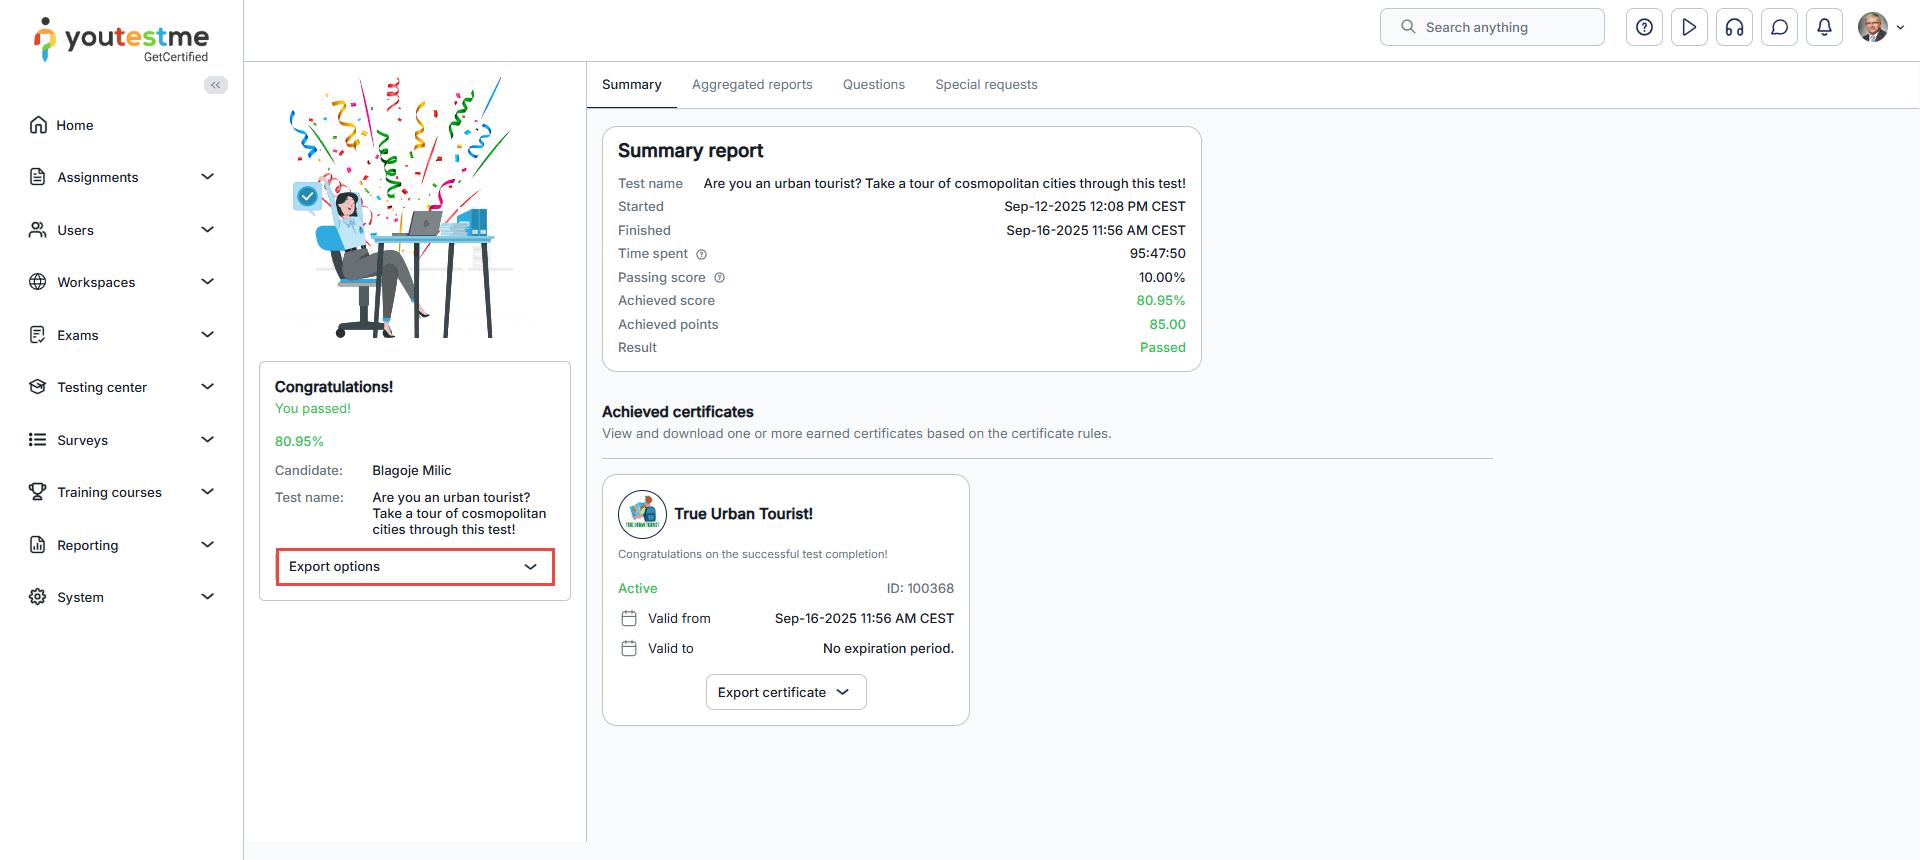
-
-
Question pools pack
-
Question pools are a stored set of questions that allow for the easy, simultaneous, and efficient addition of questions into one or more tests.
-
The question pools page is a set of pre-created questions that can be reused in multiple surveys. When creating new surveys, questions can be selected from the pool instead of creating new ones each time. The questions can be organized into different categories to make it easy to find the right questions for a specific survey. Additionally, users can load multiple questions at once.
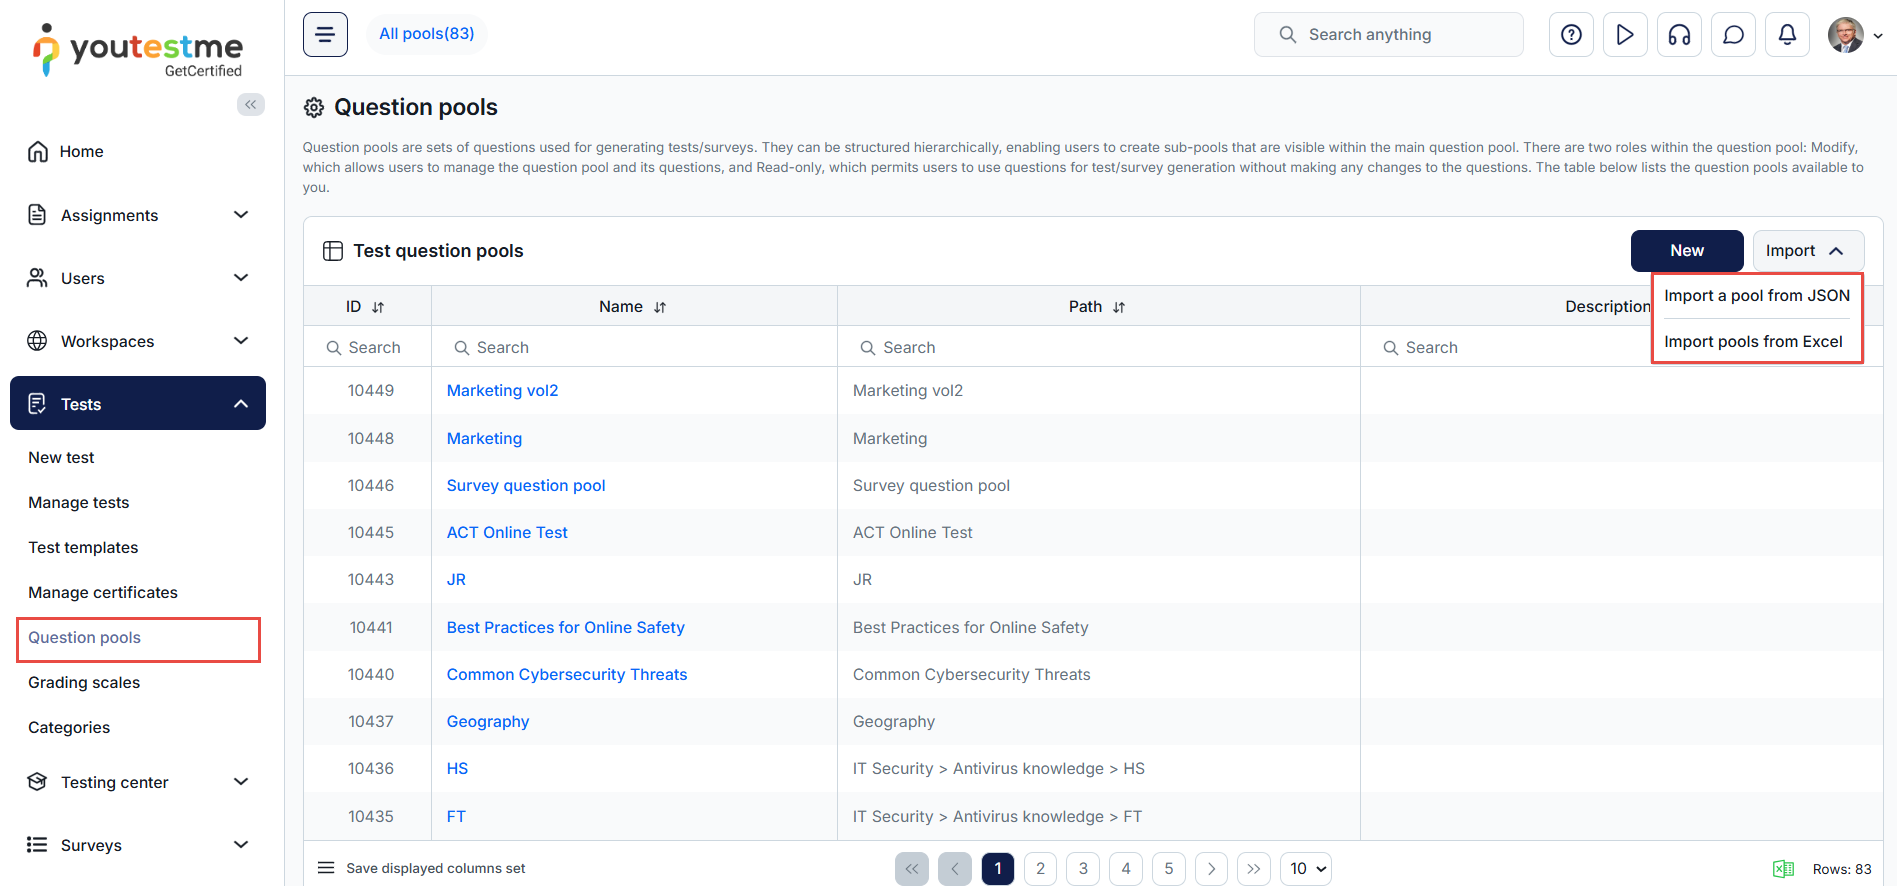
-
Import question from pools - To add questions to a test from an existing question pool.
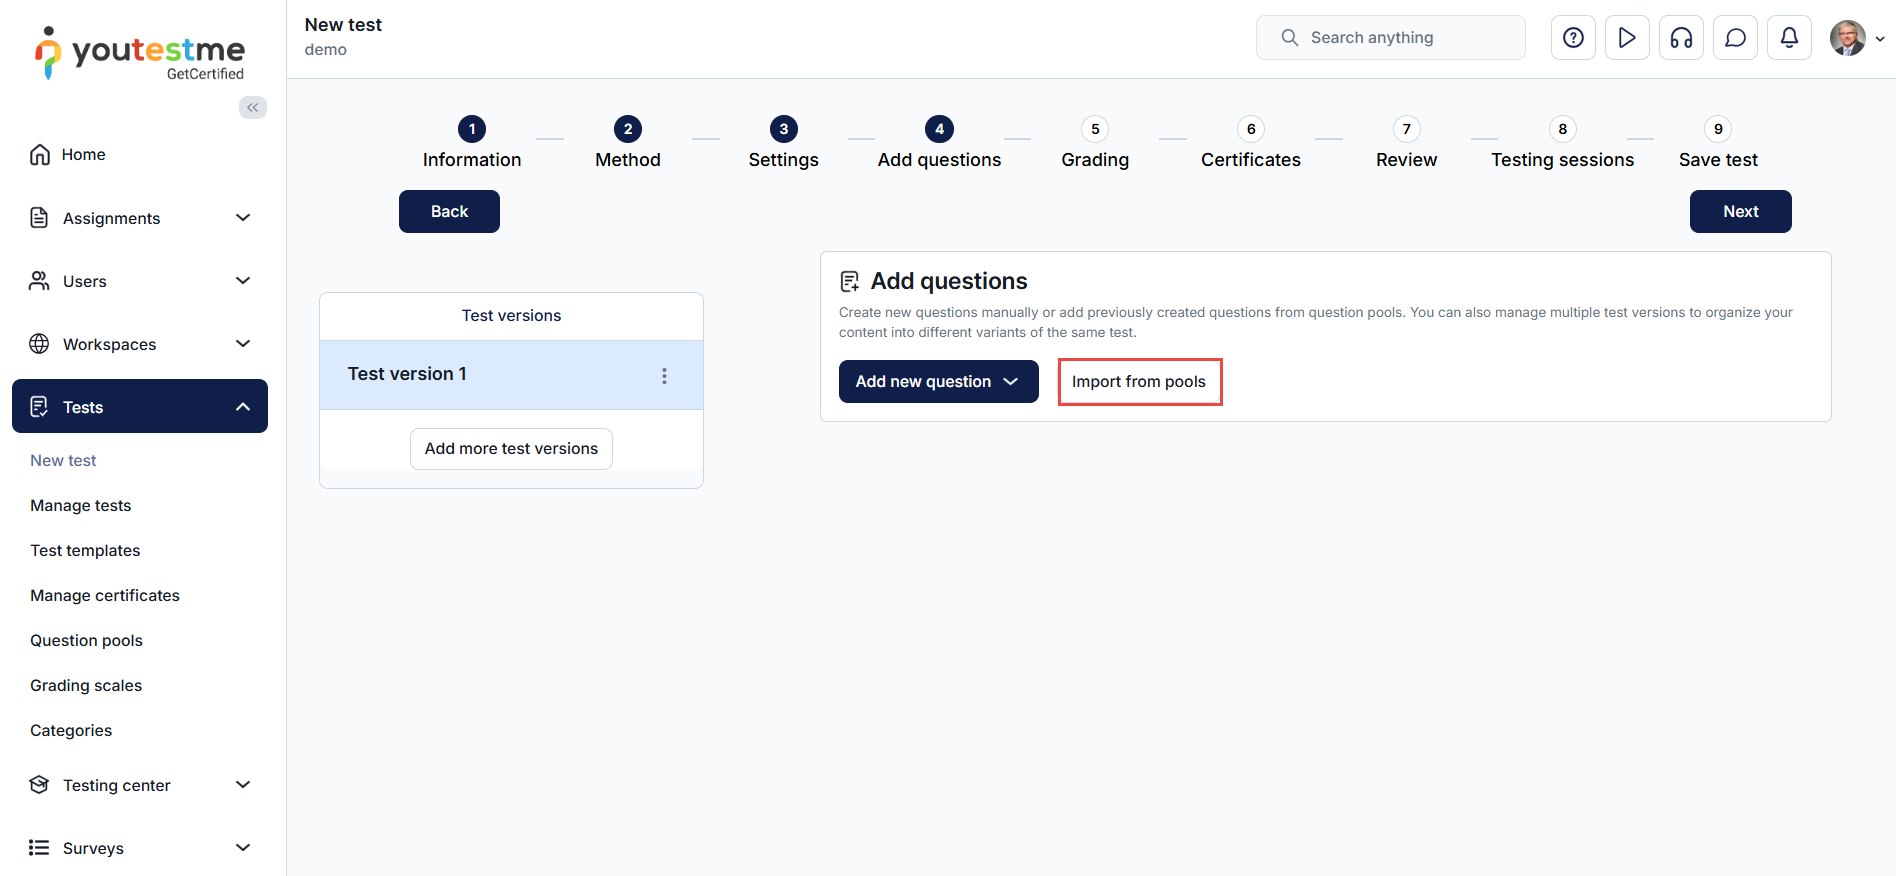
-
Question pools report setup - See the list of all question pools used in the test. If there are multiple test versions, all used question pools will be listed in the table. Question property reports tables - You can create reports and criteria based one or a group of question property values. Supported properties are custom question properties of dropdown type.
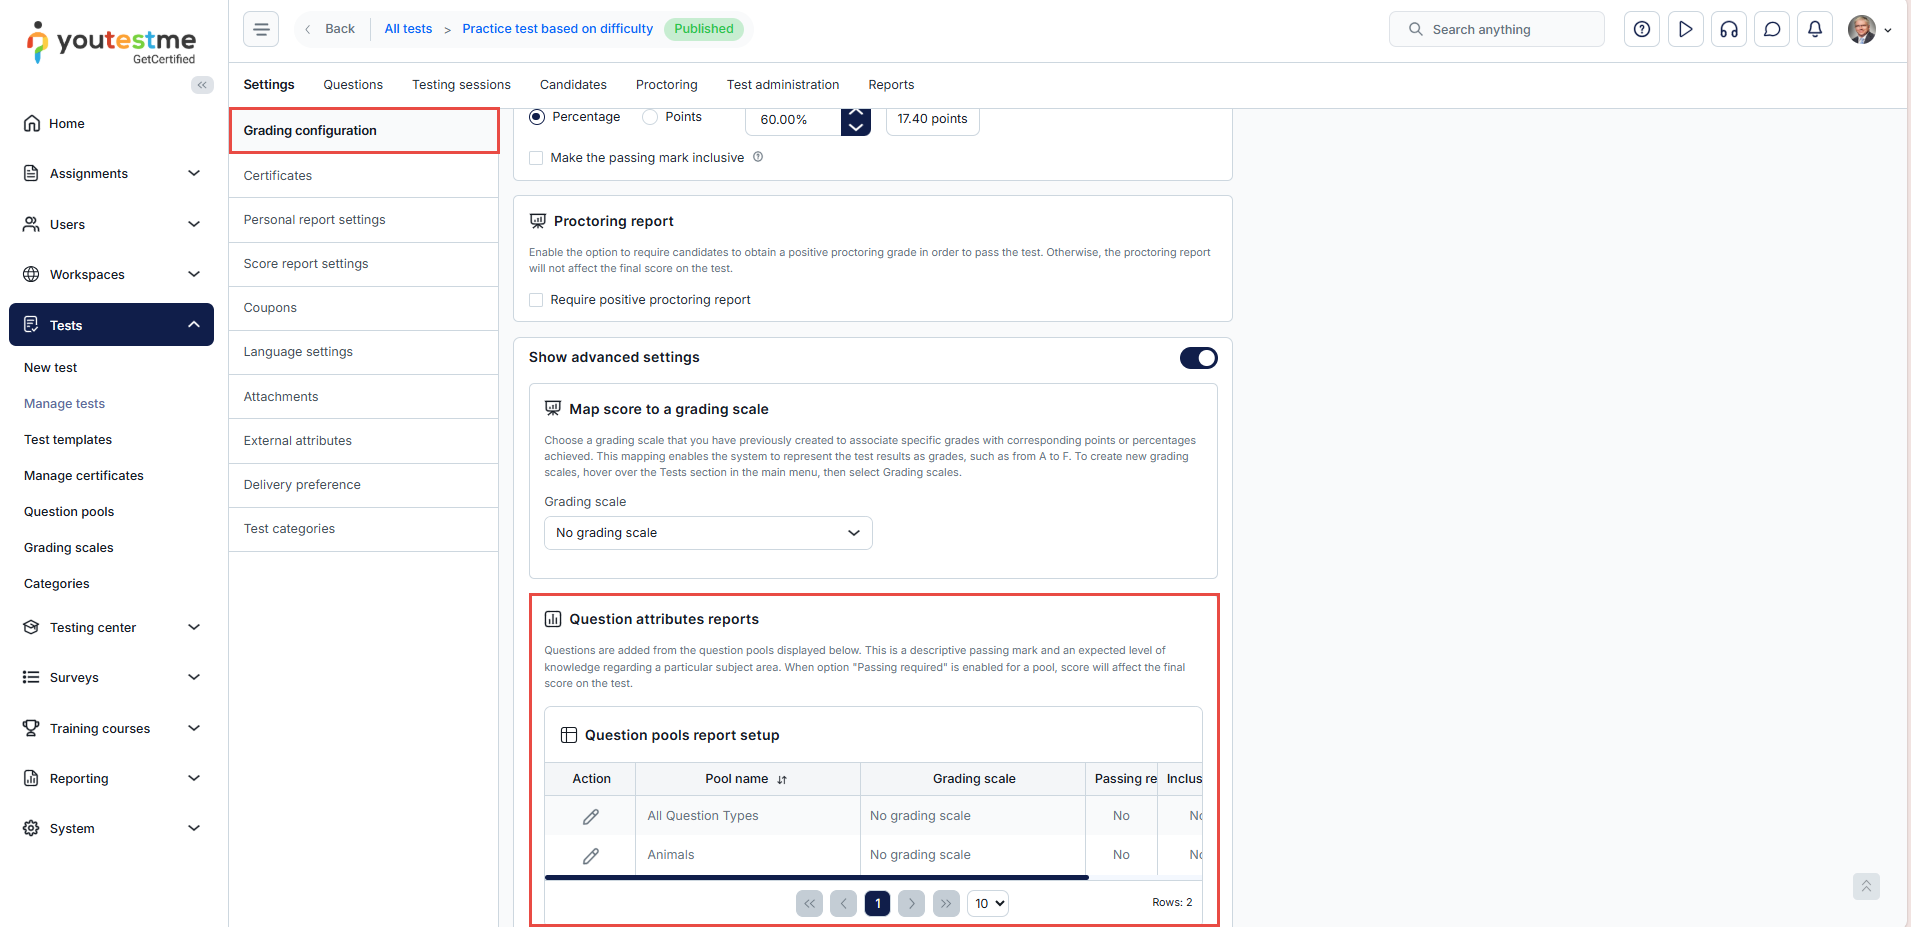
-
Import question from pools, list of pools in tests, pool name column in questions table.
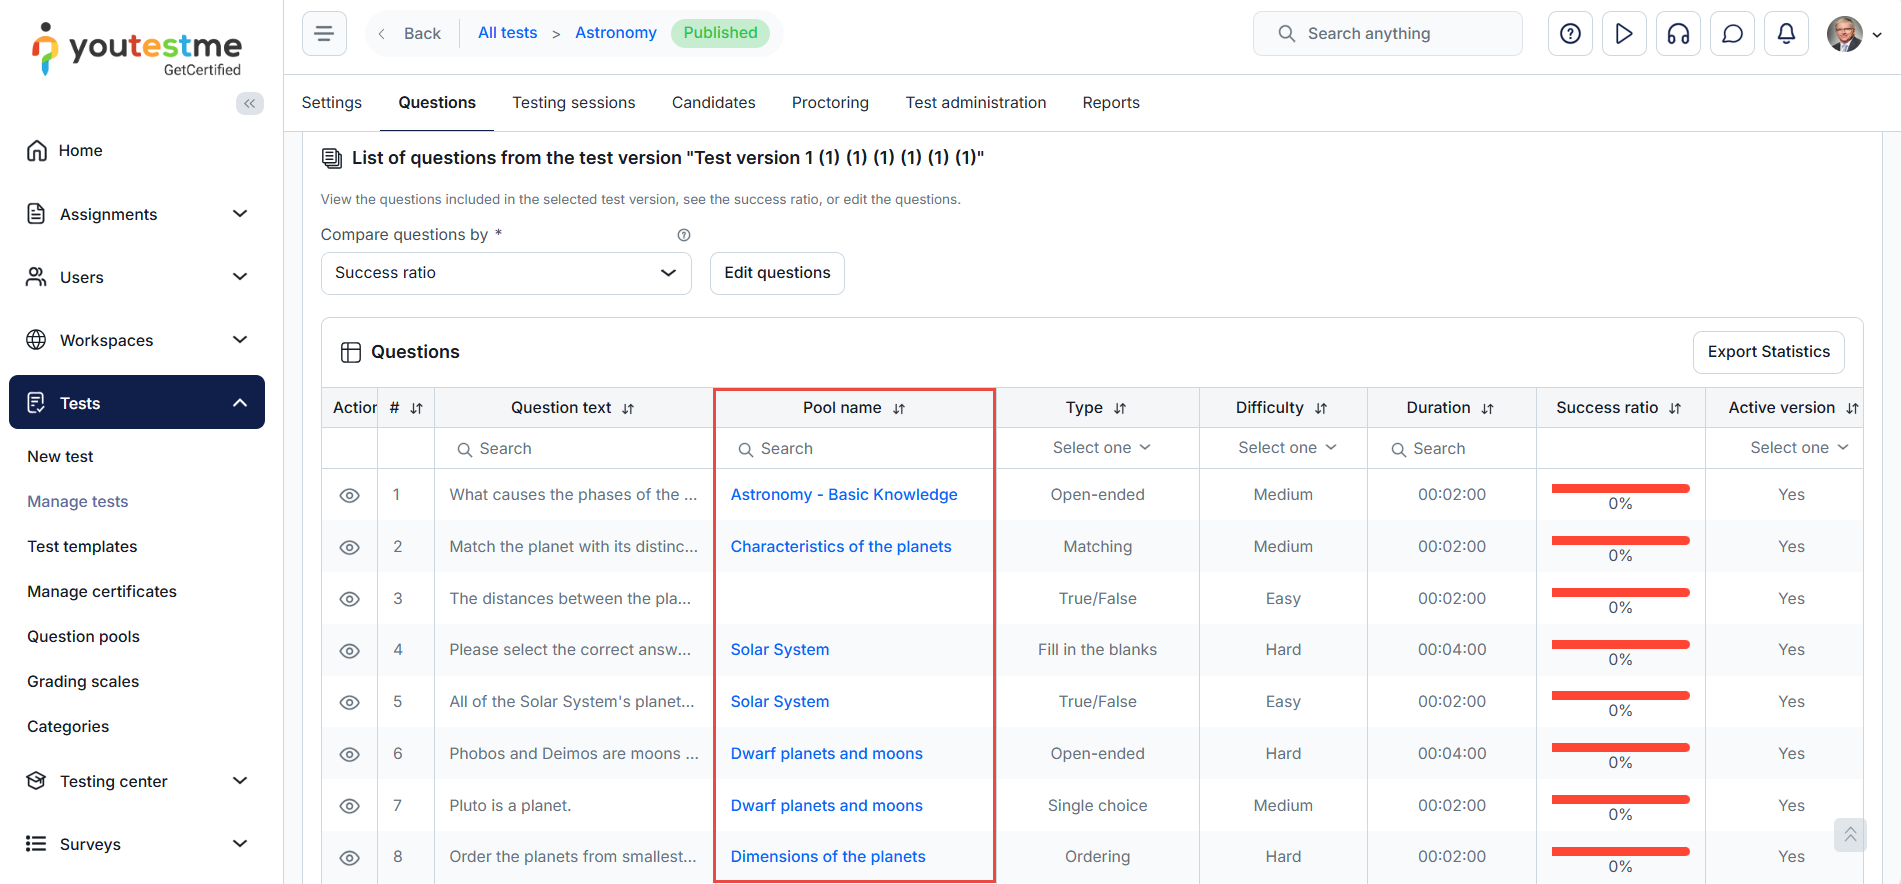
-
Display sub-scores based on question pools – Display the table with test results broken down by question pools of the questions included in the test.
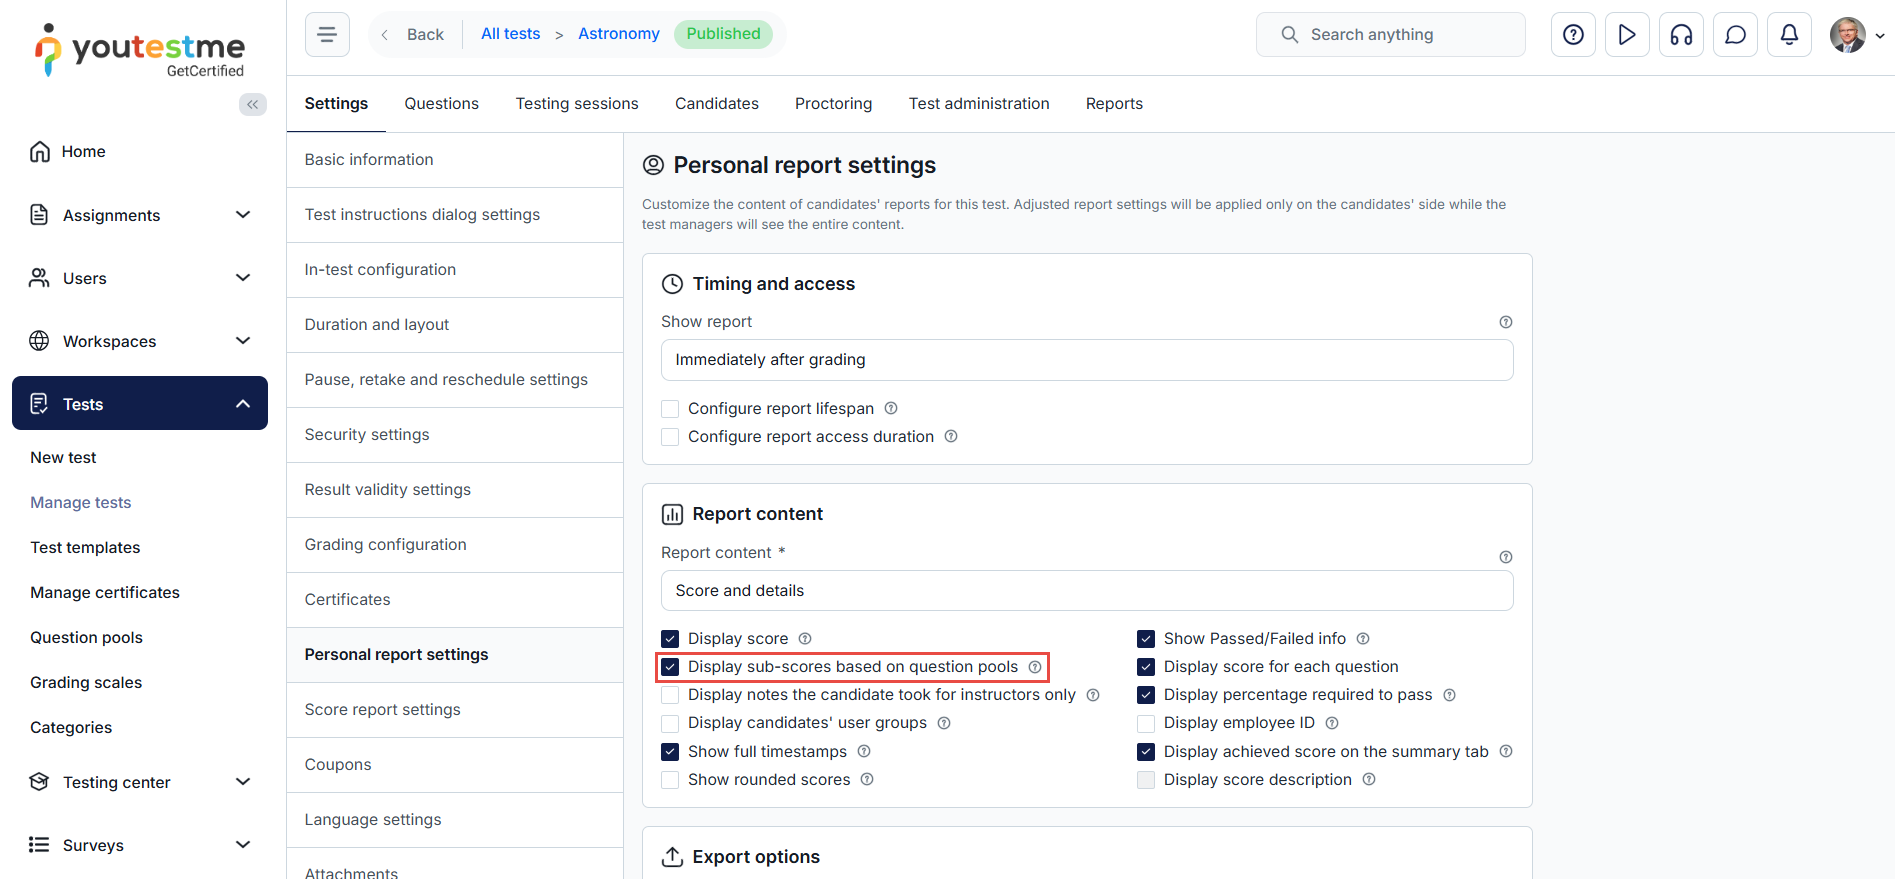
-
Add to the pool - By checking this option, you can add the question to one of the existing pools you manage. Choose the desired pool from a drop-down list.
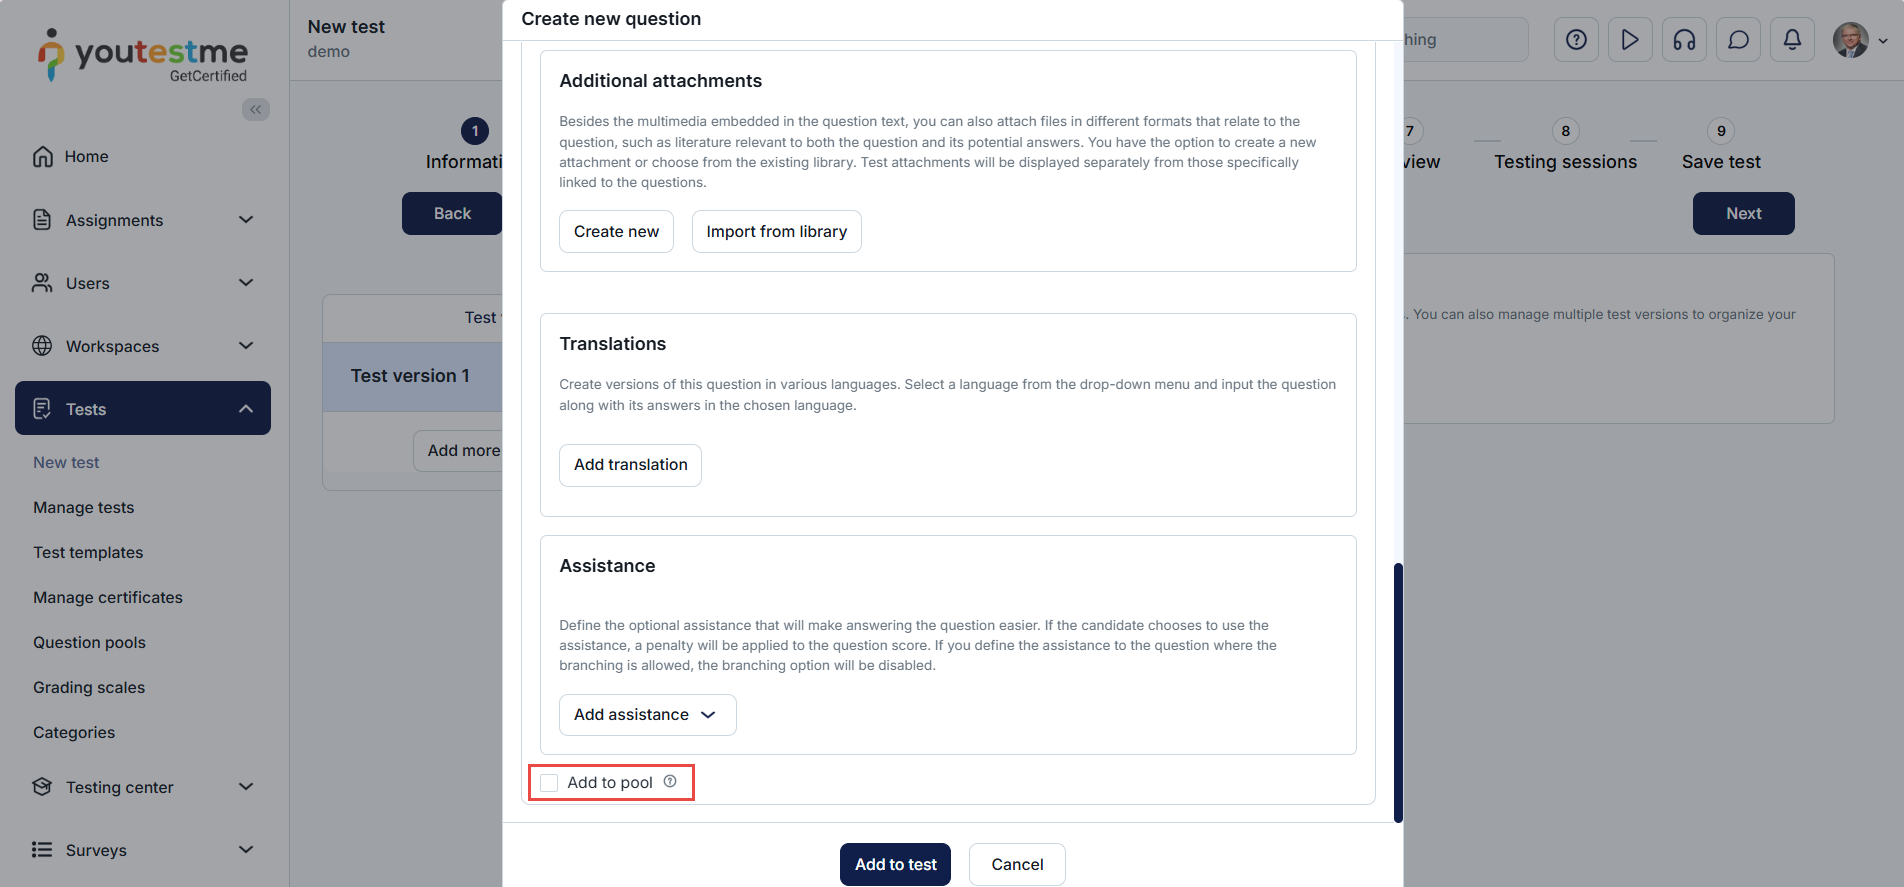
-
My pools tab displays a list of question pools you can preview or modify, depending on your role in a question pool. You can manage a user's role in a question pool, depending on your permissions in the system.
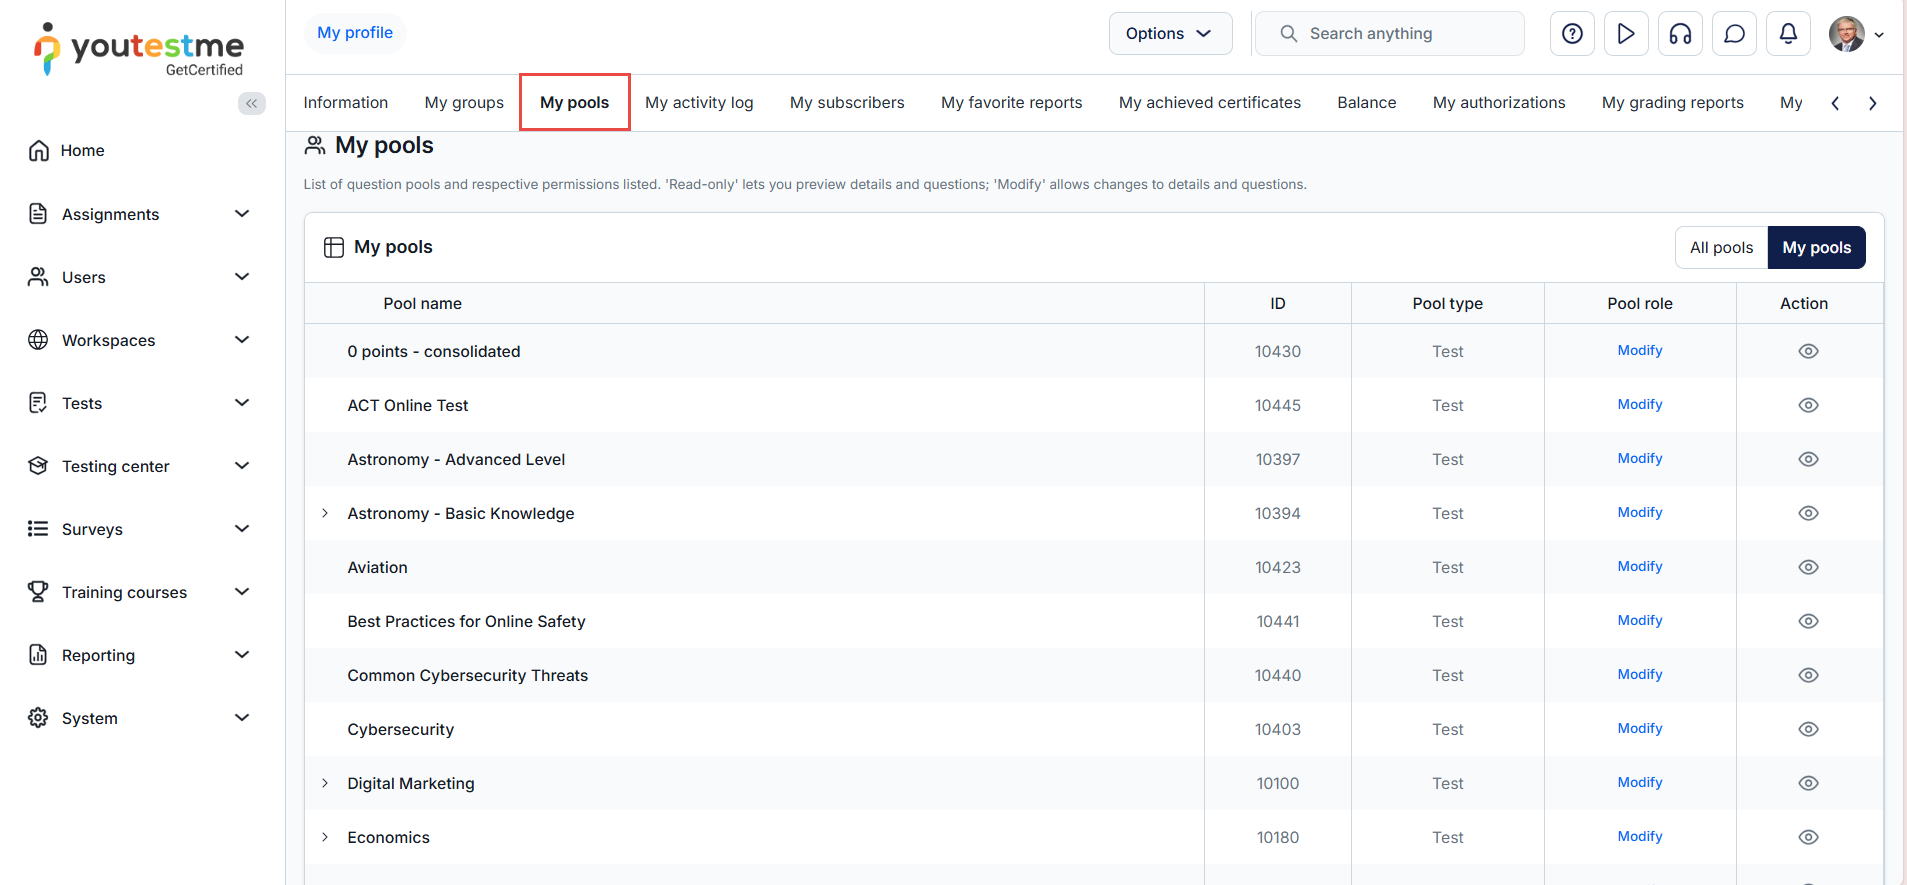
For more information, please visit the Question pools page.
-
-
User groups
-
User groups page helps to organize users into user groups. The user groups have a hierarchical structure, i.e., one user group can have as many sub-groups as necessary, and these sub-groups can have their sub-groups. Any user can simultaneously be a member of multiple user groups.
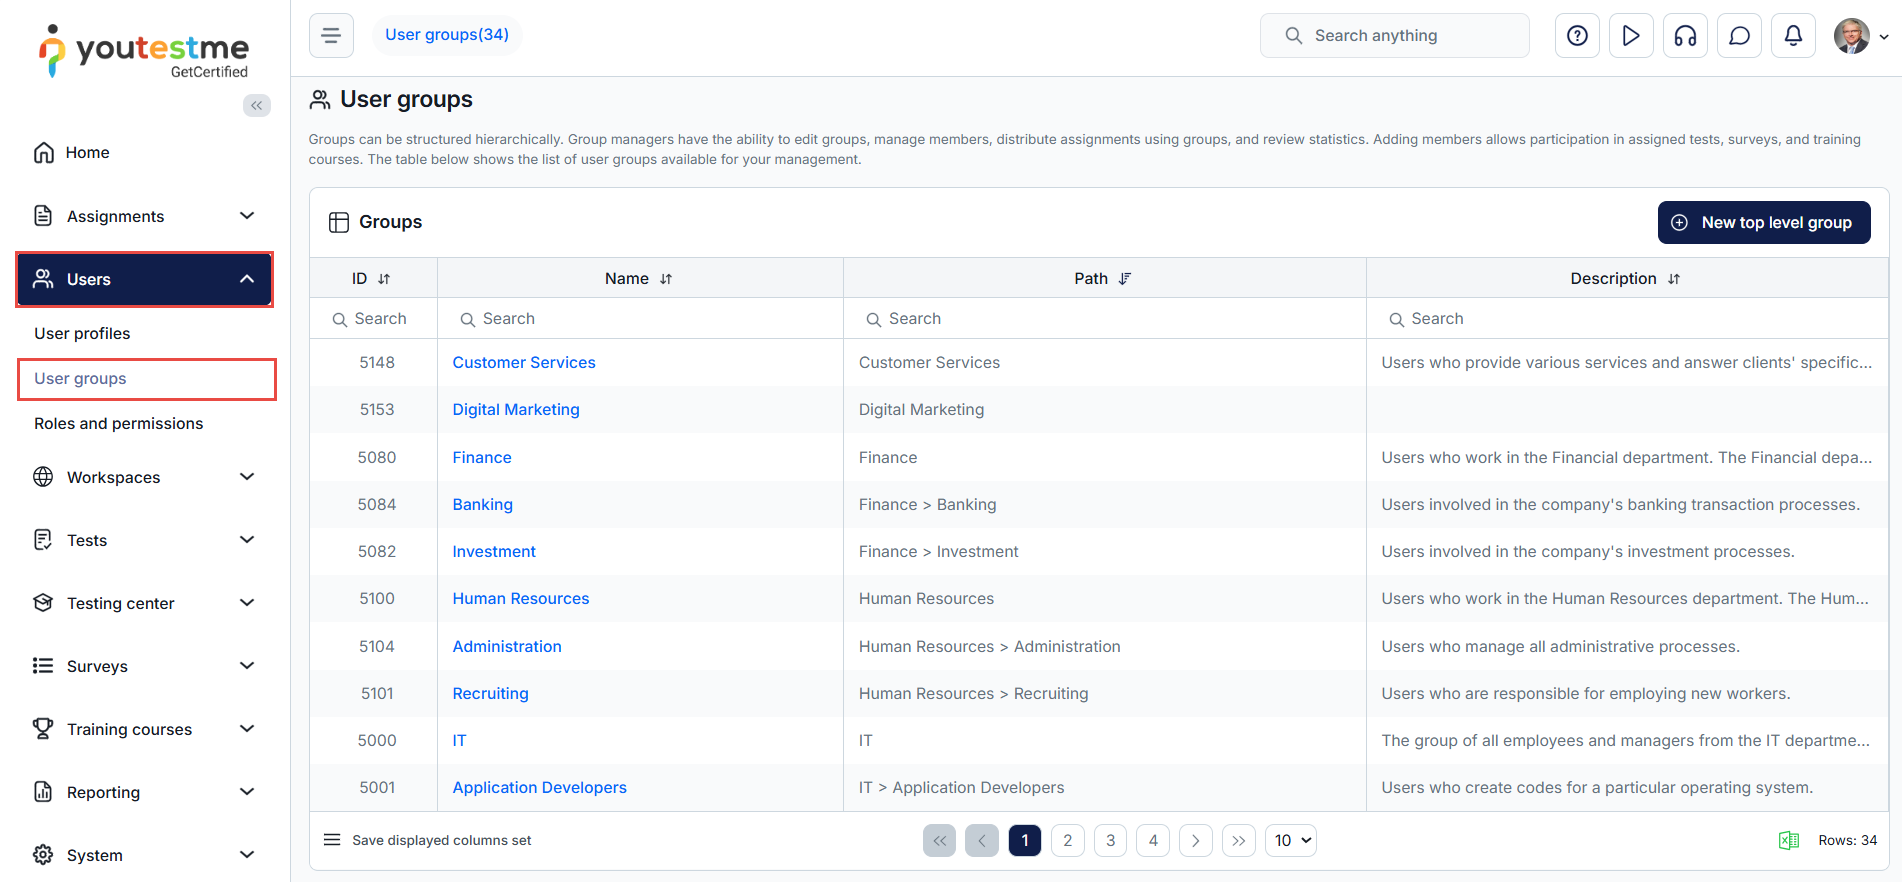
-
Assign users to one or more groups.
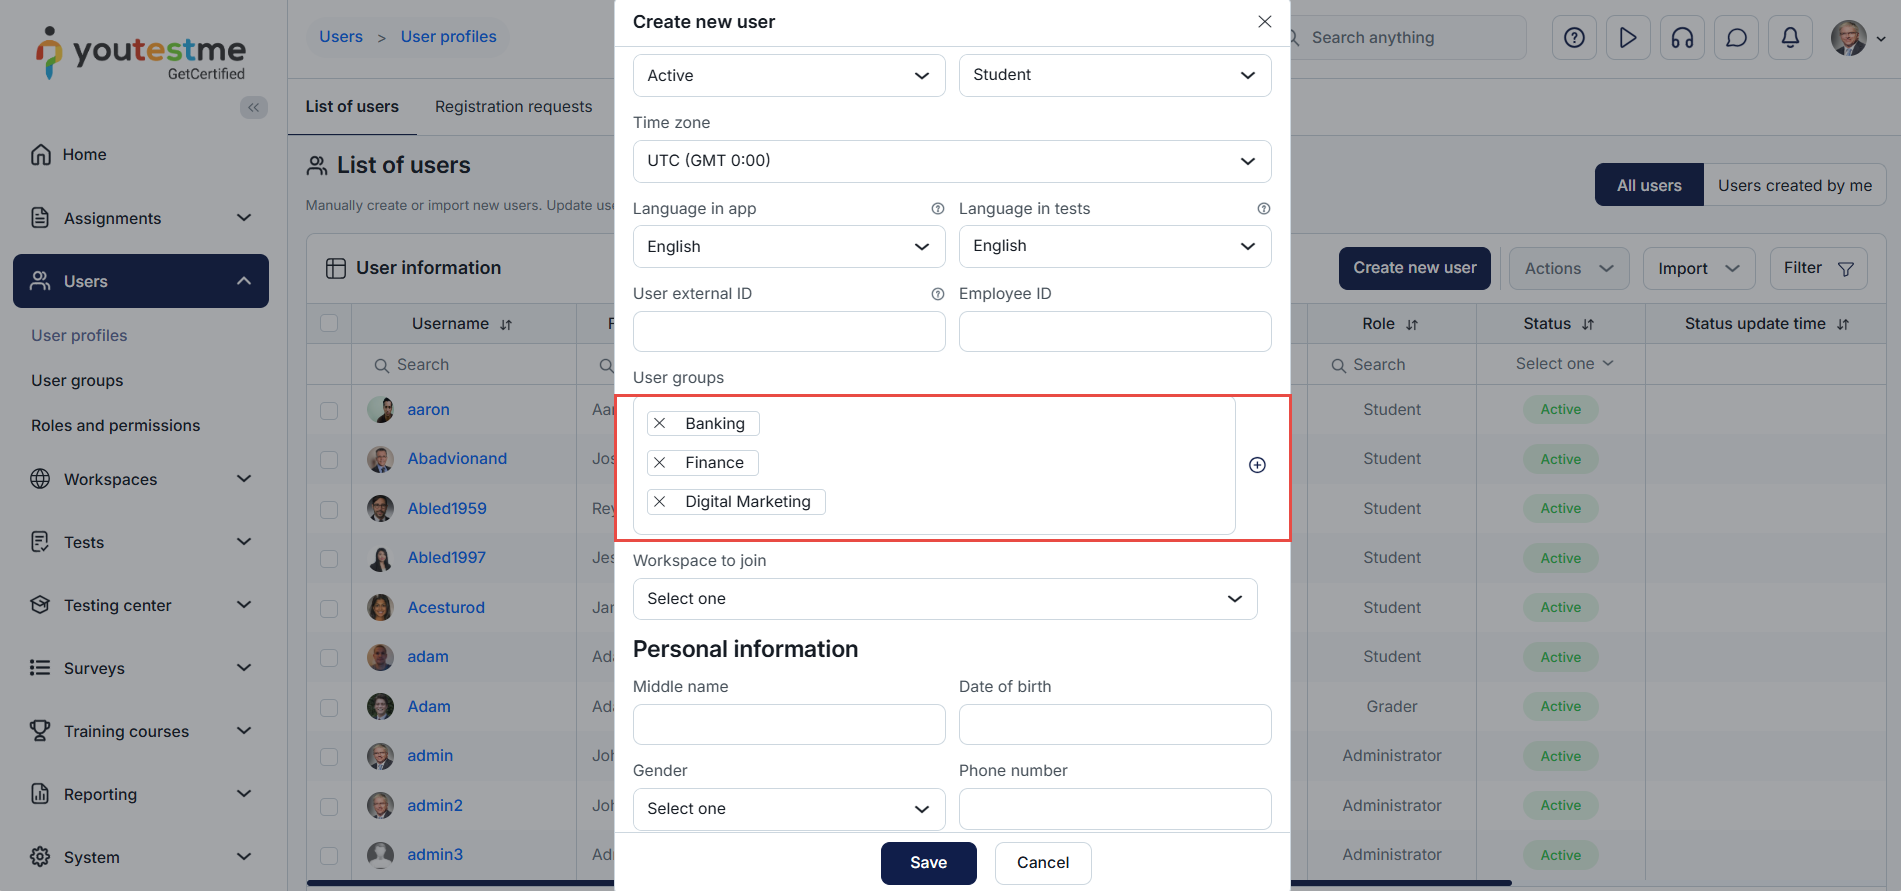
-
My groups tab displays a list of user groups you are assigned to as a member or a manager. You can preview or manage a user's role in a group, depending on your permissions in the system.
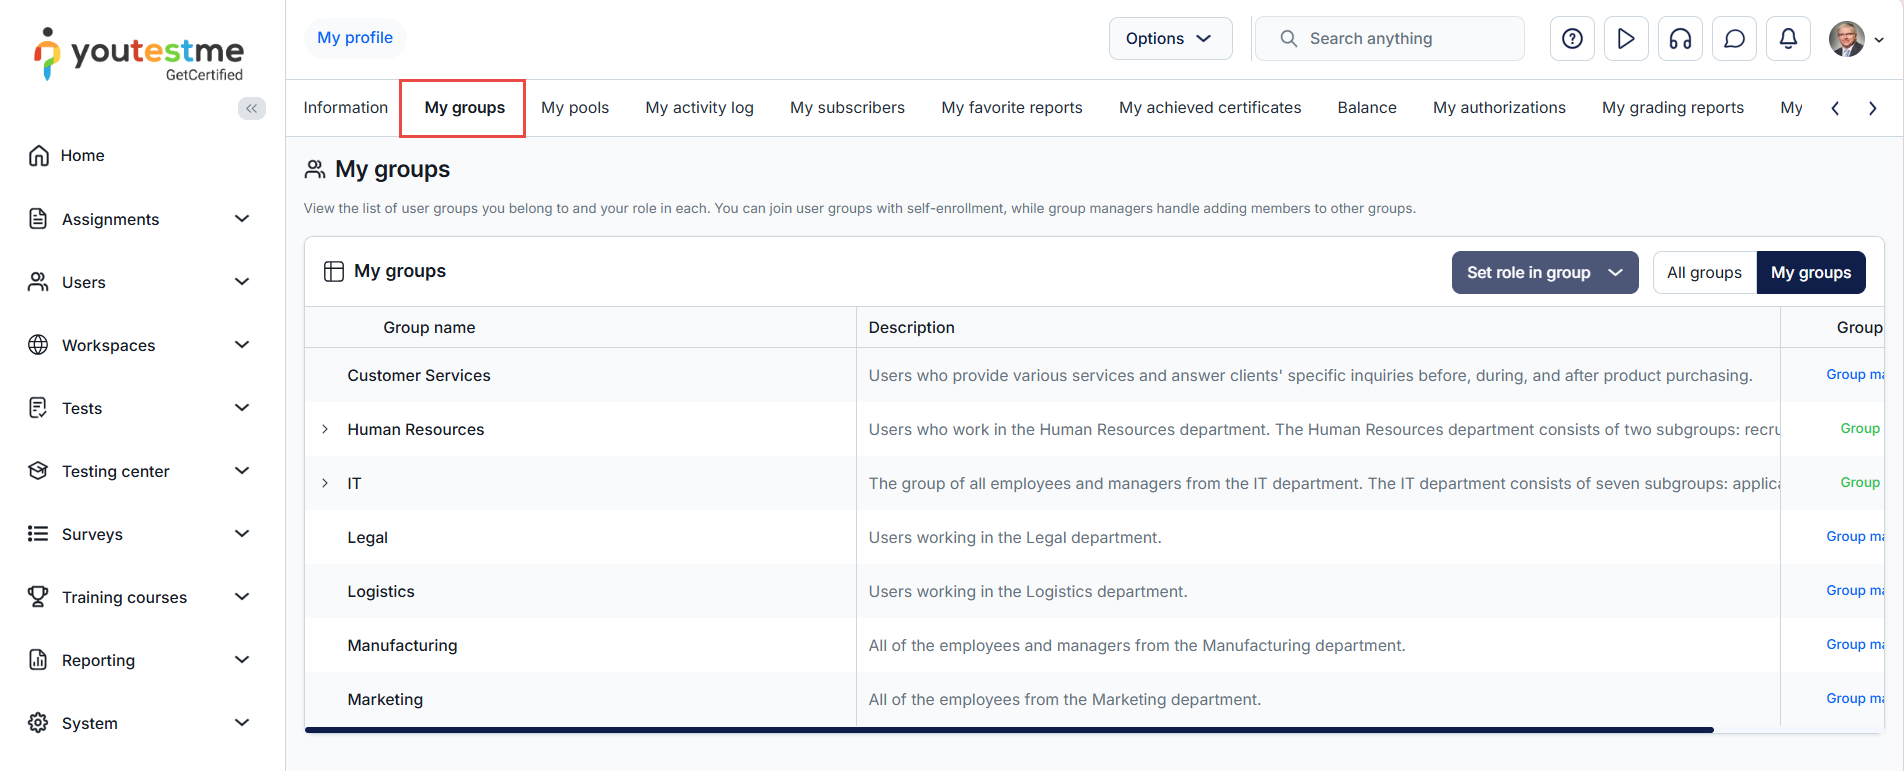
-
Assign to group - If you use this option, only users from a group you choose will be able to enroll in the session. Upon selecting the group, you will have to hand-pick the group members who will have access to the session or turn on the option of Self-enrollment to grant access to the whole group.
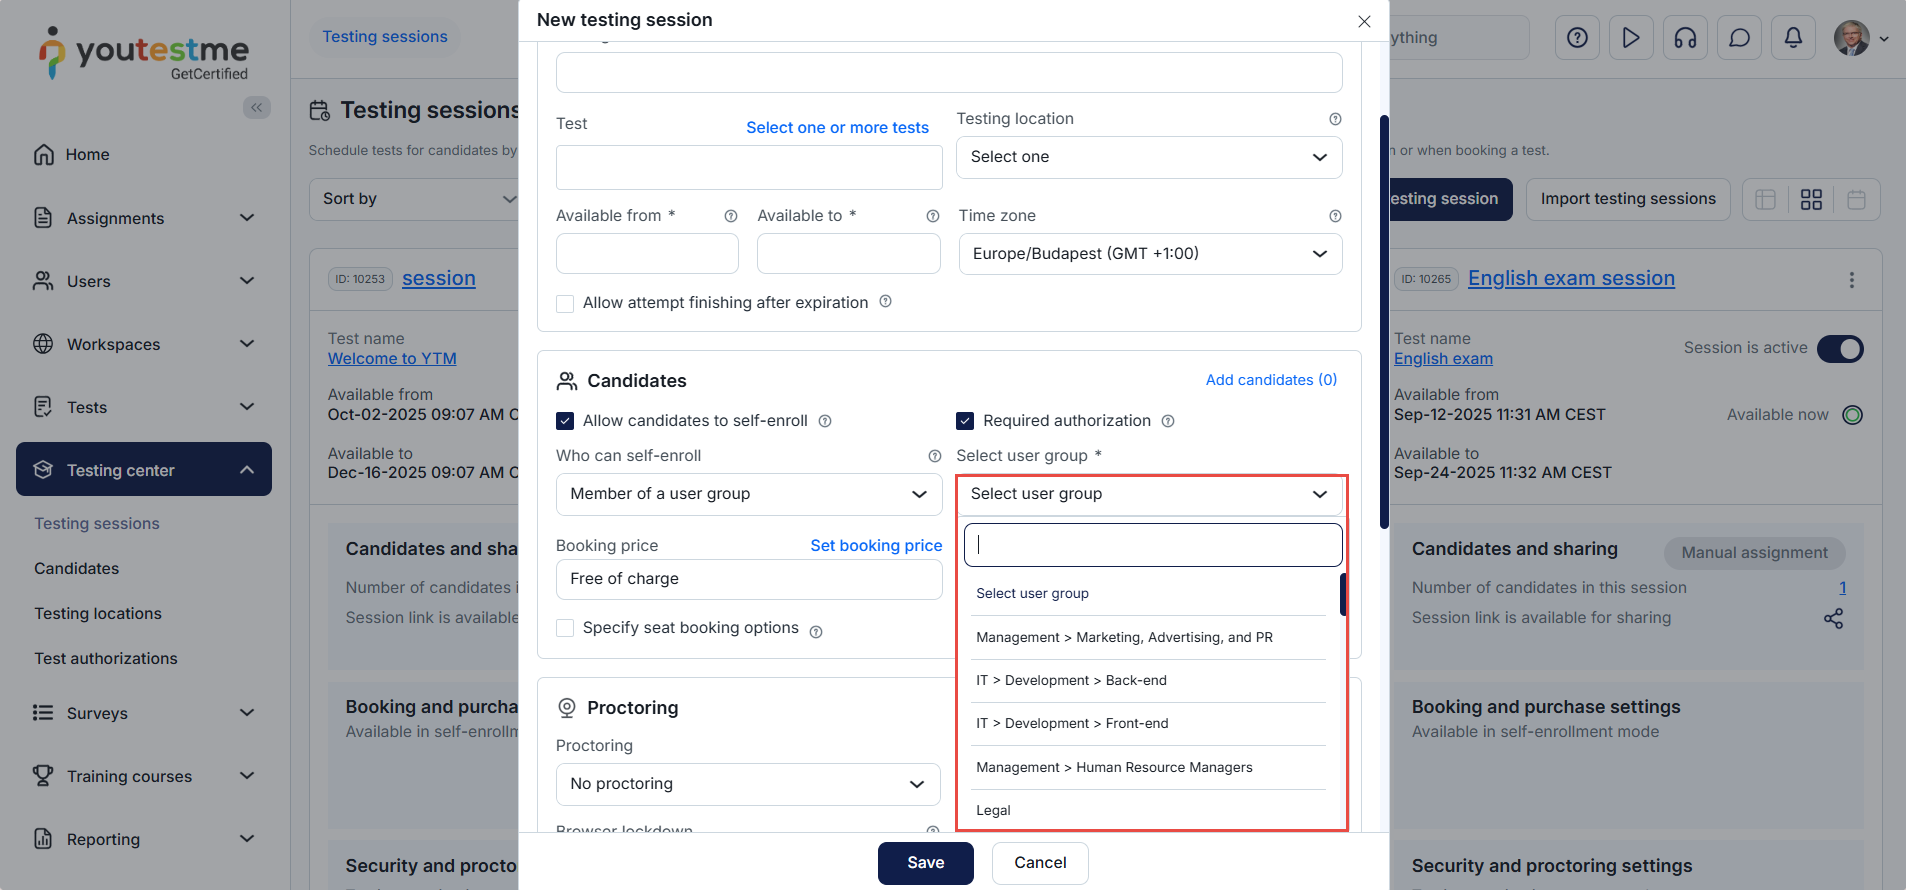
-
From my groups - You can assign a user from a group you manage.
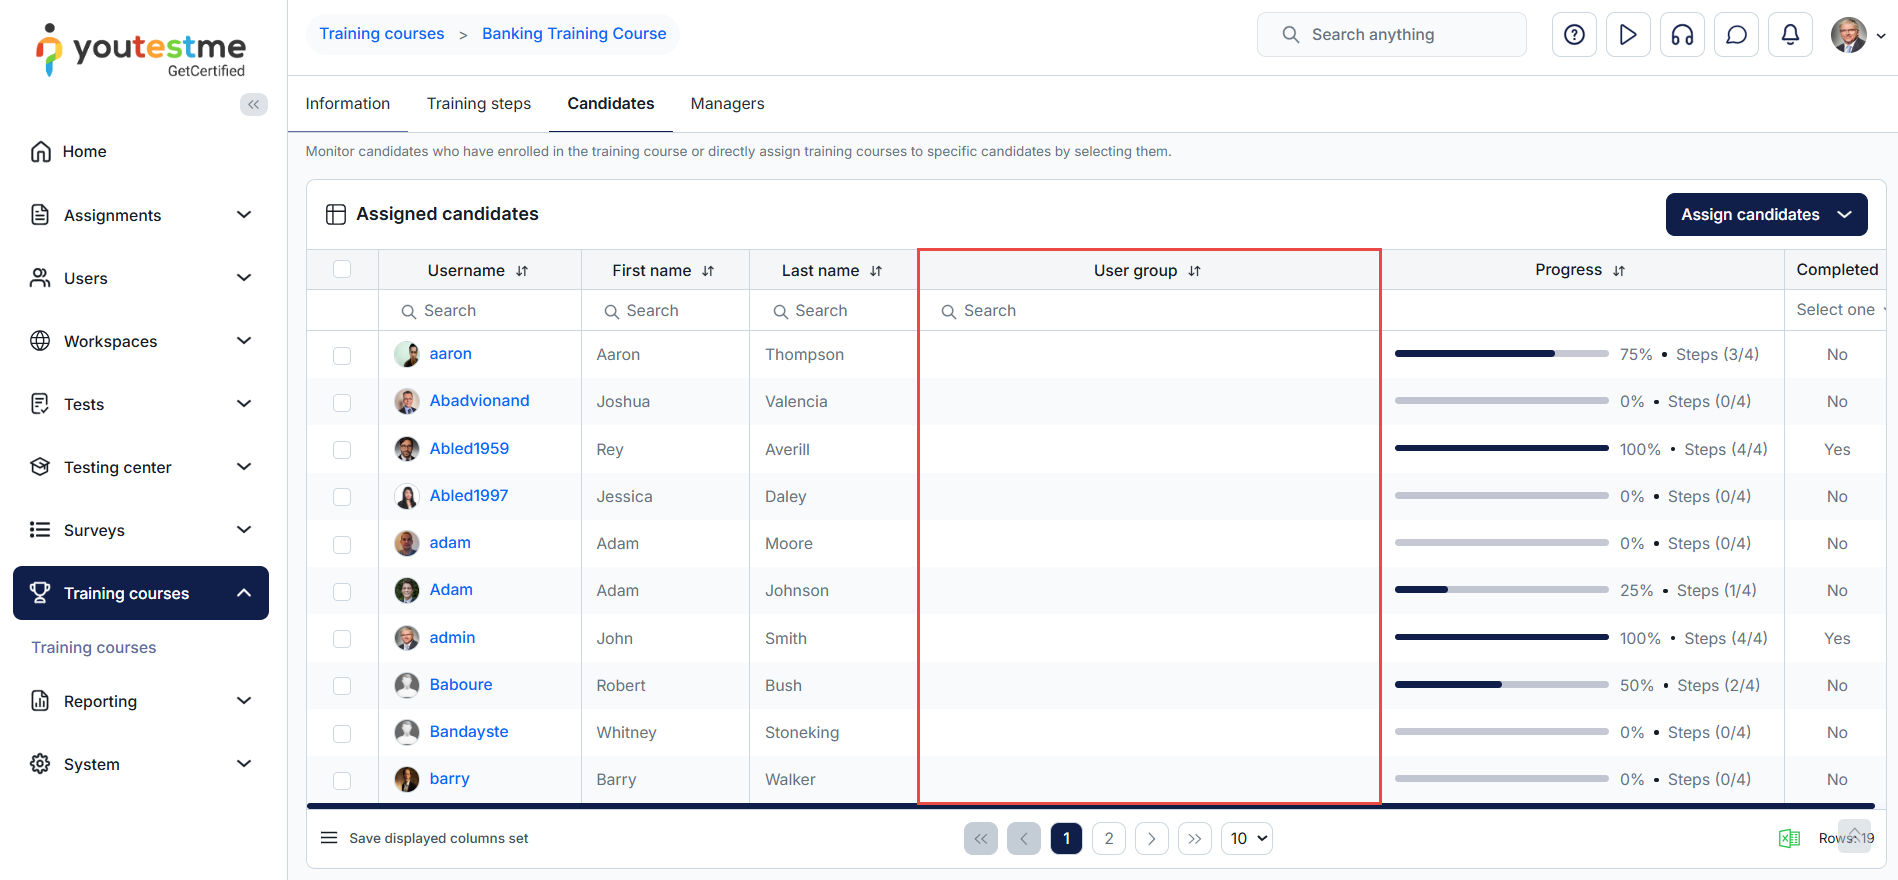
-
Filter by groups - Filter users by group to which they are assigned.
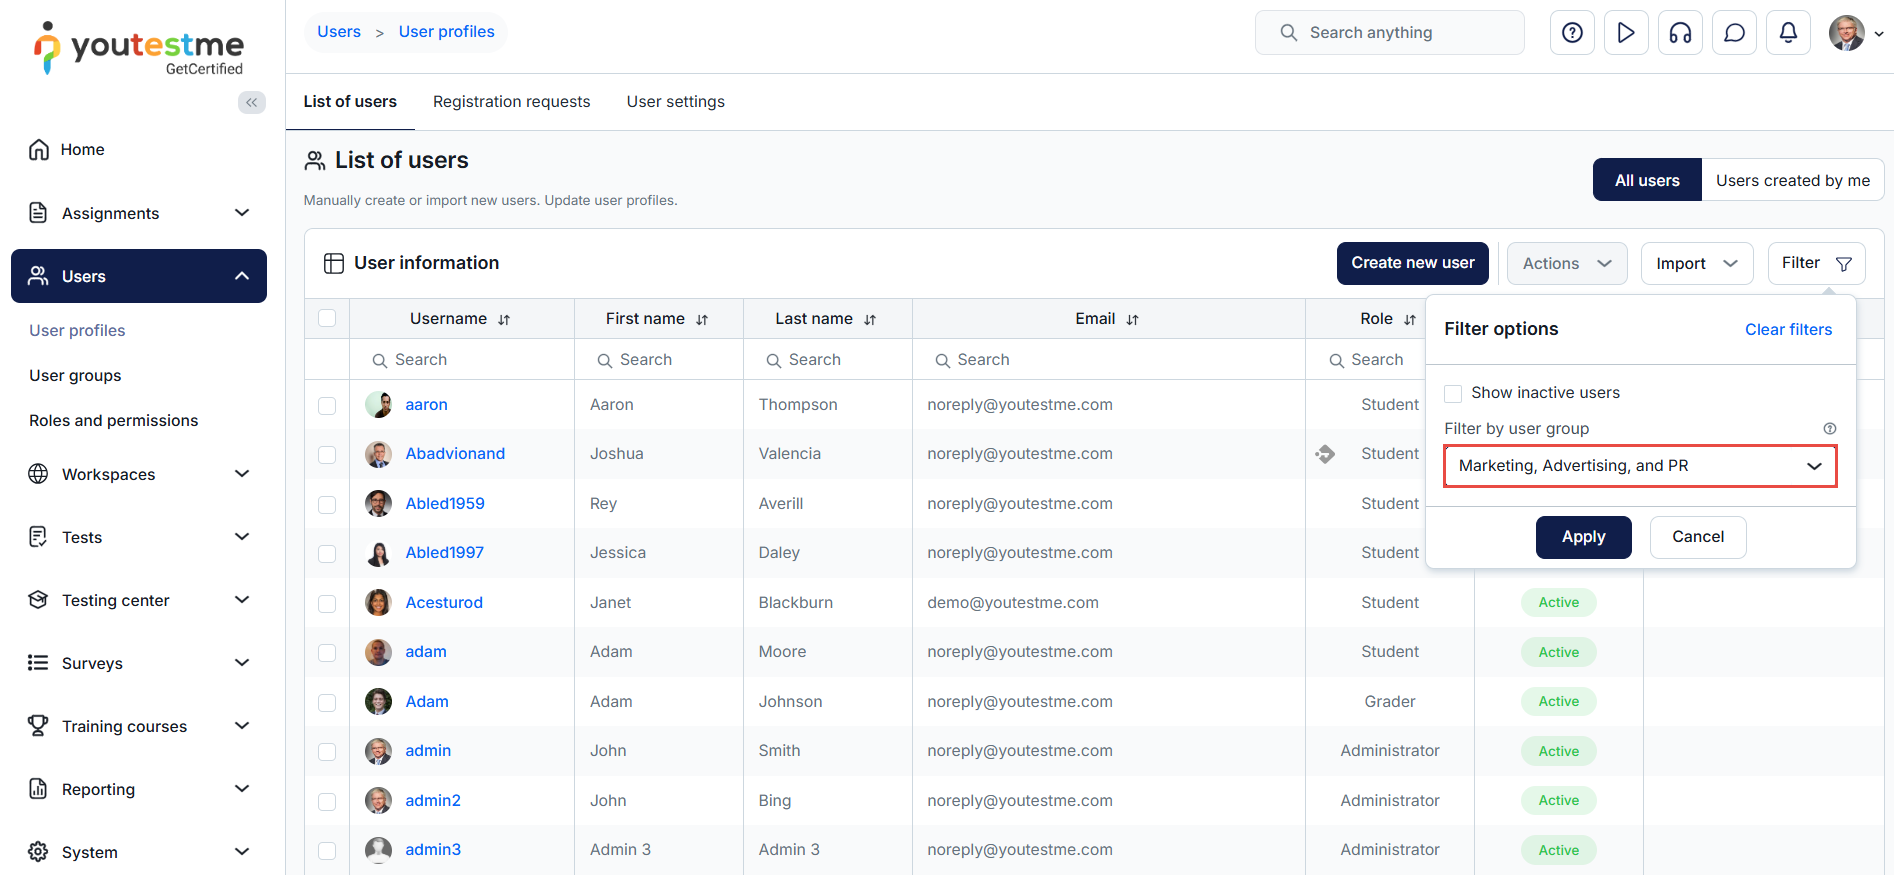
-
-
Booking
-
The List view option.
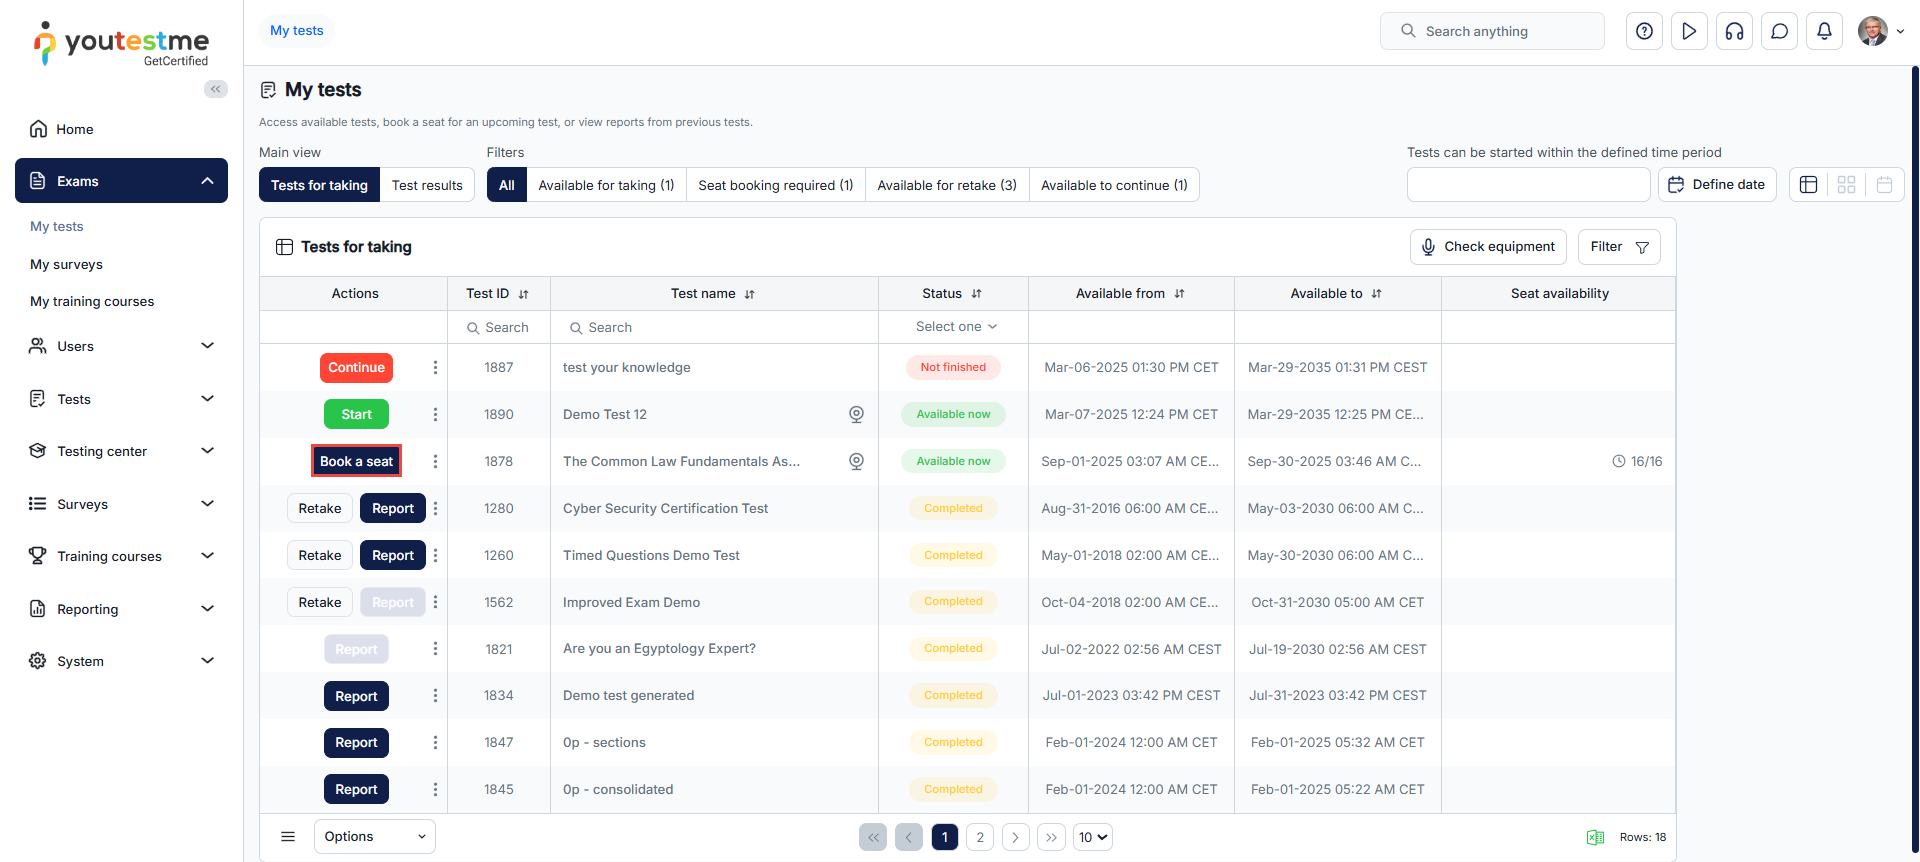
-
The Calendar view option.
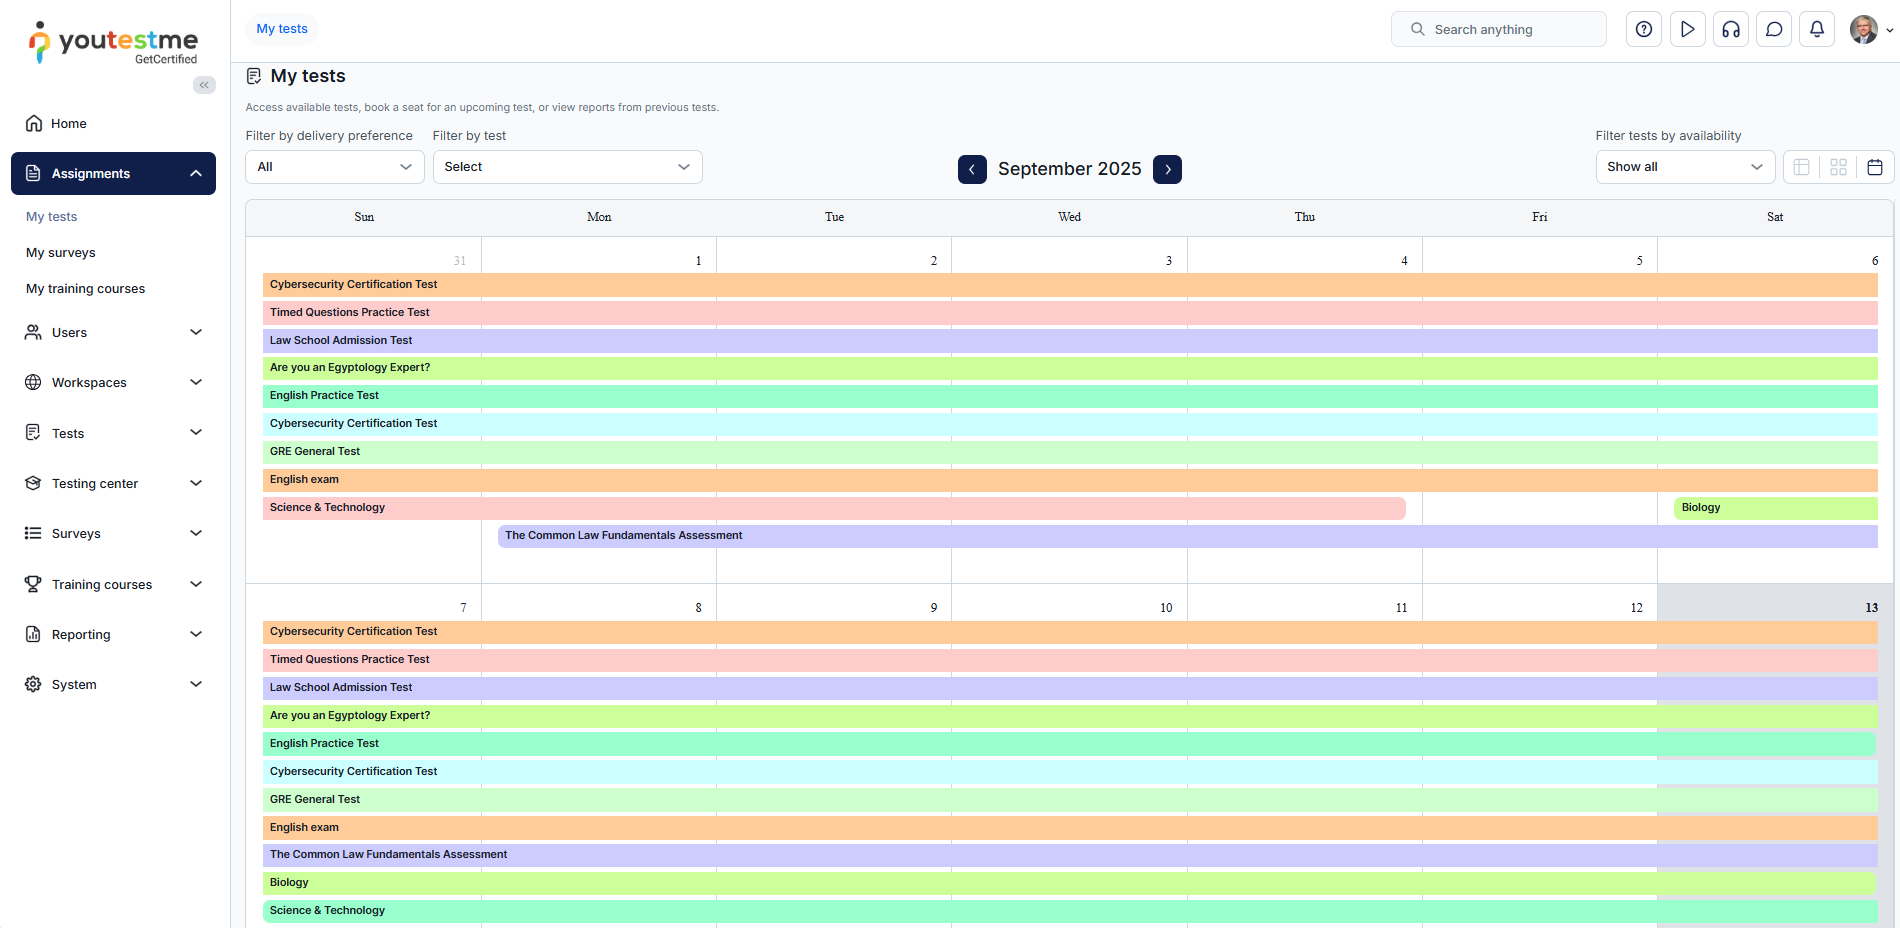
-
Self-enrollment first - First displays the assignments with open access where users can enroll themselves (A → Z), and then other assignments.
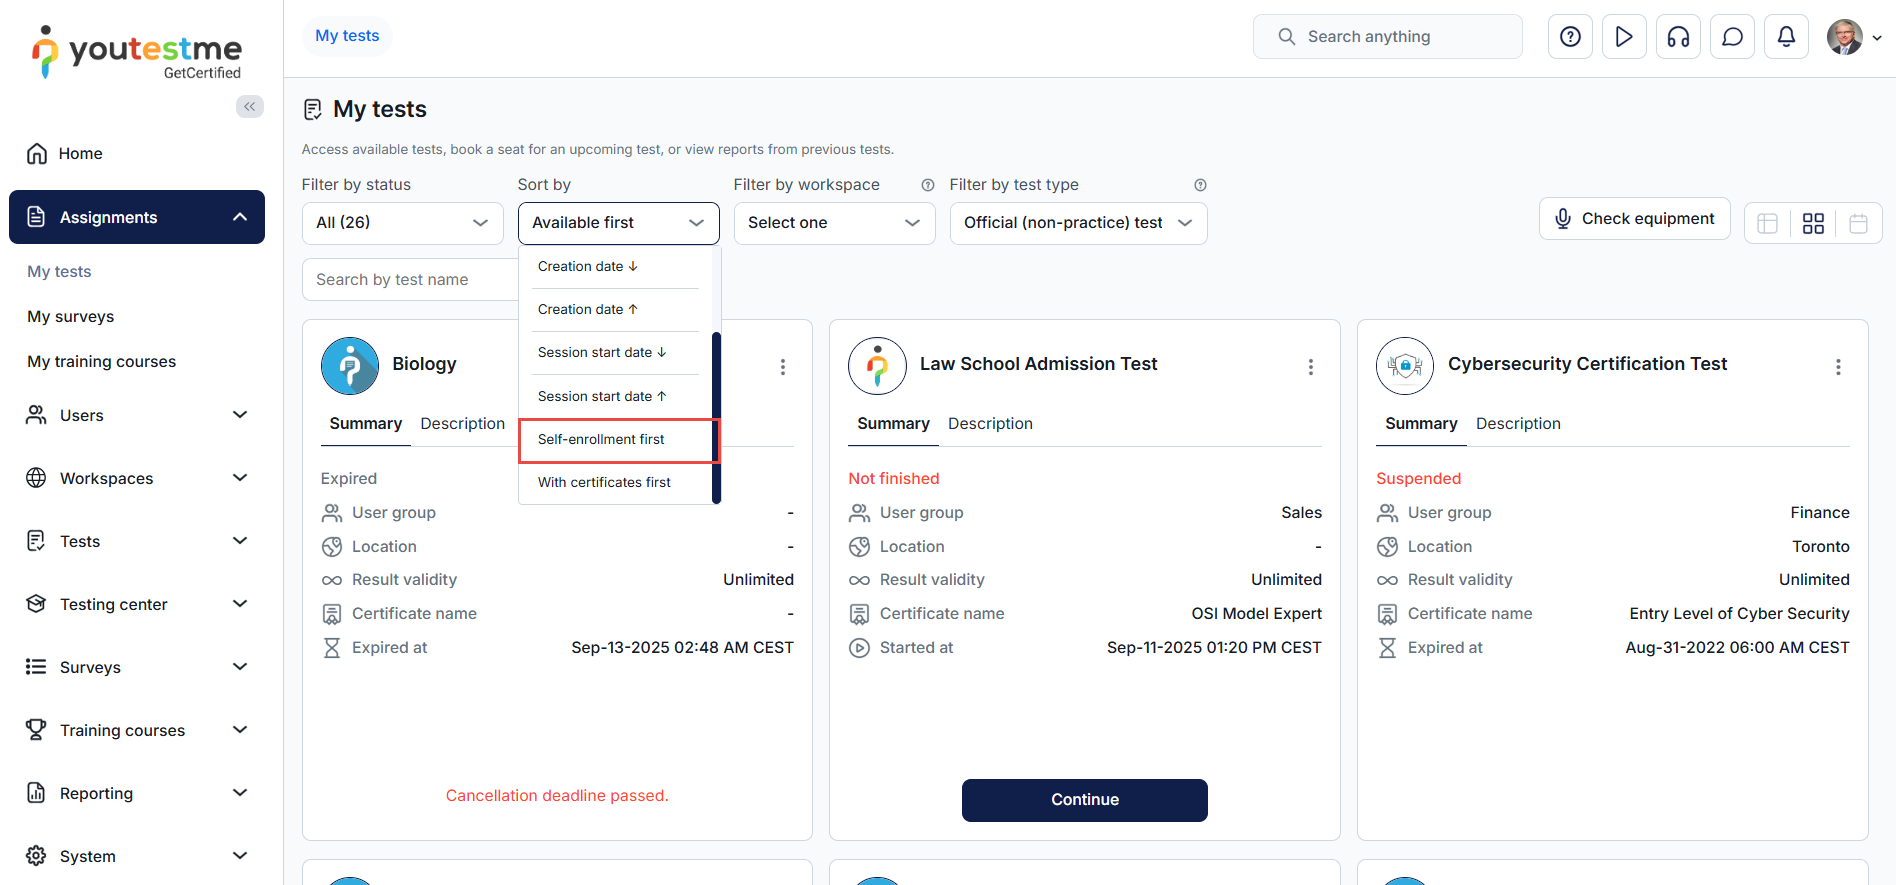
-
Self-enrollment - Users can join the group through the User profile page or by accessing the generated self-enrollment link. By clicking the Invite option in the pop-up dialog, you can choose whether the user will be a group manager or a member. Select the Copy option to copy the generated link.
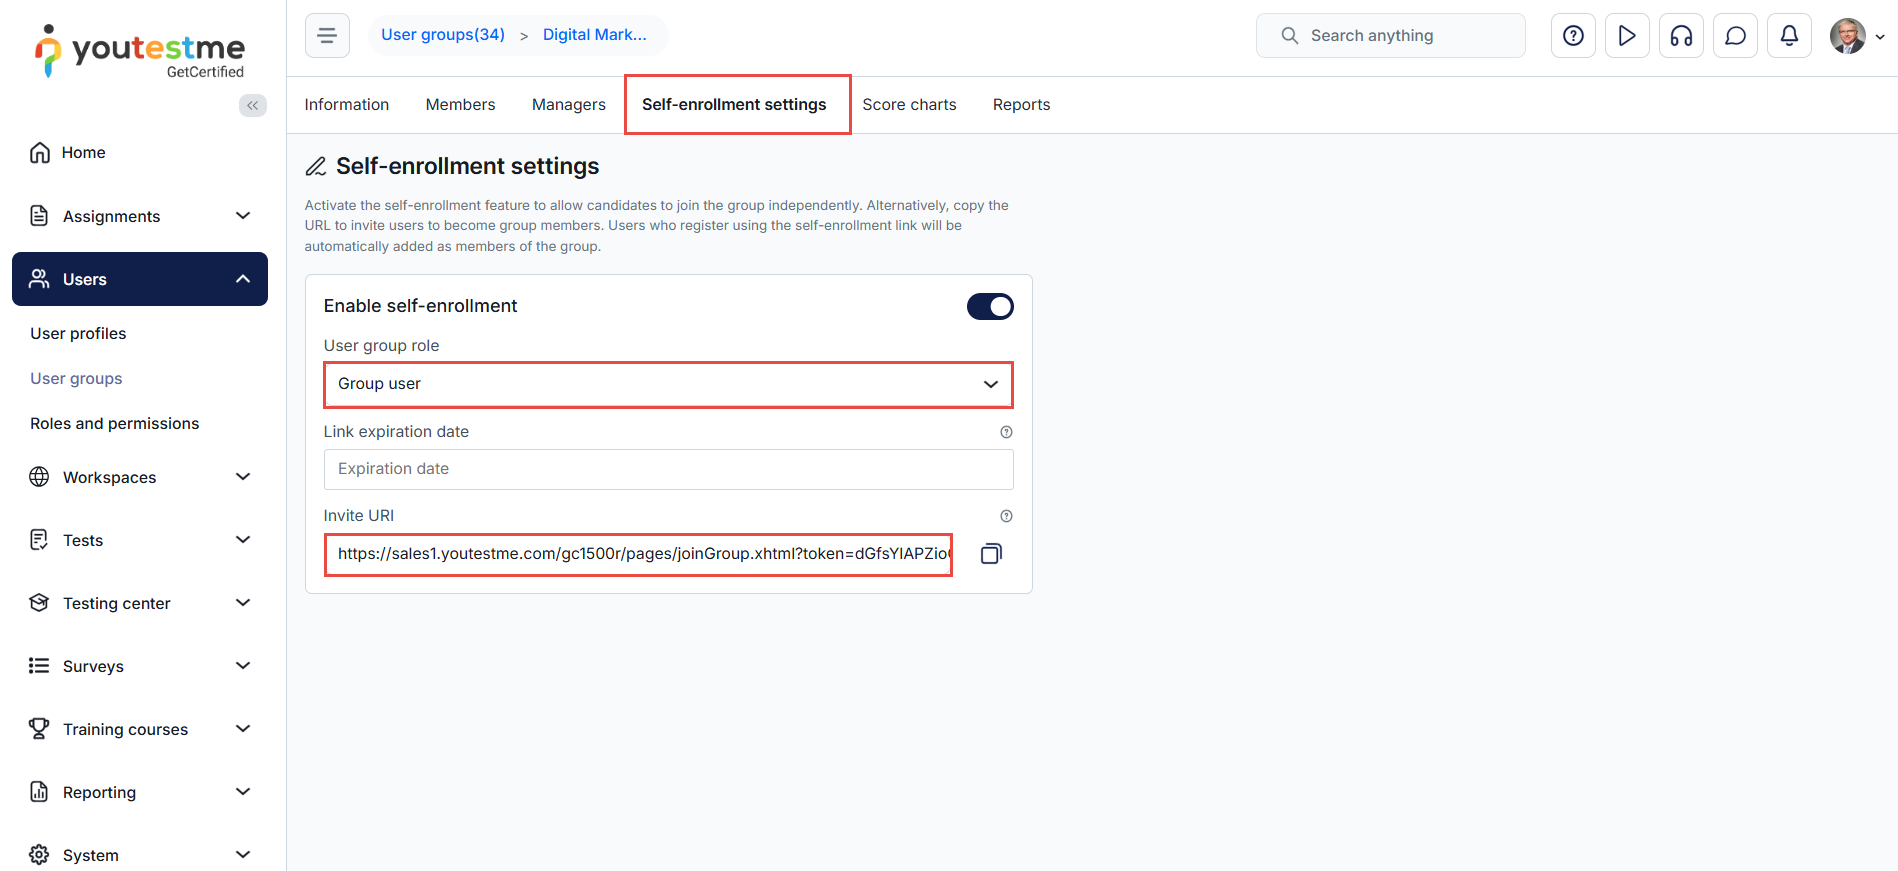
-
Self-enrollment - Check this option to set the training course to the top of the My assignments page. The training course will be visible to all users, and they can start doing it.
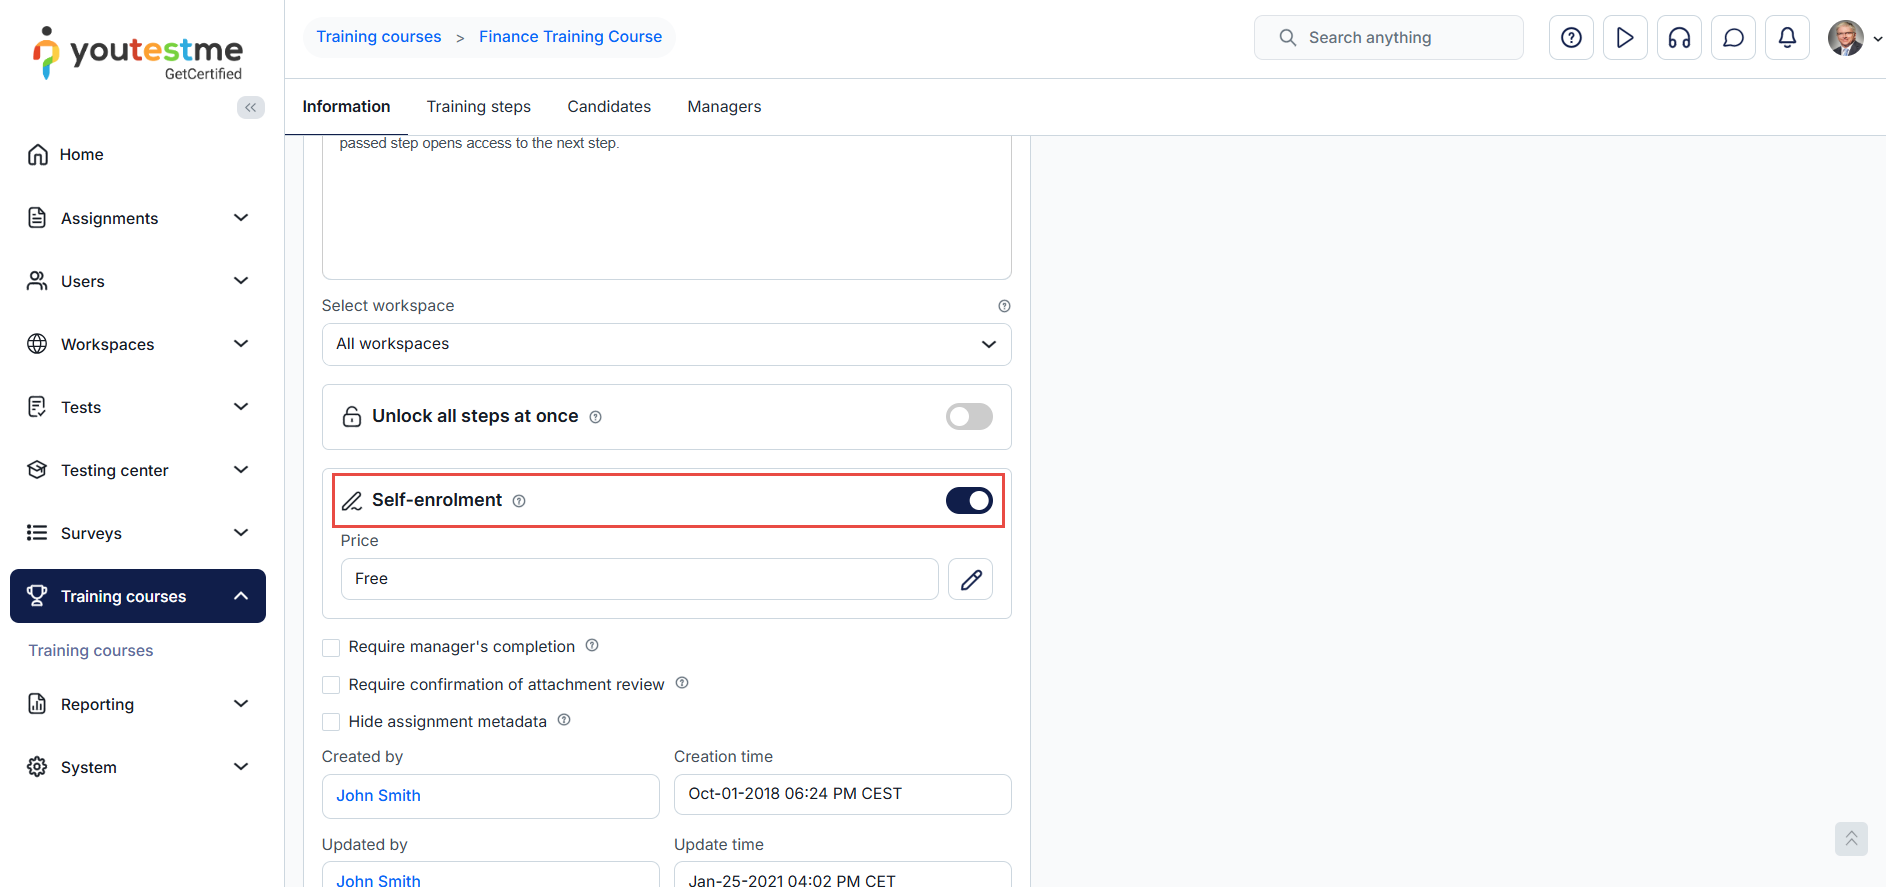
-
Allow candidates to self-enrol - If you enable the Allow candidates to self-enrol option, the Show booking settings option will appear. The booking deadlines can be set manually or automatically. To set the booking deadline manually, select the booking deadline for this session and define the date until the candidates can book assignments. Authorization required - test attempt authorization allows the user to book a session to take a specific exam. The authorization must be created for every user individually.
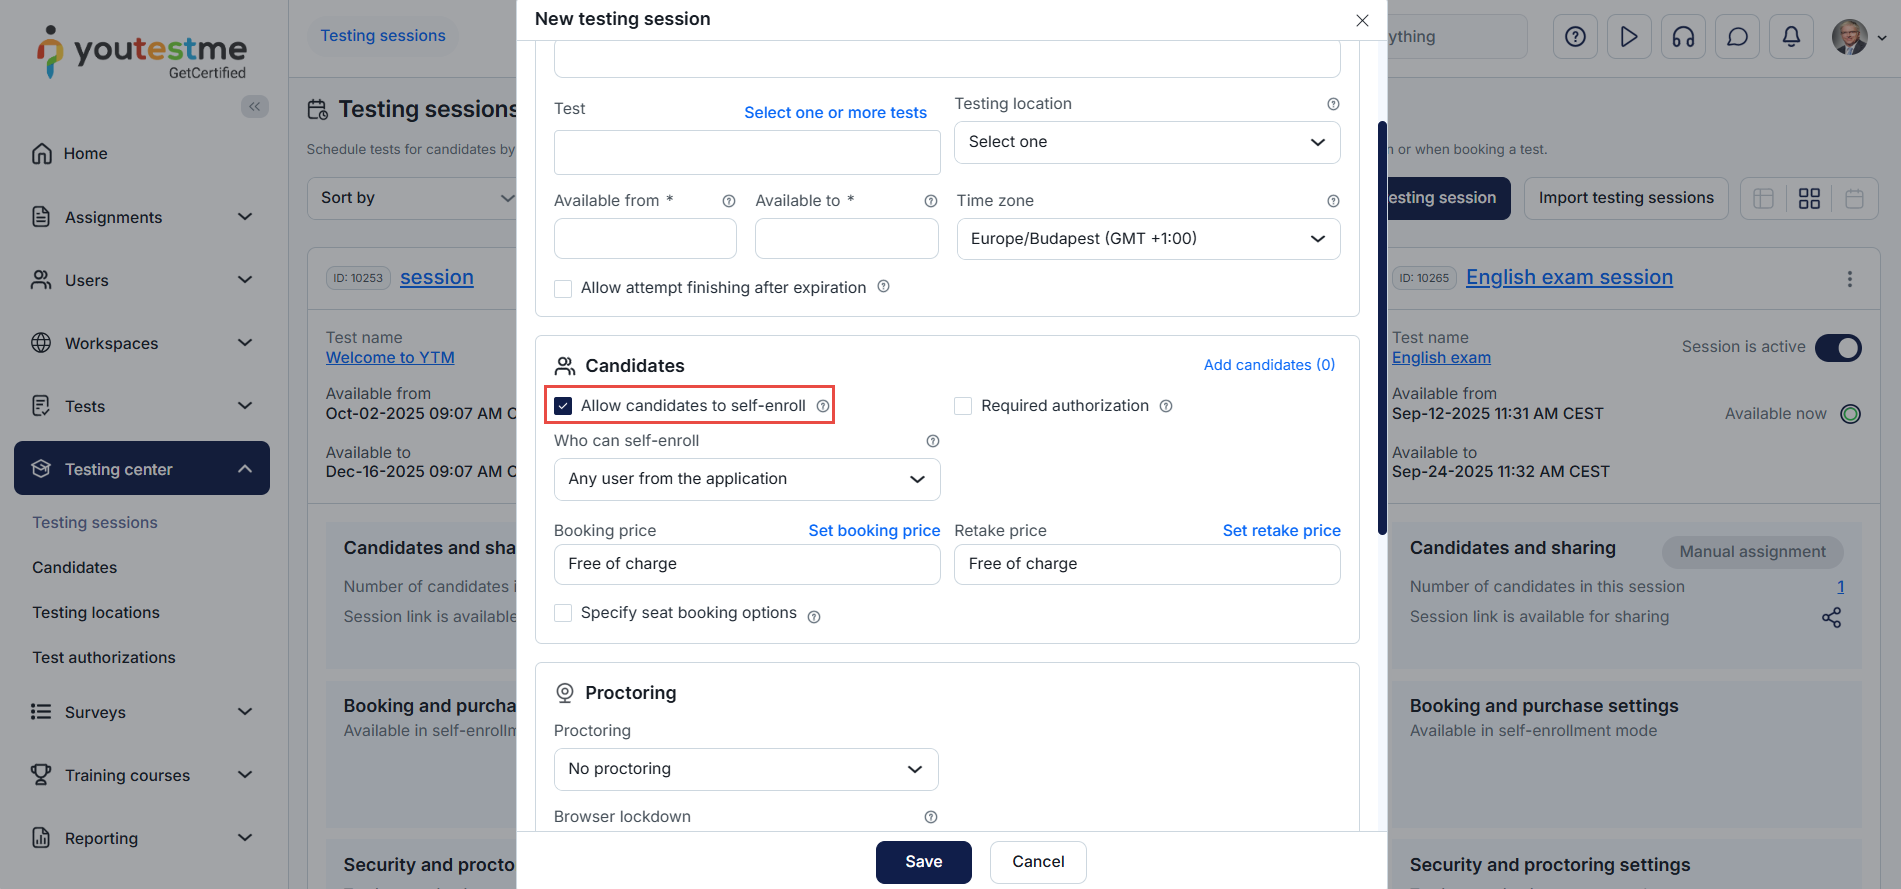
-
Booking and purchase settings.
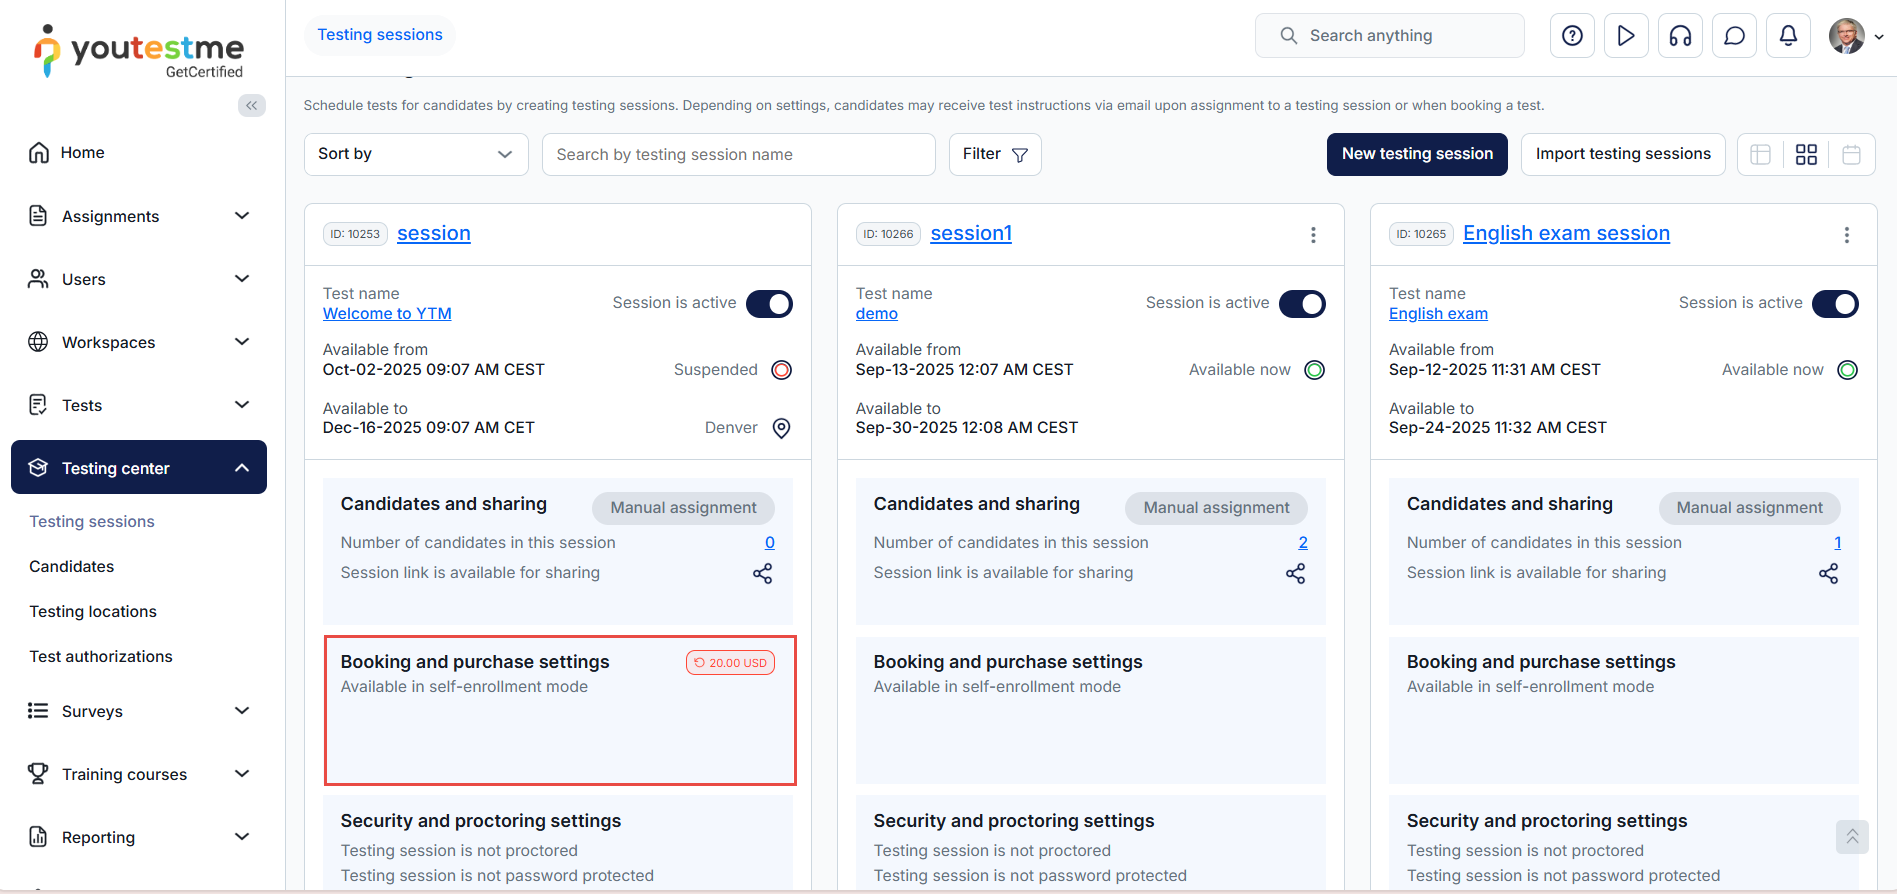
-
Test authorization regulates user access to tests. You can establish criteria, like mandatory payments or specific qualifications, for users to gain test authorization.
Booking authorizations allow users to book a session to take a specific test. Authorizations are usually used when taking tests and are only allowed for candidates who must purchase tests in other external systems before booking a specific test in the application. You can create an authorization for any user in any test and see all authorizations in the system.
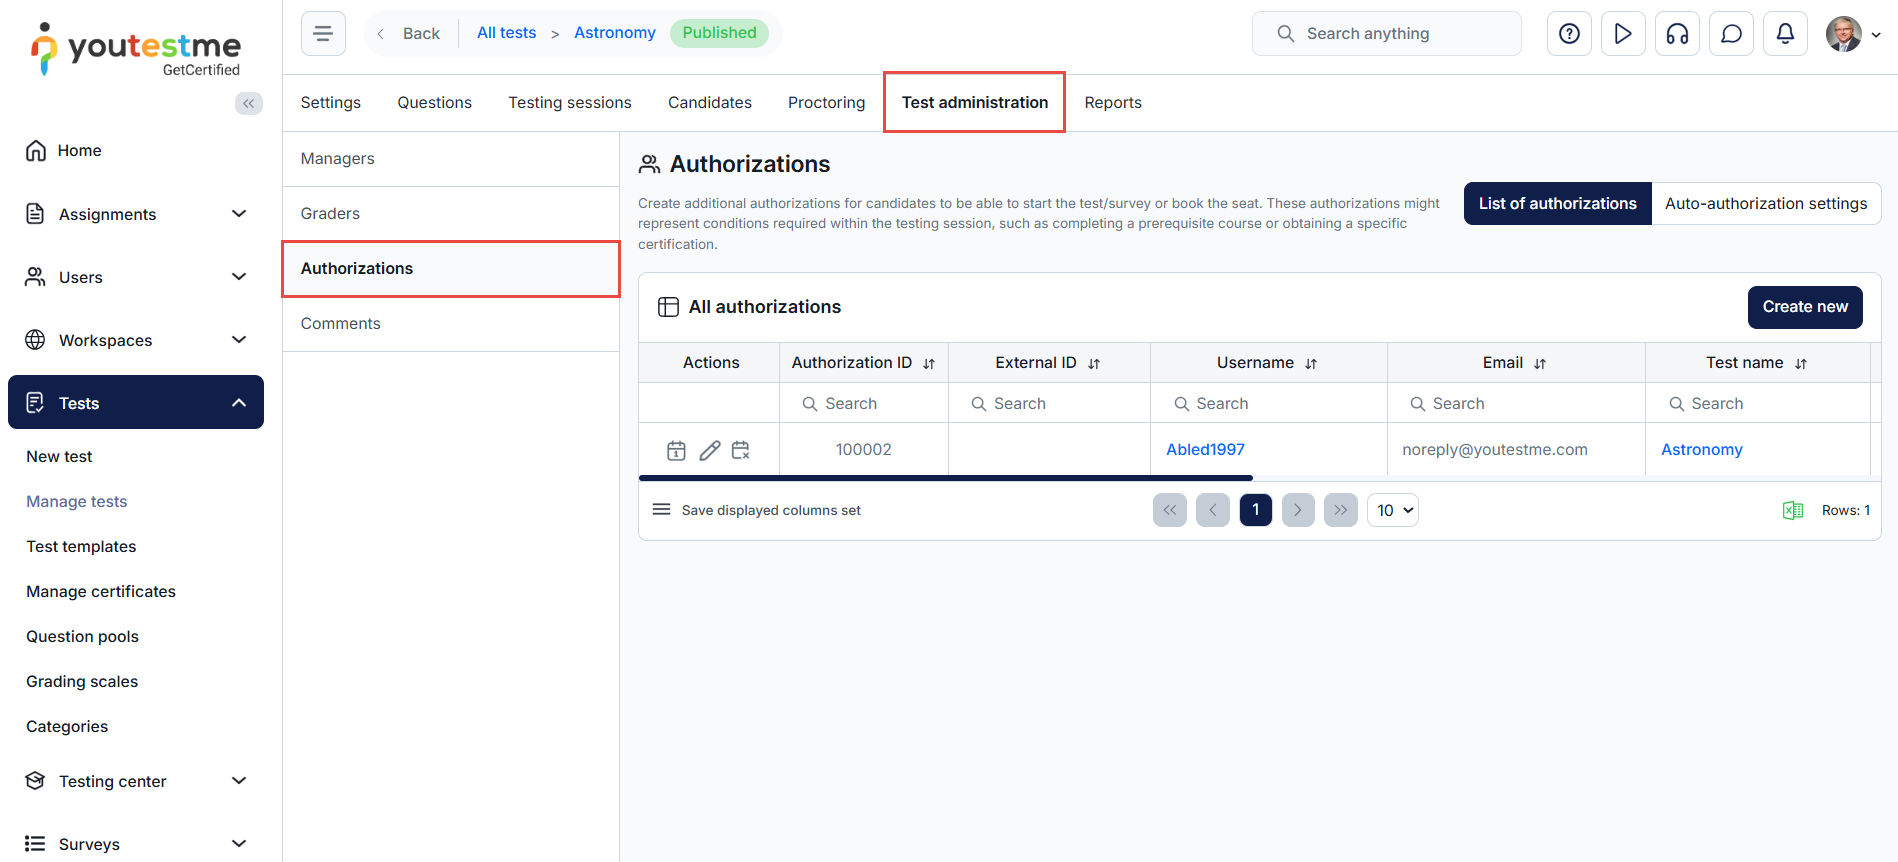
For more information, please visit this link.
-
Booking authorizations allow users to book a session to take a specific test. Authorizations are usually used when taking tests and are only allowed for candidates who must purchase tests in other external systems before booking a specific test in the application. You can create an authorization for any user in any test and see all authorizations in the system.
-
Automatically set booking deadlines depending on the test delivery preference for which candidates apply. The number of days, hours, and minutes you enter will be deducted from the start of the session and set as the booking deadline for that session.
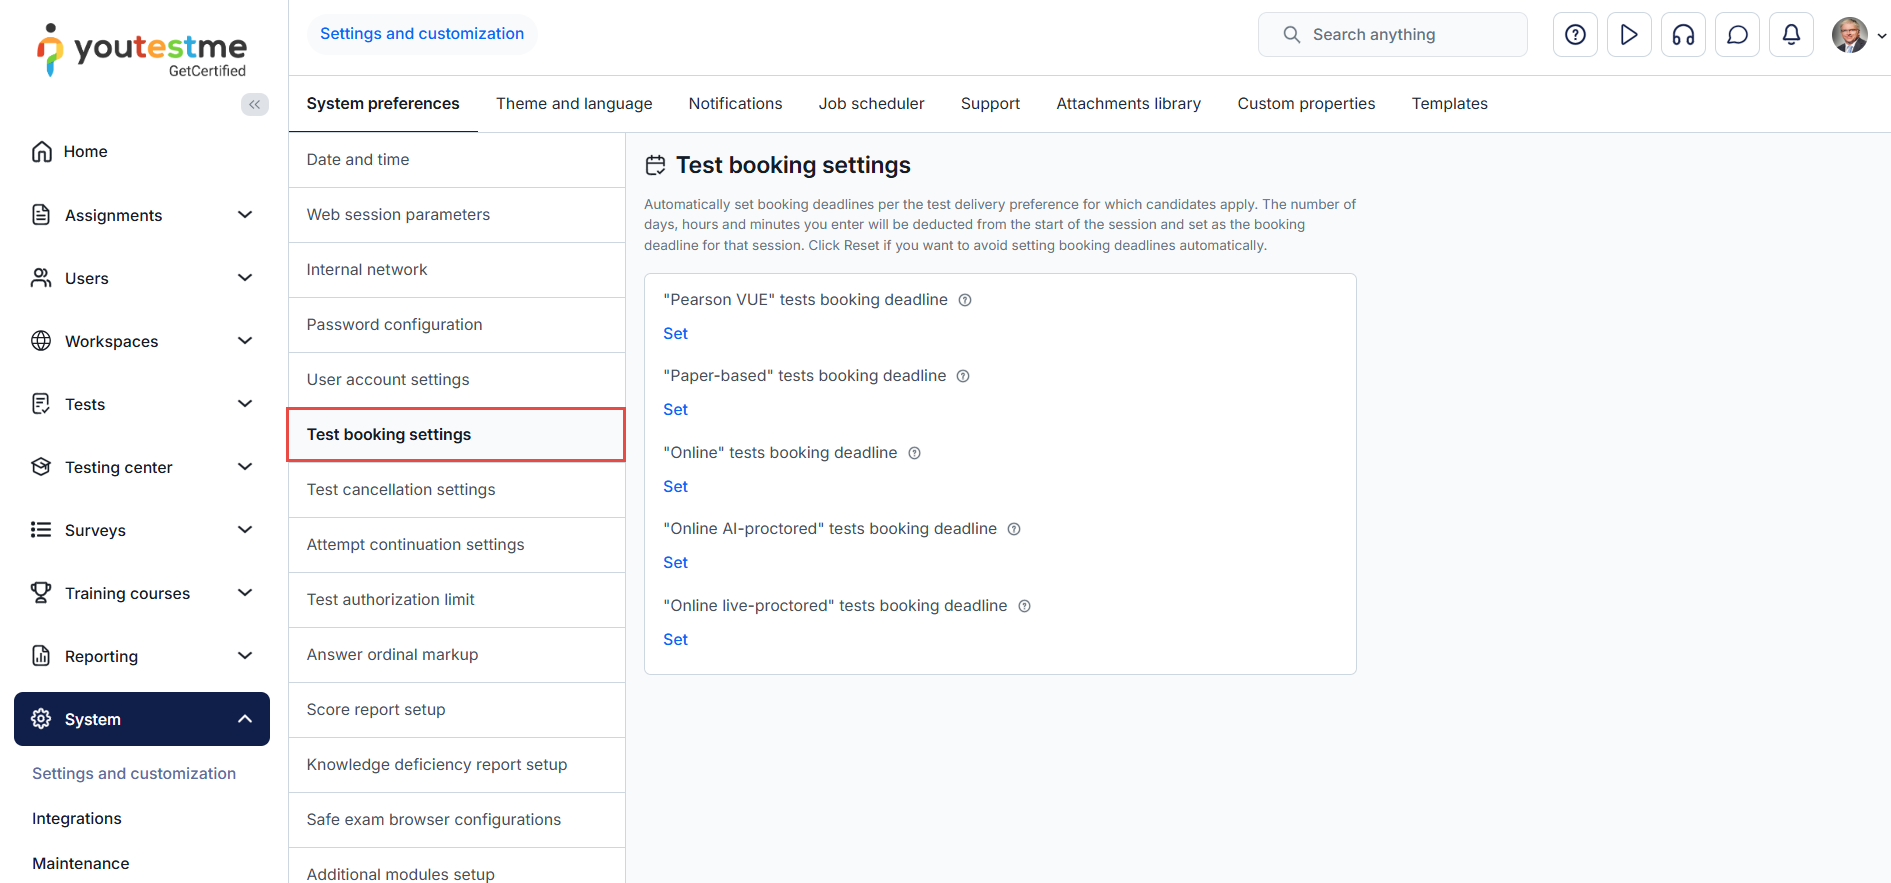
-
Automatically set cancellation deadlines depending on the test delivery preference for which candidates apply. The number of days, hours and minutes you enter will be deducted from the start of the session and set as the cancellation deadline for that session.
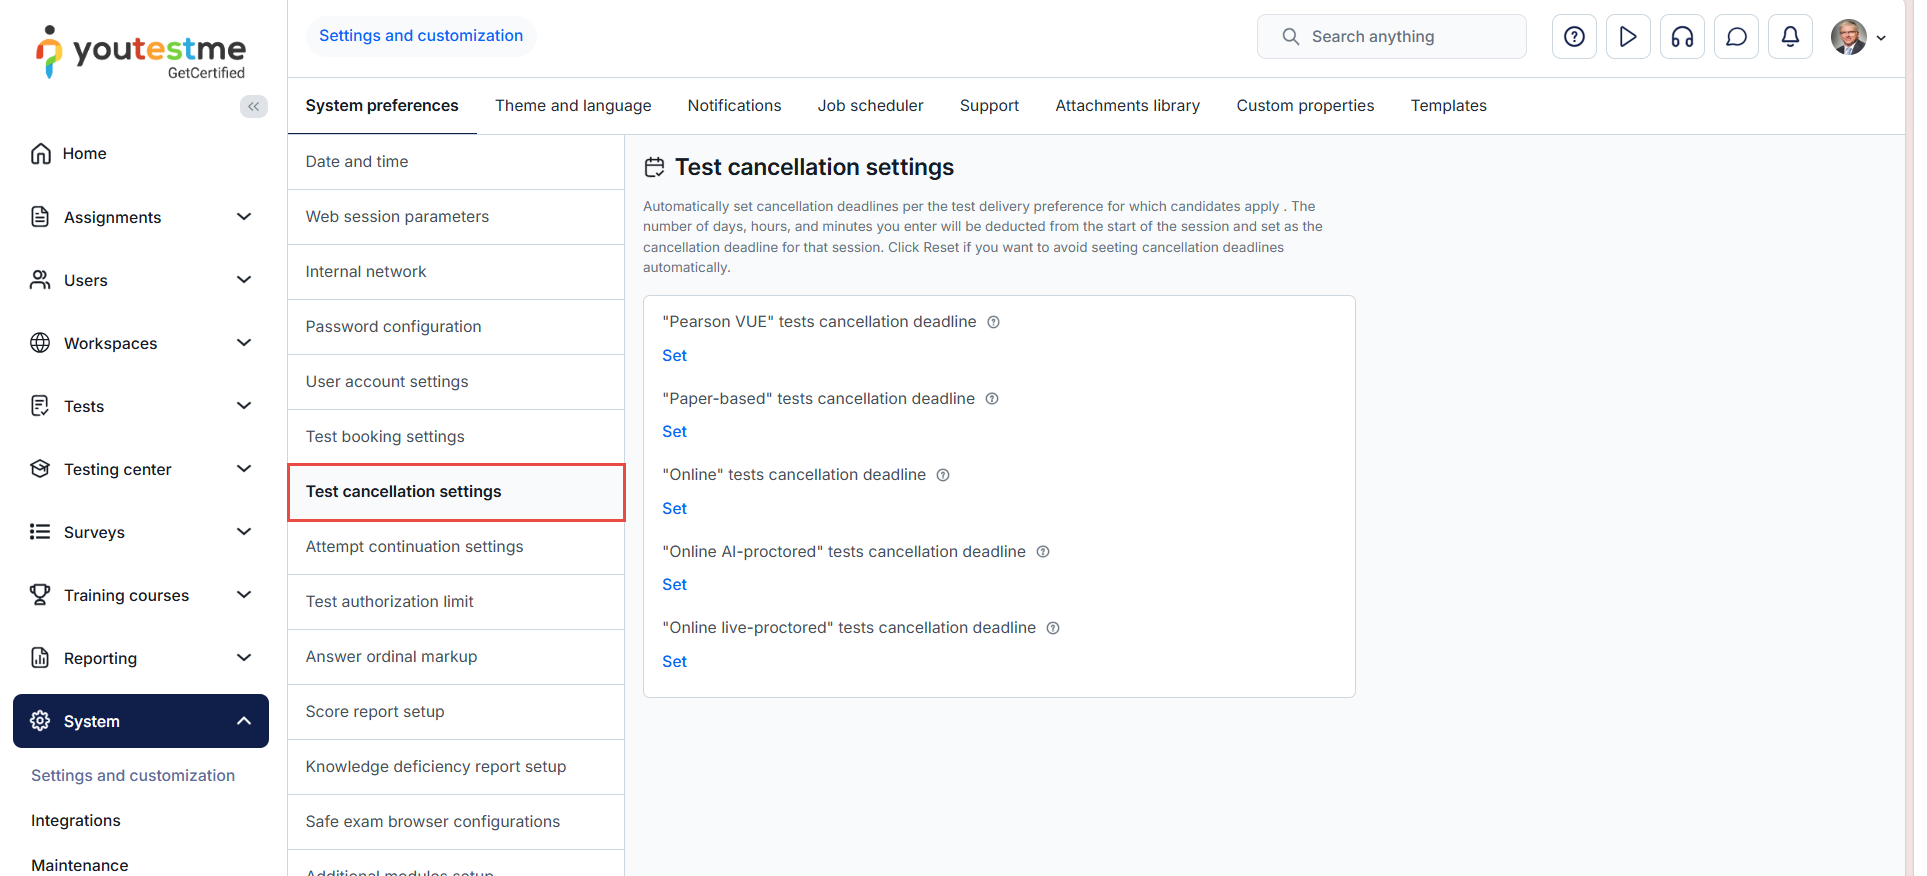
-
-
Cheating preventions
-
Security settings.
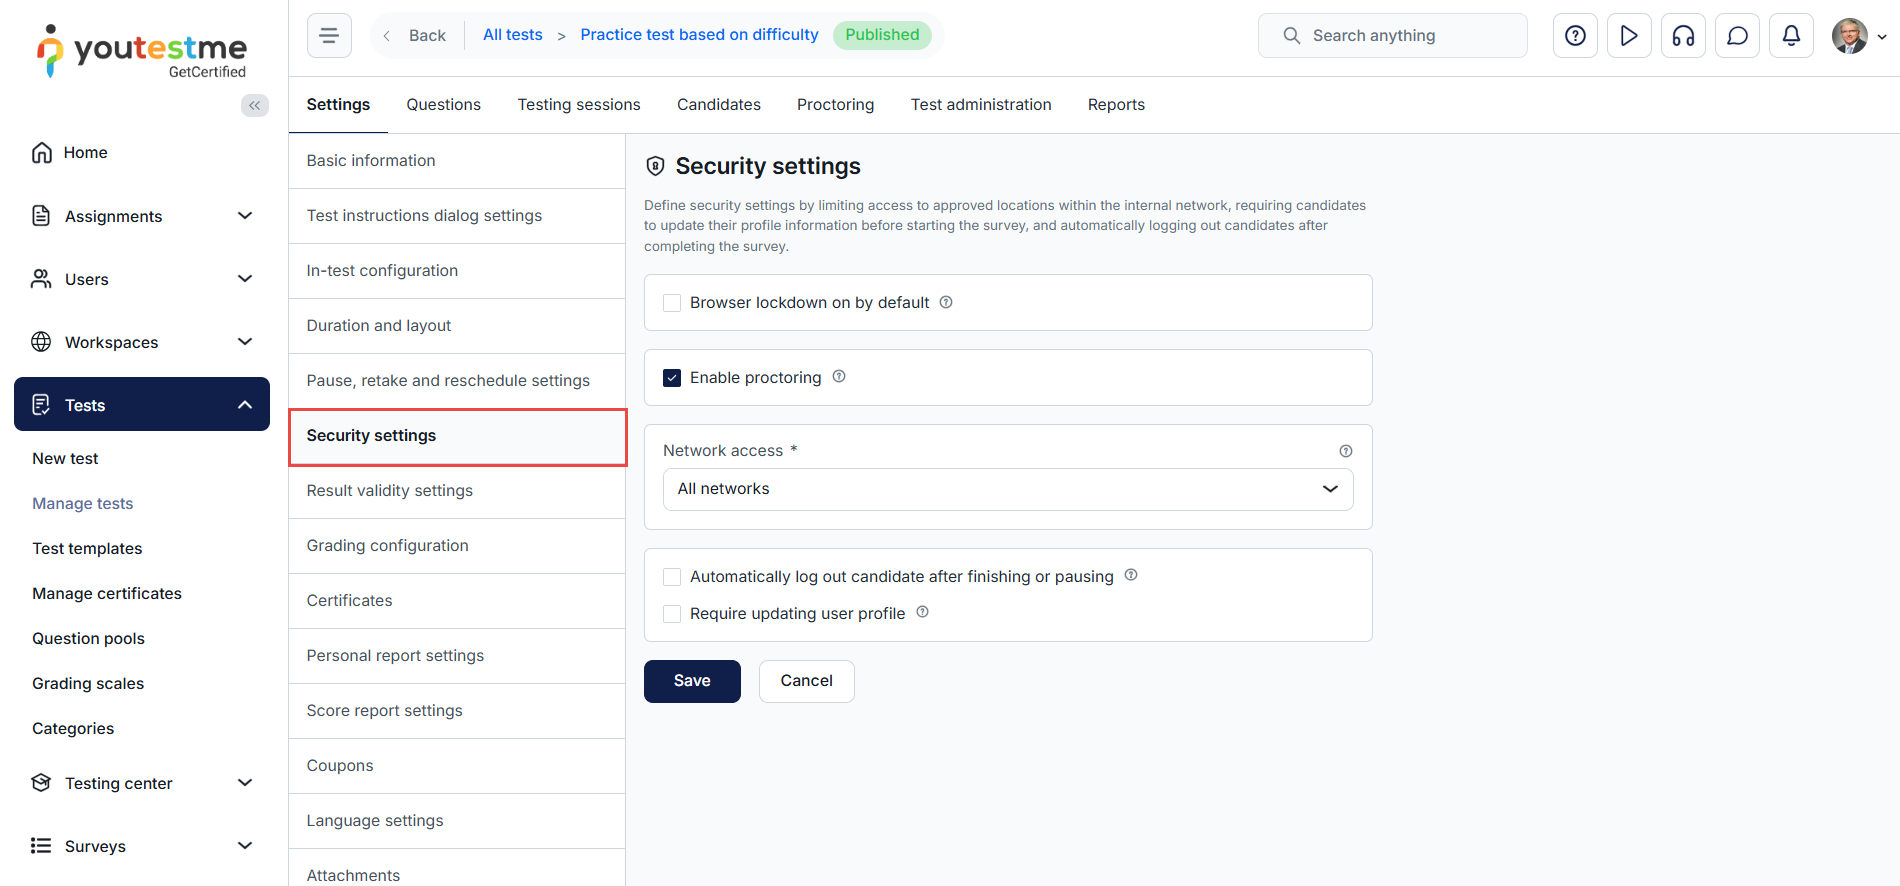
-
Configure report lifespan - Define how long will the report be available to the users.
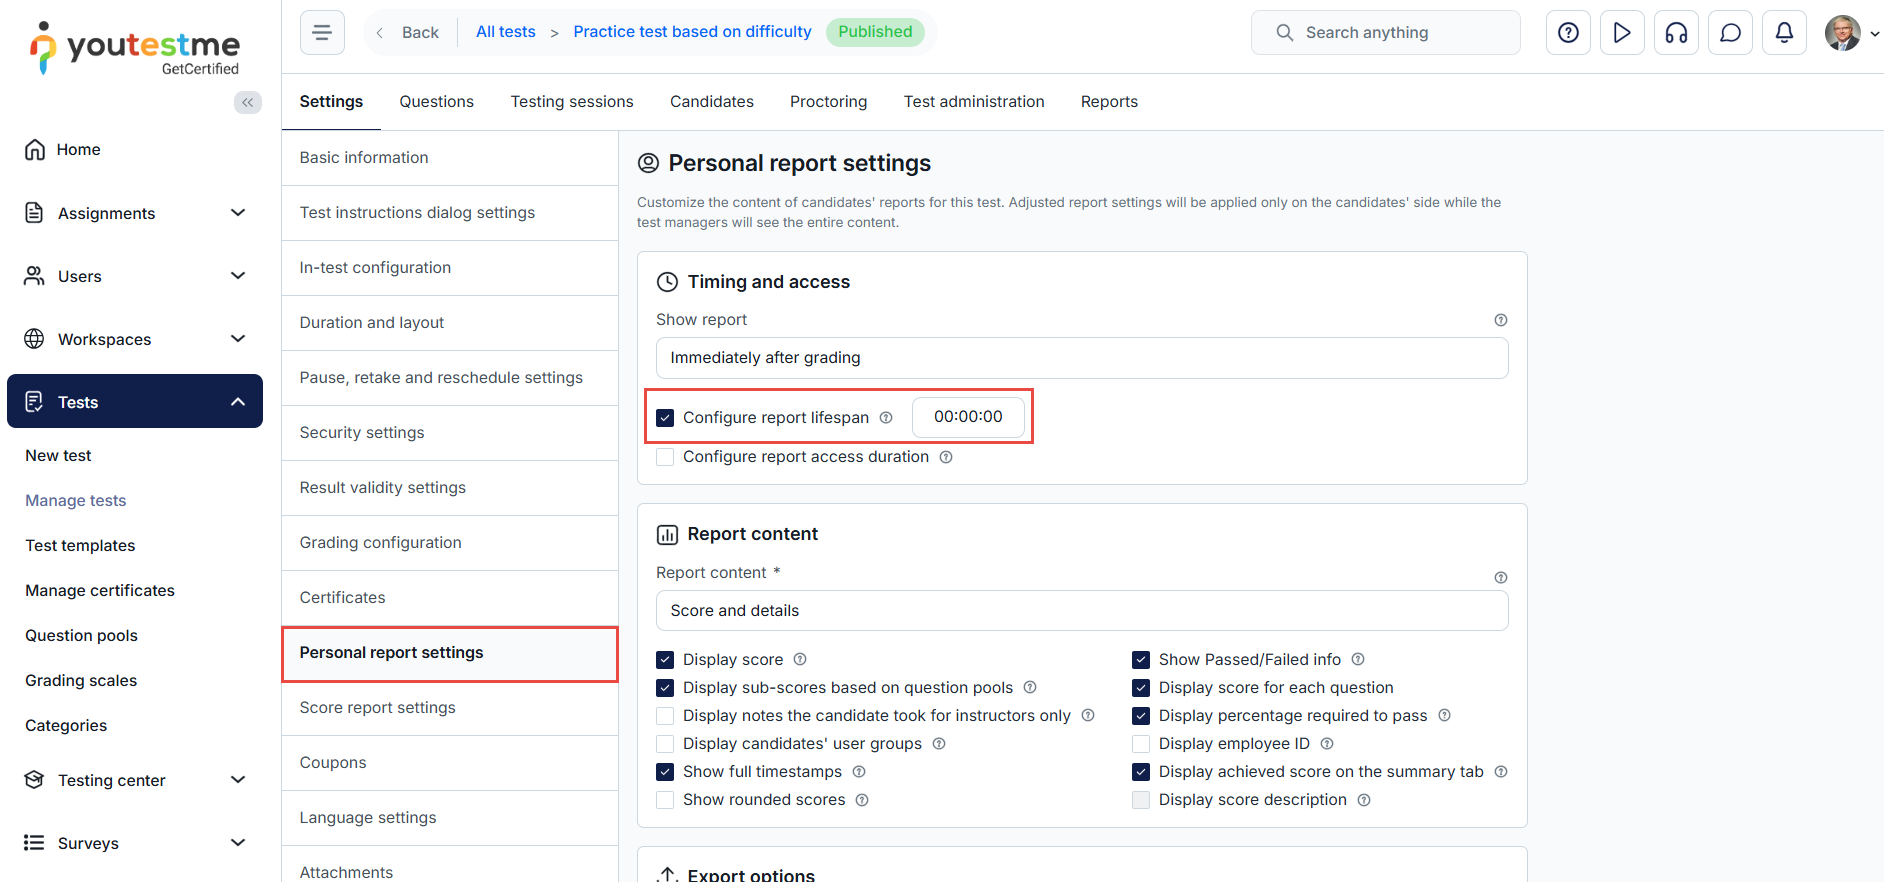
-
The proctoring tab allows you to track users' progress, scores, time spent on each question, and their answers. You can also preview a candidate's test attempt recording and grade their behavior during the test. In the Monitoring tab, you can pause the session for users during test-taking and write the reason for the pause. Users will see your message and can only continue the test once the session is resumed.
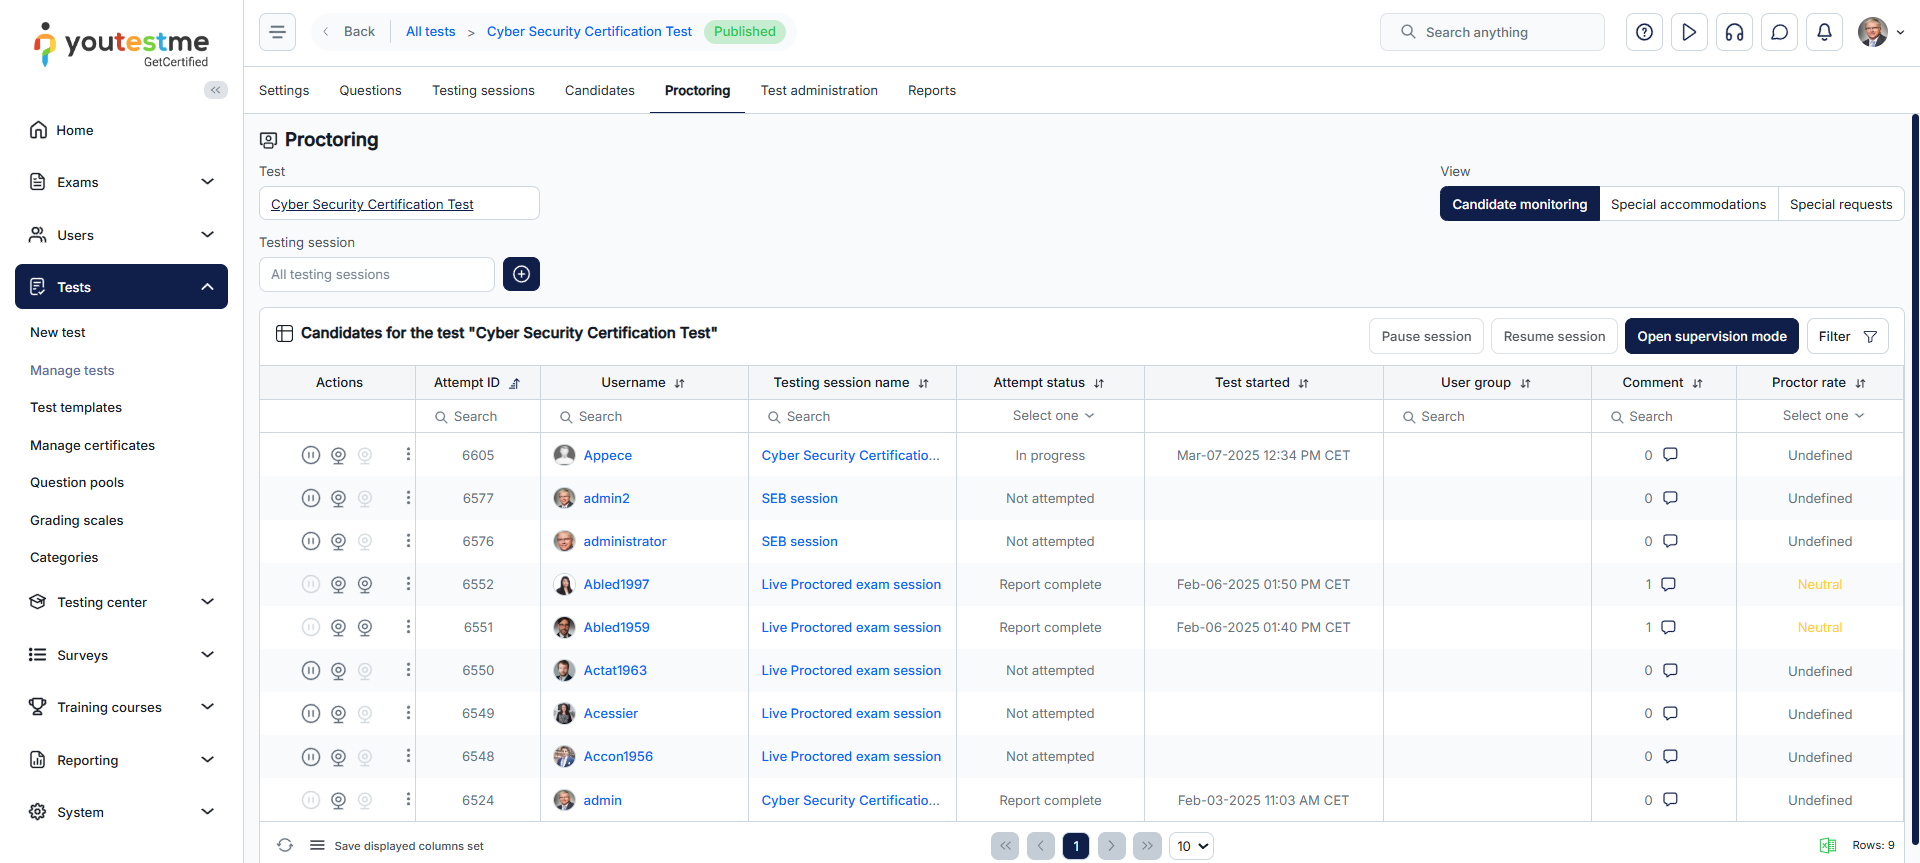
-
You can assign or remove users as proctors in the Testing sessions tab. A user with the default Proctor role or one assigned as a test proctor can only monitor candidates' progress. In contrast, a manager can edit the test, create new sessions, and perform other administrative tasks.
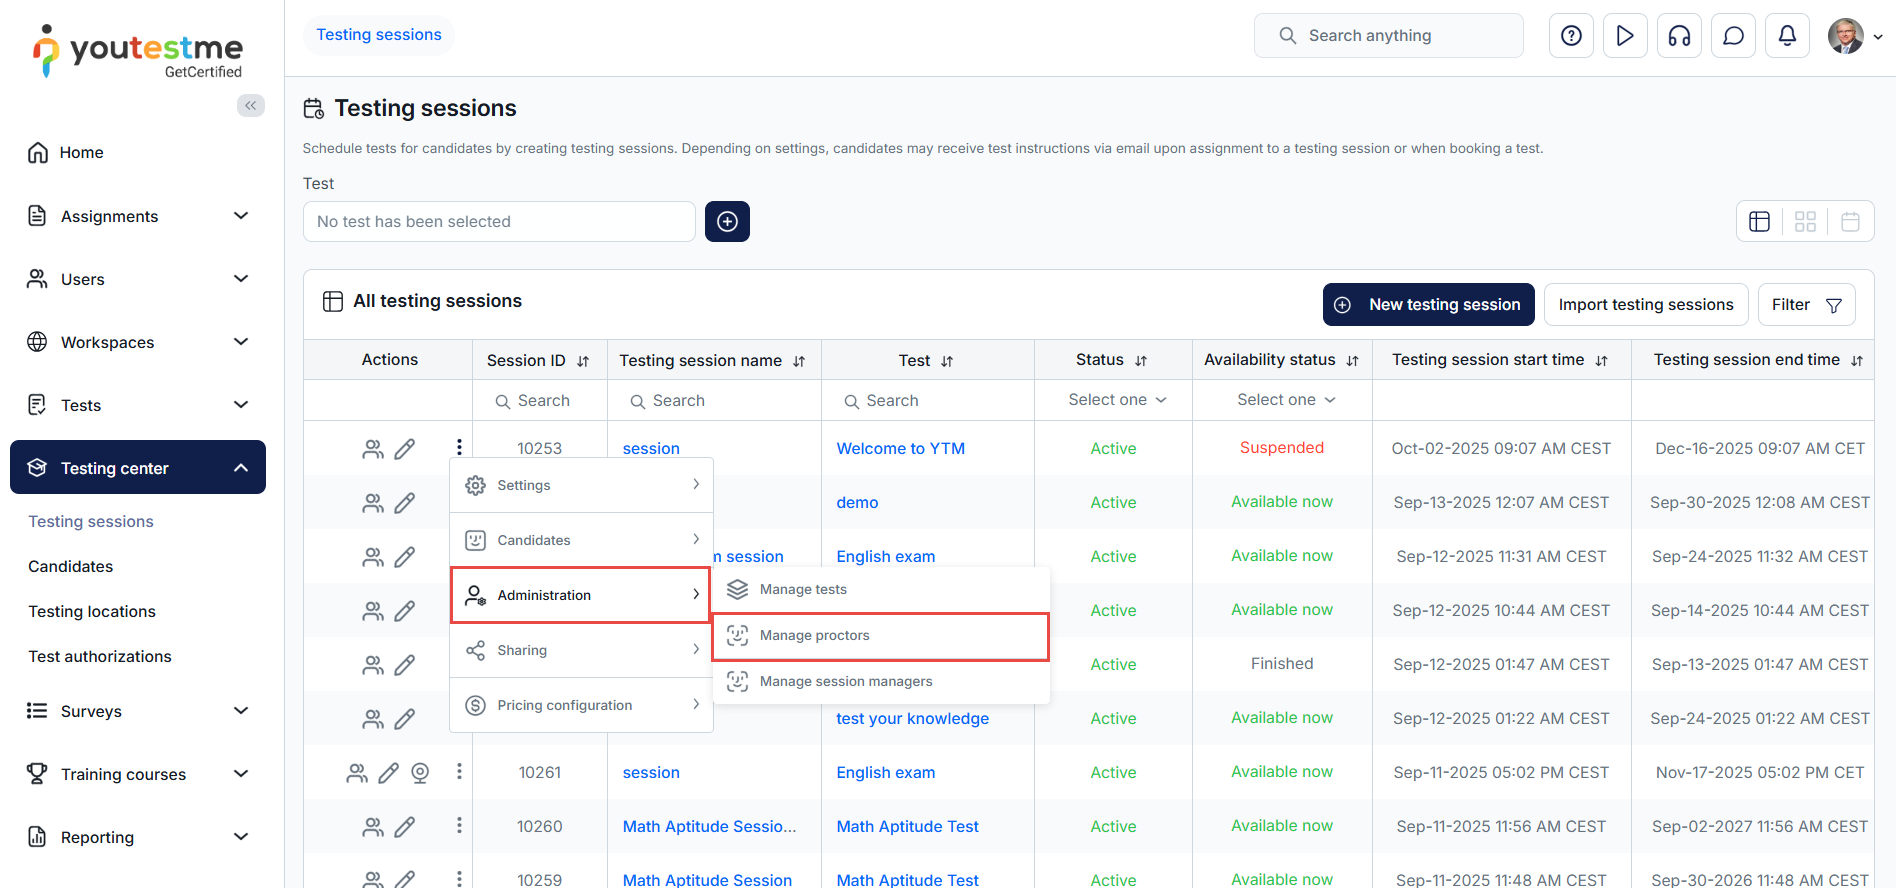
-
Users can only start the test by entering the session password if the Locked option is enabled. Test managers and proctors can view the session password. When a user accesses the guest link, a new guest profile is created, and the user is redirected to the test or survey. The system will automatically delete the guest user profile when the user signs out or when the HTTP session expires.
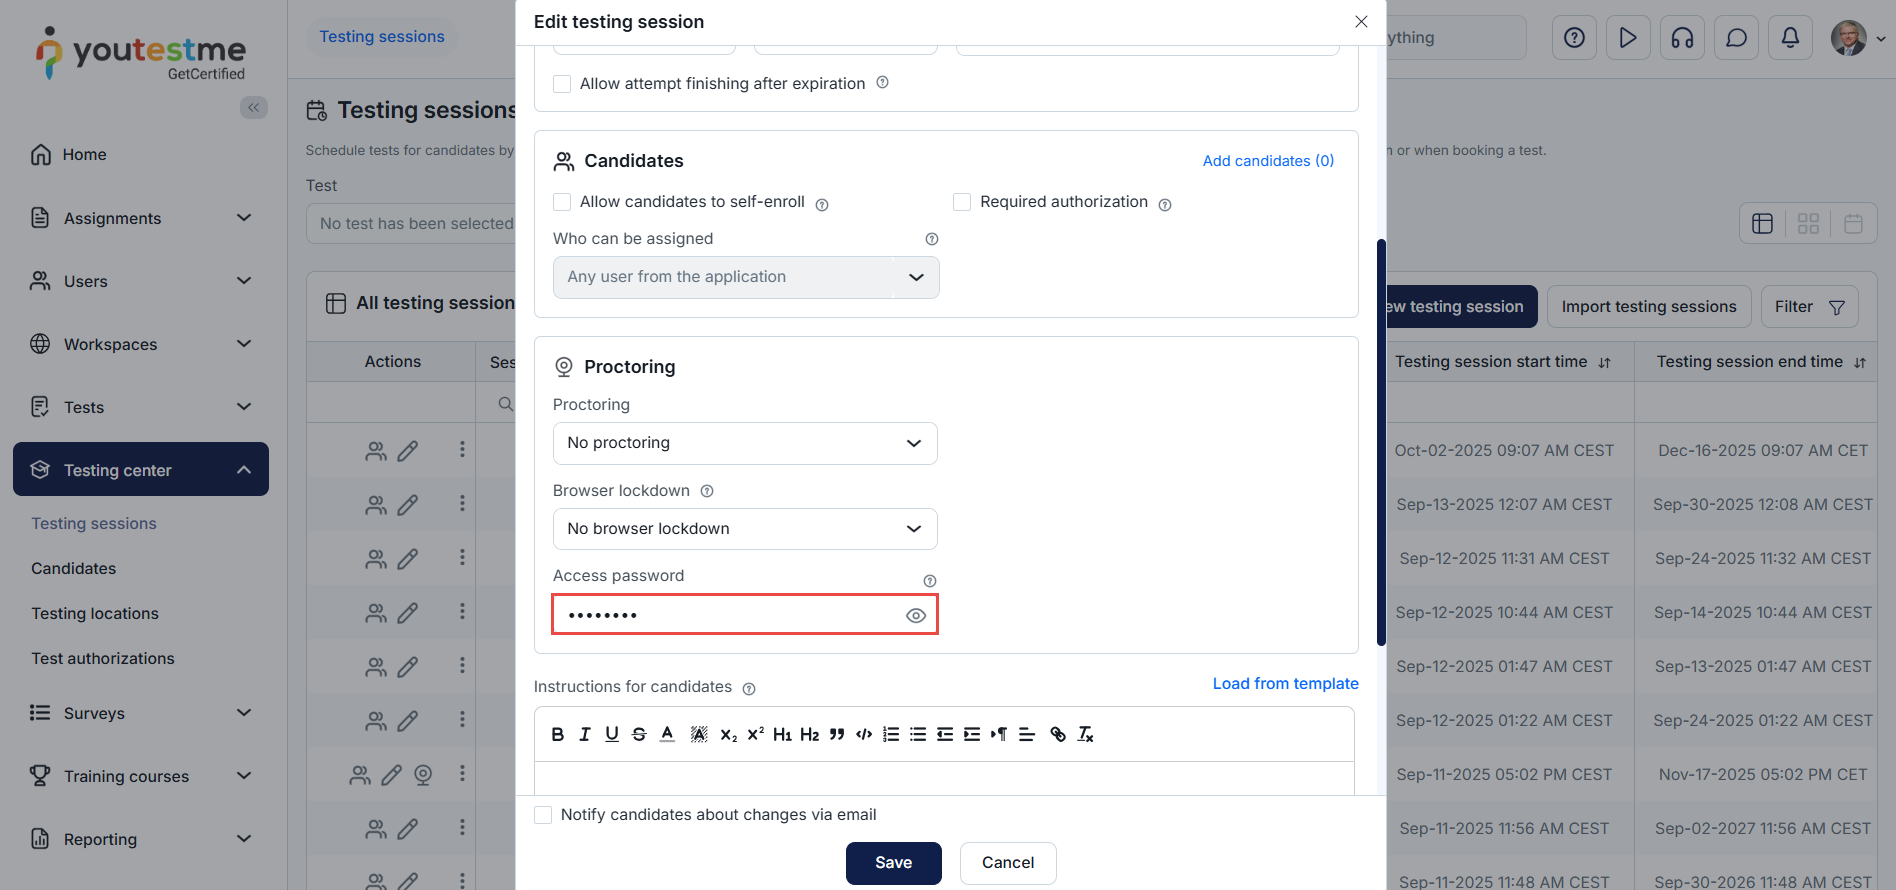
-
-
Extended data pack
-
Under Question categories, you can add categories to a question. Question categories facilitate better question organization and easier searchability. Additionally, question categories can serve as filters in test generators. Note that question categories are only available for questions within pools.
Under Custom properties, you can establish additional fields to facilitate easier searching and filtering of questions.
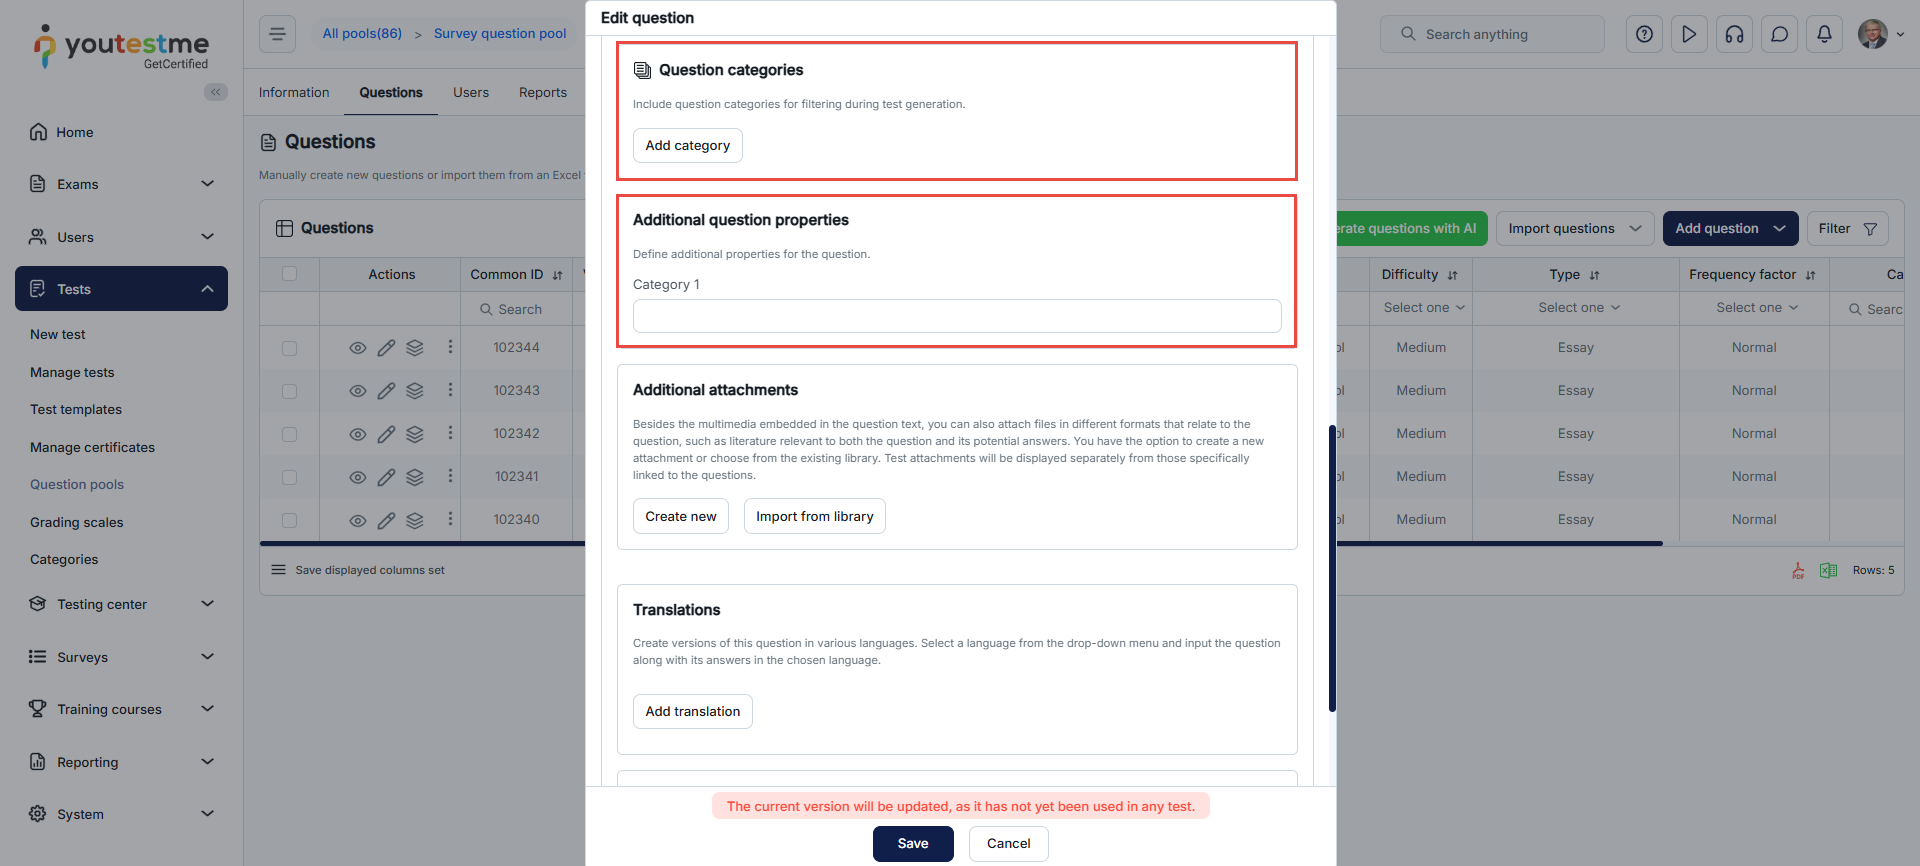
-
Custom properties are fields that can be added to user profiles or assigned to questions. Utilize custom question properties to group questions or provide additional data to facilitate easy searching and management.
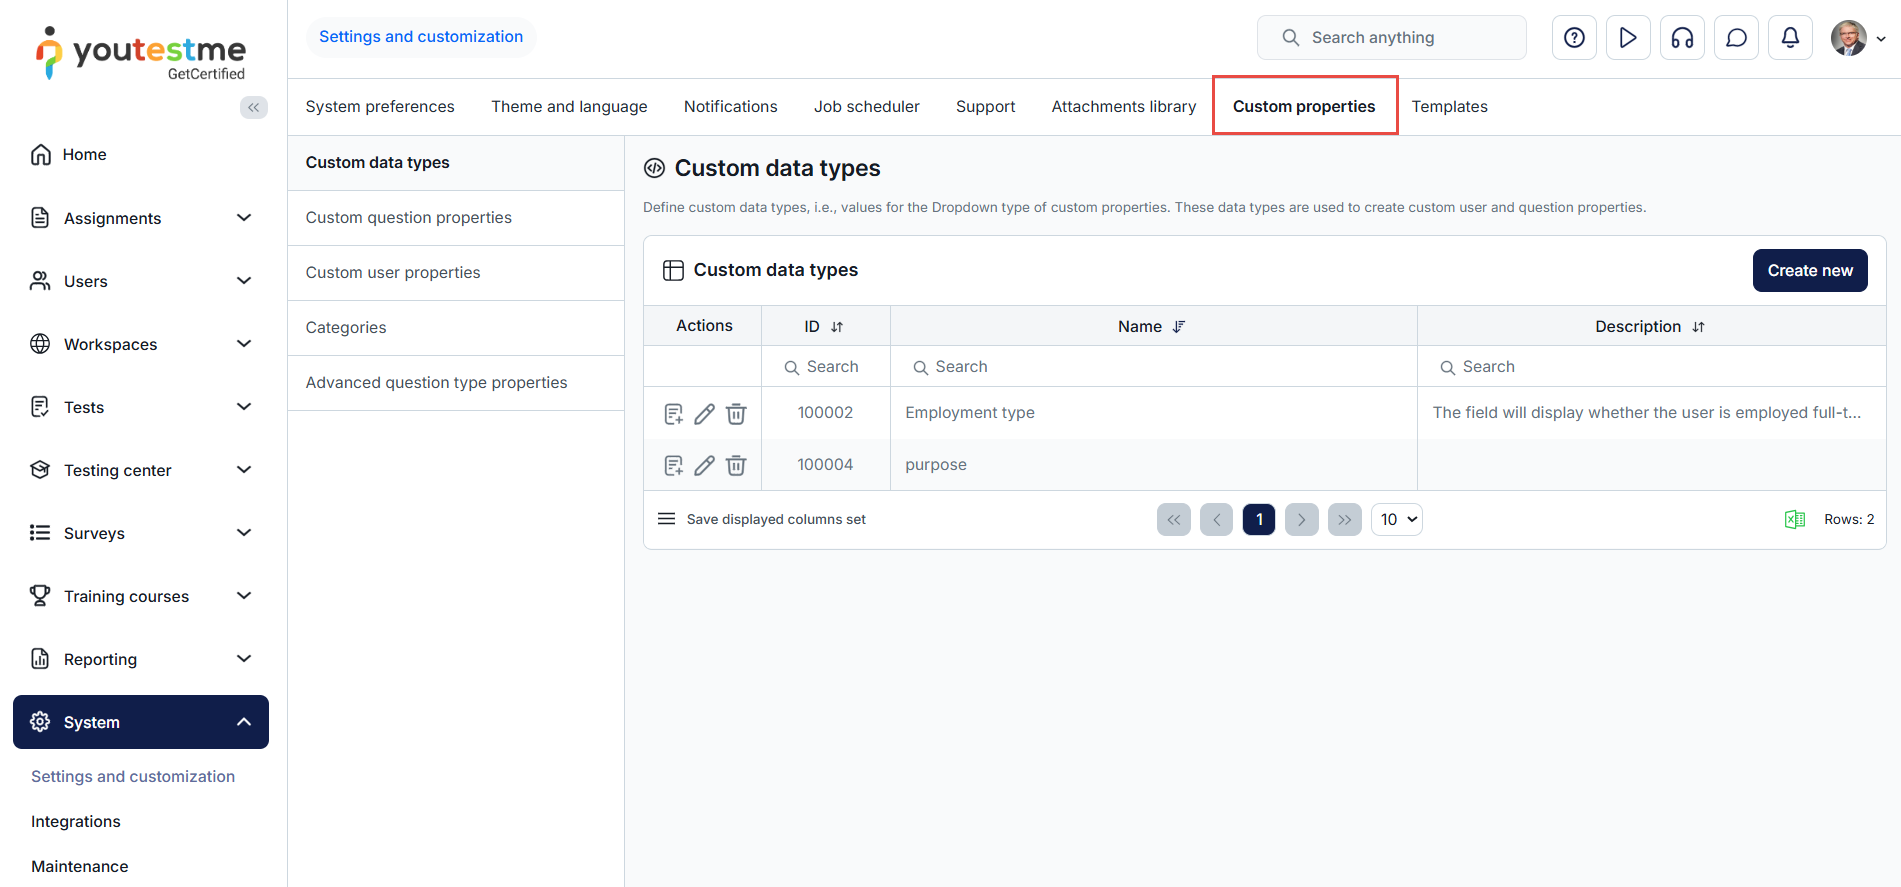
-
Custom user properties record additional user information, such as department or organization affiliation. When a user with the appropriate permissions creates and enables a custom user property, the field becomes visible under all users' personal information.
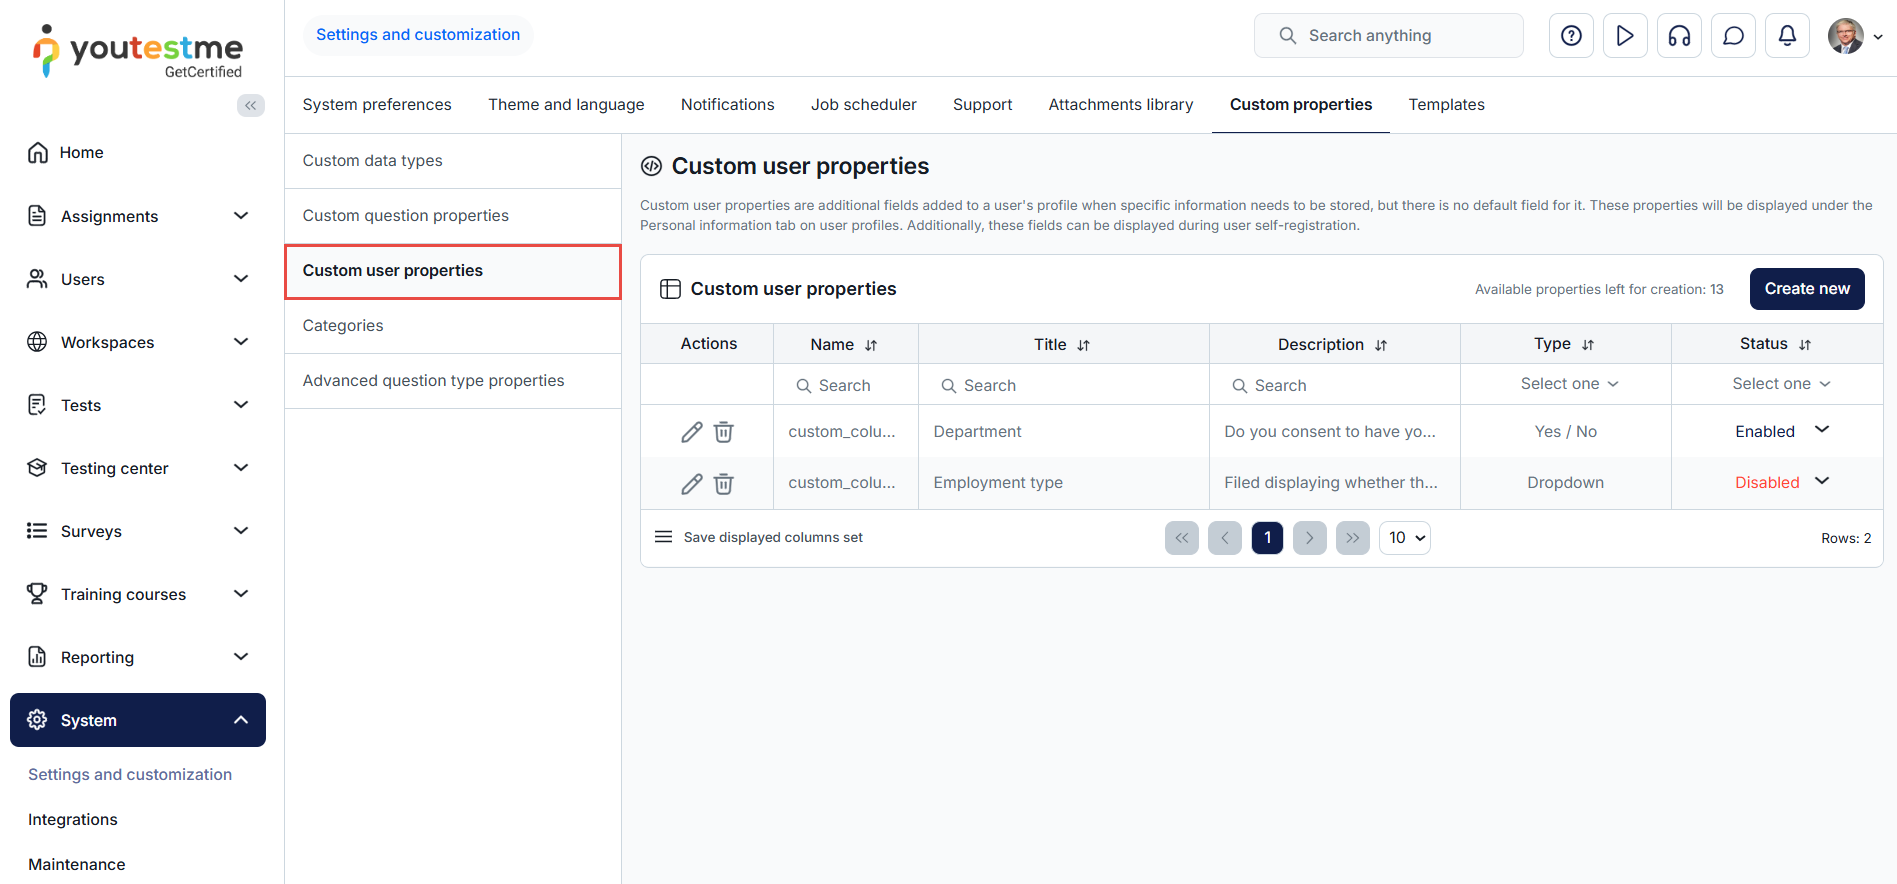
-
Question categories can also be accessed through the Tests tab..
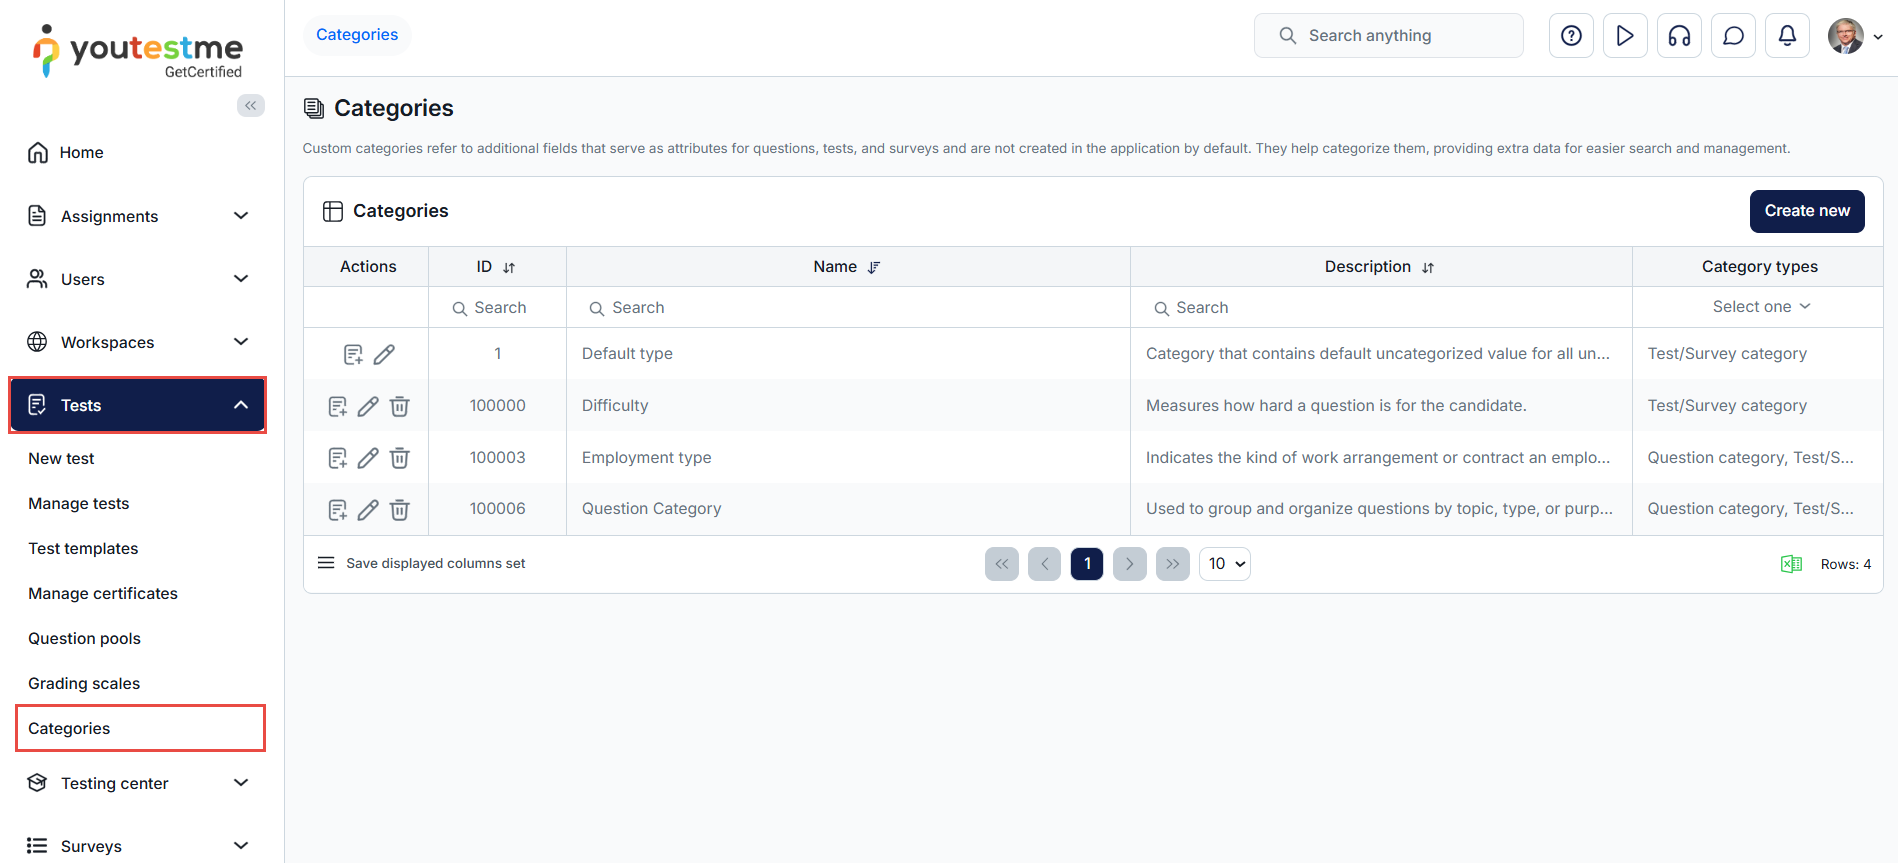
-
Test label - Enter a label to add a classification on test pages and exported reports.
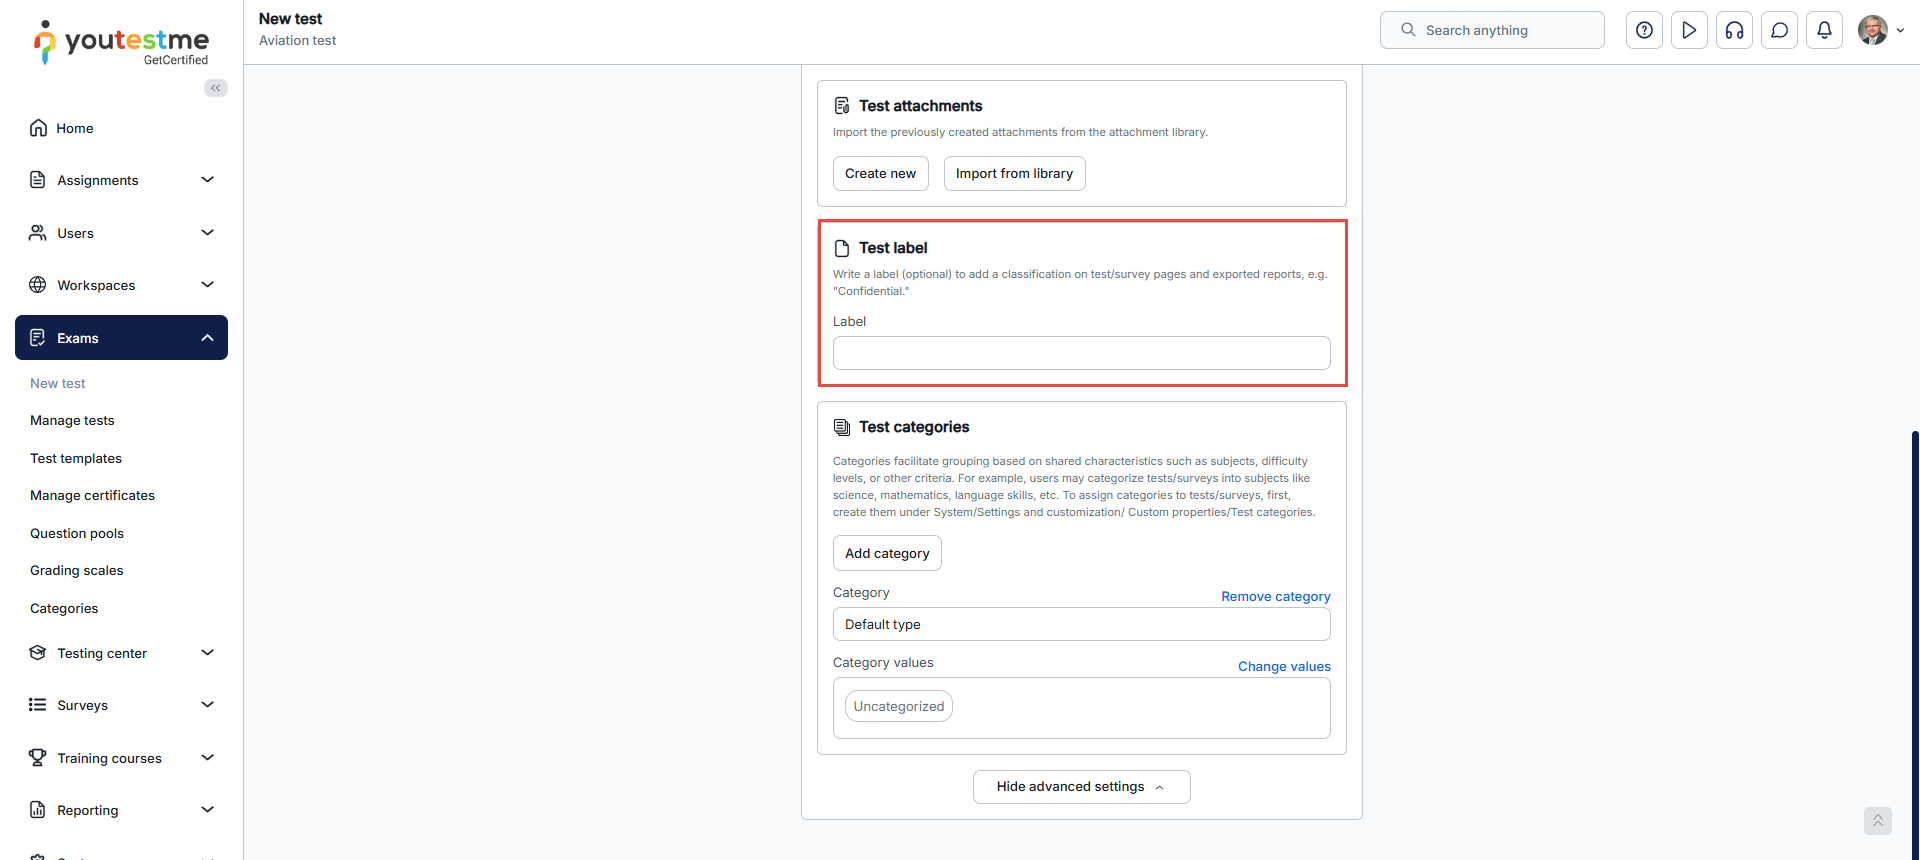
-
Tags - Tags can be added to any question and are primarily used for filtering. A question can have an unlimited number of tags. To add a tag, type it and press the Enter key.
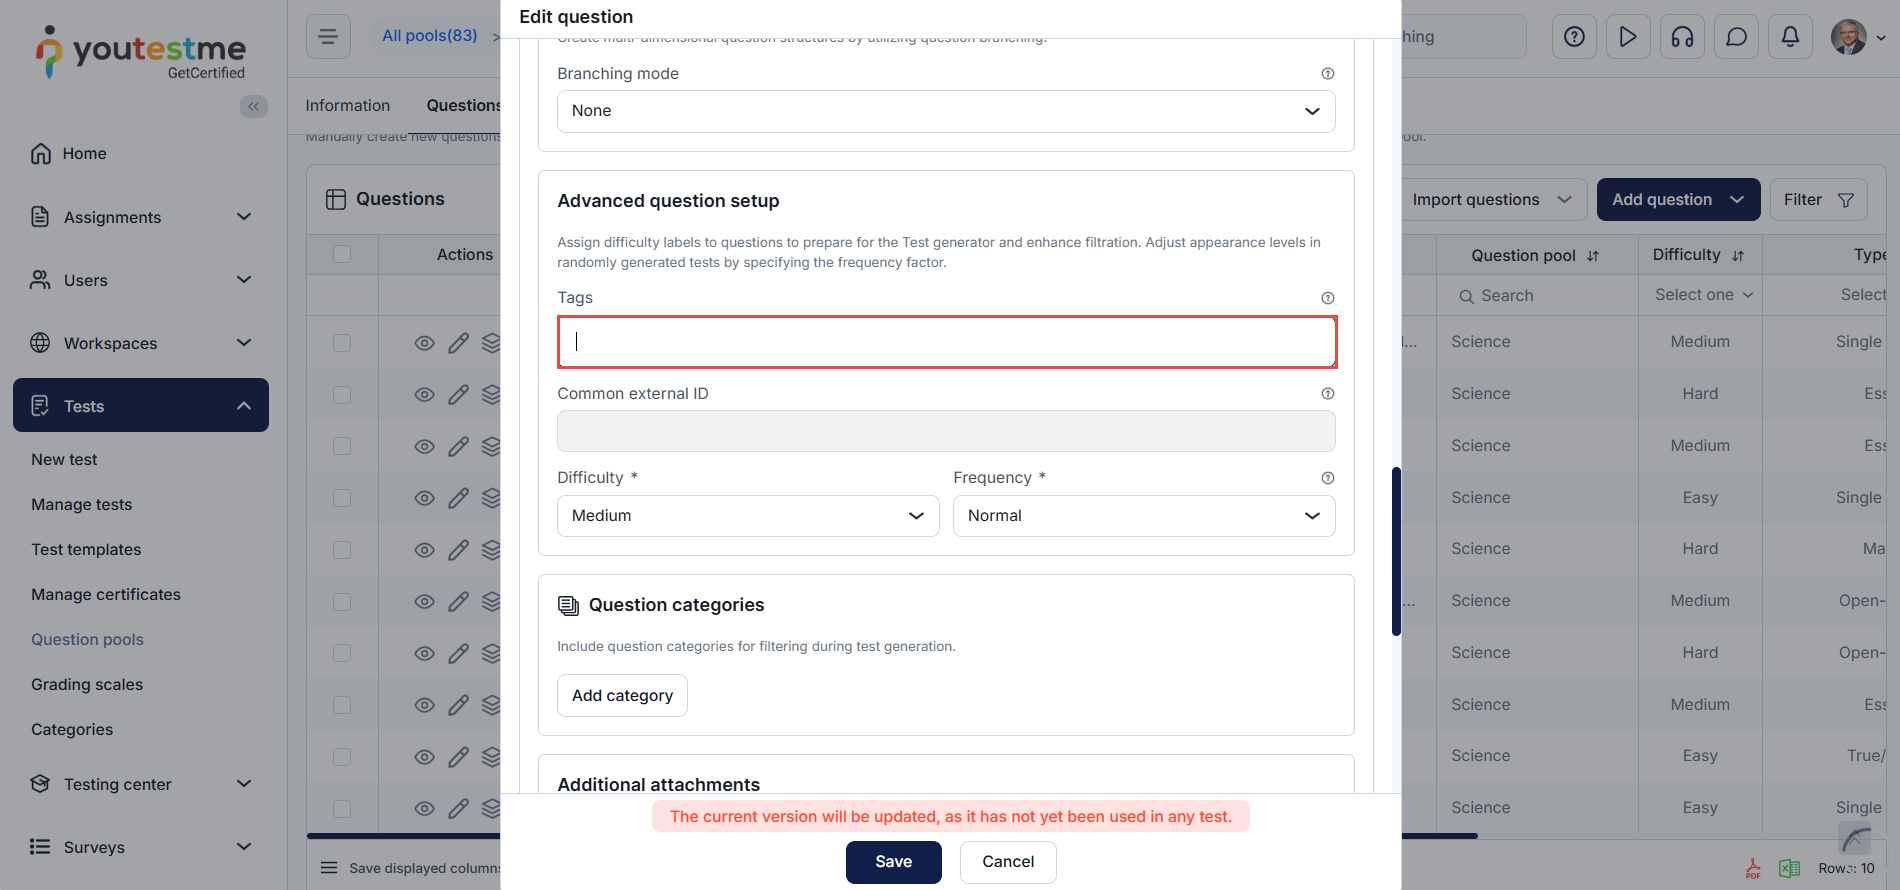
-
-
Self-registration module
-
Allow users to register in the application requiring the administrator's approval by enabling the Self-Registration option.
If the Self-registration module is disabled, users can not register on their own neither with nor without approval.
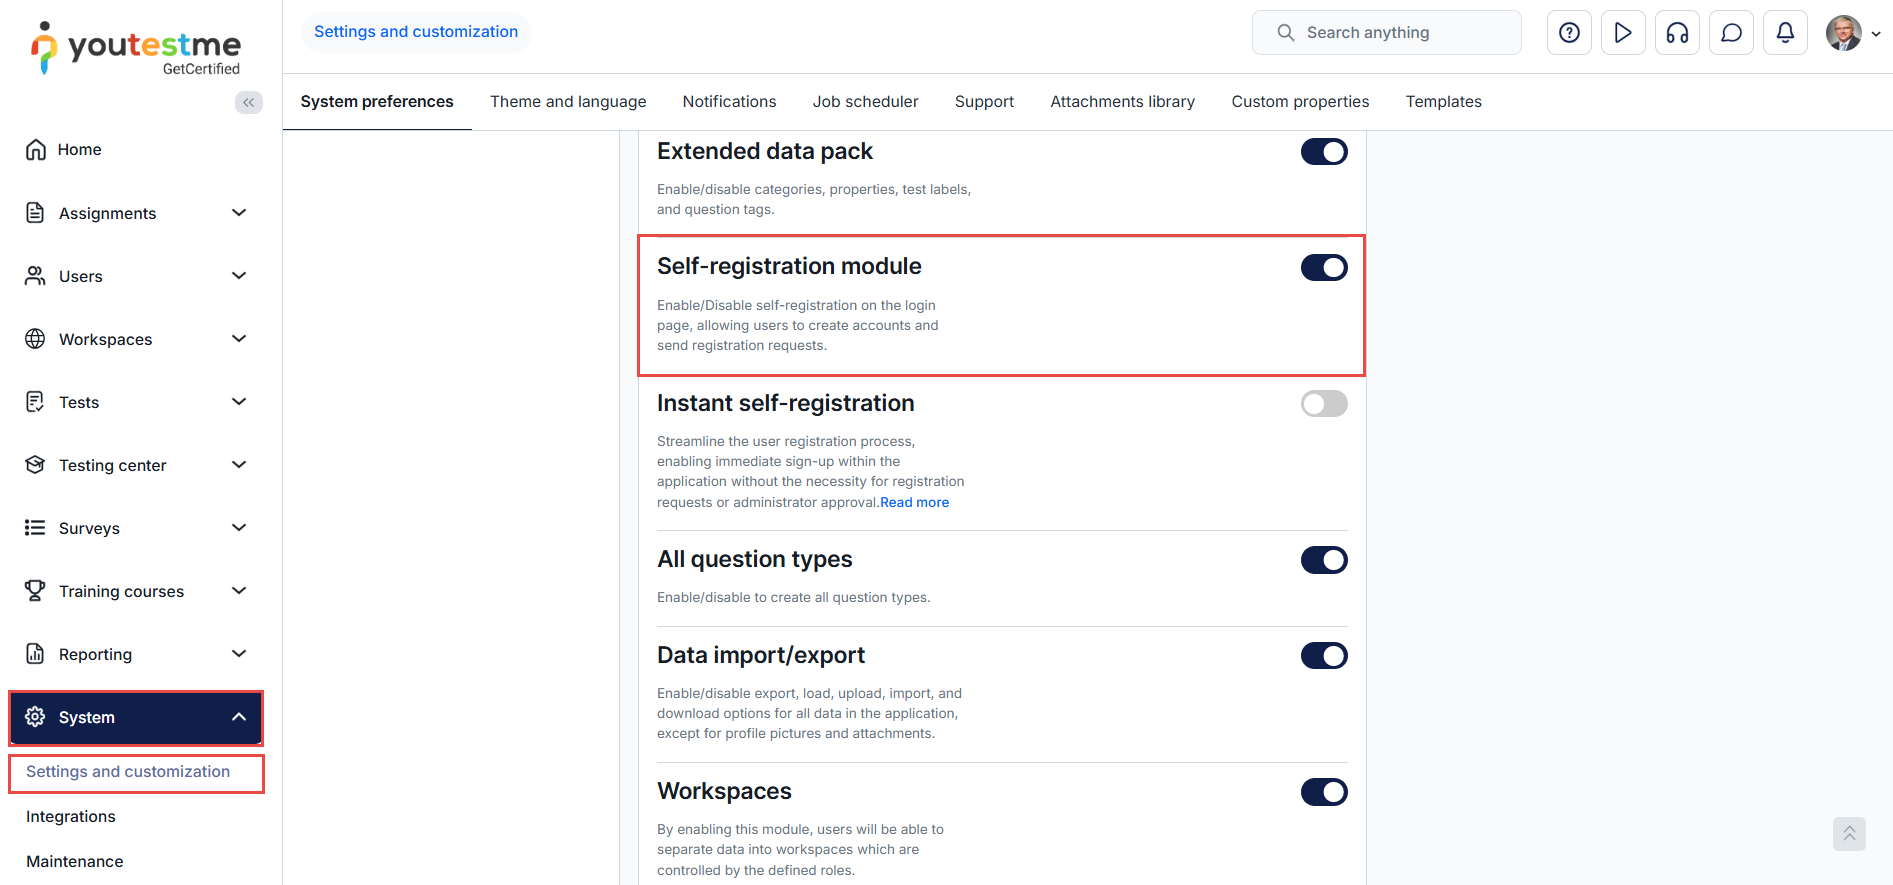
-
If you don't have an account, you can register as a new user by clicking the Create an account button.
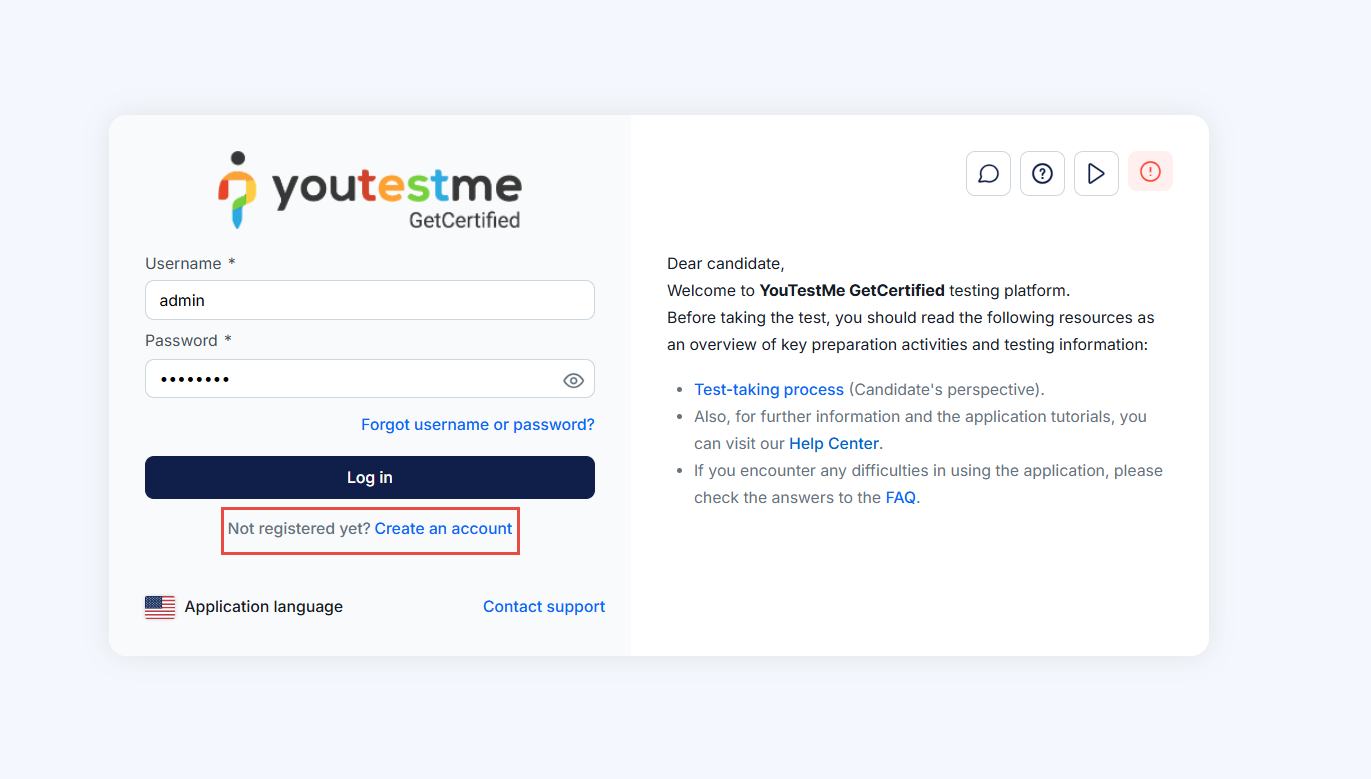
-
The Registration requests tab is available only if the self-registration option is enabled. In this tab, you can approve or decline registration requests. Users will receive an email informing them whether the registration request has been approved or declined. For instructions on registering in the application, visit the Signing in and Registration chapter of the Login page.
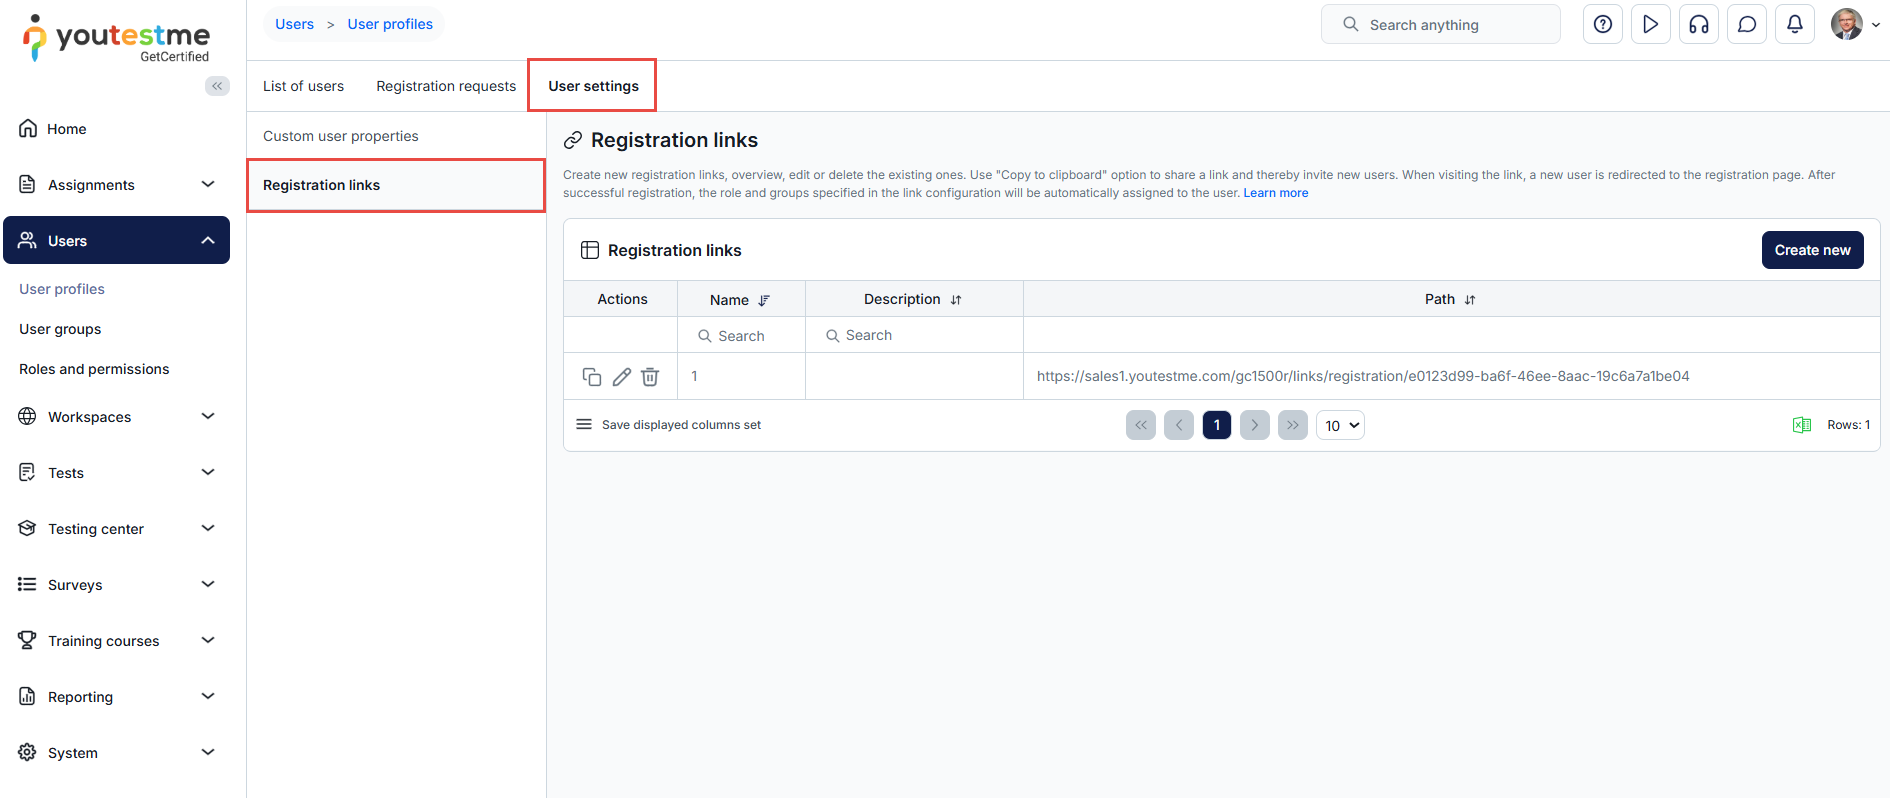
-
-
Instant self-registration
Streamline the user registration process to enable immediate sign-up within the application without requiring registration requests or administrator approval. Only student accounts can be registered this way.
-
All question types
Question types are different types of questions that can be used in tests and surveys. Possible types include single choice, multiple choice, hot spot, essay, ordering, matrix, open-ended, true/false, matching, and fill in the blanks. For more information on how to create a question type, please visit the Question types chapter.
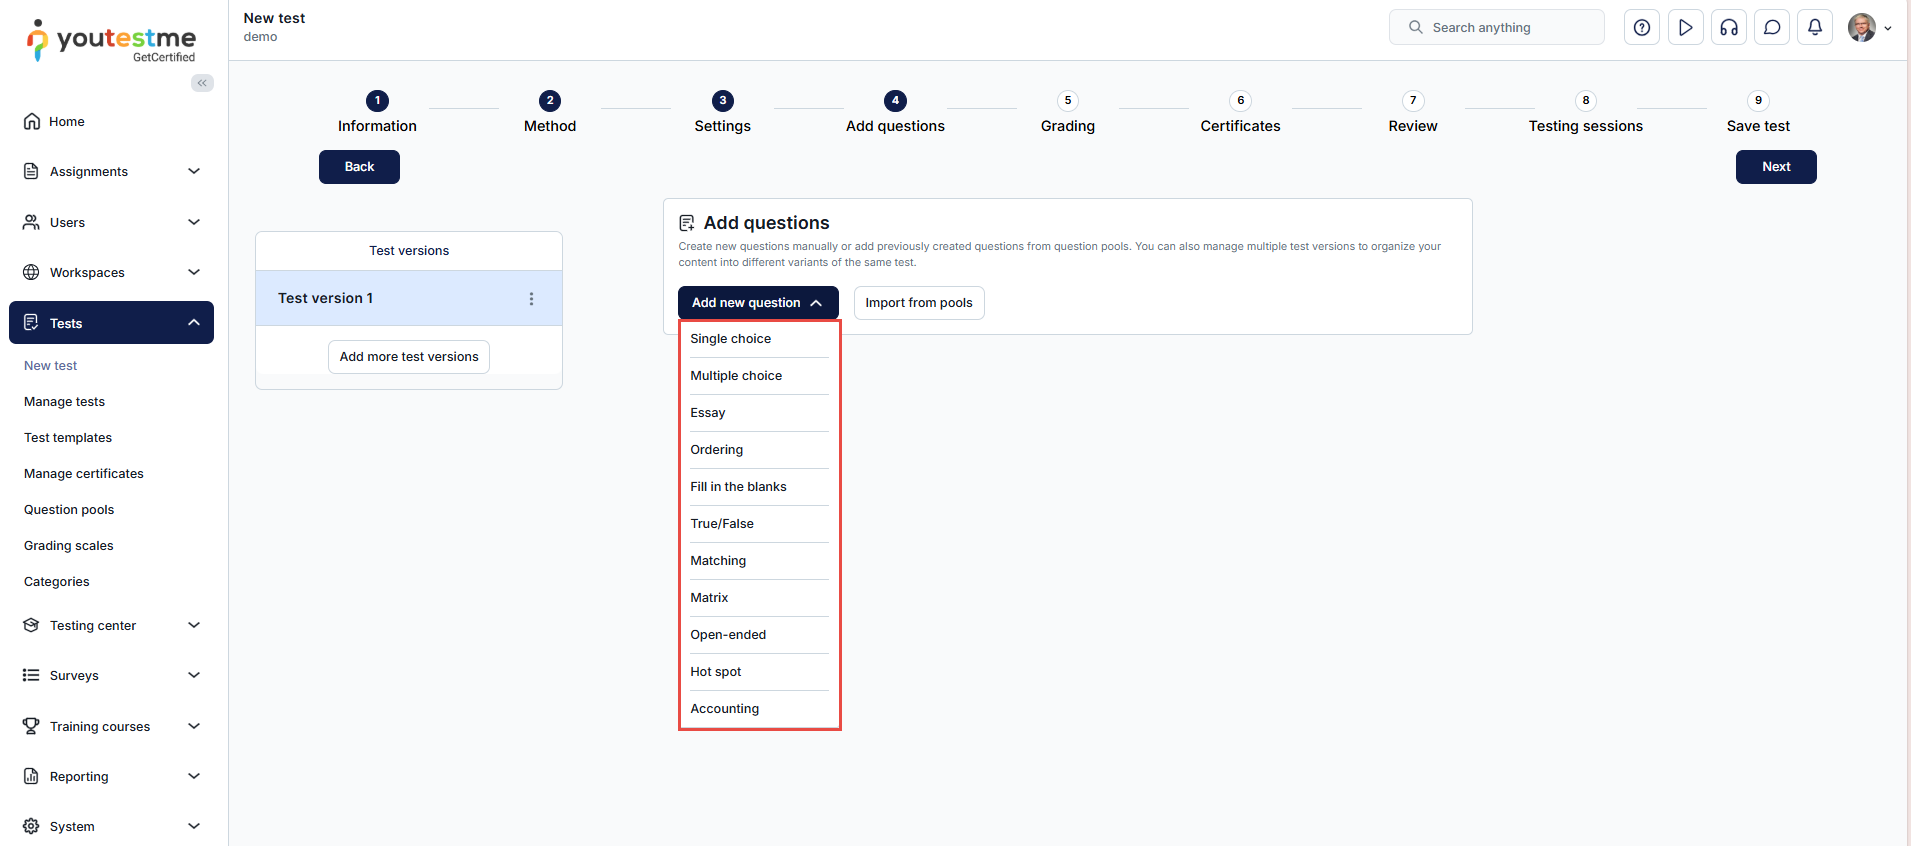
-
Data import/export
-
The Import Results feature is exclusively available for Pearson VUE testing centers and paper-based delivery preferences. This list encompasses all result batches imported externally through the file-sharing system. This method is commonly used for importing tests conducted on paper or at Pearson VUE testing centers.
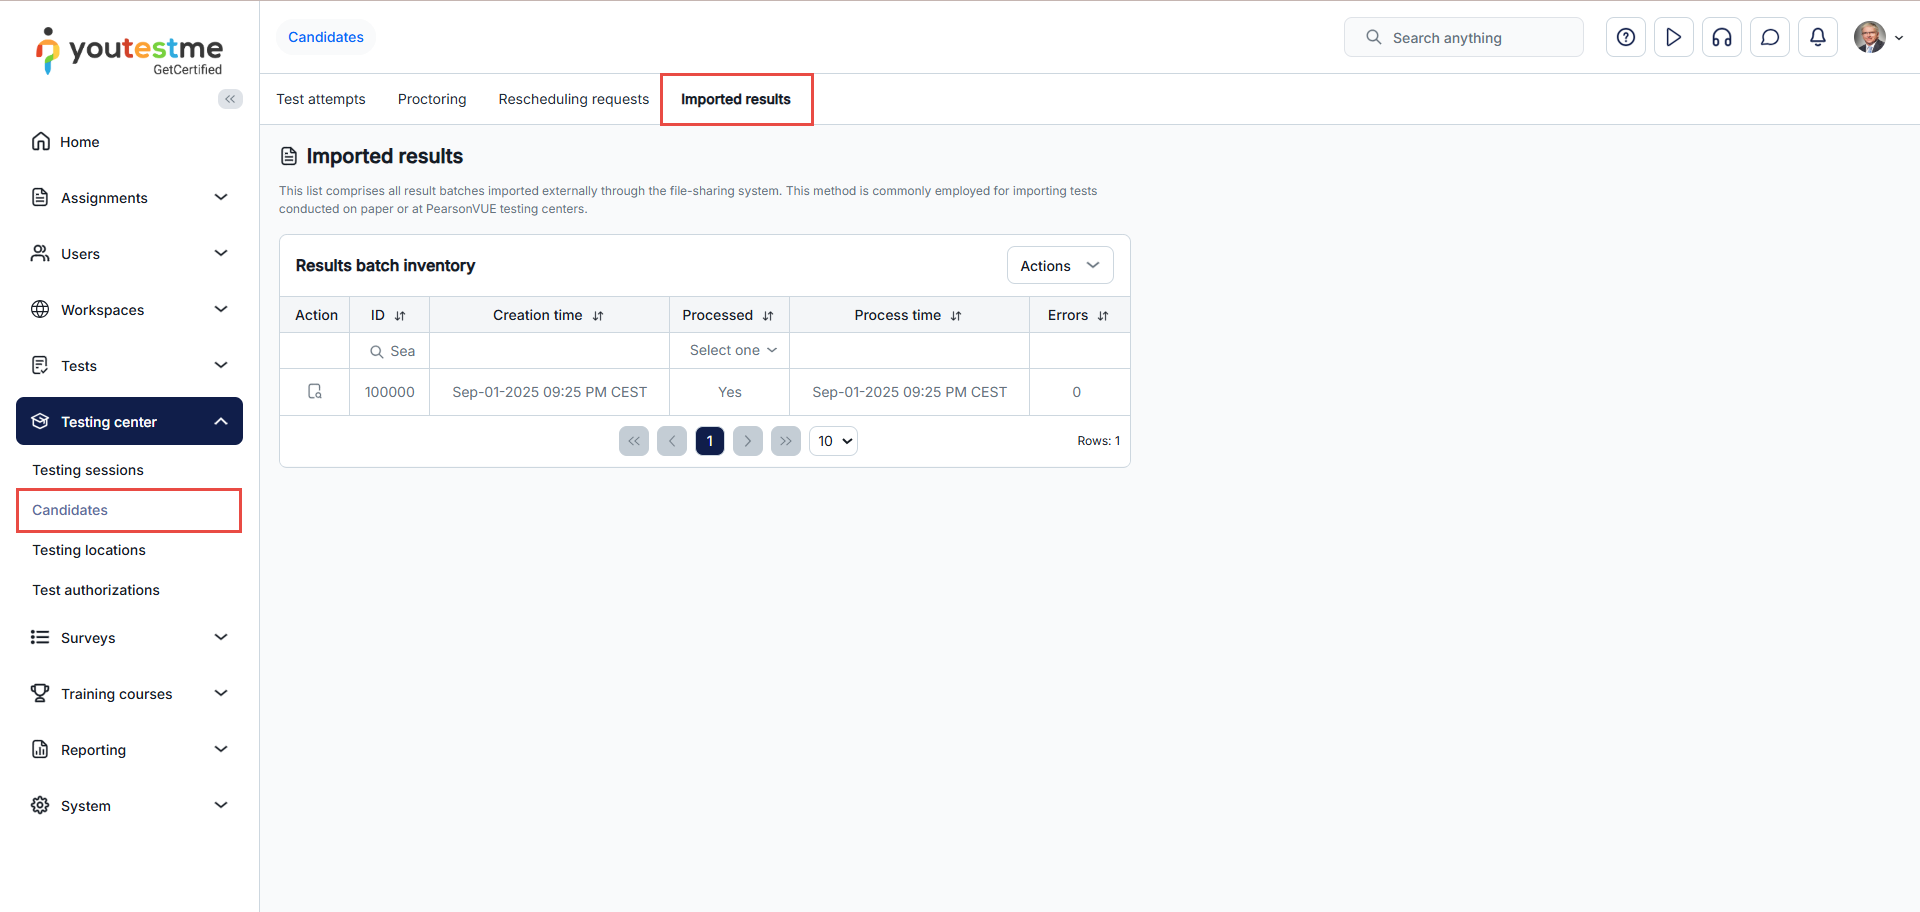
-
You can Import pools by selecting the option to import the pool through JSON or Excel files.
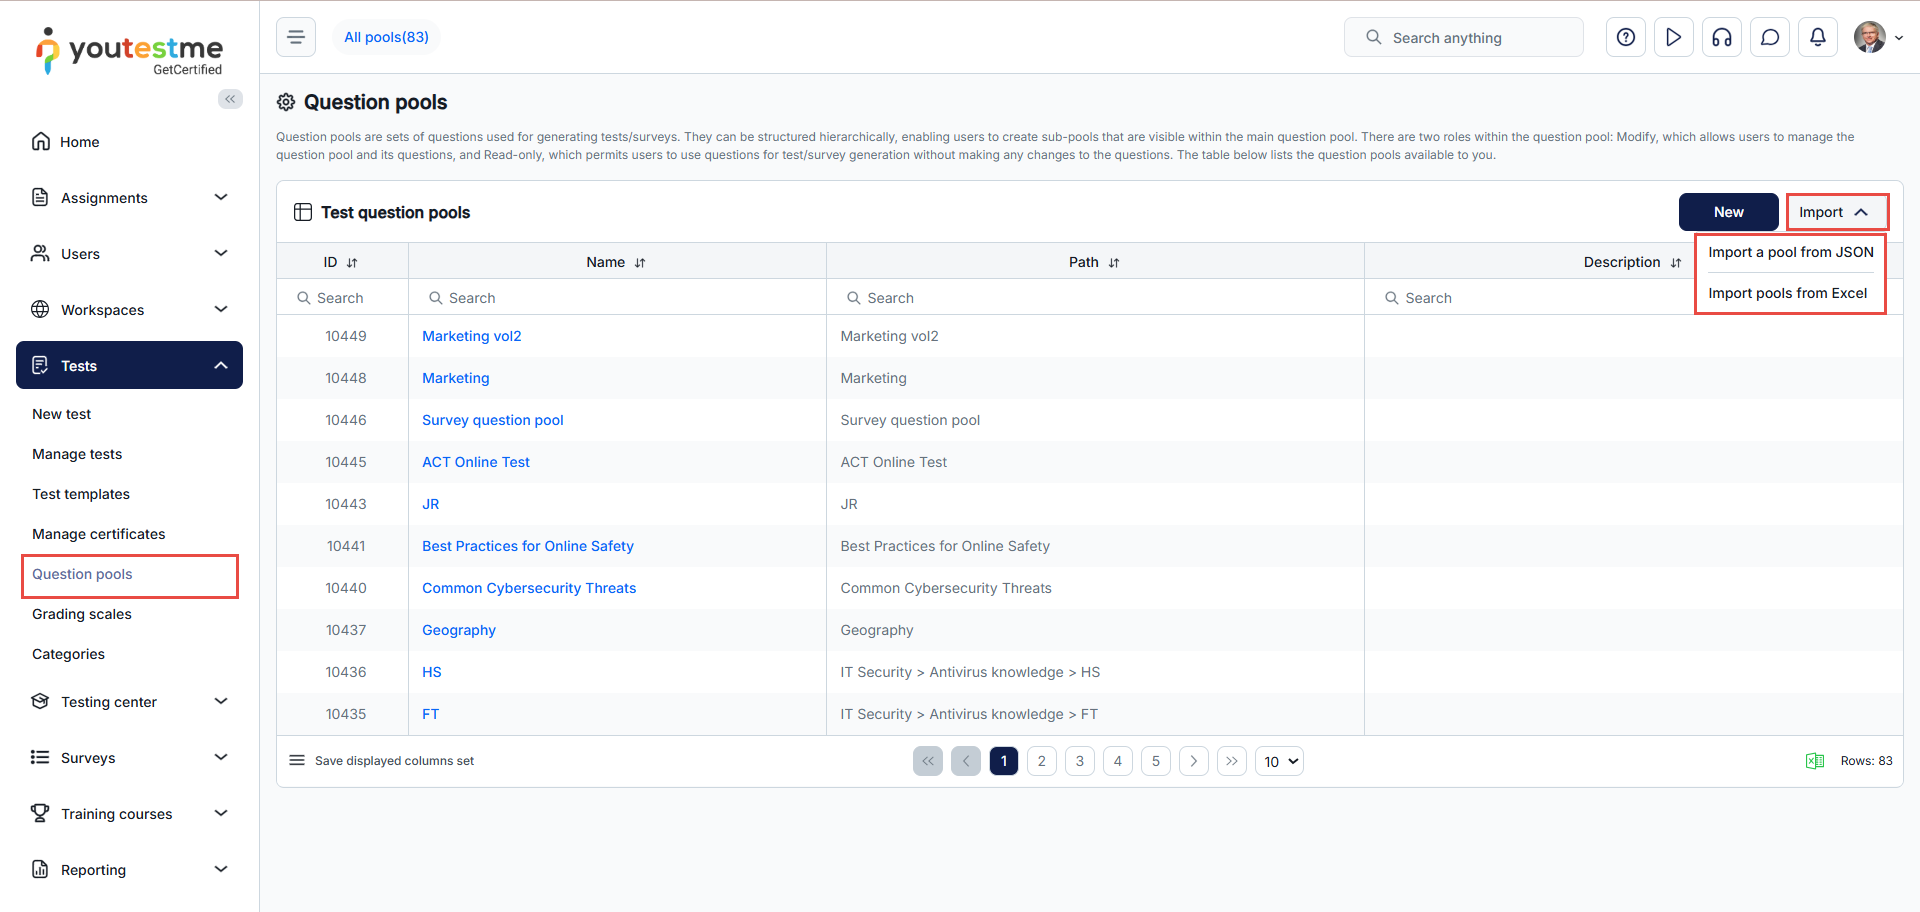
-
You can import questions with or without images and from QTI packages.
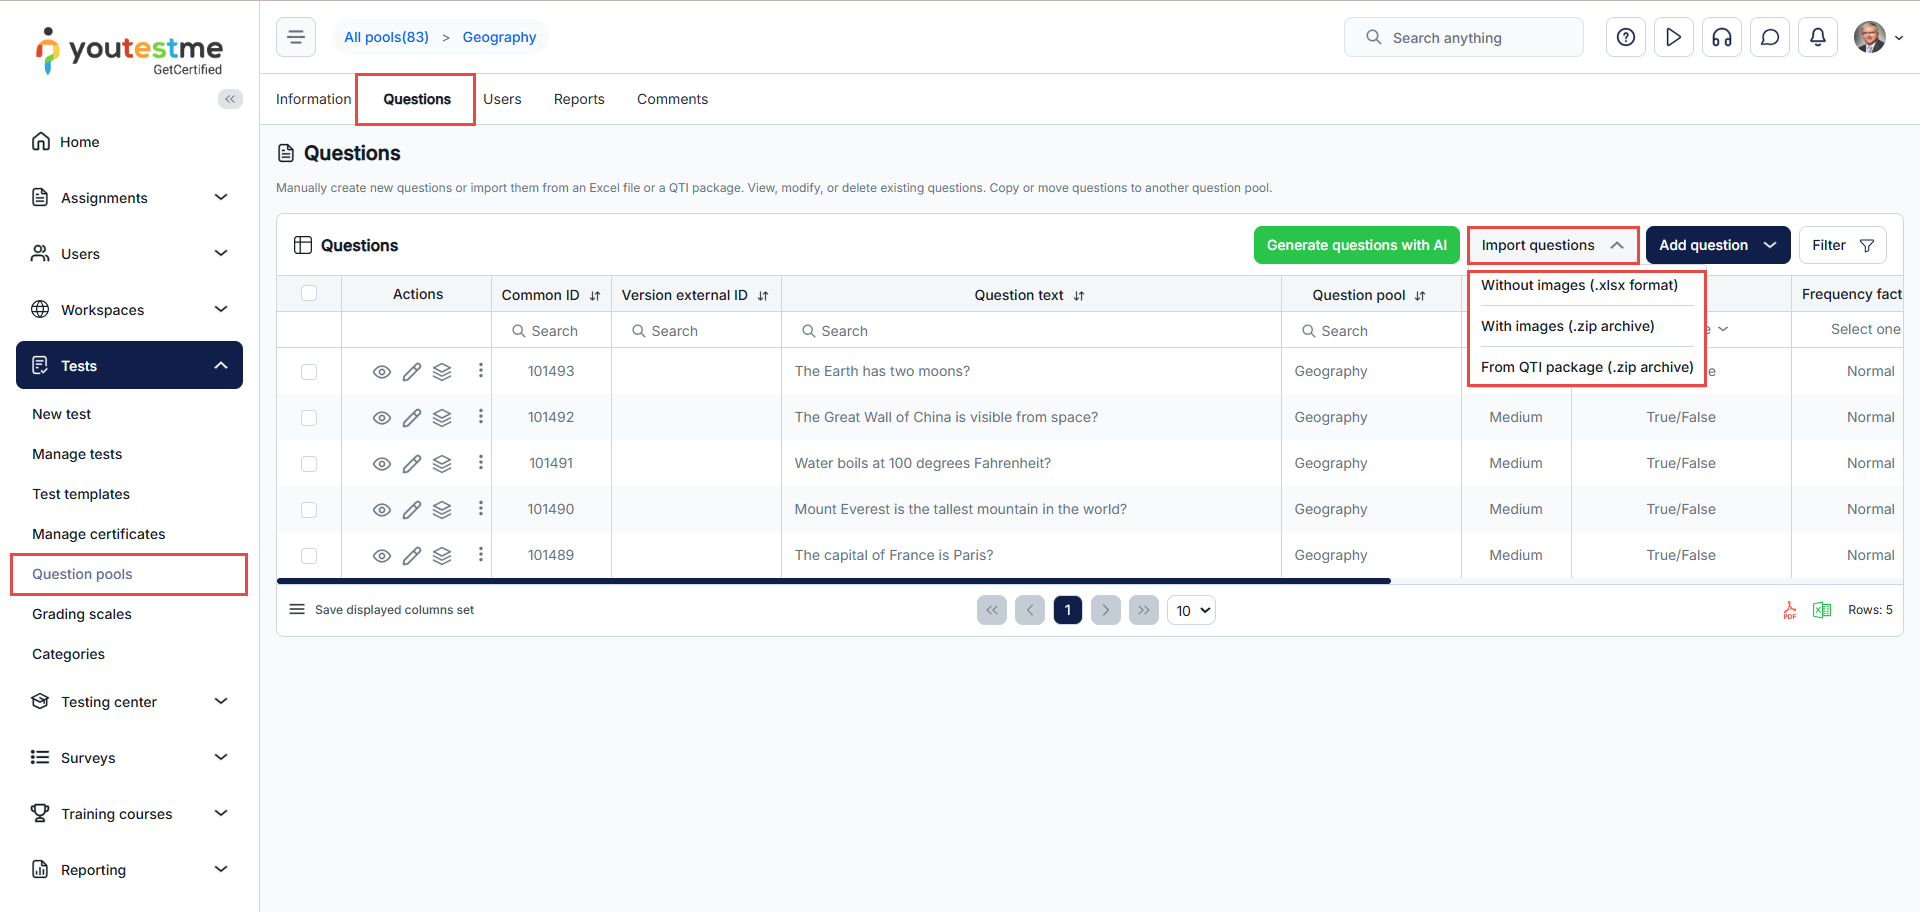
-
You can import a testing session for any test within the Testing sessions tab.
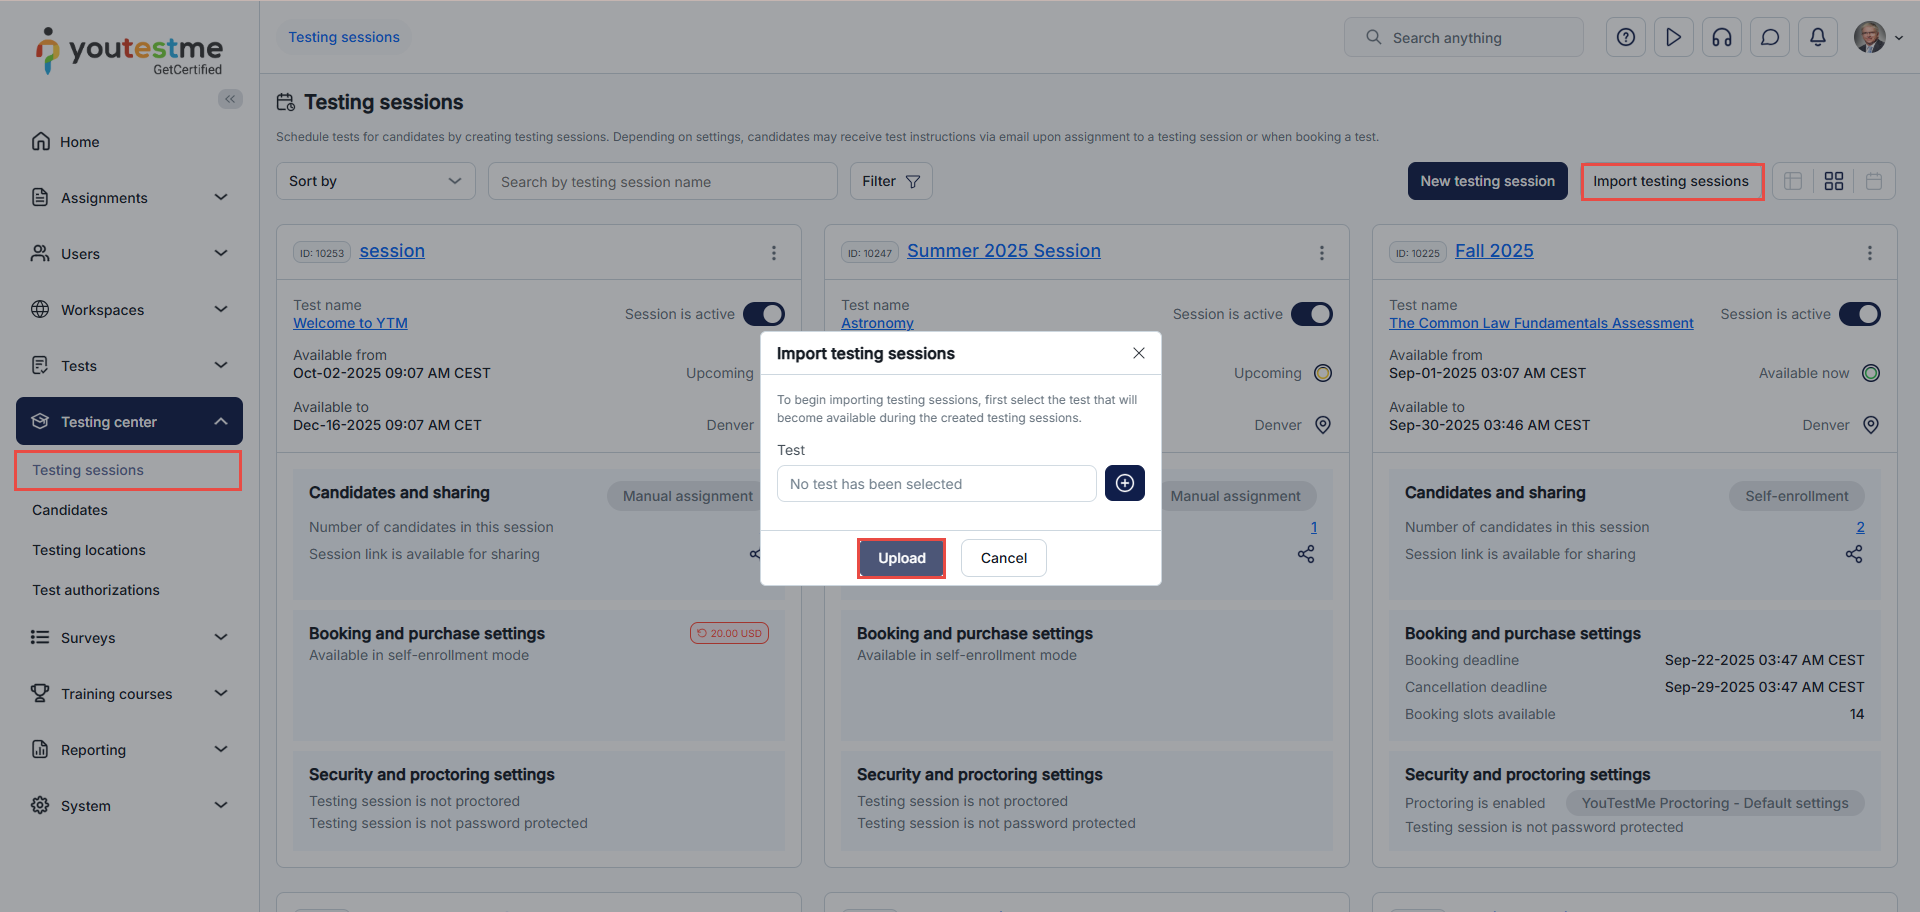
-
You can import a testing locations withing the Testing locations tab.
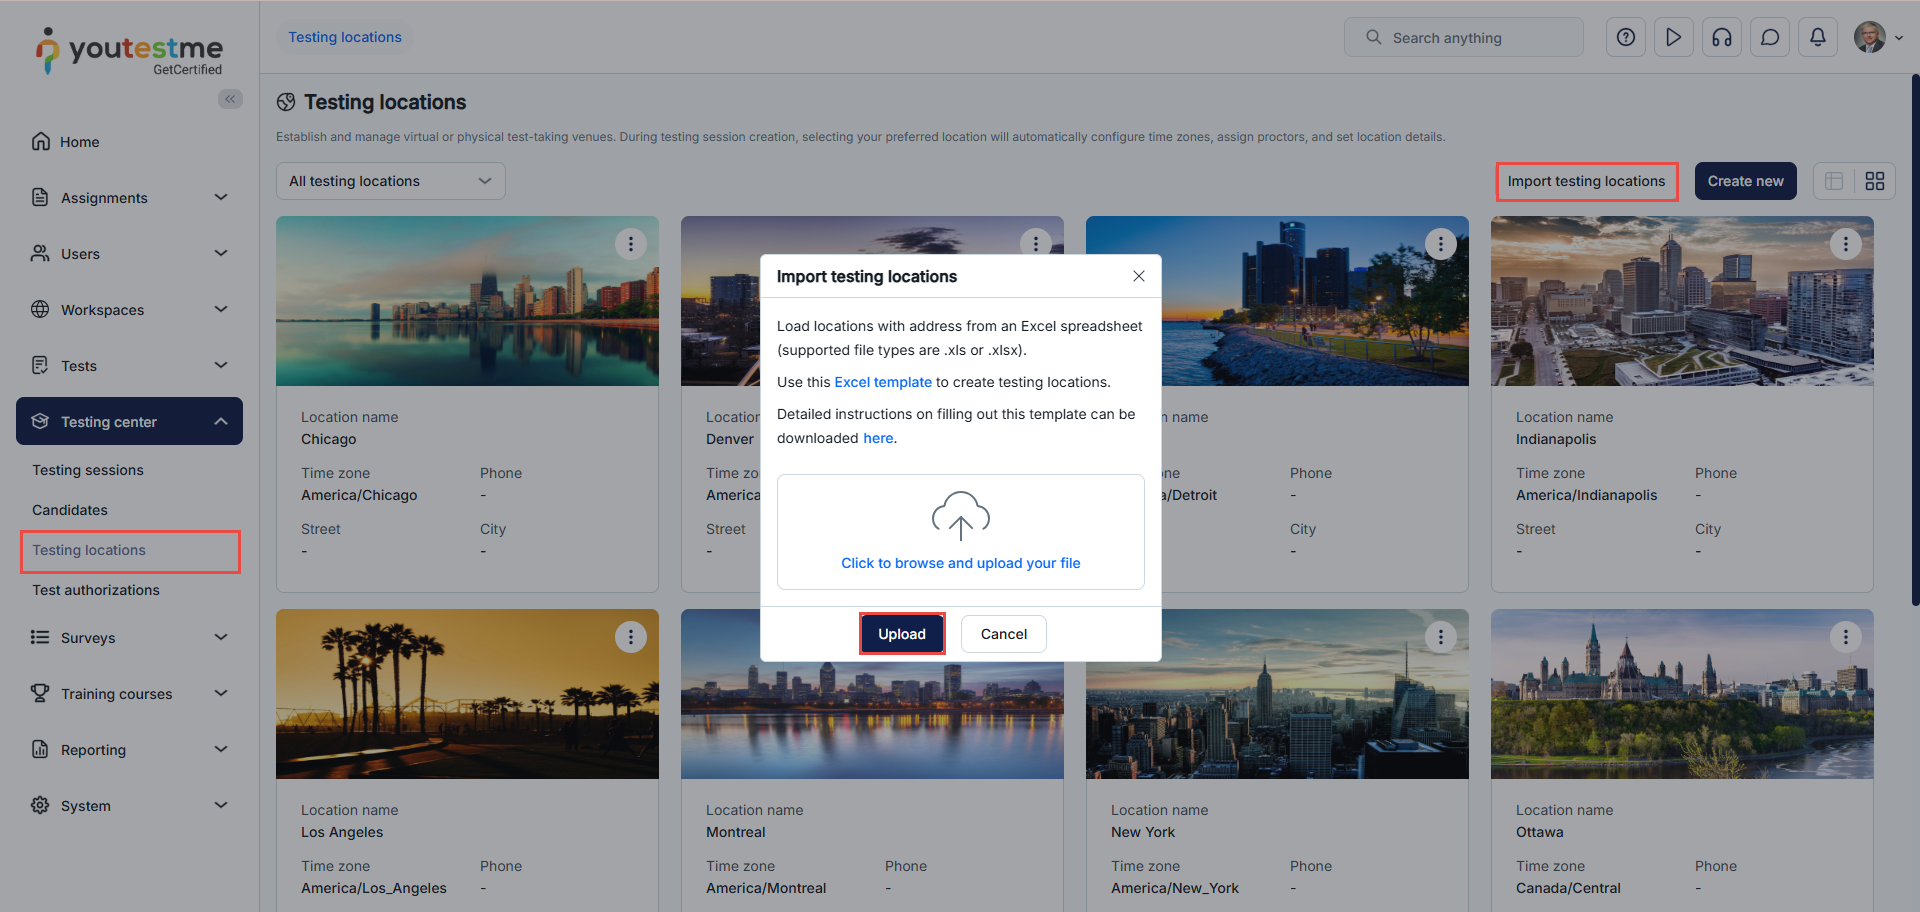
-
You can import users or utilize the User certificate template to import certificates to the users.
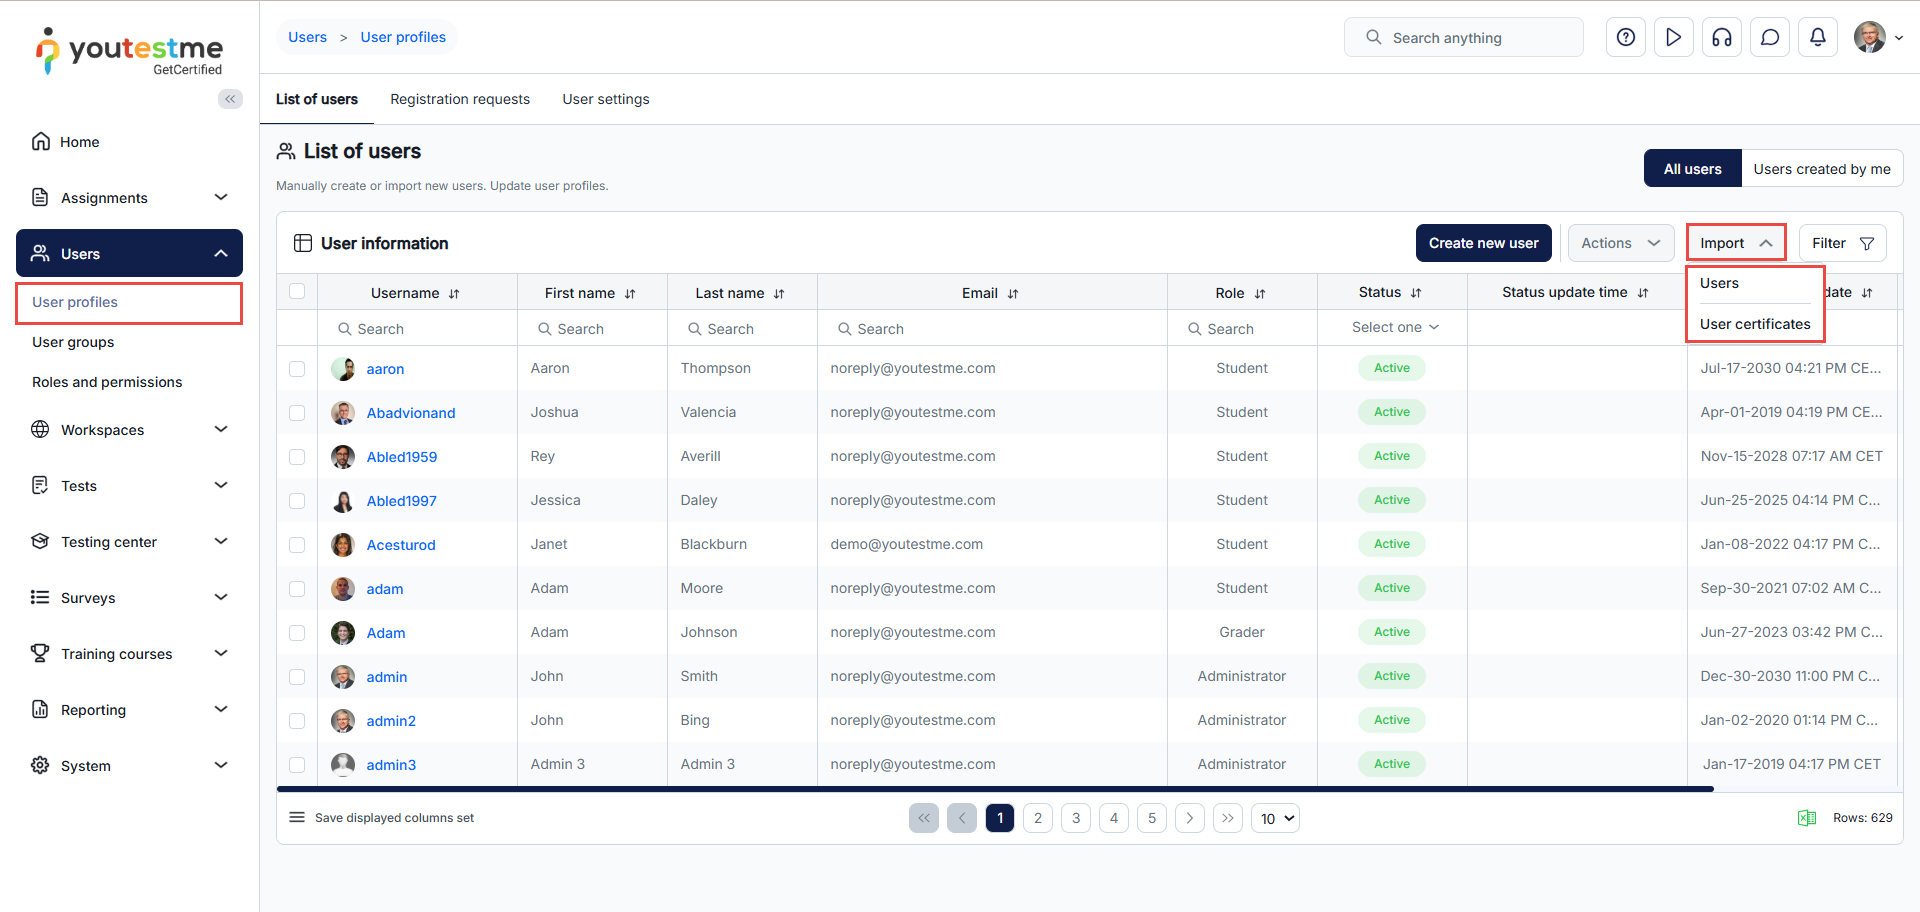
-
You can export data from any data table as an Excel file.
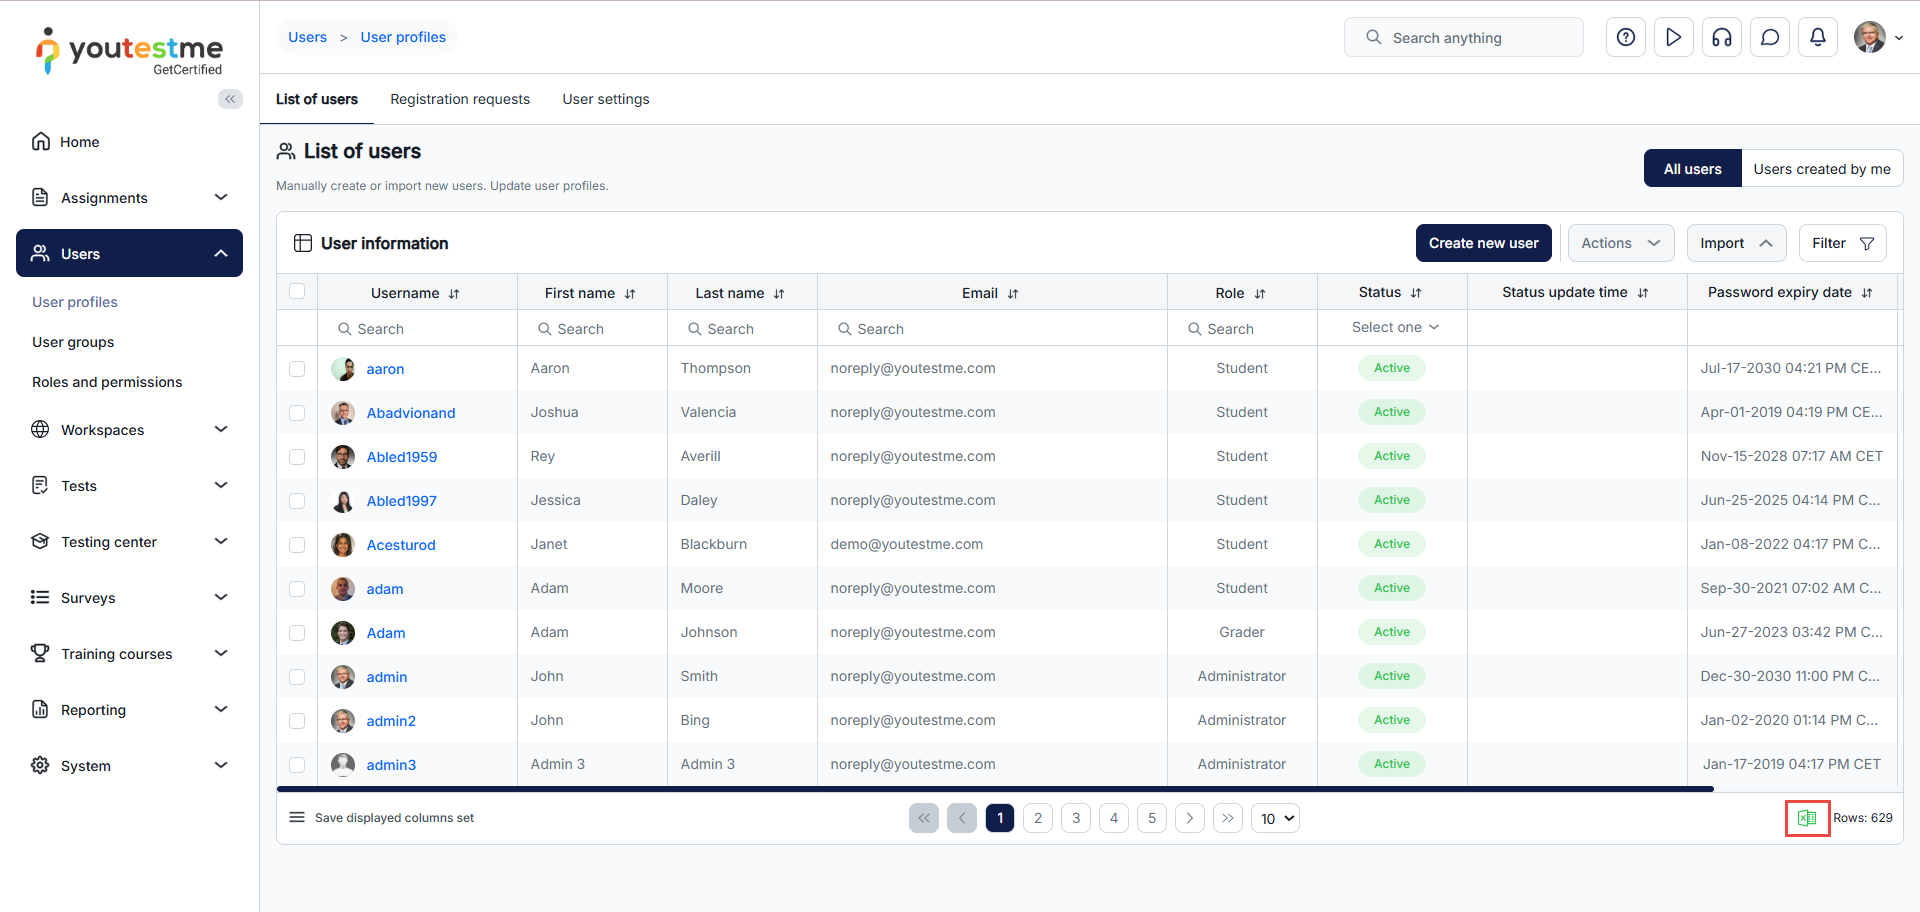
-
You can import a test within the Manage tests tab.
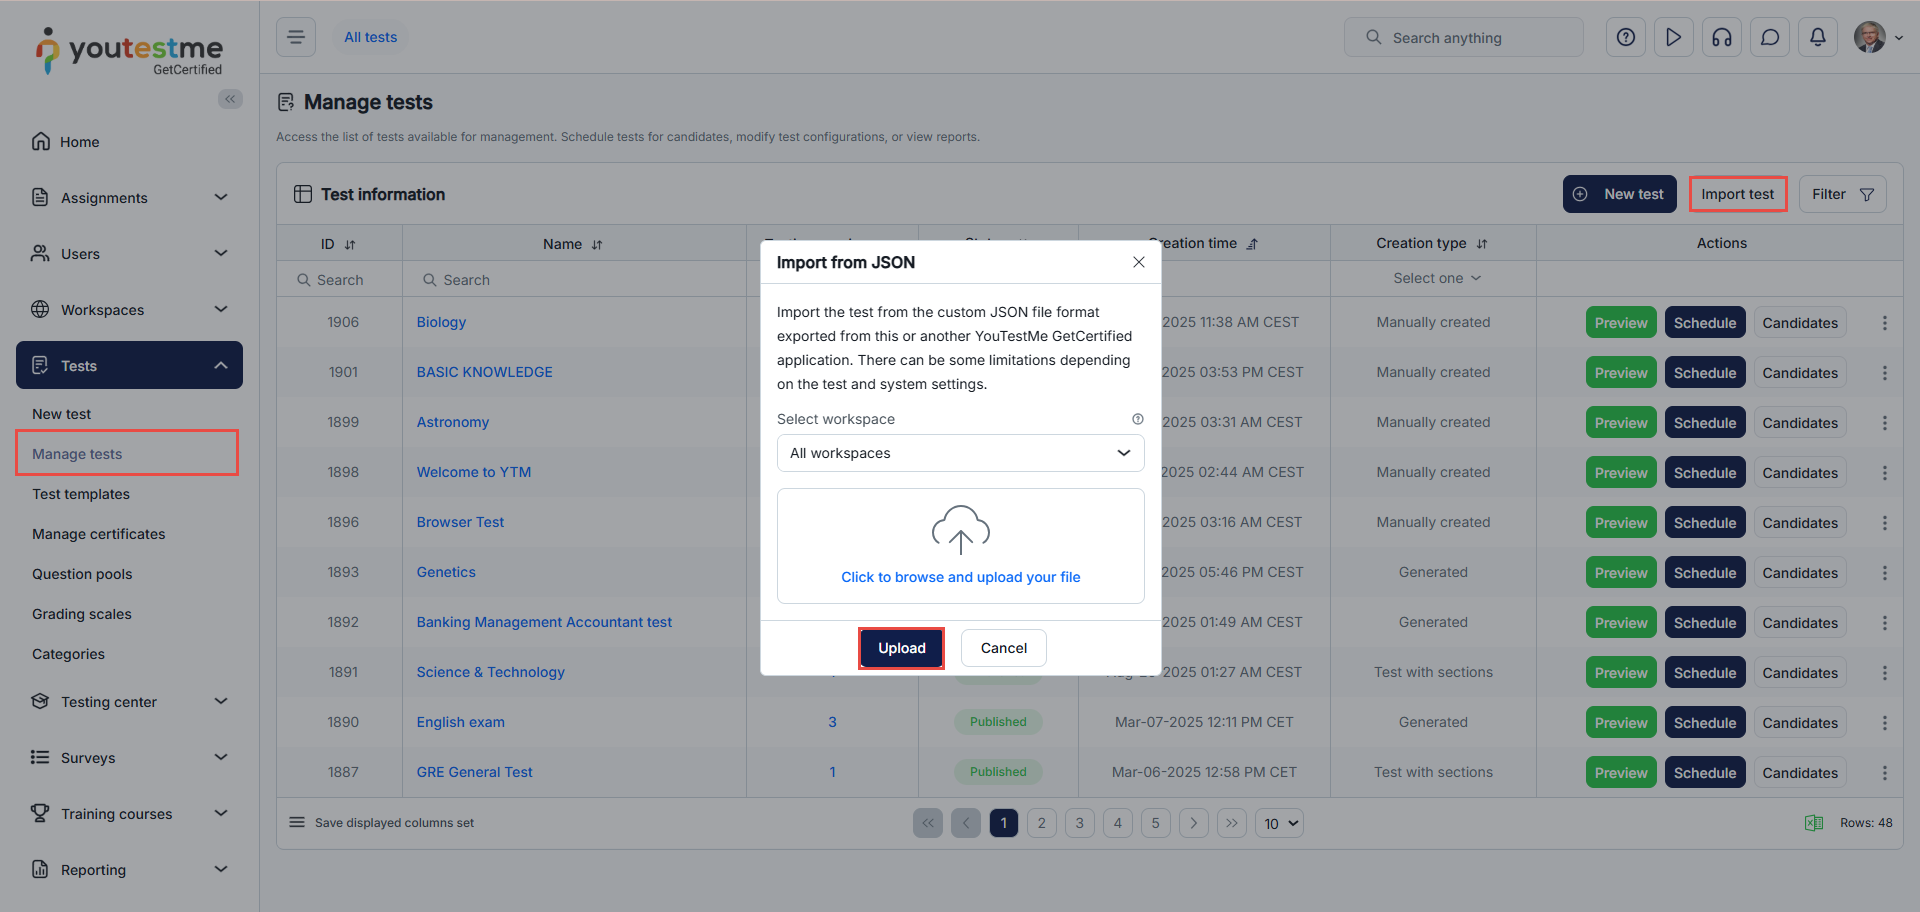
-
You can import a testing session for a specific test within the Testing sessions tab.
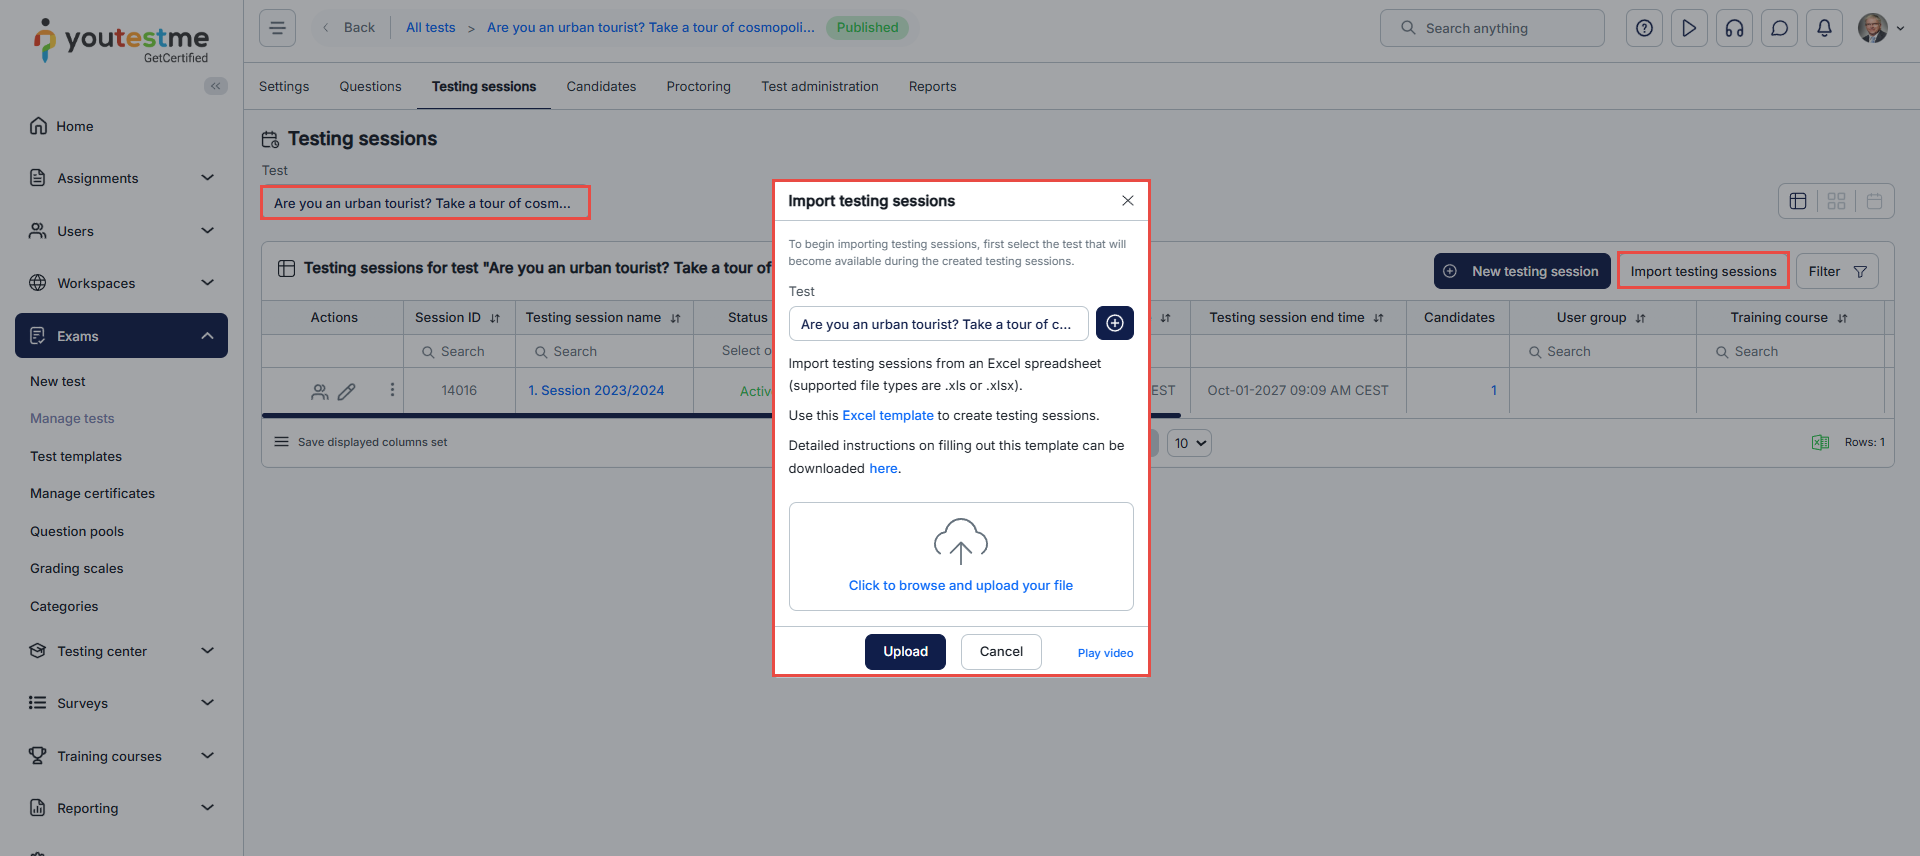
-
You can import Scantron results, send test results to an LRS, export exam results via a system job, and export direct testing links in the Candidates tab.
-
You can export test data.
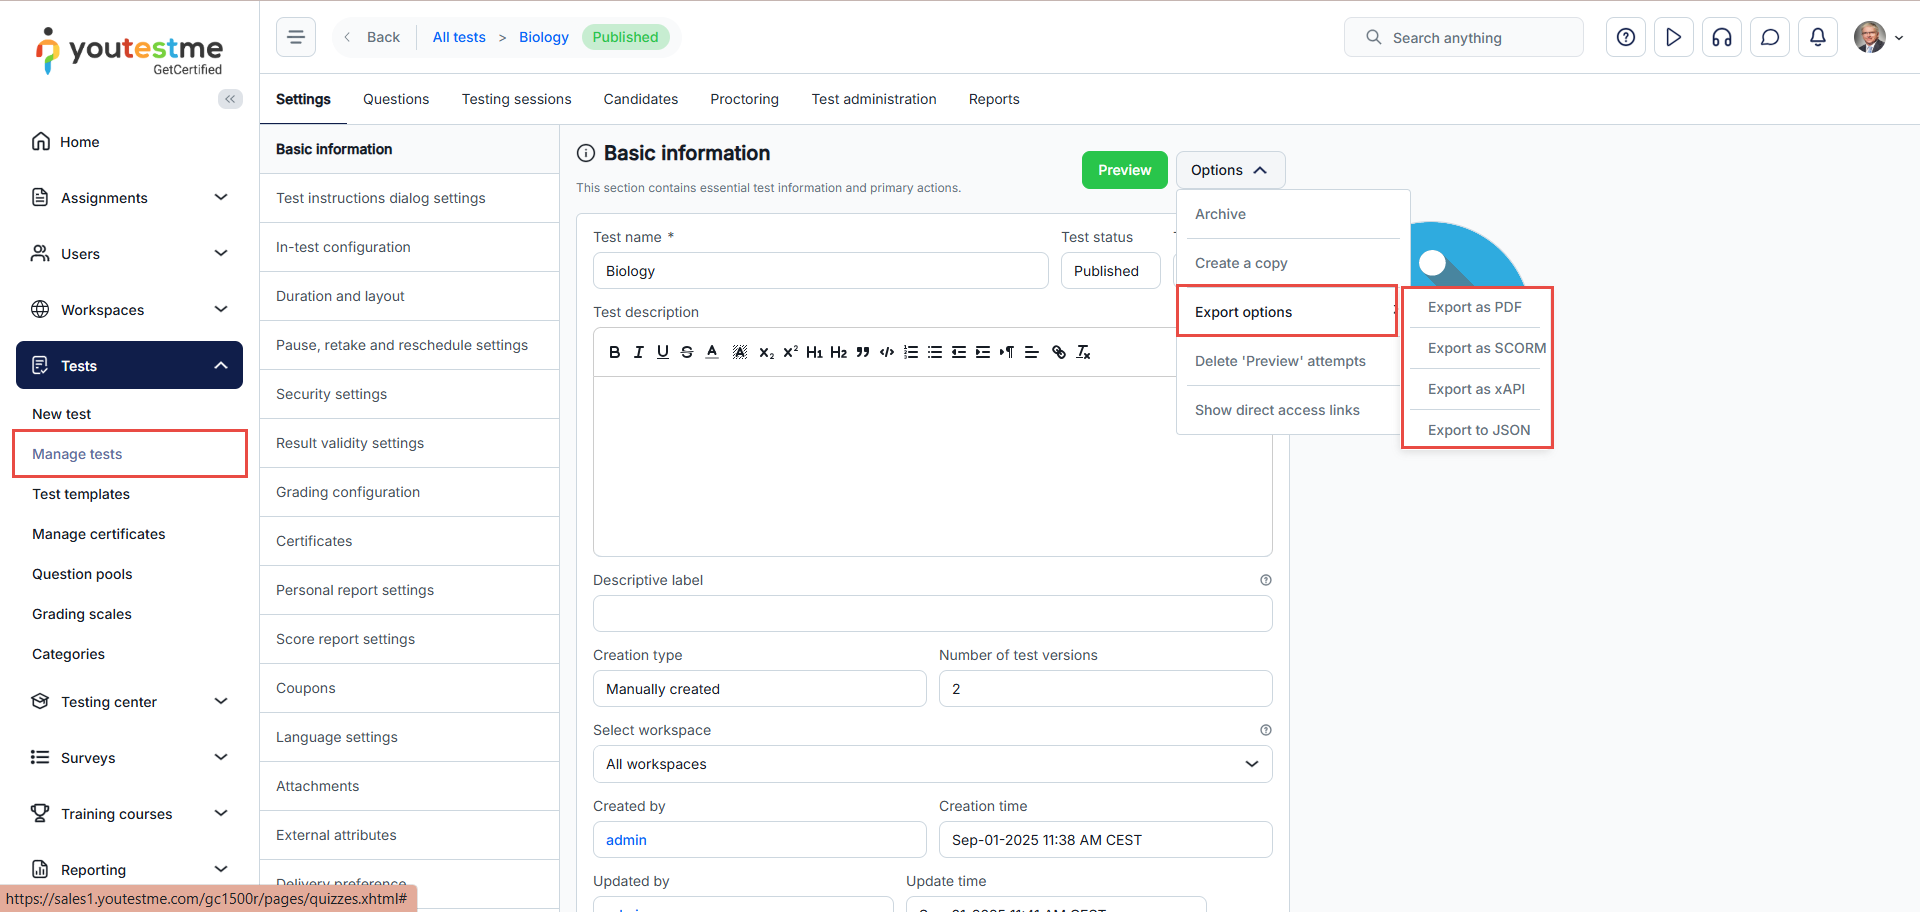
-
You can upload a test.
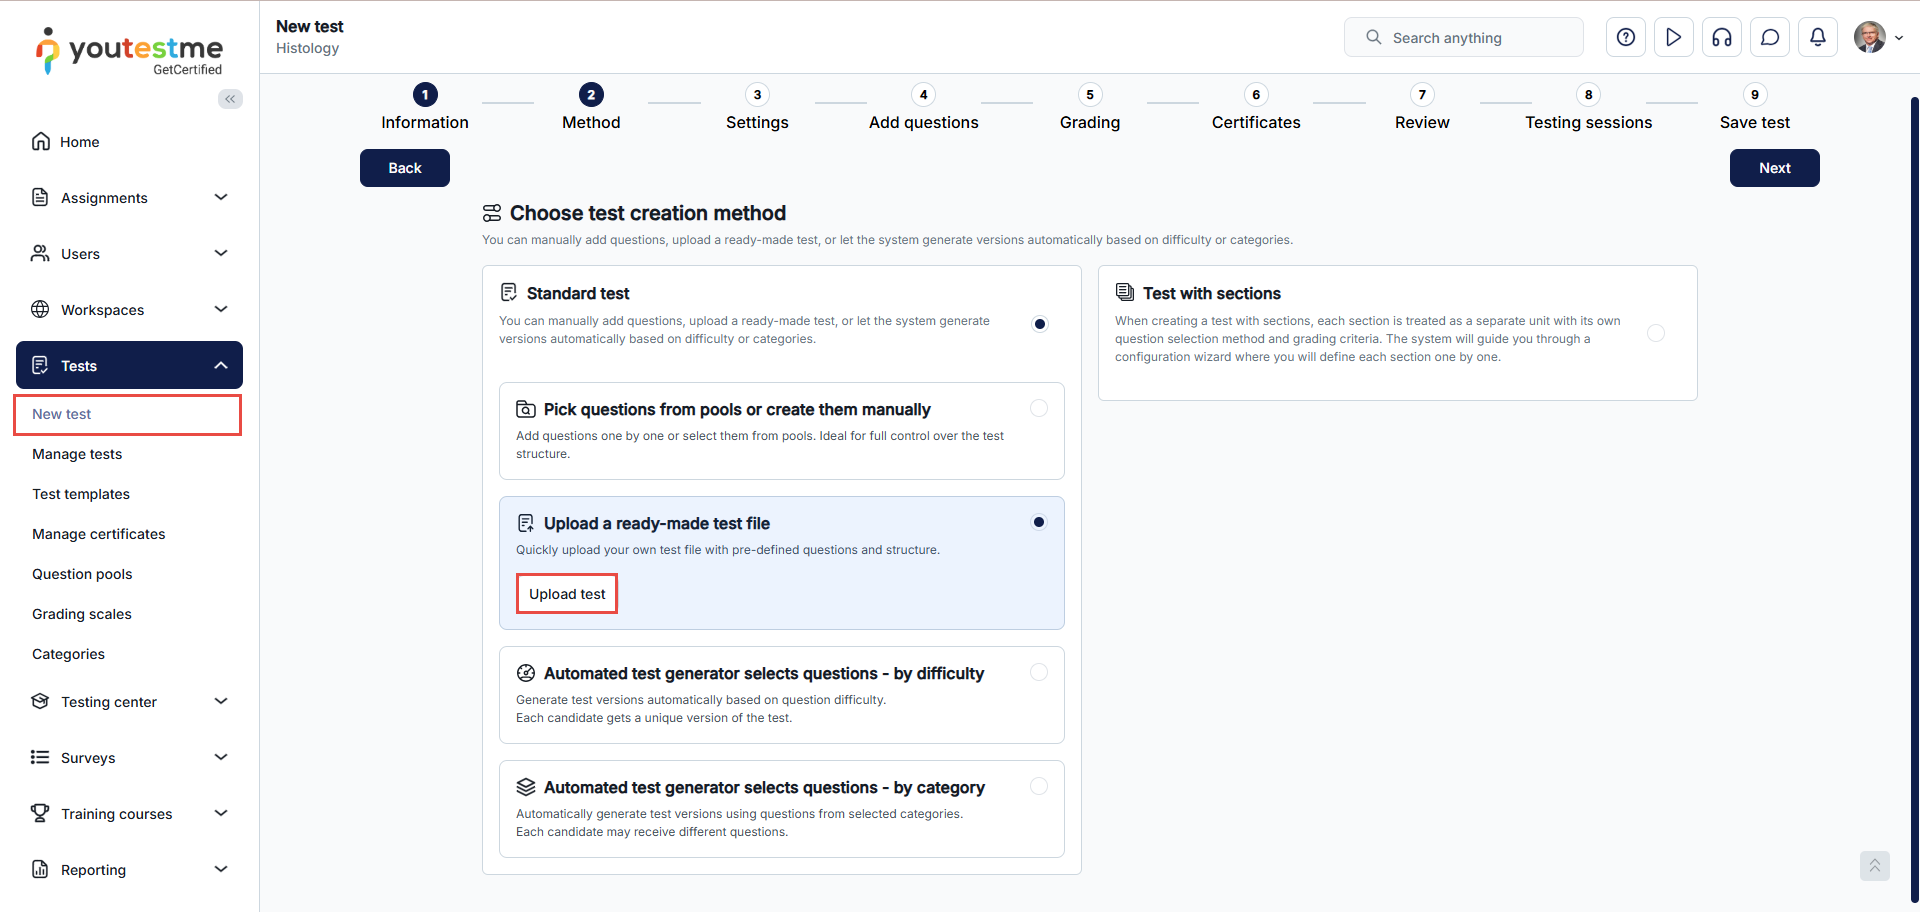
-
You can upload a survey.
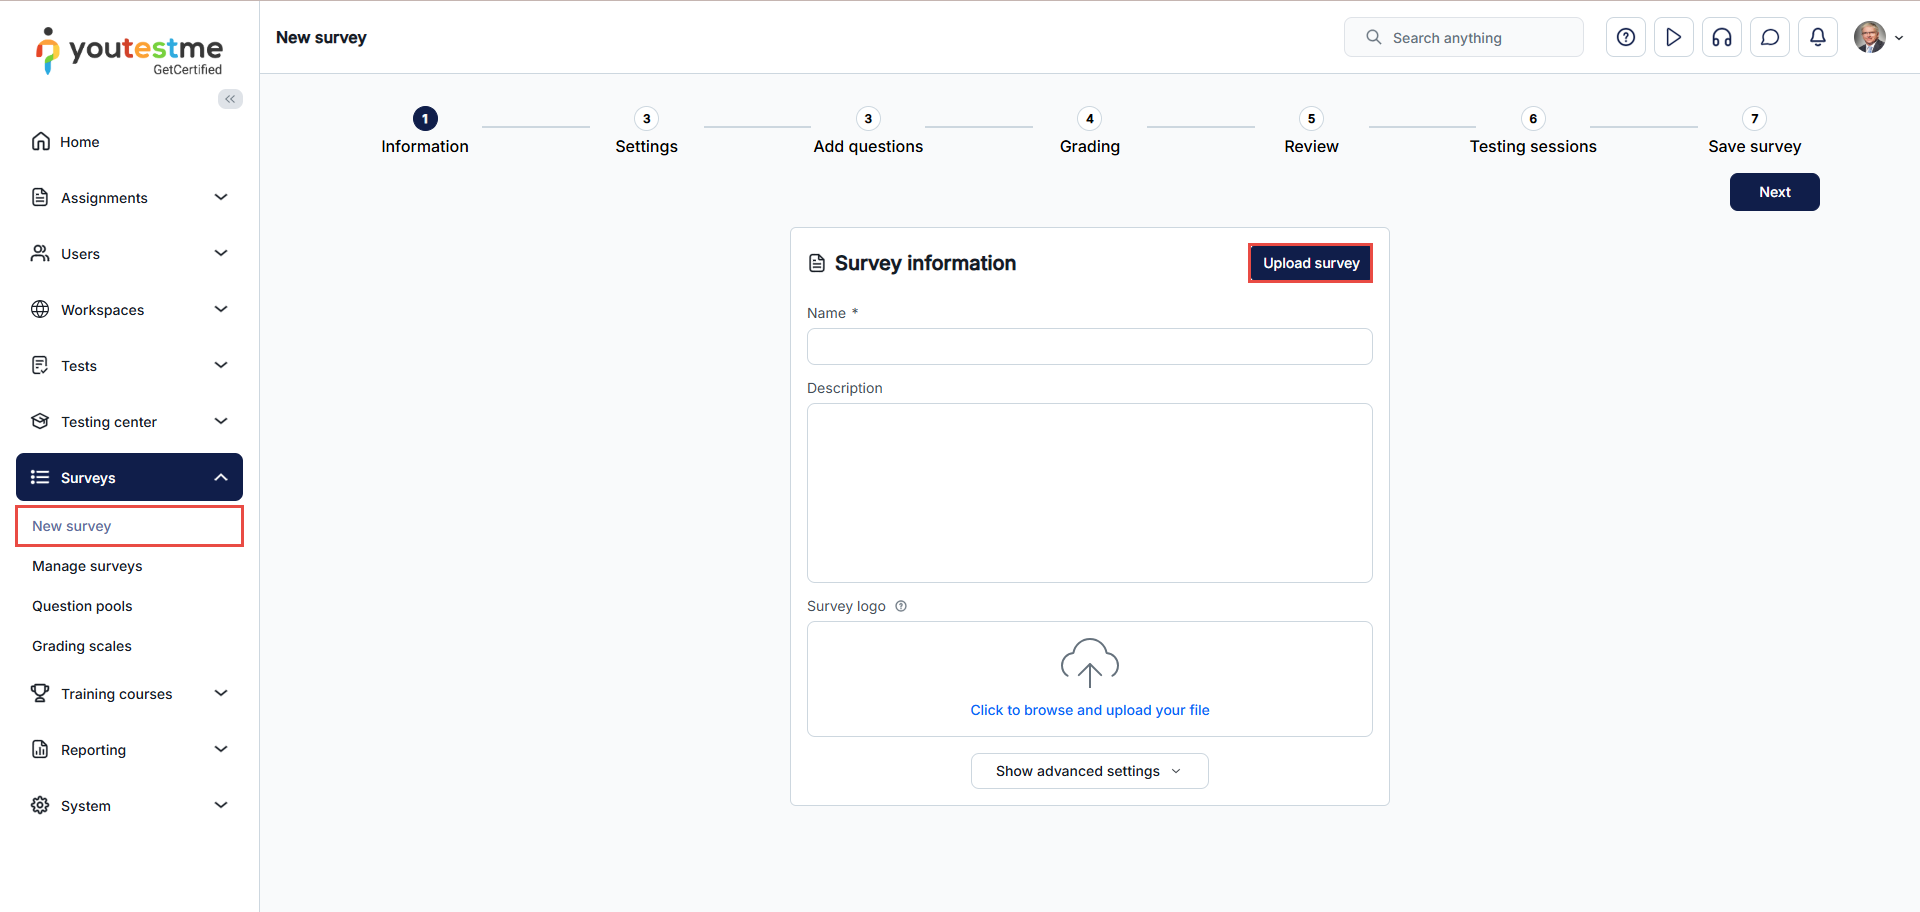
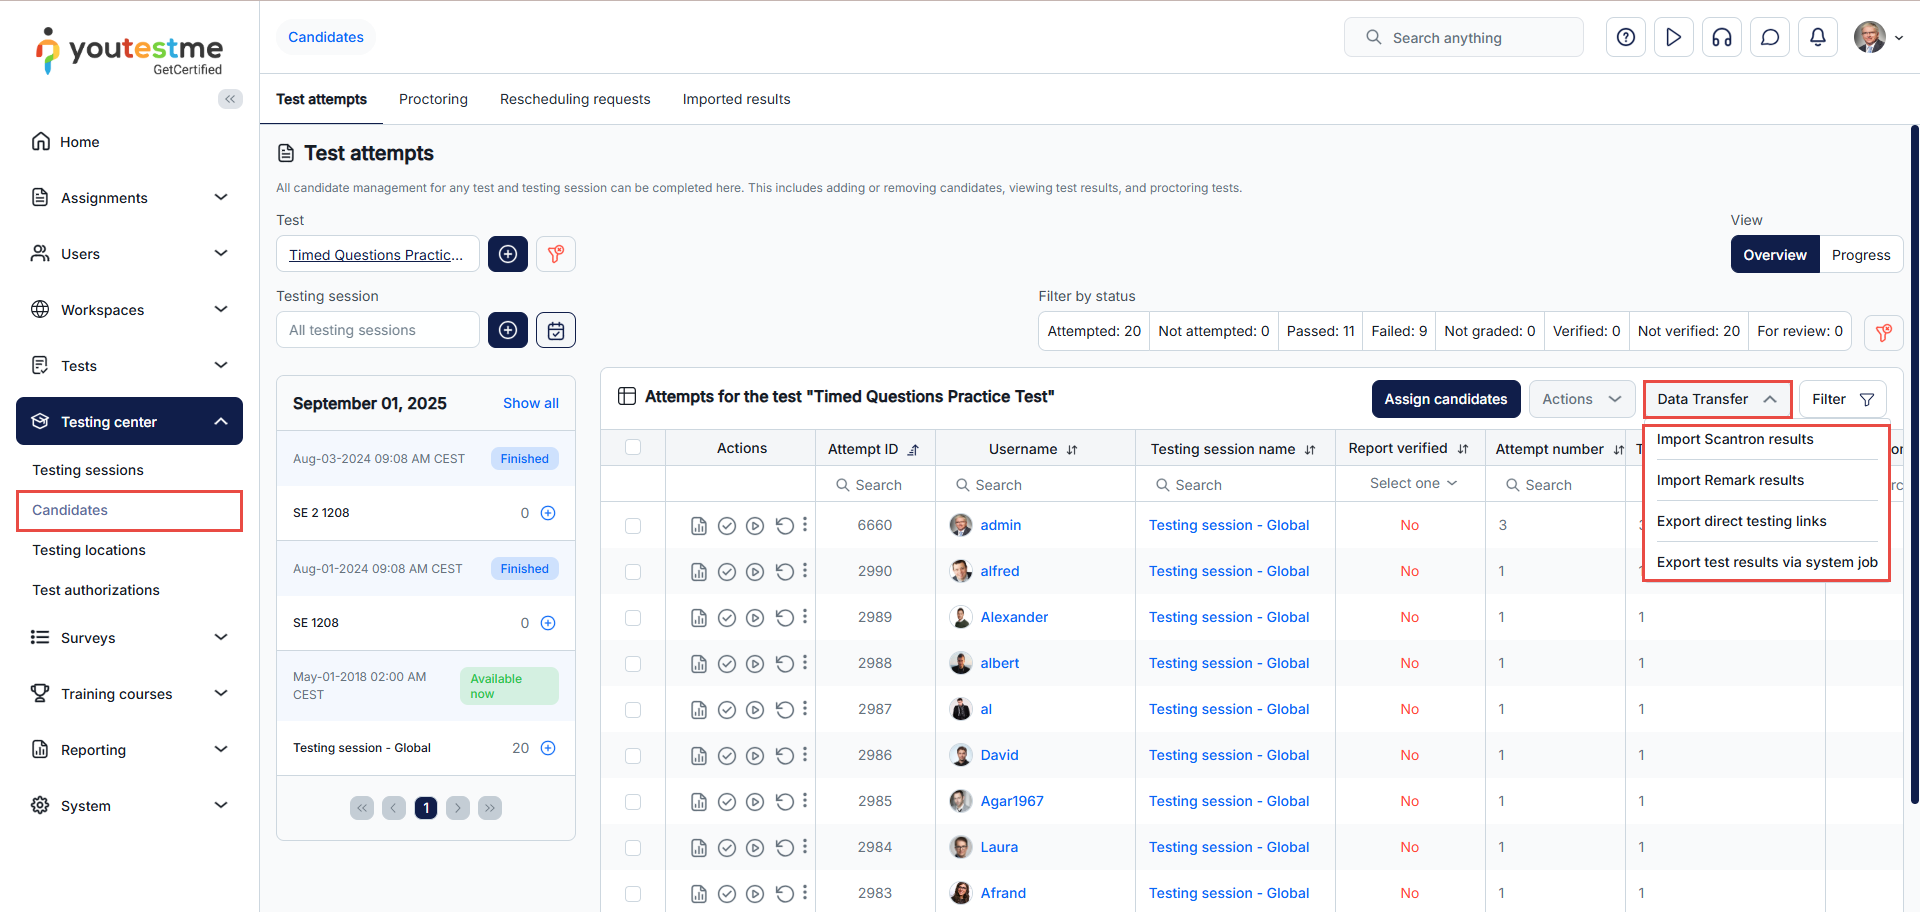
-
-
Workspaces
-
Workspaces serve to separate entities in the system. These entities include tests, question pools, question categories, training courses, surveys, users, and user groups. Users assigned to a specific workspace can see, create, or edit its content based on their permissions. A user requires a managing role to modify a workspace. Workspace managers are workspace creators or users with Manage workspace or Manage any workspace permissions.
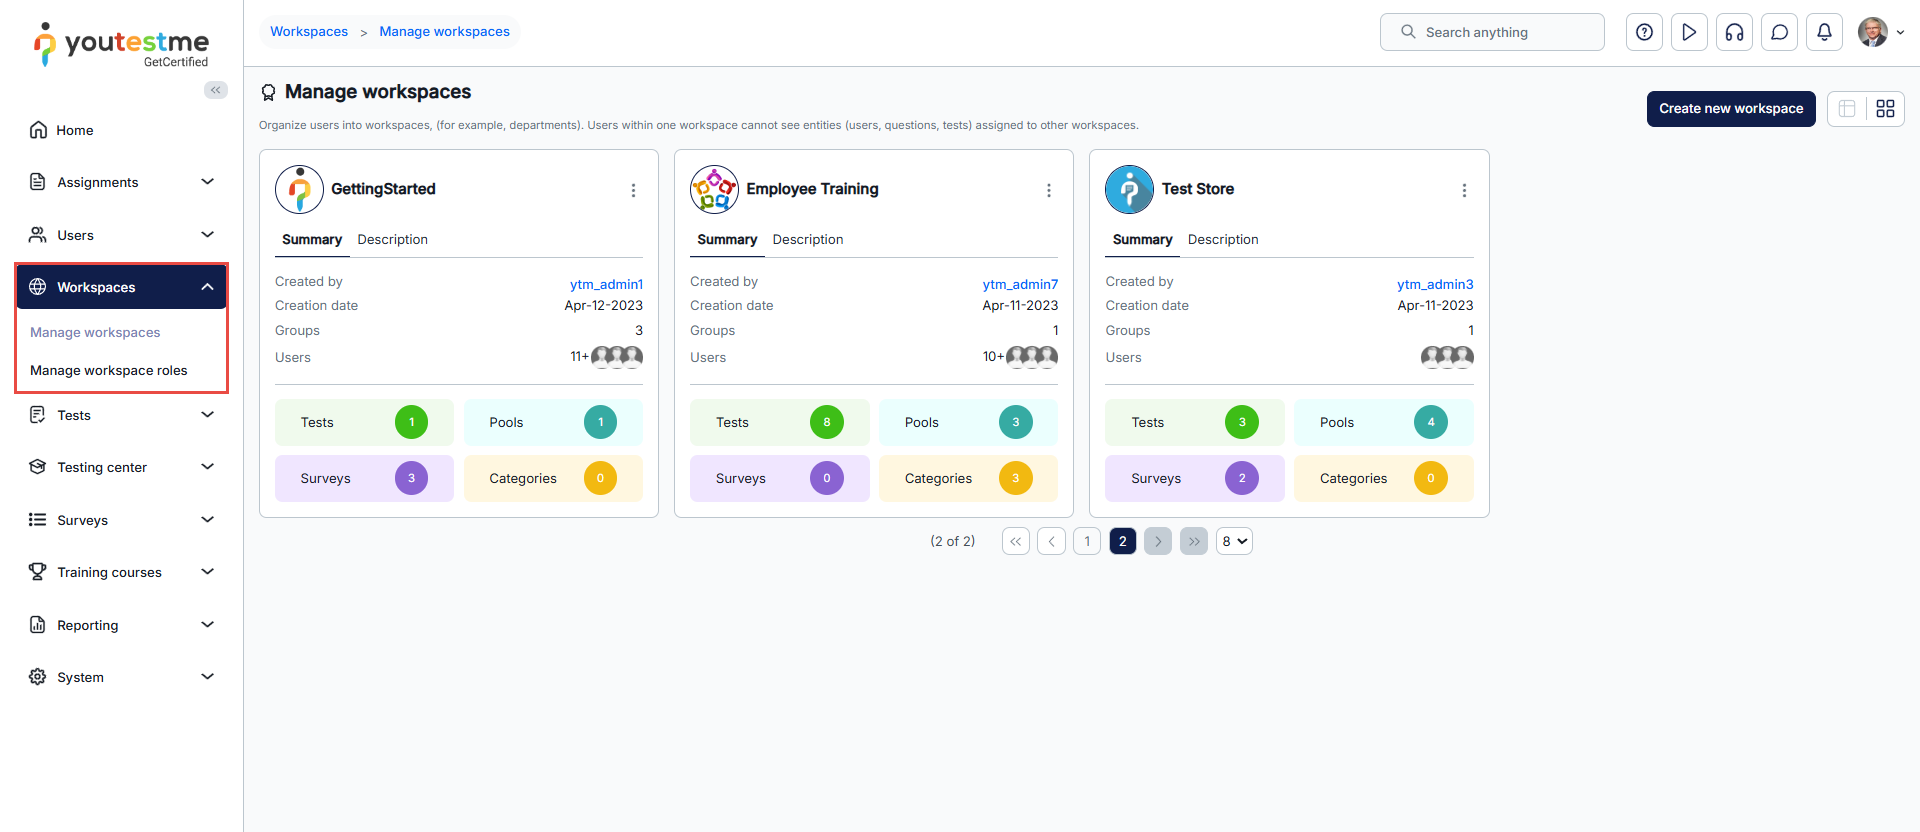
-
Training courses can be placed within workspaces.
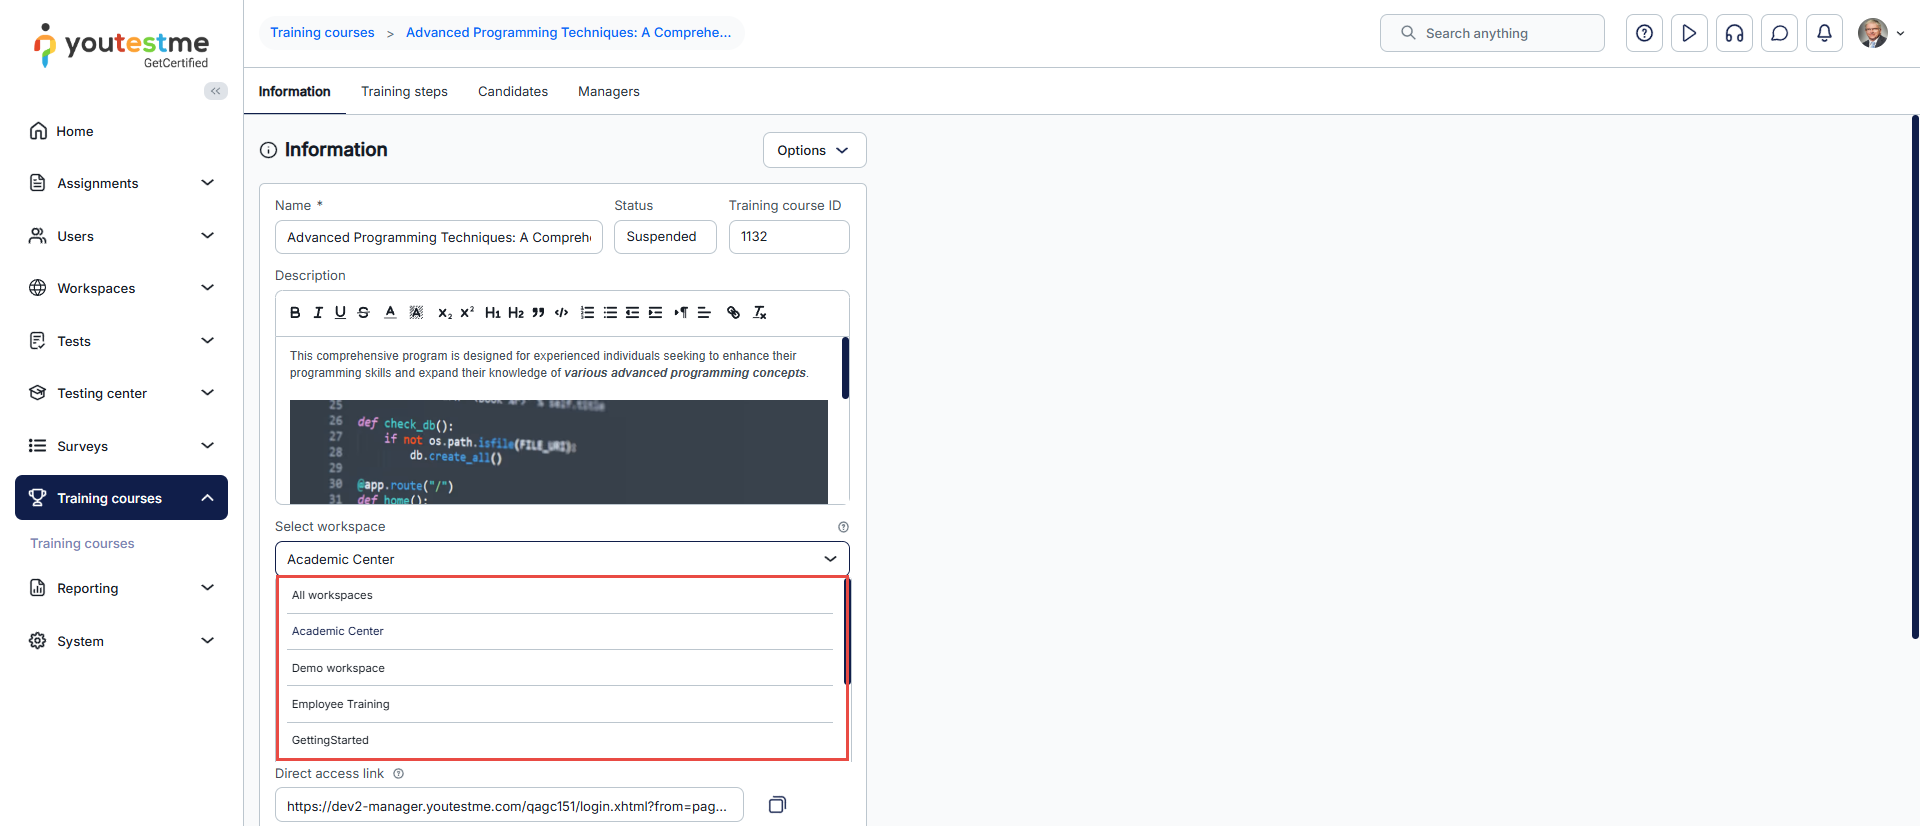
-
Workspace reports can be found in the Predefined Reports tab.
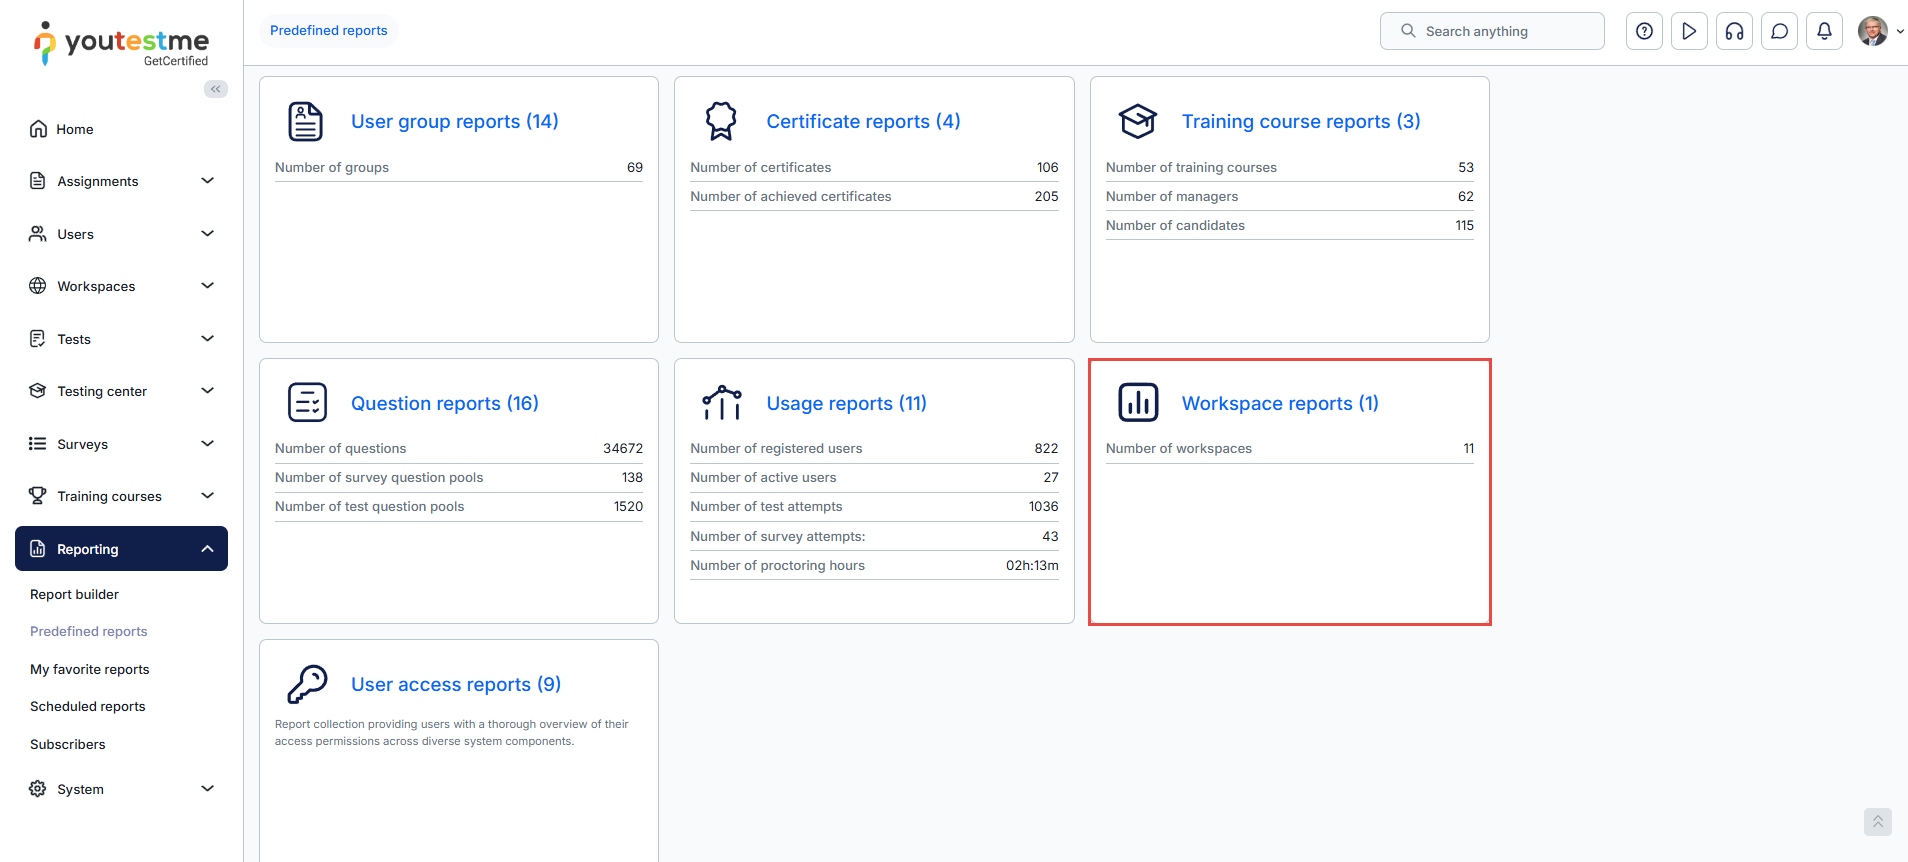
-
Account information can be placed within workspaces.
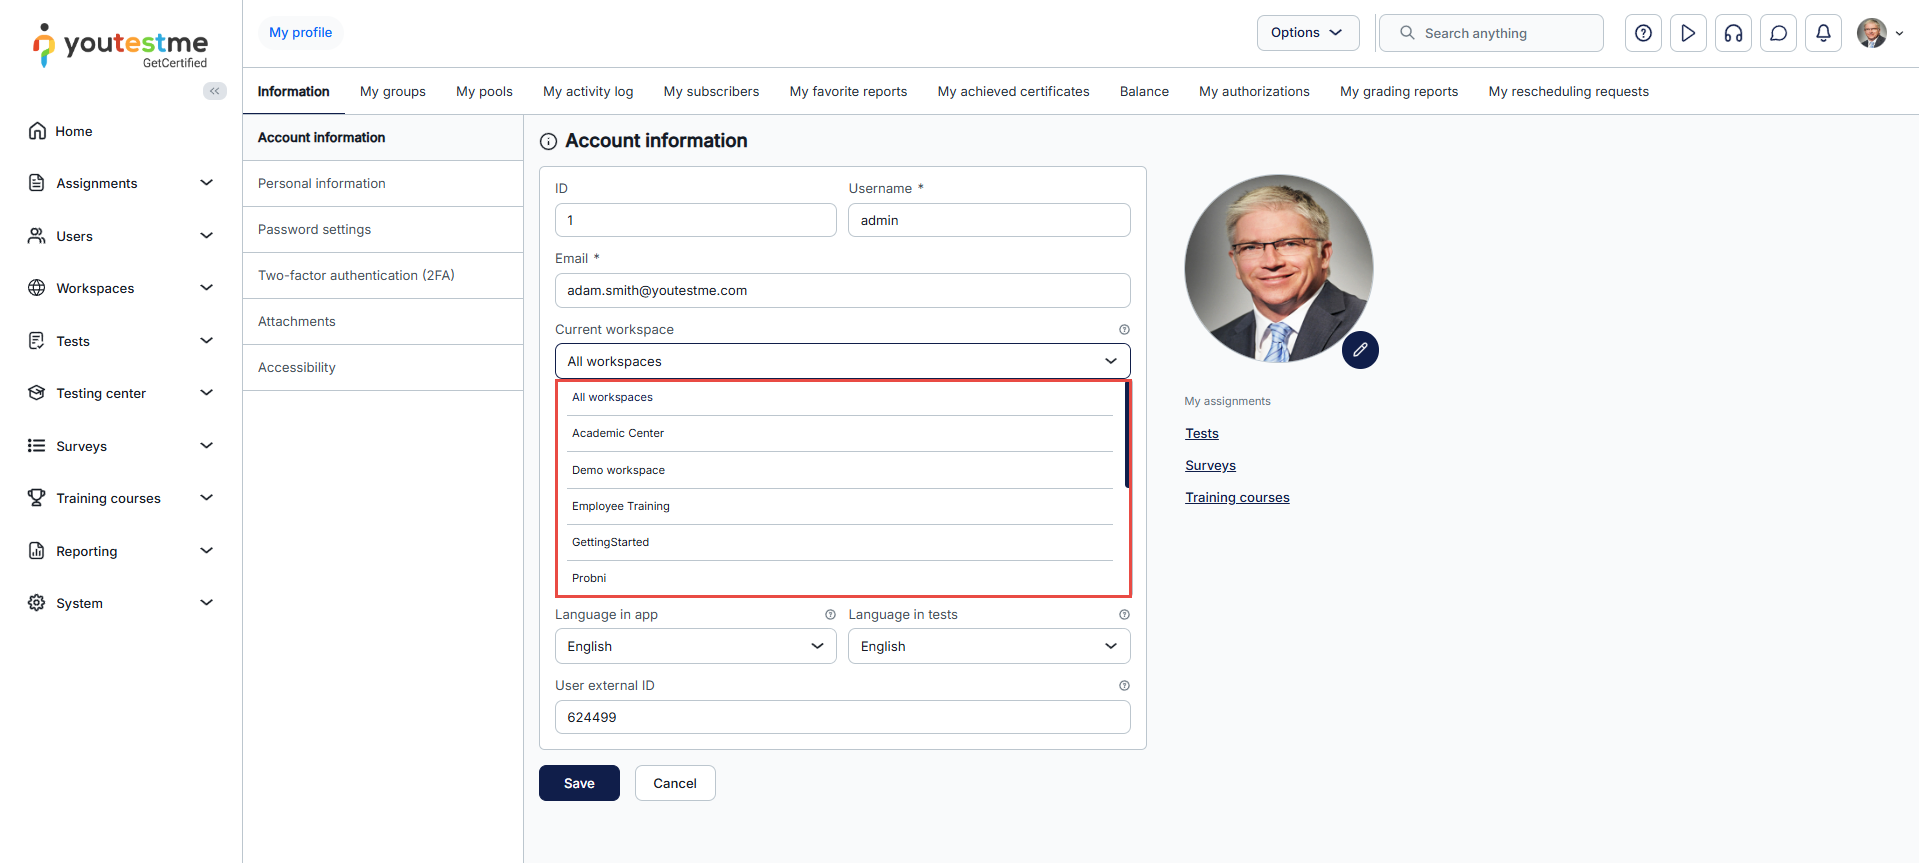
-
Question pools can be placed within workspaces.
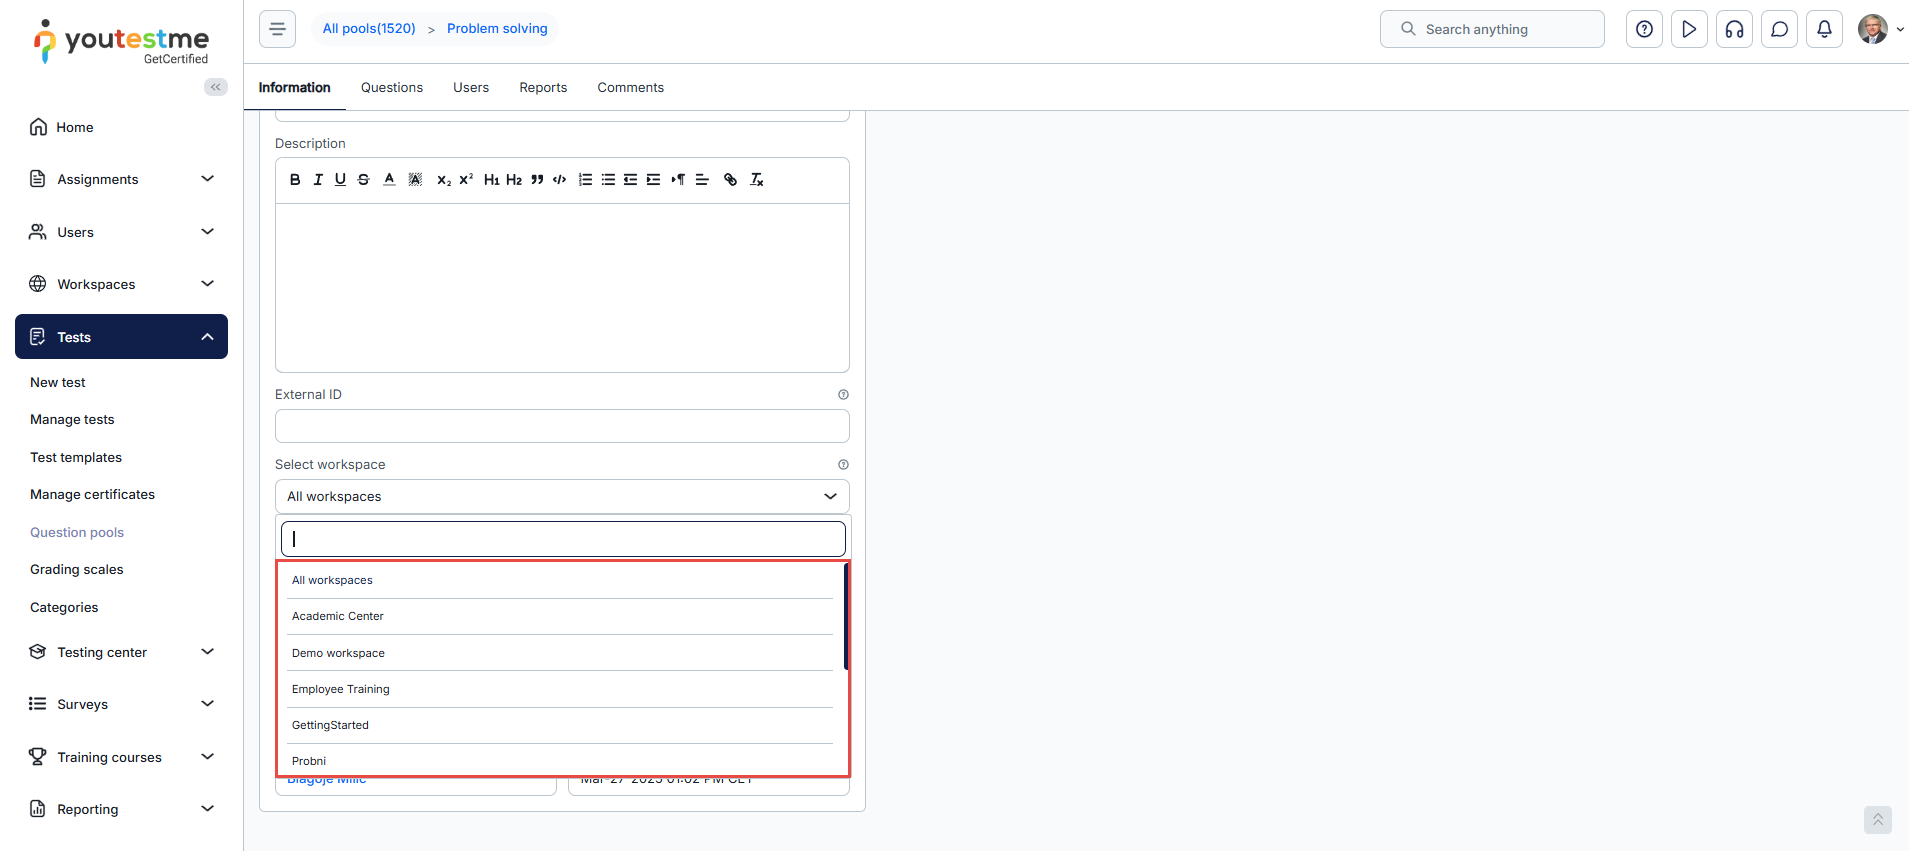
-
User groups can be placed within workspaces.
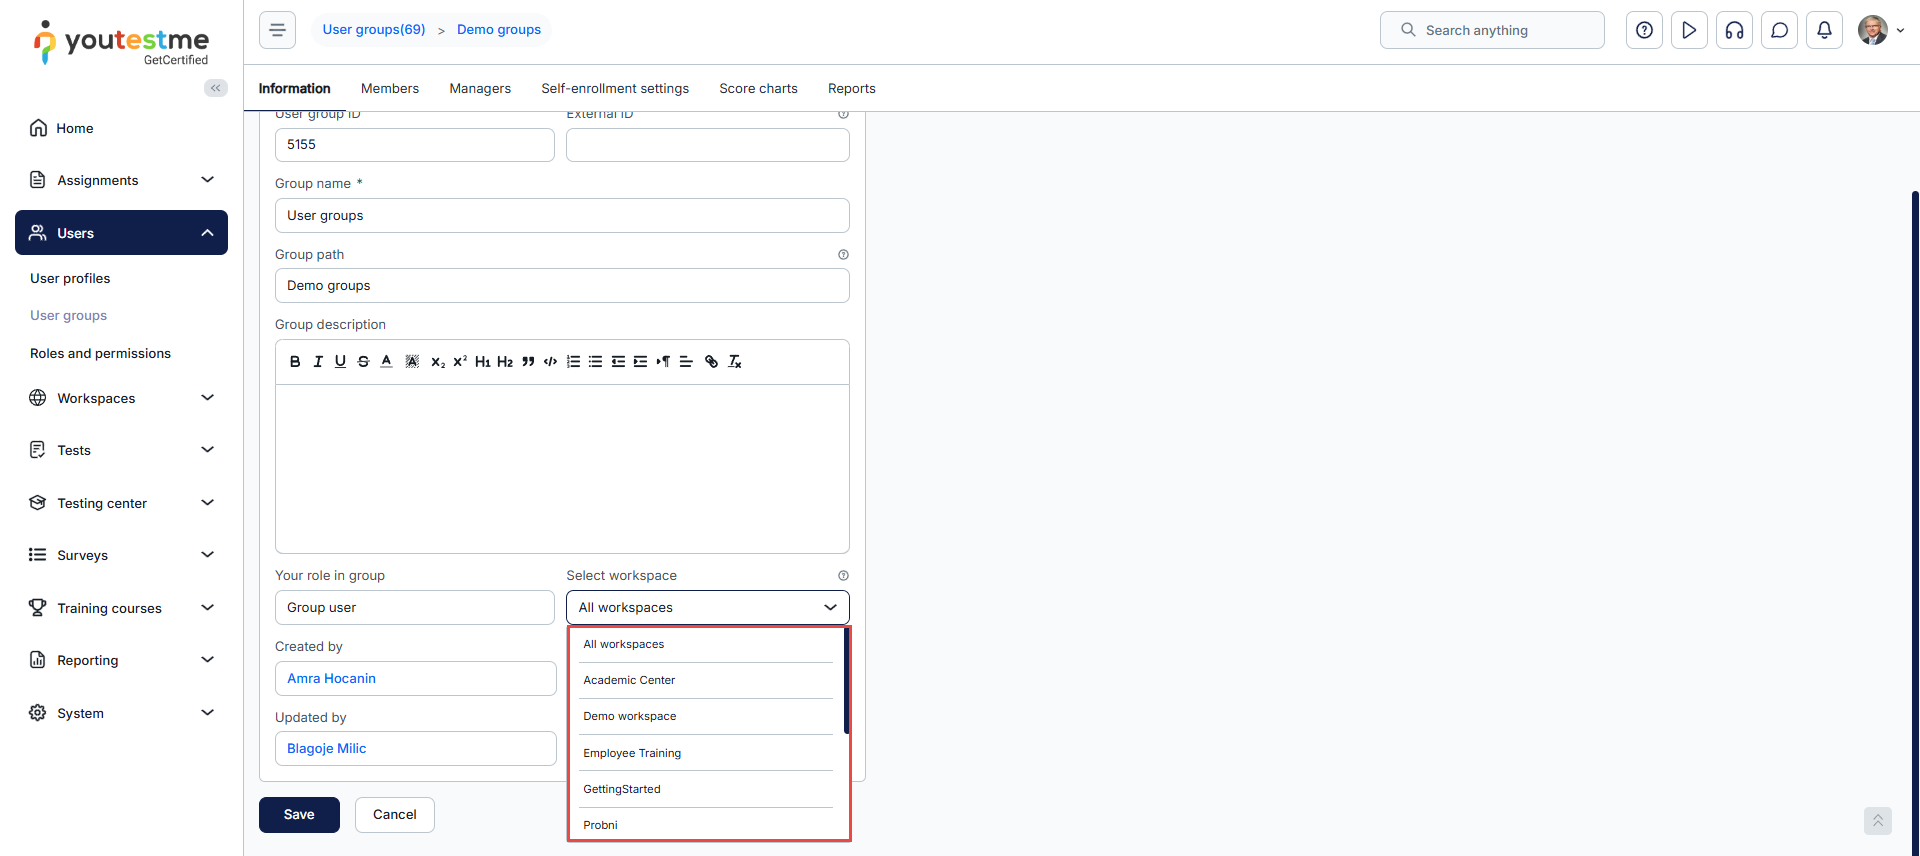
-
Tests within the Test wizard can be assigned to workspaces.
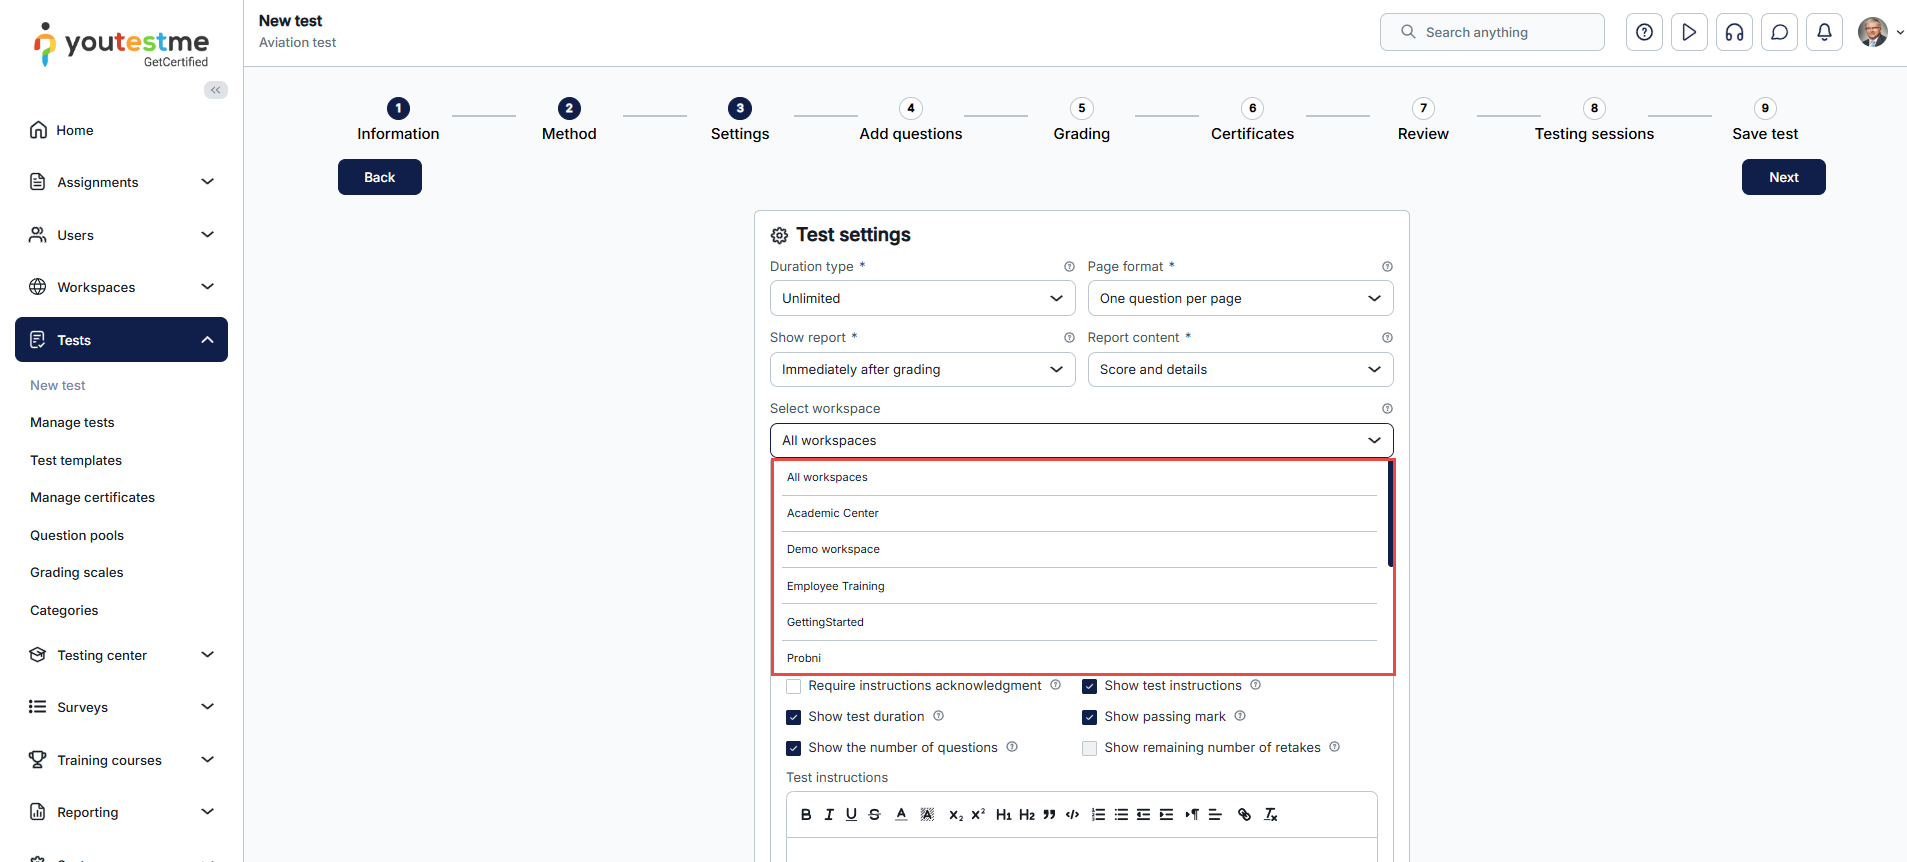
-
Tests can be placed within workspaces.
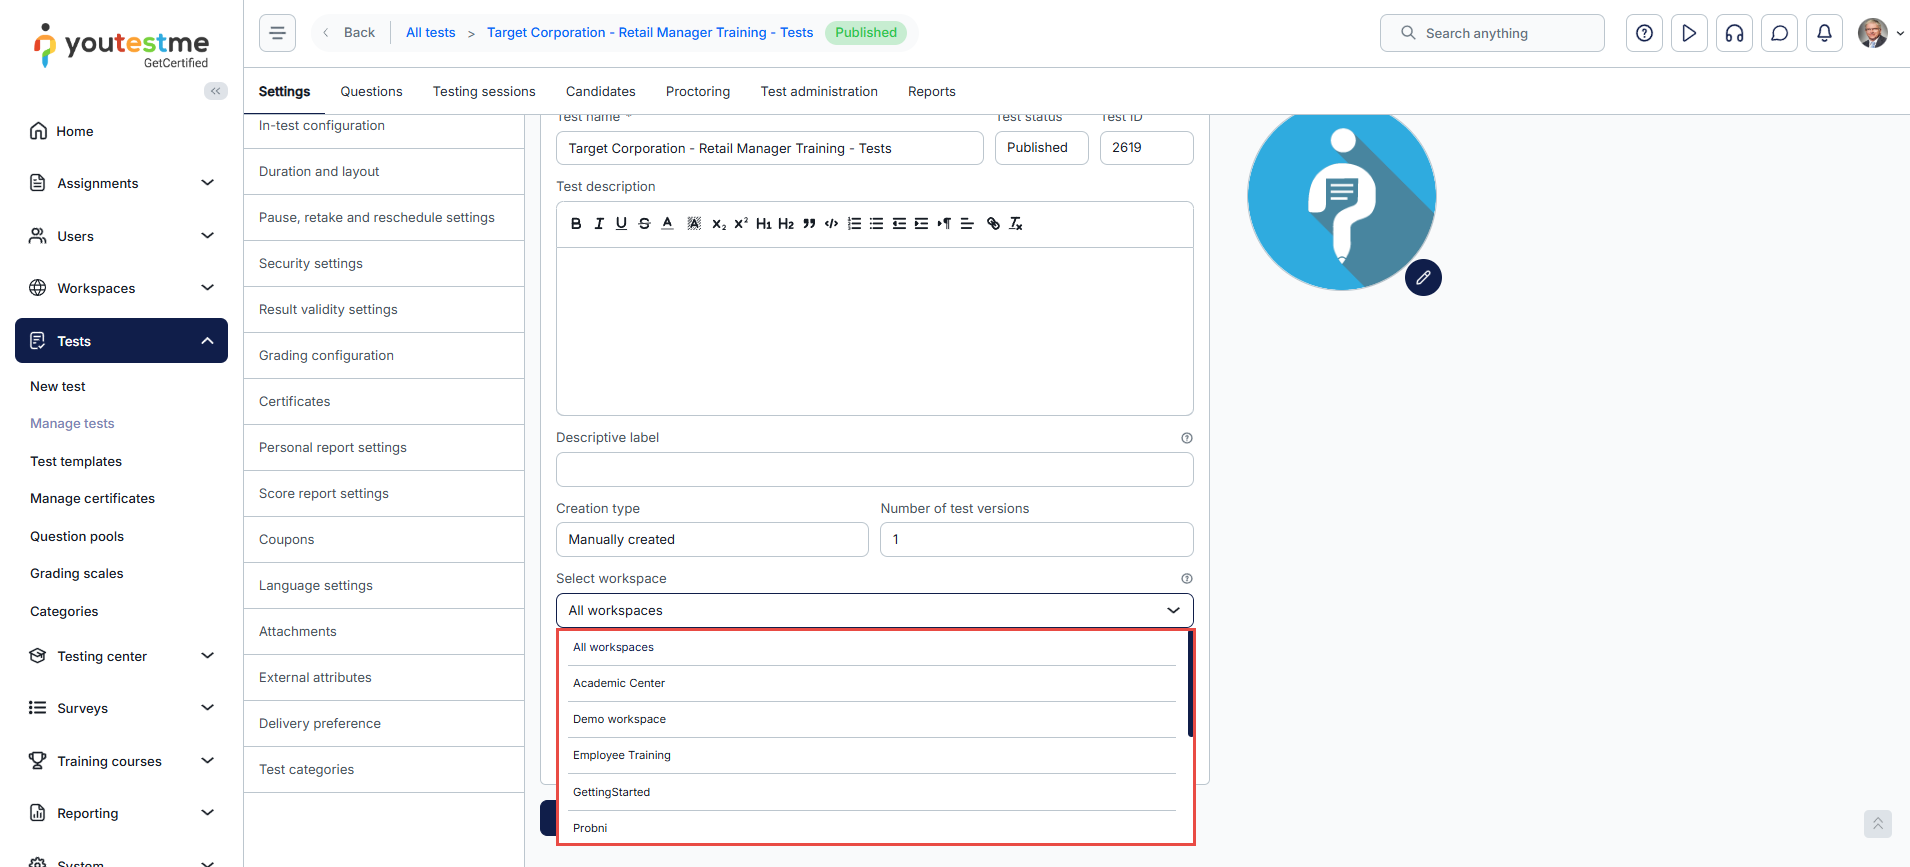
-
Question categories can be organized within workspaces. The question categories tab can be accessed through both the Tests/Question categories and System/System preferences/Custom properties/Question categories tabs.
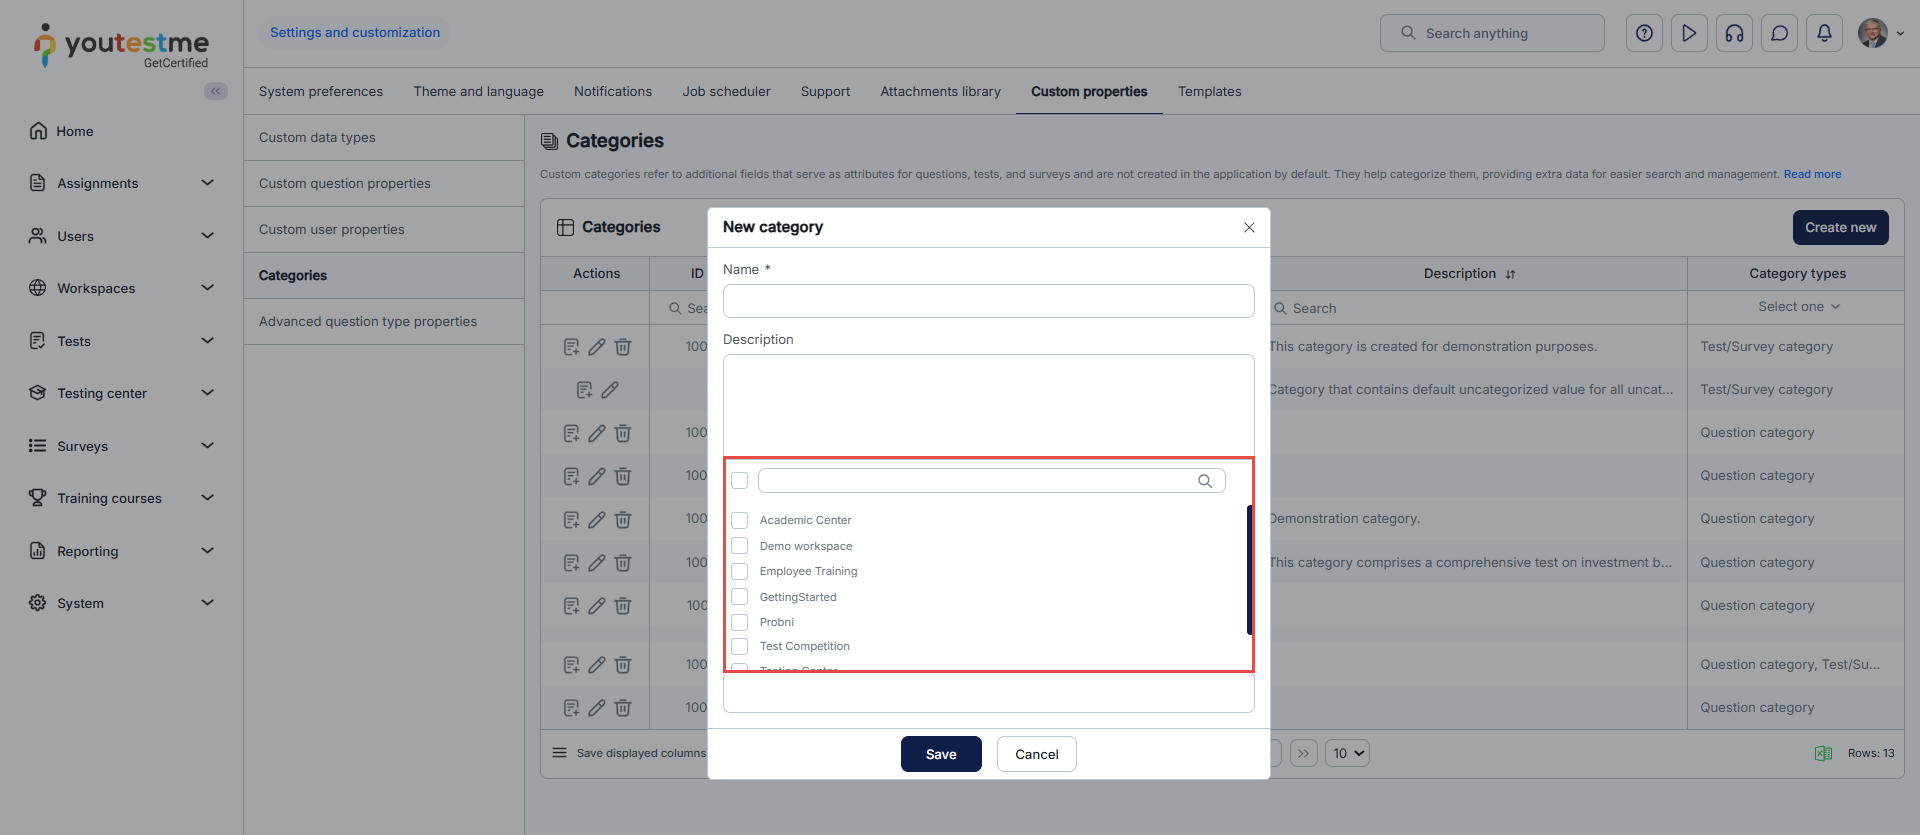
-
-
Setup wizard
An efficient method for setting up the application when starting to use it. By enabling this module, the application administrator will receive a pop-up containing a selection of modules they can choose to enable.
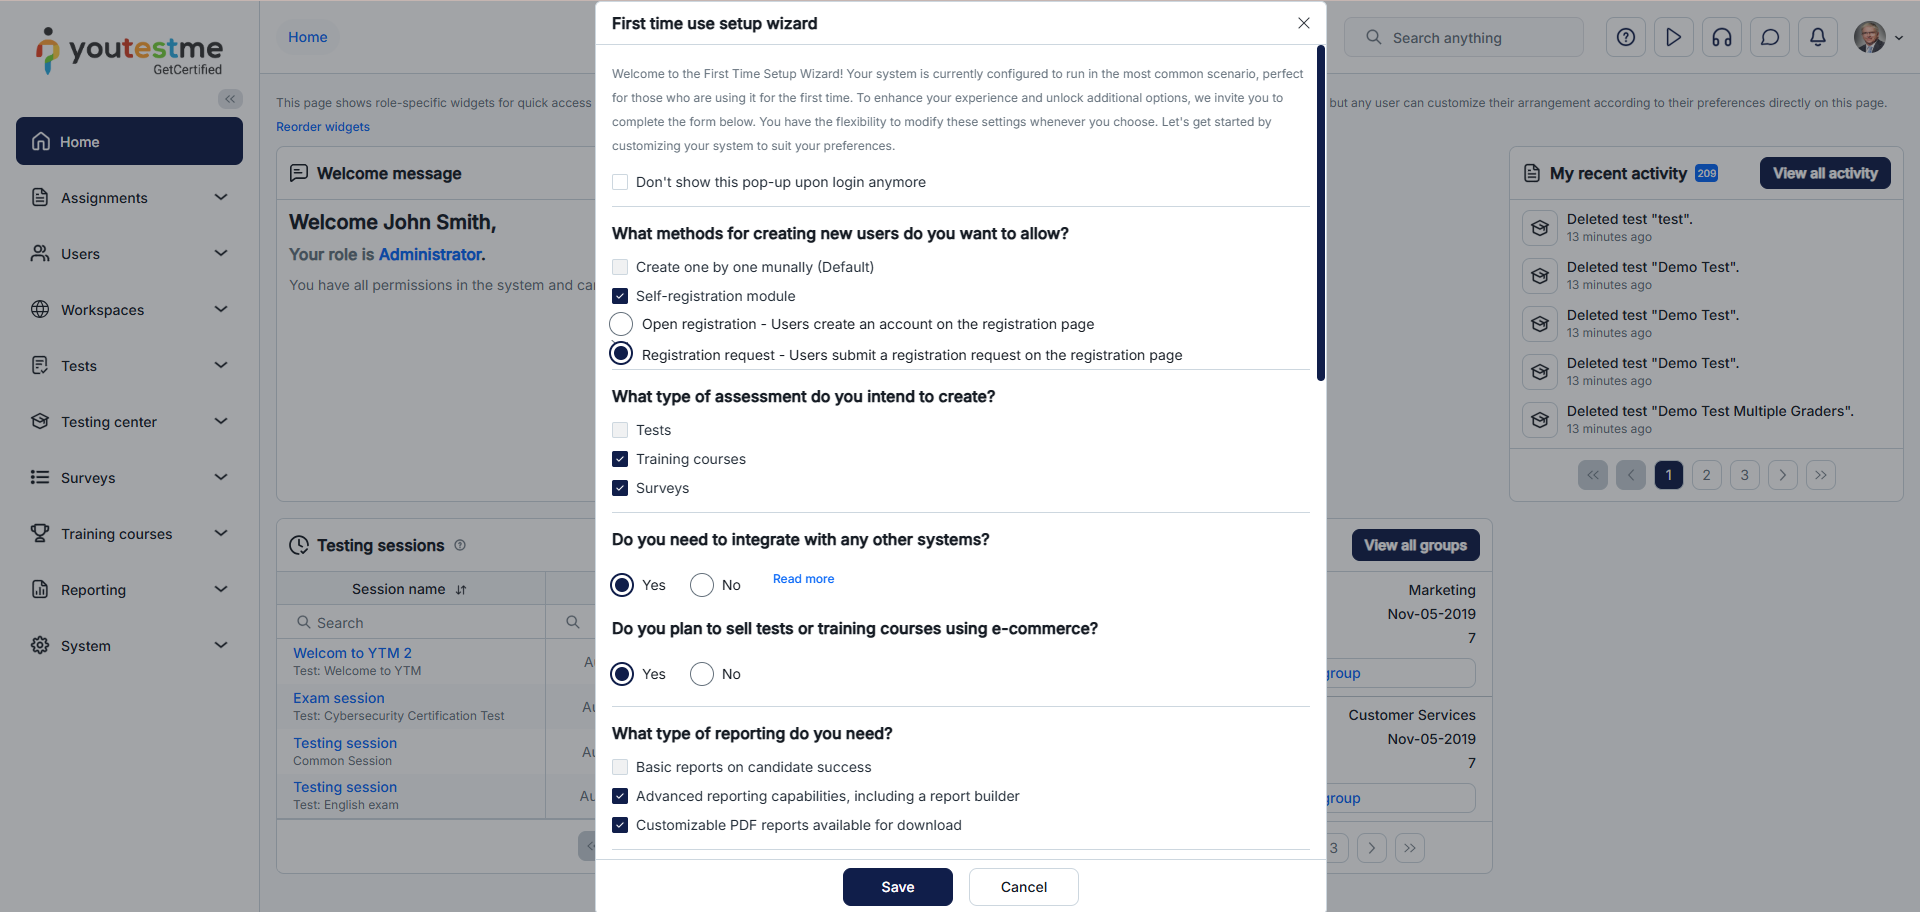
-
Generate questions with AI
By enabling this module, you will allow the generation of questions in the question pool using AI. Specify your topic and question type, and questions will be generated using a scheduled job.
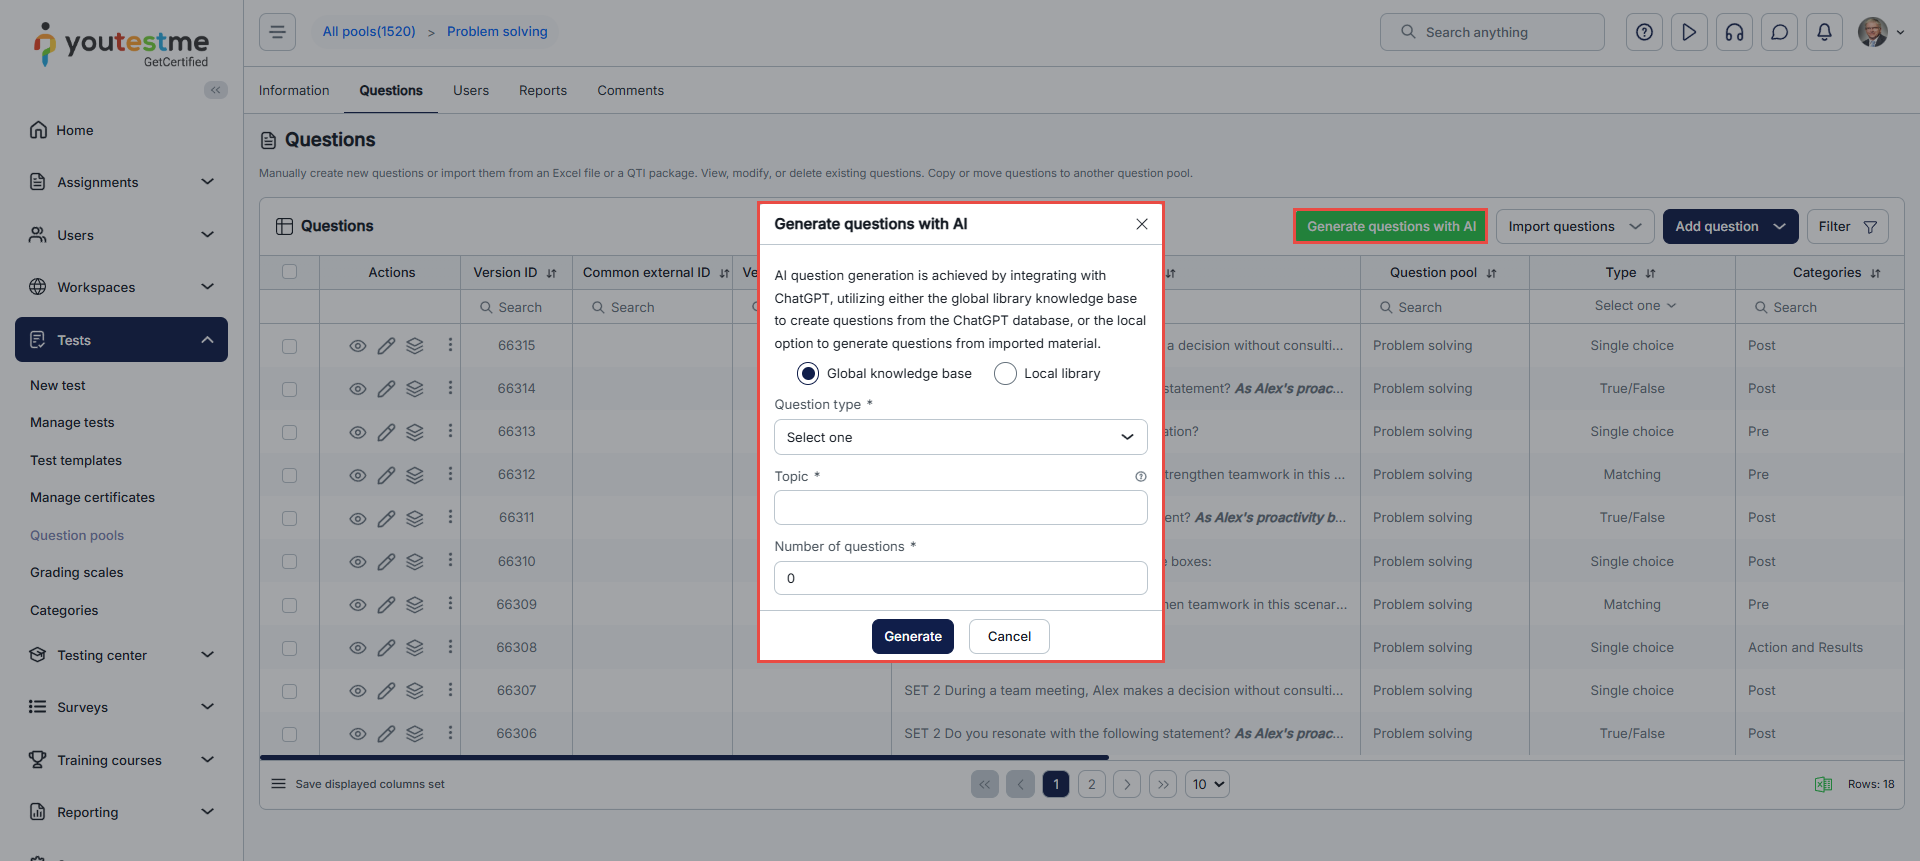
-
Generate steps with AI
Enabling this module allows for the automatic generation of training course steps and their descriptions using AI. Simply specify your topic and the number of training course steps, and they will be generated automatically through a scheduled job. You can use this feature when creating a new training course or when adding new steps to an existing one.
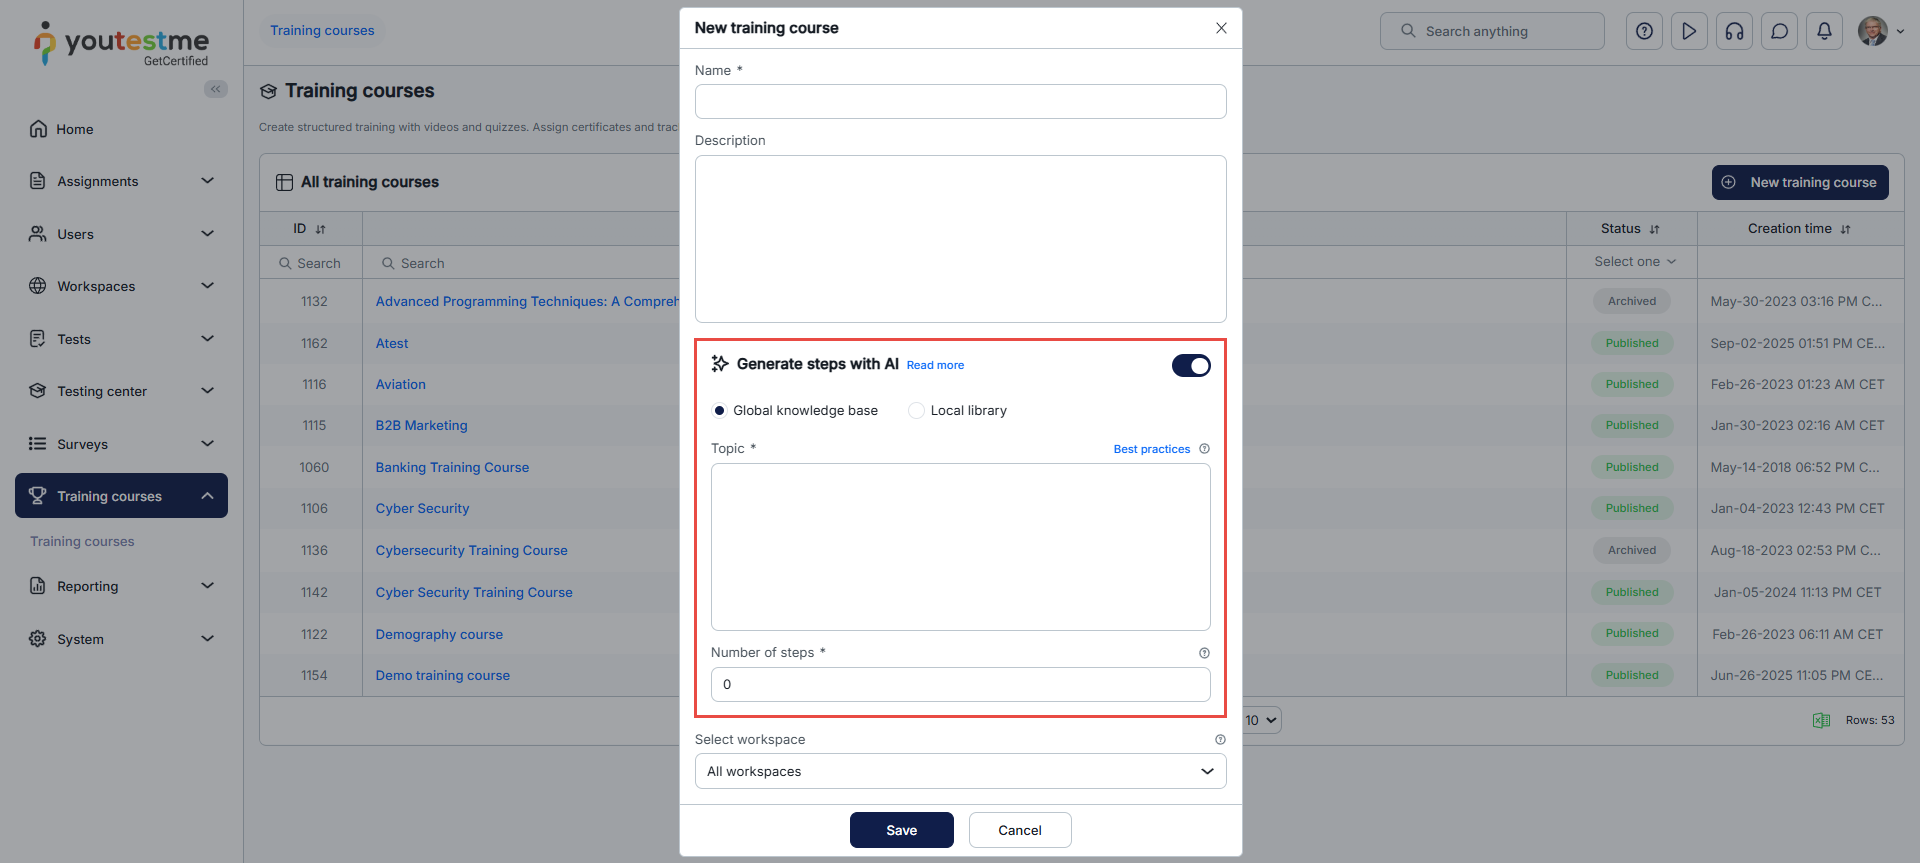
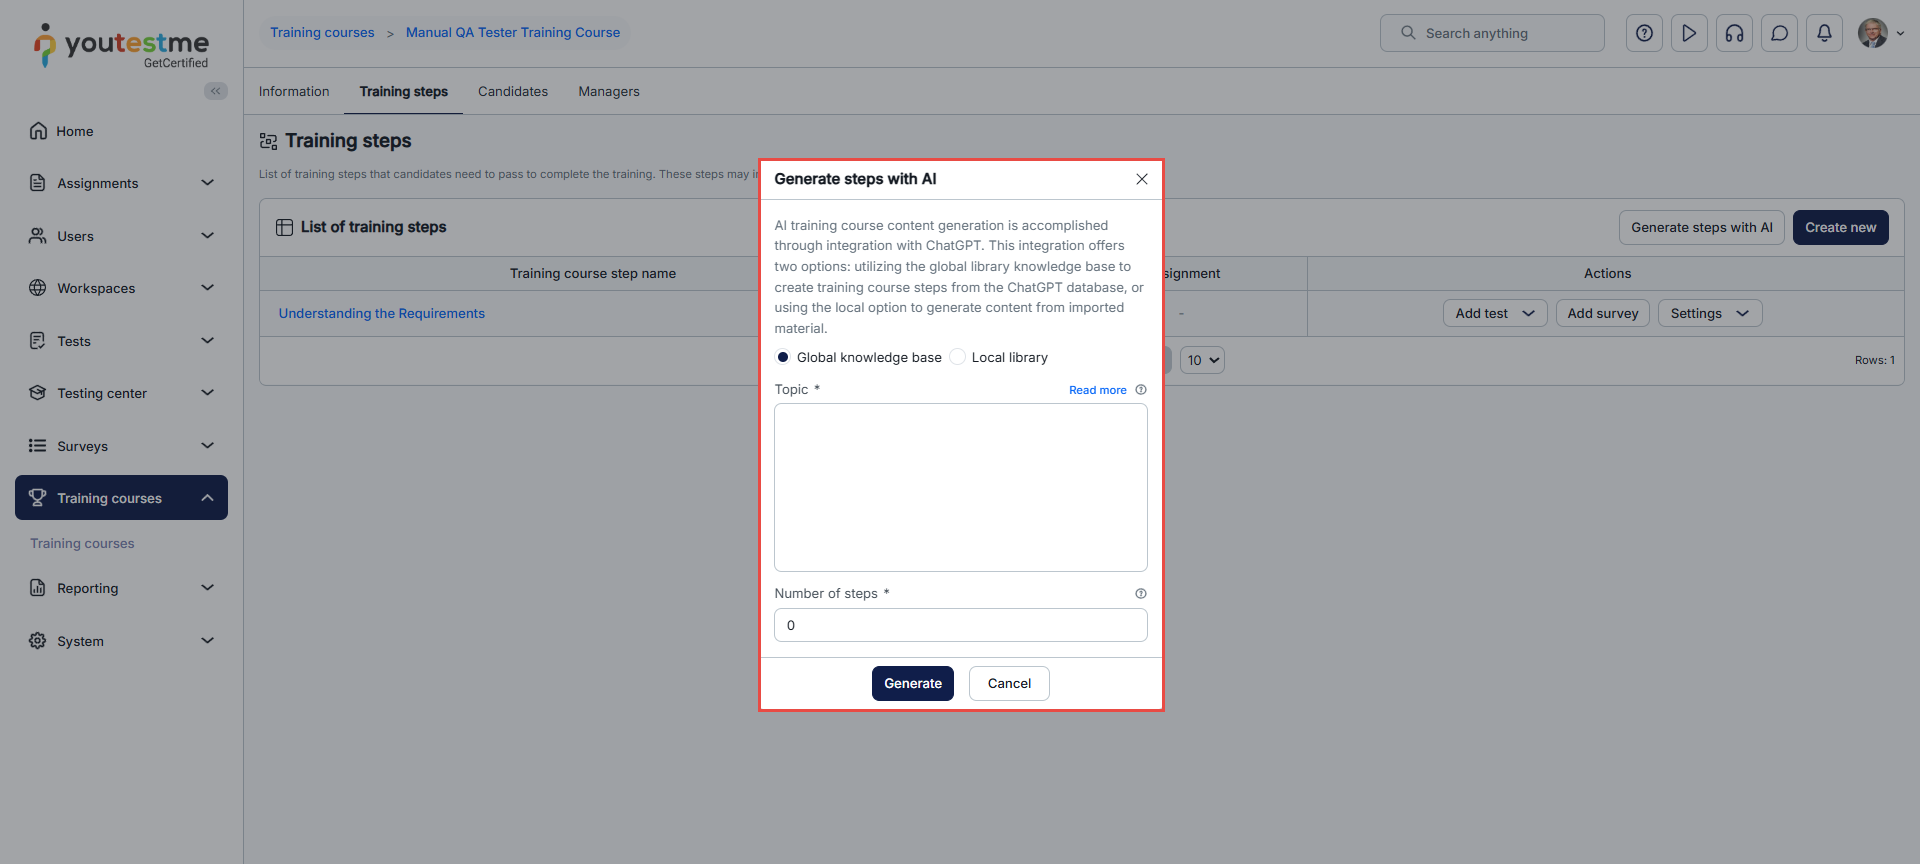
-
Local library
Enable or disable the generation of questions and training course steps from a local library. Upload your file to the library to generate questions or steps based on its content.
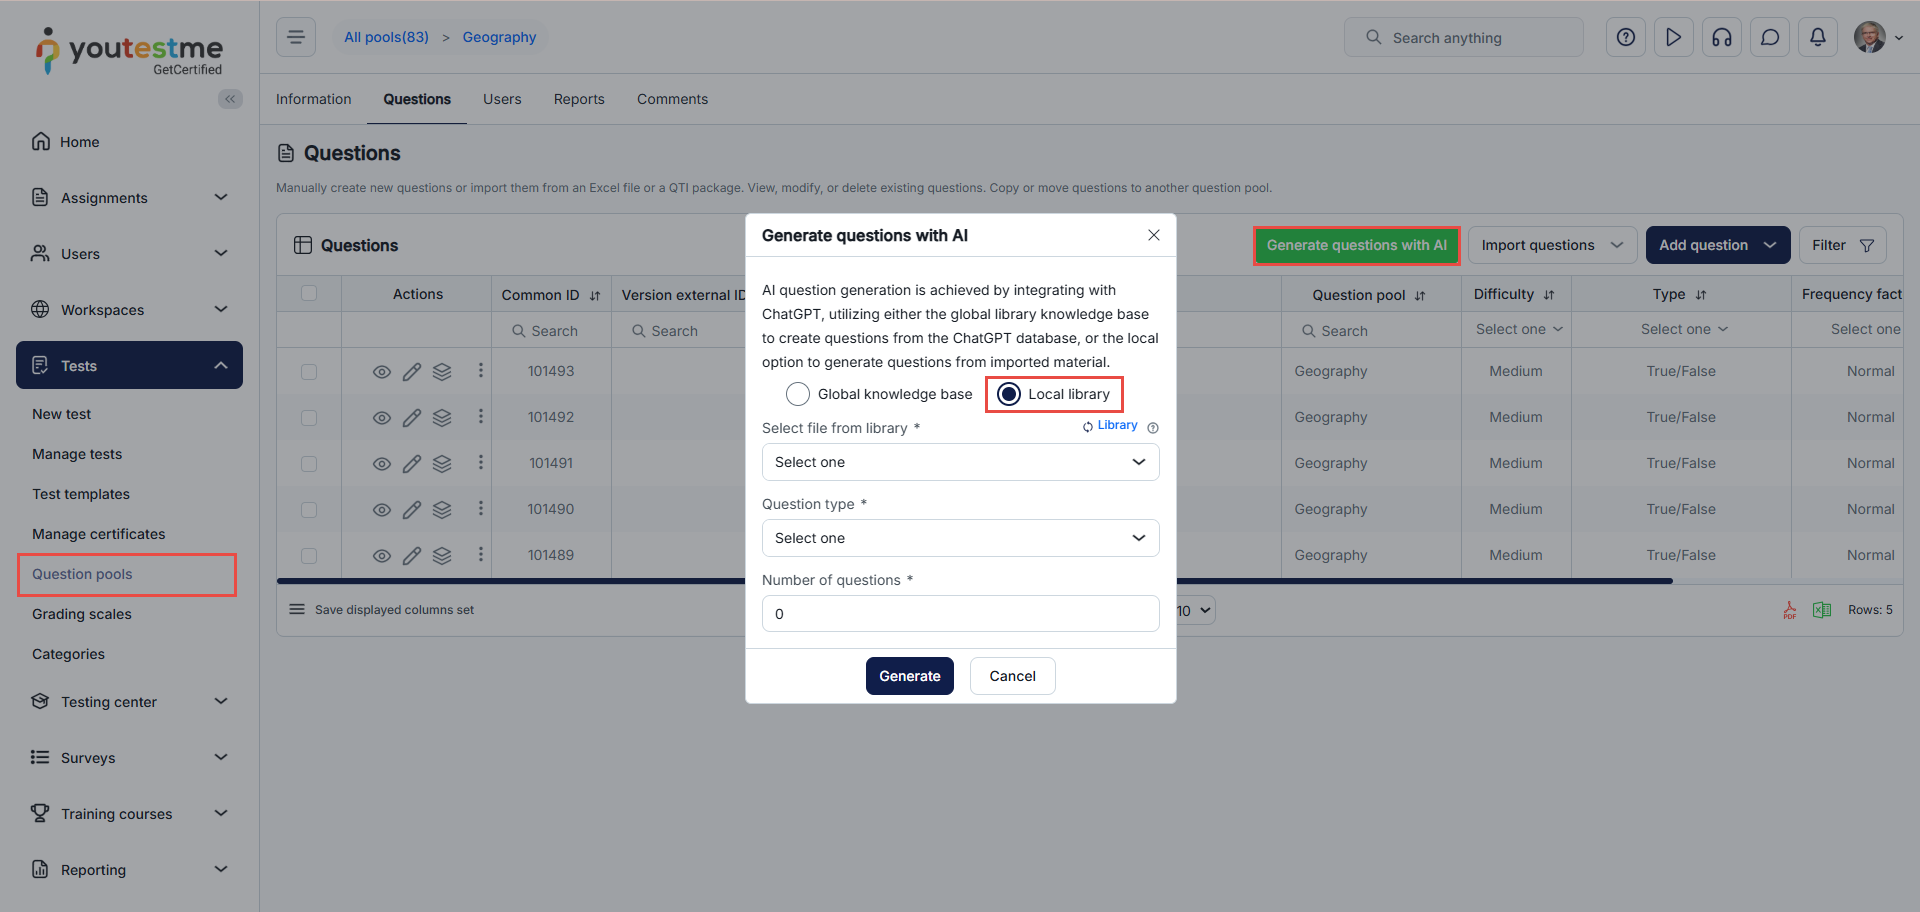
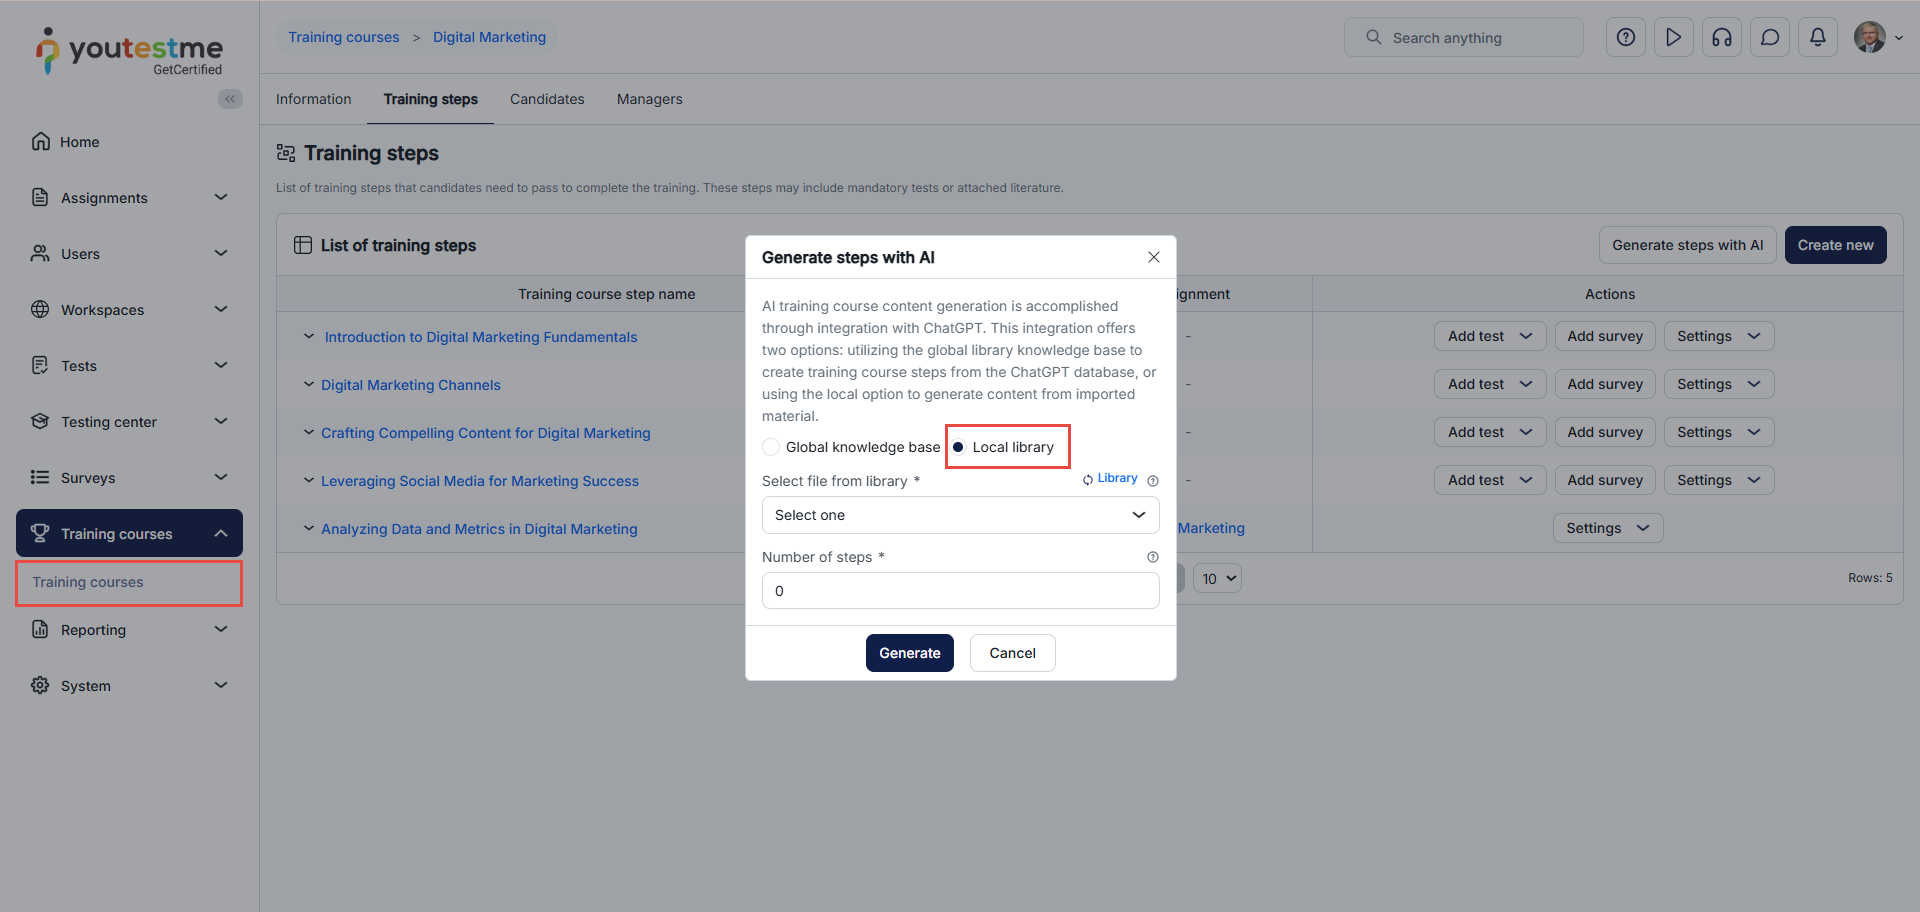
-
Auto-marking
Enable or disable the automatic grading of essay question answers using our advanced AI technology. For more information on how this feature works, refer to this video.
-
Enable request special accommodation
Enable or disable candidates' ability to request special accommodations for tests.
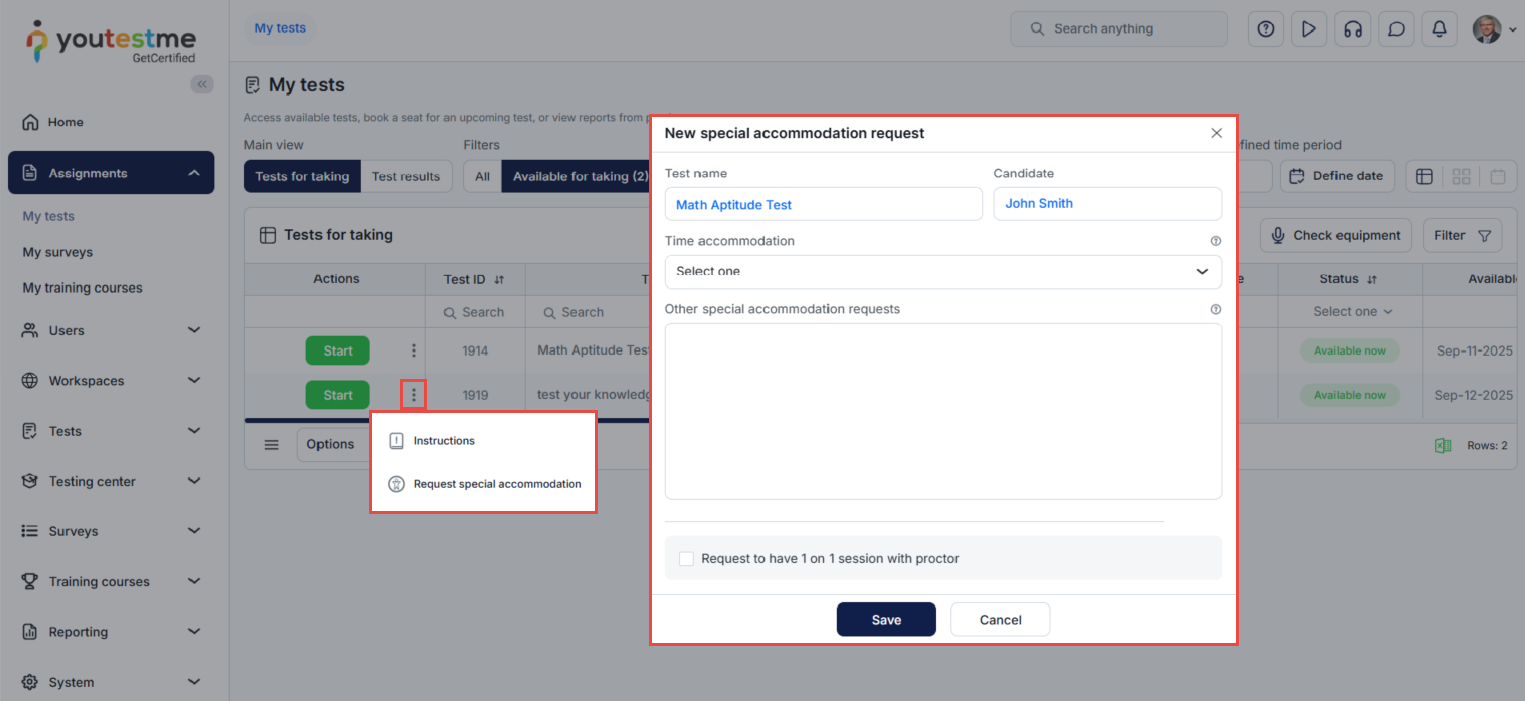
-
Enable special requests
Enable or disable the special requests module.
-
Active directory
Synchronize GetCertified users with accounts from Microsoft Active Directory.
-
Privacy
Enabling the Privacy option will hide users' private information from their profiles, including date of birth, gender, phone number, street address, city, etc.
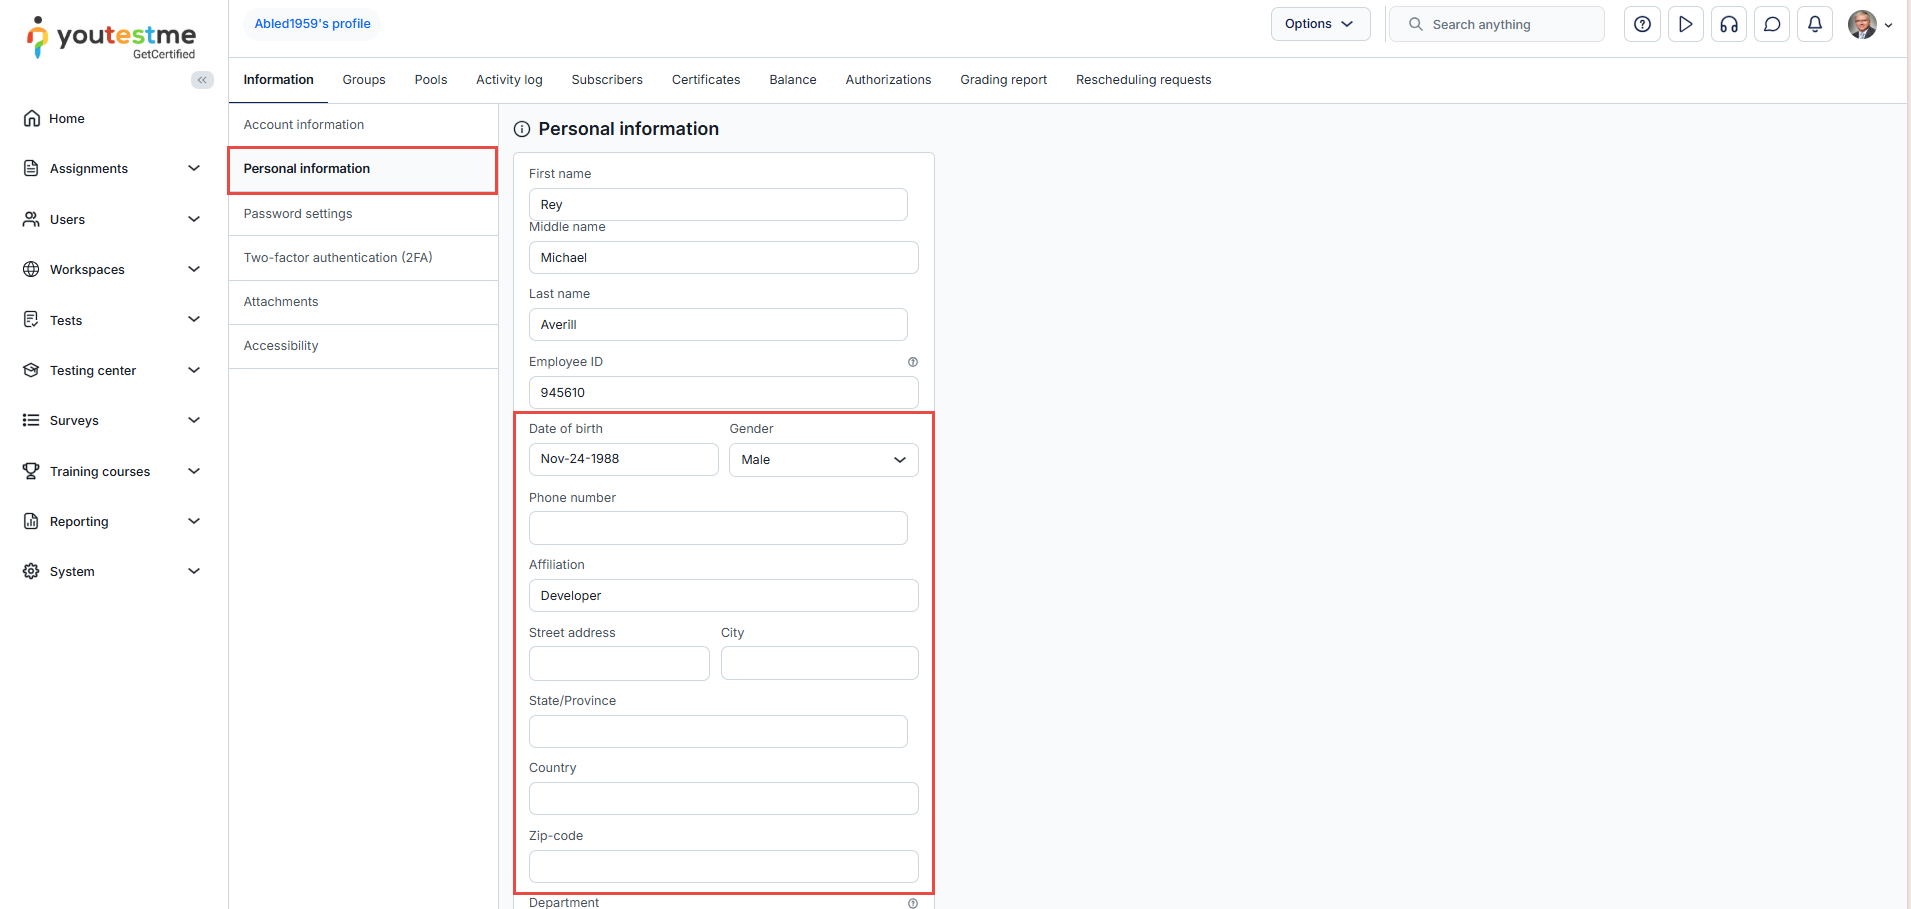
-
SFTP transfer
Enable SFTP transfer to configure SFTP Protocol and automatically receive test results on your FTP server..
-
Passed/Failed labels
Enable Passed/Failed labels to show Passed/Failed labels throughout the application.
-
Useful help links
Enable the display of helpful videos and articles to improve navigation within the application. These links appear next to hint text on pages, labeled as Read more/Learn more or Play video and are underlined for easy identification.
-
Enable "help" and "instruction videos" buttons
Enable the display of help page and instruction videos icons in the top right corner of the application, that provide guidance through the application.
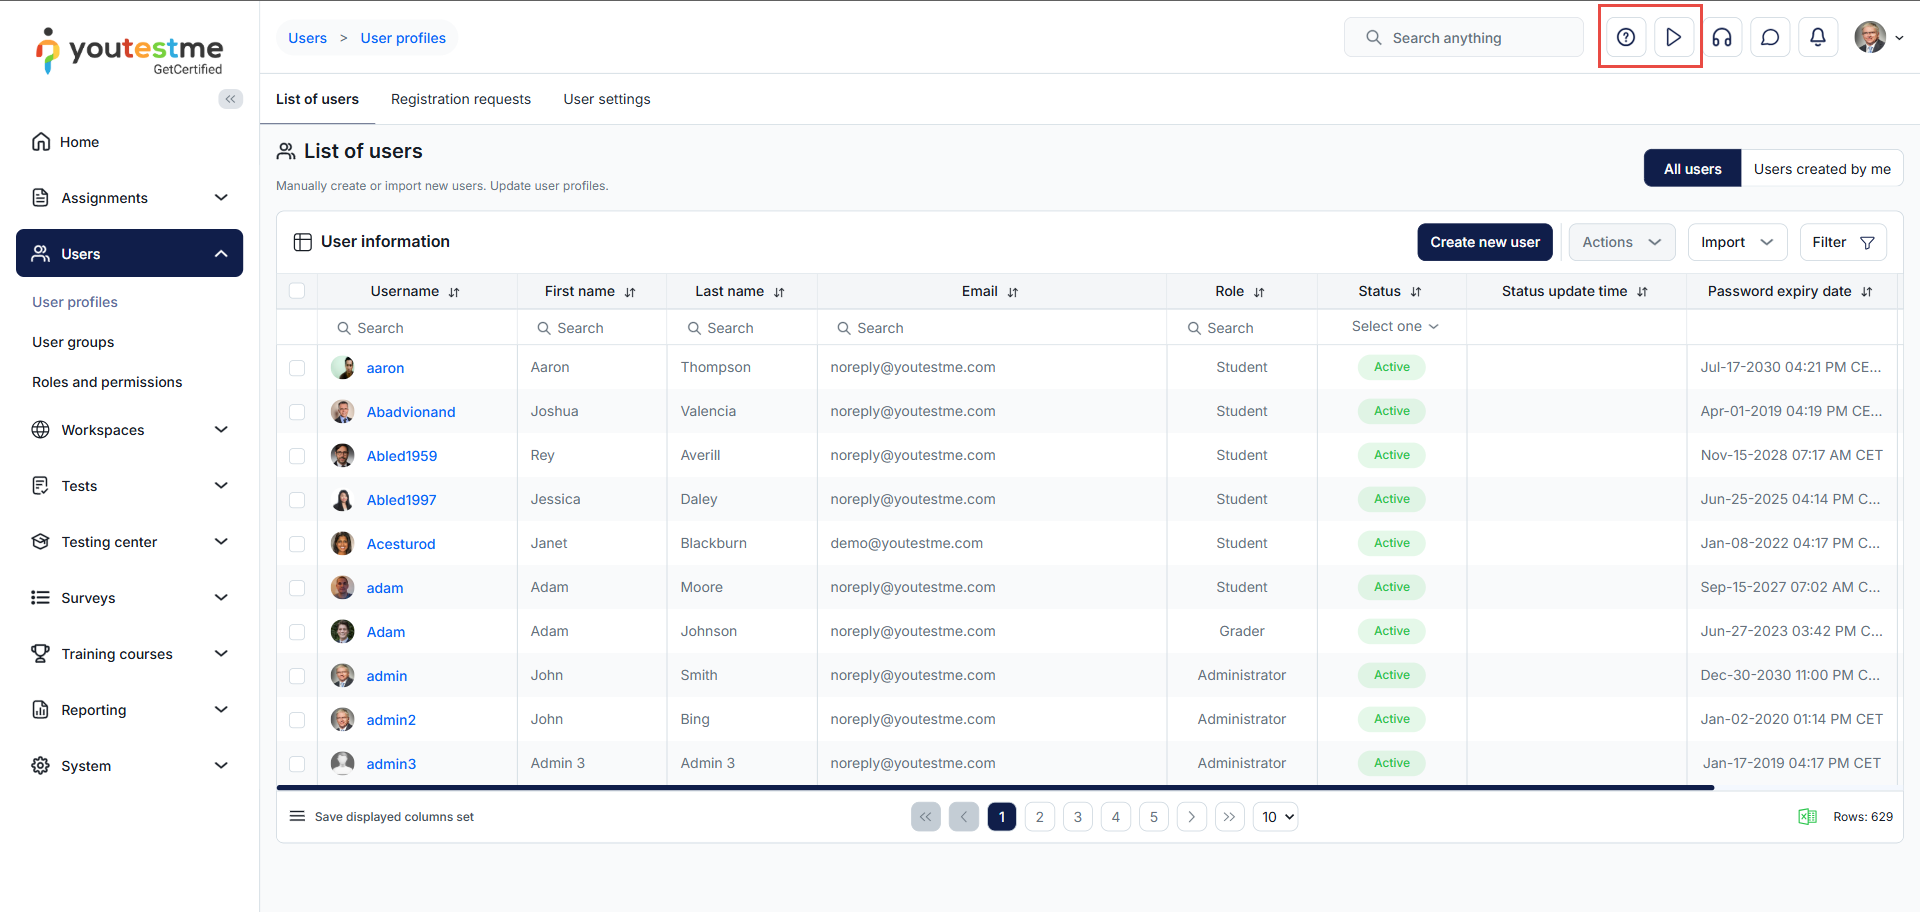
-
Allow delete data
Enable deleting users and tests permanently from the system. Note that all associated data (from reports and statistics) will be lost, and data cannot be retrieved.
-
Allow reverting test result verification
This feature introduces the ability to undo the verification status of test results. When you revert the verification of a test result, the system will apply the latest grading setup of the corresponding test to that result. This provides the flexibility to make adjustments after verification while ensuring that the most current grading criteria are correctly reflected in the test outcome.
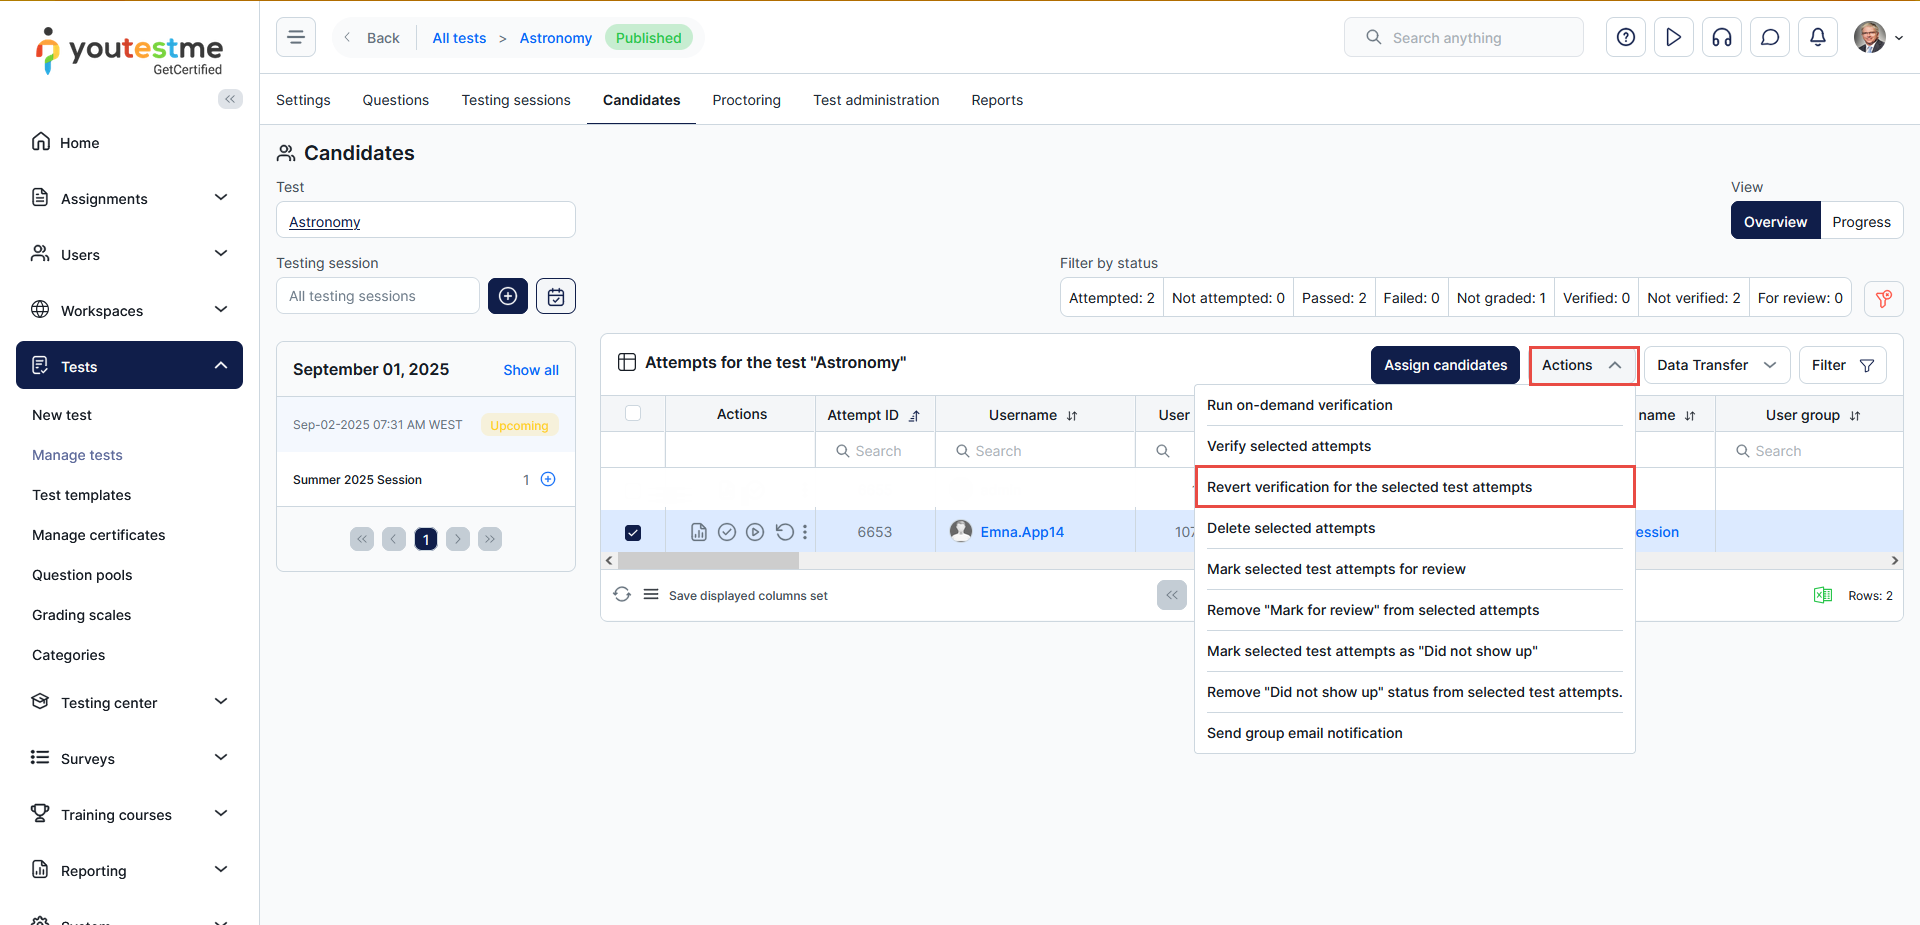
-
Calculator
Display a built-in calculator during test-taking, allowing candidates to use it during the test.
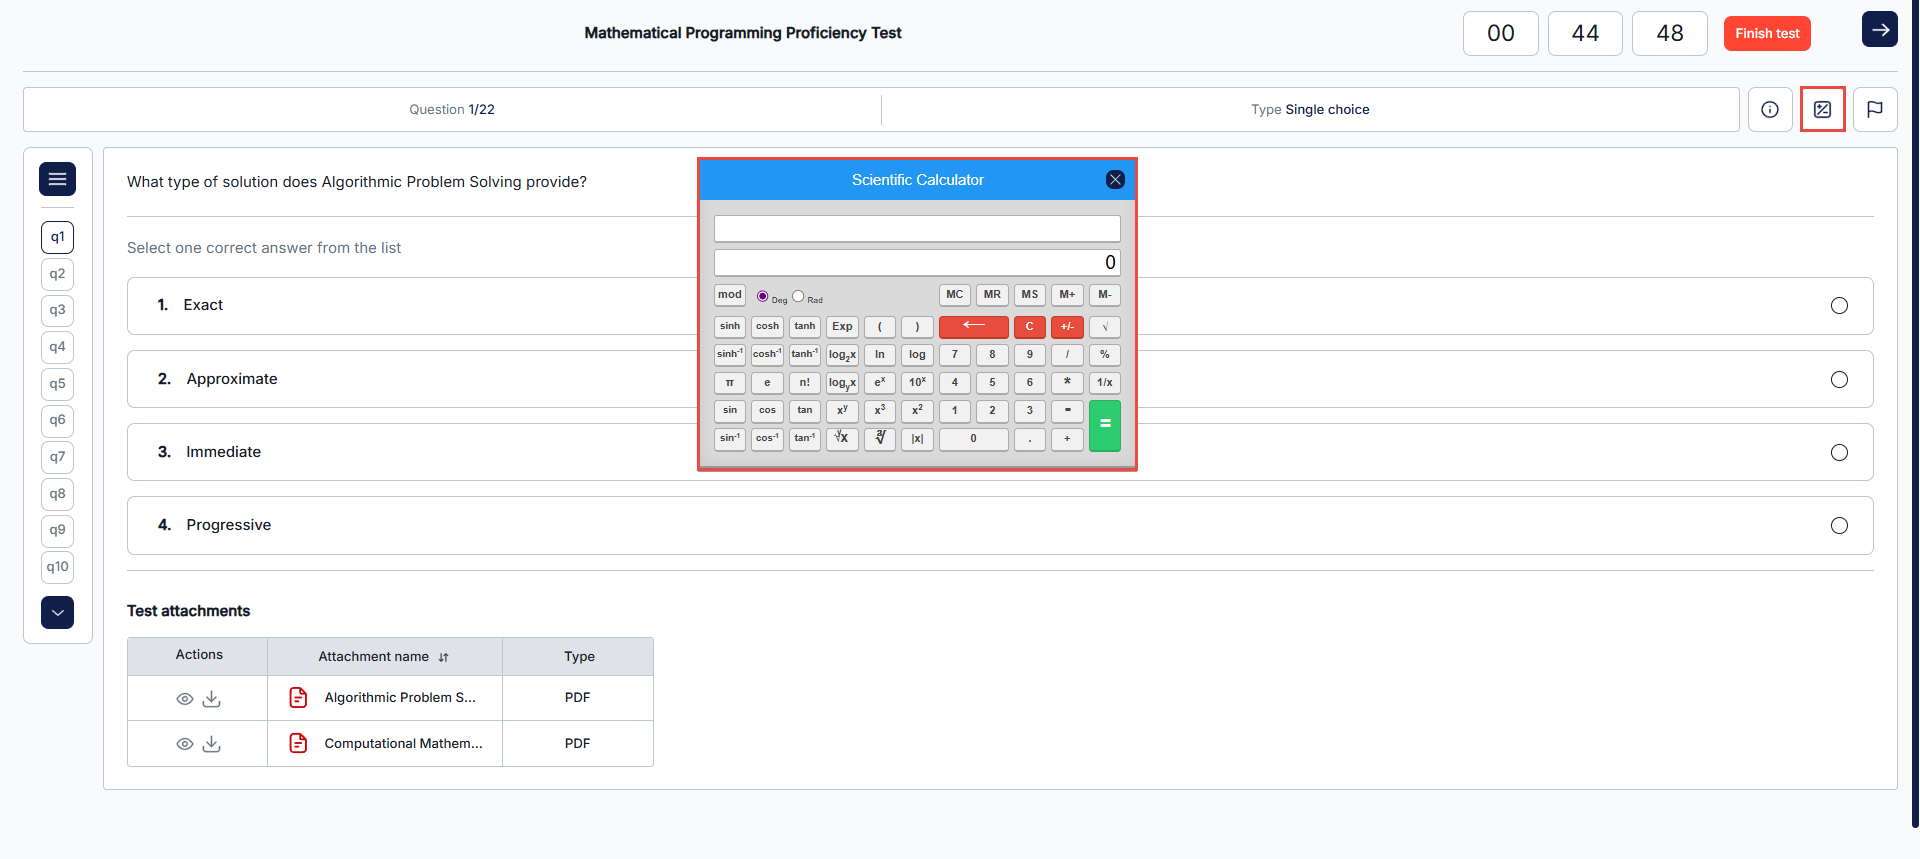
-
Integrity check for generated tests
Enable validation check to ensure there are enough questions for generating tests if some questions in question pools are changed, moved, or deleted. For more information, refer to this article.
-
Attempt continuation always enabled
If this option is enabled, the candidate can always continue the In progress or Disconnected attempt within the testing session validity period, disregarding the test/survey settings.
-
Special accommodation approval required
By enabling this option, approval will be required for newly created special accommodations.
-
Mandatory user group assignment for testing session
If enabled, selecting a user group is required when creating new testing sessions.
-
Browser lockdown violation outcome
Enable the Browser lockdown violation outcome option to forbid candidates from continuing their attempt when they violate any browser lockdown rule.
-
Collapsed progress bar view on test-taking page
Use the collapsed progress bar view on the test-taking page. For more info, refer to this article.
-
Disable attachment upload on essay questions
Remove the option for candidates to upload attachments on essay questions while taking the test.
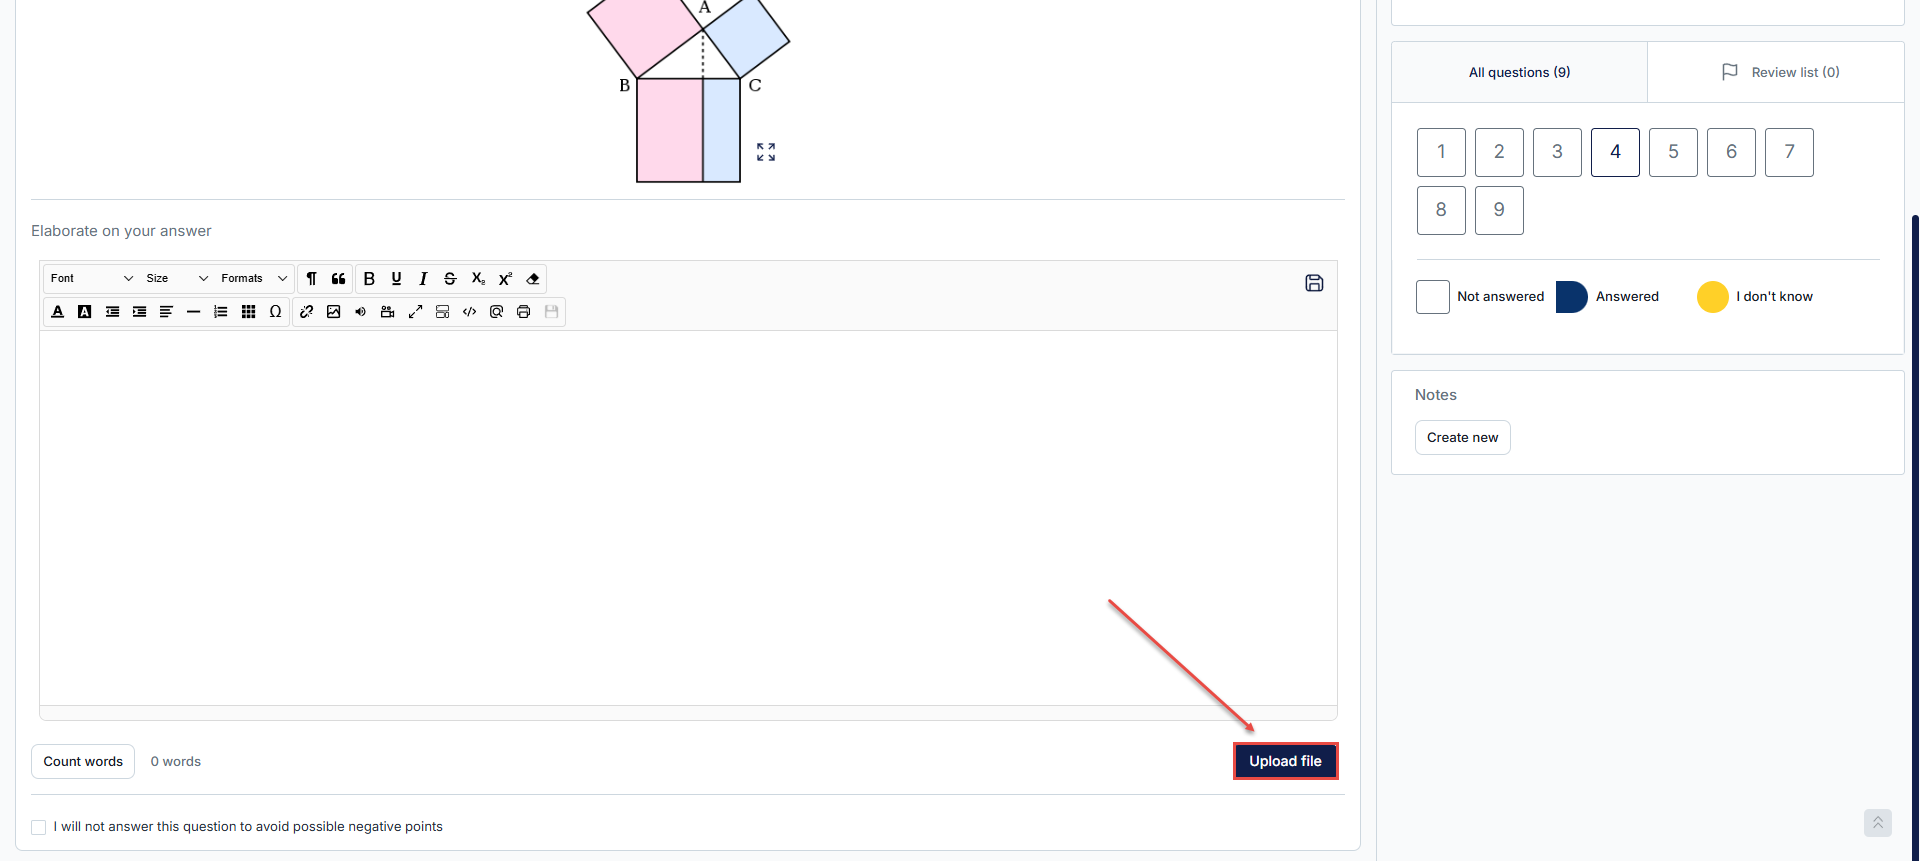
-
Enable direct editing of active question versions
If disabled, the option for direct editing of the currently active question version will not be available in the table of questions in the question pool. However, questions can still be edited through the View/Edit all versions dialog.
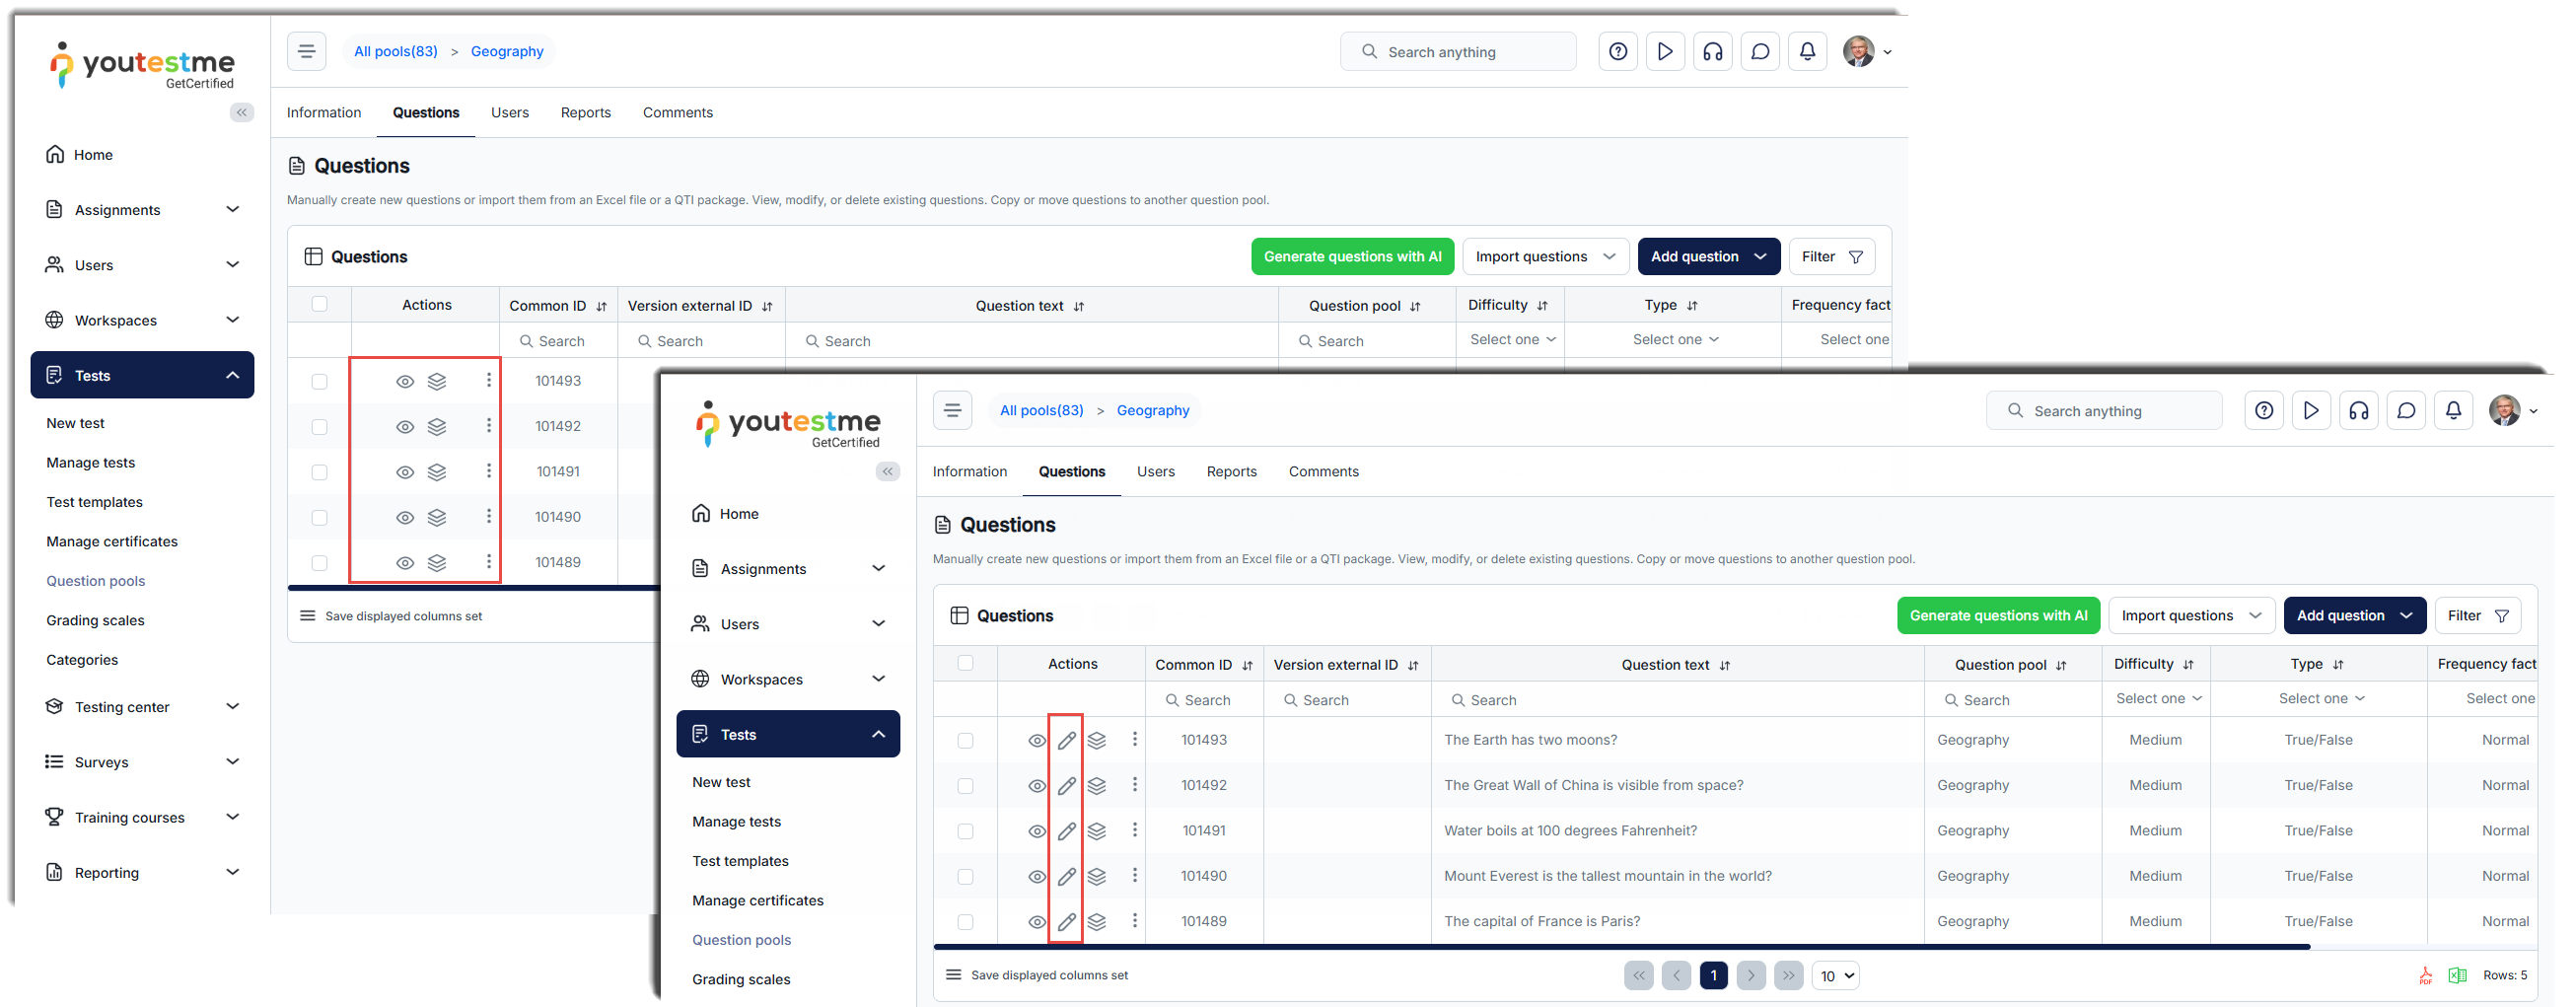
-
Disable download test attachments
Remove the option for candidates to download attachments in the tests.
-
Disable download training course attachments
Disable the download option for attachments when previewing videos, audio files, or PDFs in training courses.
-
Loading spinner animation
By disabling this option, you can prevent the loading spinner animation from appearing during page loads, tab switches, and various user actions.
-
Assignments auto refresh
Enable automatic refresh of the My assignments page every 60 seconds to update the assignment list with the latest information. If this option is not enabled, the assignment list will only be updated when the page is manually refreshed in the browser, or when switching to another tab.
-
First and last name in the personal report
Show the users' first and last name in the personal report header and in the essay question attachments.
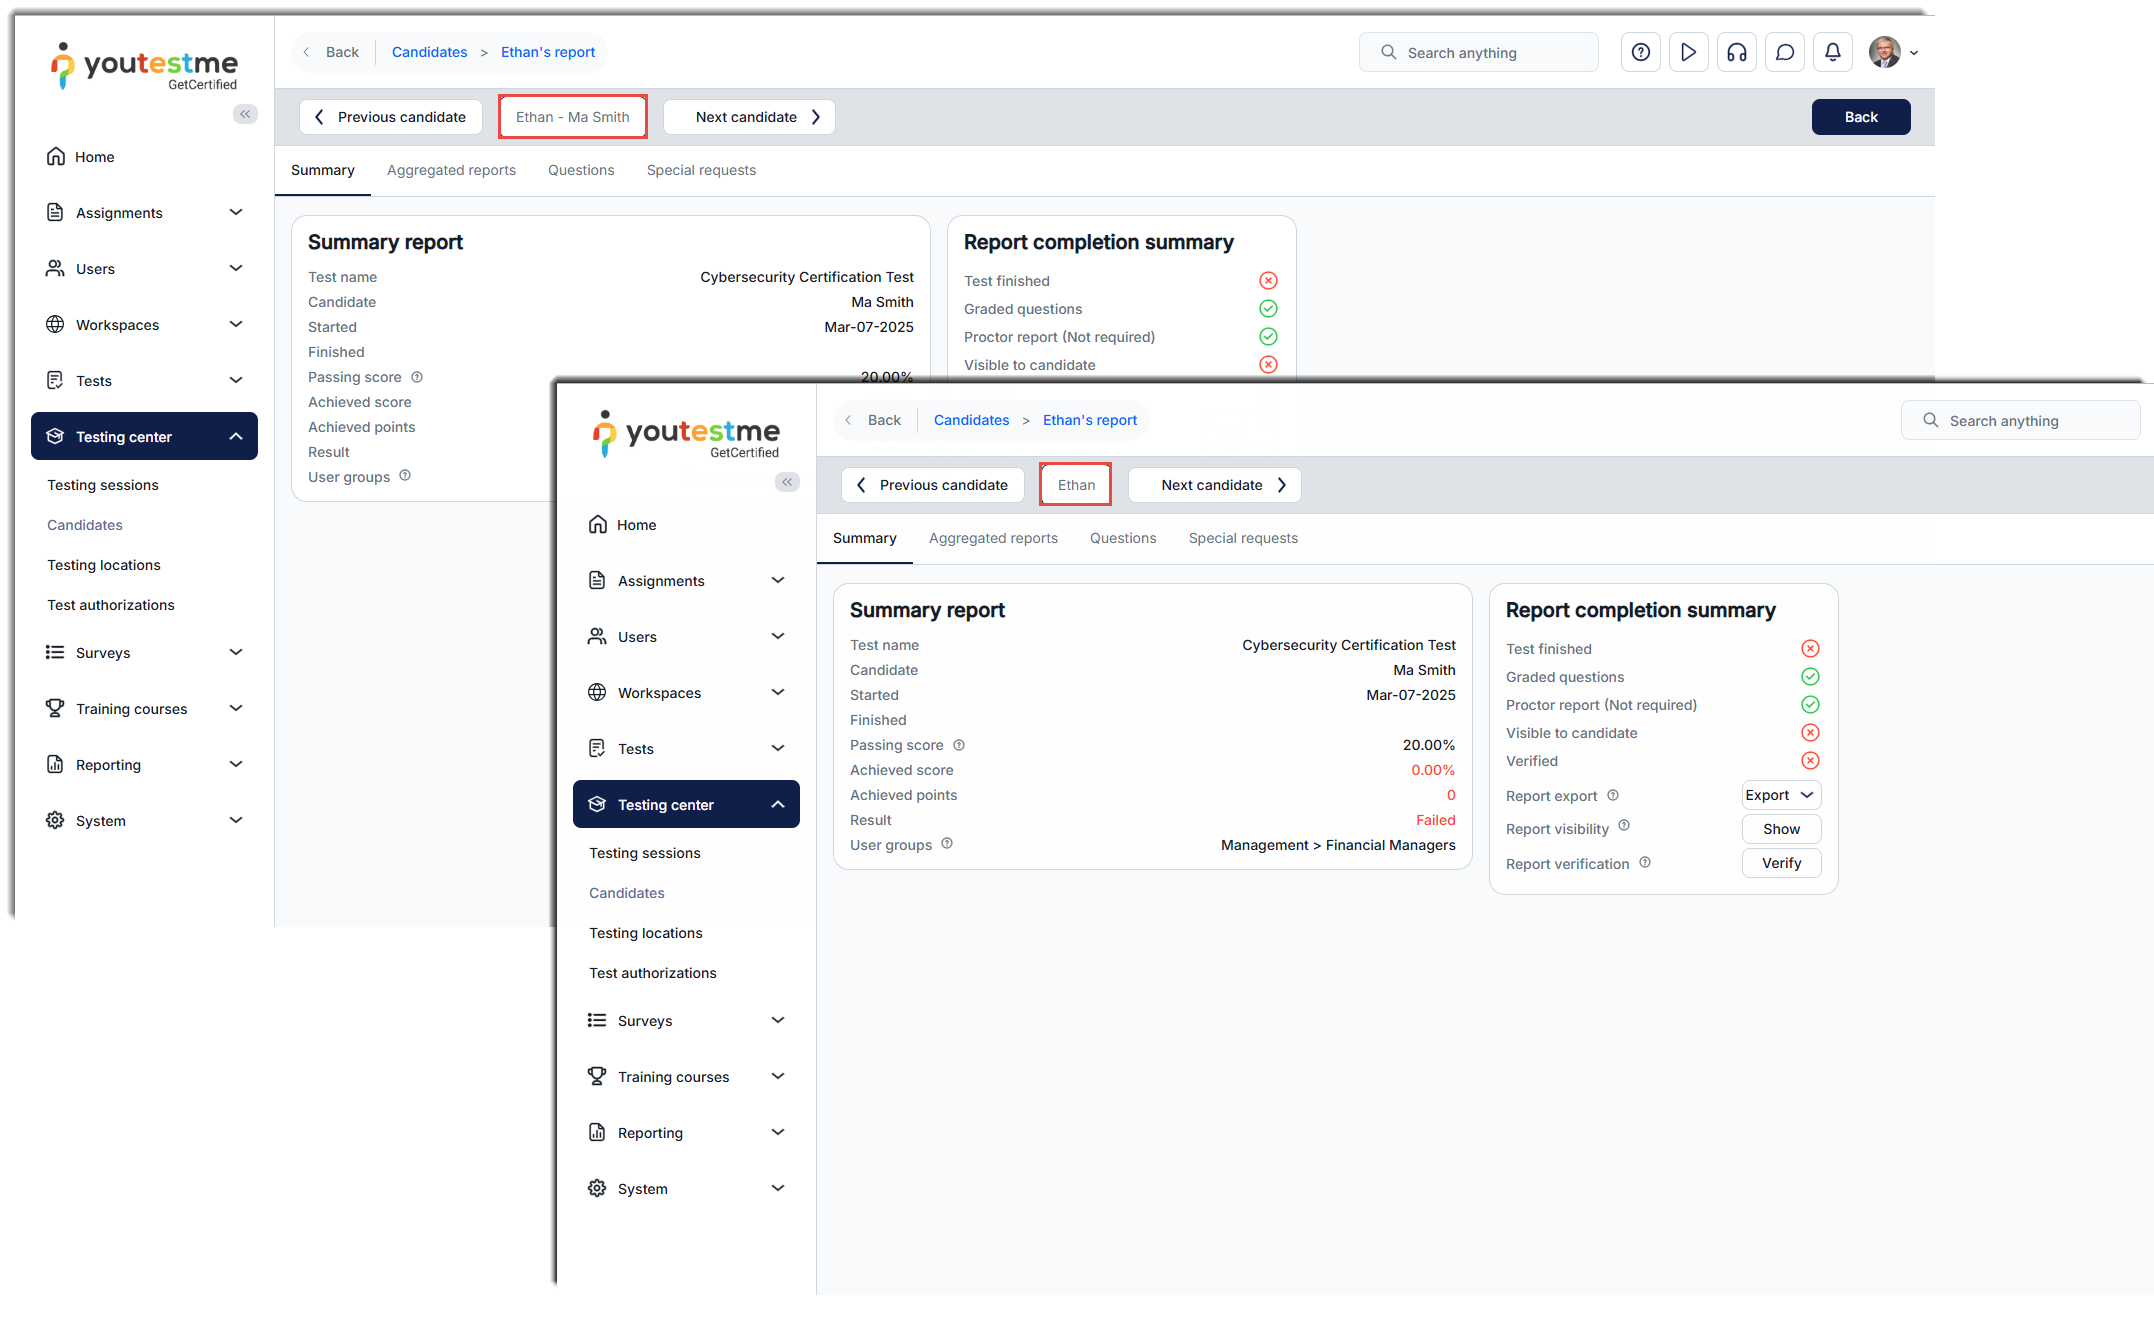
-
User impersonation
User impersonation allows administrators to access other users' accounts and perform actions on their behalf. When impersonating a user, the administrator gains access to all options available in that profile. The action log will clearly indicate that the action was performed while impersonating.
This feature is useful for troubleshooting, user support, training, and onboarding.
To enable the feature, activate the User impersonation option.
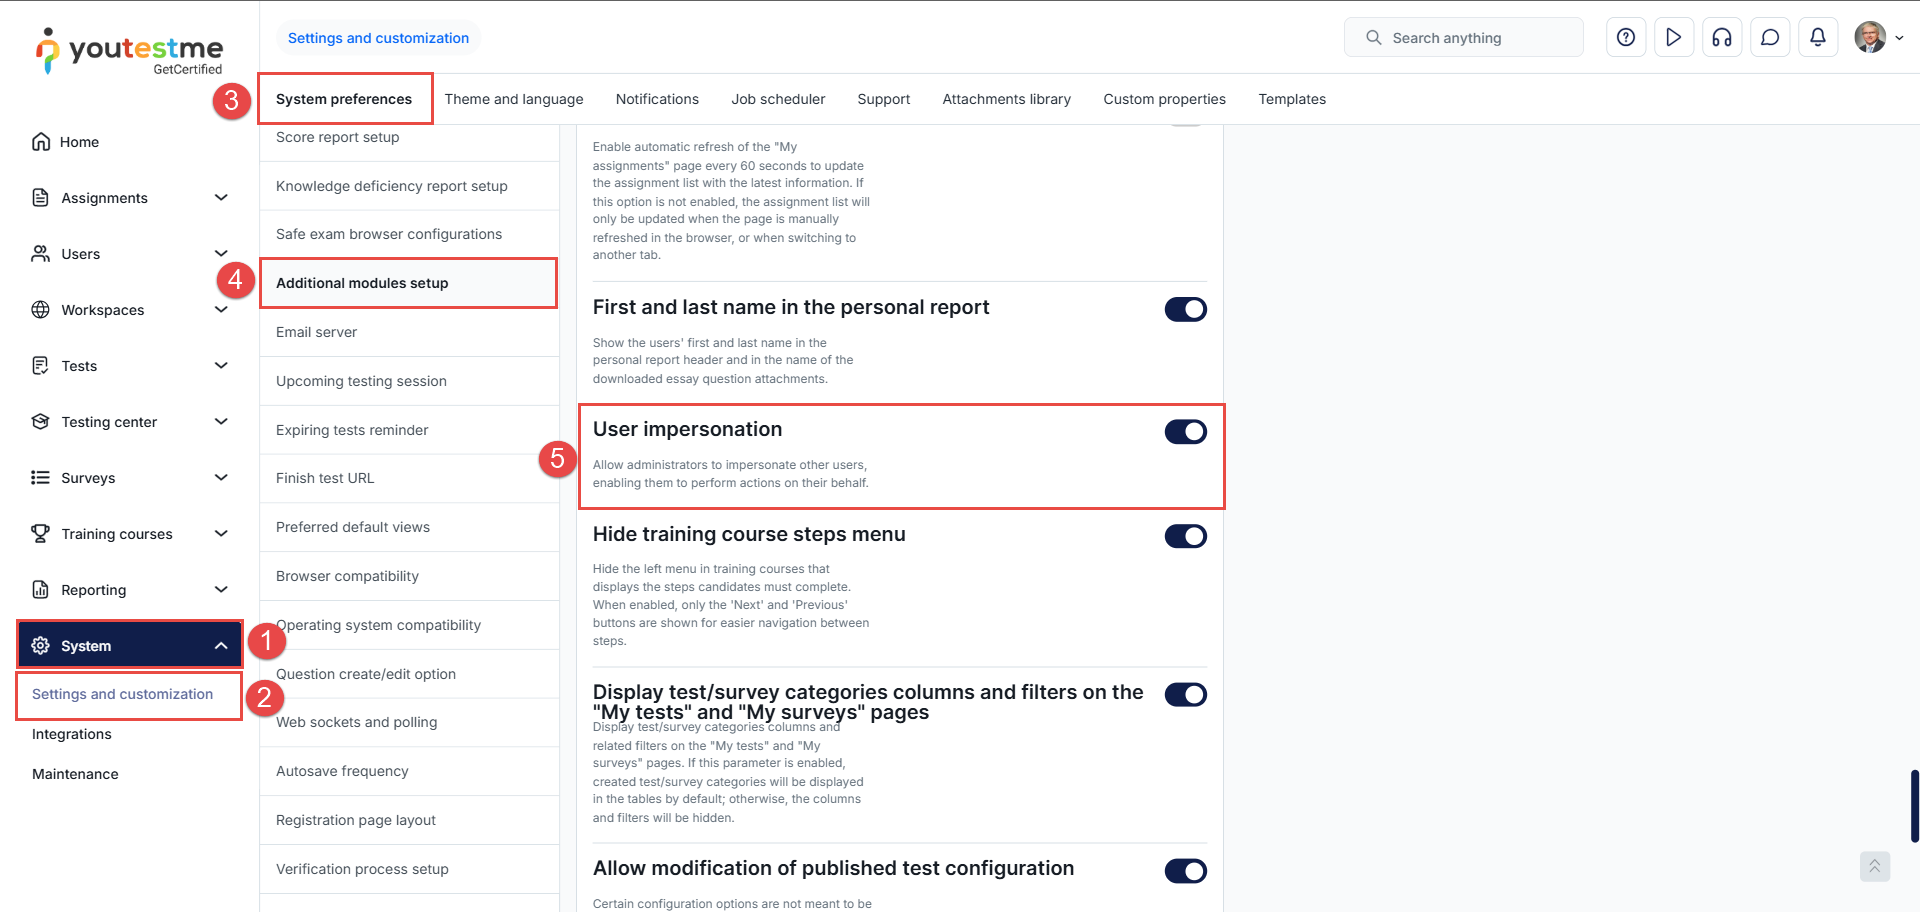
To impersonate a user, first access their profile, then click on Options, and select Impersonate.
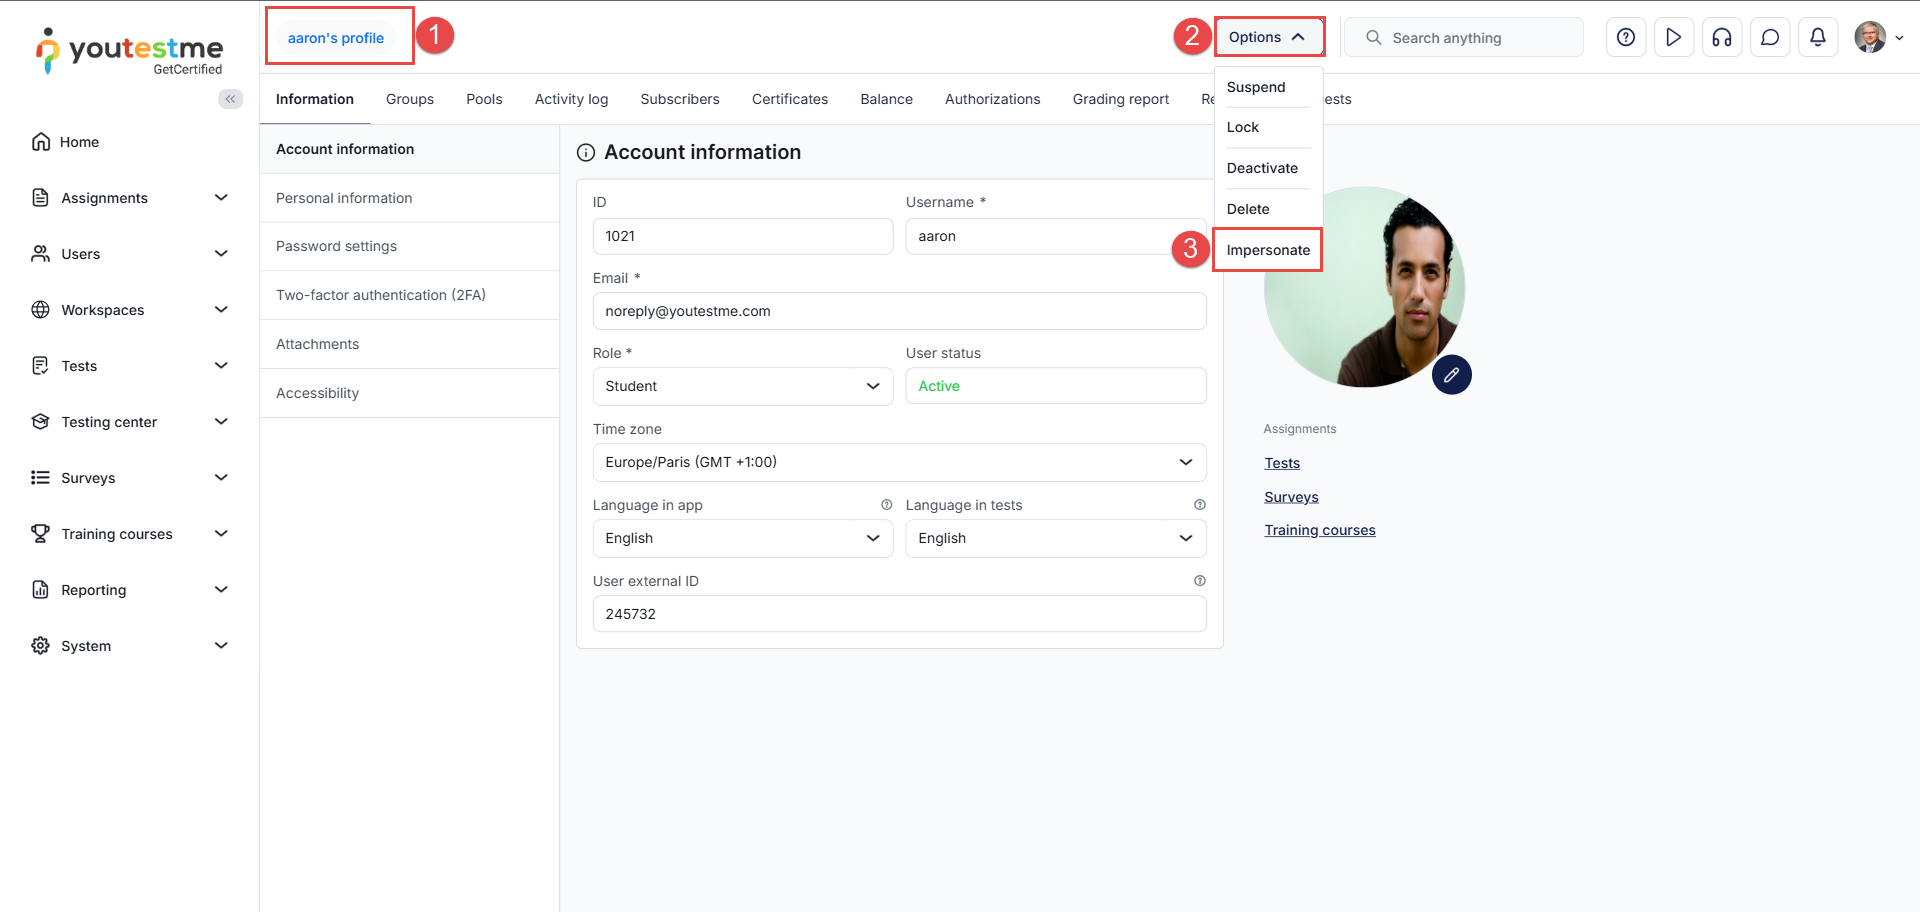
While impersonating, a warning message will appear at the bottom right of your screen. To stop impersonating and return to your account, go to the profile of the user you are impersonating and click Back to my account.
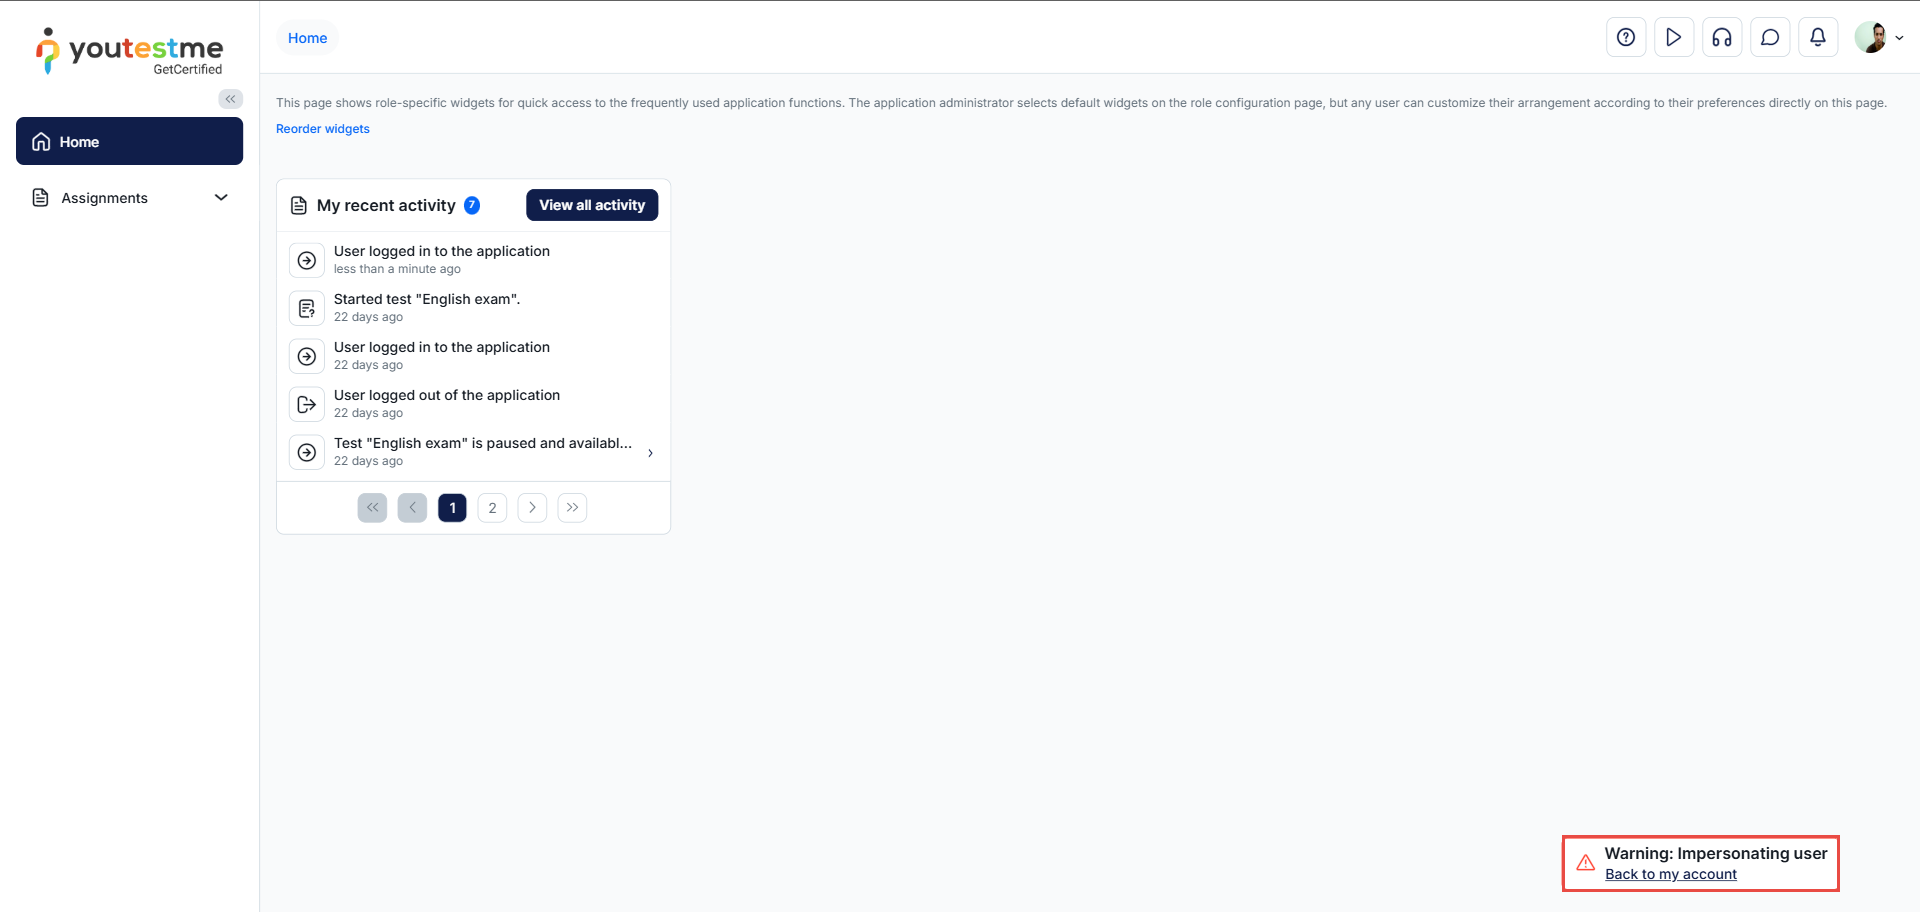
-
Hide training course steps menu
Hide the left menu in training courses that displays the steps candidates must complete. When enabled, only the Next and Previous buttons are shown for easier navigation between steps.
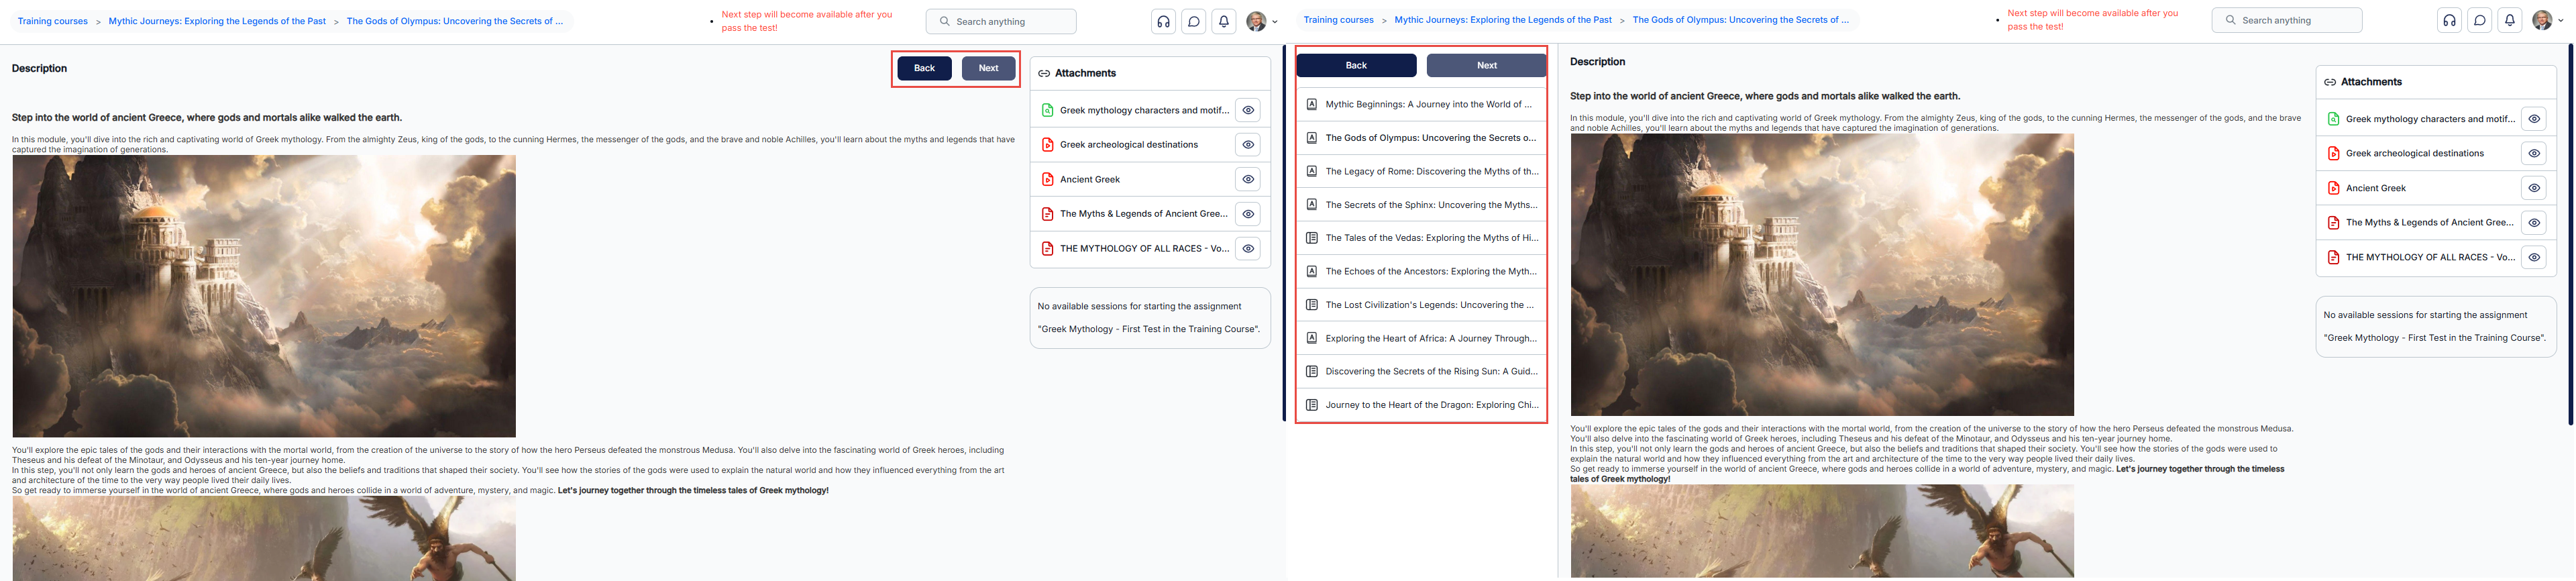
-
Display test/survey categories columns and filters on the "My tests" and "My surveys" pages
Display test/survey categories columns and related filters on the "My tests" and "My surveys" pages. If this parameter is enabled, created test/survey categories will be displayed in the tables by default; otherwise, the columns and filters will be hidden. Categories added to assignments. You can select one or more category values.
Click the Apply button to filter the table. To clear the filtered assignments, click the Clear filter button.
When using two filtering criteria, the OR rule is applied if more than one value is entered/selected.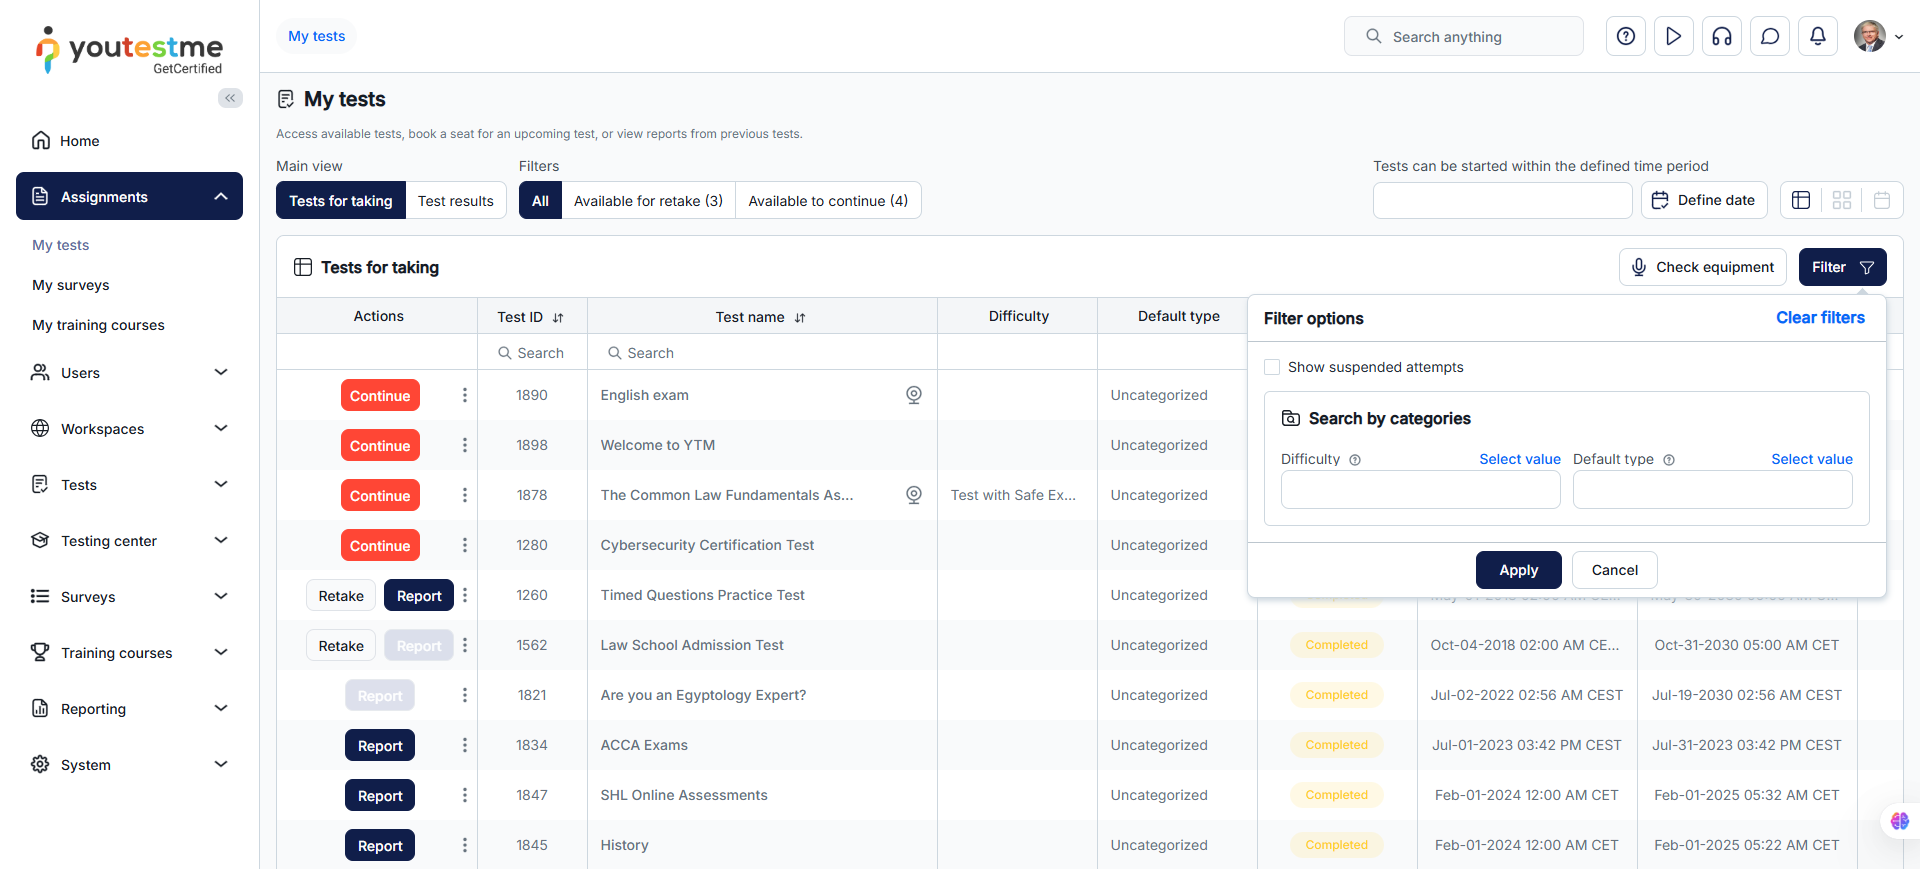
-
Allow modification of published test configuration
Certain configuration options are not meant to be changed once the test is published, to prevent inconsistencies in test results and reports. By allowing this option, you will be able to change these configurations, but at your own responsibility.
Options available for modification (displayed in images below) are:
- Change points and penalty for generated tests
- Add and remove pools or configure the number of questions from the pool for generated tests
- Use the "Generate updated version" action, which takes latest question versions from the pool
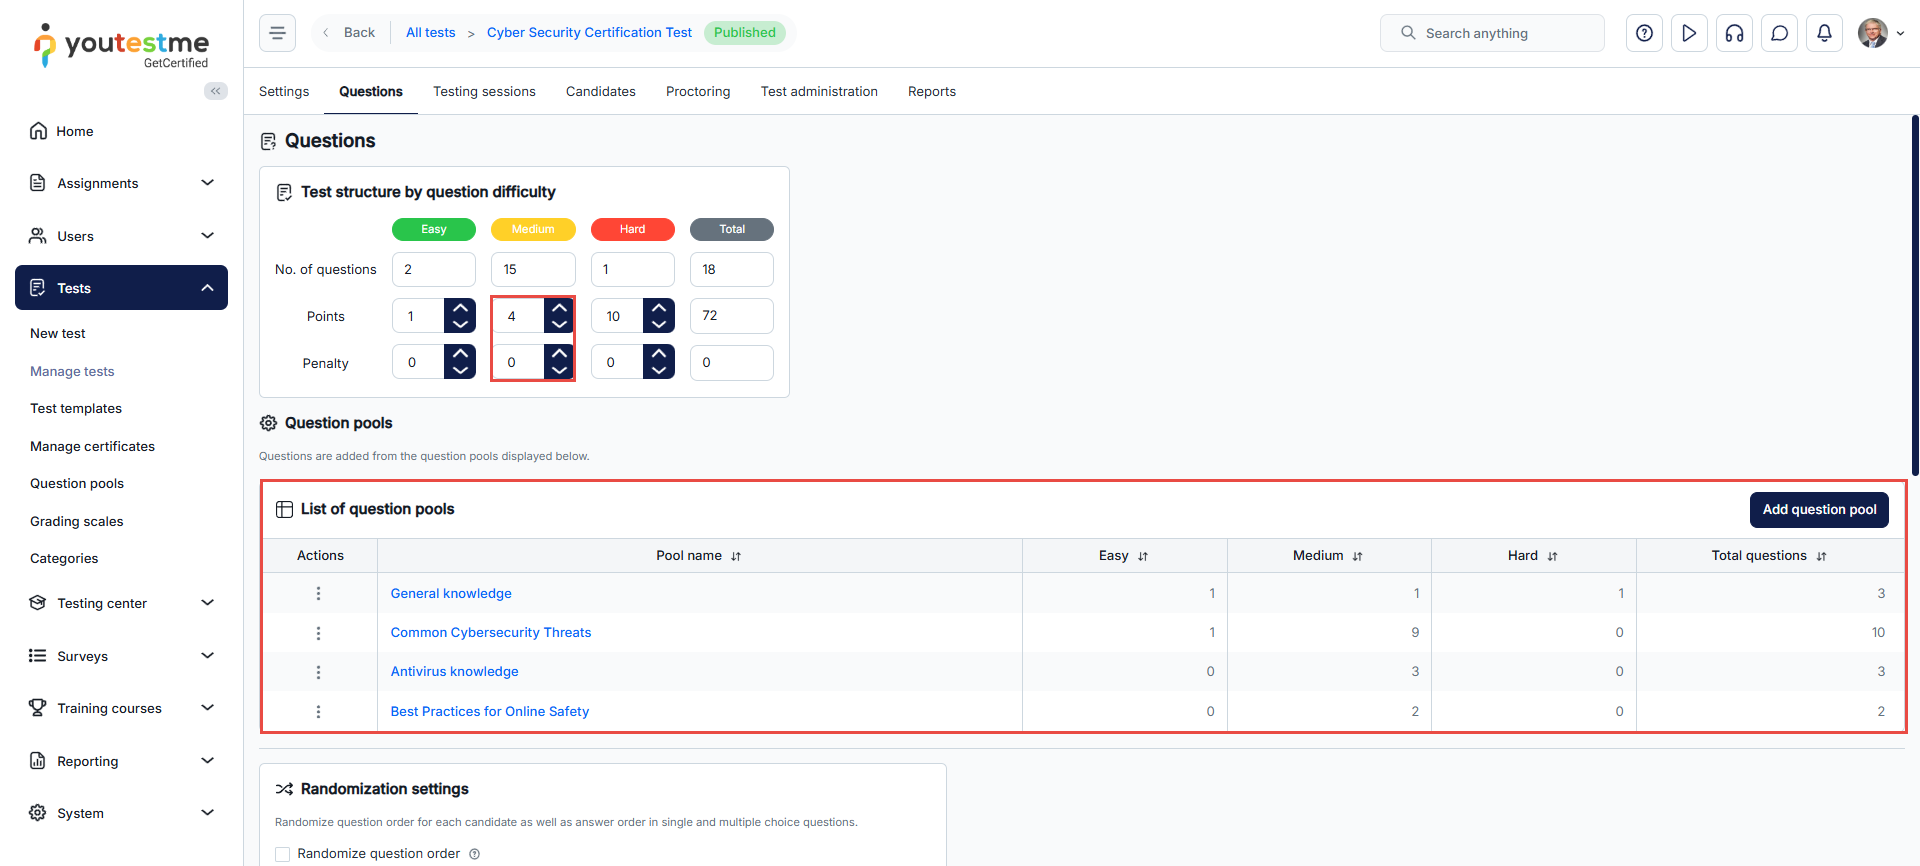
-
Allow configuration of registration link's page layout
When this option is enabled, registration links can be configured to display specific fields that appear during registration. Otherwise, the system's default configuration at the time the registration link was created will be applied. Fields such as username, email, and role cannot be disabled.
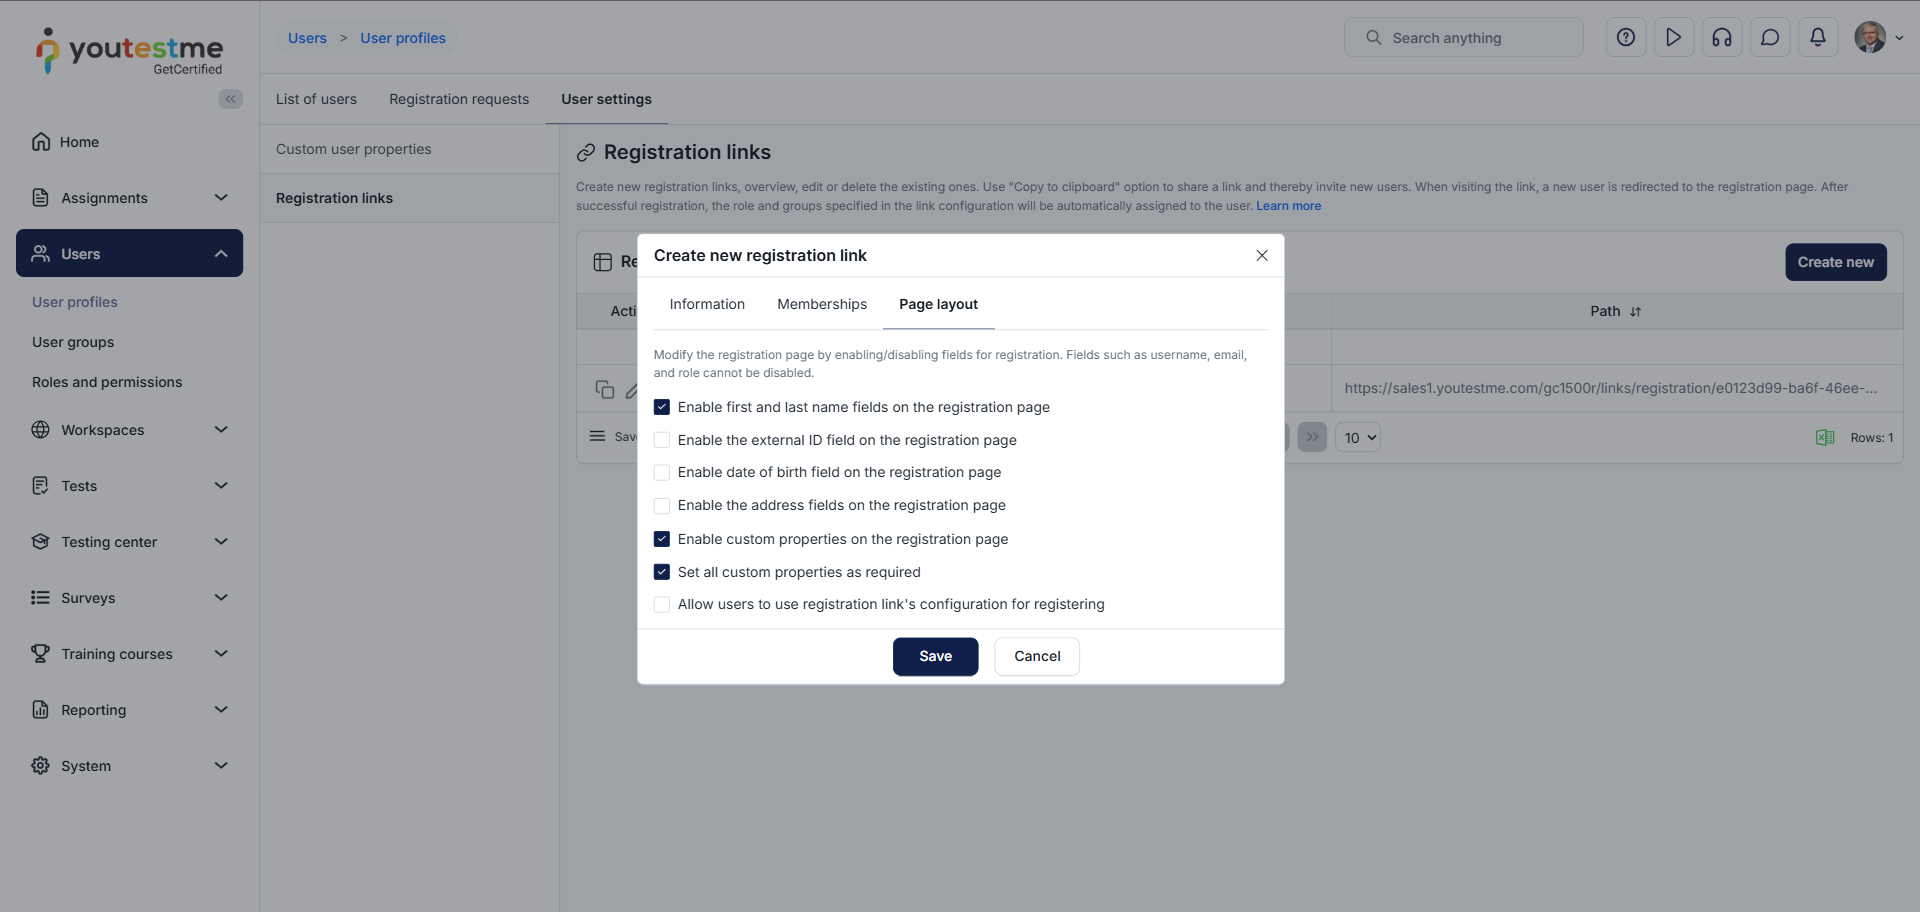
-
Hide "Log out" button
This option hides the "Log out" button shown to candidates at the end of a test, training course, or personal report.
-
Enable question linking
This option enables two additional branching options:
Linking - When using this option in the question editor, you will be able to create a list of questions that will be linked to the current question. Linked questions will be presented to the candidates after the root question as question in a branch regardless of the answer provided.
Help for grading - This option is no different than the previous one in the question editor. The difference is that questions linked this way will not be visible to candidates when they are taking the test, but only to test managers and graders in the personal report.
Both branching options work on all question types.
-
Display answered questions per section on finish dialog
When enabled, the "Finish test" dialog will show an "Answered questions" column displaying the number of answered questions out of the total for each section. If disabled, this column will be hidden entirely.
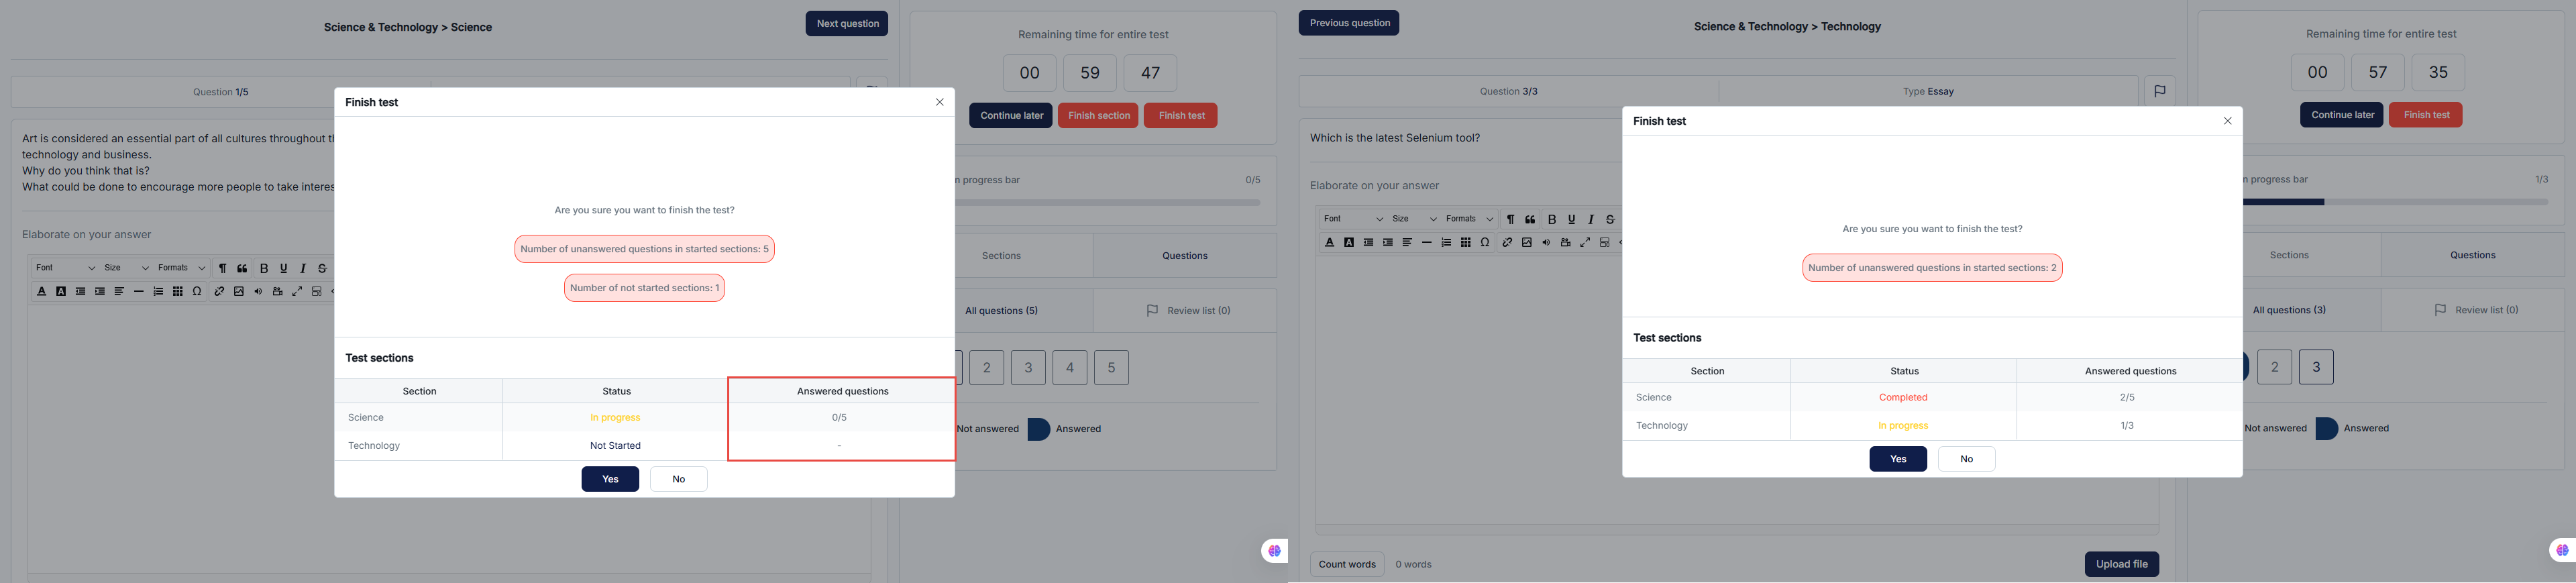
-
Hide "Finish section" button
When enabled, the "Finish section" button is hidden during test-taking on sections where section revisiting is allowed.
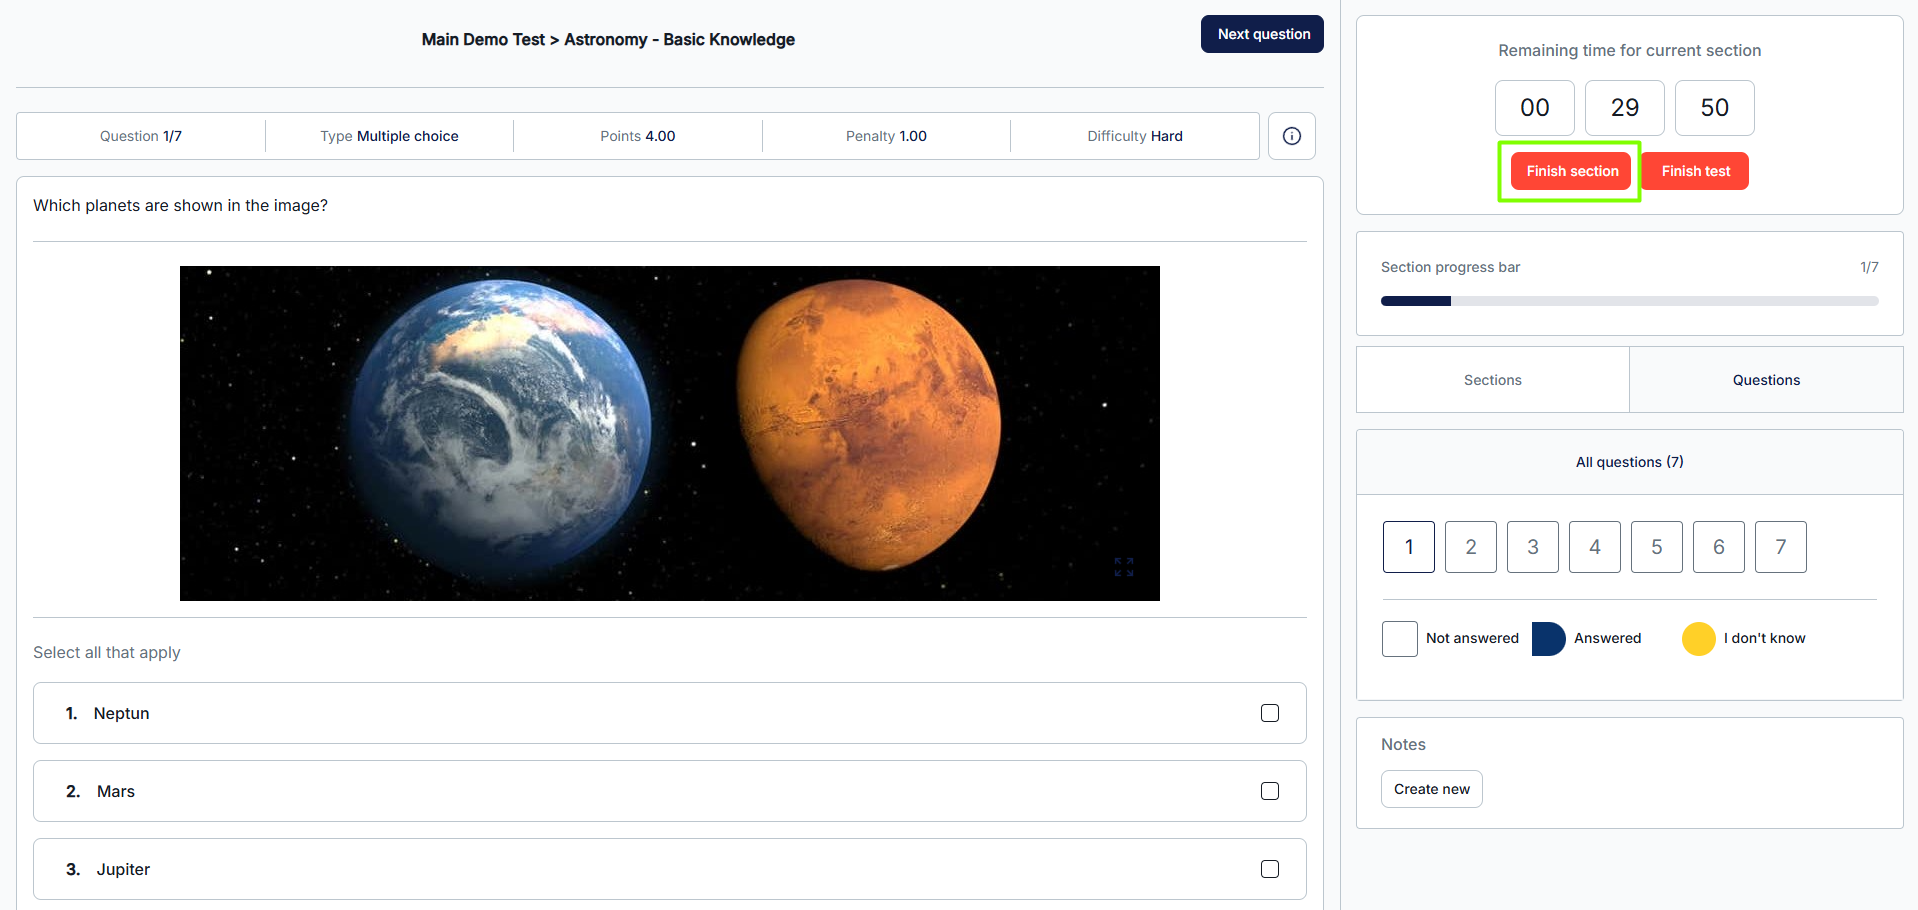
-
Automatically select test language
Automatically select the question language based on the language selected on the user profile. If the translation is not available, the default language of the question is used.
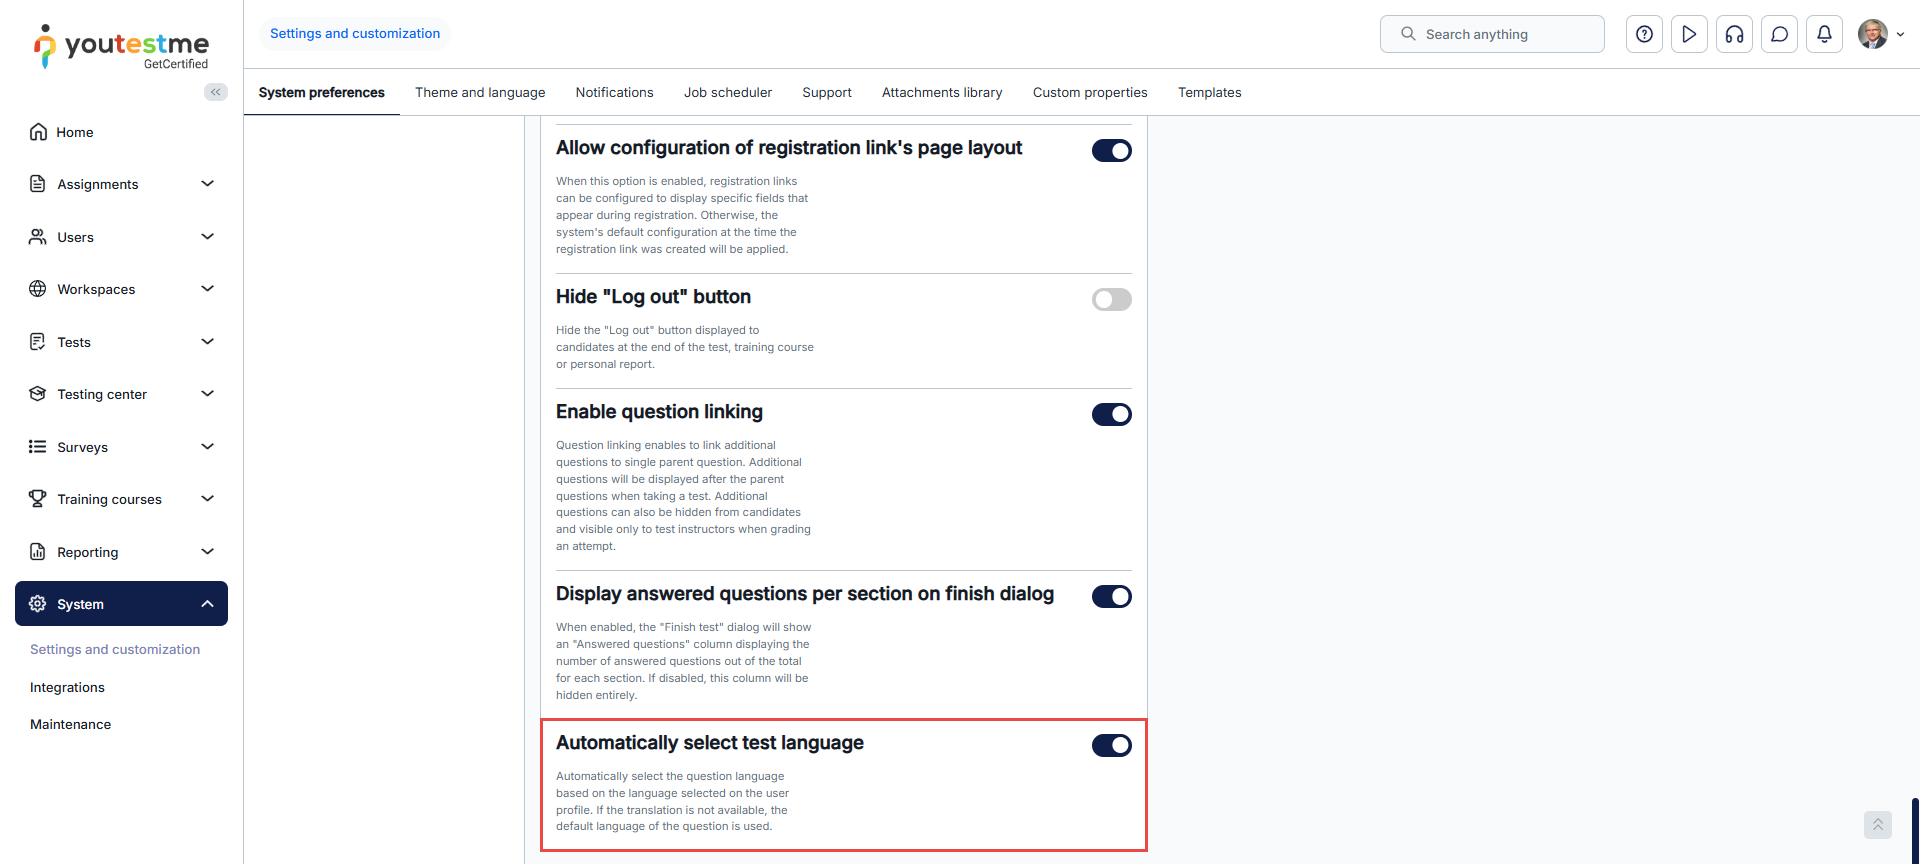
Taking a training course
-
Introduction
Training courses are sets of lessons organized into steps that include assignments (tests or surveys) and additional materials (different types of multimedia content).
This page will explain the entire process of taking a training course, including how to access the training course, view the content of each step, and begin tests or surveys within the training course.
All training courses available to a candidate are accessible on the candidate's Assignments/My training courses page. For more information on how to find and access training courses, refer to My training courses help page.
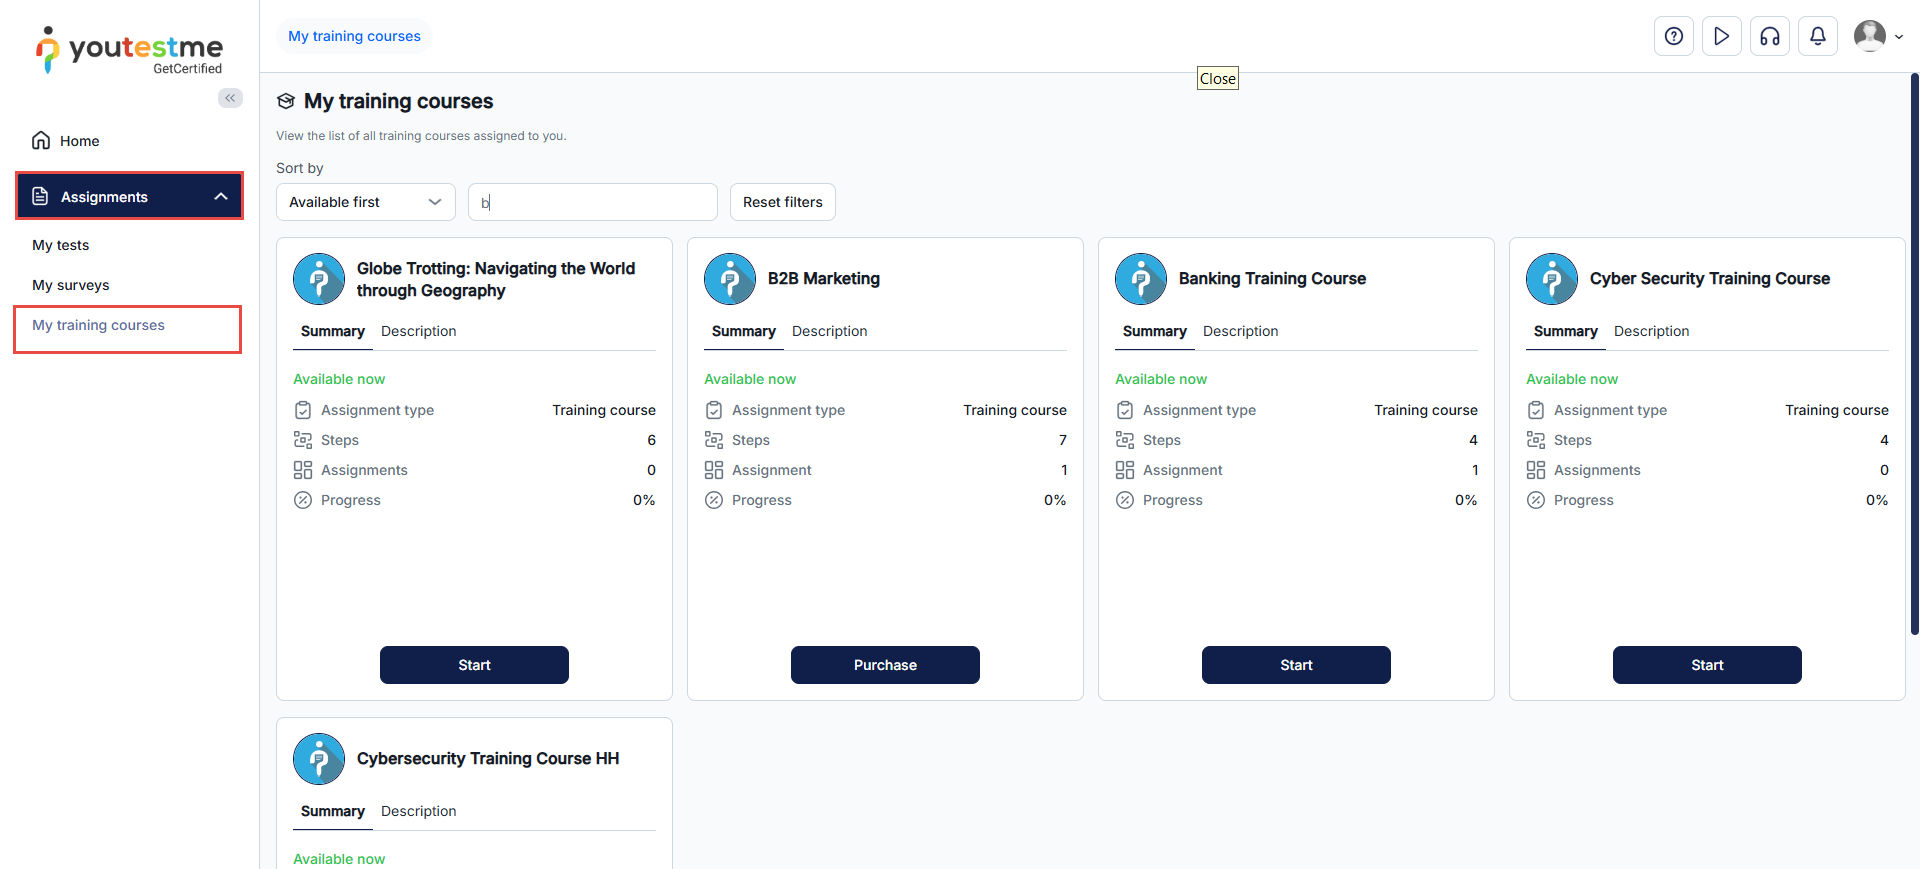
-
Taking a training course
After starting, continuing, or purchasing your training course, you will be redirected to a new page where you will find:
-
A sidebar displaying a list of all training course steps.
-
The step you are currently on will be highlighted.
-
A Description field providing details about each step's content.
-
A list of attachments for the training course step, which may include various formats such as pictures, PDFs, and links. To open an attachment, click the View button next to its name.
-
A test/survey attached to training course step that you should complete to move on to the next step. Please note that passing the test is required to advance to the next step. Depending on the test setup, you may need to wait for your test to be graded before continuing.
For more information about the actions available on the tile for taking a test/survey and possible statuses, as well as the process of starting a test/survey, visit the help pages titled My assignments/My tests and Taking a test.Note: If the test includes a certificate, you can download it by accessing the Personal report and clicking the Export certificate button. The certificate can be exported in either PDF format or as an image.
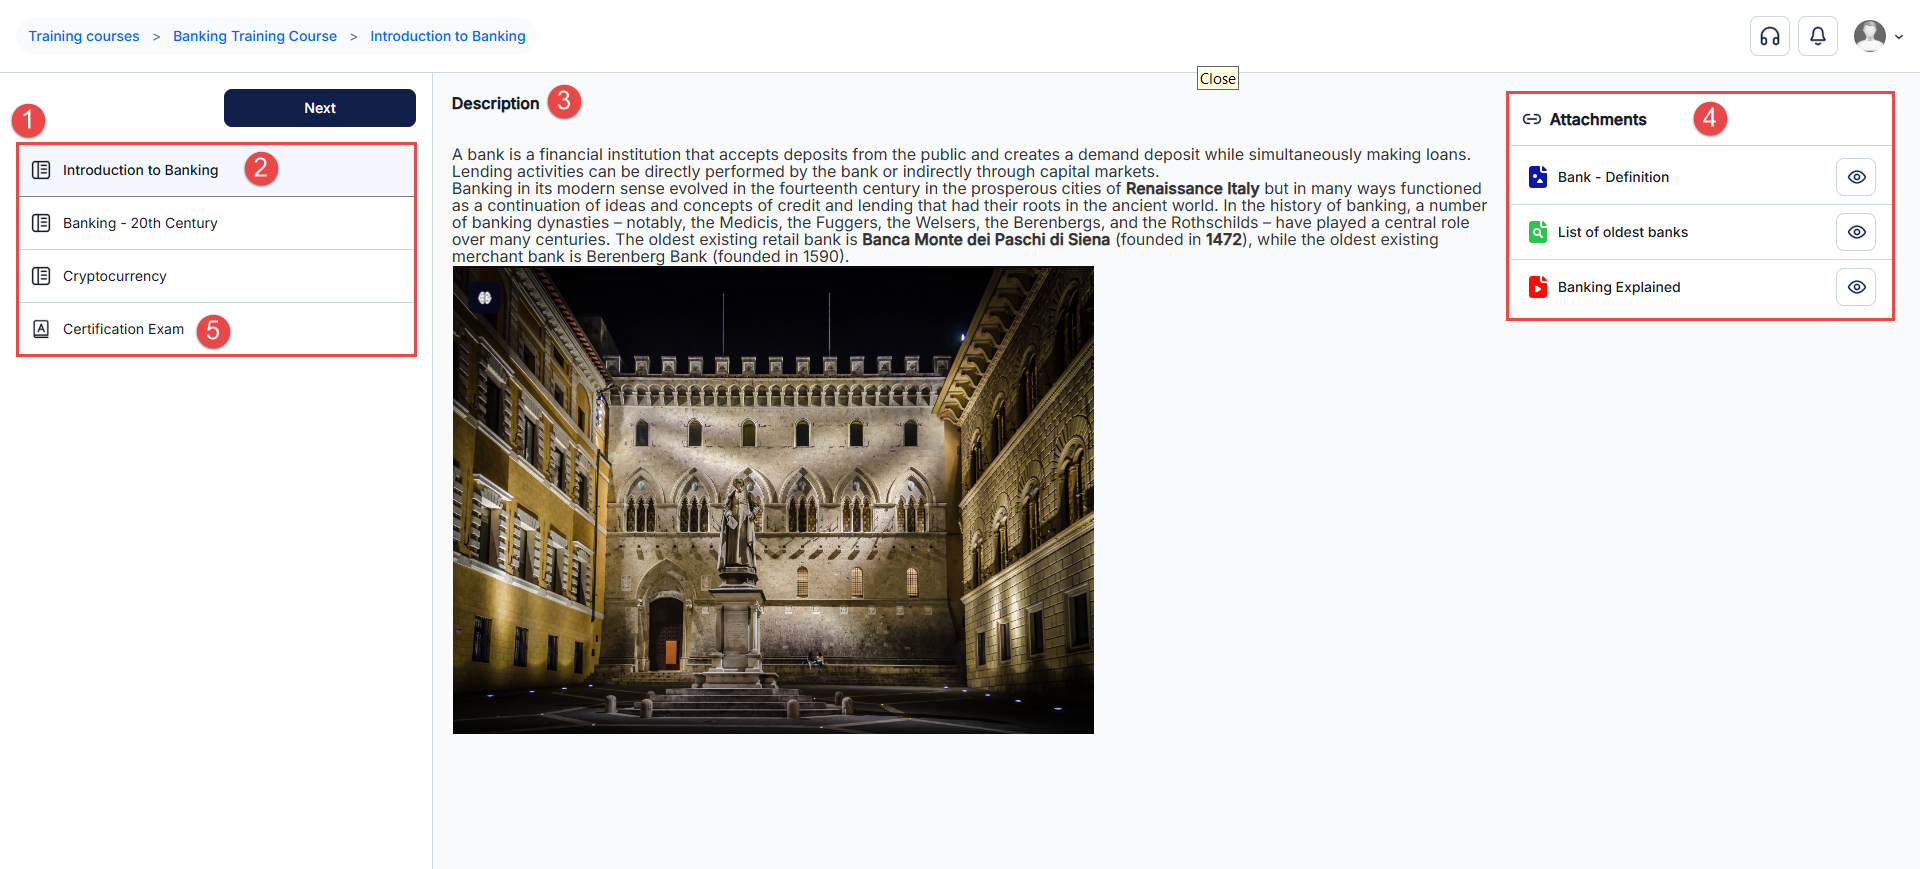
After completing each training course step, click the Next button to proceed to the next step. You can also use the Back button to return to the previous step, if available.
Please note that access to the next training course step may be restricted until you have successfully completed the associated assignments. However, an exception may apply if the training course configuration permits all steps to be unlocked from the beginning.
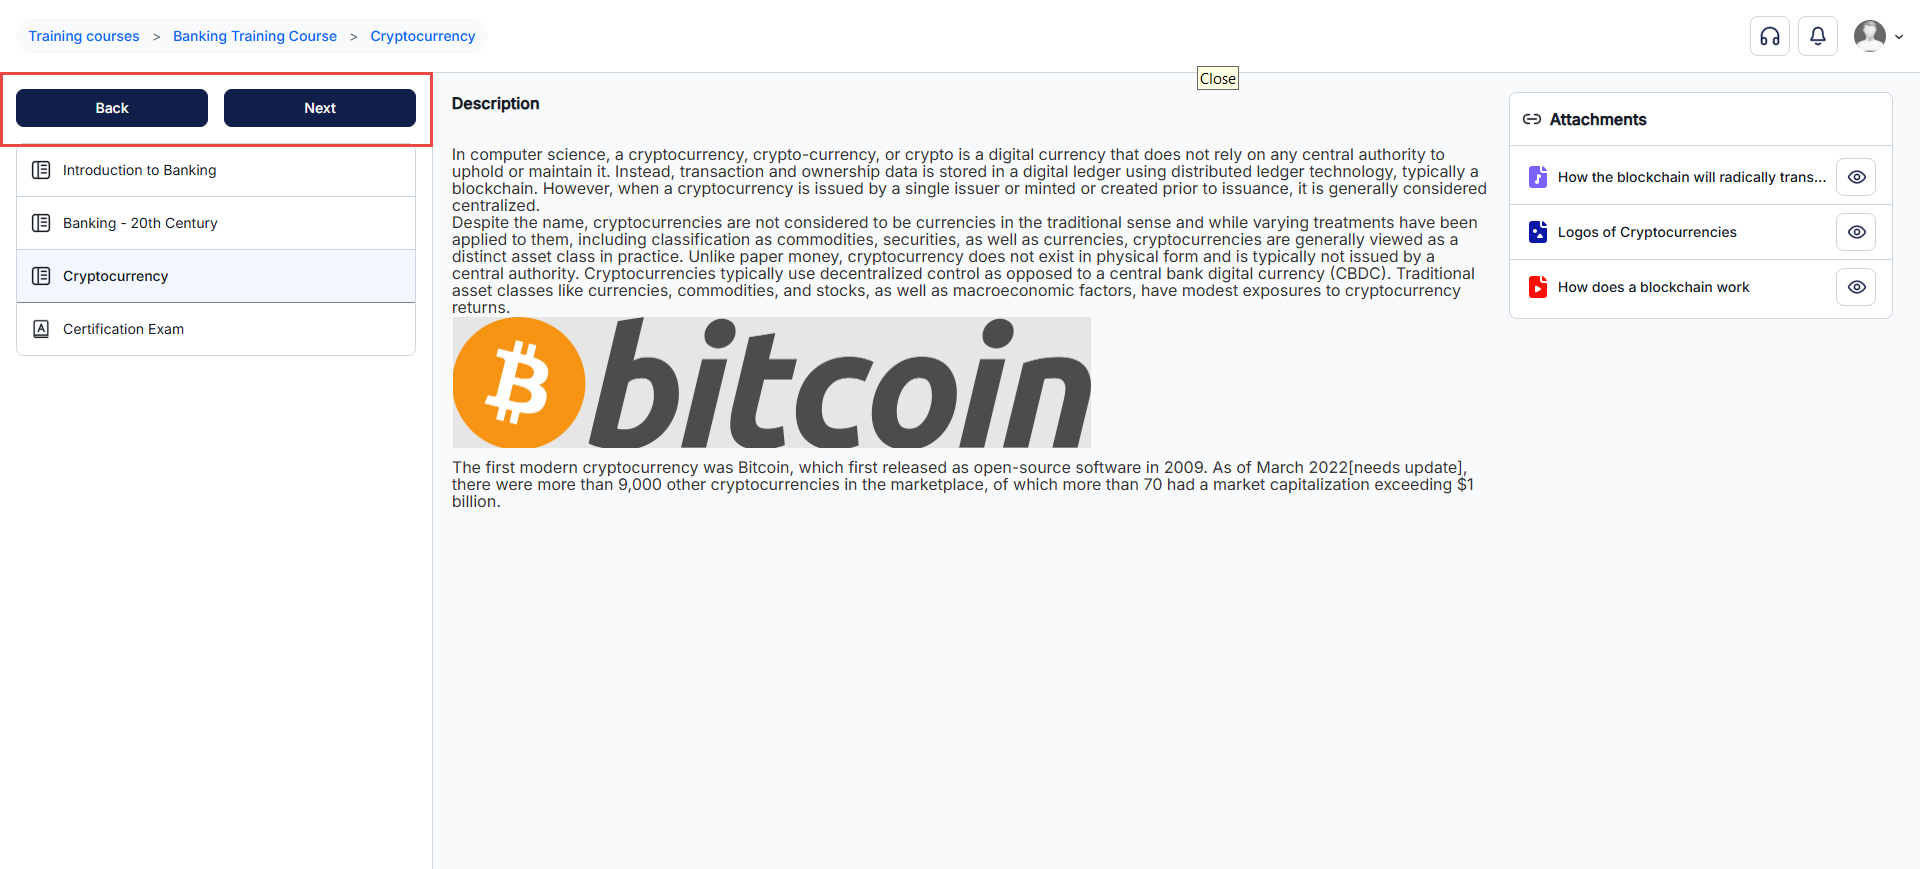
Depending on training course configuration, you may be required to confirm you have reviewed all attachments from the training course step before advancing to the next step. When you click the Next button to proceed to the next step in the training course, a dialog box will appear, prompting you to check the confirmation box. You cannot progress to the next step until you provide this confirmation. If you haven't reviewed the attachments or wish to review them again, click the Cancel button to return to the current step. Once you have reviewed the attachments and clicked the Next button, you should check the box and click the Next step button to proceed to the next training course step.
Note: In steps without attachments, you will not receive a confirmation dialog when proceeding to the next step. The confirmation dialog only appears in steps where attachments exist.
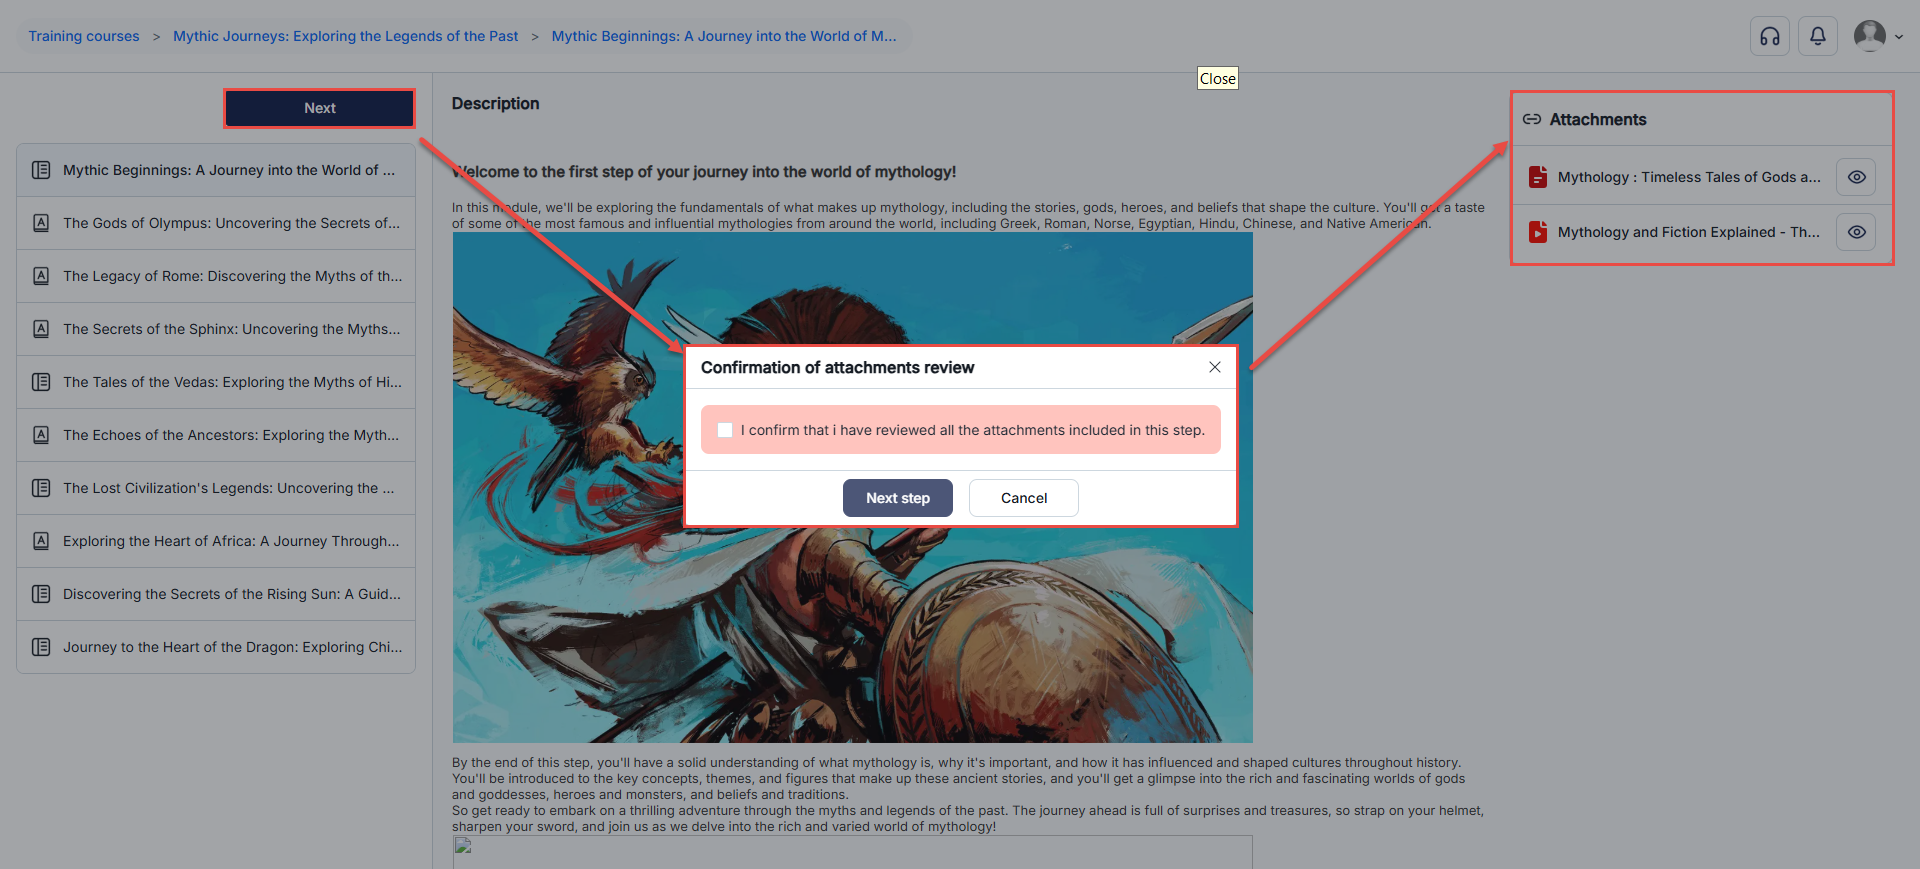
-
Continuing the training course
When candidates continue their training course, they pick up from the step where they paused. For instance, if a candidate had paused at step number 3, the continuation will begin from step 3.
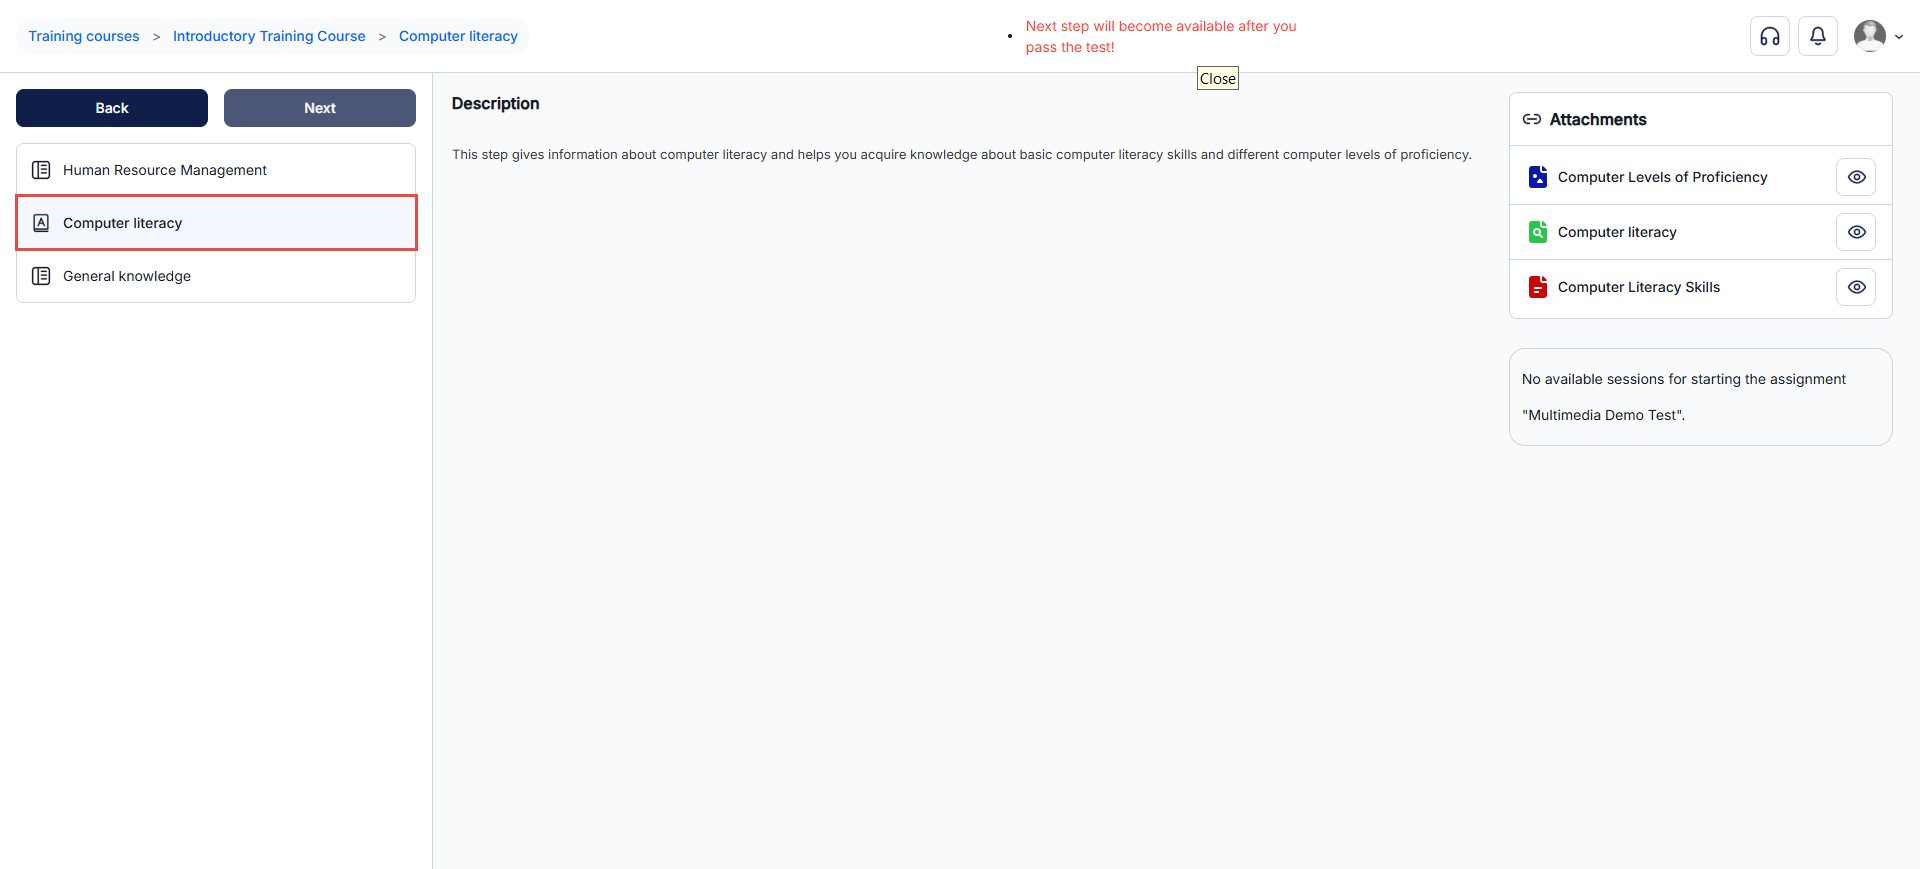
-
Completing the training course
When you complete all the steps within the training course, click the Complete training course button.
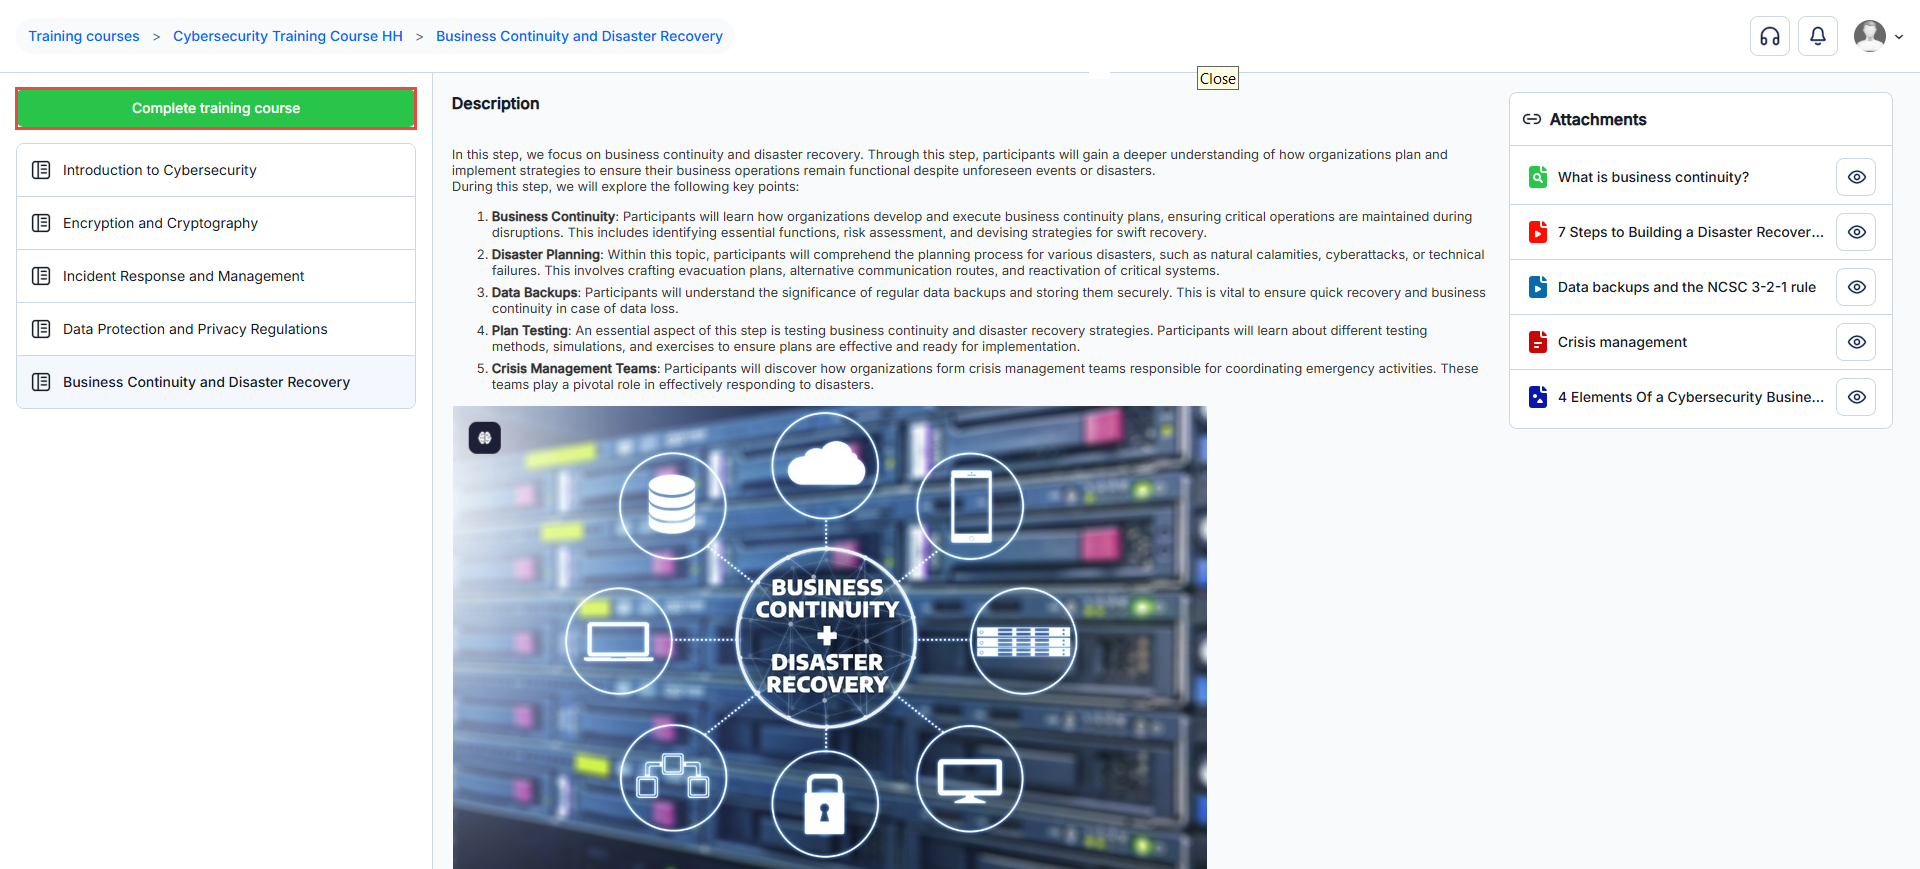
Even after completing the training course, you have the option to revisit it through the My training courses page.
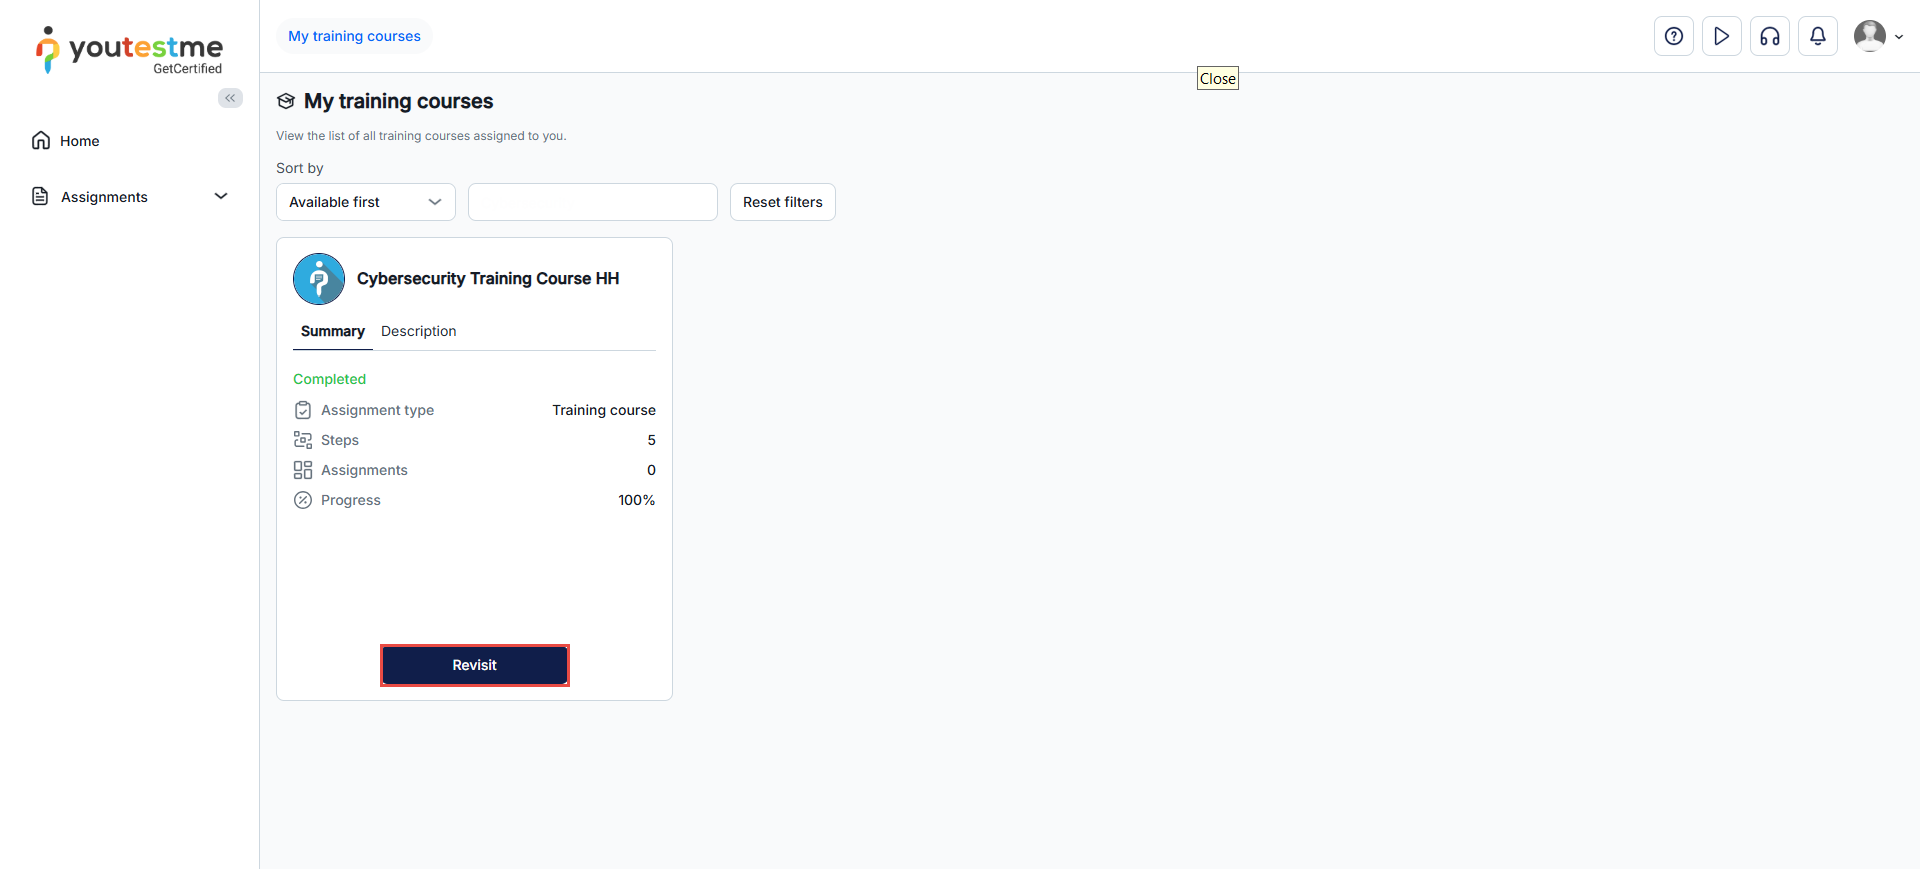
Depending on the training course configuration, you may not have the option to complete the training course independently. If this is the case, you will not see the Complete training course button. Instead, your training course manager will need to complete it on your behalf. Your training course status will remain In progress until the manager finalizes the training course.
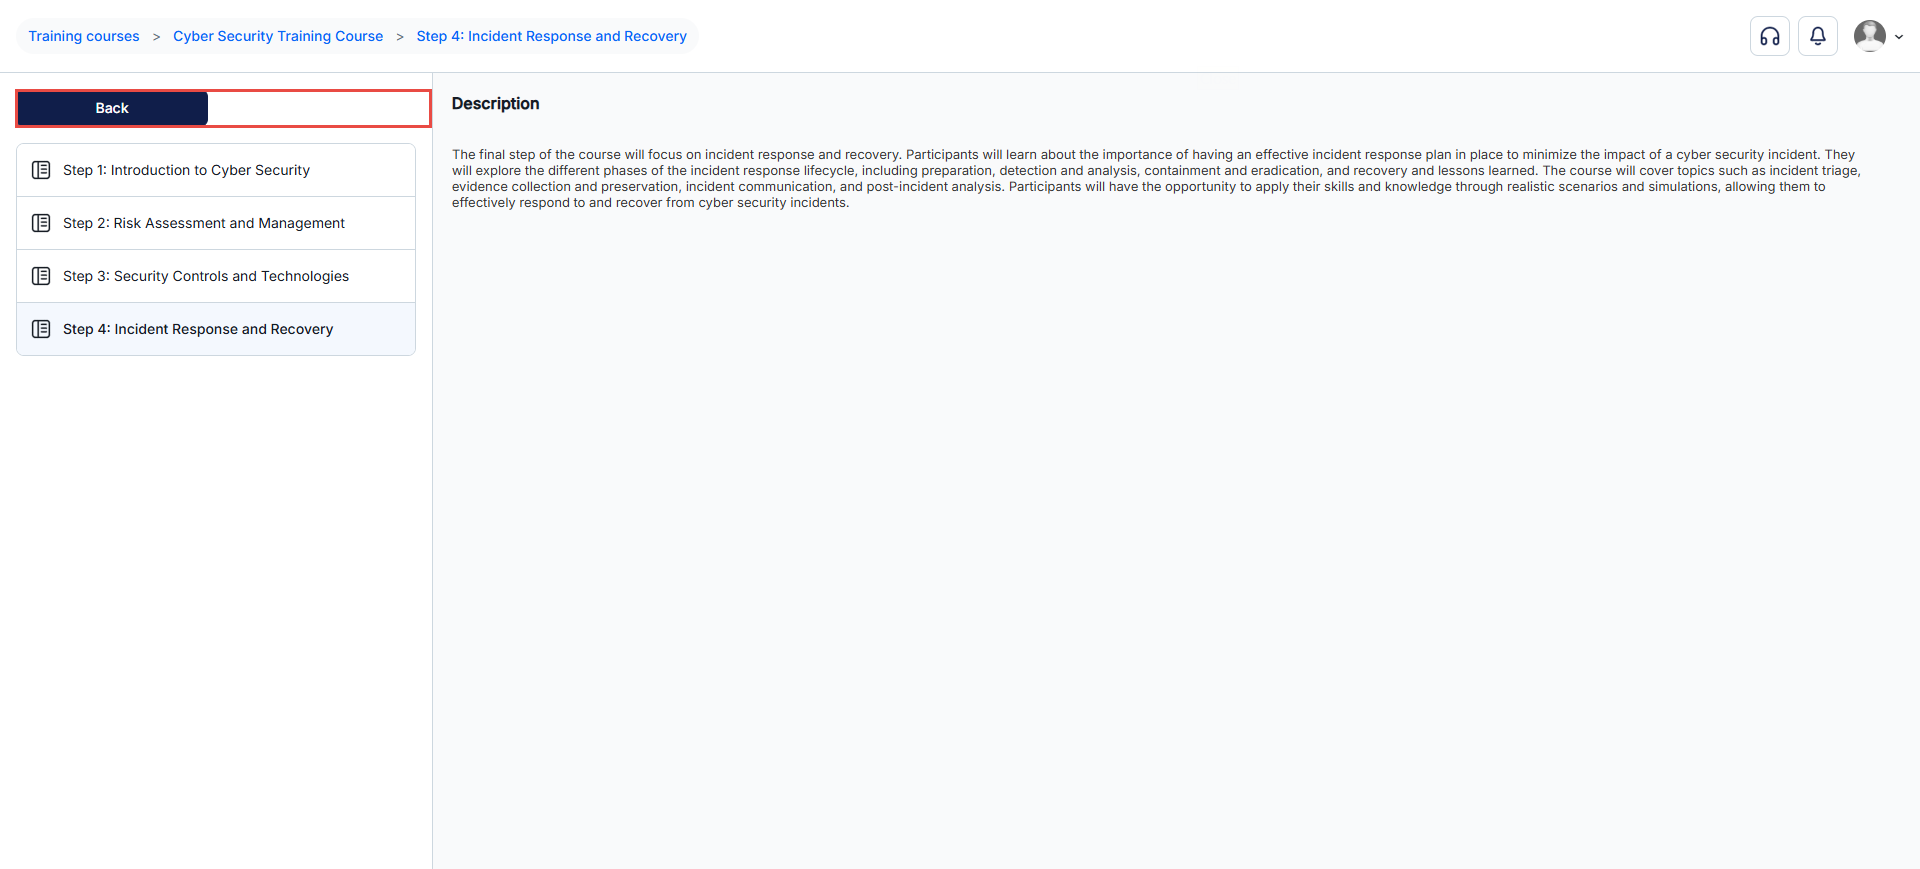
-
Personal report
The personal report offers thorough details on a candidate's performance and activity during a test. It includes information about the score, questions, time taken, earned certificates, and more.
Below, you'll find explanations for each tab in the personal report.
-
Page layout
Depending on the settings, students can preview it in two ways:
-
You can see the test questions along with whether you answered them correctly or not and any notes if they were allowed during the test. (It depends on the test settings).
-
Alternatively, you can view only your test score without going into the specifics of each question. (It depends on the test settings).
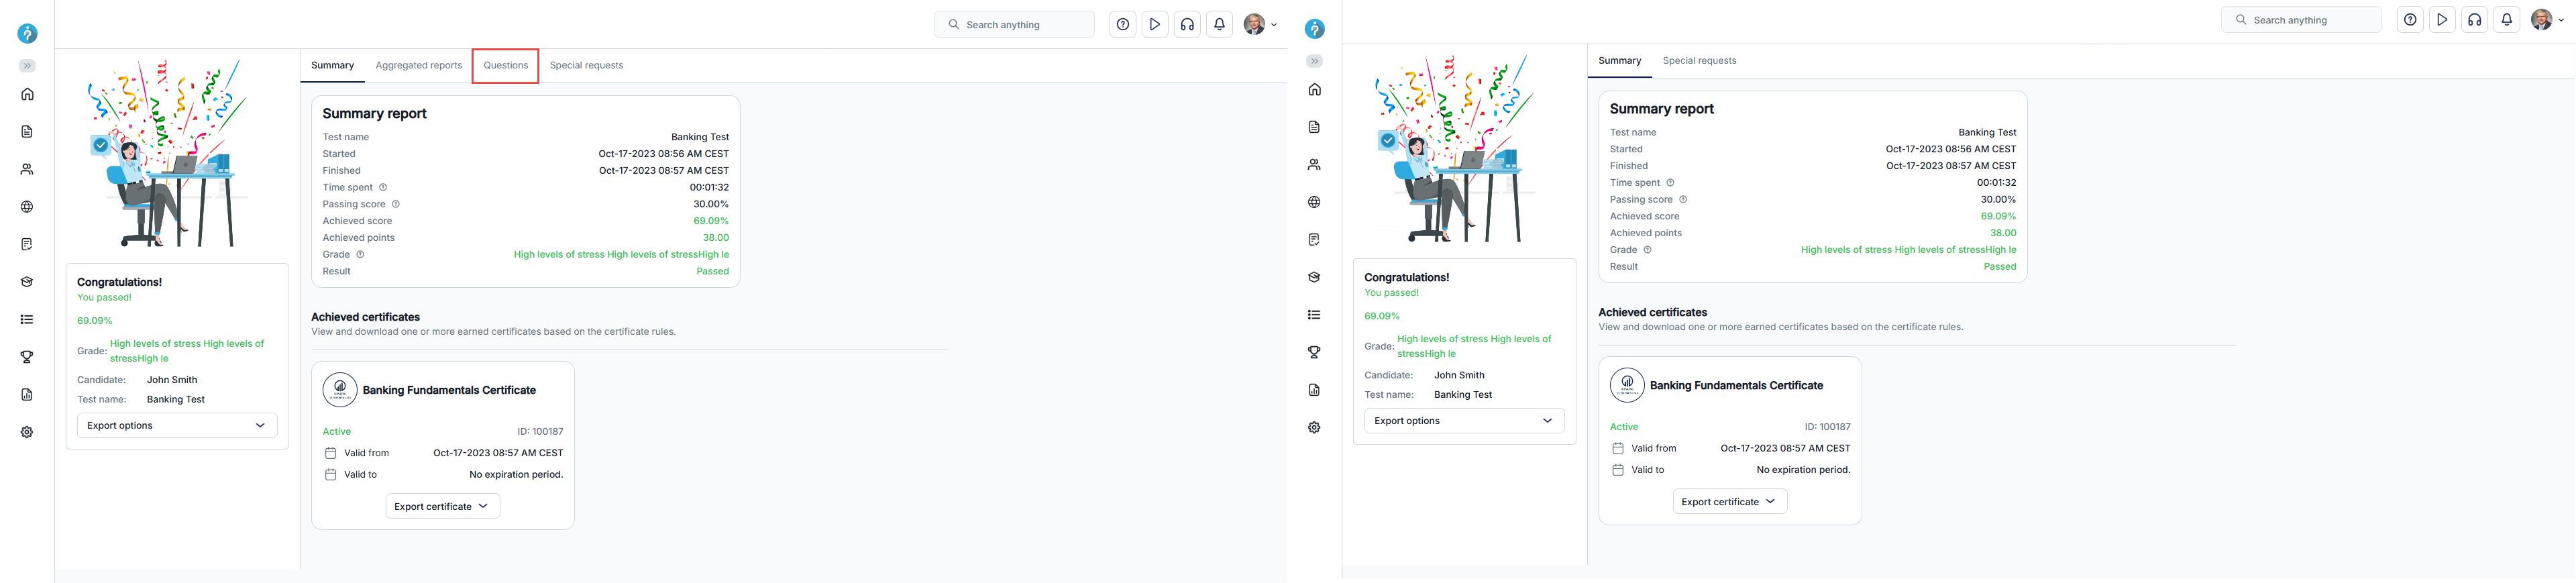
Summary page
The summary page is the main section of the report, offering an overview of essential information regarding the test and the candidate's results:
-
Candidate - The name of the candidate who took the test.
-
Test name - The name of the test that the user has completed.
-
Started/Finished - The time when the user started and completed the test.
-
Time spent - The total time taken to complete the test including any pauses or interruptions that may have occurred during the test attempt.
-
Passing score - The percentage that must be achieved to pass the test. Depending on the test settings, this passing score may or may not be inclusive. If the passing mark is inclusive, candidates will pass the test if they gain a score equal to or higher than the passing mark. You can check whether the passing score is inclusive or not in the tooltip next to the label name.
-
Achieved score - The percentage achieved by the candidate.
-
Achieved points - The total points earned by the candidate.
-
Result - Indication of whether the candidate passed or failed the test.
-
User groups - Names of user groups to which the user belongs. If there are no user group names listed, it means the candidate is not a member of any user group. If a user is a member of a subgroup, the complete path to the subgroup will be shown.
-
Employee ID
-
Achieved certificates - Displays the certificates that the candidate has earned.
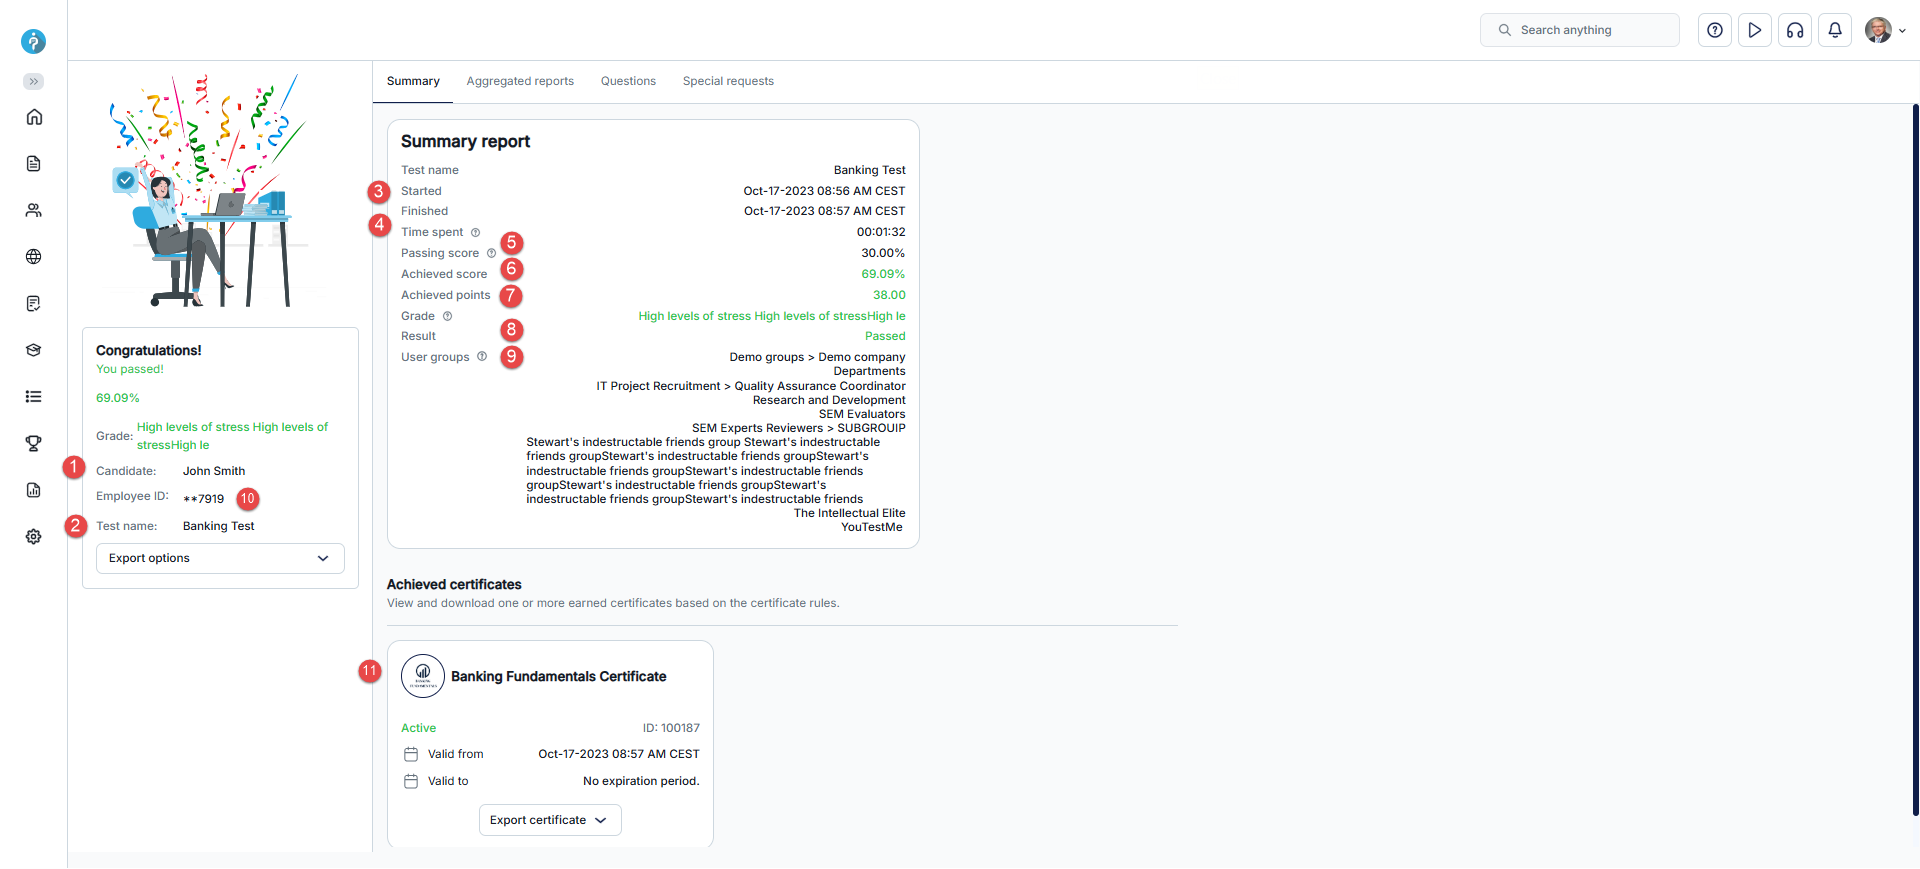
Additionally, the options that can be performed on this page include:
-
Export certificate as PDF or image.
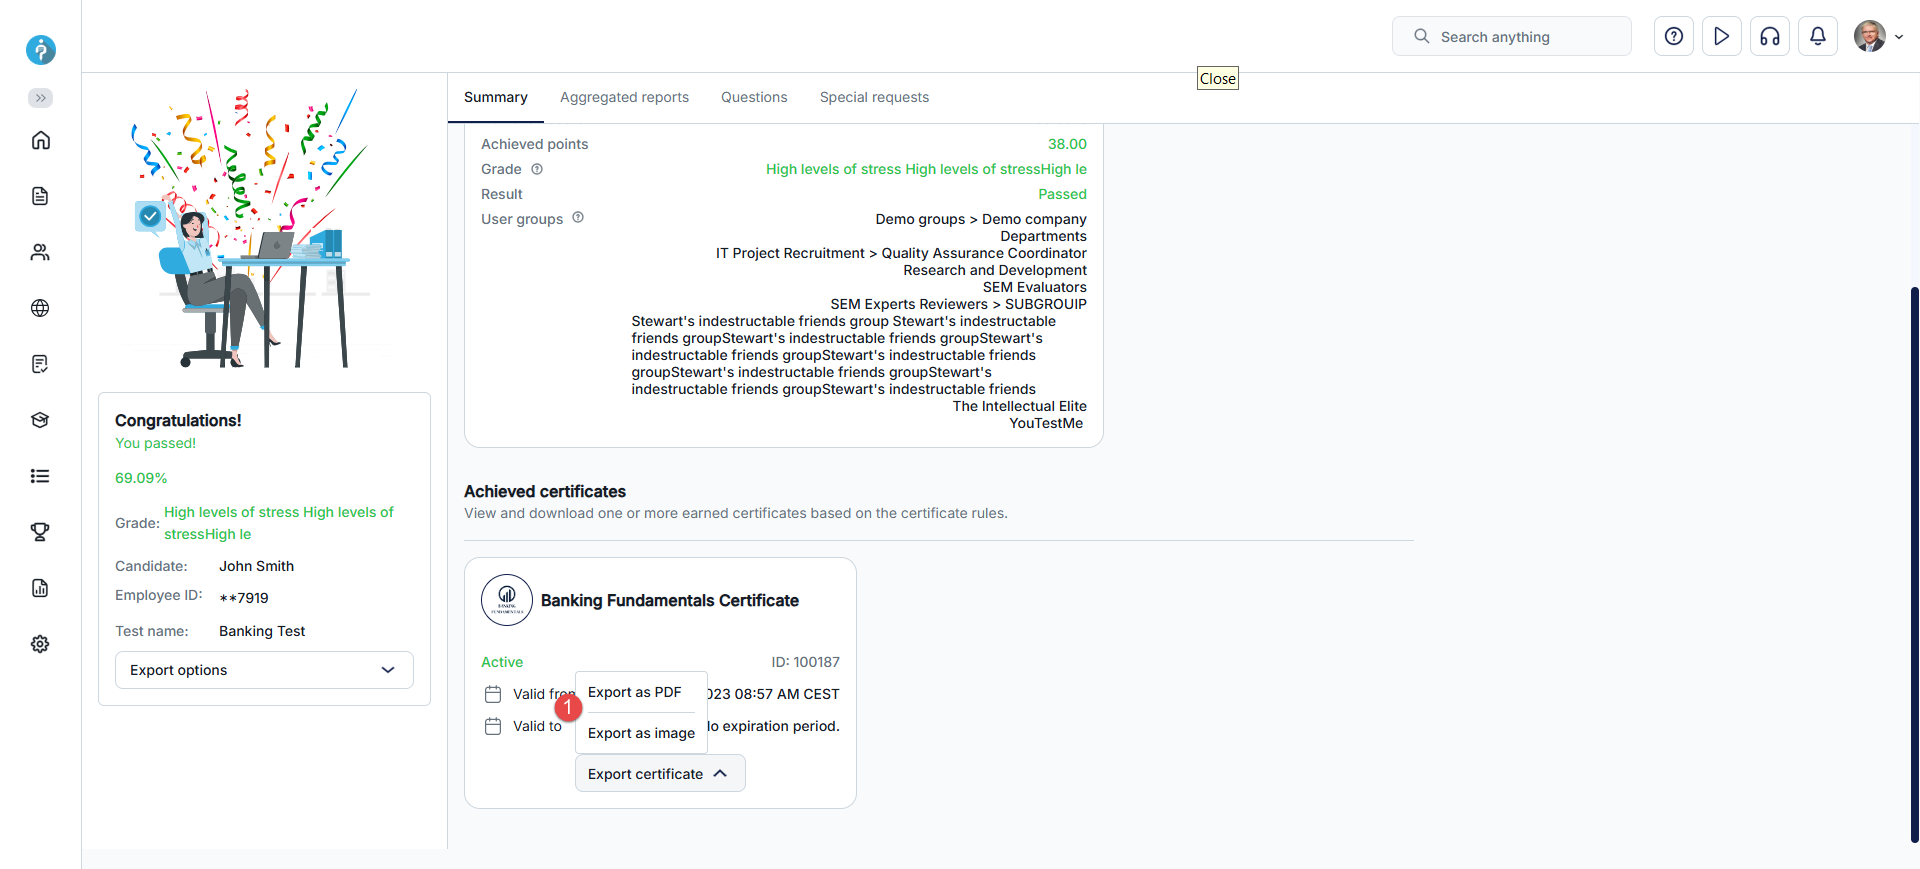
Notes
In this tab, you can review all notes created by you. To preview a note, click the arrow icon.
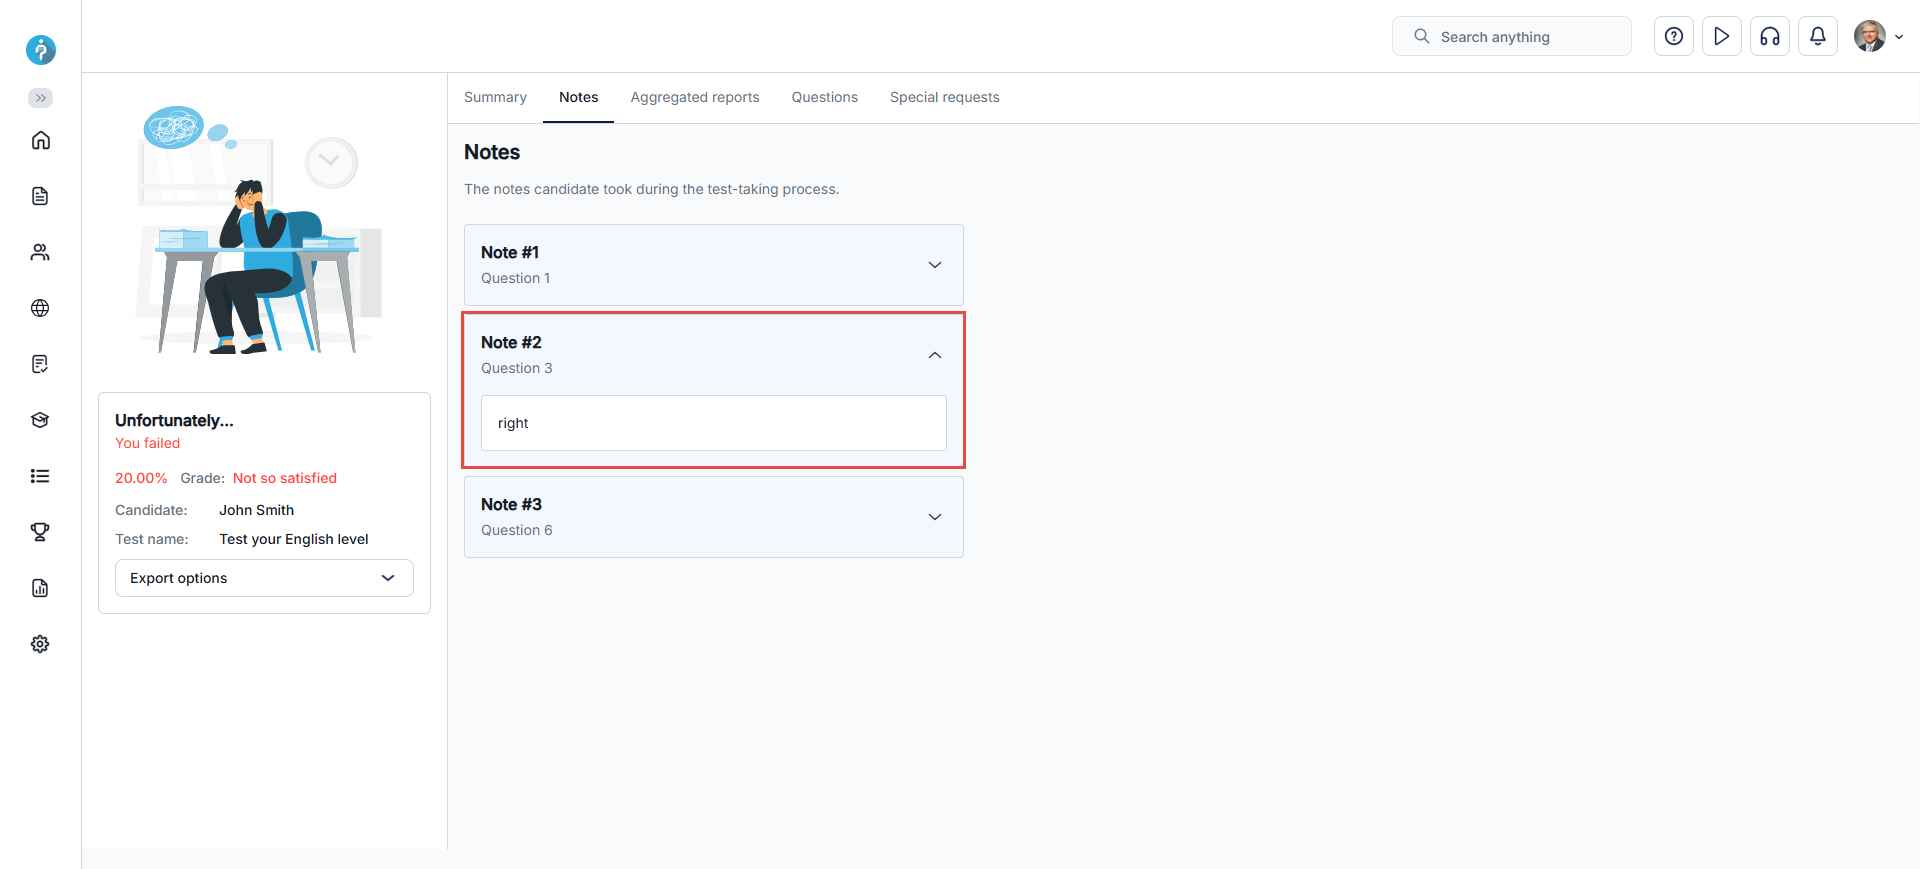
Proctoring report
The table displays the results of the proctoring sessions for the attempt. If a positive proctoring report is required to pass the test and any proctoring session is rated negative, then the attempt is automatically marked as failed.
The table presents the following information:
-
The time when the user started the test.
-
The time when the user finished the test.
-
If the proctor grades the report, the proctoring grade will be displayed. It can be one of the following: Neutral, Positive, or Negative.
-
Proctoring rate - represents the percentage of correct behavior or compliance exhibited by the candidate during the test-taking process. In this context, a higher rate indicates that the candidate had fewer violations or incidents flagged by the AI proctoring system, demonstrating a higher level of compliance and integrity during the test.
-
The comment from the proctor will be displayed if the proctor has entered it.
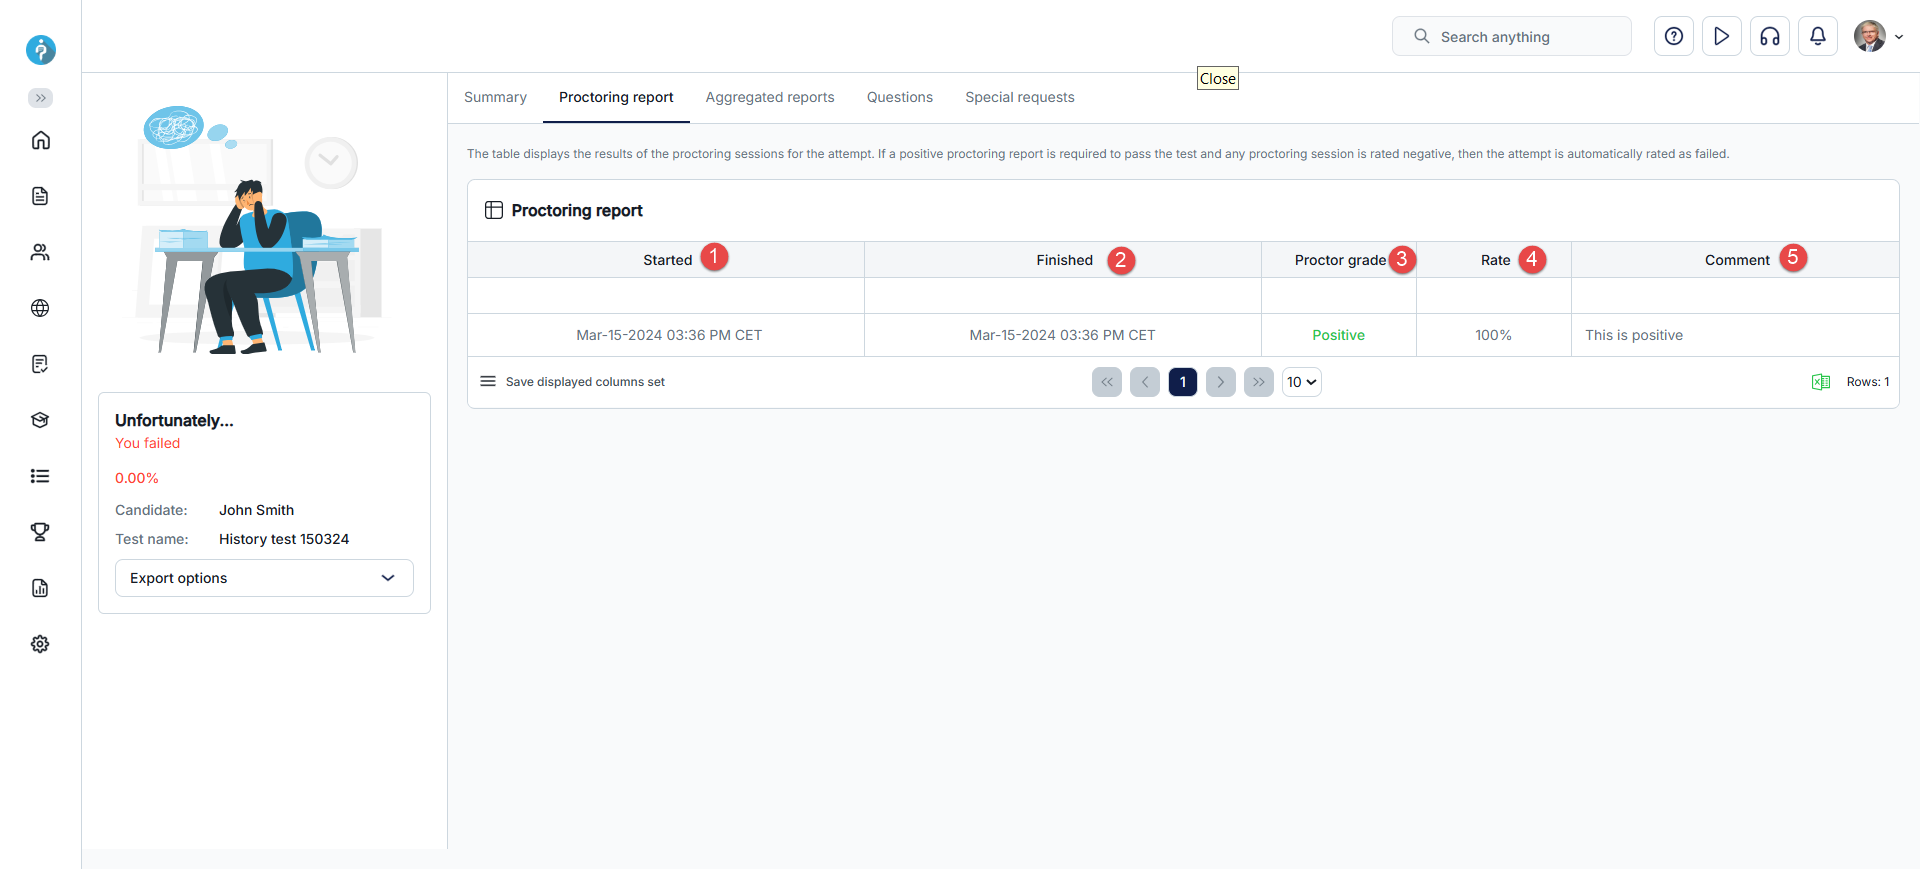
Aggregated reports
Aggregated reports are classified into overall test statistics and statistics at the test section level (if the test contains sections). These reports provide a breakdown of test attempt scores based on various factors such as test sections, section groups, and question pools used in the test. They offer insights into how candidates performed in different aspects of the test. They may also include additional details depending on their availability, allowing for a more comprehensive test results analysis.
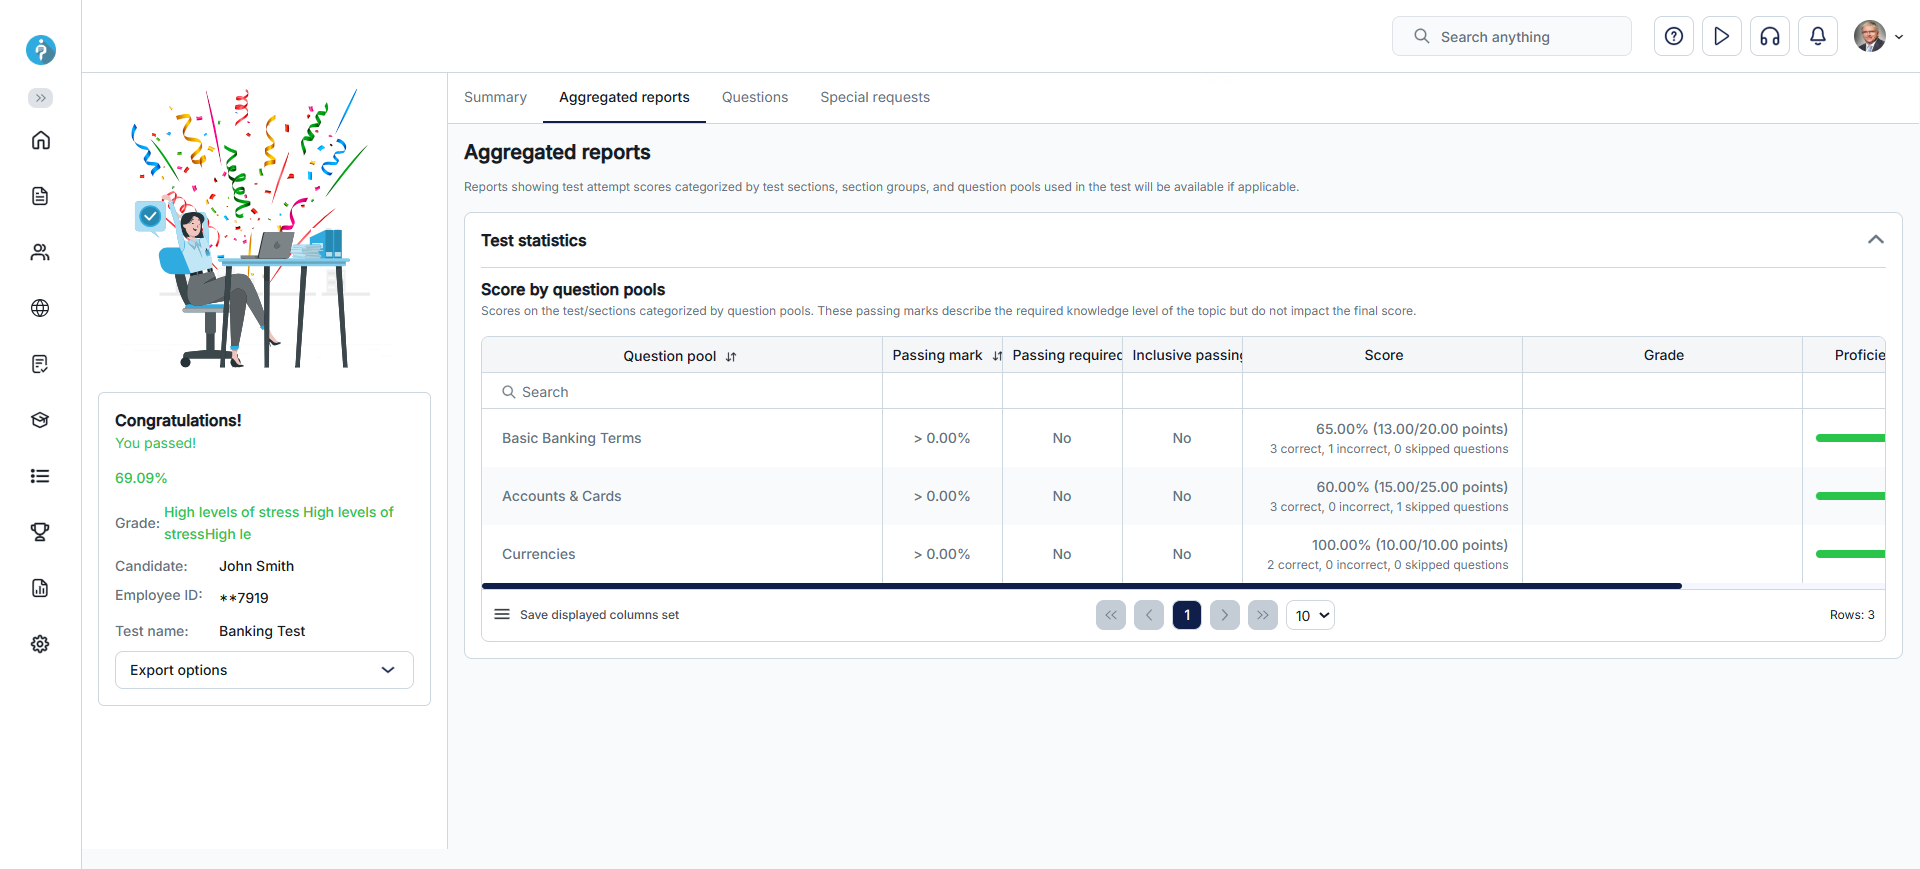
Questions
In the Questions tab, users are presented with the test questions and their correct answers. Users can filter the questions, displaying only those with the correct or incorrect answers.
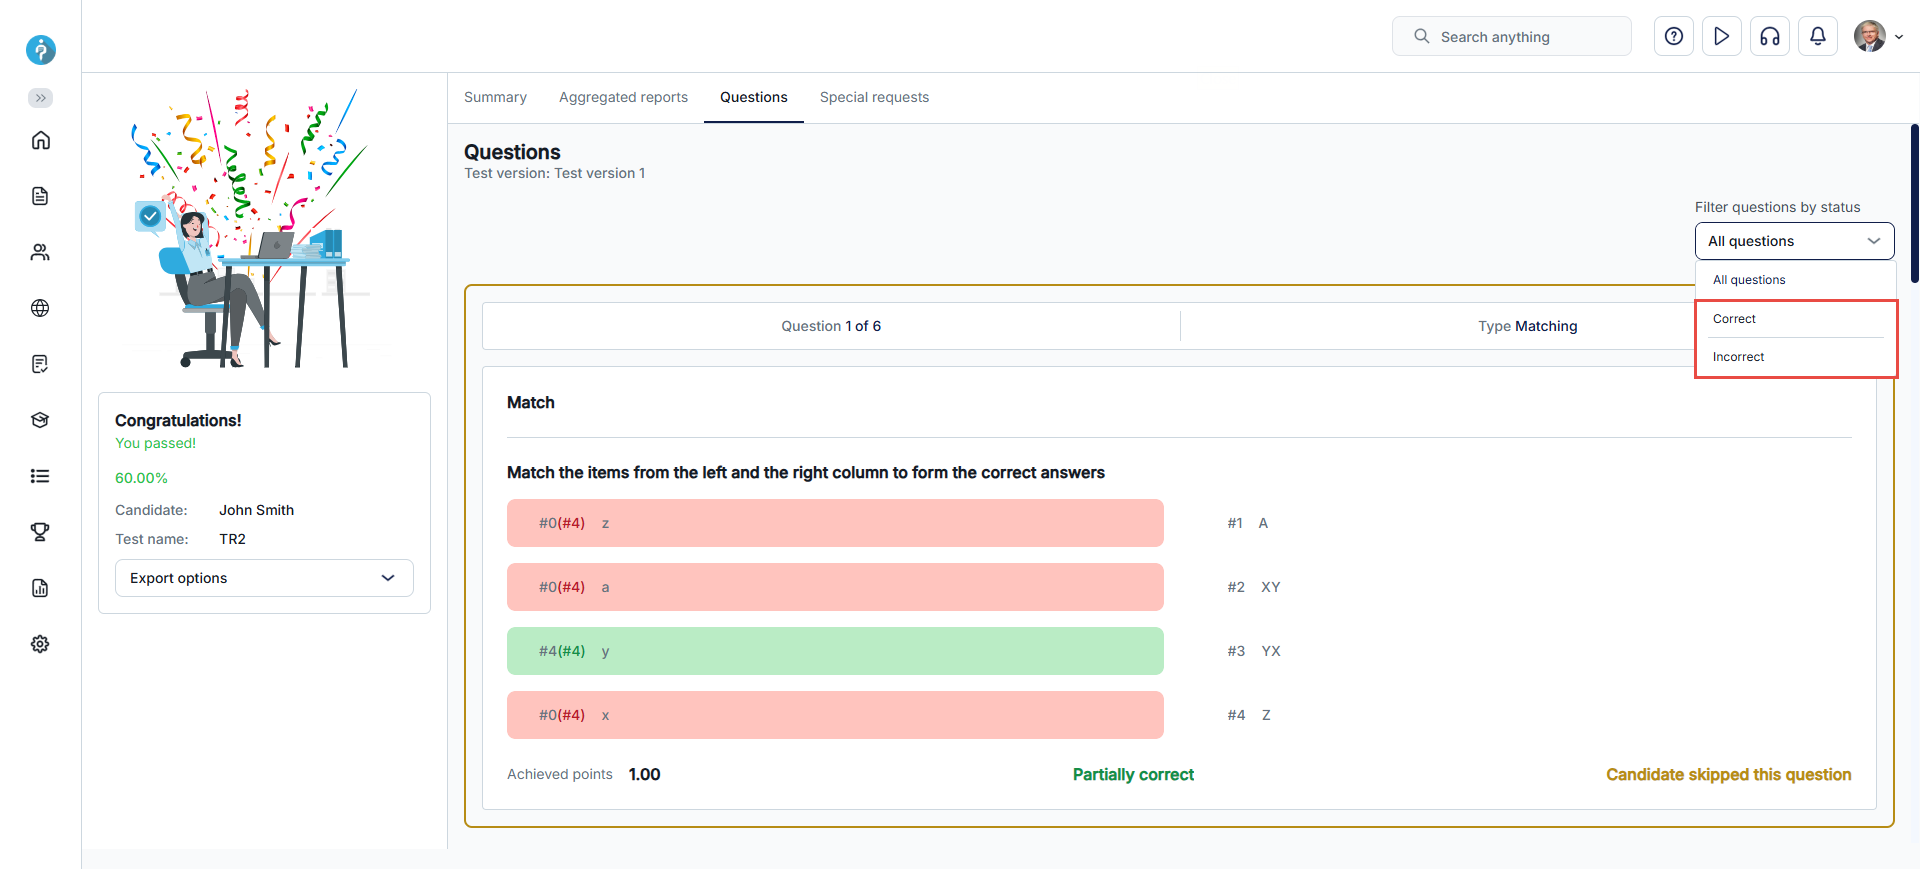
If the test has sections, you'll see a list of all sections. Click on a section name to view the questions for that specific section.
If "Enable candidates' feedback on questions" option is enabled for the test, candidates can add their feedback for each of the questions by clicking on the "Add feedback for this question" button. Submmited feedback can be modified by repeating this process.
Special requests
Special requests are used to request information or documentation from candidates, either before or after a test. For instance, if a candidate needs to provide an ID before a test, and it's found invalid, the instructor can send a special request for a valid ID to avoid canceling the test attempt.
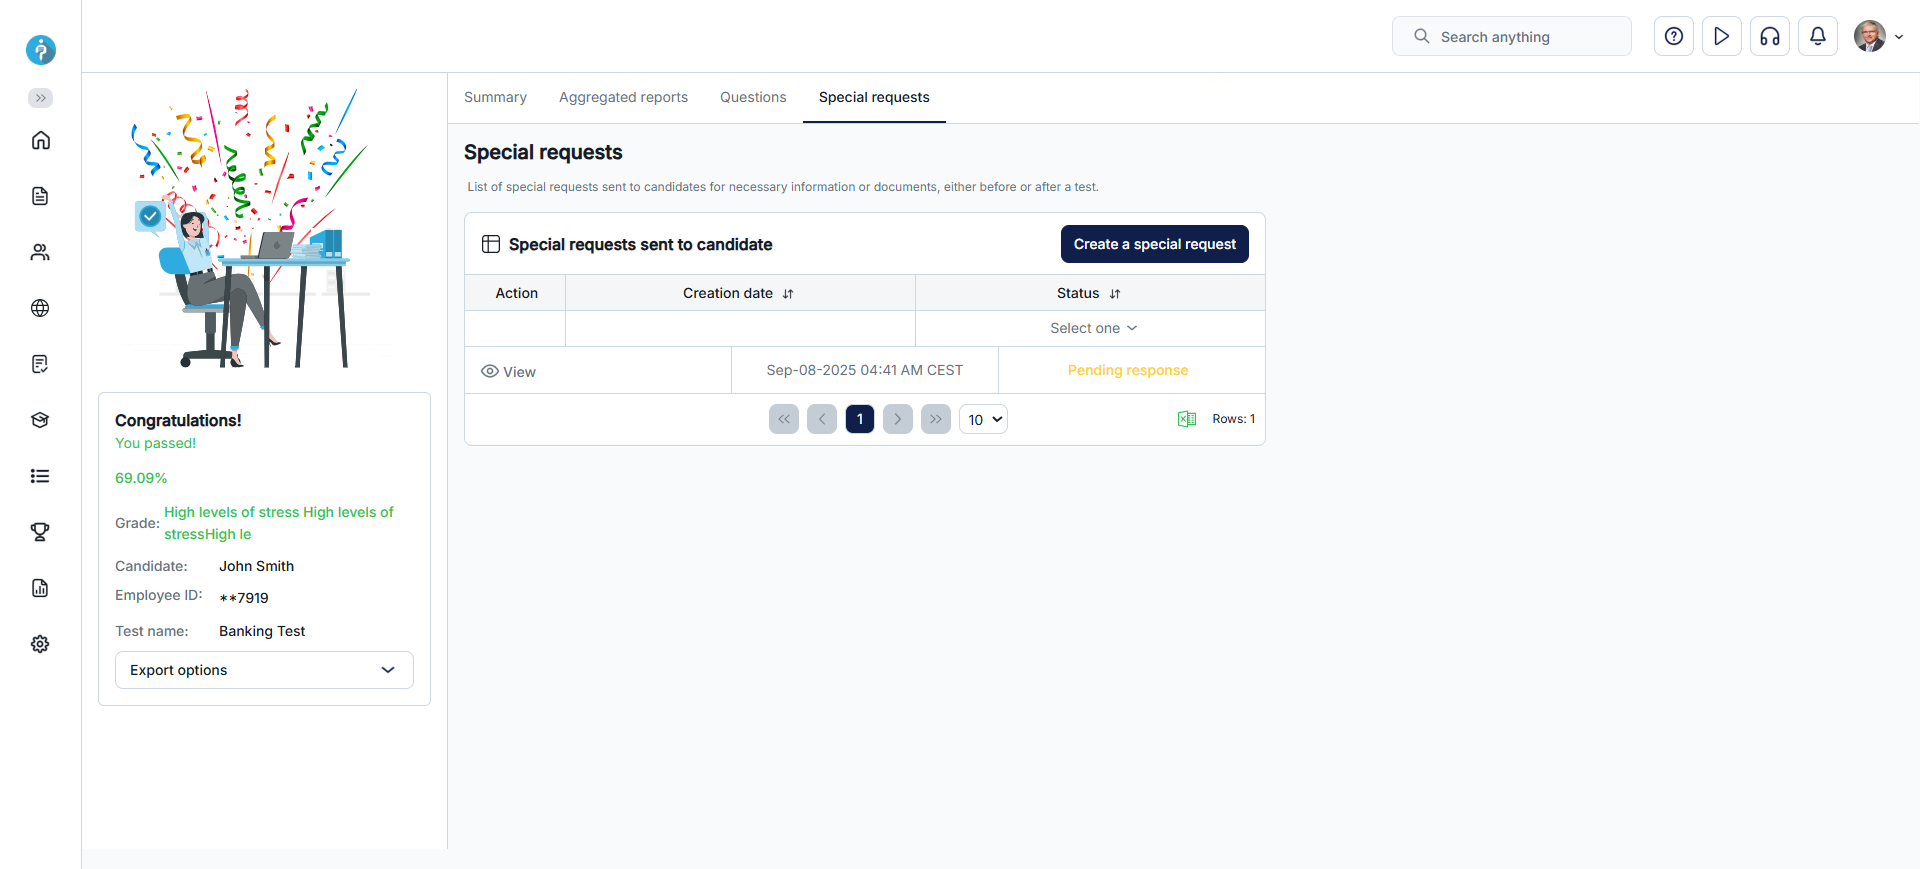
The student will receive an email containing the special request link.
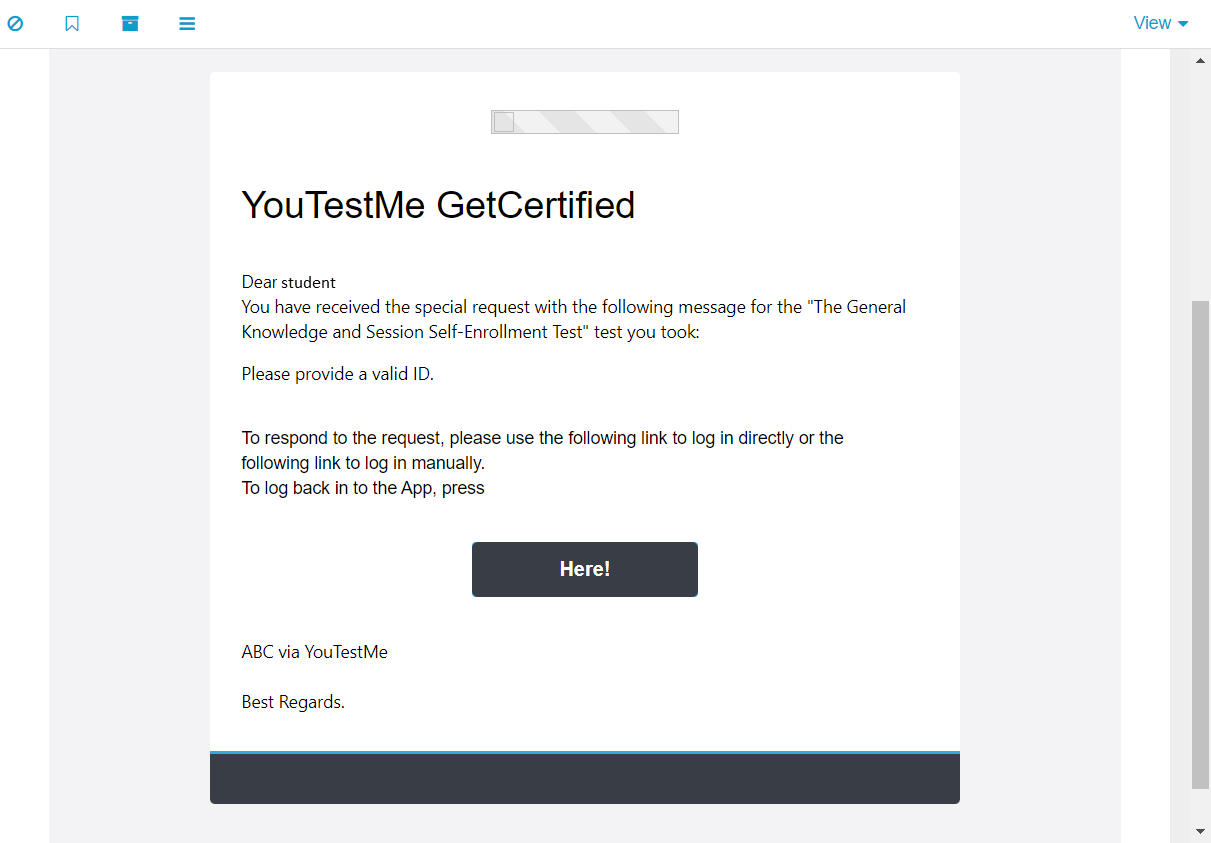
The candidate can also access the special request dialog through the link from the in-app notification. Clicking on it, the candidate will be presented with a dialog where they can enter their response and upload an attachment if needed.
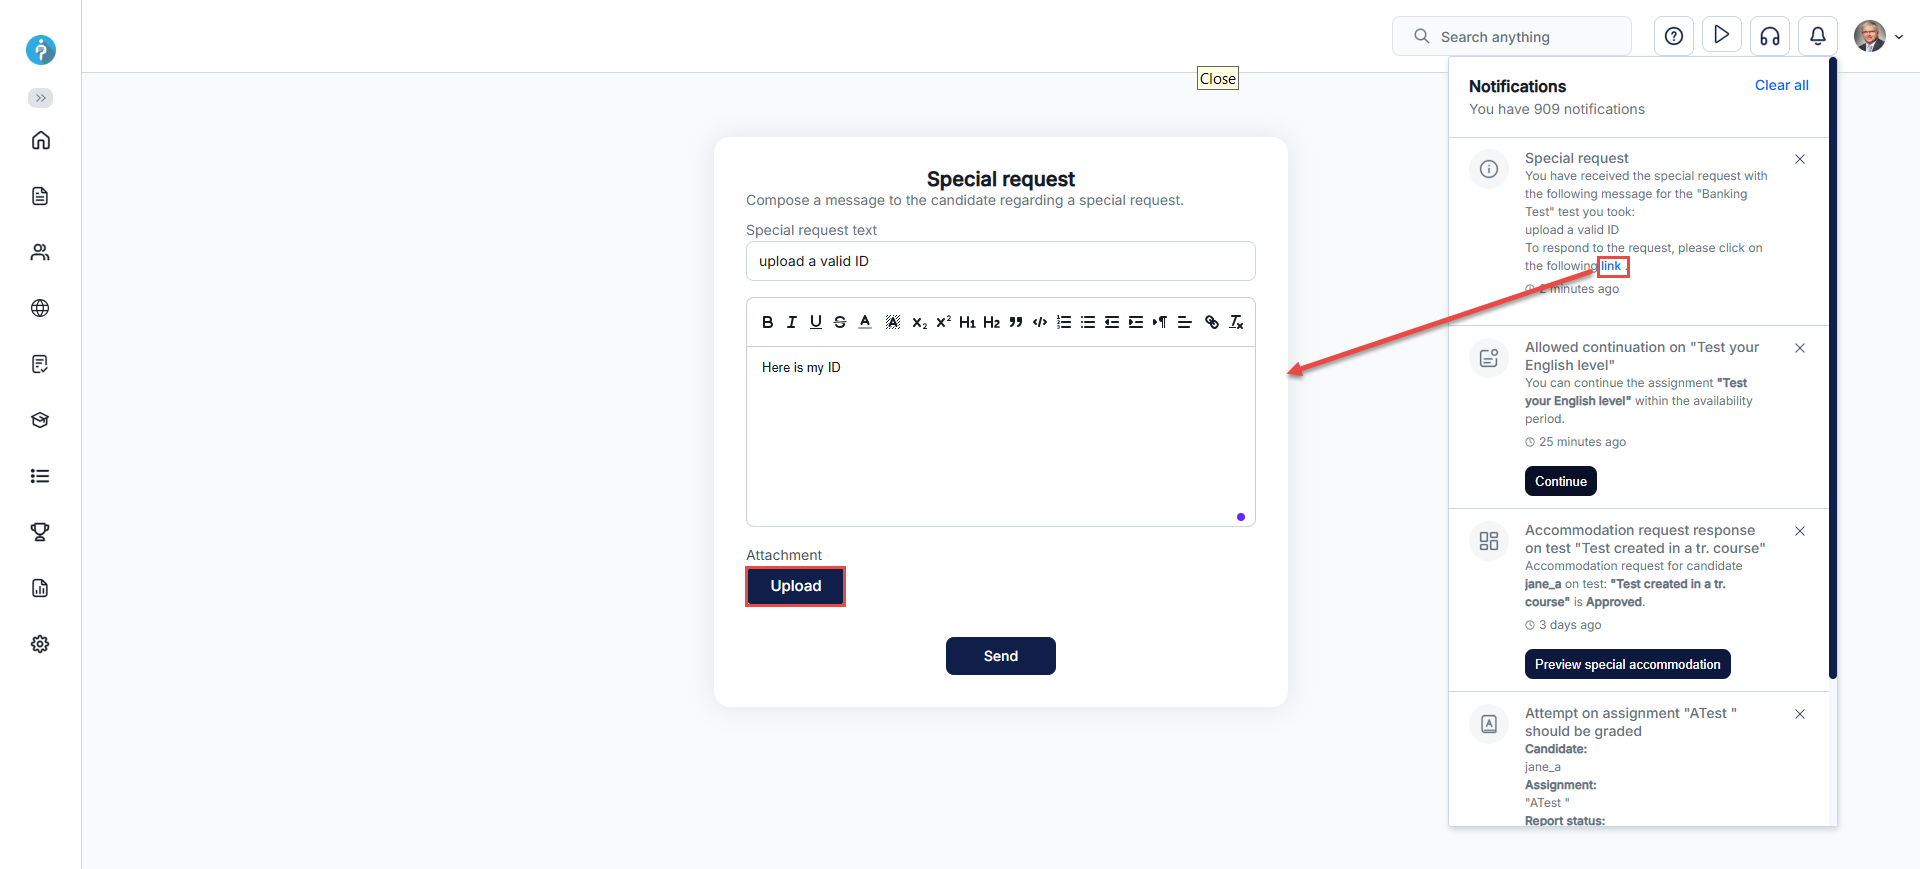
Charts
This tab features a chart displaying summarized or average points scored by question categories assigned to each question. This tab is only visible if a chart is created for the test.
The candidates can see the following information on this page:
-
Chart name - Name of the generated chart.
-
Chart categories - The table displays a comprehensive list of all chart categories and their respective names and descriptions. These categories are directly associated with the questions and illustrate the candidates' progress on the chart, providing insight into their performance.
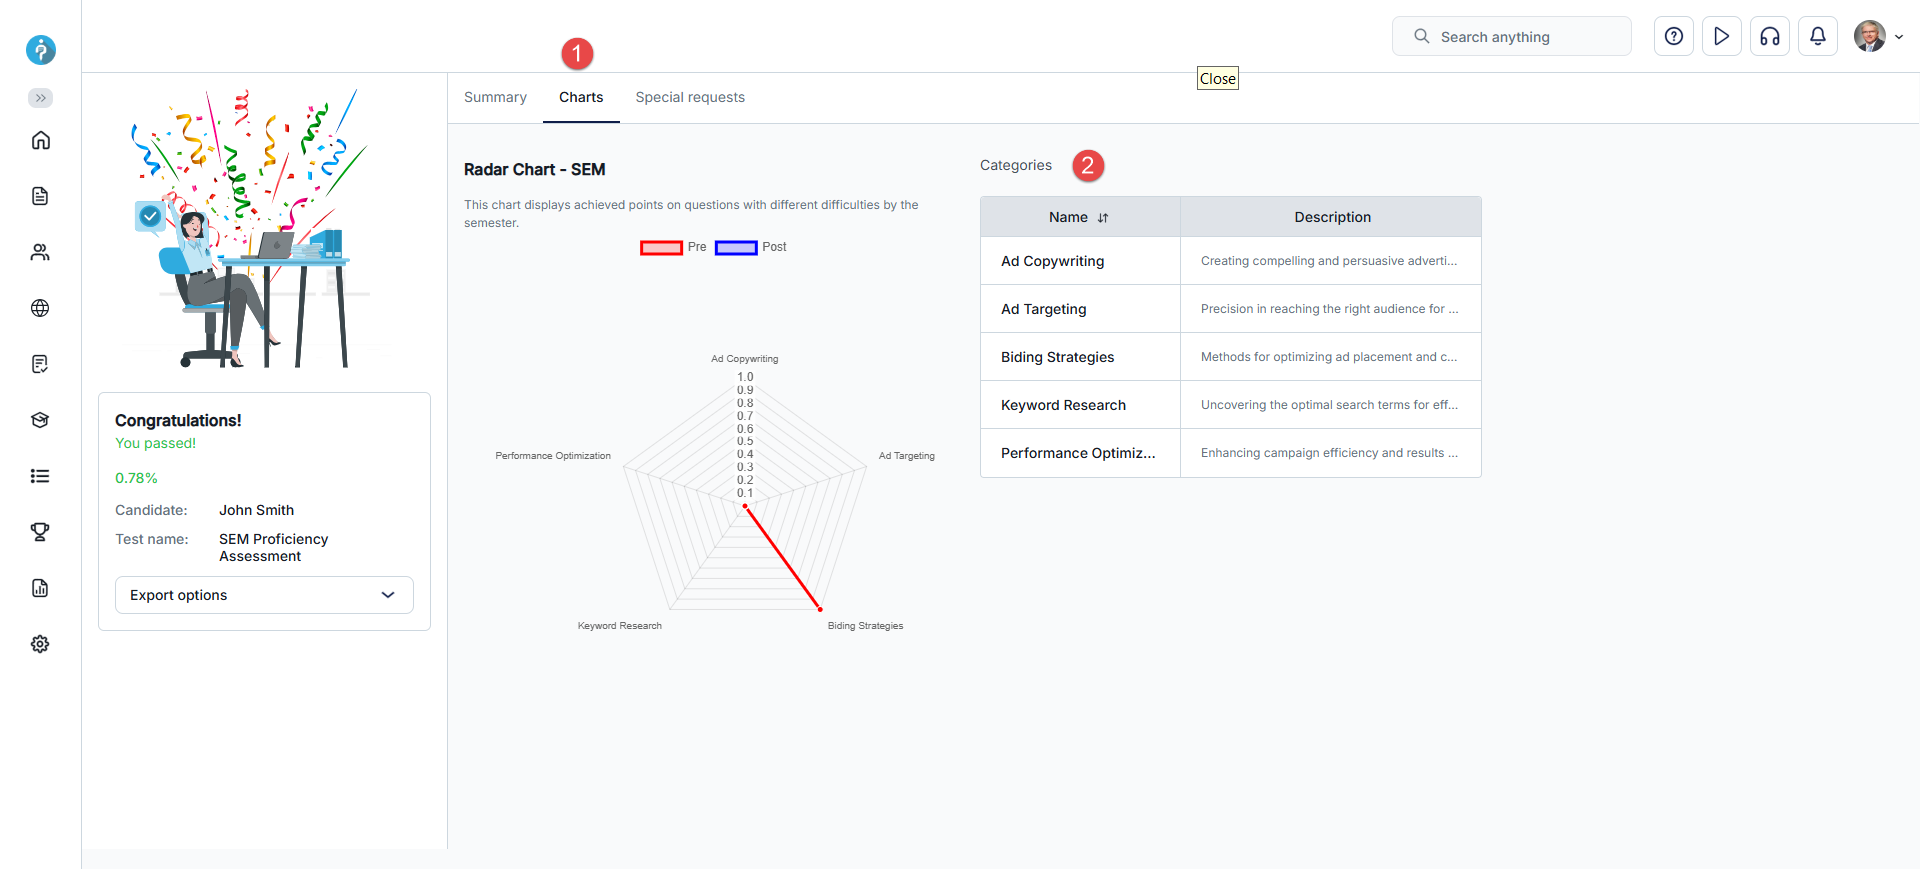
Survey personal reports
Summary
-
Survey name - This tells you the name of the test the user took.
-
Started/Finished - These are the times the user began and completed the test, so you know how long it took.
-
Time spent - This shows you the total time the user spent on the test, indicating their level of engagement.
-
User groups - This section will tell you if the user belongs to any specific groups. It helps categorize users based on certain criteria.
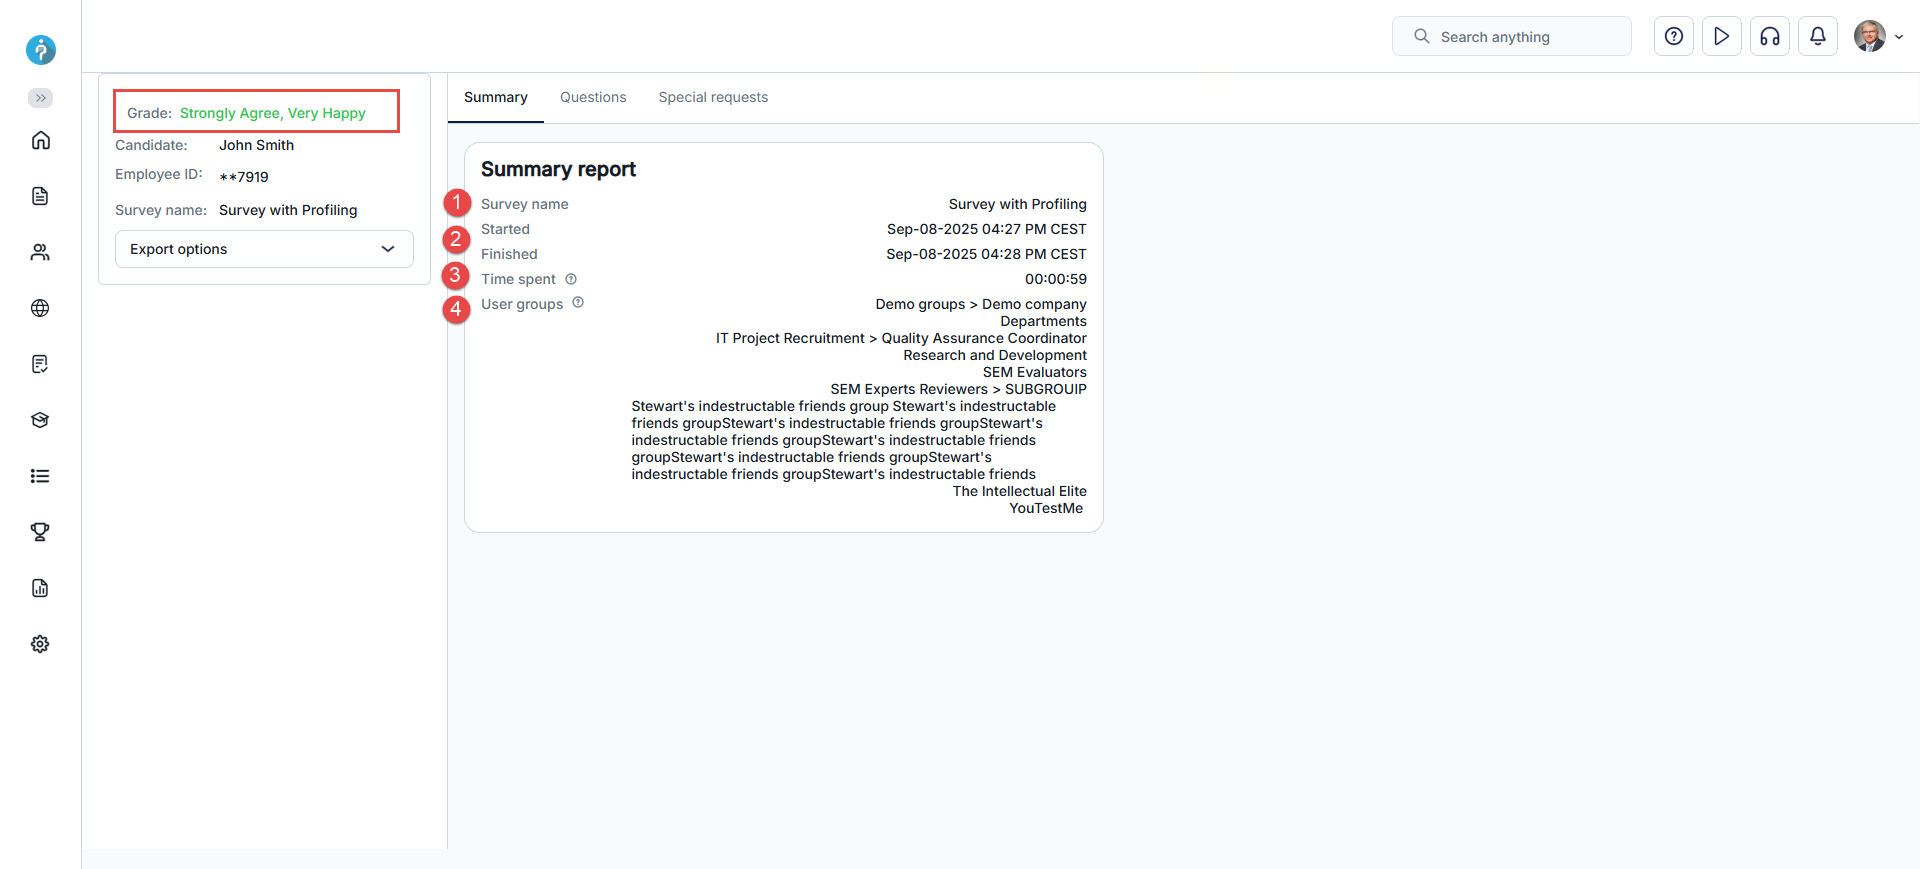
The summary page is the first part of the report, providing a quick overview of the test and how the candidate performed:
You can export your survey report in Excel format. This choice offers your report in an Excel file, providing you with the flexibility to analyze and manipulate the data as required conveniently.
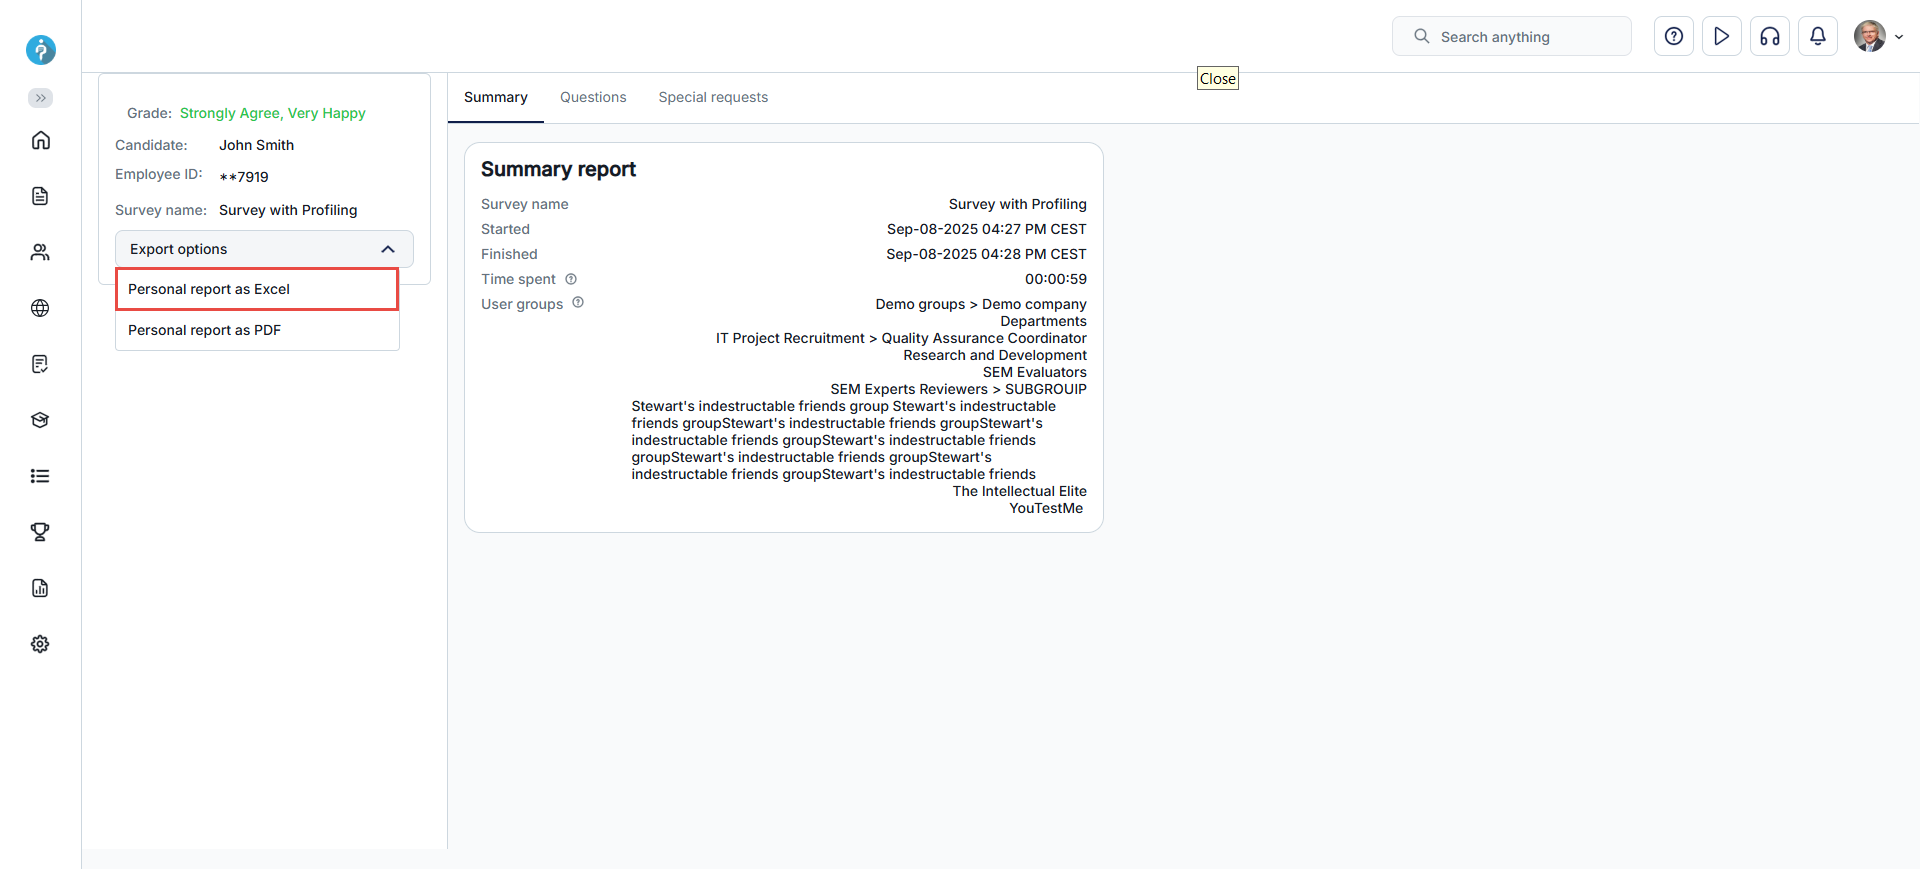
Questions
In the Questions tab, users are presented with the survey questions and their correct answers. Users can filter the questions, displaying only those with the correct or incorrect answers.
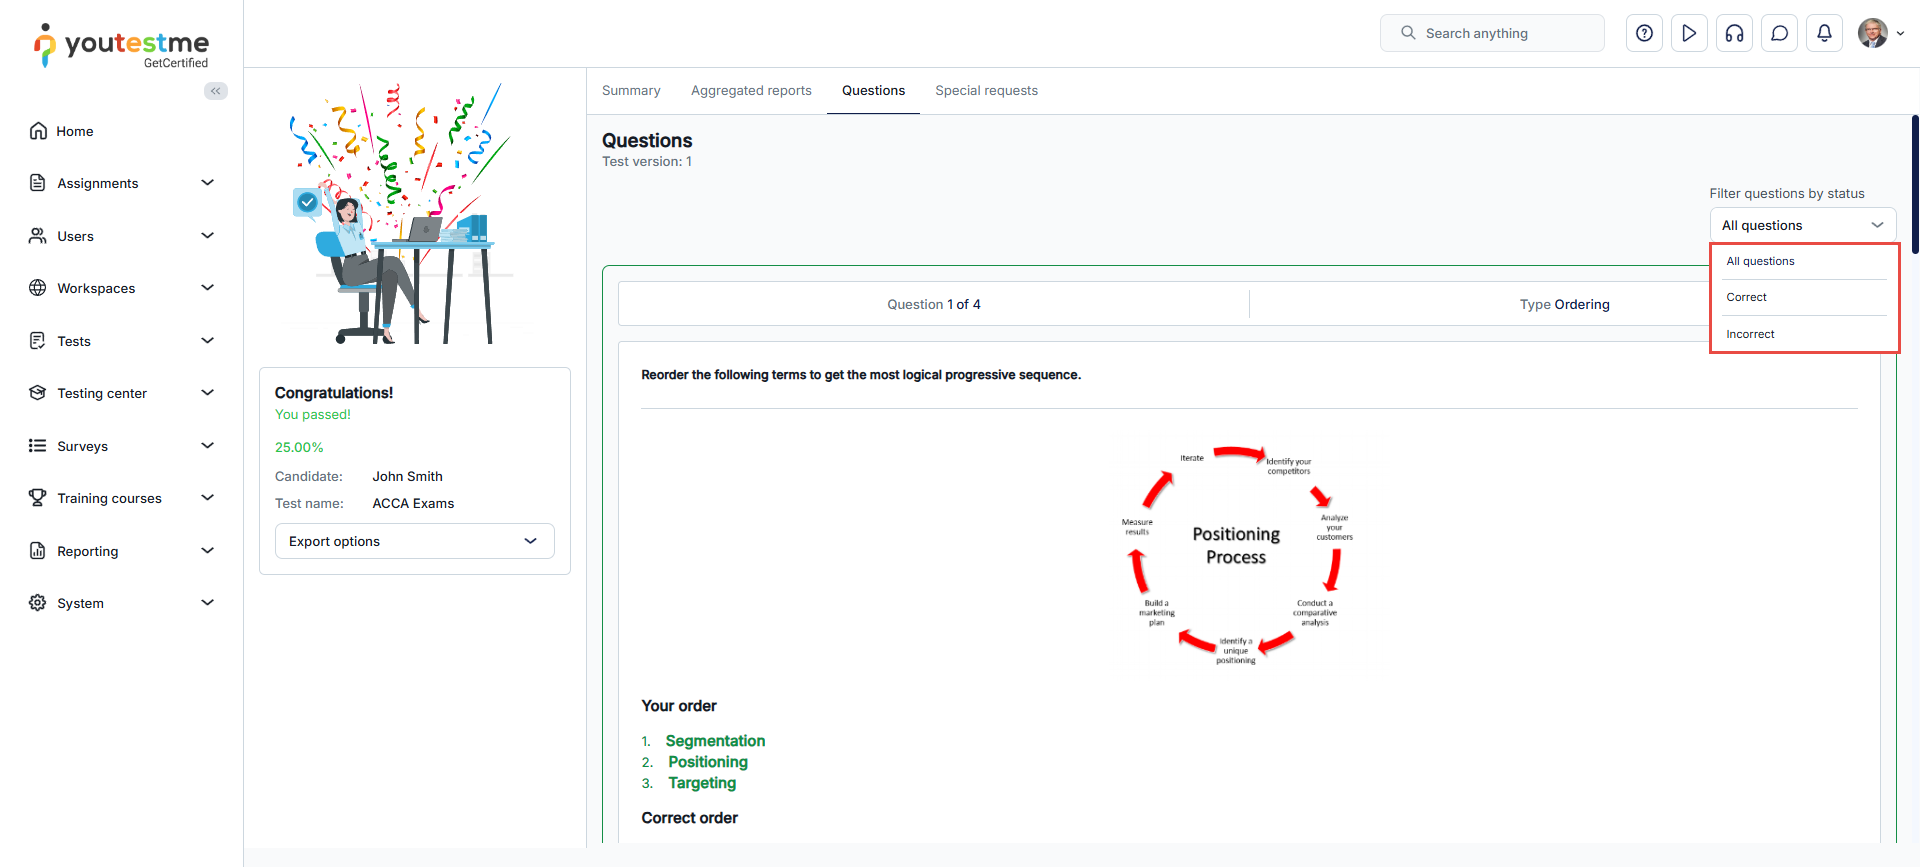
Here, you can see the weight assigned to each answer.
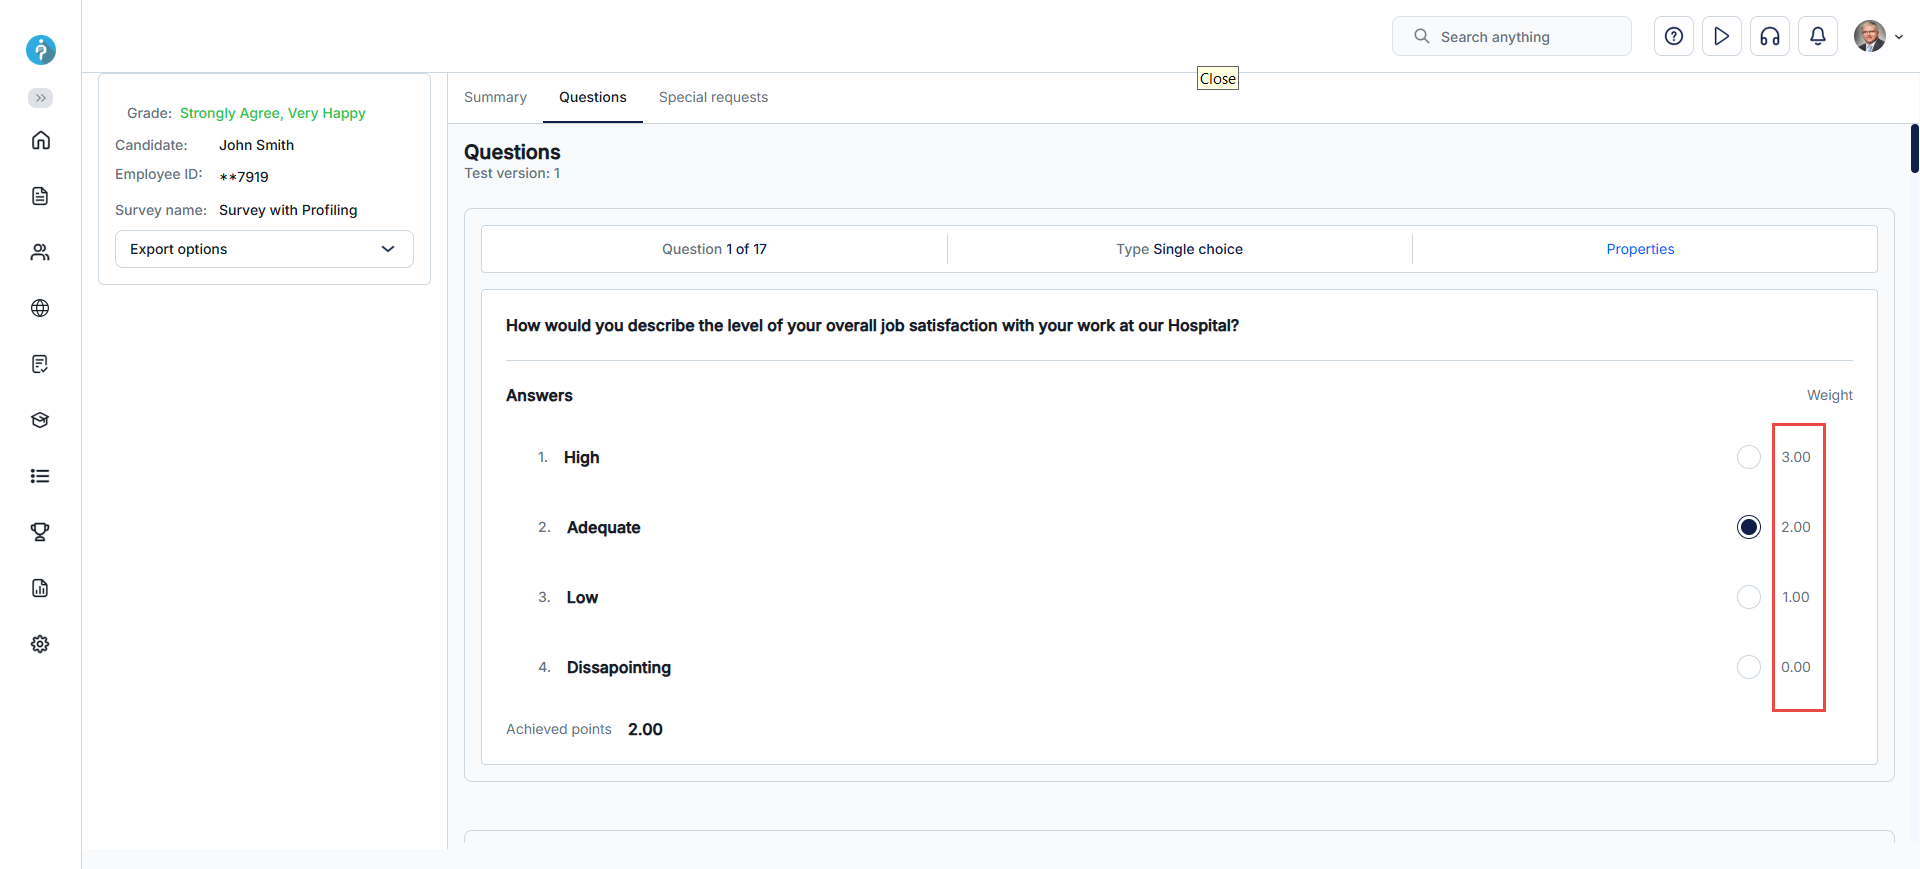
Special requests
Special requests are used to request information or documentation from candidates, either before or after a survey. For instance, if a candidate needs to provide an ID before a survey, and it's found invalid, the instructor can send a special request for a valid ID to avoid canceling the survey attempt.
-
Best practices and use cases
To see the answers to frequently asked questions, as well as articles on best practices and various use case scenarios, visit our website support page.
-
Candidates's workflow
This guide offers an overview of the typical candidate workflow. Delve into articles and videos for insights from a candidate's perspective. See the instructions below for accessing proctored tests, purchasing exams, and enrolling in training courses.
-
Basic workflow
Learn the basic information about the application from a candidate's perspective. Discover how to access the application, take a test, and utilize features such as notes and menu options by reading the articles and watching the videos below.
- To see how to access the application, please check out
this article.
- To see how to take a test, please check out this article.
-
To see a general overview from a candidate’s perspective, please check out this video.
-
To see how to use notes during the test-taking process, please check out this article.
-
To see how to add an attachment to essay questions during test-taking process, please check out this article.
- To see how to access the application, please check out
this article.
-
Workflow for proctored test
This workflow elucidates how proctored test-taking appears from a candidate's perspective. Learn how to undertake a test monitored by a proctor and configure your camera and microphone settings by watching the videos provided below.
-
Workflow for purchasing tests/surveys, training courses
This workflow details how a candidate can purchase, book, cancel, or reschedule exam sessions and purchase training courses.
-
Workflow for training course
This workflow elucidates how to take a training course from a candidate's perspective.
-
To see how to take a training course, please check out this video.
-
-
-
Administrator's workflow
Discover the standard administrator workflow for organizing testing. Explore articles and videos to learn how to manage testing processes effectively.
-
Basic workflow
Gain insight into the general overview of the application from the administrator's perspective. Experience a different dimension of the application by reading the articles provided below.
-
To see the general overview from the administrator’s perspective (registration, login, overview of the homepage), please check out this video.
-
To see how to add users, please check out this article.
-
To see how to create a simple test, please check out this article.
- To see how to create a survey, please check out this article.
- To see how to create a training course, please check out this article.
-
To see how to schedule a testing session, please read this article.
-
To see how to schedule reports, please check out this article.
-
To see how to track login and login activities, please check out this article.
-
To see how to change the application theme and branding, please check out this article.
-
To see how to configure the application’s notifications, please check out this article.
-
-
-
Proctor's workflow
Find basic information about the proctor role in the articles provided below. Explore live proctoring with Webex and YouTestMe GetCertified and gain insights from the proctor's perspective on monitoring candidates.
-
Instructor's workflow
To understand instructors' responsibilities, delve deeper into the test creation process, and acquire basic information about Proctored tests, please refer to the articles and videos listed below.
-
Basic workflow
-
Process of test creation
This workflow explains the whole test creating process. From creating and adding questions into a test to creating test locations.
-
To see how to create and add questions to a test, please check out this article.
-
To see how to schedule a testing session, please read this article.
-
To see how to set a personal report lifespan, please check out this article.
-
To see how to set time limits for personal report after test completion, please check out this article.
-
To see how to create and add a grading scale to a test, please check out this article.
-
To see how to add candidates to a testing session, please check out this article.
-
To see how to create a testing location, please check out this article.
-
-
Basic information regarding Proctored test
This workflow explains how to create a proctored test, assign proctors, and explains the test-taking guide template.
-
-
Test results verification
This workflow outlines the steps to configure the hold and release process. Dive into understanding how this mechanism operates consistently with result verification, including paper-based test results.
Application usage limits
Certain actions may be subject to predefined limits. When these limits are reached, the system will display messages to help users understand and address the situation.
Currently, only a limit on the number of active users can be set.
-
Active users limit
The active users limit defines the maximum number of users in the application with the status Active. When this limit is reached, users attempting certain actions will receive appropriate messages.
-
Creating or updating users with status "Active" - This action involves creating new users with the Active status or attempting to update the status of existing users to Active. If the limit is reached, the create or update action will not be executed, and the user will receive an error message informing them about the limit.
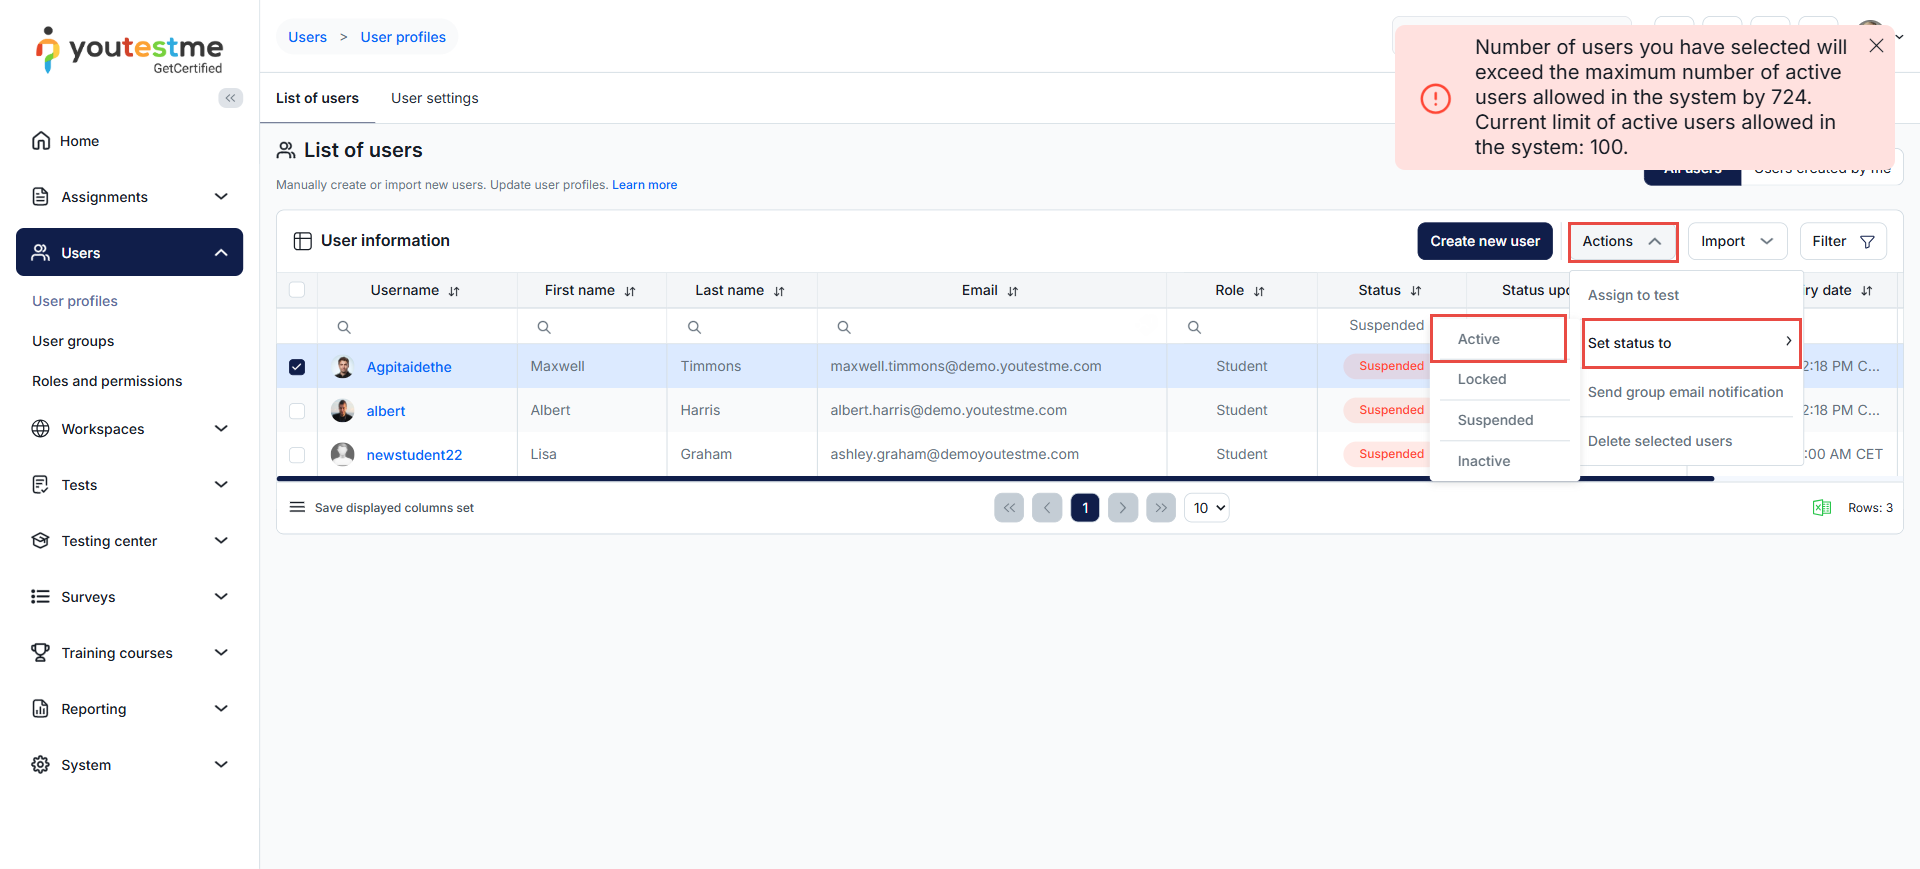
-
Loading users from an Excel spreadsheet - Using the Import users option, if the users in the spreadsheet have the Active status and the limit is reached, no new users from the spreadsheet will be loaded into the application. Users will receive an error message informing them of how many users the limit will be exceeded for.
Note: If the limit is breached, none of the users will be loaded. For example, if the limit is set to 150 and there are currently 148 users with the status Active, trying to load 5 new users with Active status will result in none of the 5 users being loaded into the application.
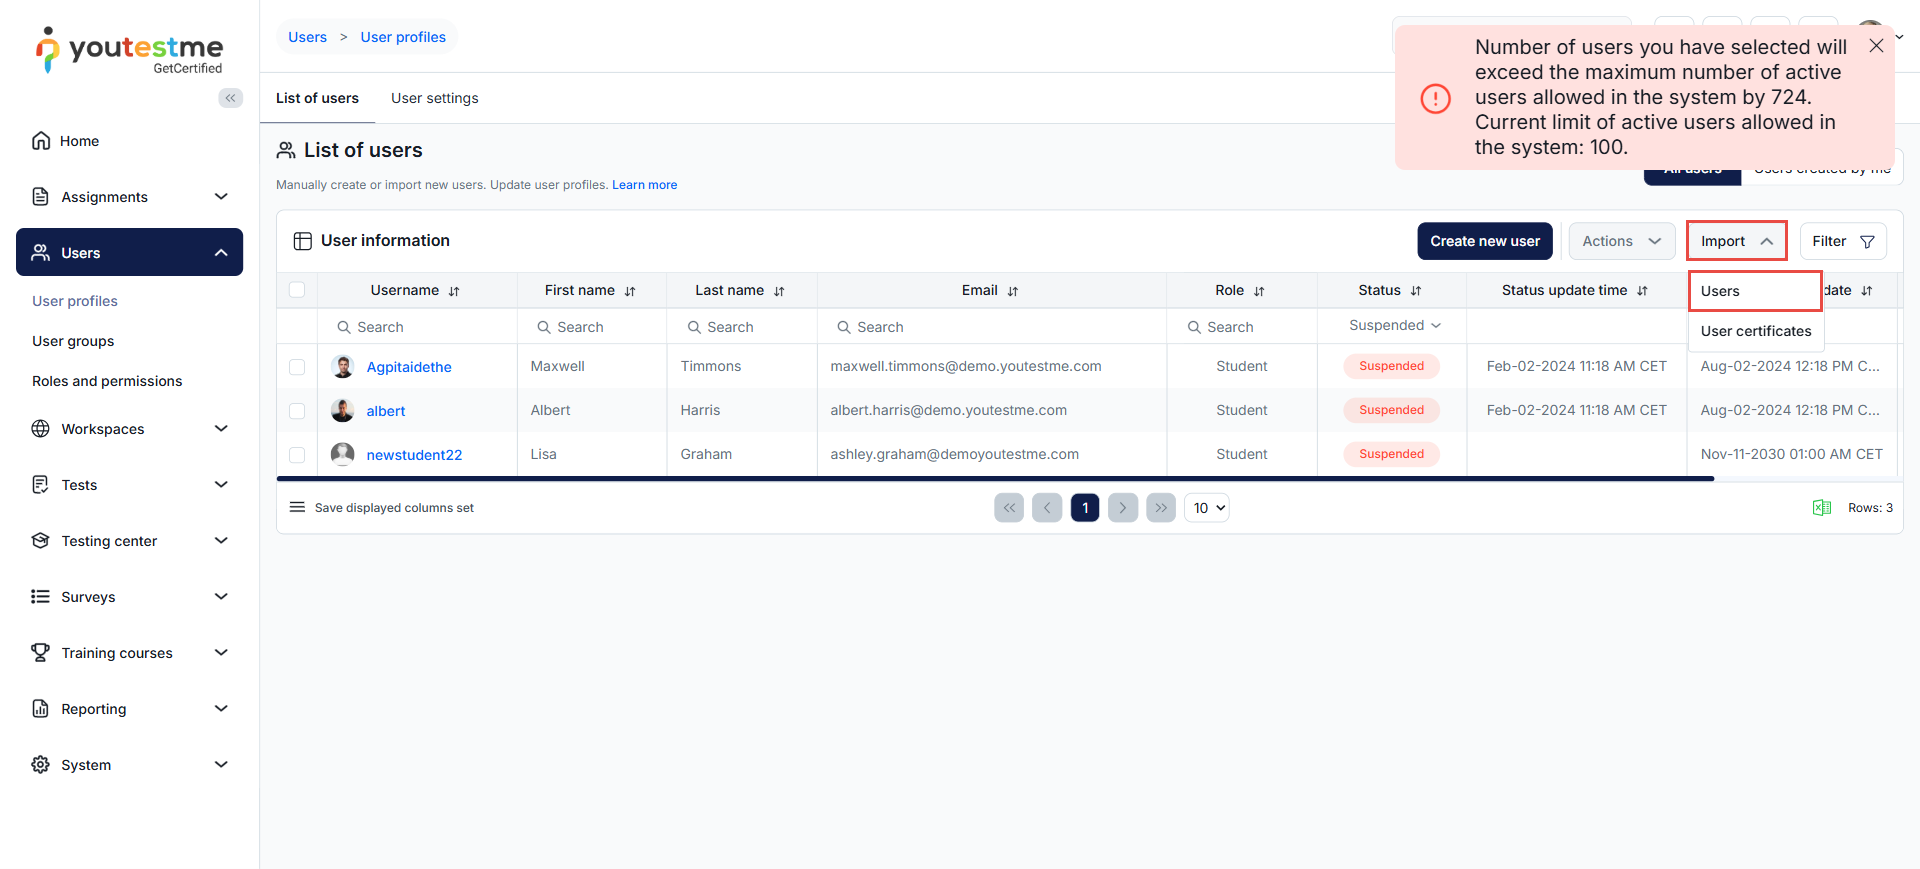
-
User self-registration without approval - If the Self-registration option is enabled, an active user profile is automatically created without the need for administrator's approval. Users trying to register will receive a message informing them that the limit has been reached, and thus, a profile cannot be created.
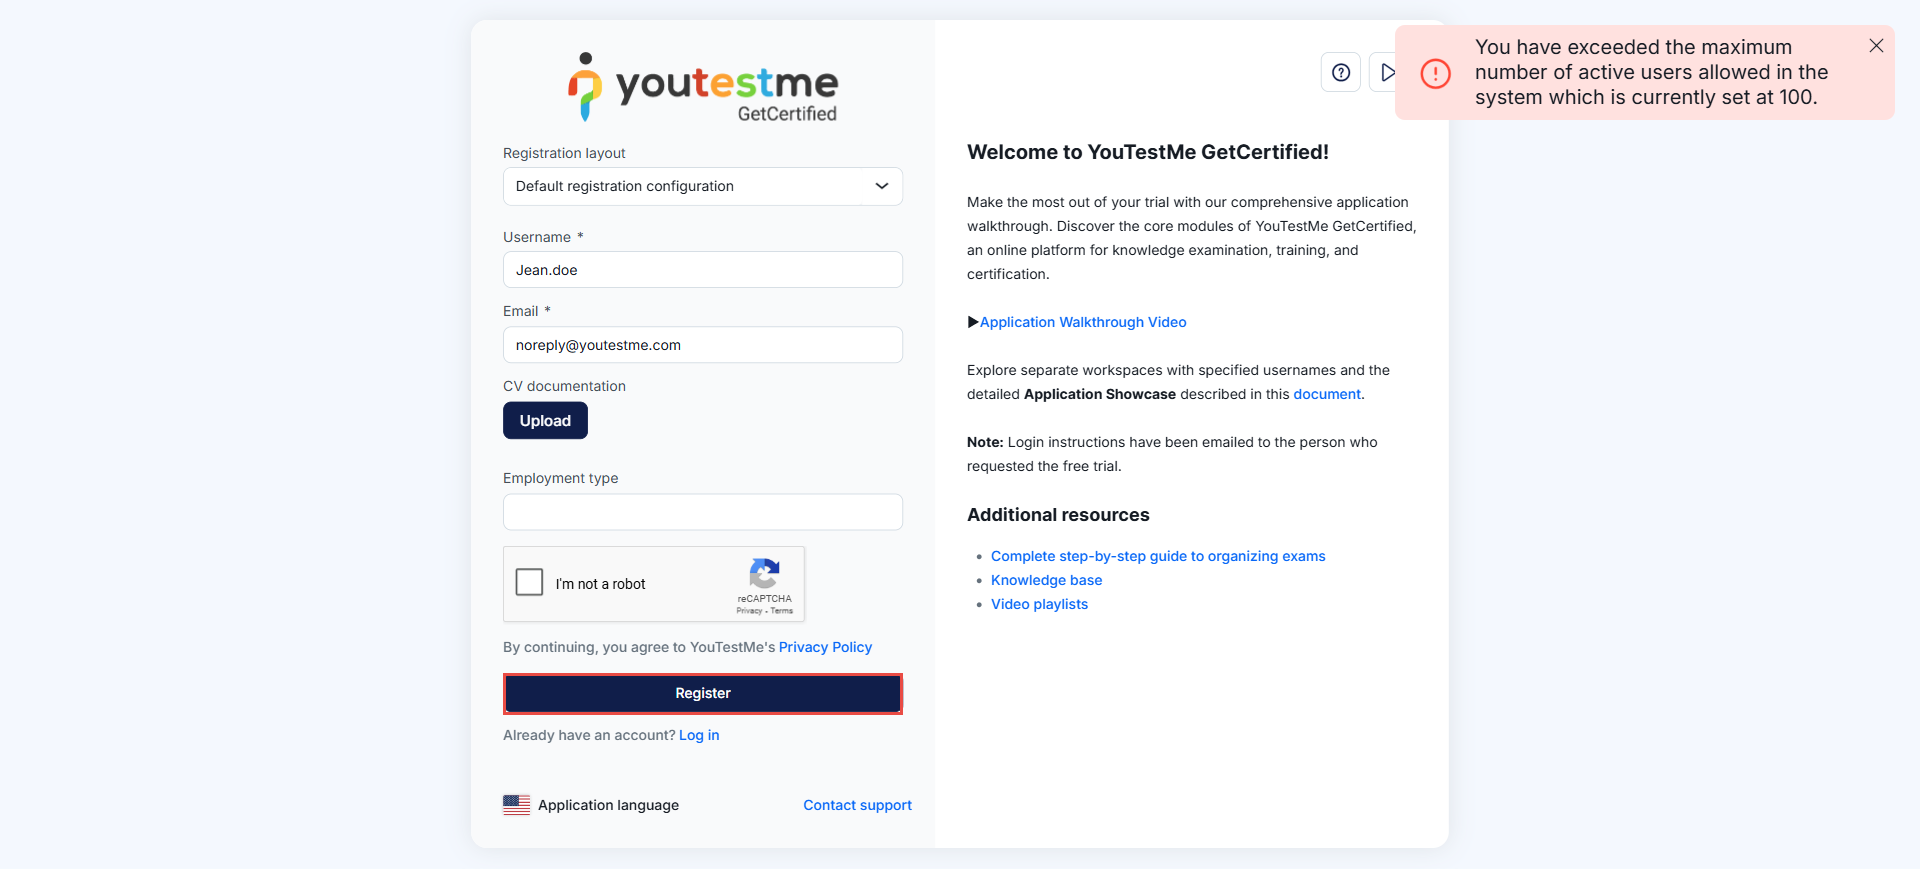
-
Approving users with "Pending" status - If the Self-registration option is disabled, users attempting to register can send a registration request, which creates a user profile with a Pending status. Administrators need to access the users' profiles and select the Approve option or use the Registration requests page to approve users with Pending status. If the limit is reached, administrators will receive an error message and will not be able to approve users.
Note: If the limit is breached, none of the registration requests will be approved. For example, if the limit is set to 150 and there are currently 148 users with the status Active, trying to approve 5 new users with Active status will result in none of the 5 user profiles being approved.
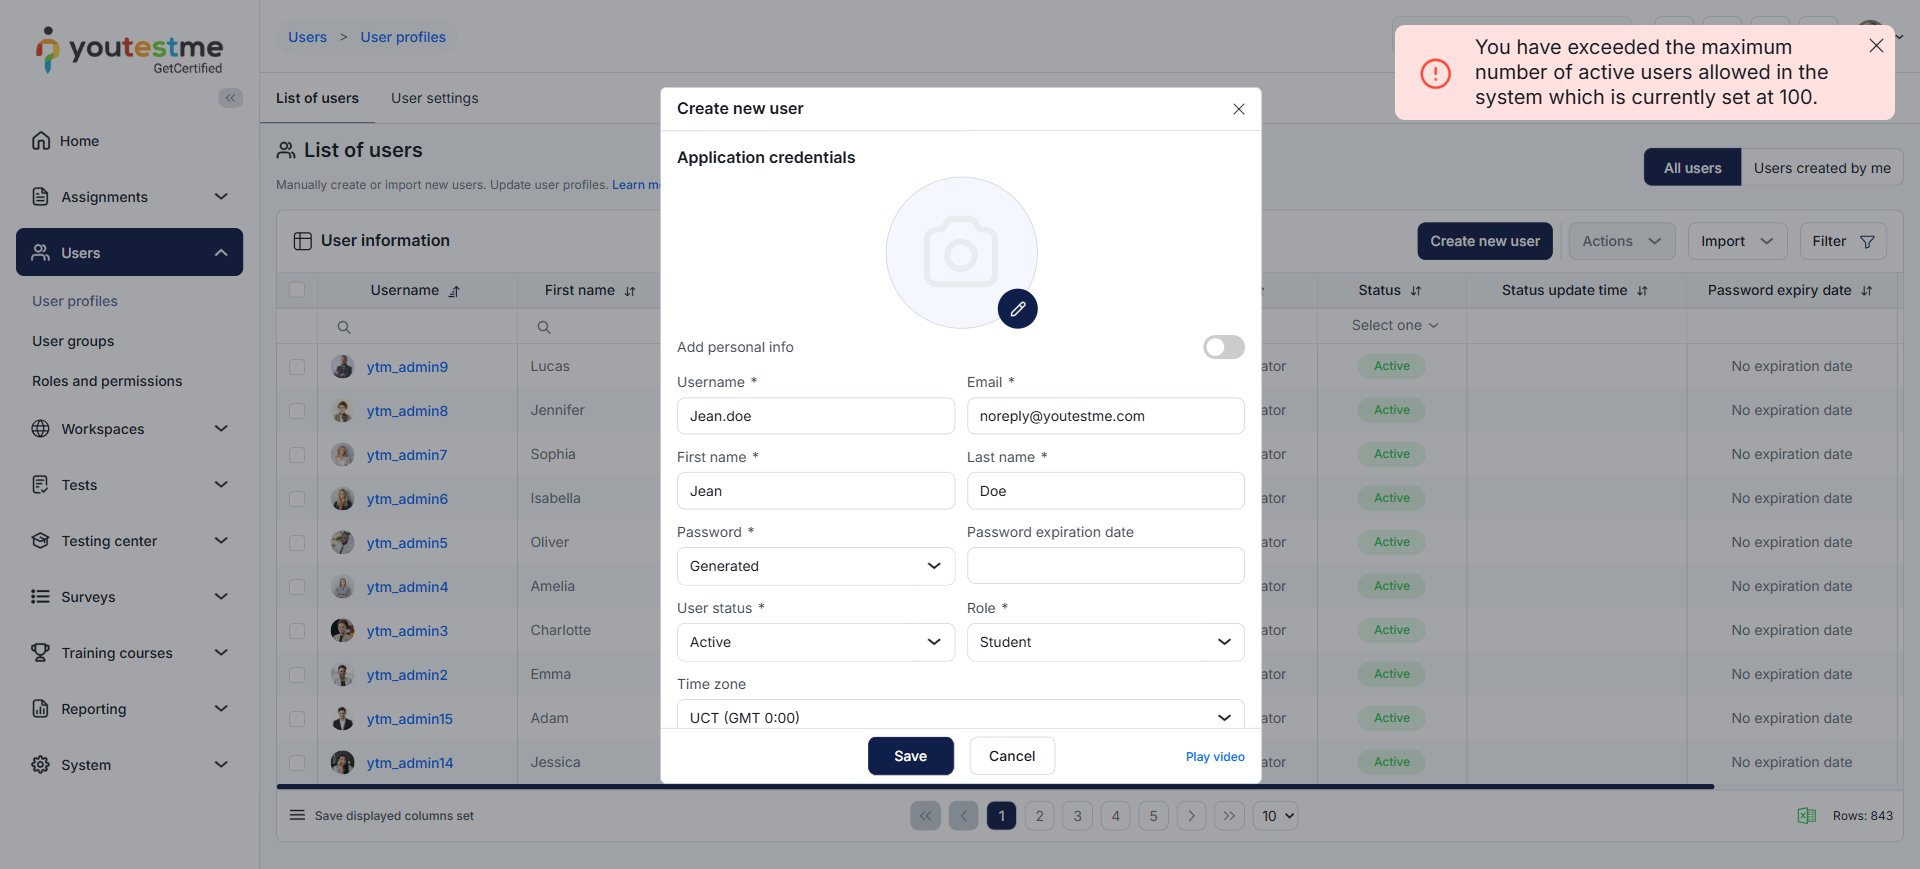
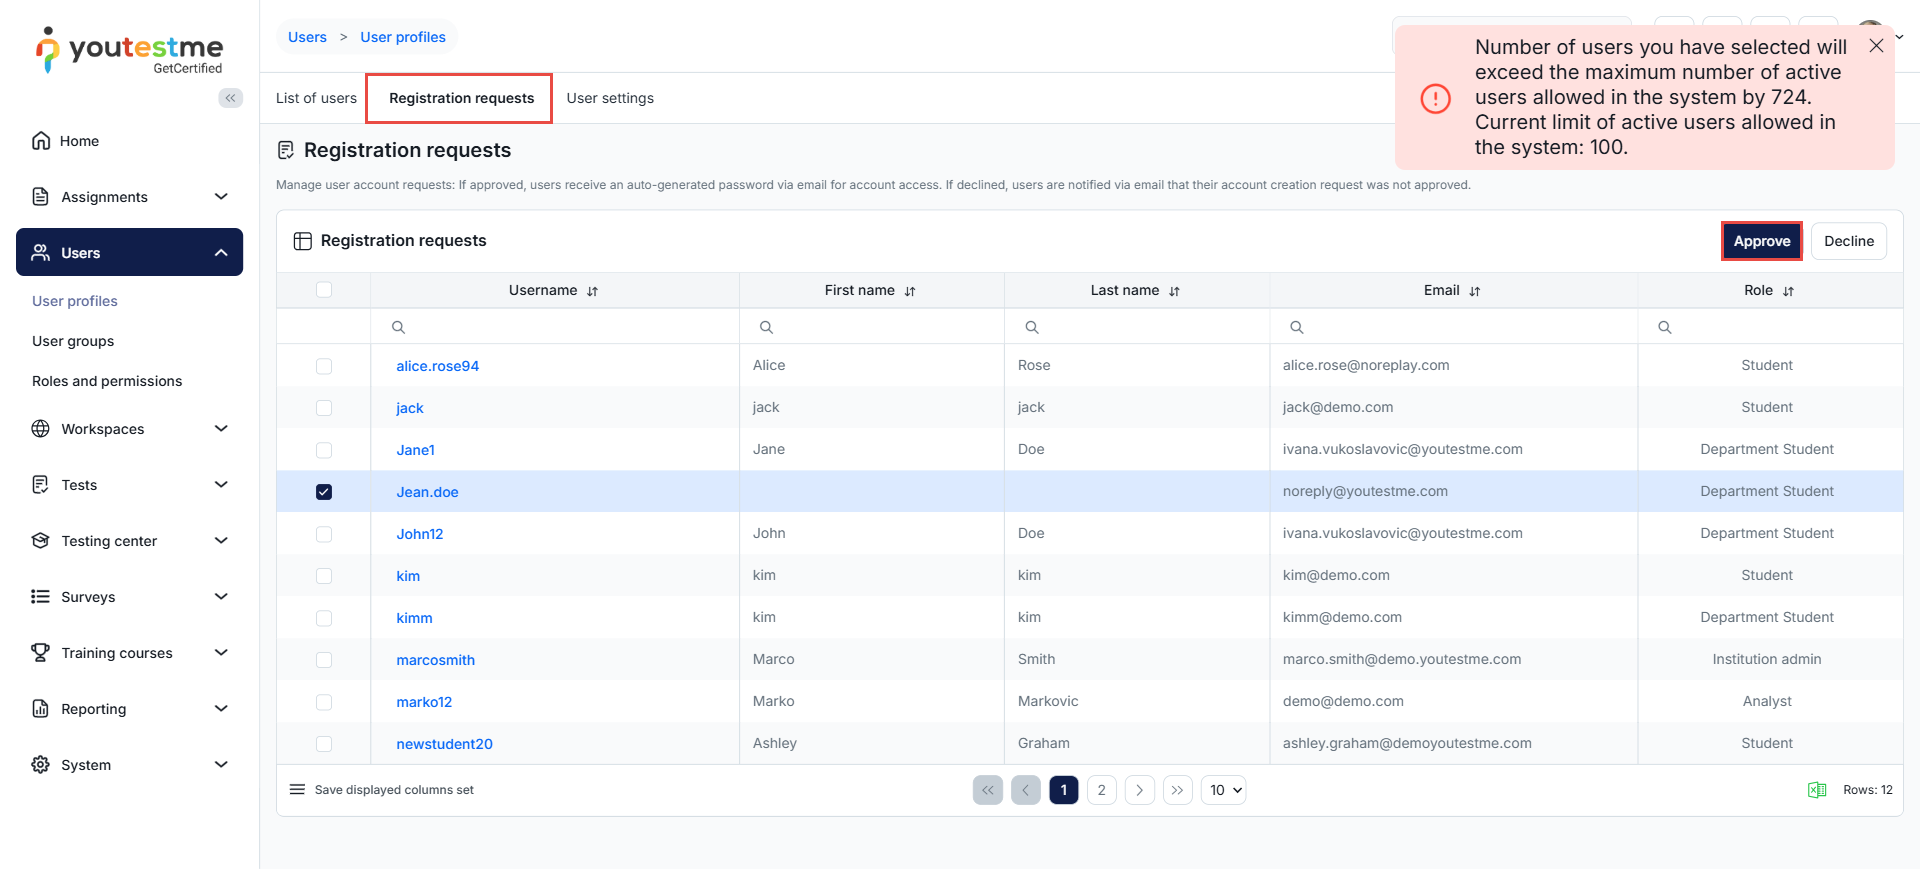
-
Accessing via certain integrations where users can be automatically created if they don't already exist - If the limit is reached, the user will receive a message informing them that the limit has been reached.

-
Accessing the application as a guest - This can be done by using the link provided through the Copy guest access link to clipboard option for the testing session. If the limit is reached, the user will receive a message informing them that the limit has been reached.
-
E-commerce
The E-commerce module provides an integration of Stripe payment services in the GetCertified platform. It represents an easy way of purchasing the platform services. Stripe by itself is a service in use to achieve financial transactions with the user. Both customer and user will leave all their personal and payment information on Stripe, to which GetCertified will have no access. This ensures no sensitive information is stored inside the platform.
-
Creating a Stripe account
To create a Stripe account, visit Stripe , and click the Sign in button in the top right corner.
-
Log into the existing Stripe account.
-
Create a new account by clicking the Sign up option.
You will be redirected to the page where you can choose one of the following options:
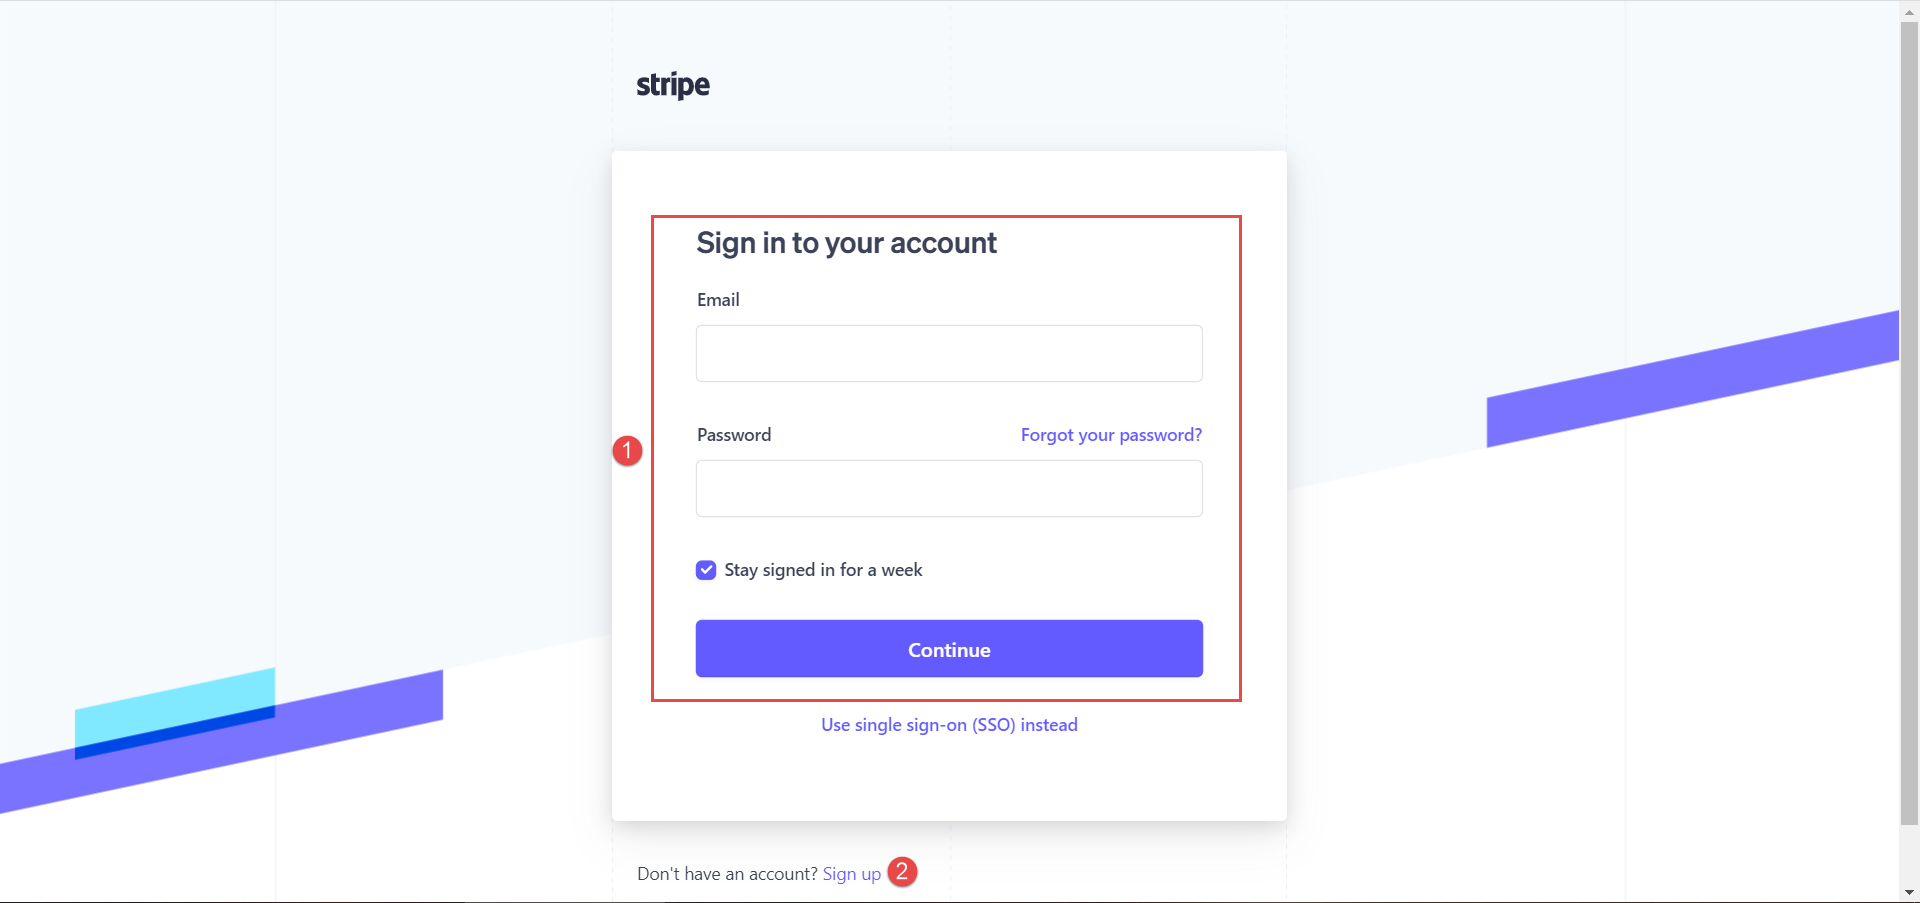
-
Enter the email address.
-
Enter the full name.
-
Enter the password for the Stripe account.
-
Click the Create account button.
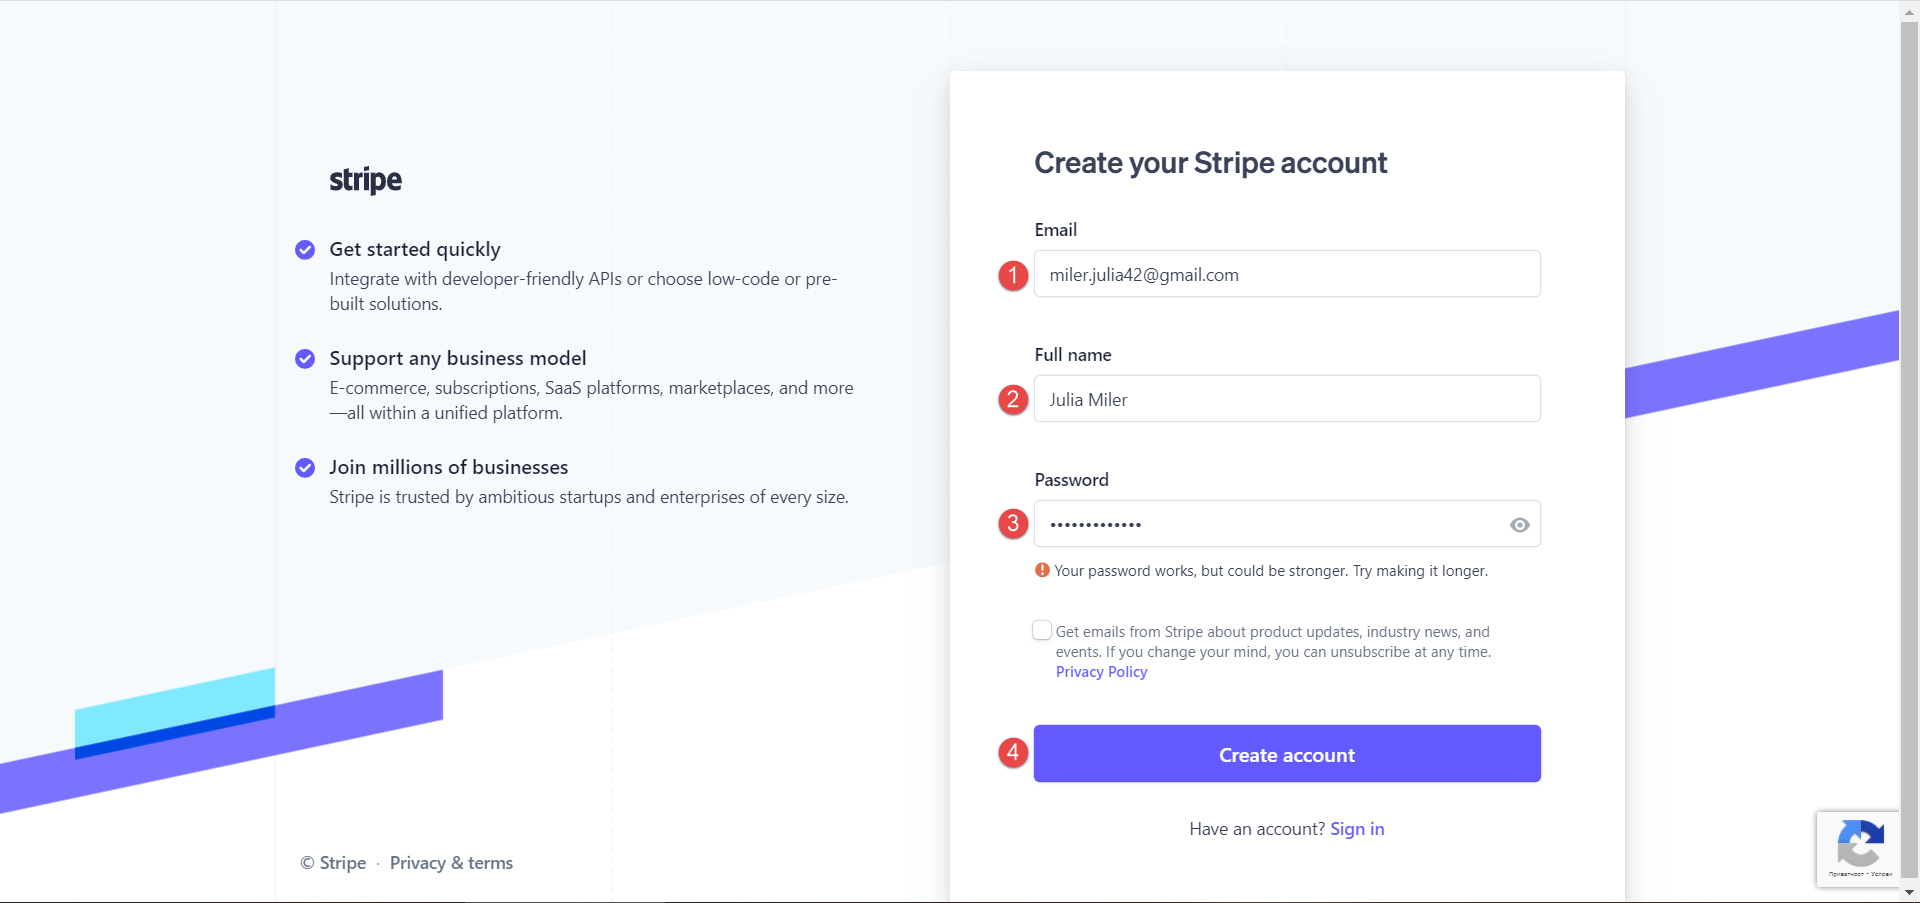
To create a new Stripe account:
Once you create the account, click the Developers tab and choose API keys. On that tab, you will see Publishable and Secret keys. To display the secret key, click the Reveal test key button. Those keys will be used to connect your Stripe account with the GetCertified application.
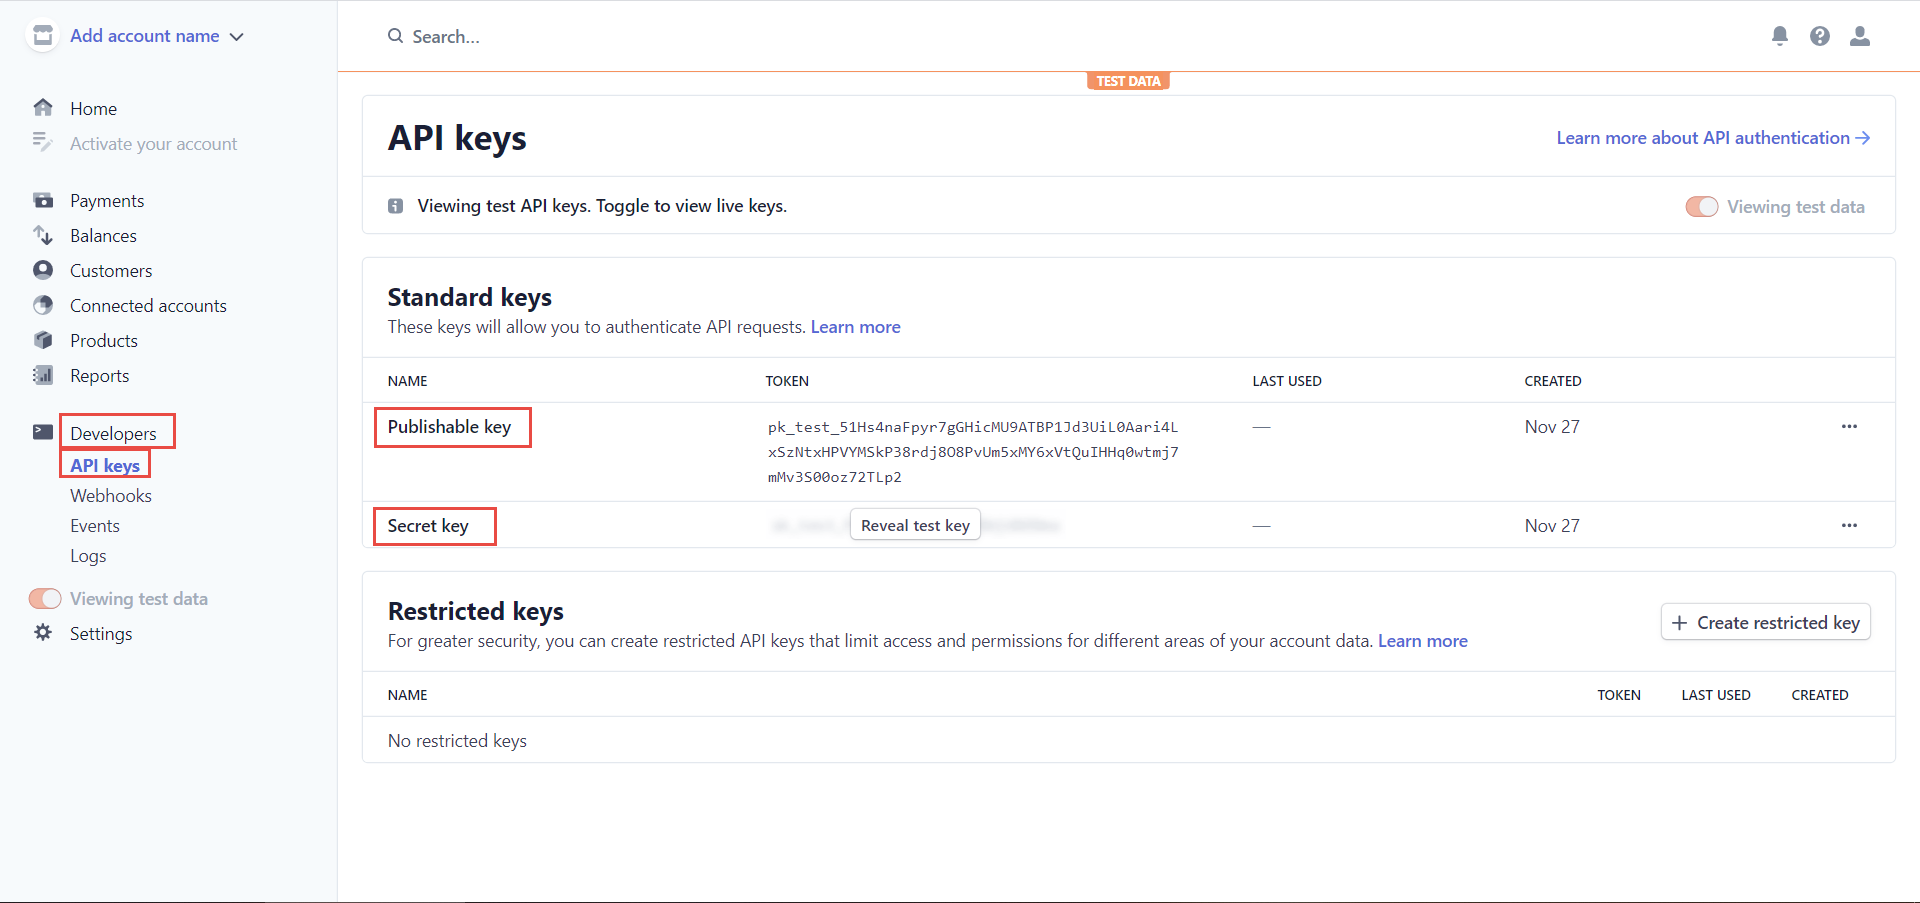
-
-
Accessing the page
-
Navigate to the System panel in the left side menu and select Integrations.
-
Access the E-Commerce tab.
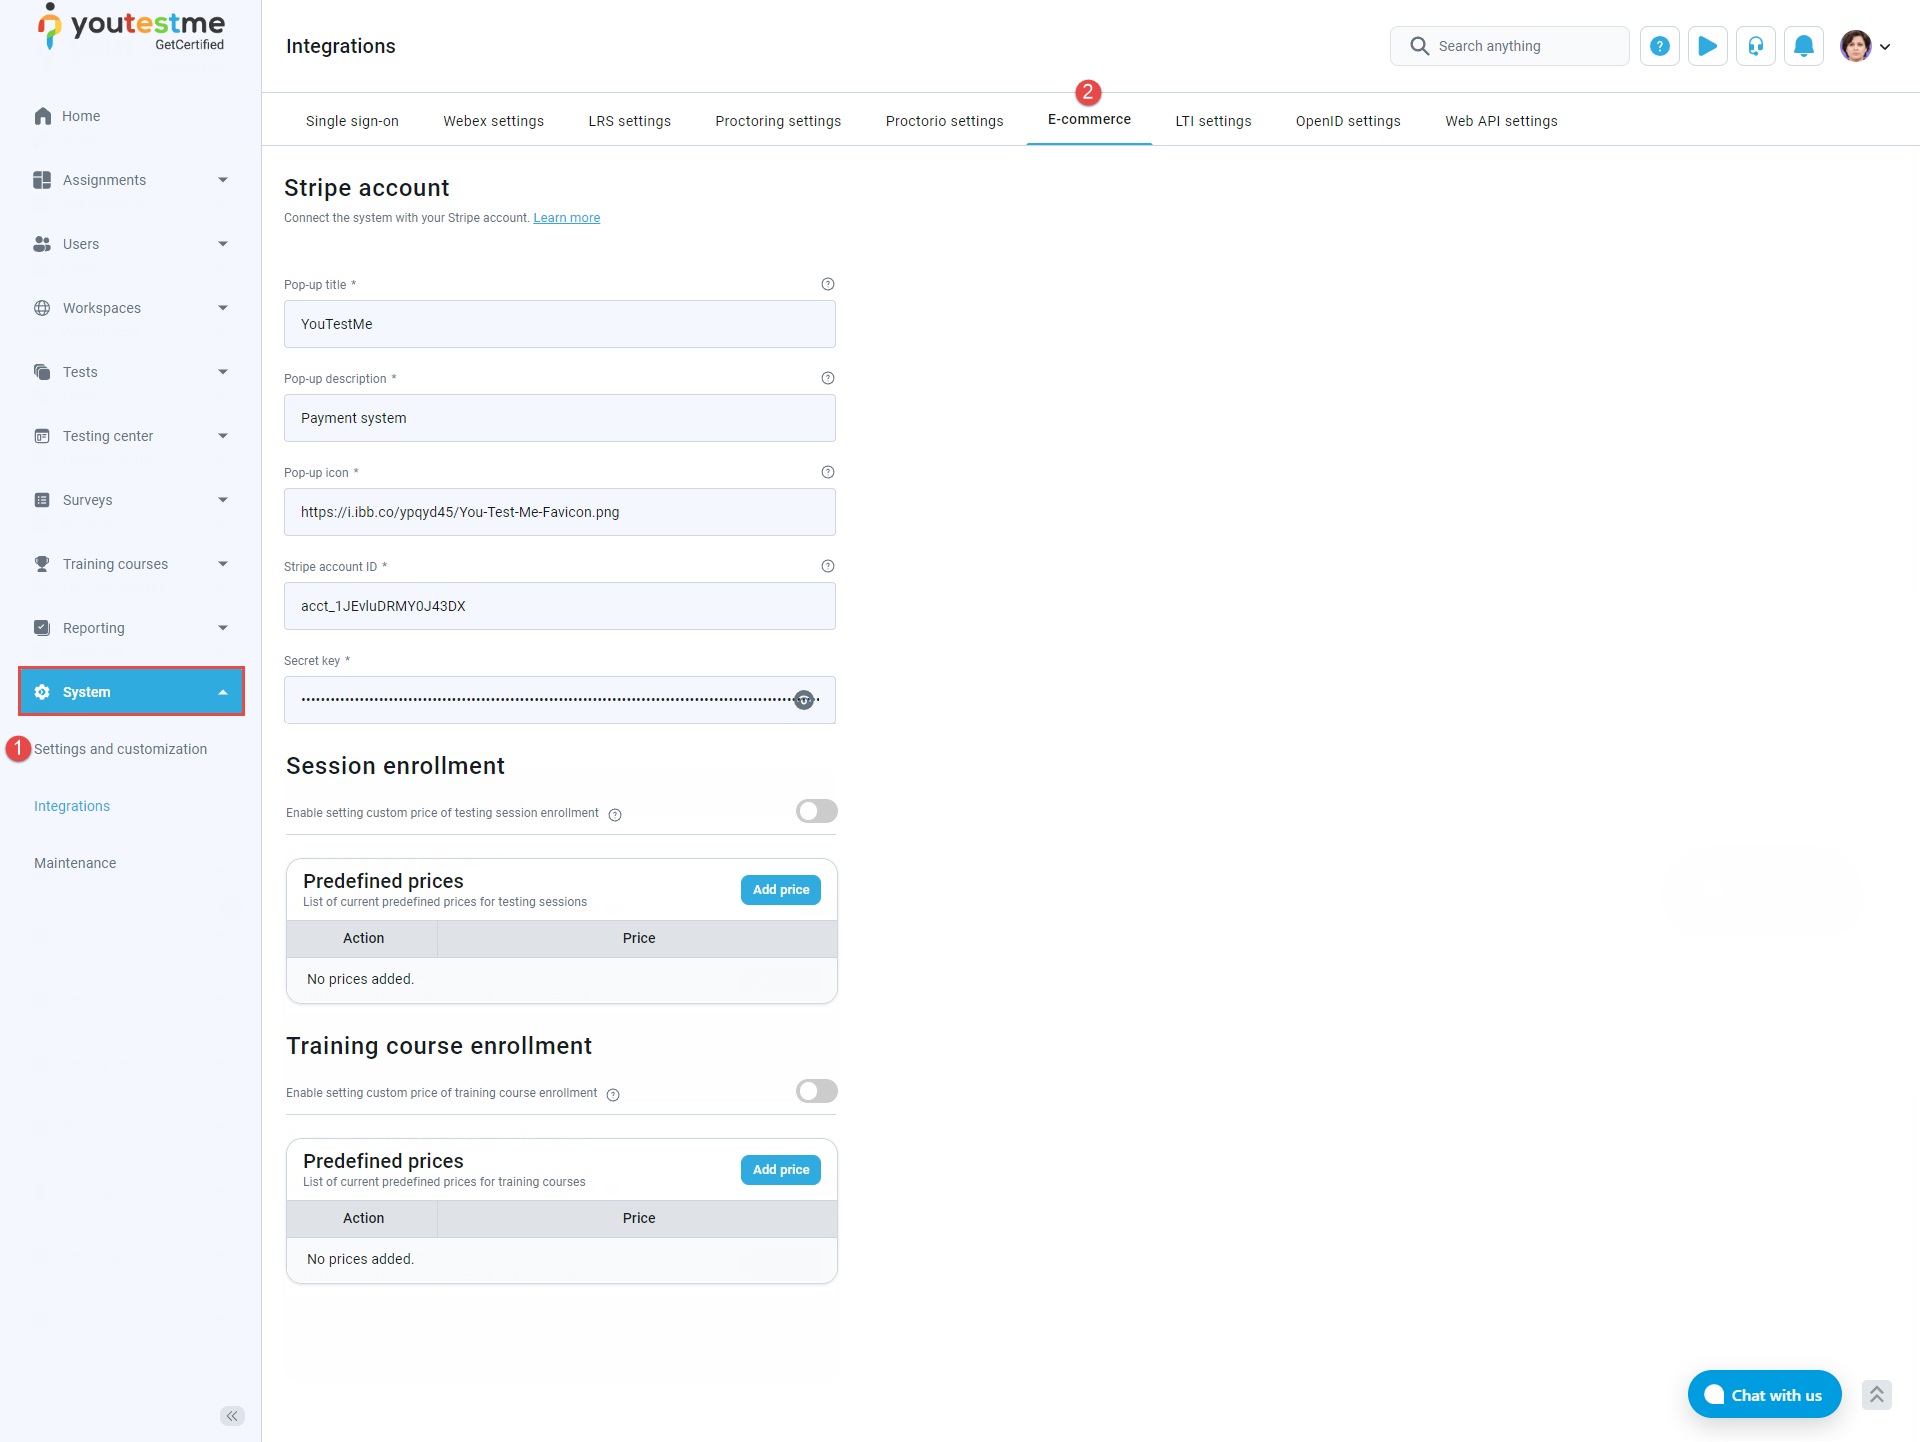
To access the the E-Commerce page:
-
Enter the pop-up title.
-
Enter the pop-up description.
-
Enter the pop-up icon.
-
Enter the Stripe account ID.
-
Enter the secret key you got when creating the Stripe account.
-
Enter the publishable key you got when creating the Stripe account.
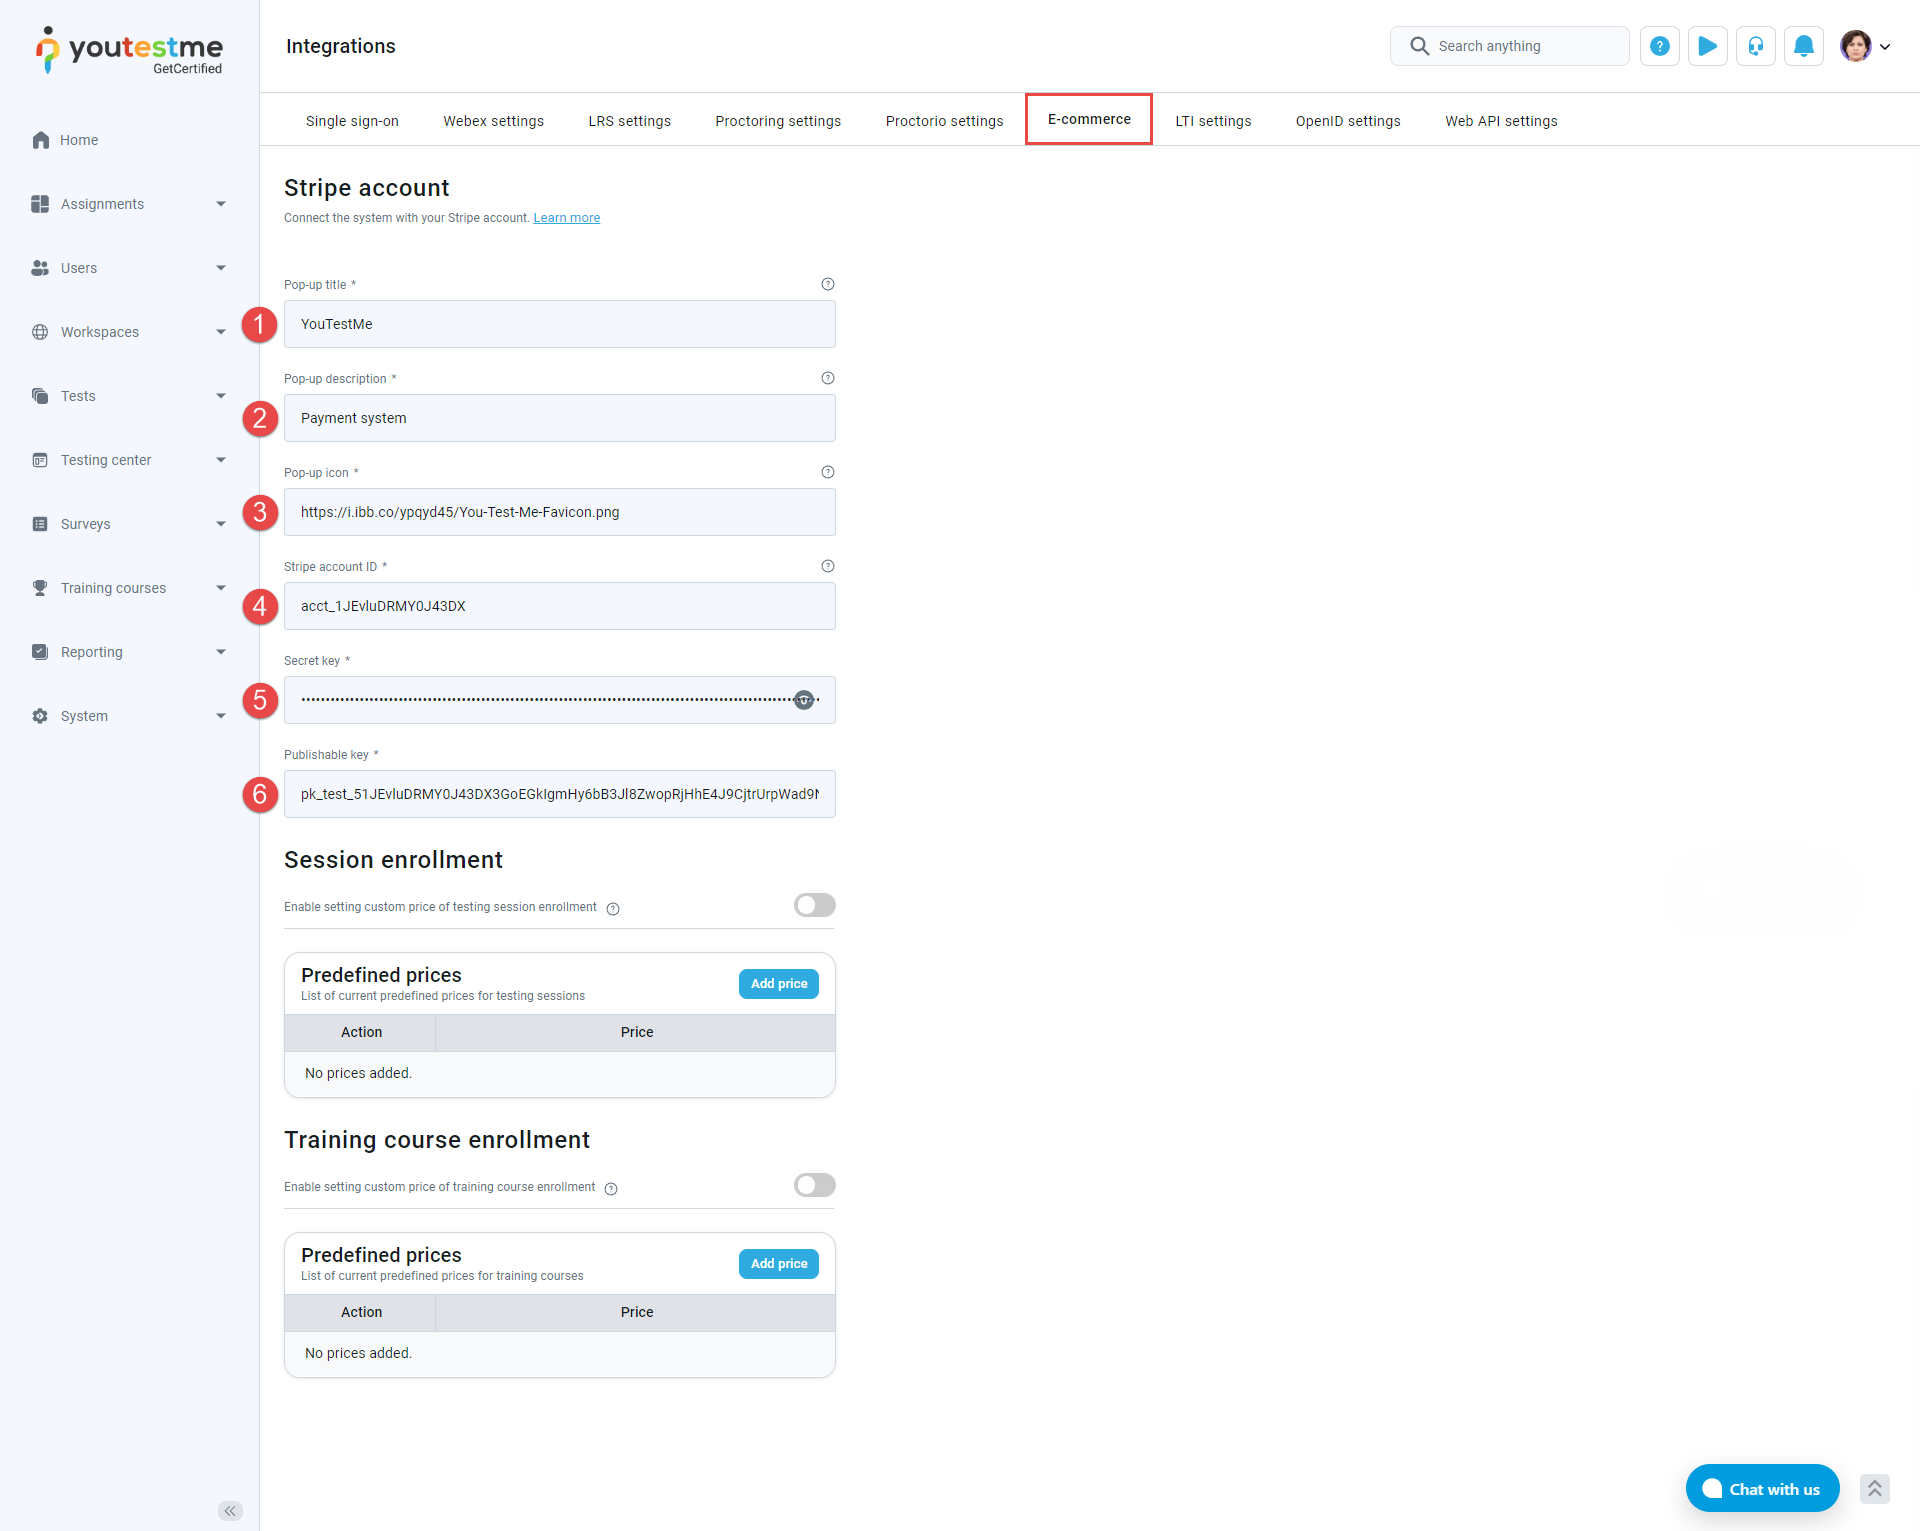
To set up E-commerce, you must have a Stripe account. To connect the GetCertified with your Stripe account, do the following:
-
Enable setting the custom price for testing session and/or training course enrollment.
-
Click Add price button.
-
Enter product price.
-
Select currency.
-
Click Confirm button to confirm the price.
-
Click Confirm button to save the changes.
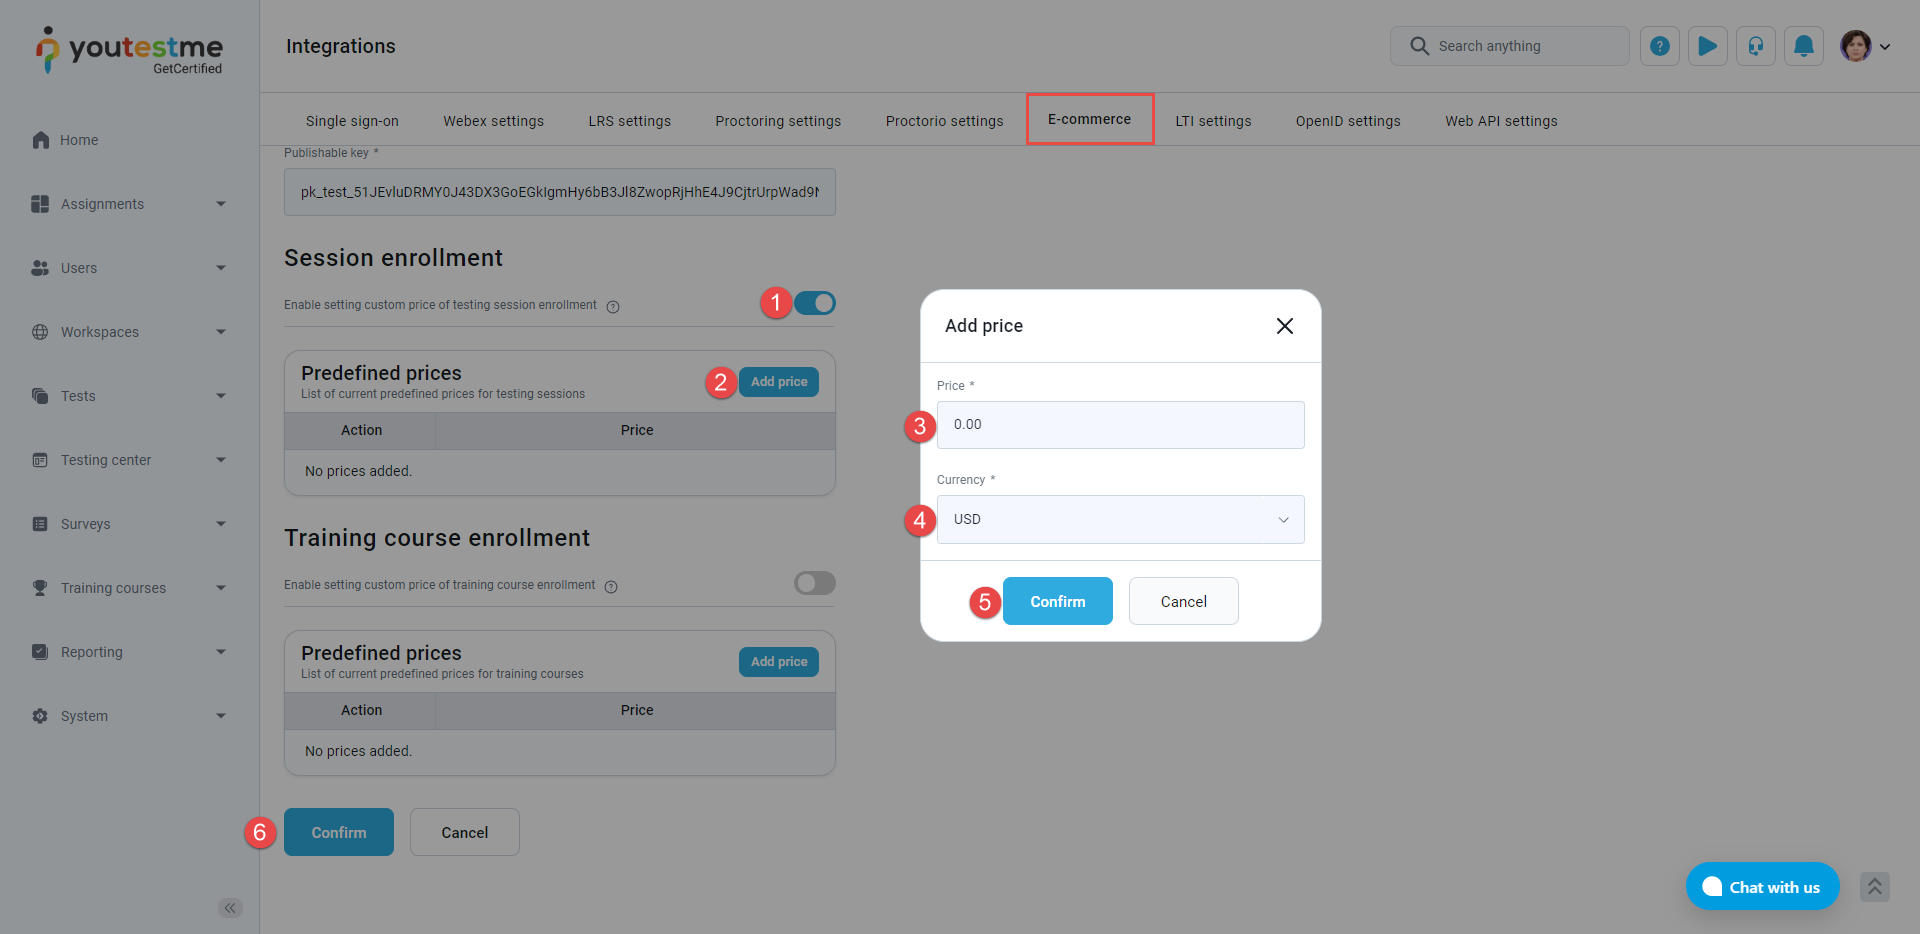
To set up the price for testing session and training course enrollment, do the following:
-
-
Checking account balance
Once e-commerce is set up, the administrator can view the account balance on the candidate's profile.
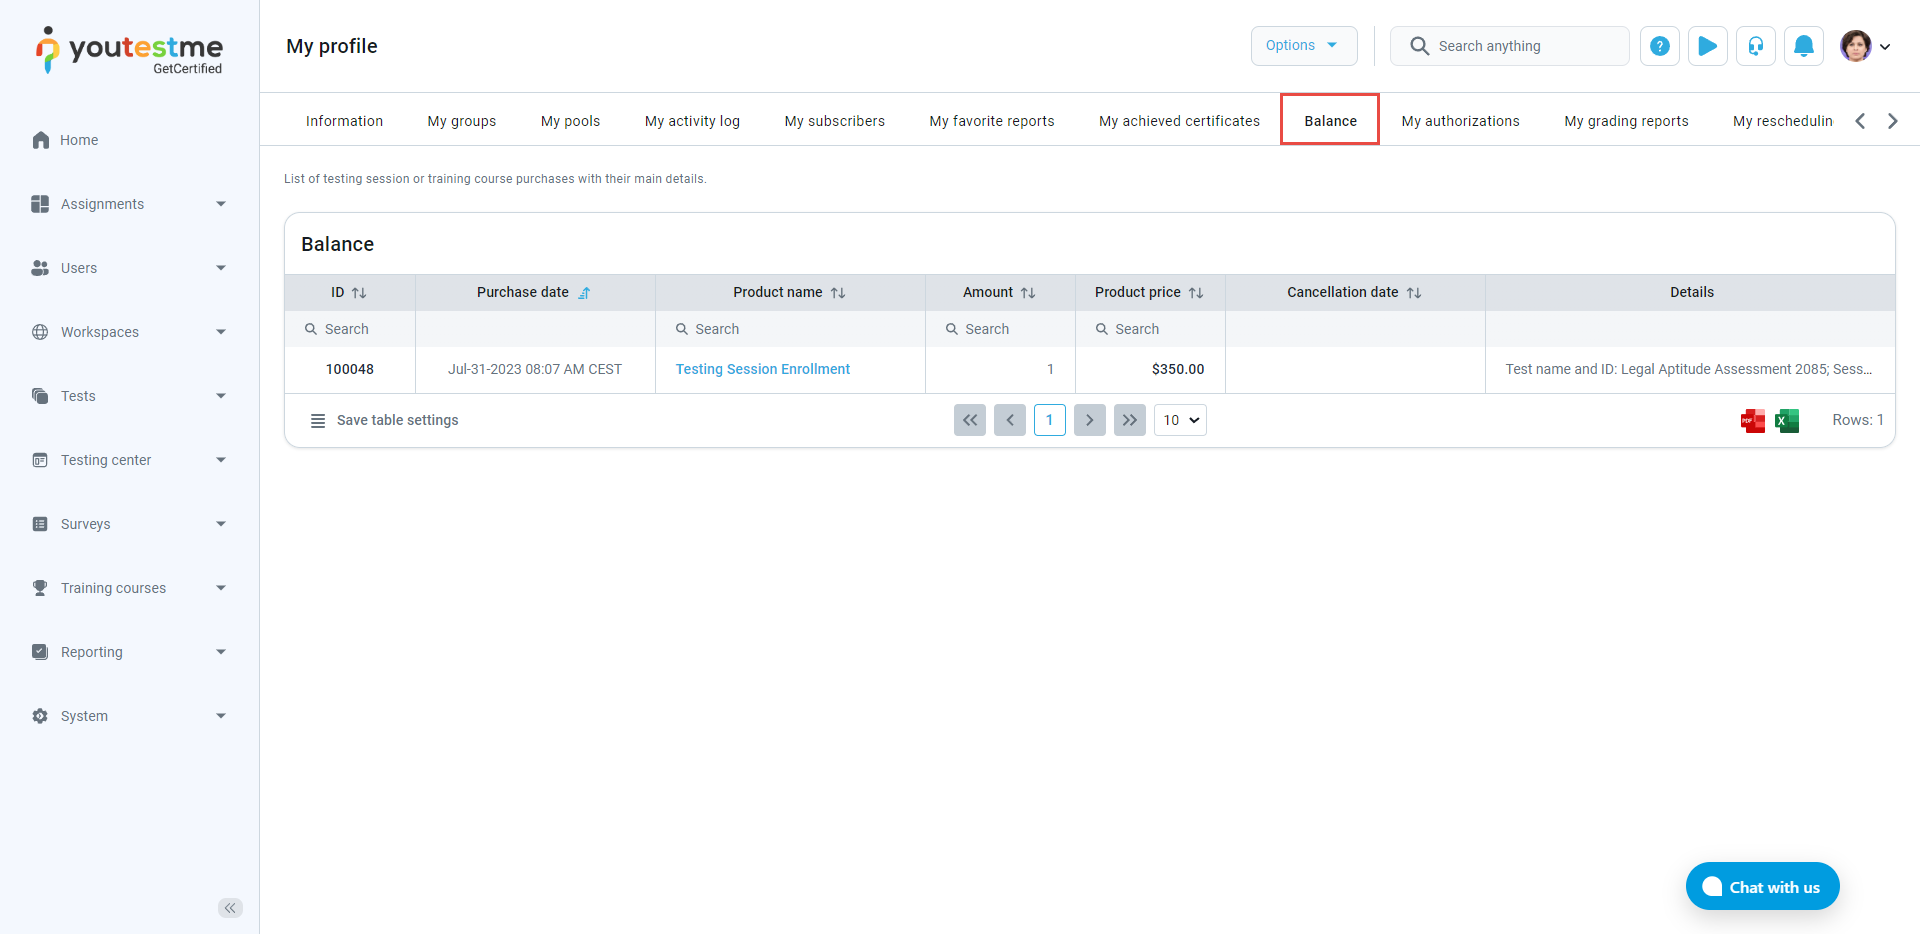 For instructions on how to pay the enrollment fee,
please visit
How to pay the registration fee .
For instructions on how to pay the enrollment fee,
please visit
How to pay the registration fee .
Here are some frequently asked questions
-
Do you perform application customization?
Yes, YouTestMe Products are flexible and suitable for a wide range of customizations in a relatively short period of time.
-
Is it possible to organize arrange live demo presentation?
Yes, we provide a live demo presentation of our products using Cisco WebEx as our official tool for demonstration and presentations.
-
Is it possible to get a fully functional demo?
We provide a cloud-based, fully functional 14-day personal demo.
-
Does your system allow us to use paper exams? Also, would there be a way to do the scoring of the paper exams?
Yes. YouTestMe GetCertified allows using of paper exams. Once you create tests inside the system you are able to export them as PDF files. Test managers can export test keys as well. Exported test keys look the same as the exported tests, but have the correct answers labeled. This allows test managers to conduct paper-based grading.
-
Is it possible to randomize order of answers in questions?
Both answer and question order can be randomized.
Favorite Reports
Favorite reports feature enables users to make custom list of reports they use most frequently or consider most important. Accessing the desired report is made easier, because the user doesn't need to browse through standard report categories, but only through customly filtered reports list.
-
Accessing the page
In order to access the "Favorite reports" , you should click on the "Users" section of the main menu and select the "My profile" option. This will lead you to the page where user can view and modify various data related to his/hers profile.
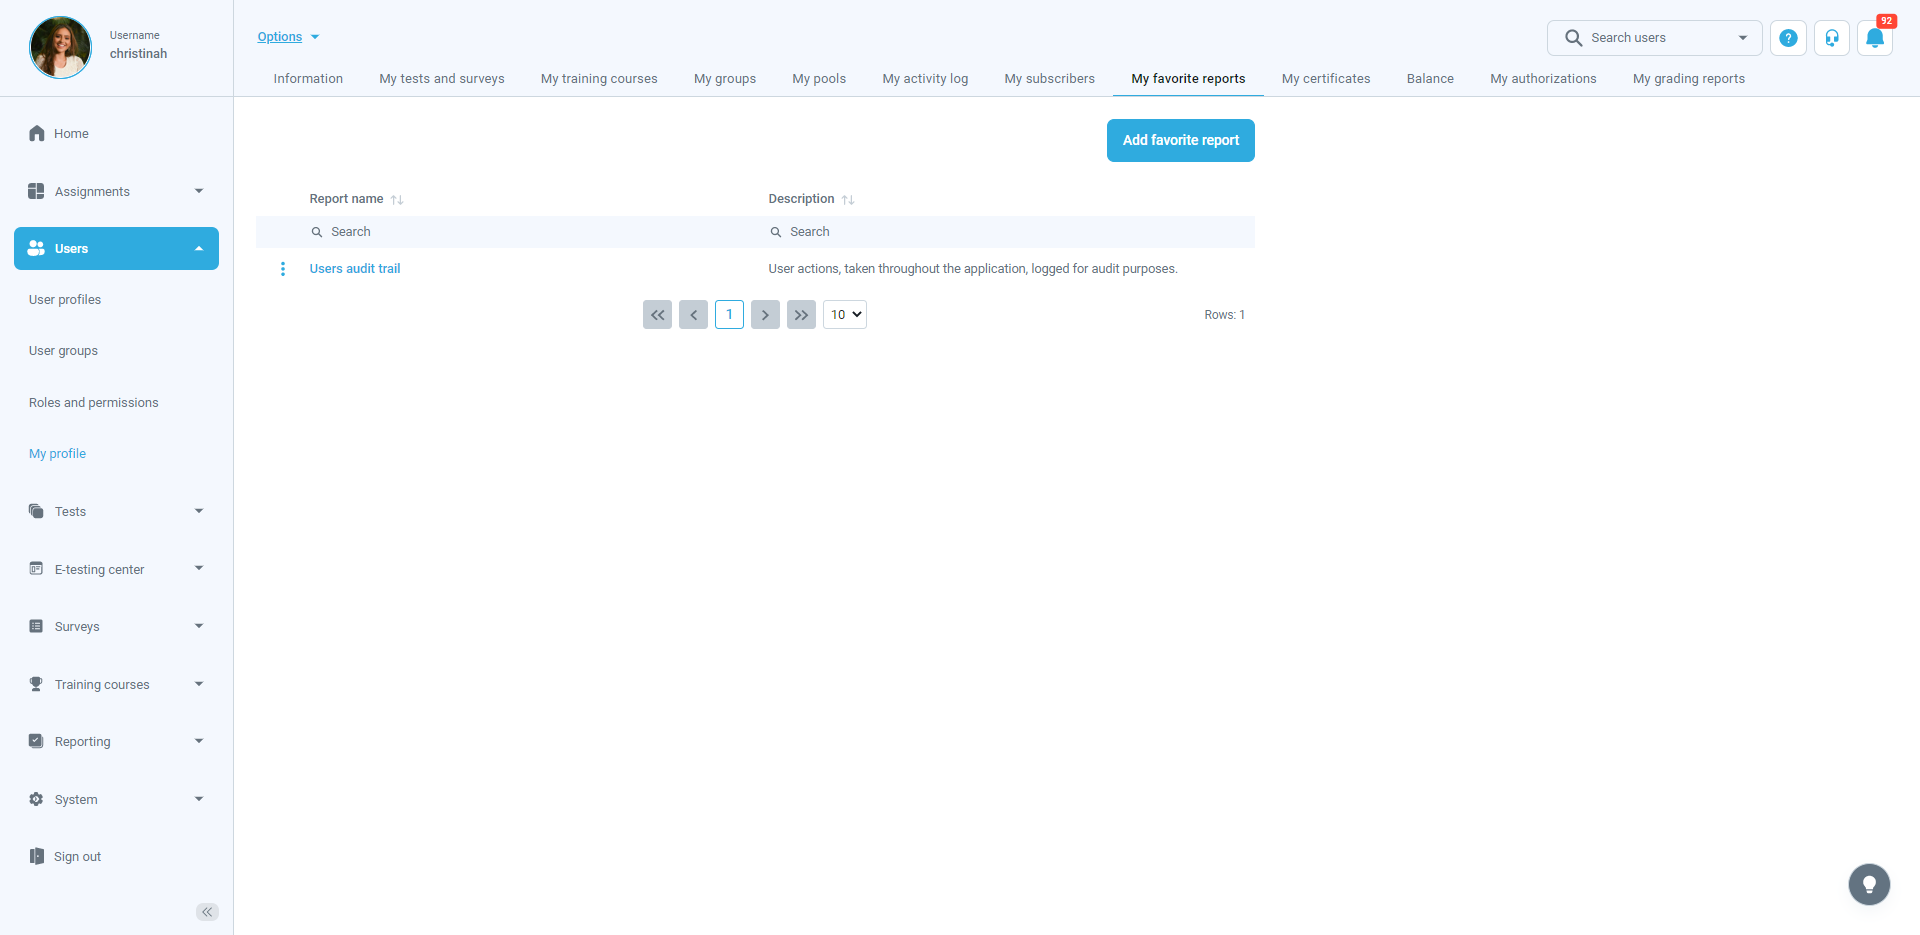
-
Accessing reports
By clicking on the "Favorite reports" tab you will be navigated to a list of all reports you selected as favorites, with their names and descriptions.
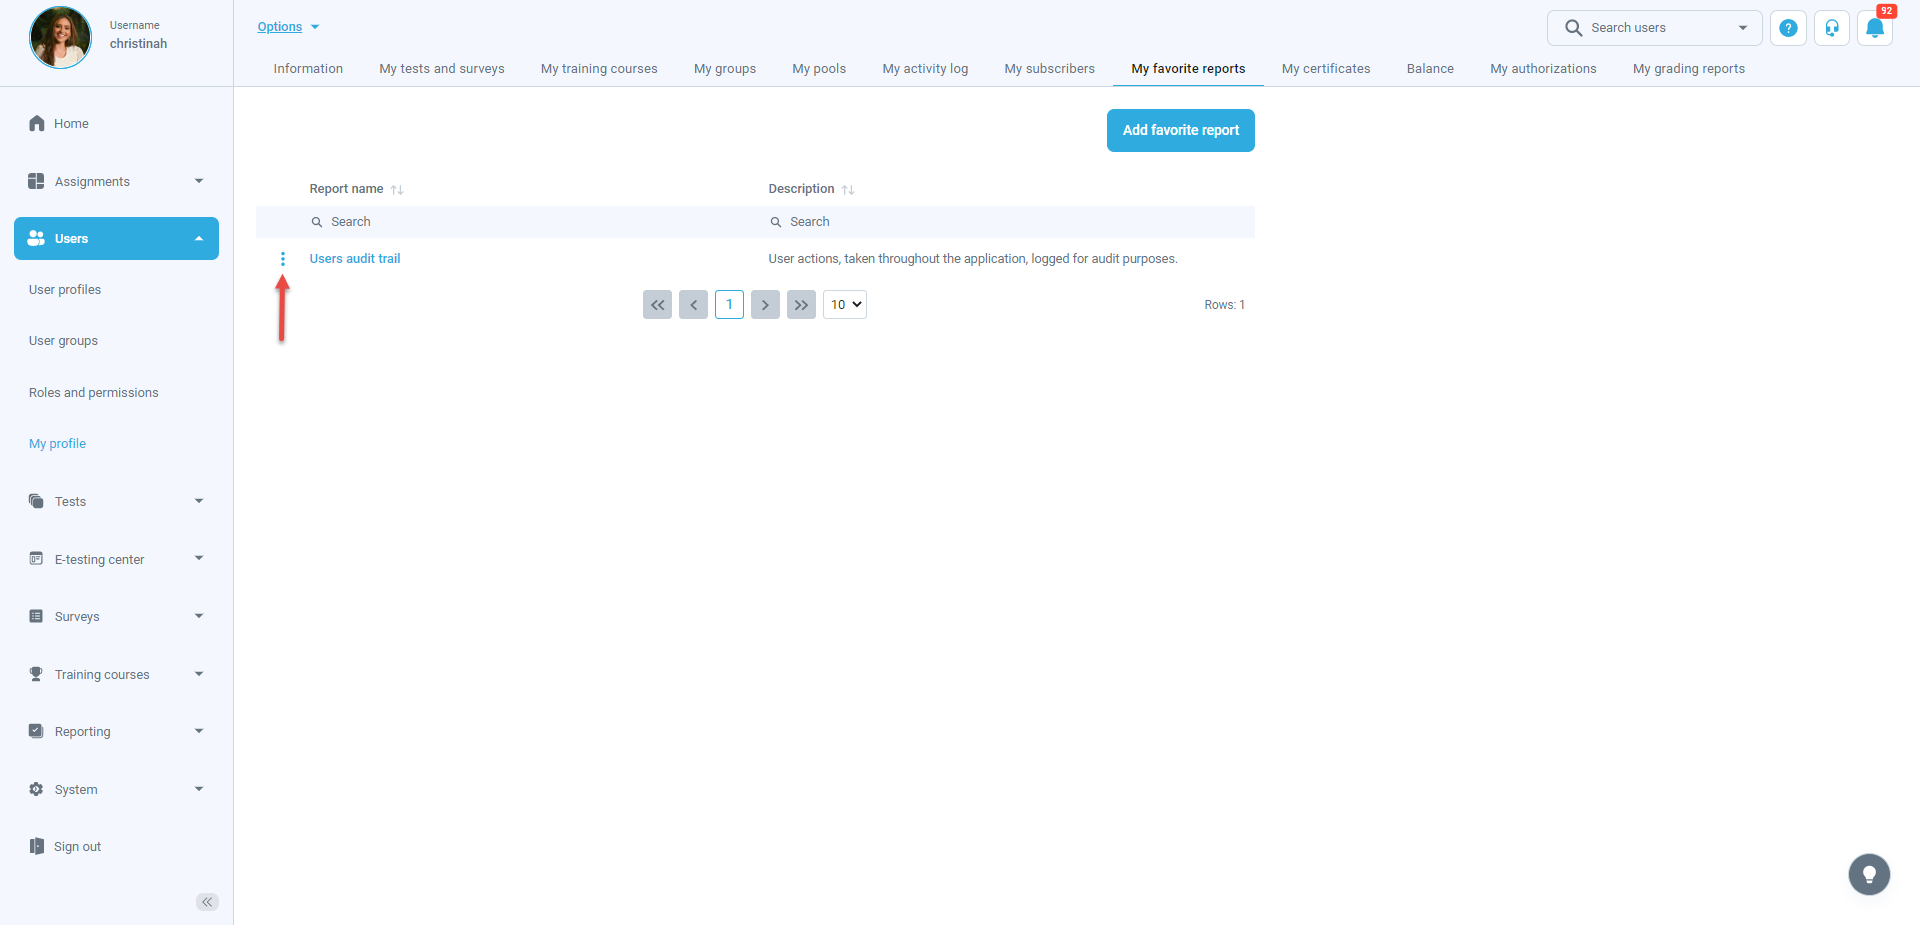
In order to open the desired report and perform allowed actions, follow the steps described in "Accessing reports" and "Actions" chapters from "Standard reports", respectively.
-
Updating reports description on "Favorite reports"
Steps for updating a report description on your favorite reports list:
Access the favorite reports list
Find the report for which you want to edit description
Look for the "Actions" column
Click on the "pencil" icon
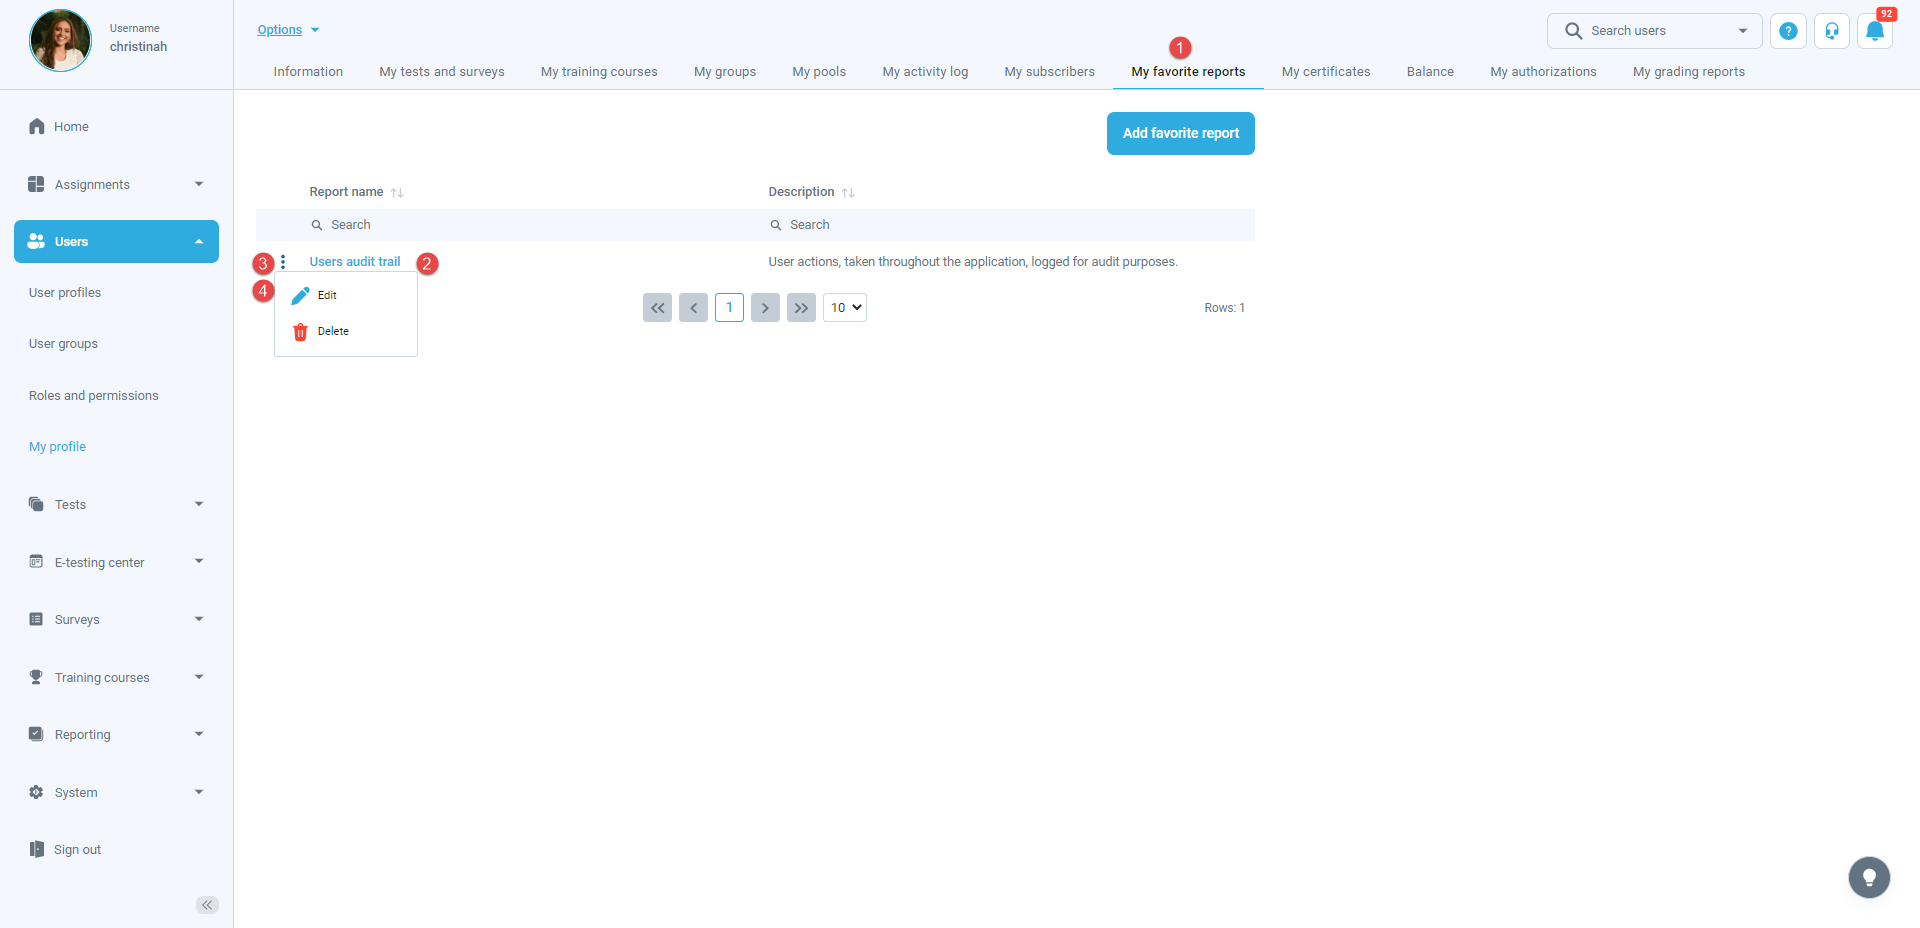
Enter your custom report description
Restore to default description if preferred
Click on "Save" button to confirm report description changes
Click on "Cancel" button to annul your changes
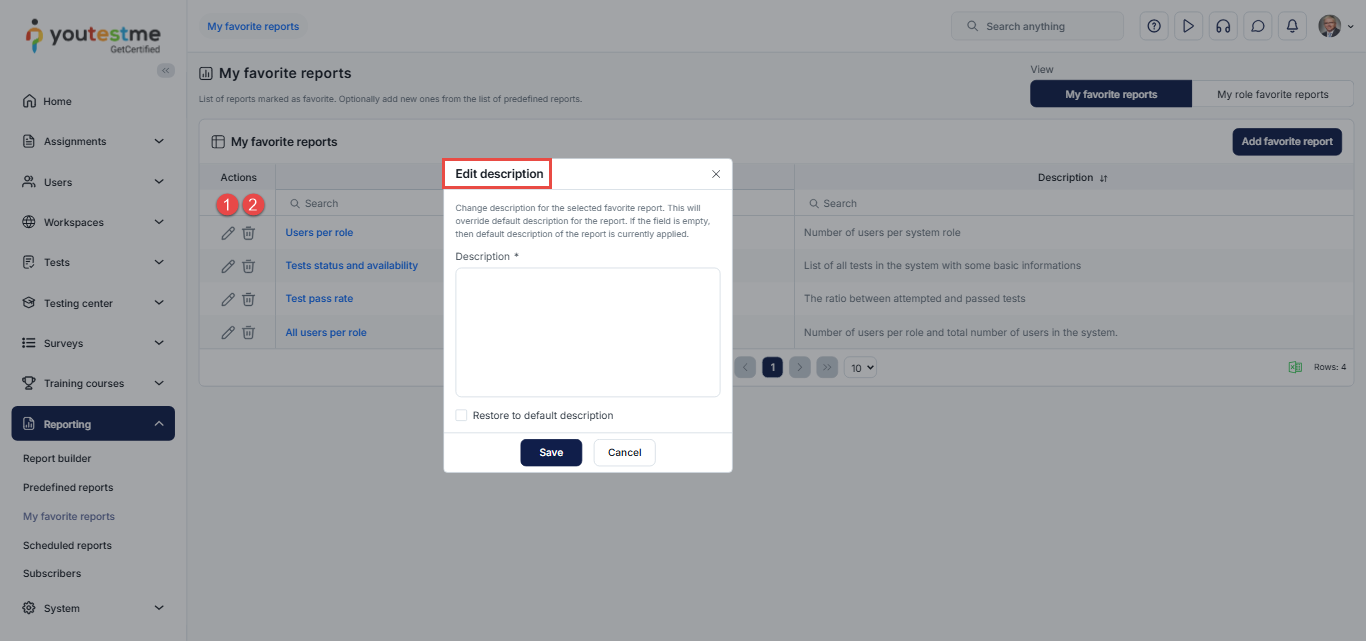
-
Removing reports from your favorite reports list
Reports can be easily removed from favorite reports list, following the steps below:
Access the favorite reports list, as described in "Accessing reports"
Find the report you want to remove from favorite reports list
Look for the "Actions" column
Click on the "trash" icon
Confirm in the dialog that you want to delete the report
Report is removed from your favorite reports list
Grading Scales
The process of configuring grading scales for surveys is the same as for tests. For instructions on creating grading scales, please refer to the Grading scales help page.
Profiling
In this section, you can create and manage profiling that will be used for your surveys.
-
Accessing the page
To access the "Profiling" page, you should go to "Survey" on the application's toolbar and choose "Profiling".
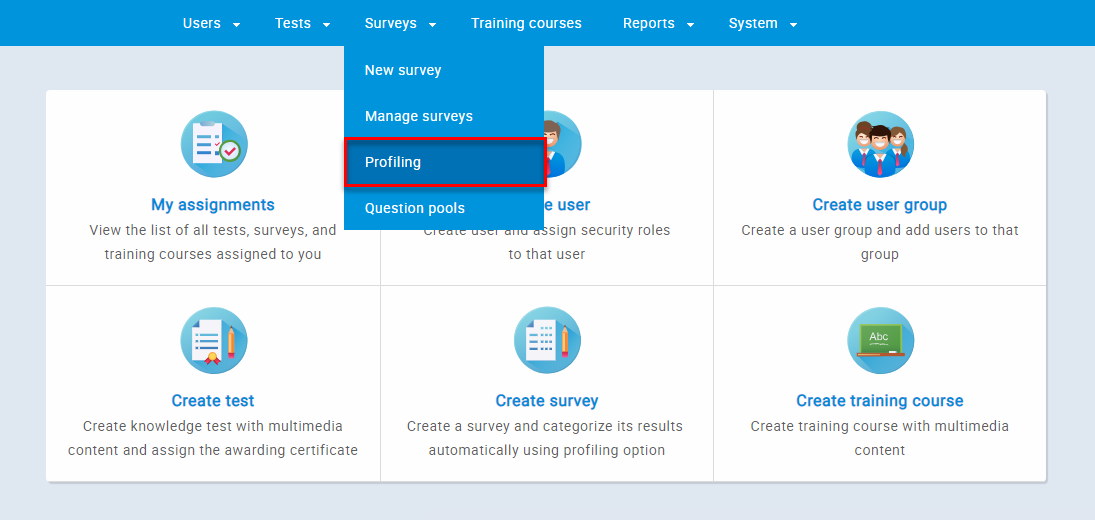
-
Profiling templates
A profiling template is a set of predefined categories (profiling labels) used to organize survey results. The "Profiling templates" tab gives you an overview of your profiling which you can edit or delete. In order to delete the profiling click the button with an image of a bin next to the profiling description. You can also export the list as an Excel file by clicking the "Export as Excel" button.
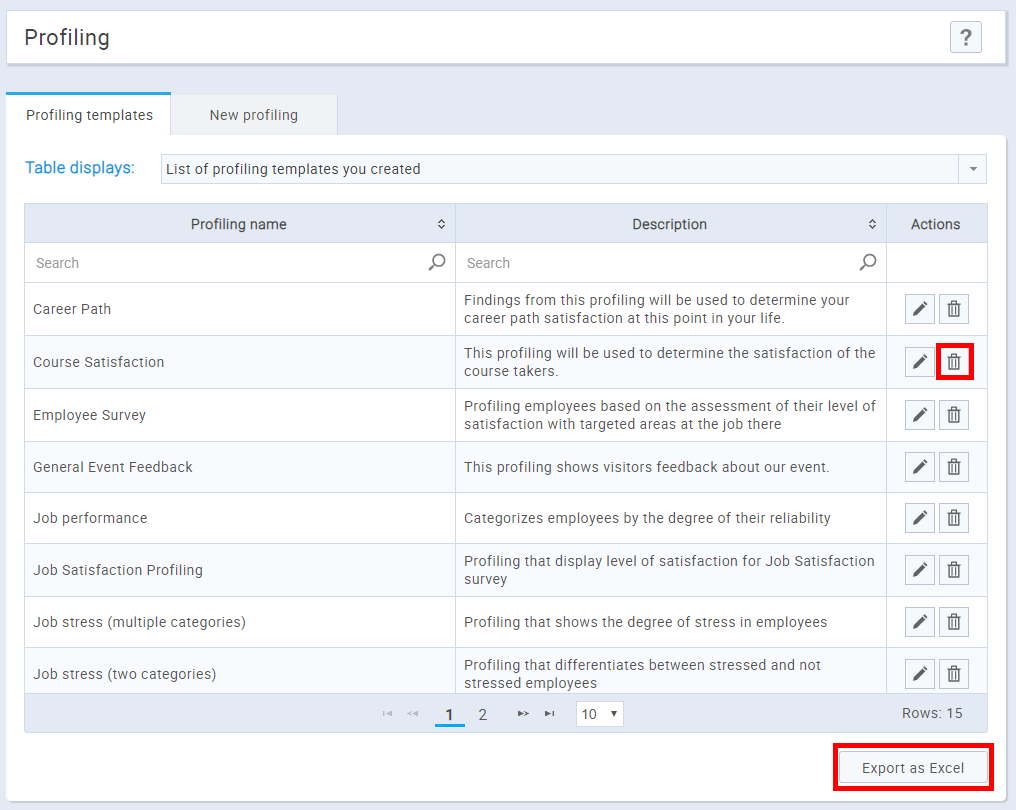
To edit the existing profiling, you should:
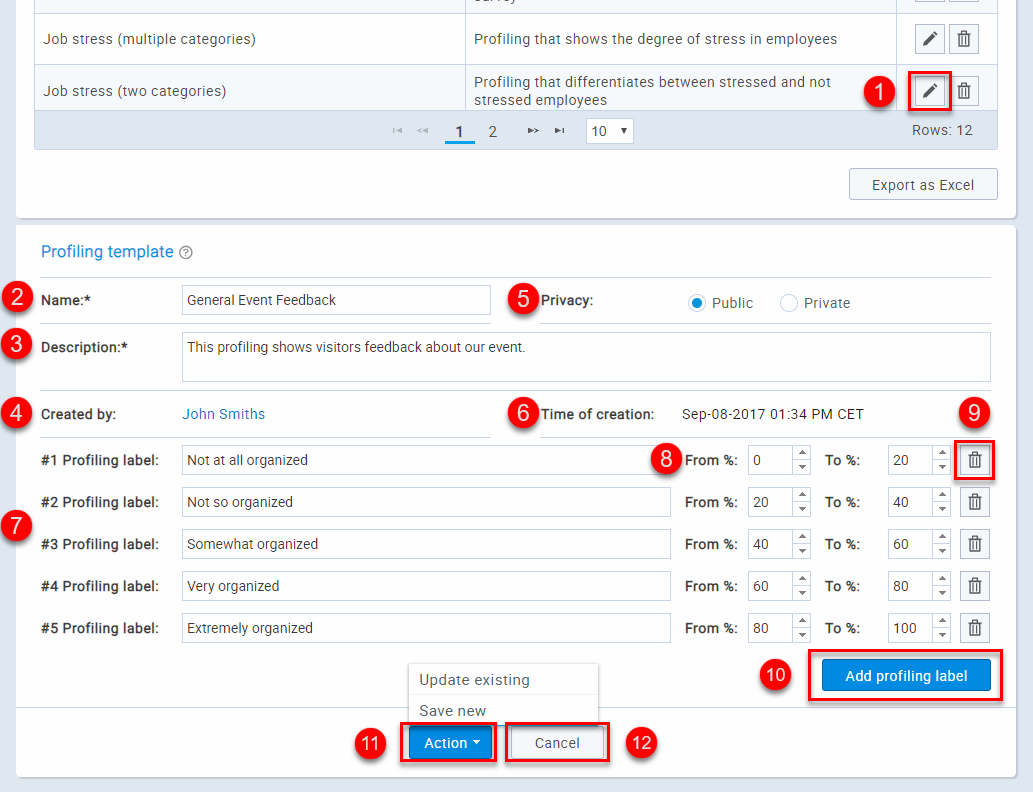
-
Click the button with the image of a pen
-
This is the name of your profiling
-
This is the description of the profiling
-
This is the name of a user who created the profiling
-
You can choose the privacy of a profiling. ("Public" or "Private")
-
This is the time of creation of a profiling
-
Profiling labels which you can edit
-
You can adjust the value of the label (in %)
-
By clicking the button with the bin you can delete the profiling label
-
You can add more profiling labels by clicking the "Add profiling labels" button
-
If you are satisfied with the changes you have made click the "Action" button and choose to save your changes as a new profiling by selecting the option "Save new" or to update the existing profiling by clicking the "Update existing" option
-
If you are not satisfied with the changes you have made click the "Cancel" button
-
-
New profiling
In the "New Profiling" tab you can create new profiling for surveys by defining the profiling name, privacy and description. Once you set these parameters, you need to define the profiling labels.
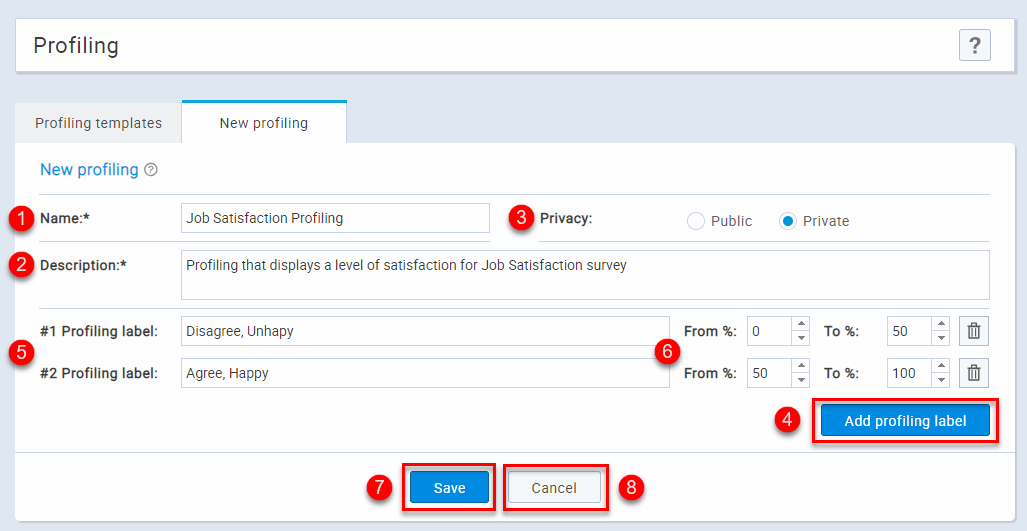
-
You should enter the name of your profiling
-
You should enter the description of the profiling
-
You can choose the privacy of a profiling. ("Public" or "Private")
-
Click the "Add profiling labels" to add profiling labels
-
You should enter the profiling labels
-
You can adjust the value of the label (in %)
-
If you are satisfied with the profiling you want to create click the "Save" button
-
If you are not satisfied with the profiling you want to create click the "Cancel" button
-
Signing in/Registration
GetCertified login page offers you to sign into your account or to register your account if you are a new user.
On this page, you can also change the application language and contact our support team in case of any difficulties. 123-
If you already have an account
Enter "Username."
Enter "Password."
Click the "Log in" button.
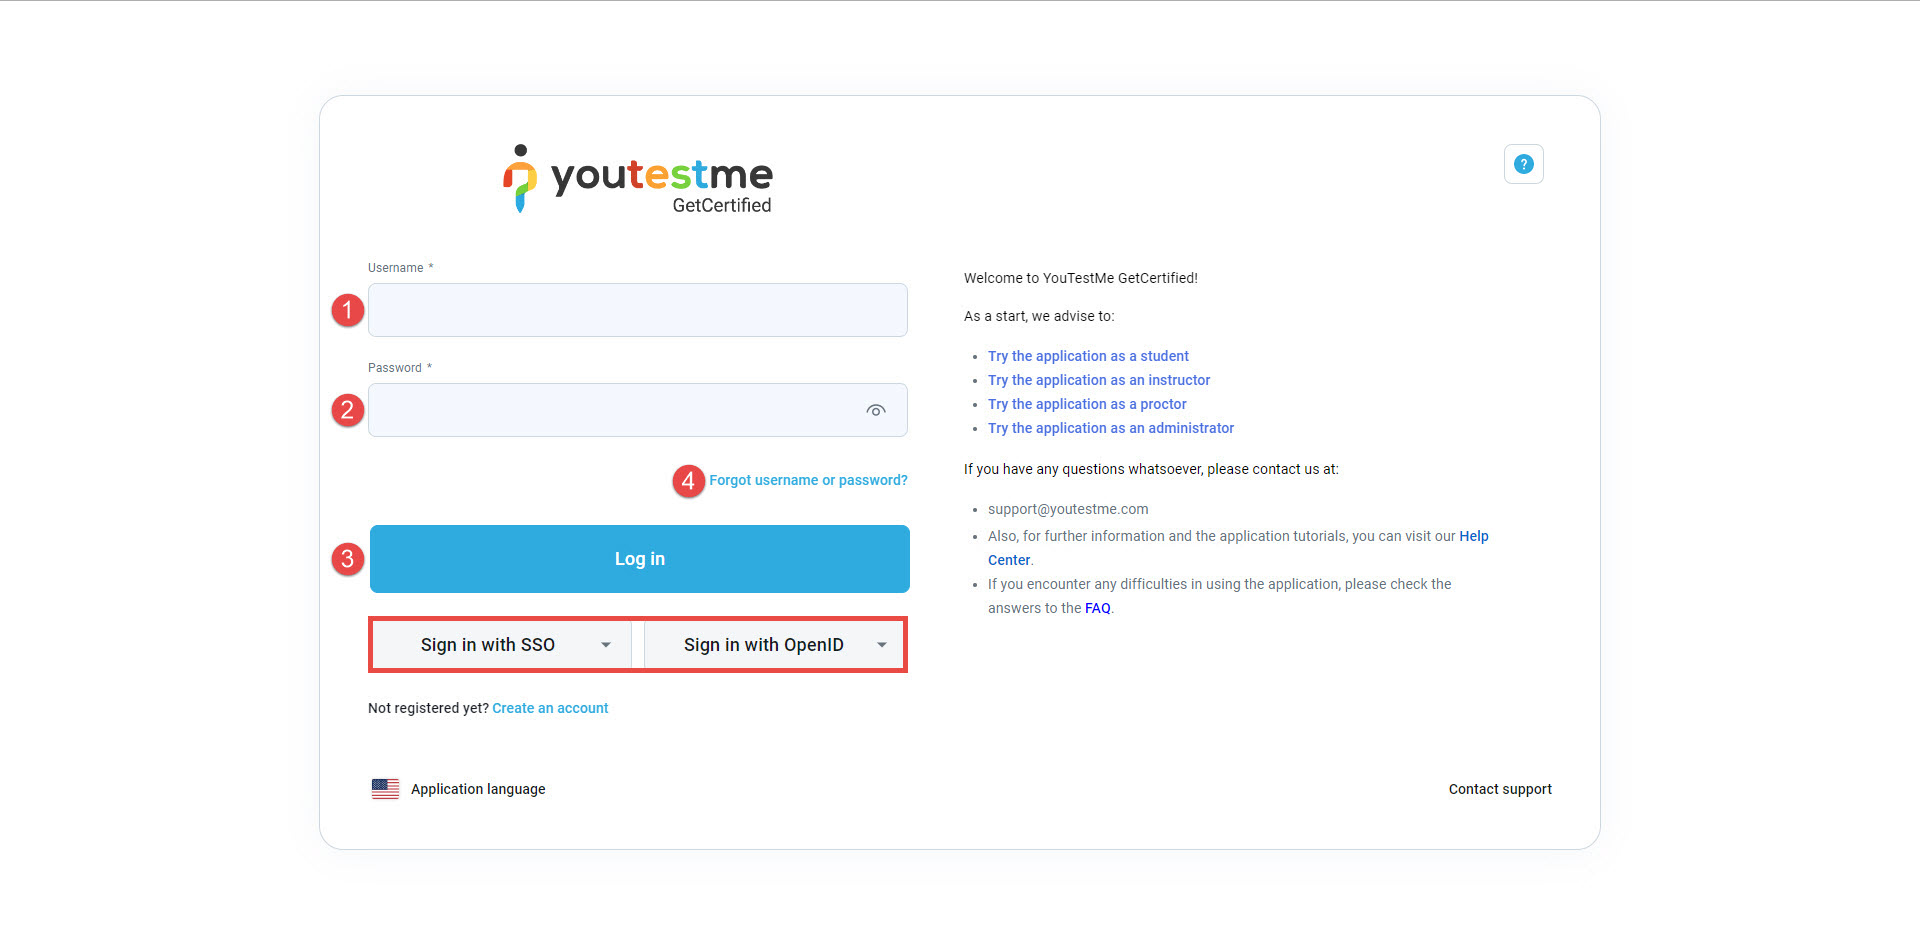
In case you forgot your password, you can reset it by clicking on "Forgot your password?"
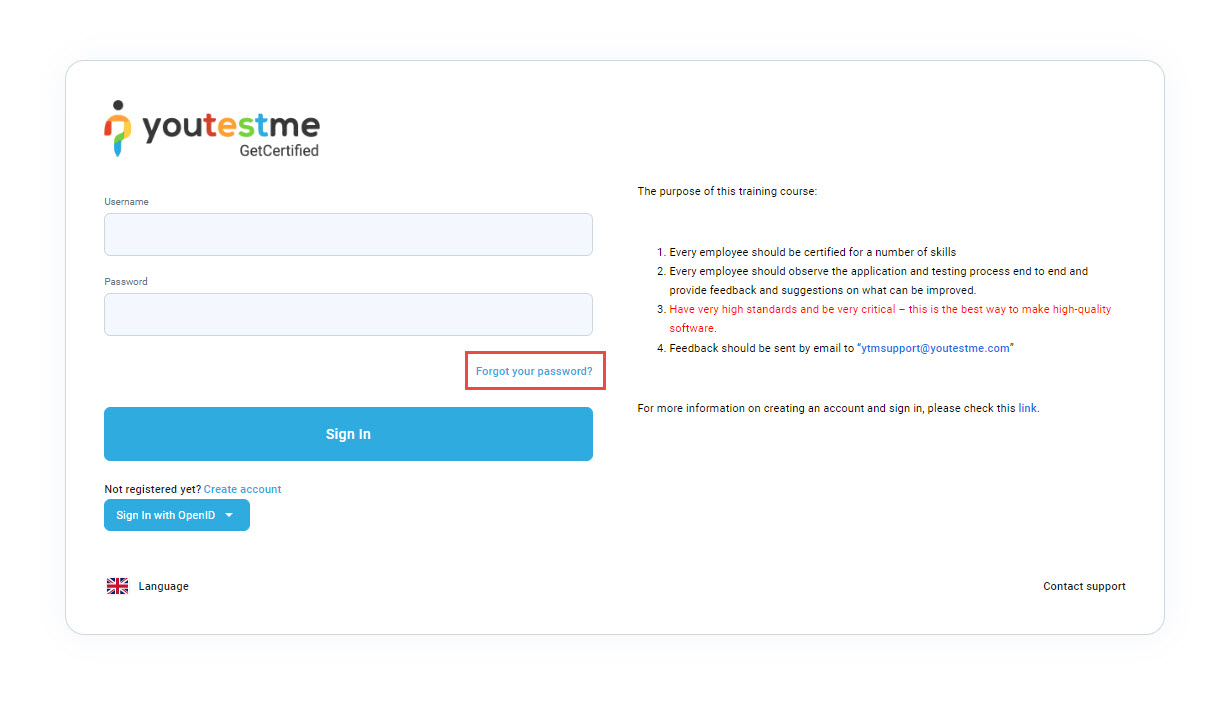
In the popup window, you should:
Enter "Username."
Enter "Email address."
Click the "Submit" button.
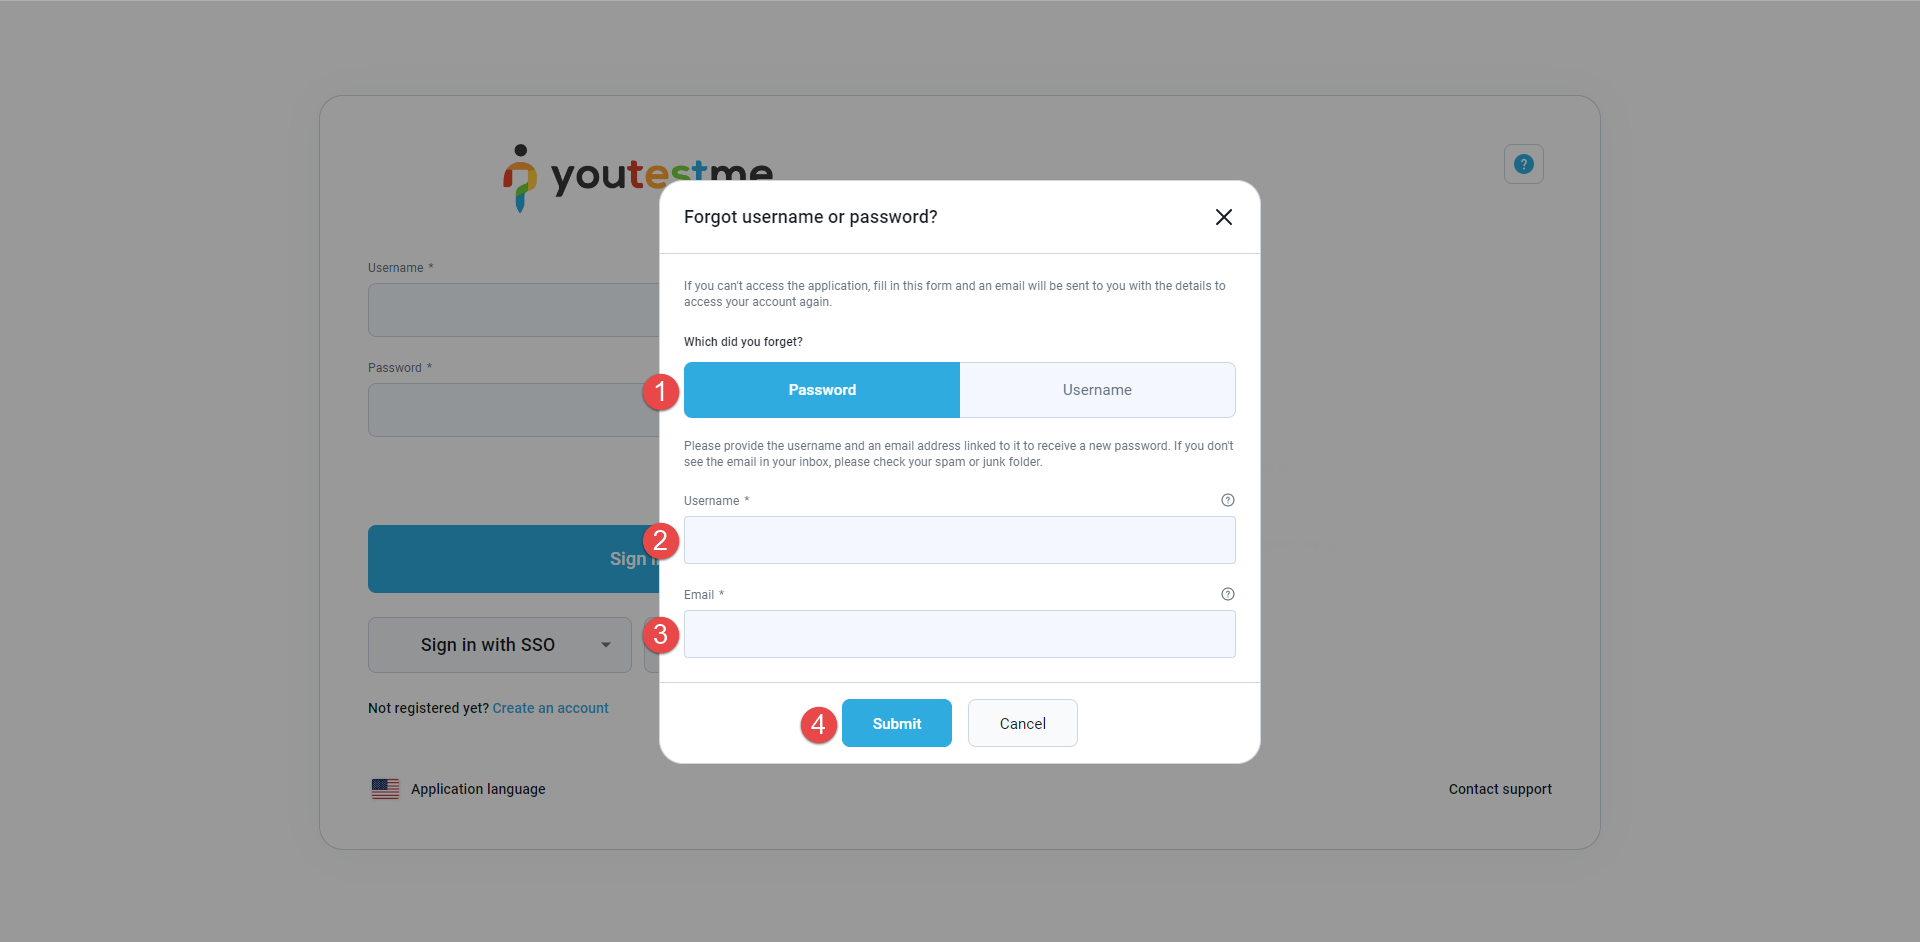
Upon submitting, you will receive an email with your new system-generated password.
-
If you don't have an account
To register as a new user, click on "Create account".
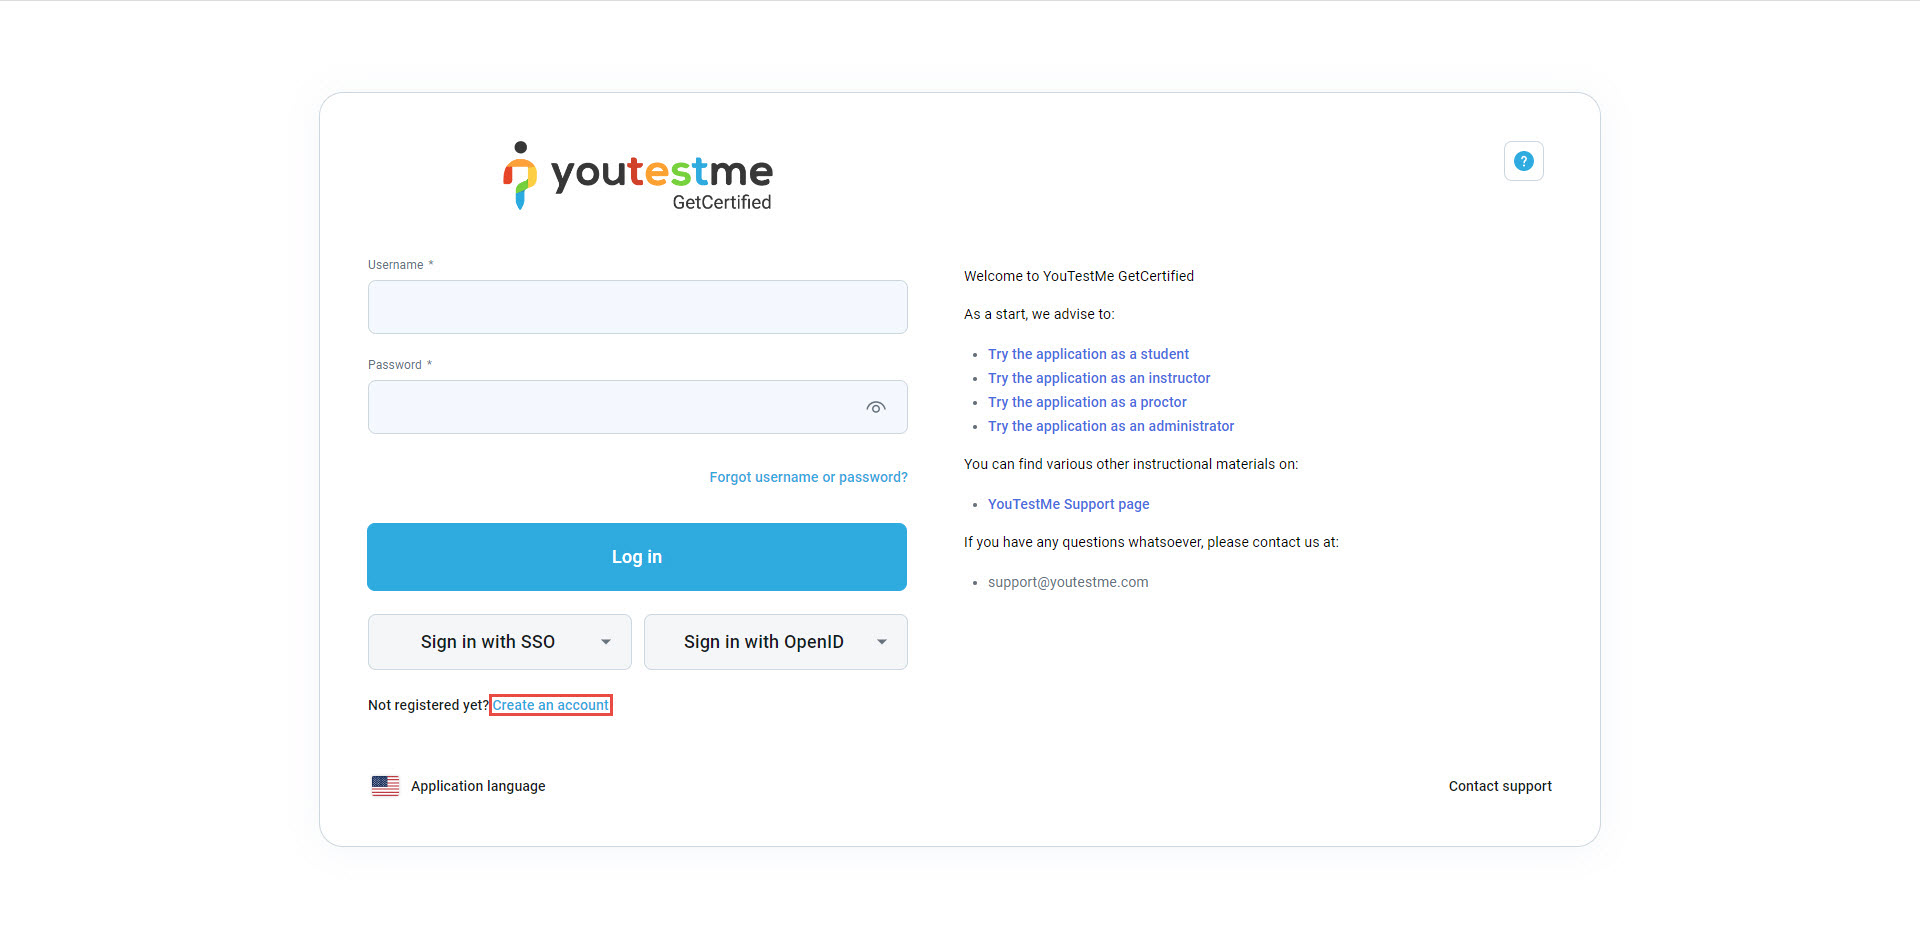
Enter "First name."
Enter "Last name."
Enter "Username."
Enter "Email address."
Select the "Role" that you should have in the system.
Type in the "Security code."
Click the "Register" button.
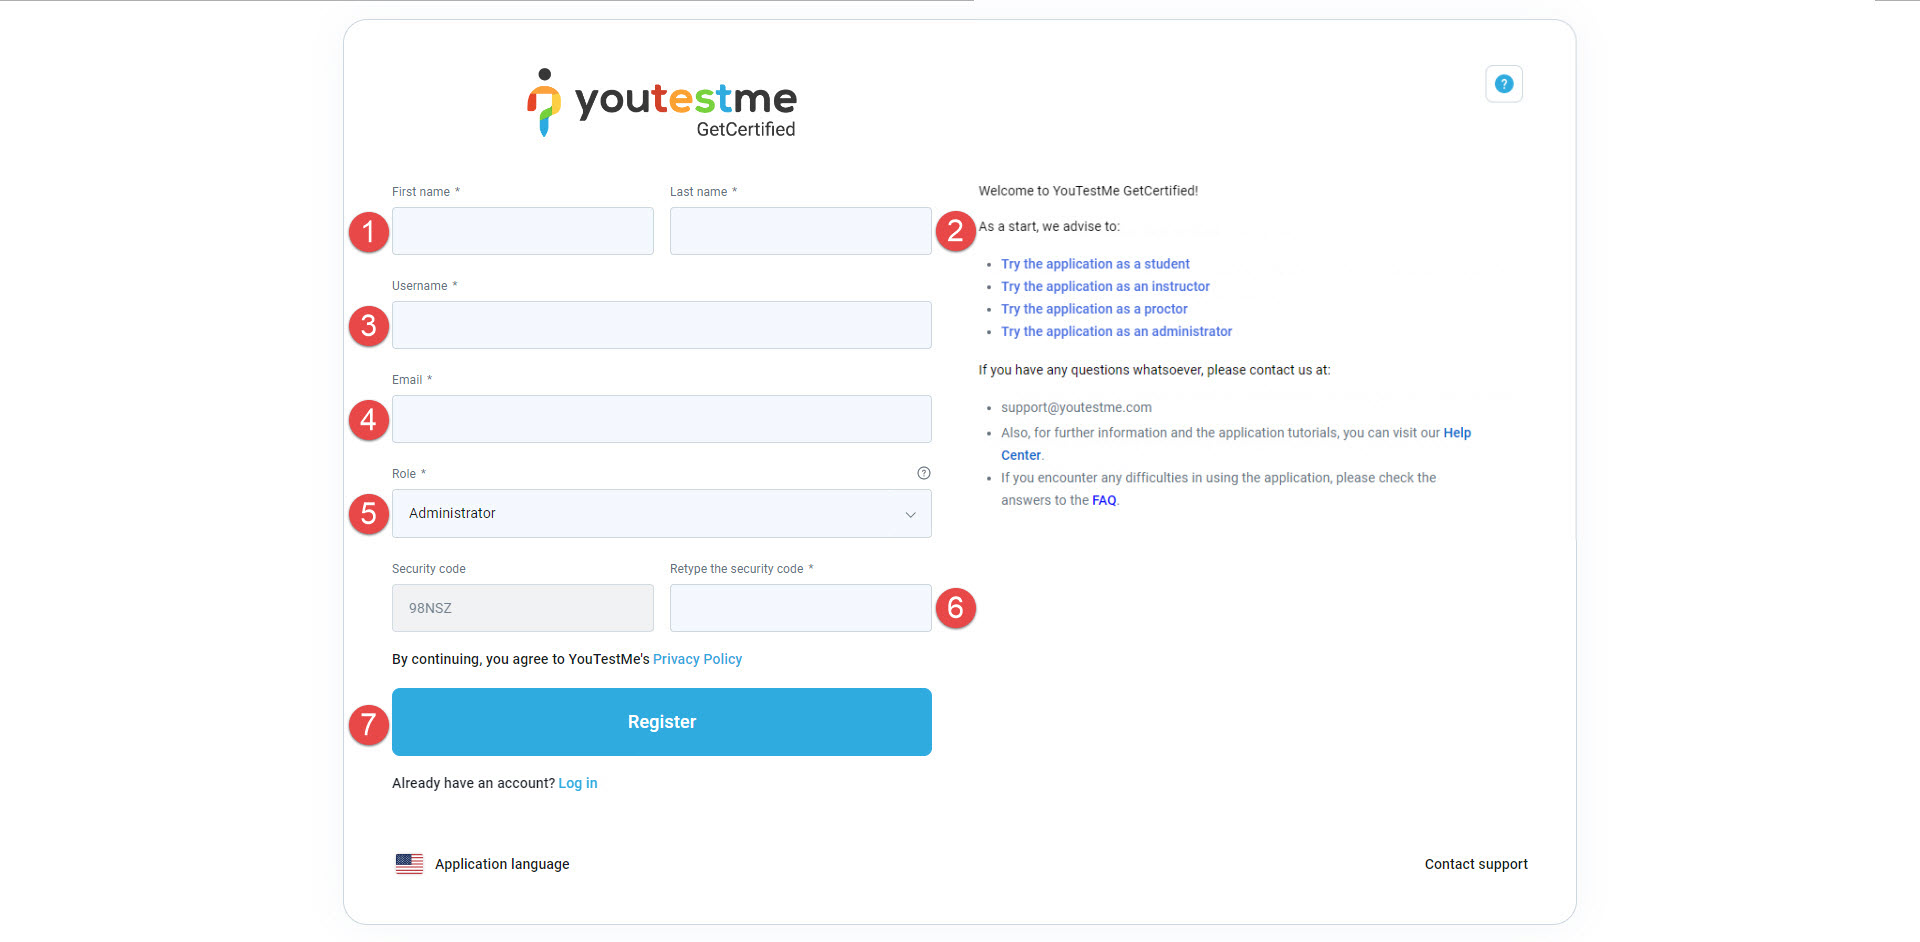
Upon completing these steps, your registration request will be sent to the administrator for approval. Once your request is approved, you will receive an email notification.
Note: In case the "Self-Registration" option is enabled, the users are allowed to register their accounts without the administrator's approval. You can manage this option in the Additional modules.
-
Language
To change the application language, click on the "Language" button and choose your preferred language.
The selected language will be applied throughout the application and visible only to you. You will need to switch to your preferred language upon every login, since English is set as default.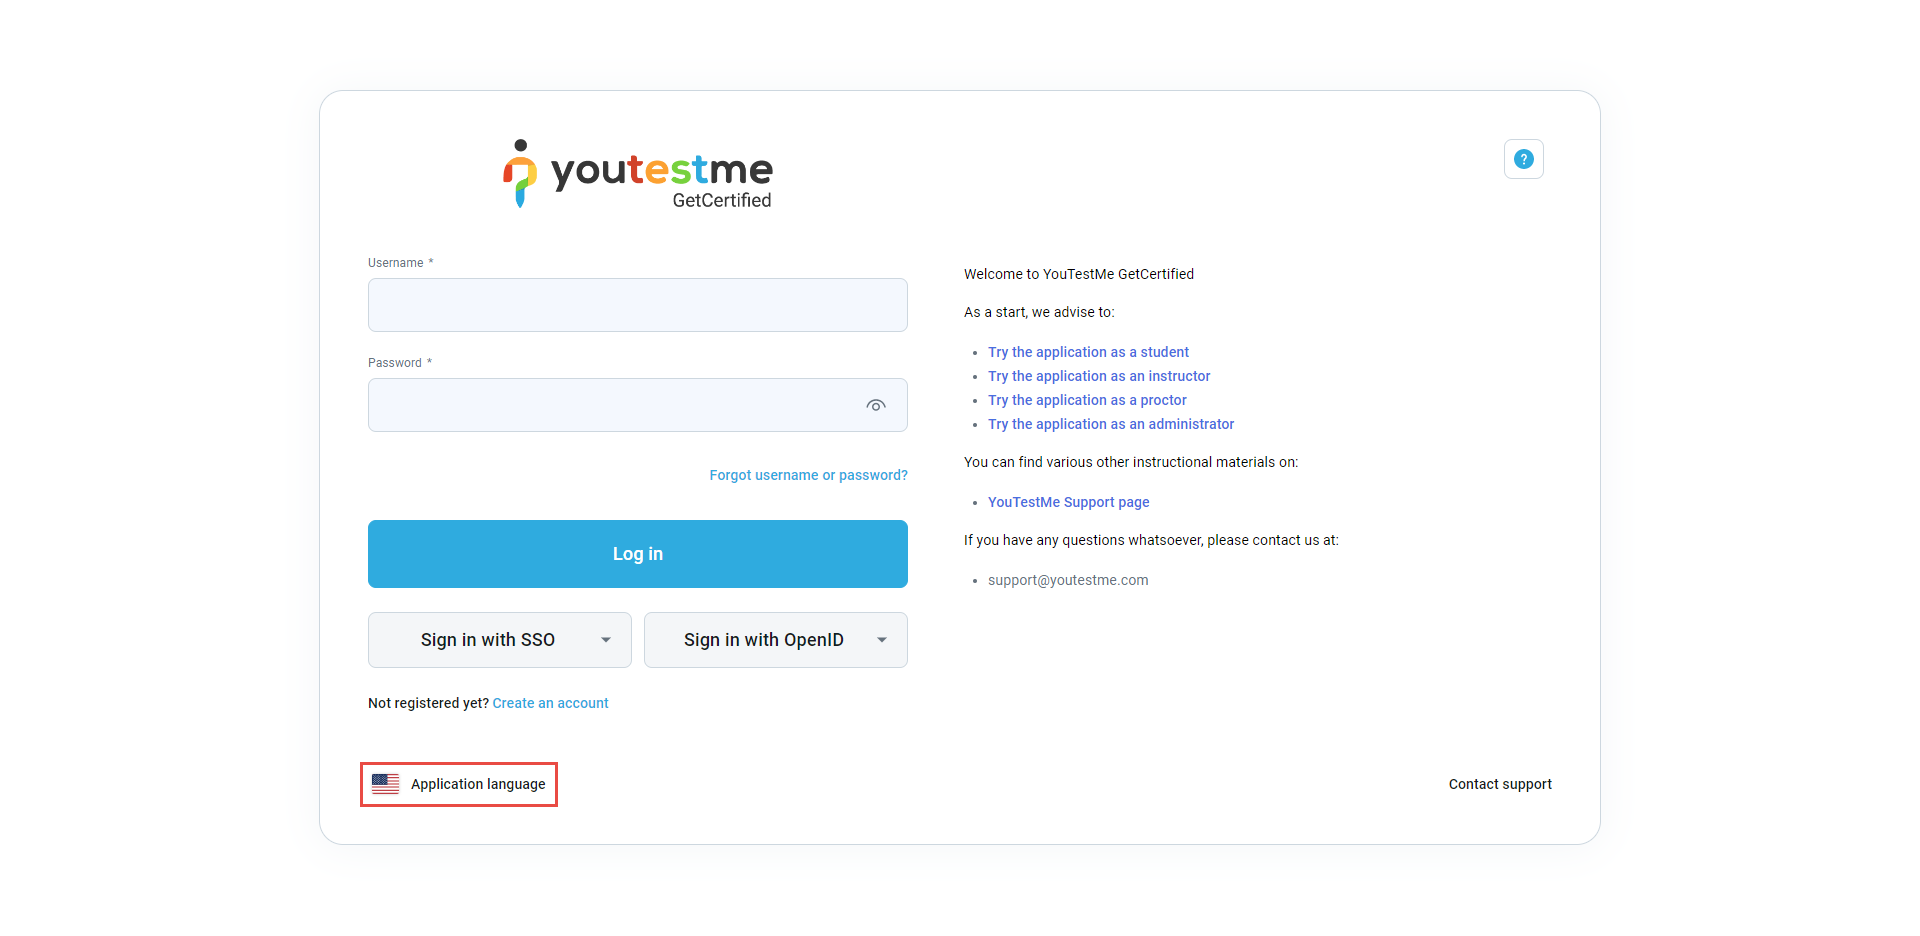
-
Application support
If you experience any difficulties while using the application, please contact our support team by clicking "Contact Support."
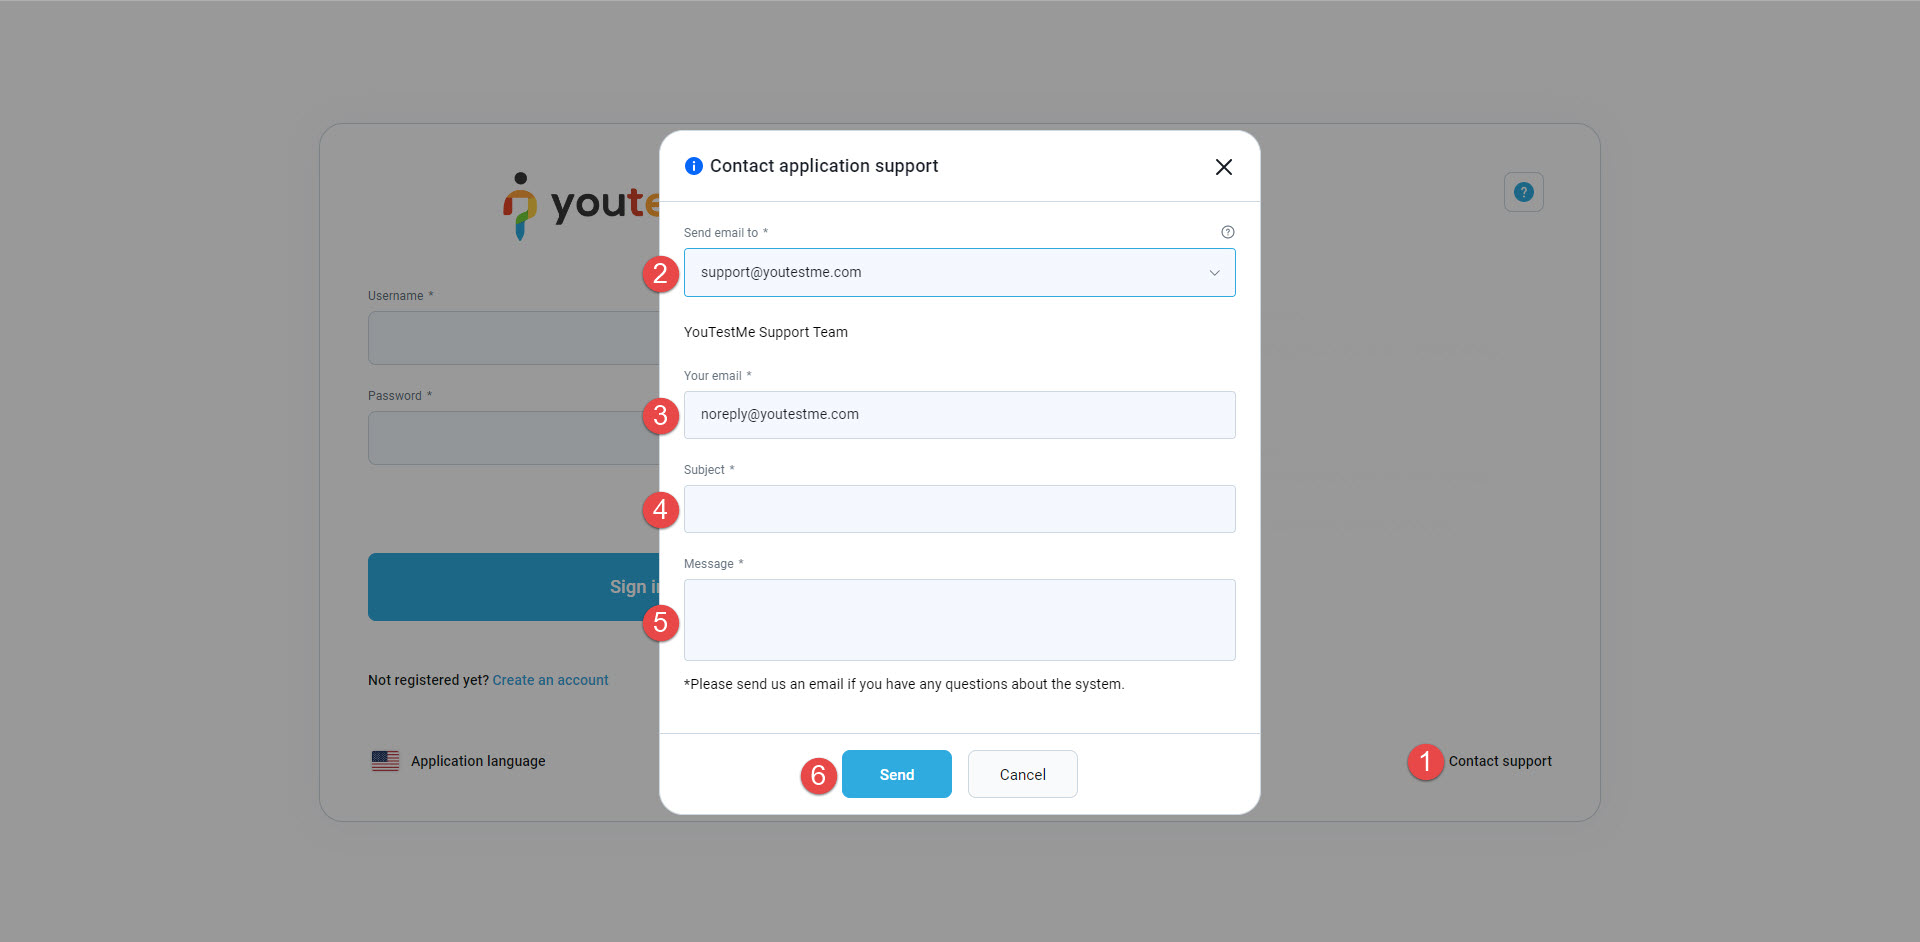
In the popup window, you should:
Enter email address.
Enter the subject of the email.
Explain the issue you are facing.
Enter the Security code.
By clicking the "Refresh" button, a new security code will be displayed.
Click the "Send" button to send your email to the support team.
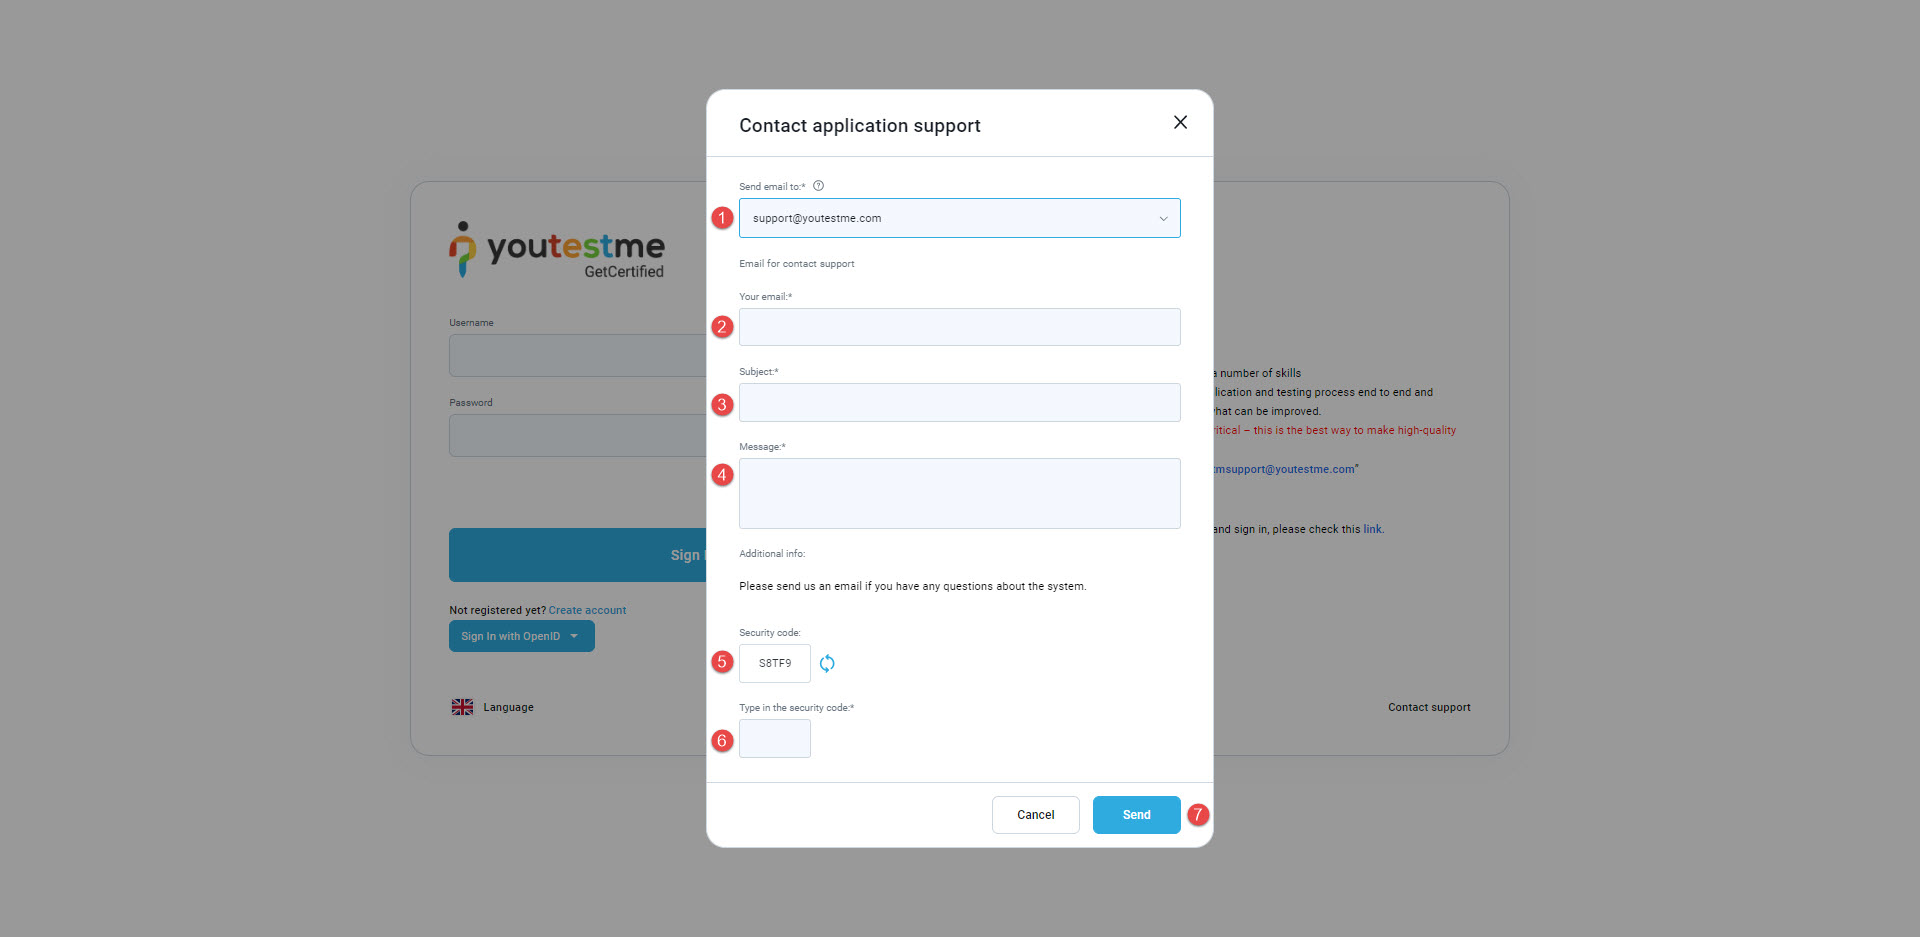
Note: Your email will be delivered to the email address listed in the "Support email" field in the Mail server section.
Survey question pools
The process of configuring question pools for surveys is the same as for tests. For instructions on creating and managing question pools, please refer to the Question pools help page.
Survey locations
The process of configuring survey locations is the same as for tests. Please visit the Testing locations page for instructions on creating and managing testing locations.
Taking a test/survey
-
Introduction
The process of taking tests and surveys is identical. On this page, everything will be explained using tests as an example, but the same rules apply to surveys.
All tests assigned to a candidate, as well as those they can book themselves, are accessible on the candidate's Assignments page. For further information on available options within this page, refer to the Assignments help page.
Add an attempt to your calendar - You can add the date and time of a scheduled test or survey attempt to your personal digital calendar. When the Add to calendar option is available, select it and choose the desired calendar to save the event and keep track of your scheduled attempt. For more information on adding an attempt to your calendar, refer to this article.
-
Accessing a test
To access a test, navigate to the Assignments page and locate the desired test. If a test description is available, open the Description tab on the assignment card to review additional information about the test. Click the Start button to begin the test.
When you click the button to start the test, a pop-up dialog will appear displaying various information related to the test-taking process, including:
-
Test name.
-
Total duration available for completing the test.
-
Passing mark - The percentage that must be achieved to pass the test.
-
Number of questions the test contains.
-
Instructions - Important rules, instructions, or notes that must be acknowledged before starting the test. This may include details on breaks, calculator usage, permitted learning materials, etc.
-
You may also be required to acknowledge test instructions by selecting a checkbox.
-
Click the Start button to begin the test.
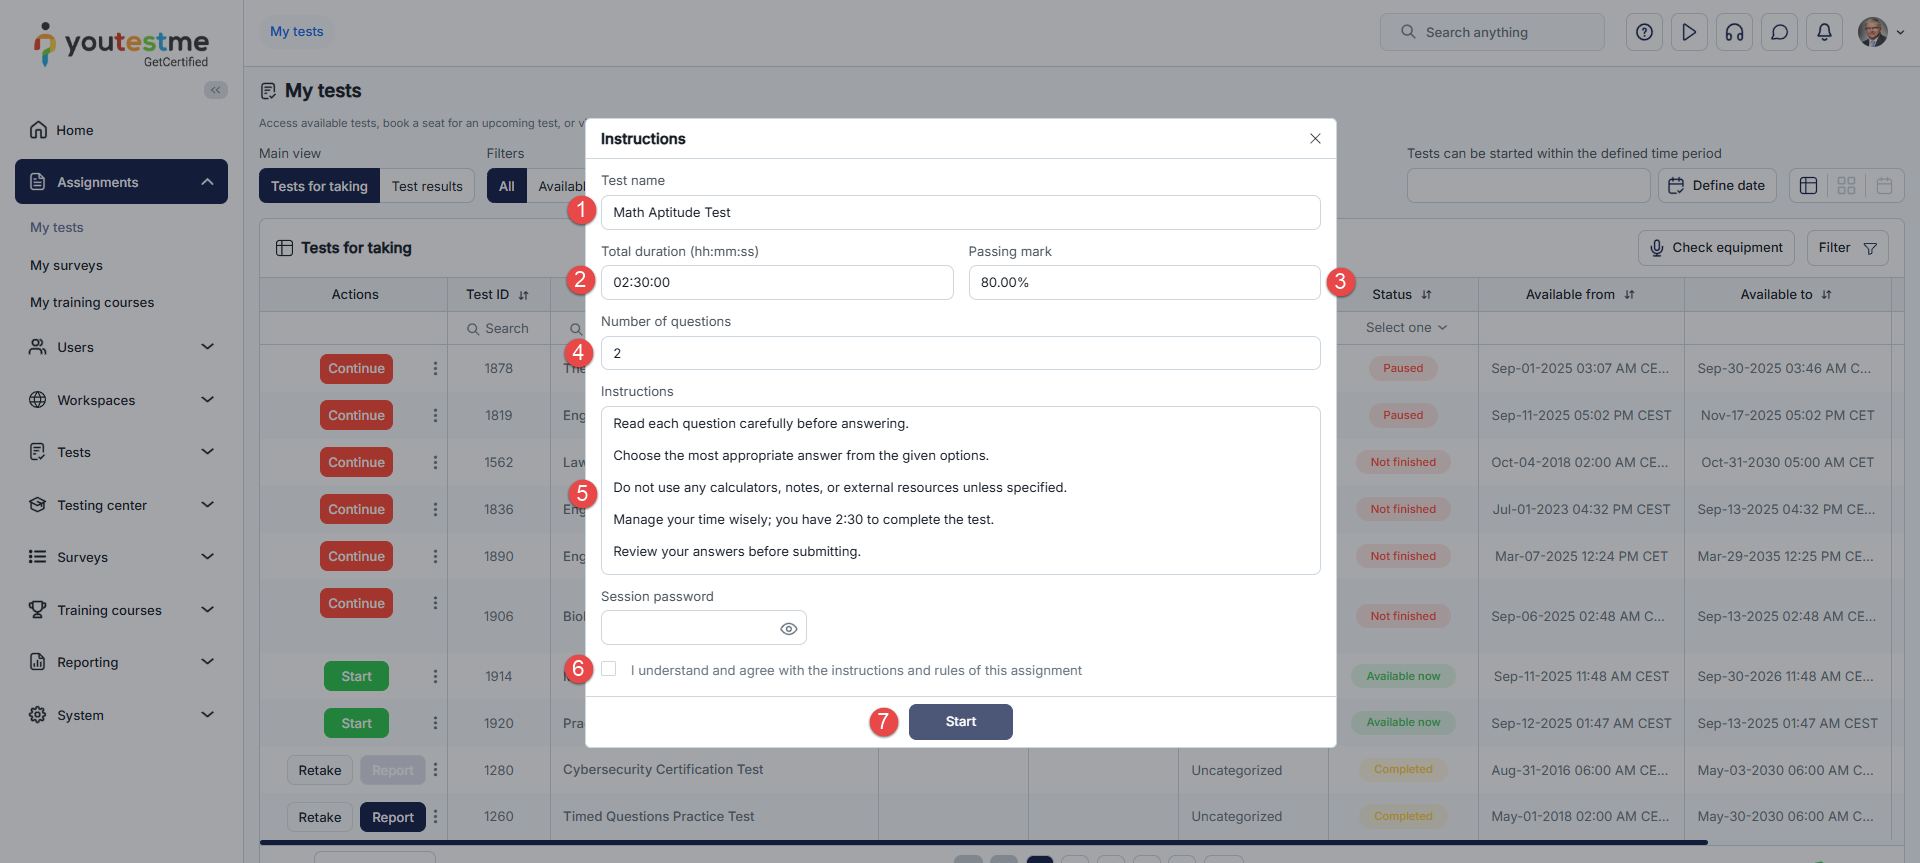
When initiating a test, additional fields and pop-ups may appear if the following options are enabled during the test creation:
-
The testing session is locked - When a testing session is locked, you must enter a password to start the test. The password field is in the same introduction dialog described above. The test organizer should provide you with a password for unlocking the test. If you have not received the password, contact your test organizer.
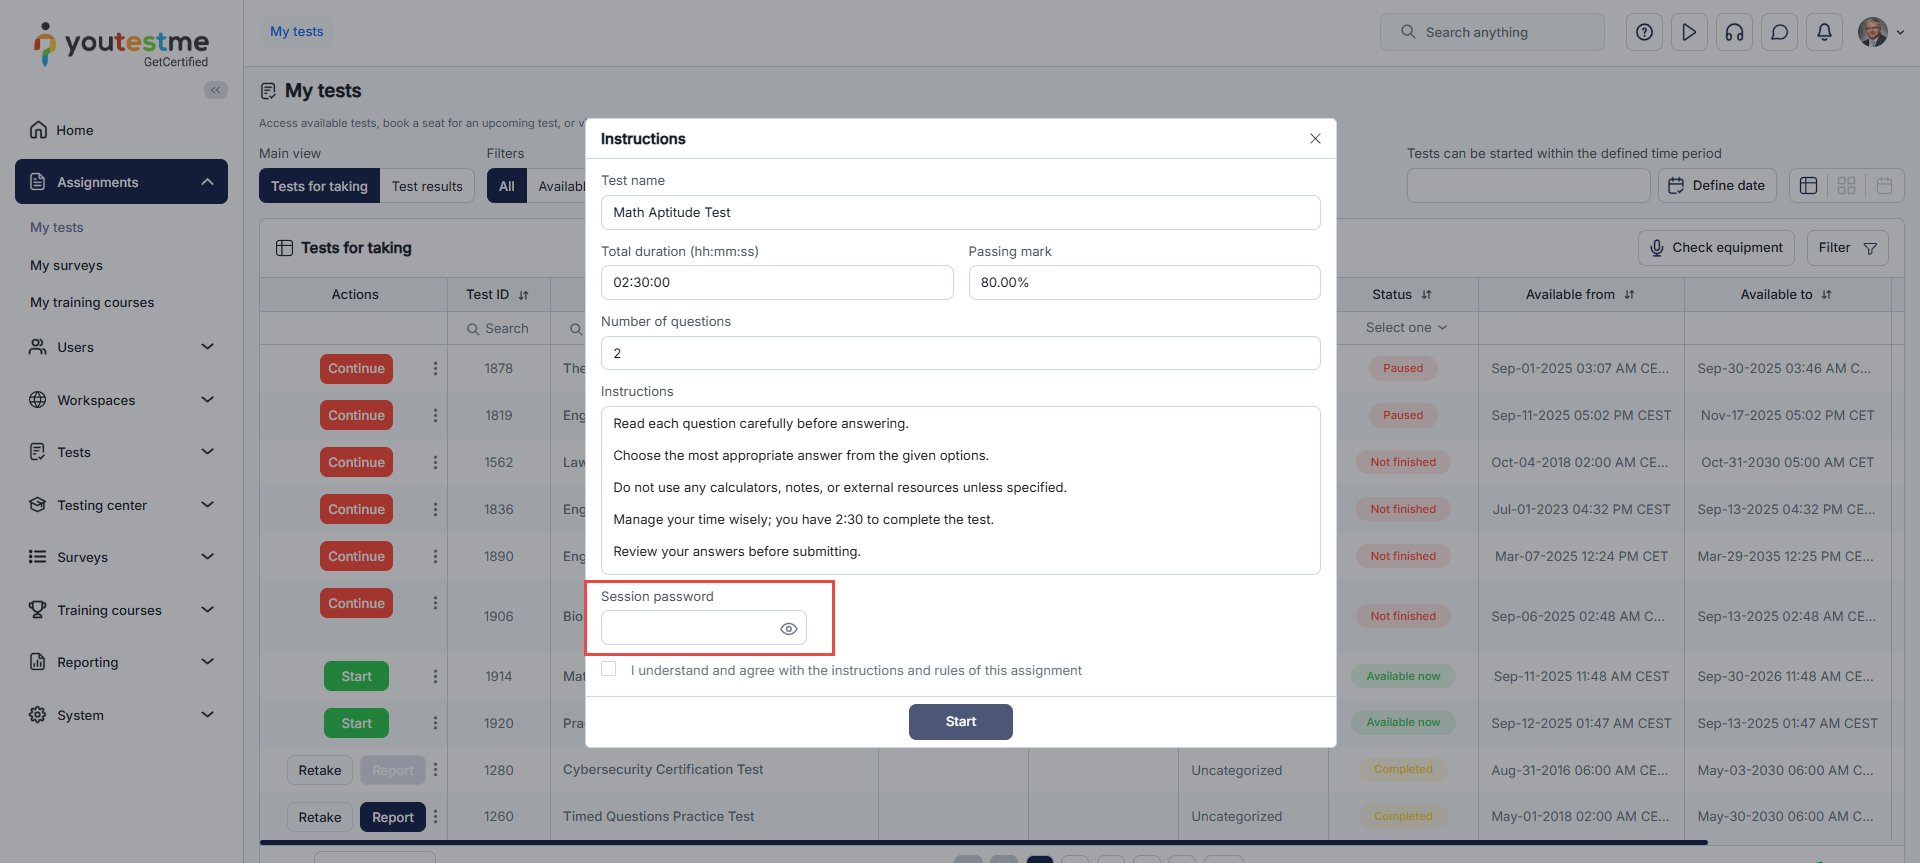
-
If the Enable browser lockdown option is enabled, a window will notify you that certain functions are disabled during the test attempt. These include right-clicking, cutting, copying, and pasting using shortcuts. Additionally, the following actions are forbidden: using the print screen, Esc and Windows keys, closing full-screen mode, using function keys at the top of the keyboard, and changing focus to another screen. To begin the test, click the Continue button.
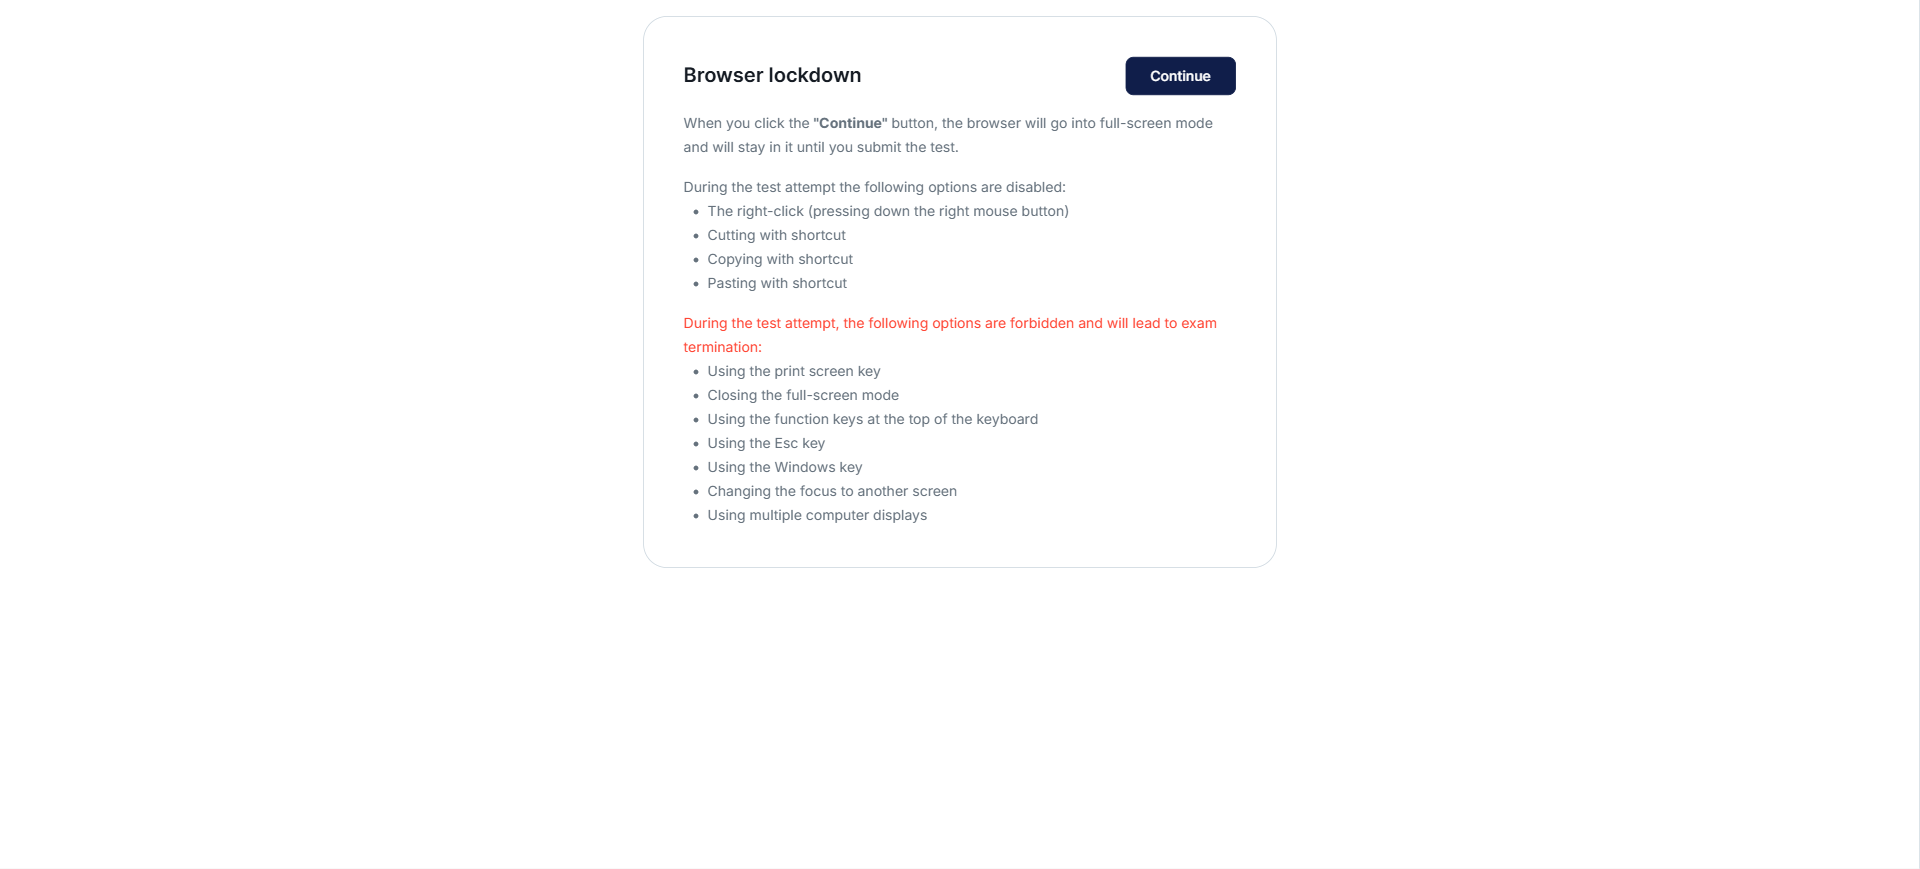
-
Proctoring mode is enabled - Once you accept the test instructions, a pop-up for equipment check will appear.
-
The system will verify if the browser is in full-screen mode and whether the microphone, camera, and internet connection are functioning properly.
Note: You should allow access to the camera, microphone, and screen sharing if this pop-up appears.
-
In the following step, you may be required to take a picture of yourself. The system will use your picture to compare it to the person in front of the camera during the test and validate your test attempt.
-
Next, you may be asked to take a picture of your ID document to confirm your identity.
-
You may also be required to scan your environment with a camera. Scan the code displayed on the screen to access the link where you can record your surroundings.
Note: Depending on your test configuration, some of these options may not be required.
For more information on how to resolve issues that may arise during the equipment check process, refer to our Troubleshooting knowledge base section.

-
-
Live proctoring with Proctorio - If the test uses live proctoring with Proctorio, make sure that your device meets the following requirements before starting the test:
-
Use a desktop or laptop computer. Mobile phones and tablets are not supported.
-
Use a Chromium-based browser that supports the Proctorio extension, such as Google Chrome, Microsoft Edge, Brave, or Opera. Mozilla Firefox and Apple Safari are not supported.
-
Make sure the Proctorio browser extension is installed and enabled.
-
For the best experience, use a screen resolution of 1920 × 1080 with display scaling set to 100%. The minimum supported resolution for a live Proctorio session is 1680 × 1050 with scaling set to 100%.
-
Check your webcam, microphone, and internet connection before starting the test.
-
Prepare a quiet, well-lit workspace and keep your identification document available if identity verification is required.
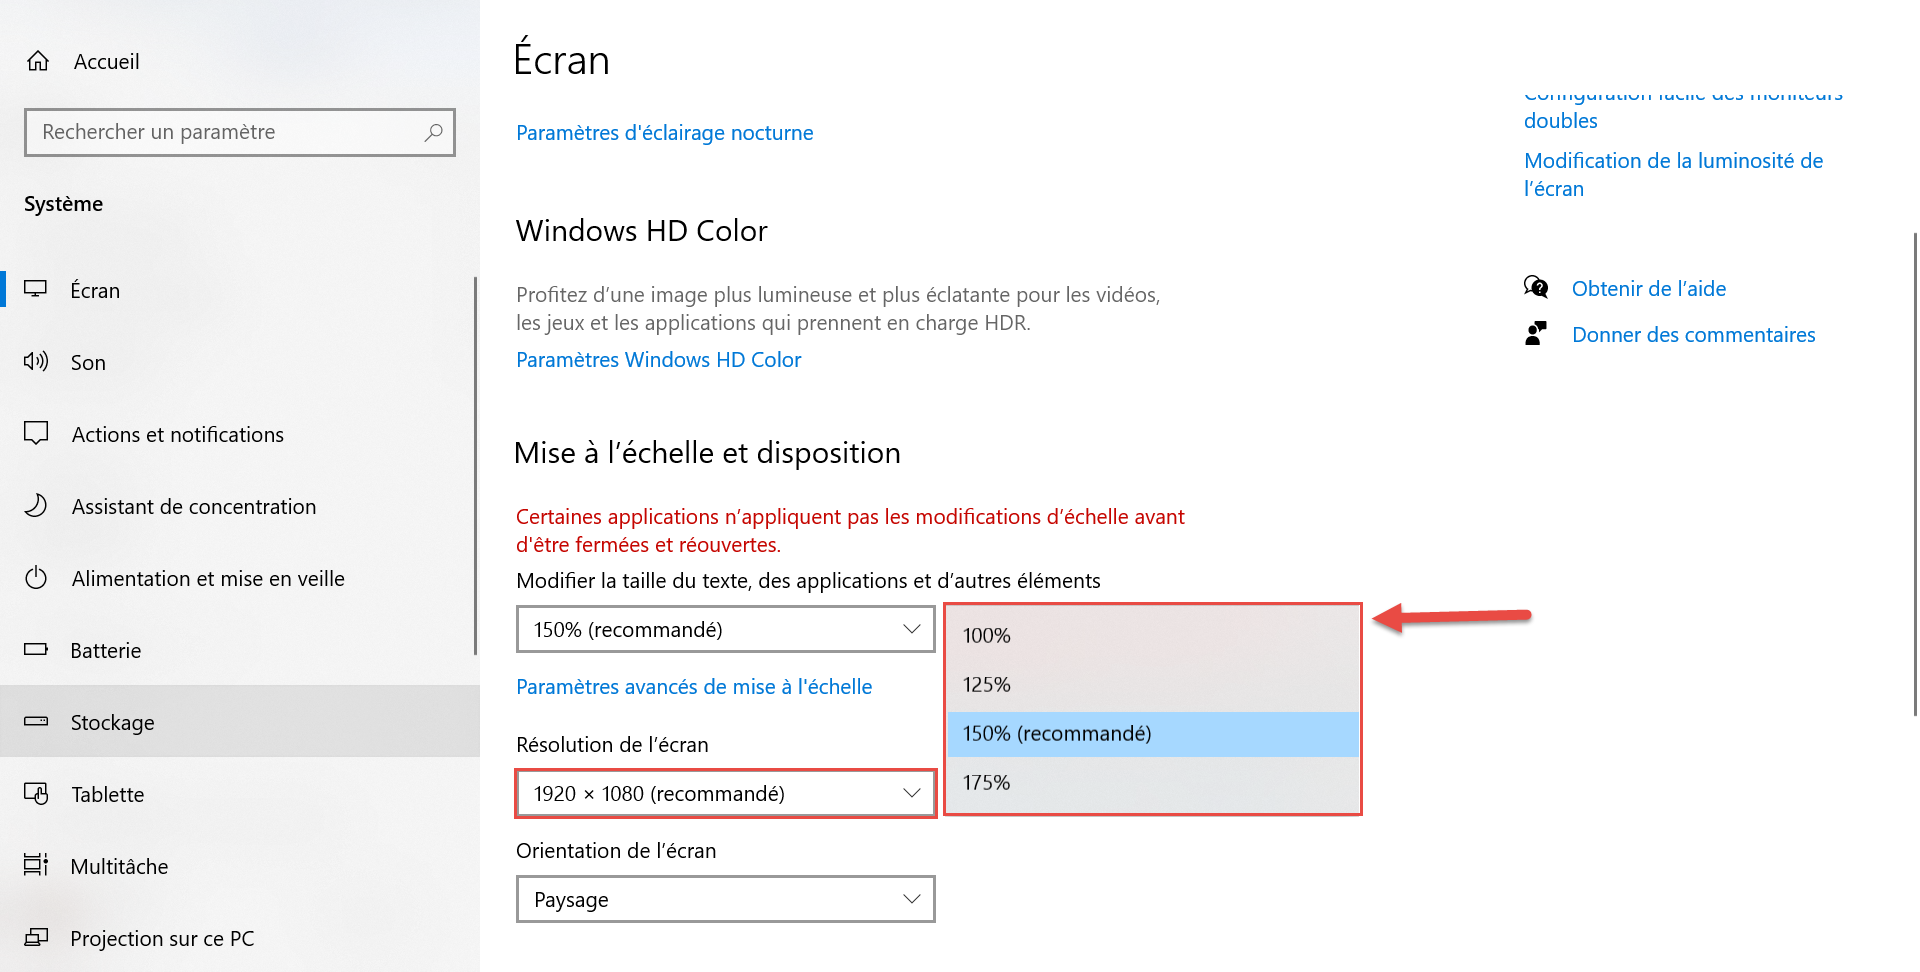
During a live-proctored test:
-
Keep your camera and microphone active and remain visible to the proctor.
-
Stay on the test tab unless instructed otherwise by the proctor.
-
Follow instructions provided by the live proctor.
-
Avoid actions that may be detected as suspicious, such as repeatedly looking away from the screen or leaving the testing area.
During the test, the Proctorio panel may display your webcam status, the presence of a live proctor, device battery status, chat options, and controls for minimizing or maximizing the panel. You can use the available chat option to communicate with the proctor or request technical assistance when needed.
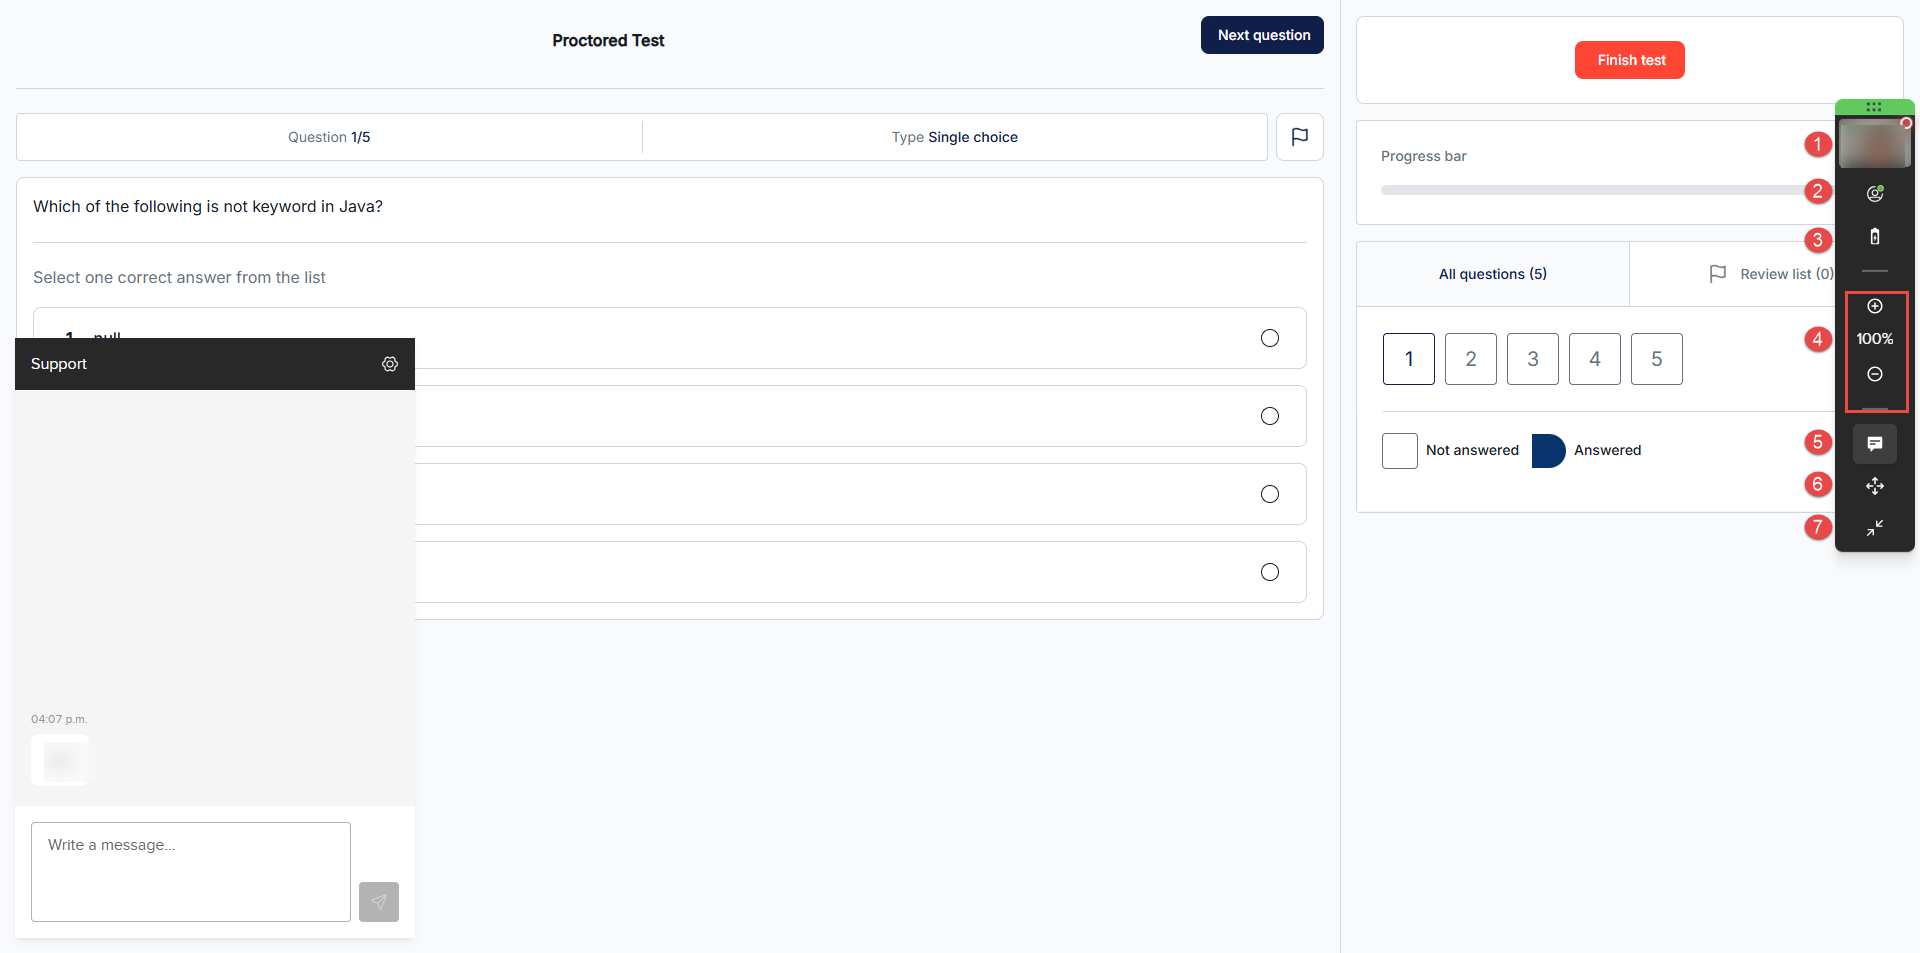
Note: The exact equipment checks and proctoring requirements may vary depending on the configuration defined by the test organizer.
-
-
The test has one or more sections - If the test consists of one or more sections, a window will display the following information before starting each section:
-
Section table - Provides details about sections, including their availability period and status. If a section name is disabled, it indicates that the section is already completed, expired, or still unavailable.
-
Section name - Indicates the name of the test section you are about to start.
-
Total duration available for completing the section.
-
Instructions - Presents important rules, instructions, or notes that must be acknowledged before starting the section.
-
Additionally, the following actions may be available on the screen:
-
Start section - Select the desired section and click this button to begin. If the section has expired, this button will be disabled.
-
Continue to section - Click this button to resume a section you've already started and left. If the section has expired, this button will be disabled.
-
Next section - If you've started a section and left the test, and the section has expired, click this button to proceed to the next available section.
-
Exit the test and continue it later - Leave the test and return later to continue from where you left off, preserving your work and answers.
-
Finish test - Click this button to complete the test when no available sections remain accessible.
-
Refresh - Click this button to refresh the table.
-
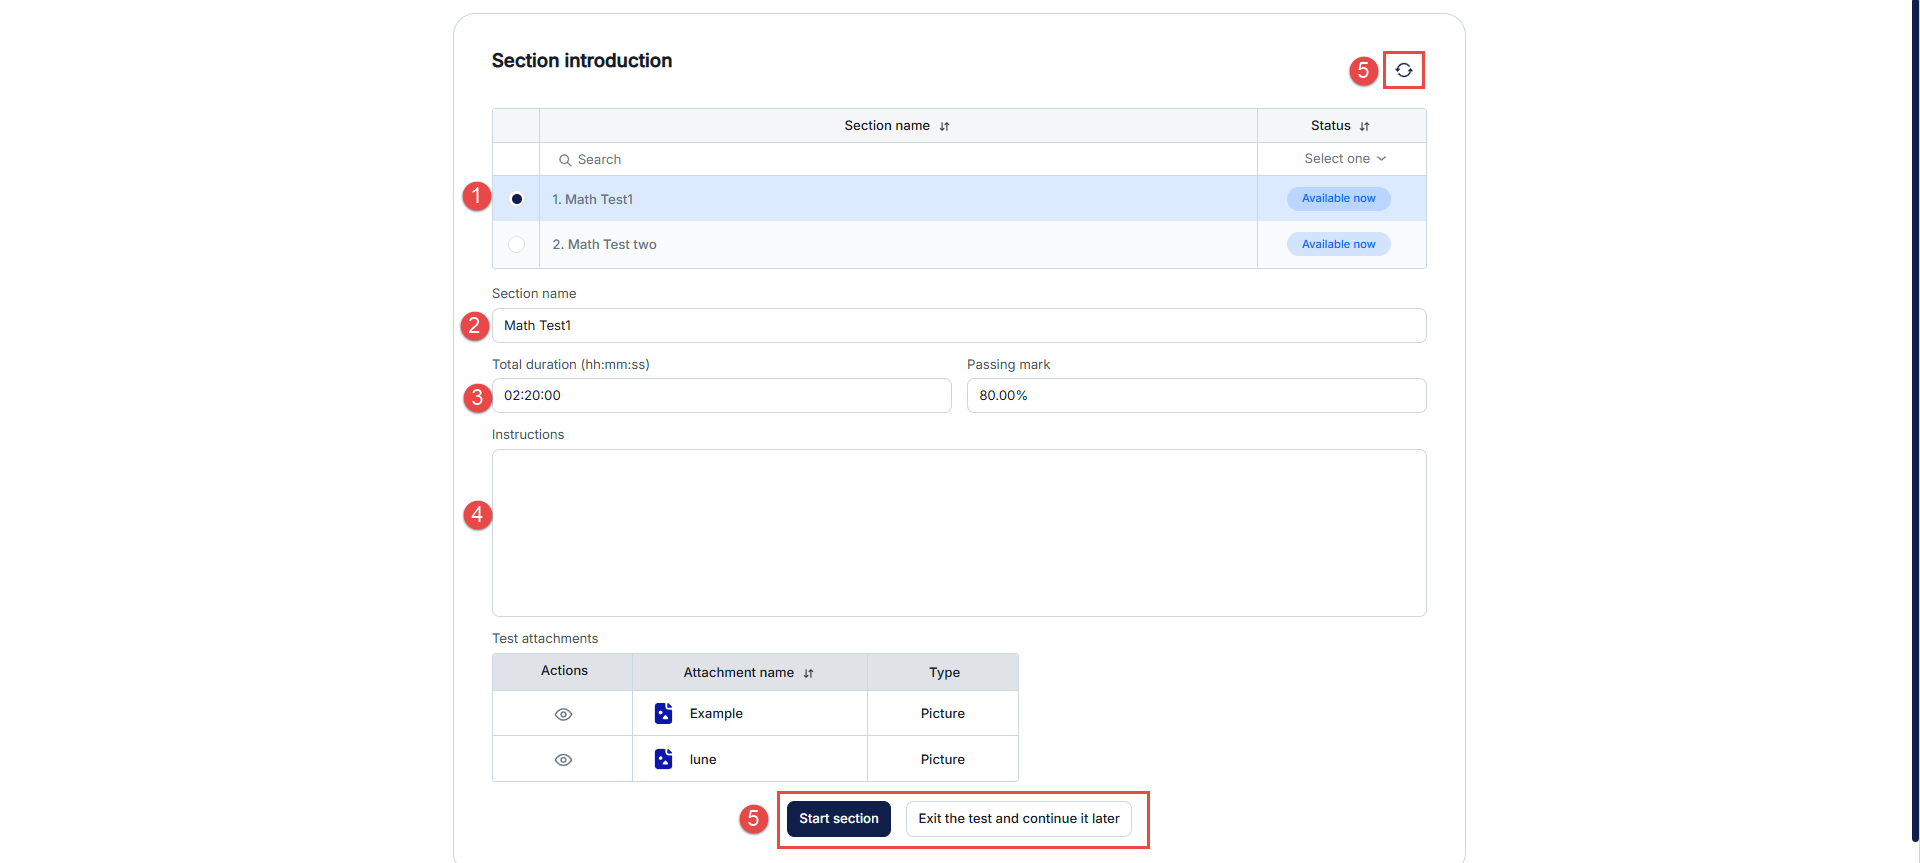
-
-
Require updating user profile is enabled - When you accept the test instructions, a pop-up for updating your personal information will appear. Here, you can:
-
Continue without changes - If you have not made any changes, click this button.
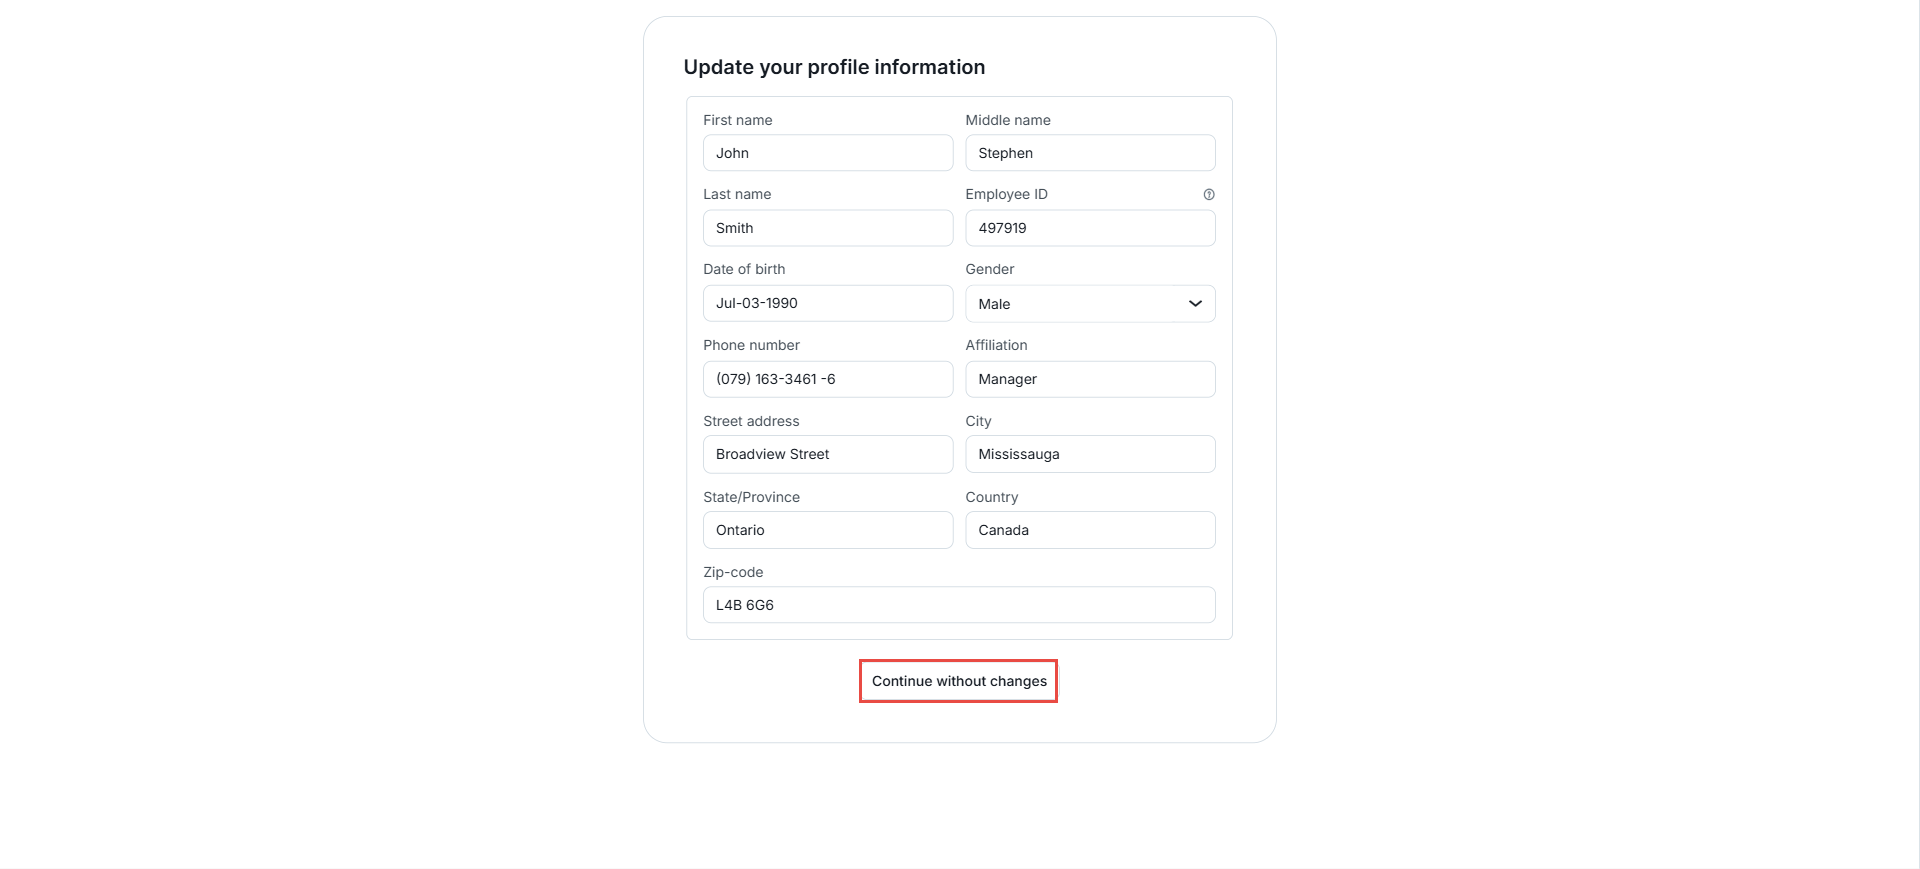
-
Save and continue - This button will appear after making changes. Click it to save the changes and start the test.
-
Cancel - This button will appear after making changes. Click it to discard the changes. To start the test, you should also click the Continue without changes button.
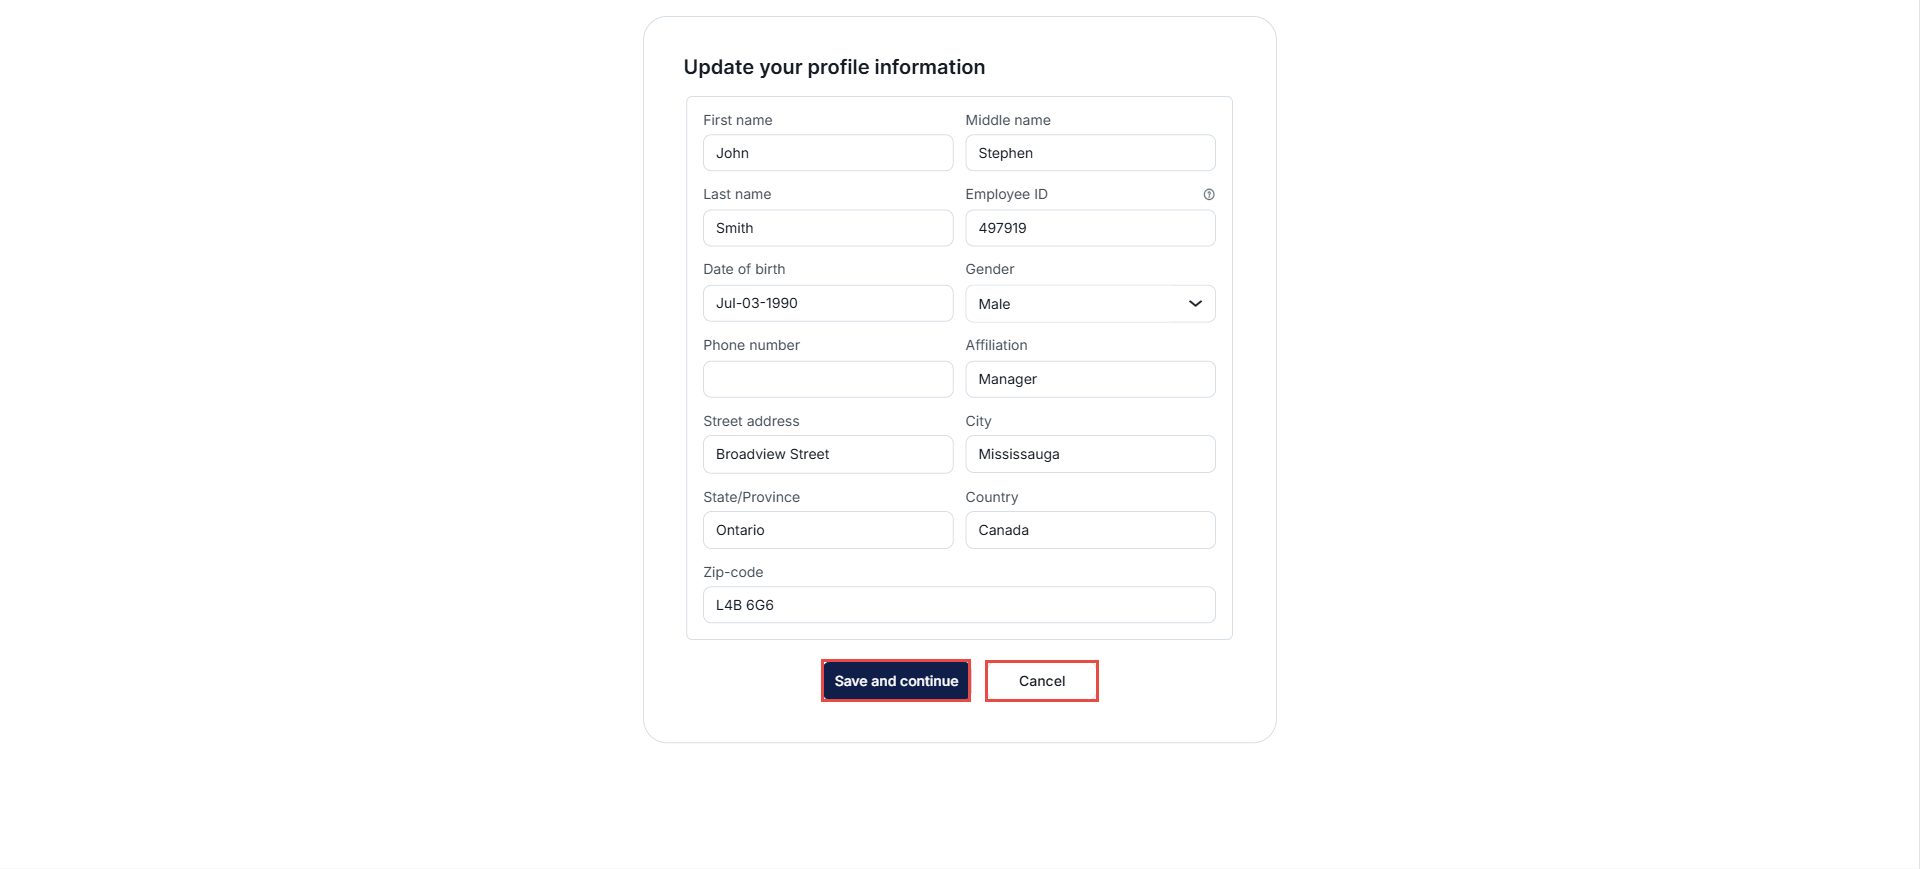
-
-
If the test includes SCORM packages and the Available before attempt start option is selected, a dialog will display all SCORM packages attached to the test. Please note that the Finish button will remain disabled until the SCORM package has been reviewed.
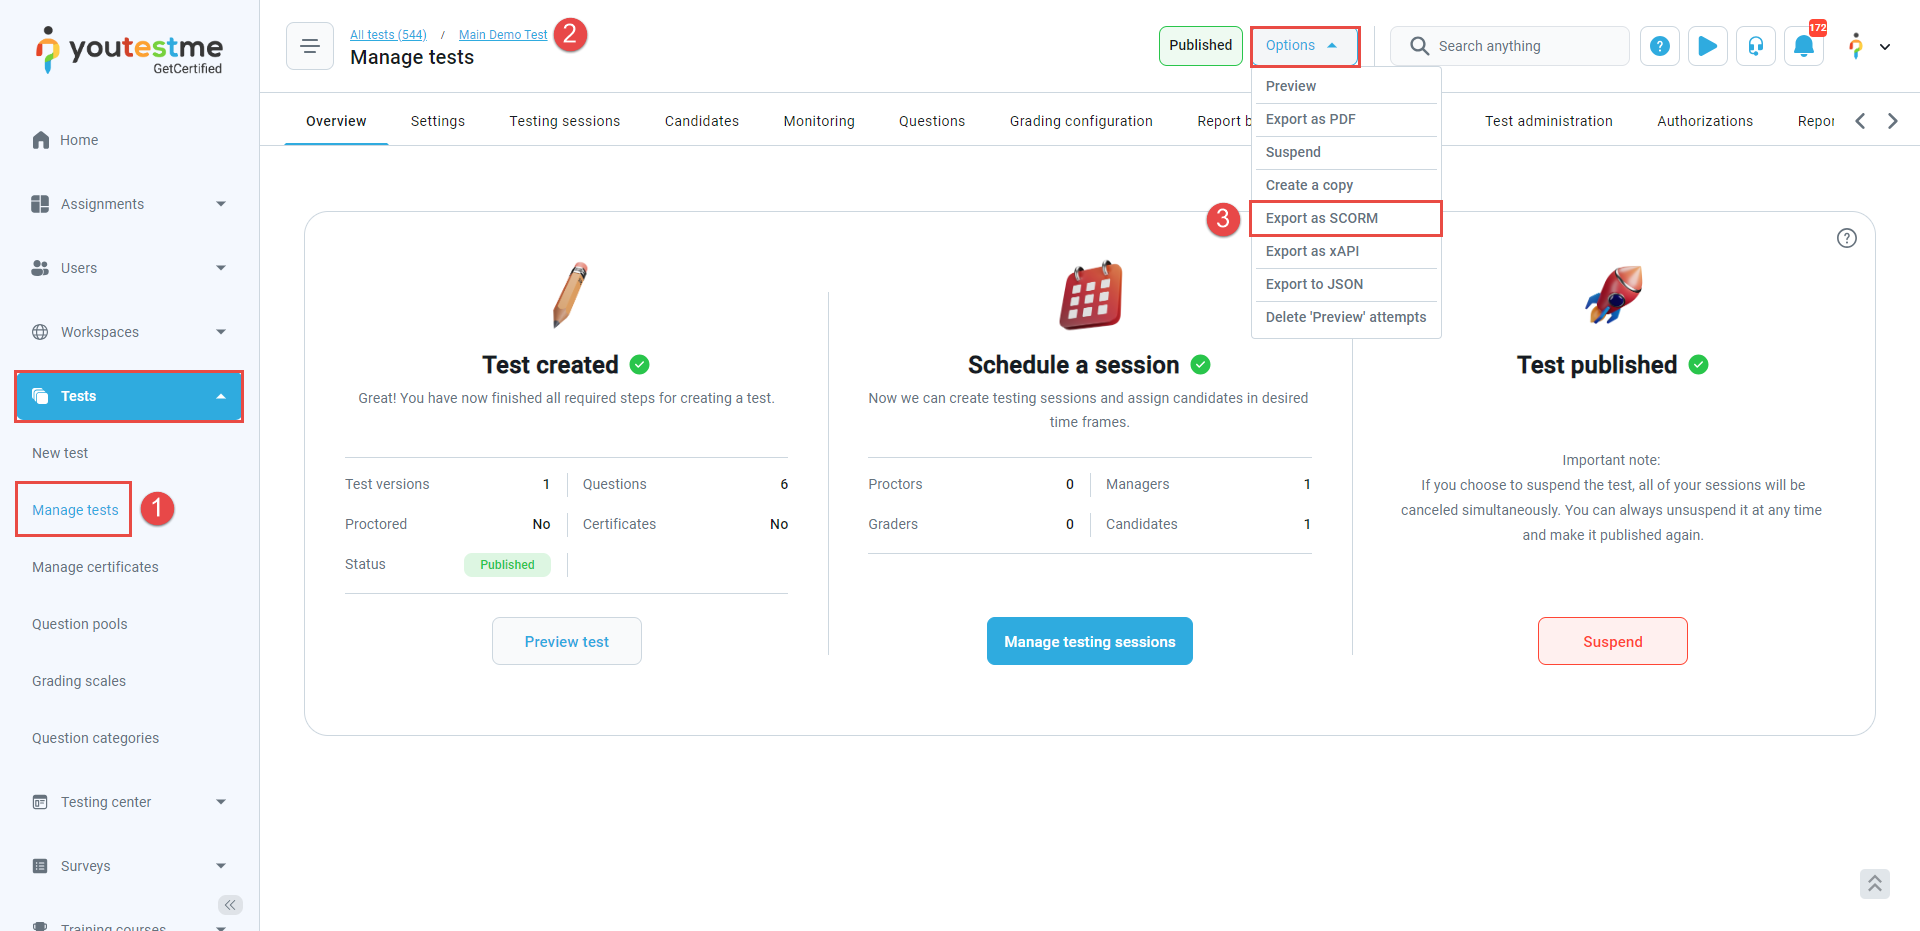
-
Accessing a practice test
If the Practice test option is enabled, you can use practice tests to prepare for the official test. On the Assignments page, filter the list of tests to display practice tests.
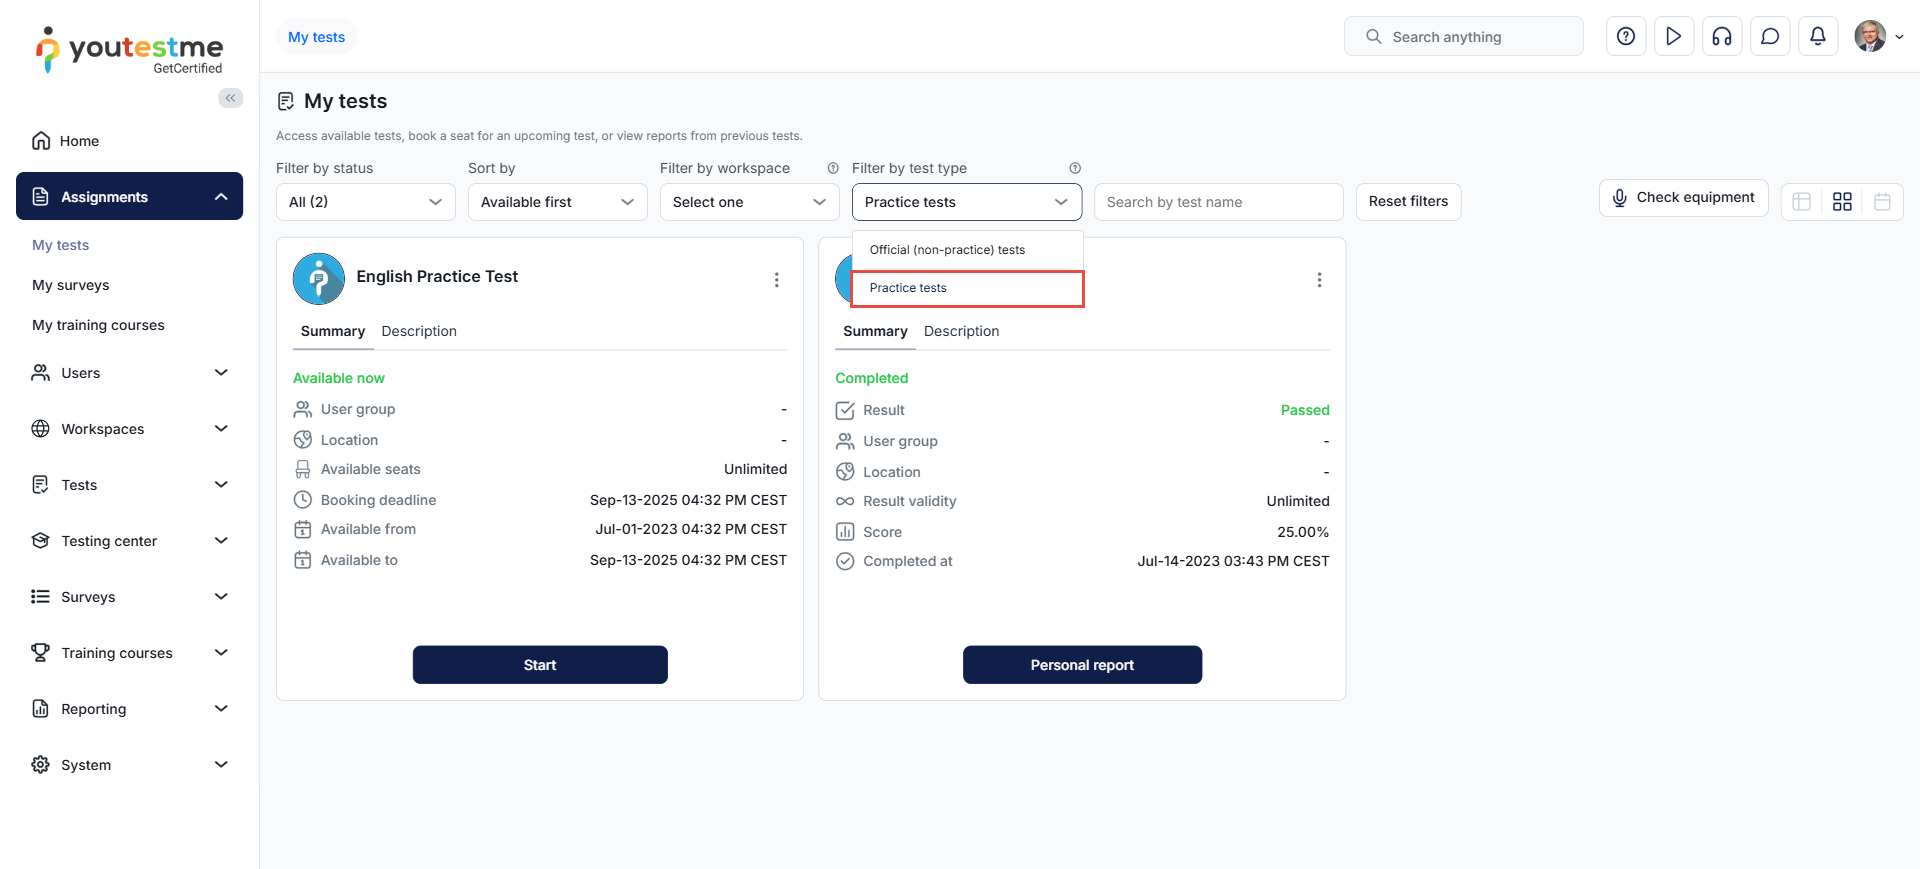
To generate a practice test, click the Start/Retake button.
If the test has been generated based on question difficulties, a pop-up dialog will appear where you can set the number of questions for each difficulty level in each question pool included in the test:
-
Edit the number of questions for each difficulty level.
-
Include all questions from the question pool by checking the box in the Include all questions column.
-
Click the Generate button to start the test. After selecting it, the Instructions dialog will appear.
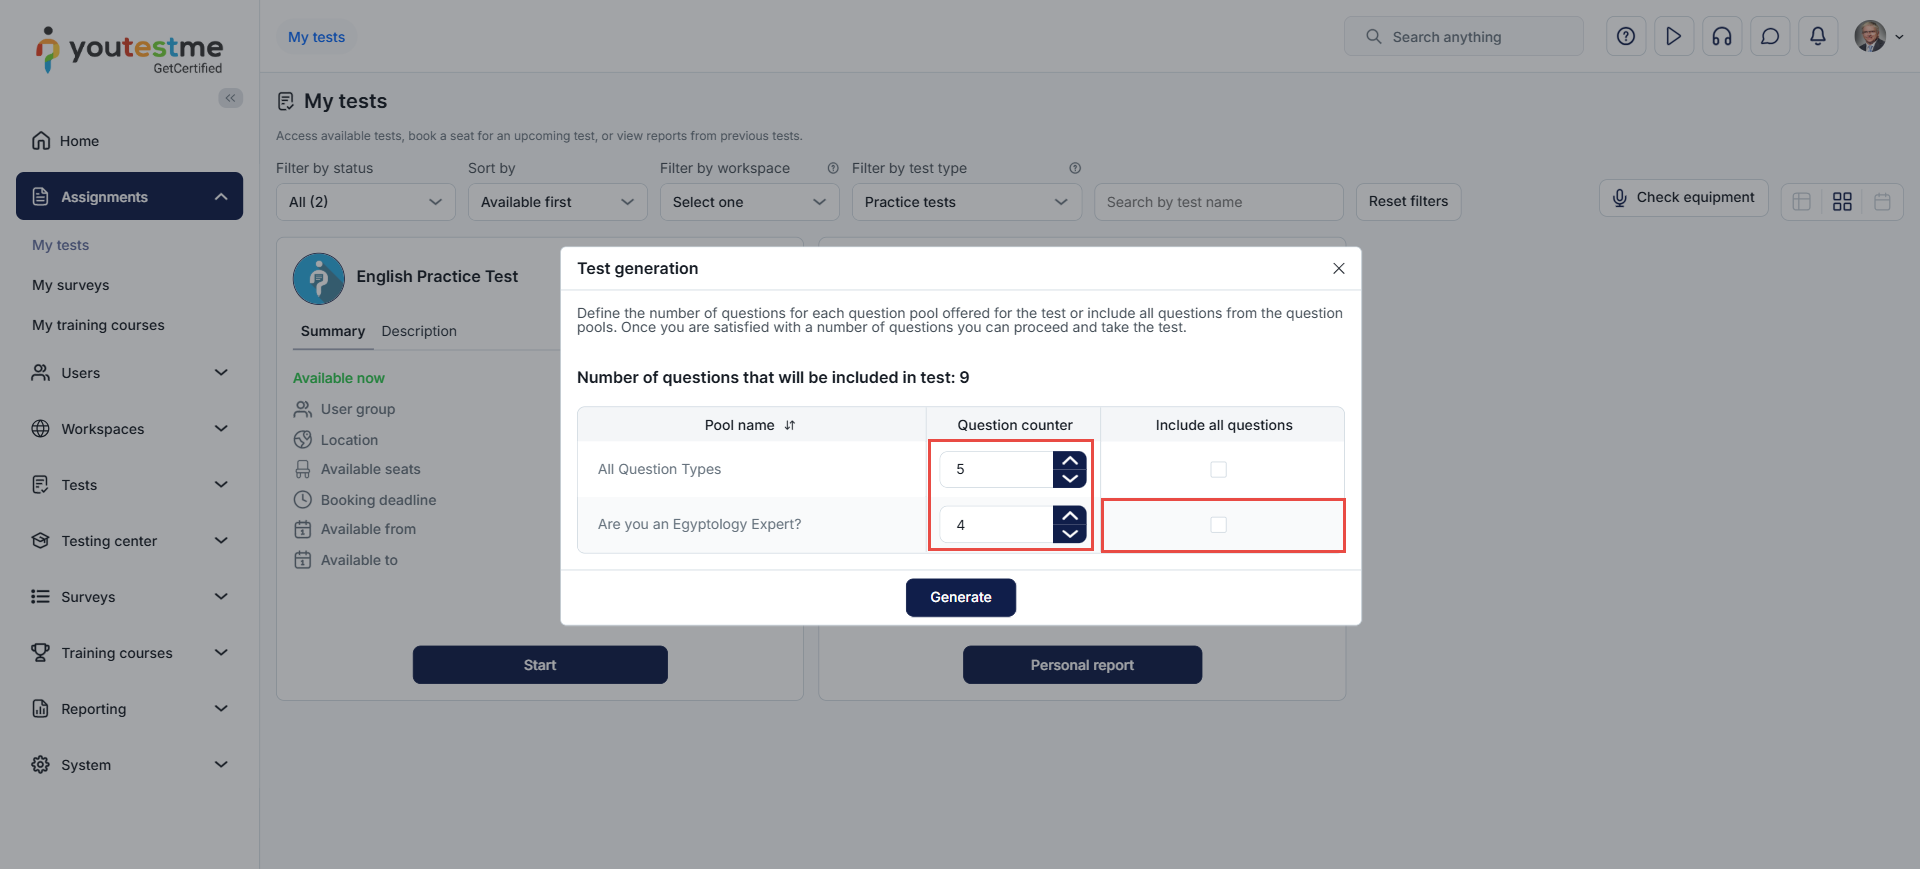
If the test has been generated based on question categories, a pop-up dialog will appear where you can set the number of questions for each question pool included in the test.
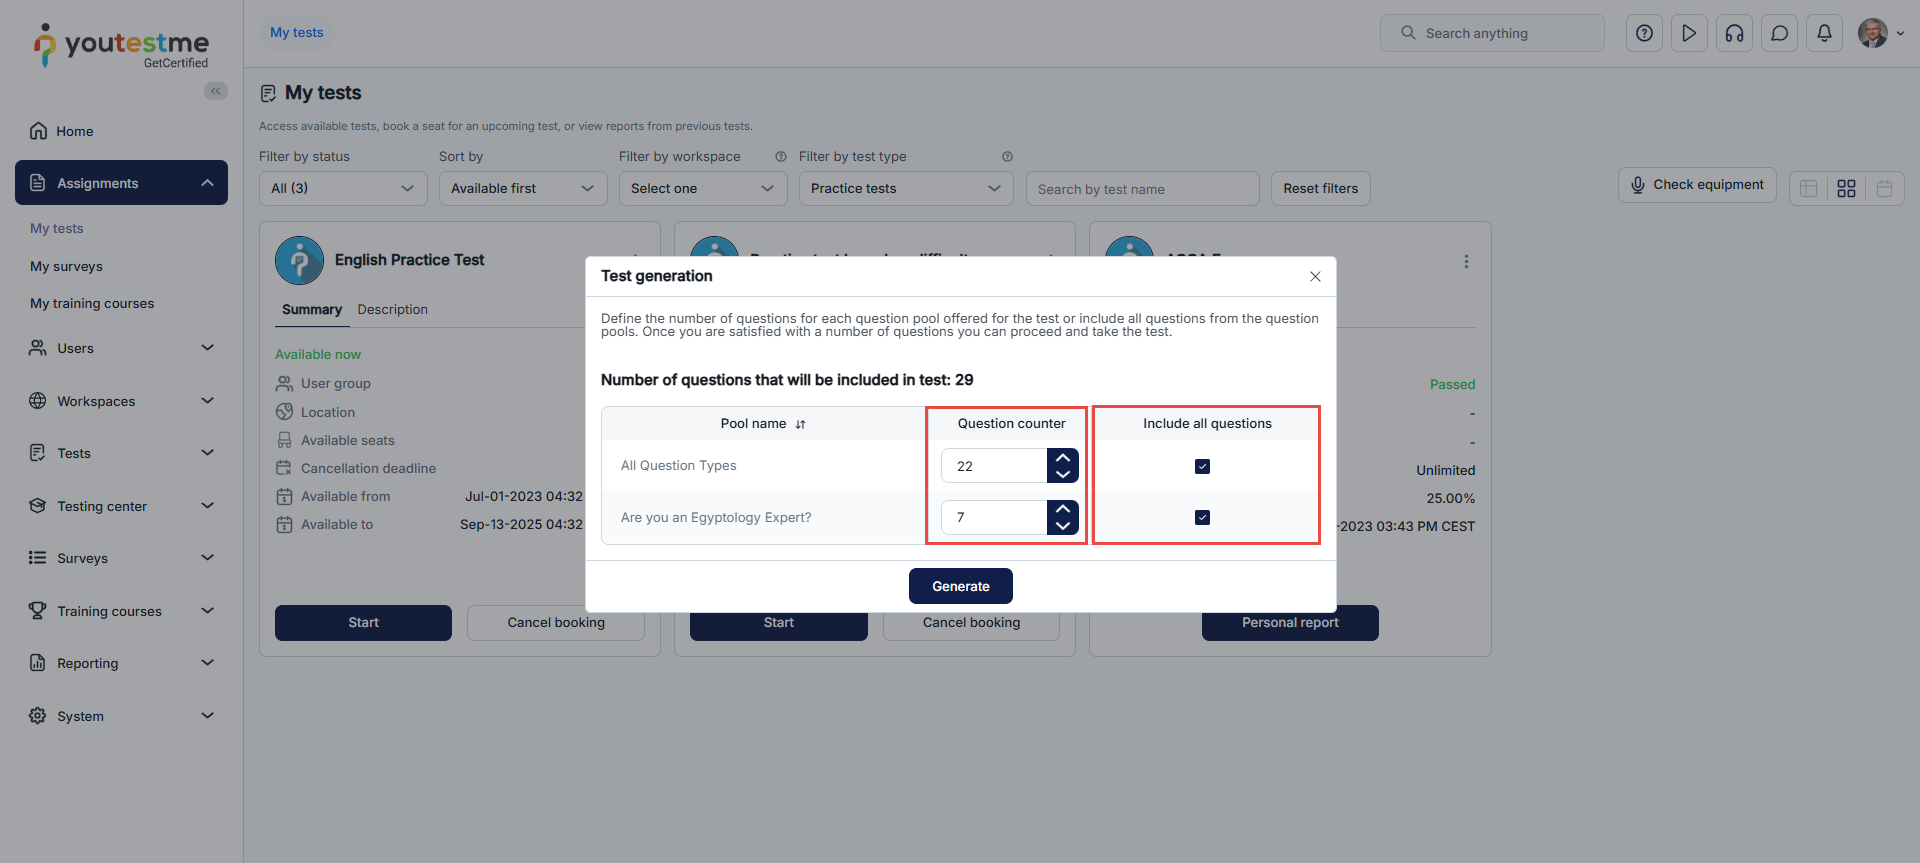
-
-
-
Test-taking page
This section will explain the most important options and information for test-taking.
-
General options
-
The name of the test. If the test contains sections, the section name is also displayed.
-
Ordinal number of the current question and total number of questions.
-
Number of points earned for a correct answer.
-
Number of negative points earned for an incorrect answer.
-
Difficulty level of the question, which can be easy, medium, or difficult.
-
Instructions button - Click this button to view the test or section instructions.
-
Flag button - By clicking this button, you can flag the question for review. You can view your review list at any time on the right panel. Click the same button again to unflag the question.
-
Calculator button - Indicates the availability of a calculator that can be used to answer questions.
-
The question text, which may include text and multimedia elements.
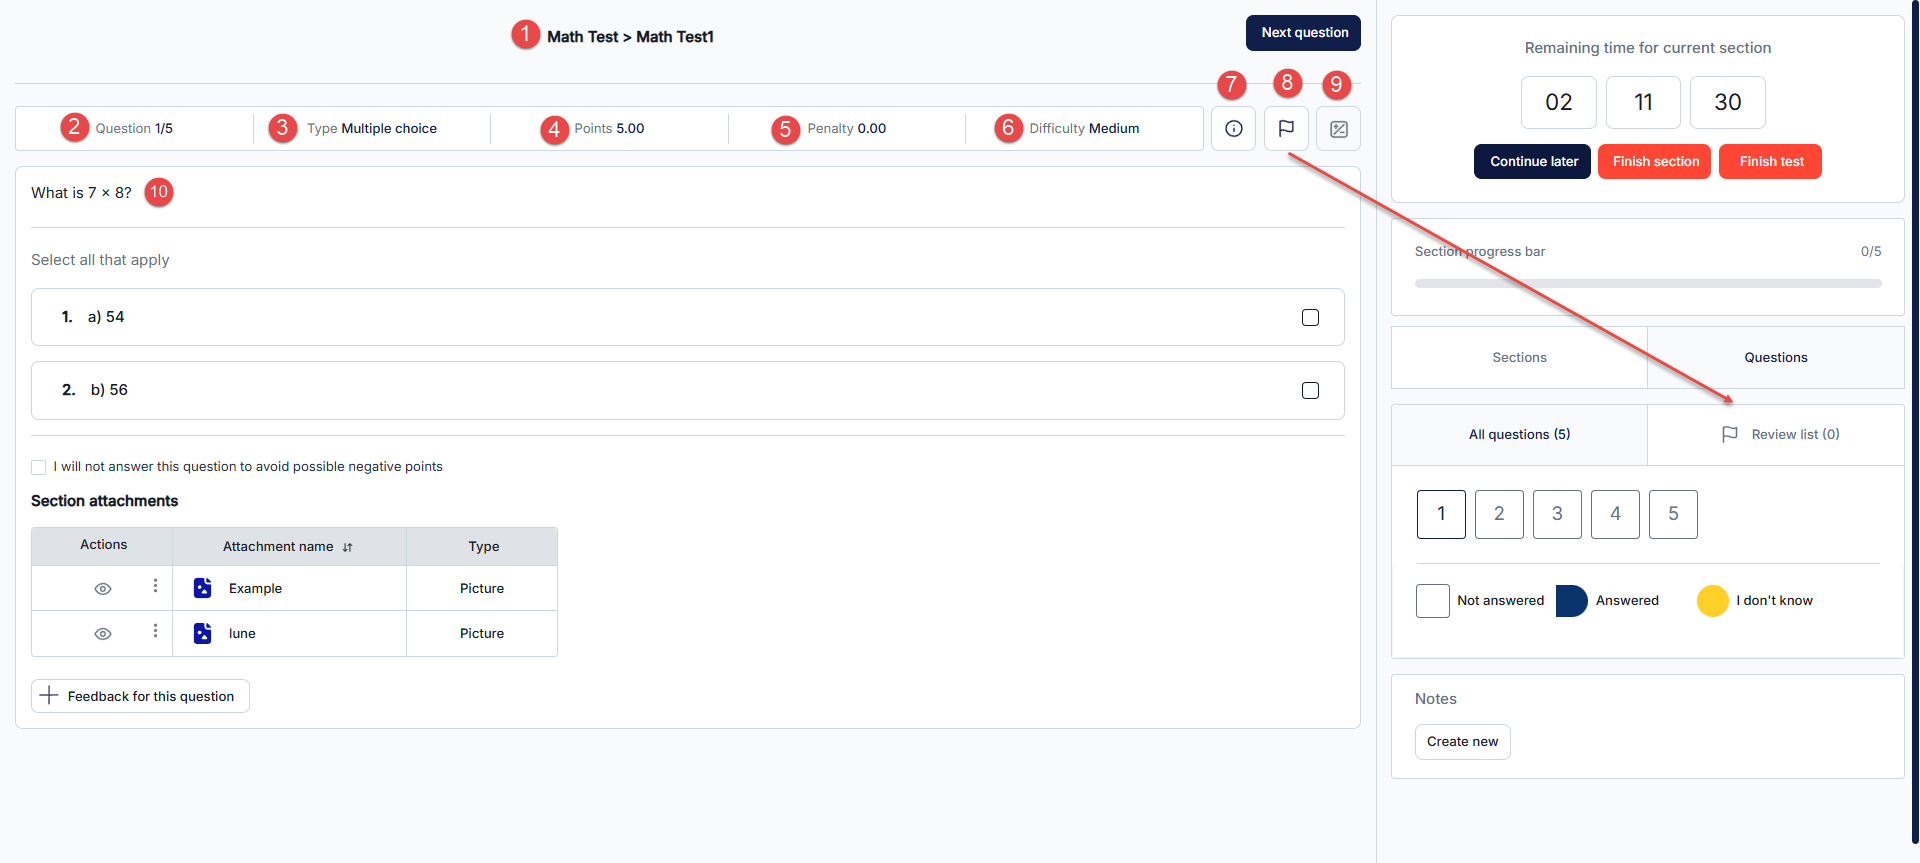
-
Simple calculator
-
BS - Delete the last entered digit of the number.
-
CE - Delete the last entered number in the calculation.
-
CA - Reset Calculator.
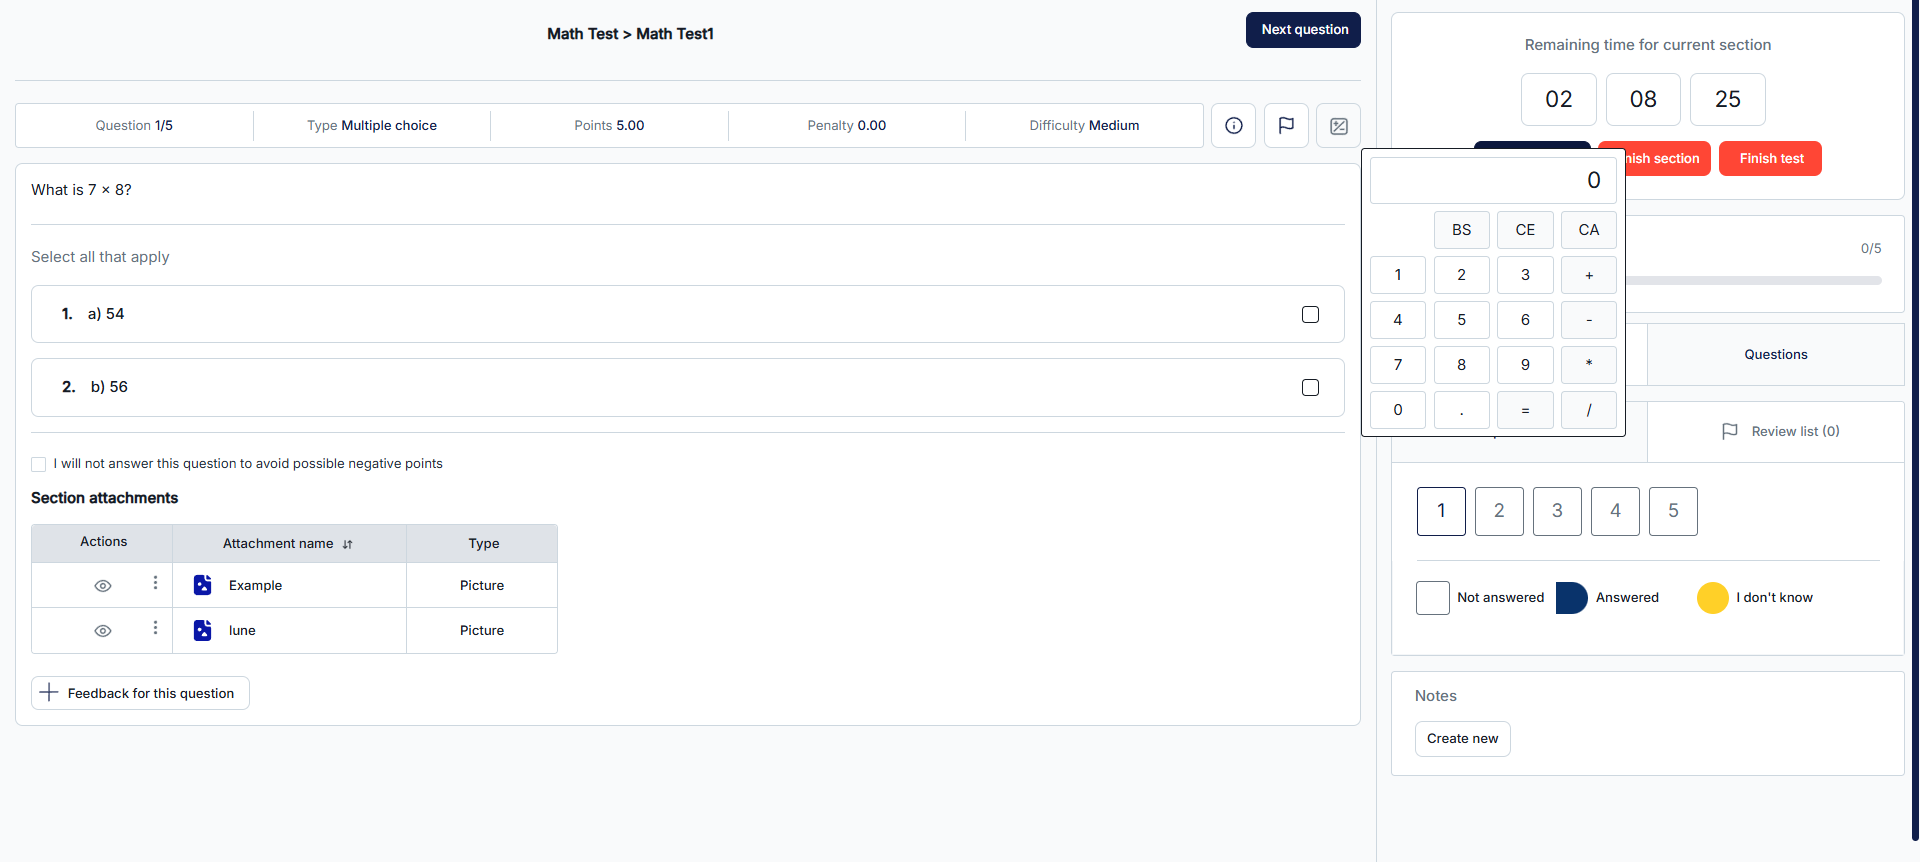
-
-
-
Main buttons
-
Previous question - Returns to the previous question. This button is displayed only if the option is enabled during test creation.
-
Next question - Moves on to the next question.
-
Upload file - Allows you to answer the question with a picture, table, diagram, etc.
-
I will not answer this question to avoid possible negative points button - Allows you to skip the question to avoid possible negative points for answering incorrectly.
-
Feedback for this question button - Provides an opportunity to define the question's difficulty and offer feedback visible to test managers.
-
Continue later - Pauses the test. You can resume it later during the testing session availability period. All answered questions will be saved.
-
Finish section - This button is displayed only if the test has multiple sections. Once you finish the section, you will submit your answers and cannot change them anymore.
-
Finish test - Completes the test. Clicking this button submits your answers, and you cannot change them anymore.
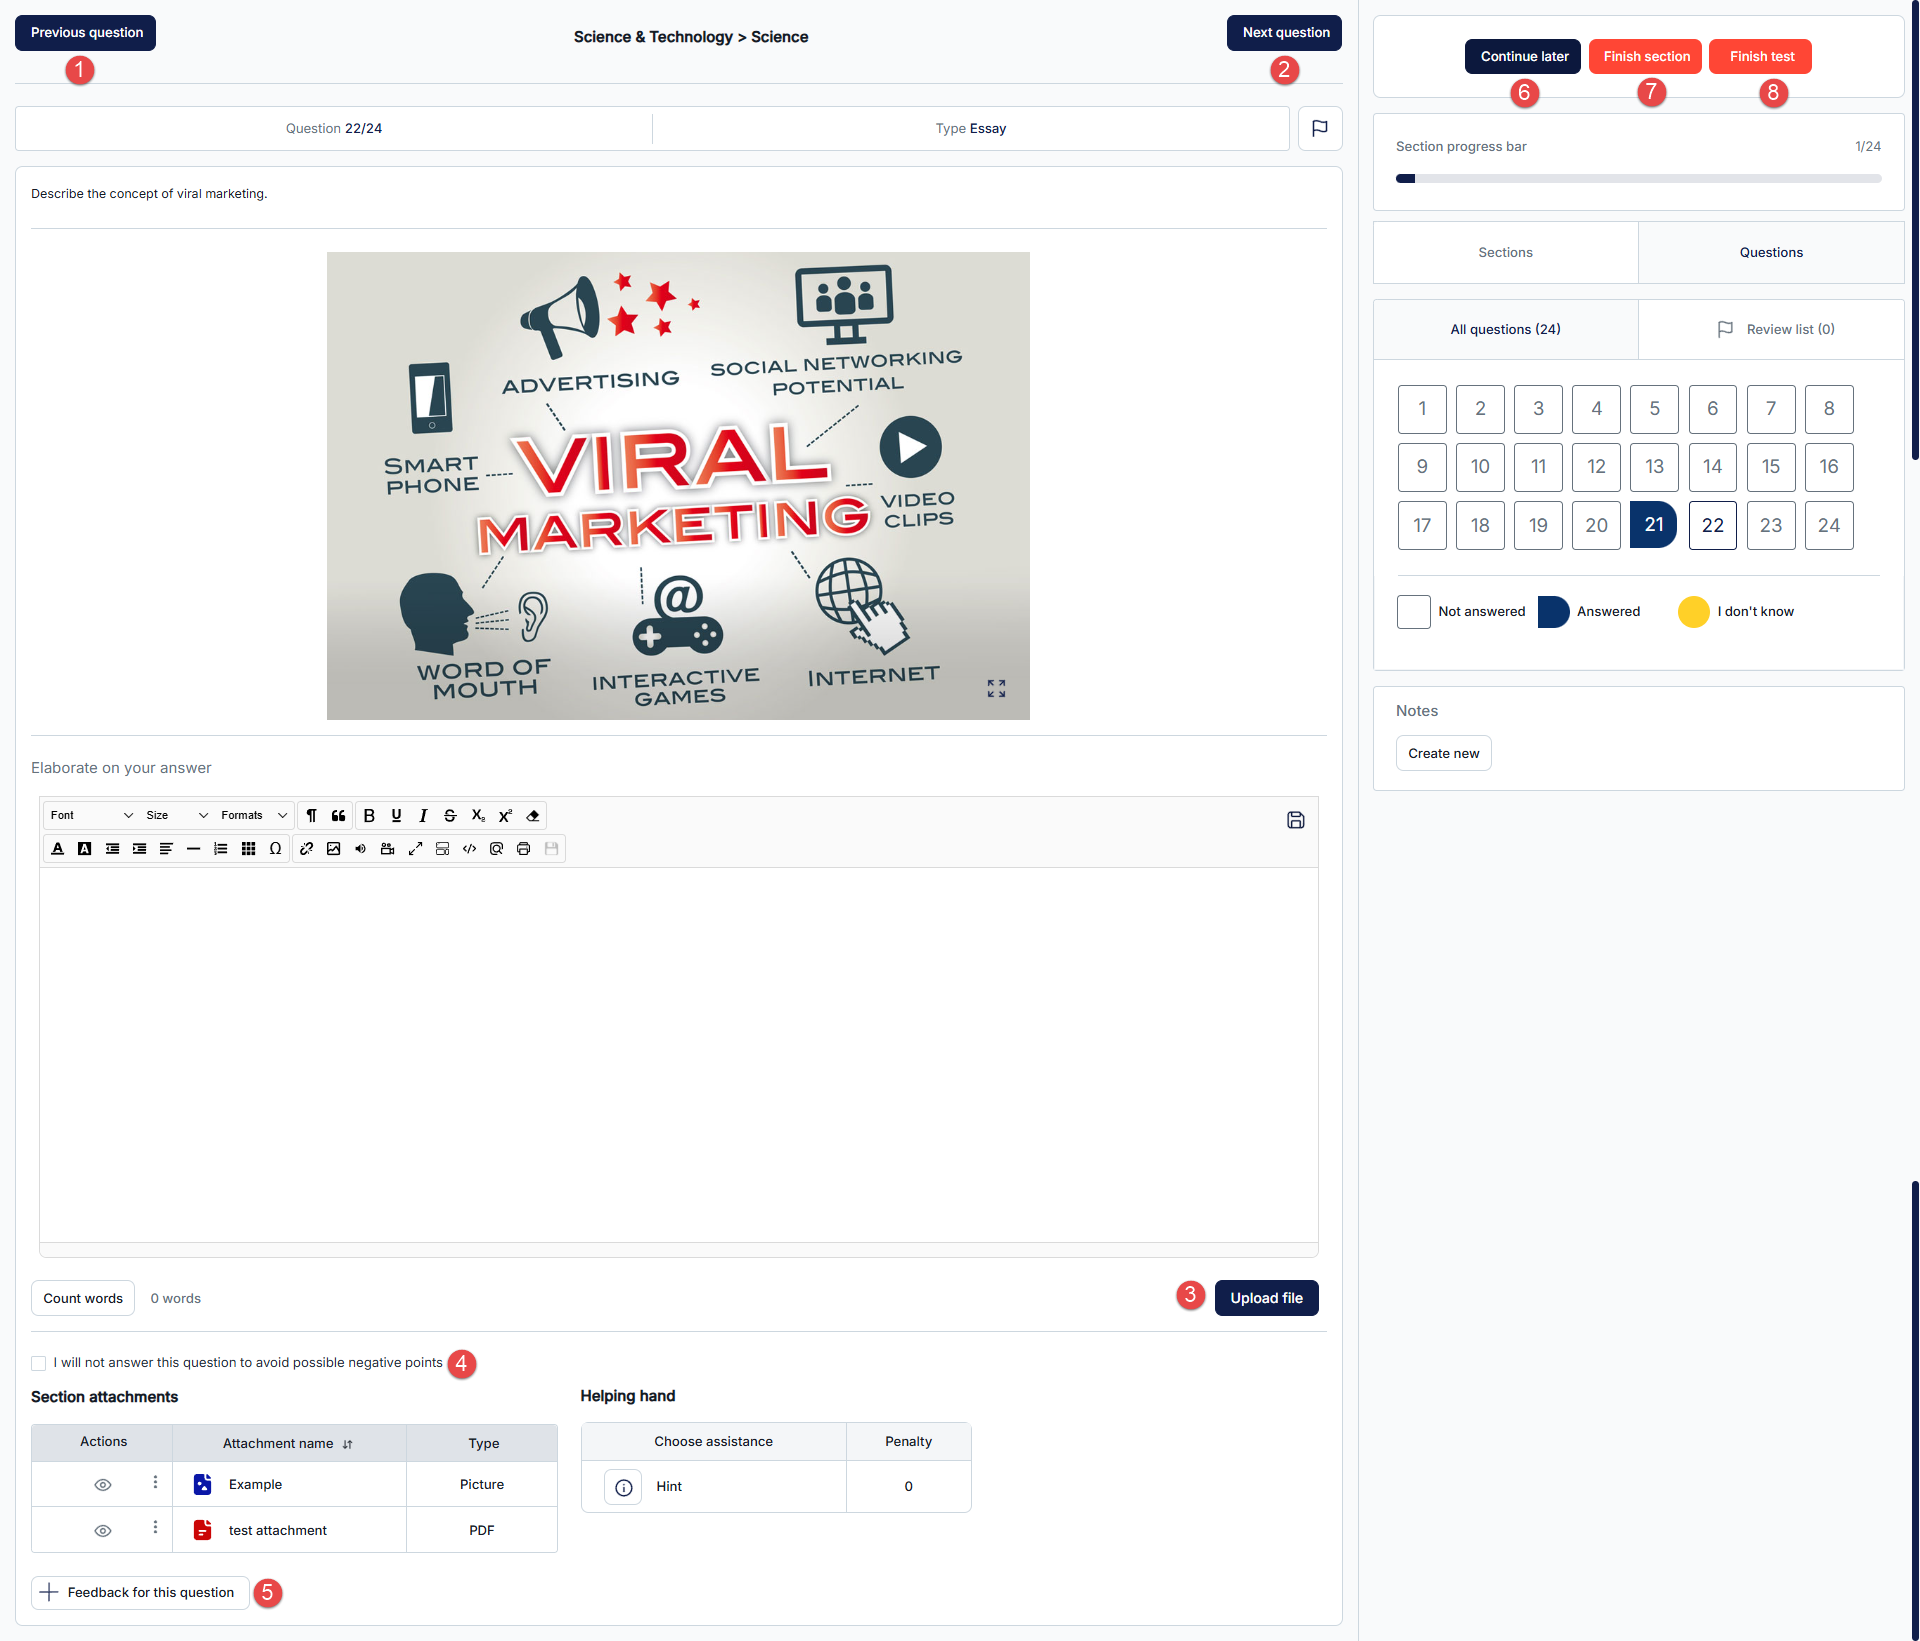
-
-
Progress bar
-
The bar visually represents the progress of answering questions out of the total number of questions in a section or the entire test.
-
Symbols and colors indicate the status of each question:
-
White field - Question is unanswered.
-
Yellow field - Question is skipped because the I will not answer this question to avoid possible negative points option was selected.
-
Blue field - Question is answered.
Note: If the test is not graded automatically in real-time, the field will be blue when the question cannot be automatically graded, and the test manager must rate it.
-
Green field - Question is answered correctly. This color is used only when the test is automatically graded in real-time.
-
Red field - Question was answered incorrectly. This color is used only when the test is automatically graded in real-time.
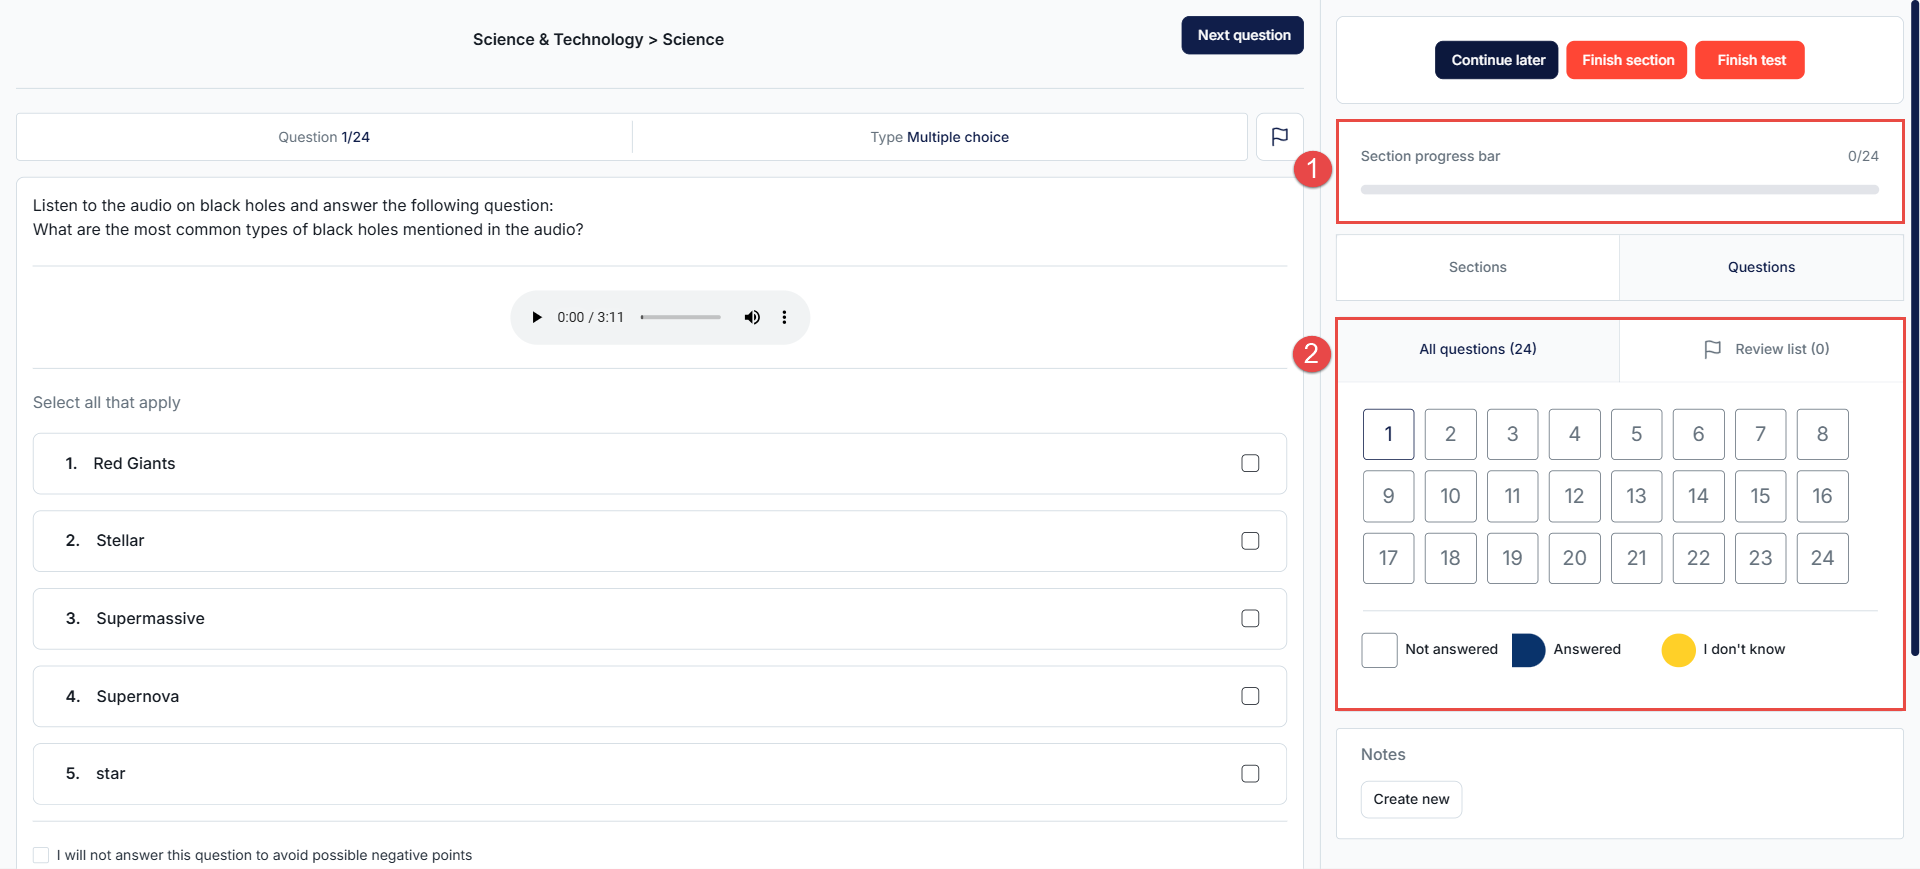
-
-
-
Test timing
Depending on the test settings, you may have:
-
Unlimited time to answer questions. In that case, the test does not contain a timer.
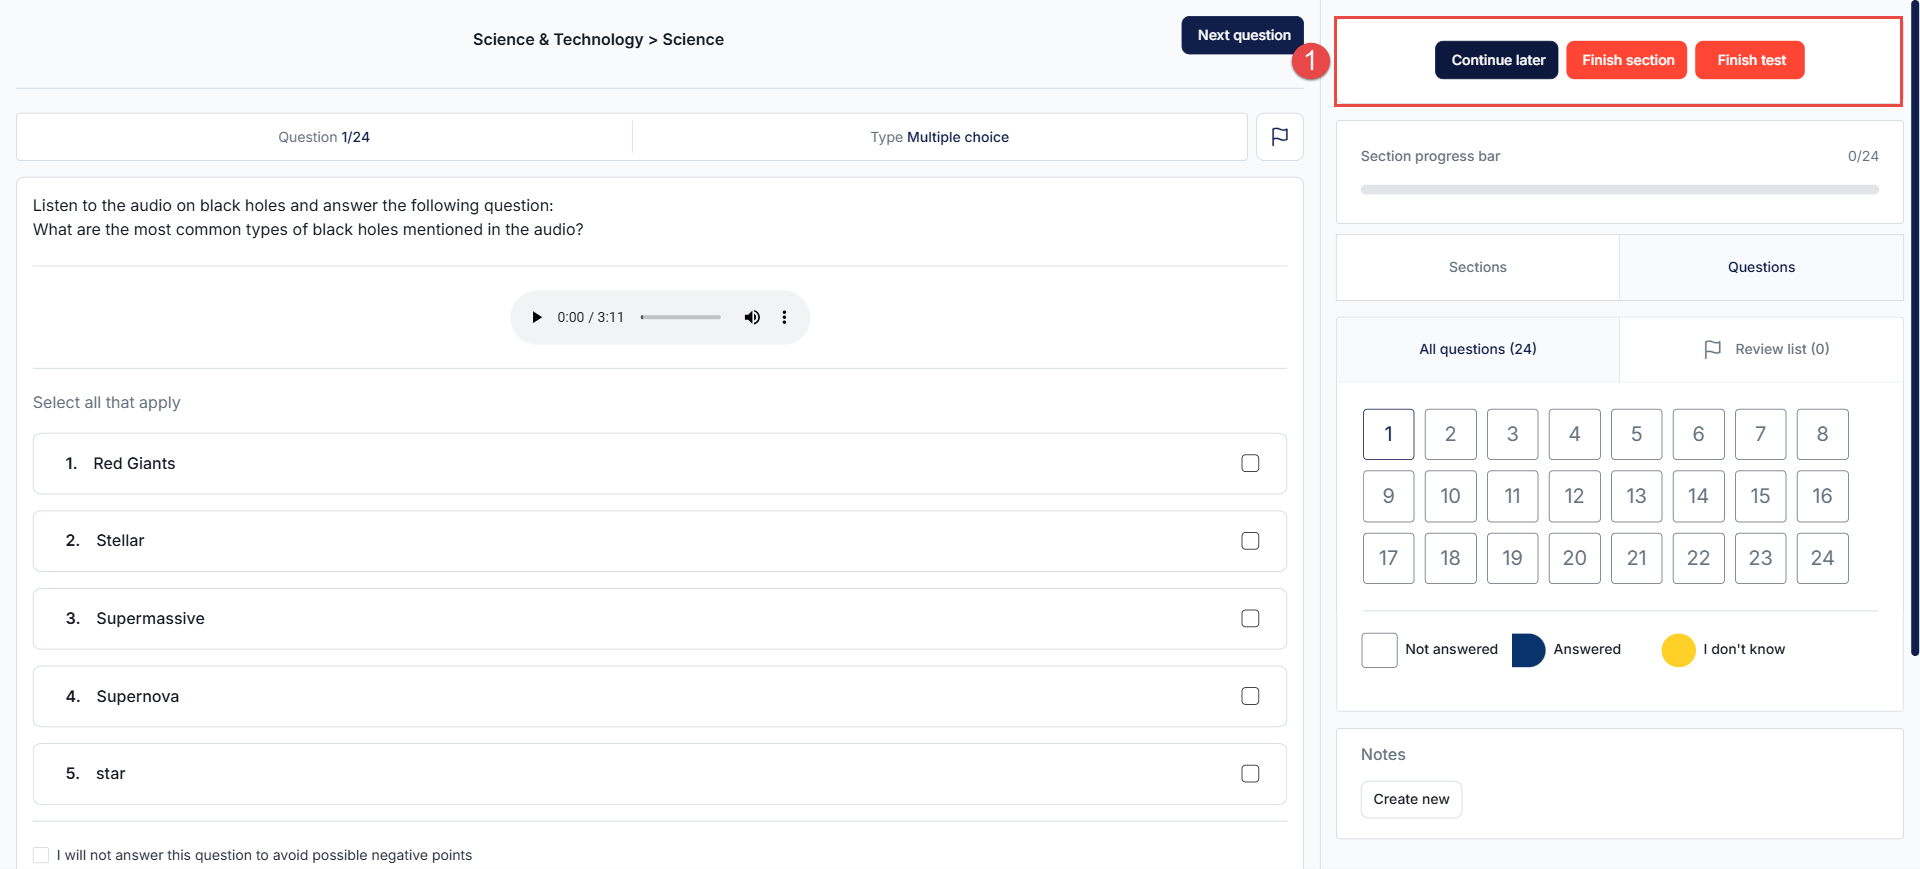
-
Time limit for completing the entire test.
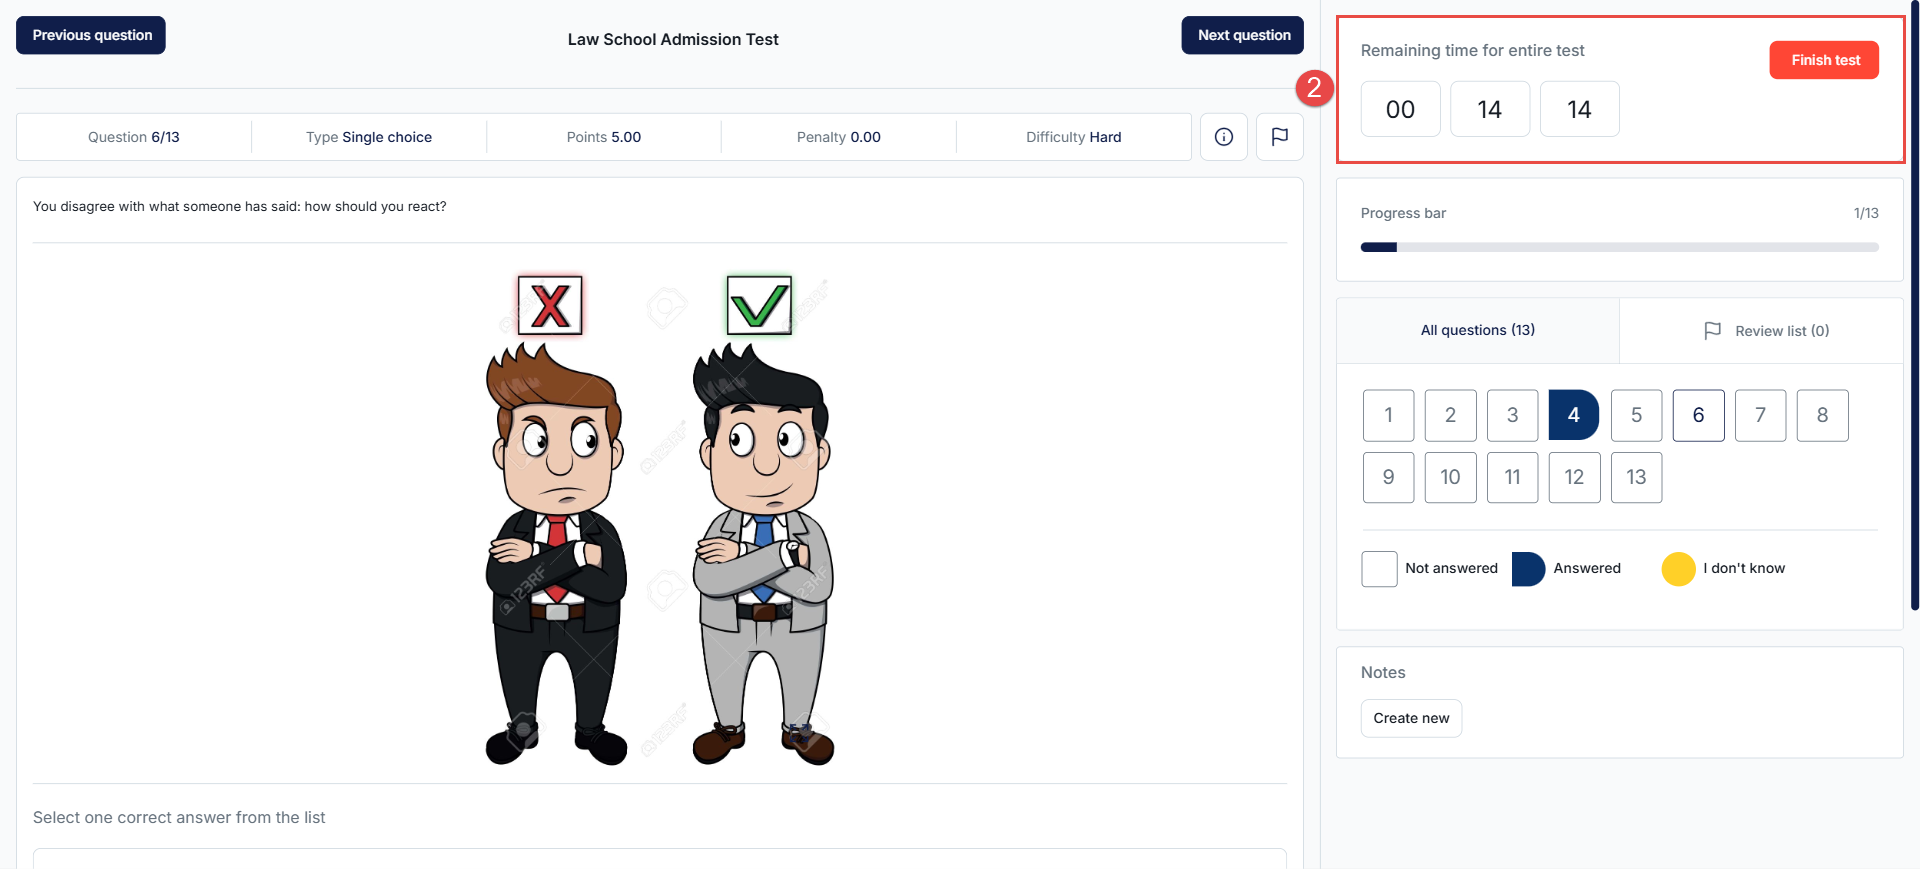
-
Time limit for completing each section.
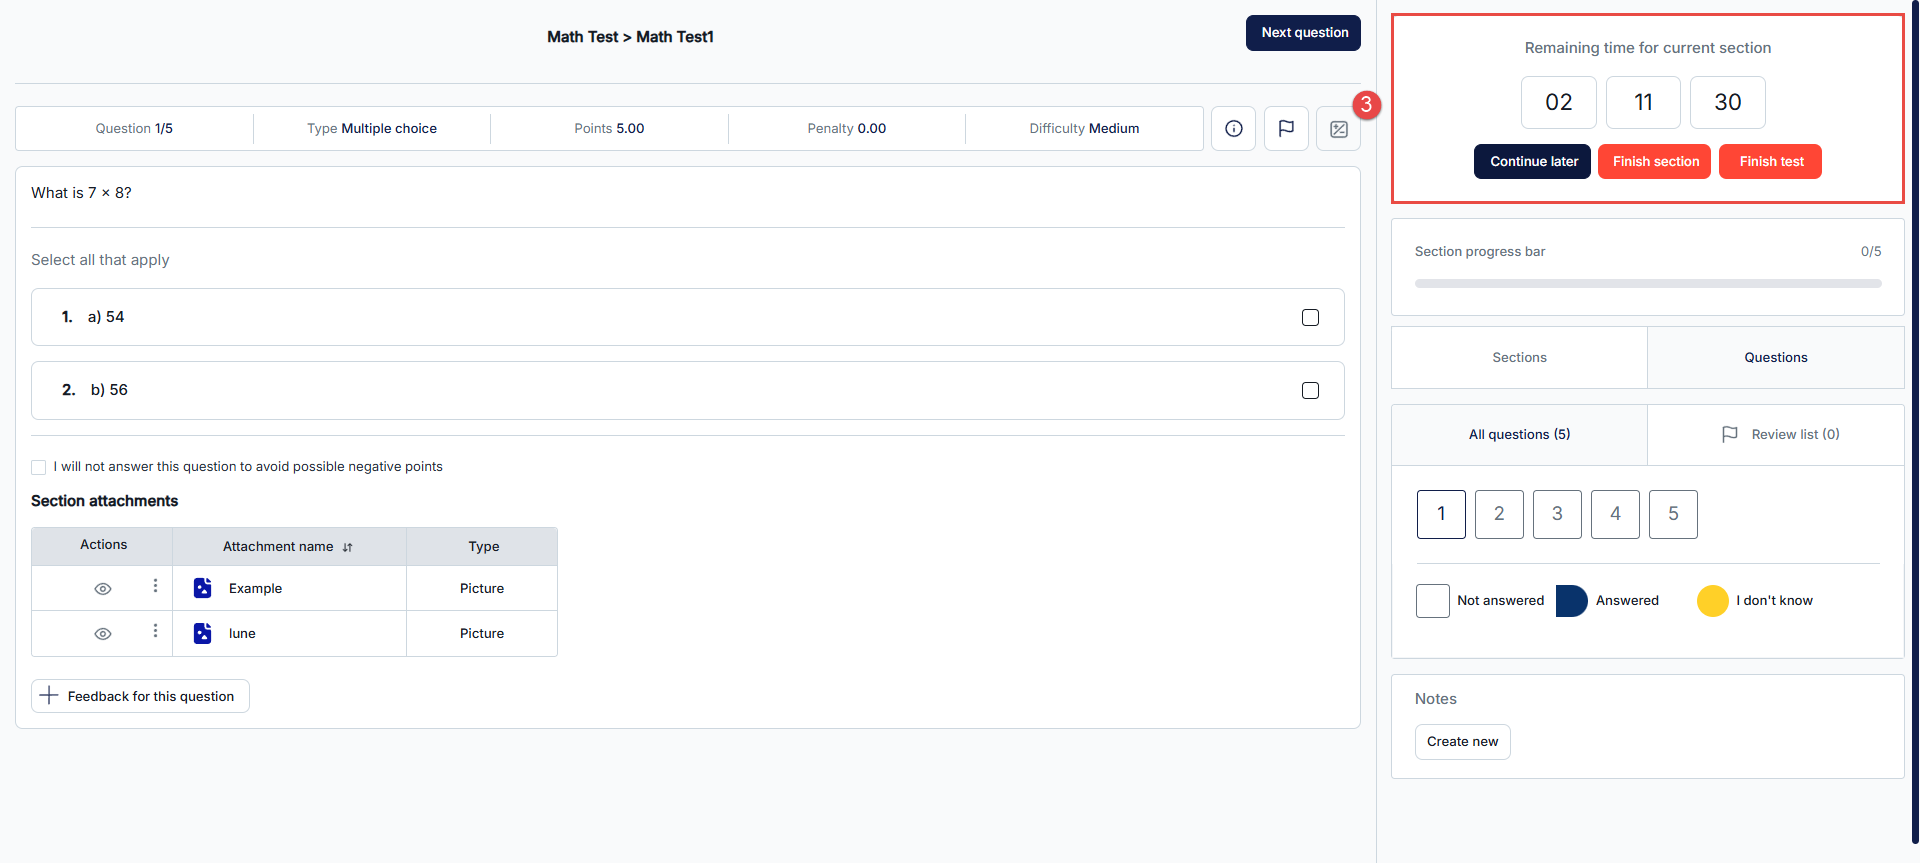
-
Time limit for answering each question.
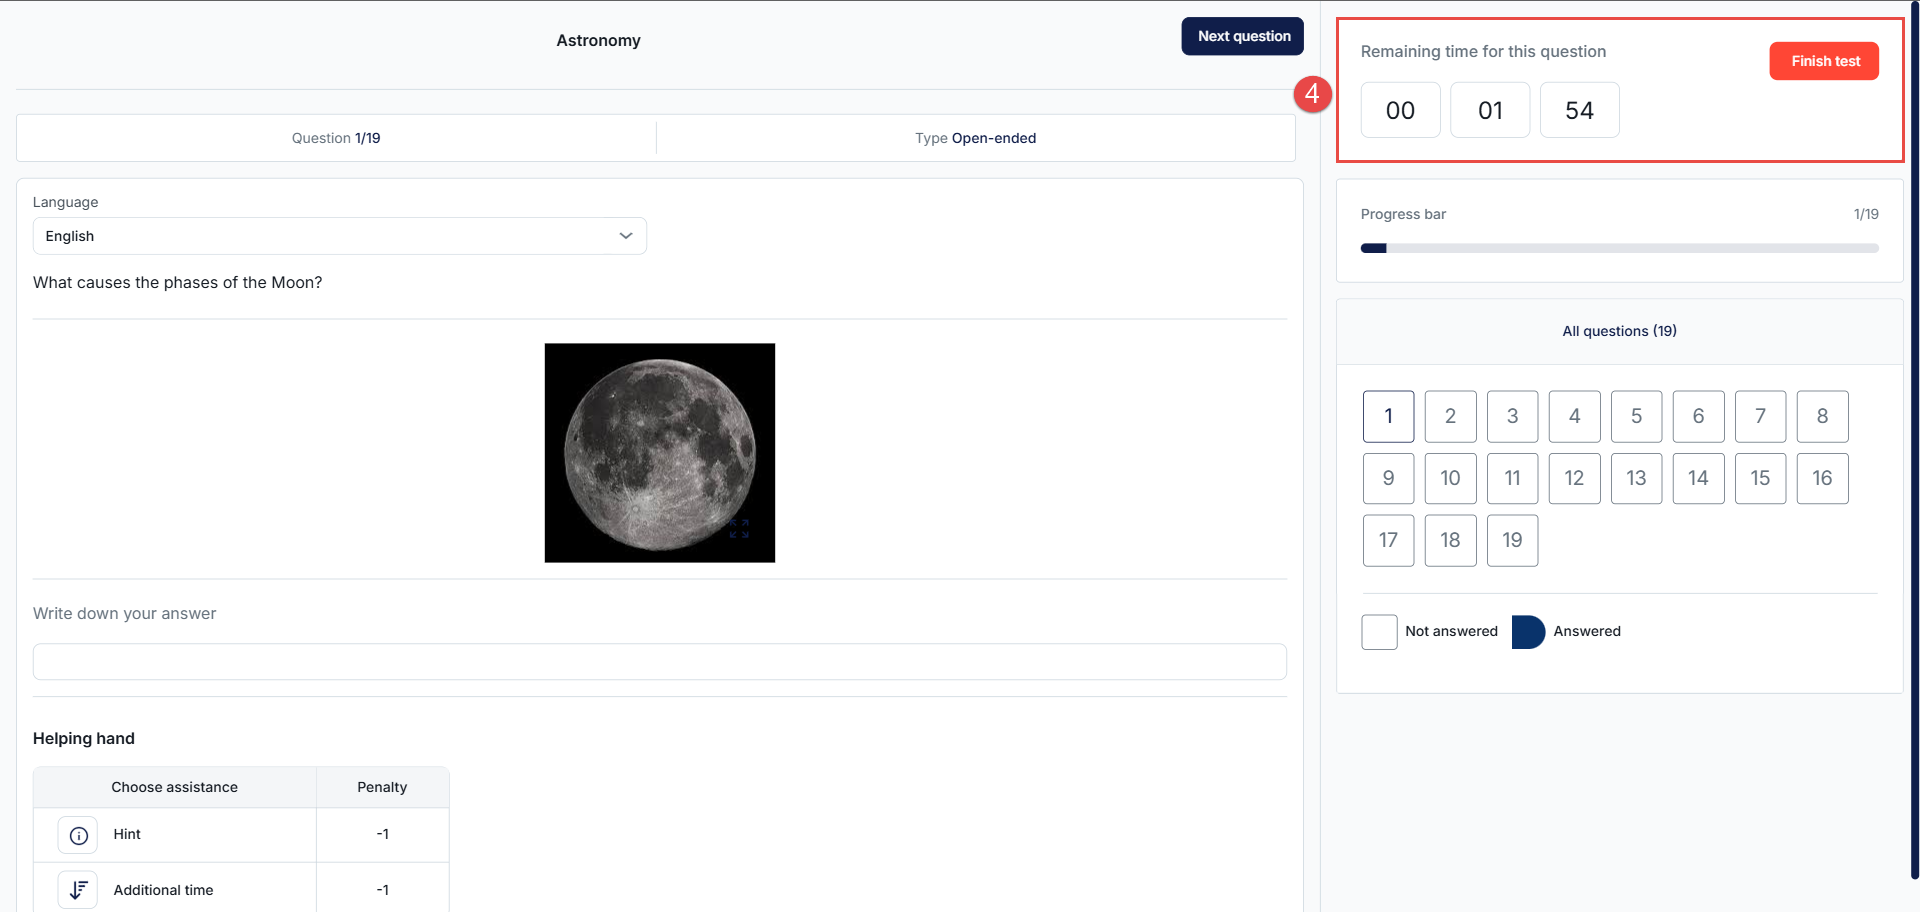
-
-
Hints
Depending on the test options and the type of question, you may utilize the following forms of assistance:
-
Hint - Provides additional text to aid in answering the question.
-
Minus one wrong answer - Removes one incorrect answer.
-
Additional time to answer the question.
Note: Using assistance may affect the total number of points earned, especially if they carry penalty points. If you use assistance and answer the question correctly, the total number of points achieved will be reduced by the assistance penalty points.
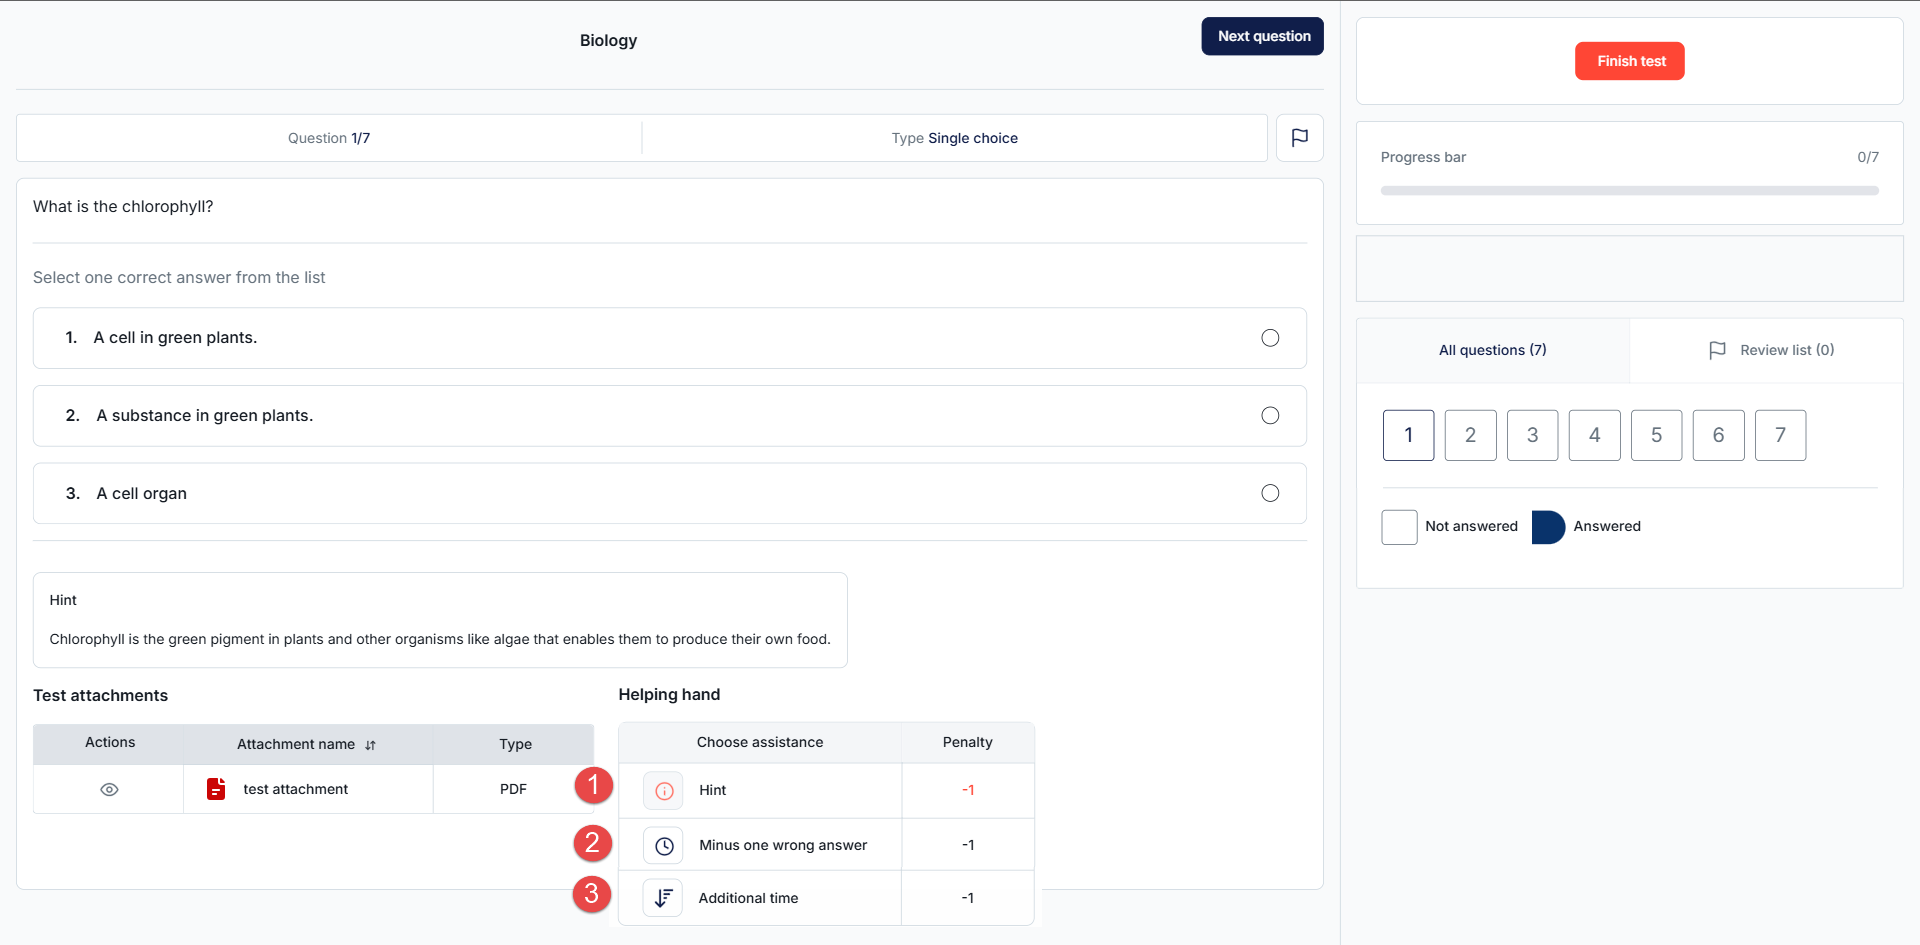
-
-
Attachments
Attachments can be added to questions, sections, and/or tests. Next to each attachment, there is an option to view it.
By clicking on the View button, the attachment will open in a pop-up window.
Note: In browser lockdown mode, only picture, text, and video attachments (videos that can be played while test-taking) are supported. Link attachments are disabled.
-
Notes
-
Filter notes by section or question ordinal number.
-
Edit and preview the note in a new dialog.
-
Delete the selected note.
-
Create a new note for a question.
You can take notes during the test-taking process to save your calculations, notes, and thoughts. The Notes section contains a list of all the notes made throughout the test. Depending on the test settings, your notes will be visible only to you or also to the test managers. Available actions related to notes include:
-
-
Finishing the test
After clicking the button to complete the test, a window may appear for the following reasons:
-
To inform you that you have unanswered questions, and questions you have skipped in the section.
Click the Yes button to finish the section regardless of the unanswered questions, or the No button to return to the questions.
-
To warn you that you have unanswered questions. Click the Close button to answer the remaining questions.
Note: This will happen if the option that requires answering all questions was enabled during test creation.
-
To ask you if you are sure you want to finish the test. If you are certain, click the Yes button. If you want to check your answers again, click the No button to return to the test.
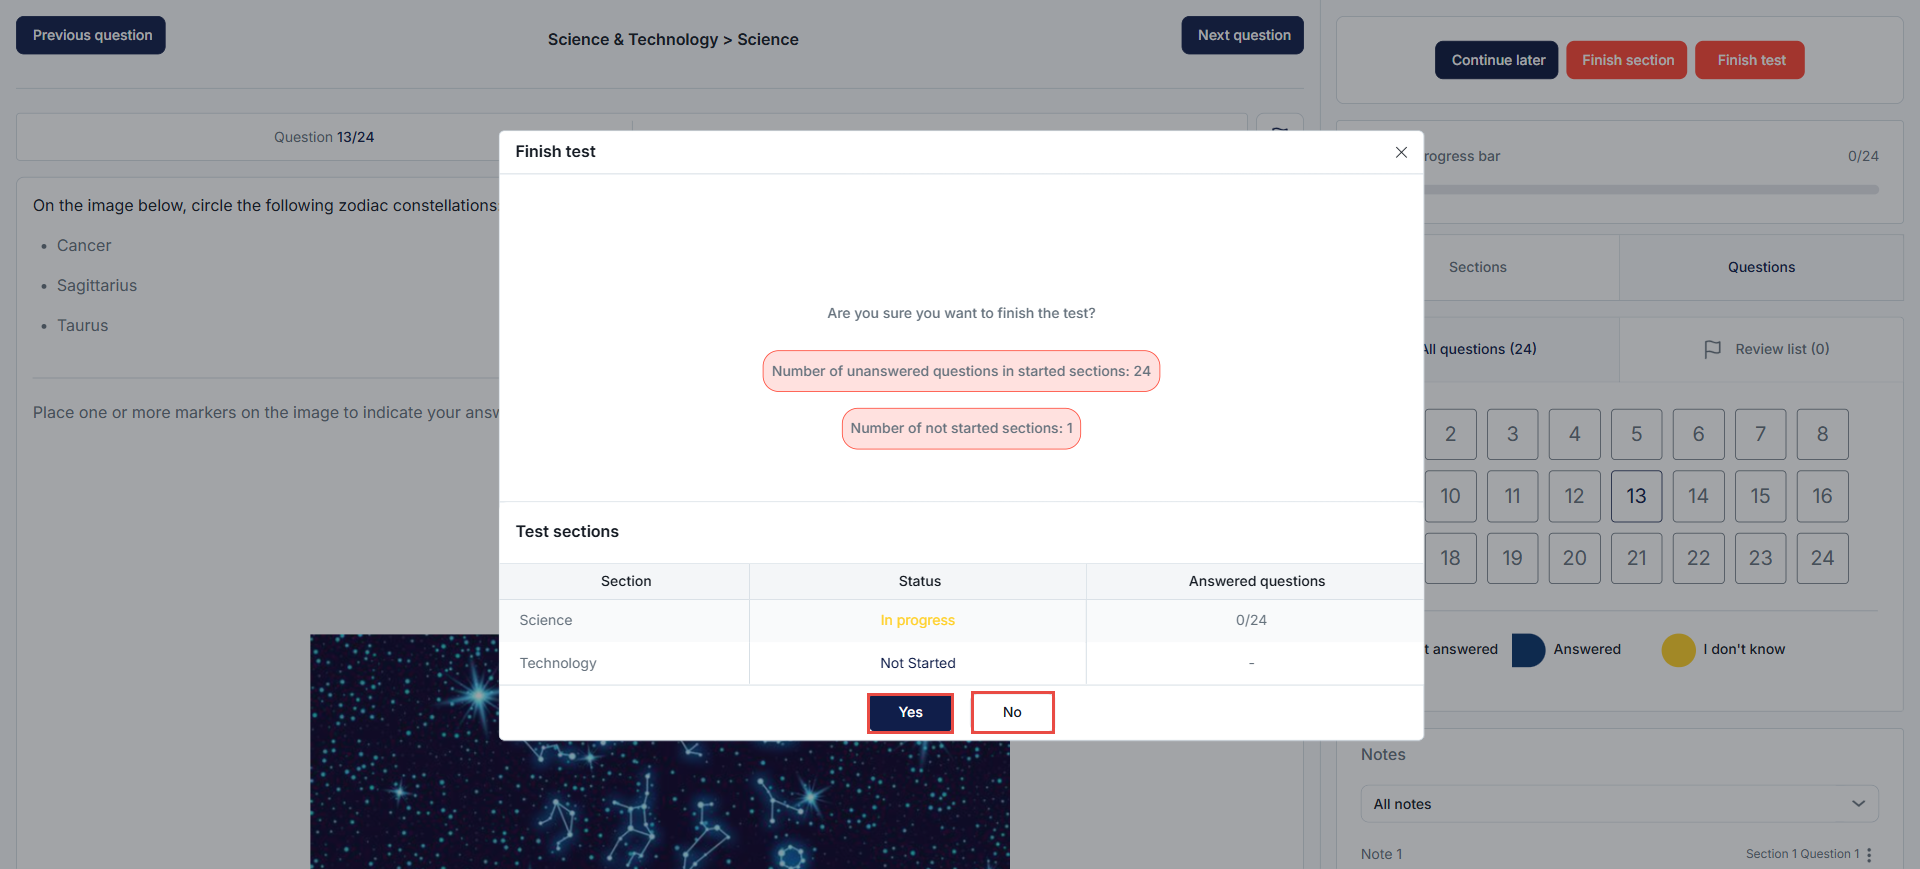
Note: After completing the test, depending on the test configuration, you may be redirected to a report, or you may be required to log out of the application.
-
-
User Feedback
User feedback is qualitative and quantitative data from customers on their likes, dislikes, impressions, and requests about a product. Collecting and making sense of user feedback is critical for businesses that wish to make improvements based on what their users need.
Here is how you can find User feedback page.
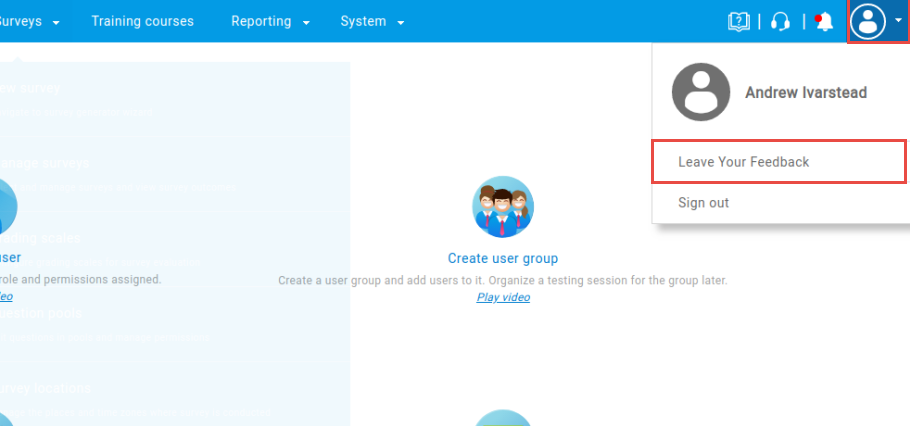
All options will be explained in more detail below.
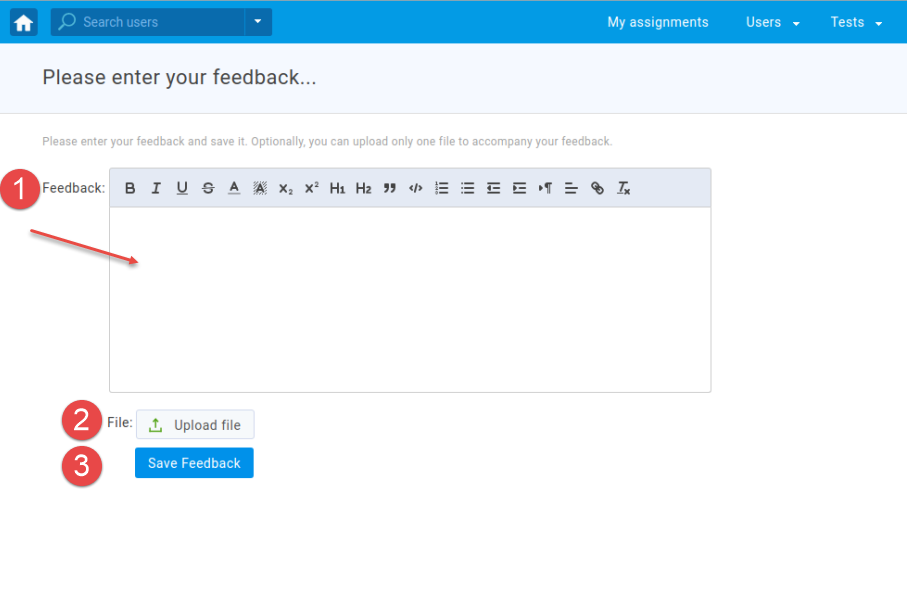
"Feedback" - The place where you can enter your feedback.
"Upload File" - Click on the Upload File button, use the file manager to select the file, and click the Open button to move files over to the upload area. If you made a mistake, it is possible to repeat the action.
"Save Feedback" - Clicking the Save feedback button saves your feedback and the file you uploaded.
-