
Article verified for Release 15.1 on January 26, 2026
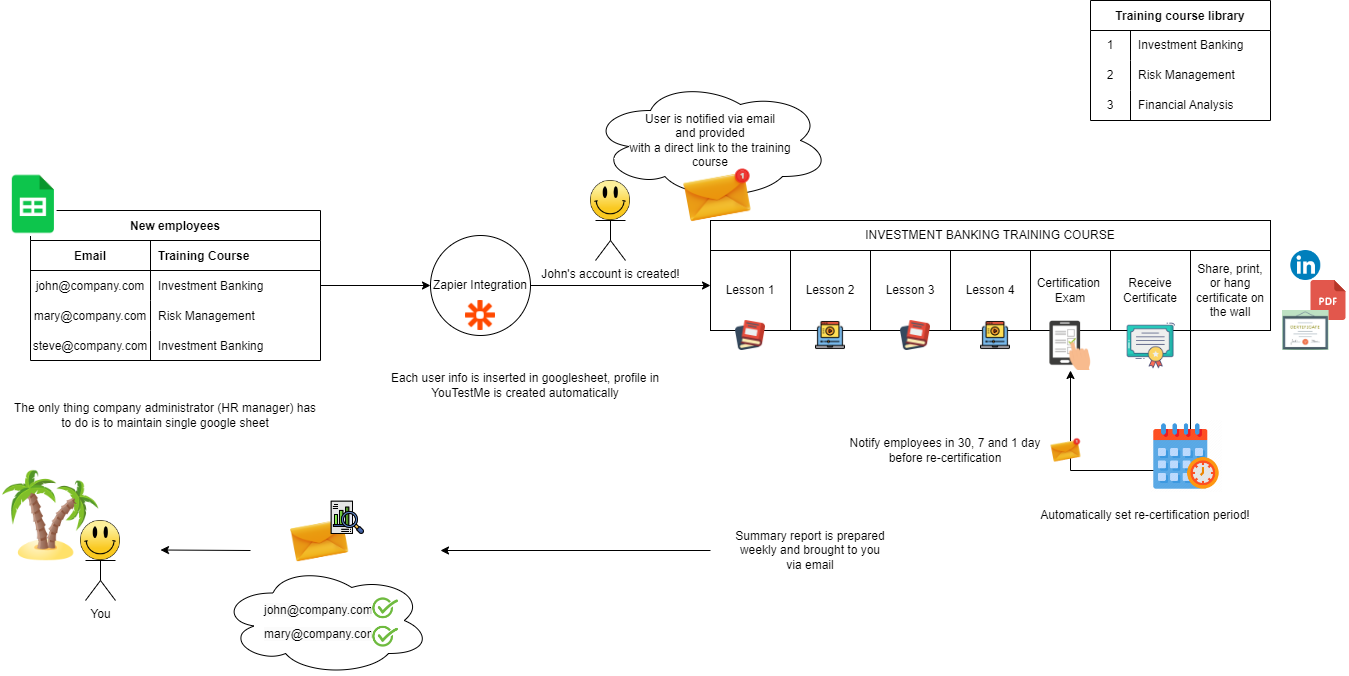
This article explains the process of setting up Zapier integration with GetCertified and provides instructions on how users can create a Zap to assign users to the desired training course using a Google Spreadsheet.
Introduction
This article explains how to set up Zapier integration with GetCertified and provides instructions for creating a Zap that allows users to assign themselves to a desired training course using Google Spreadsheet. Zapier integration connects with various applications integrated with Zapier. To create a workflow and new Zaps, you need to integrate Zapier with your chosen application.
You can create a Zap to perform one of the offered actions (create, update, or delete users, add users to training, create an attempt) by choosing one of the integration options available in the YouTestMe application. The most effective way to connect with the application is by using triggers.
The Zap workflow executes each time the chosen action is performed, and the administrator receives a notification regarding the event.
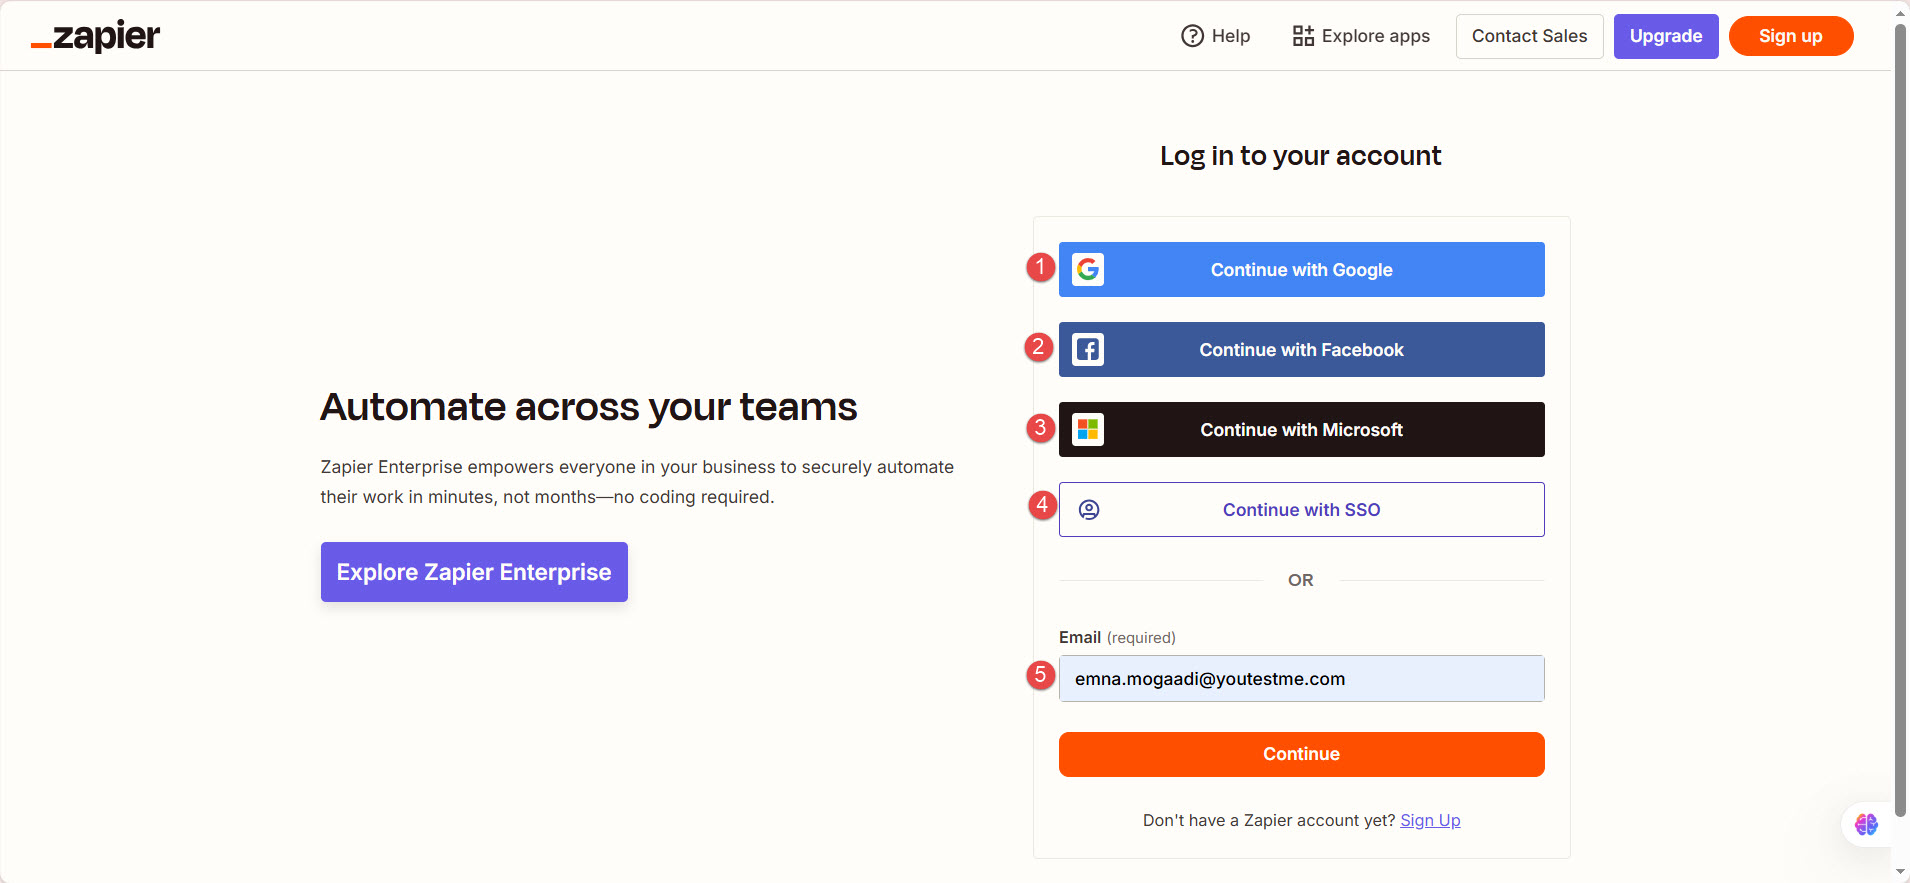
Sign in to Zapier
Navigate the YouTestMe Zapier integration link. You can sign in to Zapier using:
- Google account.
- Facebook account.
- Microsoft account.
- SSO
- Work email.
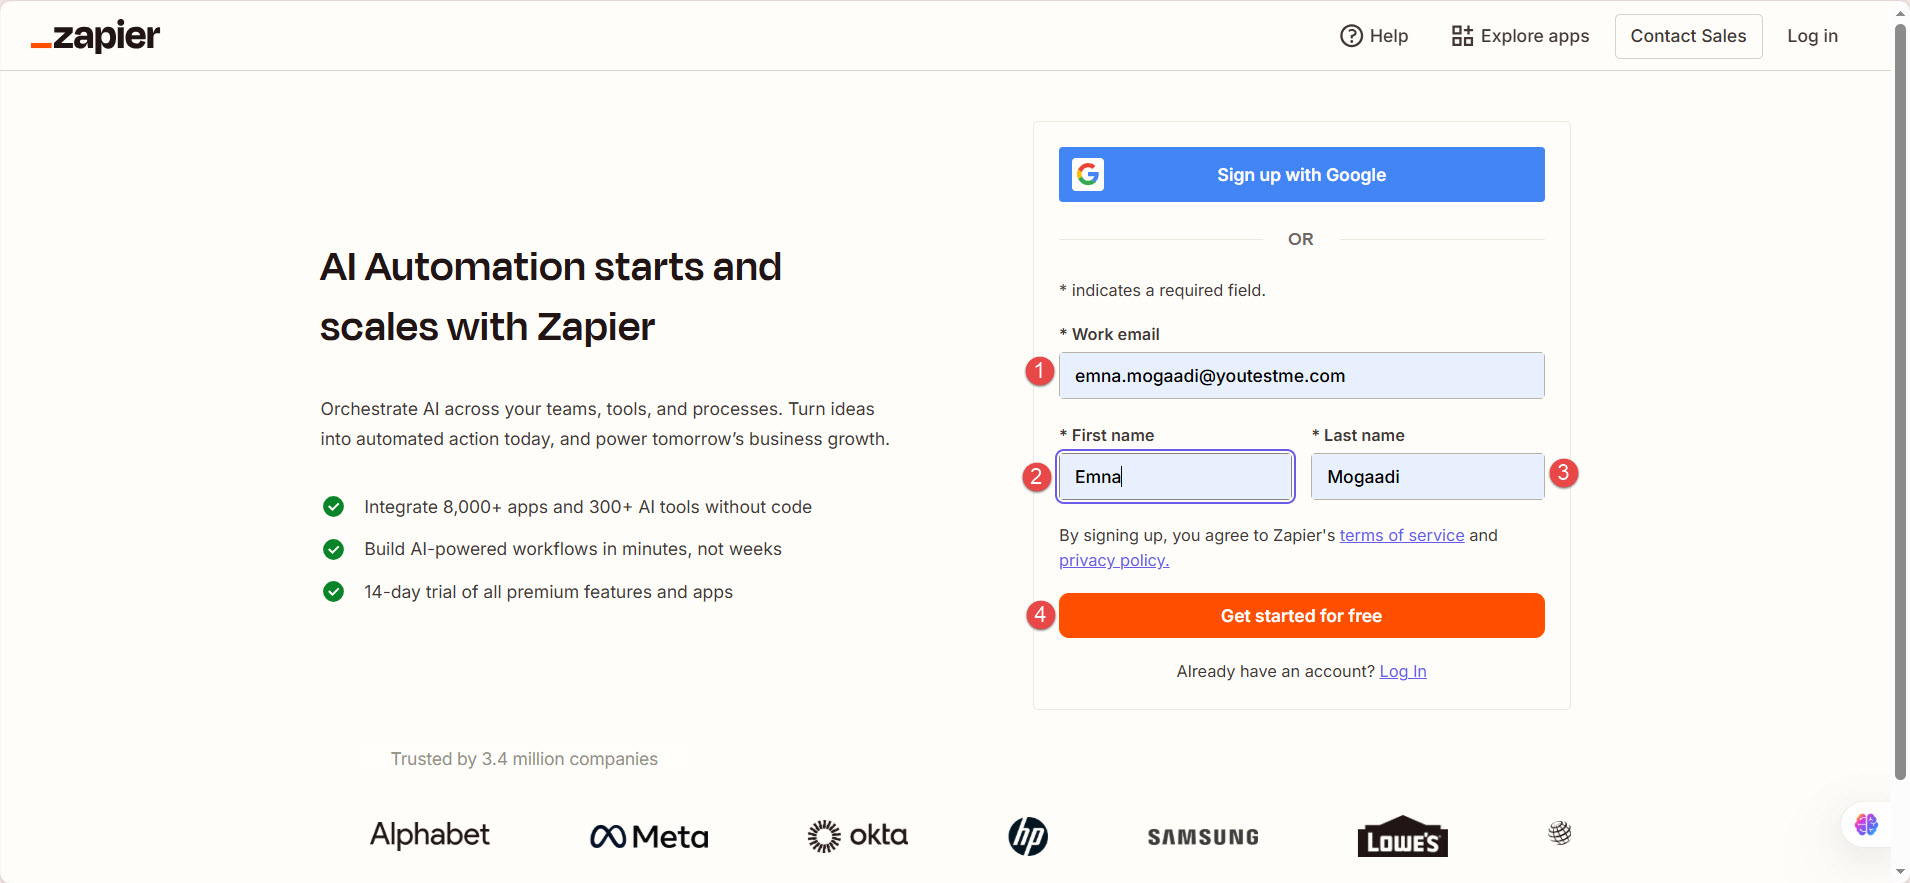
Create an account using the work email option
To create a new Zapier account:
- Enter the work email.
- Enter the first name.
- Enter the last name.
- Click the Get started free button.

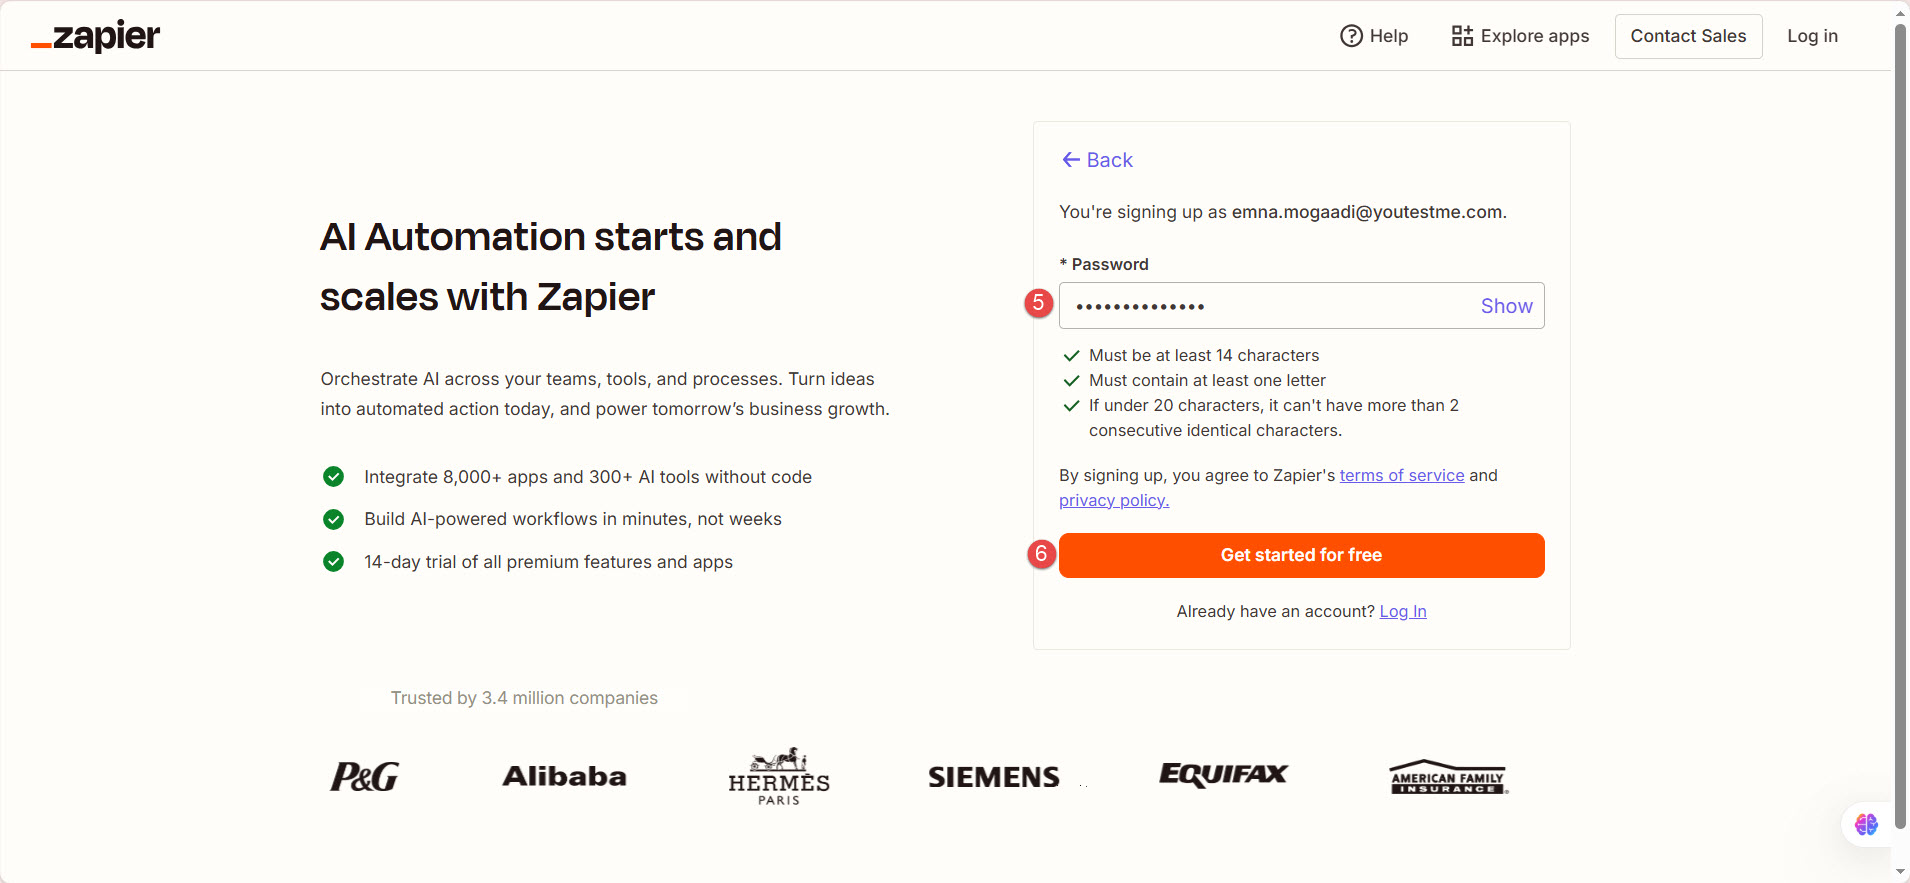
- Enter password.
- Click the Get started free button.
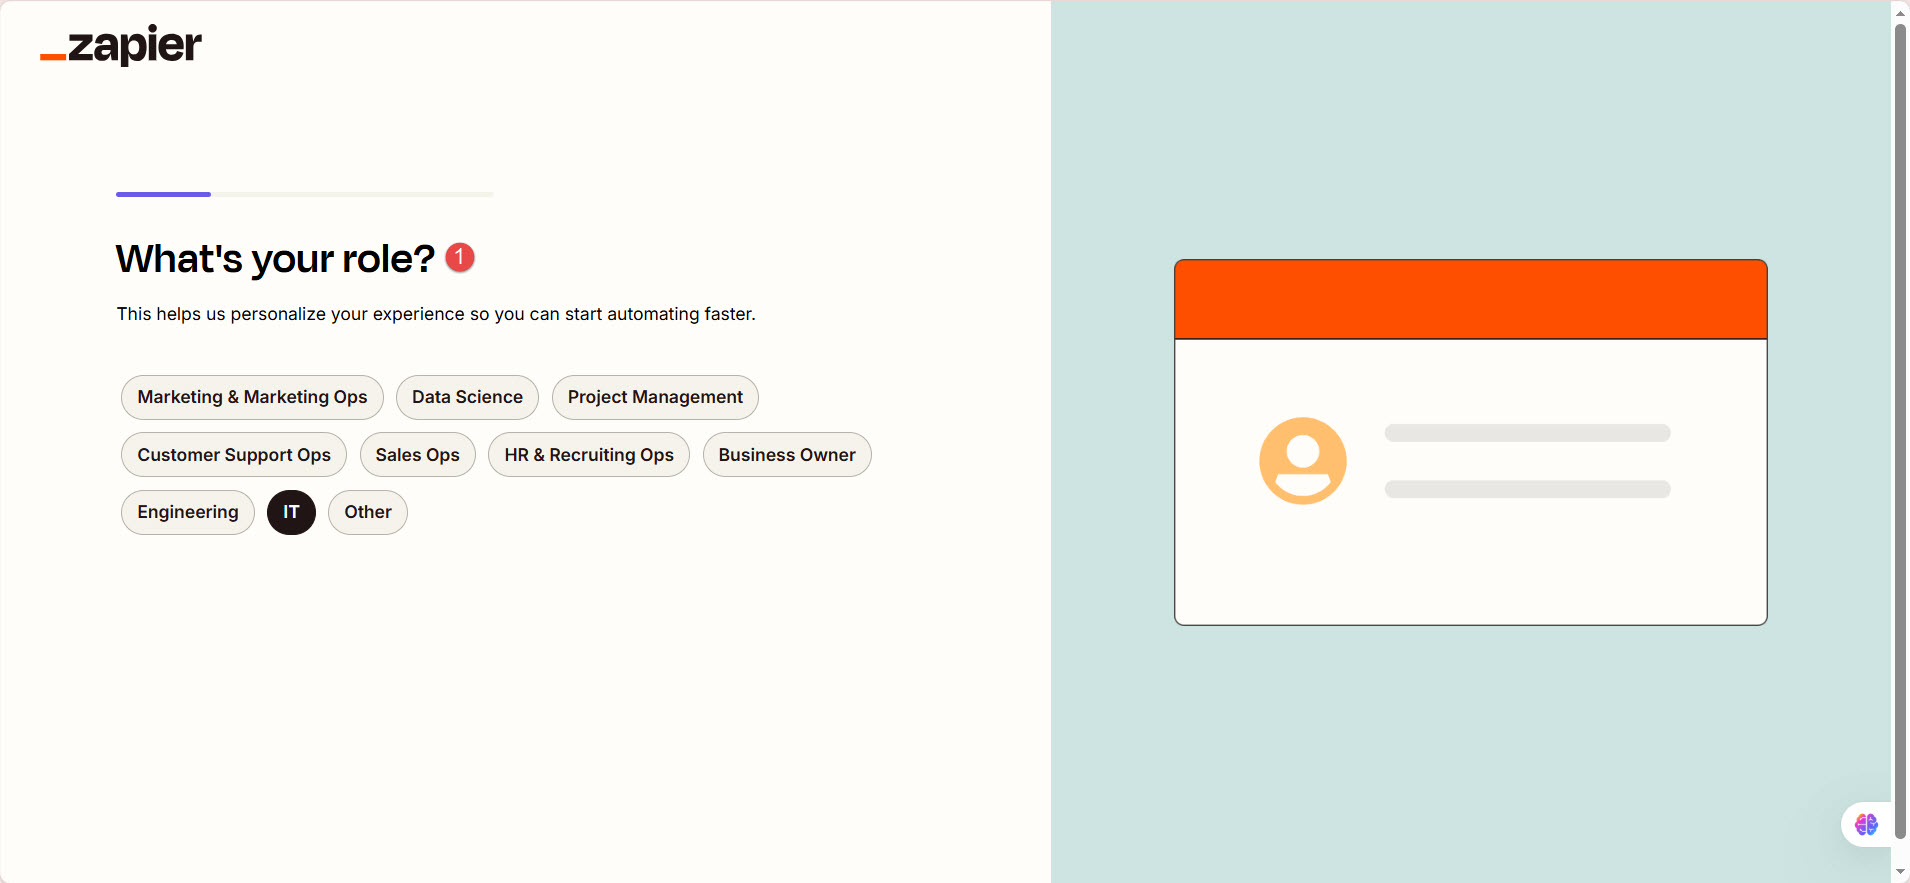
Set up the additional information:
- Select the role that best describes you.
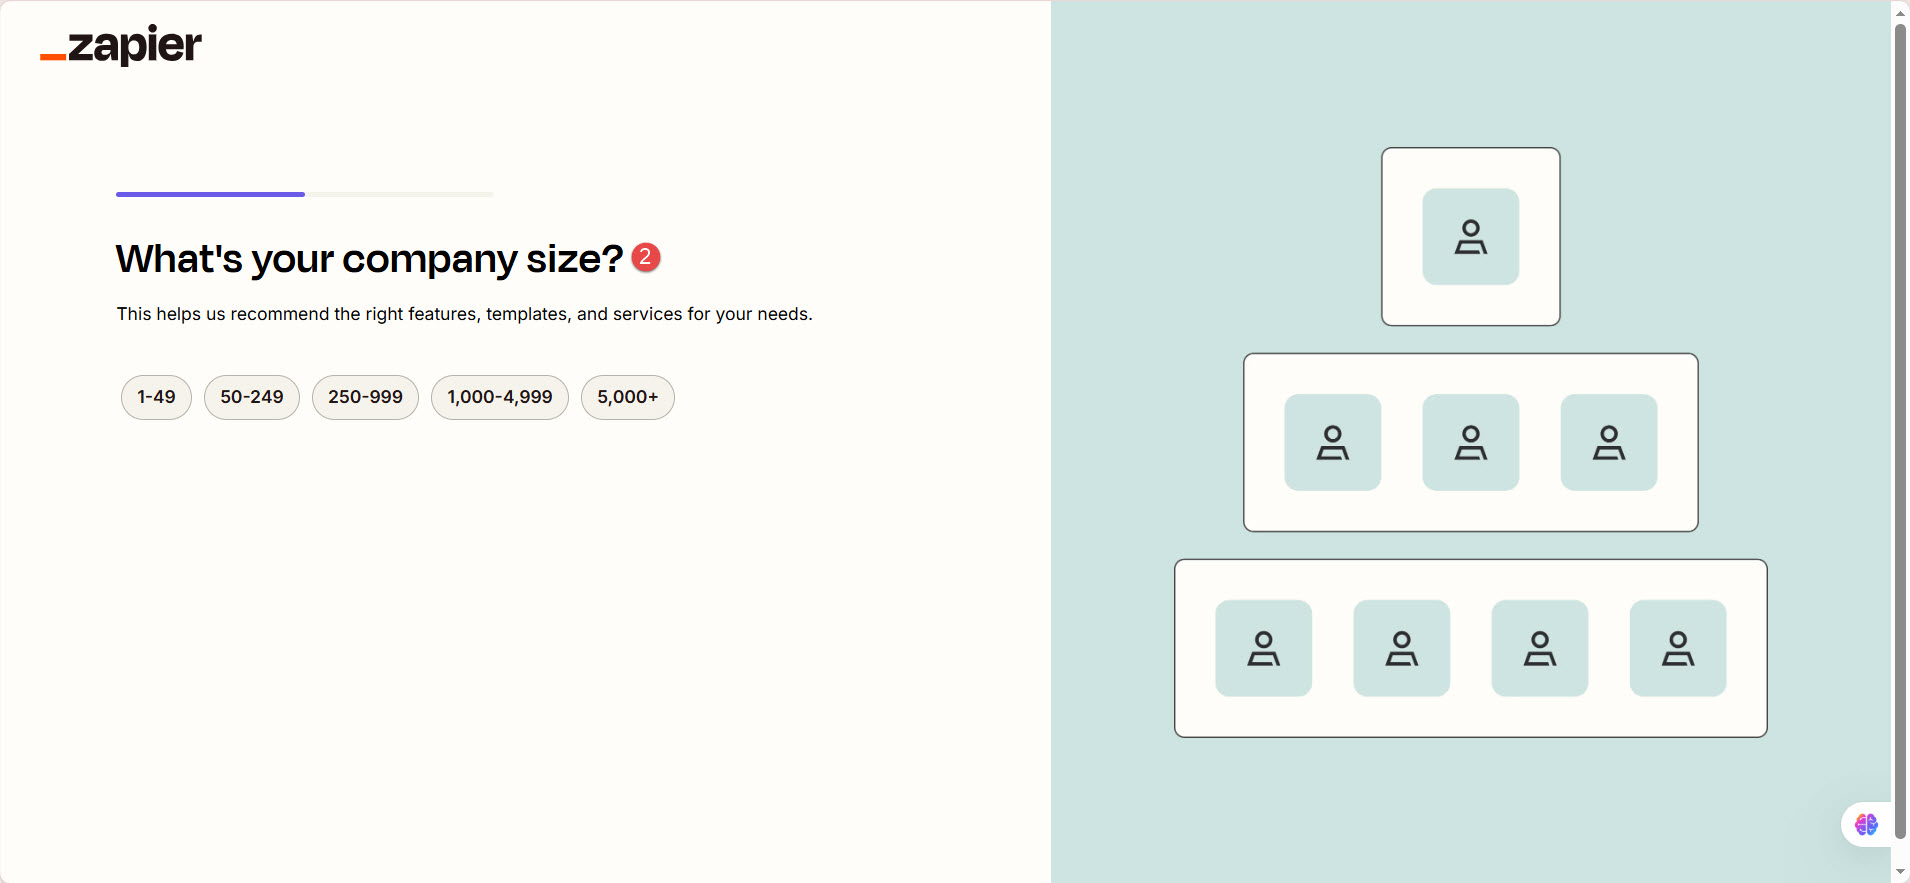
- Select the number of employees.
- Optionally select the apps you use, or skip the step.


Zapier integration with YouTestMe GetCertified
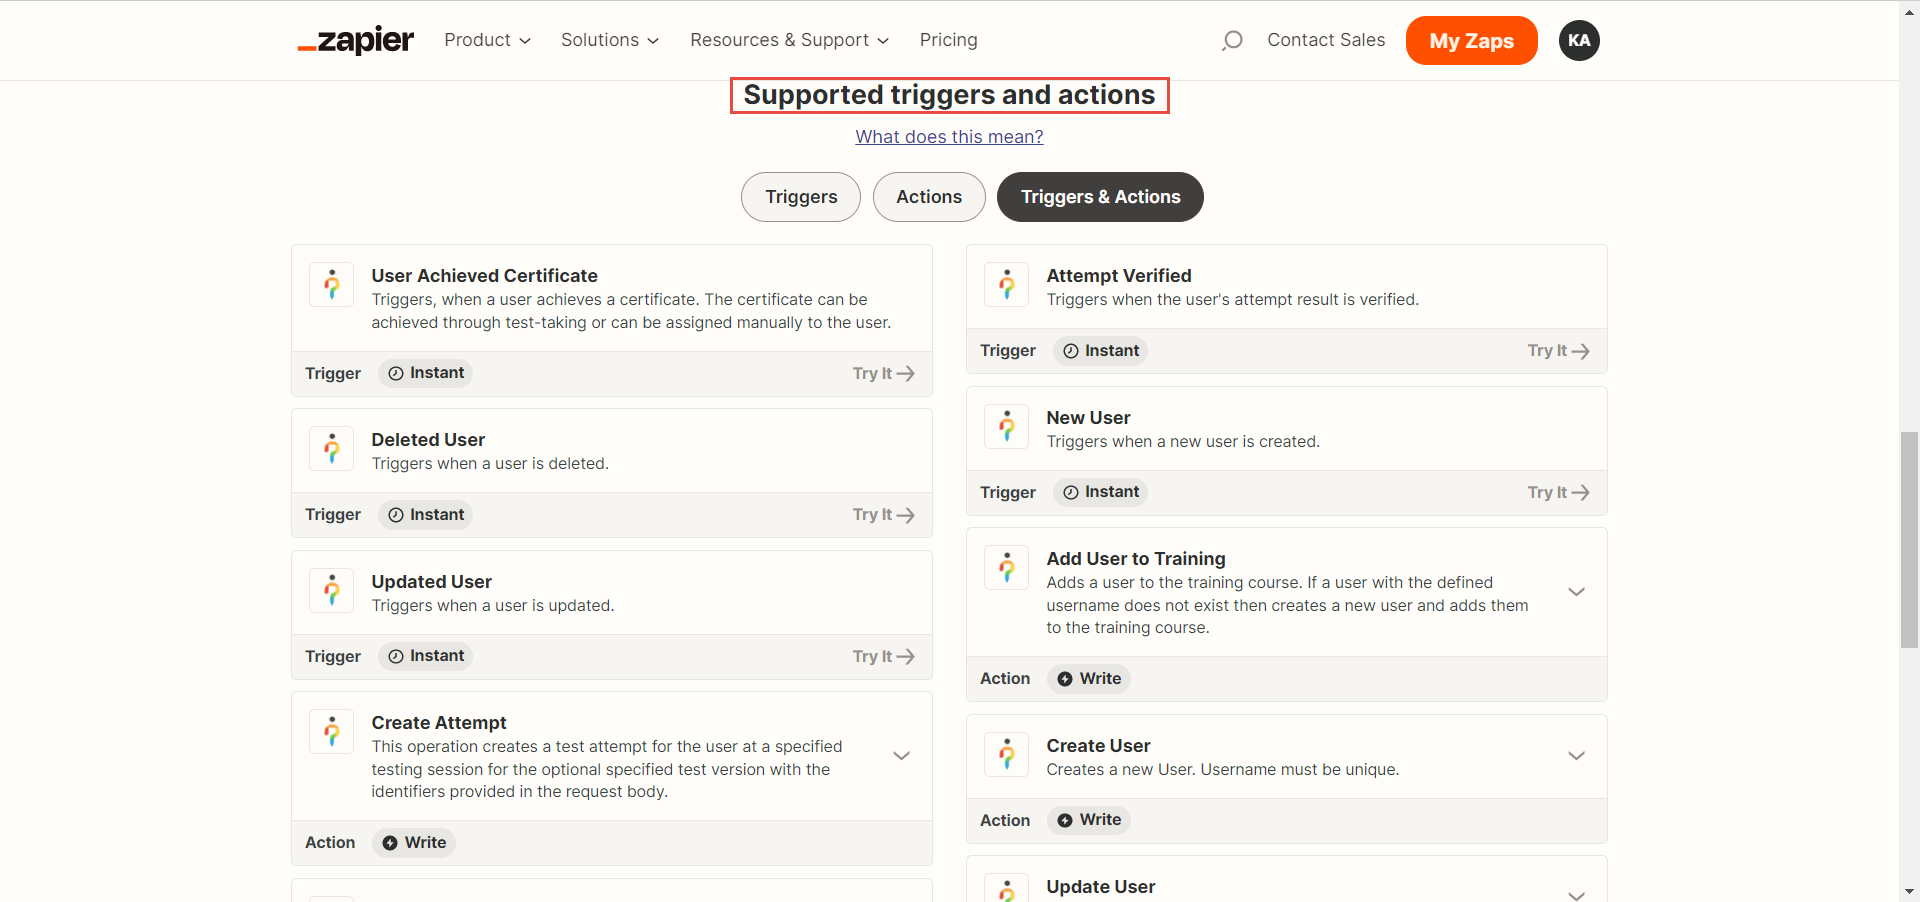
To create the Zapier workflow, first, navigate the YouTestMe Zapier integration link.
The list of all supported triggers and actions appears. A trigger is an event that starts a Zap (e.g., enter a new row in an Excel sheet with user data), and an action is an event a Zap performs (e.g., A new user account is created in the YouTestMe application).
Create a Zap
This example explains how to create a new Zap, and easily assign users to the desired training course, using a Google Spreadsheet.
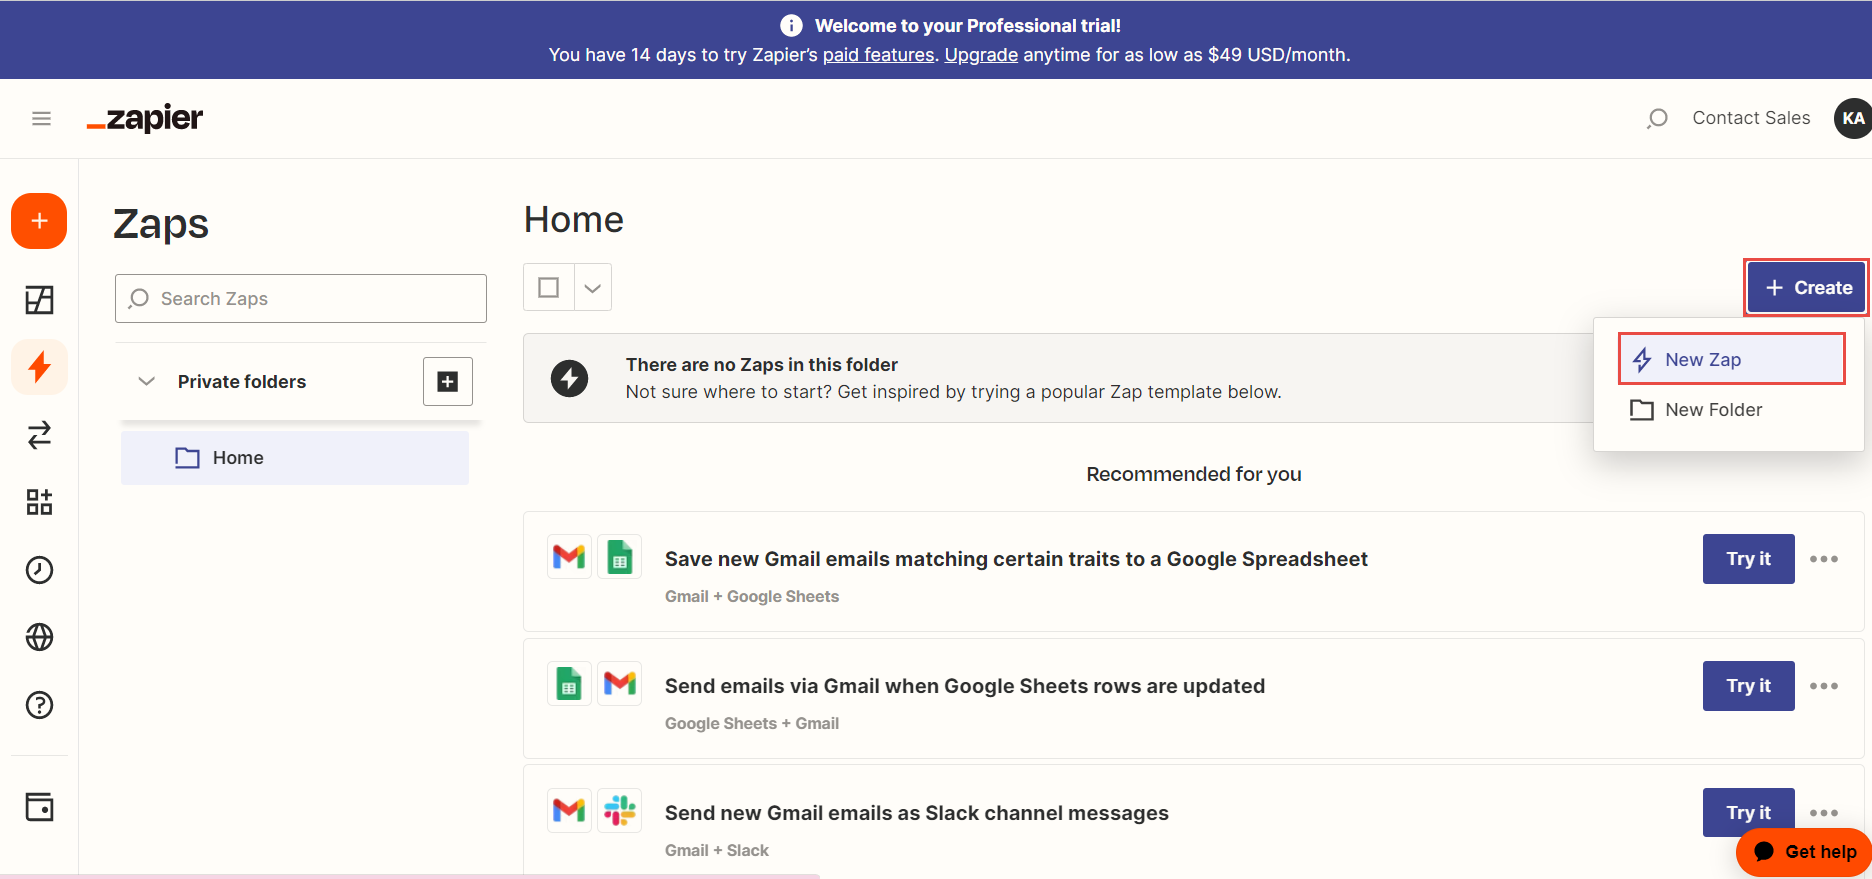
To create a Zap:
- Click the My Zaps button.
- Click Create, then New Zap.

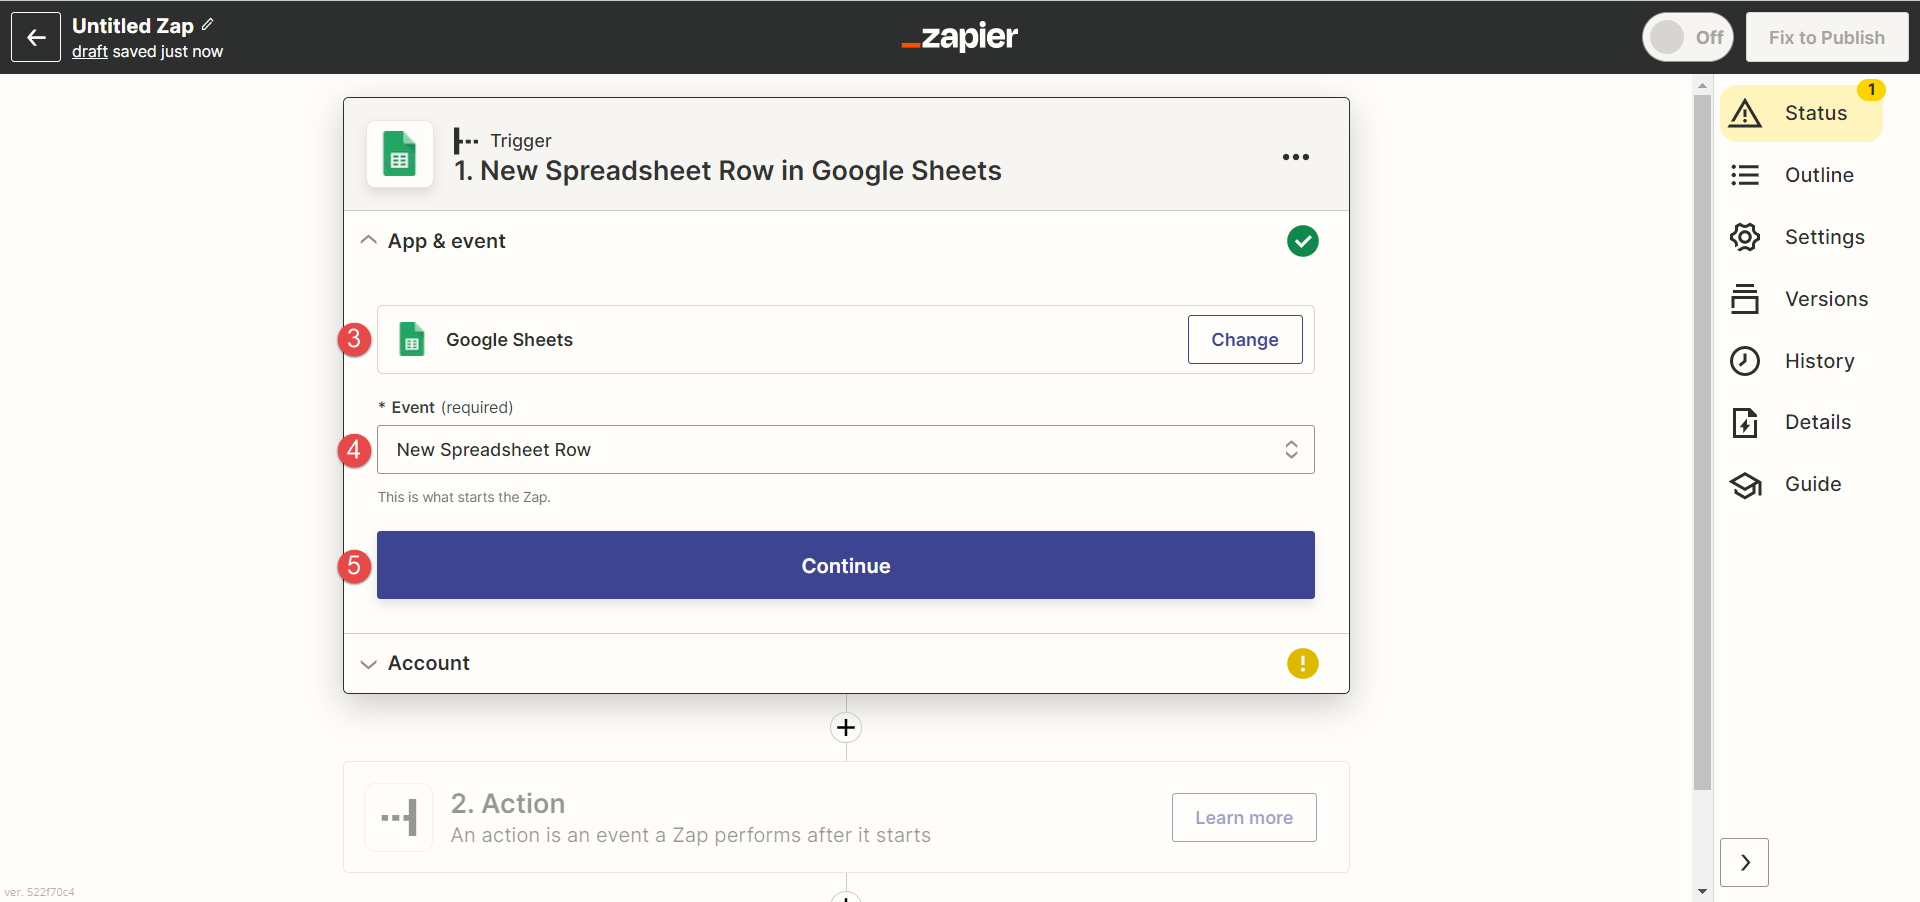
- Set up trigger – an event that starts your Zap (In this example, select Google Spreadsheet).
- Choose the event – what starts the Zap. (In this example, select New spreadsheet row).
- Click the Continue button.
- Click Sign in to connect your Google account which you use for spreadsheet creation. Select your account and allow Zapier access to your Google account.
- Click the Continue button.
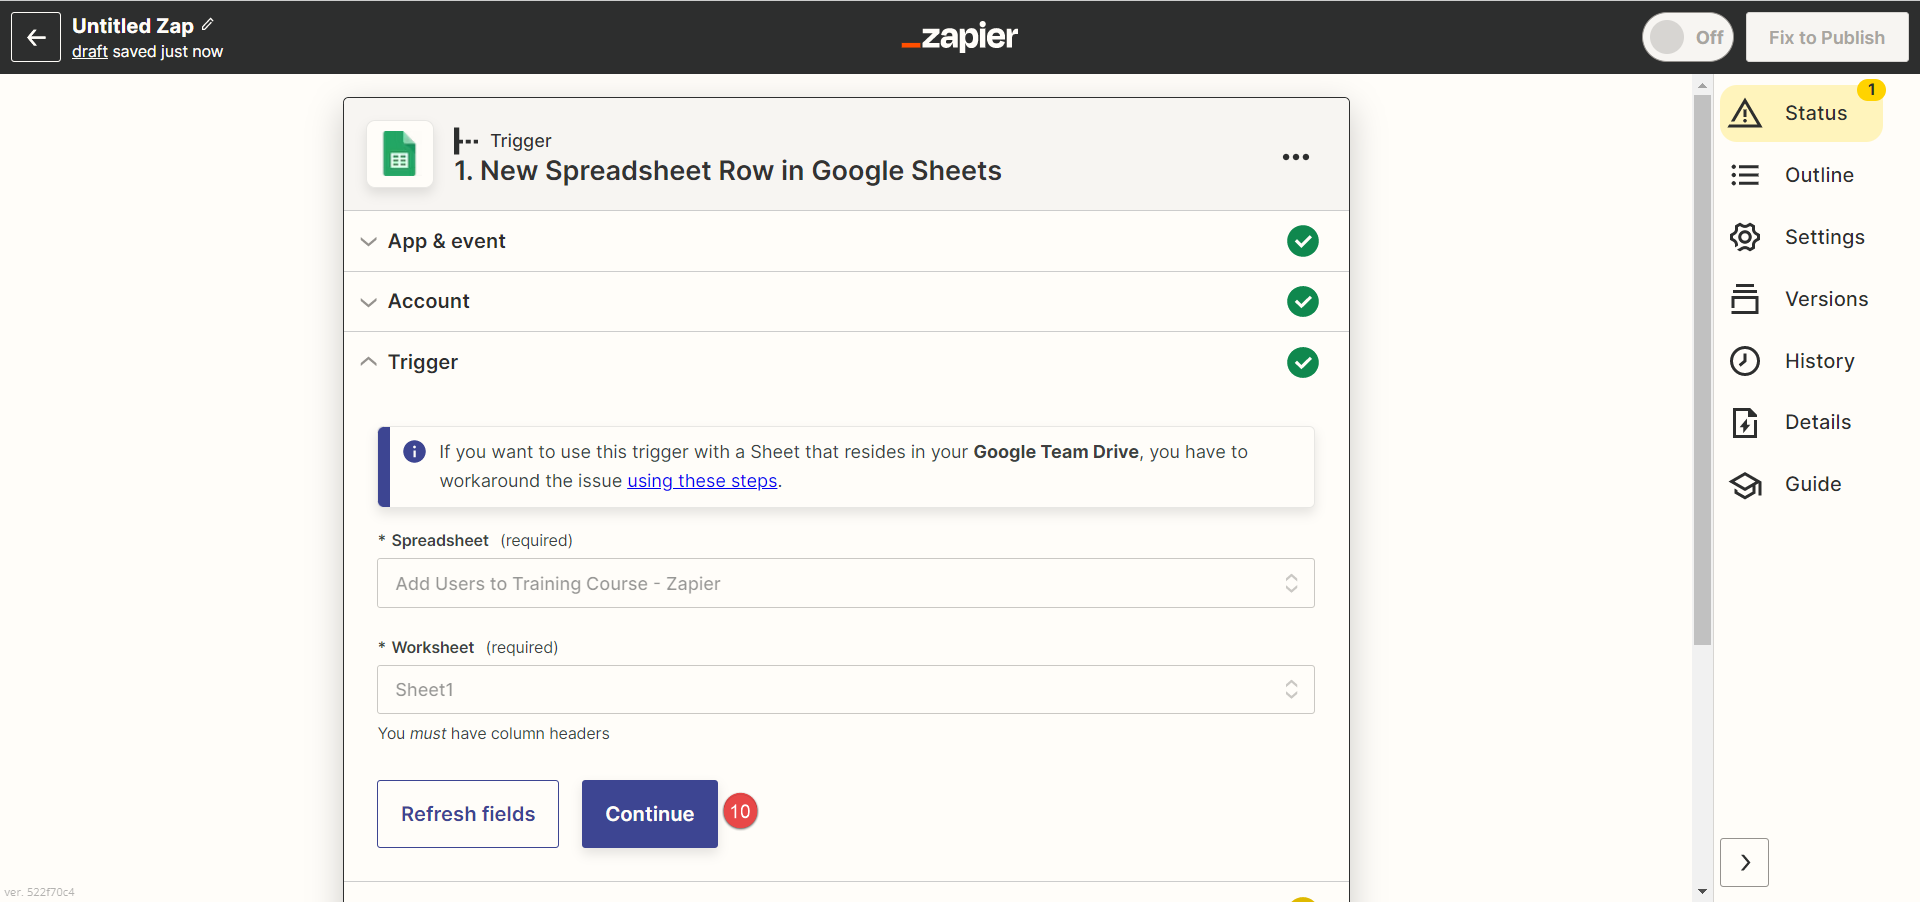
- Select the Spreadsheet you will use (in which you will enter the data about users).
- Select the Worksheet name for the chosen sheet (in which you will enter the data about users).
- Click the Continue button.
- Click the Test trigger button if you have already prepared the Spreadsheet with the data. If not, click the Skip test button.
- To set the action, search the YouTestMe application and select it.
- Choose the event that will be performed when the Zap runs.
- Click the Continue button.
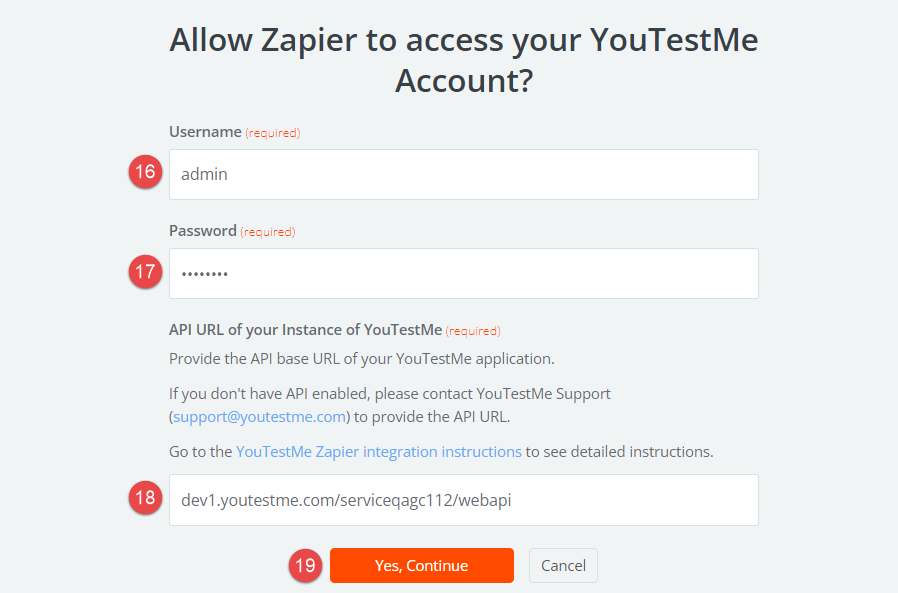
- Click the Sign in button to log in to the YouTestMe application with your account.
- Enter your username.
- Enter the password.
- Enter the API URL provided by YouTestMe.
- Click the Yes, Continue button.

- After successfully connecting the account, click the Continue button.


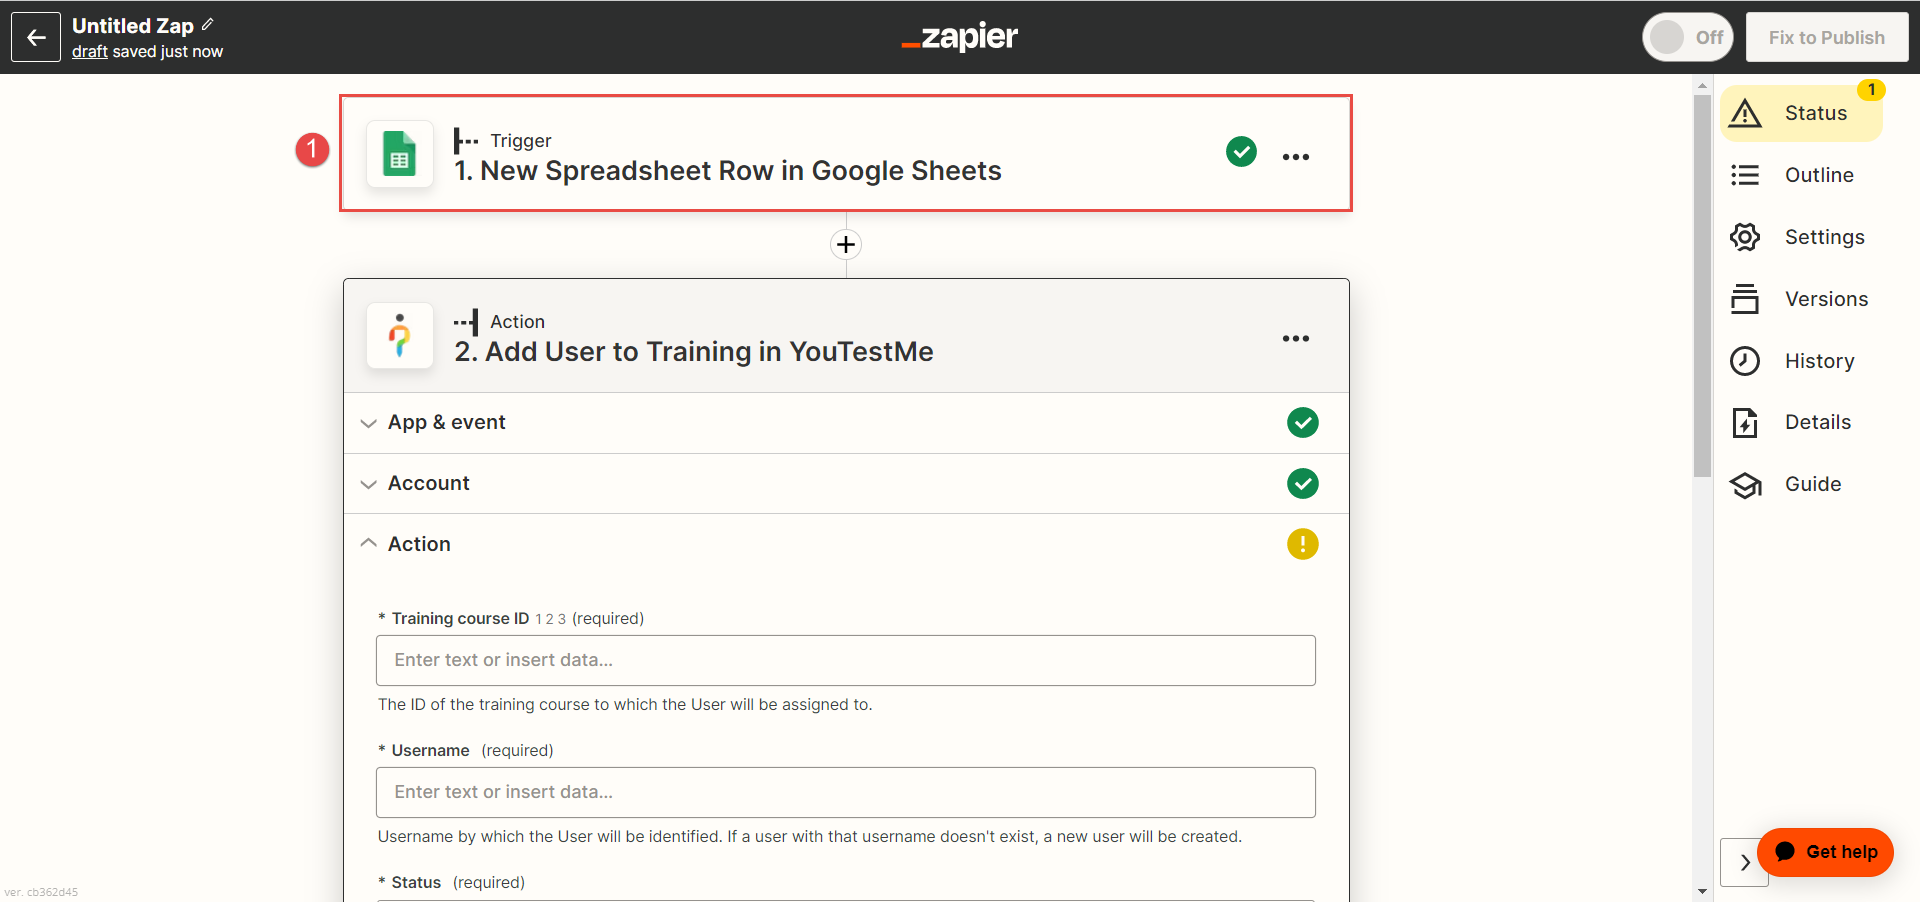
Filling in Excel Spreadheet
Then, you should add Excel Spreadsheet columns – copy the required fields from Zapier as columns in the Spreadsheet.
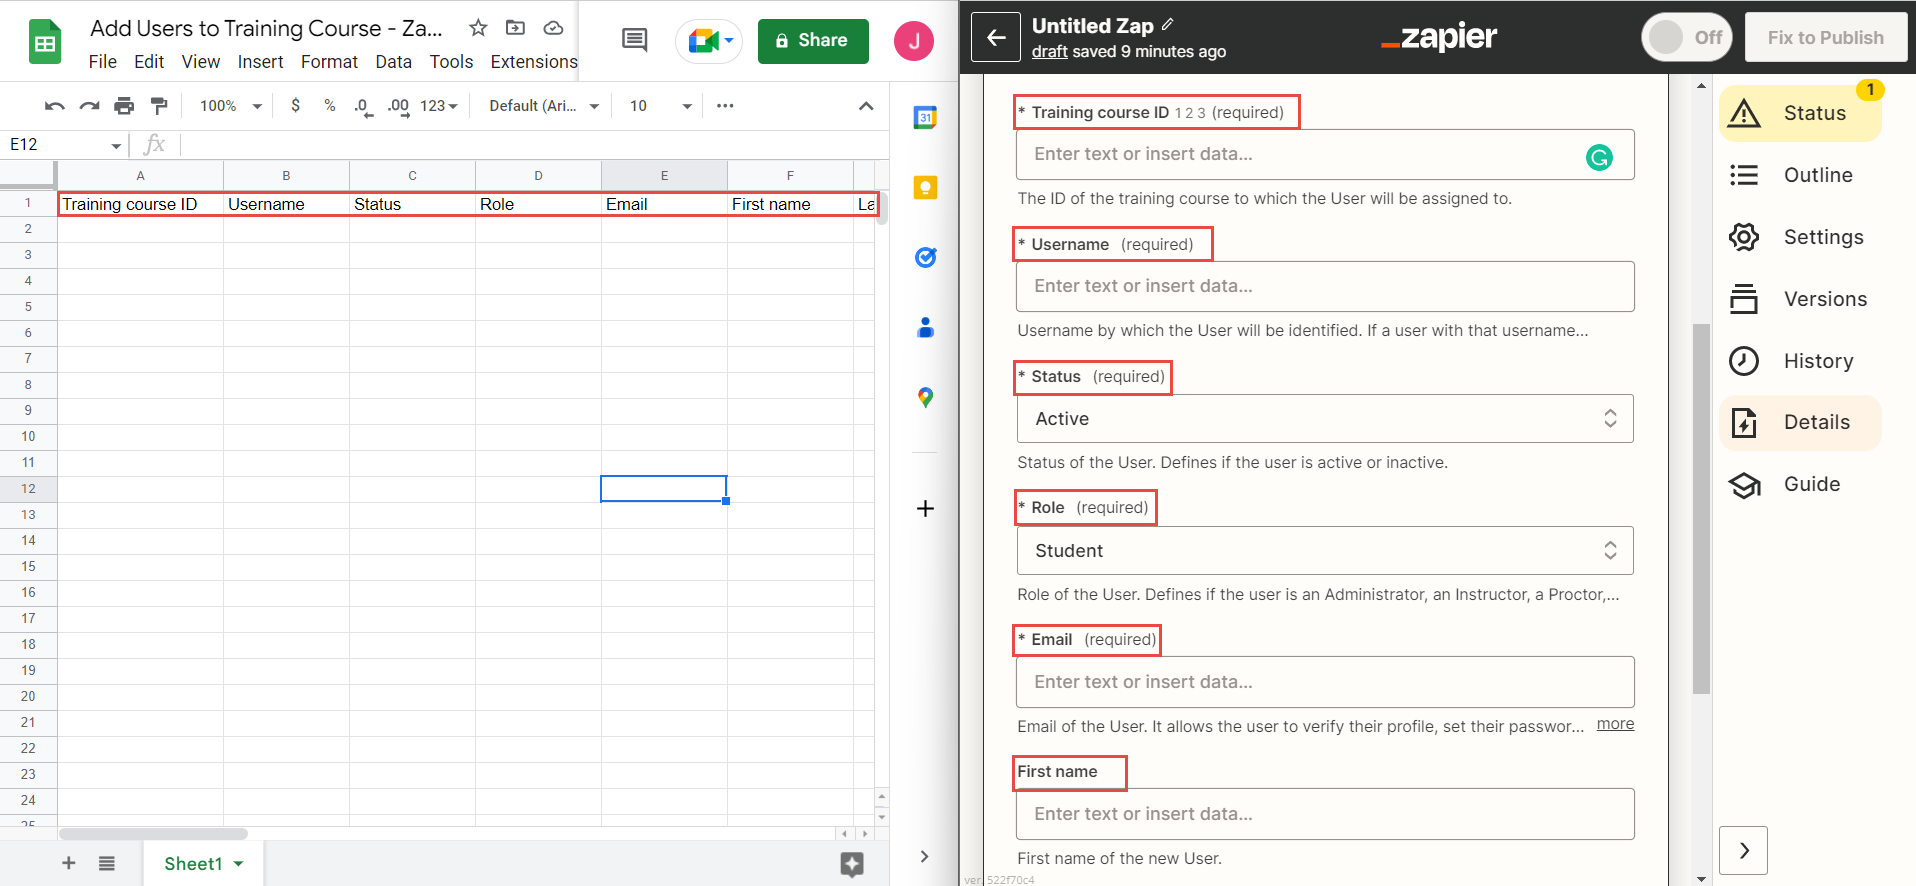
- Training course ID – Required field that needs to be copied from the YouTestMe application. For more information on how to find the training course ID, please check this chapter.
- Username – required field.
- Status – you can manually enter the status code for each candidate in the Spreadsheet, or set in Zapier the default status for all users. In case you always use the same status, this column is not needed in the Spreadsheet.
- Role – you can manually enter the role code for each candidate in the Spreadsheet, or set in Zapier the default role for all users. In case you always use the same role, this column is not needed in the Spreadsheet.
- Email – required field.
- First name – optionally.
- Last name – optionally.
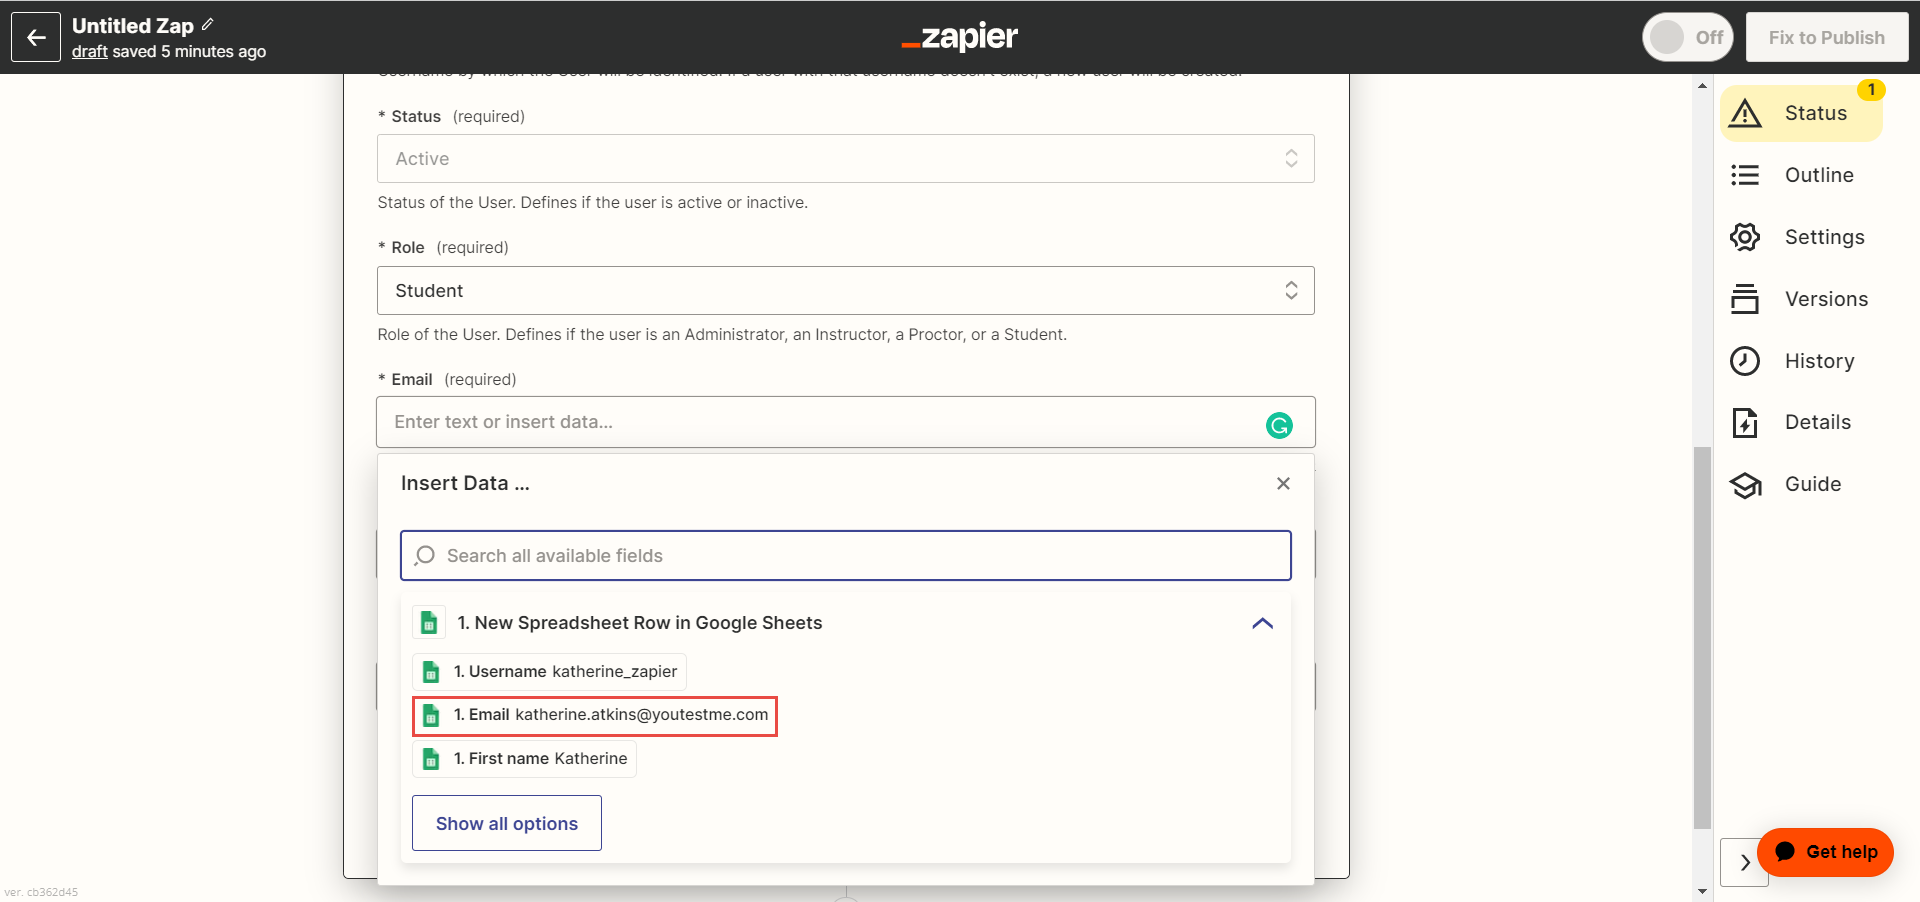
Map the data from Spreadsheet and Zapier
Once you create columns and enter the data, you should map the columns:
- For the Training course ID select that column from the sheet.
- For the Username select that column from the sheet.
- For the status select Active, and all users will get the Active status as default.
- For the role, select Student, and all users will get the Student role as default.
- For the Email select that column from the sheet.
- For the First name select that column from the sheet, if exist.
- For the Last name select that column from the sheet, if exist.
- Click the Continue button.
- Test your action by clicking the Test action button.


Once you confirm that the user was sent to the YouTestMe application, confirm that the user is assigned to the training course.
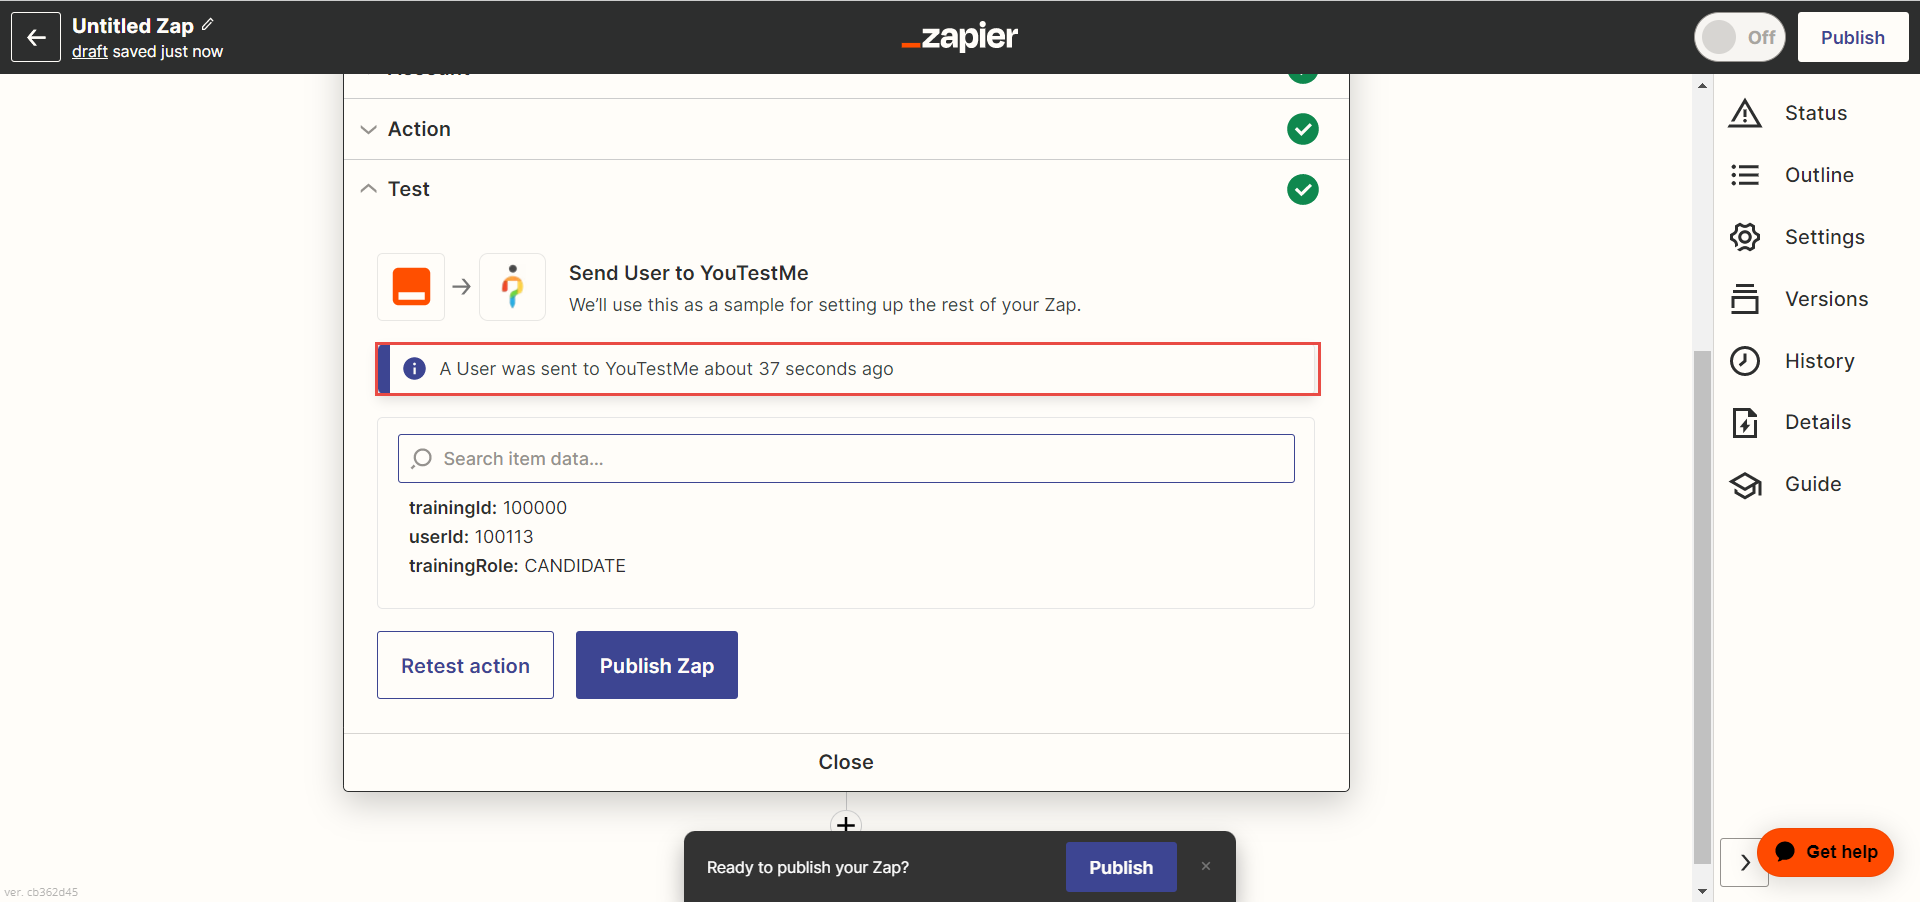

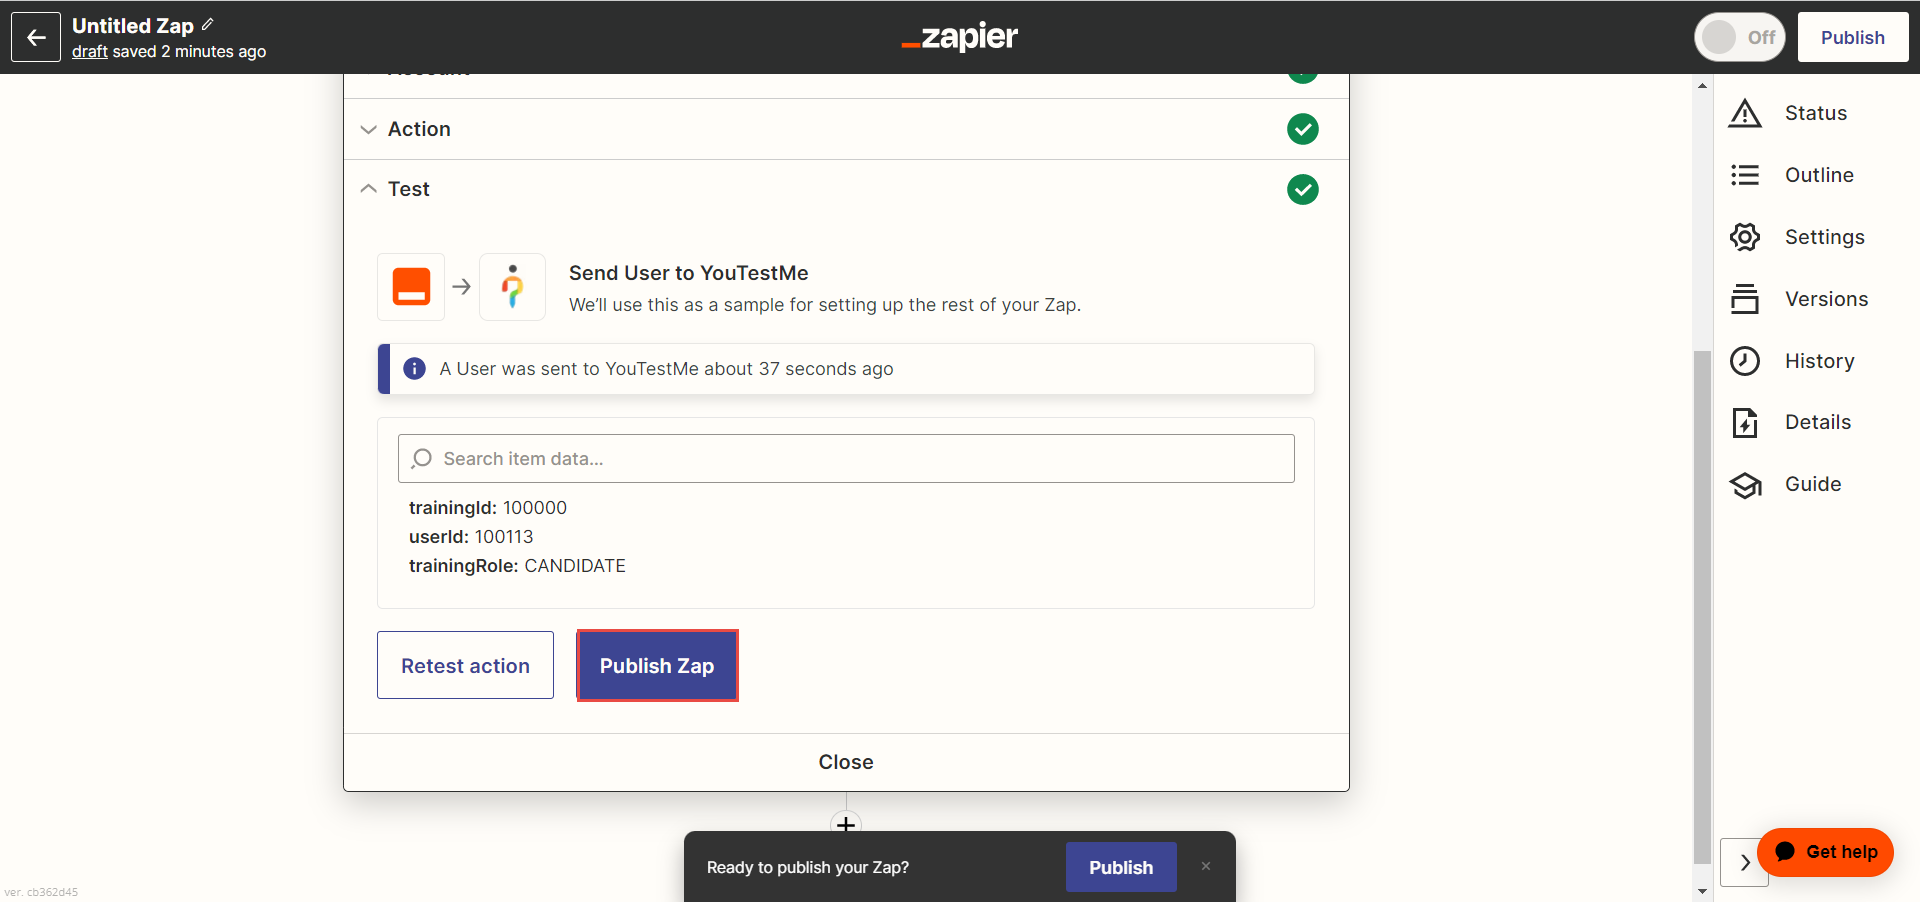
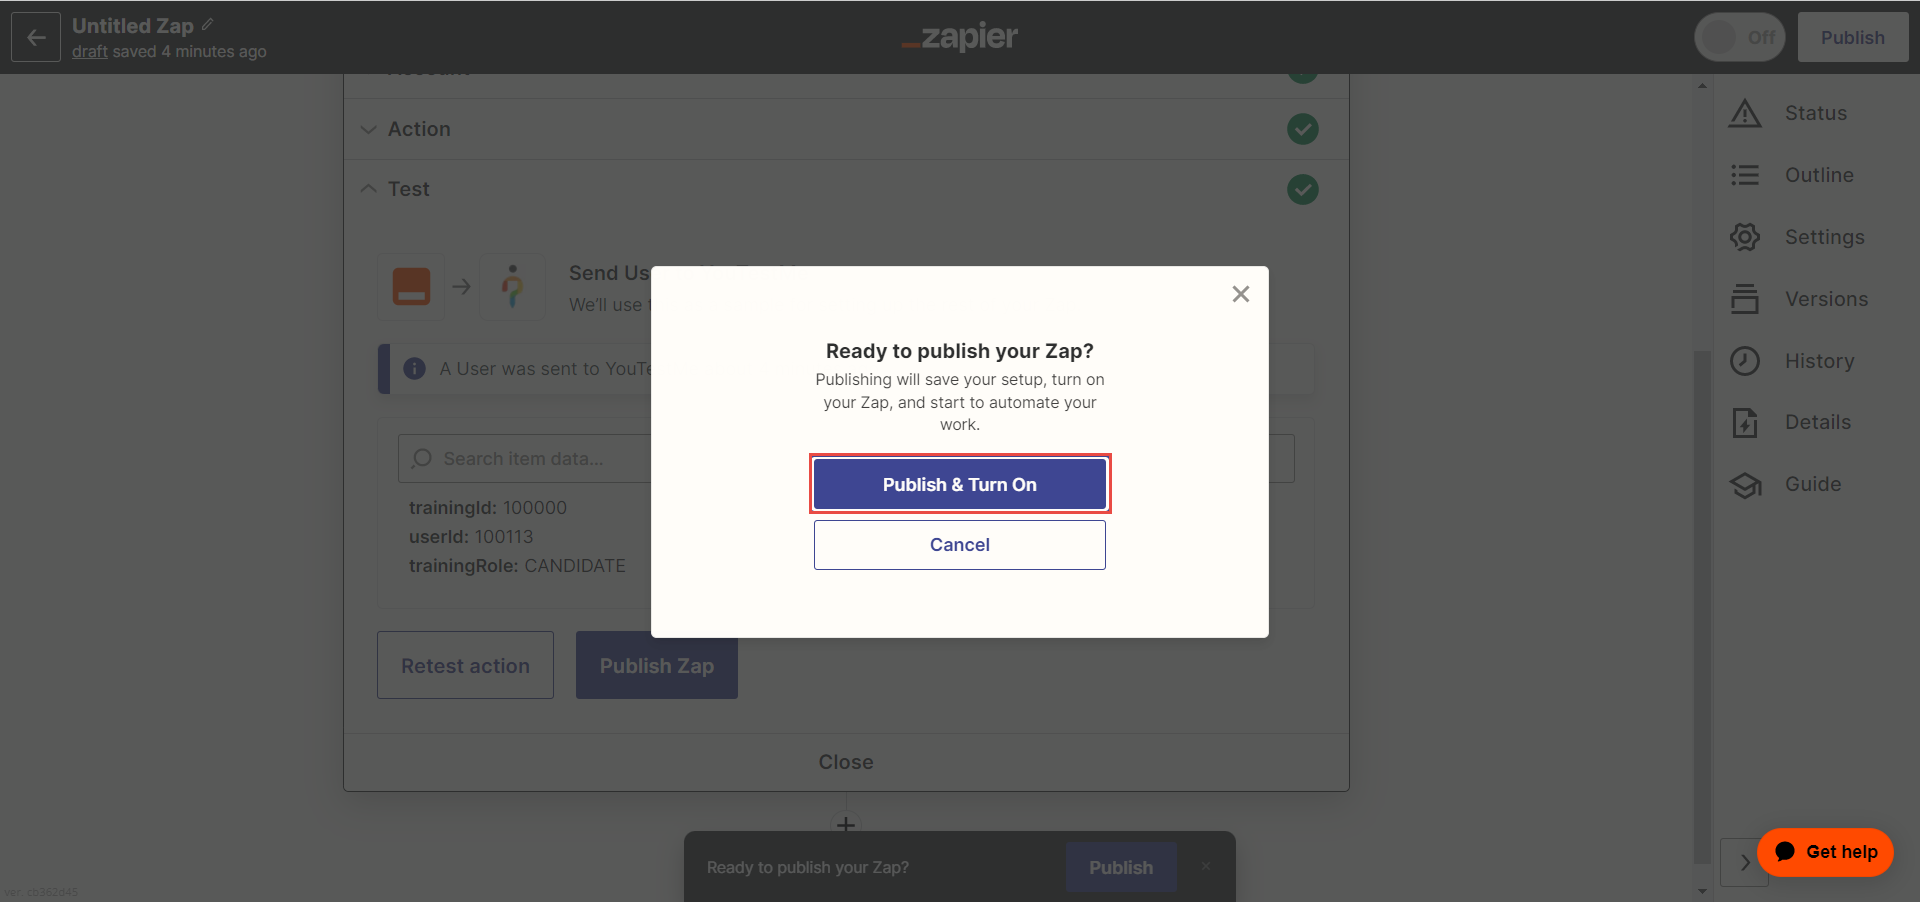
When confirms that everything works, you can publish your Zap by clicking the Publish Zap button, then clicking the Publish & Turn on button.
Now, everything is set.
If you want to add a new user to the training course, just enter all data as a new row in the sheet, and the data will be imported automatically.

Note: If a user account already exists in the YouTestMe application, the user will be added only to the training course. Otherwise, a new user account will be created and assigned to the training course.
Since Zapier needs some time to perform an action, if necessary you can manually start your Zap:
- Navigate to the Zaps page.
- Click the tree dots icon next to your Zap name.
- Click Run.

Check a training course ID and fill in the Spreadsheet row
To check the ID of the training course, once logged in to the YouTestMe application, you should:
- Navigate to the Training course option in the side menu.
- Search for the desired training course and open it by clicking the training course name.
- In the Information tab check the training course ID.


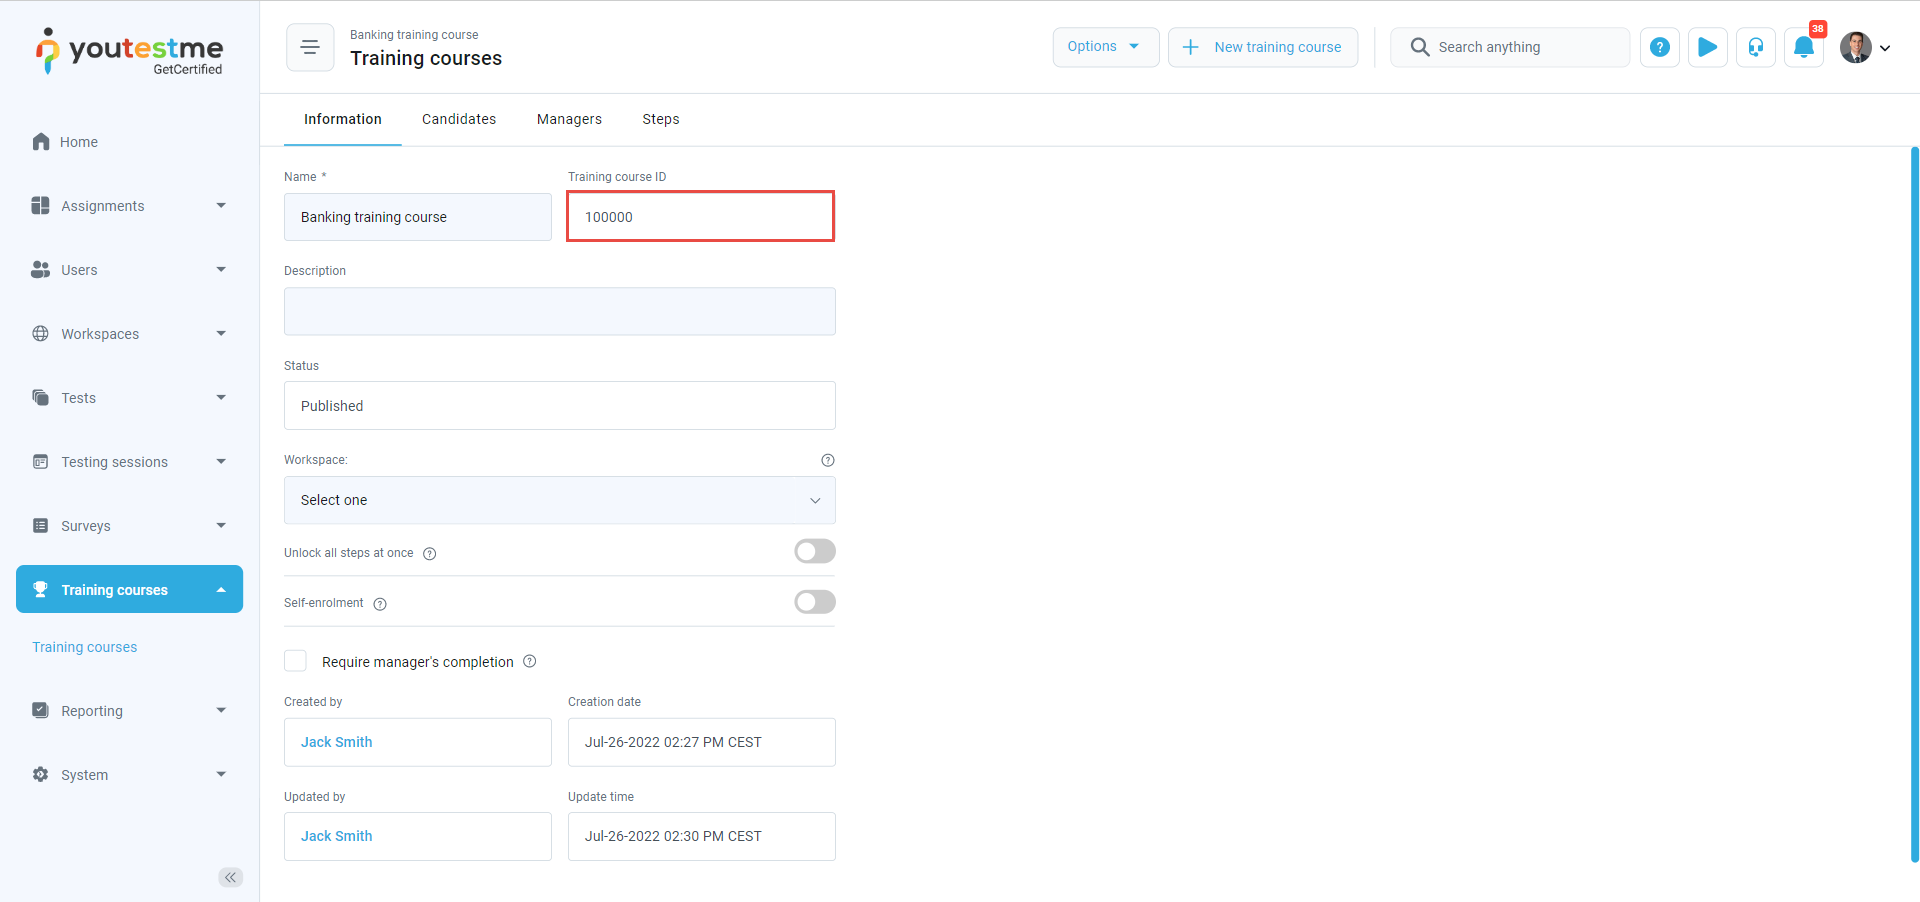
Once you copy the ID, you should paste it into the appropriate field in the Sheet, then enter the rest of the data for the user.

When you fill in the data for the desired user, you can go back to the previous step of the Zap creation, to test the trigger:
- Click the Trigger step at the bottom of the page.
- Click the Test step.
- Start the test, and confirm that the Spreadsheet row has been found.
- Click the Continue button.

Then, you can continue creating the Zap by following this chapter.
For more information on how to assign users to a training course using Google Spreadsheets and Zapier integration, please check this article.
