
Article verified for Release 15.1 on October 3, 2025.
This article explains how to create new attachments and store them in the attachment library for later use.
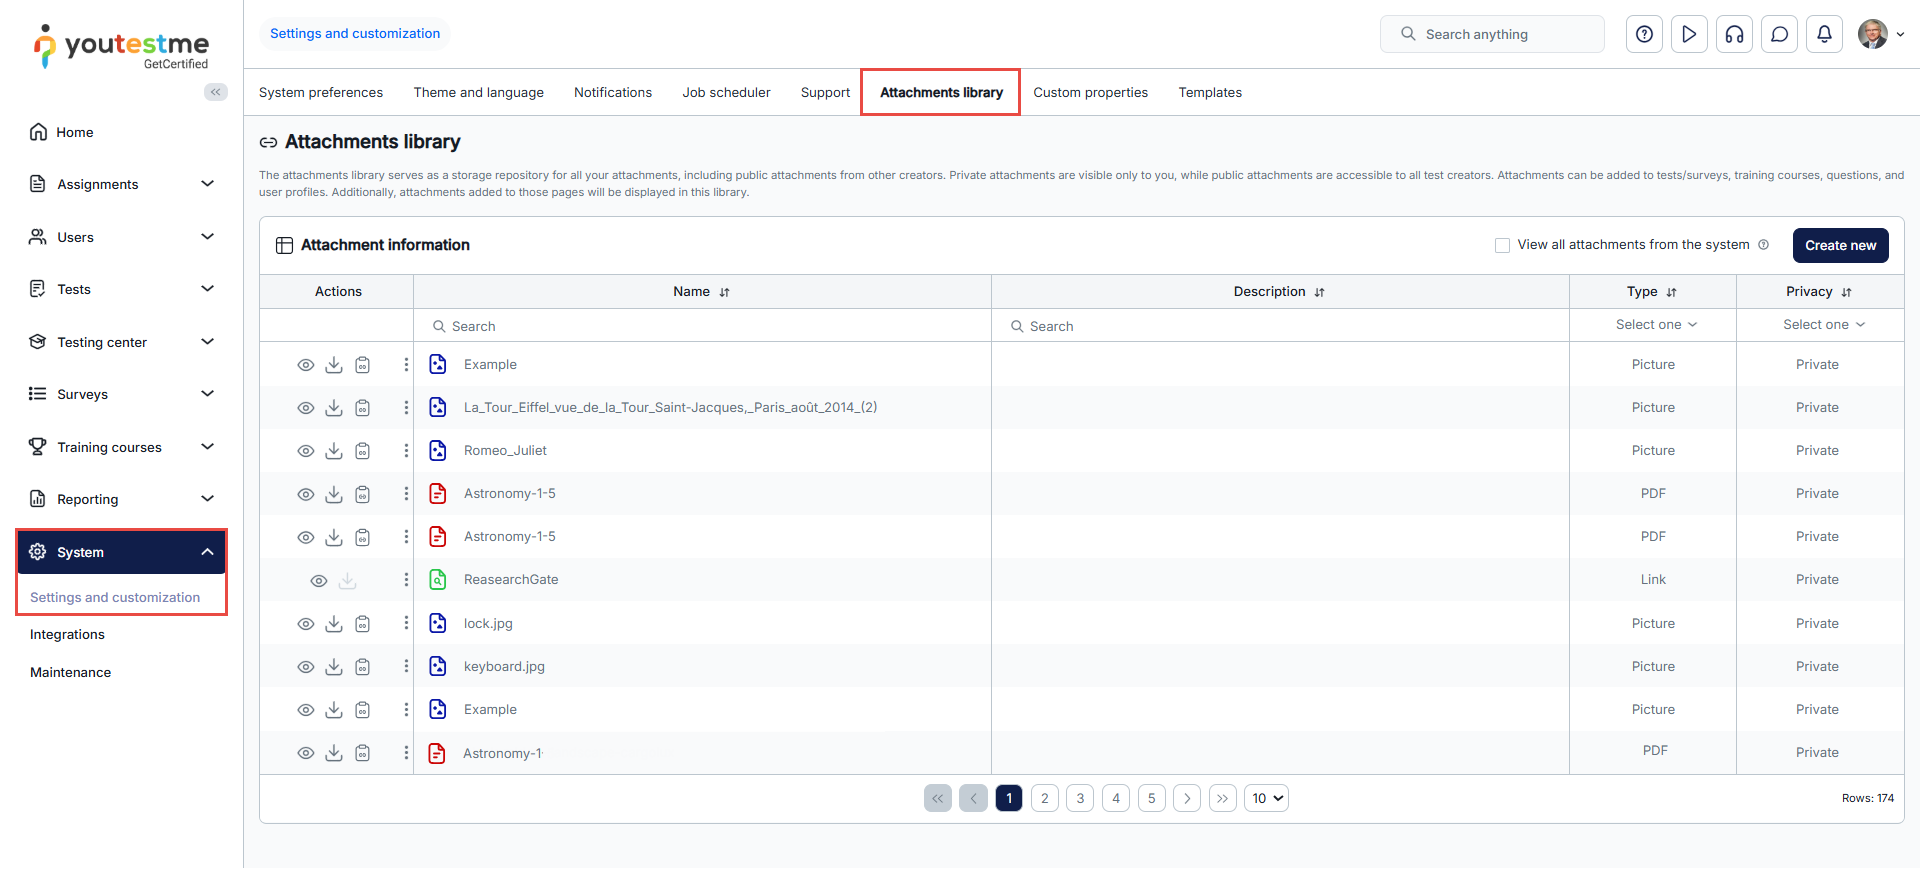
The attachments library serves as a storage repository for all your attachments, including public attachments from other creators. Private attachments are visible only to you, while public attachments are accessible to all test creators. Attachments can be added to tests/surveys, training courses, questions, and user profiles. Additionally, attachments added to those pages will be displayed in this library.
Accessing the Attachments library
To access the Attachments Library, go to the main menu and select System, then choose Settings and Customization, and navigate to the Attachments Library.
Note: Users with the Manage any attachment permission can access and edit all attachments in the system, regardless of attachment privacy. If you lack this permission, only public attachments and those you’ve created will be available to you.
Attachments Library Tab Overview
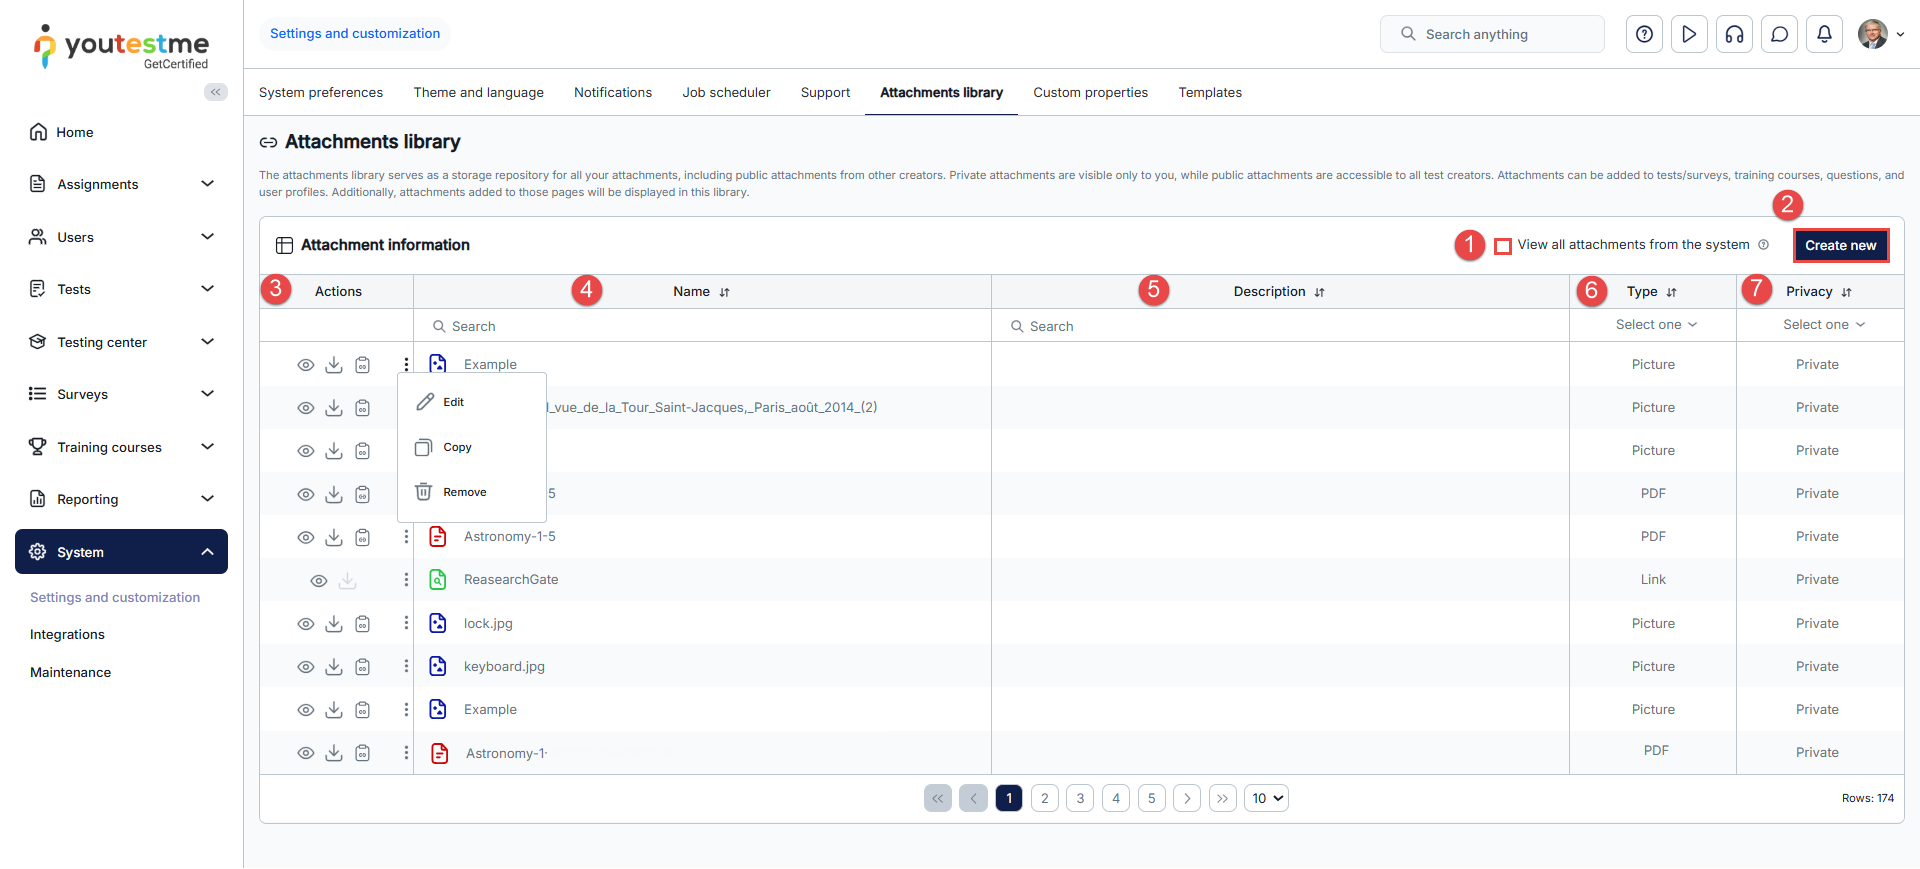
Within the Attachments Library, you’ll find the following features:
- View All Attachments From the system: By enabling this option, you gain access to all attachments within the system.
- Create New: This button allows you to upload a new attachment to the library.
- Actions Column: In this column, you can perform various actions, including:
- Previewing the attachment
- Downloading the attachment
- Copying the attachment URL
- Editing, copying, and deleting the attachment
- Name Column: Reserved for the names of attachments.
- Description Column: Reserved for details about the attachments.
- Type Column: Reserved for the attachment types (e.g., Picture, PDF, Audio, Video).
- Privacy Column: Indicates whether the attachment is private or can be used by any user to create tests, training courses, or questions.
Creating a New Attachment
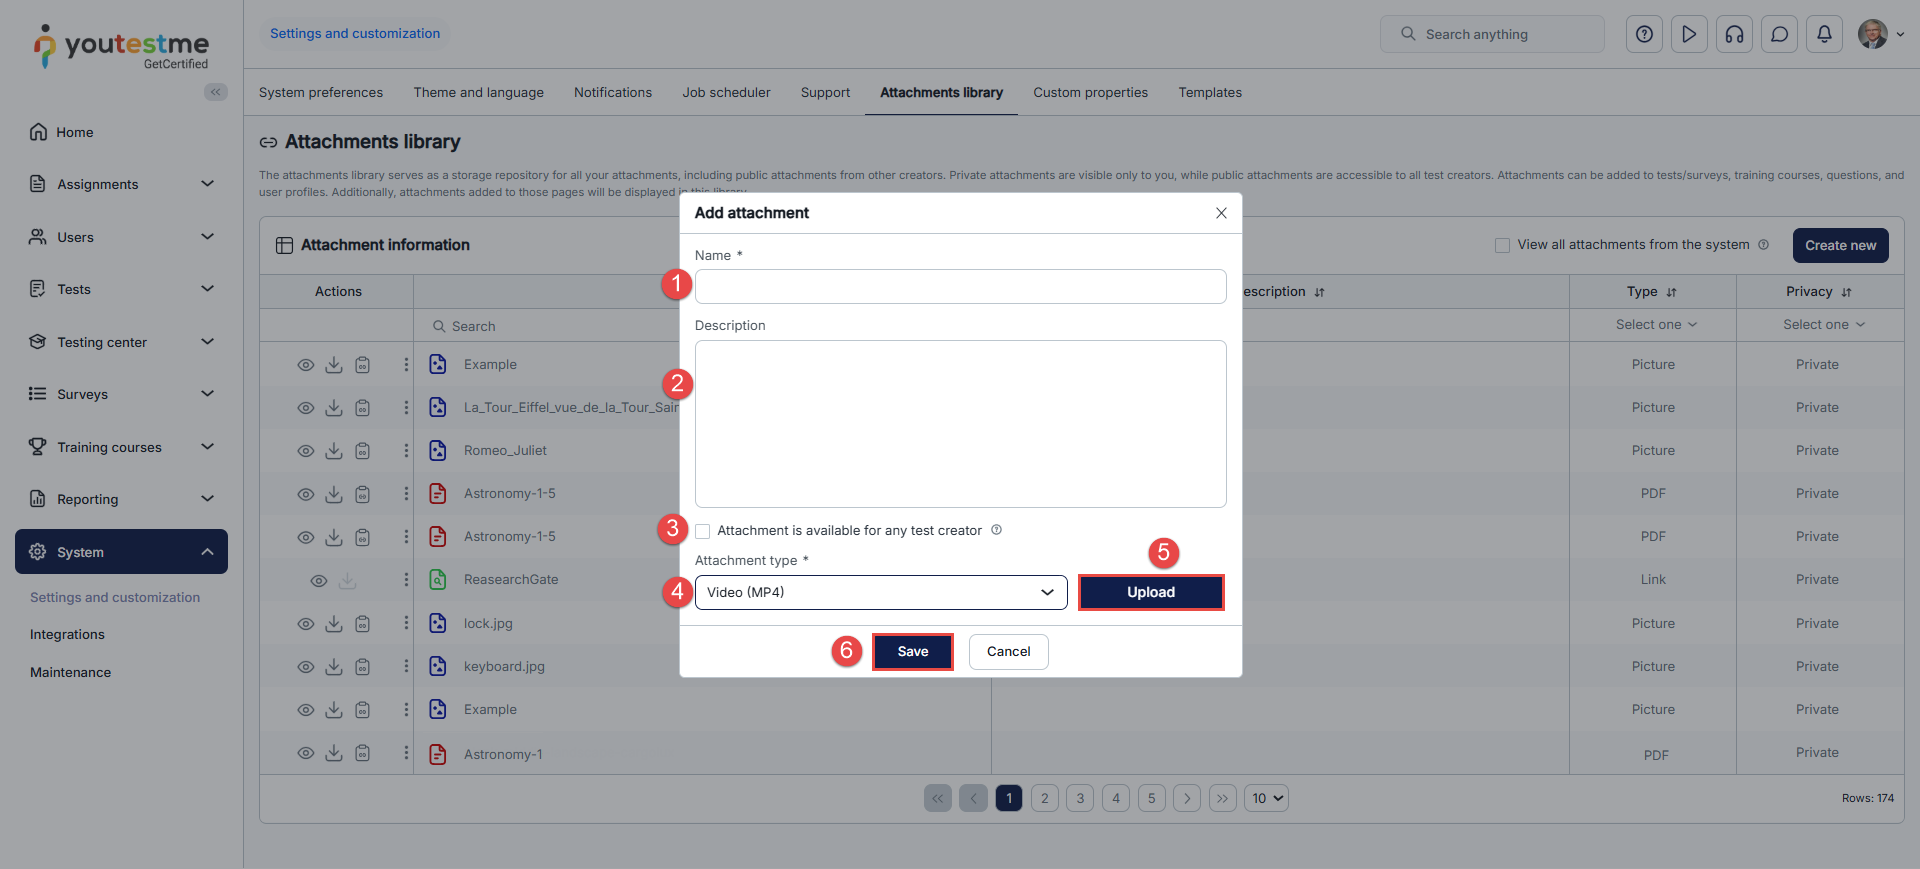
To upload a new attachment, click the Create New button and follow the steps below:
- In the popup dialogue, enter the attachment name.
- Optionally, provide a description.
- Enable the Attachment is available for any test creator option to set the attachment privacy public.
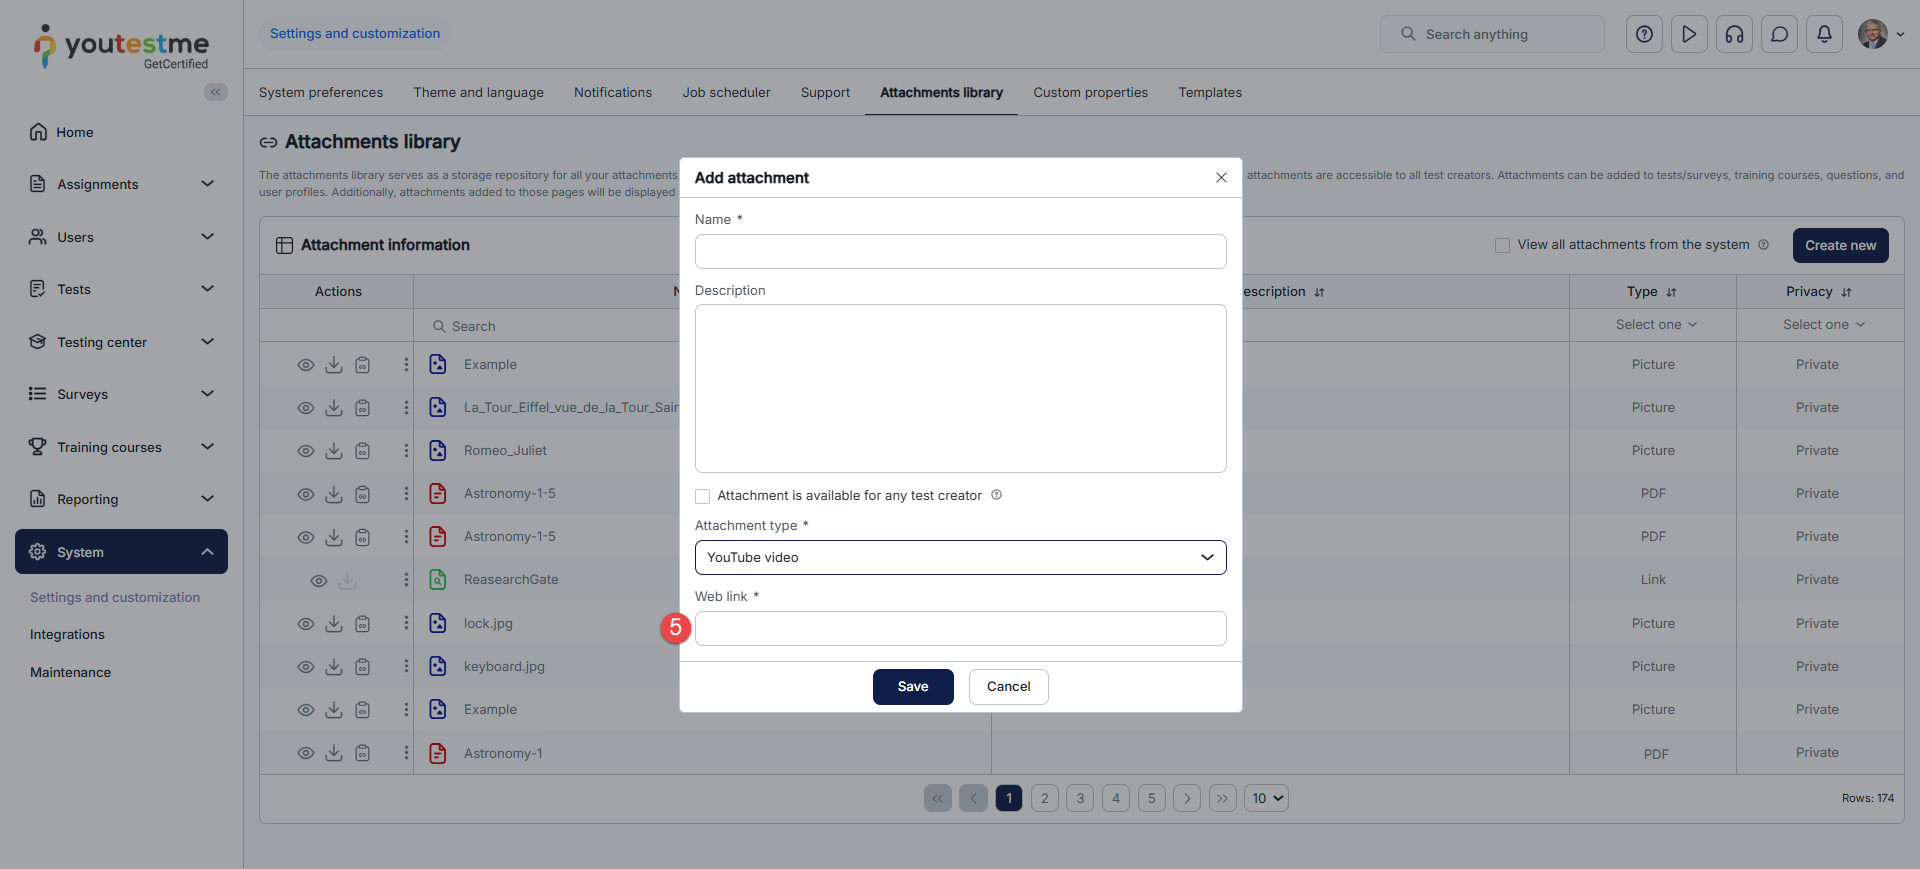
- Choose the attachment type from the dropdown menu. YouTestMe supports 10 different attachment types, including:
- Audio file.
- Video file.
- Picture.
- PDF.
- Text.
- YouTube Video.
- Vimeo Video.
- Link.
Note: Only embedded links are supported for link attachments. - Downloadable File.
- SCORM Package.
- Google Doc.
- Depending on the selected attachment type:
- Click the Upload button to upload an attachment from your device.
- Alternatively, enter a link to the attachment.
- Click the Save button to add the attachment to the library.
Note: If you upload a file that already has a supported system type (e.g., video) and select downloadable file as the type, it will revert to its original type after saving. For example, uploading a video and selecting a downloadable file will still result in the file being saved as a video type, since that type already exists in the system.
For more related information, please visit these articles:
