
This article explains how to optimize your candidate screening process with the powerful tools and features offered by YouTestMe. YouTestMe covers two critical HR processes – candidate screening and skill gap analysis, both efficiently managed. For more information on how to perform skill gap analysis in YouTestMe, navigate here.
Create User Groups
Creating user groups is an essential step in optimizing your candidate screening process with YouTestMe. Organizing users (candidates) into groups simplifies the analysis of their behavior, preferences, and activities. Here’s a step-by-step guide to creating user groups within the YouTestMe application:
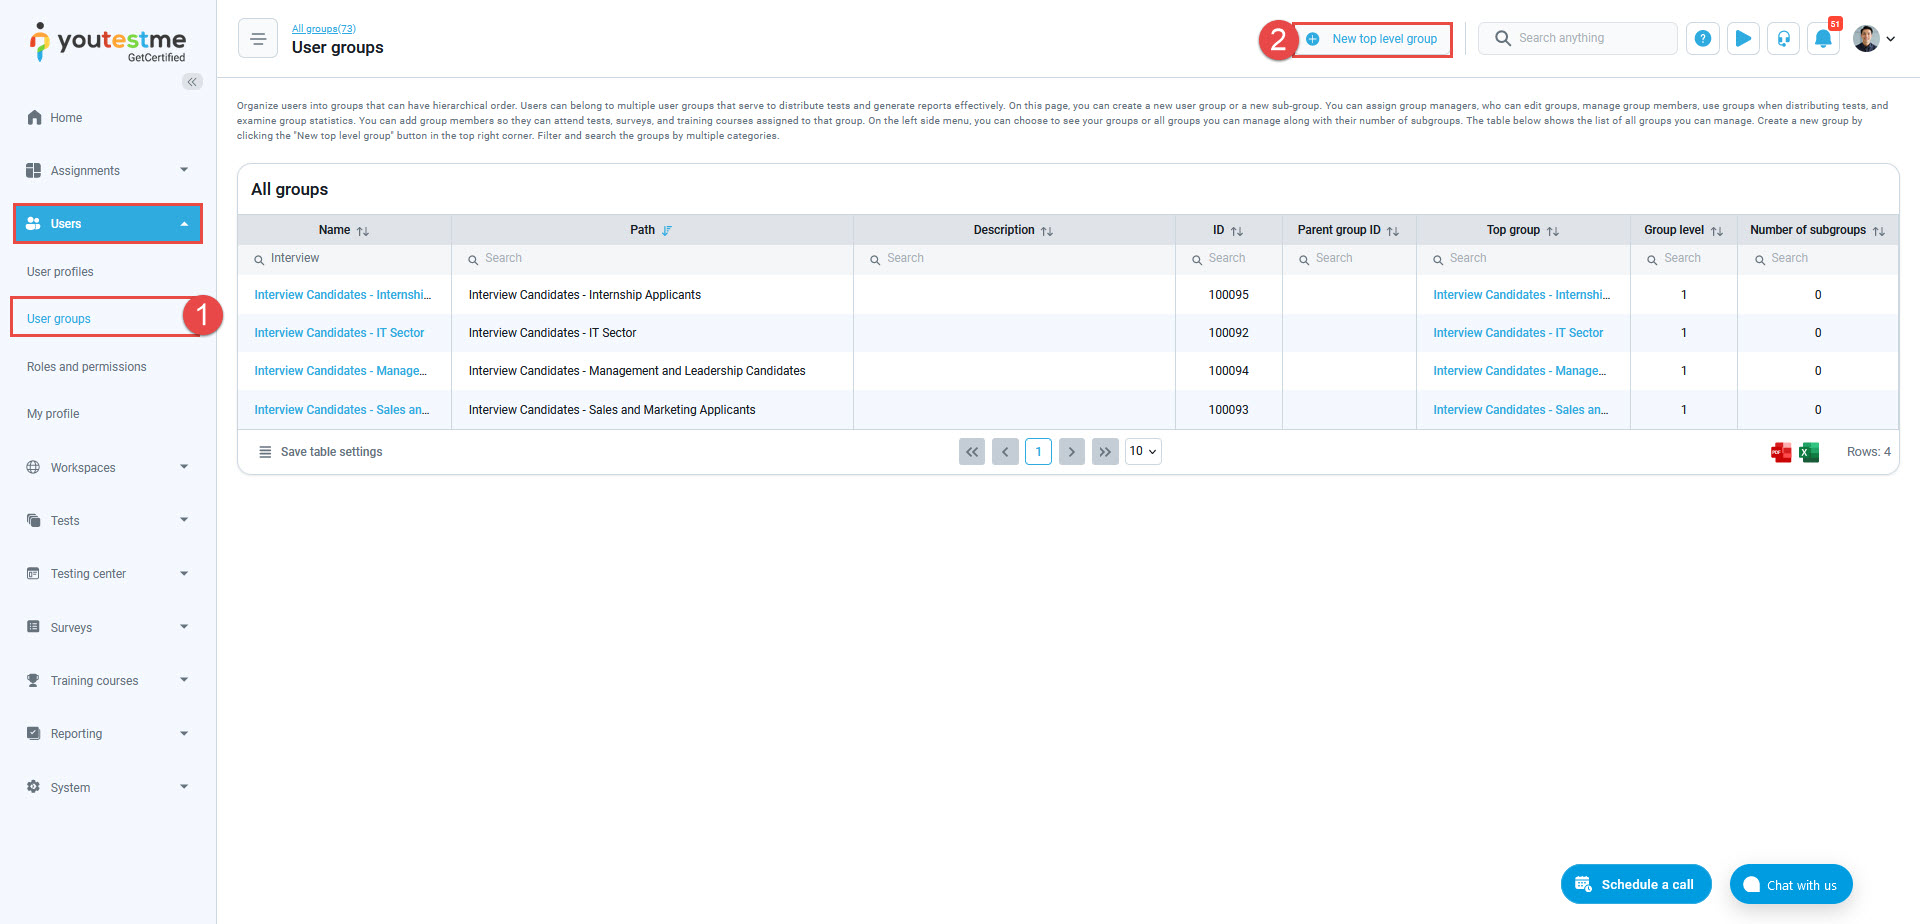
- Navigate to the Users within the application and select the User groups option.
- Click on the New top level group button.
When the pop-up window appears:
- Type the name of the user group.
- If necessary, provide a brief description.
- If the self-enrollment option is enabled, users will be able to join the group without manager’s approval.
- If needed, add an external ID that can be used for external system.
- Click on Save button to create a new group.


Create Registration Links
If you want candidates who are applying for a specific position to be placed into the correct user group immediately after registration, you should link the registration links with the user groups you’ve already created. Here’s how to accomplish this:
- Navigate to the Users within the application and select the User profiles option.
- Go to the User settings/Registration links tab.
- Click on the Create new button.
- Type the name of the registration link.
- If necessary, provide a brief description.
- Generate unique link URL path.
- Select the role user will have upon registration.
- Select a user group so that upon registration, the user will be automatically enrolled as a member of that group.
- Optionally select a group for the user to be automatically enrolled as a manager.
- If an expiration date is set, the registration link will be valid until that date.
- Click on the Save button to create a registration link.
- After generating a registration link for each user group, which corresponds to specific position, you will find a Copy link to clipboard option in the Actions column of the registration links table.

Uploading/Creating Interview Assessment Questions
When preparing your interview assessment, carefully select the question format that best suits your needs. Decide whether you want a single-choice assessment, where participants can choose only one response, a multiple-choice assessment allowing for multiple selections, or a ranked-choice system, where participants prioritize candidates or options in order of preference. The chosen format should align with the nature of the interview process and your specific assessment criteria.
In YouTestMe GetCertified, you have access to 10 types of questions for designing assessments, surveys, and training courses. These questions can be created directly within the application or prepared offline and uploaded at a later time. One efficient method is to create a question pool that contains questions that can be used across various assessments. You can find detailed instructions on creating a question pool in the following article. Also, you can generate questions in question pools with the assistance of ChatGPT, for more information on how to do that, check this article.
Test Creation
You can start creating a test as shown in the following article, with the note that, when adding questions, you should select Pick questions from pools.
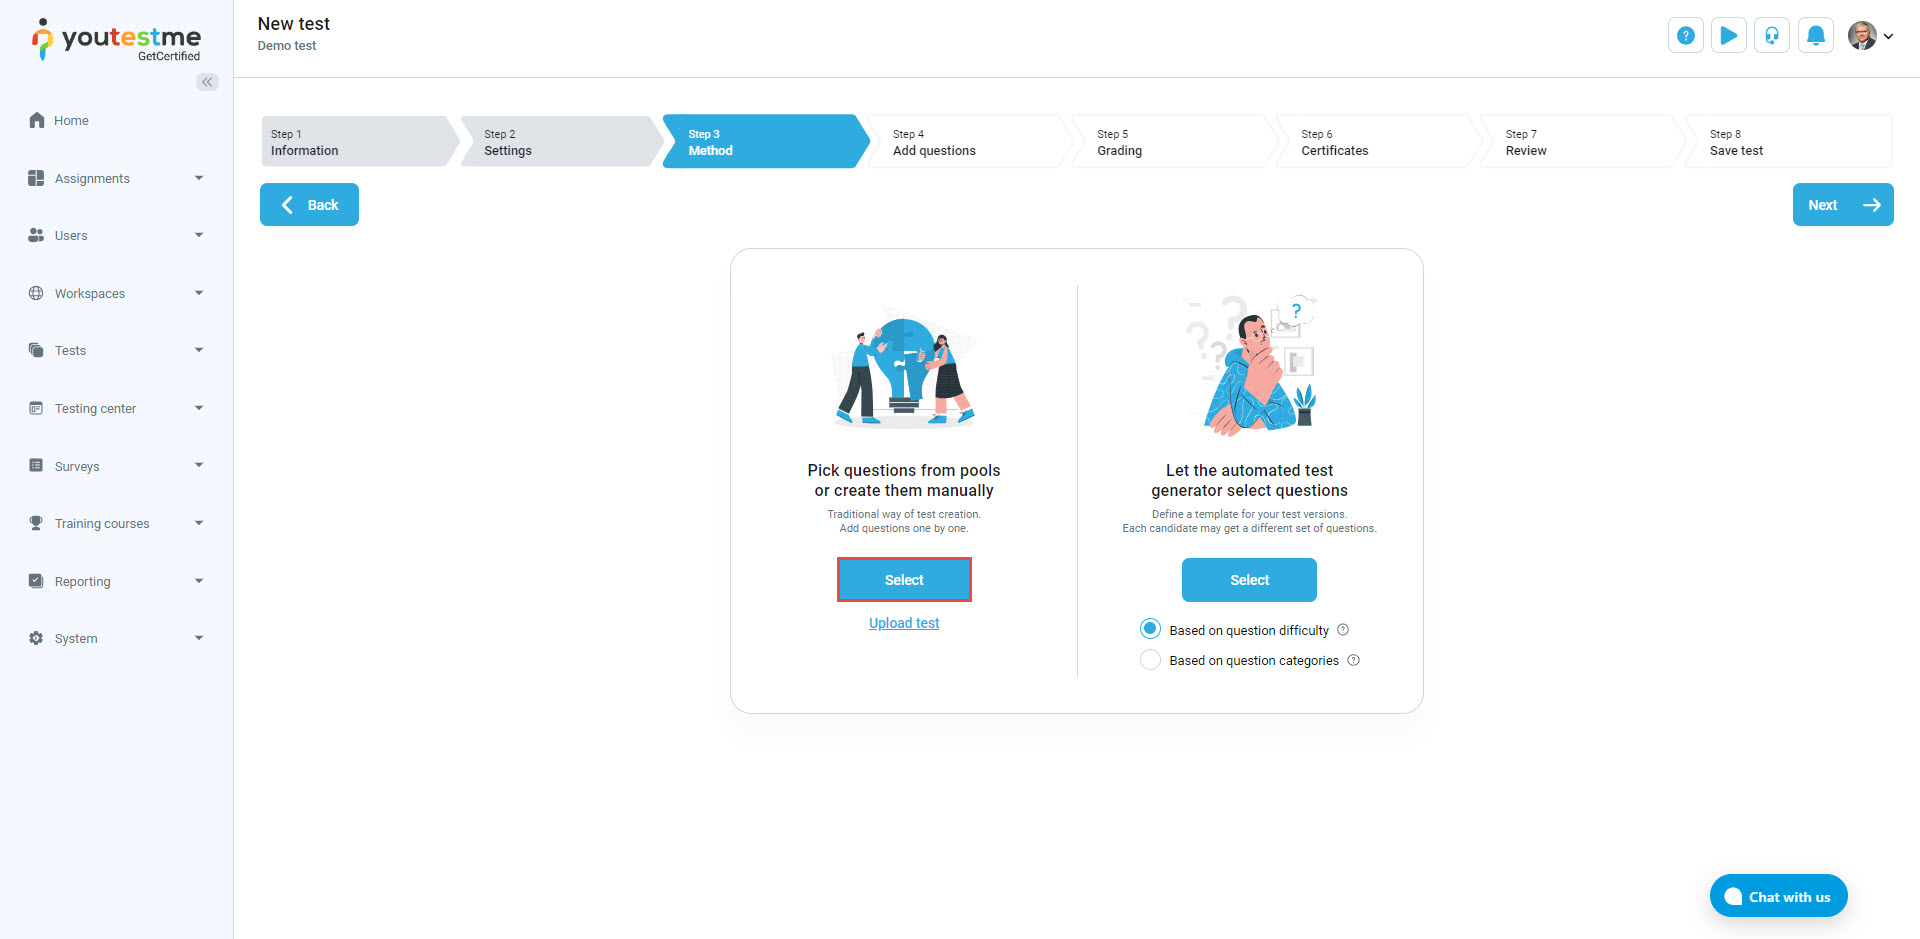
On the next step, click the Import from pools button to select your desired question pool.

Creating Testing Sessions and Linking Them to User Groups
After configuring the main test options, it’s necessary to create testing sessions for each user group. Upon registration, this ensures that every candidate can access the test through the designated testing session tailored specifically for their position. To do so:
- Navigate to the Testing center/Testing sessions tab.
- Click the New testing session button.
- When the pop-up window appears, add a testing session name.
- Select the test for the testing session.
- Set availability dates.
- Choose the appropriate time zone from the list.
- If the self-enrollment option is enabled, users can start the test without waiting for the manager to assign them manually.
- Select a user group.
- Save the testing session.

If you wish to organize a training course and link several tests to evaluate various knowledge levels, you can find additional information on creating training courses by following this link. It’s crucial to emphasize that in this case, when creating a session as demonstrated above, you should select the desired training course to connect it with the test.
Candidate’s Perspective
To optimize the candidate’s experience during the interview and selection process, it’s crucial to provide them with tailored information regarding registration links. For example, if a candidate is applying for a position in the IT sector, they should be directed to register using a specific link created for IT applicants. This personalized approach ensures that candidates receive relevant and specific instructions, streamlining the registration process.
Copy Registration Links
As shown above, after creating the registration link, you can easily copy the registration link for each position for which they are applying. This simplifies the distribution of registration links specific to all positions, ensuring that candidates receive the appropriate registration link for their positions.
Before sending the registration link, it is essential to enable the Instant self-registration module by following these steps:
- Click on the System page and select Settings and customization.
- Navigate to the System preferences tab.
- Locate the Additional modules setup.
- Scroll down to enable Instant self-registration.


Seamless Registration
Upon clicking the registration link, candidates will be prompted to fill in the required information. After clicking the Register button, they will be automatically logged into the application. 
Candidates can follow these instructions to locate and take the competency qualification test.
For more useful instructional materials, please visit:
