Article verified for Release 15.1 on October 19, 2025
In this article, you’ll learn about the default user roles in the system, how to assign them to users, and how to create custom roles tailored to your needs. User roles function as permission labels, defining what users can do in the application and granting them different levels of access and authorization
User roles
There are four default roles in the system:
- Administrator -A role with all permissions in the system that can fully access and manage all application modules.
- Instructor – A role with higher-level permissions than a regular user. Instructors can manage groups, question pools, tests, and reports assigned to them, while only previewing the content not managed by them.
- Proctor – Proctors can monitor candidate progress on tests and supervise them in real-time.
- Student – A basic user who can take assigned tests, surveys, training courses, and view/print personal certificates.
Accessing the page
- To create a new role, select the Users/Roles and permissions tab.
- Click the Create new button.
- Each role has its code. Role codes are required for loading users through an Excel file. They link users you want to load to existing roles in the application.
- You can edit, remove, or copy each role in the system by clicking the options under the Actions column of the role.
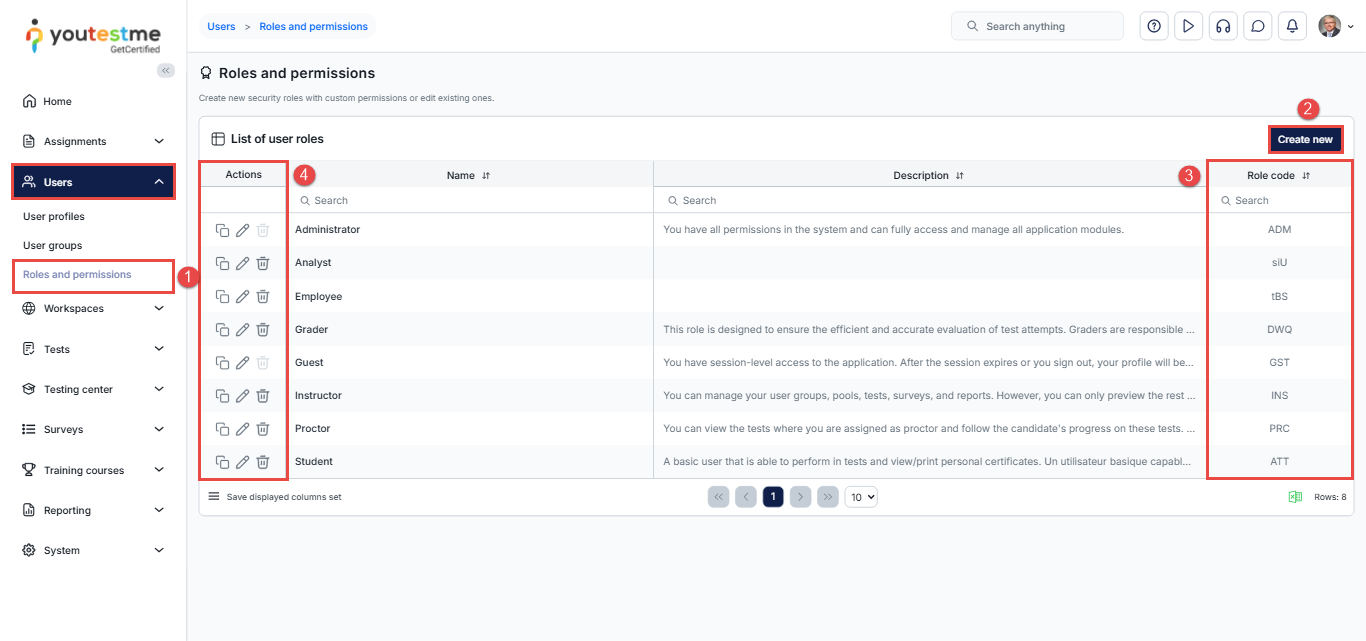
You can create an unlimited number of custom roles. All roles (custom and predefined) except the administrator role are editable.
Role settings
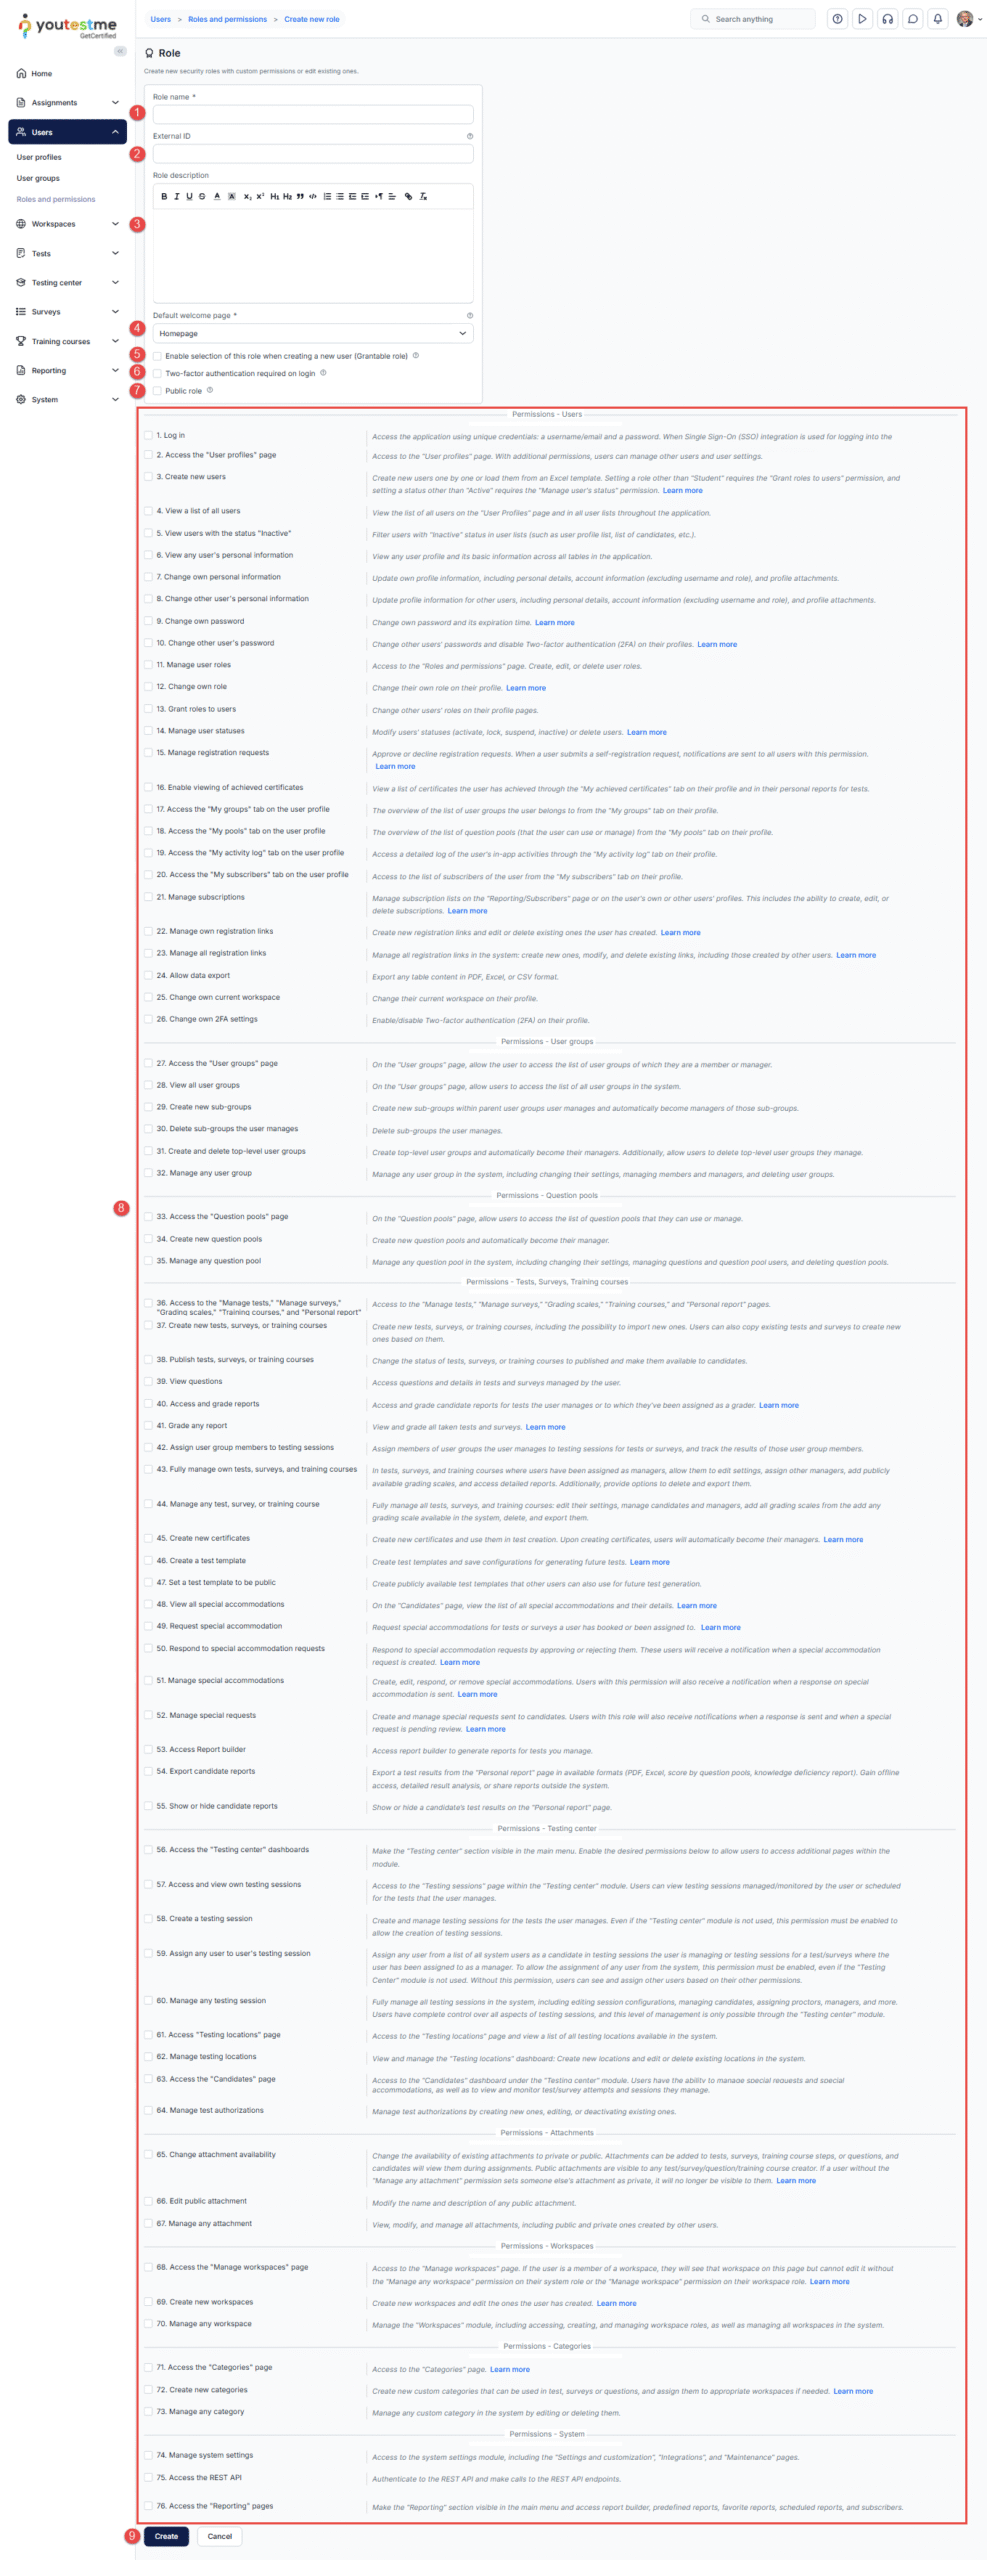
To create a role:
- Enter the Role name.
- Enter the External ID, a unique identifier for integration with external systems. Otherwise, leave it blank.
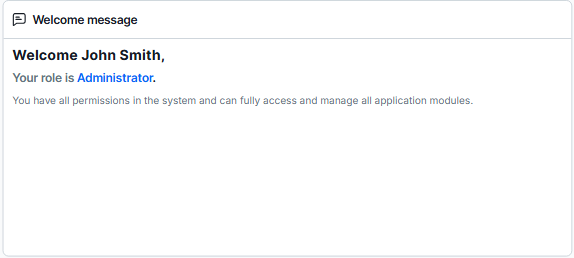
- Enter the Role description, displayed on the home page in the welcome message section.
- Choose the landing page upon login.
- If a user has permission to create a new user (12. Create new users – enabled) but no permission to assign roles (3. Grant roles to users – disabled), they can select any role labeled as Grantable role when creating a new user.
- Require two-factor authentication on login. Users assigned to this role must complete a two-factor authentication process during login. If two-factor authentication has not been set up, users will be prompted to configure it before proceeding. Please note that this option is applicable only when a standard login with credentials is used. For more information on how to configure two-factor authentication, please refer to this article.
- Public role is visible and accessible in all workspaces.
- Choose permissions to define the actions and viewing capabilities for this role.
- Click the Create/Update button.
Accessing predefined reports
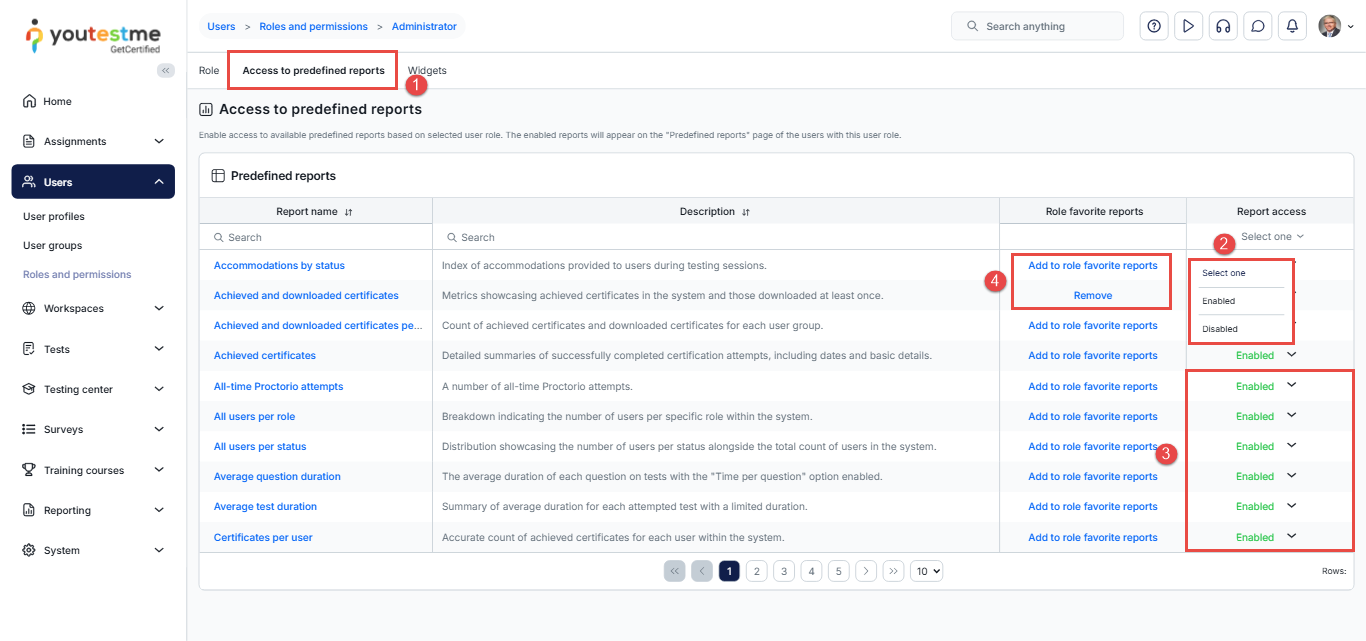
Determine which reports users with this role can access in the Predefined reports section.
To grant access to predefined reports:
- Navigate to the Access to predefined reports tab.
- Filter the table, displaying reports for which the user has either been granted or not.
- Control access to a specific report by setting it to Enabled or Disabled.
- To mark specific reports as default favorite reports for that role, click the Add to role favorite reports button. Or click the Remove button to delete the report from the favorite report list.
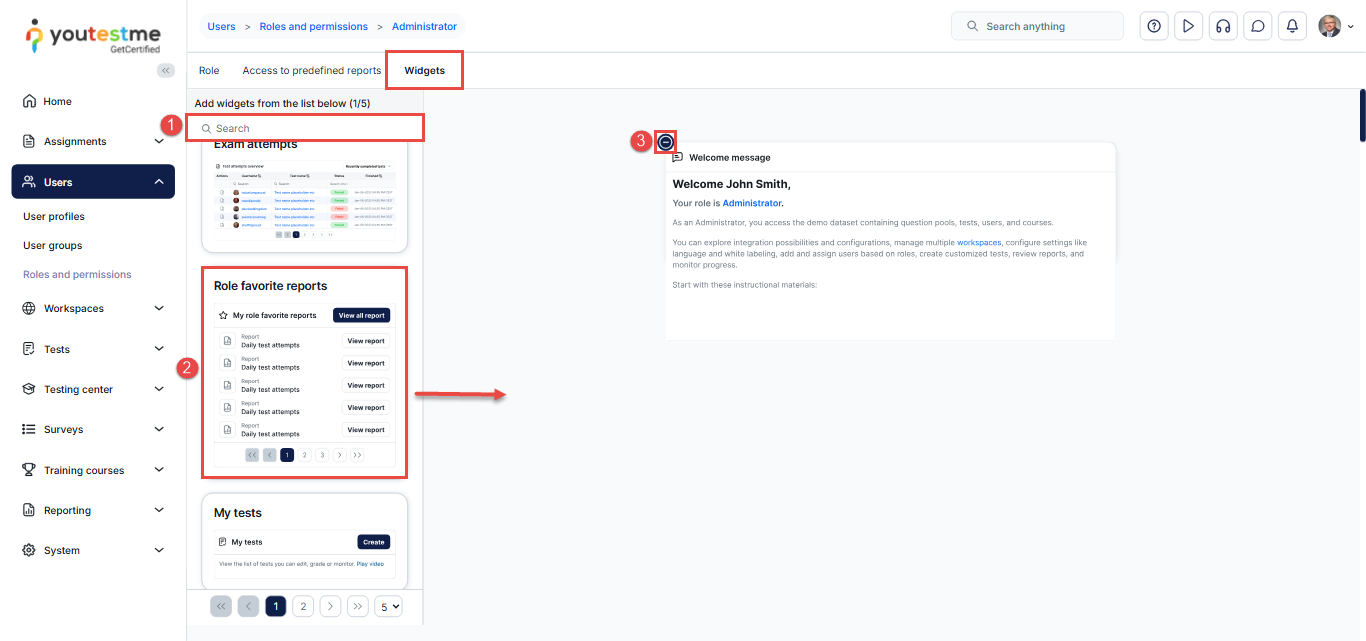
Widgets
Widgets provide quick access to the frequently used application functions directly from the home page.
The configuration of widgets on the homepage can be tailored to your preferences:
- Use the search bar to find a specific widget from the Available widgets.
- Drag and drop the widget on the blank space on the right side.
- To remove a widget, click on the minus button in the top left corner of the widget.
Types of widgets
Role description– Description of your role within the system. It can be modified in theRoles and permissions section under the Role description field.
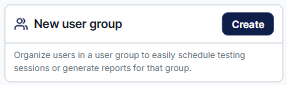
New user group– Shortcut widget for creating a new user group.
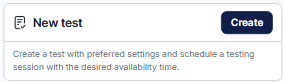
New test– Shortcut widget for creating a new test.
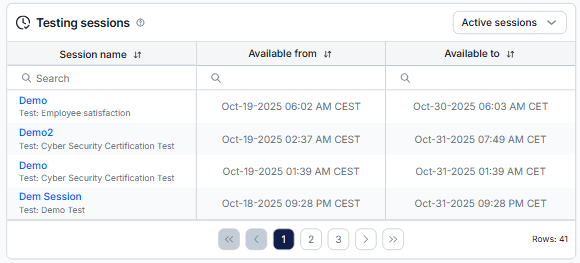
Testing sessions– A list of upcoming, active, and expired testing sessions.
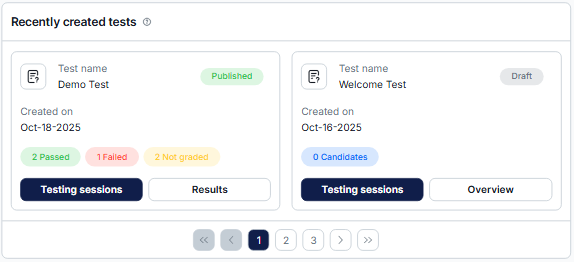
Recently created tests– A list of tests sorted from most recently created to oldest. It includes associated statistics such as the number of past, failed, and not graded test attempts. Additionally, you can manage testing sessions and access results.
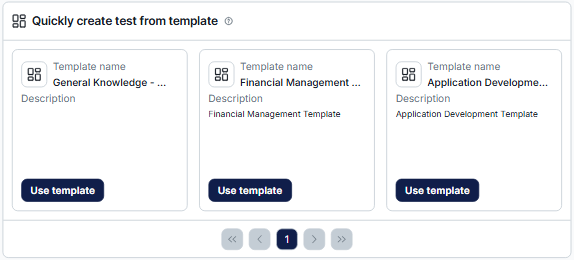
Quickly create a test from a template – A list of public test templates that can be utilized for creating new tests.
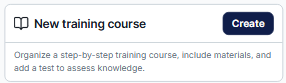
New training course– Shortcut widget for creating a new training course.
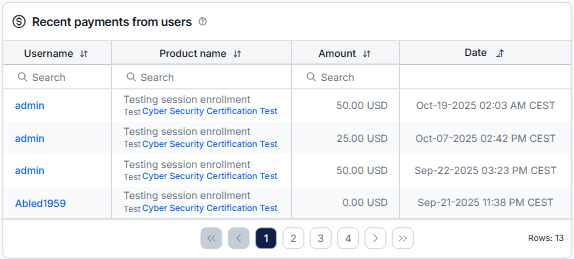
Recent payments from users– A list of user purchases with payment details, organized from most recent to oldest transactions.
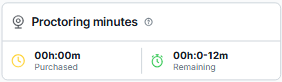
Proctoring minutes– A number of purchased and remaining proctoring minutes for proctored tests.
Users per role– The total number of users in the application grouped by their security role, along with the number of users created since the beginning of the current month.

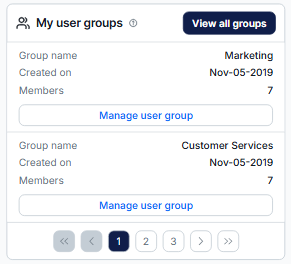
My user groups– A list of groups assigned to a user for managing, sorted from oldest to newest, with basic group information.
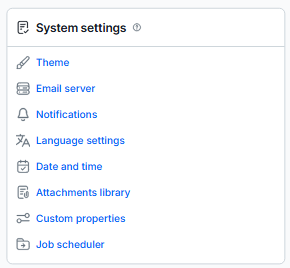
List of system settings– Main settings that allow easy application customization.
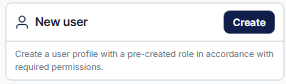
New user– Shortcut widget for creating a new user.
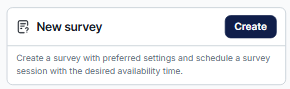
New surveys– Shortcut widget for creating a new survey.
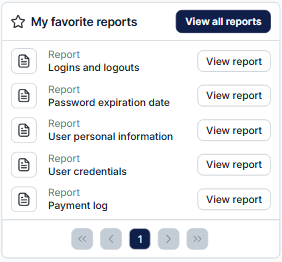
Favorite reports– A list of reports the user has marked as favorites.
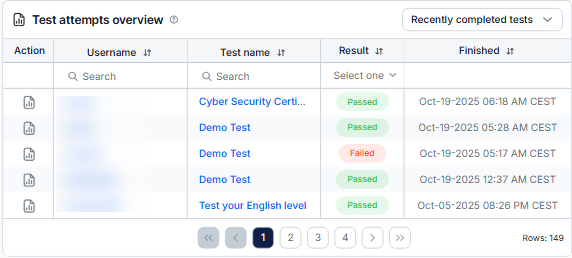
Exam attempts– A summary of test attempts with details.
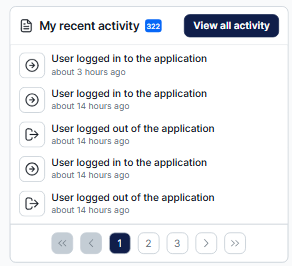
Recent activity– A list of the user’s latest actions.
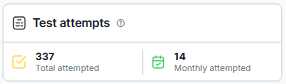
Attempted tests– A total and monthly number of attempted tests.