
Article verified for Release 15.2 on November 14, 2025.
This article explains how to create a user group and assign users to it. Organizing users (candidates) into groups simplifies the analysis of their behavior, preferences, and activities, and also allows you to easily assign multiple users to a testing session at once.
Create User Groups
- Navigate to the Users within the application and select the User groups option.
- Click on the New top-level group button.

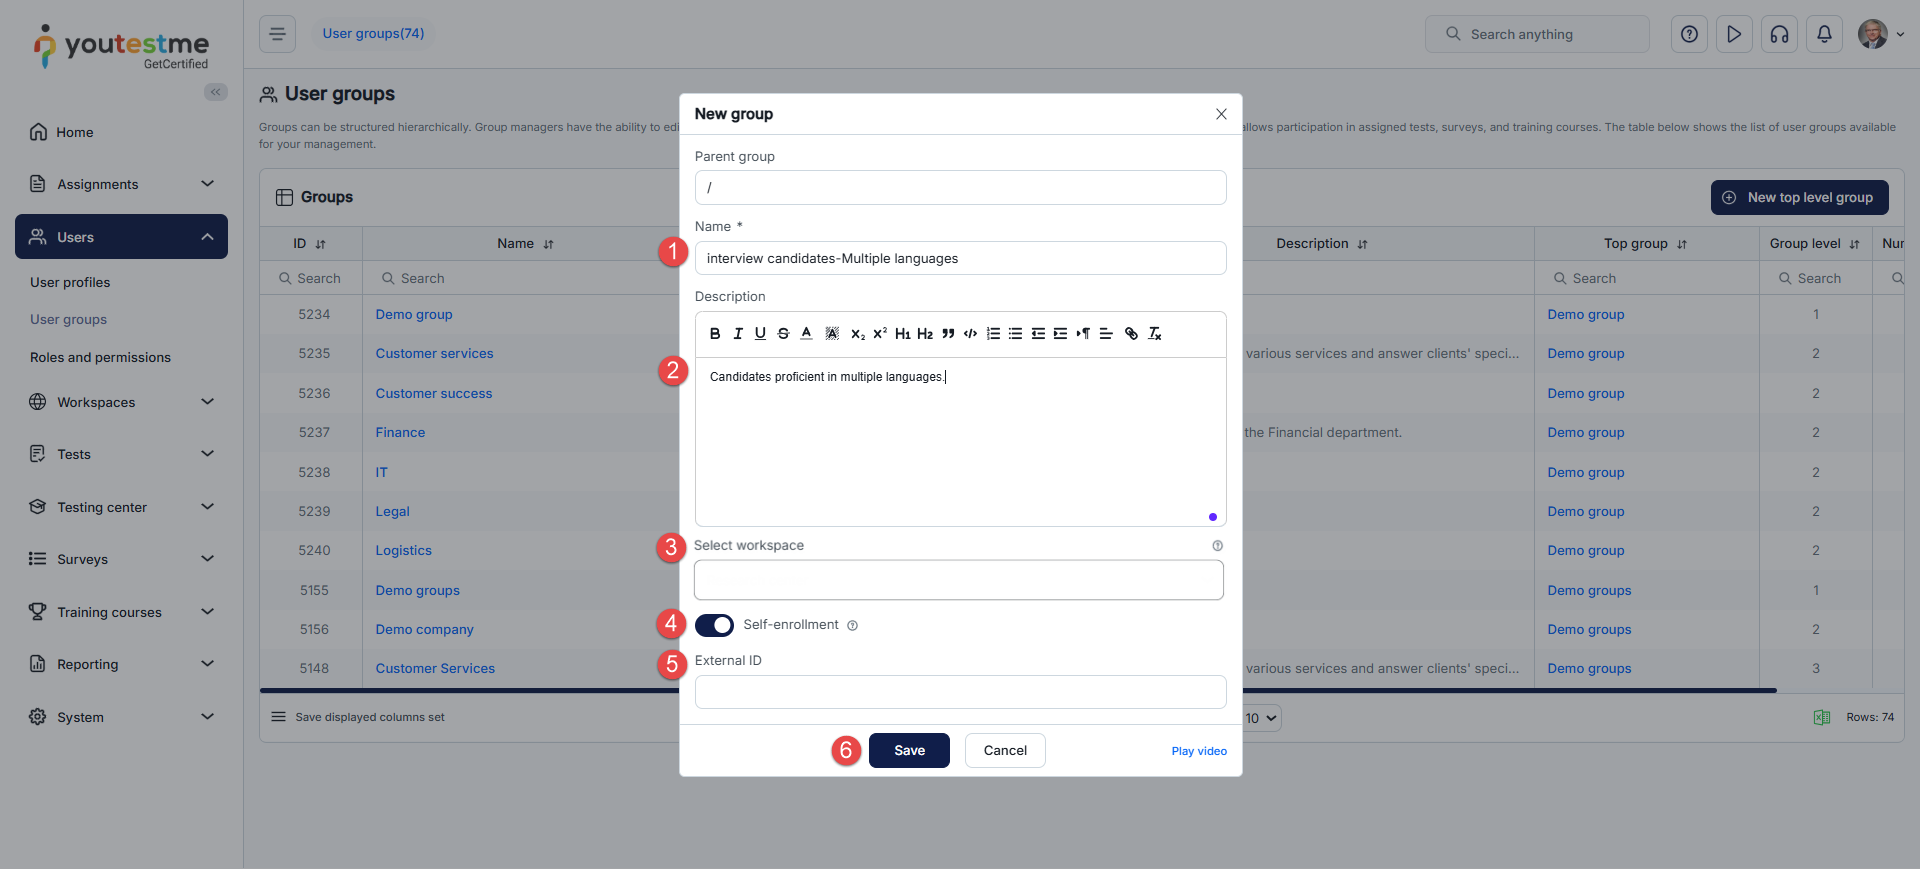
When the pop-up window appears:
- Type the name of the user group.
- Optionally, provide a brief description.
- Assign the group to one or more workspaces. The group will be available only within the selected workspaces. If no workspace is selected, the user group becomes globally available.
- Users can find and join the group themselves if the self-enrollment option is enabled.
- Add an external ID that can be used for the external system if needed.
- Click on the Save button to create the new group.
Manually Adding Users to a User Group
After creating a new user group, you can manually add members to it. To do so, follow these steps:
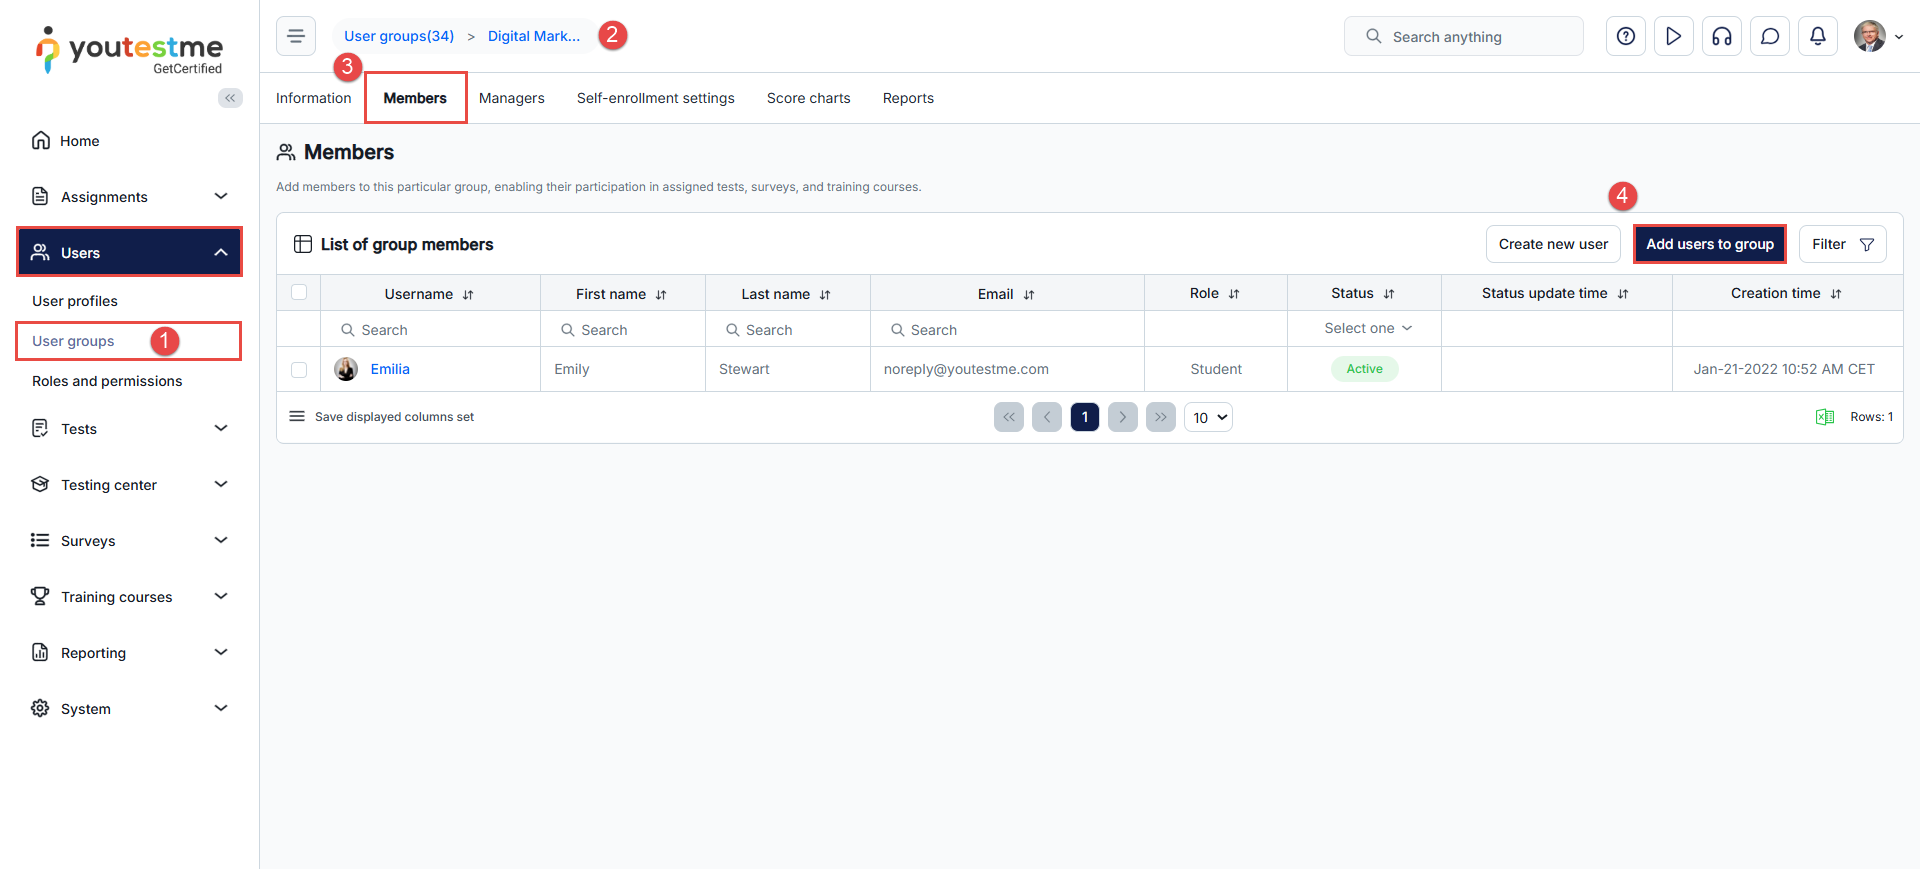
- Navigate to Users and select User groups.
- Choose the desired group from the list.
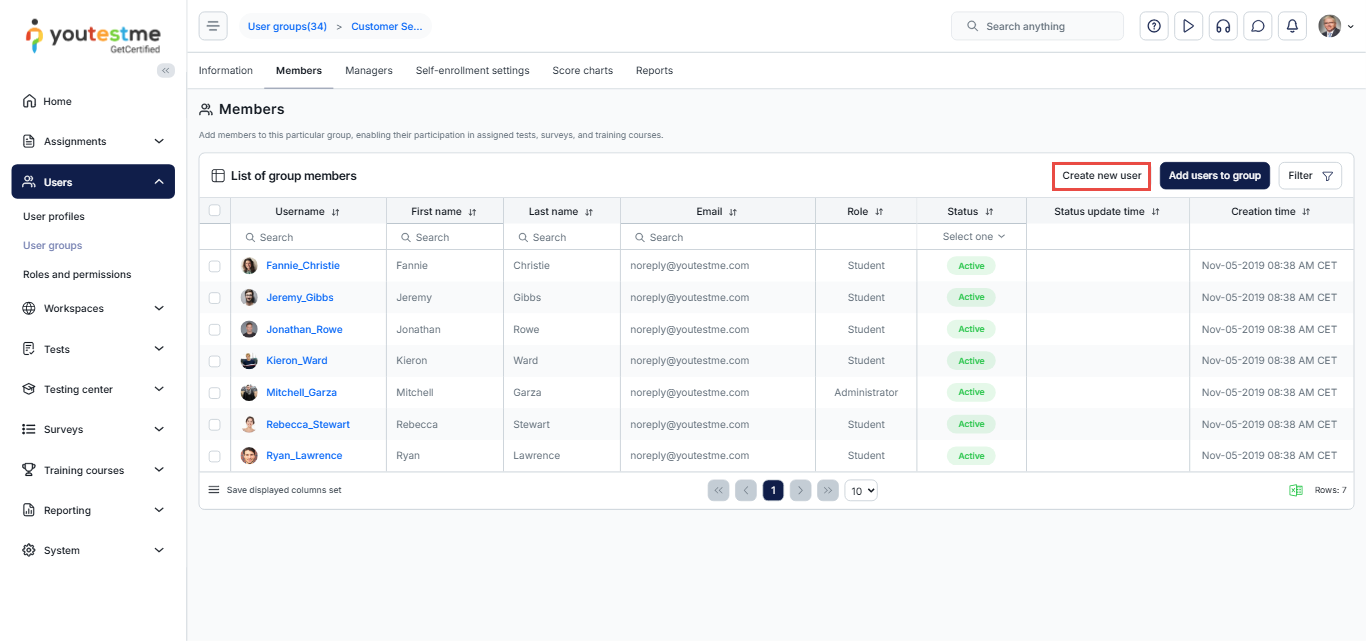
- Inside the group, open the Members tab.
- Click the Add users to group button.
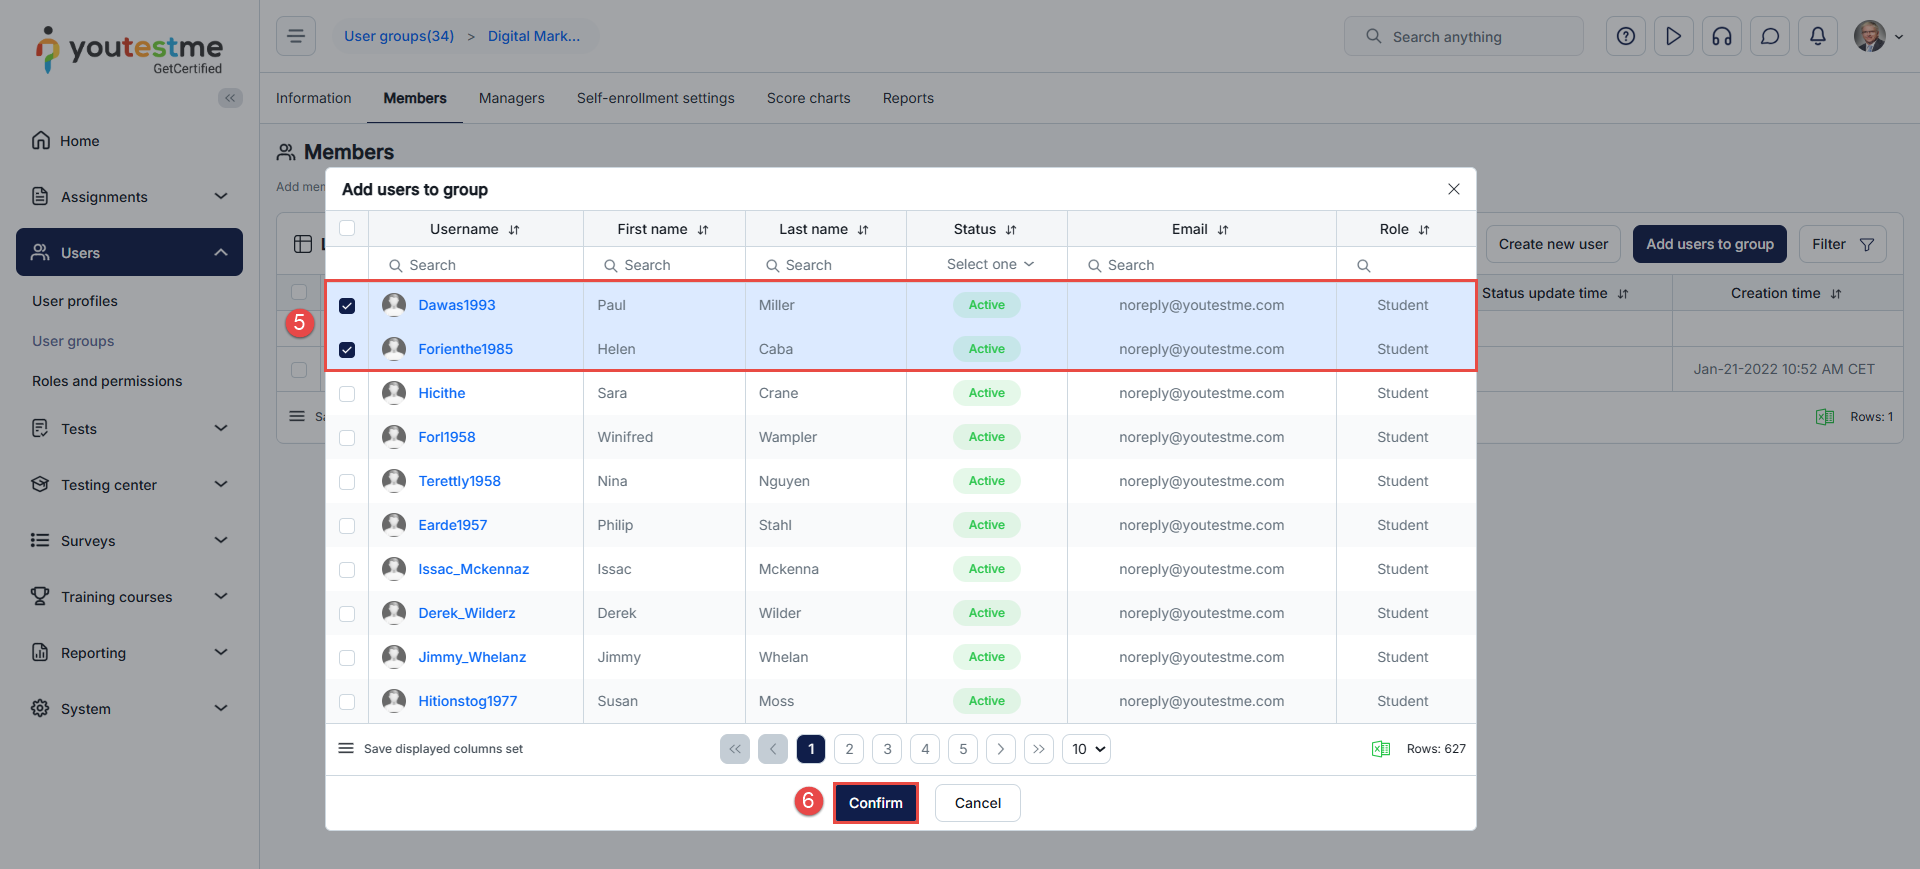
- A list of all users will appear. Select the desired users by checking the boxes next to their usernames.
- Click Confirm to add the selected users.
- The selected users will now appear in the list of group members.
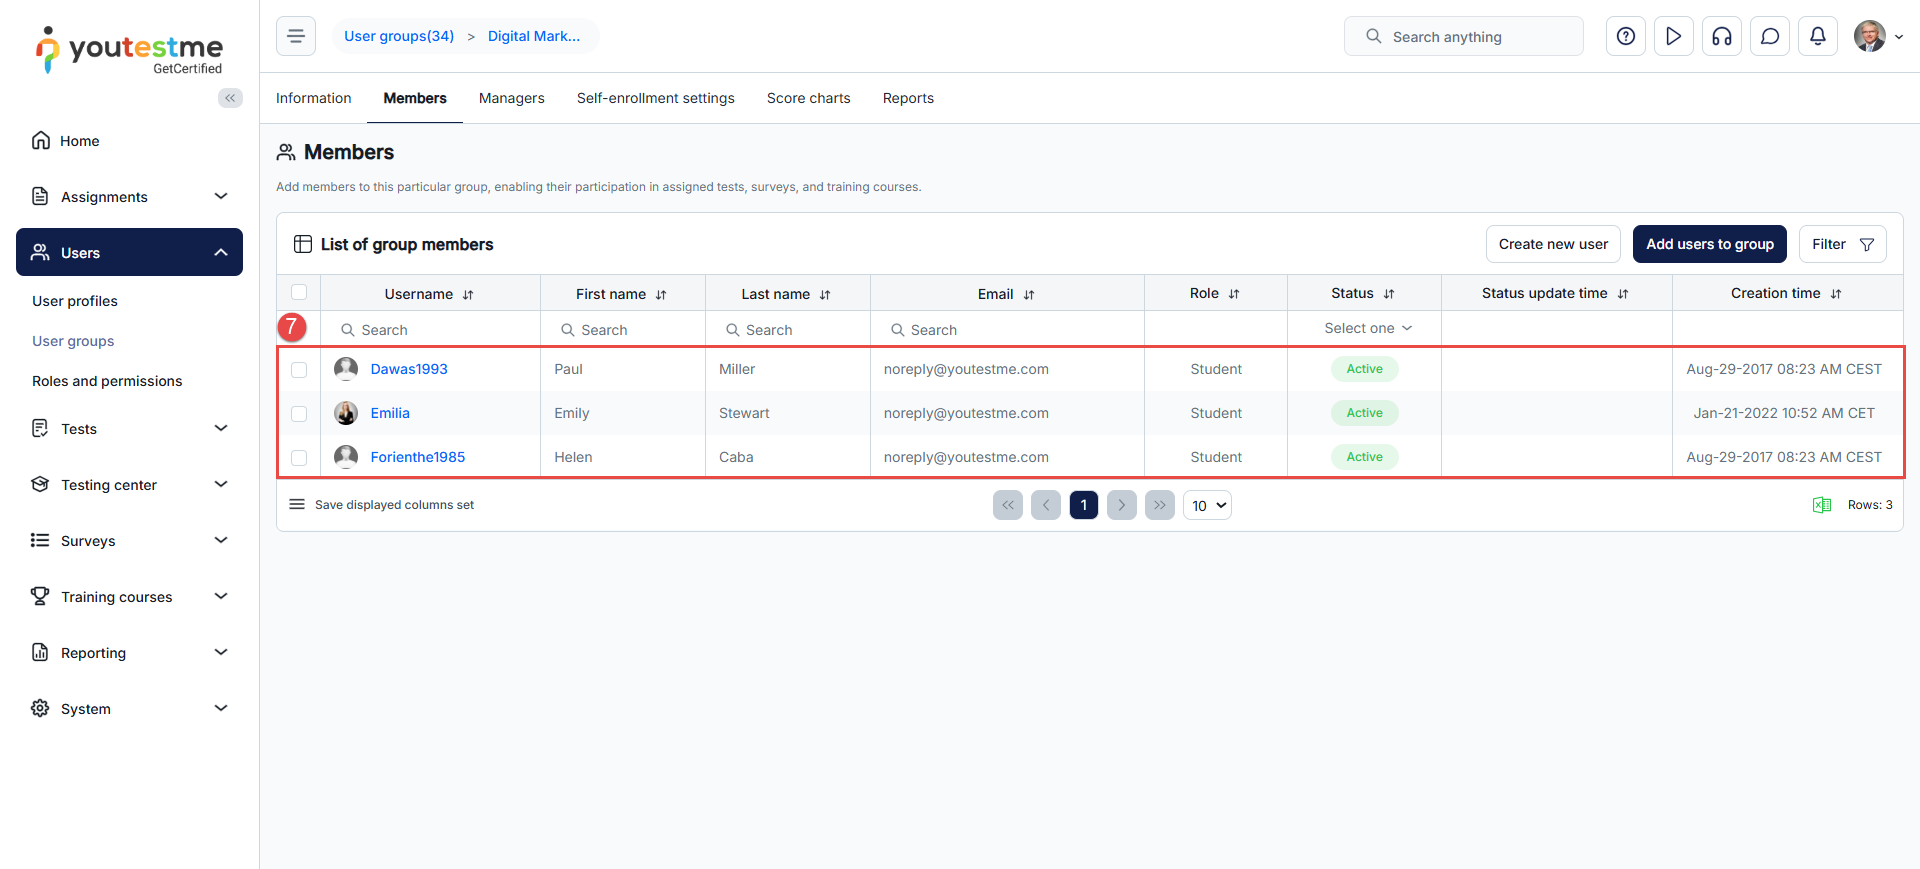
Note: You can also manually create new users in the user group by clicking the Create New User button. The user will be automatically assigned to the specific group.
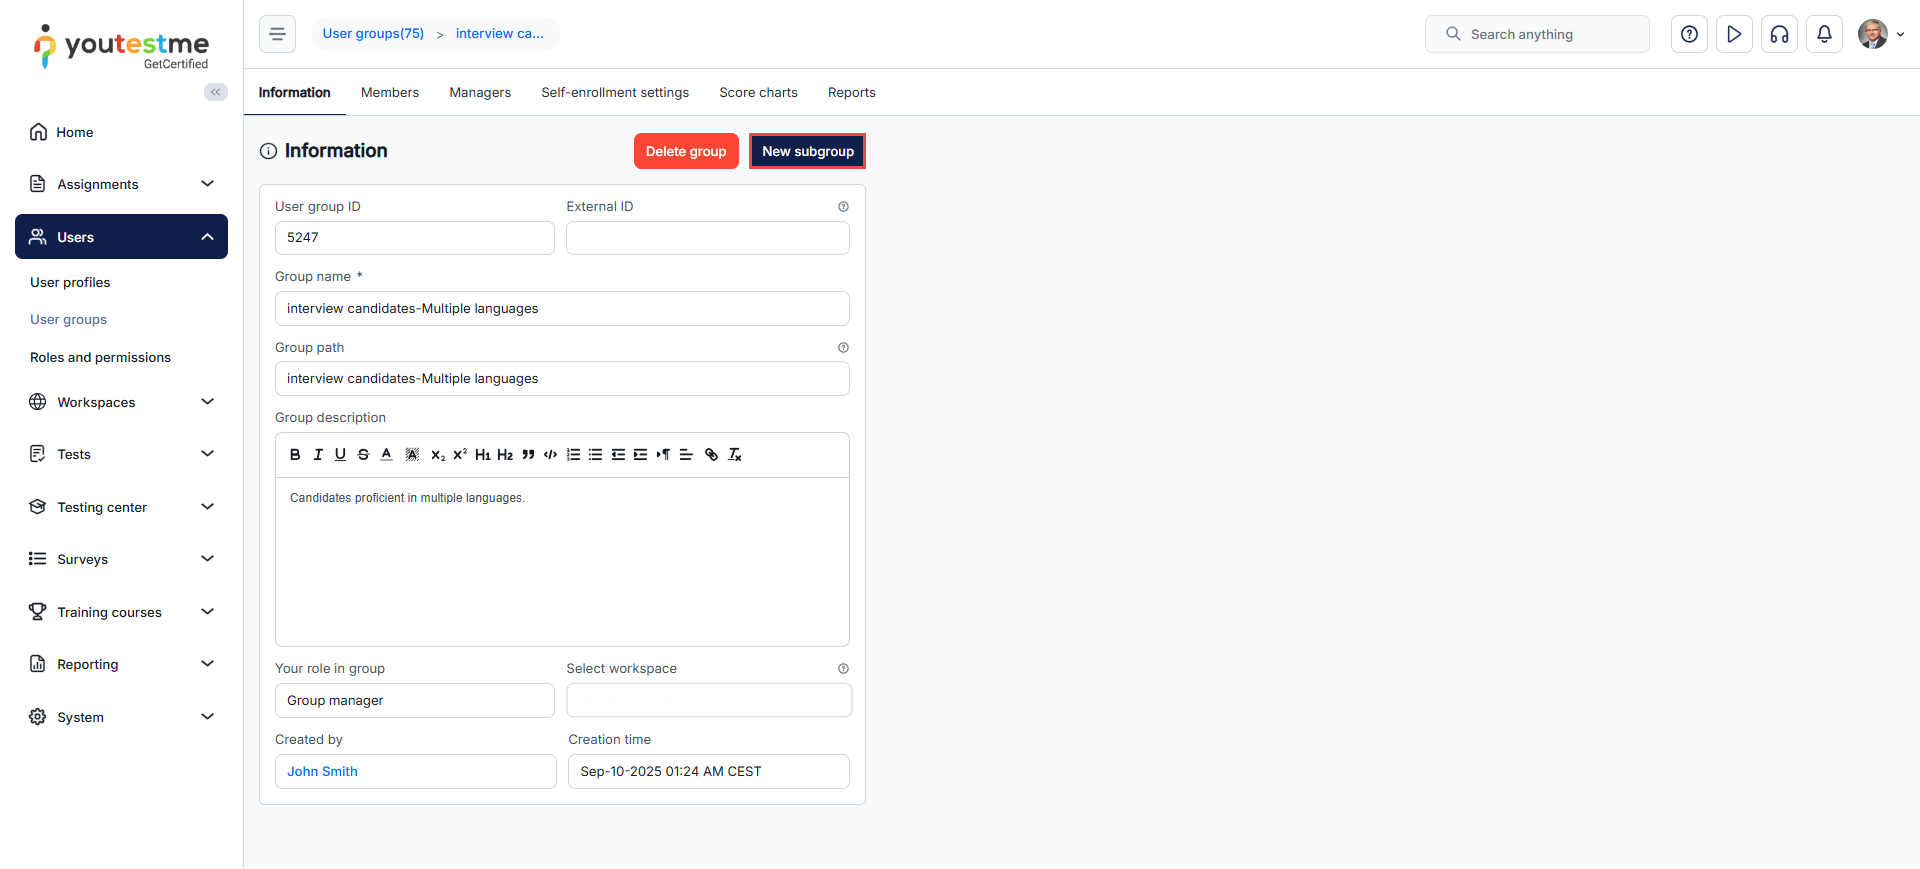
Creating Sub-groups
User groups follow a hierarchical structure, allowing one user group to contain numerous subgroups, which can, in turn, have their own subgroups. Users within the system can belong to multiple groups concurrently.
To create a subgroup for the selected group, click the New Subgroup button.
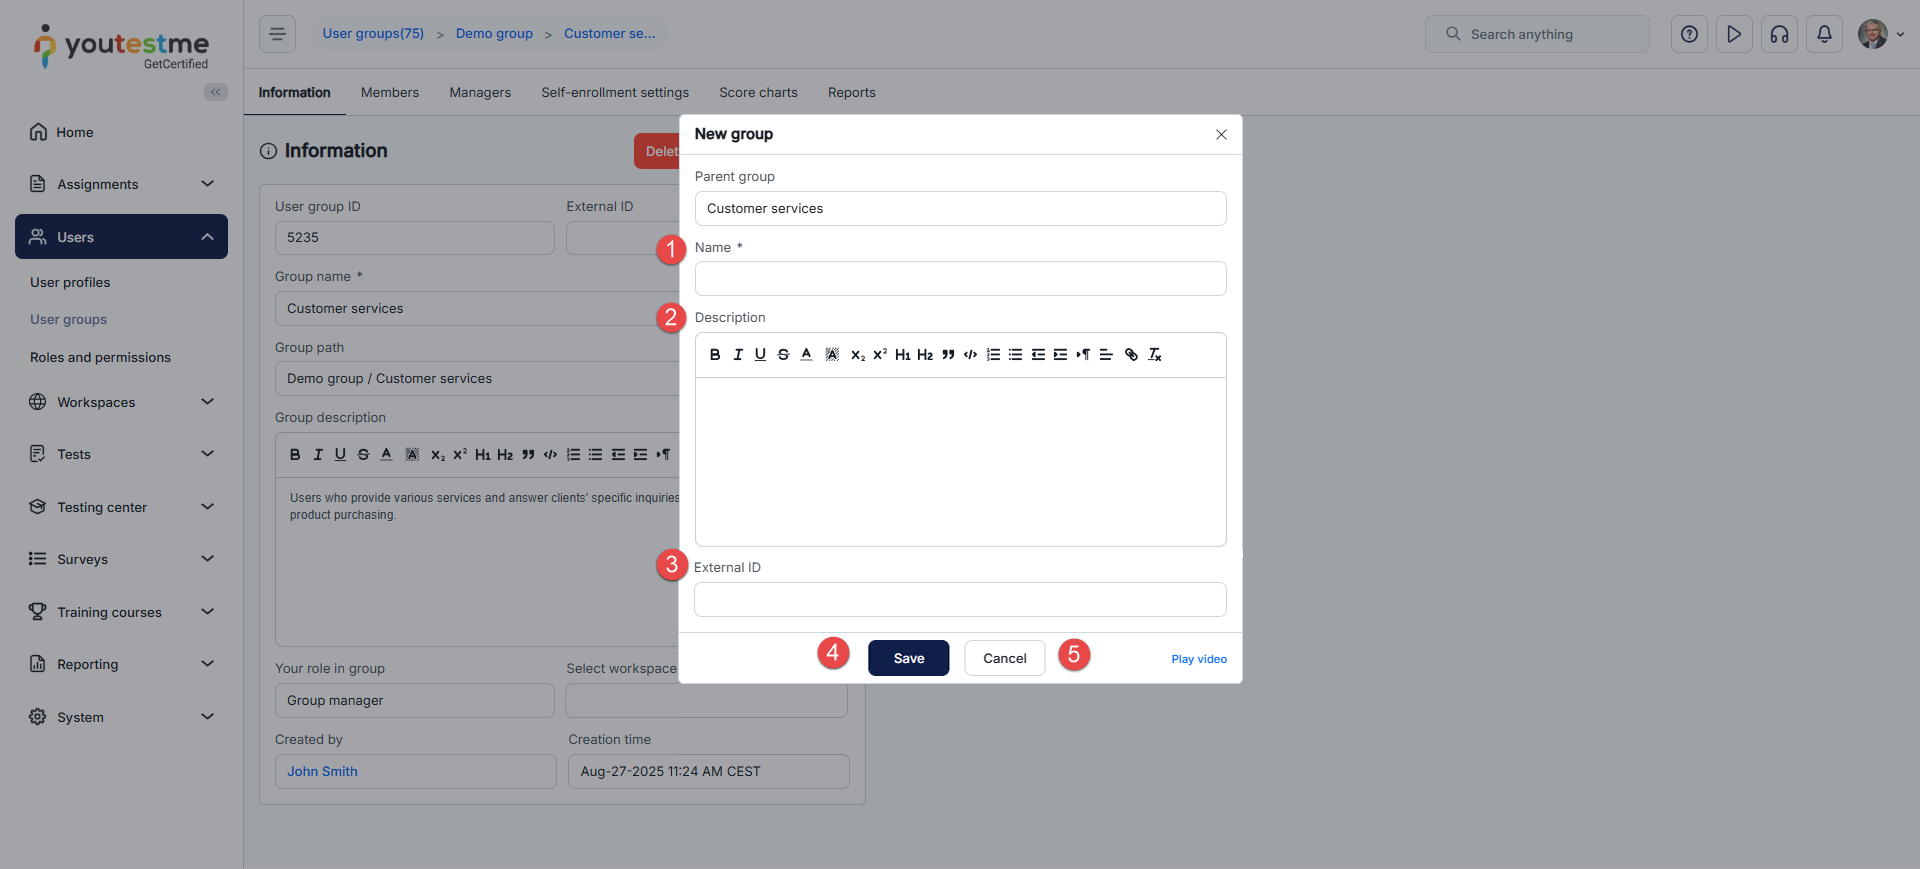
The process of creating a subgroup is the same as creating a top-level user group:
- Enter the subgroup name.
- Optionally, add a description.
- Optionally, add an external ID to support integration with external systems.
- Click the Save button to create the subgroup.
- Click the Cancel button to discard subgroup creation.
Note: The self-enrollment option for the subgroup is available only if it is enabled in the parent group.
Note: The group or its subgroups cannot be deleted if used in one or more testing sessions. To delete a user group, you must first delete the associated testing sessions. Users can be added directly to any subgroup without a requirement to belong to the parent group first.
Additionally, the subgroup automatically inherits the parent group’s workspace assignments. Workspace settings cannot be modified at the subgroup level. To remove a subgroup from a workspace, you must remove the parent group from that workspace as well.
For more helpful articles, you can see:
