Article verified for Release 15.1 on October 3, 2025.
This article explains the process of creating a test template, configuring test settings, and loading a previously created test template for future use.
Test templates are especially useful when you frequently create tests with the same configuration—they allow you to quickly apply all preferred settings without manually adjusting them each time.
Setting up test settings
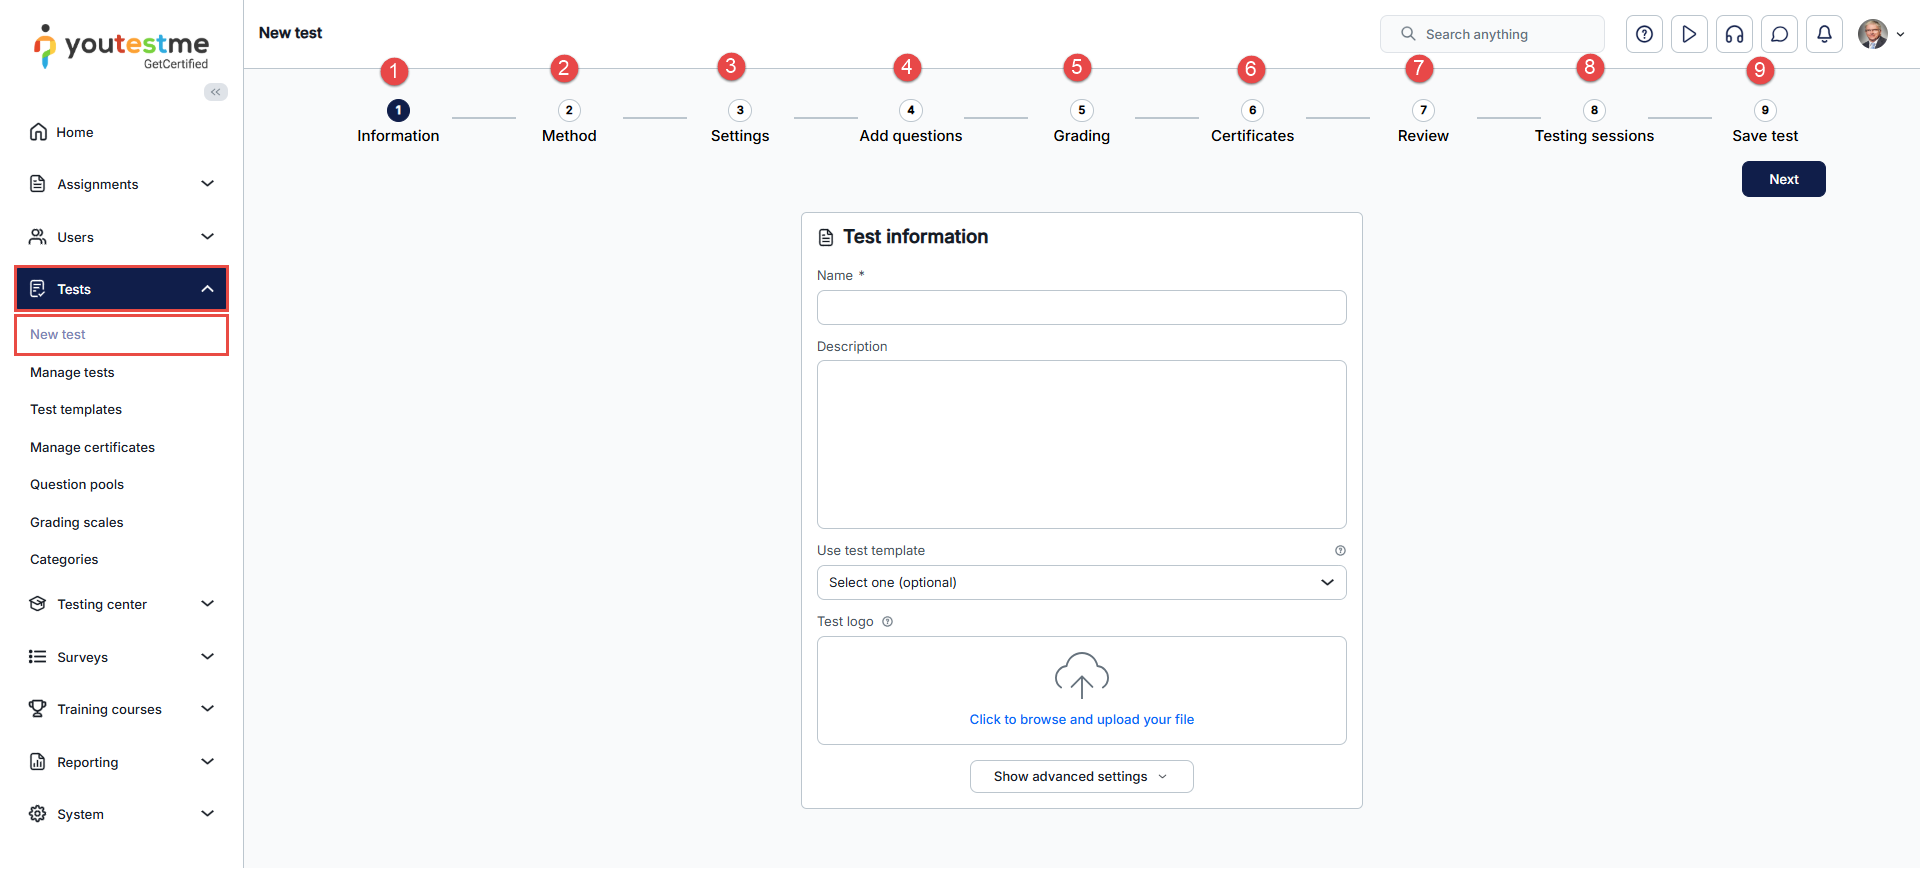
To access the Create test wizard page, select the Tests/New test tab.
The Test creation wizard is divided into eight steps:
- Information.
- Method.
- Settings.
- Add questions.
- Grading.
- Certificate.
- Review.
- Testing sessions.
- Save test.
Test settings
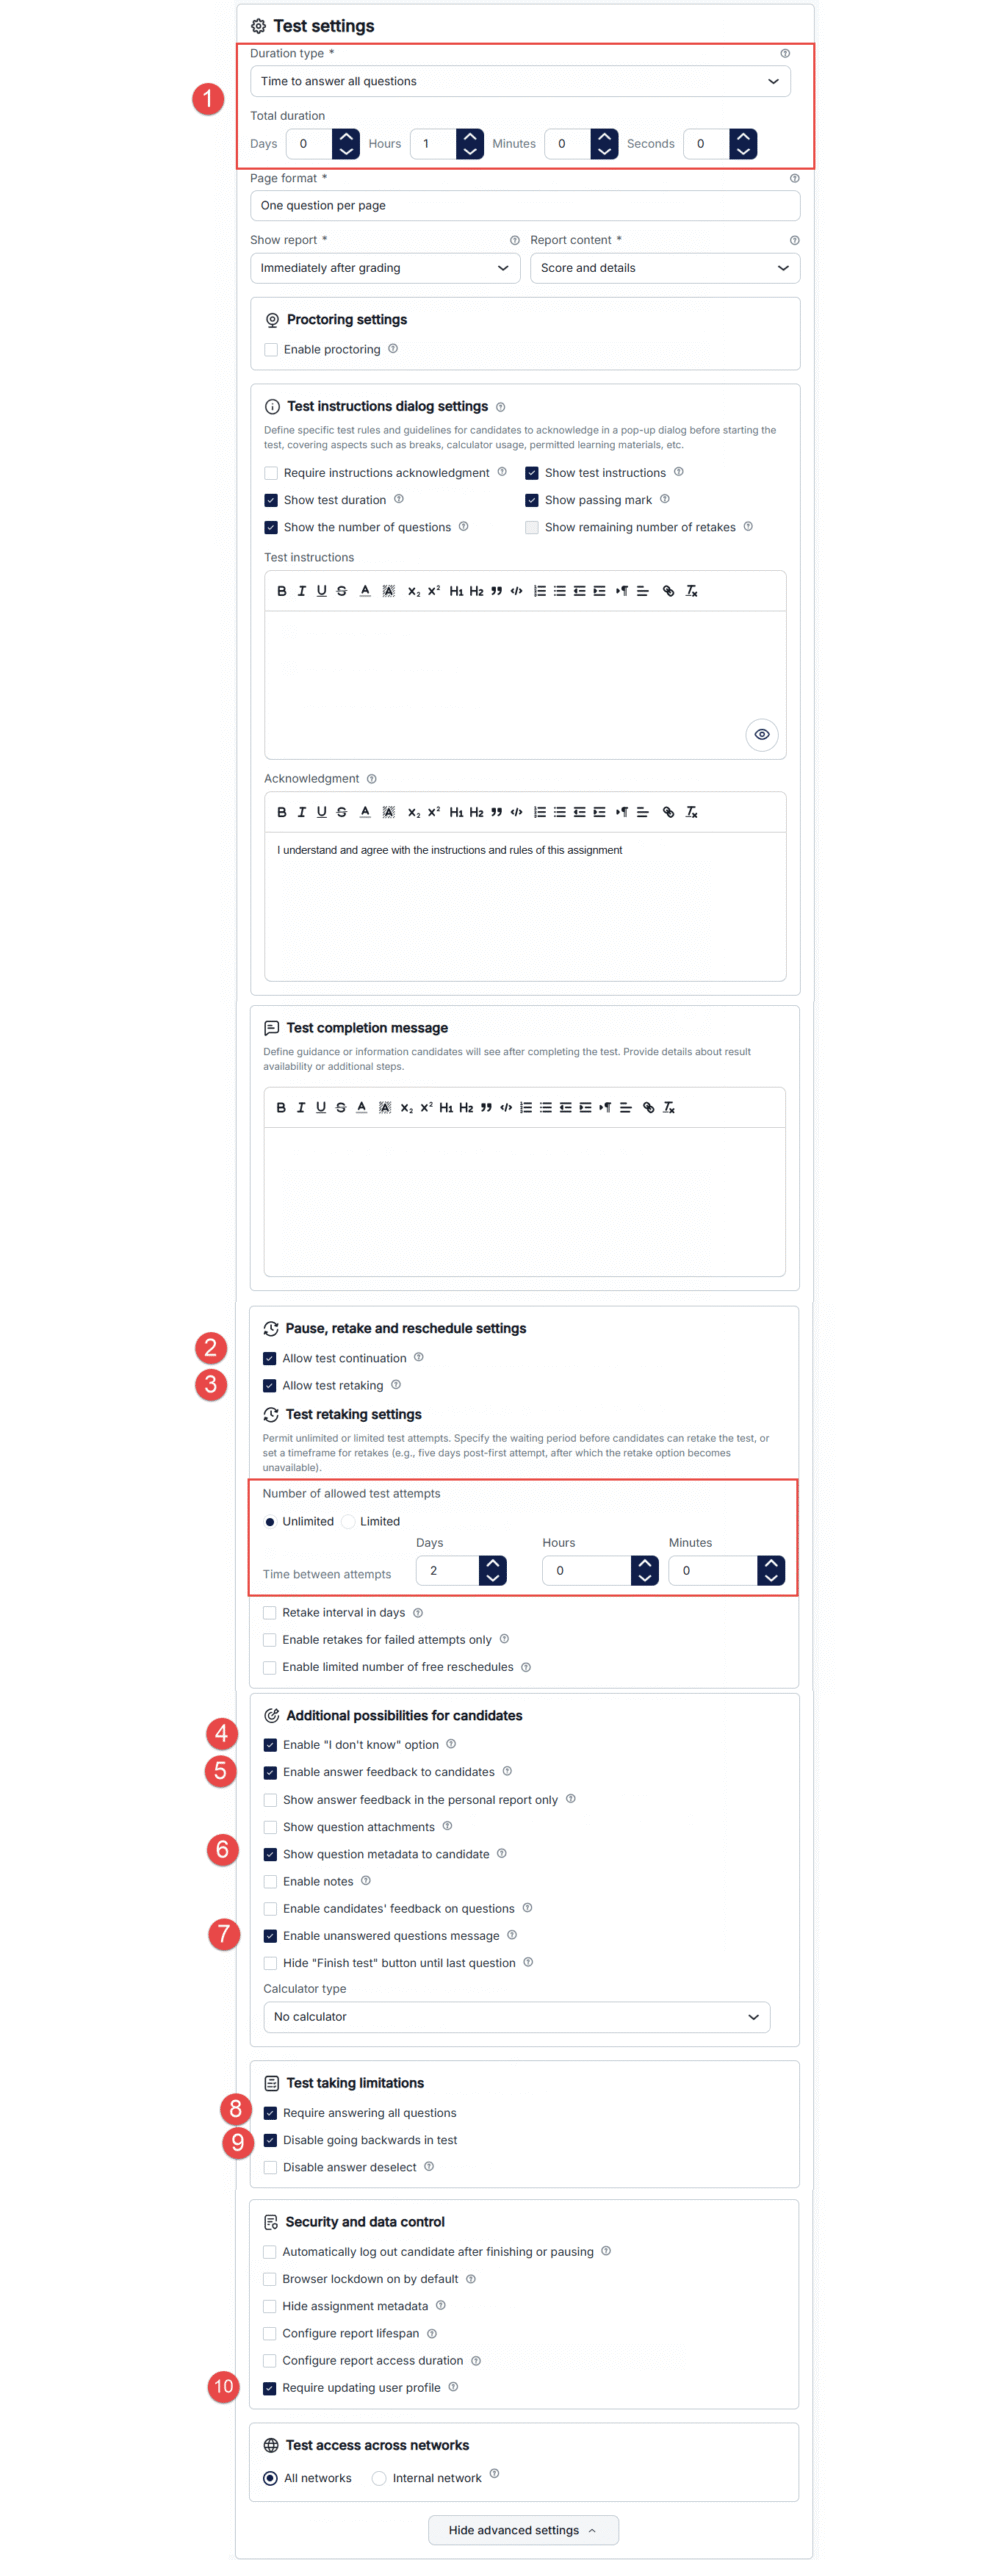
The third step in the Create Test Wizard is the settings. In this step, select the options for the test.
In this example, we will select the following:
- Duration type: The time to answer all questions is 1 hour.
- Allow test continuation.
- Allow test retaking (unlimited attempts; the time between attempts is 2 days).
- Enable the “I don’t know” answer to avoid negative points.
- Enable answer feedback.
- Show question metadata to the candidate.
- Enable unanswered questions message.
- Require answering all questions.
- Disable going backward in the test.
- Require updating user profile.
Note: All the chosen settings will be saved in the newly created template on the last step of the test wizard and can be used to automatically set up the new test settings.
Finishing the test wizard
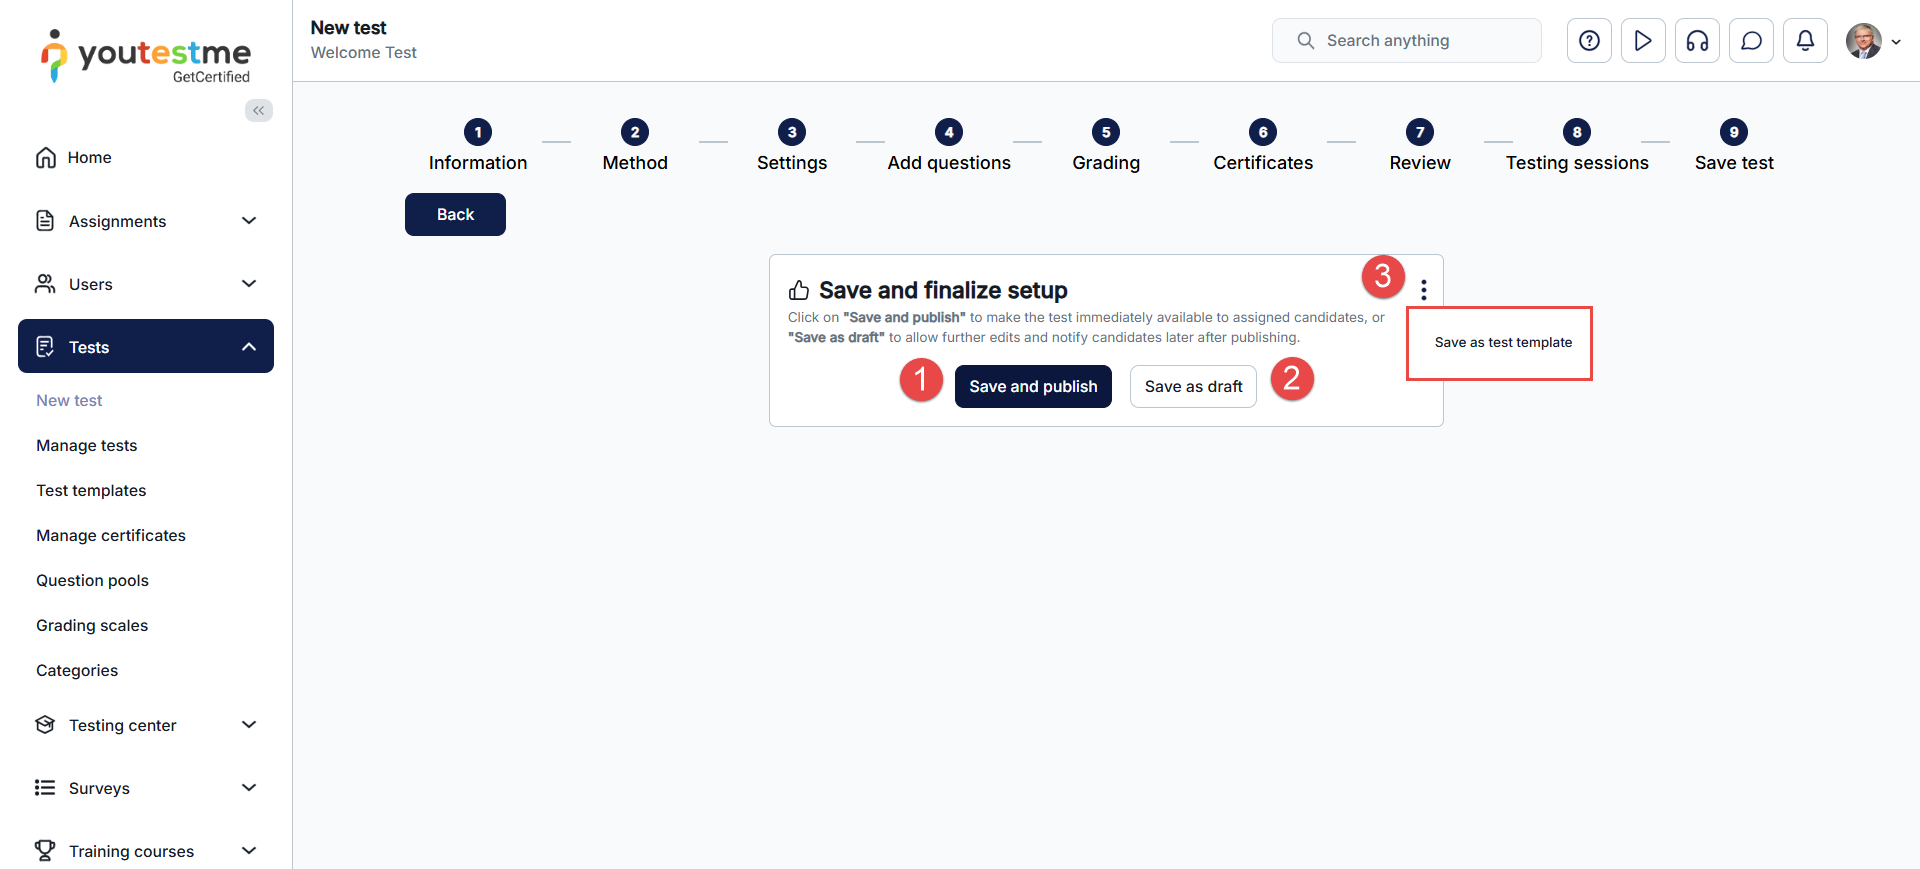
The last step of the test creation process is saving the test:
- Click on the Finish wizard button to save the test.
- Click on the Save as draft button to save the draft.
- Click on the Save as test template button to save the test settings as a test template.
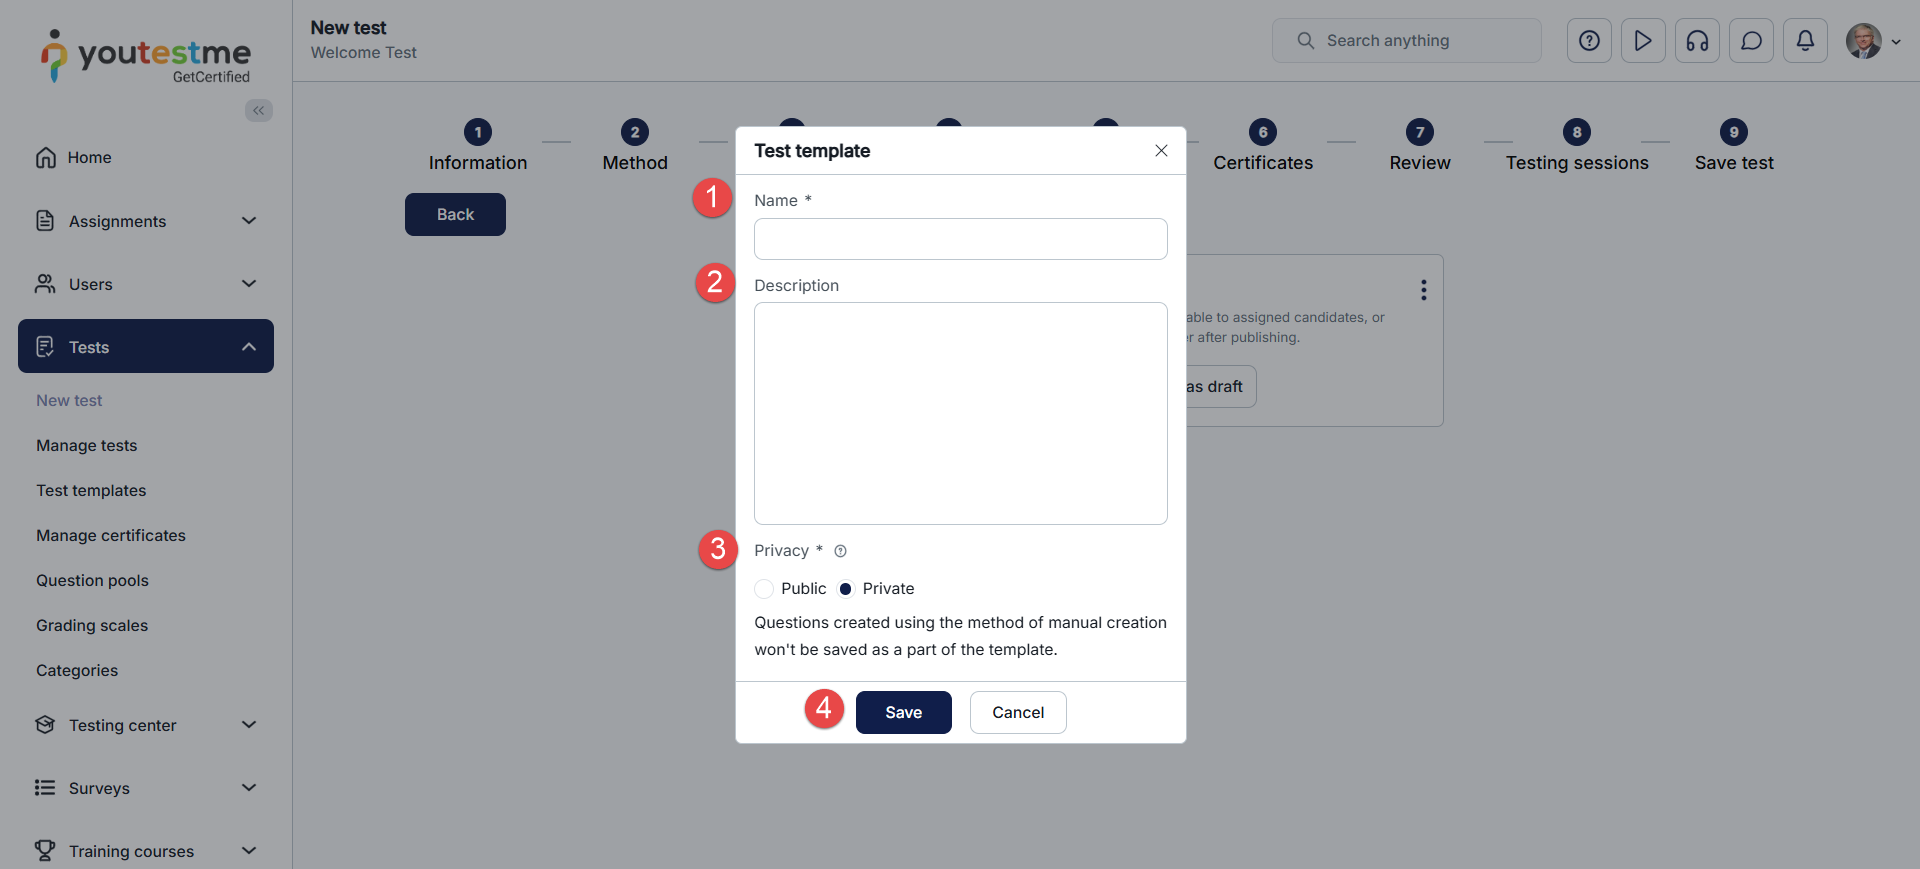
To save the test as a test template, select the Save test as template button to save your test. In the pop-up dialog:
- Enter the template name.
- Enter the description optionally.
- Set privacy.
- Click on the Save button to save the changes.
Note: Questions in manually created tests are not part of the template and will not be saved.
Note:
-
Without the “Set a test template to public” permission:
-
Under Tests > Test templates, users can see only the templates they created.
-
In the Test wizard, they can view public templates and their own templates.
-
-
With the permission:
-
Under Tests > Test templates, users can view all templates.
-
In the Test wizard, they can still see public templates and their own templates.
-
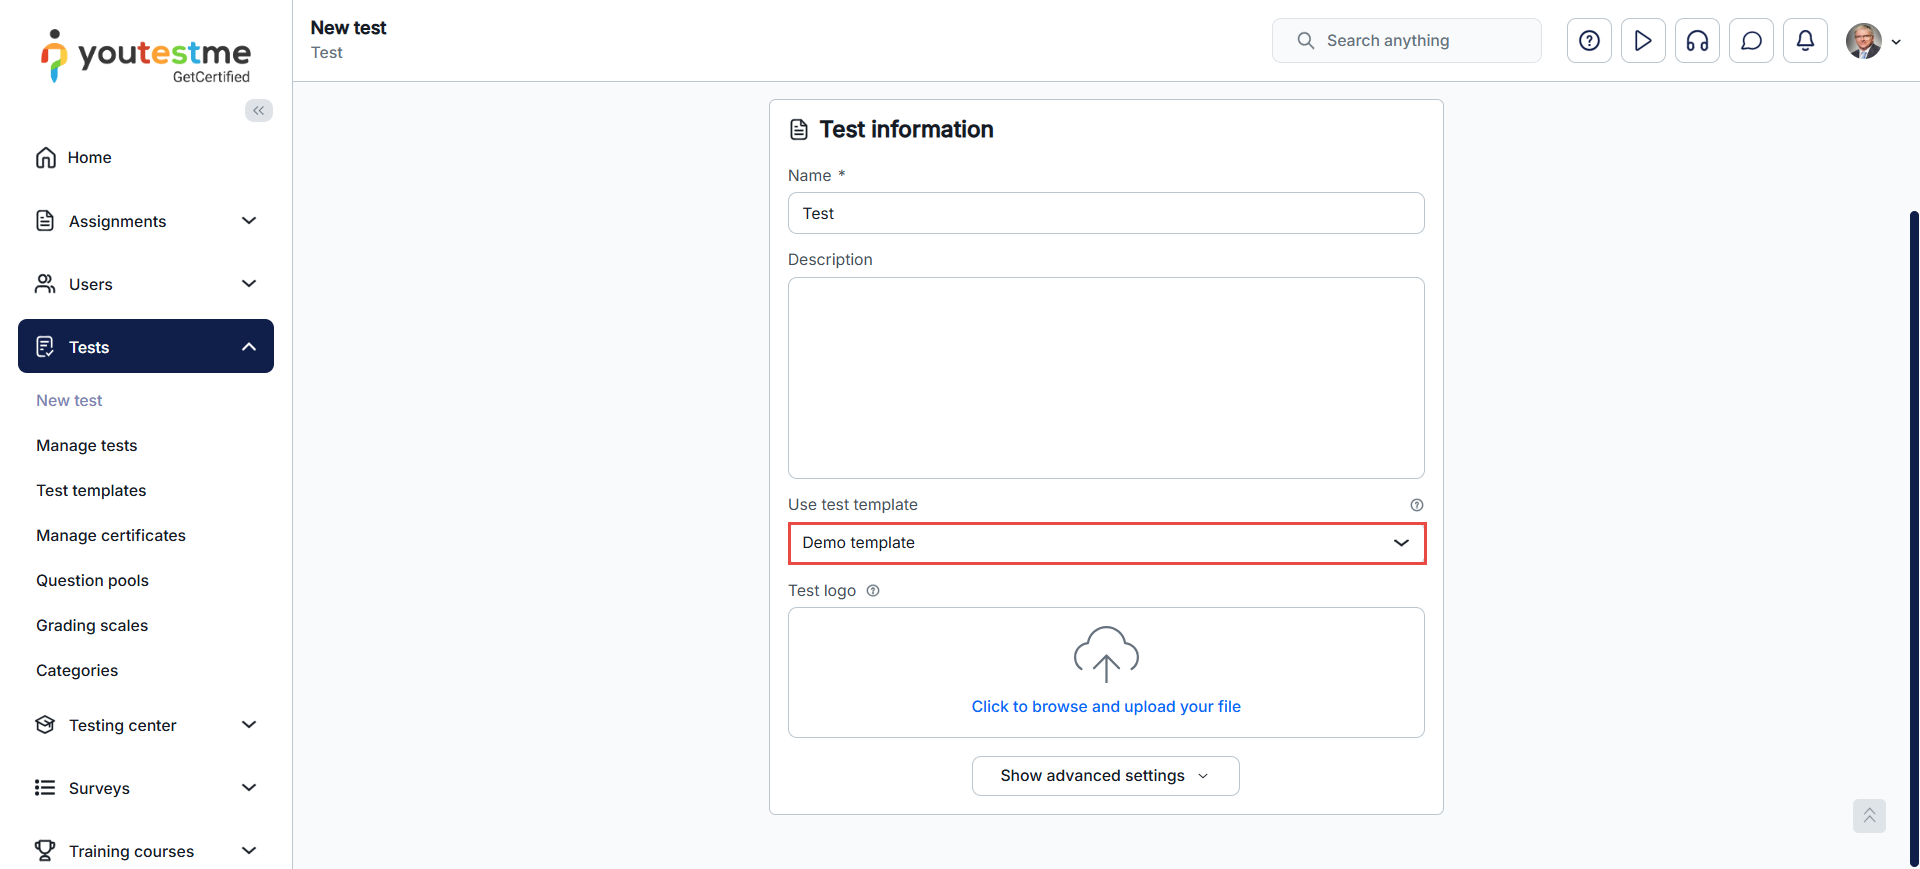
Using the test template
Once a test template is created, you can use it to set up the same settings each time you create a test. You can select the test template in the first step of the Create Test Wizard (Information). When you select a test template, all options are automatically selected.
Accessing the test templates
To access a test template, go to the Tests/Test Templates tab. You can search, filter by creation date, and customize the displayed columns from there.
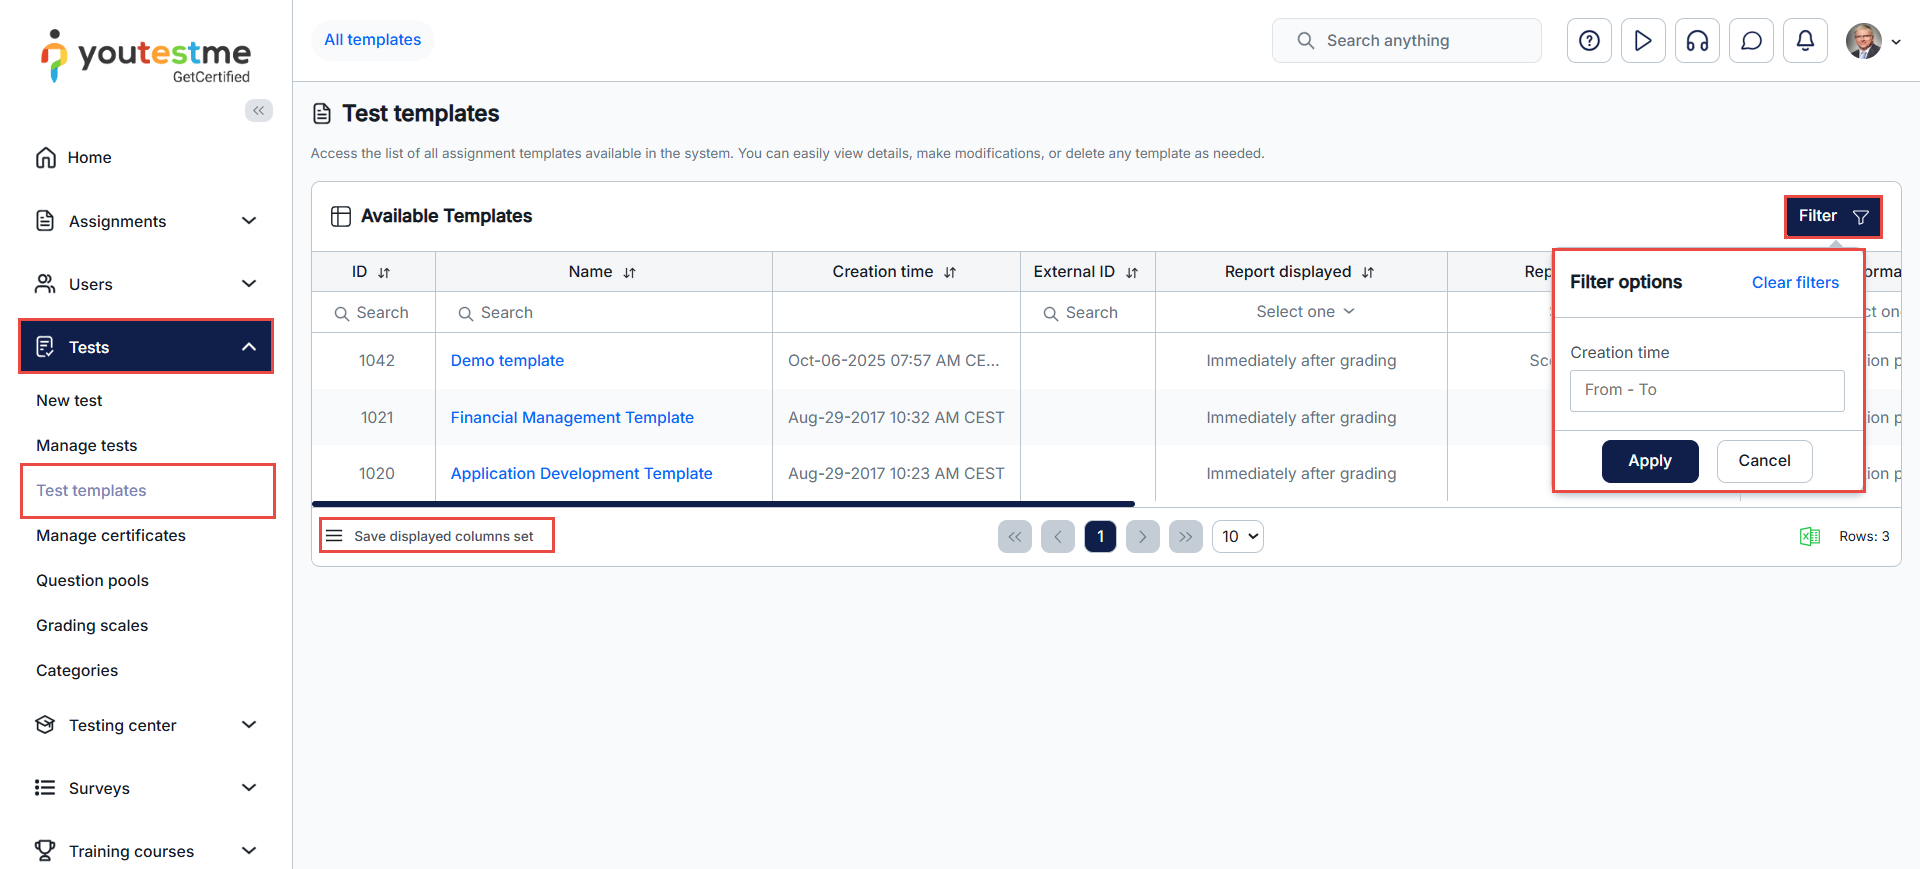
Additionally, you can:
- Open the template for editing.
- Copy the template, creating a duplicate of the template.
- Delete the template, removing it from the system.


Access the template you wish to manage. The test template settings are the same as the Test settings. For further information about each option, please visit Test settings.
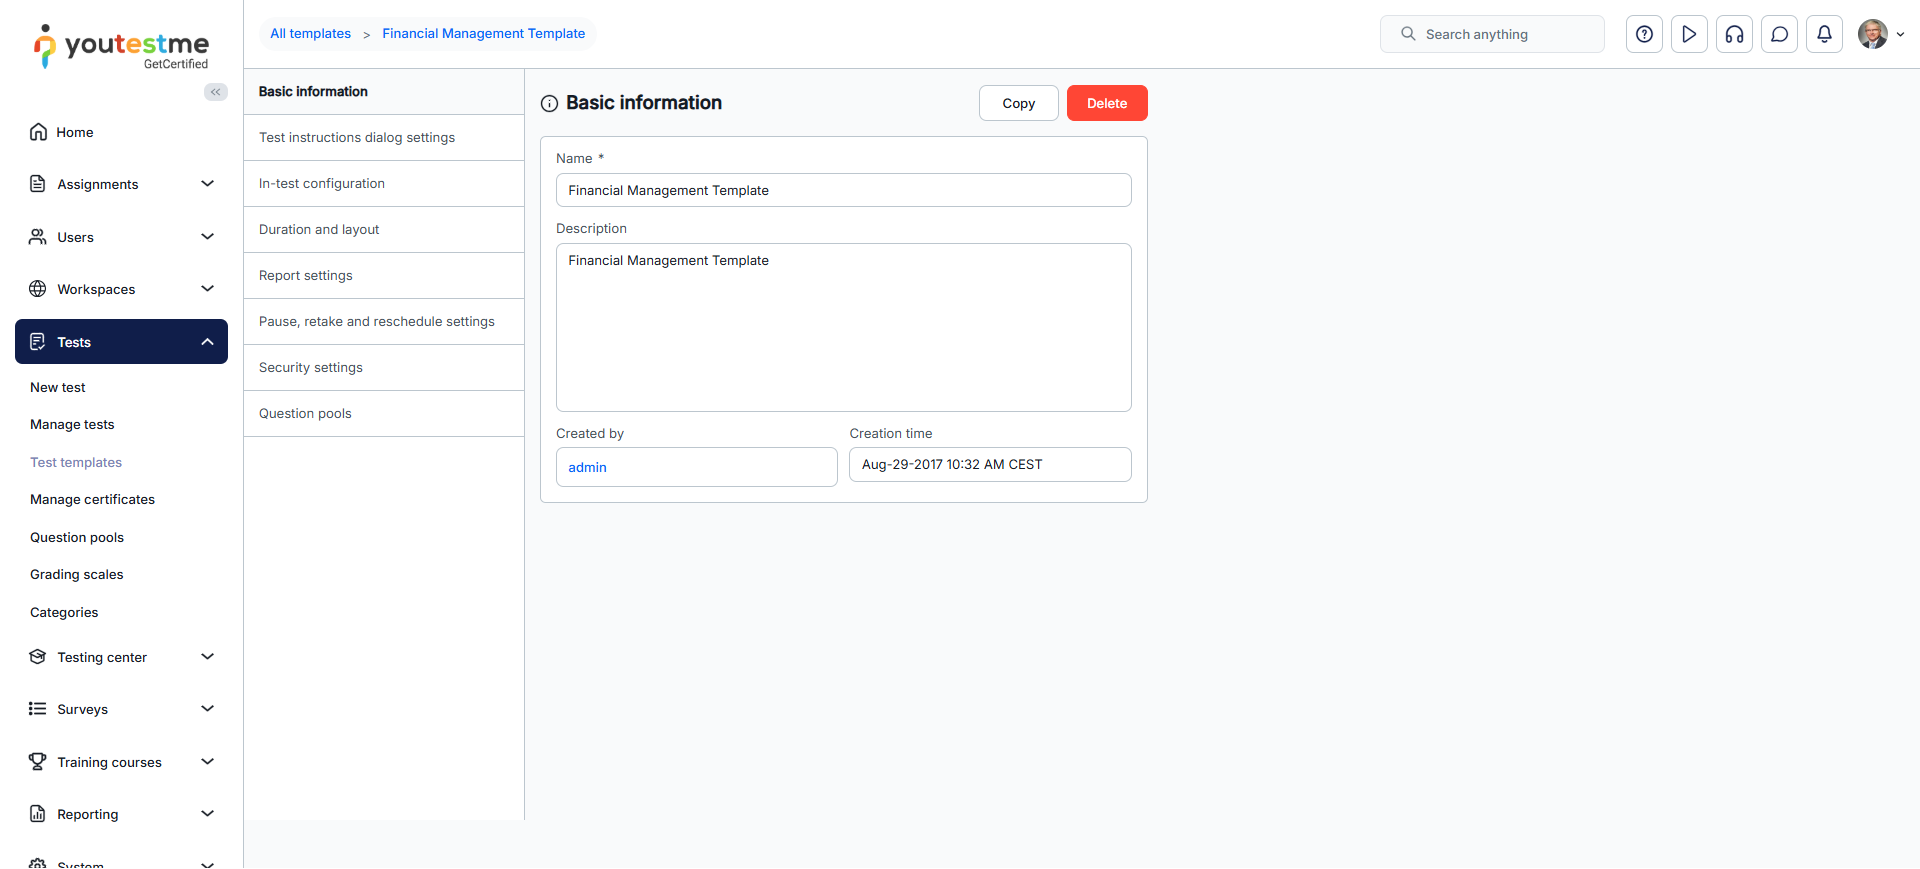
Note: The “Question pools” tab of test templates is visible only for templates created from the Generated test type. A test template cannot be created from a test that contains sections.
Related instructional materials:


