Article verified for Release 15.1 on February 2, 2026.
This article explains how to customize tables in the YTM application and save selected columns permanently for display.
YTM offers table customizability, allowing users to adjust data according to their needs. Within the YTM application, users can easily tailor the appearance of tables by selecting which columns to display. YTM also provides the option of permanently saving the table layout. This option enables users to choose specific columns that will remain visible in the table, even after refreshing the table or reloading the page. Regardless of how many times you access the data later, the table will always appear according to your preferences.
To customize and save tables, follow these steps:
- Open the desired table in the YTM application.
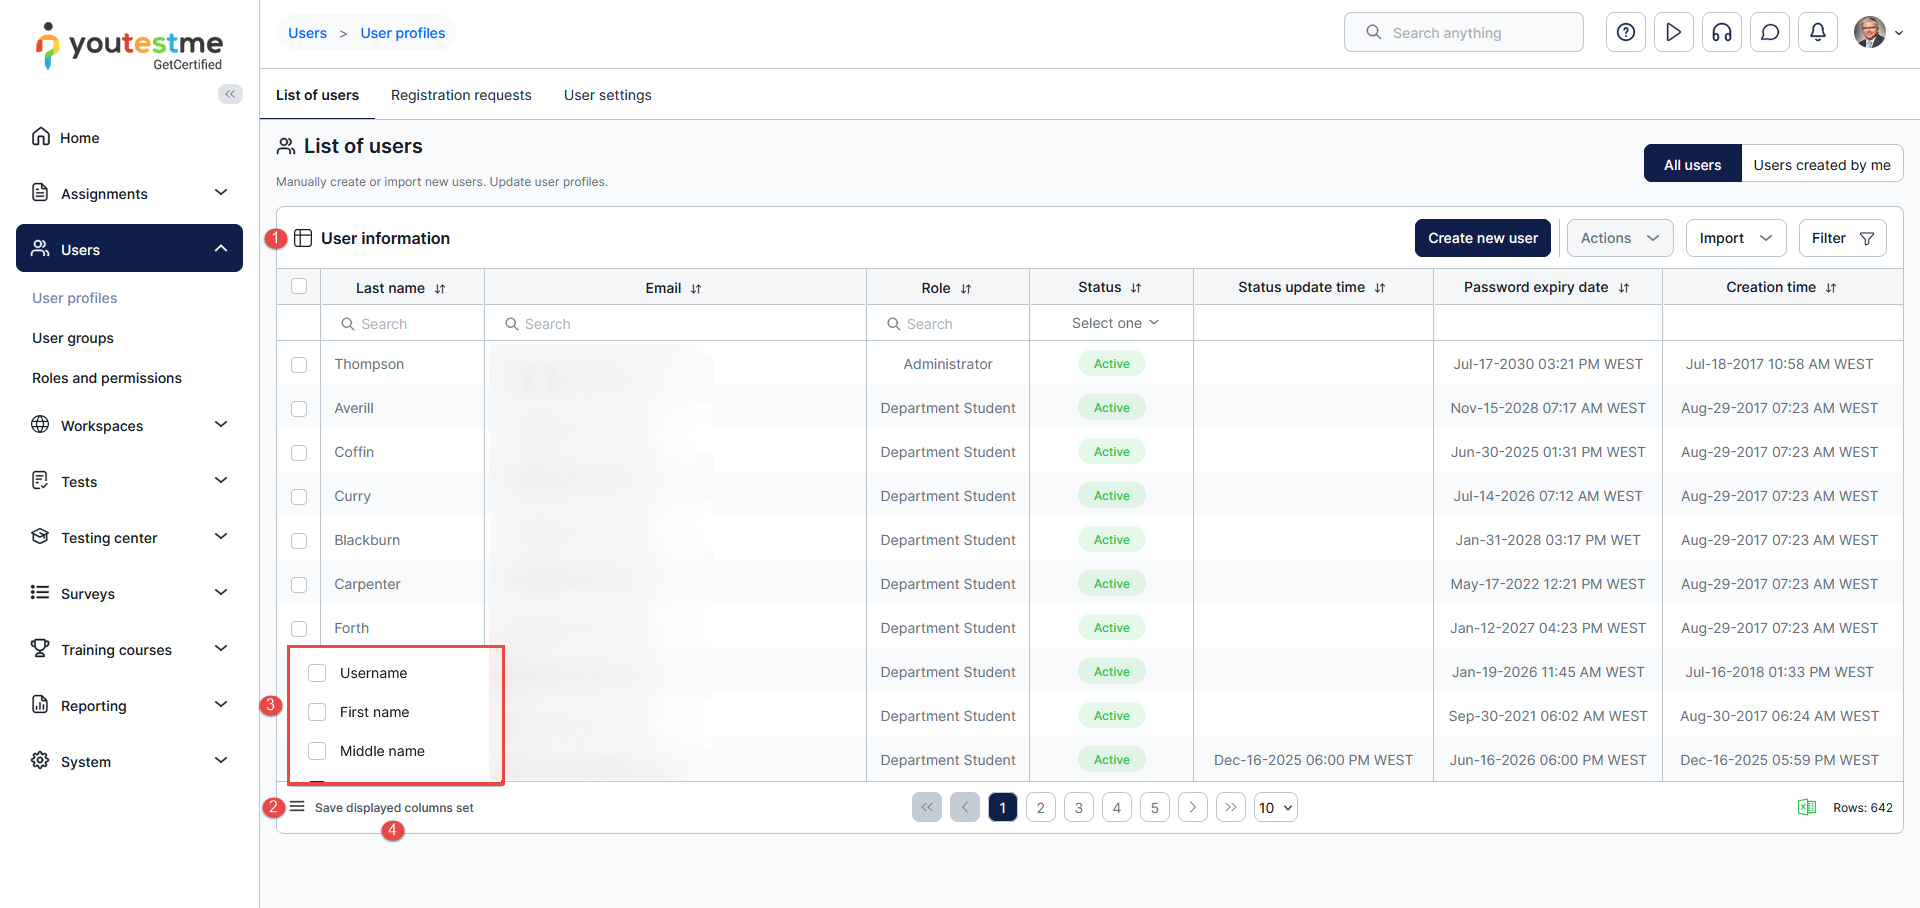
- In the bottom left corner, click on the table customization option.
- Mark the columns you wish to display. For example, select “First Name,” “Middle Name,” and “Last Name.”
- Once you finish customization, click the Save table settings button.
 Your table is now customized and saved for future use.
Note: If you don’t save the displayed columns after refreshing or reloading the page, the columns will not be visible.
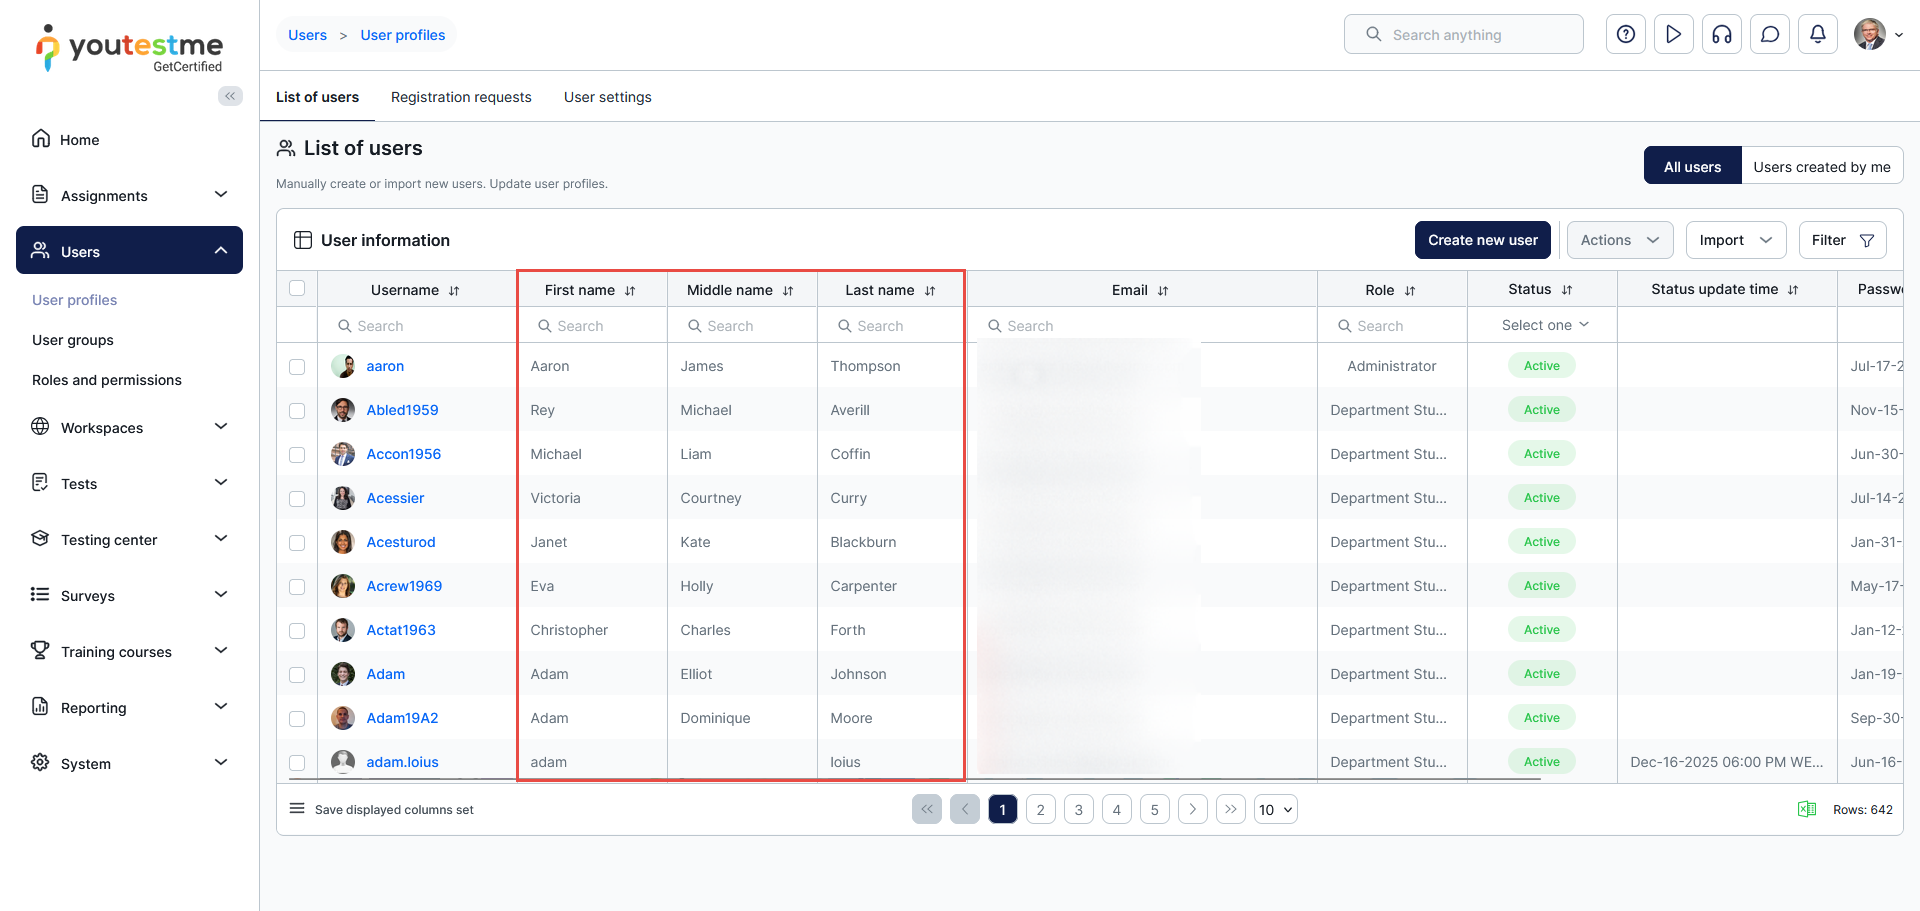
Below, we will present images of the table before and after customization.
Before customization:
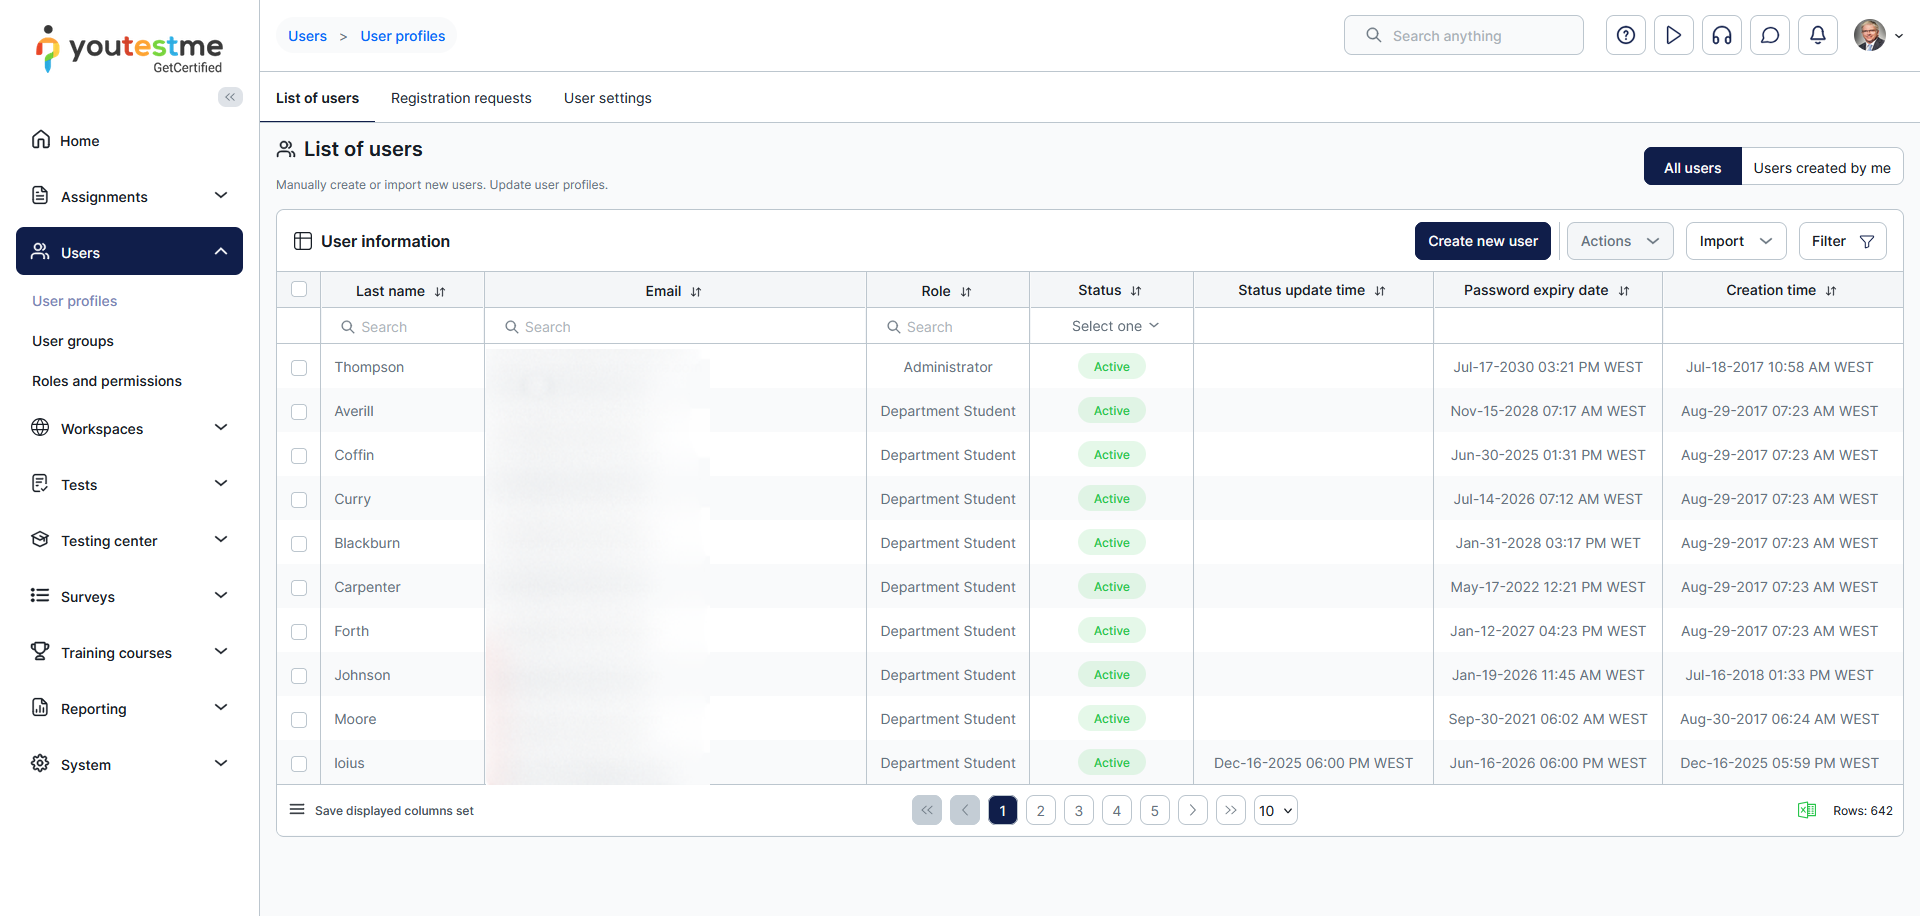
After customization: