
Article verified for Release 15.2 on December 31, 2025
YouTestMe enables users to manage notifications fully, allowing them to enable, disable, or customize the notification text for both in-app and email alerts sent by the system.
This article details the management and editing of in-app and email notifications, their purposes, and how they are triggered by specific actions within the application.
In-app and Email Notifications
To manage and edit these notifications:
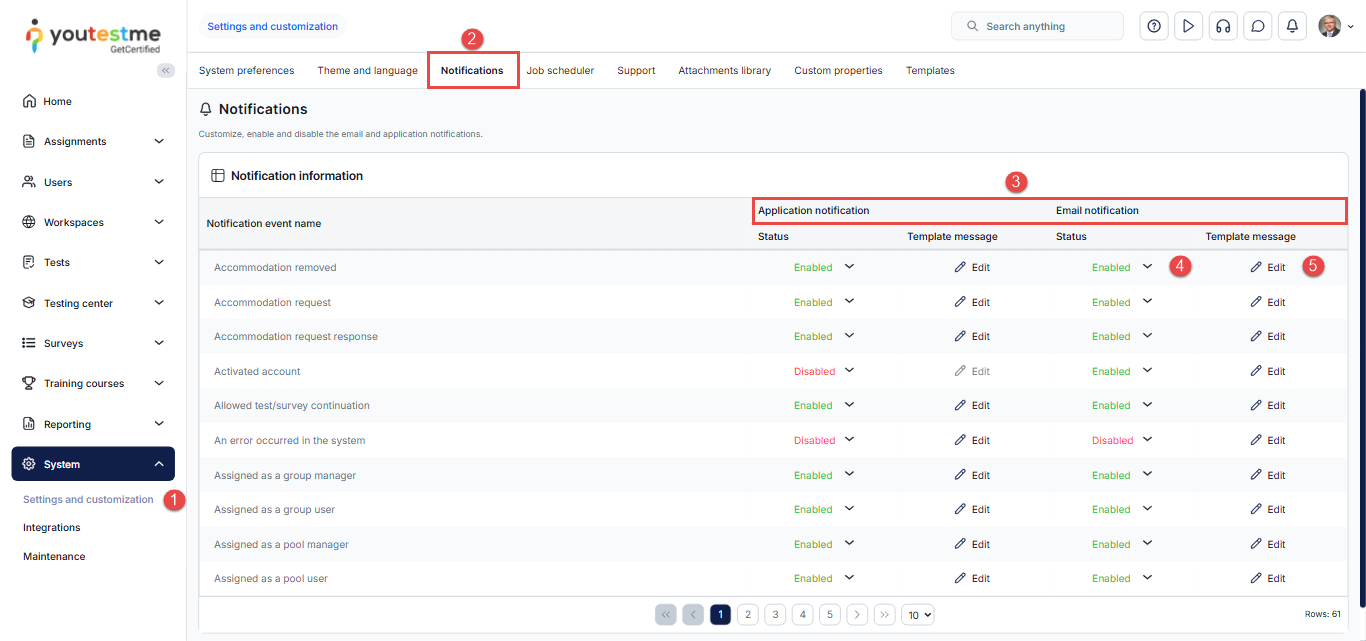
- Access Settings and customization from the System panel.
- Navigate to the Notifications tab.
- You’ll find a list of 61 templates for both in-app and email notifications, all customizable to your preference. Depending on whether you want to manage an in-app or email notification template, choose the corresponding icon under the relevant section.
- Toggle to activate or deactivate notifications for any listed event.
- Modify the template notification displayed after a specific action is taken.
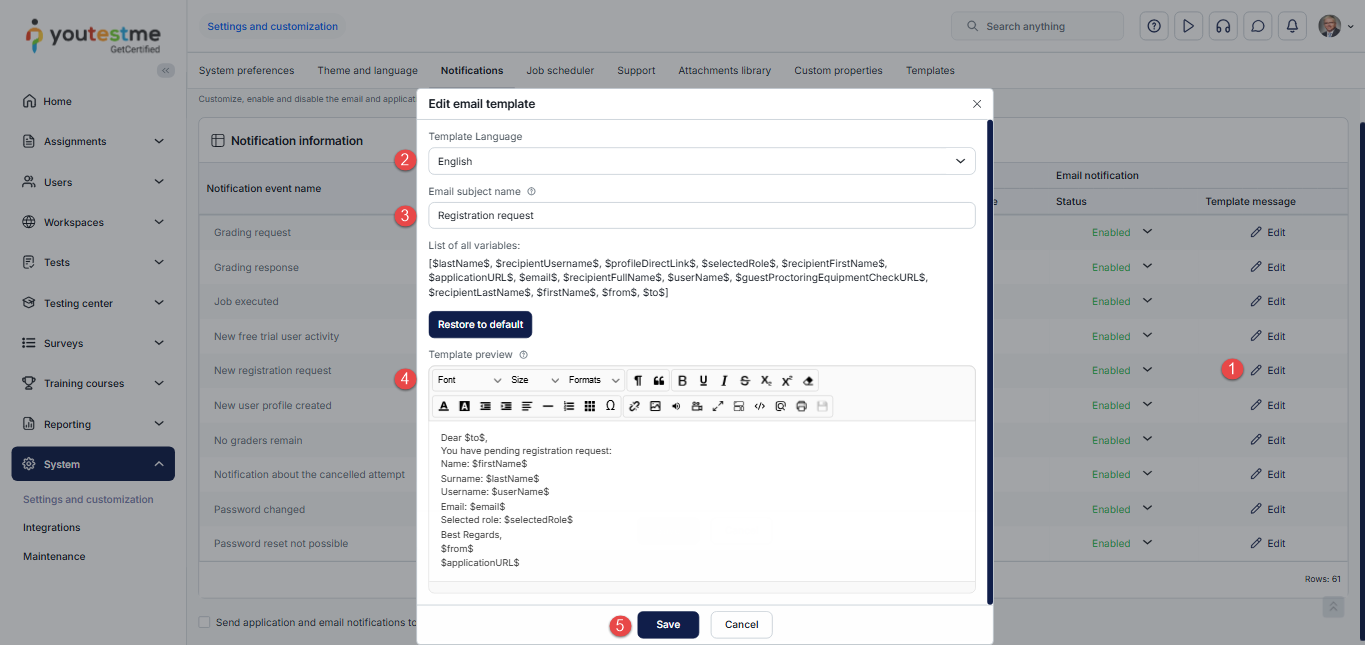
To edit notification templates:
- Click the Edit icon.
- Choose the Template language. Notifications can have multiple versions in different languages. Users whose in-app language matches this selection will receive a corresponding notification version.
- Adjust the Notification title for in-app or the Email subject name for email notifications.
- Customize the Notification text, except for the text enclosed within $ signs, as these represent system-defined variables used to insert user-related data.
- Save the template changes by clicking the Save button.
Note: For images, advanced layout, and precise formatting, you can create HTML email template. Please refer to this article for more details.
List of variables
The text enclosed within $ signs represents system-defined variables and cannot be modified. Variables are placeholders in notification text, automatically filled with specific data upon sending.
| Variable | Definition |
| userName | The variable content will be generated based on the username to whom the action refers. |
| lastName | The variable content will be generated based on the last name of the user to whom the action refers. |
| firstName | The variable content will be generated based on the first name of the user to whom the action refers. |
| profileDirectLink | The variable content will be generated based on the link leading to the profile of the user to whom the action refers. |
| recipientUsername | The variable content will be generated based on the recipient’s username. |
| recipientFirstName | The variable content will be generated based on the recipient’s first name. |
| recipientLastName | The variable content will be generated based on the recipient’s last name. |
| recipientFullName | The variable content will be generated based on the recipient’s full name. |
| selectedRole | The variable content will be generated based on the role the user chose when submitting a registration request. |
| The variable content will be generated based on the email of the user to whom the action refers. | |
| guestProctoringEquipmentCheckURL | The variable content will be generated based on the link leading to the equipment check, bypassing the need for login or registration. |
| to | The variable content will be generated based on the recipient’s full name. |
| from | The variable content will be generated based on the content of the Email sent from the field defined on the White Labeling sub-tab of the Theme and language tab. |
| applicationURL | The variable content will be generated based on the content of the Application link field defined on the White labeling sub-tab of the Theme and language tab. |
| candidateFirstName | The variable content will be generated based on the first name of the user to whom the action refers. |
| candidateLastName | The variable content will be generated based on the last name of the user to whom the action refers. |
| candidateUsername | The variable content will be generated based on the username of the user to whom the action refers. |
| requiresOneOnOne | The variable content will be generated based on the status of the 1-1 accommodation. |
| otherInformation | The variable content will be generated based on the status of the arbitrary accommodation. |
| testTaker | The variable content will be generated based on the username to whom the action refers. |
| quizName | The variable content will be generated based on the test/survey the action refers to. |
| timeAccommodation | The variable content will be generated based on the status of the Additional time accommodation. |
| status | The variable content will be generated based on the status of the grading request the action refers to. |
| comment | The variable content will be generated based on the grader’s comment the action refers to. |
| pass | The variable content will be generated based on the password allocated to the user. |
| uname | The variable content will be generated based on the username allocated to the user. |
| jobName | The variable content will be generated based on the job title the action refers to. |
| jobDescription | The variable content will be generated based on the job description that the action refers to. |
| finishedAt | The variable content will be generated based on the finish time of the job the action refers to. |
| startedAt | The variable content will be generated based on the start time of the job the action refers to. |
| log | The variable content will be generated based on the log of the job the action refers to. |
| errorCount | The variable content will be generated based on the number of errors faced while executing the job that the action refers to. |
| stackTrace | The variable content will be generated based on the triggered error/exception. |
| availableTo | The variable content will be generated based on the end date of the assignment availability. |
| availableFrom | The variable content will be generated based on the start date of the assignment availability. |
| link | The variable content will be generated based on the direct link to the entity, requiring login or registration. |
| directLink | The variable content will be generated based on the direct link to the entity, bypassing the need for login or registration. |
| courseName | The variable content will be generated based on the name of the user group the action refers to. |
| courseRole | The variable content will be generated based on the role the user is granted in the user group the action refers to. |
| lessonName | The variable content will be generated based on the training course the action refers to. |
| productname | The variable content will be generated based on the name of the purchased product. |
| sessionName | The variable content will be generated based on the name of the testing session the action refers to. |
| sessionStart | The variable content will be generated based on the start date of the testing session availability that the action refers to. |
| sessionEnd | The variable content will be generated based on the end date of the testing session availability that the action refers to. |
| desiredTestingSessionName | The variable content will be generated based on the testing session the action refers to. |
| percentsScore | The variable content will be generated based on the percentage score achieved on an assignment. |
| totalPoints | This variable content will be generated based on the total achieved points. |
| graderUsername | The variable content will be generated based on the username of the grader to whom the action refers. |
| gradersComment | The variable content will be generated based on the comment of the grader to whom the action refers. |
| testVersion | The variable content will be generated based on the test version the action refers to. |
| passedFailed | This variable content will be generated based on a failed score. |
| passed | This variable content will be generated based on a Passed score. |
| pointsPercent | This variable content will be generated based on the achieved points and displayed as a percentage. |
| password | The variable content will be generated based on the password generated. |
| usernames | The variable content will be generated based on the username of the user the action refers to. |
| reportStatus | The variable content will be generated based on the status of the test/survey report the action refers to. |
| testingSessionName | The variable content will be generated based on the name of the testing session the action refers to. |
| quizDefinitionId | The variable content will be generated based on the test ID the action refers to. |
| requestText | The variable content will be generated based on the special request content that the action refers to. |
| responseText | The variable content will be generated based on the special request response content that the action refers to. |
| sessionInstructions | The variable content will be generated based on the description of the testing session that the action refers to. |
| sessionName | The variable content will be generated based on the name of the testing session the action refers to. |
| body | The variable content will be generated based on the content of the broadcast notification that the action refers to. |
| ssoLink | The variable content will be generated based on a link to the test/training course the action refers to, omitting the login process. |
| standardLink | The variable content will be generated based on a link to the test/training course the action refers to, requiring login. |
| feedbackText | The variable content will be generated based on the content of the user feedback the action refers to. |
| feedbackCreateDateTime | The variable content will be generated based on the date of the submitted user feedback that the action refers to. |
| poolRole | The variable content will be generated based on the role the user is granted in the question pool that the action refers to. |
| poolName | The variable content will be generated based on the name of the question pool the action refers to. |
| conclusionMessage | The variable content will be generated based on the reschedule request response content that the action refers to. |
| instanceURL | The variable content will be generated based on the URL of the free trial application that the action refers to. |
| locationName | The variable content will be generated based on the assigned location for the testing session and will display the location name in the email. |
| assignedPoints | This variable content is generated and displayed based on the achieved points. |
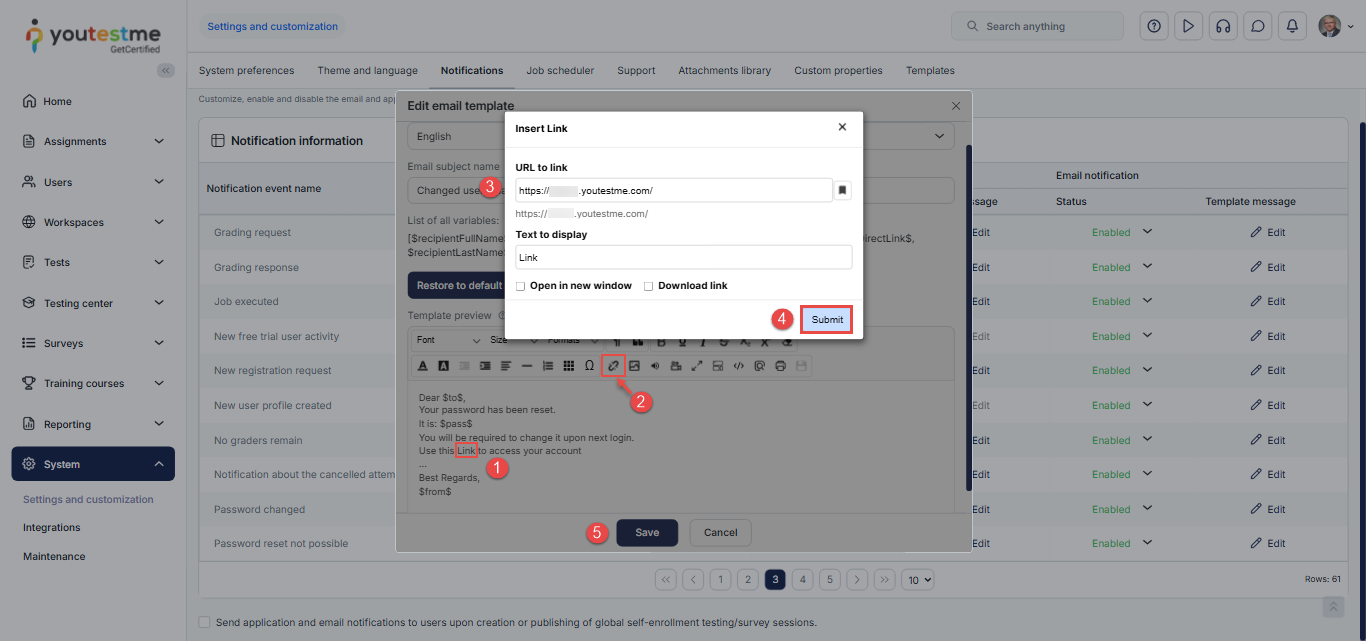
How to Add a Clickable Link to Text
To ensure the link is clickable, you need to link it, not just paste it as plain text.
- Select the text you want to use as the clickable link.
- Click the link icon in the text editor toolbar.
- Paste the URL into the “URL to link” field.
- Submit the changes.
- Once your desired template is ready, click Save to save the changes.
List of Notifications
Actions taken in the application automatically trigger specific notifications to be sent. Understanding these events is crucial for managing notifications effectively.
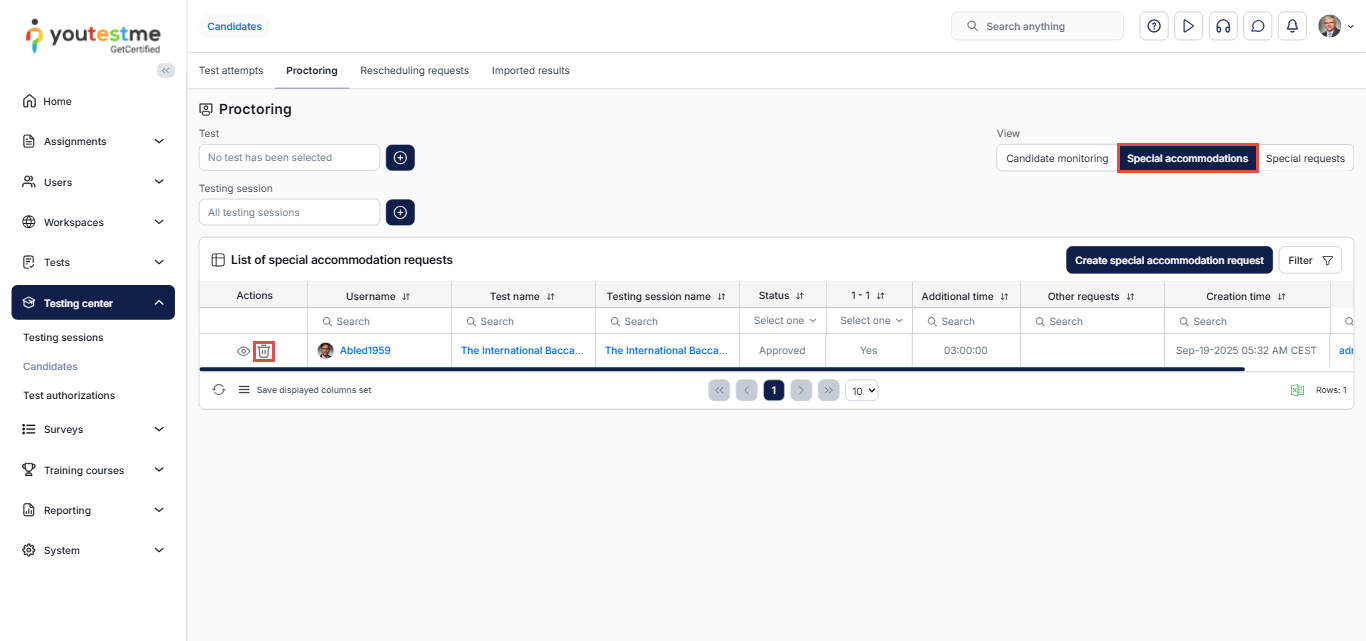
Accommodation removed
- Trigger: This notification is triggered when a previously approved accommodation has been revoked.
- Recipient: Test manager.
Accommodation request
- Trigger: This notification is triggered when an accommodation request is submitted for review.
- Recipient: Test manager.

Accommodation request response
- Trigger: This notification is triggered when a response to the accommodation request, indicating approval or declination, has been provided.
- Recipient: User who submitted the accommodation request.

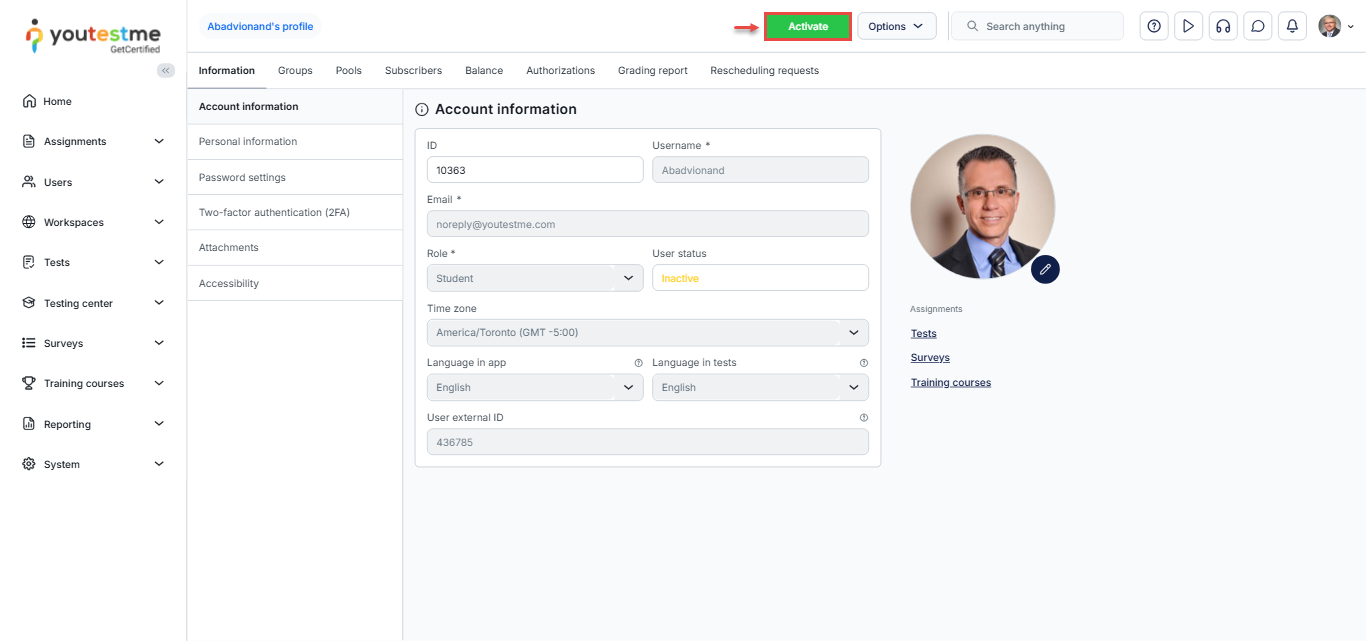
Activated account
- Trigger: This notification is triggered when a user’s account status is set to active, providing login credentials.
- Recipient: User whose account status is set to active.
Allowed test/survey continuation
- Trigger: This notification is triggered when the user abruptly exits the test or survey before completion, whether intentionally or not. If the automatic option to allow test or survey continuation is disabled, the test or survey manager must manually authorize the user to resume the attempt.
- Recipient: User who attempted the test or survey.
An error occurred in the system
- Trigger: This notification is triggered when an error occurs in the system, indicating the specific error that has been encountered.
- Recipient: Users with the Administrator role.
Assigned as a group manager
- Trigger: This notification is triggered when a user is assigned as the manager of a user group, indicating the name of the assigned user group for management.
- Recipient: User assigned as a manager of a user group.

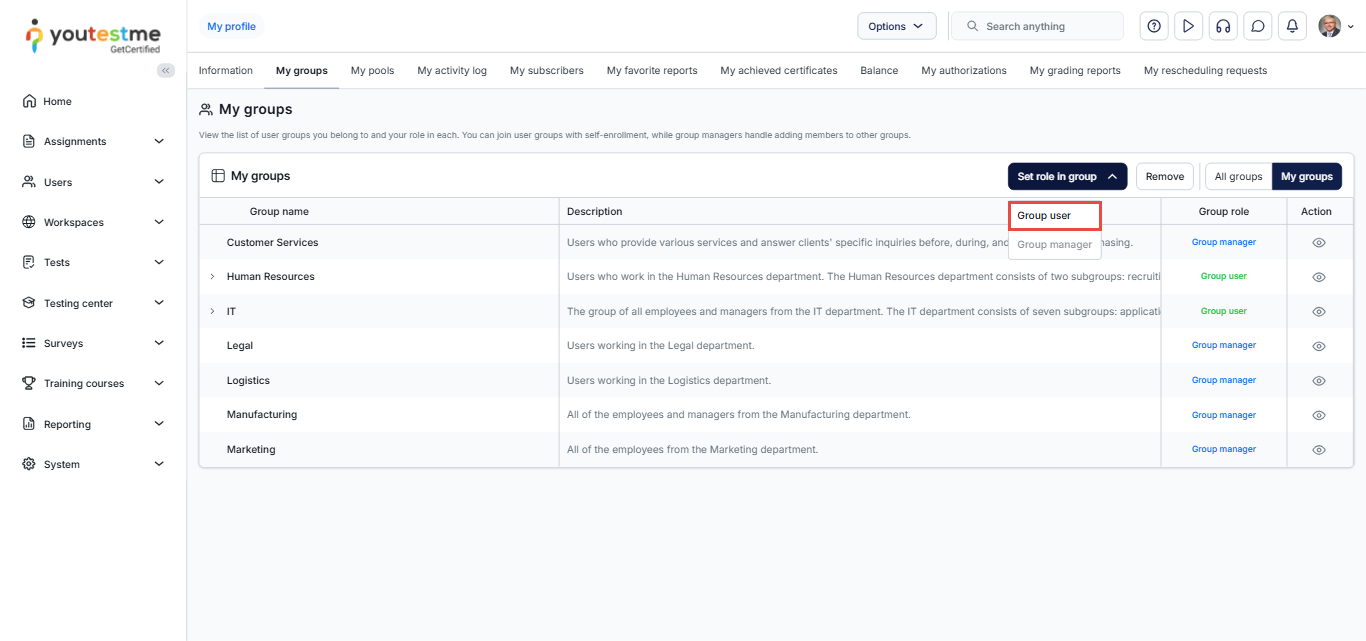
Assigned as a group user
- Trigger: This notification is triggered when a user is assigned as a member of a user group, indicating the name of the assigned user group.
- Recipient: User assigned as a member of a user group.
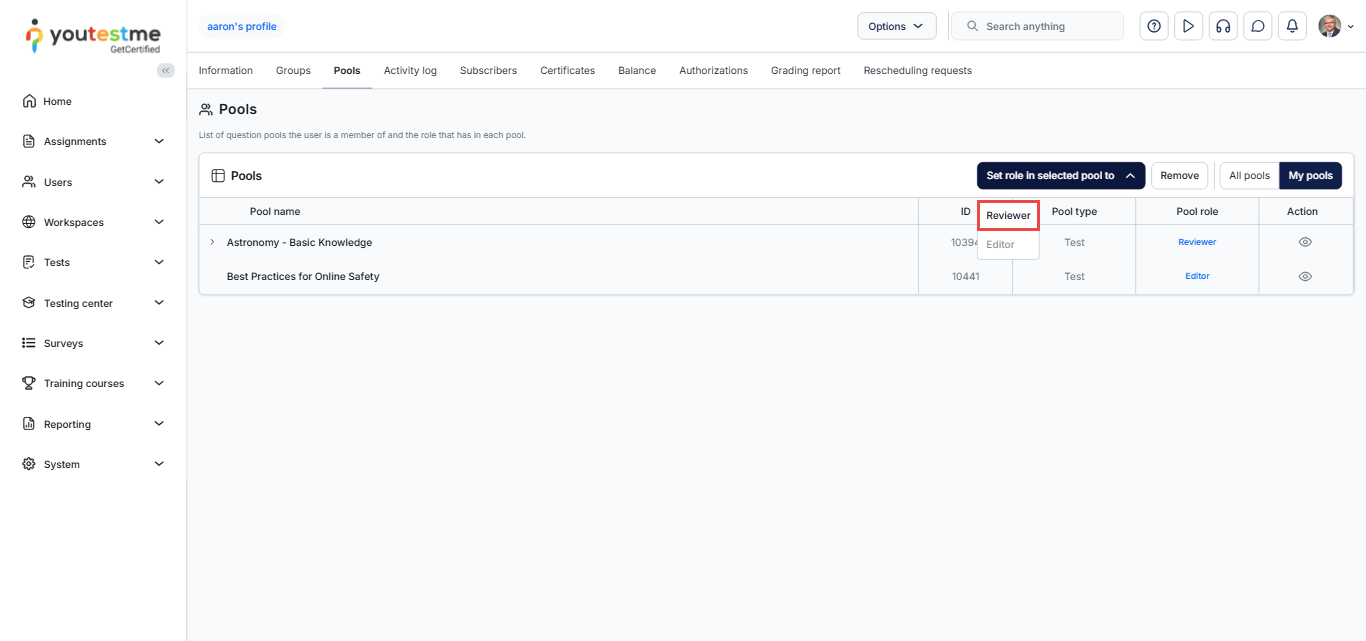
Assigned as a pool manager
- Trigger: This notification is triggered when a user is assigned as the manager of a question pool, indicating the name of the assigned question pool for management.
- Recipient: User assigned as a manager of a question pool.
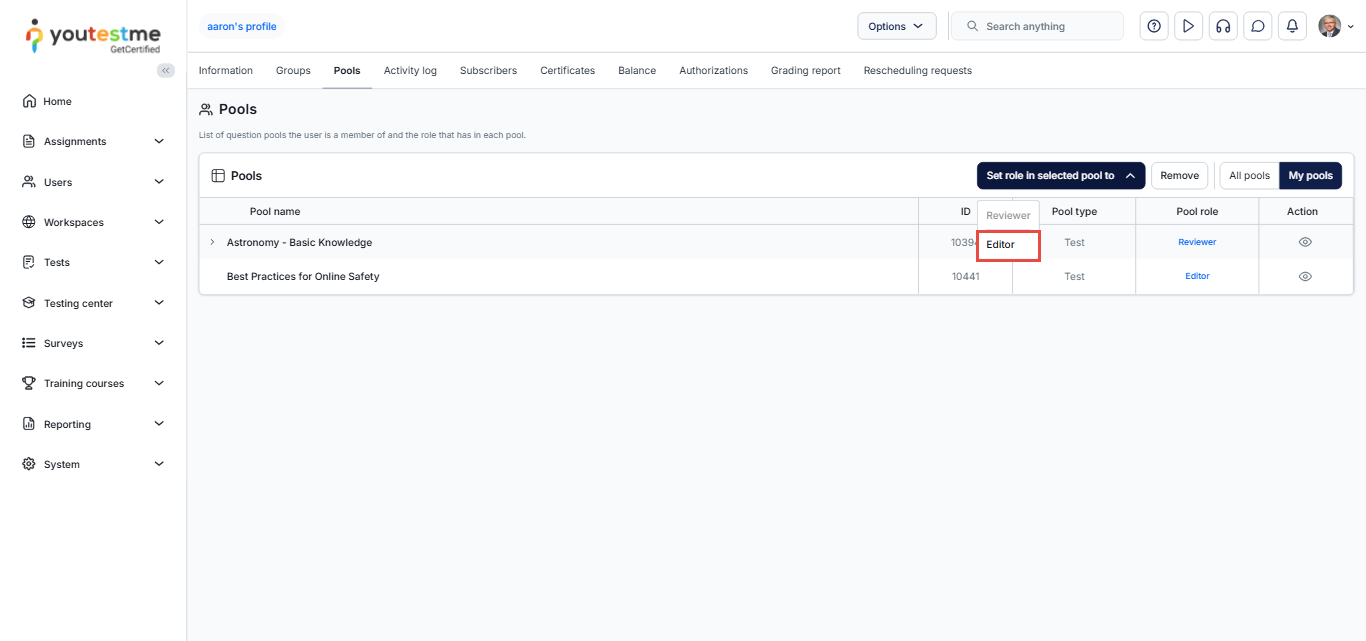
Assigned as a pool user
- Trigger: This notification is triggered when a user is assigned as a user of a question pool, indicating the name of the assigned question pool. Unlike the manager, a question pool user possesses read-only permissions within the assigned question pool
- Recipient: User assigned as a user of a question pool.
Assigned as a training course manager
- Trigger: This notification is triggered when a user is assigned as the manager of a training course, indicating the name of the assigned training course for management.
- Recipient: User assigned as a manager of a training course.
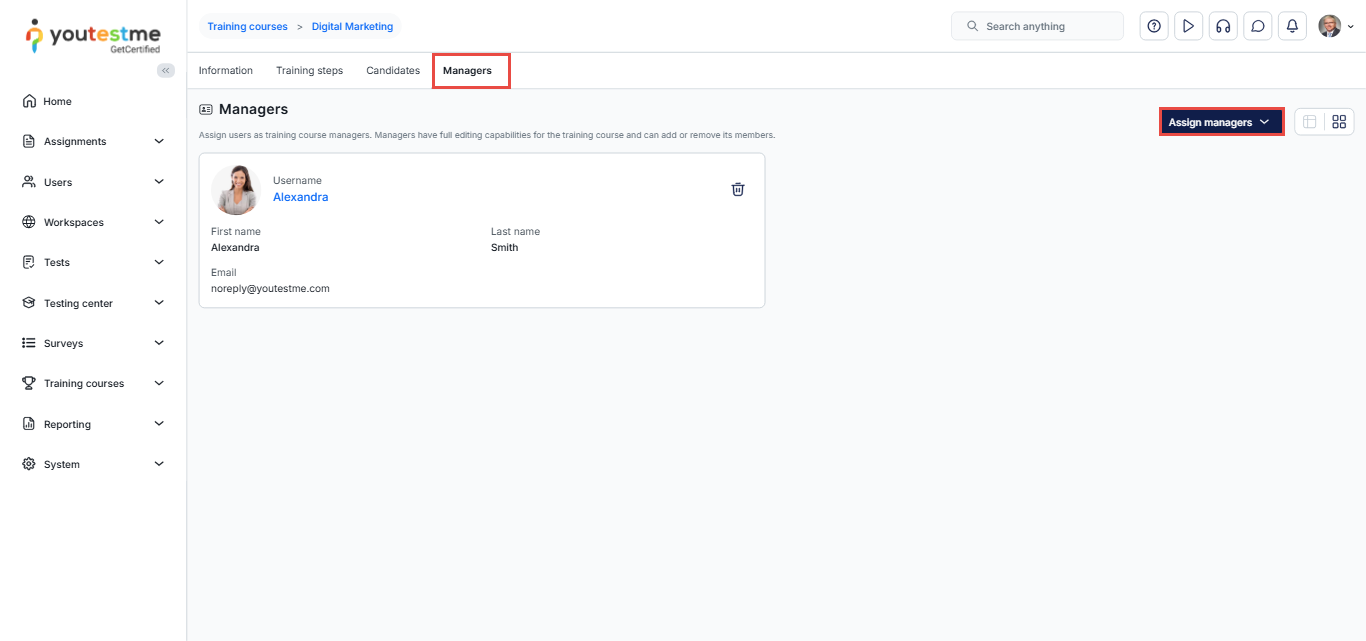
Assigned as a training course user
- Trigger: This notification is triggered when a user is assigned as a user of a training course, indicating the name of the assigned training course available for taking.
- Recipient: User assigned as a user of a question pool.

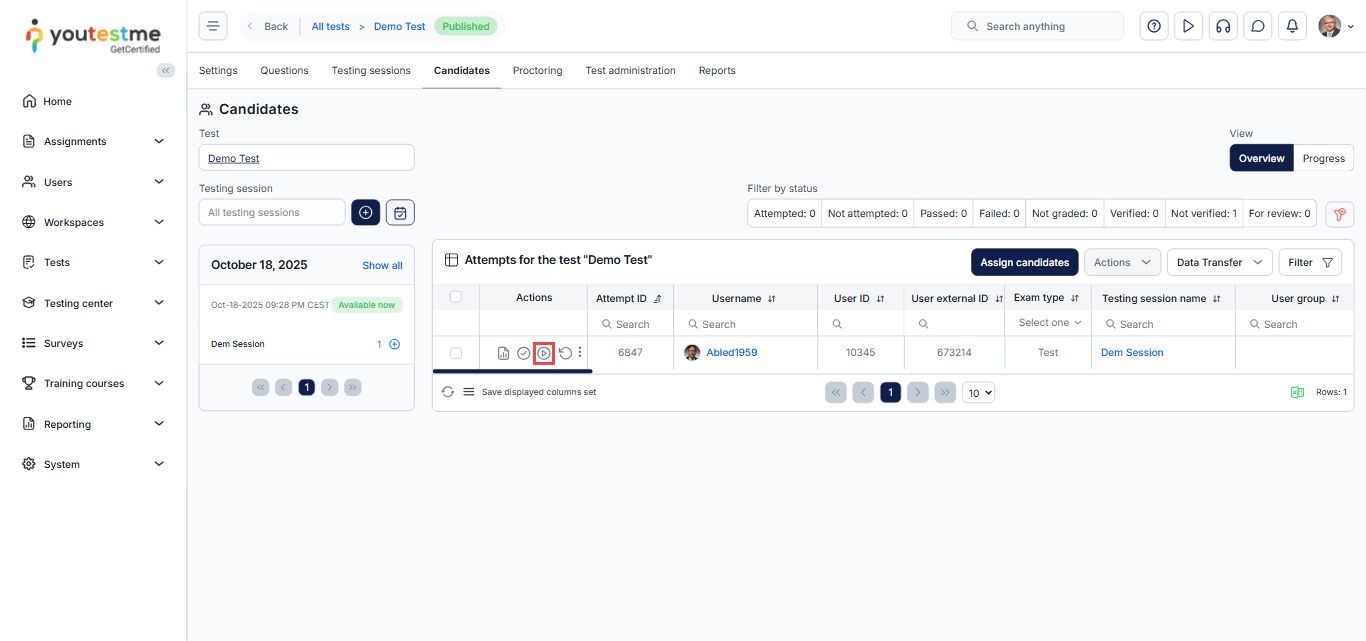
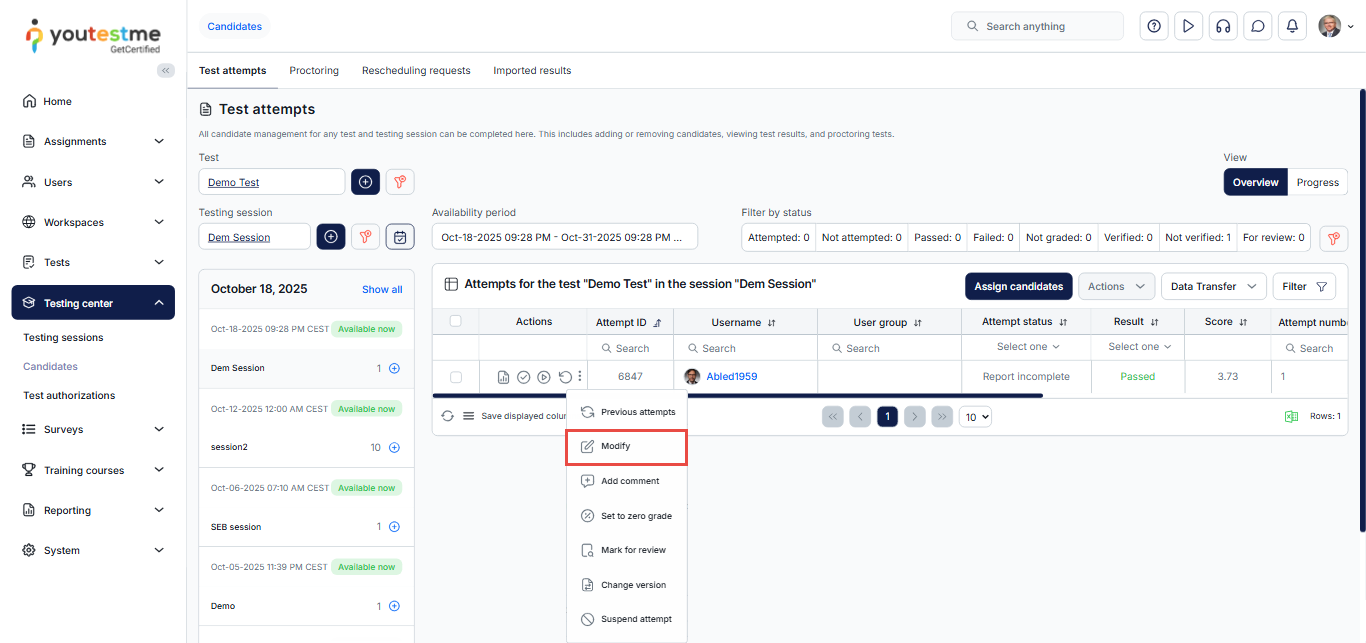
Attempt modification allowed
- Trigger: This notification is triggered when a user is granted permission to modify a test attempt.
- Recipient: User who is granted permission to modify the test attempt.
Attempt reschedule request resolved
- Trigger: This notification is triggered when a response to the rescheduling request, indicating approval or declination, is provided.
- Recipient: User who submitted the rescheduling request.
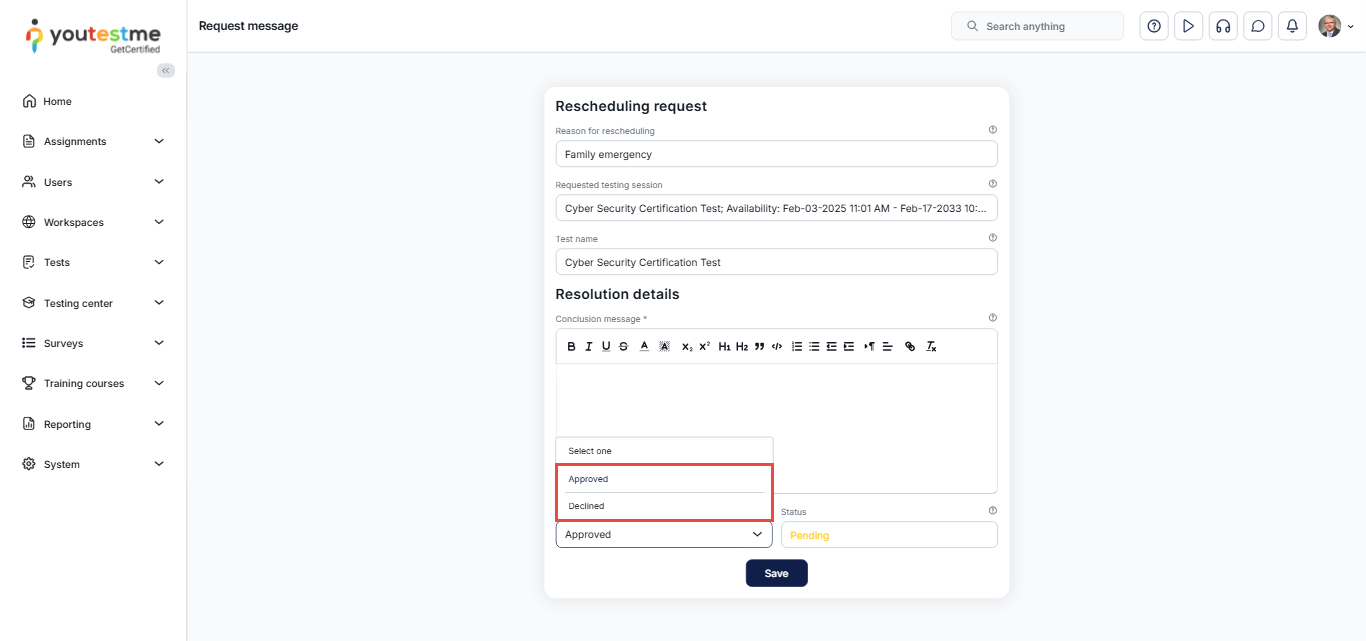
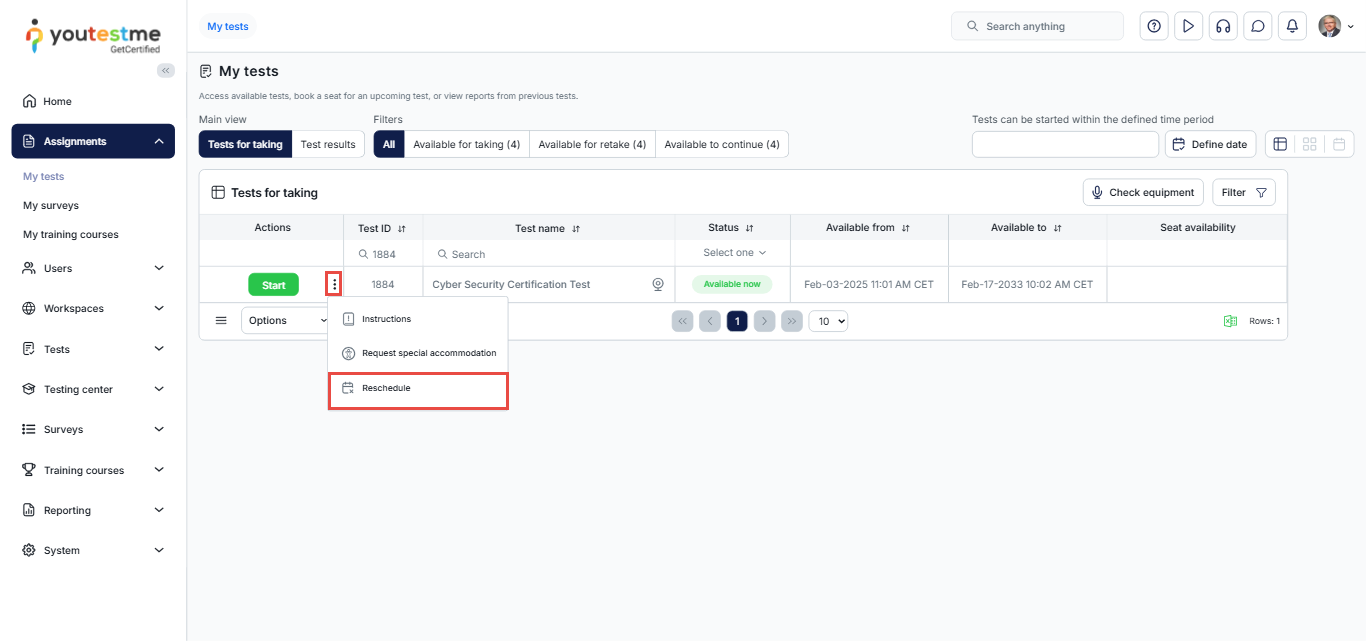
Attempt reschedule requested
- Trigger: This notification is triggered when a rescheduling request is submitted for review.
- Recipient: Test manager.
Booked assignment notification
- Trigger: This notification is triggered when a test or survey is booked, indicating the available timeframe for attempting it.
- Recipient: User who booked the test or survey.
Broadcast notification
- Trigger: This notification is triggered when a broadcast notification is sent.
- Recipient: All users in the system.
Expiring assignment reminder
- Trigger: This notification is triggered when a test or survey expiration date is nearing, indicating the available timeframe for attempting it. For more information on the timing and configuration of these reminders, refer to the following article.
- Recipient: User who booked the test or survey.
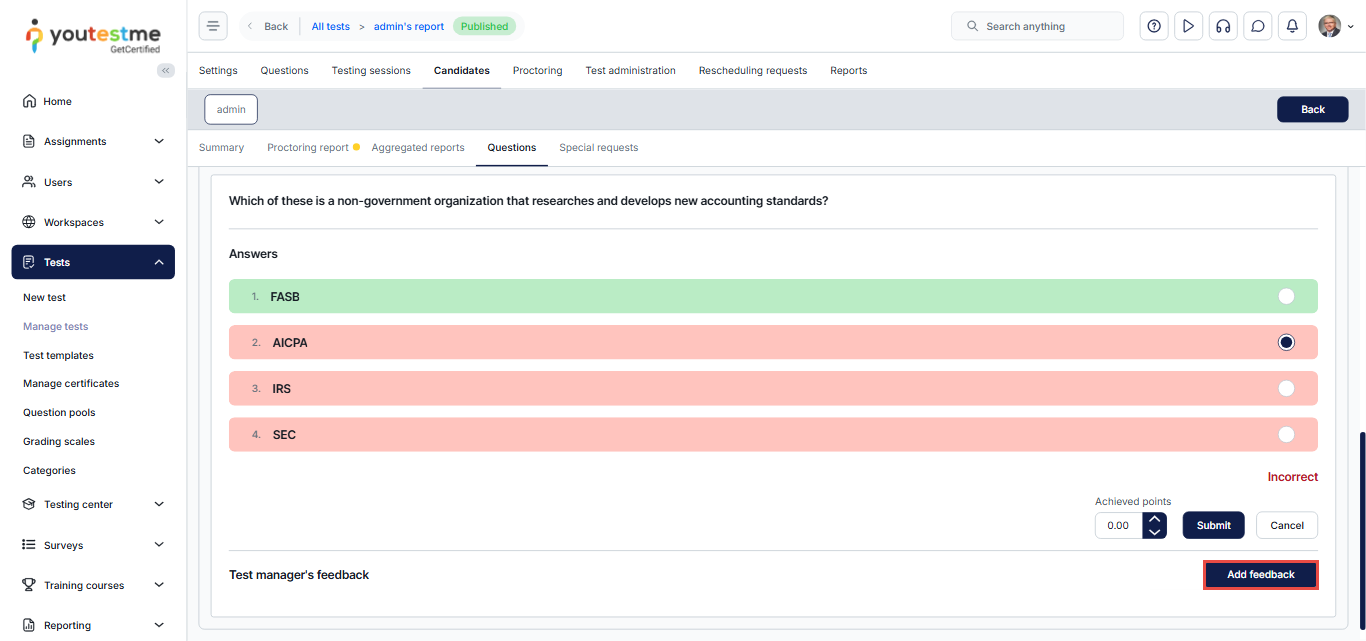
Feedback Sent
- Trigger: This notification is triggered when feedback is submitted for a test attempt.
- Recipient: User whose test attempt received feedback.
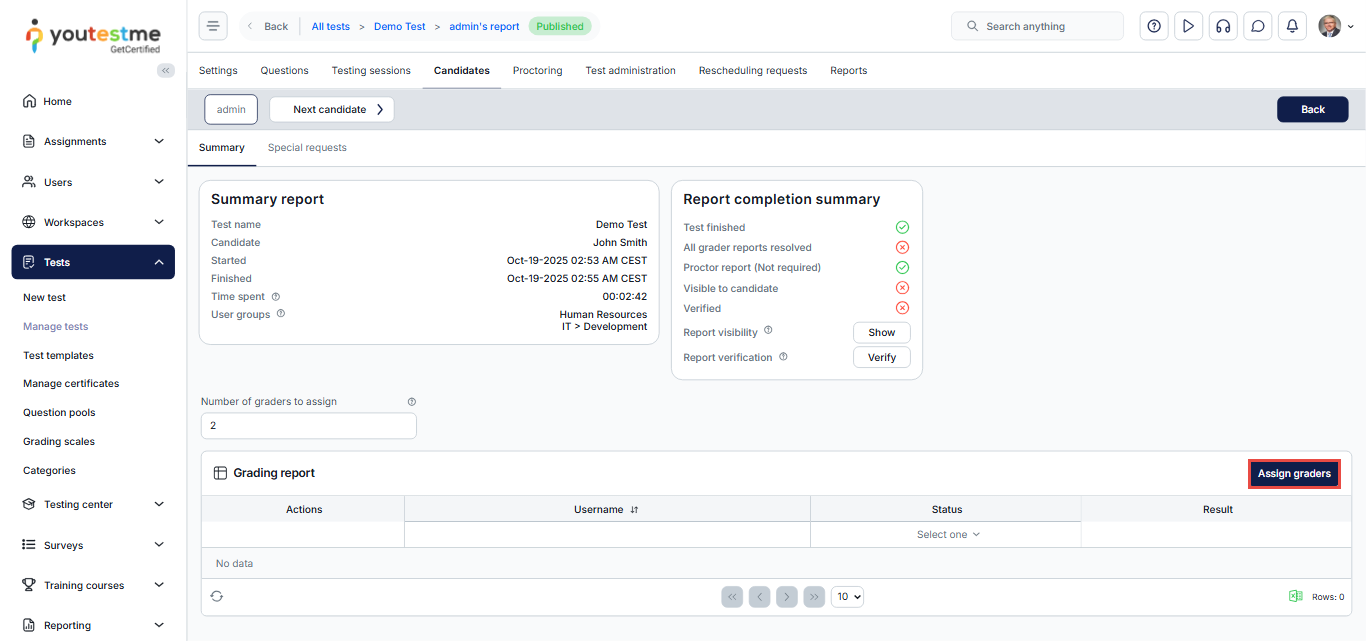
Grader report submitted
- Trigger: This notification is triggered when one of the assigned graders submits their grade for a test attempt.
- Recipient: Test manager.
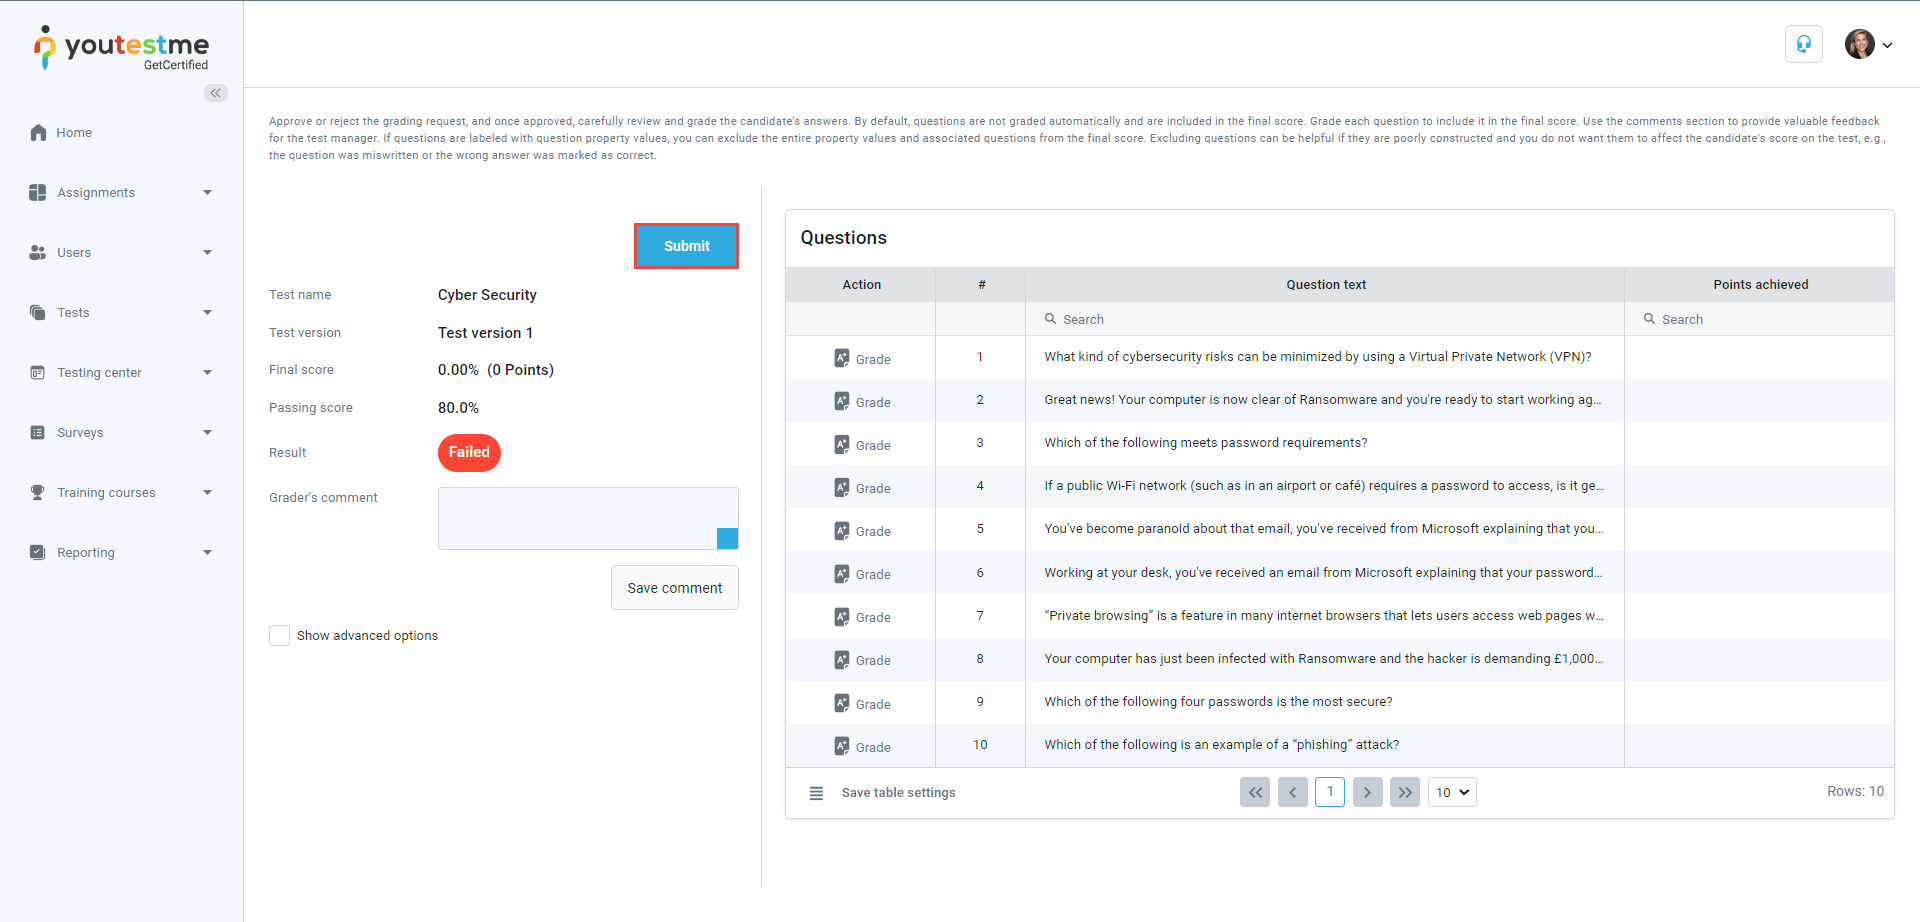
Grading request
- Trigger: This notification is triggered when a test attempt is submitted and requires grading by a grader.
- Recipient: Test grader assigned to grade a test attempt.
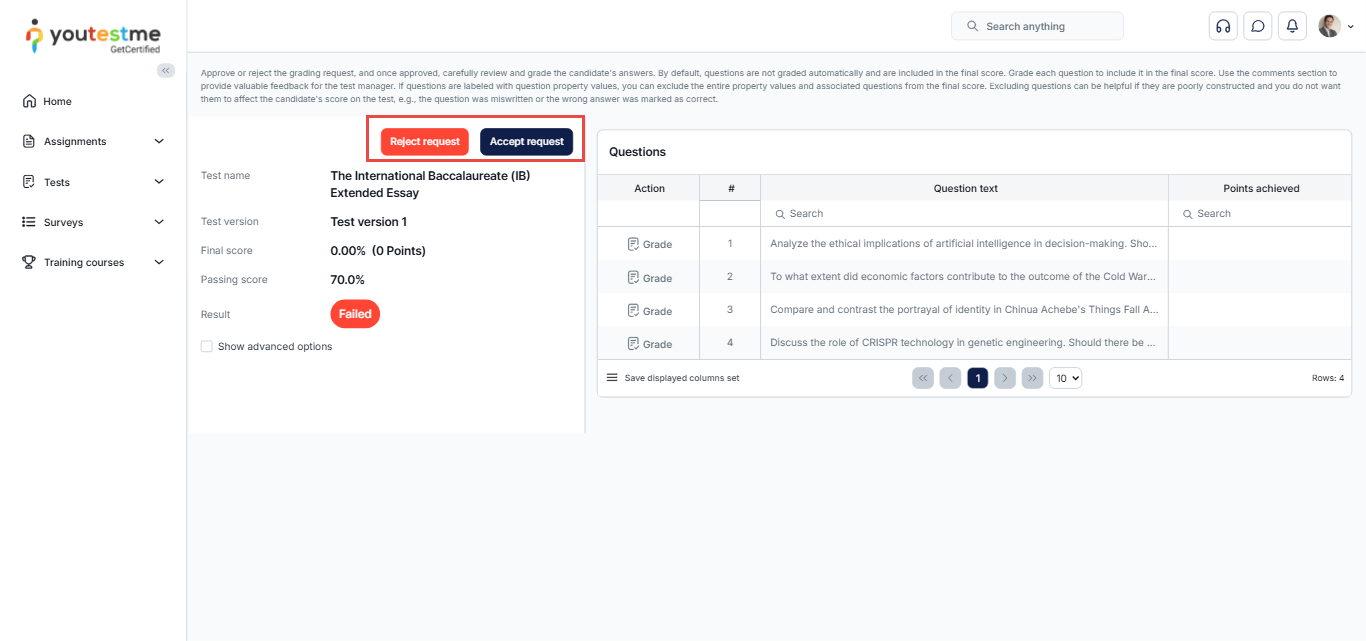
Grading response
- Trigger: This notification is triggered when a test attempt is submitted and requires grading by a grader, indicating whether the grader accepted or declined the grading request.
- Recipient: Test manager.
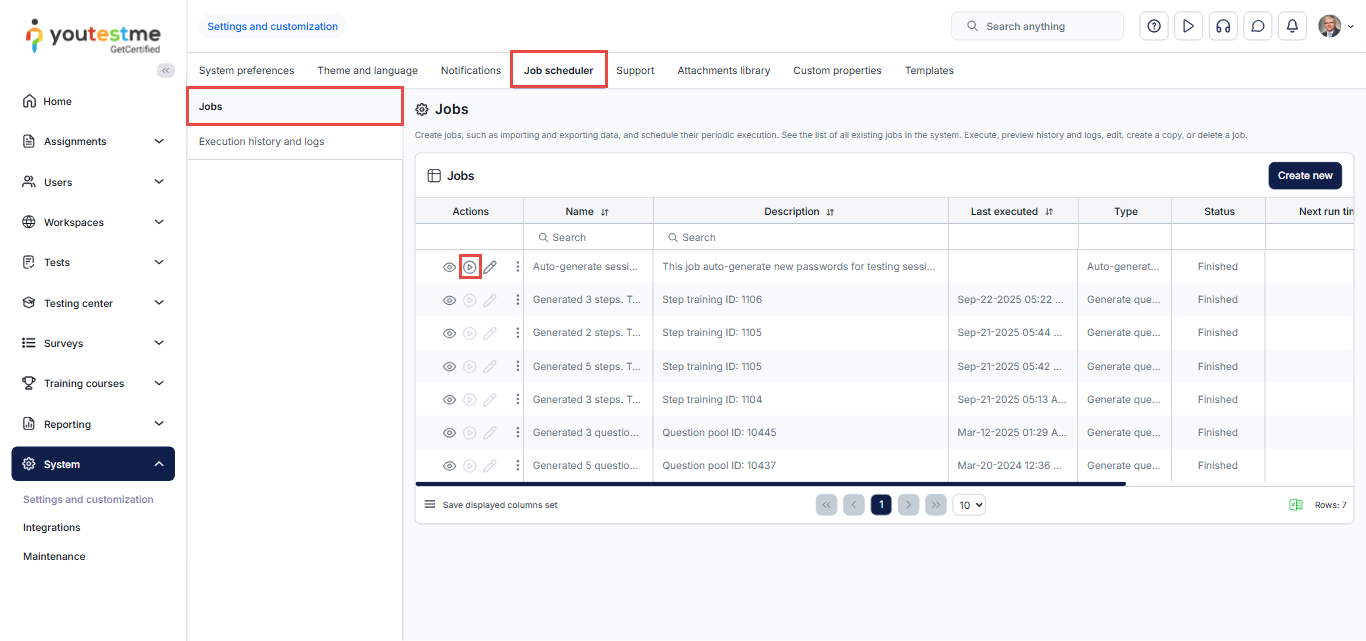
Job executed
- Trigger: This notification is triggered when a triggered job has been executed.
- Recipient: User who triggered job execution.
New free trial user activity
- Trigger: This notification is triggered when there is initial activity on a free trial application, indicating the application and user involved.
- Recipient: Users granted an administrative role.
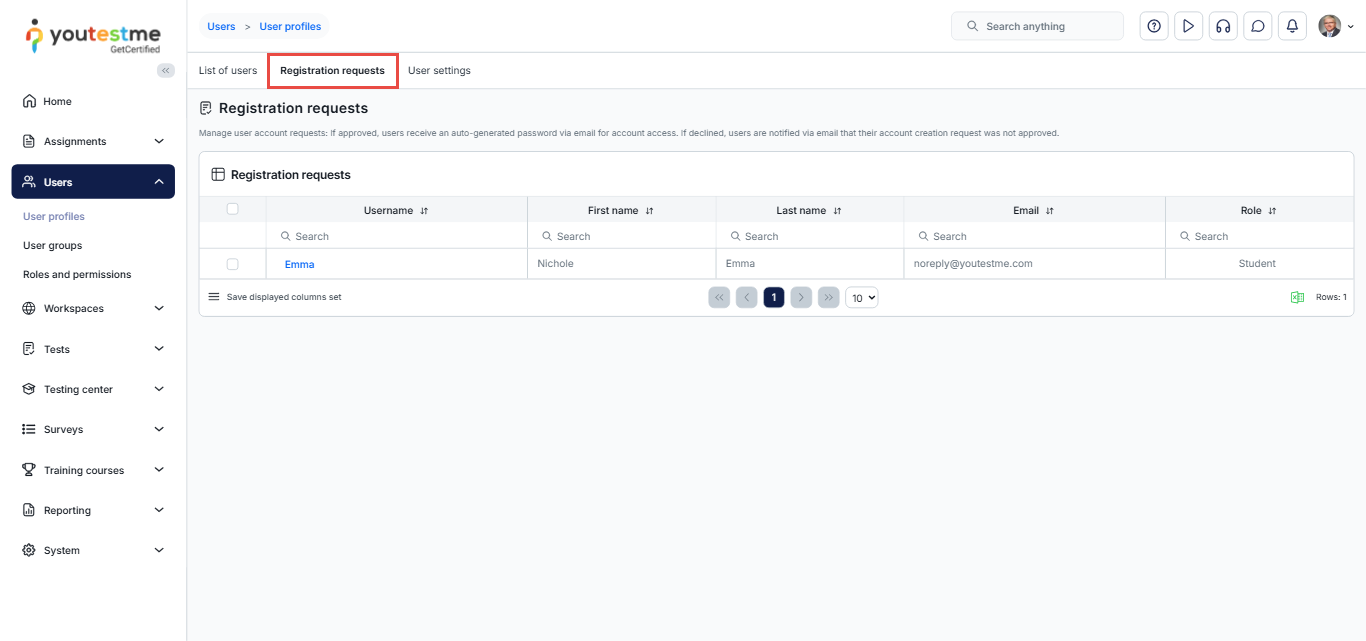
New registration request
- Trigger: This notification is triggered when a registration request is submitted for review.
- Recipient: Users granted an administrative role.
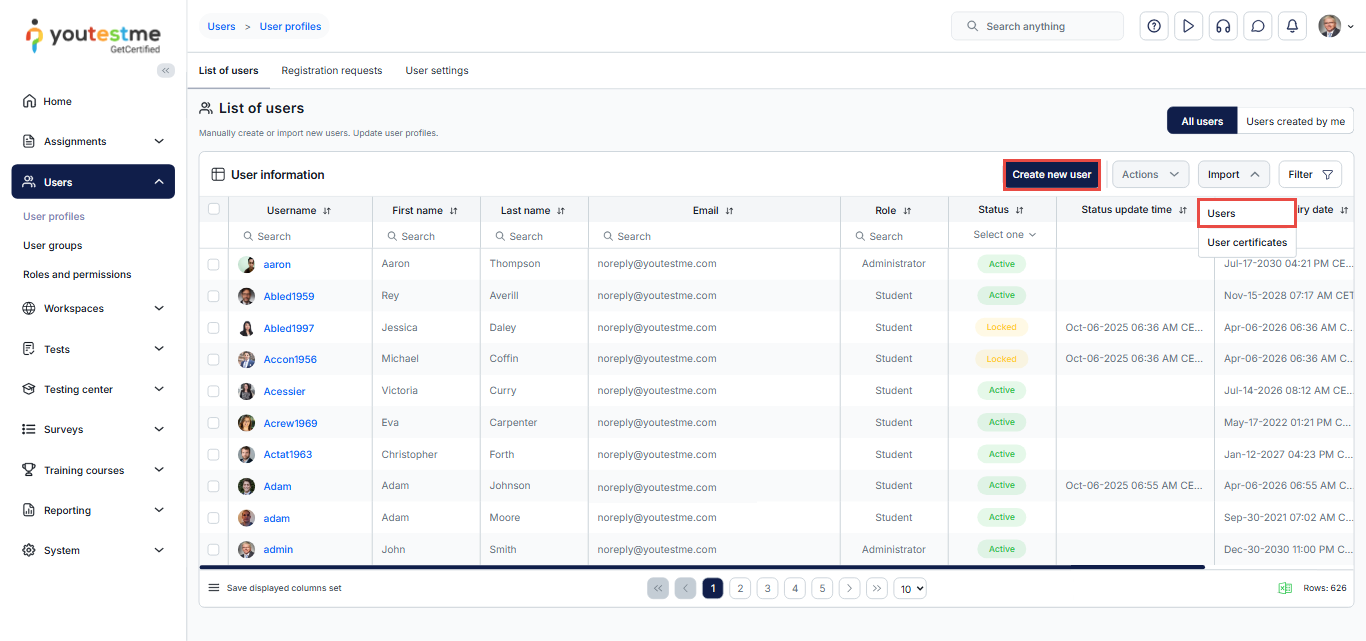
New user profile created
- Trigger: This notification is triggered when a new user profile is created manually or imported in bulk through an Excel template into the application.
- Recipient: Users granted an administrative role.
No graders remain
- Trigger: This notification is triggered when a test attempt necessitates a specific number of grades provided by multiple graders, but there are insufficient graders available to complete the grading process.
- Recipient: Test manager.
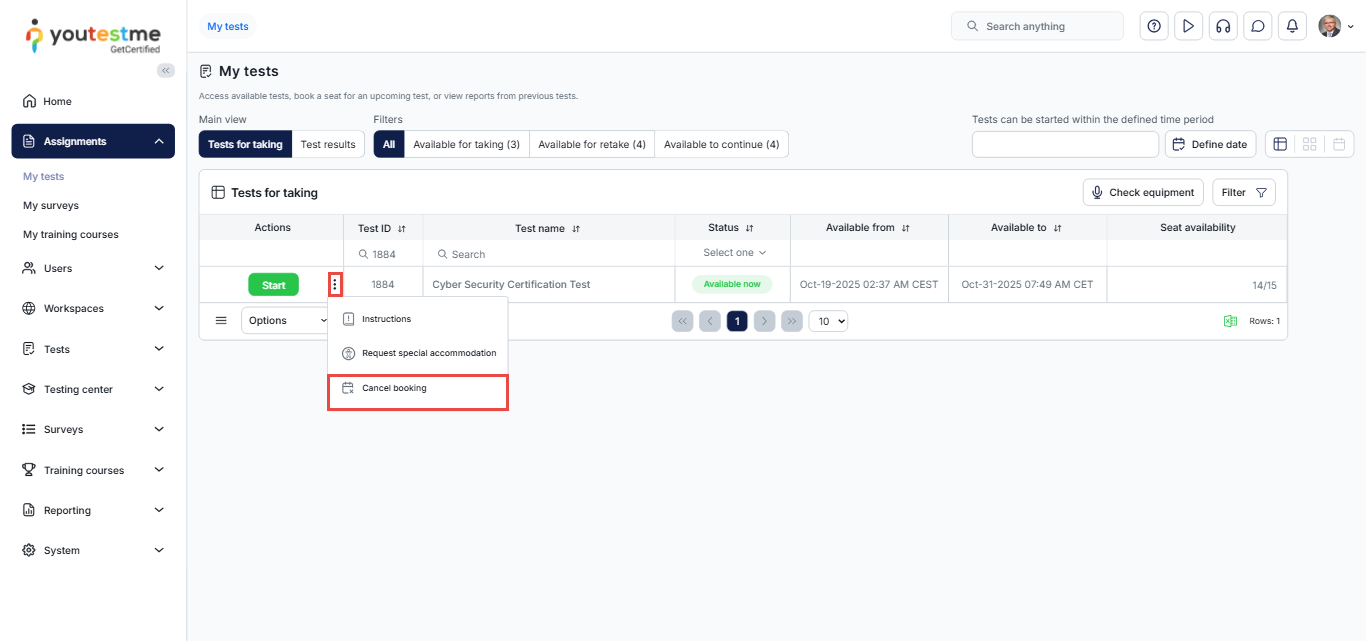
Notification about the canceled attempt
- Trigger: This notification is triggered when a user cancels the booking of an assignment.
- Recipient: The user canceling the booking.
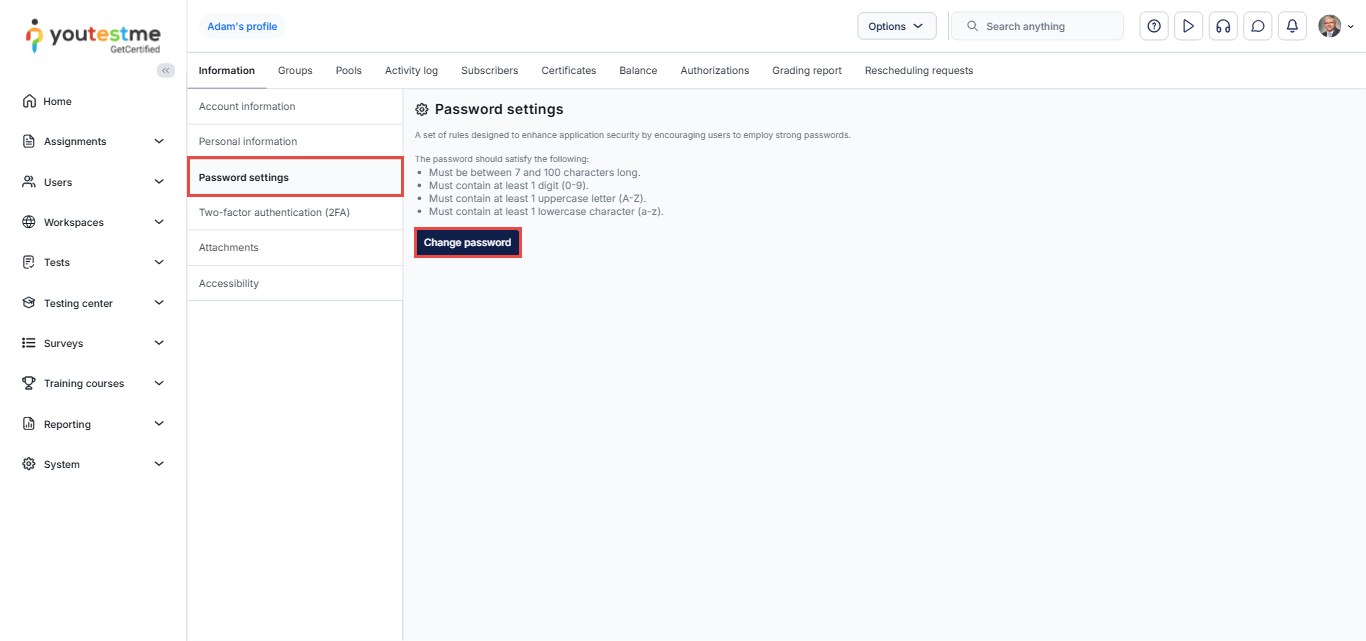
Password changed
- Trigger: This notification is triggered when an admin changes a user’s account password from their profile, or when a user requests a new password through the forgot password procedure.
- Recipient: The affected user will receive the new password.
Password reset is not possible
- Trigger: This notification is triggered when a candidate attempts to reset their password from the login page, but their role does not have the ‘Log in’ permission enabled. As a result, they cannot log in locally and must use Single Sign-On (SSO) instead.
- Recipient: Candidate who attempted to reset their password.
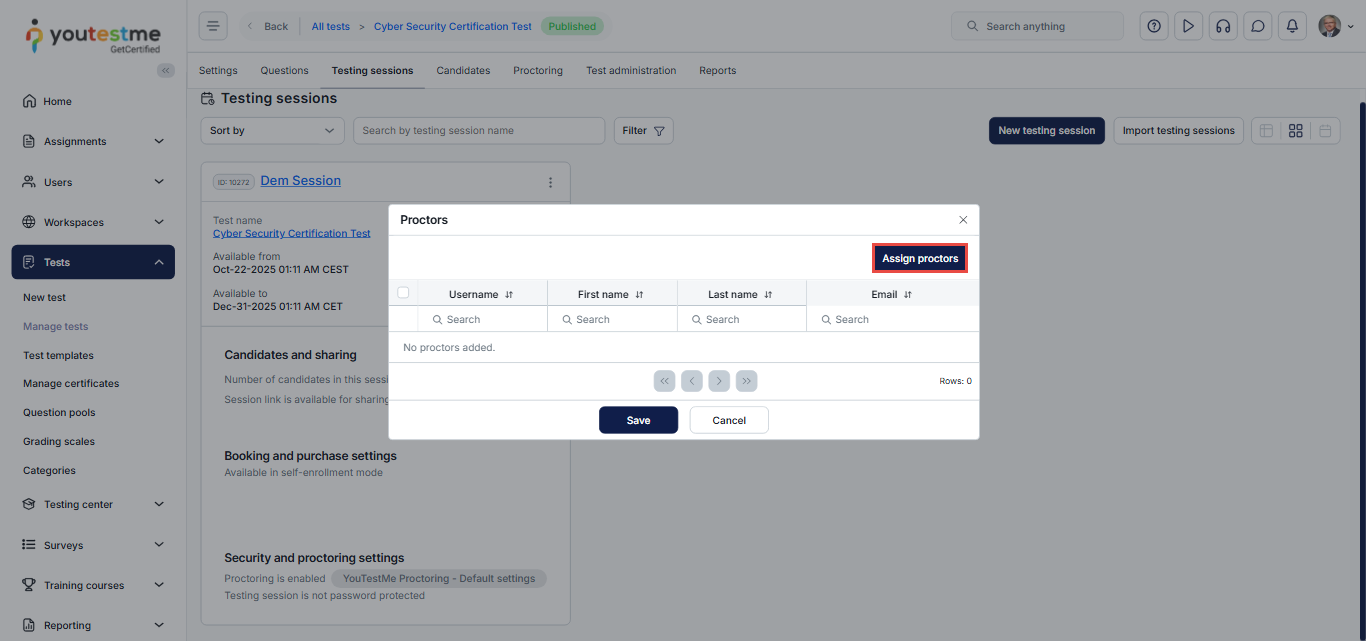
Proctors added to the testing session
- Trigger: This notification is triggered when a proctor has been assigned to a testing session.
- Recipient: Proctor assigned to the testing session.
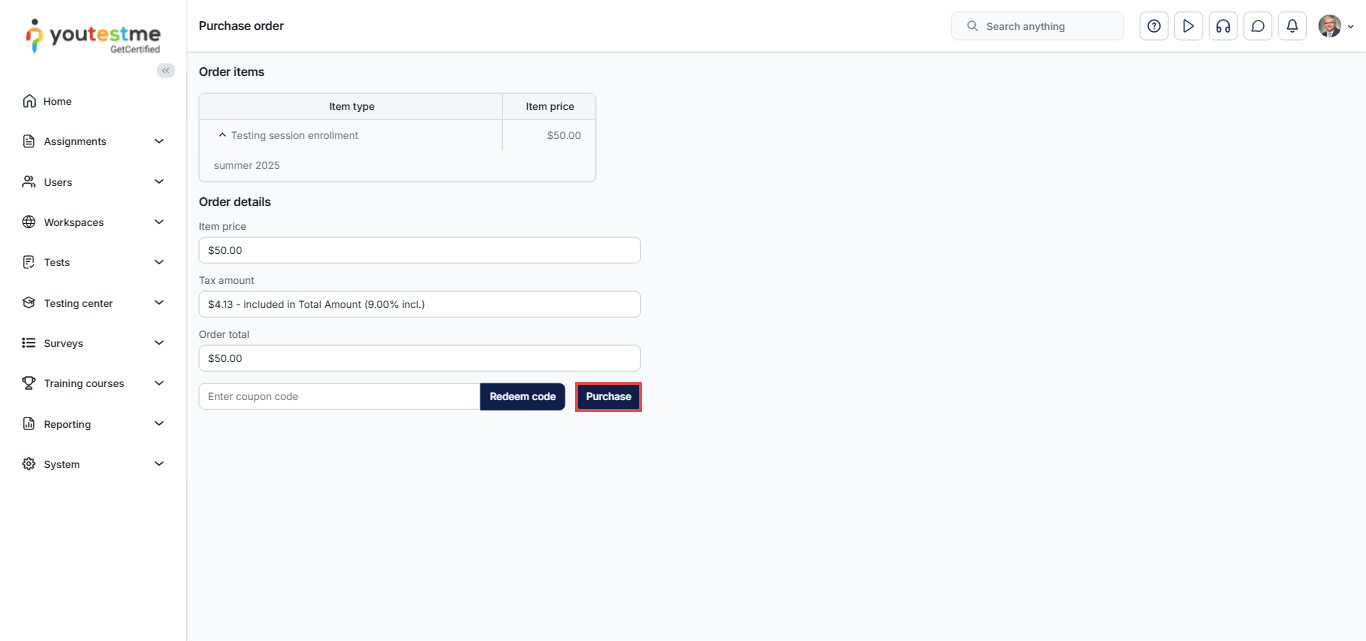
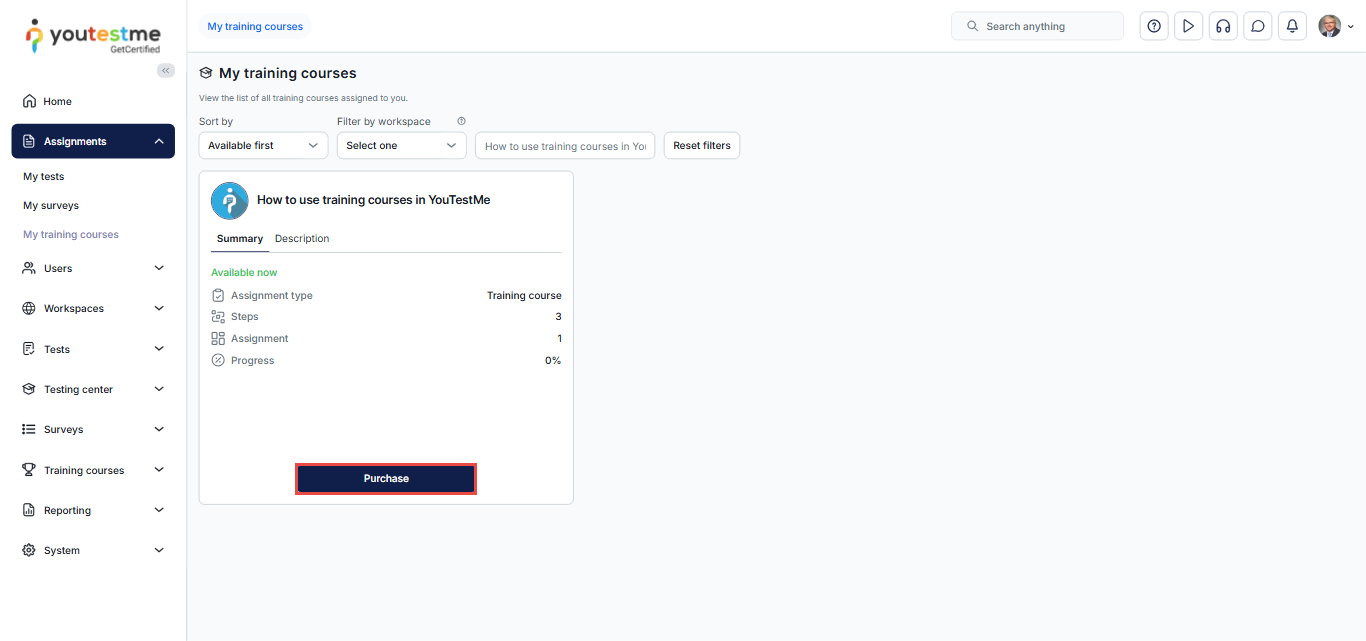
Product purchased
- Trigger: This notification is triggered when a product, such as a test, test retake, test reschedule, or a training course, is purchased.
- Recipient: Test or training course manager.
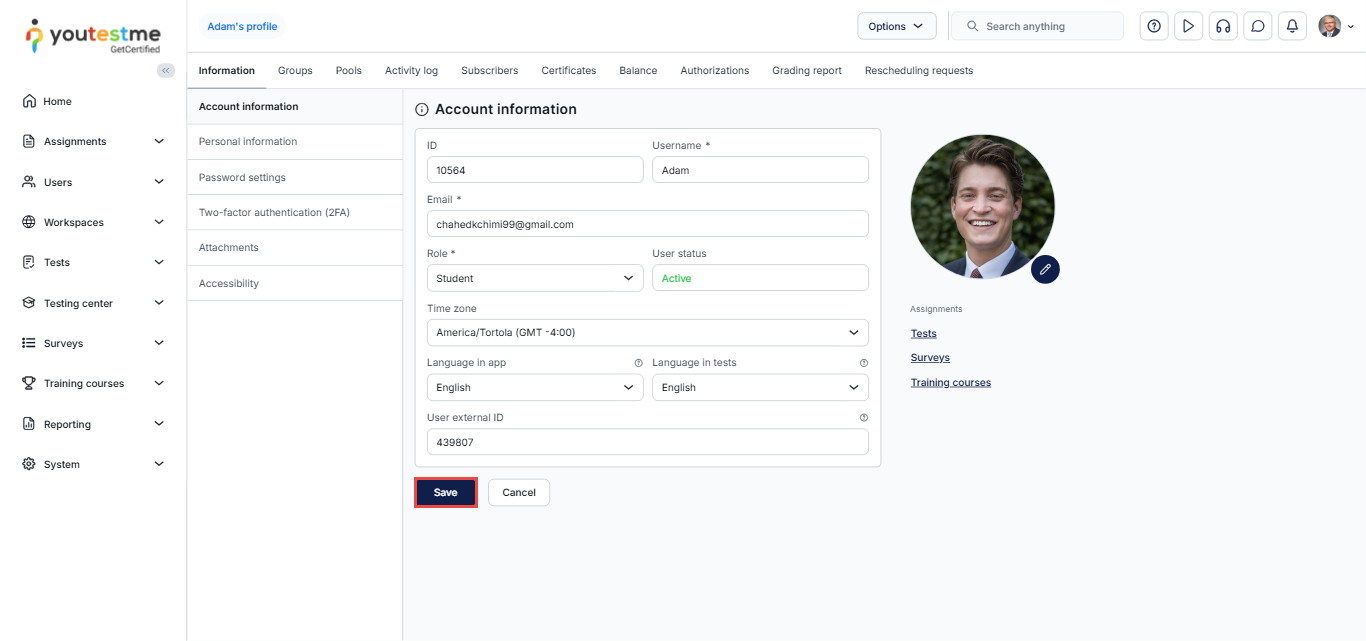
Profile information updated
- Trigger: This notification is triggered when personal information on a user’s account is updated.
- Recipient: User whose personal information was updated.
Registration request approved
- Trigger: This notification is triggered when a pending registration request has been approved.
- Recipient: User who submitted the registration request.
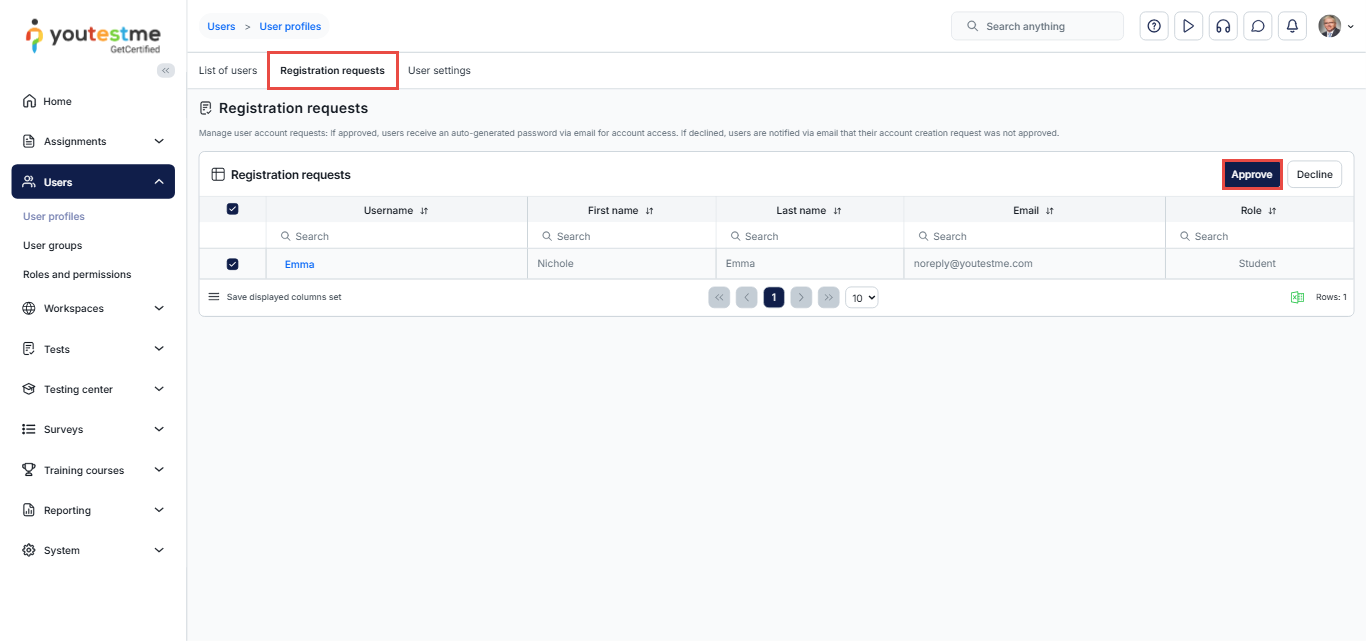
Registration request declined
- Trigger: This notification is triggered when a pending registration request has been declined.
- Recipient: User who submitted the registration request.

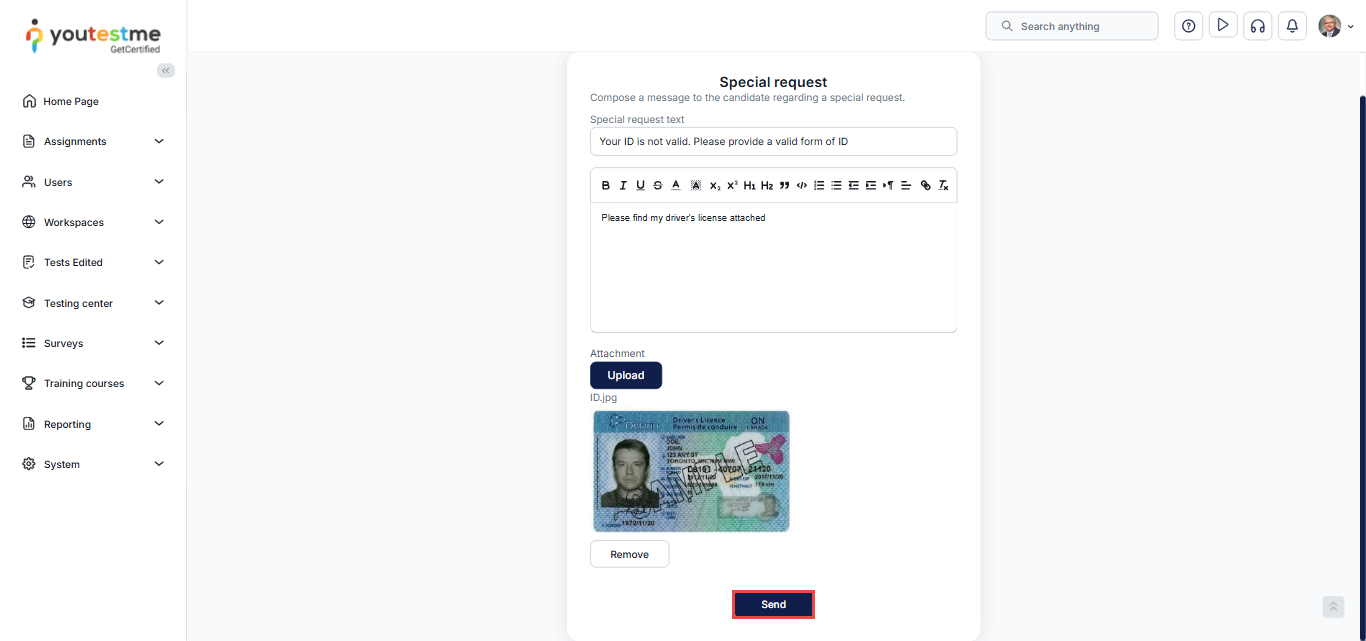
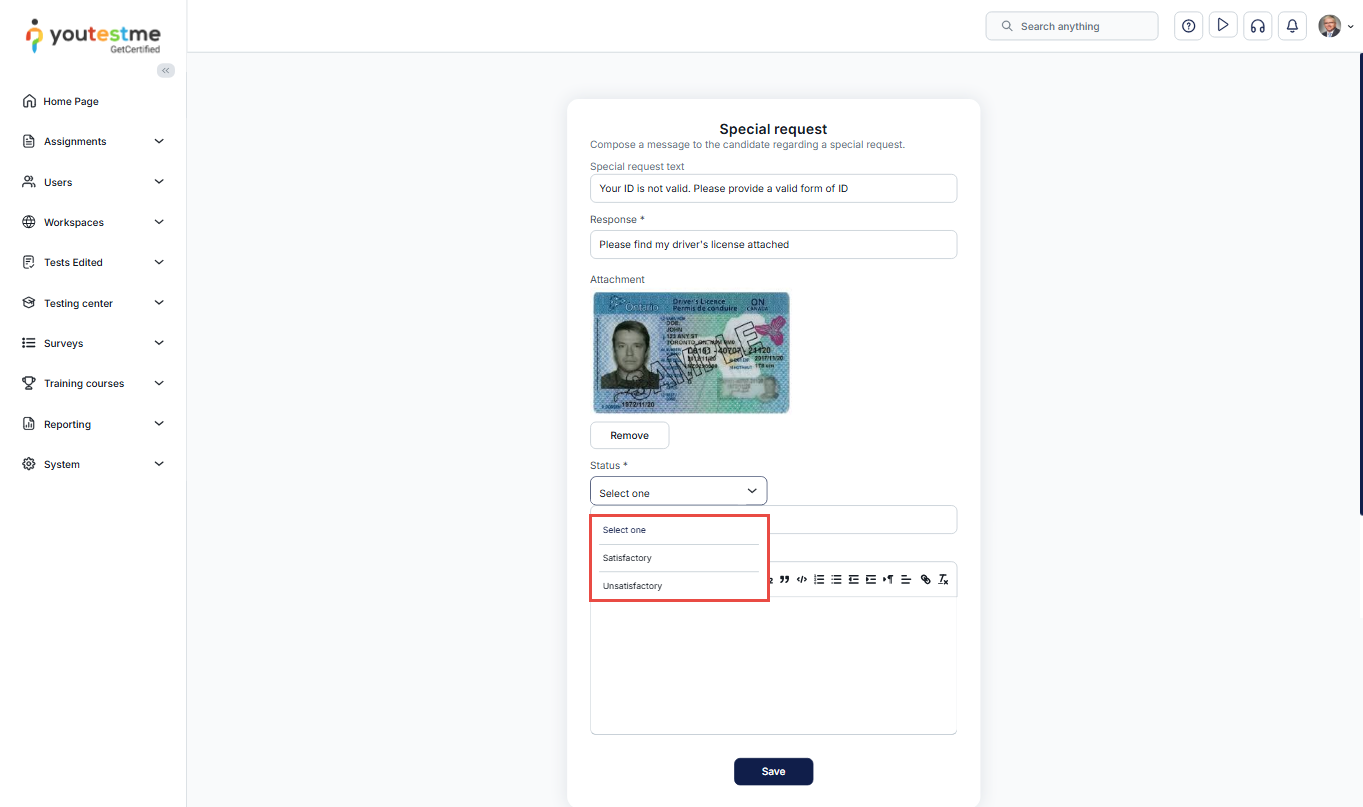
Response to special request notification
- Trigger: This notification is triggered when a user responds to a special request sent to them.
- Recipient: Test manager.
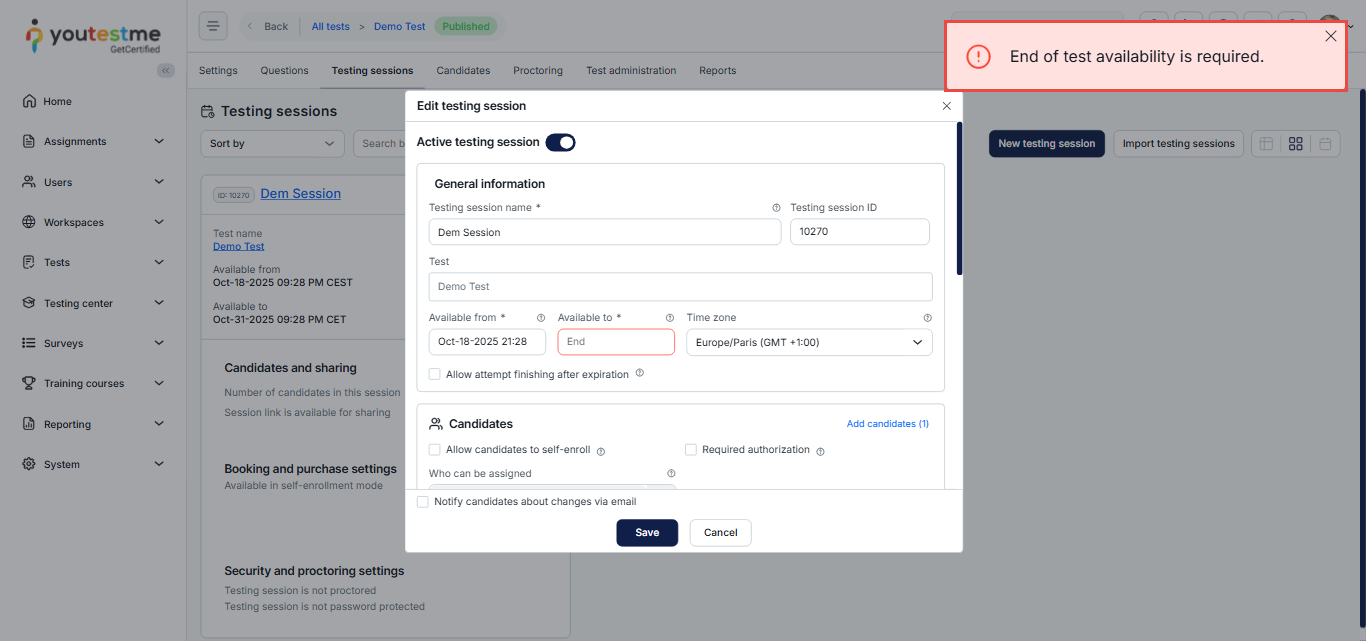
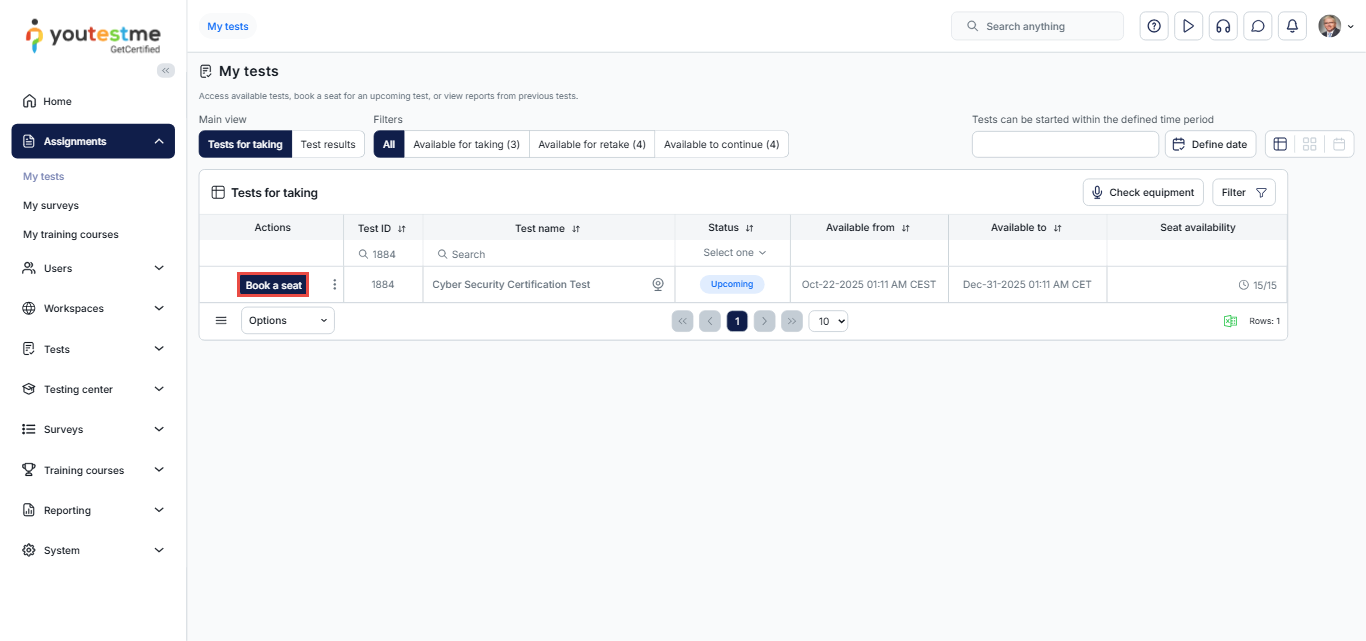
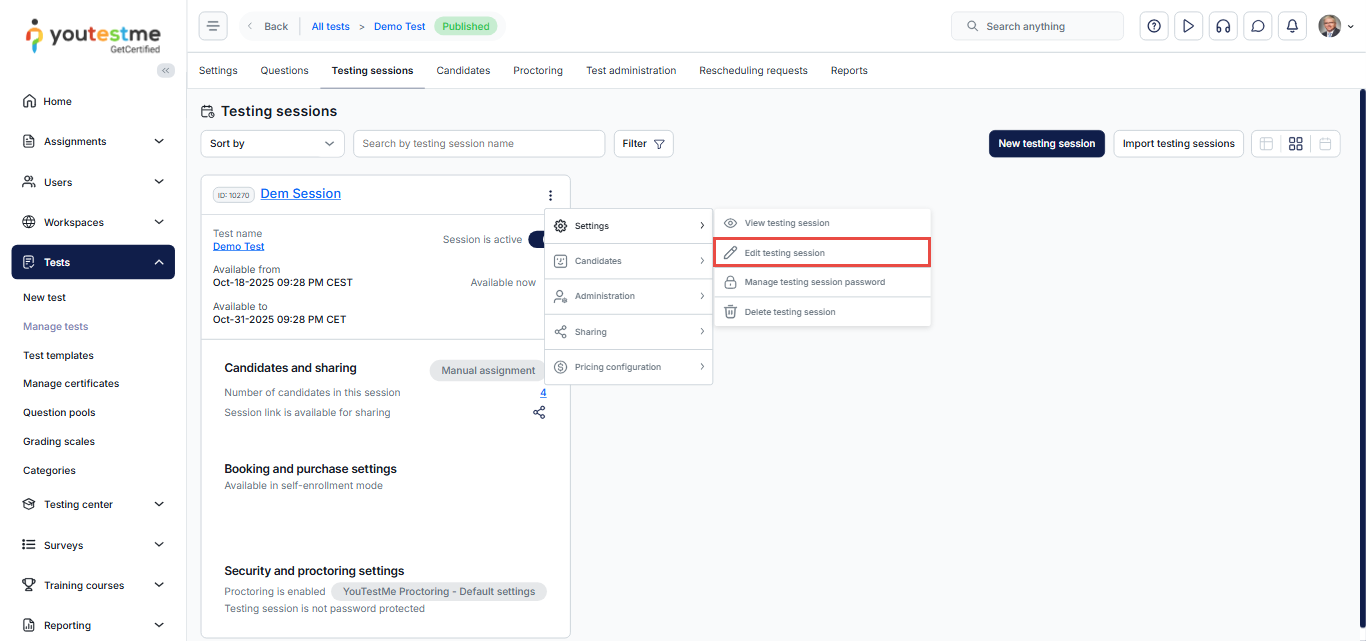
Session rescheduled notifications
- Trigger: This notification is triggered when a testing session has been rescheduled, indicating the updated timeframe for attempting it.
- Recipient: User who booked said testing session.
Special request notification
- Trigger: This notification is triggered when a user receives a special request.
- Recipient: User who received the special request.
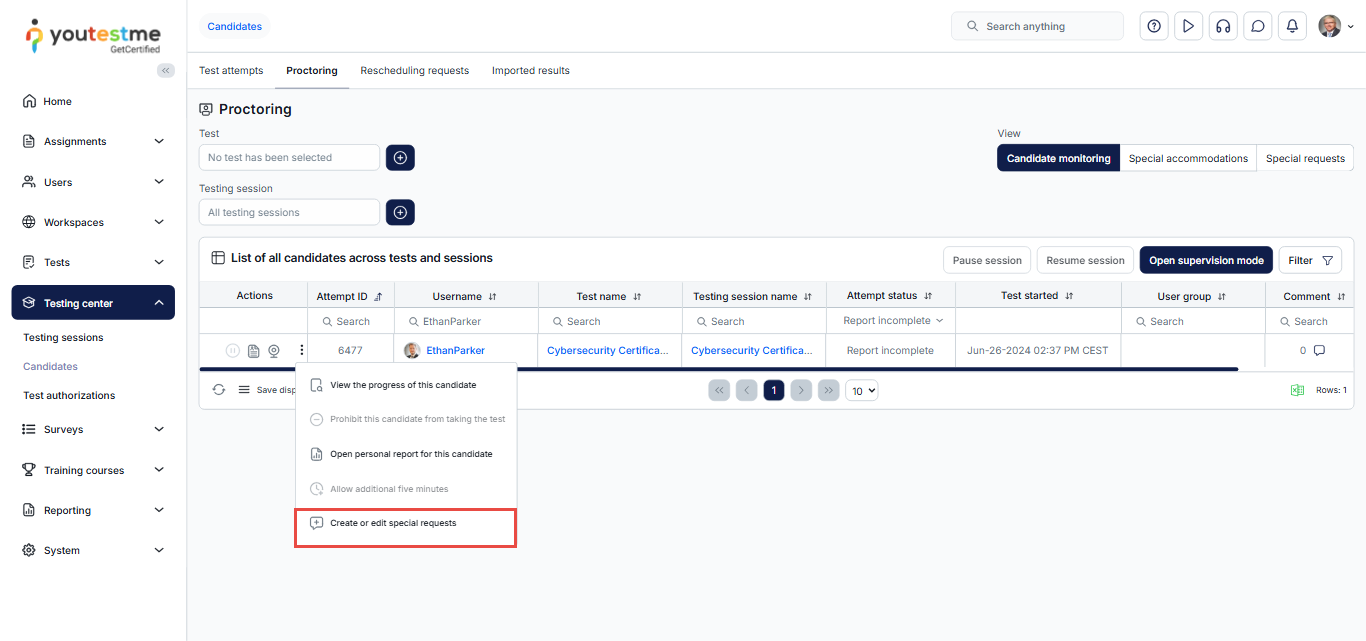
Special request resolved notification
- Trigger: This notification is triggered when the response provided to a special request is reviewed and the outcome is determined.
- Recipient: User who received the special request.
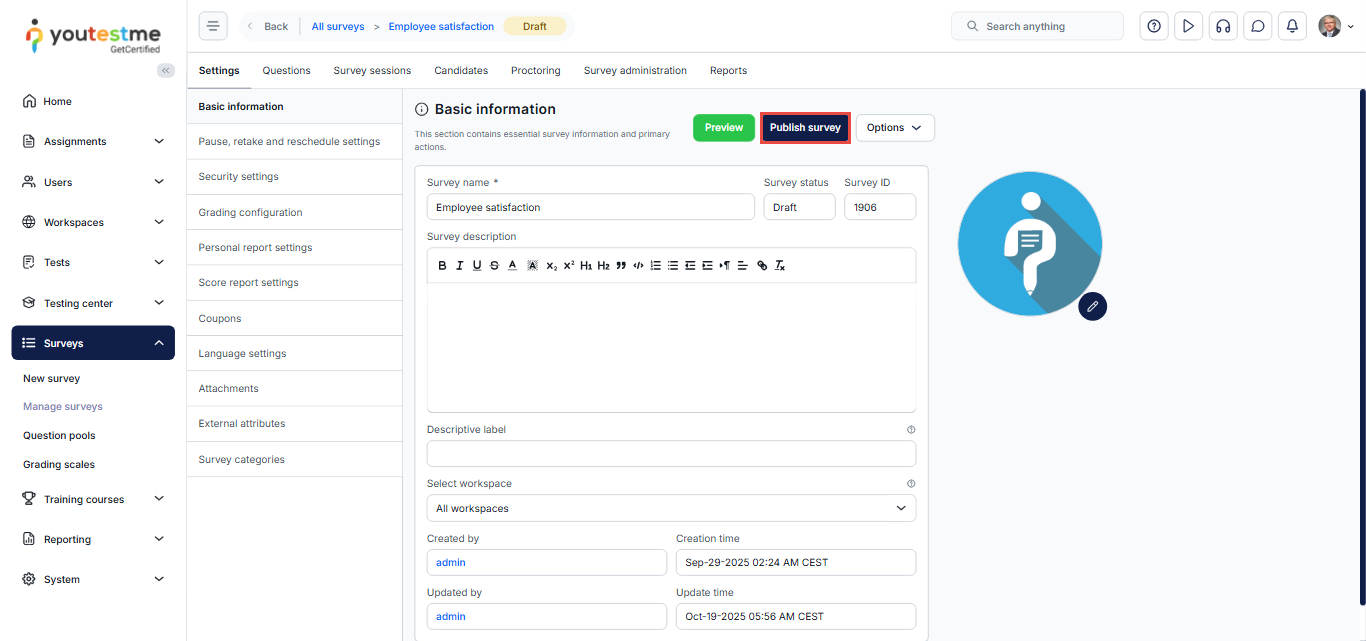
Survey published
- Trigger: This notification is triggered upon the publication of a survey, indicating the available timeframe for attempting it.
Note: If self-enrollment is enabled for the testing session, the notification will not be sent. - Recipient: User assigned to the survey.
Survey result notification to subscribers
- Trigger: This notification is triggered when a survey has been completed by a user subscribed to by other users.
- Recipient: User that subscribed to the user who completed the survey.
Survey results
- Trigger: This notification is triggered when survey results become available, indicating the achieved score.
- Recipient: User who attempted the survey.
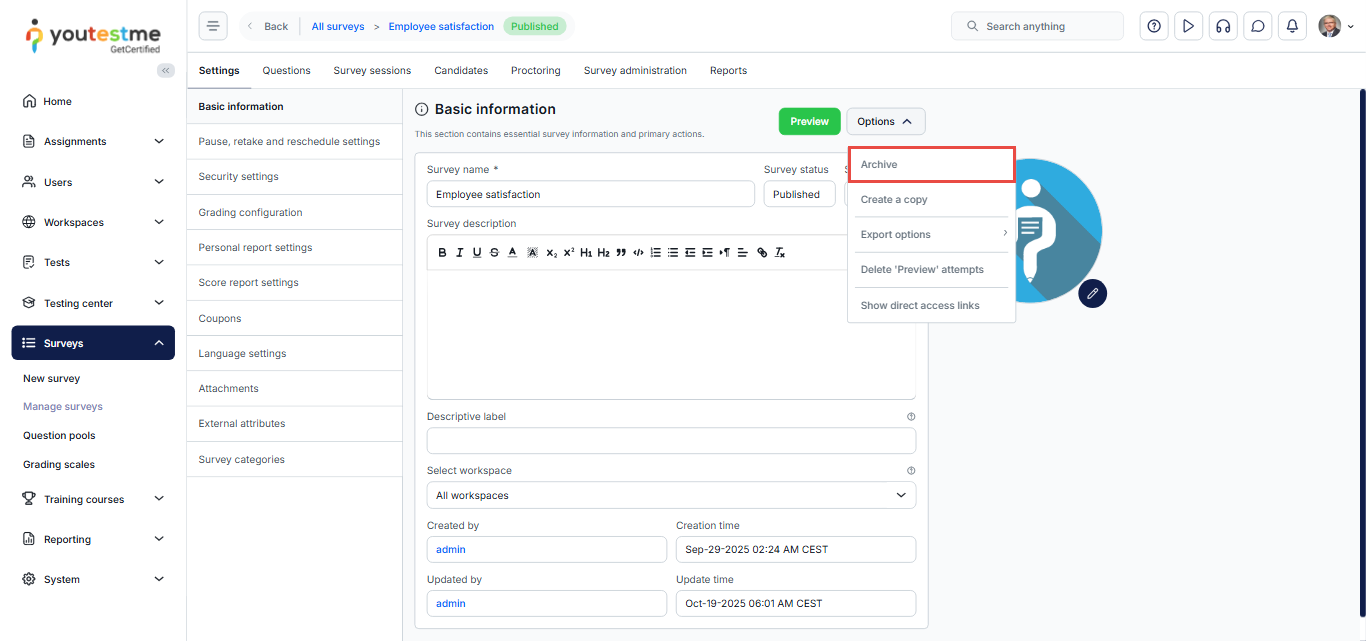
Survey suspended
- Trigger: This notification is triggered when a survey is suspended, making it unavailable for attempting.
- Recipient: Survey manager.
Test finished
- Trigger: This notification is triggered after a user has attempted a test, signaling that they’ll be notified when the result is available.
- Recipient: User who attempted the test.
Test published
- Trigger: This notification is triggered upon the publication of a test, indicating the available timeframe for attempting it.
Note: If self-enrollment is enabled for the testing session, the notification will not be sent. - Recipient: User assigned to the test.
Test result notification to subscribers
- Trigger: This notification is triggered when a test has been completed by a user subscribed to by other users.
- Recipient: User that subscribed to the user who completed the test.
Test results
- Trigger: This notification is triggered when test results become available.
- Recipient: User who attempted the test.

Test results on the manager’s approval
- Trigger: This notification is triggered when test results become available, indicating the achieved score.
- Recipient: User who attempted the test.
Test suspended
- Trigger: This notification is triggered when a test is suspended, making it unavailable for attempting.
- Recipient: Test manager.
Tomcat Start
- Trigger: The notification is triggered when the application starts.
- Recipient: Application system administration.
Tomcat Stop
- Trigger: The notification is triggered when the application stops.
- Recipient: Application system administration.
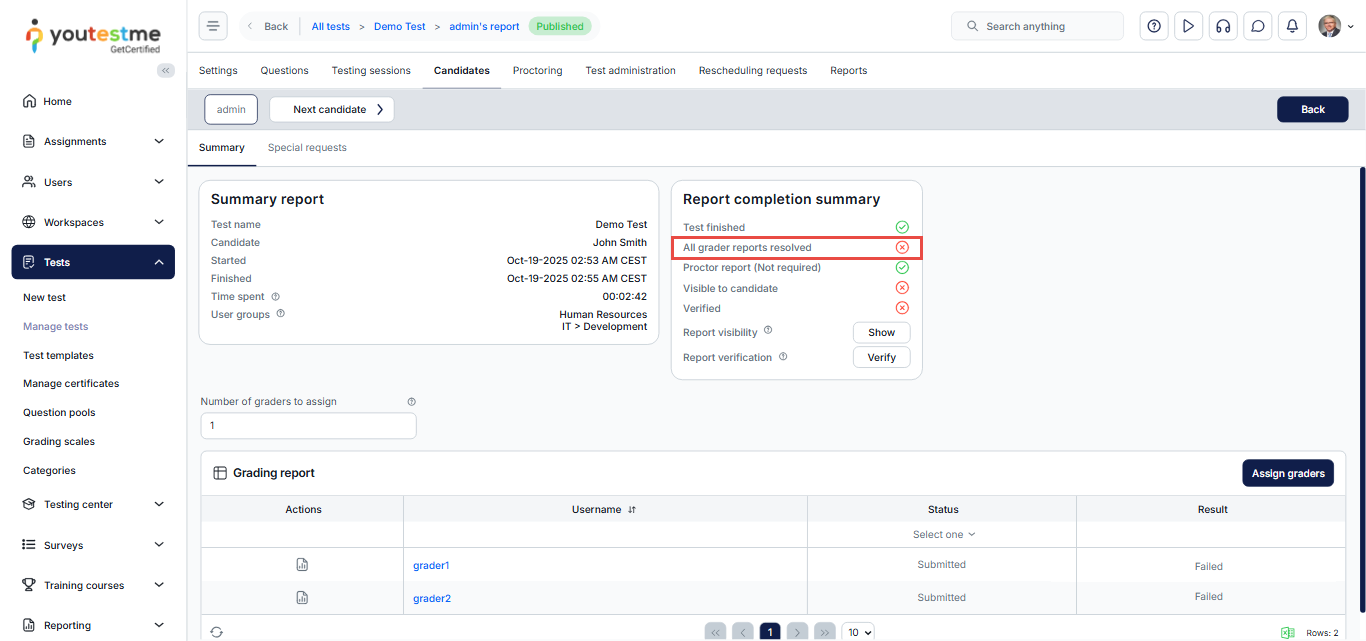
Unresolved test/survey report
- Trigger: This notification, titled ‘Attempt should be graded,’ is triggered when a user completes a test, indicating the status of the test attempt.
- Recipient: Test/survey manager.
Upcoming assignment notifications
- Trigger: This notification informs users of an upcoming assignment and indicates the available timeframe for attempting it. For more information on the timing and configuration of these reminders, refer to the following article.
- Recipient: User assigned to the upcoming assignment.
User notification of the purchased lesson
- Trigger: This notification is triggered when a training course is purchased.
- Recipient: User who purchased the training course.
User notification of the purchased session
- Trigger: This notification is triggered when a test is purchased.
- Recipient: User who purchased the test.
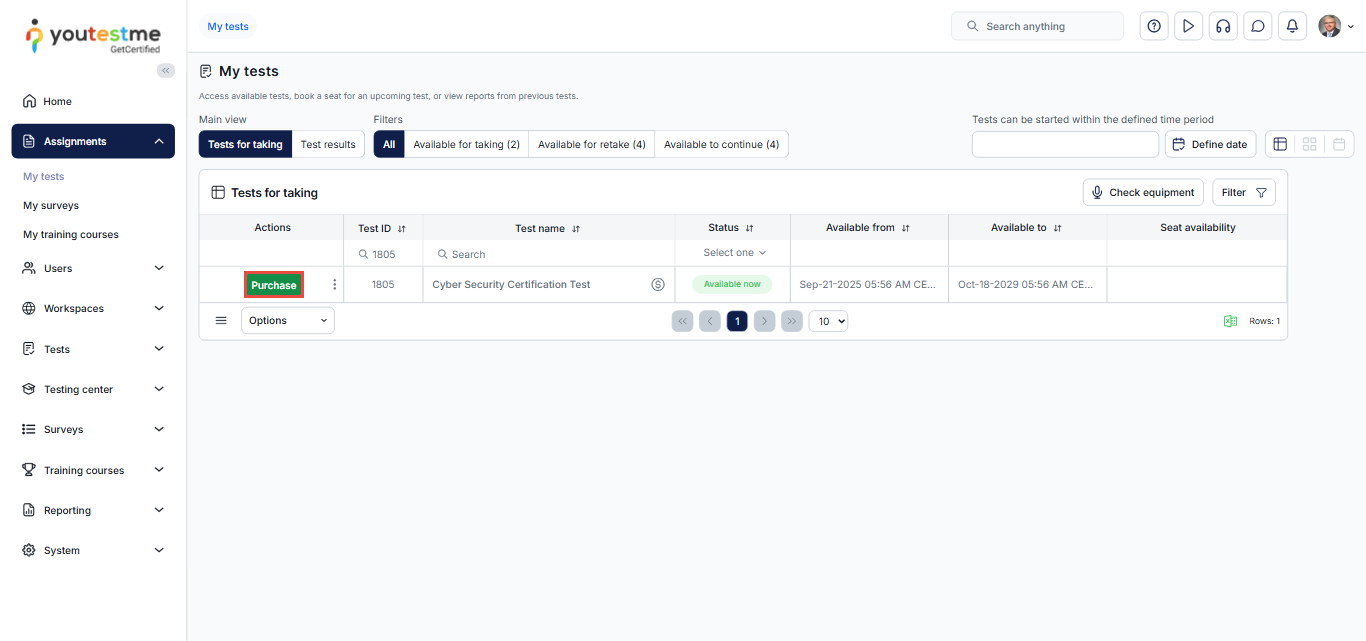
User purchased test retake
- Trigger: This notification is triggered when a test retake is purchased.
- Recipient: User who purchased the test retake.
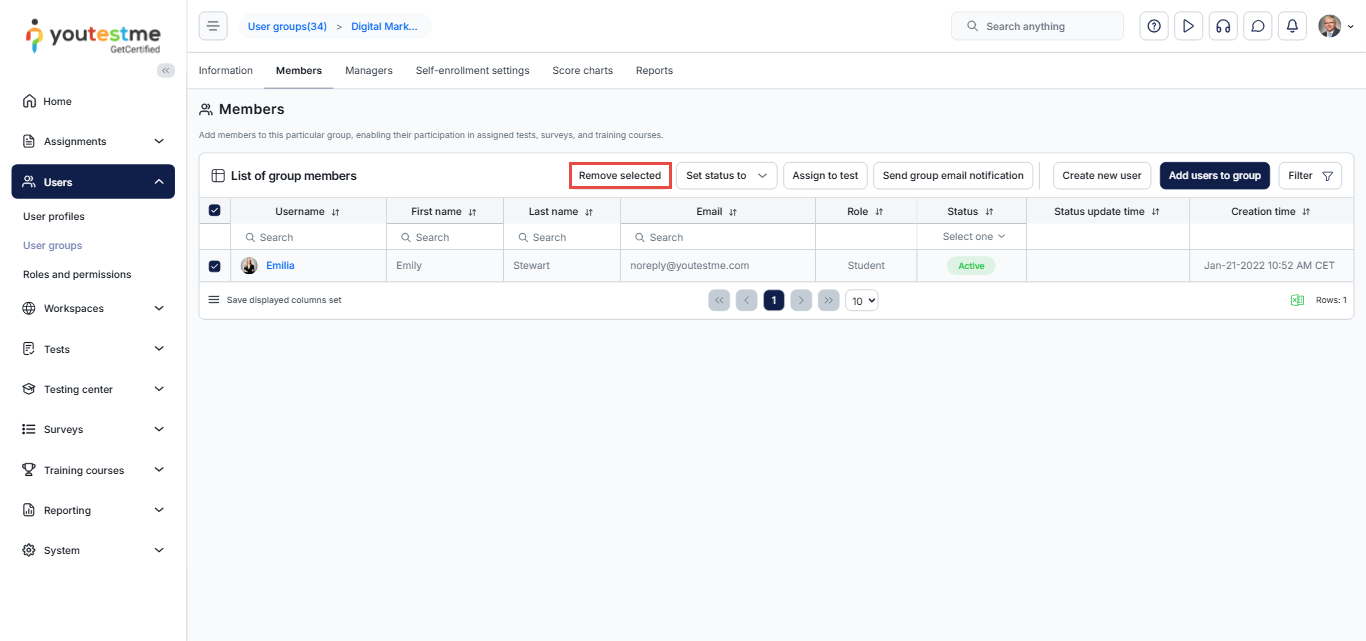
User removed from a group
- Trigger: This notification is triggered when a user is removed as a manager or member of a user group, indicating the name of a user group.
- Recipient: User removed as a manager or member of the user group.
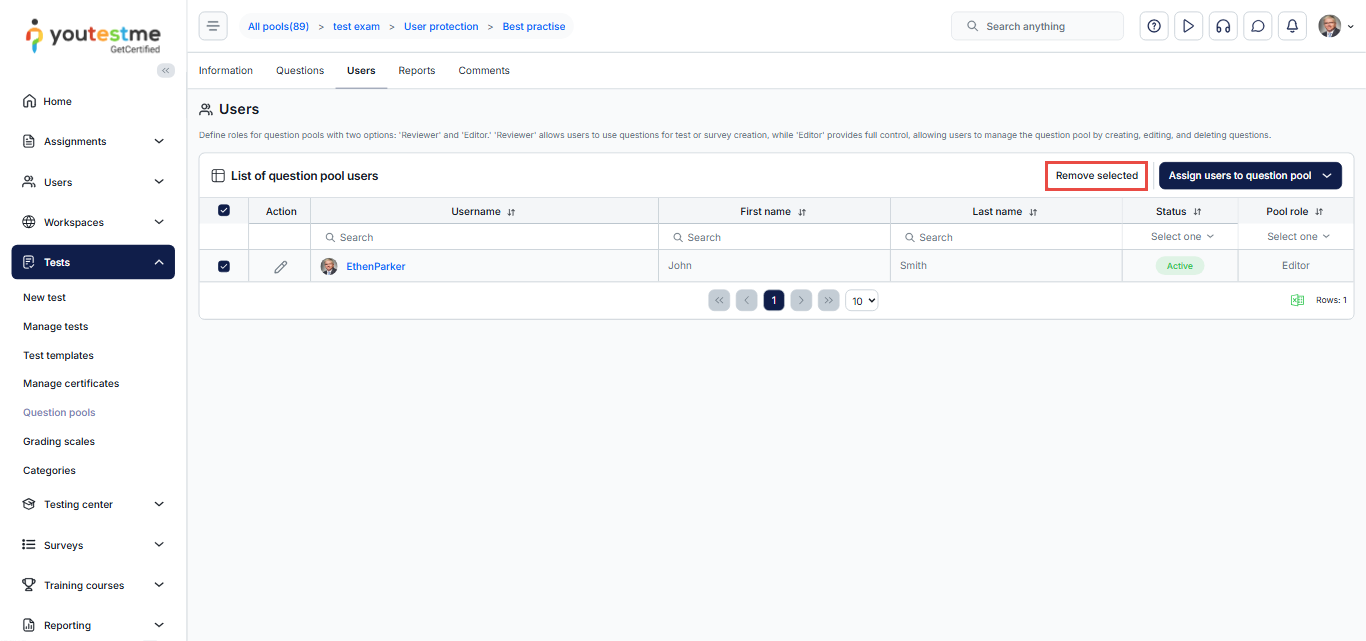
User removed from a pool
- Trigger: This notification is triggered when a user is removed as a manager or user of a question pool, indicating the name of a question pool.
- Recipient: User removed as a manager or user of the question pool.
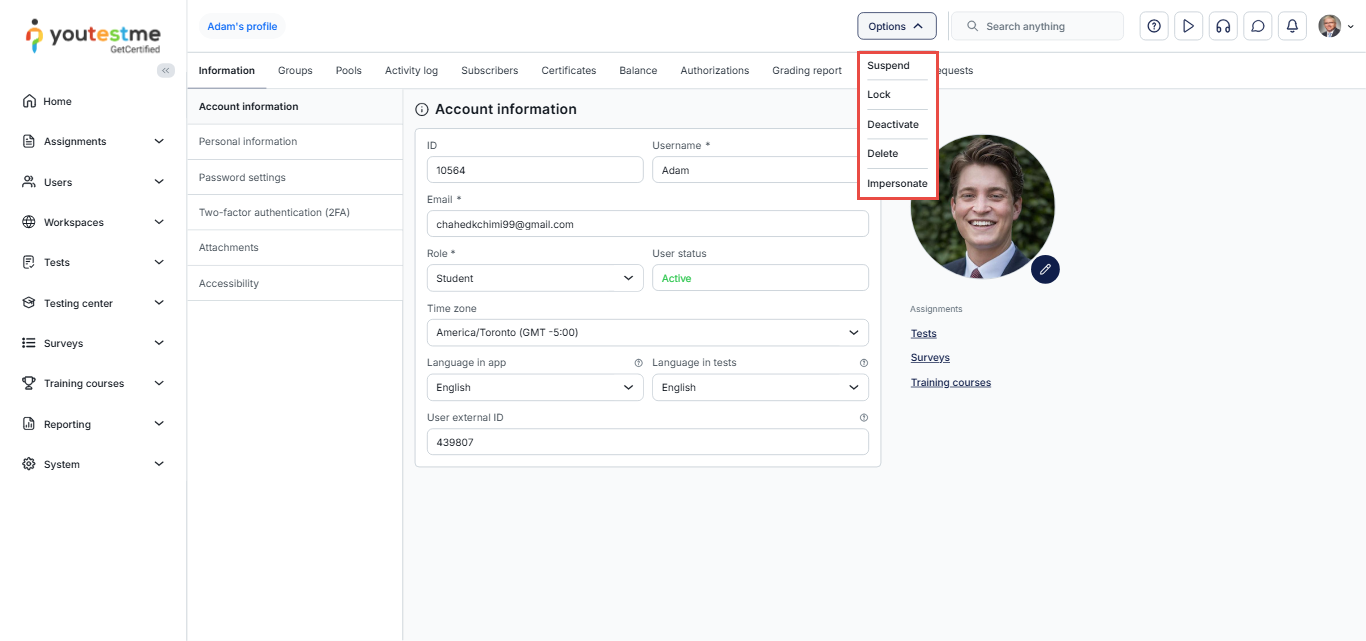
User’s status changed
- Trigger: This notification is triggered when a user’s account status is changed.
- Recipient: User whose account status changed.
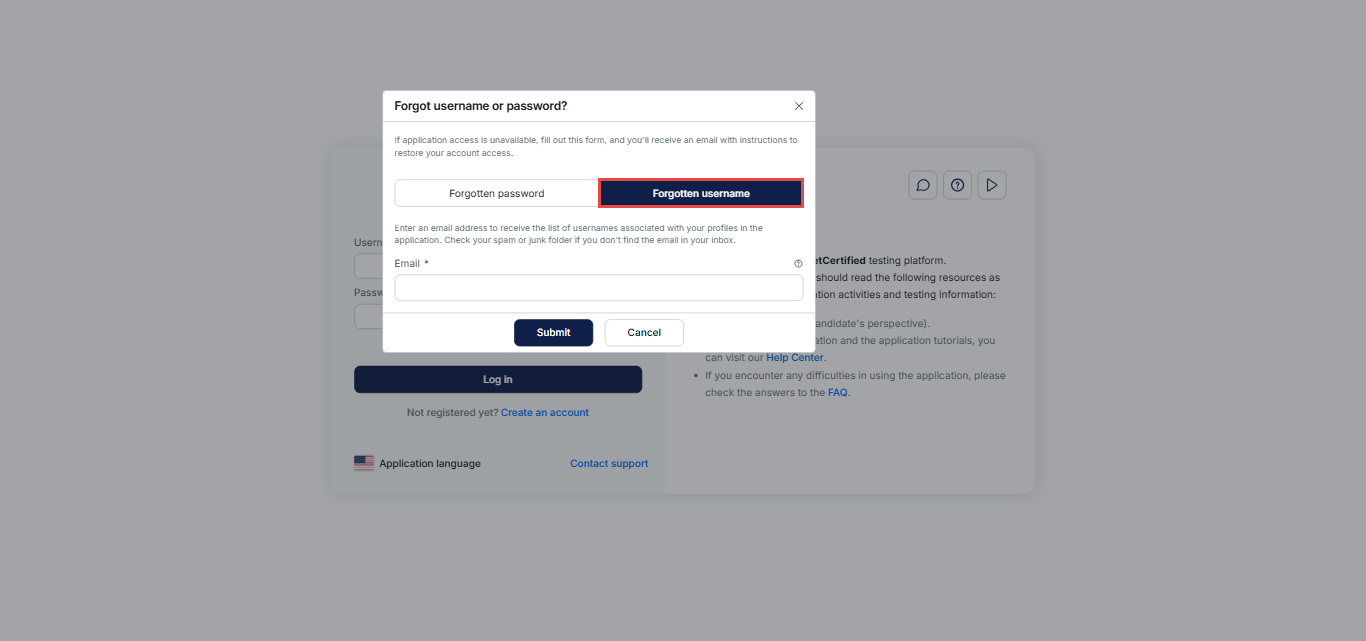
Username(s) reminder request
- Trigger: This notification is triggered when a user requests a reminder of their username through the forgot password procedure.
- Recipient: Affected user who will receive the reminder of their username.
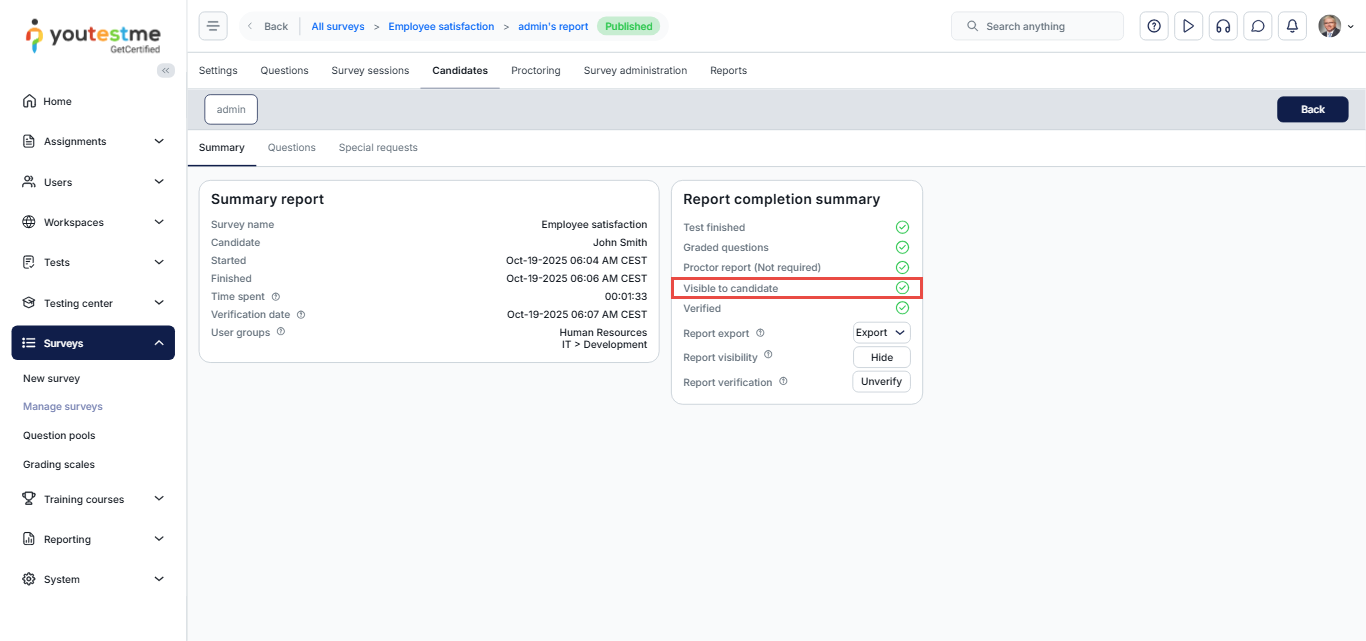
Attempt Verified Notification
- Trigger: This notification is triggered when the Test Manager verifies the test result. It informs the candidate that their result has been reviewed and officially confirmed.
- Recipient: The user who attempted the test.
For more information about the result verification process, refer to this article.
Note: Refer to this video tutorial for more detailed instructions on editing in-application and email notifications, previewing notifications from the user’s perspective, and understanding necessary notification events.
