Article verified for Release 15.1 on November 10, 2025.
In this article, we explain the True/False question type.
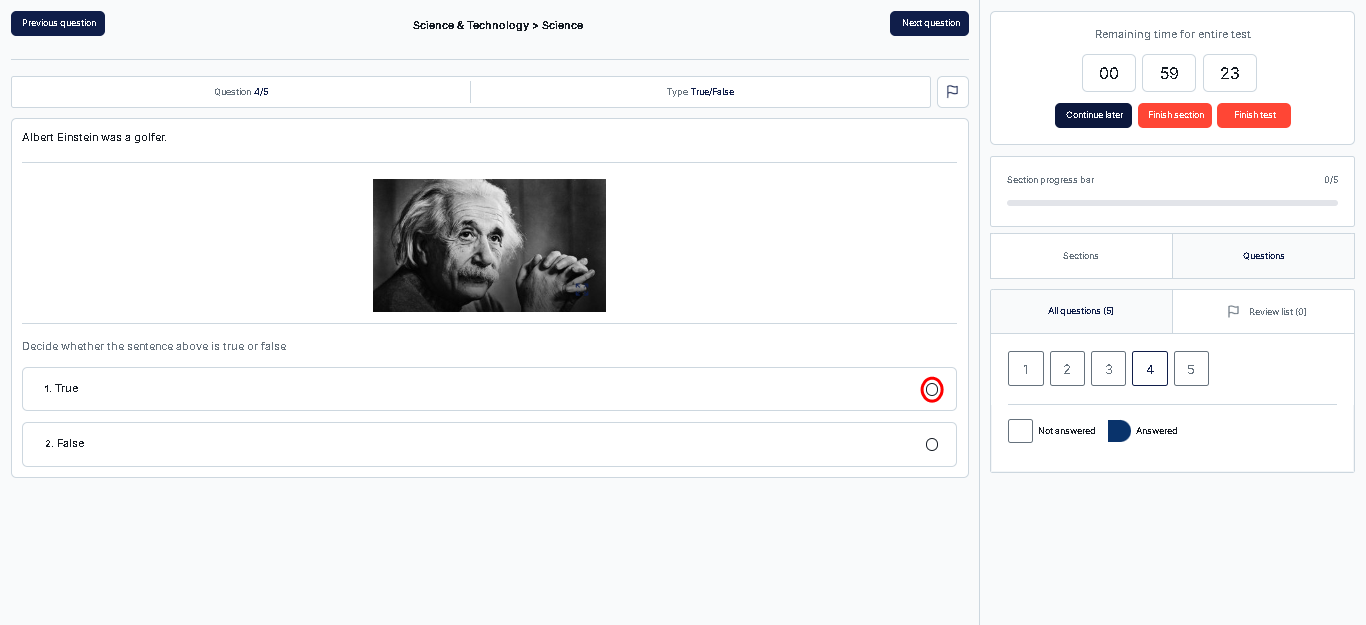
This question type presents a statement with two possible answer options, True or False, and requires candidates to select the single correct option. It is commonly used to assess factual knowledge, basic understanding, or the ability to quickly evaluate the correctness of a given statement.
Manually Creating a True or False Question
A True/False question presents two possible answers, allowing the candidate to select only one.
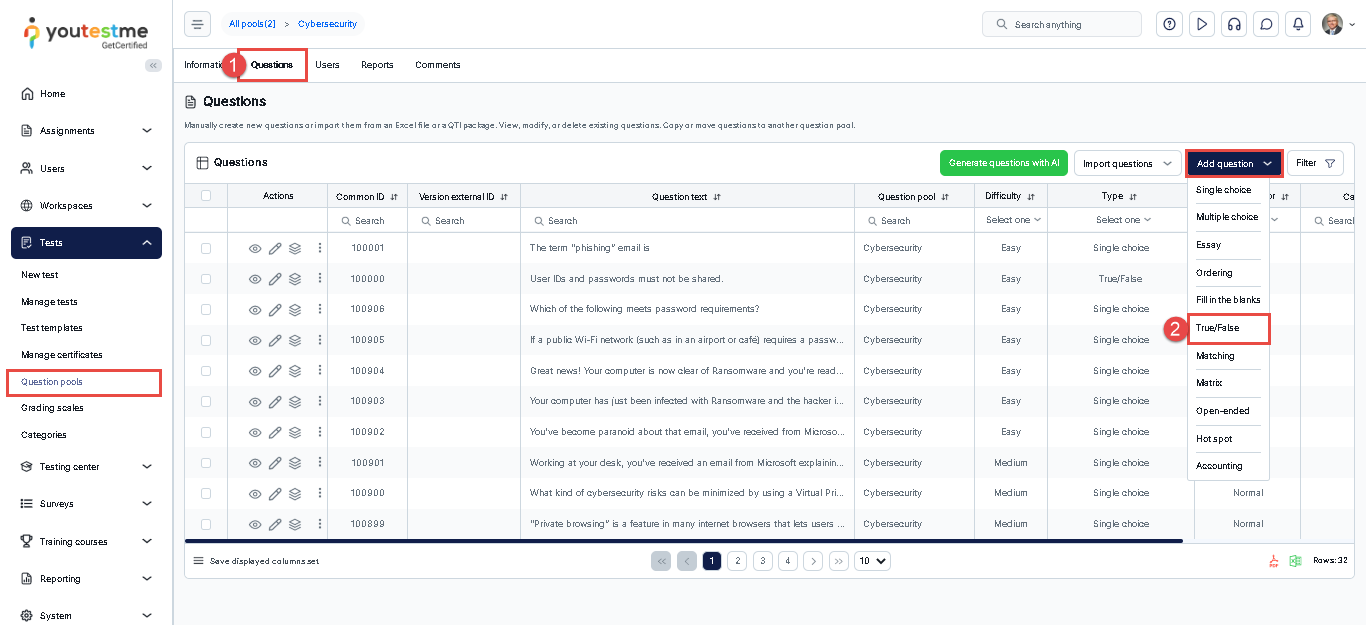
- Access the desired question pool to which you would like to include the True/False question and navigate to the Questions tab.
- Click the Add questions button and select the True/False question type.
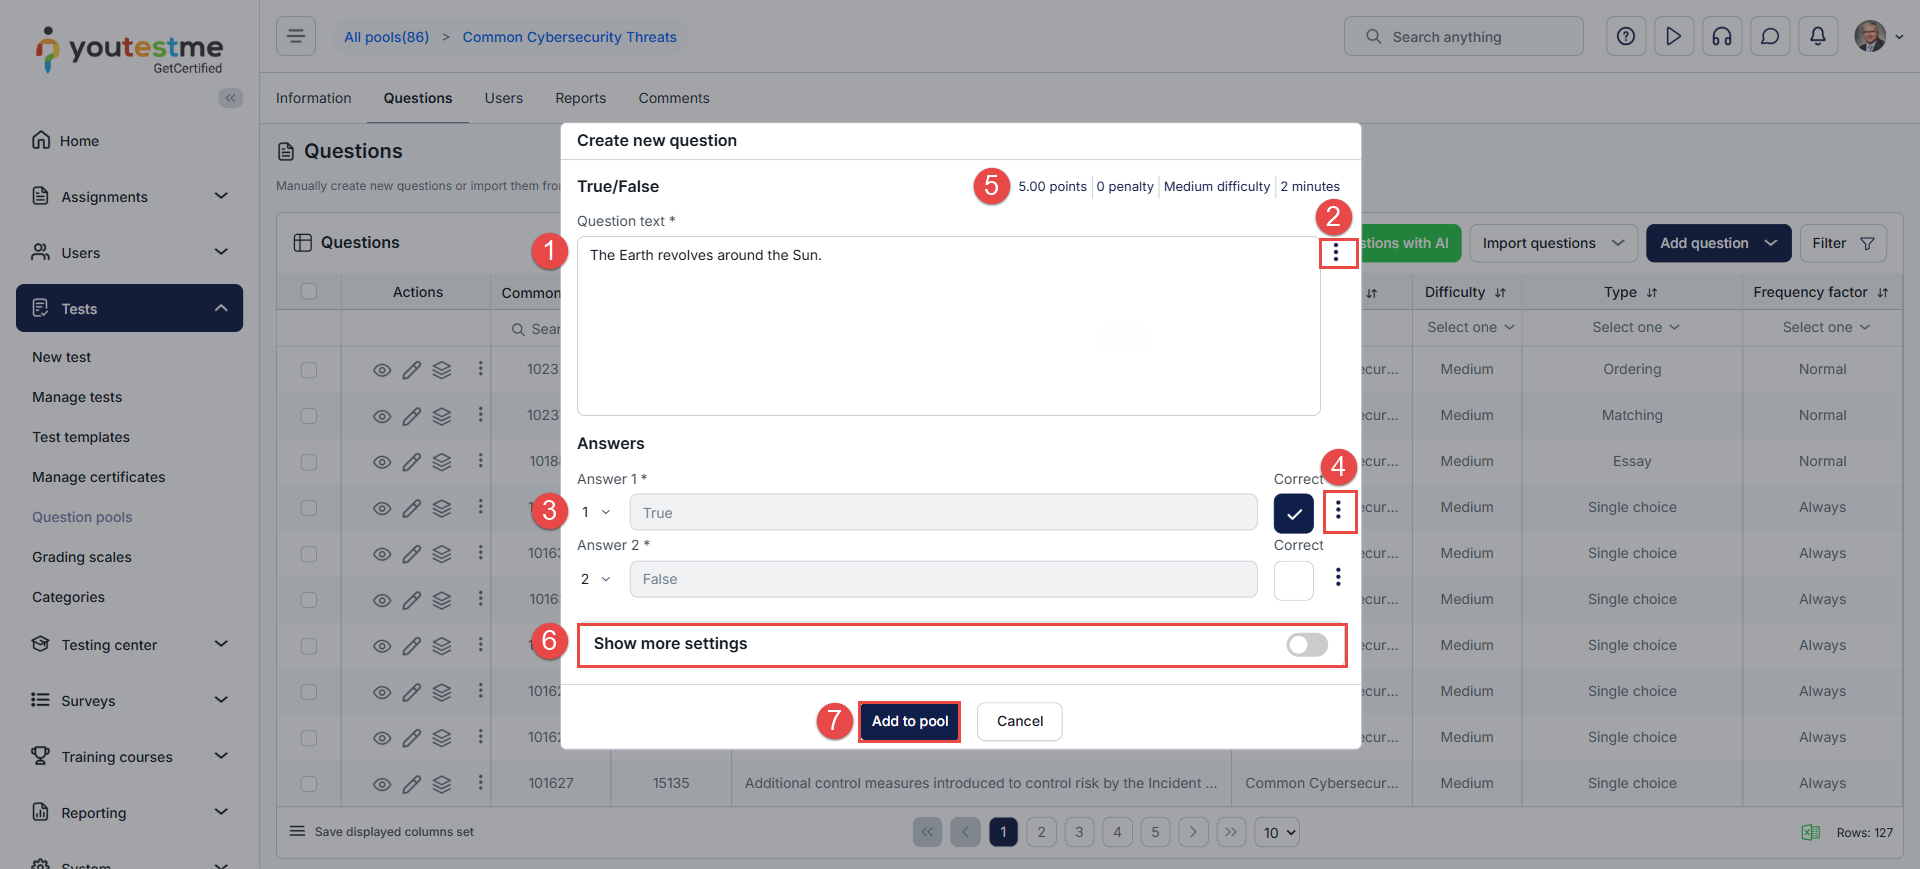
In the Create New Question dialog:
- Enter the question text.
- Click the three dots menu to add a question attachment, a question feedback, or a formula.
- To select the correct answer, please click the checkbox next to it.
- Click the three dots menu next to each answer to add an answer attachment, answer feedback, or a formula.
- Define the number of points, penalties, the question’s difficulty level, and duration. The question duration will only apply if the test duration is calculated based on question duration.
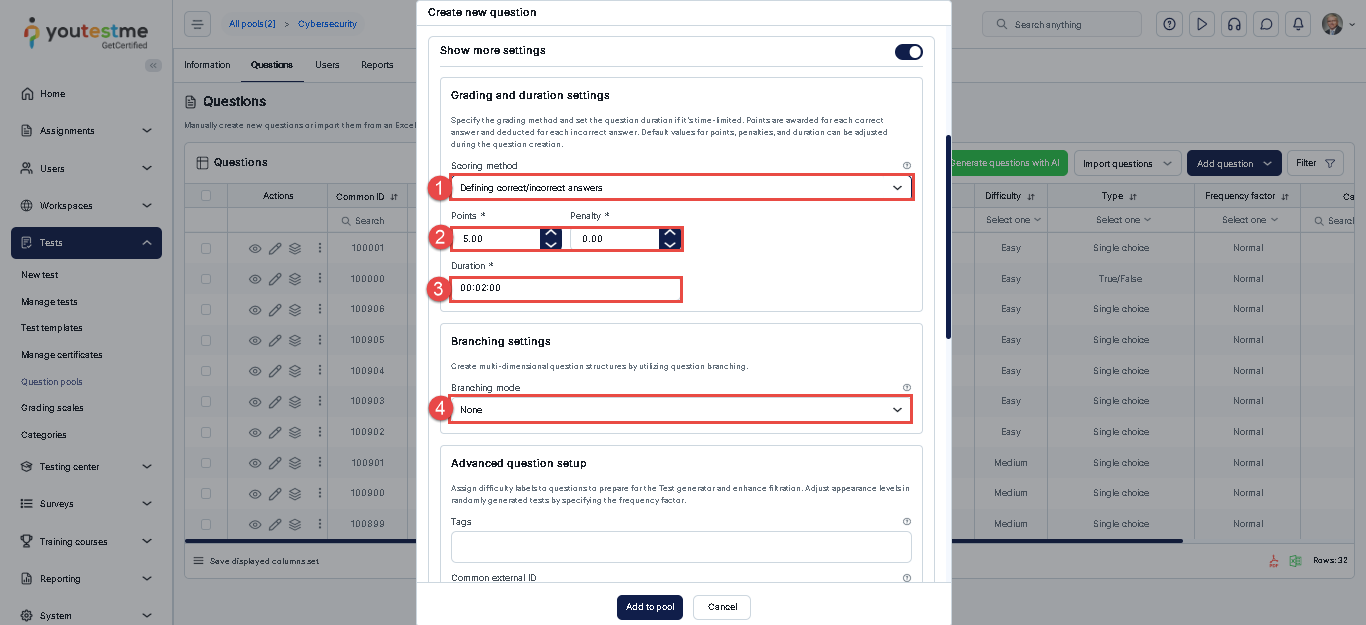
- Enable the Show More Settings option to access the question’s advanced settings.
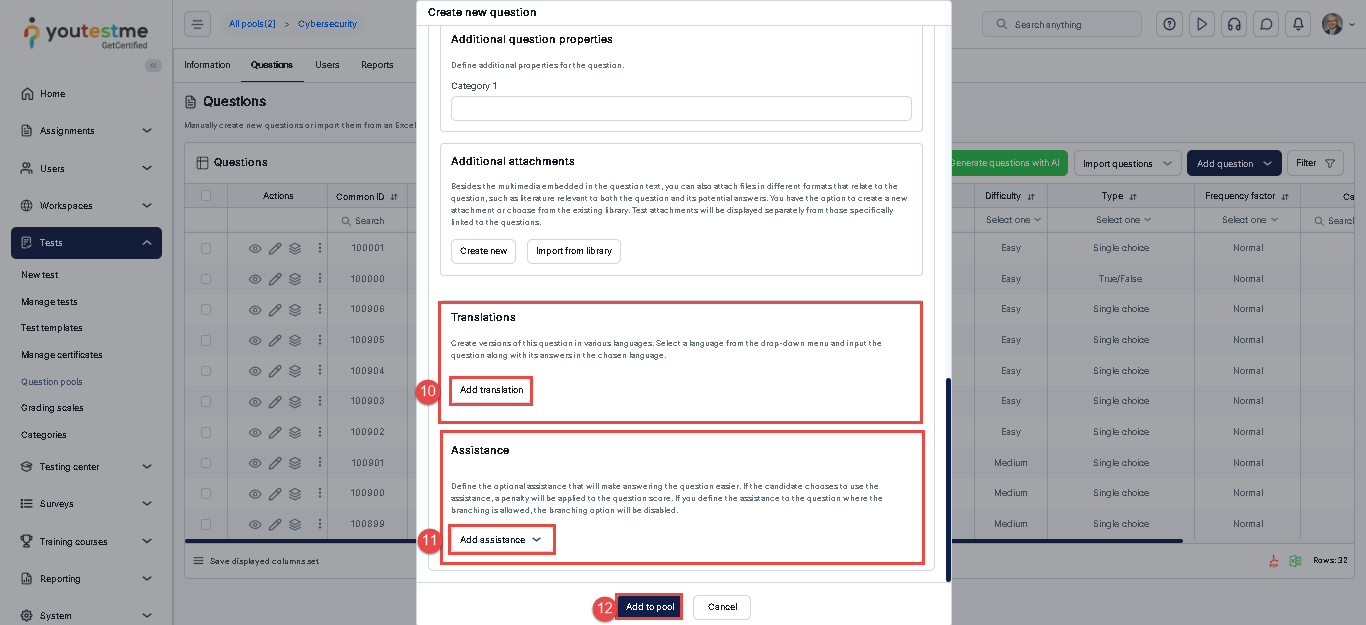
- Click on the Add to pool button to save the question.
Advanced Question Settings
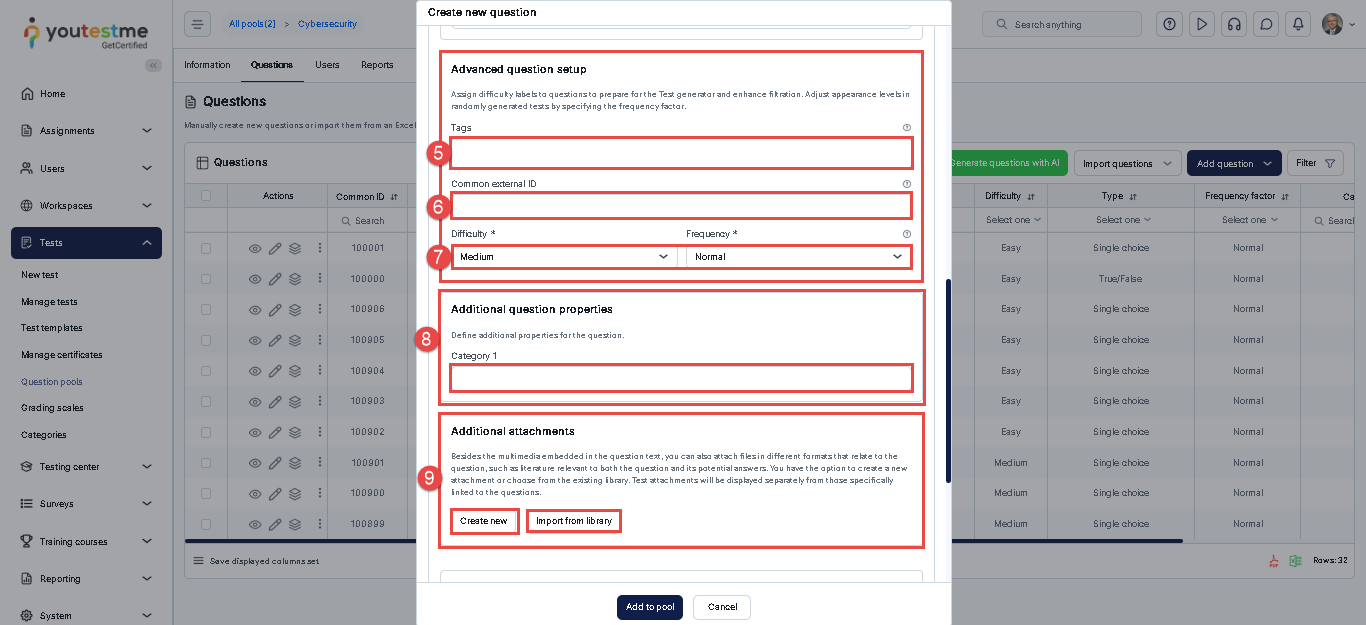
In the Advanced Settings section, you can:
- Define the Scoring method, which can be based on correct/incorrect answers, answer weight, or Manual grading. For more details, please refer to this article on scoring methods.
- Enter the Number of Points and Penalties: This is required for automatic grading. By default, the number of points is set to 5, and the penalty is 0.
- Set the Question Duration: Define the amount of time allocated to this question. During the test creation process, you can choose to apply a duration per question. If per-question duration is selected, the system will use the time defined here. The default duration is 2 minutes.
- Enable Branching Mode: Activate branching and select the desired mode (Linking or Help for grading).