
Article verified for Release 15.1 on December 15, 2025.
This article explains how to customize the homepage by adding, removing, and arranging widgets for each user role. Widgets allow you to display important information—such as test schedules, announcements, or progress data—directly on the users’ dashboard. Configuring them helps you control what users see first when they log in.
Accessing the page
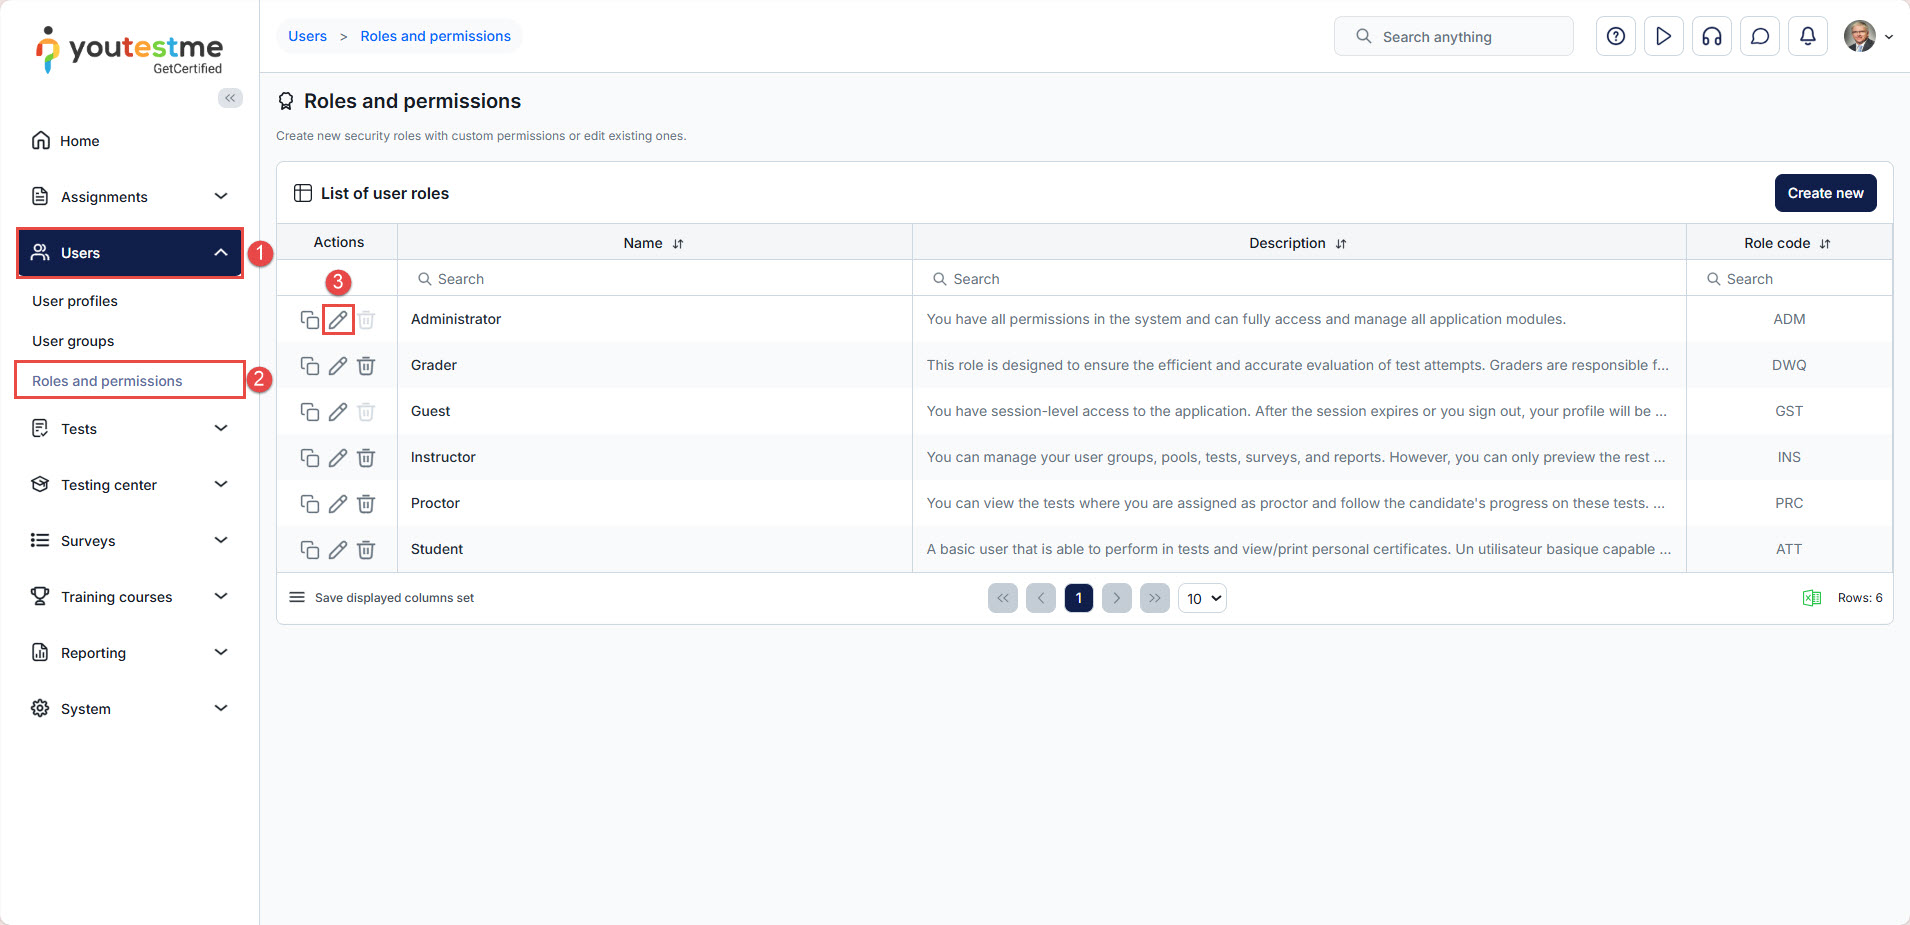
To access the Widgets tab, follow these steps:
- Select the Users tab.
- Select the Roles and permissions tab.
- Choose the role whose widgets you want to display and click Edit.

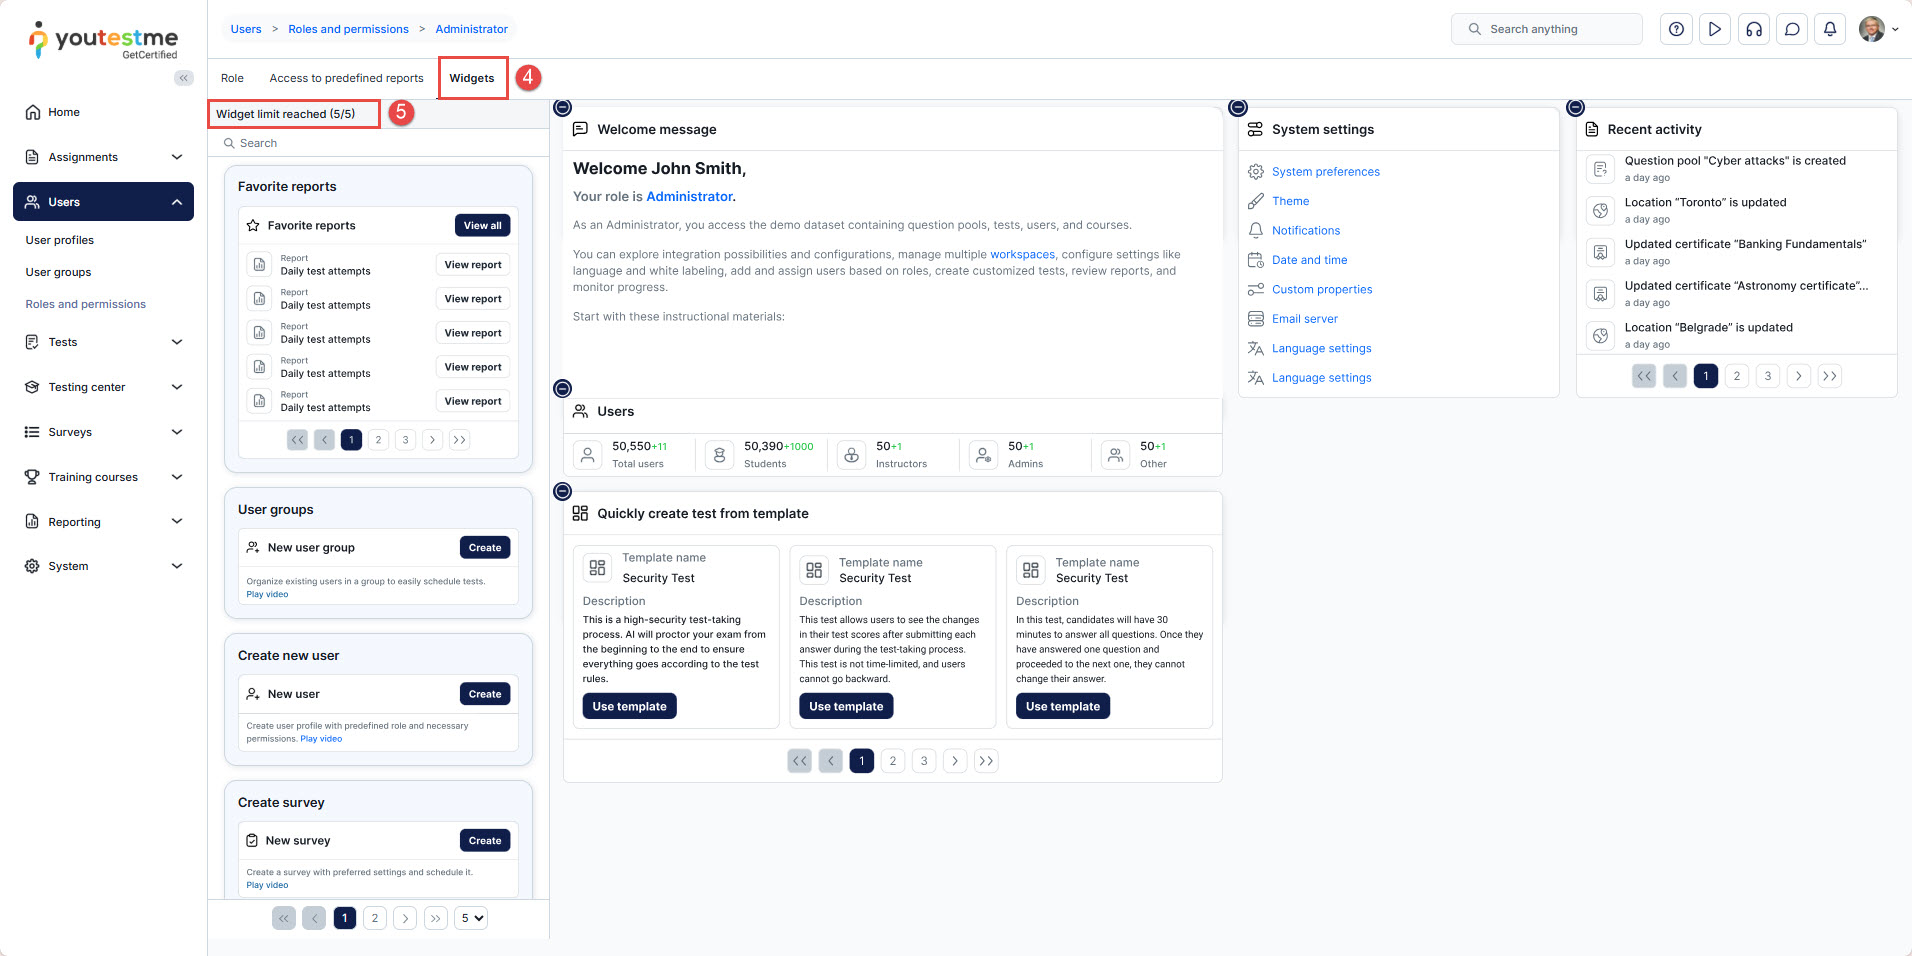
- Select the Widgets tab.
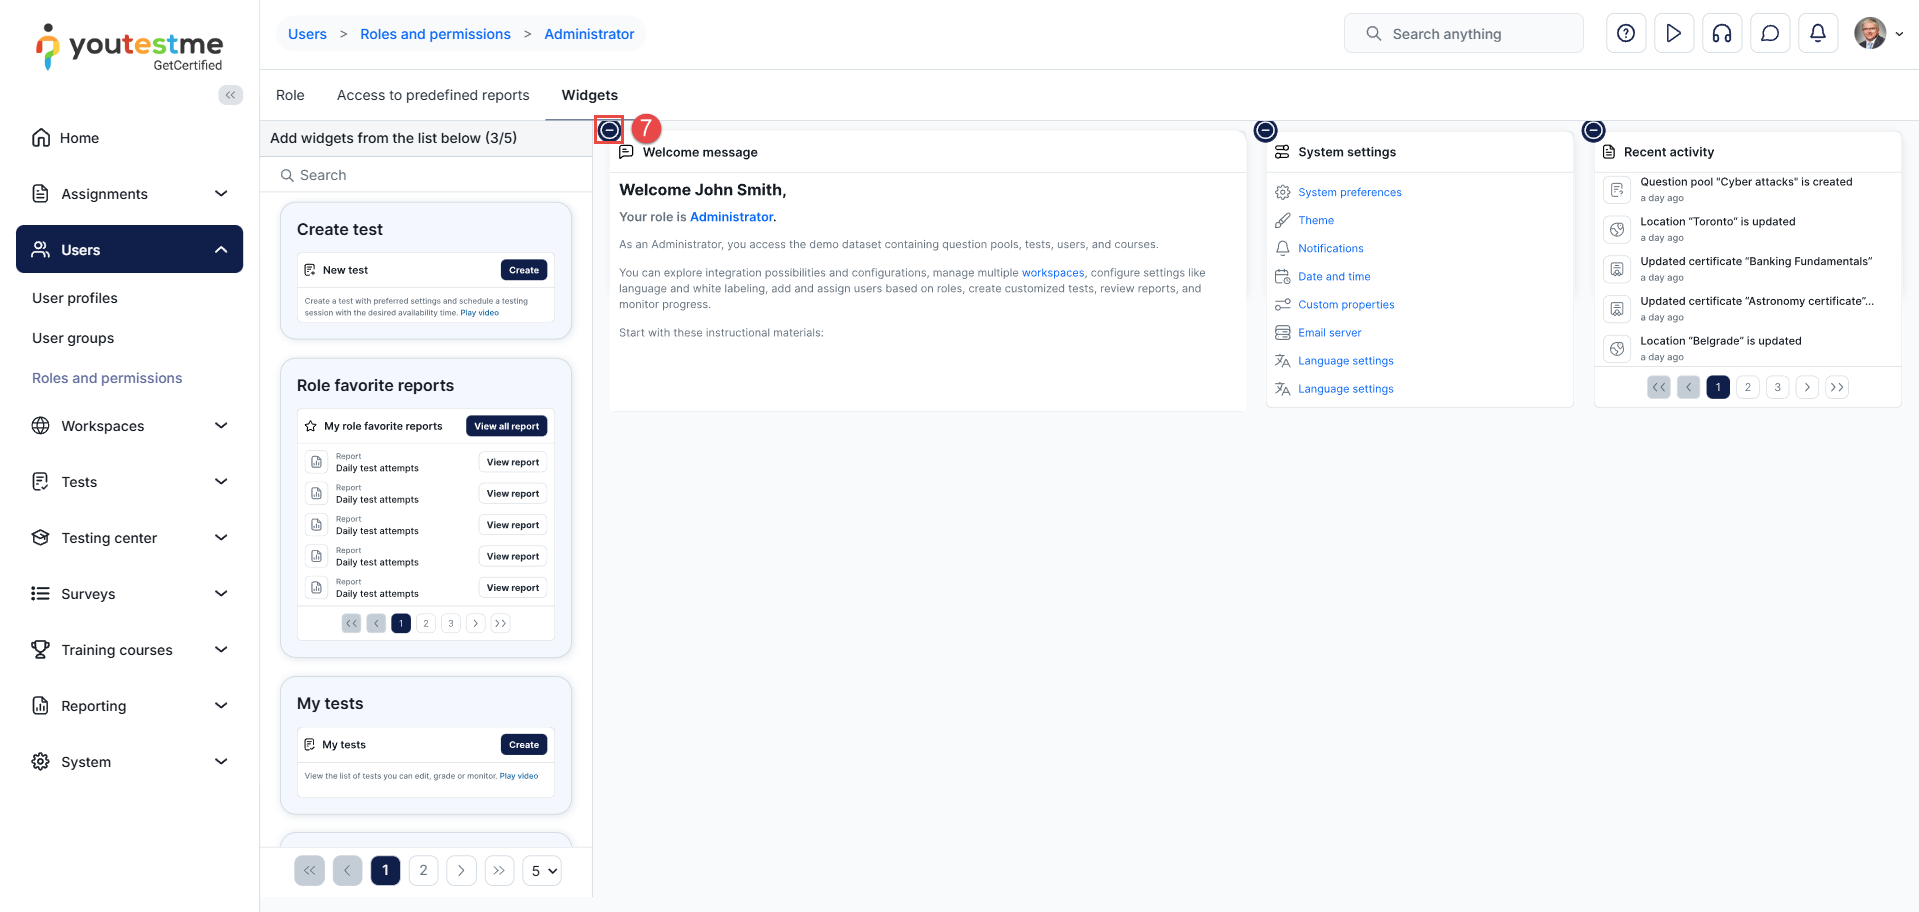
- Select the desired widget and drag it to the right side of the screen. (maximum of 5 widgets)

- You can position widgets by holding them and moving them across the screen.

- To remove a widget, select the “-” option.

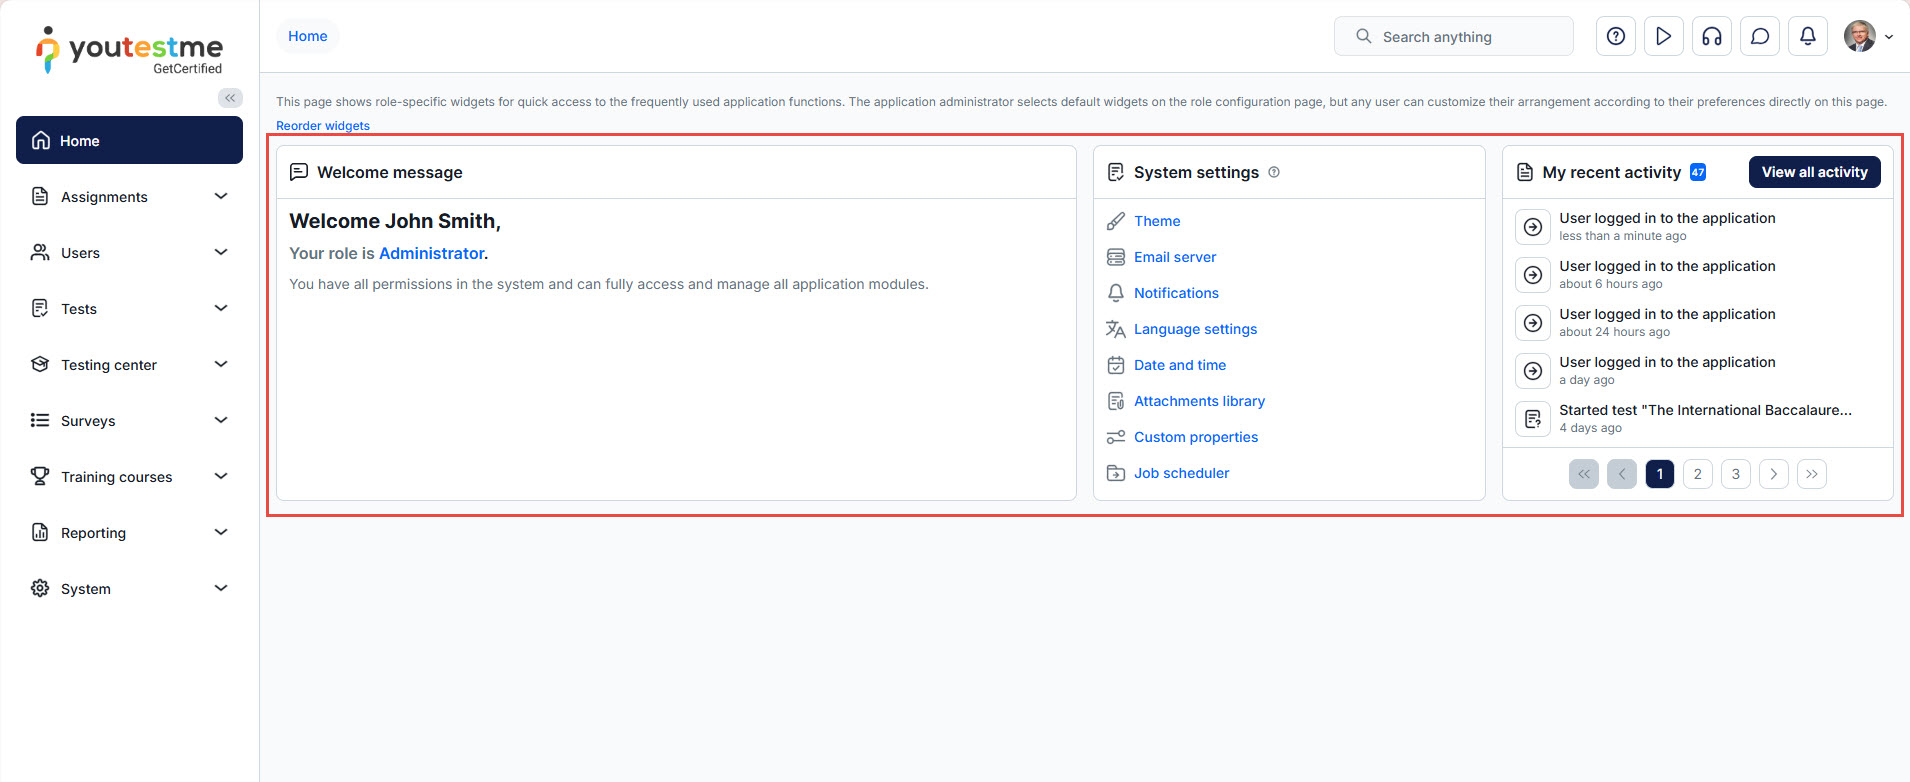
You must log out and back into the application to see the applied changes.
Before/After Example:
Before logging out, your homepage keeps the old widget layout.

After logging back in, the updated widget arrangement becomes visible.
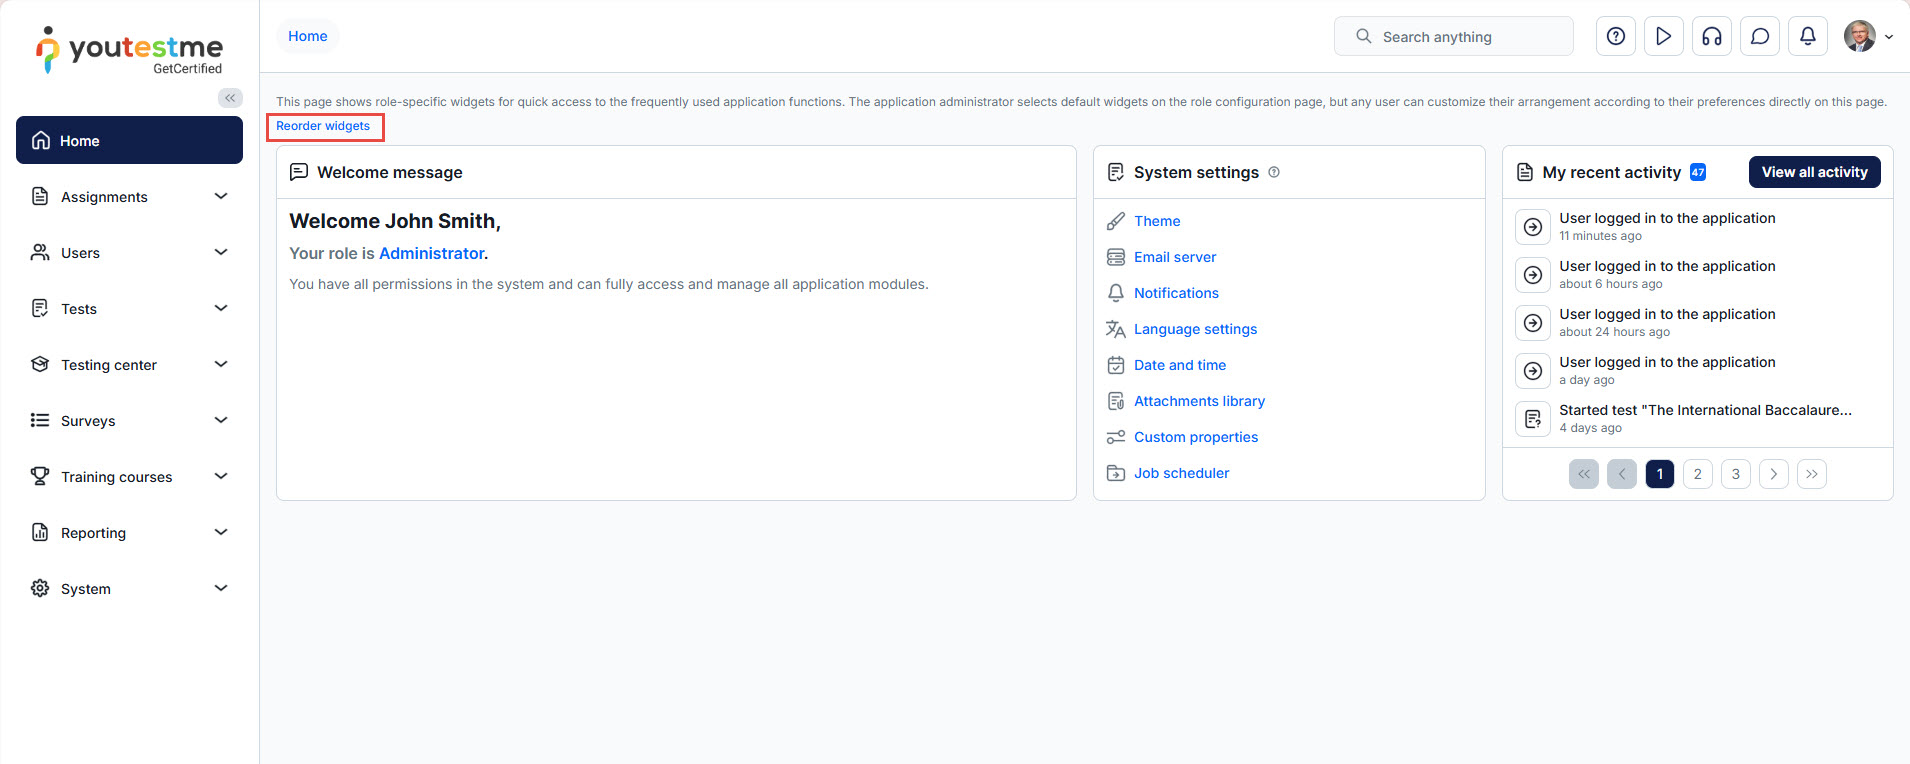
Reorder widgets
This section allows you to adjust the order in which widgets appear on the homepage.
-
Drag widgets up or down to rearrange their display priority.
-
The widget at the top of the list will appear first on the user’s homepage.
-
This provides full control over user experience, ensuring important widgets are displayed in the most visible locations.
Important Notes
-
Widgets can be added, removed, and reordered only in the Roles and permissions → Widgets tab.
-
Changes apply to all users assigned to the selected role.
- If the changes are not visible, select Reorder widgets and then click Reset. This will remove any potential overlapping and restore the defined widget structure.
