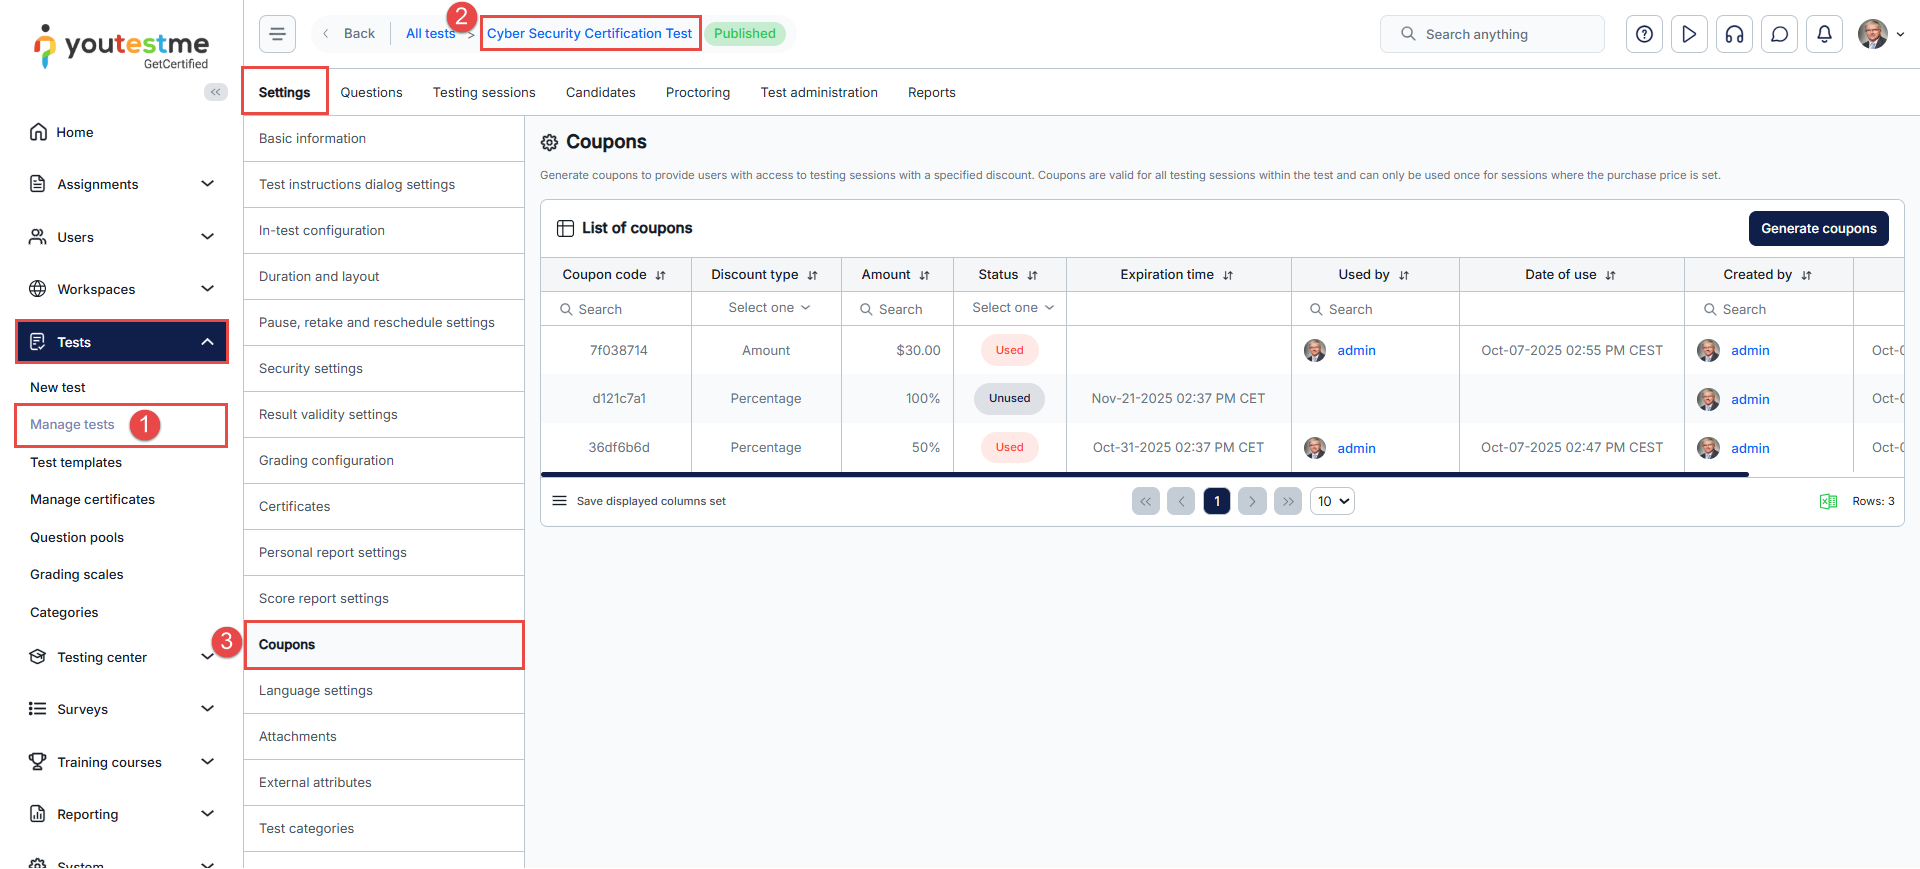
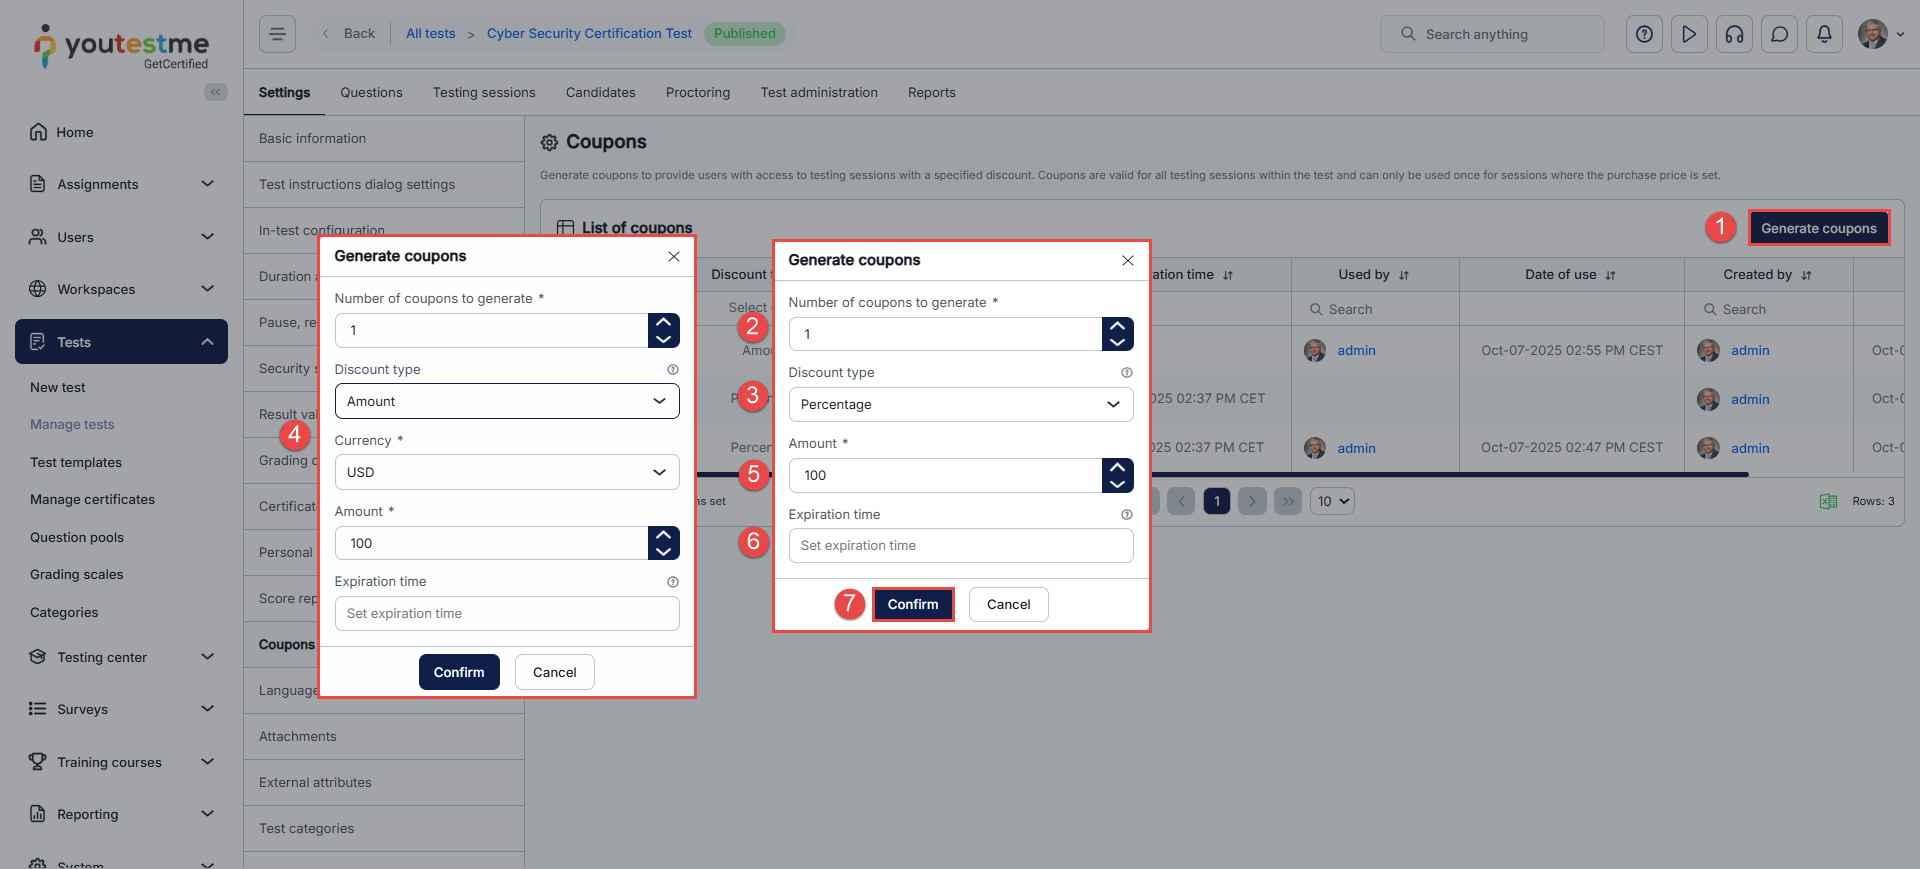
View Categories

How to Create Test Discount Coupons

Article verified for Release 15.1 on October 21, 2025.

This article guides you on generating discount coupons (vouchers) that apply to all testing sessions within a test. These coupons can be used only once for sessions with a specified purchase price. Before generating coupons, knowing how to organize an exam booking with e-commerce is essential. For more information, check out this article.

Accessing the page

To access the page:

  1. Select the Tests, then the Manage tests tab.
  2. Select the desired tests.
  3. Select the Settings and access the Coupons tab.

Generating coupons

To generate coupons:

  1. Click the Generate coupons button.
  2. In the Number of coupons to generate field, enter the desired quantity (e.g., 1).
  3. Select the Discount type:
    • Choose the Amount to apply a fixed currency discount.
    • Choose Percentage to apply a percentage-based discount.
  1. If Amount is selected:

    • Choose the Currency (e.g., USD, EUR).
    • Enter the Amount to be deducted from the original price (e.g., 100).
  1. If Percentage is selected:

    • Enter the Amount as the discount percentage (e.g., 100 for a full discount).

  2. Optionally, set the Expiration time if you want the coupon to be time-limited. After this time passes, the coupon can no longer be used, even if its status is still marked as Unused.
  3. Click the Confirm button to generate the coupons, or click Cancel to discard the action.

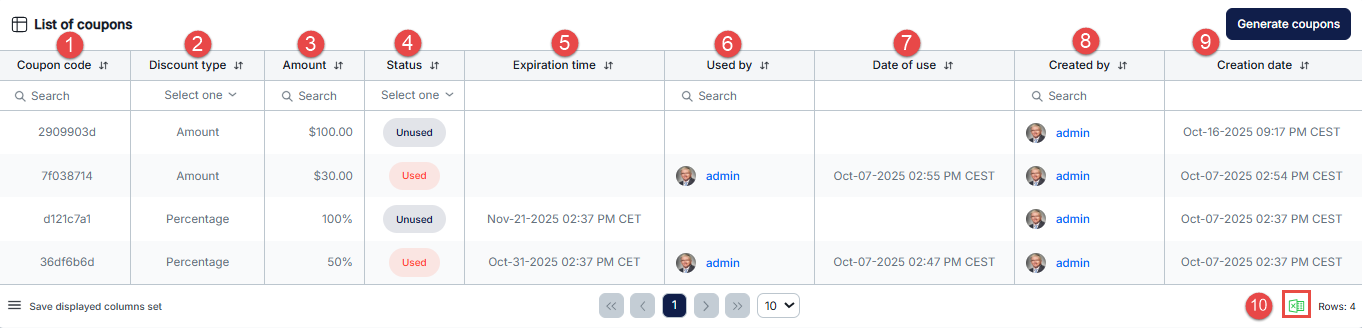
Once coupons are generated, you will find them listed in the table below and receive a notification within the application. The generated coupons will be added to the List of coupons table. The table will contain the following details for each coupon:

  1. Unique coupon code.
  2. Discount type.
  3. The amount.
  4. The status of the coupons is displayed as Used or Unused.
  5. Expiration time of the coupon.
  6. The candidate’s username, who redeemed the coupon, can be displayed in the ‘Used by’ column.
  7. The date and time the coupon was used can be displayed in the Date of Use column.
  8. The username of the person who generated the coupon is displayed in the Created by column.
  9. The date and time the coupon was generated is displayed in the Creation date column.
  10. The coupons can be exported to an Excel file using the buttons in the lower right corner.

Coupons are not personalized and can be sent to any selected users. Each user can redeem a coupon only once. Check out this article for more information on how it looks from a candidate’s perspective.

With the simple steps outlined above, you can quickly generate coupons and offer them to your users.

For more information regarding the candidate’s perspective, please watch this video.

Powered by BetterDocs