Article verified for Release 15.1 on January 19, 2026.
This article will explain the role of a workspace admin and a step-by-step process for creating a role and preparing an environment for a workspace admin.
A Workspace admin oversees all entities within the workspace and has administrative privileges. However, a Workspace admin does not have the authority to manage system settings, including theme settings, API configurations, jobs, and other system-wide parameters. To address these system-level tasks, the Workspace admin requires the System admin role to set up the necessary environment.
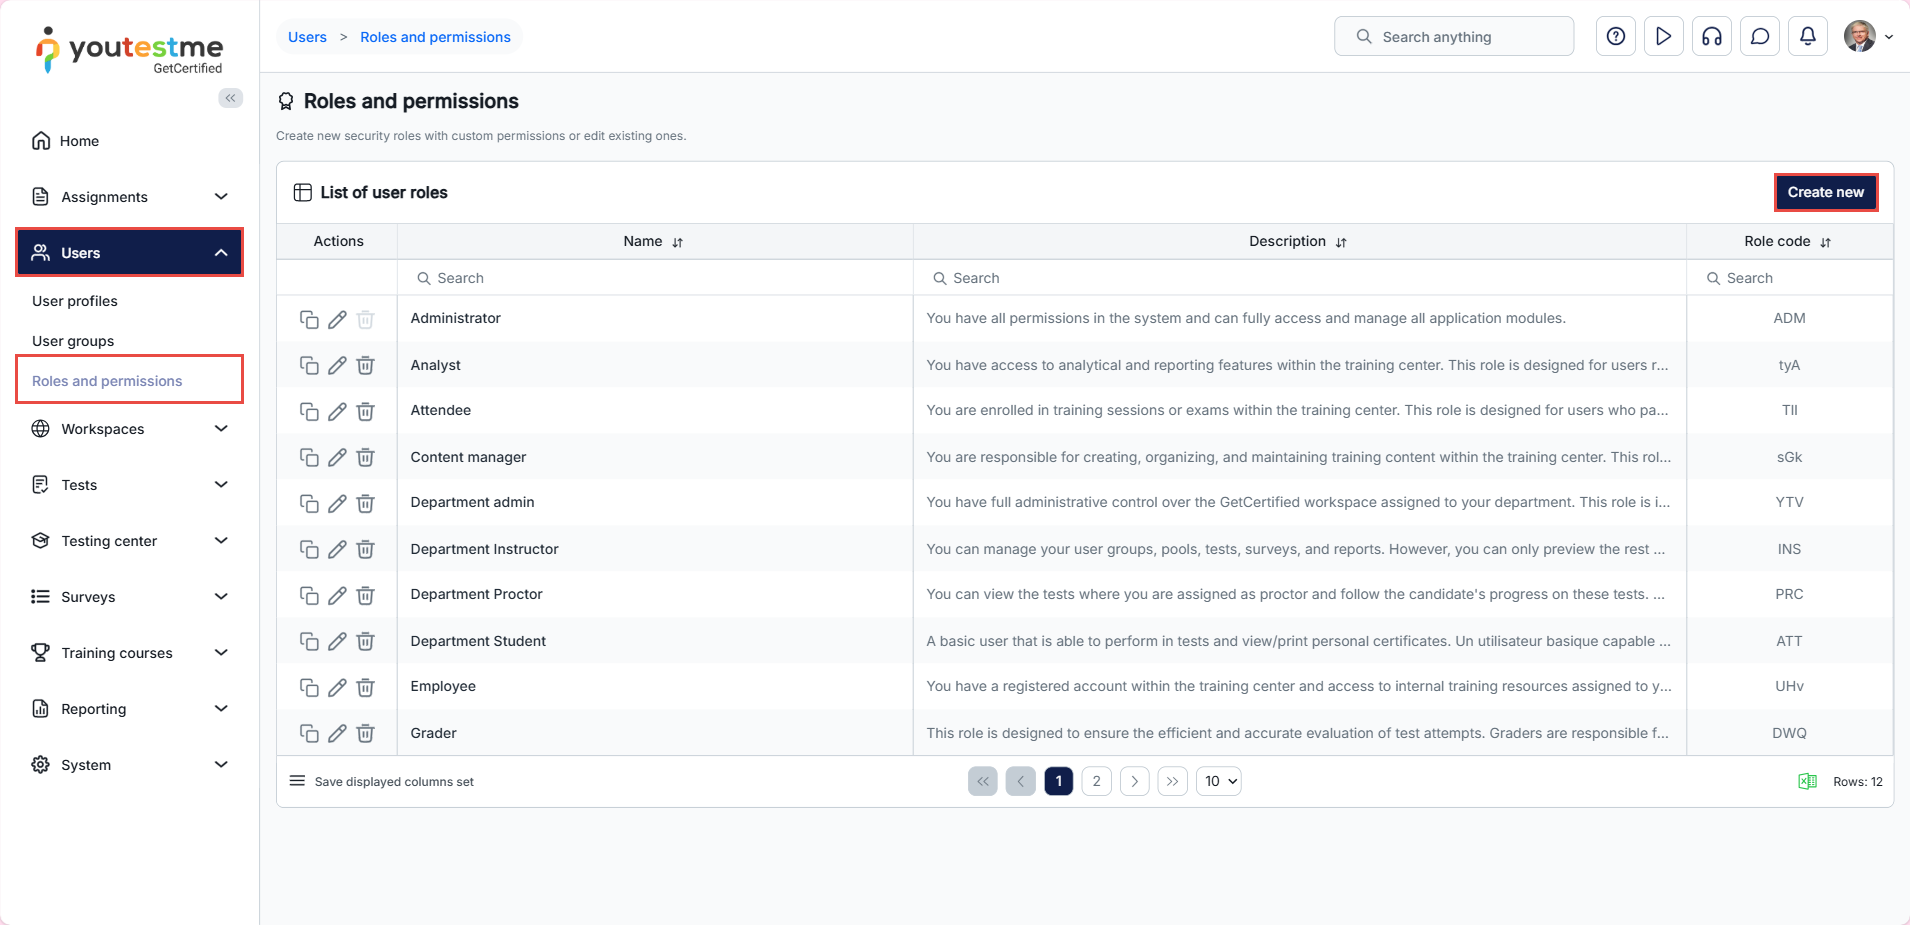
Accessing the page
Users can create a new system role when setting up workspaces, which will later be matched to a specific workspace role. Select the Users tab and then select the Roles and permissions tab. Select the Create new button to create a new department admin role.
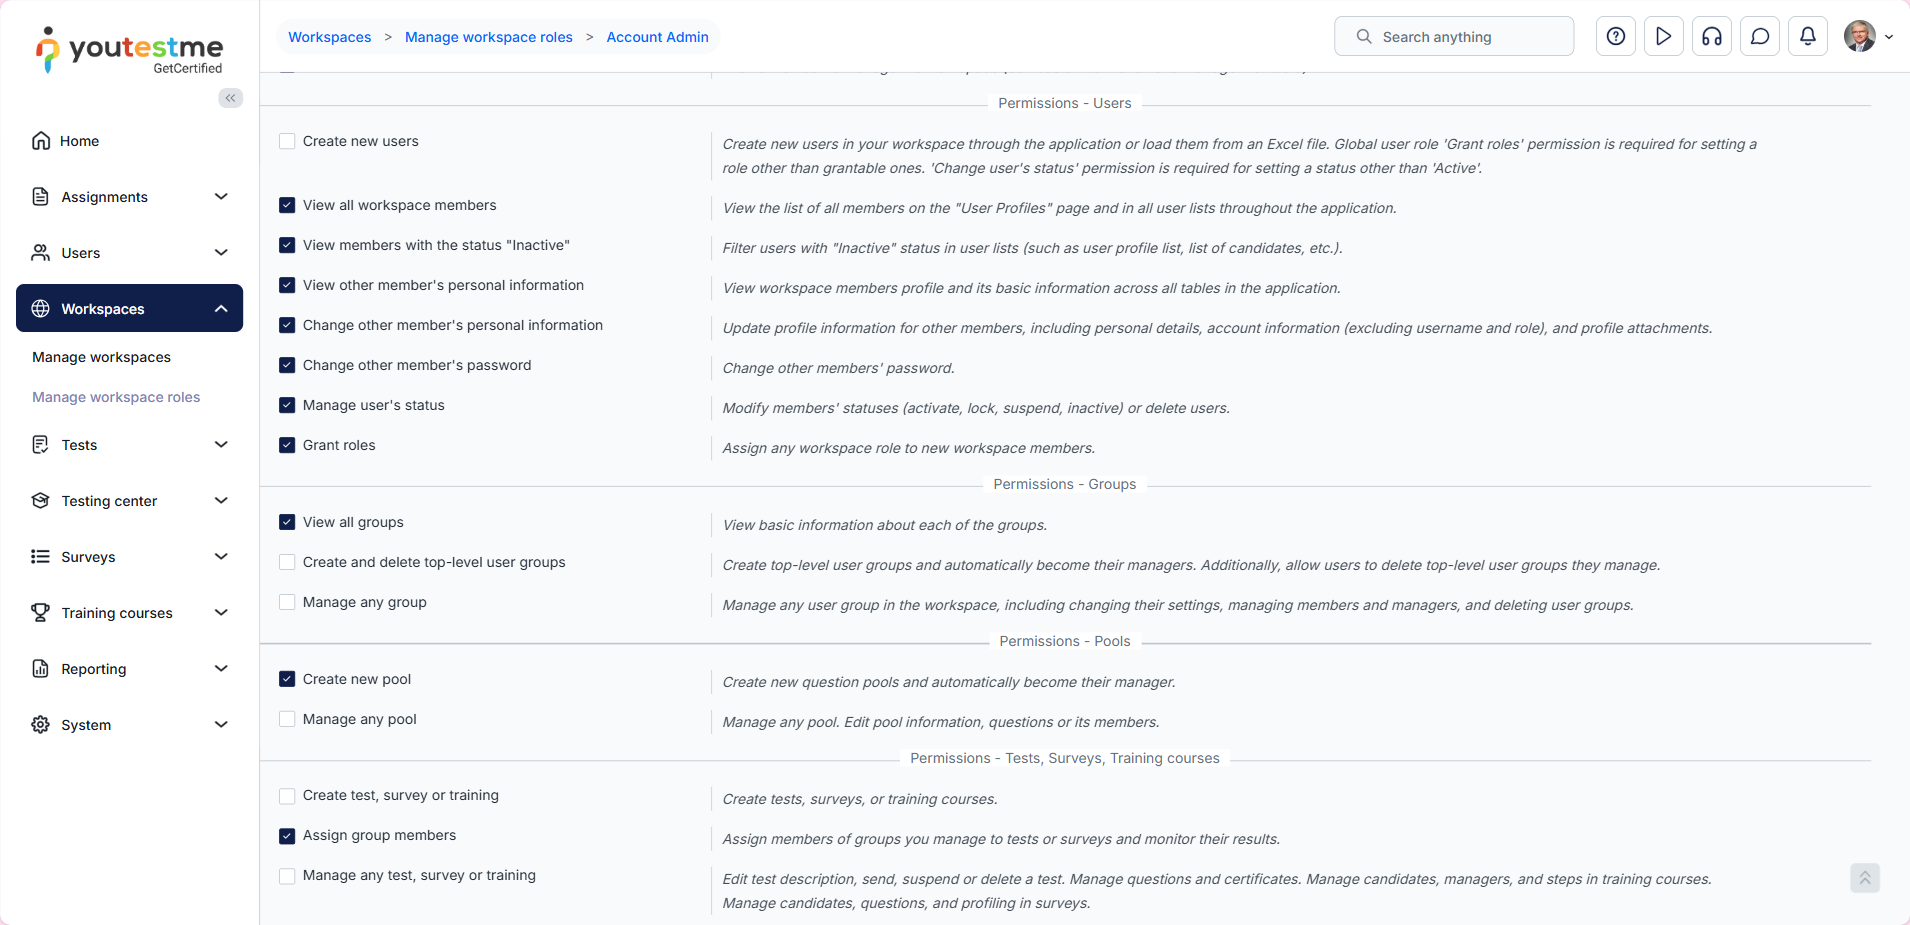
When preparing system roles for workspaces, remember that workspace-related entities include tests, surveys, pools, user groups, users, training courses, and question categories. Permissions for these entities will be assigned in the workspace role in a later section. System role permissions primarily focus on page access and other functionalities. For instance, you can select testing sessions, locations, and attachments permissions, but only grant access to the pools page permission for pools.
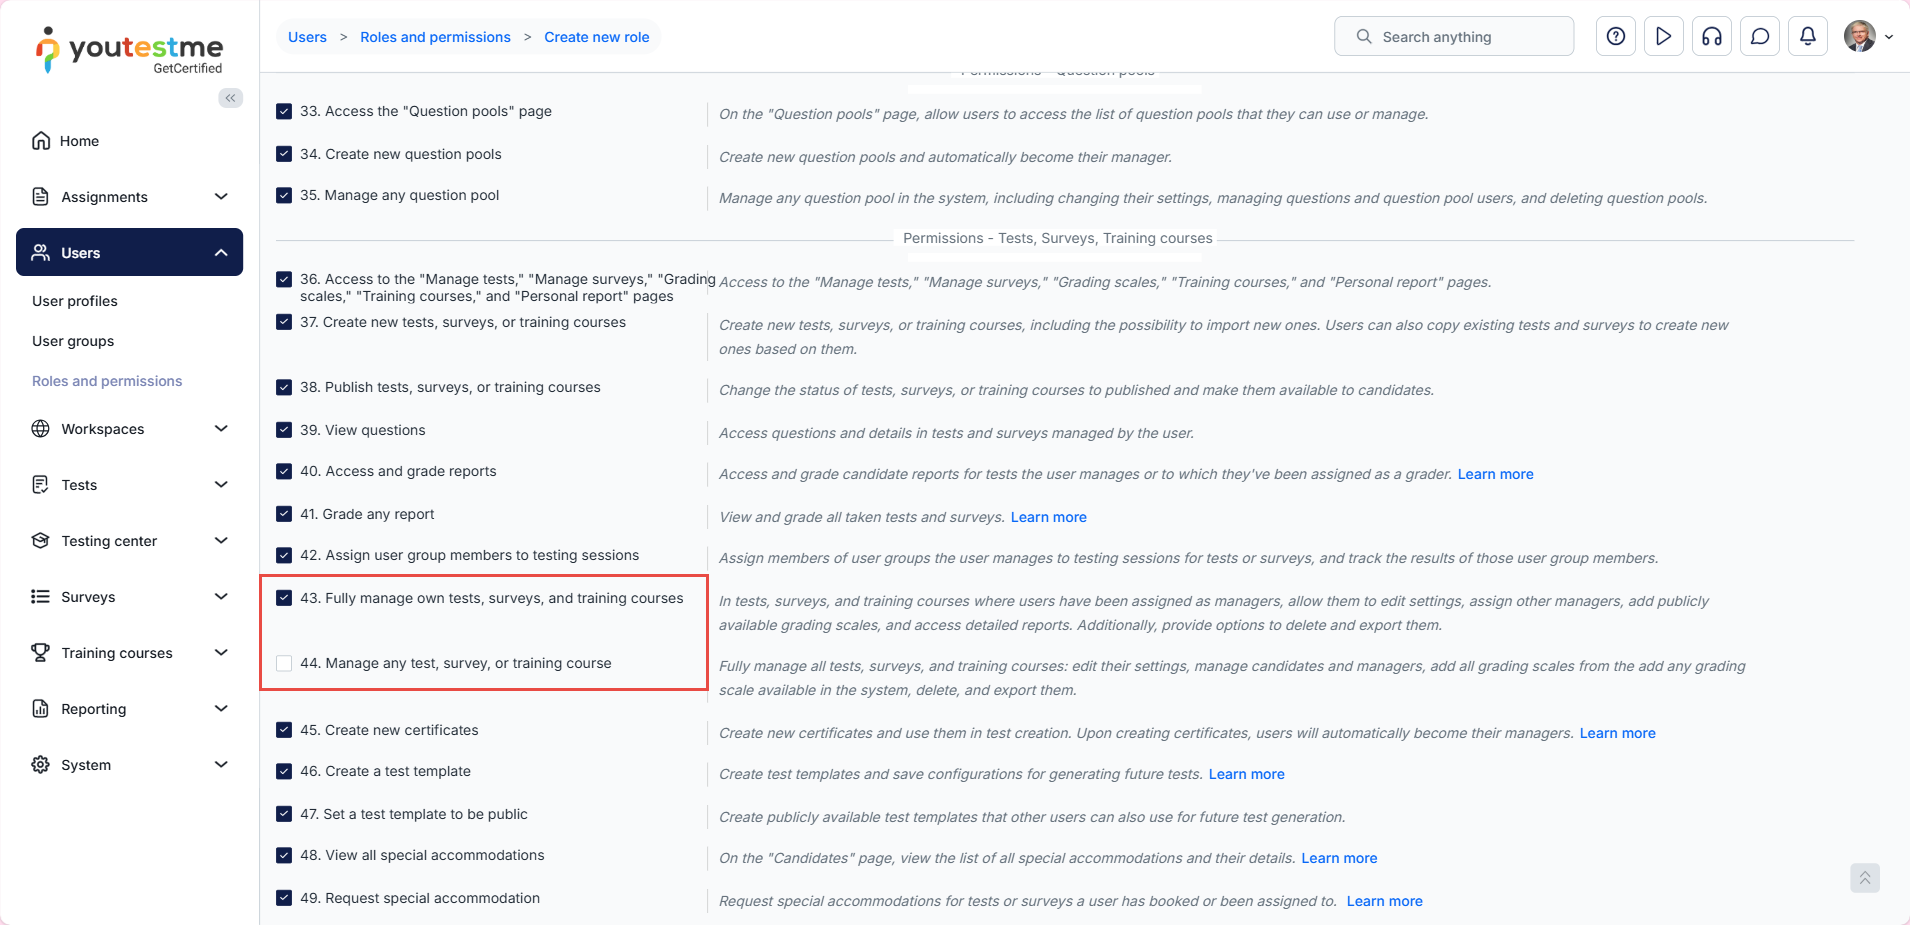
Note: Tests and surveys are an exception, where your Workspace admin has to have permission to Fully manage.
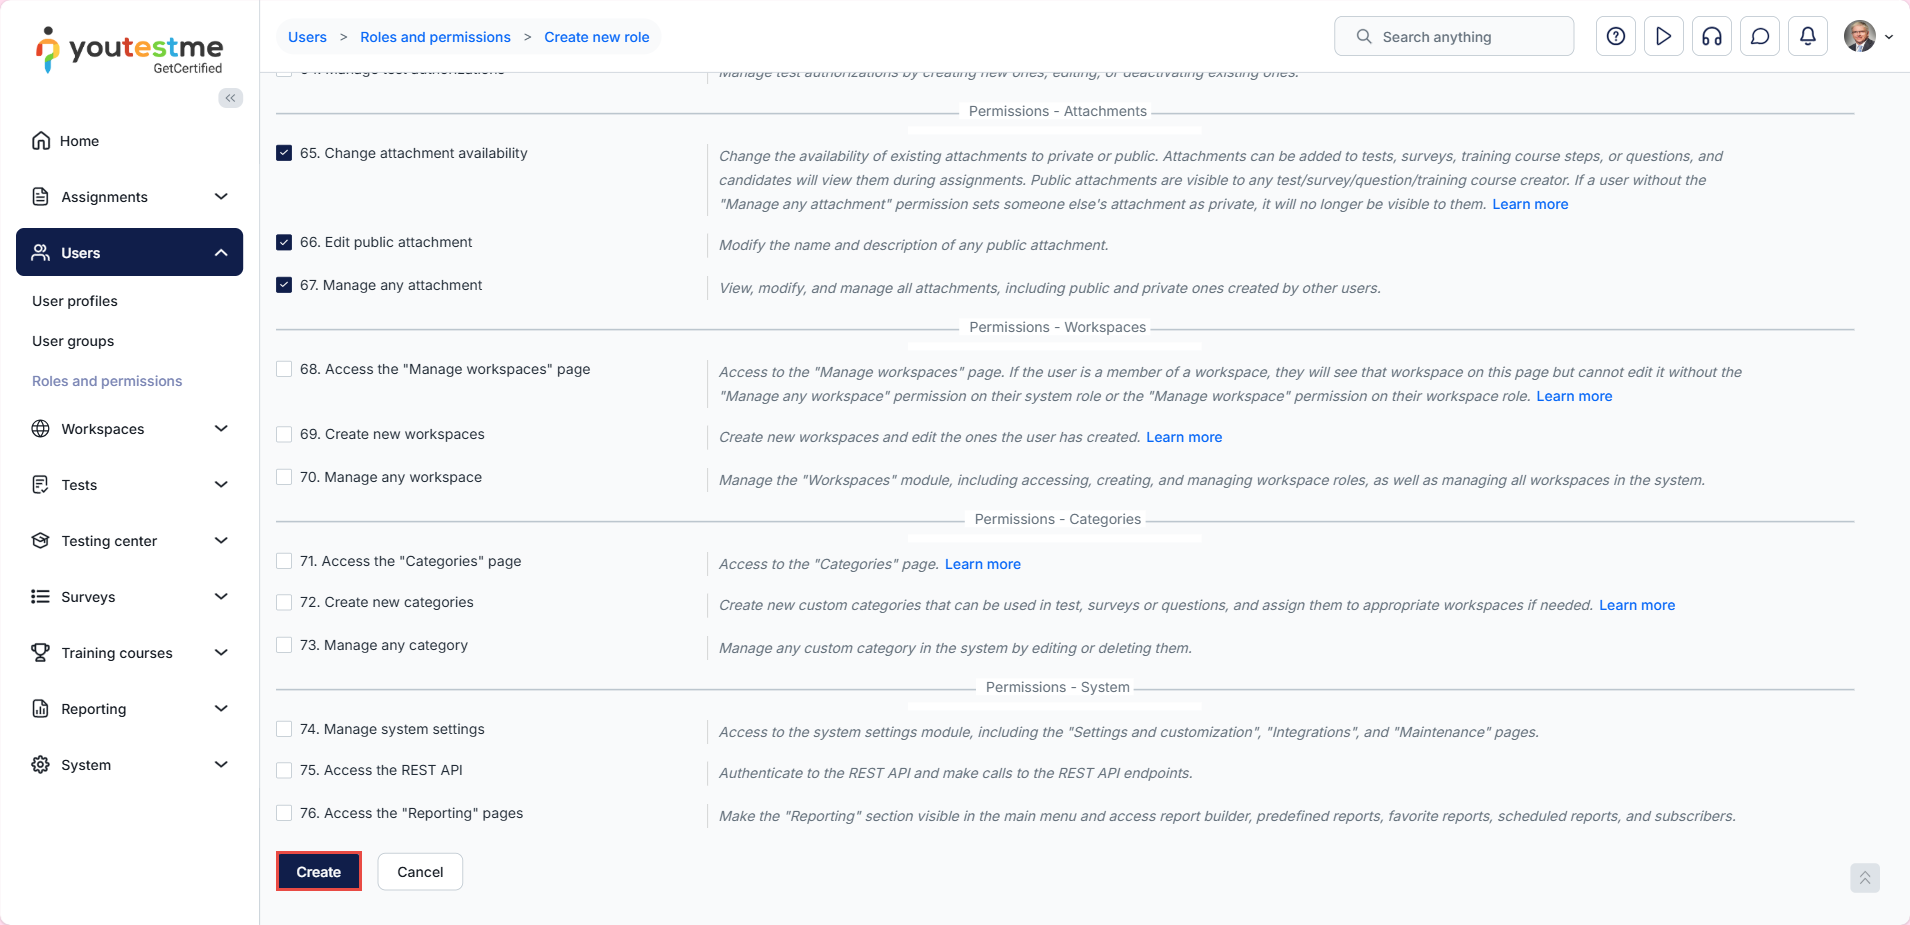
After defining the permissions, click on the Create button.
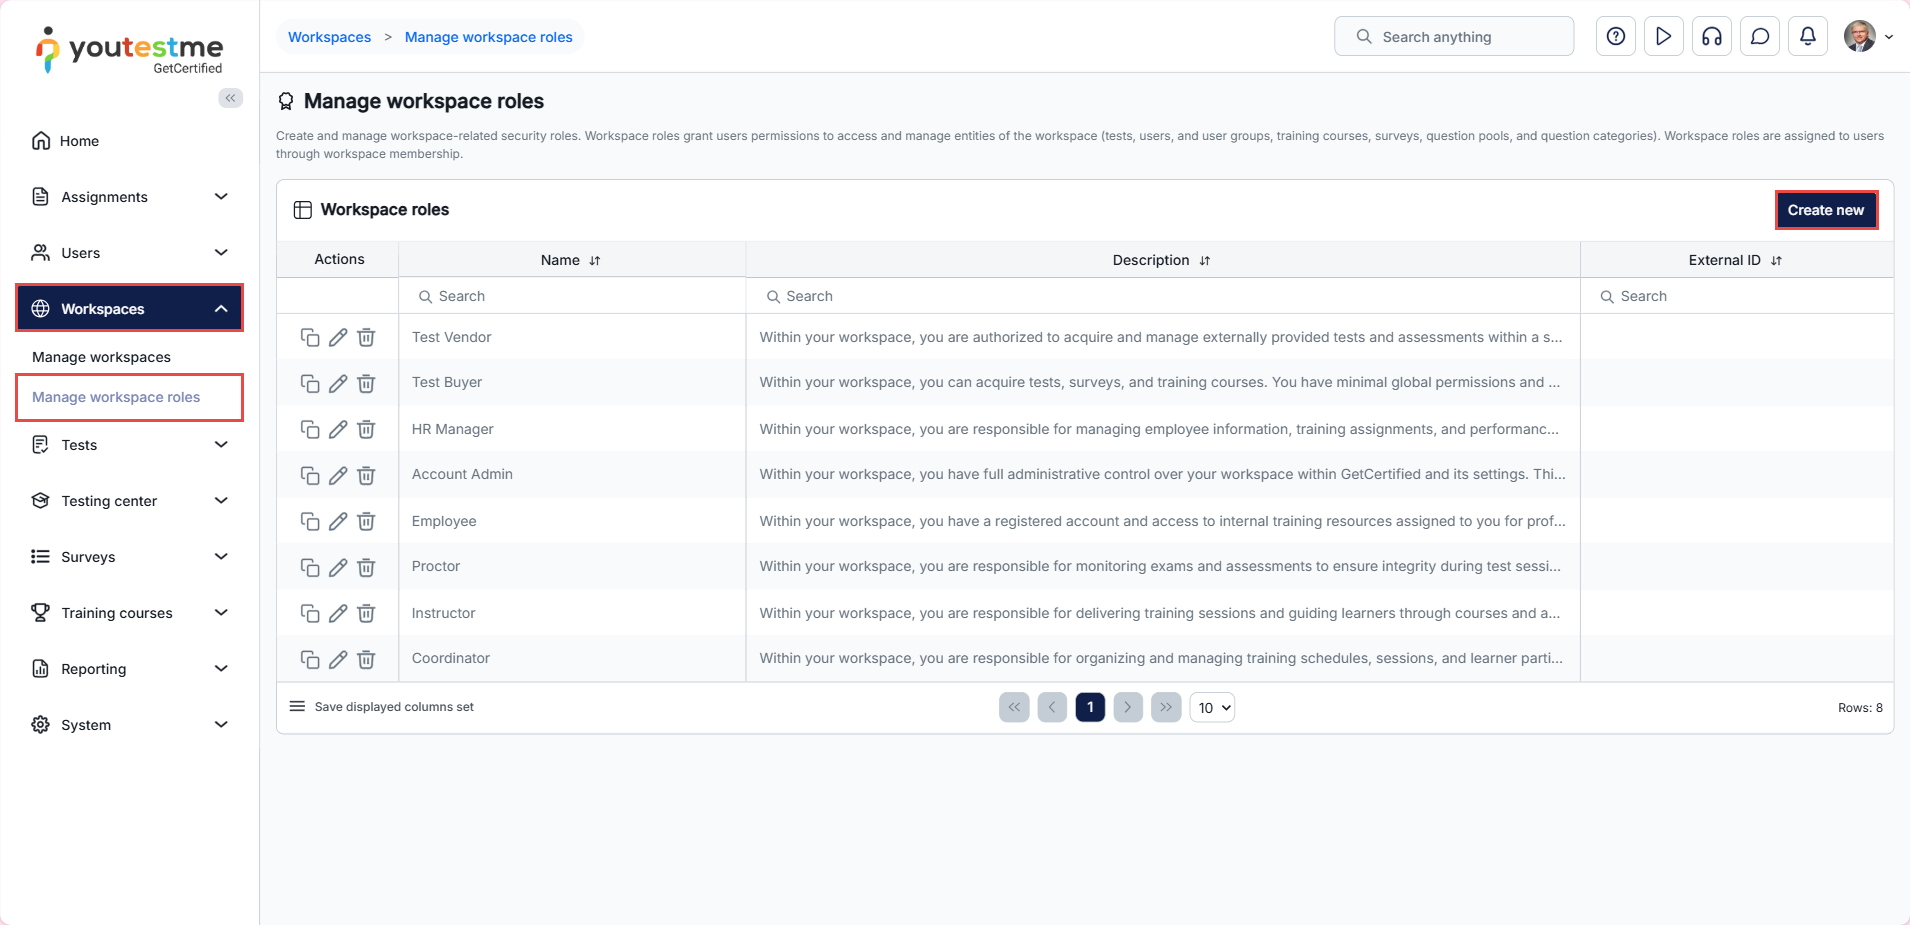
After creating a system role, you should create a workspace role. Select Workspaces > Manage workspace roles, then click Create new.
After assigning the system role to the user, select the Add users to workspace button from the Members tab in the existing or new workspaces.
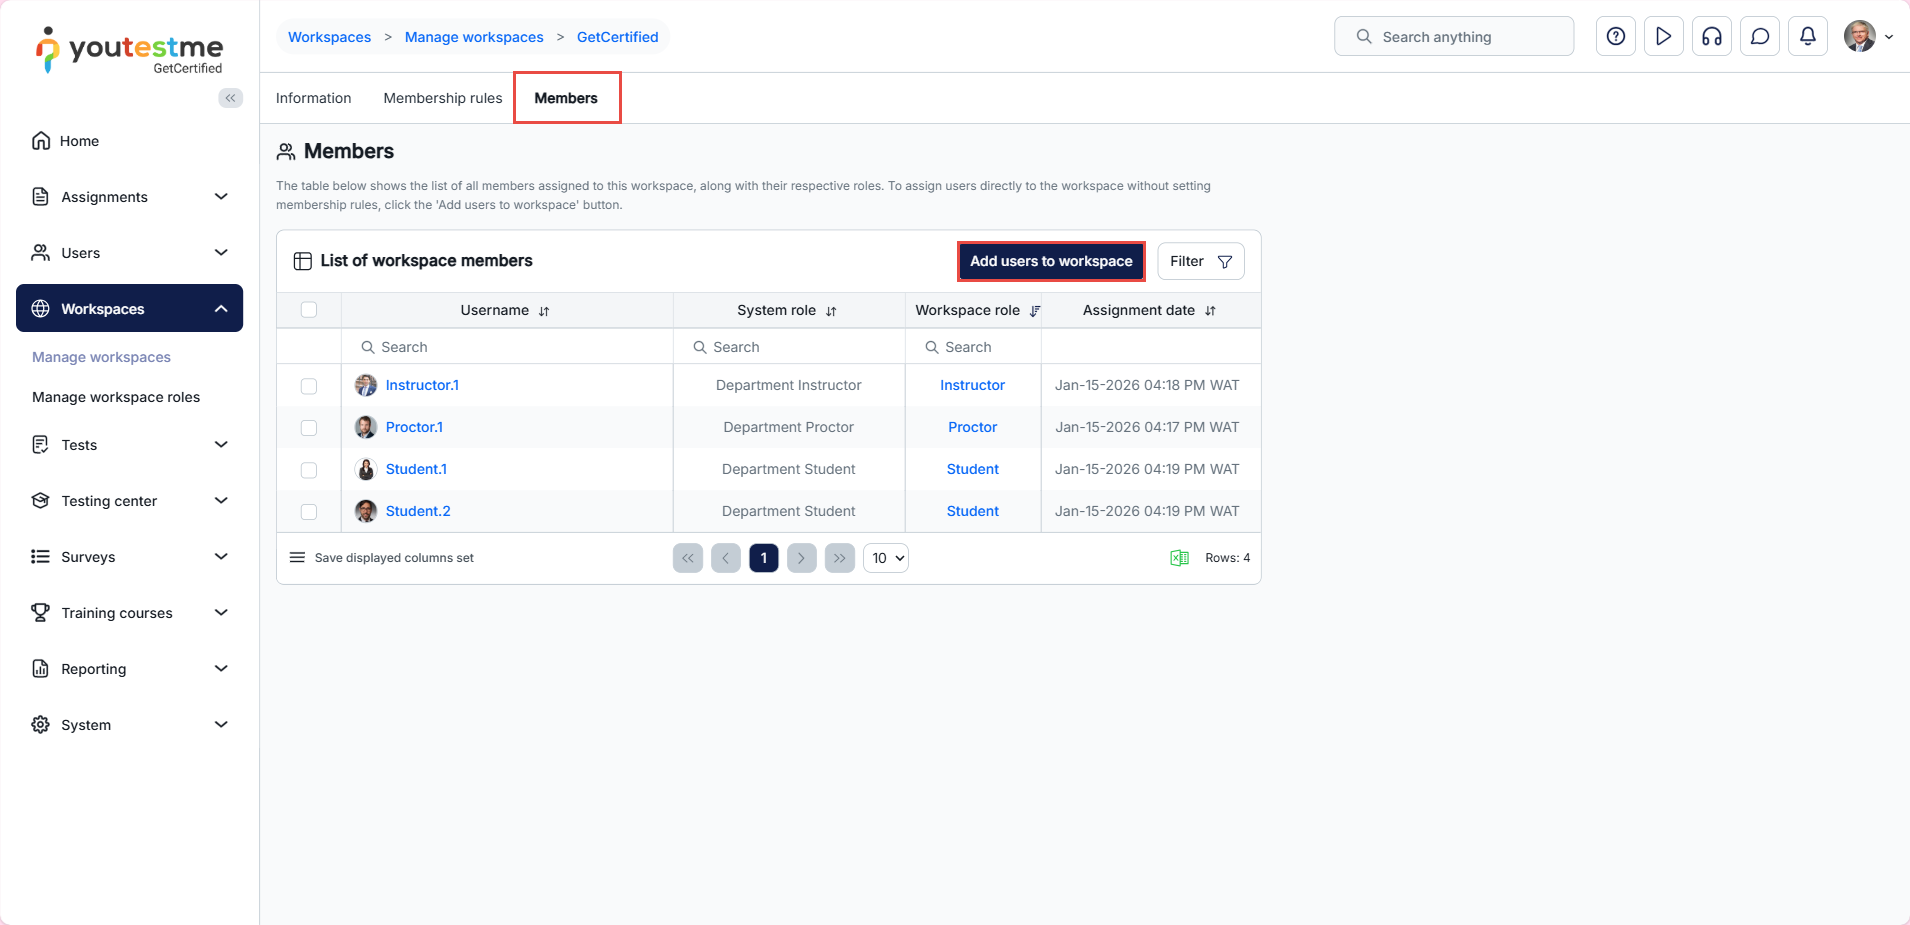
In our provided example, we located the user with the system role Department admin and chose the workspace role Account Admin from the drop-down list, as shown in the accompanying screenshot.

Department admin perspective
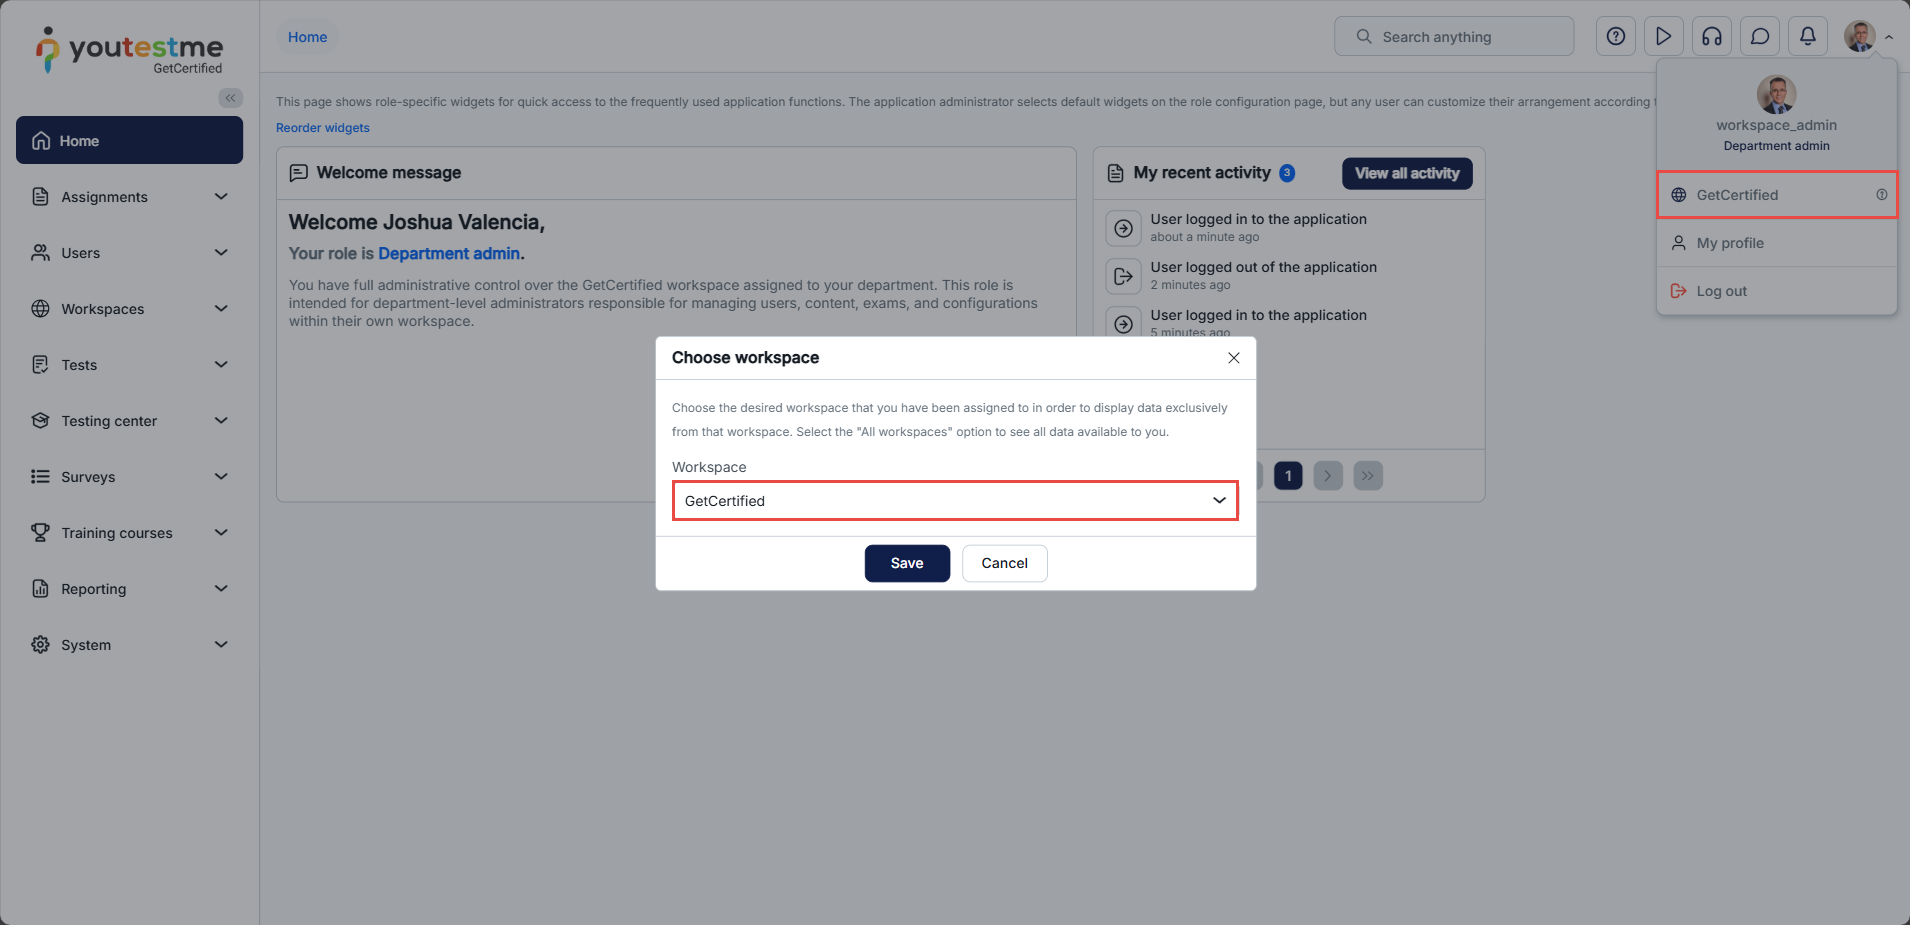
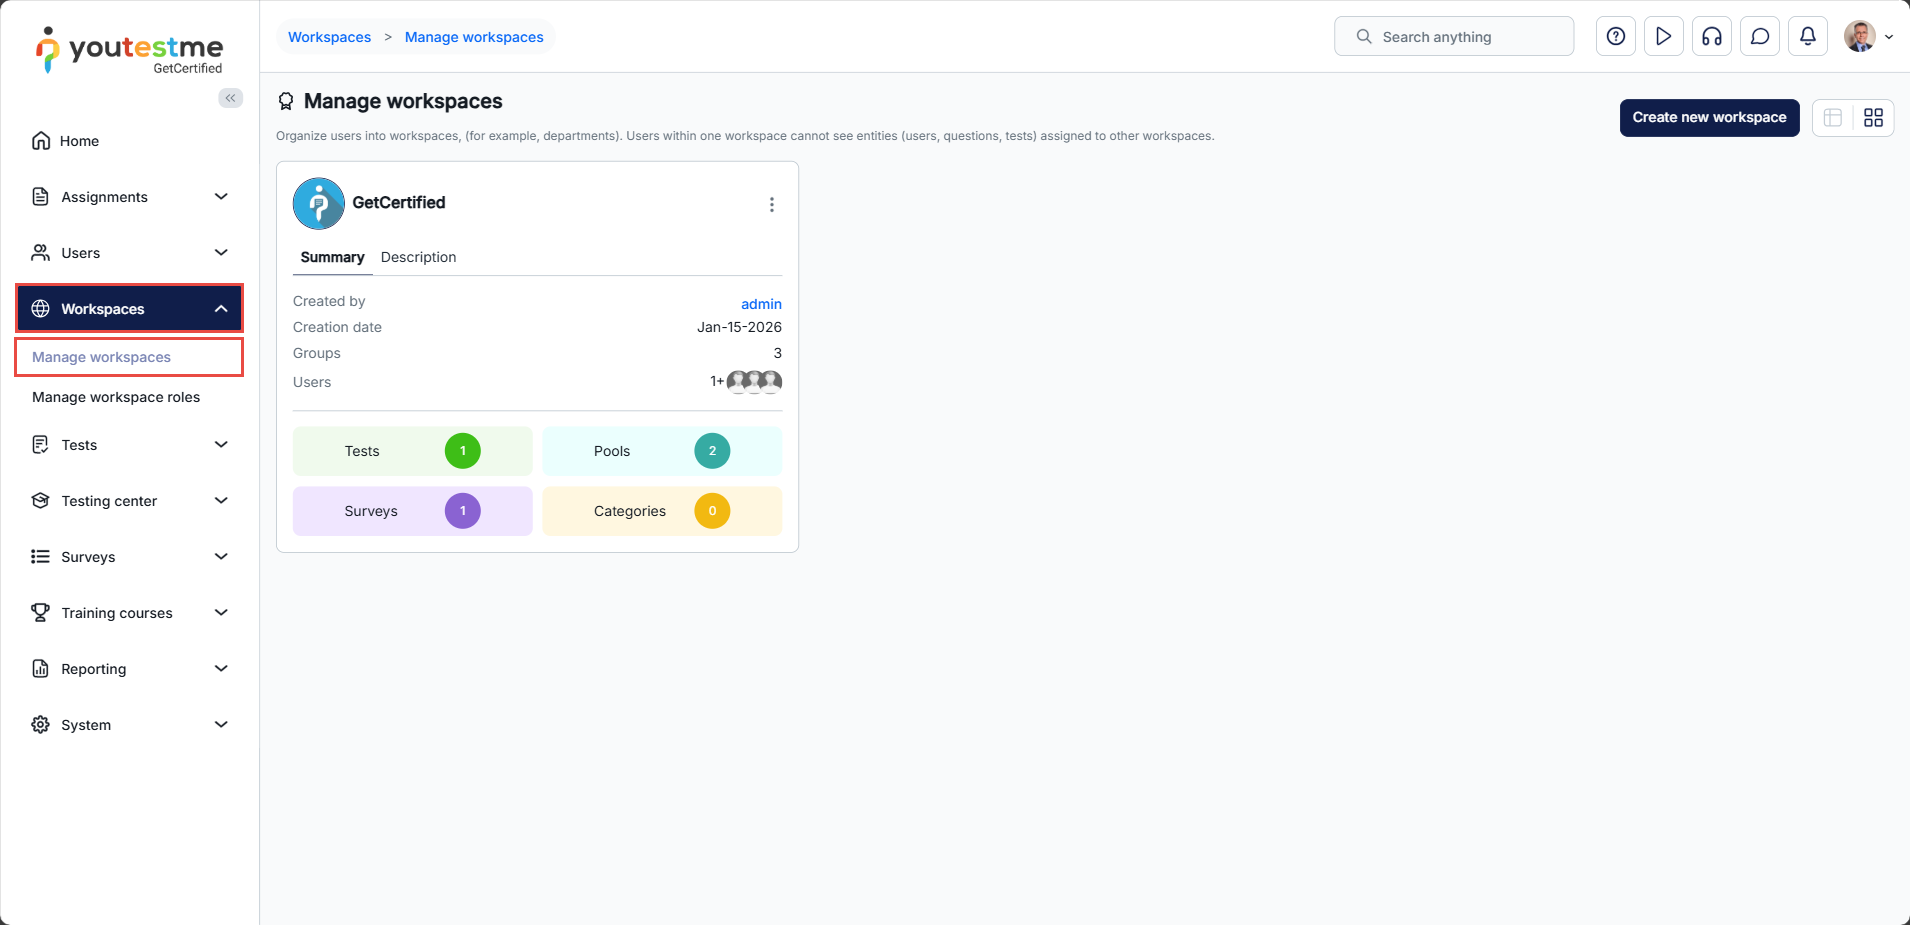
After logging in as a workspace admin, the user can switch to a different workspace by clicking the Workspace option and selecting the desired workspace from the drop-down list. This action will apply the workspace theme, logo, and favicon, and the data presented to the user will be filtered by Tests, Surveys, Pools, User groups, Users, Training courses, and Question categories.
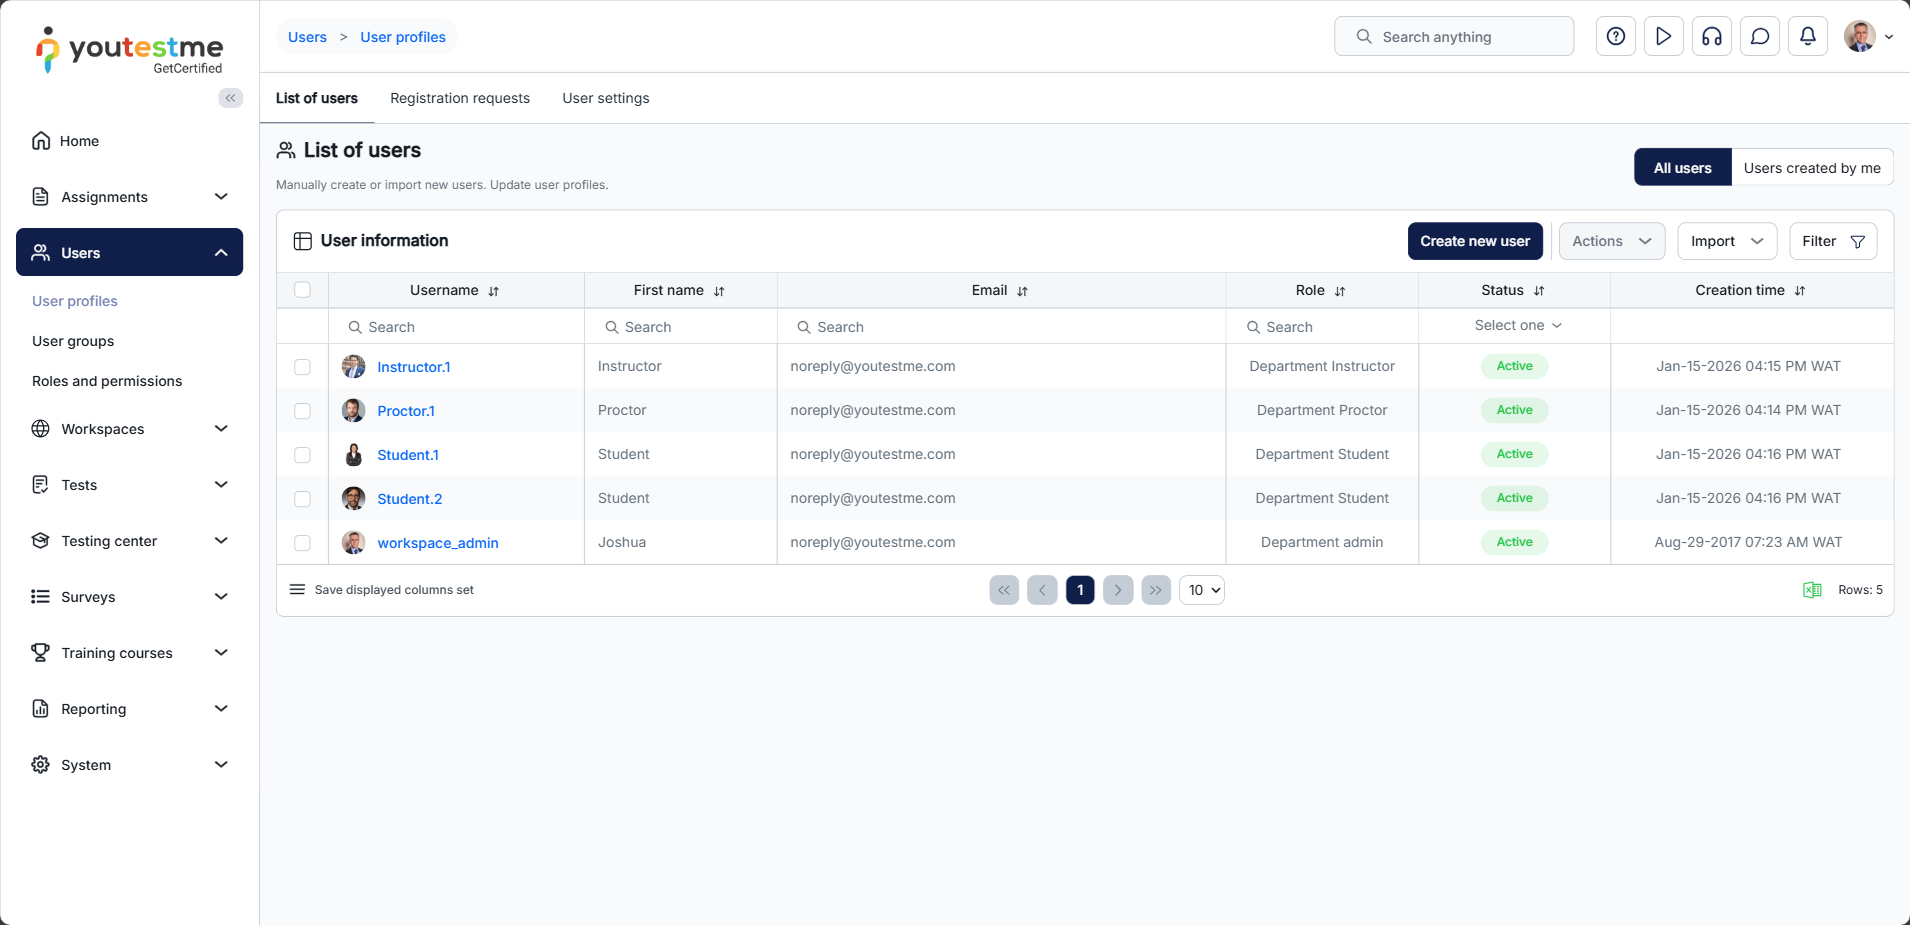
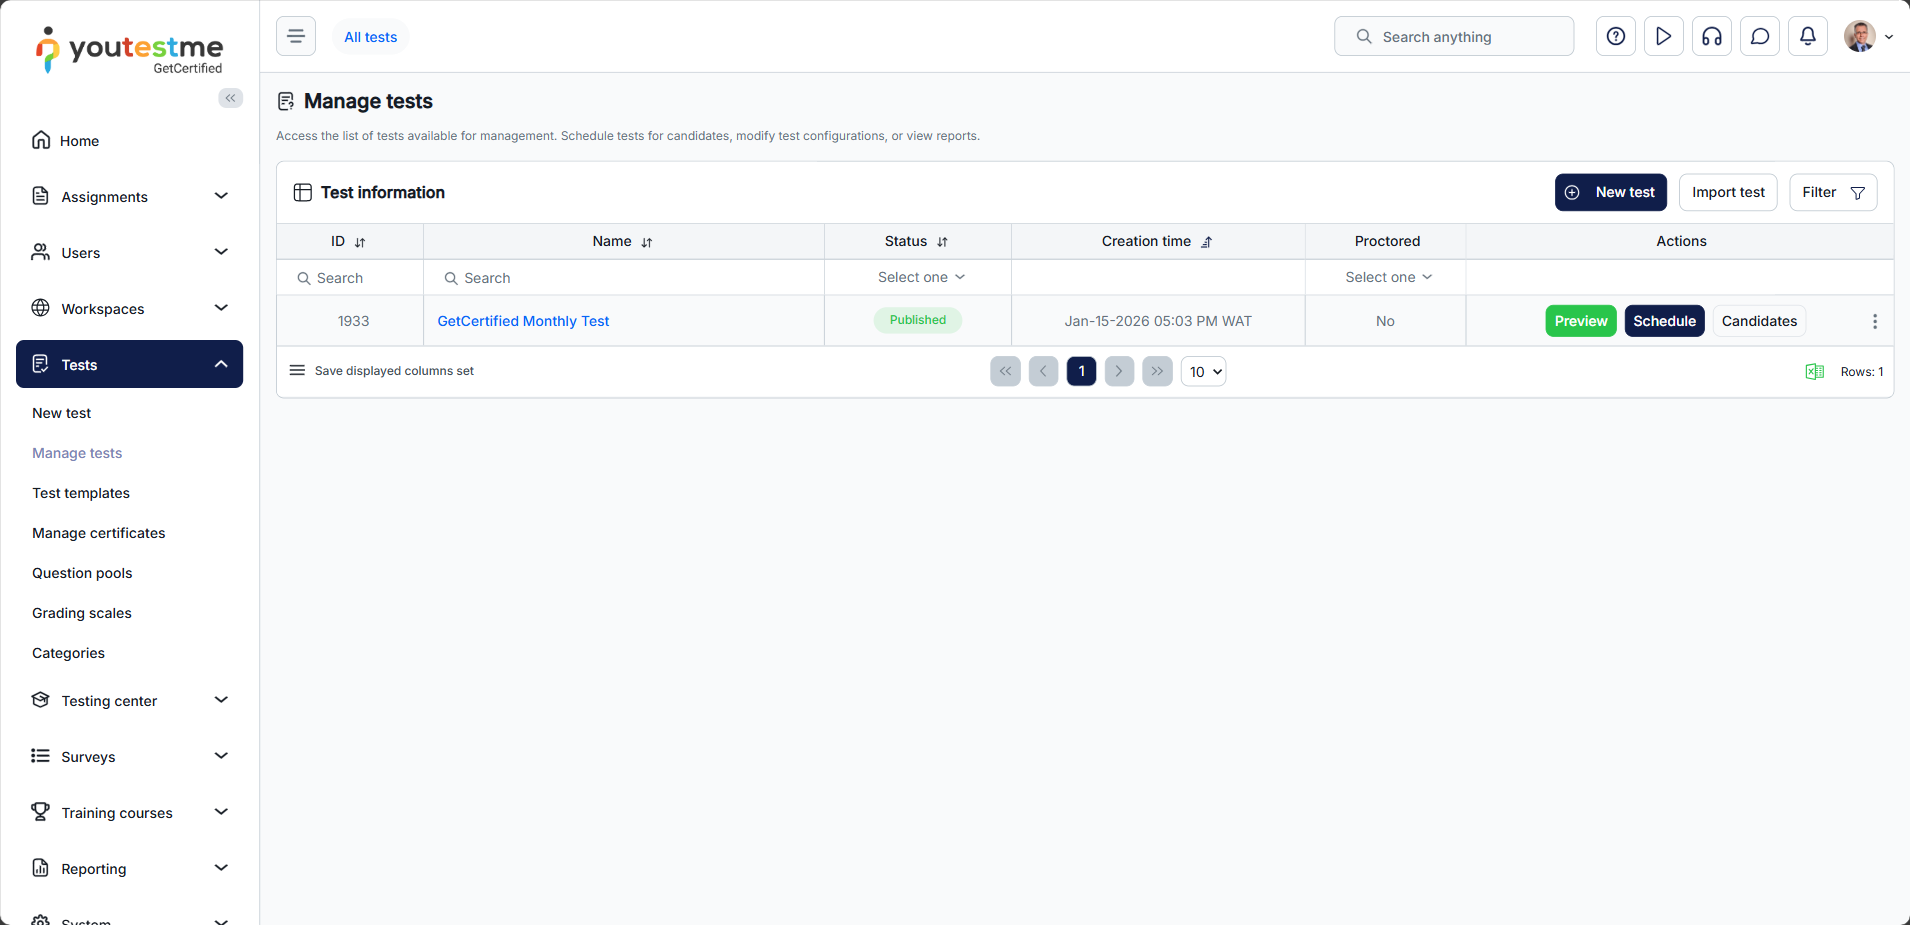
After selecting the proper workspace, in the Manage tests and User profiles tabs, you will see only tests and users in the workspace you manage.
The user can access the Workspaces/Manage workspaces tab to see other workspaces the user is assigned to. The user can be added to many workspaces as needed.
For more related instructional materials, please visit:


