Article verified for Release 15.2 on November 28, 2025.
In this article, you will learn how to restrict access to personal information across the application. When enabled for a specific role, users assigned to that role will not be able to see any personal details of other users. Instead of usernames, first and last names, or email addresses, they will only see anonymized identifiers, such as the User ID.
This is useful in scenarios where privacy must be protected—such as audits, supervision, or controlled environments where visibility of personal data must be limited.
How to Enable Anonymization
To enable anonymization for a specific role, follow these steps:
-
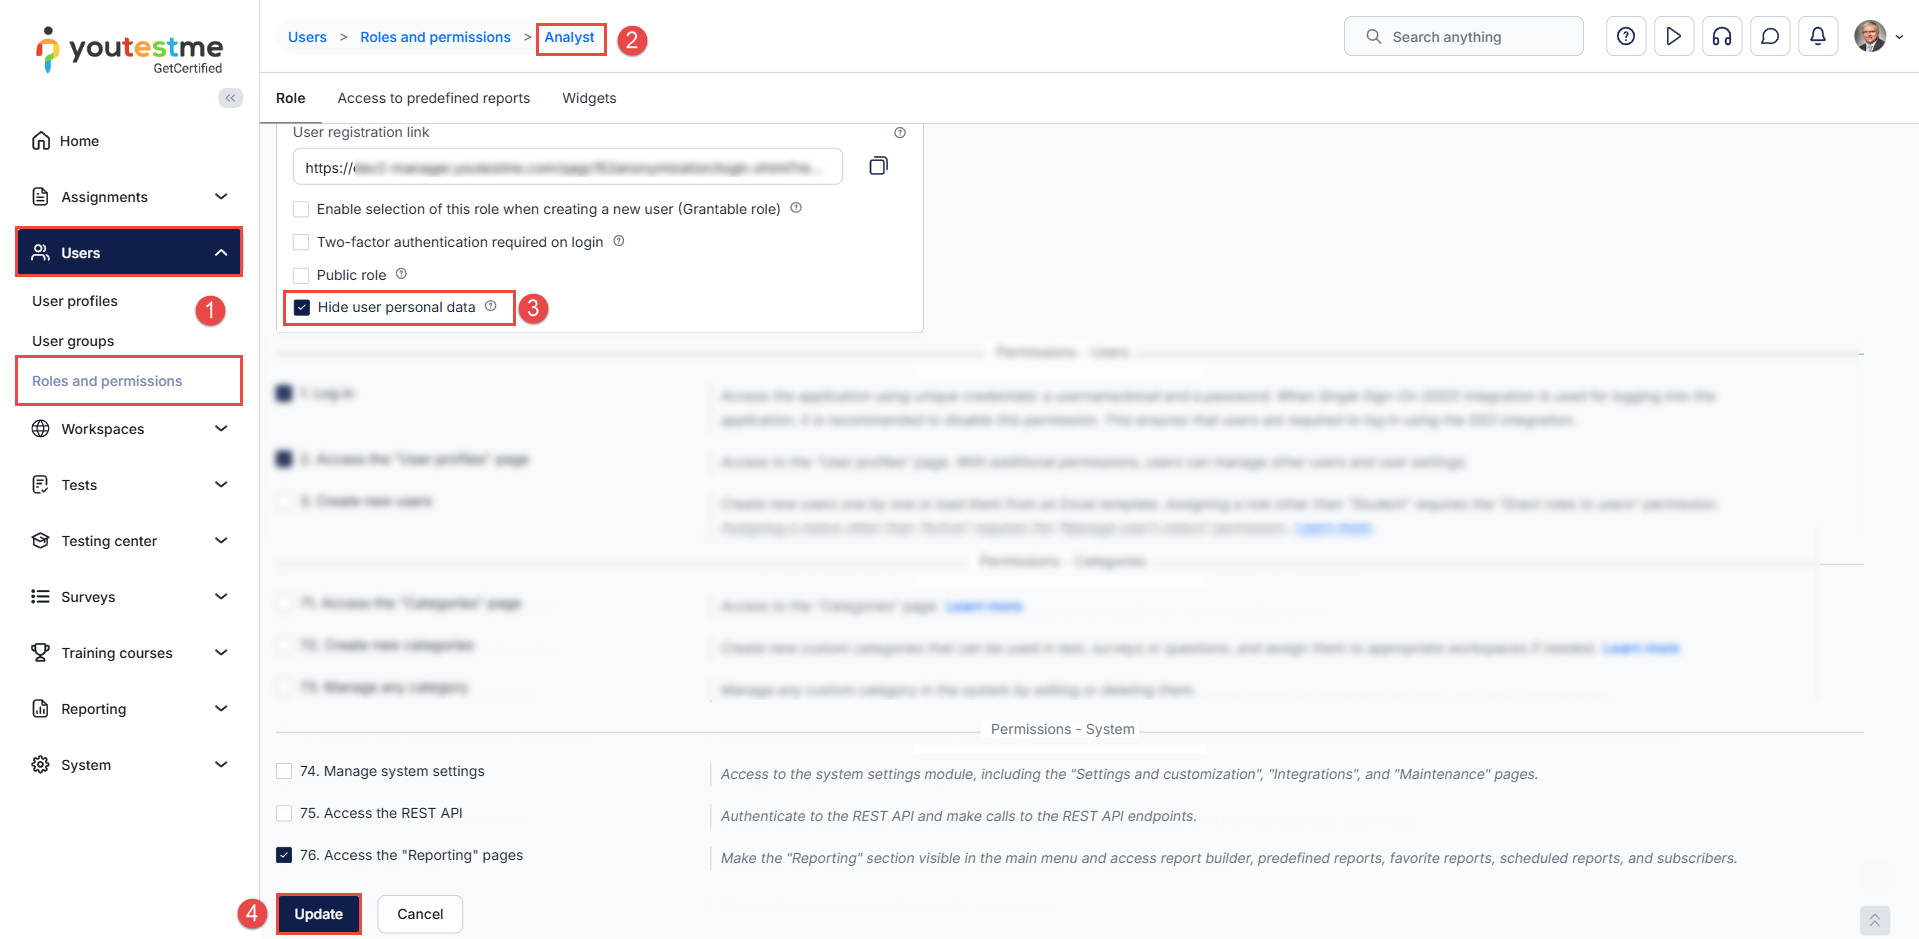
Navigate to Users > Roles and permissions.
-
Select the desired role from the list.
-
Check the Hide user personal data option.
-
Click Update to apply the changes.
Create a User With This Role
Create or assign a user to this role.
For more details on how to create a user, please refer to this article.
System Behavior After Logging In
When a user logs in with a role that has anonymization enabled, the system enforces strict privacy rules across all modules:
Visible
-
User ID only
Hidden
All personal identifiers will be automatically masked, including:
-
Username
-
First name
-
Last name
-
Email address
-
Any other fields containing personally identifiable information (PII)
Restricted Access
To maintain data privacy, the following areas are also unavailable to anonymized users:
-
Proctoring recordings — Access is blocked to prevent exposure of candidate identities or video content.
-
Predefined reports — These reports typically include personal information and are therefore inaccessible.
This ensures complete anonymization, preventing users with this role from viewing any sensitive or identity-related data within the application.
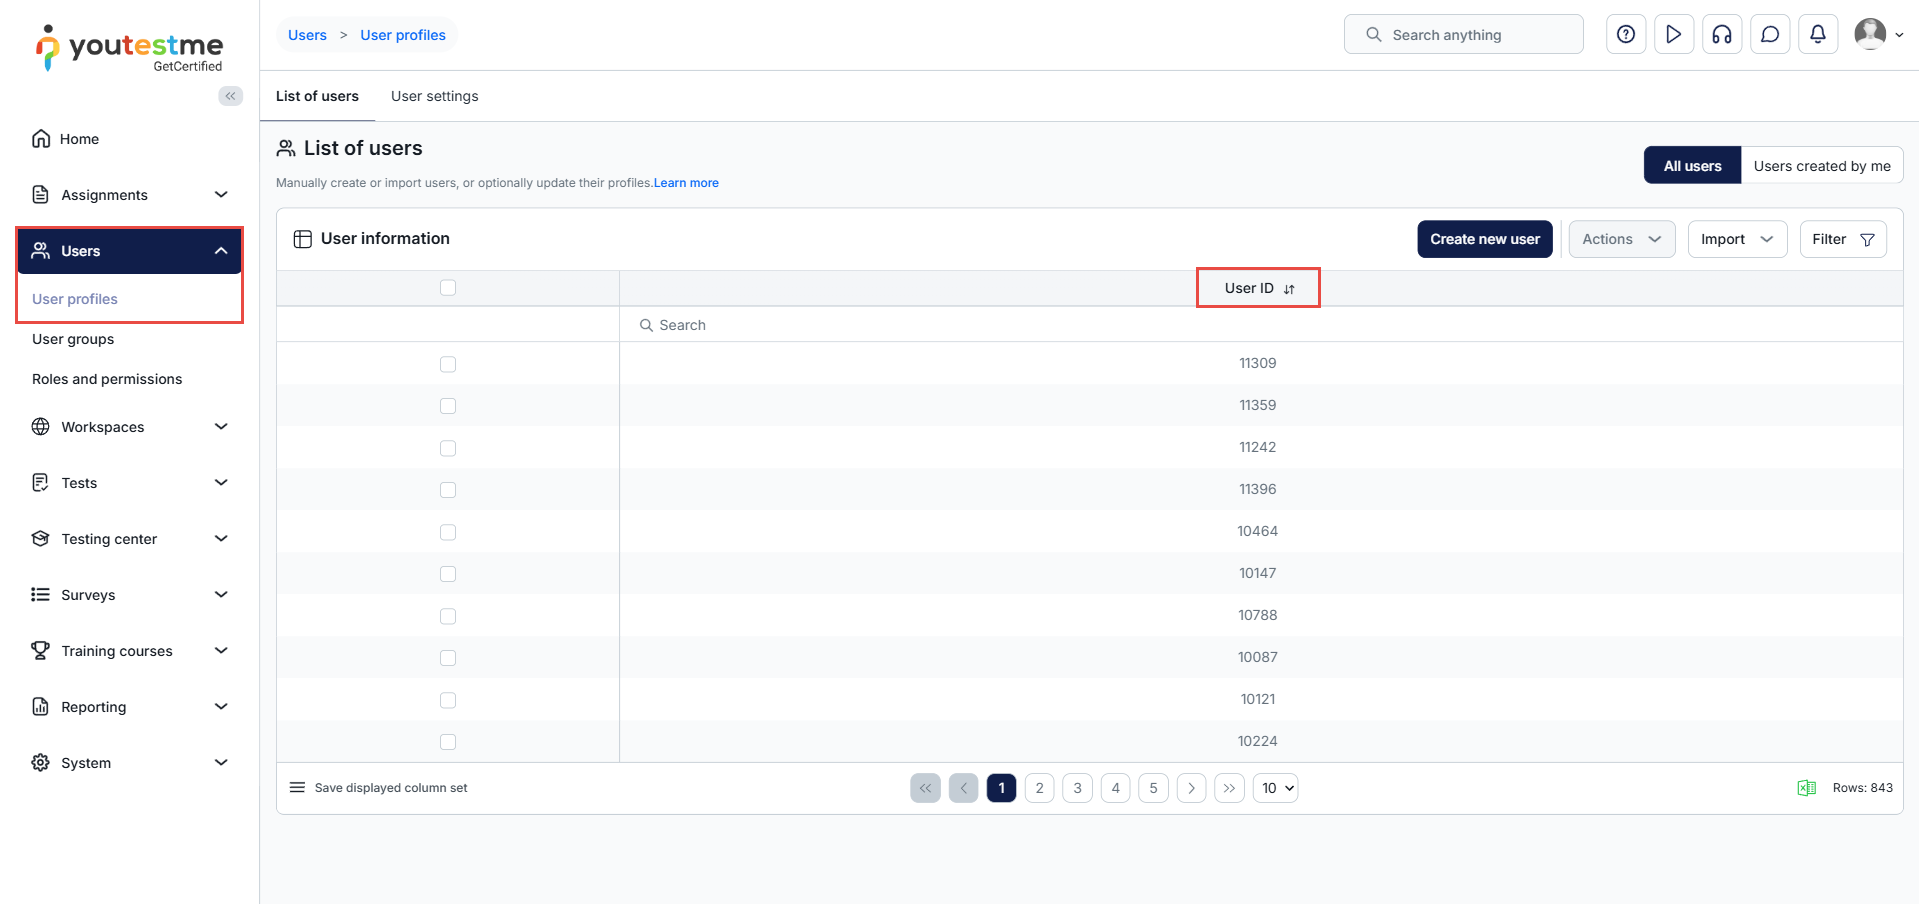
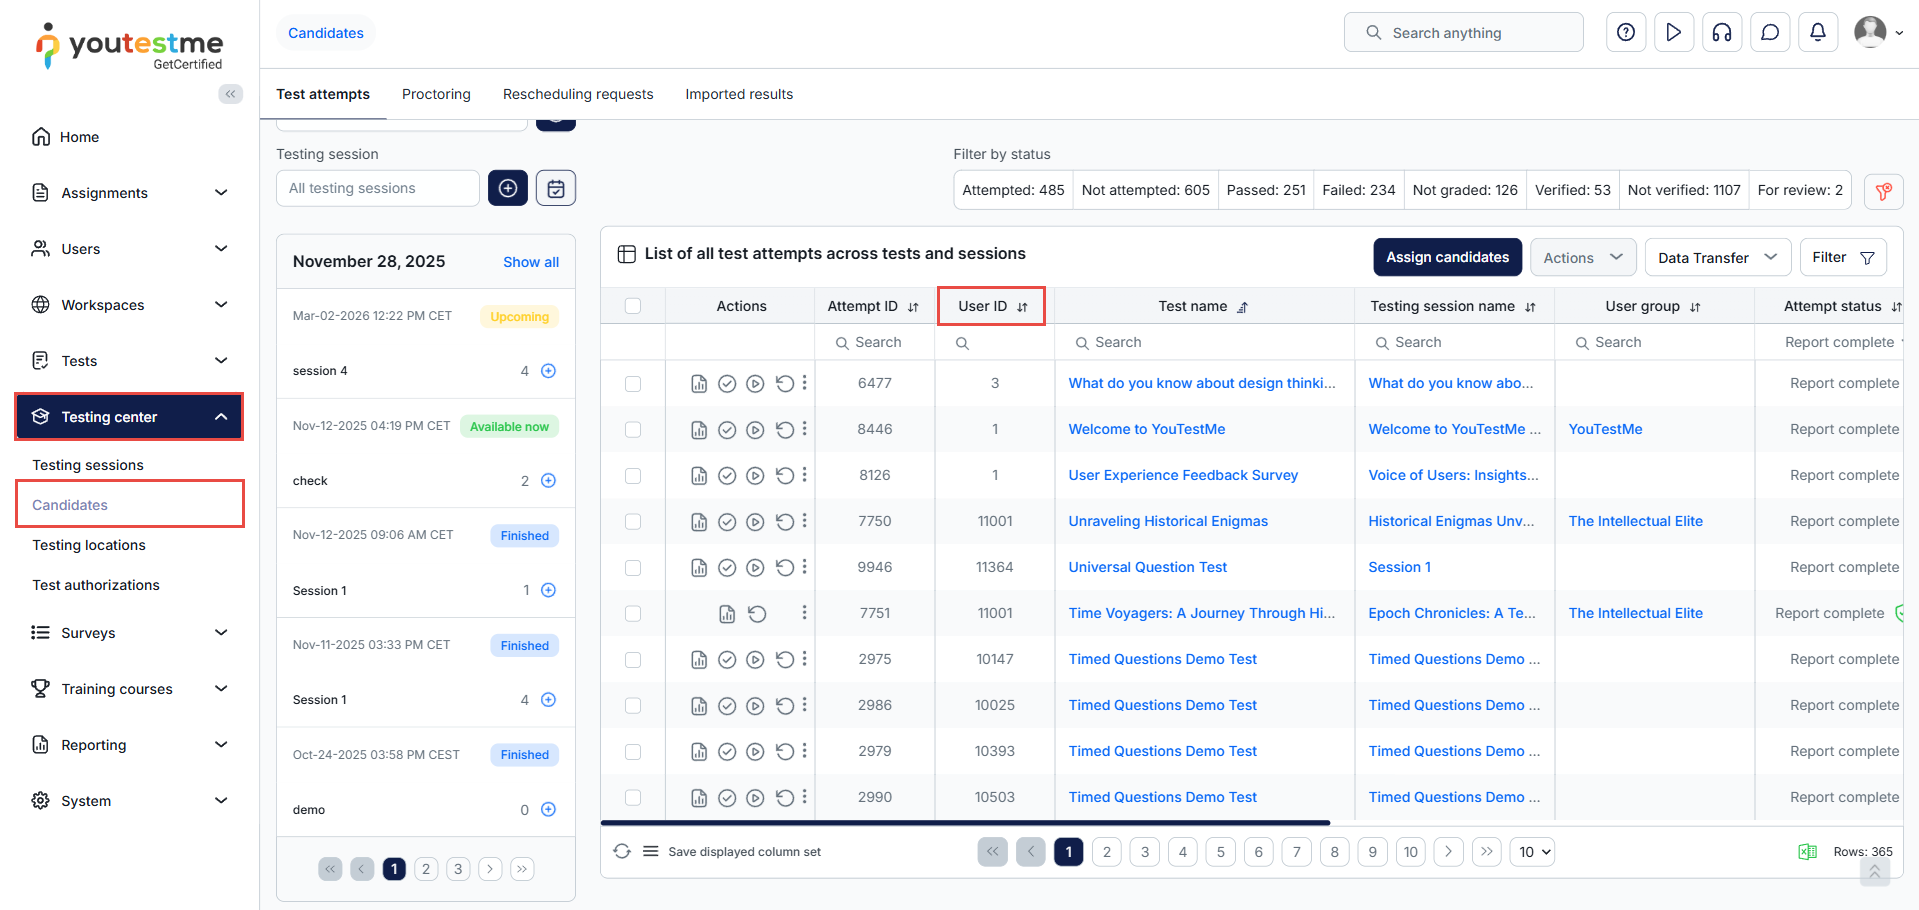
See the following examples for reference:
User Profiles
Candidates tab
Additional resources:


