Article verified for Release 16.0 on February 3, 2026.
The AI Orchestrator allows you to perform actions in the application using simple, natural-language commands. Instead of manually navigating through different pages, you can instruct the Orchestrator to complete tasks for you, such as creating users, tests, or surveys, assigning candidates to groups or sessions, and more.
The Orchestrator helps streamline workflows and speeds up repetitive actions by executing commands directly from a single interface.
Note: This feature is included in the EE package. If you are unsure whether your environment includes this package, please contact sales@youtestme.com or your designated account manager for confirmation.
Enabling the Orchestrator
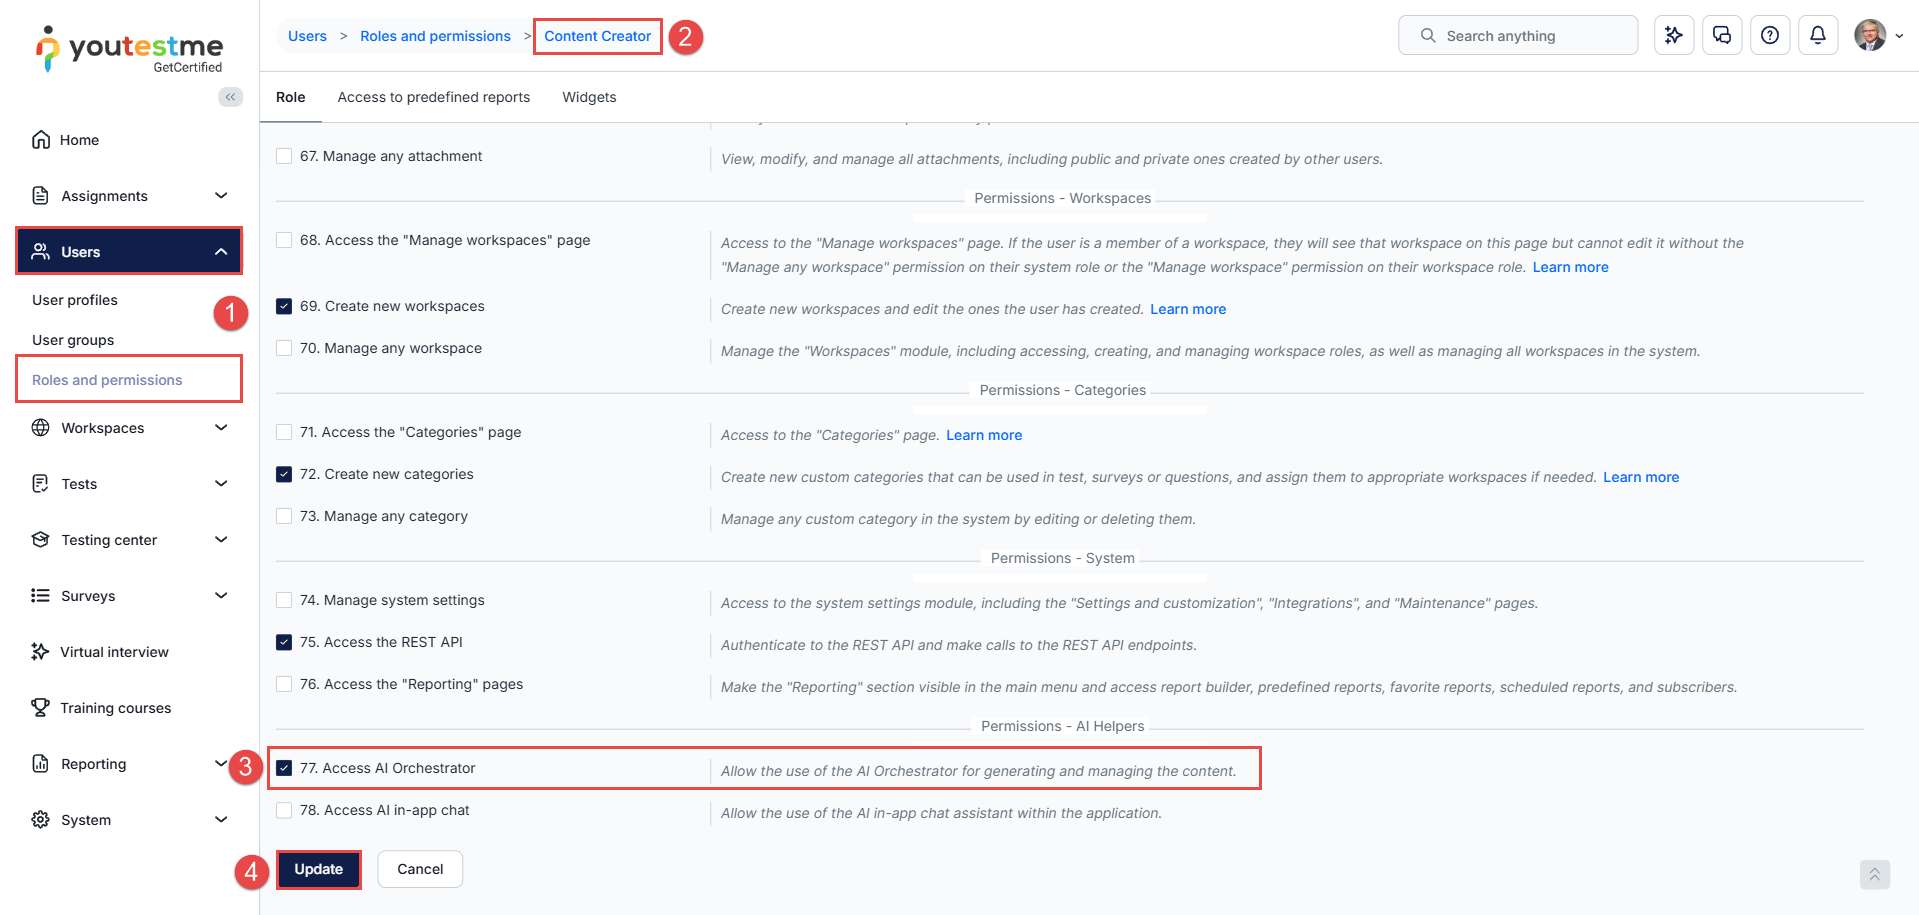
- Navigate to Users > Roles and Permissions.
- Locate and edit the desired role.
- Enable the Access AI Orchestrator permission.
- Click Update to save your changes.
Important Note:
This feature is designed to make content creation faster and more efficient. When enabled, it automatically grants all content creation permissions to the selected role, including creating testing sessions, tests, surveys, training courses, users, and more.
For this reason, ensure that this permission is assigned only to appropriate roles. Roles such as Student should not have this permission enabled, as it would allow them to create and interact with content within the application beyond their intended access level.
Accessing the Orchestrator
To access the Orchestrator, follow these steps:
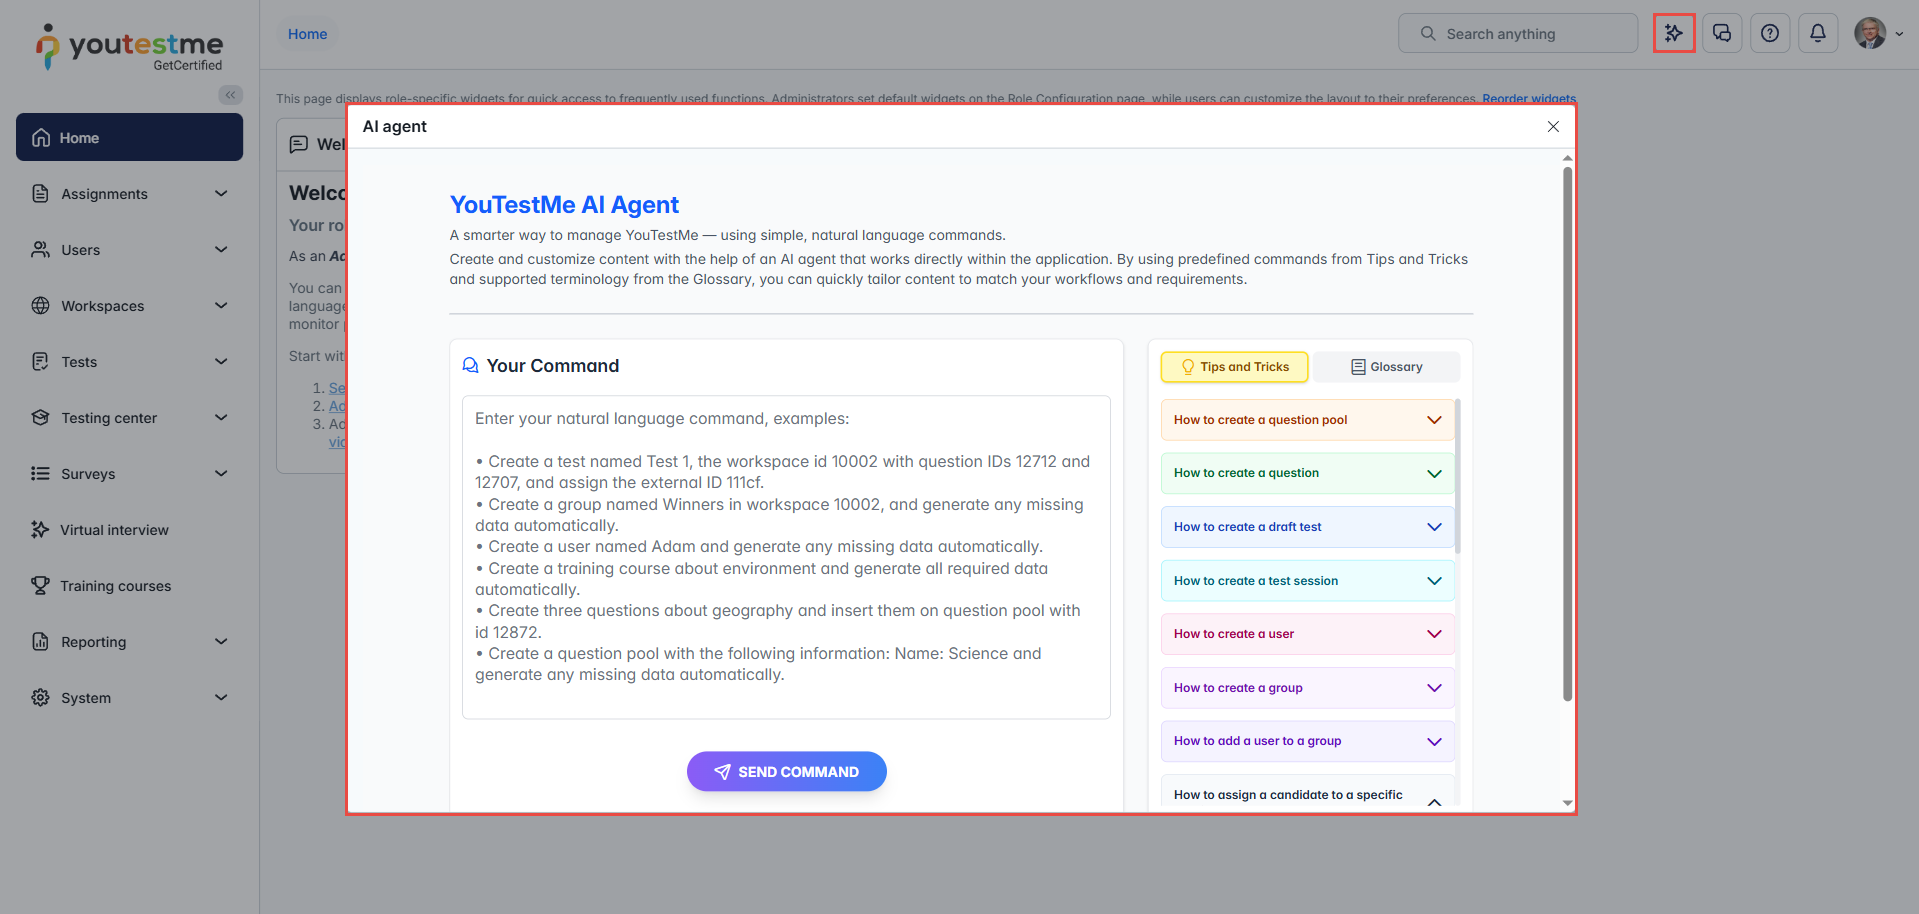
In the top-right corner of the application, select Orchestrator.
A pop-up window will open, allowing you to start interacting with it.
Using the Orchestrator
Once the Orchestrator is open, you can begin issuing commands and managing actions.
-
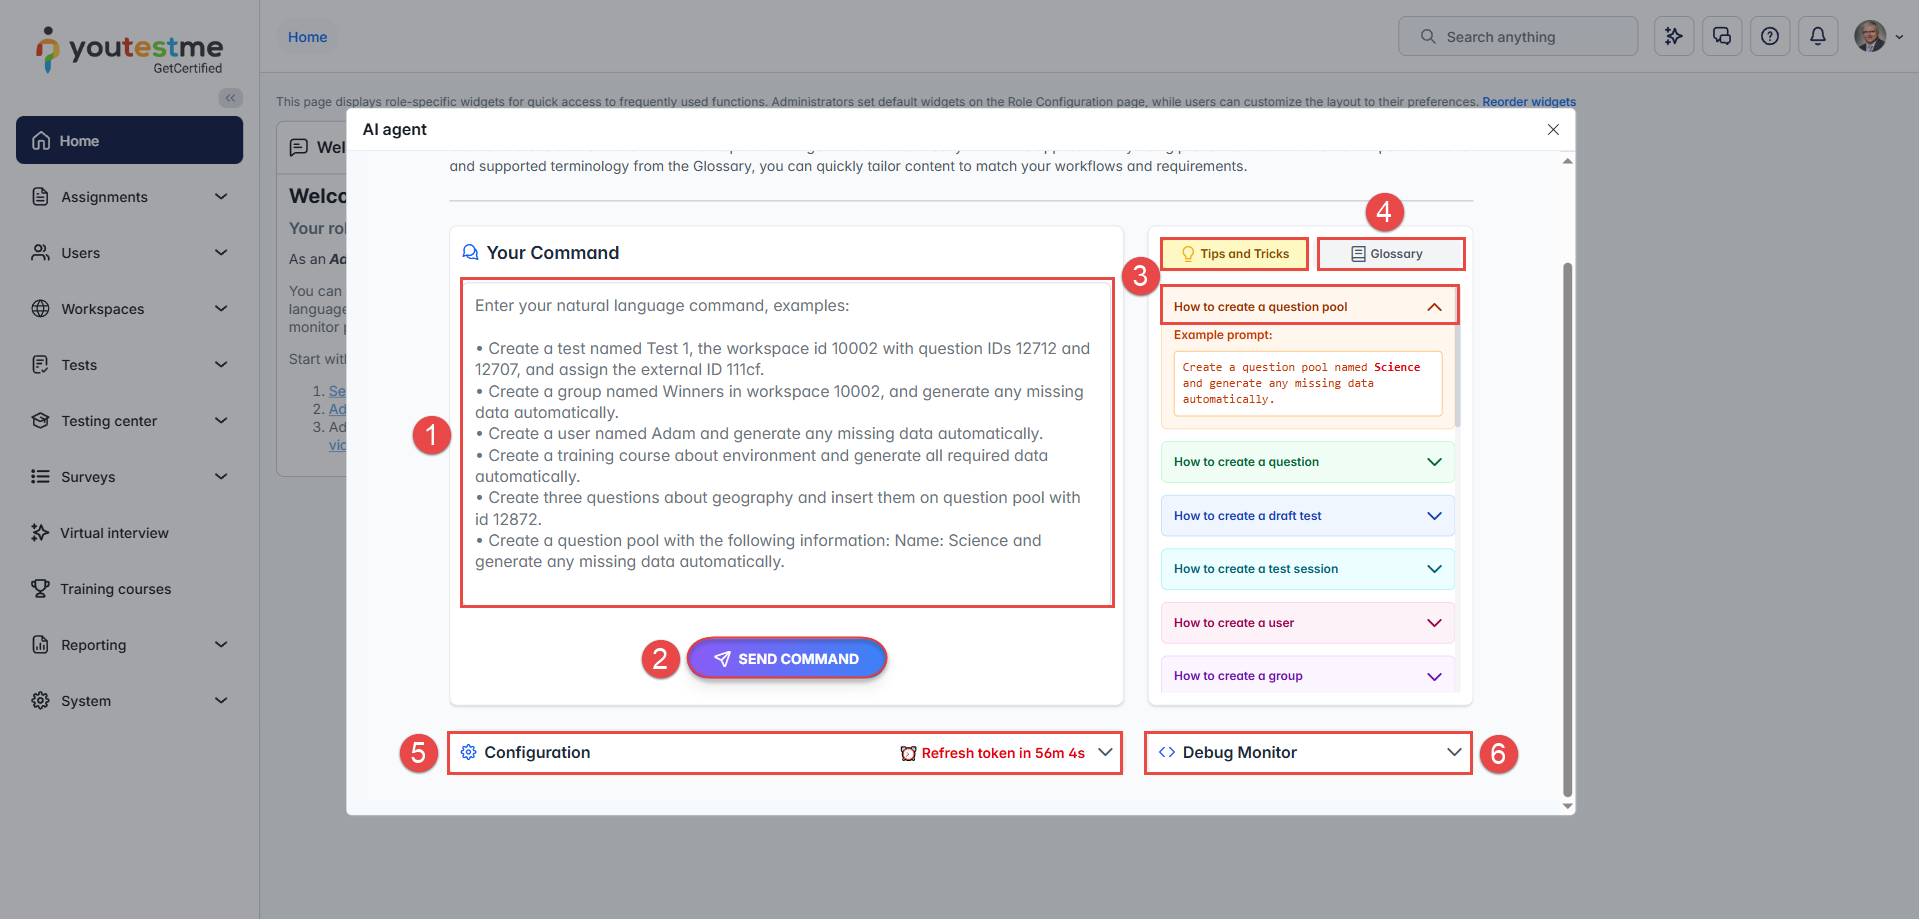
Enter the command you want to execute in the input field.
Use clear and concise instructions to describe the action you want the system to perform. -
Select the Send command to submit your request.
The Orchestrator will process the command and execute the corresponding action in the application. -
Tips and Tricks
Use this section to explore ready-made examples of common actions. It includes sample prompts that demonstrate how to phrase commands for tasks such as creating users, assigning tests, or managing sessions. -
Glossary
This section provides guidance and rules for writing effective prompts. Following these rules helps ensure the Orchestrator correctly understands your commands and performs the expected actions. -
Configuration
Here you can view configuration details related to the Orchestrator, including information about the API token used for secure communication. -
Debug Monitor
The Debug Monitor displays detailed information about each executed command. It shows the action that was triggered and the data sent for processing, which can be useful for tracking execution flow or troubleshooting unexpected behavior.
Limitations
Note the following limitations when using the AI Orchestrator:
- Question creation limit: You can create a maximum of 10 questions per prompt. If you need more questions, submit additional prompts.
- Question type limitation: Only Single Choice questions can be created through this prompt. Other question types are not supported.
- Duplicate avoidance limitation: The method for avoiding duplicate questions is not guaranteed when working with a large question pool containing more than 100 questions.
- Prompt clarity required: Commands must be specific and sufficiently detailed. Generic prompts may fail or return incomplete results.
- Draft-only output: Newly created content (for example, tests) is saved as Draft by default and must be reviewed, configured, and published manually before it becomes available to candidates.
- Permission scope: When enabled, the Orchestrator grants broad content creation permissions to the assigned role. Access should be restricted to trusted roles only.
-
These limitations are designed to ensure accuracy, security, and controlled content creation within the platform.
Examples
Example 1: Successfully Executed Command
Prompt
Create a geography test with 10 questions.
Result
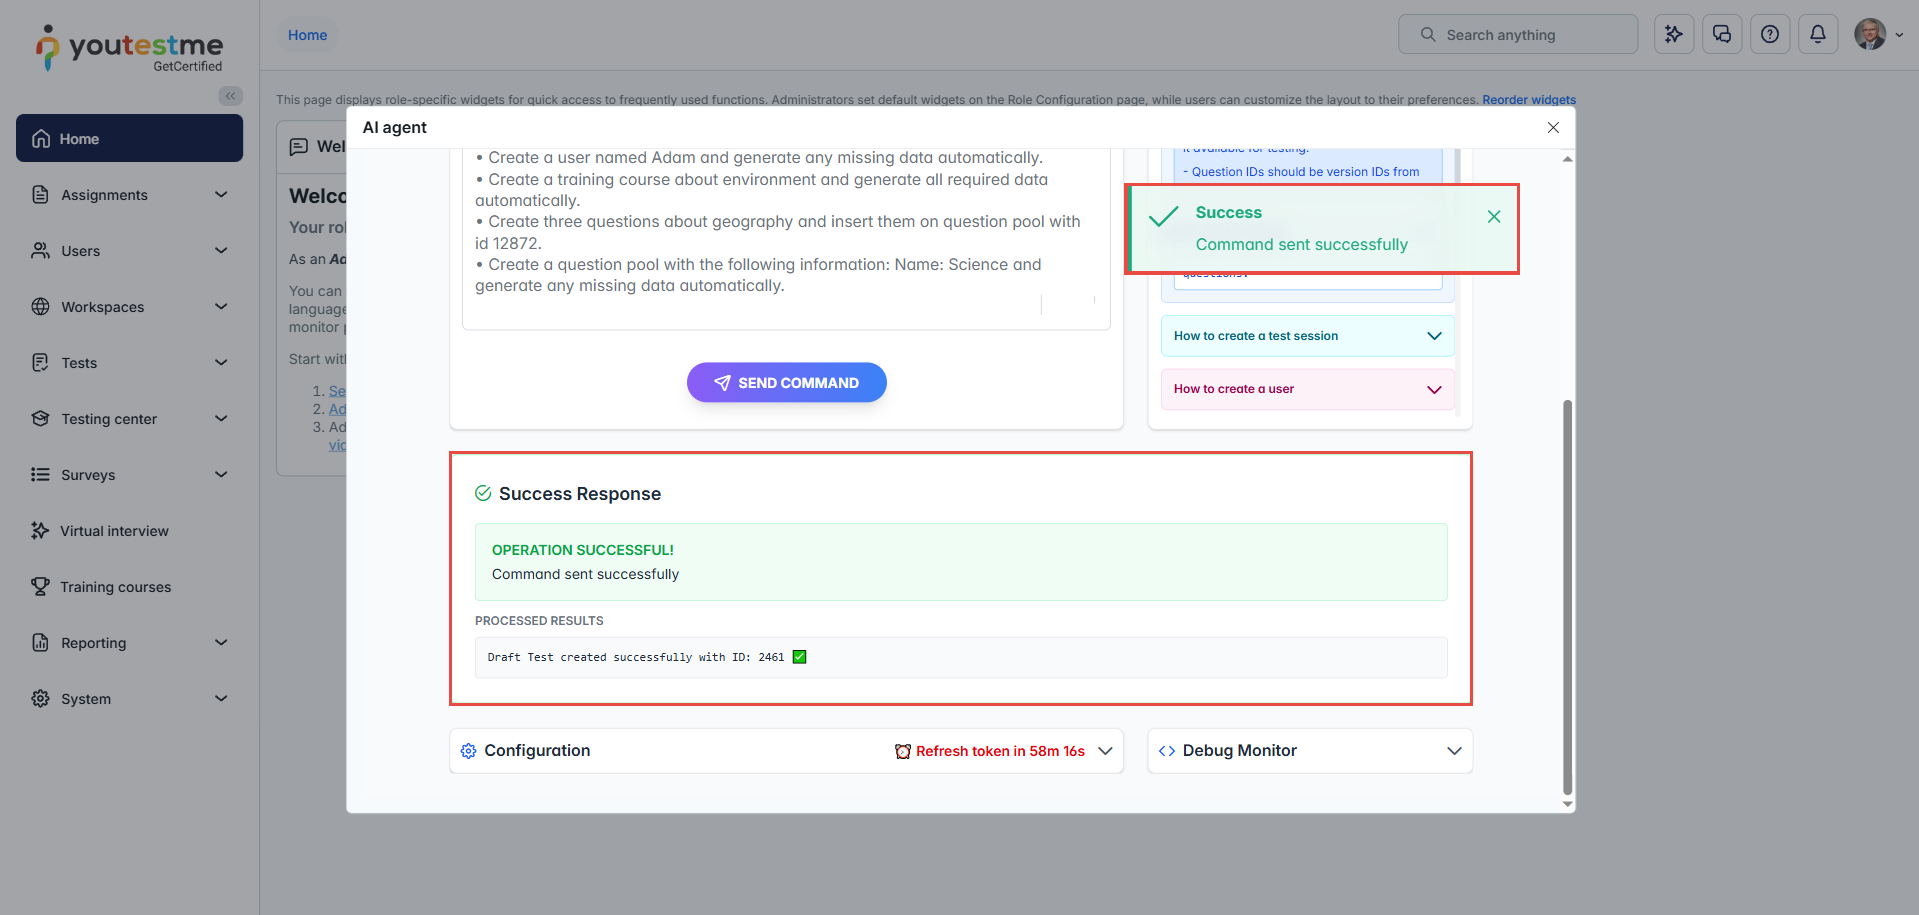
The command was executed successfully. A geography test was created along with 10 associated questions. The test is saved as a Draft and can be reviewed or edited before publishing.
Next steps:
After creating a test, you need to create a testing session and publish the test to make it accessible to candidates. You can also review and edit the questions, as well as adjust any test configuration as needed.
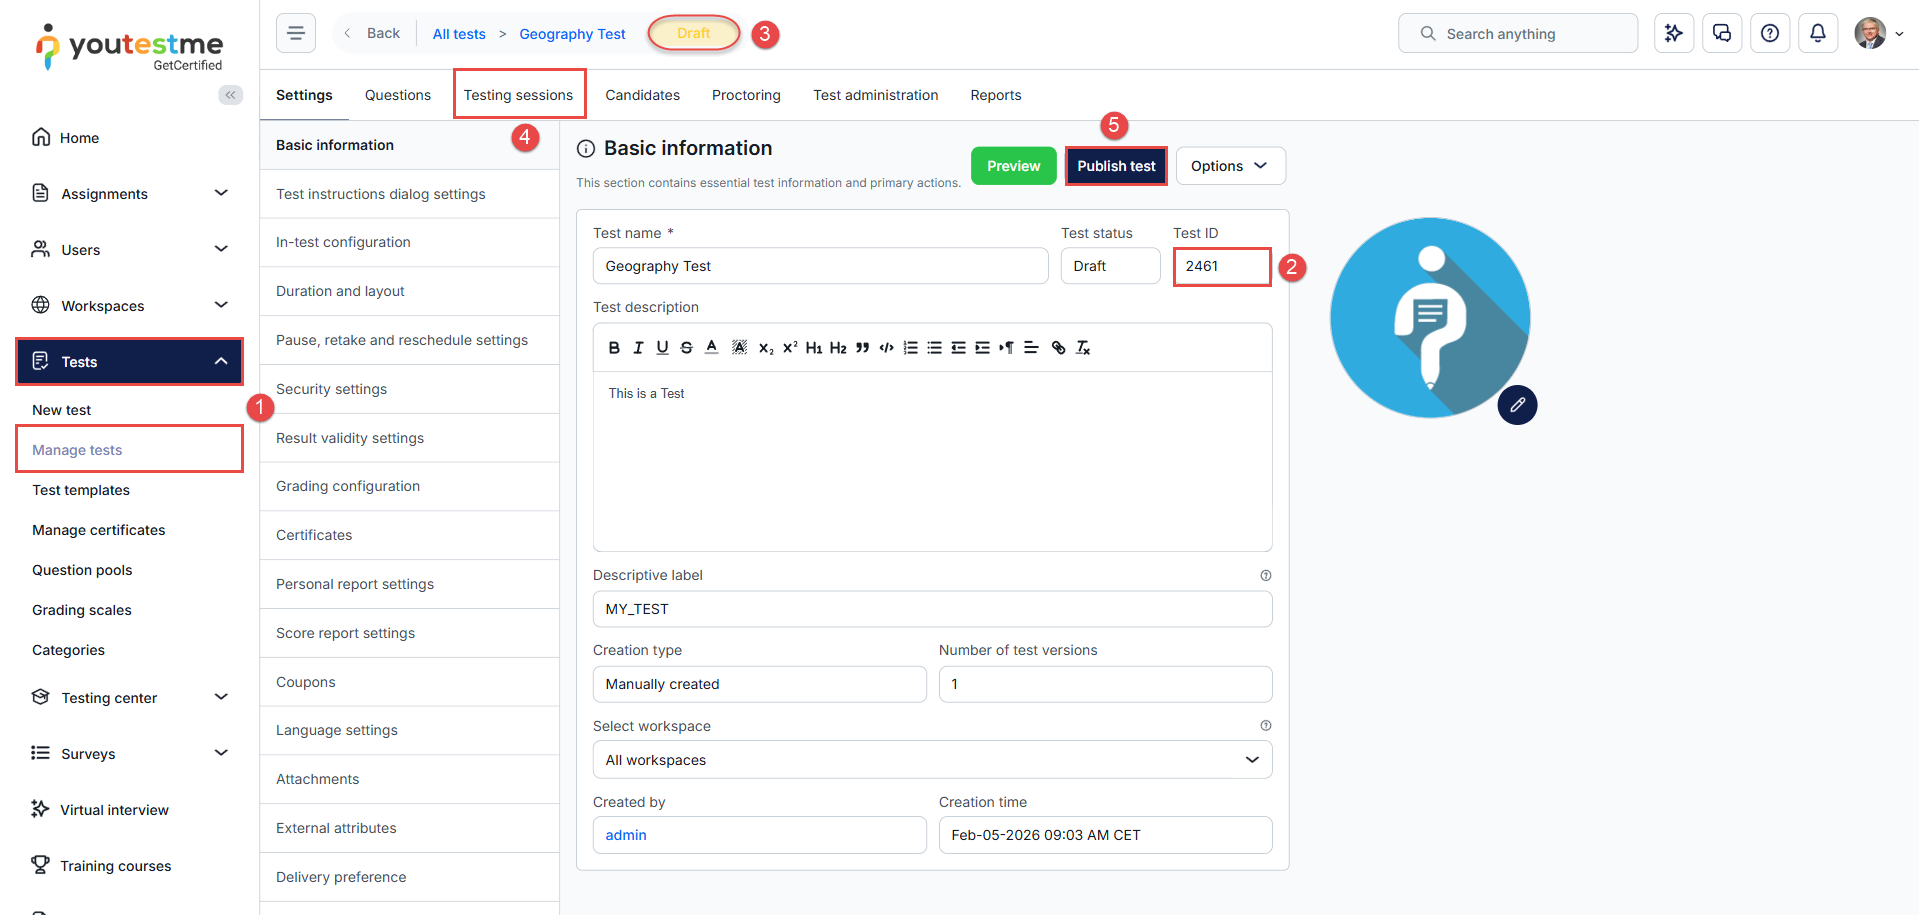
To create a session and publish a test, you need to:
-
Navigate to Tests > Manage tests.
-
Use the ID from the success response to locate your test (see the above image).
-
The test is saved as a Draft, meaning it is not visible to any candidate.
-
Select the Testing sessions tab to create a new session. For more information, refer to this article.
-
Once you are ready, select the Publish button to make the test available.
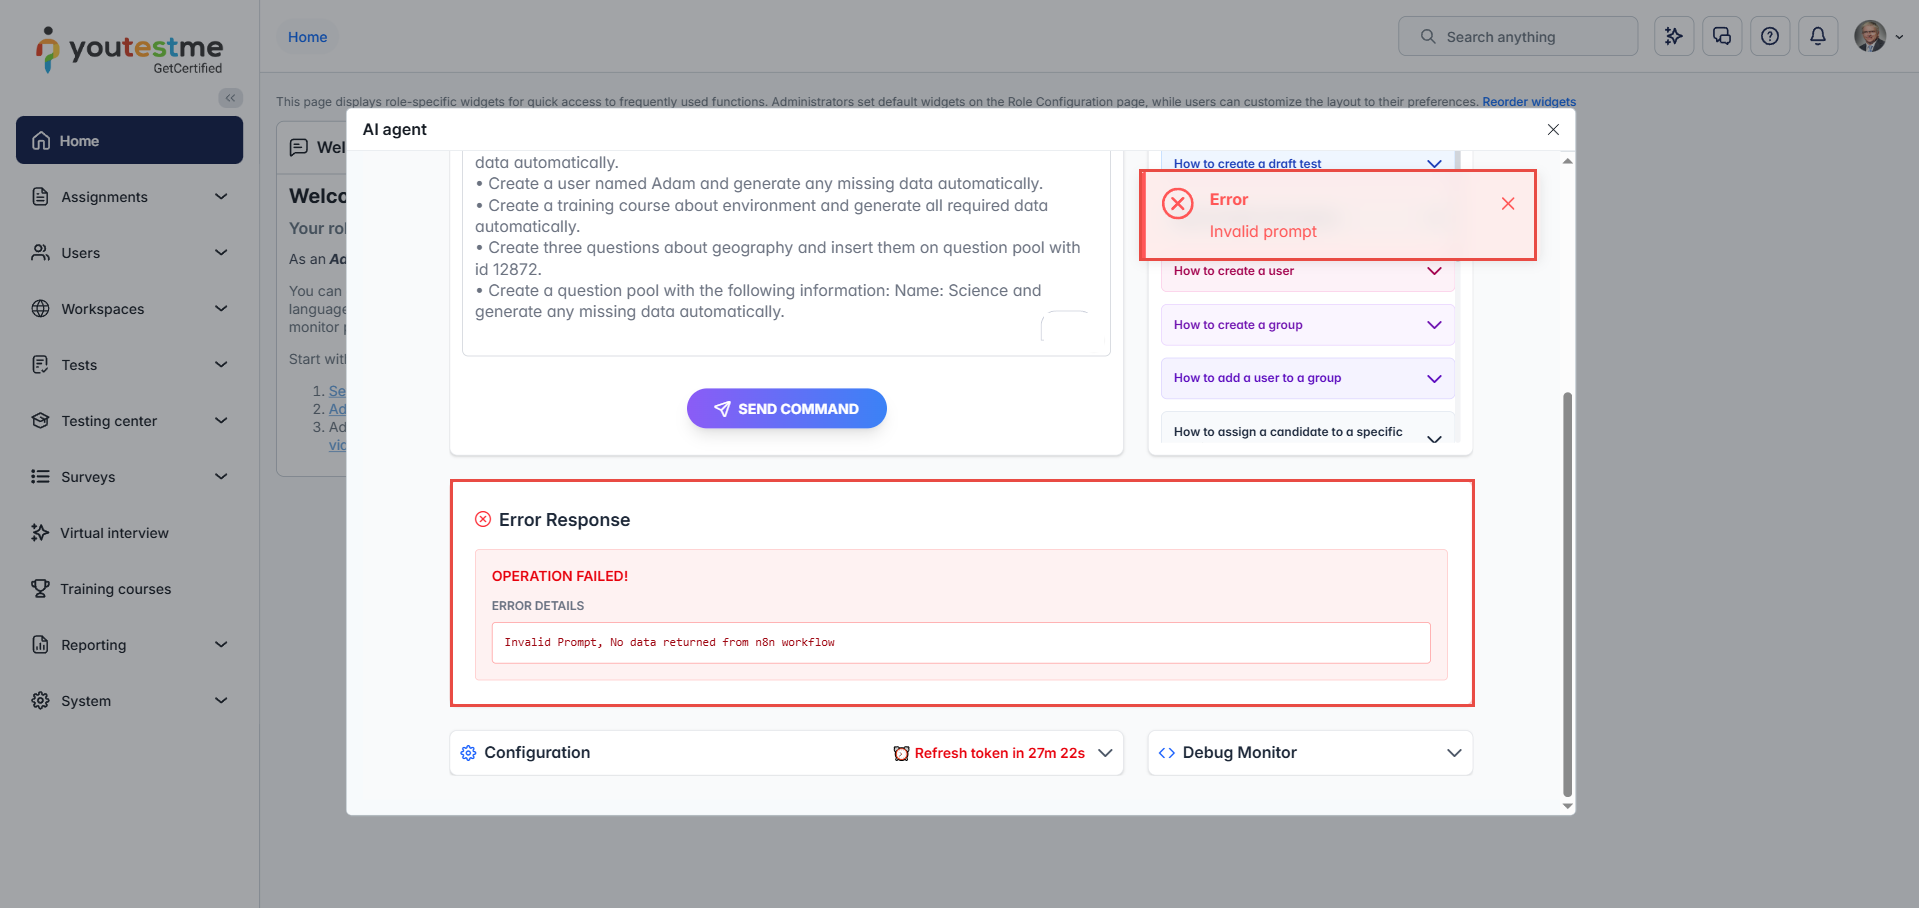
Example 2: Unsuccessful Command Execution
Prompt
Create a test.
Result
The command fails because the request is too general and does not include enough information to create a test. To execute the action, the prompt must be clear and detailed.
Additional resources:


