

Article verified for Release 15.2 on February 2, 2026.
This article shows the steps on how to set up the SSO integration that allows users to log in with Okta.
Create the new SSO configuration
When you log in to the YTM application, navigate to the:
- “System” page.
- Choose the “Integrations” option.
- Navigate to “Single sign-on” tab.
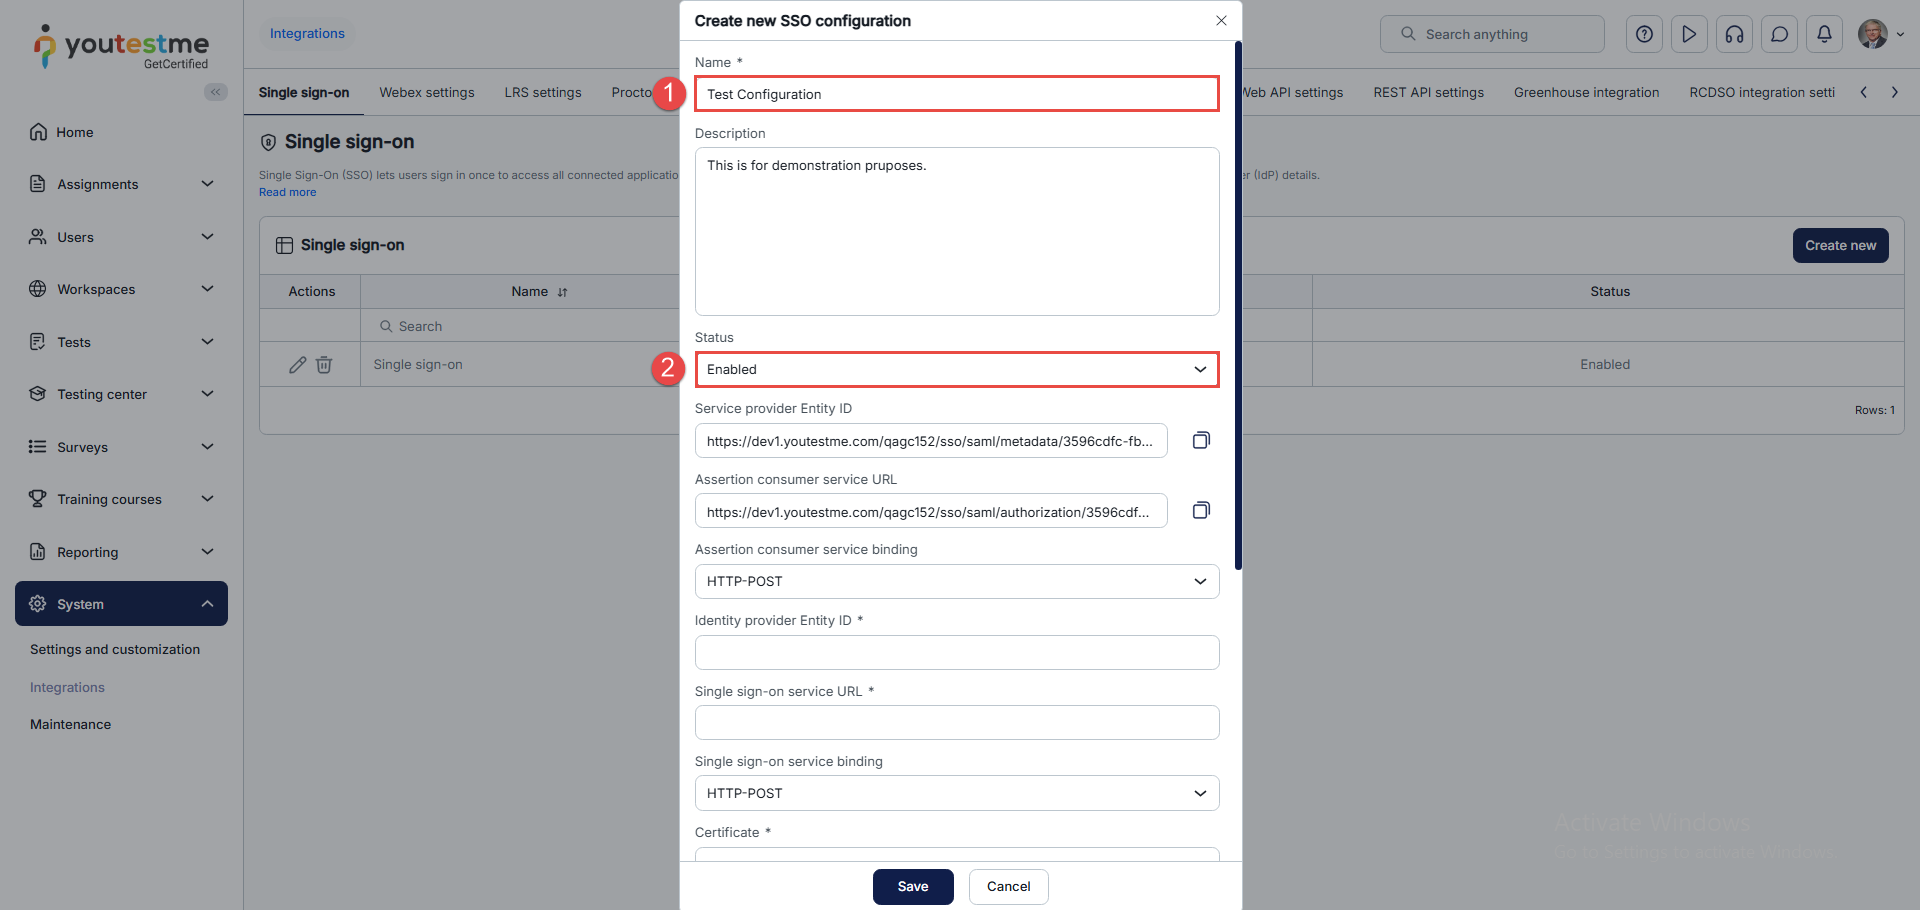
- Click on the “Create new” button to create a new configuration.
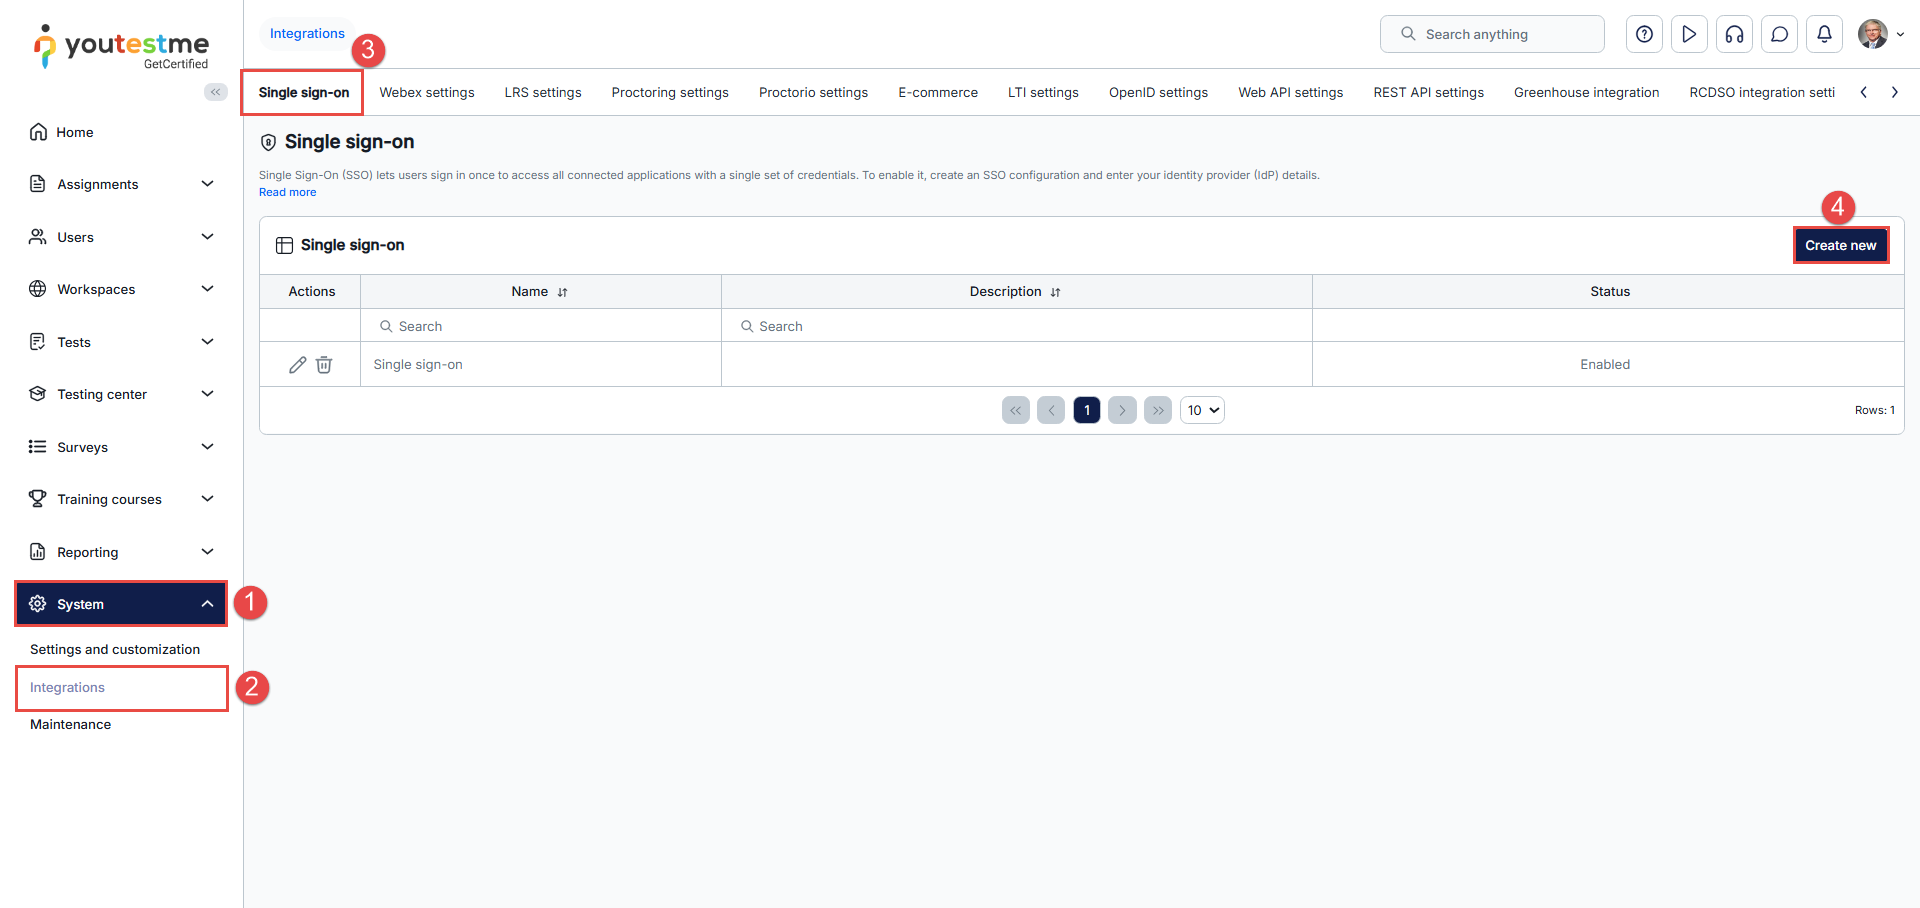
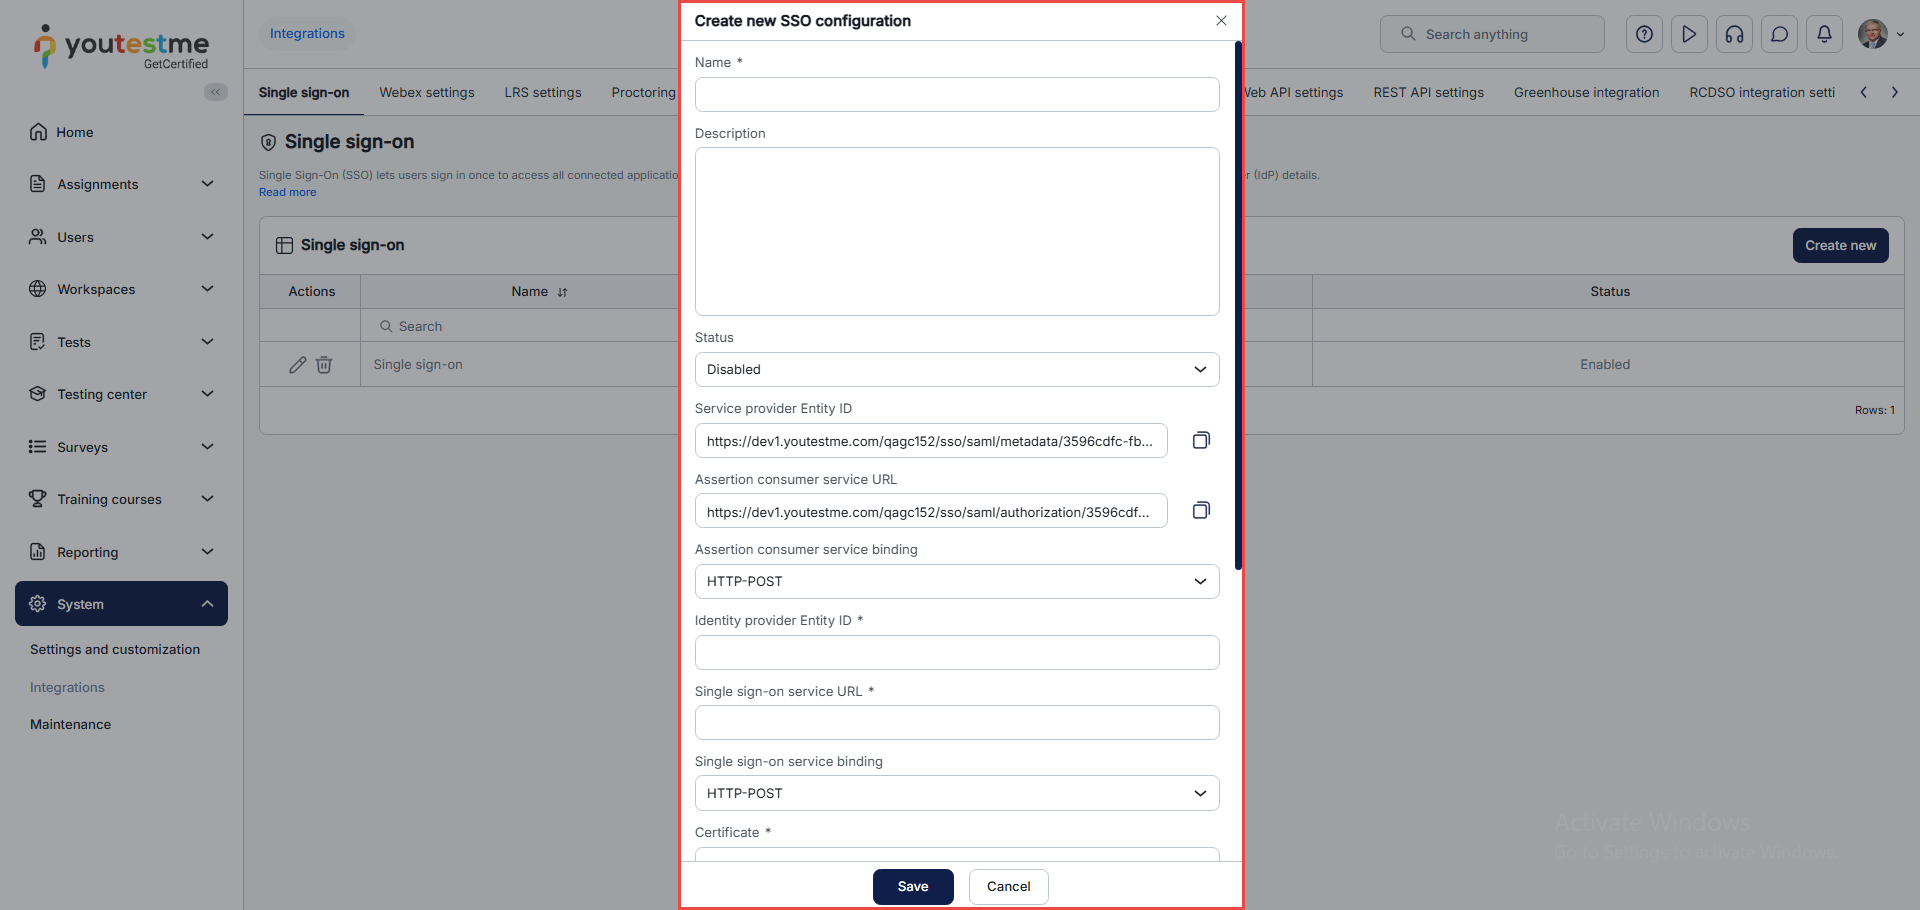
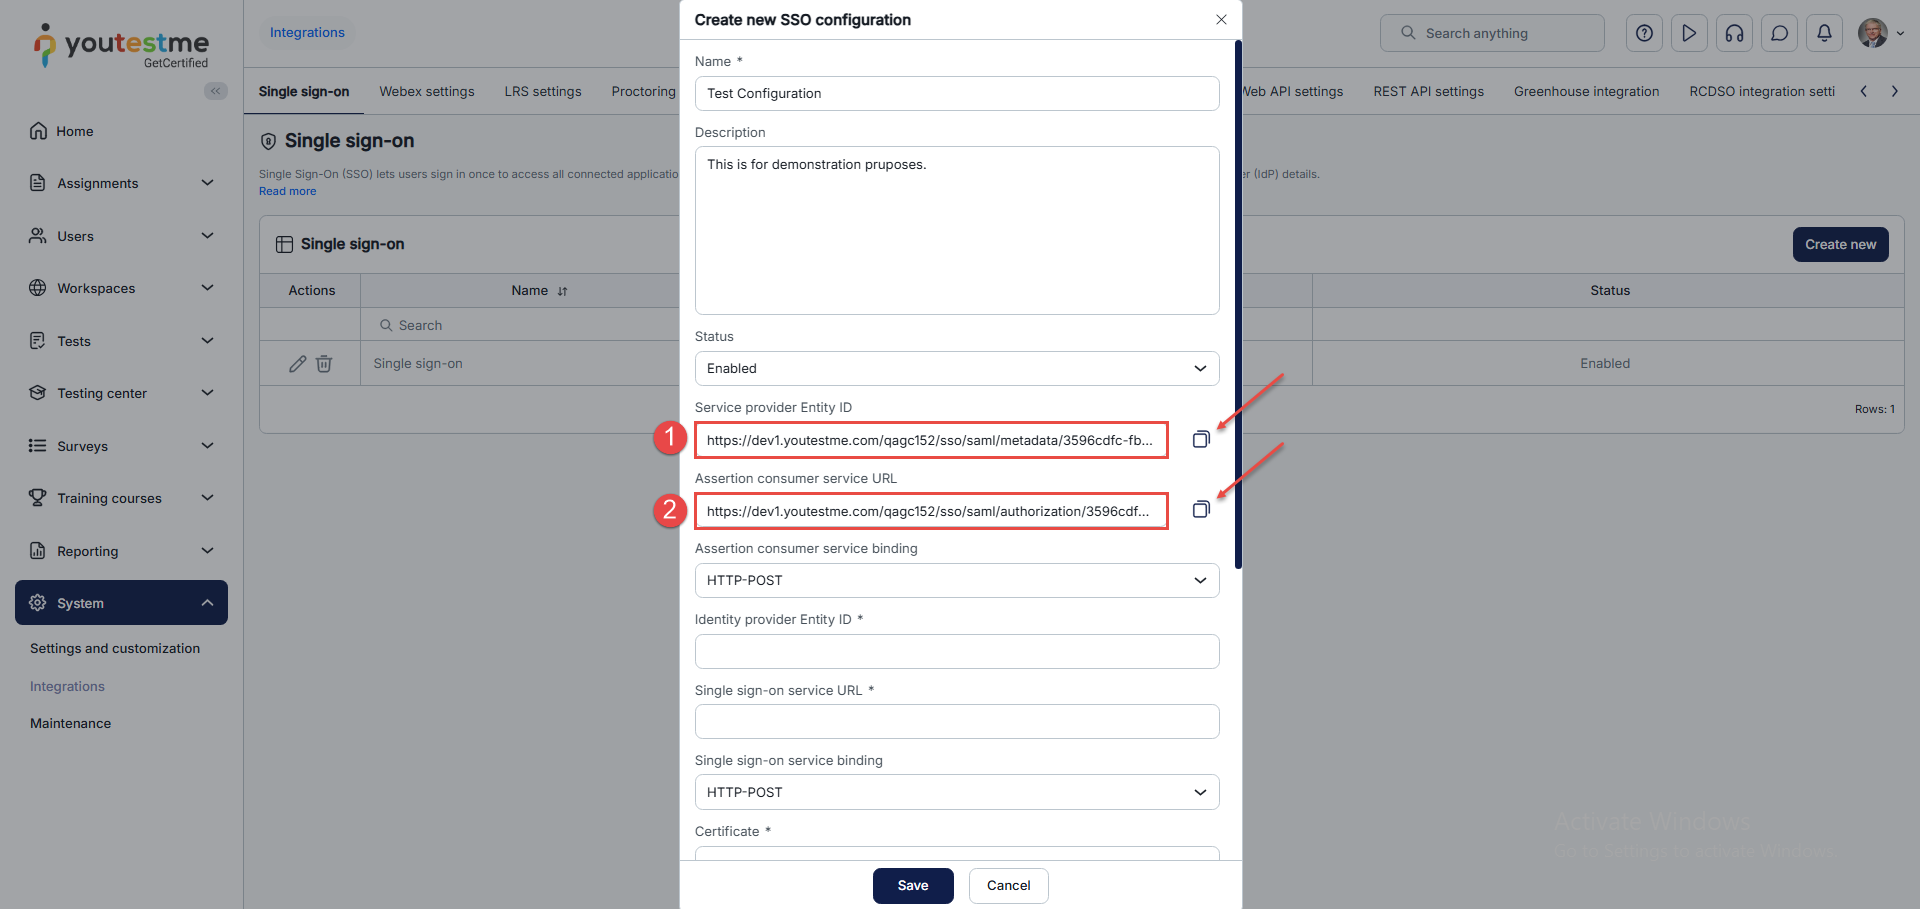
The pop-up window will appear.
Creating an Okta account
In this section, we explain how to create a free account on the Okta platform, which can be used to configure SSO integration with YouTestMe. This account can be upgraded to a full version later if needed.
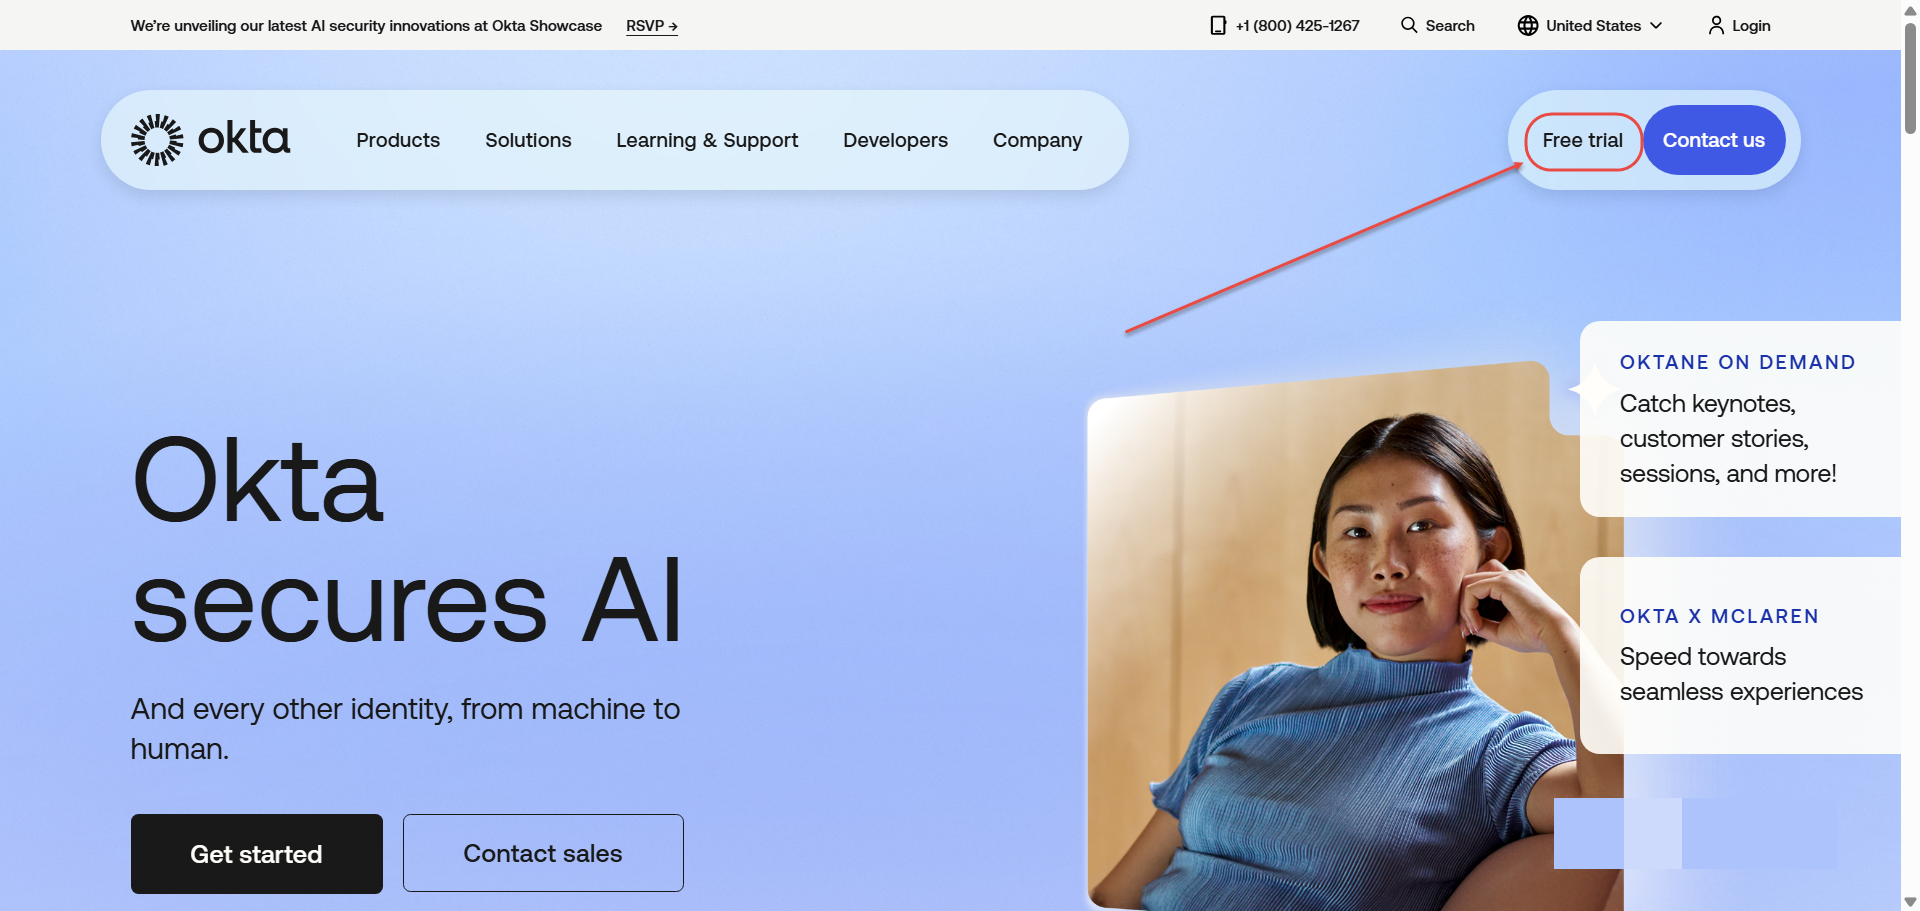
Navigate to the official Okta website: https://www.okta.com/. Click the Free Trial button located in the top-right corner of the homepage.
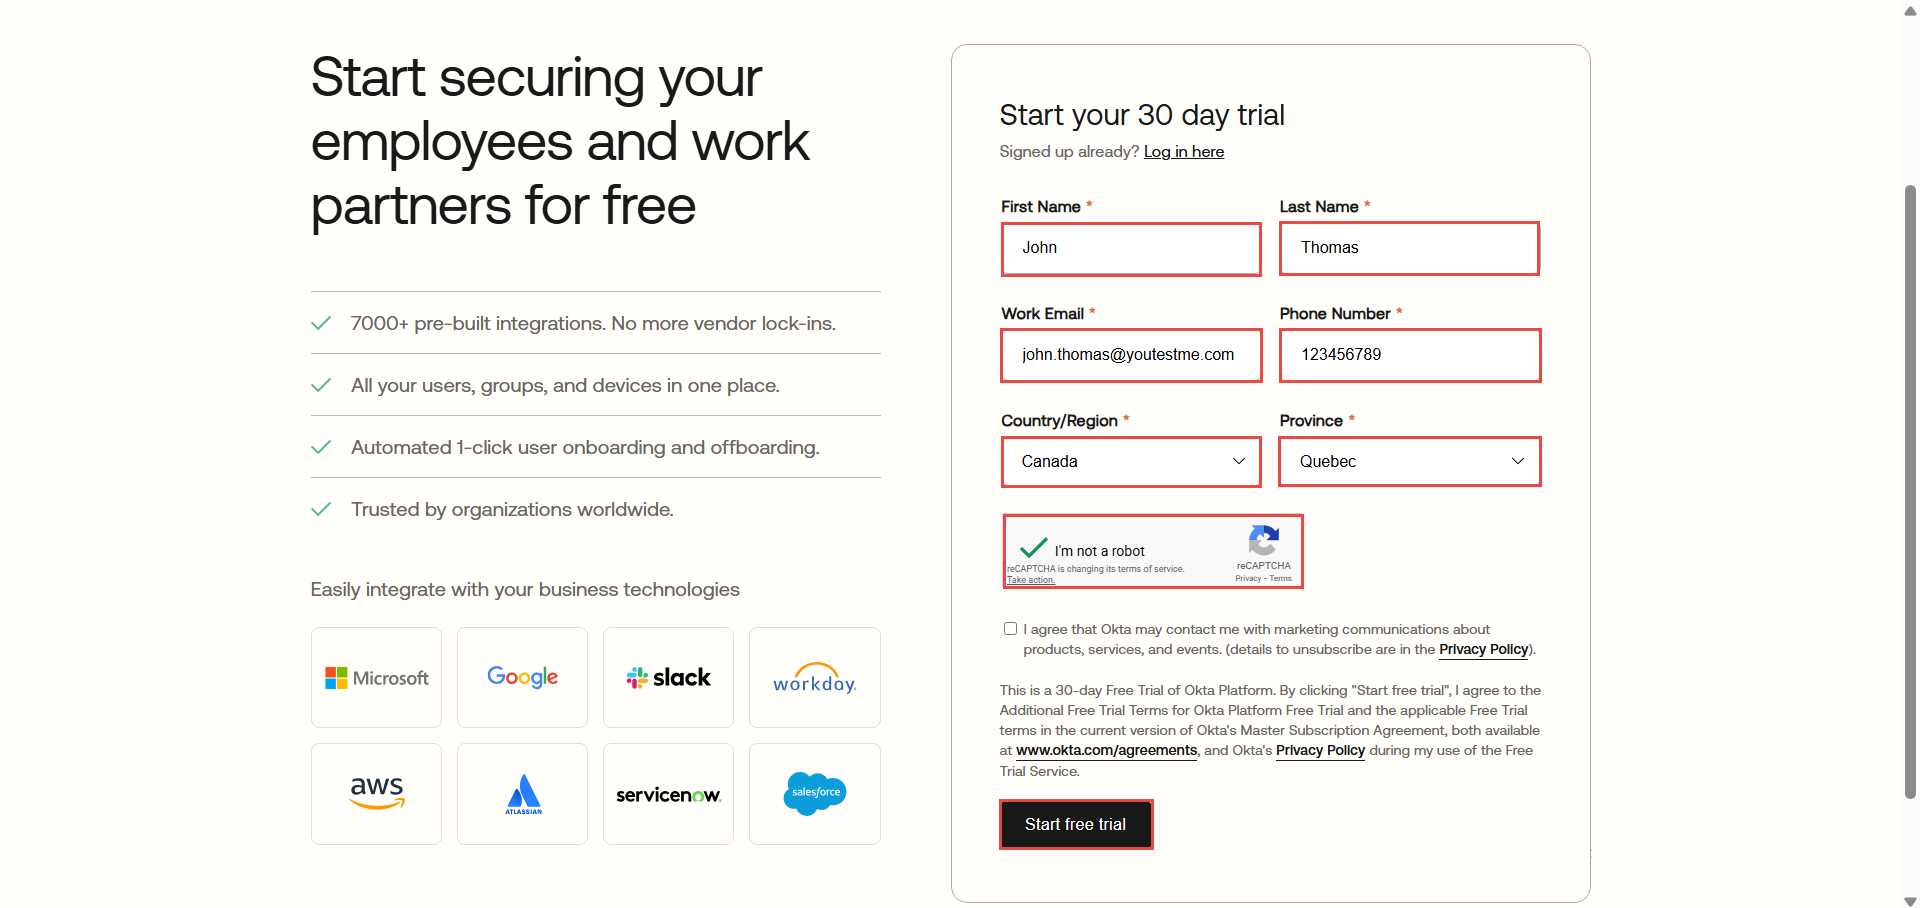
Fill in all mandatory fields with your personal and work-related information, then submit the form.
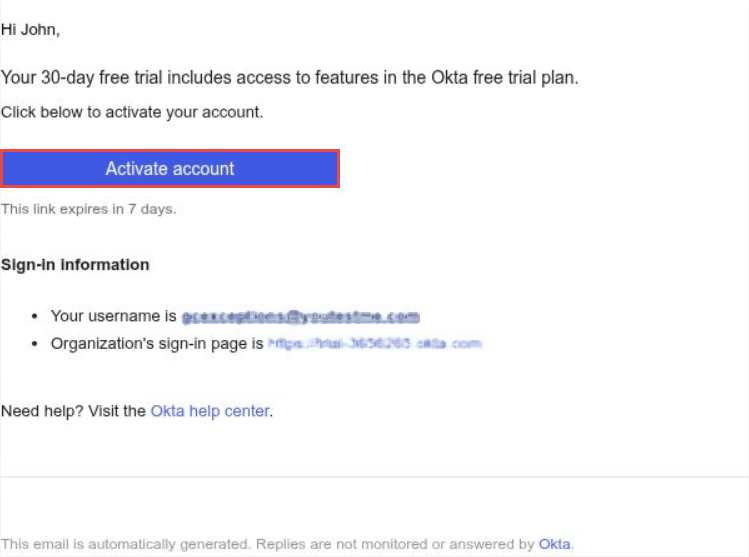
Check your work email inbox. You should receive an email from Okta.
Open the email and click the Activate Account button. You will be redirected to the Okta website to continue the setup process.
Click the Set Up button, enter a new password, and confirm it to continue.
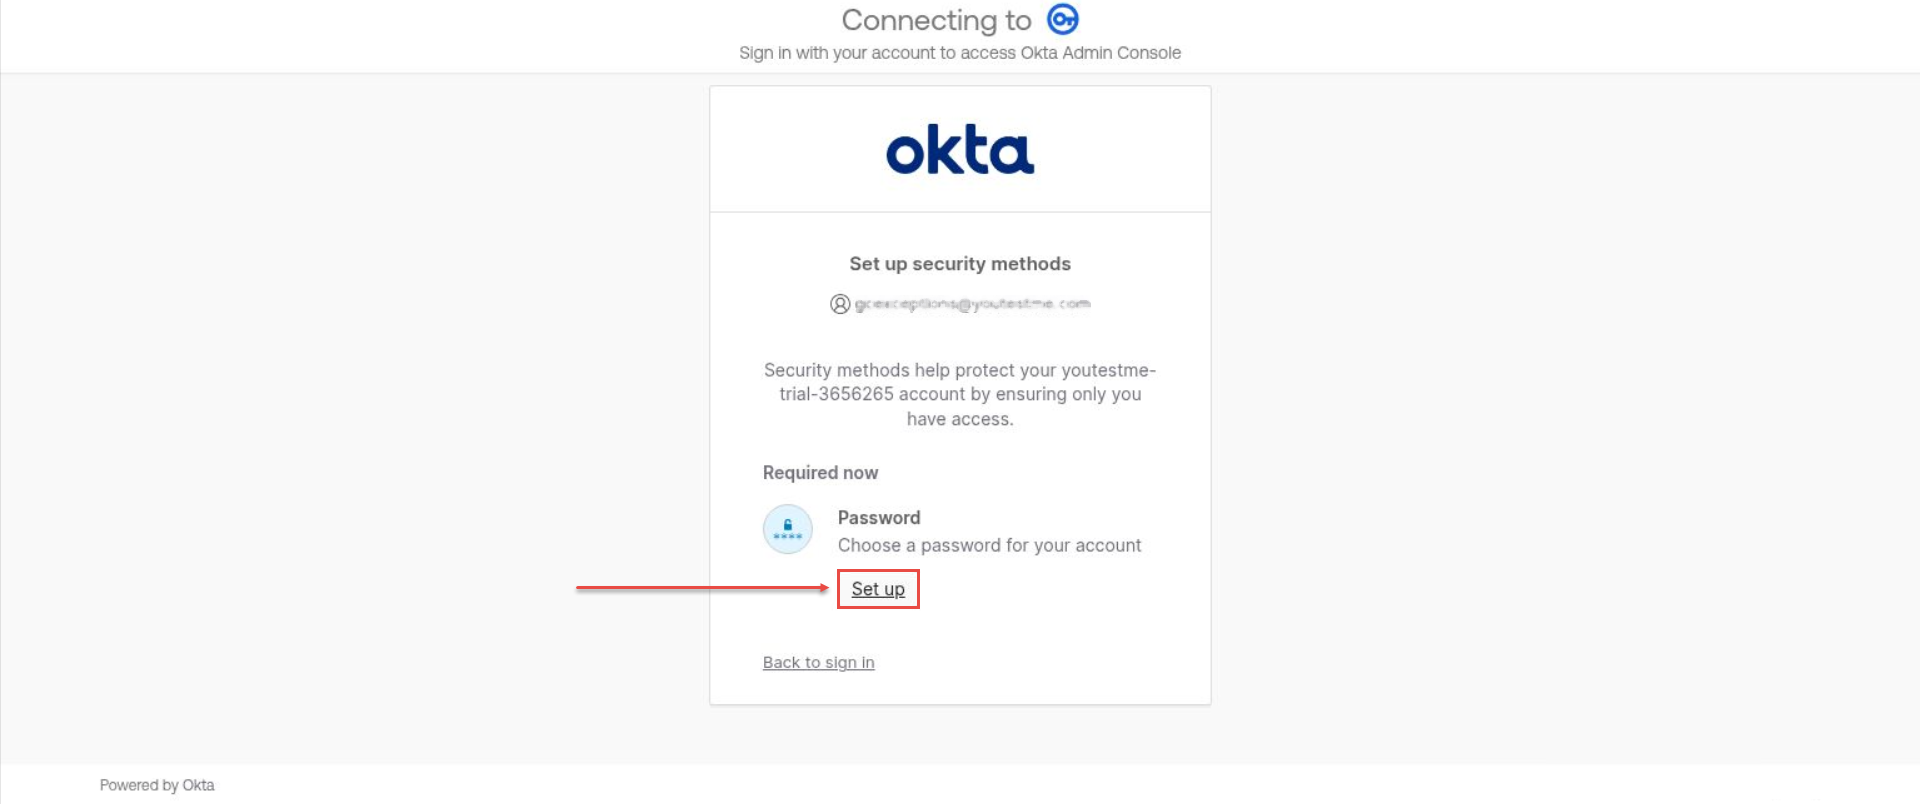
After setting your password, you will be prompted to configure a security method.
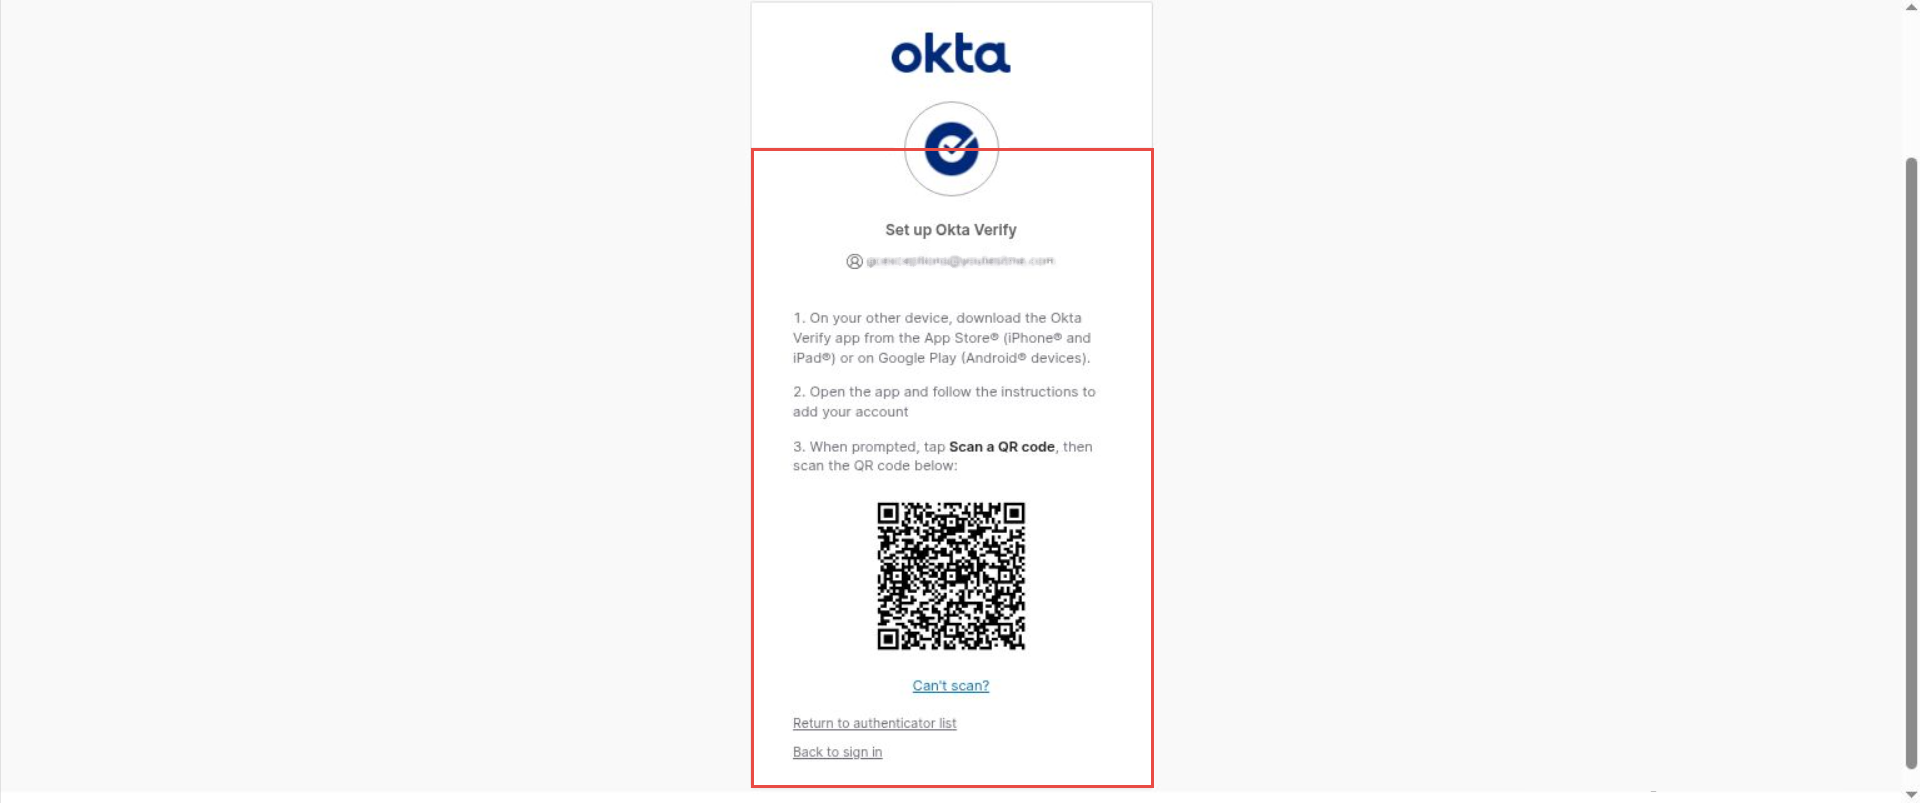
Download the Okta Verify app on your mobile device or computer, then click Set Up to proceed.

Follow Okta instructions to set up Okta Verify:
Once all steps are completed, you will be redirected to your Okta account dashboard.
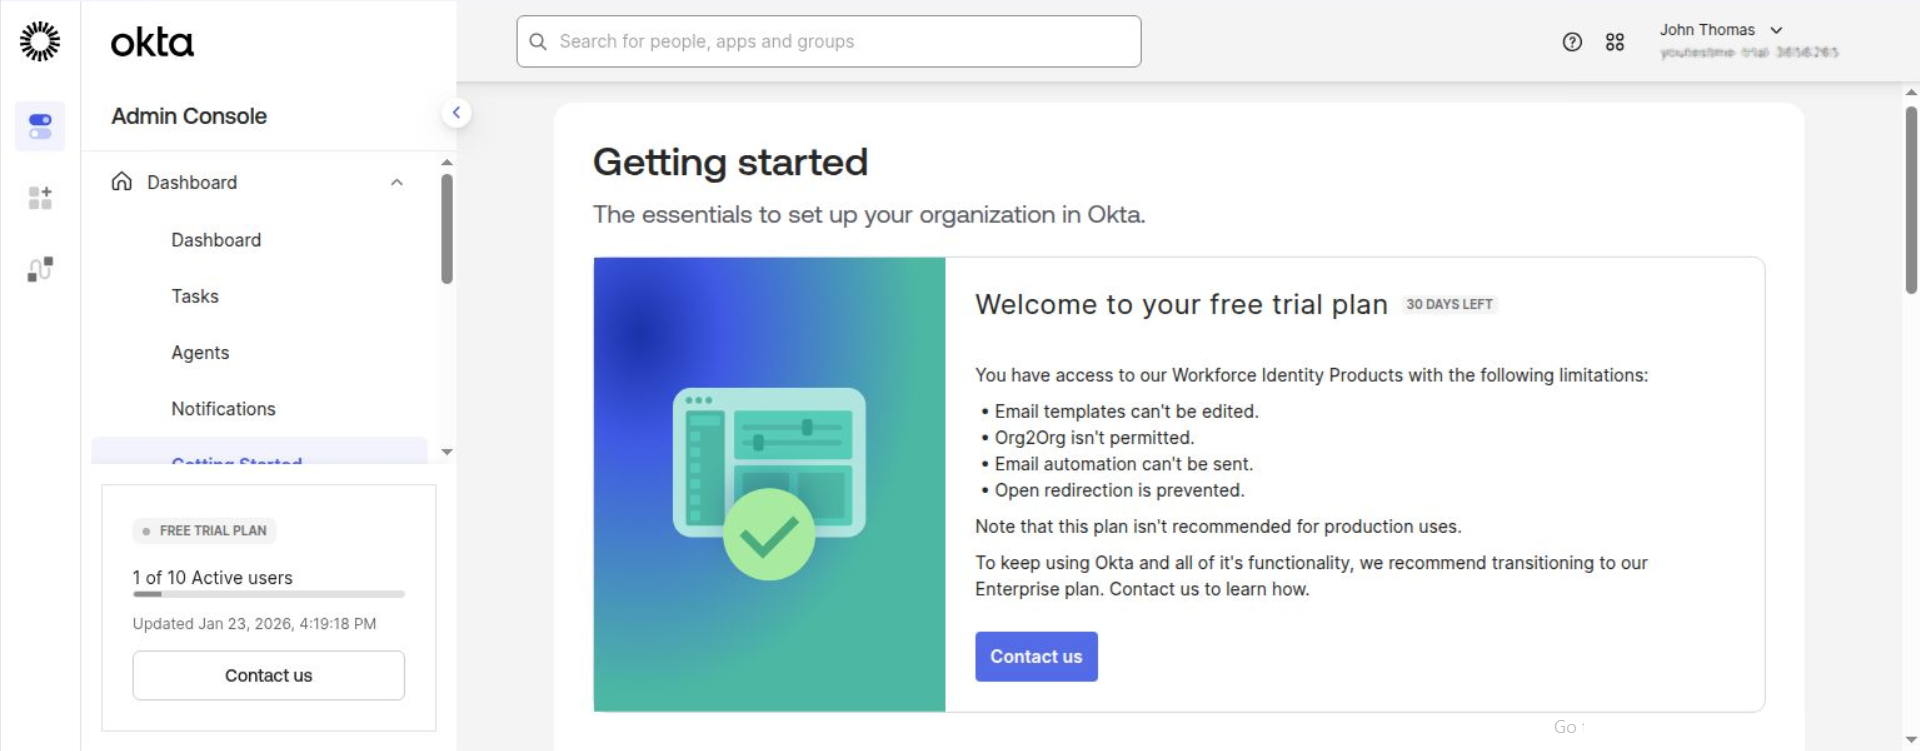
You are now ready to proceed with the next integration steps.
How to fill in the mandatory fields
- Enter the name you choose for the configuration. The name must be unique for each SSO configuration, as it identifies that configuration.
- Choose the status of the configuration. If the status is “Enabled,” users can sign in using the identity provider specified in the configuration. Otherwise, they will not be able to do so.
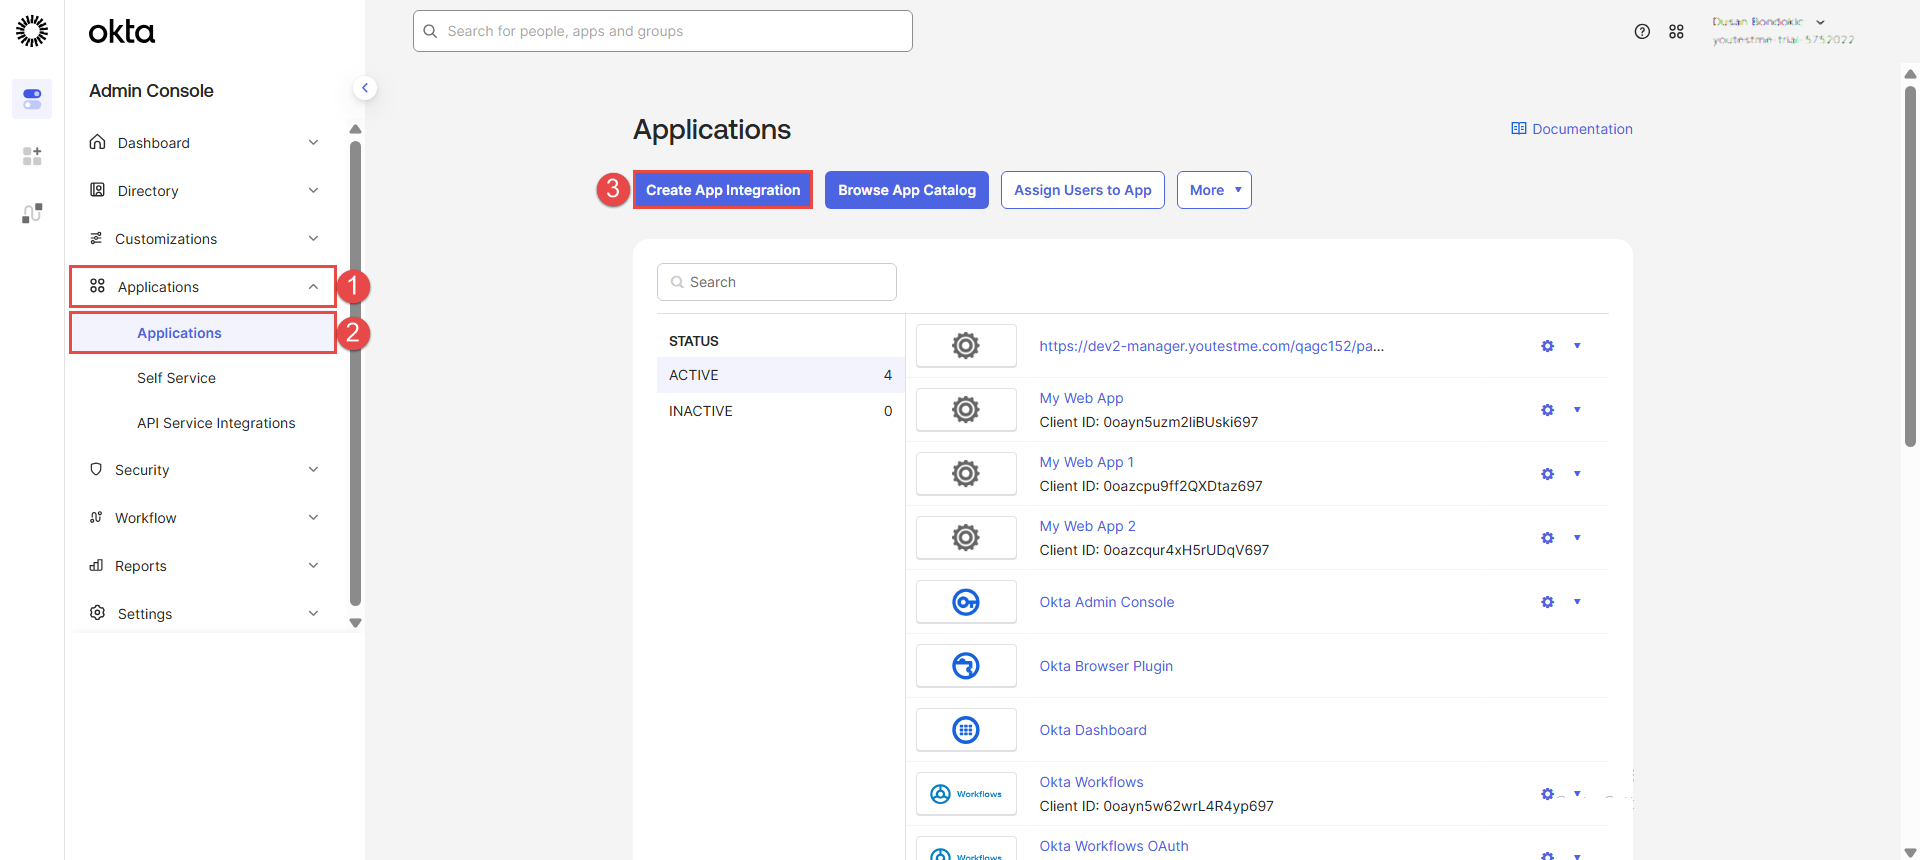
Next, go to your Okta account. Once you log in:
1. Navigate to the “Applications” tab.
2. Choose the “Applications” option from the drop-down menu.
3. Then, click on the “Create App Integration” button (follow the steps from the picture below):
 1. Choose the “SAML 2.0” option.
2. Click the “Next” button: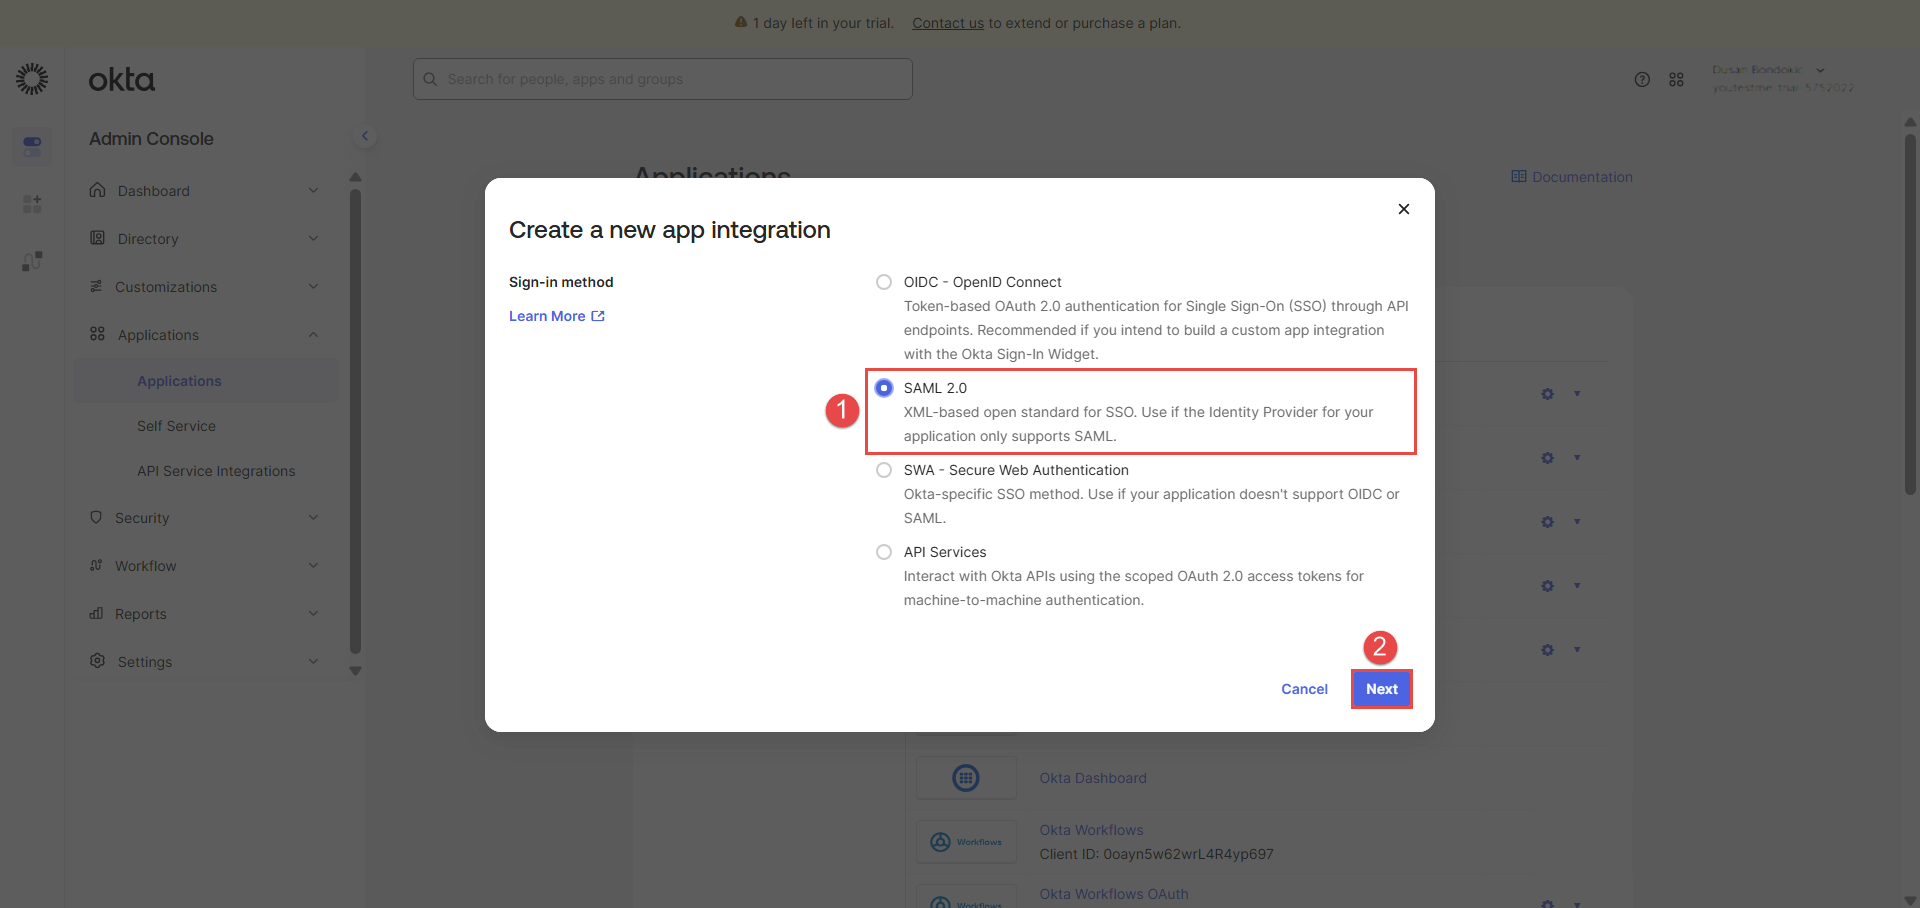
1. When the creation window appears, add “App name” (use the same context as your application).
2. Click the “Next” button.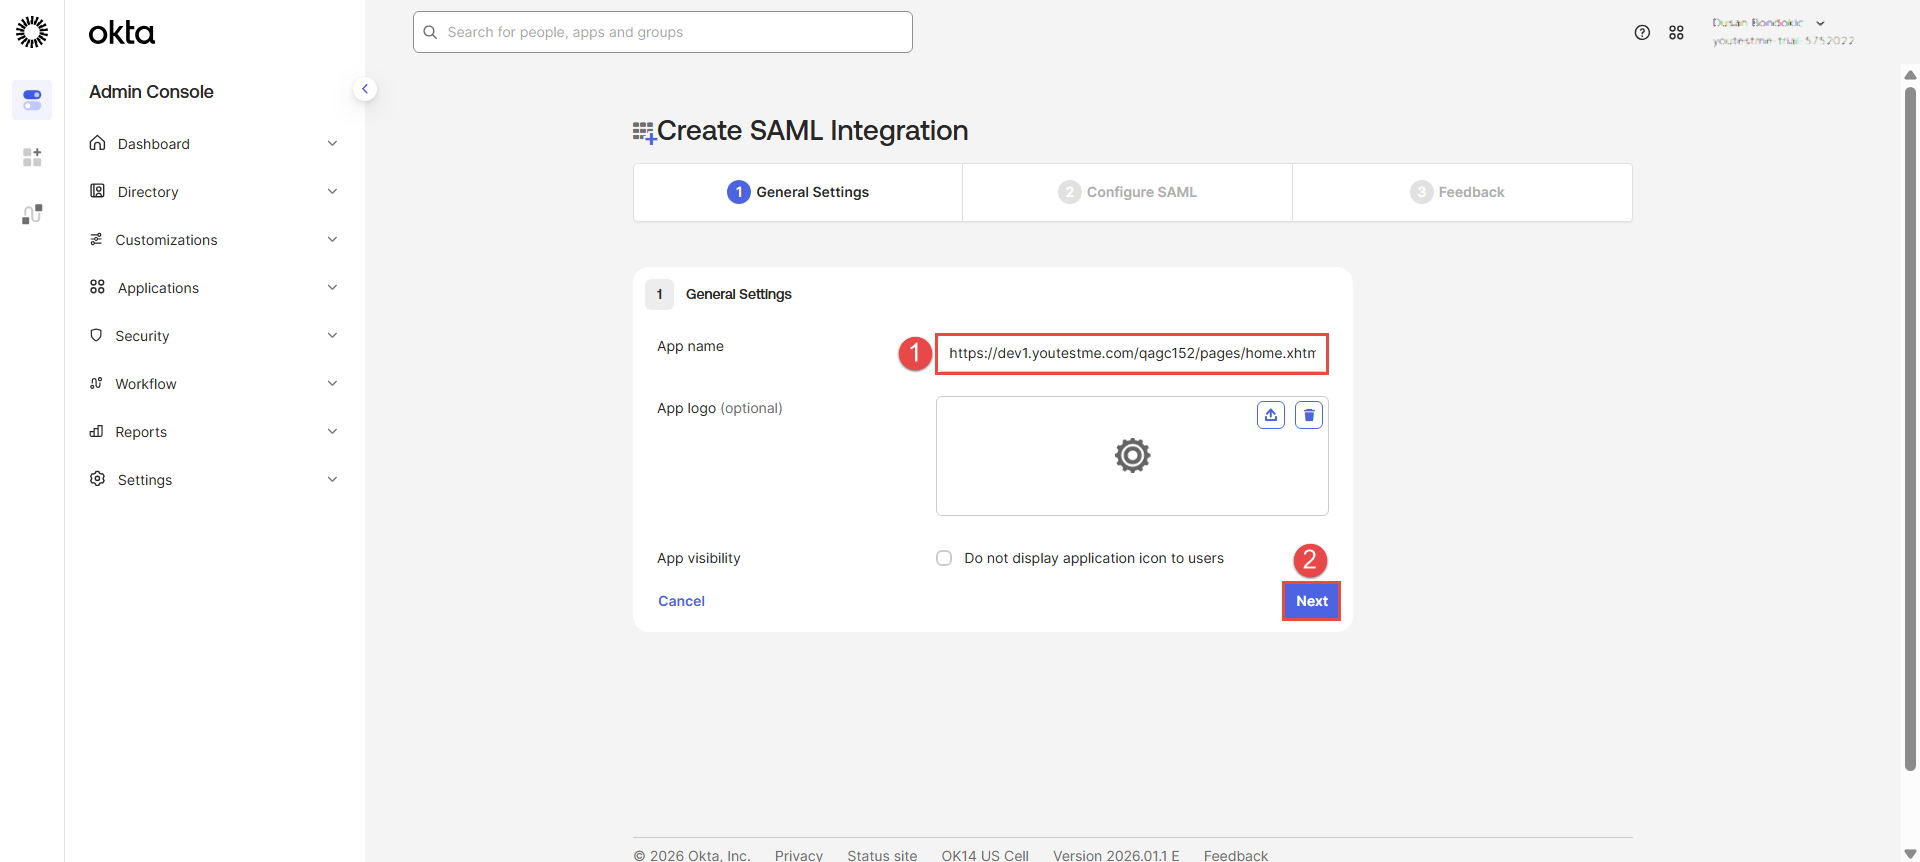 In the next steps, you will use data from the YTM application to integrate with Okta.
1. Select and copy the provided “Service provider Entity ID” URL from the YTM application to configure with Okta. Paste it into the “Audience URI (SP Entity ID)” in Okta.
2. Copy the provided “Assertion consumer service URL” from the YTM application. Paste it into the “Single sign on URL” field in Okta.
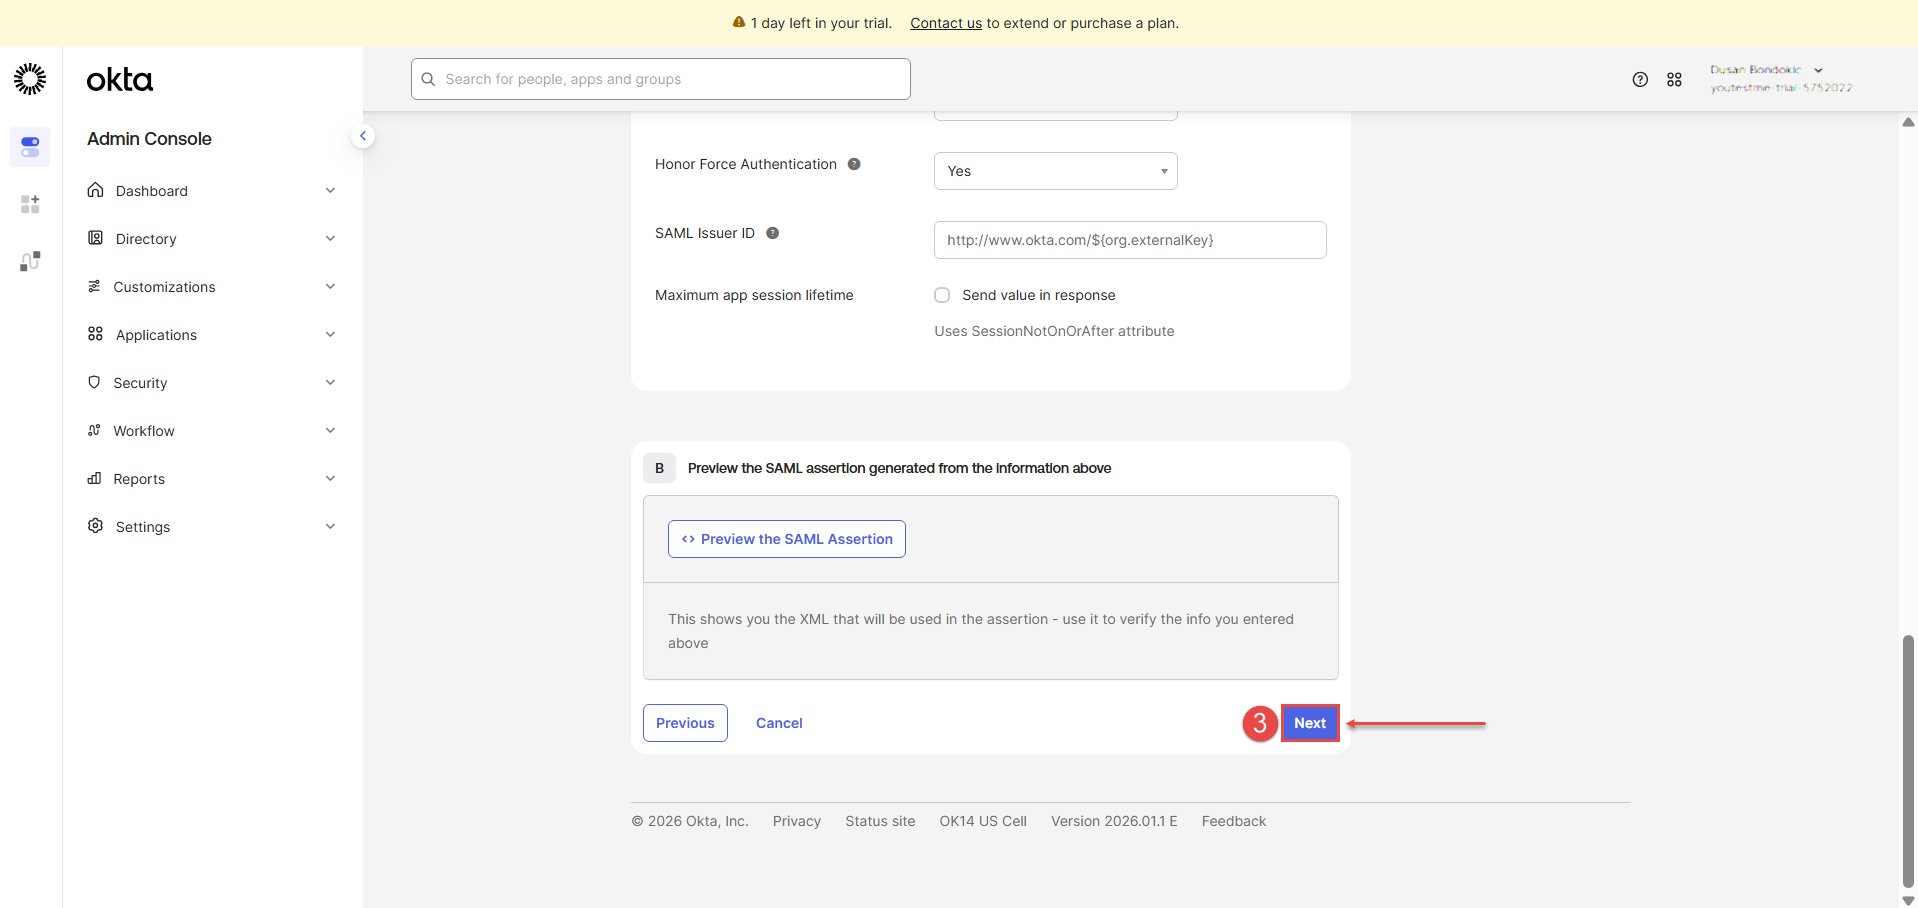
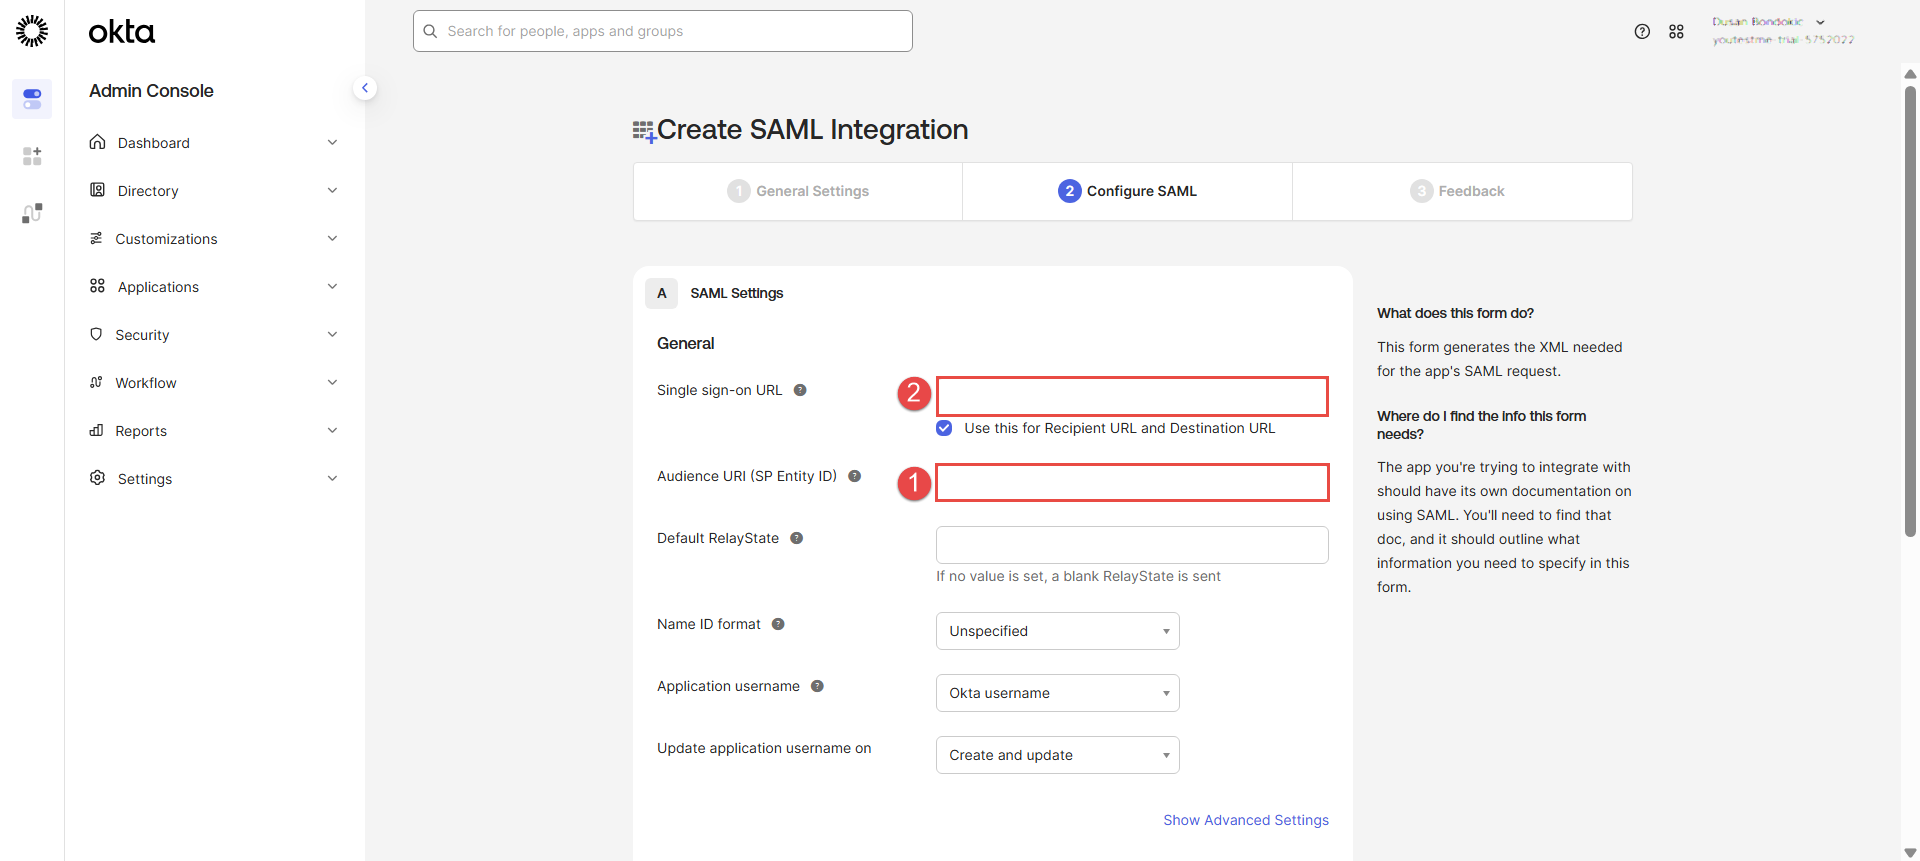 3. Scroll down to the bottom of the page and click the “Next” button
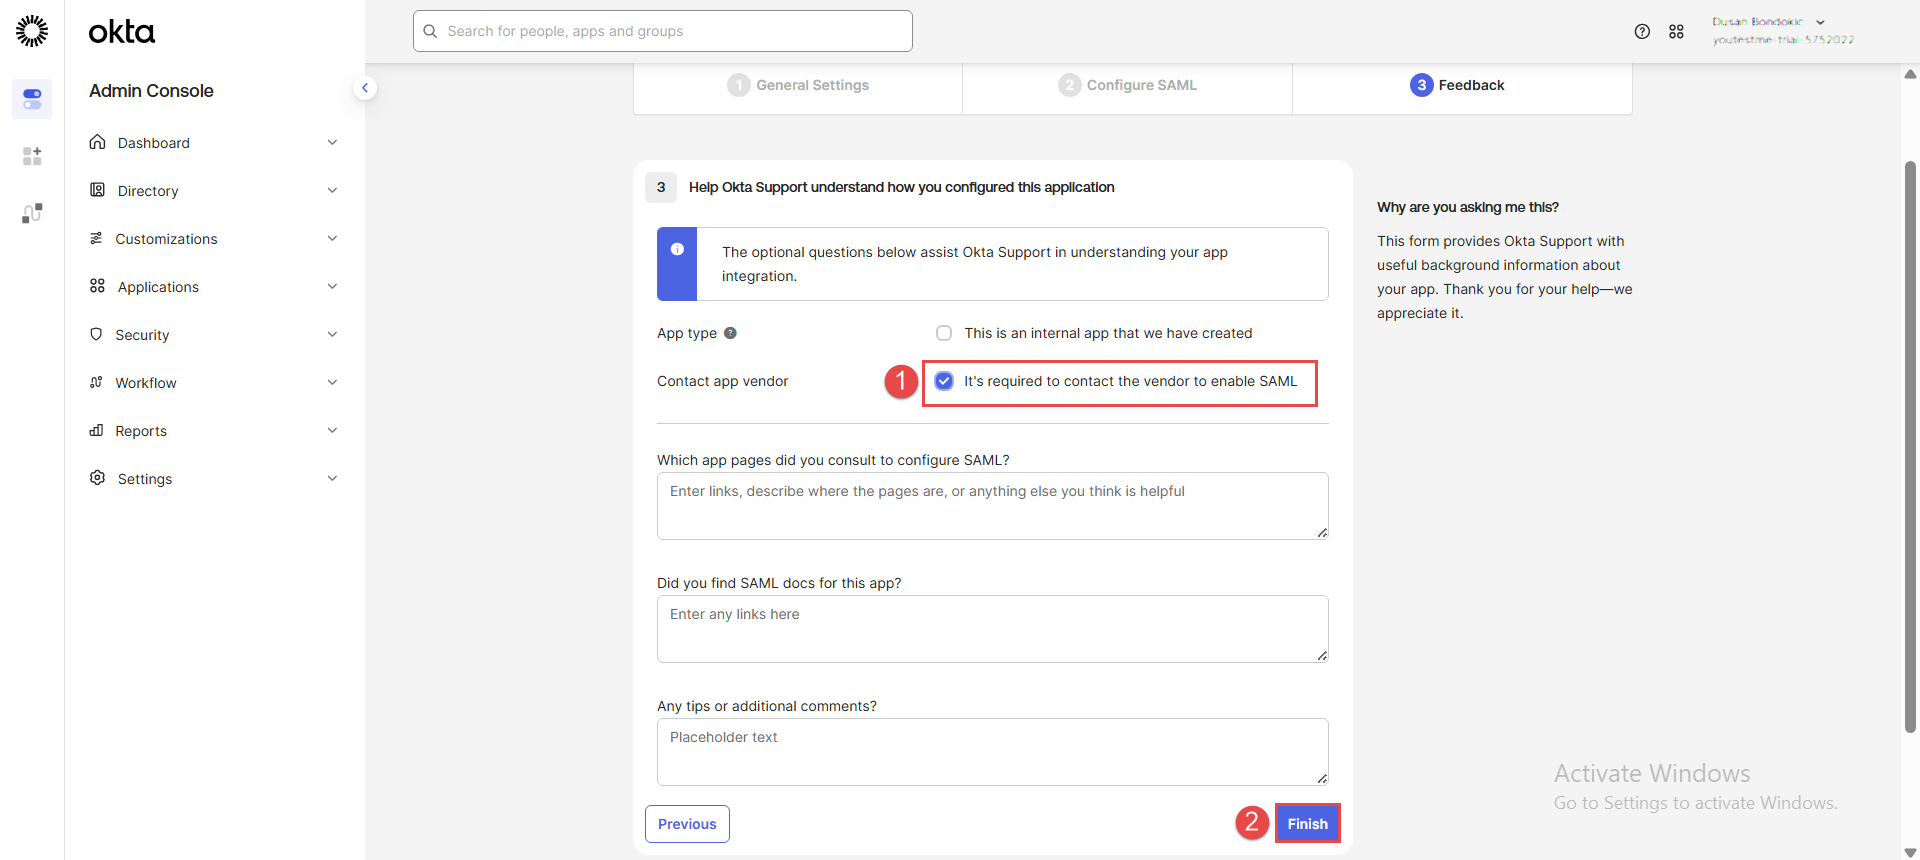
- In the next step, choose the second option: “It’s required to contact the vendor to enable SAML”.
- Click the “Finish” button.
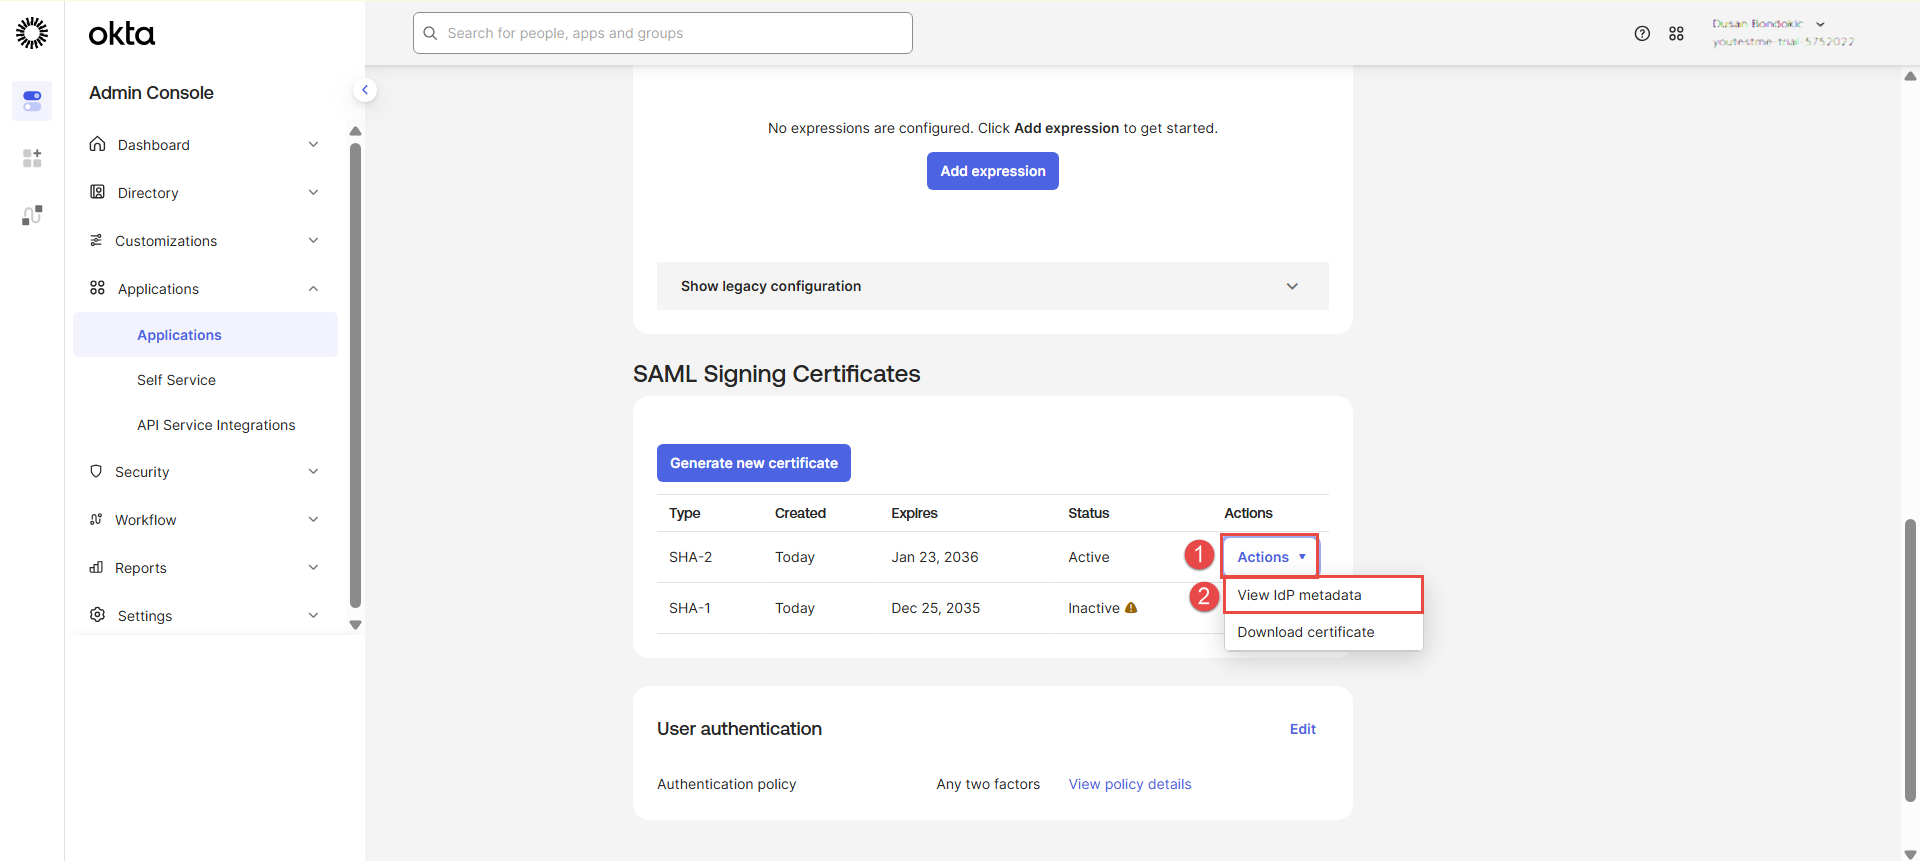
 After finishing, navigate to the SAML Signing Certificates section below the page.
1. Click the “Actions” option.
2. Click on “View IdP metadata” for additional data. The XML file should appear, and you should add the following information from the file:
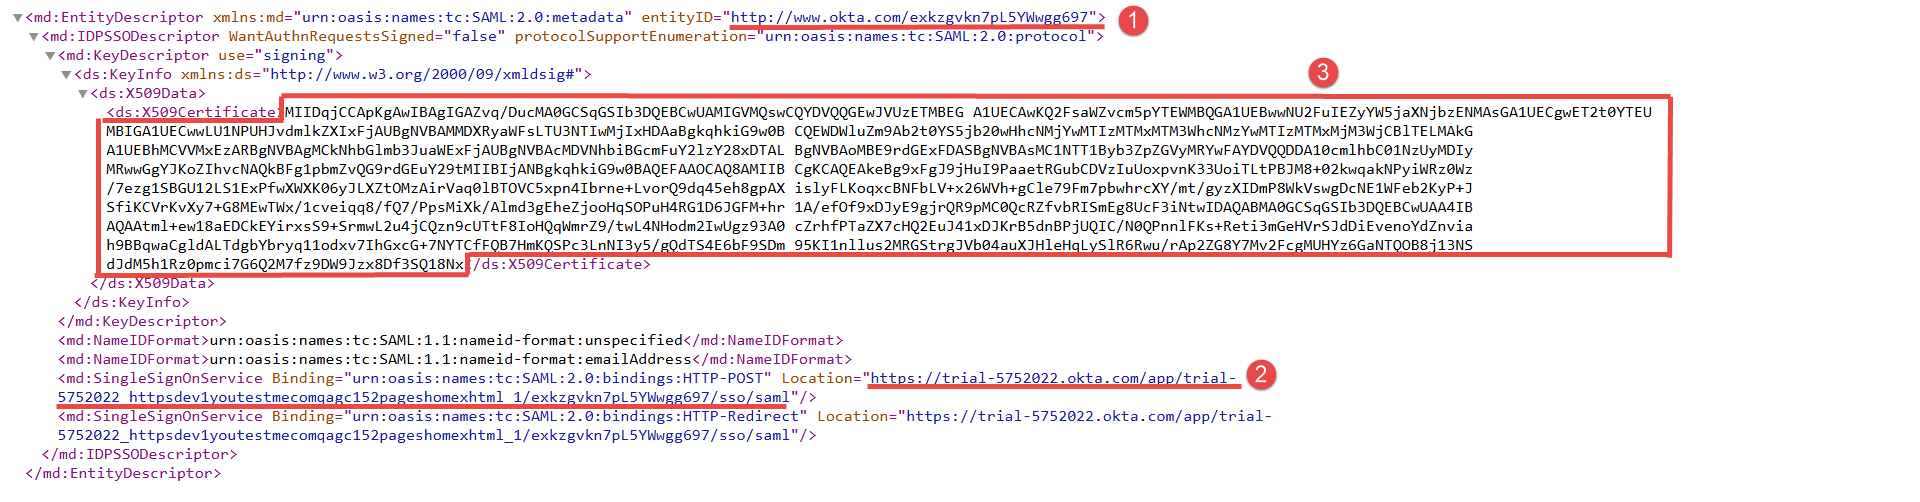
1. The entityID value should be entered in the Identity provider Entity ID field in the GetCertified app.
2. Location value should be entered in the Single Sign-On Service URL field in the GetCertified app.
3. Certificate code should be entered in the Certificate field in the GetCertified app.
 Ensure that the “Single sign-on service binding” is set on the “HTTP-POST”. Save the configuration.


The new SSO configuration should be created and displayed as “Enabled.” 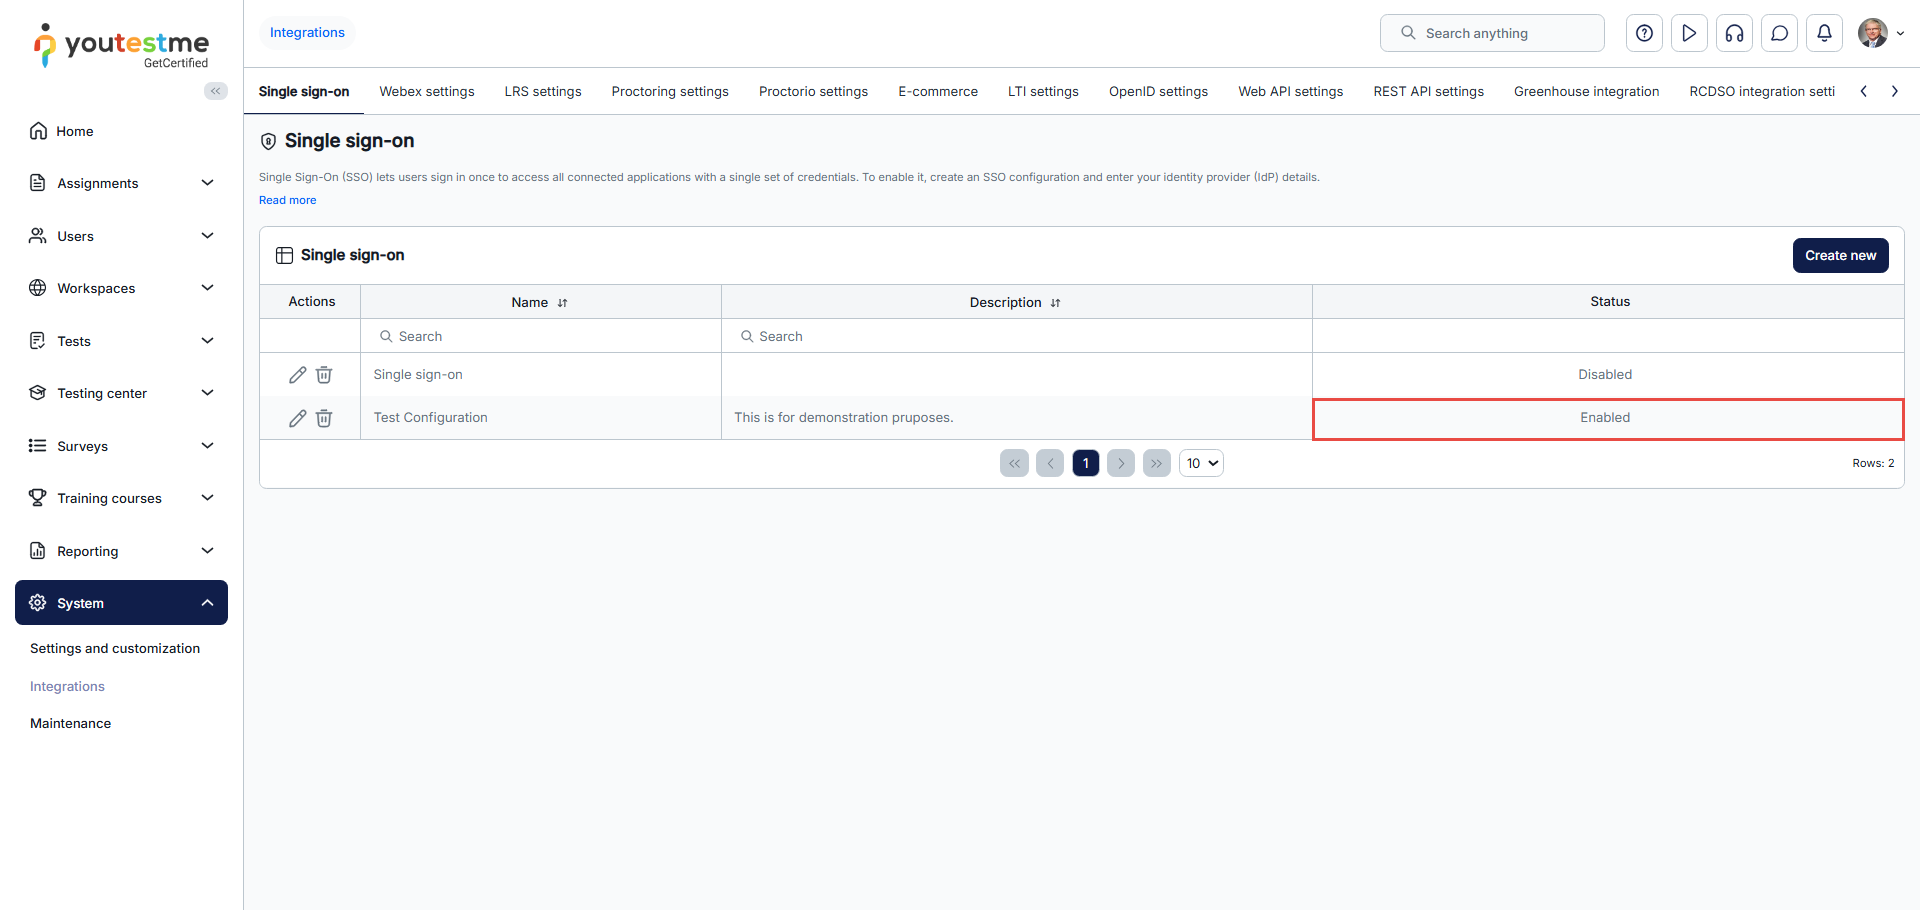
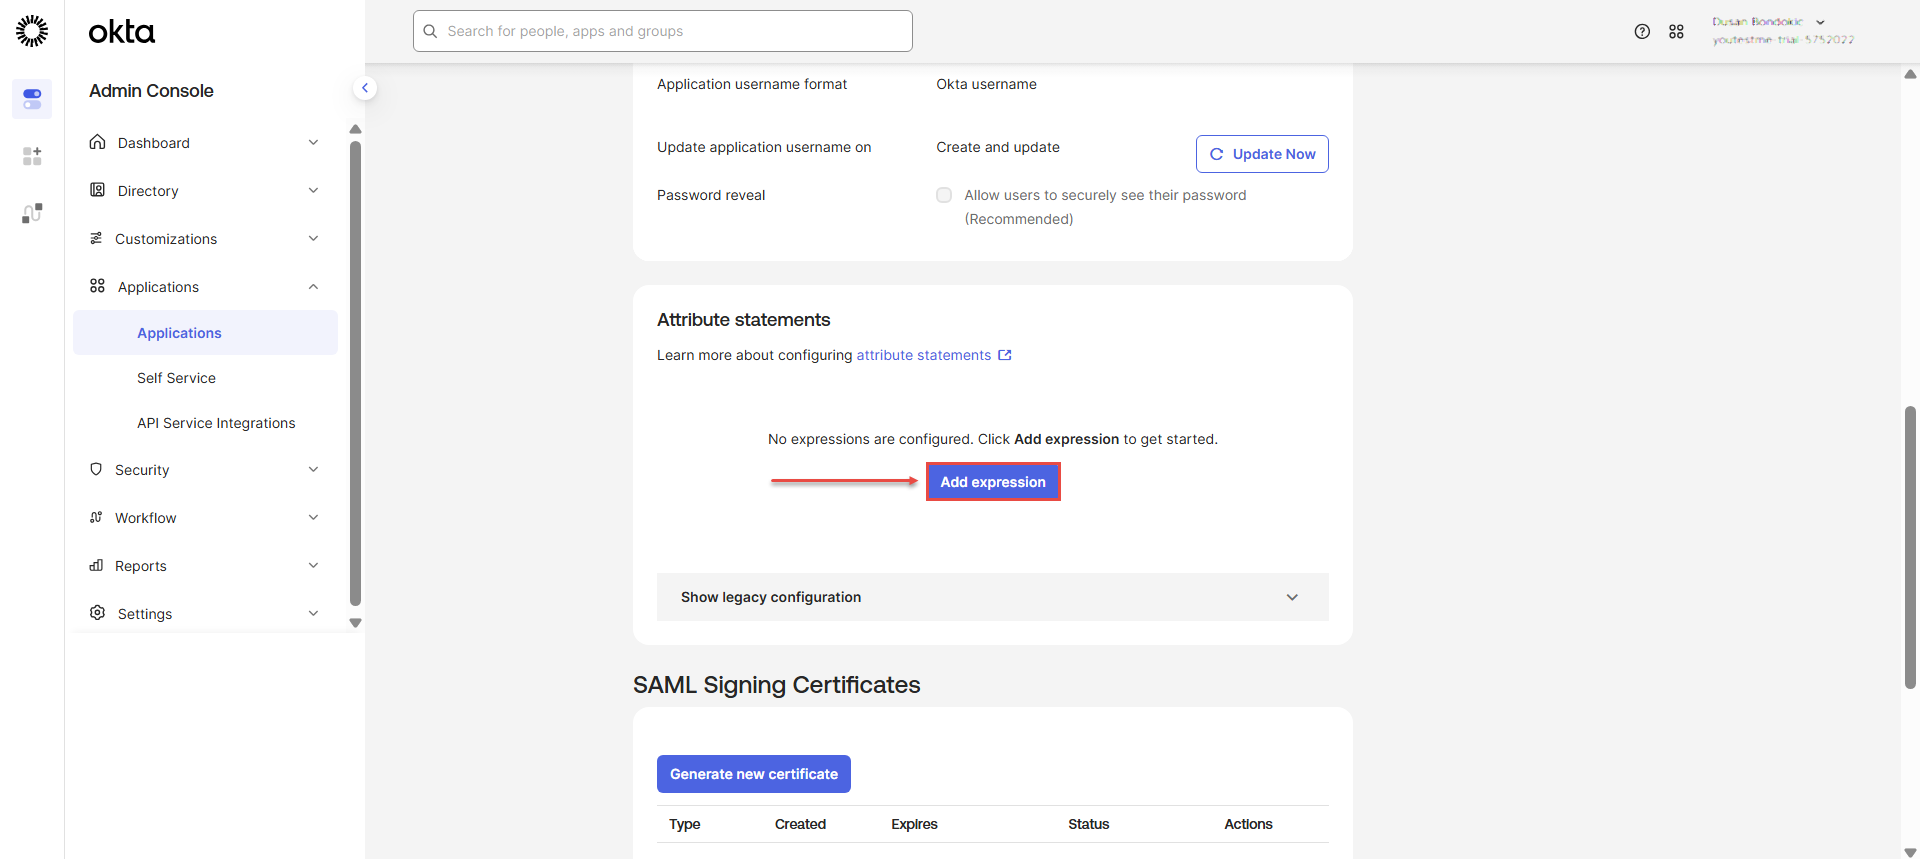
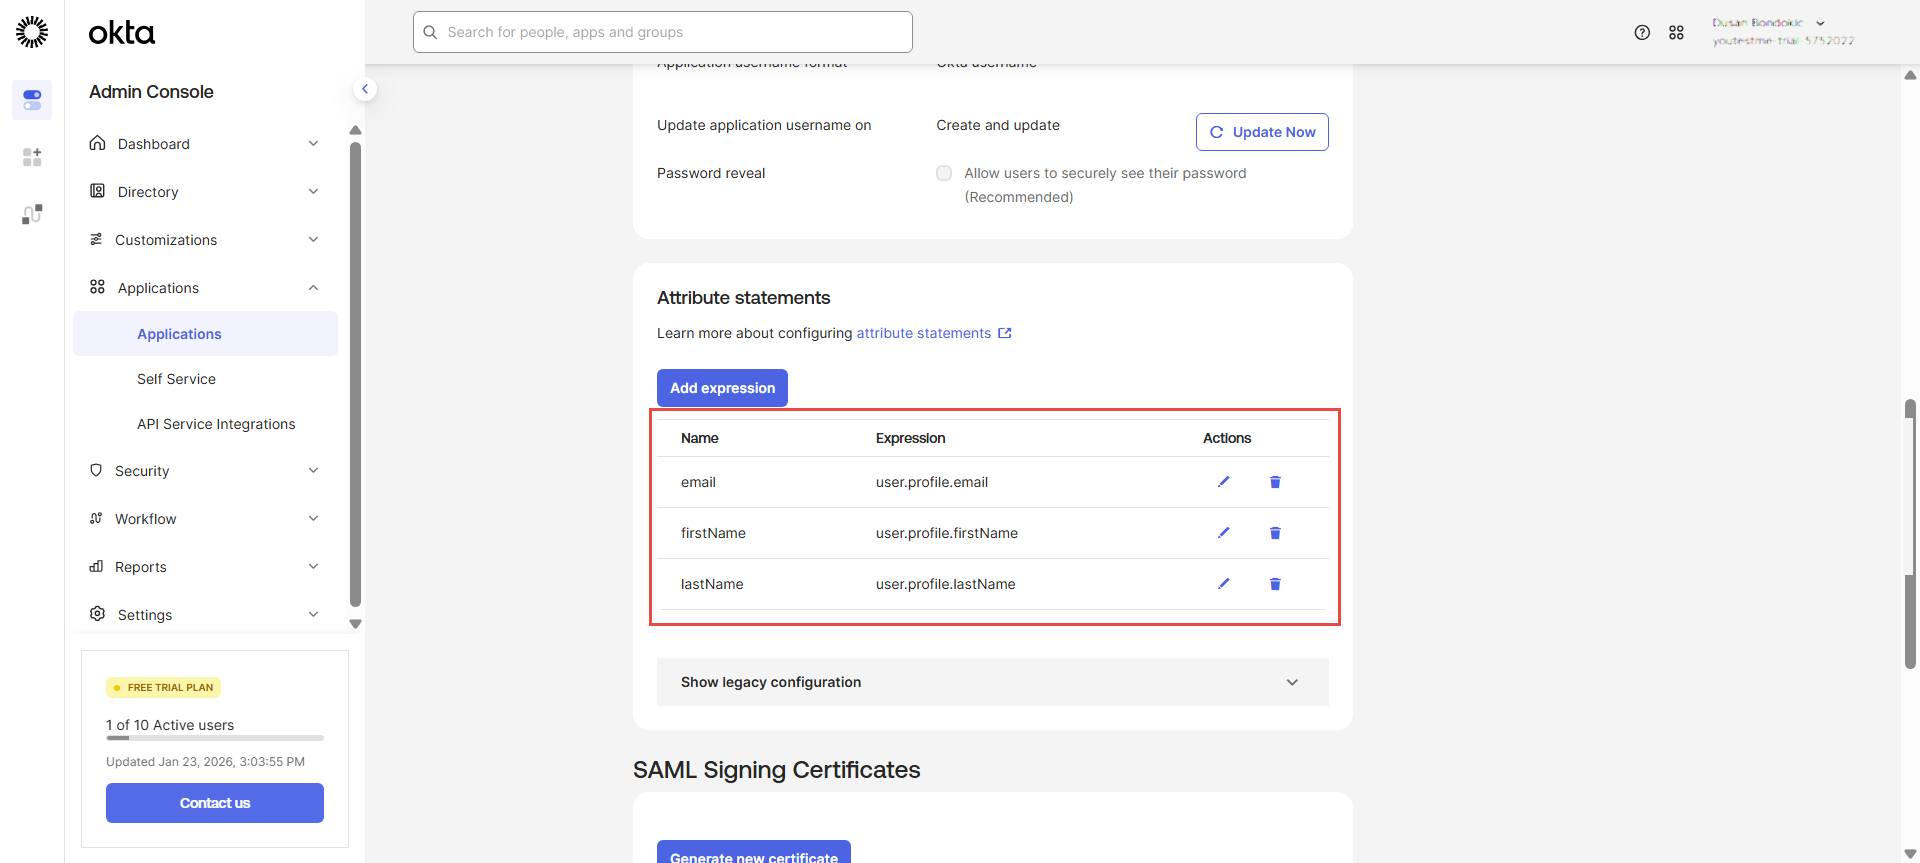
Navigate to Sign On tab and scroll down to Attribute statements section. Here, you need to configure Sign-on expressions. Click the “Add expression” button.
 In a displayed dialog, input Name and Expression values, and after each input, click the Save button.
The following expressions need to be added:
– Name: email | Expression: user.profile.email
– Name: firstName | Expression: user.profile.firstName
– Name: lastName | Expression: user.profile.lastName

After adding all needed expressions, the Attribute statements section should look like this:
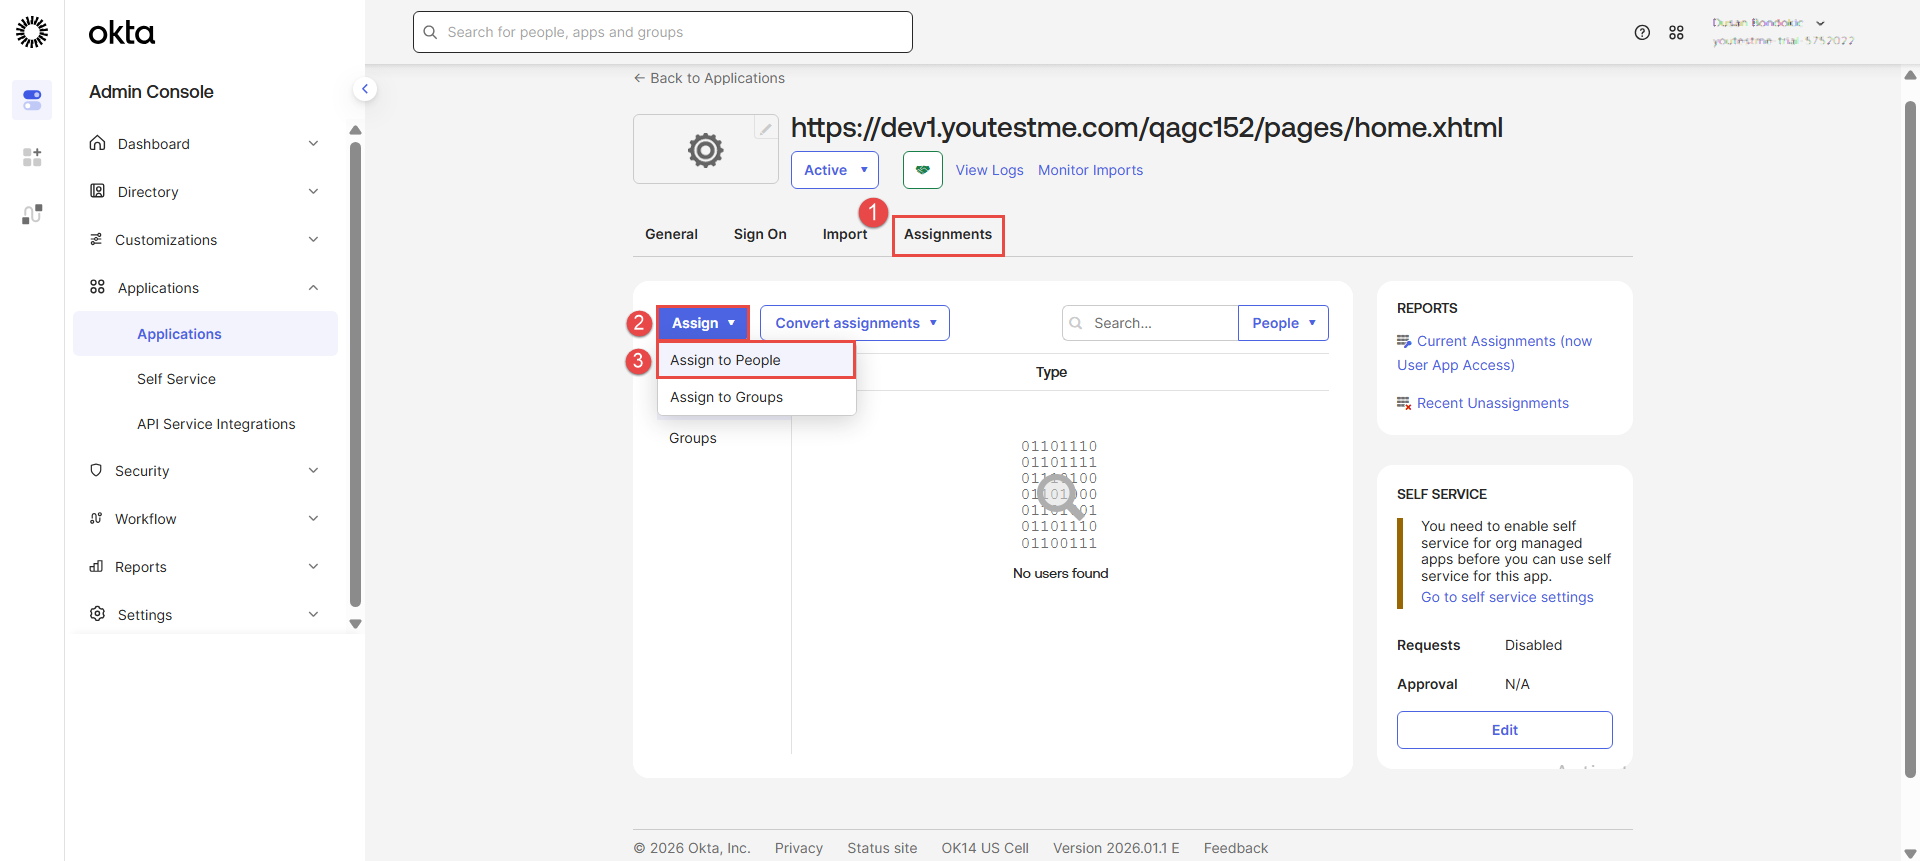
In order to have access to the application, the user needs to be assigned first on Okta.
- Navigate to the “Assignments” tab.
- Click the “Assign” button.
- Choose the “Assign to People” option from the dropdown menu.
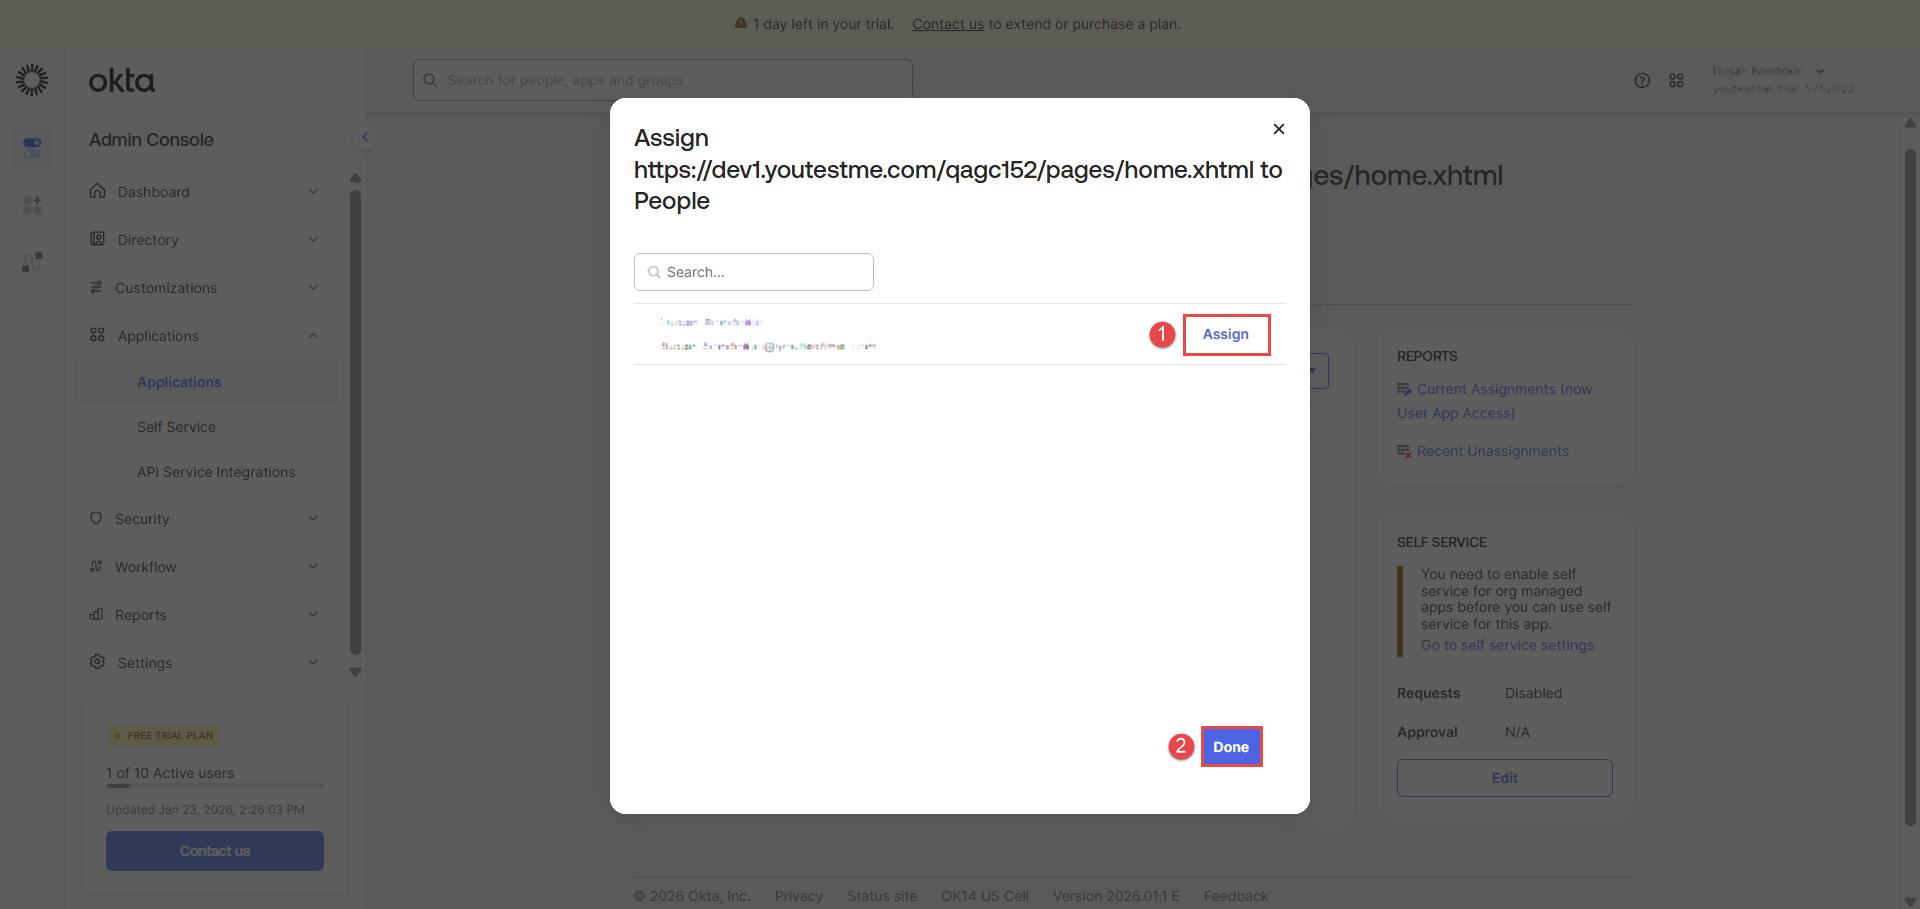
In the displayed dialog:
1. Click the “Assign” button.
2. Click the “Done” button.
Next, click the “Save and Go Back” button.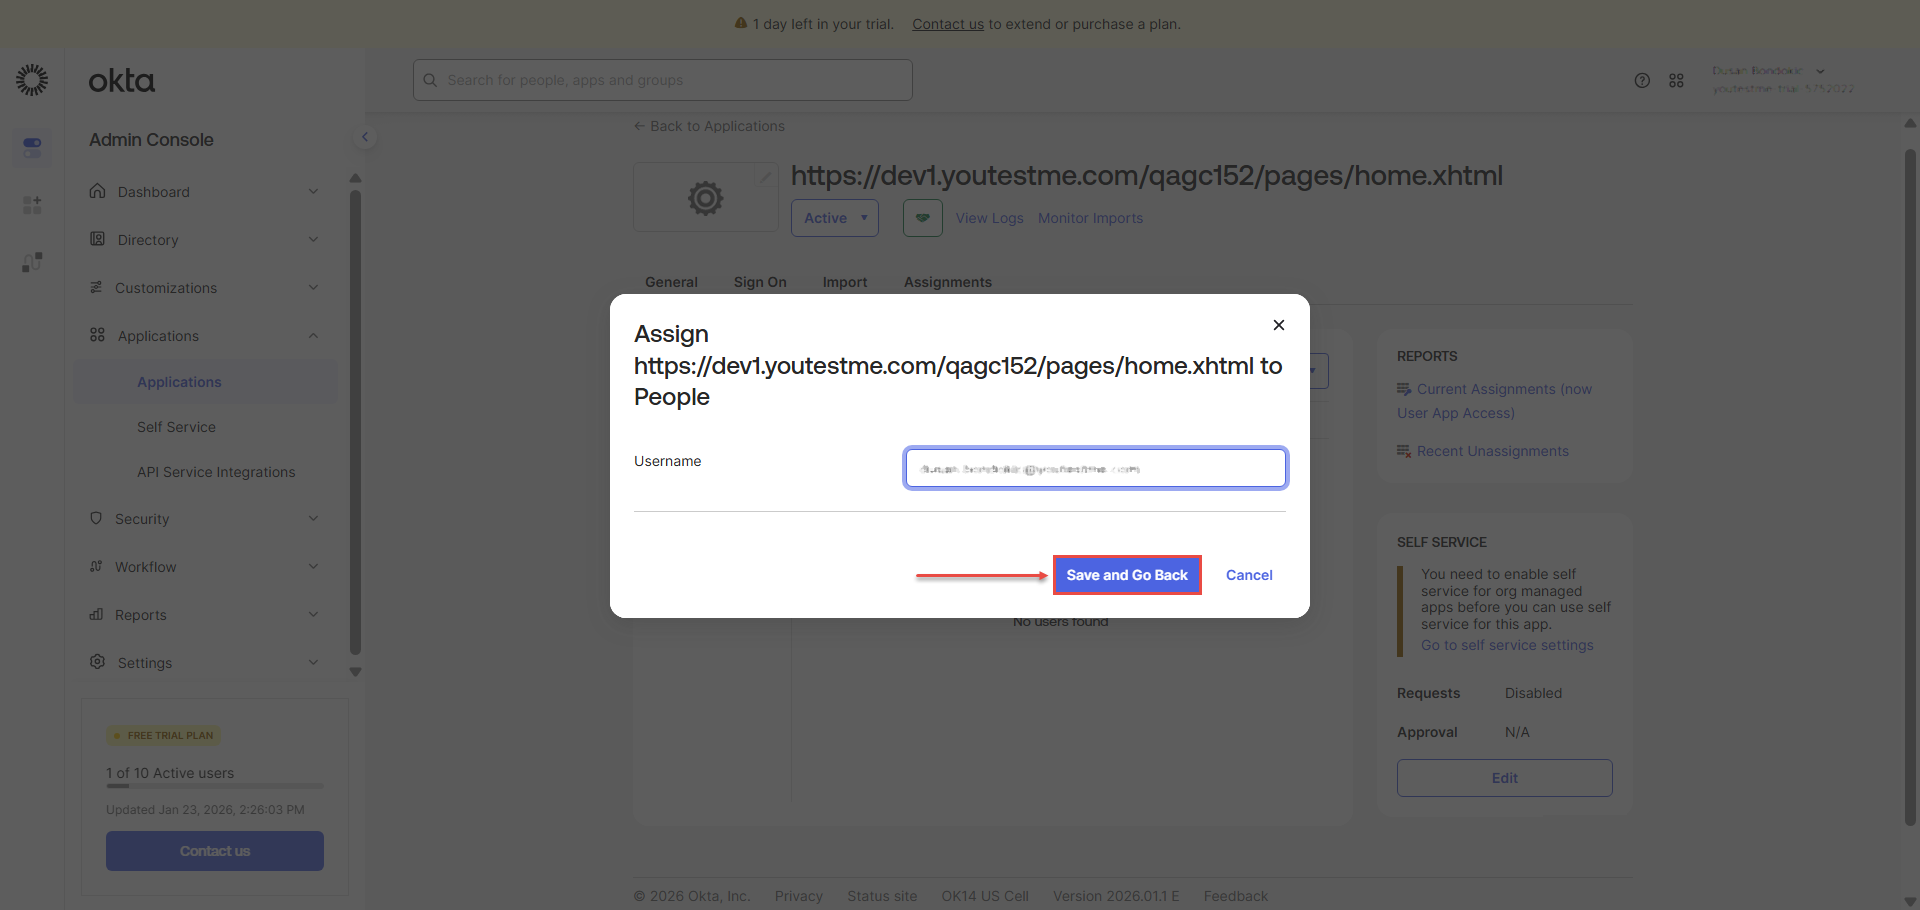
Candidate’s perspective
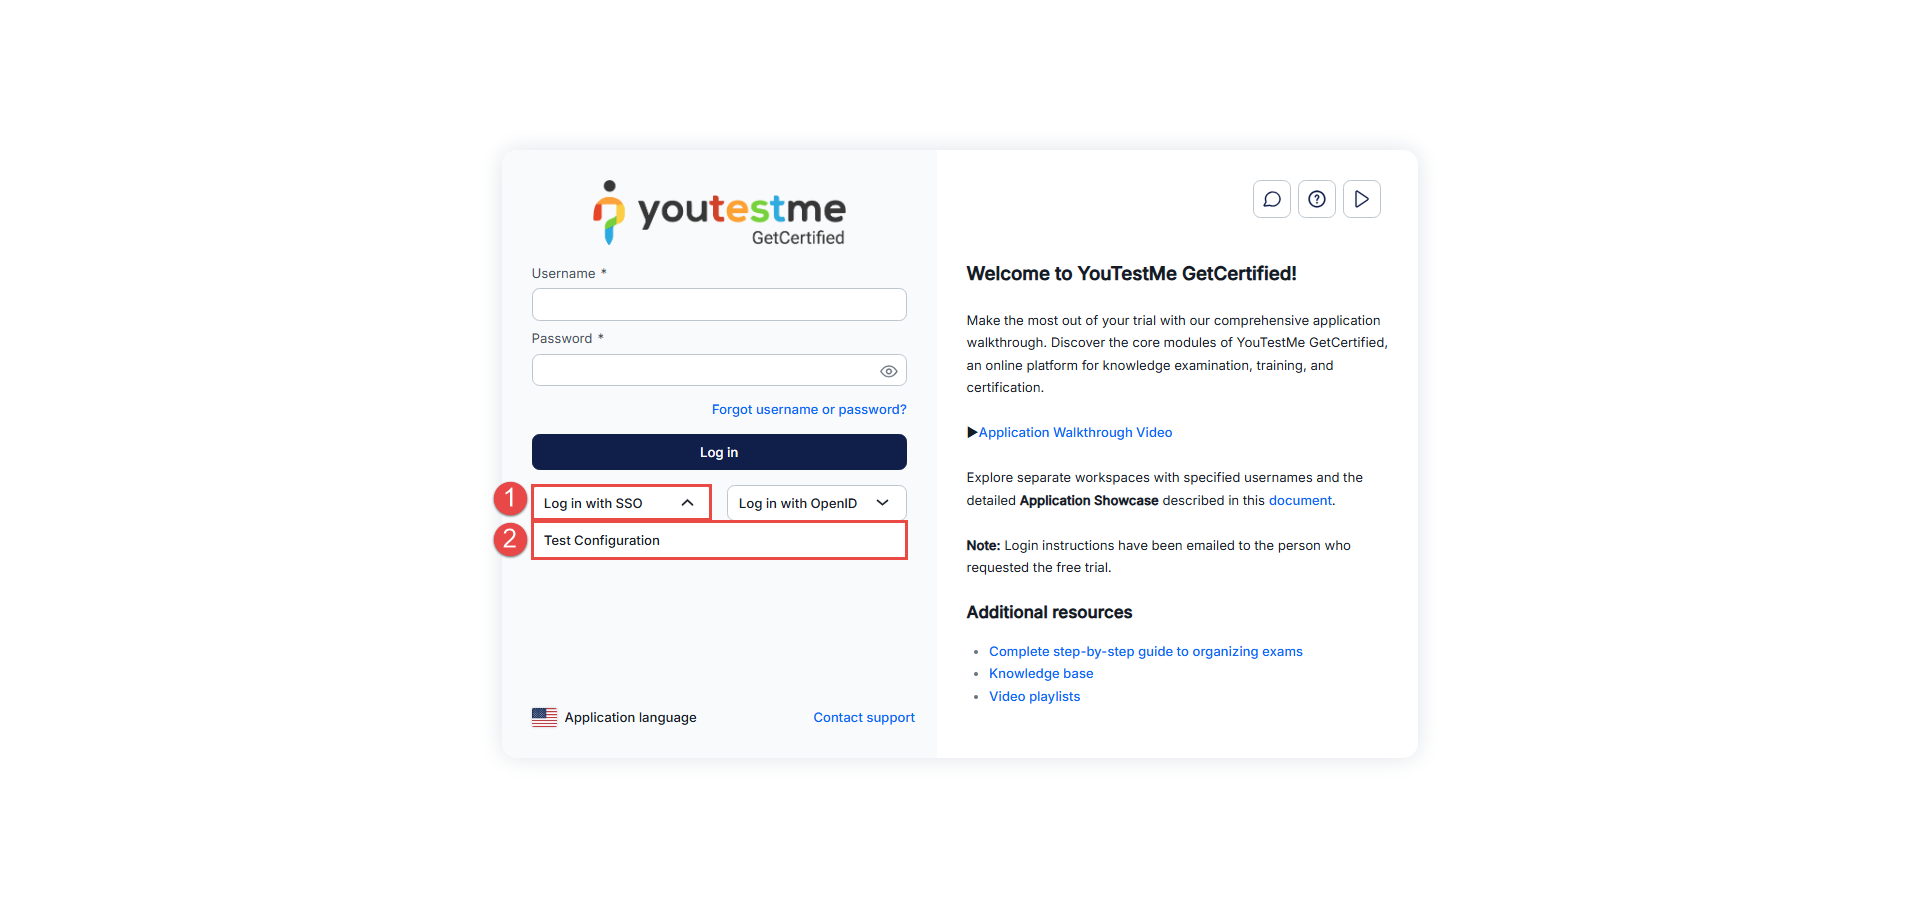
Candidates can choose to sign in with the newly created SSO integration:
1. Click the Log in with SSO button.
2. Choose the specific SSO integration from the dropdown menu.

Once the candidate has passed the validation steps, he will be directed to the YTM application.
NOTE: Please contact our support team if you have trouble configuring your SSO configuration.
For more related instructional materials, please visit:
