Article verified for Release 15.0 on October 1, 2025.
This article provides a guide on managing and triggering email and app notifications in the GetCertified application.
Introduction
The Notifications module in the GetCertified application allows users to manage and customize how they receive important test updates and alerts. Accessible from the Settings and Customization tab, this section allows you to enable or disable specific notifications, edit their content, and adjust preferences to suit your needs.
There are two types of notifications available:
- Application Notifications – displayed within the GetCertified platform while users are logged in, providing real-time alerts about activities such as test assignments or updates.
- Email Notifications – sent directly to users’ inboxes, keeping them informed about test-related events even when they are not logged into the system.
By customizing these notifications, candidates and administrators can ensure they receive relevant and timely information, enhancing communication and ensuring a smooth testing experience.
Customizing Notifications
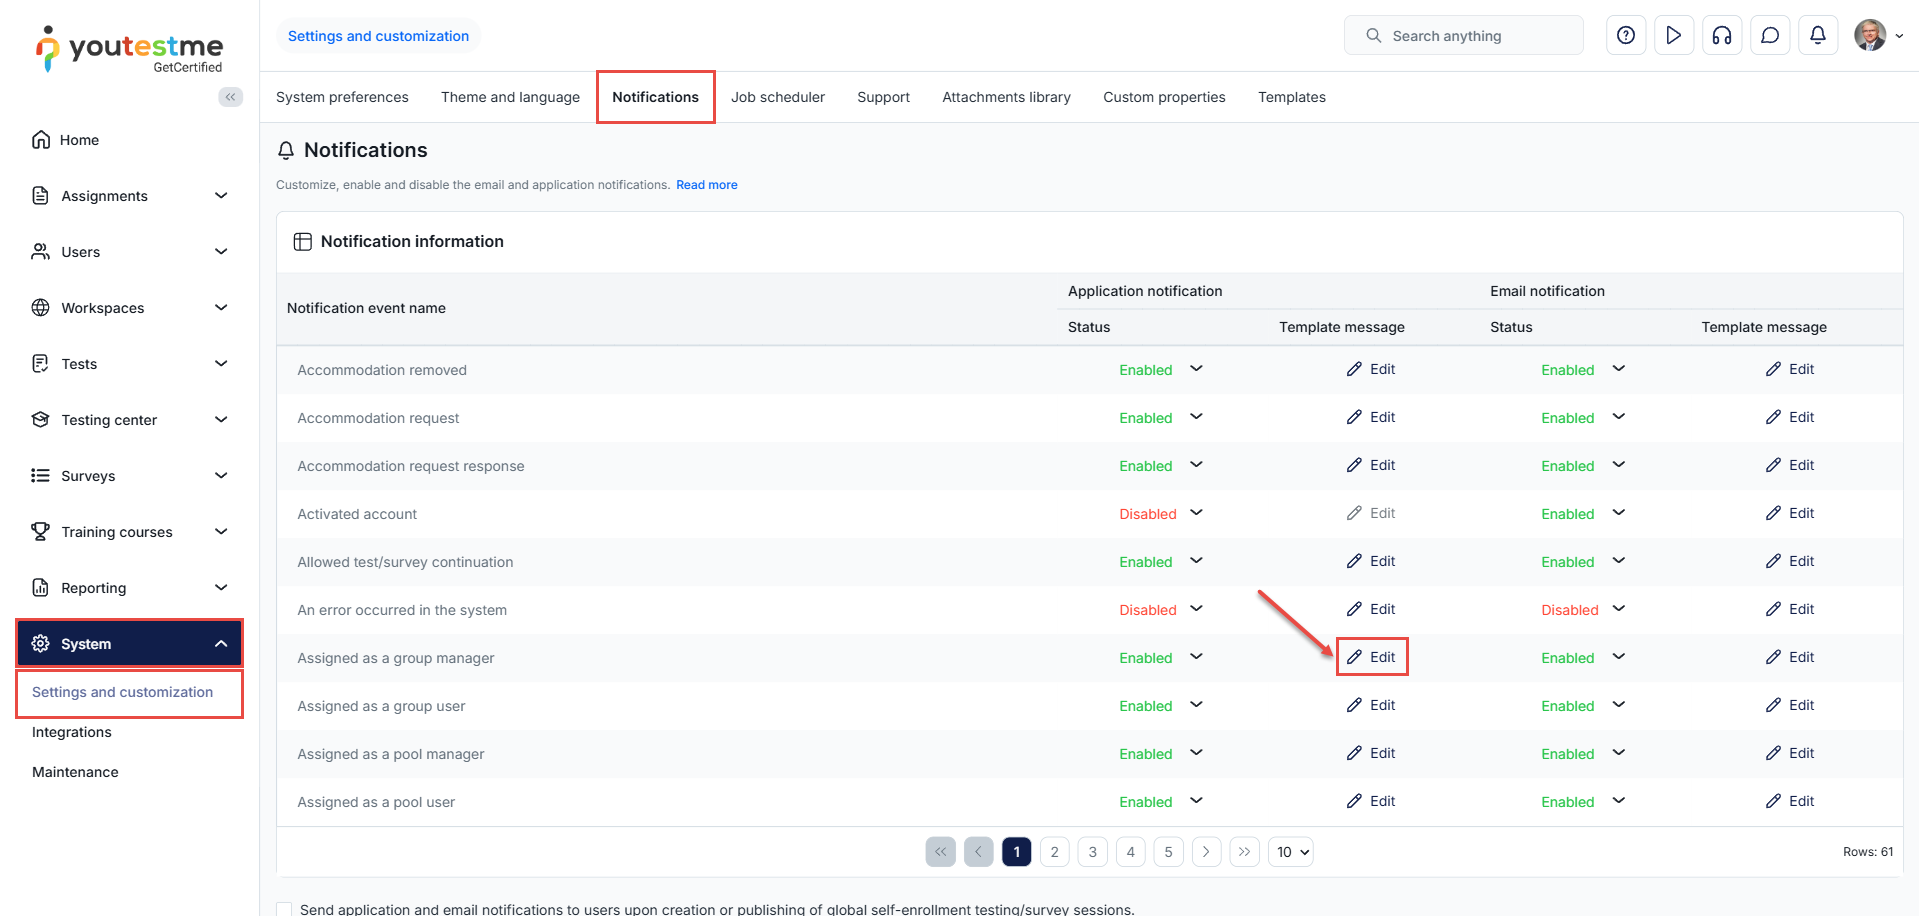
To customize notifications, go to System → Settings and Customization → Notifications. From this tab, select the Edit button next to the notification you wish to modify. Here, you can adjust the content, enable or disable specific notifications, and personalize them to suit your preferences.
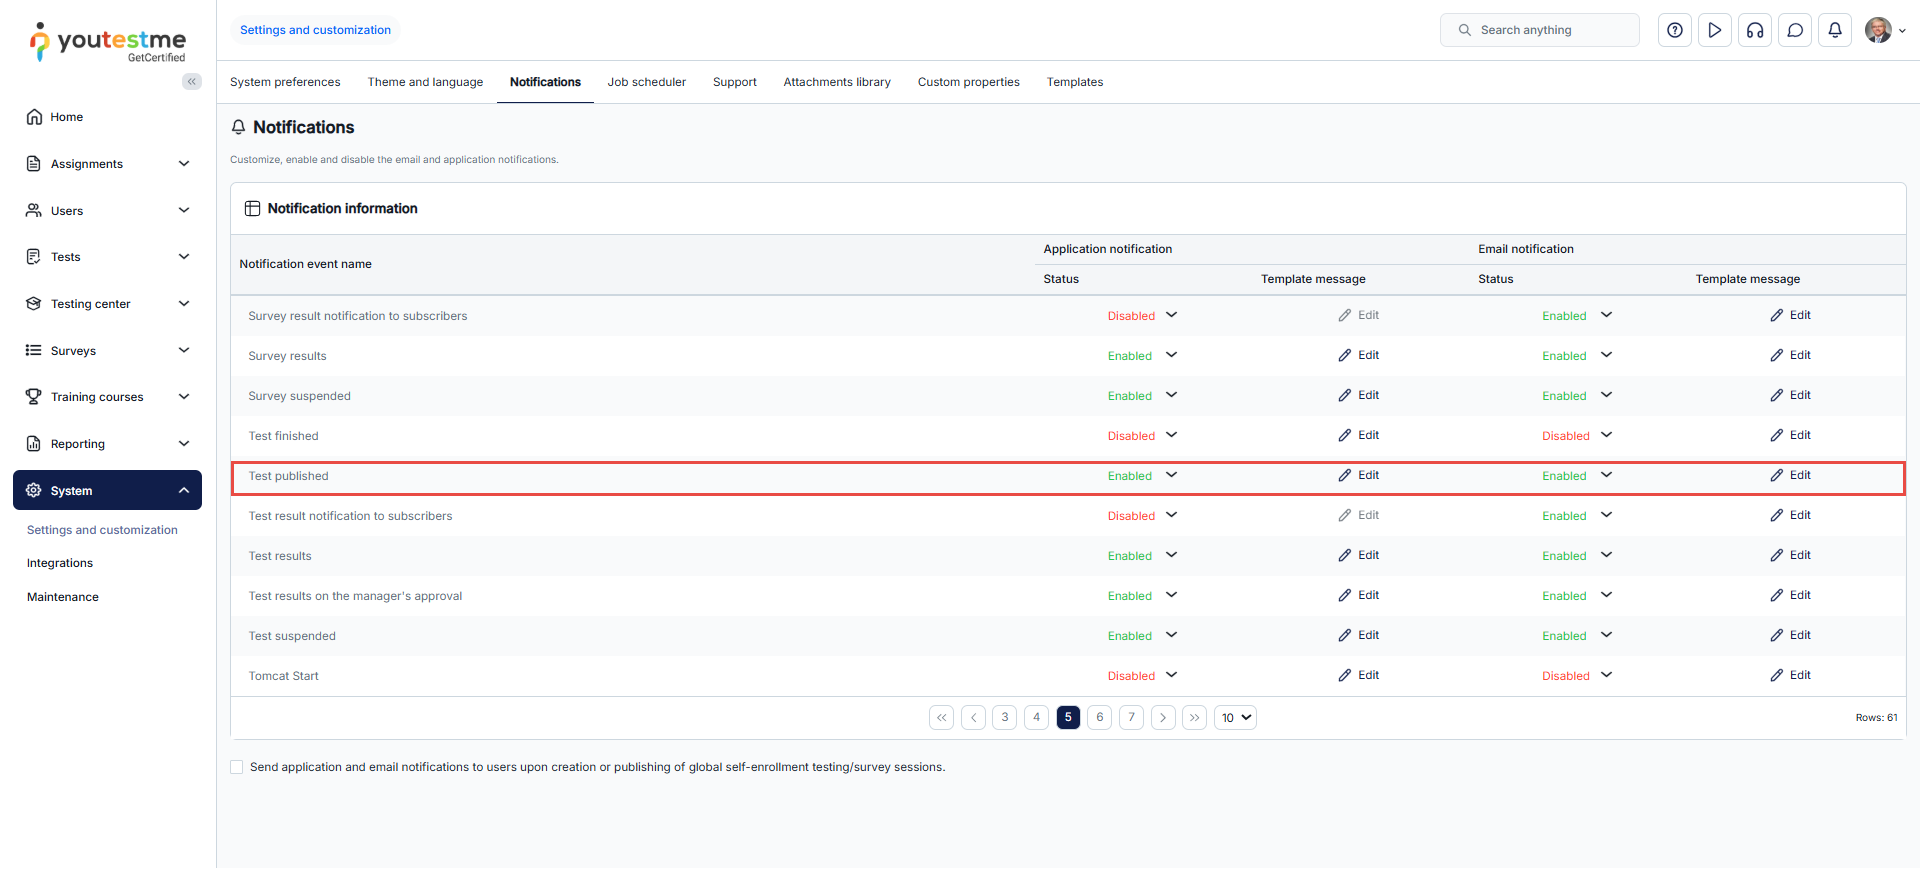
The Test Published notification
The Test published notification is an essential feature in the GetCertified application. This notification is triggered whenever a user is assigned to a test. It ensures that both candidates and administrators are informed when a test becomes available to them.
Whenever a test is published, and a user is assigned to it, both in-app and email notifications are sent to the candidate. This helps ensure that the candidate is aware of the test’s availability and can take necessary actions, such as starting the test or reviewing instructions.
Customizing the Test Published Notification
You can customize the Test published notification to fit your specific needs. This customization enables you to modify the notification text, incorporate variables such as test availability or the sender’s name, and fine-tune other content as necessary.
To customize the notification, follow these steps:
- Go to the Settings and Customization tab in the system settings.
- Select the Notifications section.
- Find the Test published notification and click the Edit button next to it.
- Modify the notification content, such as the message text and any variables you want to include.
- Save your changes to finalize the customization.
The test-published notification is an excellent way to keep your candidates informed about important test updates and ensure a smooth testing experience for both administrators and users.
Candidate’s Perspective
From the candidate’s perspective, receiving the Test published notification is a crucial step in staying informed about their testing schedule. When a candidate is assigned to a test, they will receive both an in-app notification and an email notification, depending on their settings. This ensures that they are aware of the test availability, even if they are not actively logged into the system.
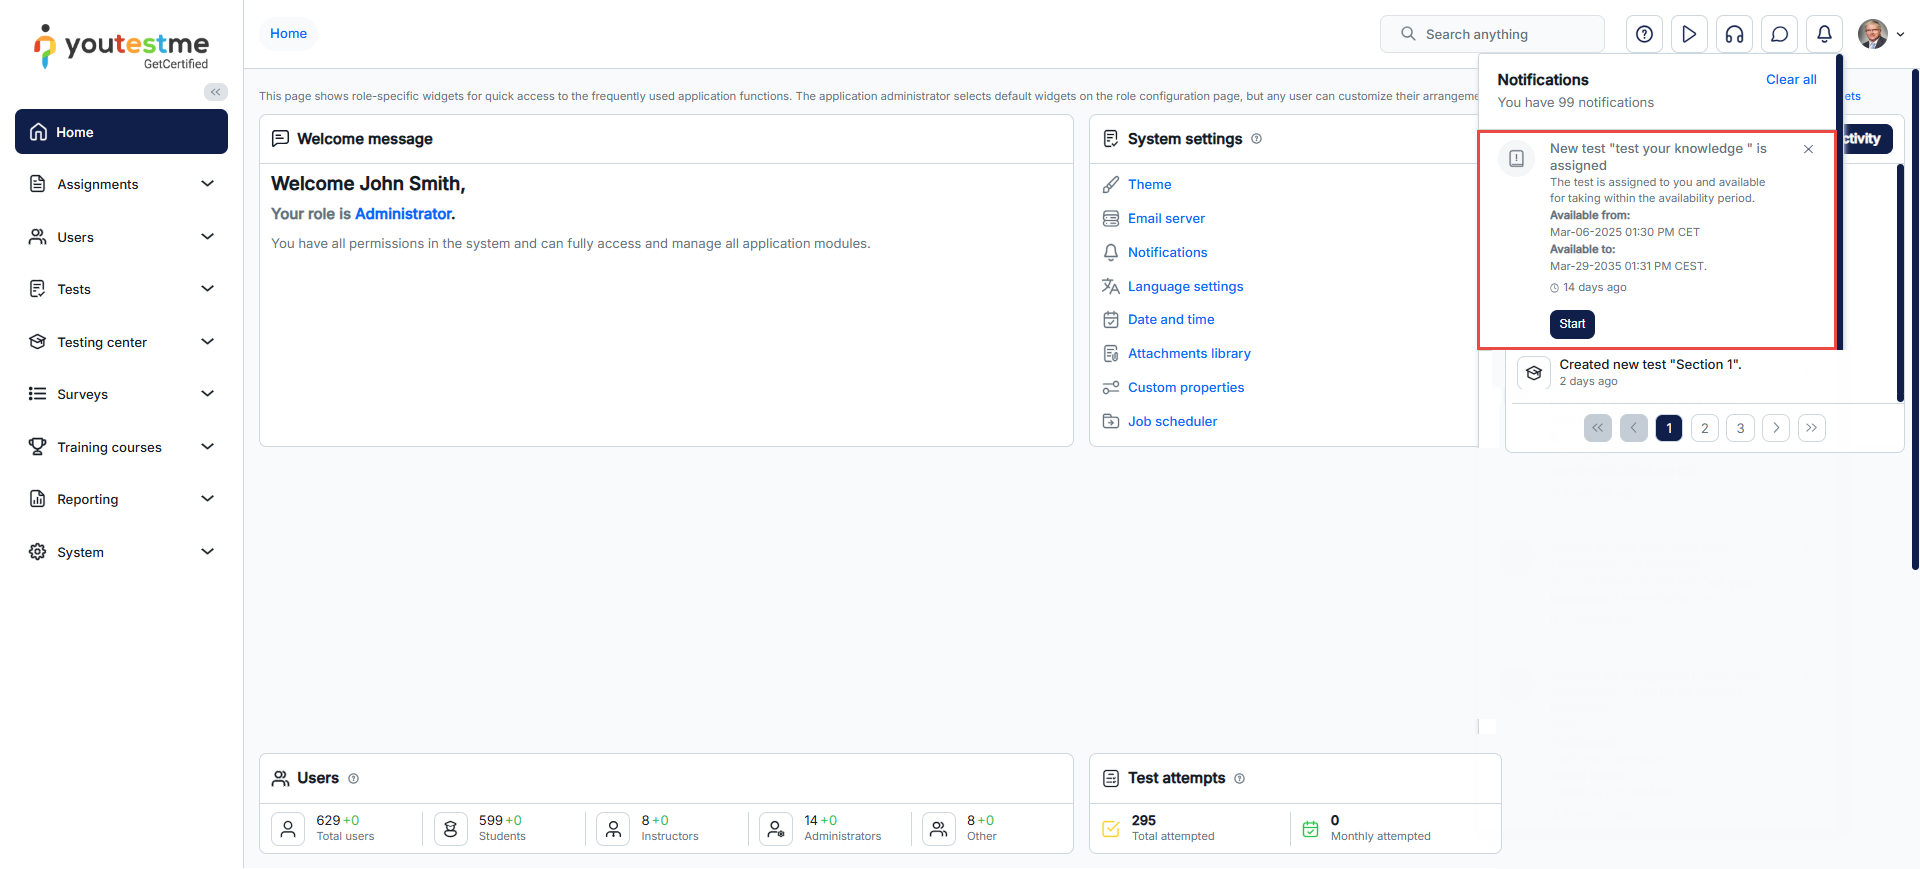
In-App Notification
The in-app notification appears directly within the GetCertified application, alerting the candidate through a pop-up or a message in the notifications area when a test is published. This message usually includes key details such as the test name, publication date, and any relevant instructions.
Email Notification
Along with the in-app notification, the candidate will also receive an email notification. This ensures that the candidate is informed even if they are not logged into the GetCertified application. The email will include similar information to the in-app notification, such as the test name, publishing date, and any necessary instructions for taking the test.
Notification Variables
Notification variables are dynamic placeholders that can be added to notification templates in the Notification Settings. When a notification is sent, the system automatically replaces these variables with user-specific or assignment-specific information, depending on the nature of the notification.
The available variables include:
- $directLink$ – Inserts a direct link for the user to start their assigned test without logging in.
- $recipientUsername$ – Displays the user’s username as defined in their account.
- $profileDirectLink$ – Provides a direct link to the user’s profile, accessible without login.
- $sessionGroupDescription$ – Displays the description of the session group the user belongs to.
- $availableTo$ – Indicates the exam session’s end date.
- $recipientFirstName$ – Displays the user’s first name as defined in their account.
- $applicationURL$ – Inserts the application’s main URL. If the user is not logged in, they will be redirected to the login page.
- $quizRequest$ – Displays the exam request details.
- $recipientFullName$ – Displays the user’s full name (first, middle, and last name) as defined in their account.
- $finishTestInstructions$ – Inserts the test completion instructions defined in the assigned test settings.
- $guestProctoringEquipmentCheckURL$ – Provides a direct link for users to check their equipment before a proctored exam, without logging in.
- $recipientLastName$ – Displays the user’s last name as defined in their profile.
- $sessionInstructions$ – Inserts the session instructions defined in the exam’s session settings.
- $from$ – Displays the sender’s name as defined in the system.
- $availableFrom$ – Indicates the exam session’s start date.
- $instructions$ – Inserts the assigned test instructions.
Creating custom HTML Email notifications
YouTestMe GetCertified allows users to create custom HTML notifications, providing full flexibility to personalize the design by adding logos, images, and other visual elements. For more information, please refer to the related article.


